How to Create a Website With HTML
by mlarapet14 in Circuits > Computers
311 Views, 1 Favorites, 0 Comments
How to Create a Website With HTML

The following instructions provide step-by-step instructions to create a simple website with HTML. You will learn to upload a title, header, and paragraph to Google Chrome. Formatting code for clarity by pressing “enter” is also introduced in this instruction set. This instruction set is meant for beginners with no coding experience, and should take about five minutes to create.
Supplies
-Windows PC
-Notepad Application
Open Notepad
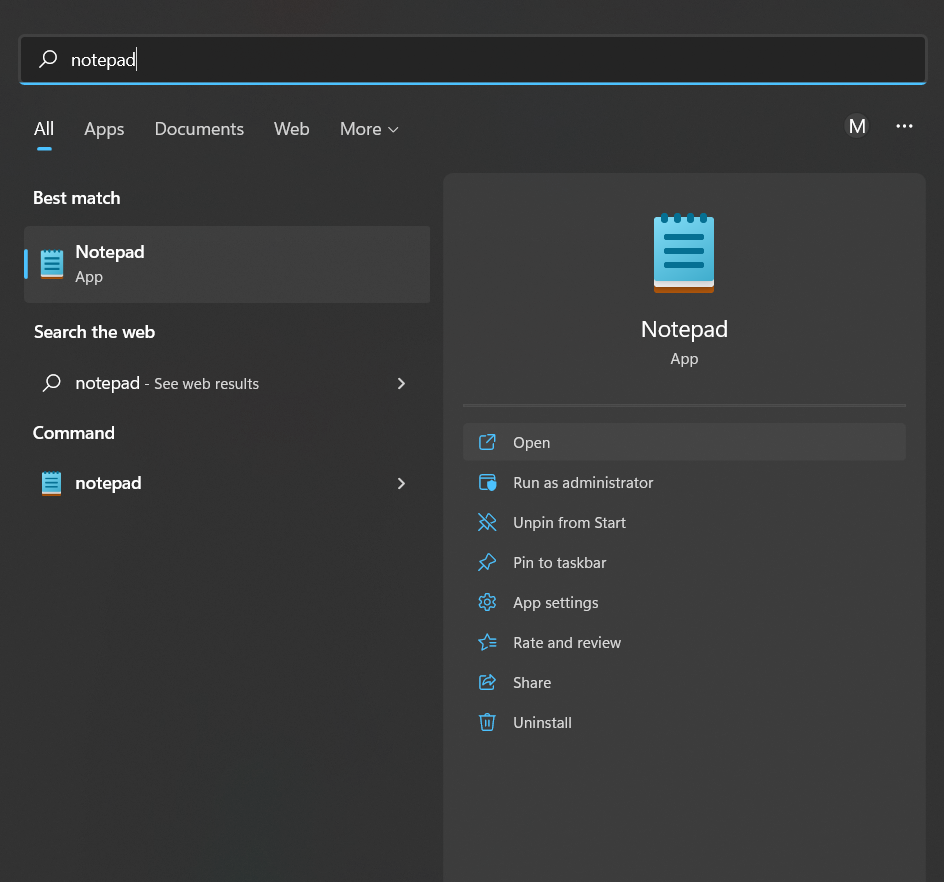
Open Notepad app on laptop
-Click on the Windows icon
-Type and select “Notepad”
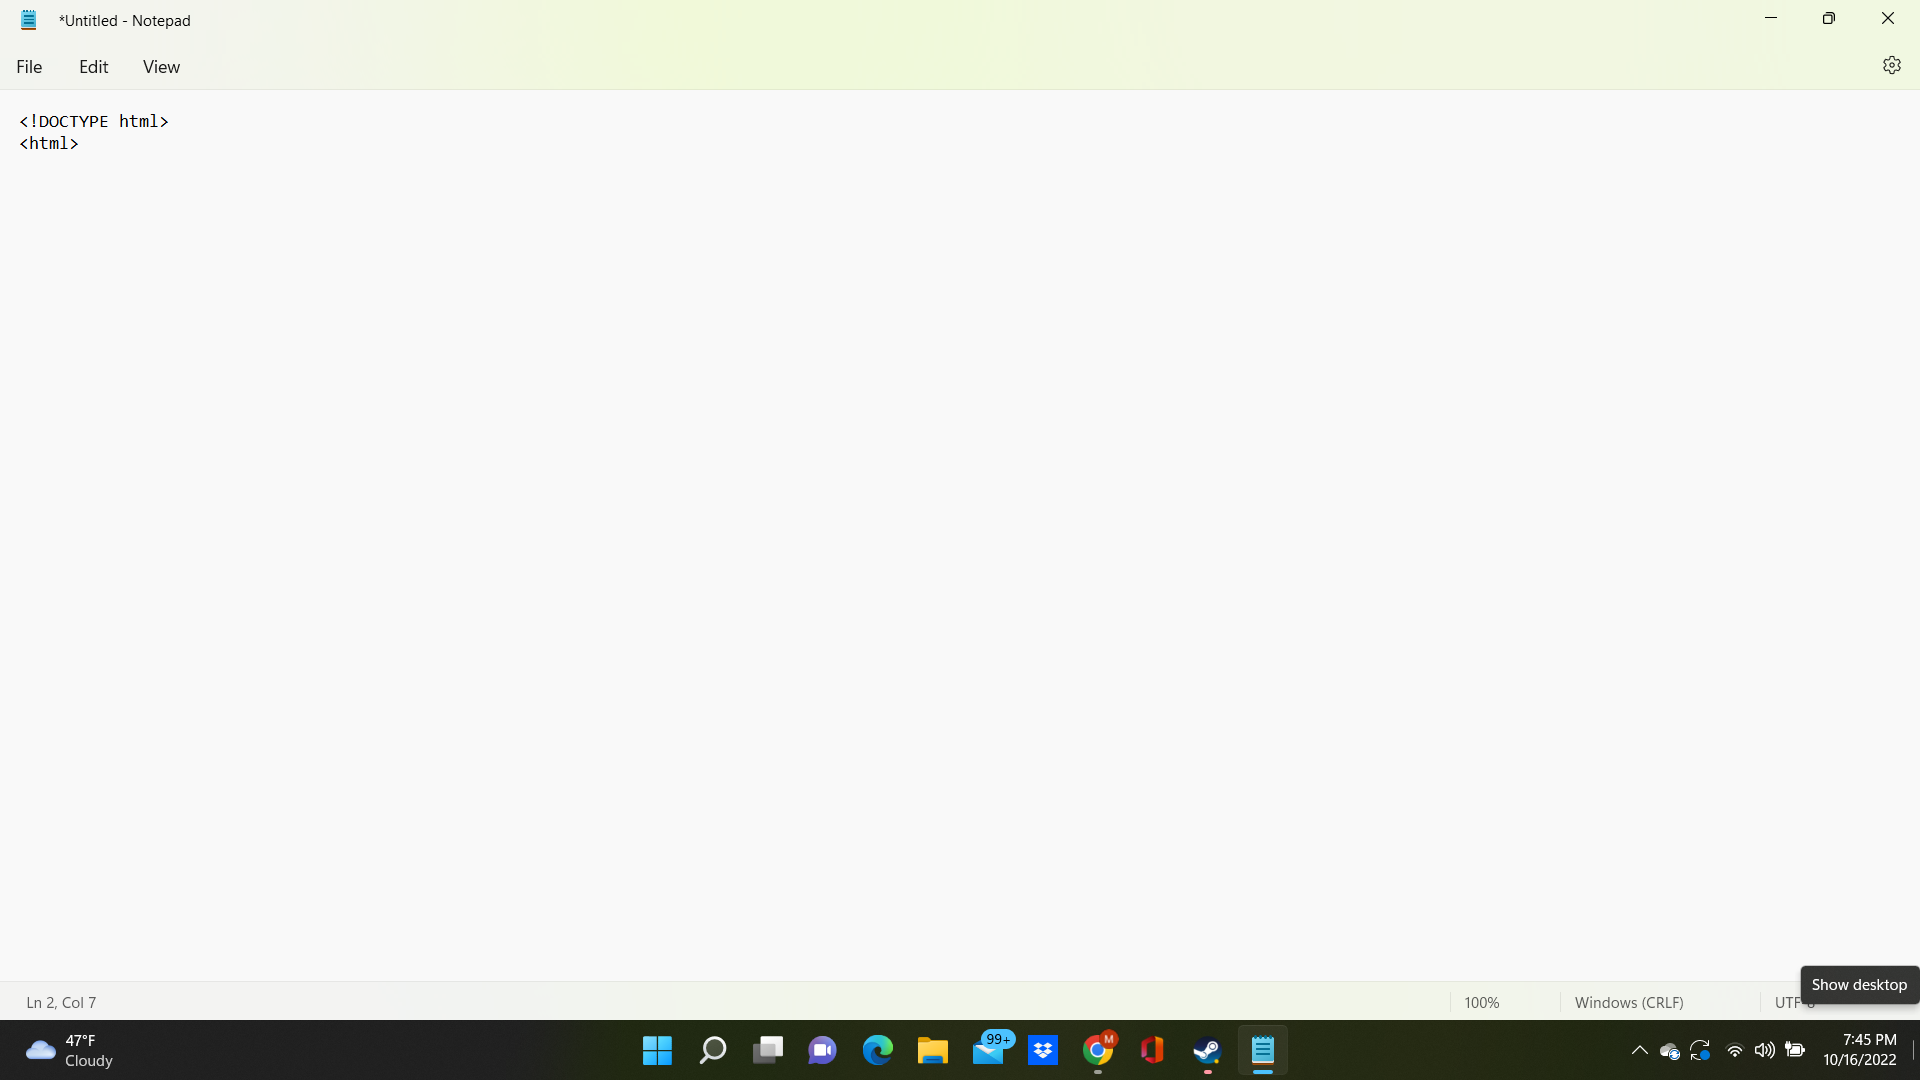
Add DOCTYPE Element
.png)
Type & Enter <!DOCTYPE html>
NOTE: This specifies to the browser what version of HTML you are using. This version is HTML5.
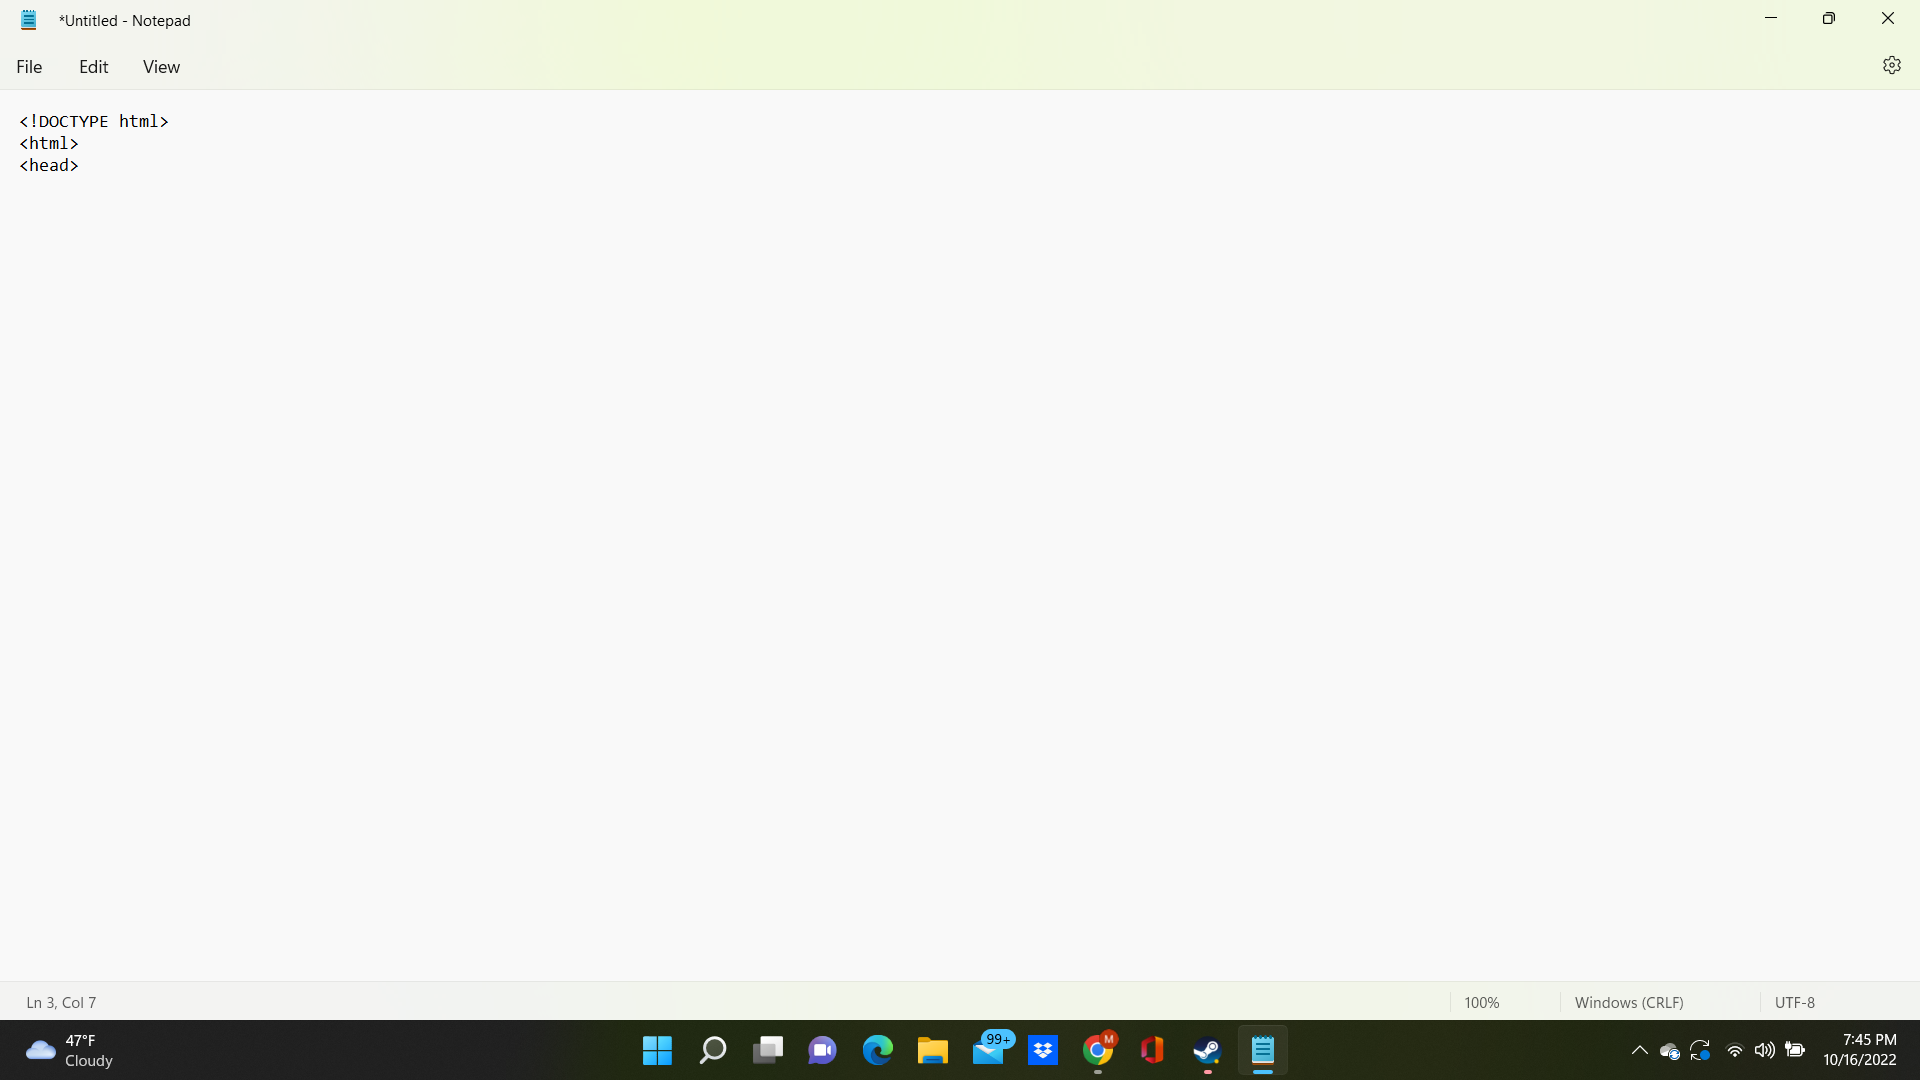
Add HTML Element
.png)
Type & Enter <html>
NOTE: Text in between <> brackets is called an “element.”
Add Header Element
.png)
Type & Enter <head>
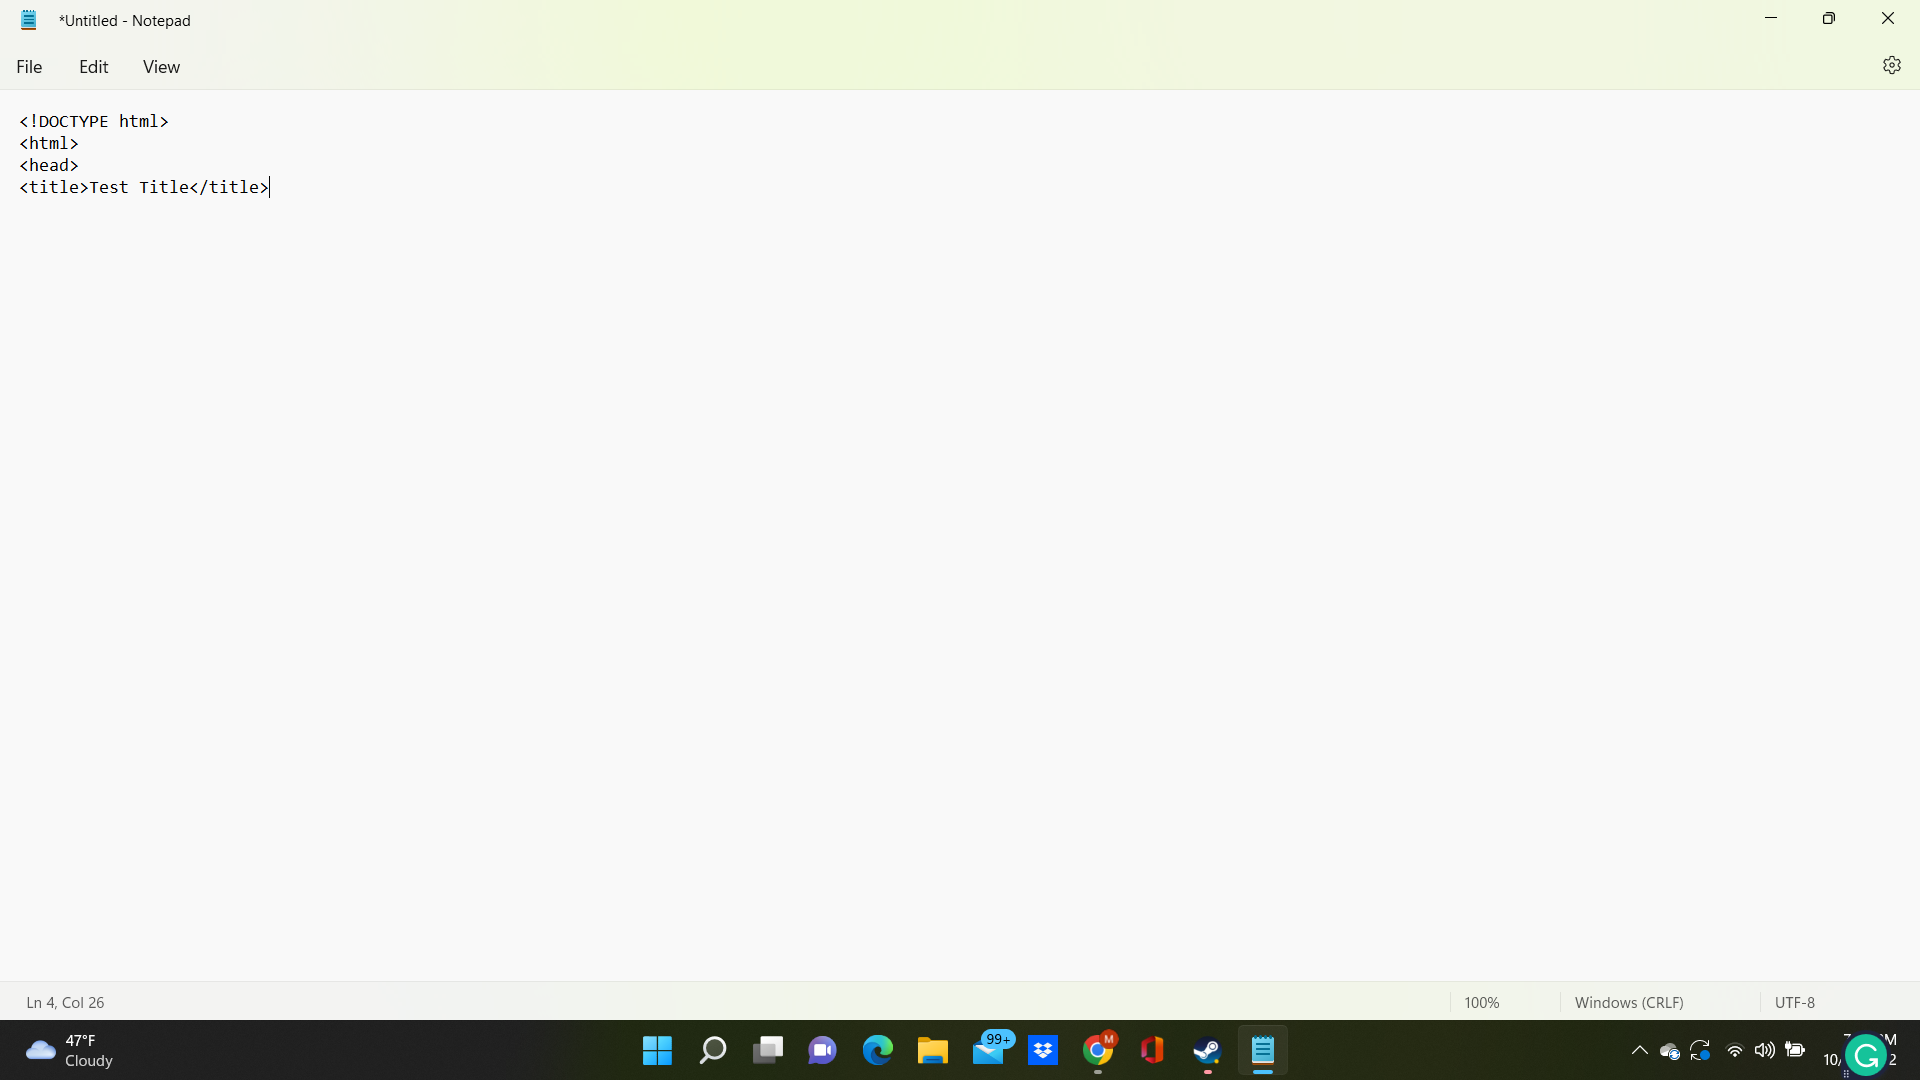
Add Title Element
.png)
Type & Enter<title>Test Title</title>
NOTE: “/” closes the element
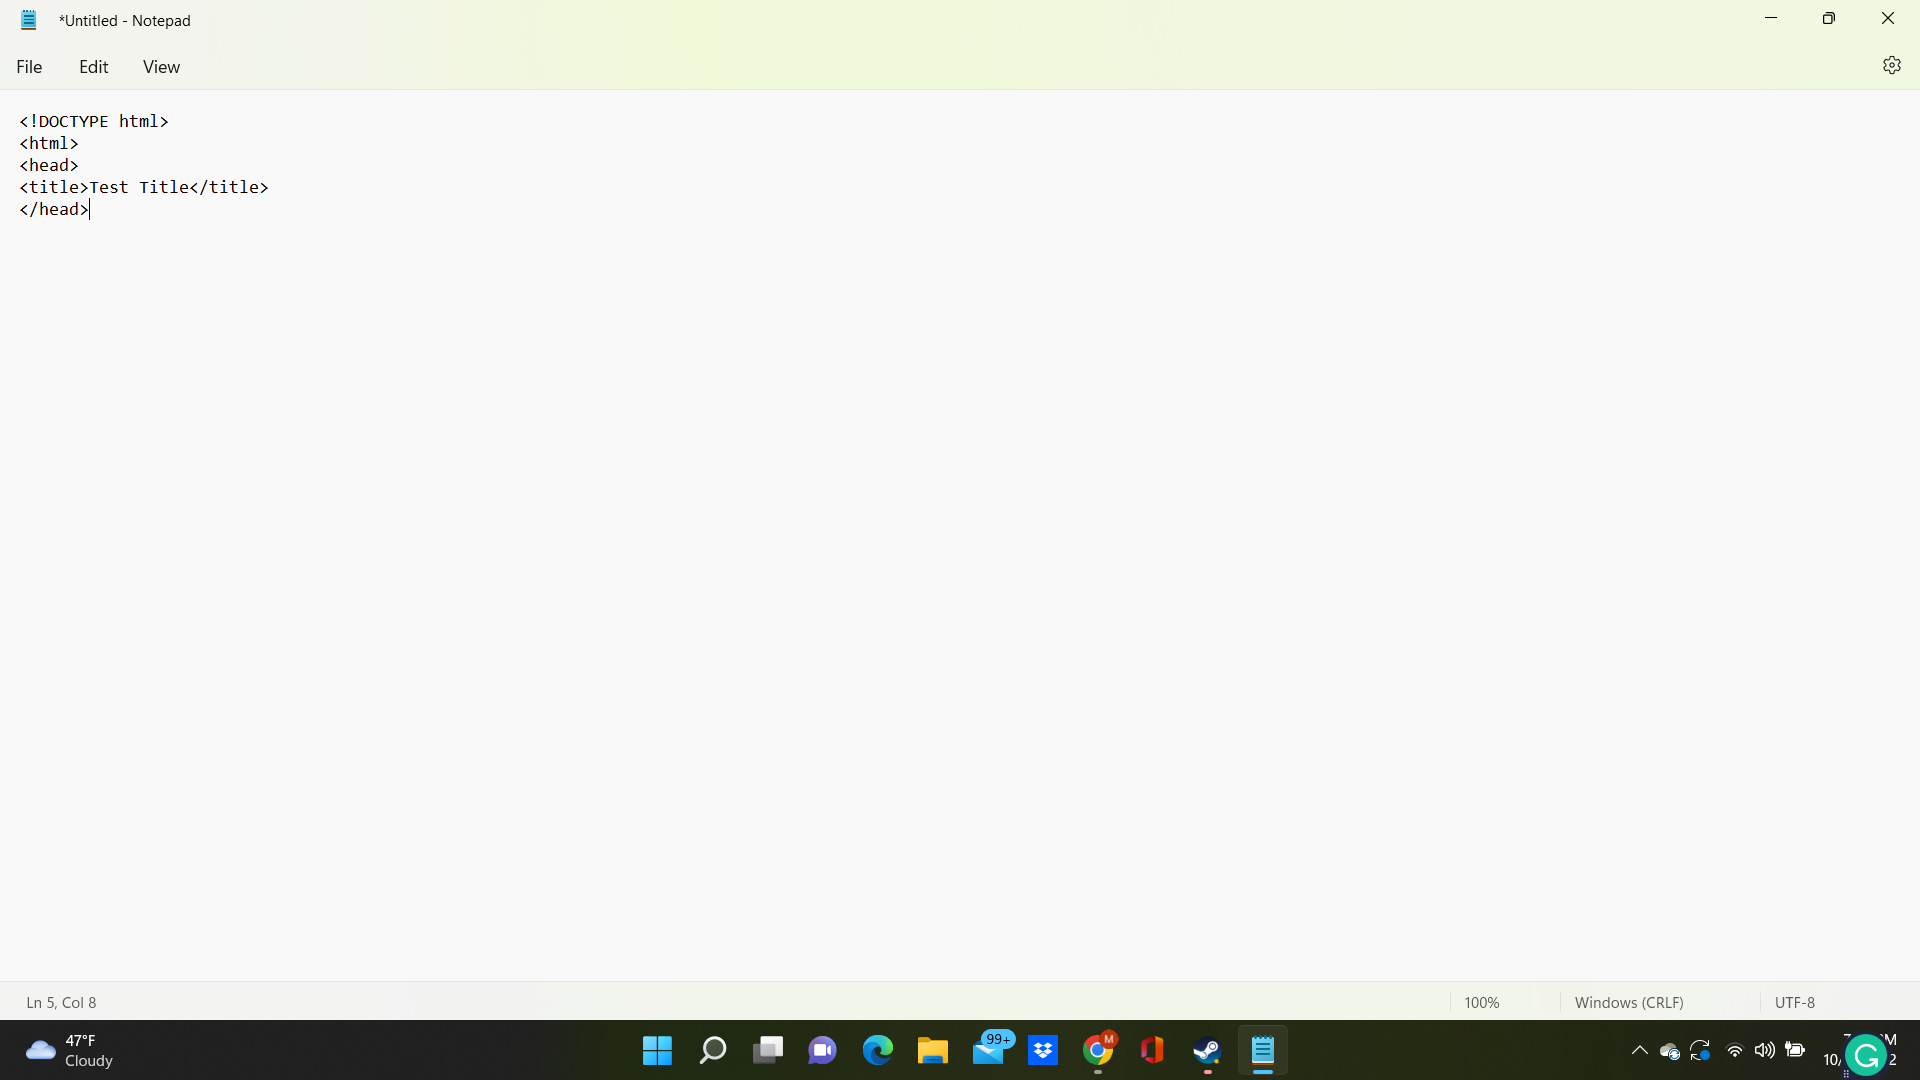
Close Header Element
.png)
Type & Enter </head>
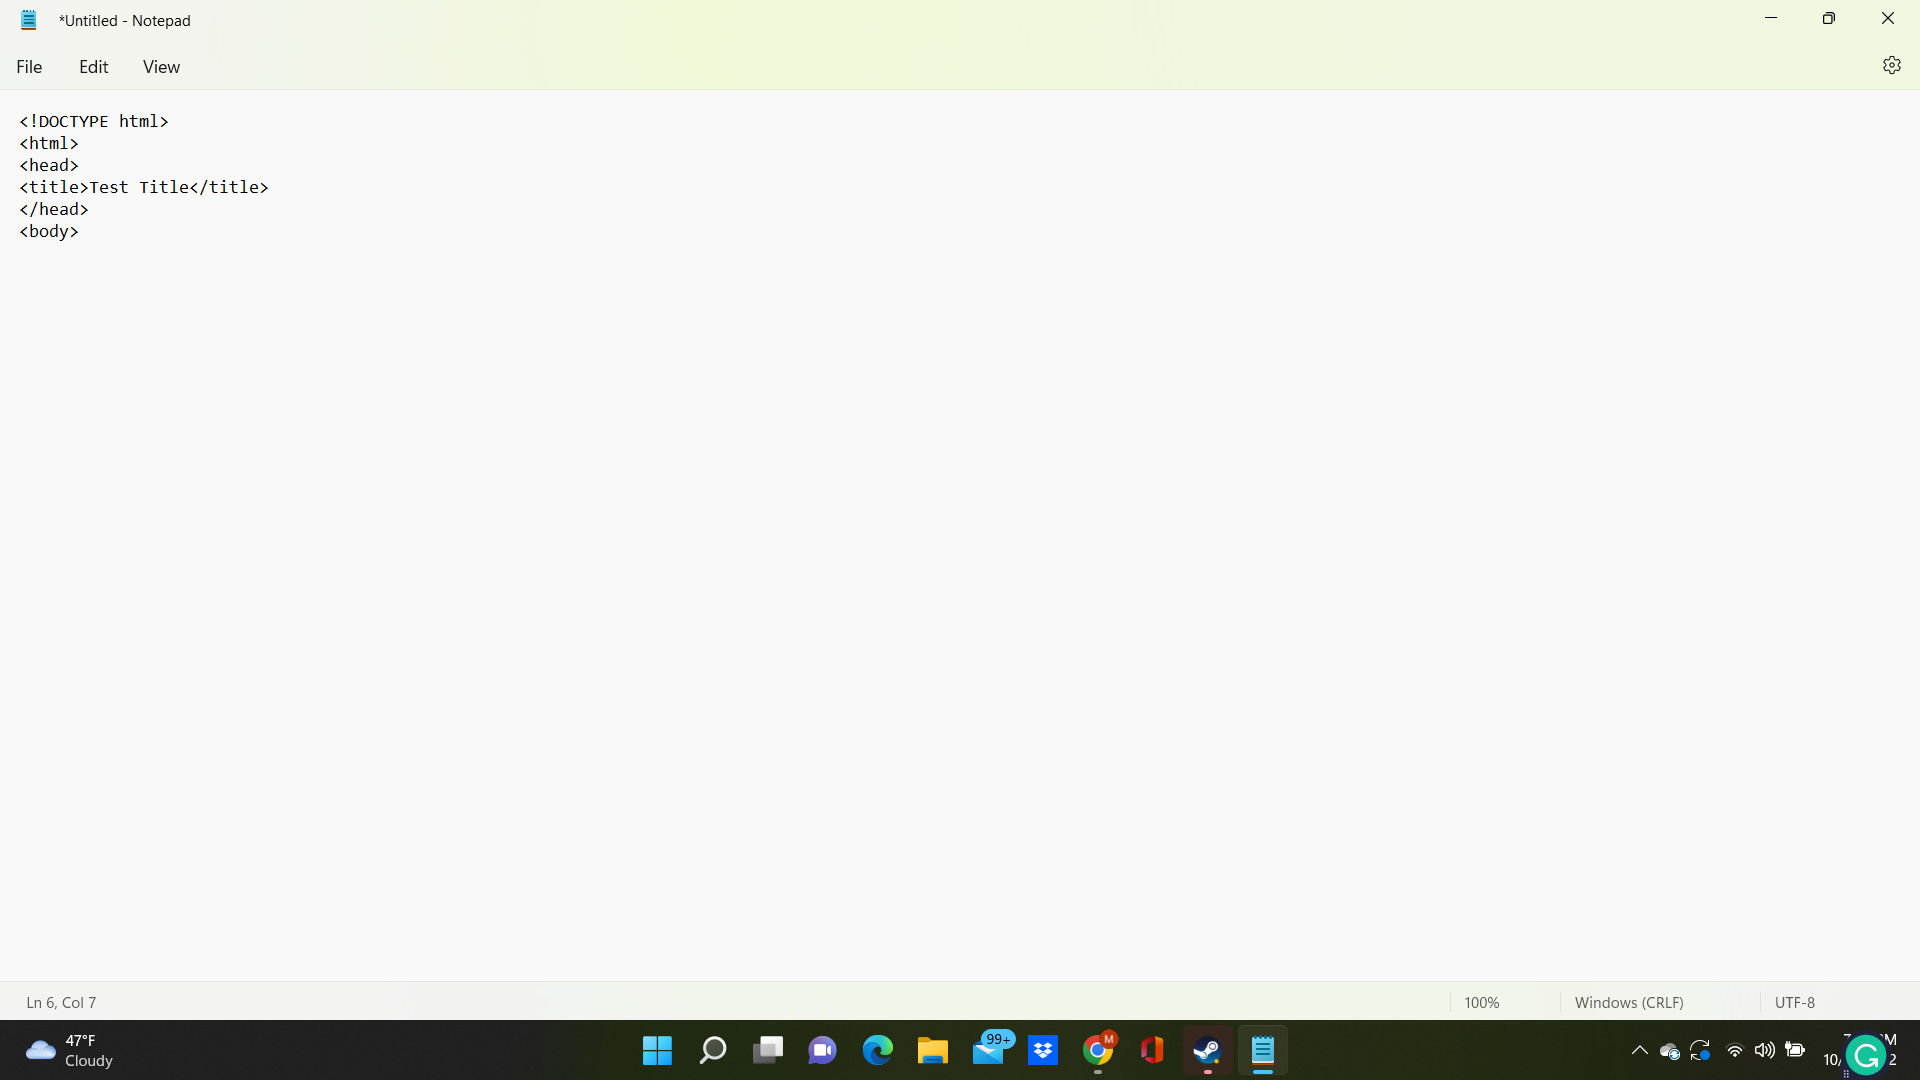
Add Body Element
.png)
Type & Enter <body>
NOTE: All content in the <body> element is displayed on the webpage.
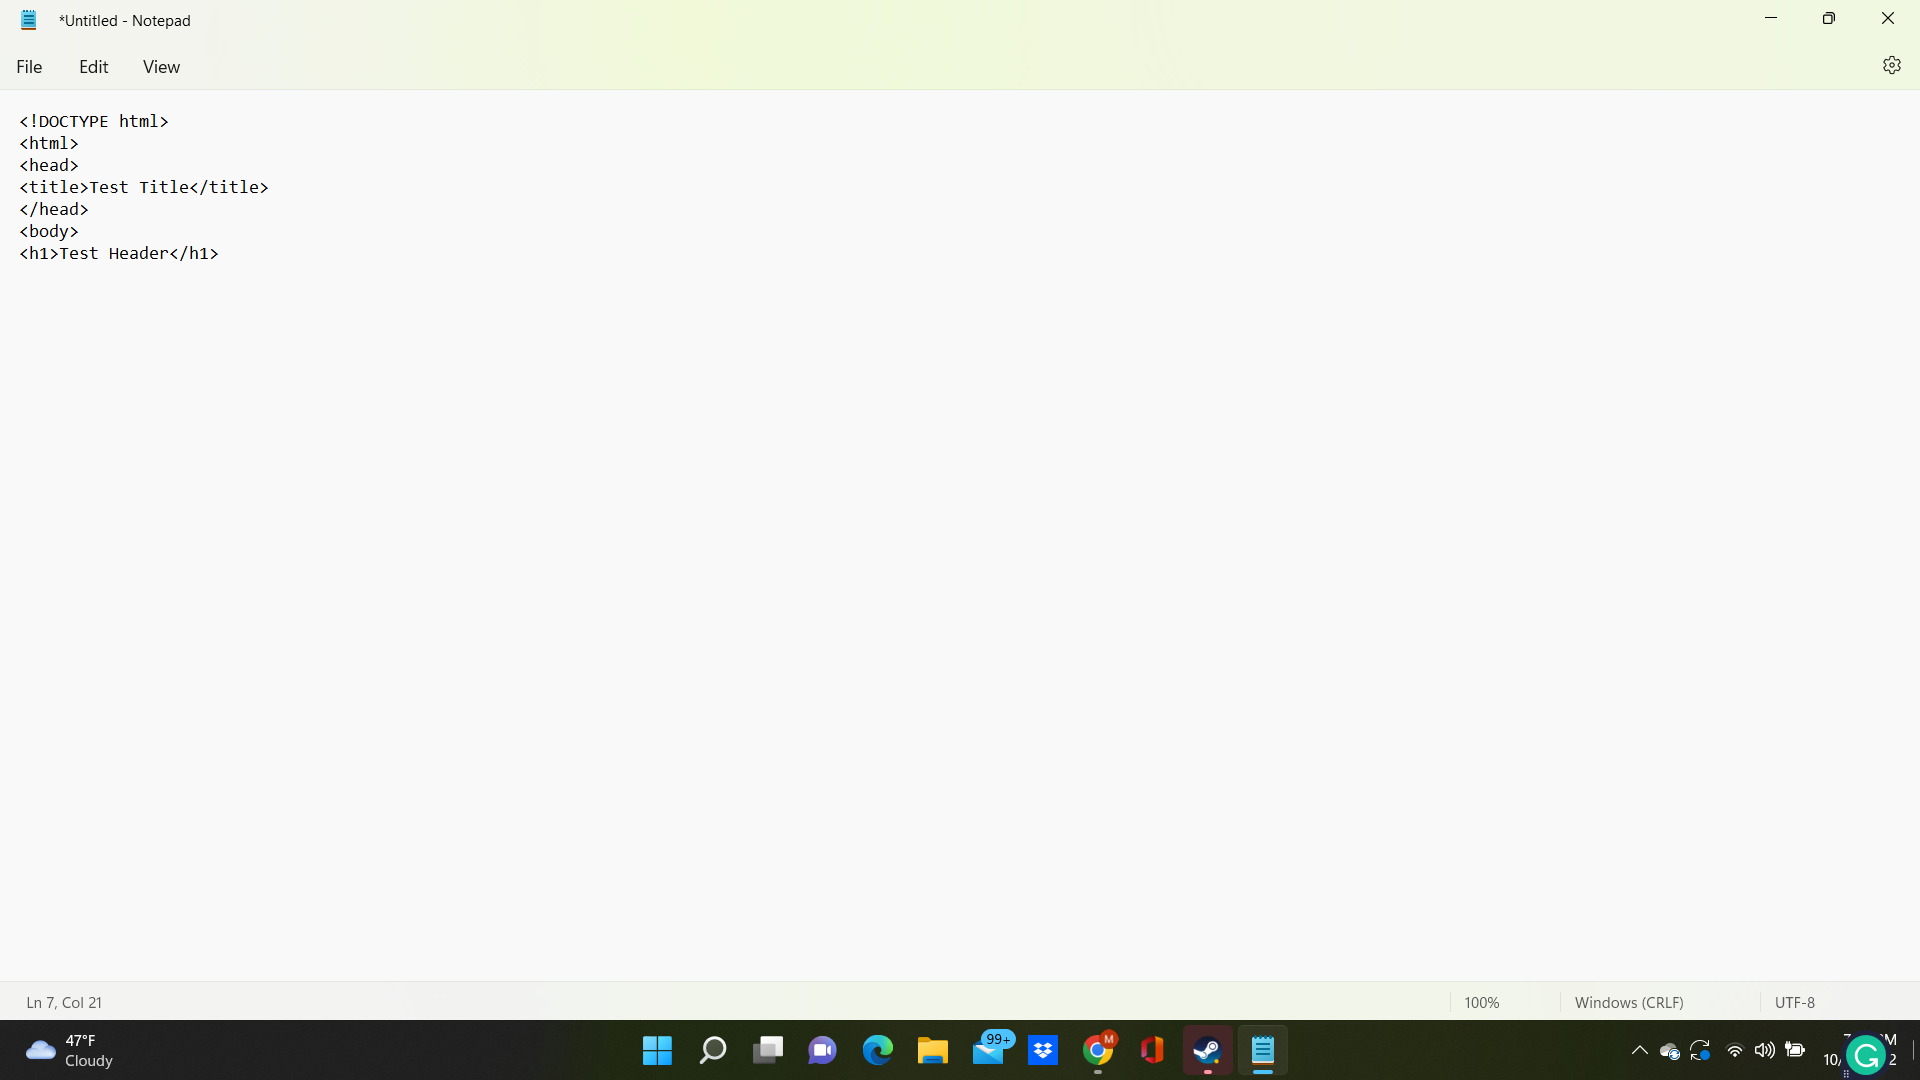
Add H1 Header Element
.png)
Type & Enter <h1>Test Header</h1>
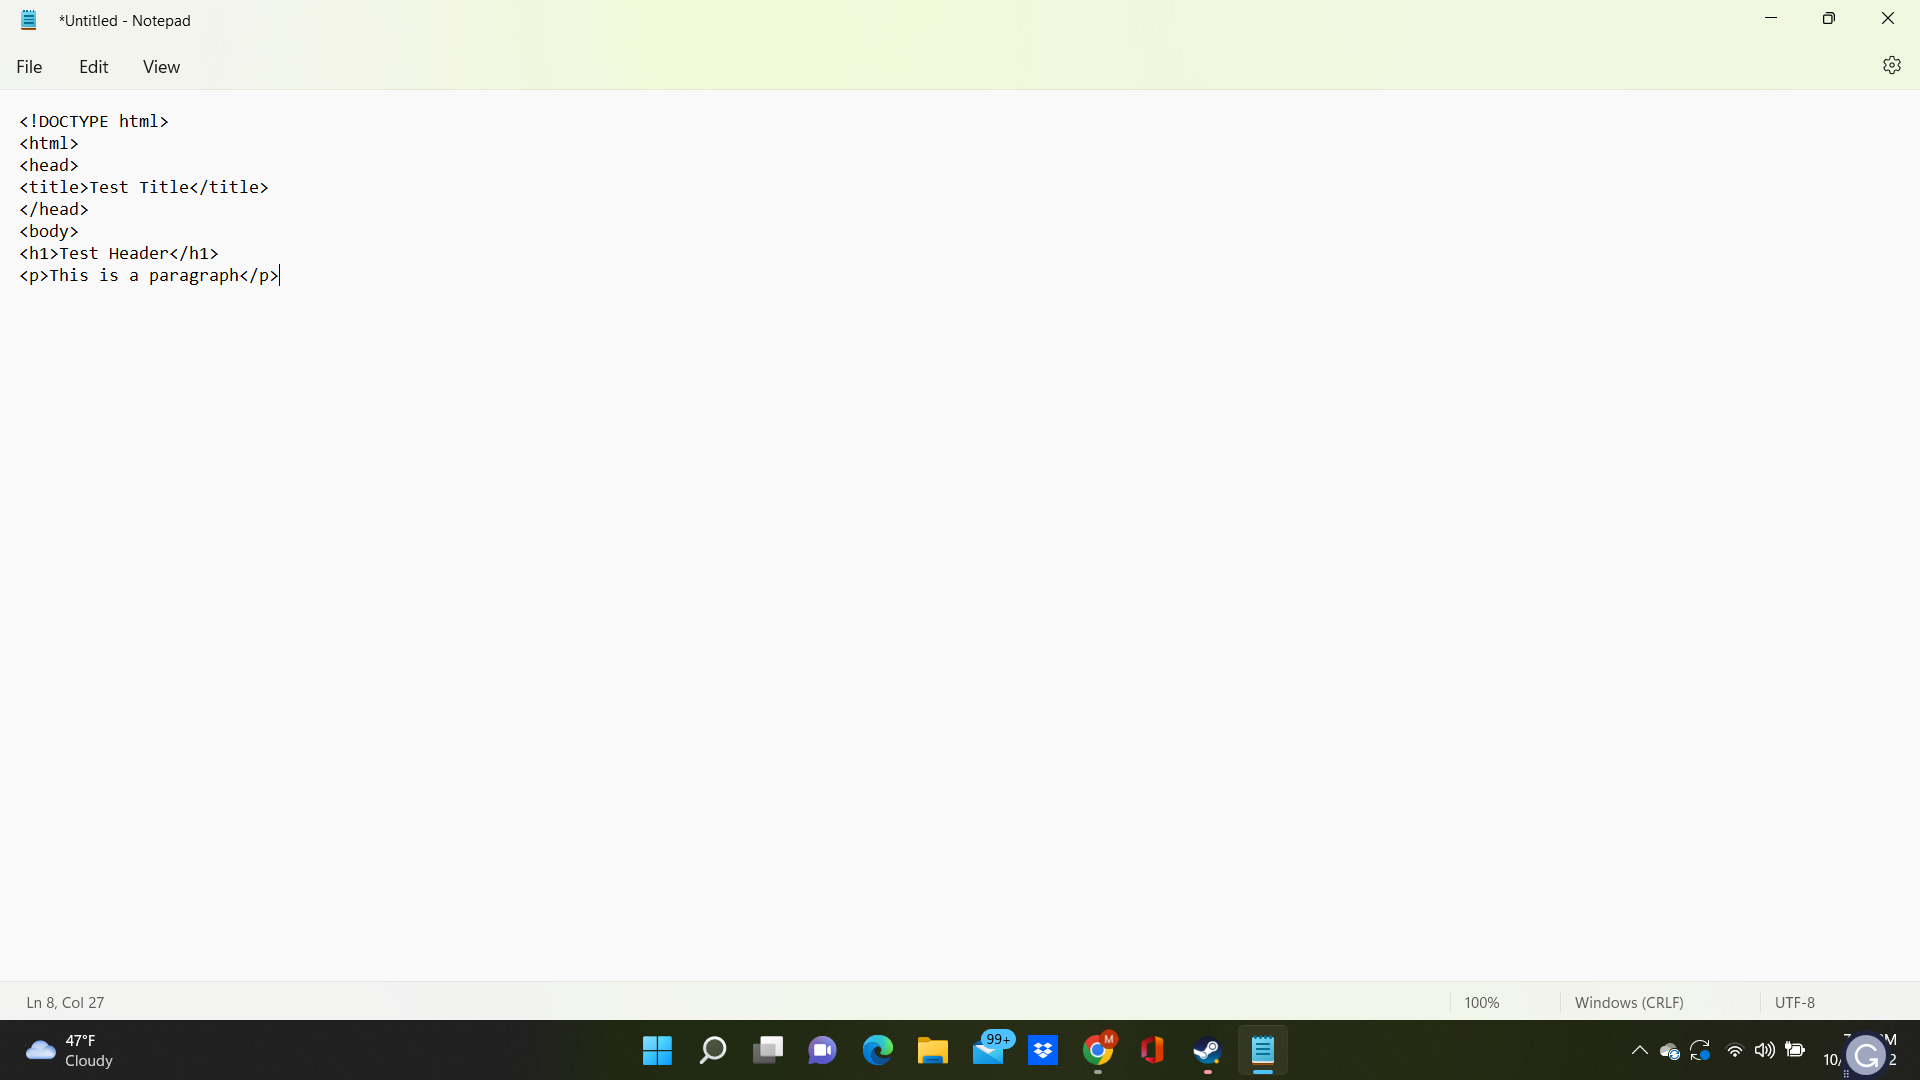
Add Paragraph Element
.png)
Type & Enter <p>This is a paragraph</p>
Close Body Element
.png)
Type & Enter </body>
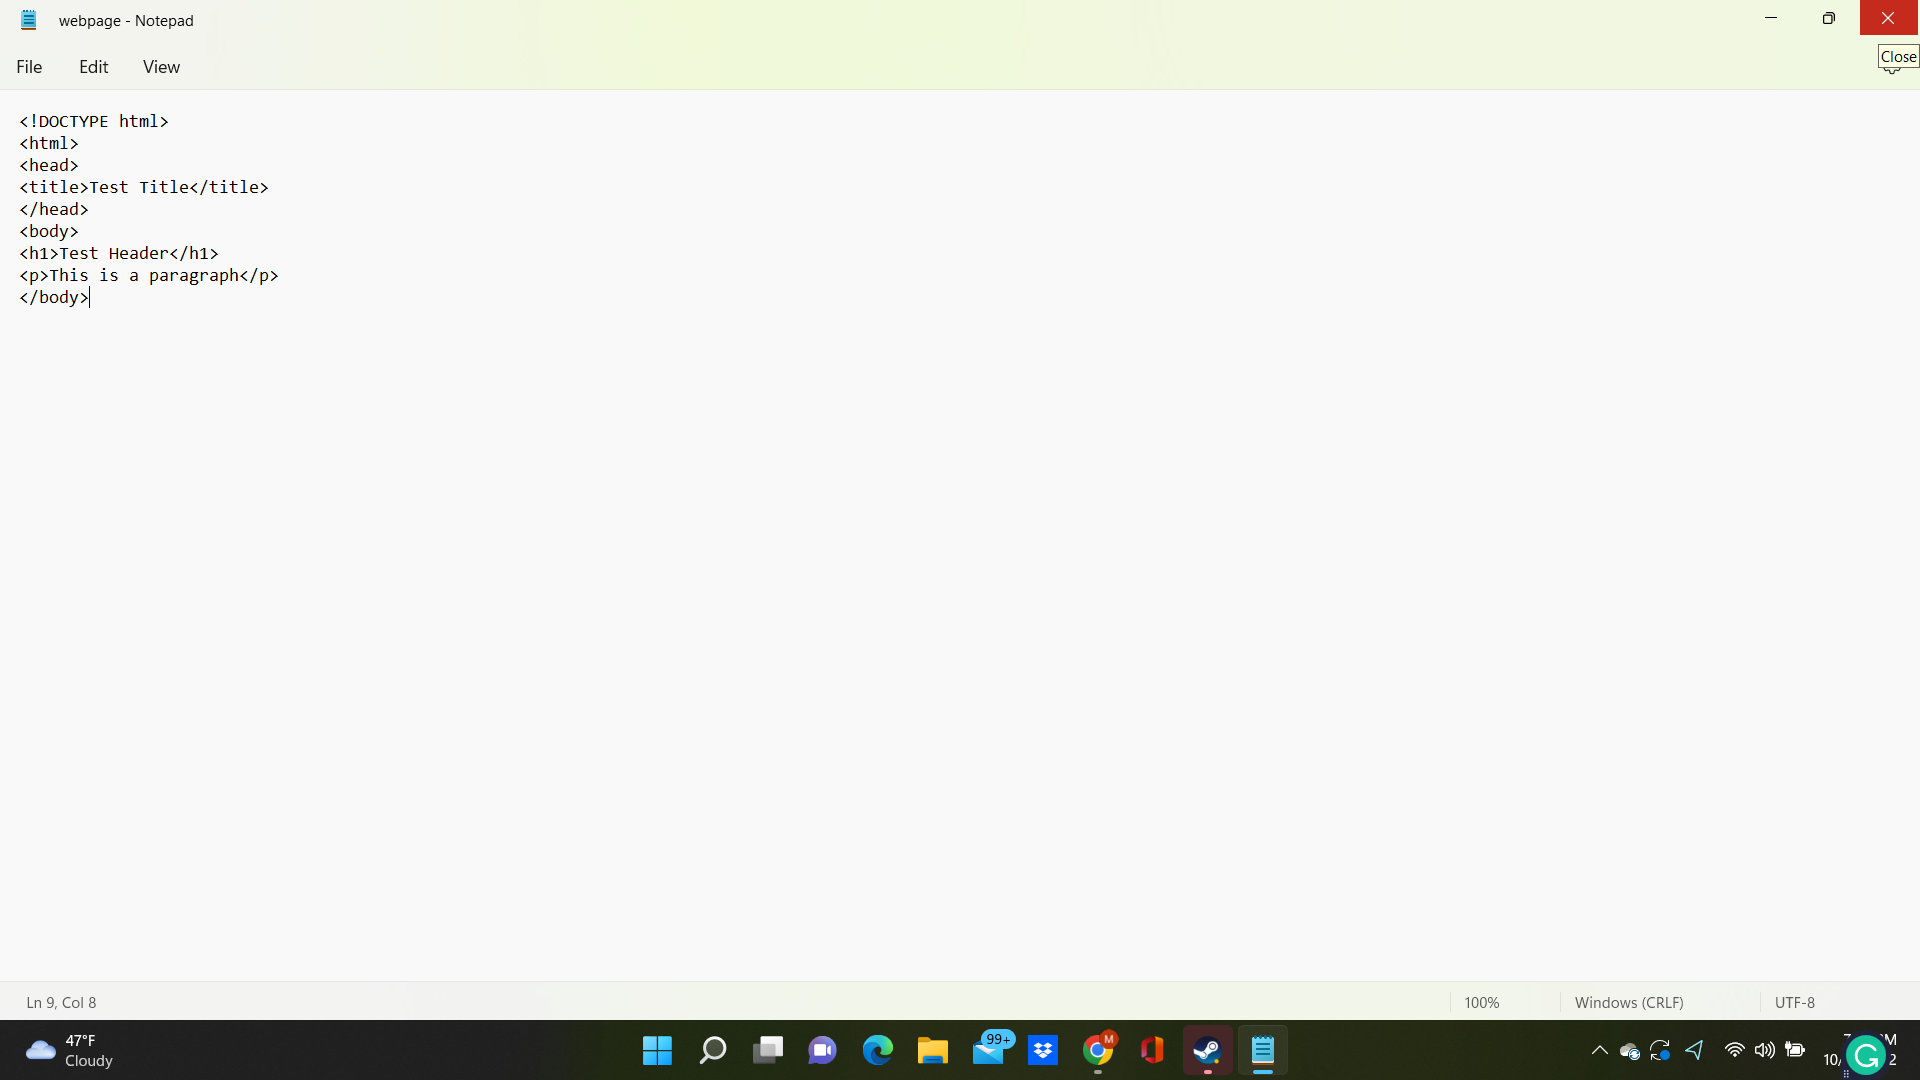
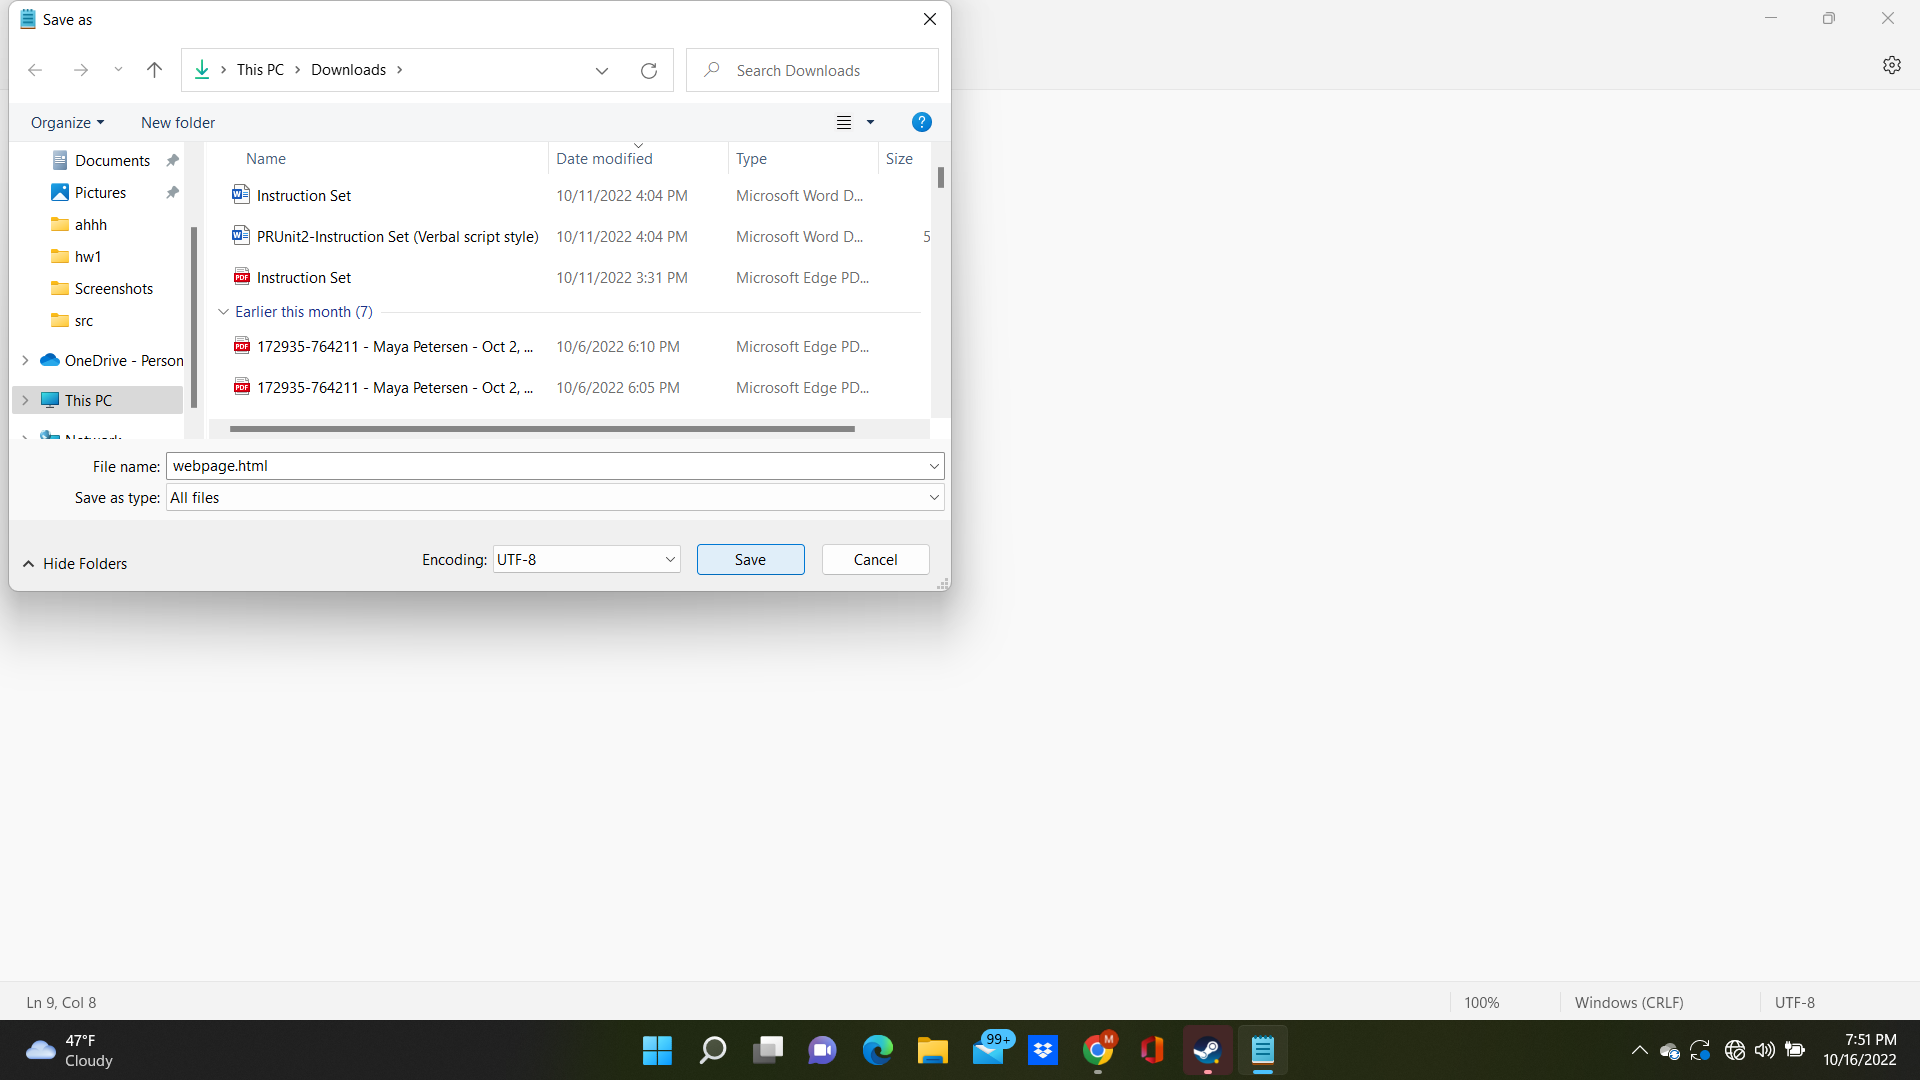
Begin Save
.png)
Click File. This opens a dropdown menu. Click “Save As”
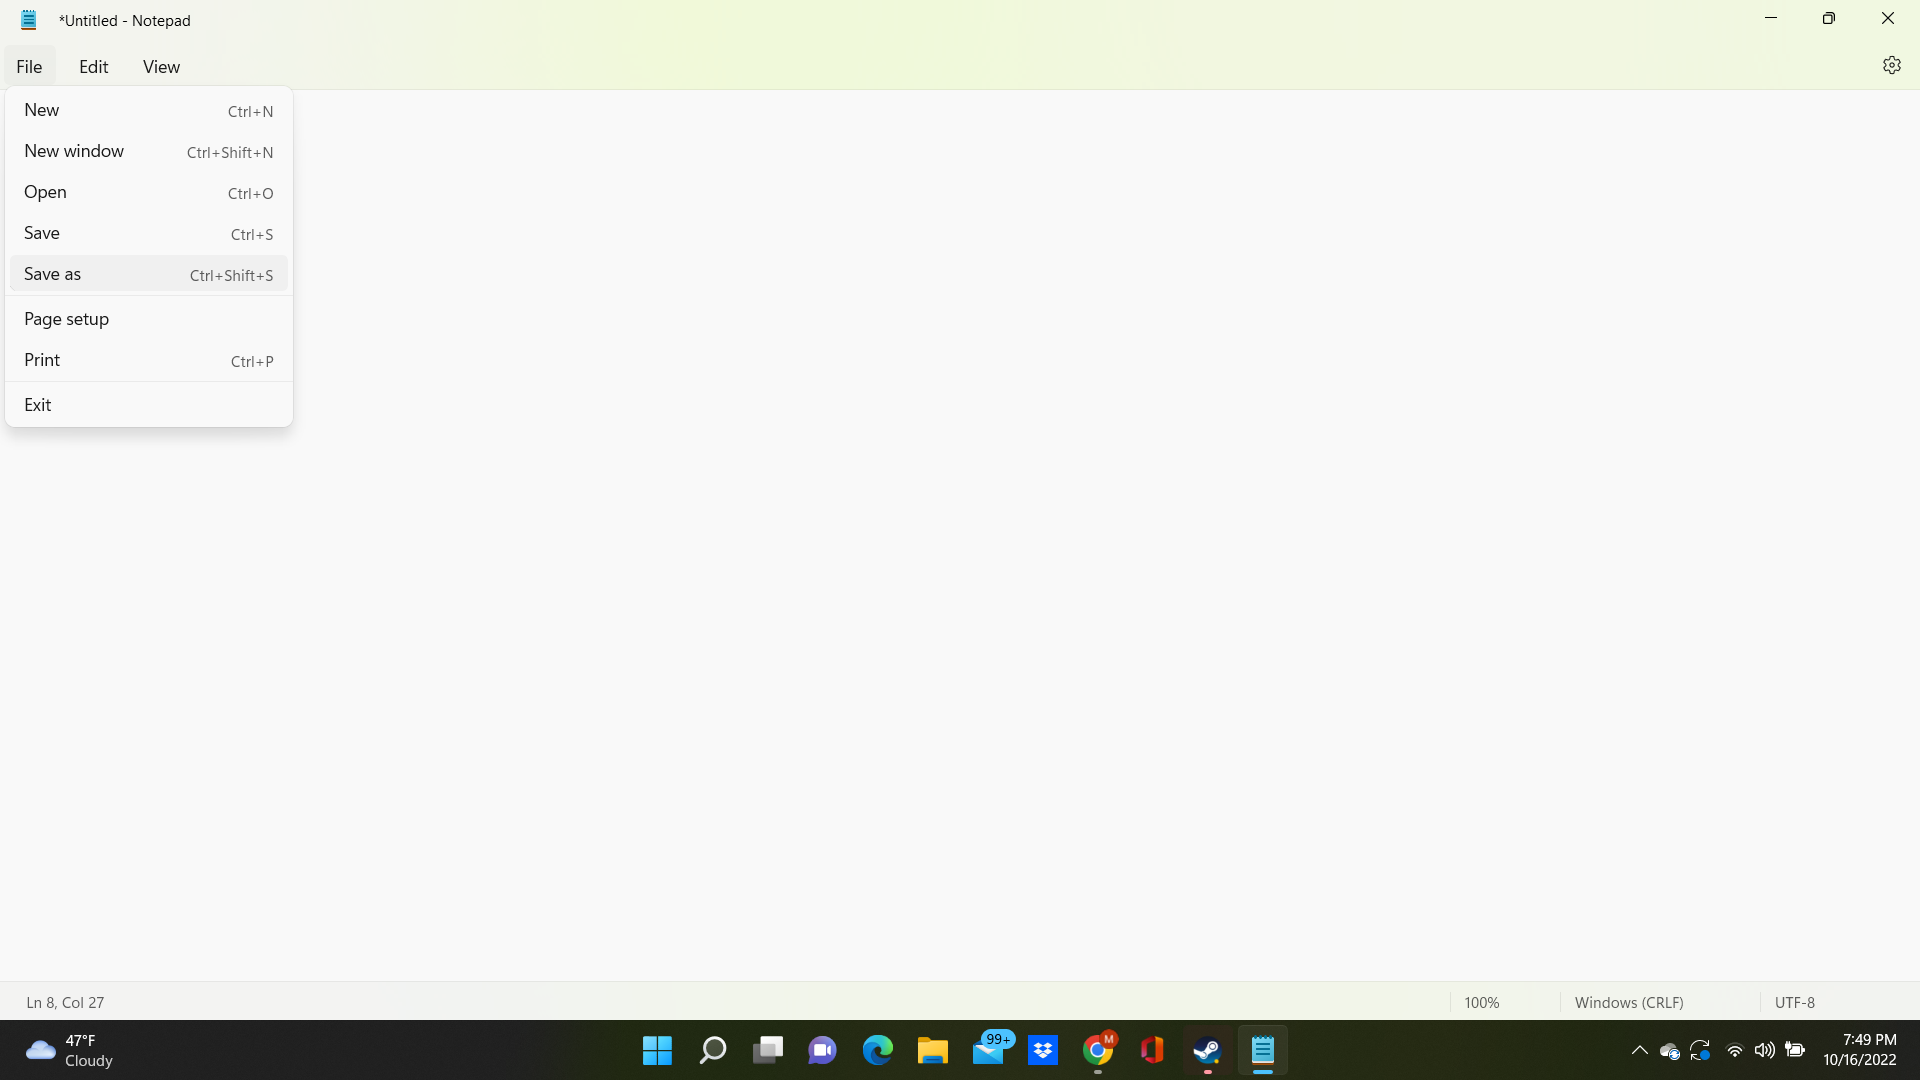
Name File
.png)
Name the file “webpage.html”
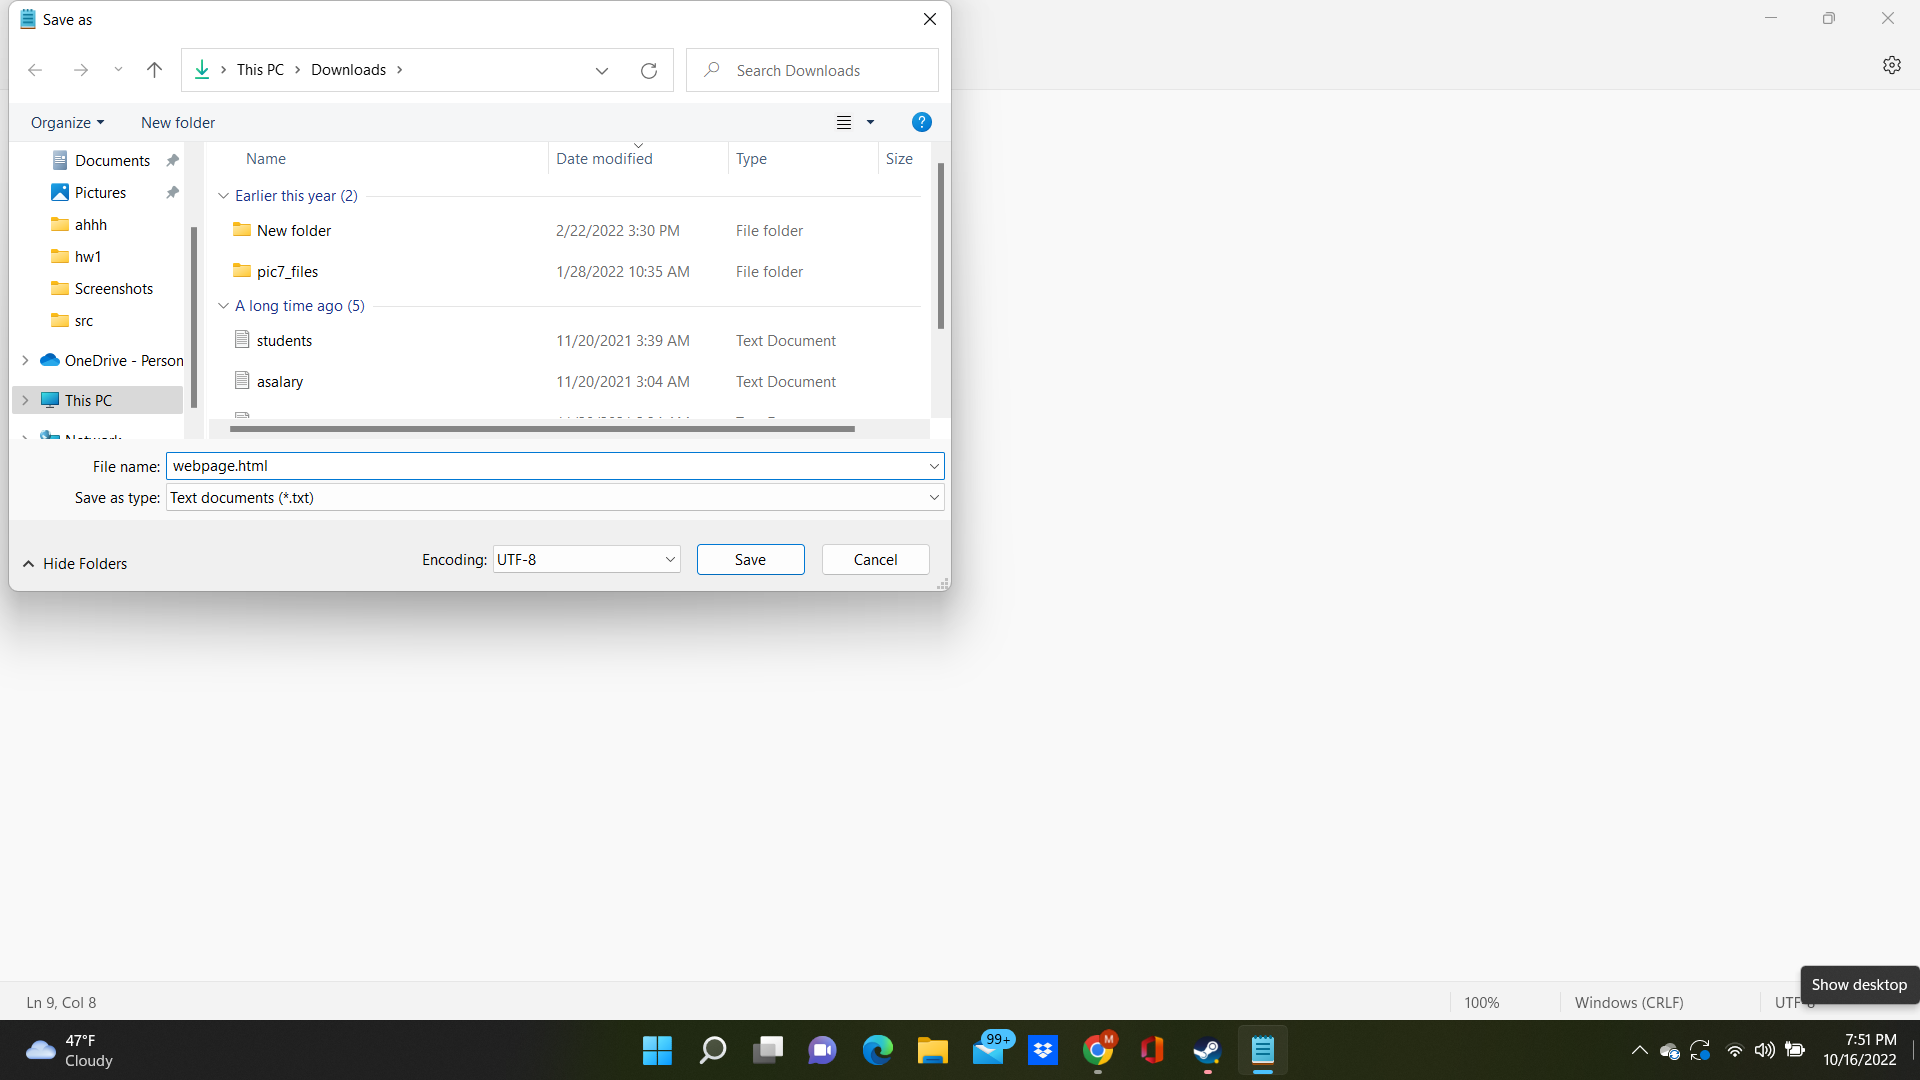
Change File Type
.png)
Click the drop-down menu on “Save as type” Change “save as type” to “all files”
Finish Save
.png)
Click Save, then exit Notepad
Right-click on Document
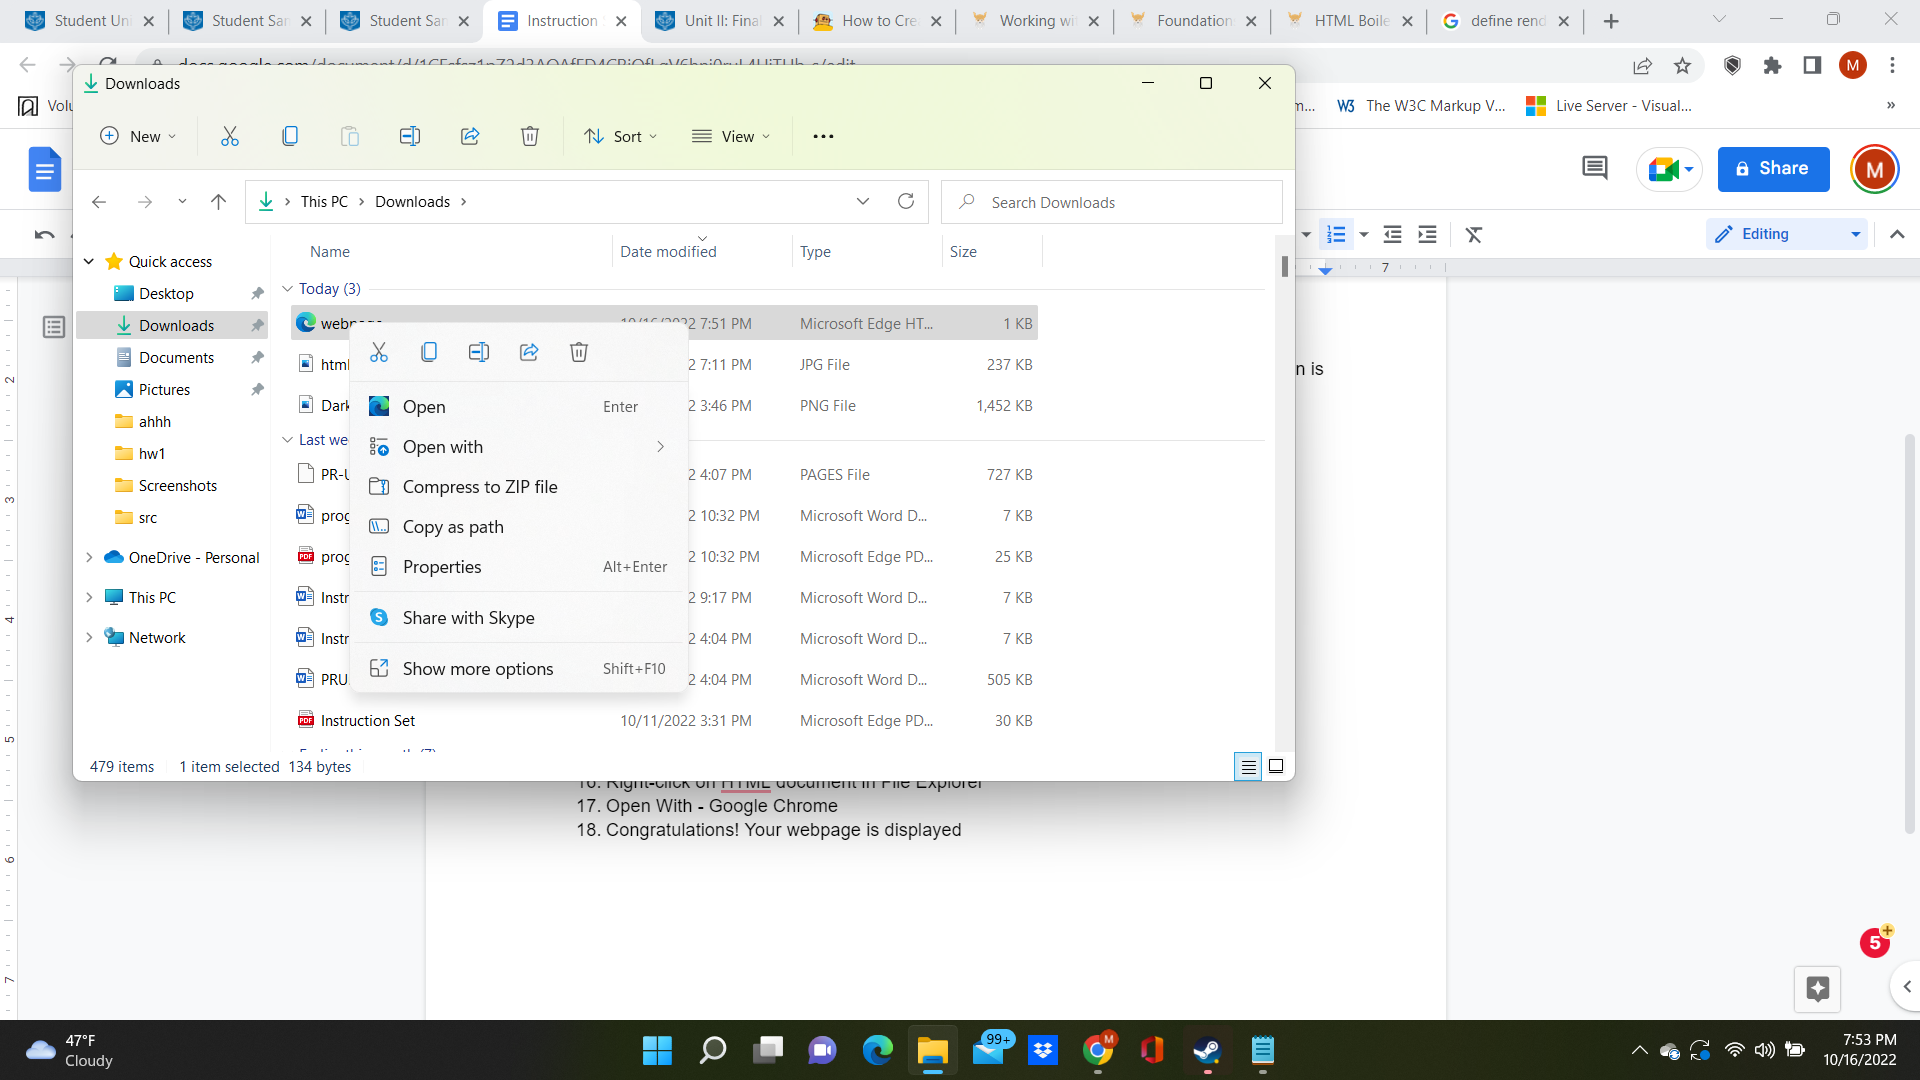.png)
Open the File Explorer “Downloads,” then right-click on the HTML document.
NOTE: Most computers automatically save documents to “Downloads”
NOTE: Most computers save documents to “Downloads”
Open Document
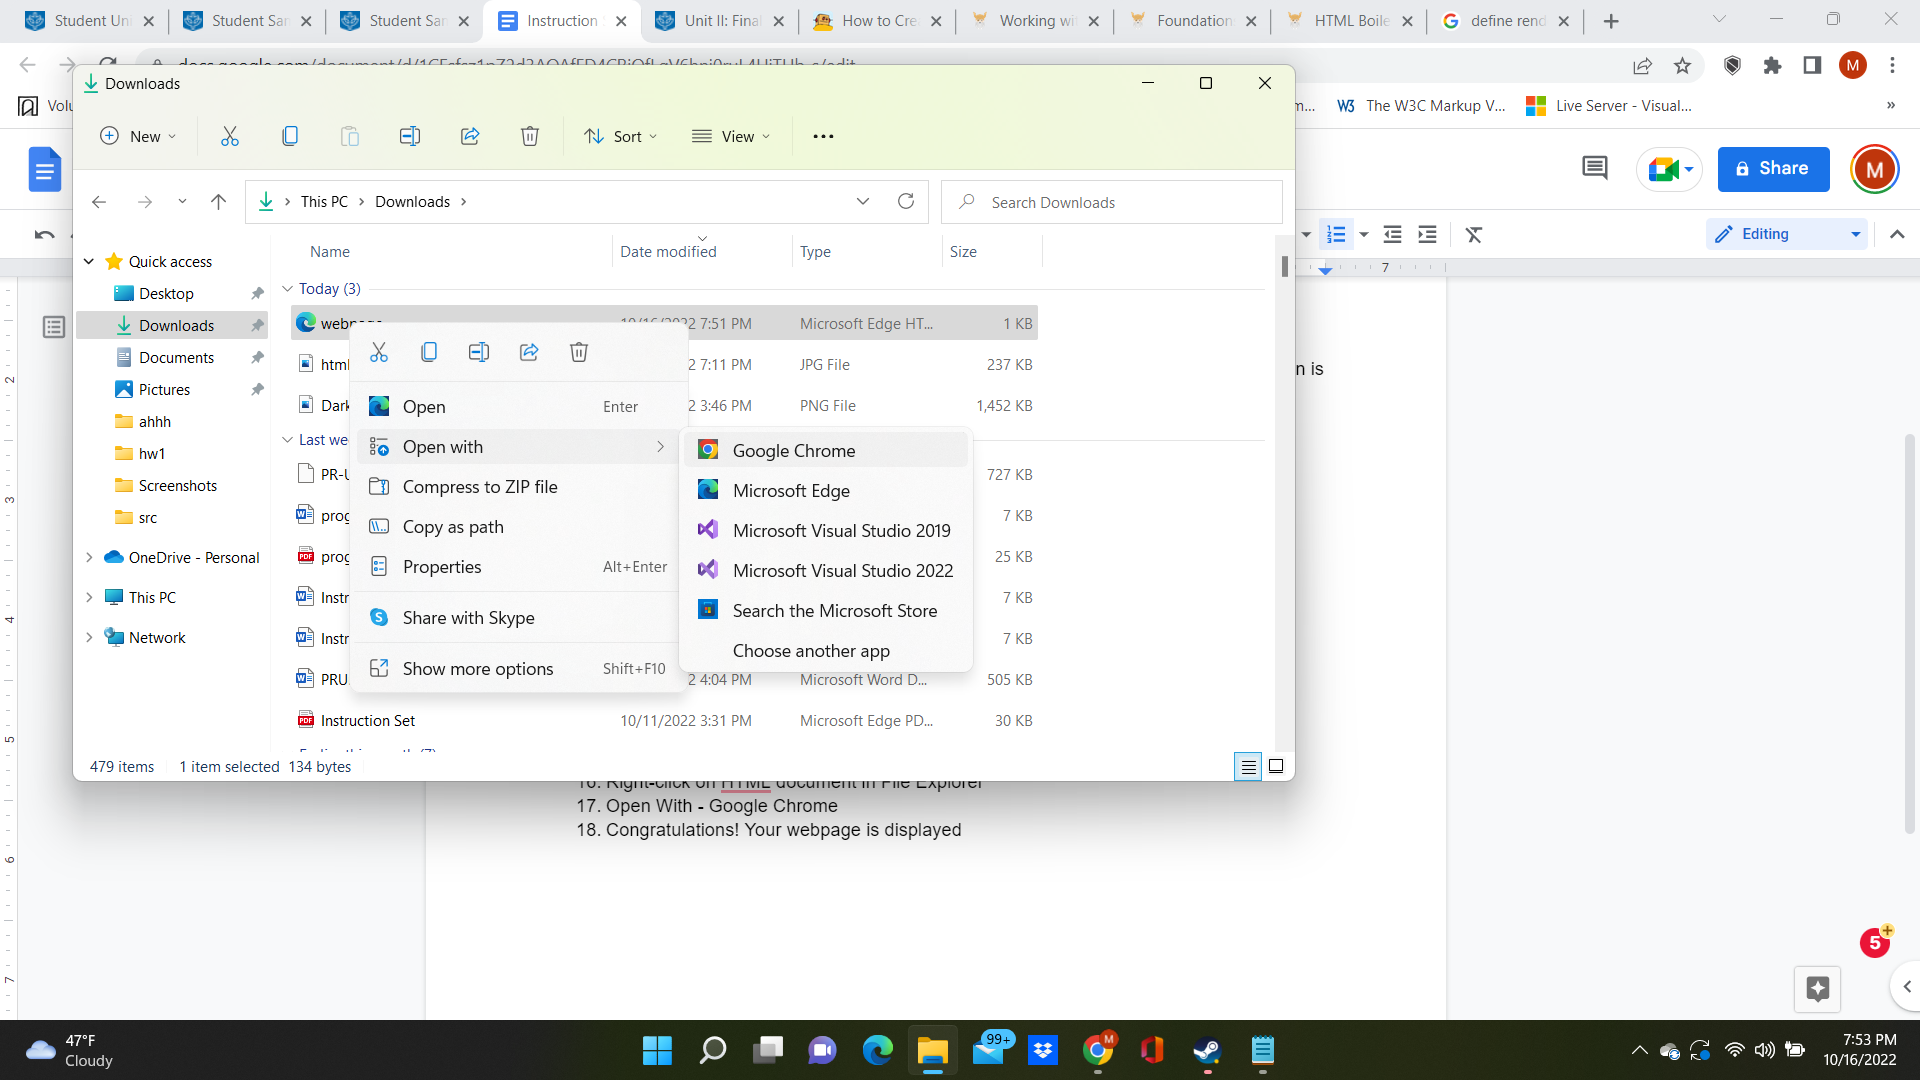.png)
Right-click on the “webpage” document. Select “Open With -> Google Chrome”
View Webpage
.png)
Congratulations! Your webpage is displayed. If content is missing, double-check for typos. Typos are the most common error in coding. Secondly, ensure the content is saved as .html, not the default .txt. With this basic knowledge, you now have the foundation to learn new HTML elements such as images and links. Enjoy learning more HTML!