How to Create a Splatoon-Inspired Transition in Vegas Pro
by Luci4449 in Design > Digital Graphics
248 Views, 0 Favorites, 0 Comments
How to Create a Splatoon-Inspired Transition in Vegas Pro
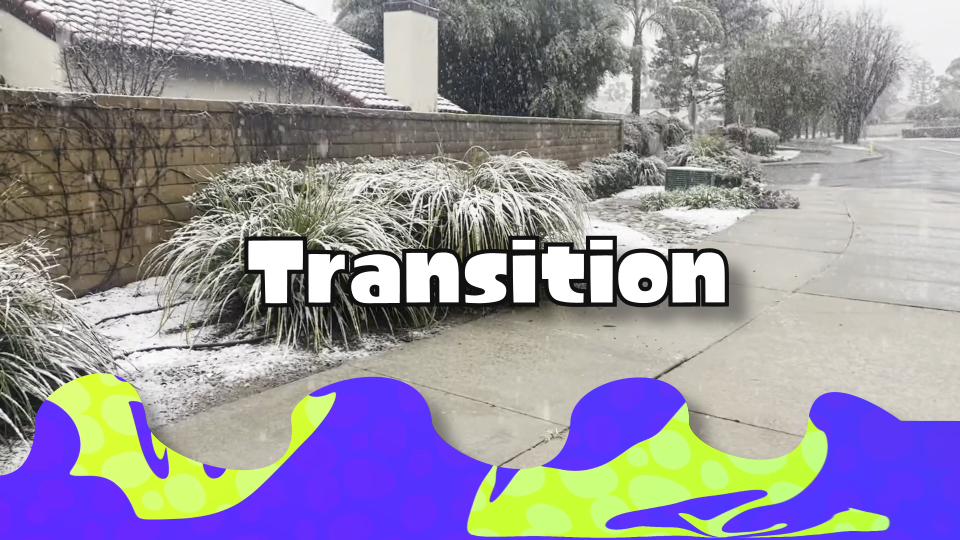
In this guide, we will take a look at the process of creating a transition inspired by the popular game franchise, Splatoon. Although this was created in Vegas Pro 19.0, it should work on every version of Vegas and Sony Vegas. You are also able to transfer this guide over to other editing programs if you are knowledgeable about masking.
For the required footage, I have attached examples of both media and audio that I will be using for your convenience.
Supplies
- Vegas Pro or any other Editing Software
- Footage of your choice to use as a transition
- Sound Effect (Optional)
Timeline Setup
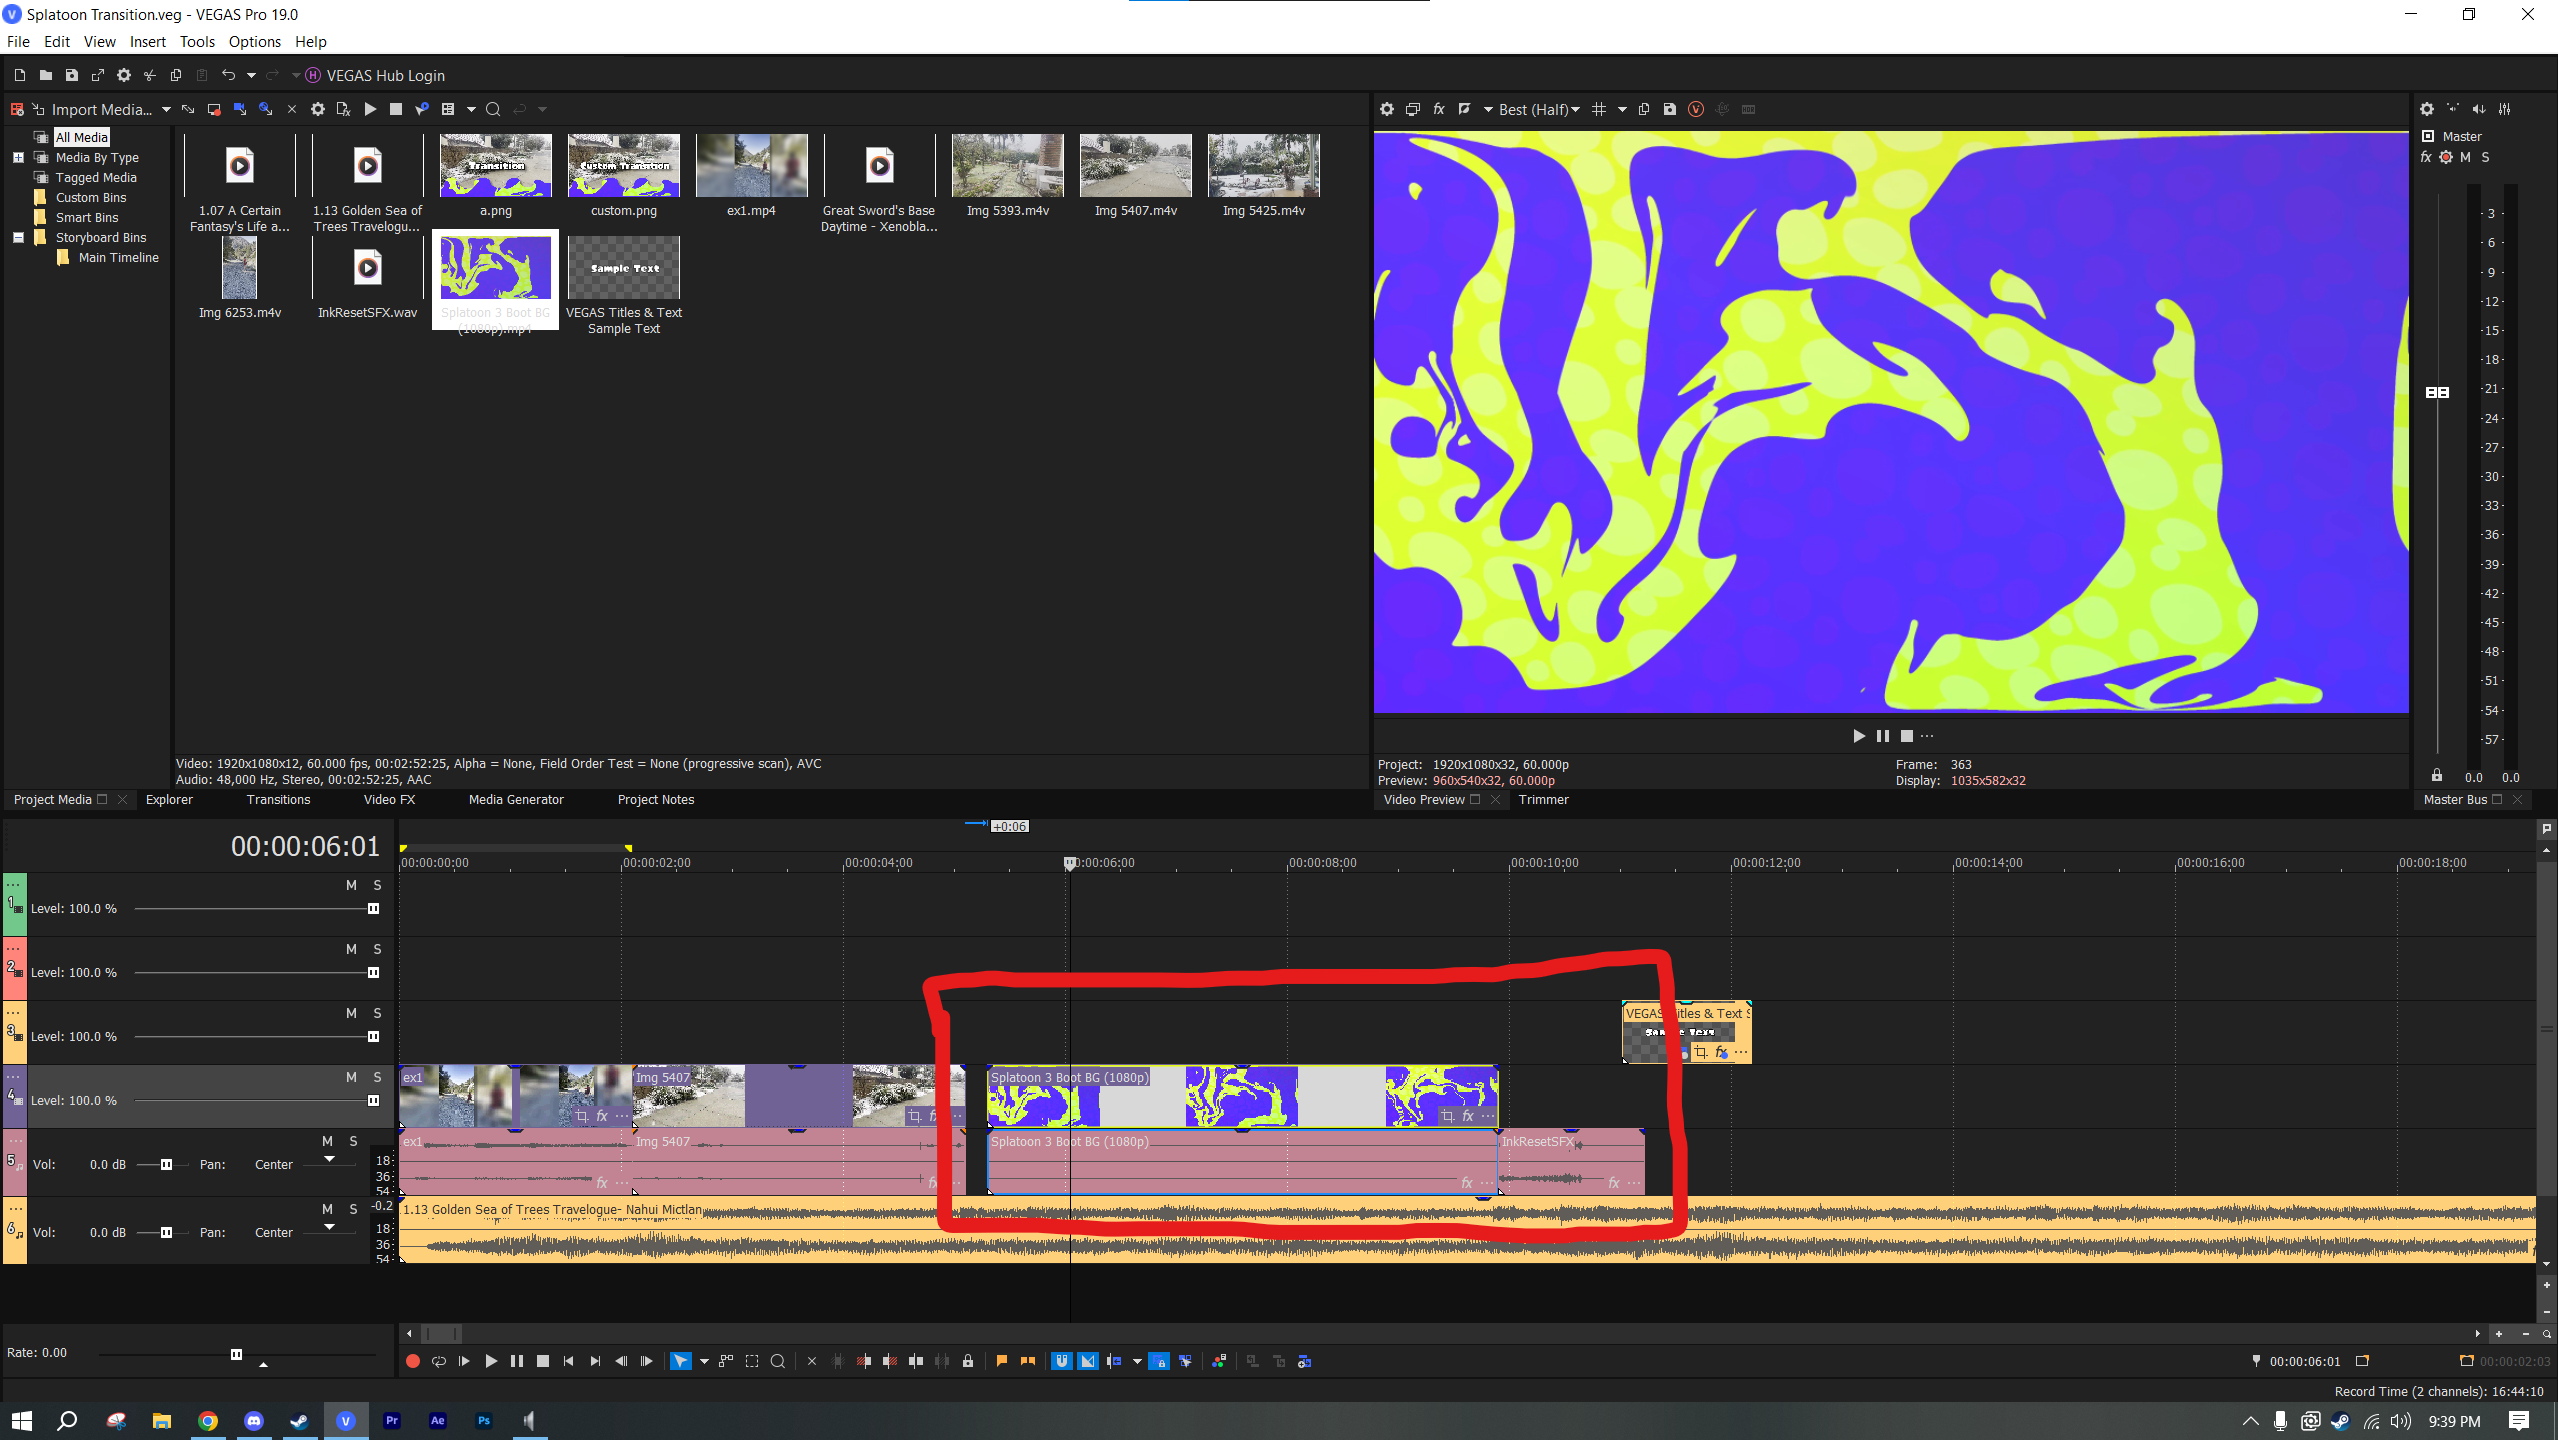
- Import the media that you wish to use for the transition onto the Timeline, next to your existing project.
Delete Audio Track From Media
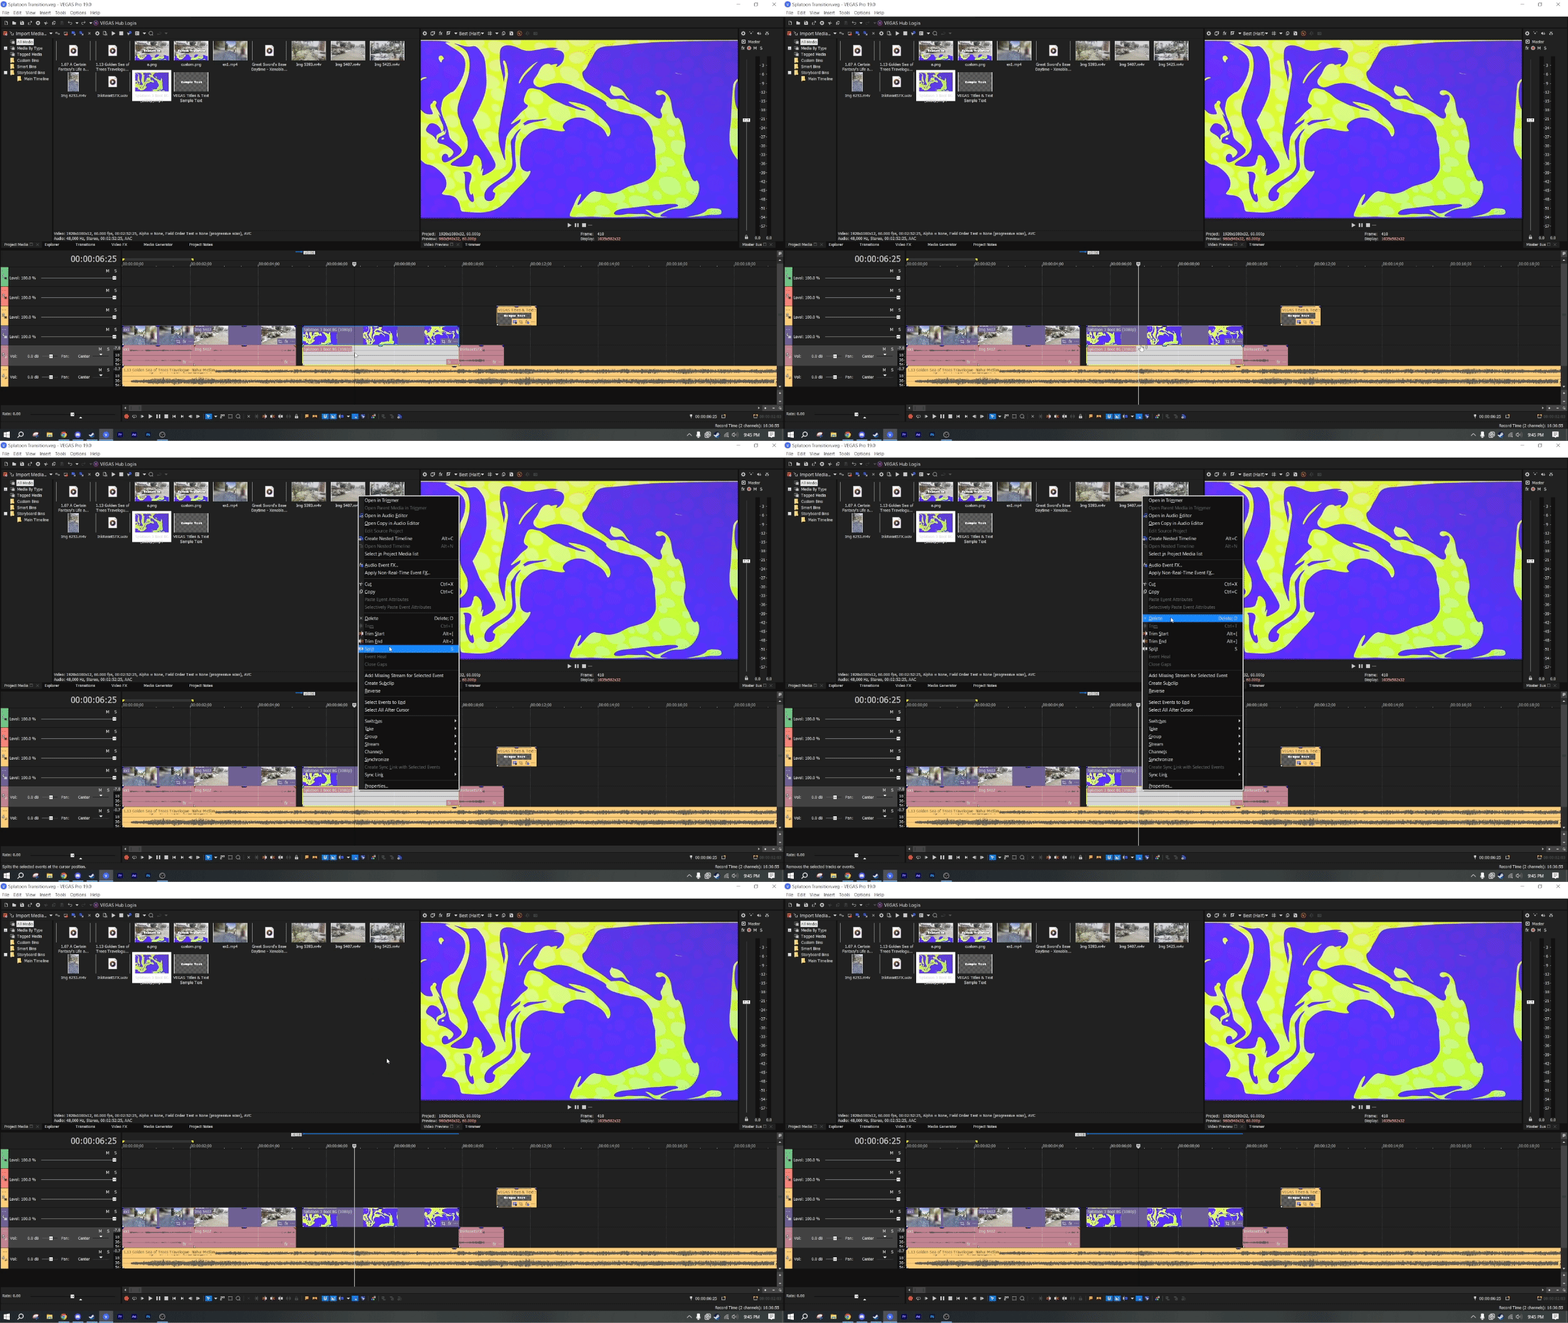
- Select the audio track from the transition media
- Press 'U' on your keyboard to separate the audio track from the media track
- Right click and delete the empty audio track
Combine Audio (Optional)
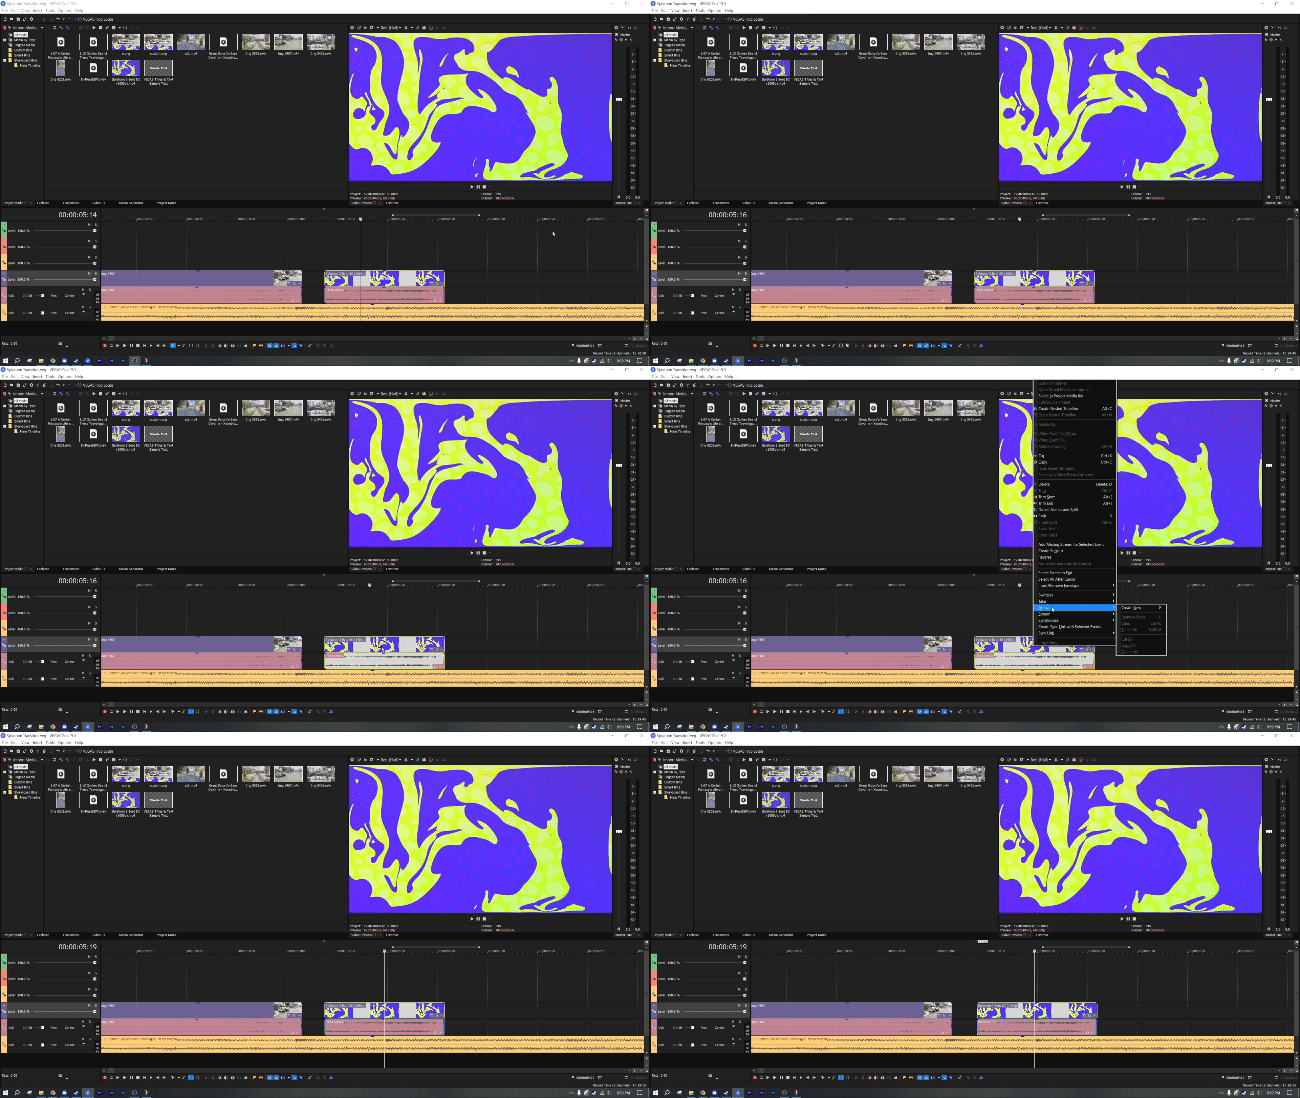
This step is optional if you wish to use a sound effect.
- Combine both the Media and SFX files together on the timeline
Make sure that both tracks are exactly the same length
- Select the "Selection Edit Tool" from the bottom toolbar
- Drag and Select the clips using the tool
- Right click and go to Group -> Create New
Now your SFX will be properly combined with your transition
Initial Masking
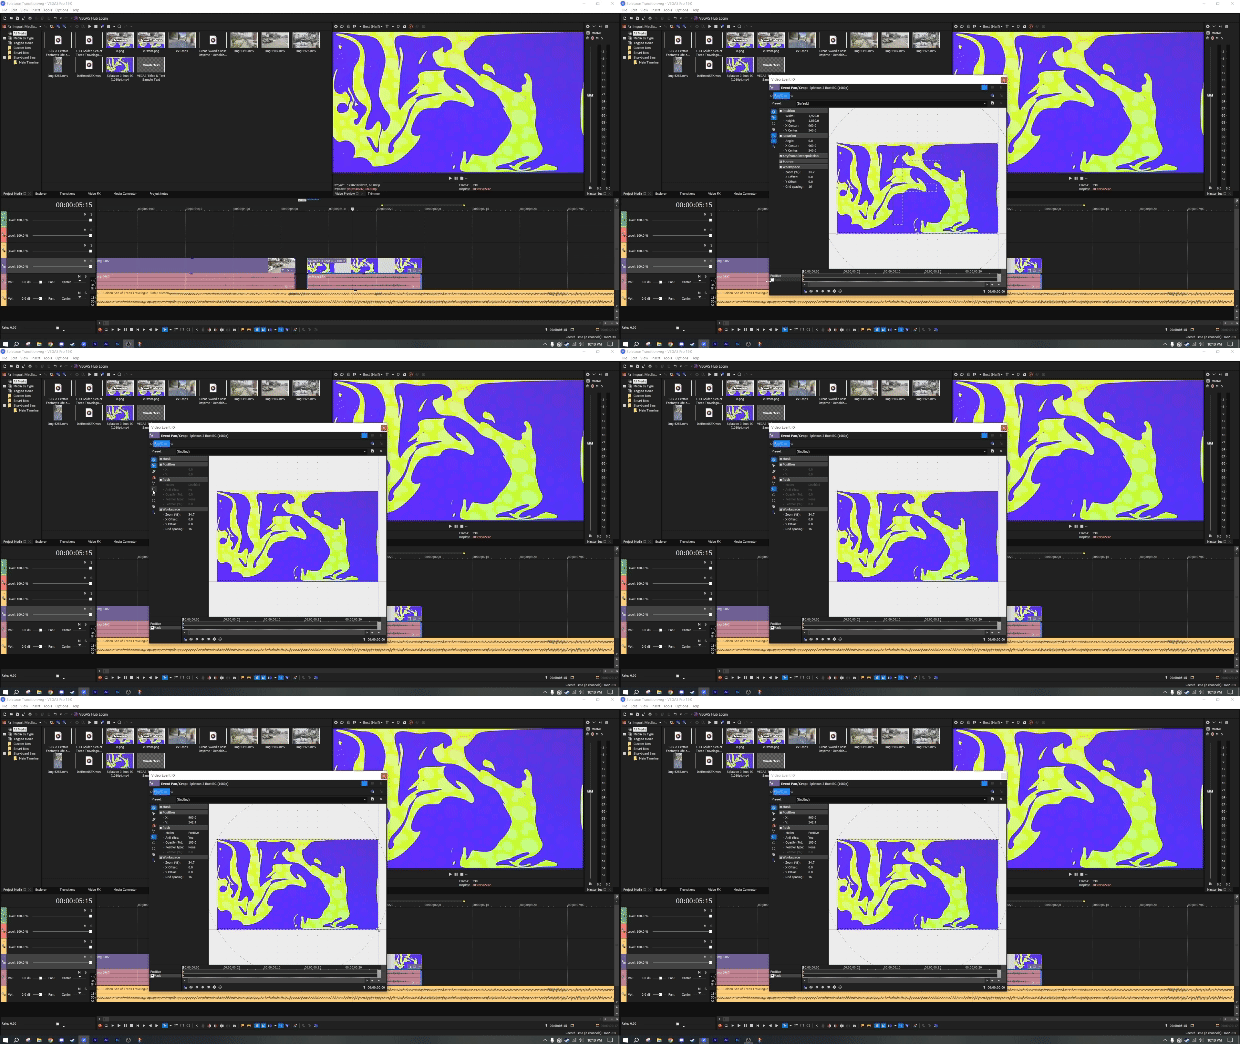
- Open the Pan/Crop Menu button that is located on the media clip on the timeline. (It should look like a box)
- Tick the checkmark "Mask" on the bottom left corner of the new window
- Select the rectangle mask creation tool on the top left toolbar
- Drag out a rectangle the exact size of the canvas
Anchor Creation
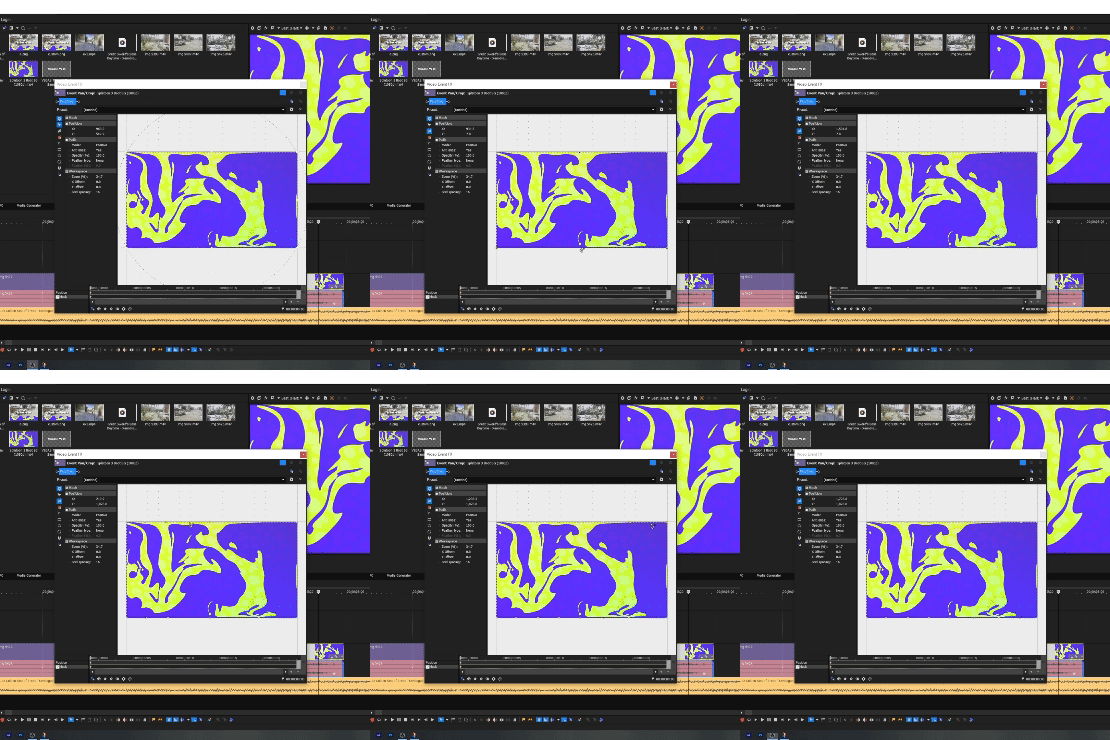
- Select the anchor creation tool from the top left toolbar
- Create anchors in the places you wish to have the "Waves" for your transition on the top and bottom of the rectanglular frame
Tip: Start from the middle of the frame to make it easier to create even spaces between anchors
Wave Creation
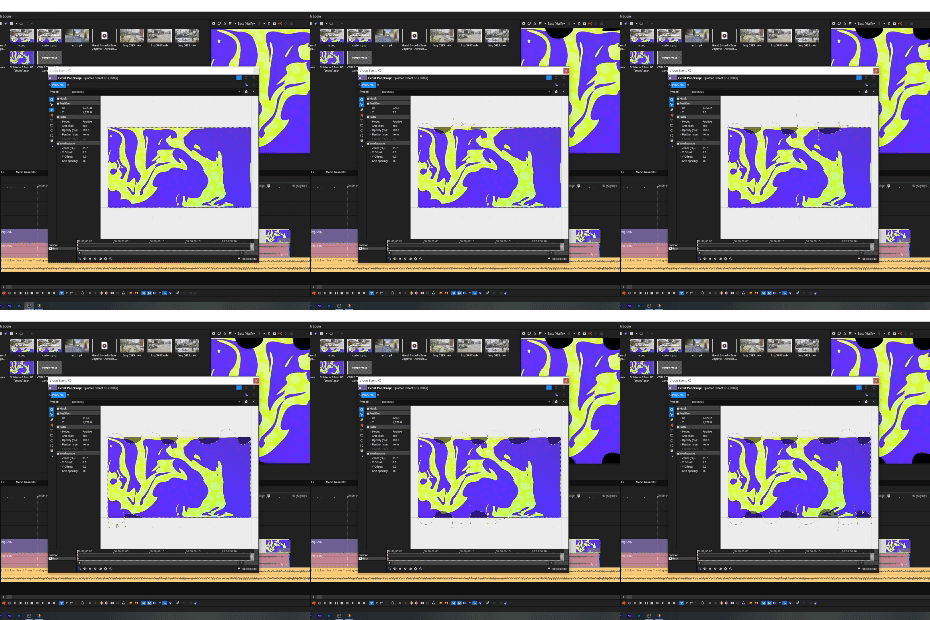
- Select the normal edit tool from the top left toolbar
- Drag the middle of each line between anchors to create the "Waves" for the transition
If your borders for the mask are too small on the left and right side, fill free to extend them horizontally
Animation
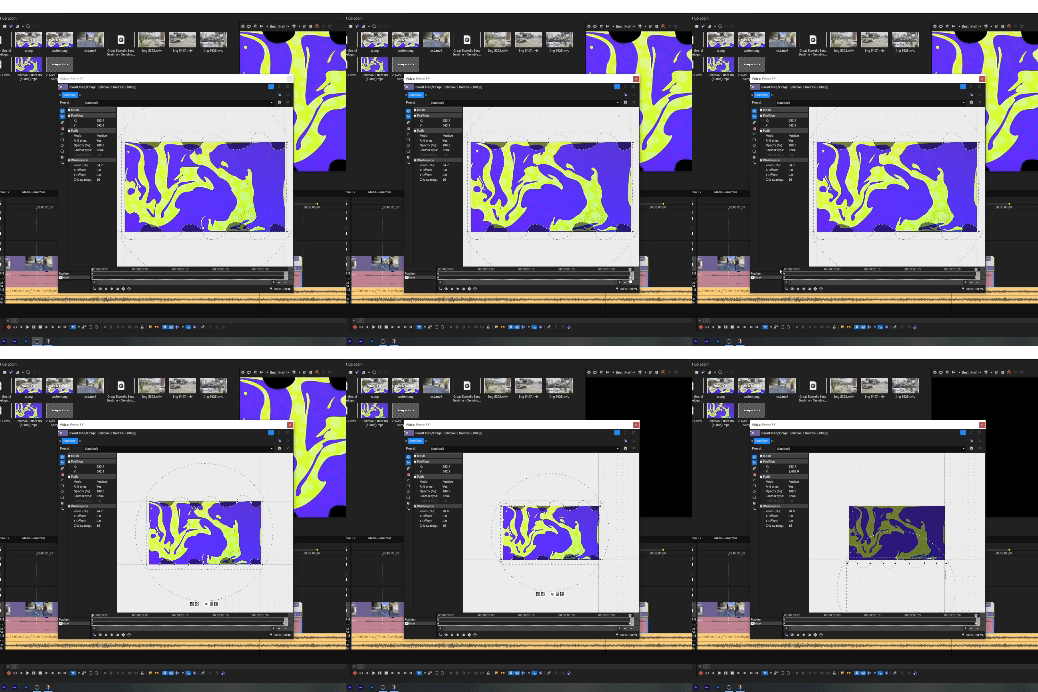
- Copy the first keyframe on the bottom track, labled "Mask"
- Paste the keyframe on the bottom track at the very end
- Toggle the "Move in.." Button Twice until you reach the "Move in Y Direction" Mode
- Select the first keyframe, double click on the mask, and drag it up above the frame
- Select the second keyframe, double click on the mask, and drag it up below the frame
Tip: You can ajust the animation appearence by right clicking on the keyframes and selecting options like "Slow" or "Fast" (No two keyframes can have both speeds consecutively)
Your Transition Is Now Complete!
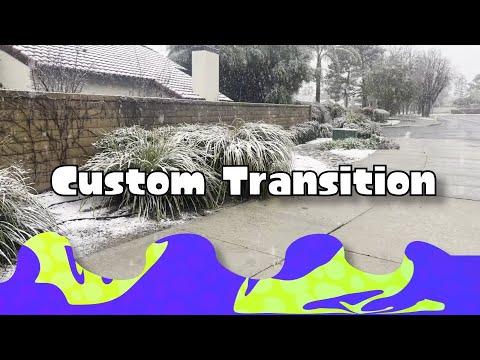
- Move the transition above where you would like it to be on the timeline
Now that your transition is complete, you can mess around and change it twoards your prefrences
If you wish to use this transition multiple times you can simply copy and paste it wherever you like
If you wish to use this transition in another project, have both windows open and copy / paste it into the new project
You can make the transition pop more with the "Layered Demensionality" effect that Vegas 19.0 has built in, this will create a drop shadow among other things that you wish
Thank you for reading! Happy Editing!