How to Create a Simple Logo in Inkscape
by spetboris in Design > Digital Graphics
4492 Views, 2 Favorites, 0 Comments
How to Create a Simple Logo in Inkscape
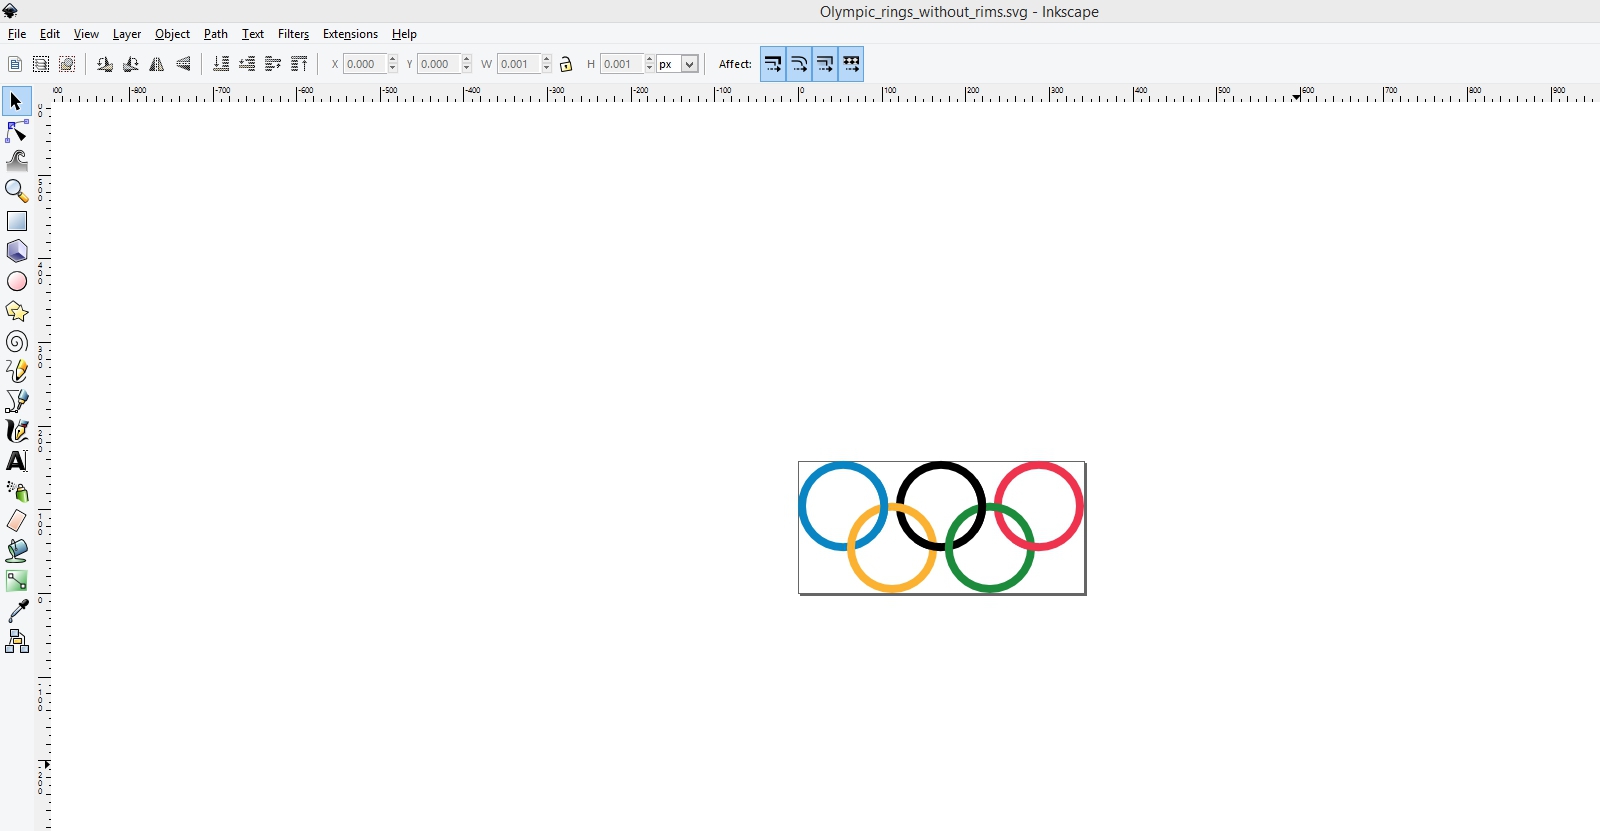
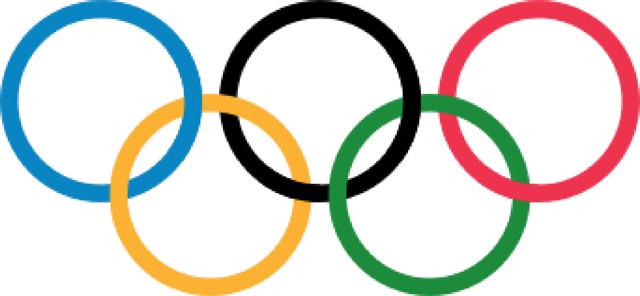
Inkscape is a free alternative to much better known, yet very pricey Illustrator. To prove its power, I'll use it to design a simple logotype: Olympic circles. Five colorful circles are a perfect example of useful tools available in this open source program.
Before we begin, please note that Inkscape is actually not a drawing program. If you try to look at it as a construction tool, you'll manage to understand it much better. This means it's best to make a plan before we begin, what will eventually lead to greater efficiency.
For the same reason, I'll provide keyboard shortcuts wherever and whenever possible.
What do we need?
- 5 circles of the same size;
- 5 different colors on the white background;
- circles are actually rings, what means we'll work with transparent objects;
- rings are intertwined, what means we'll work in different layers.
The final result should look like the picture above, where we simply inserted a logotype available on Wikipedia.
(credit: https://en.wikipedia.org/wiki/Olympic_symbols#/media/File:Olympic_rings_without_rims.svg)
Shall we?
Construct a Circle
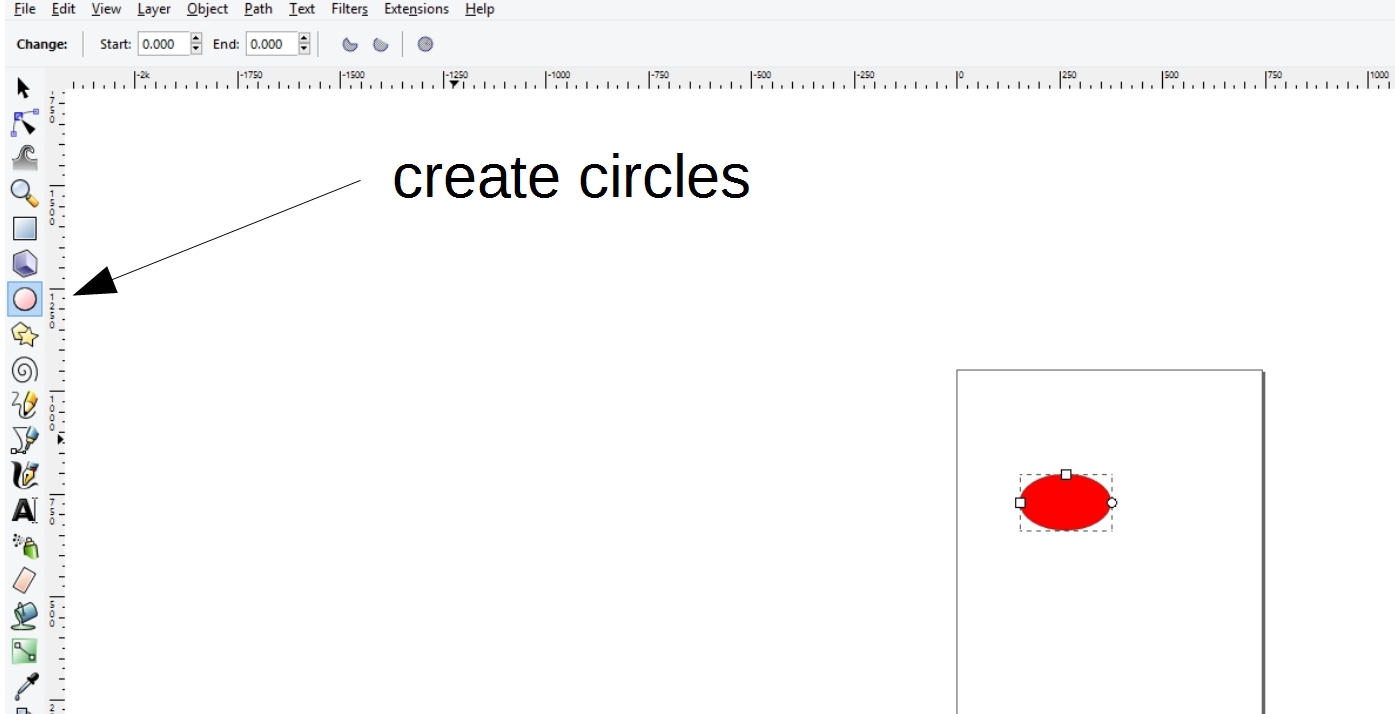
Select the ring on the left side of the menu with a mouse button. While this tool is looking like a ring, it's really an ellipse. To make sure it will stay a perfect circle, press ctrl key and click somewhere in the drawing area. Then move the mouse until you got the right size of the circle and release the mouse button.
Make the Edges of the Circle Wider
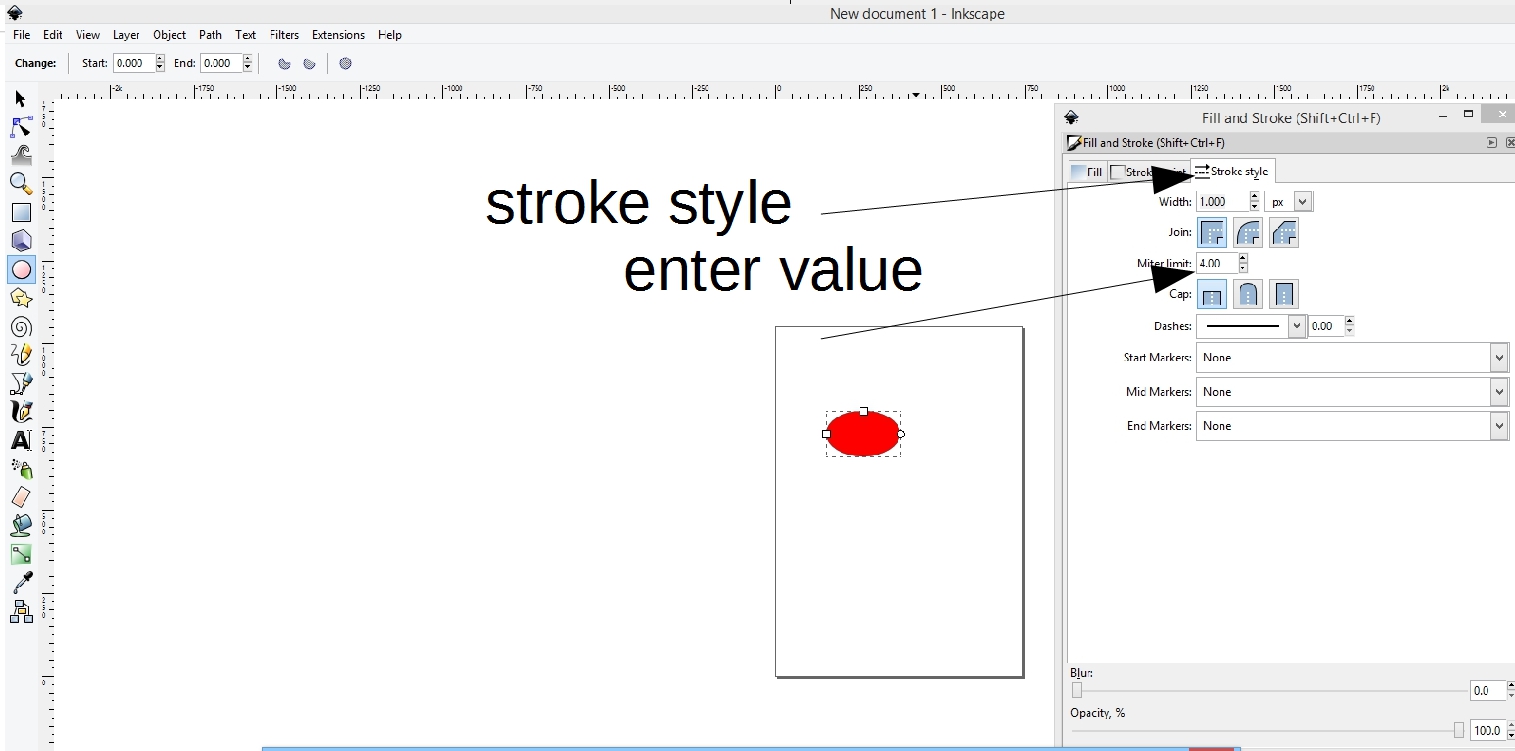
The created circle has a width of the edge of only one pixel. To see the colors better, it should be at least three pixels or more – depending on your goals. I decided to have a width of 5 pixels.
Press ctrl-shift-F and the fill-and-stroke window will open. Select Stroke style then click into the window next to the width value. Enter your choice.
Make a Circle Transparent
If the fill-and-stroke window is not already present, call it with ctrl-shift-F. Select Fill and click into the window of so-called alpha value. Set it to 0 – totally transparent object.
This means we made a ring from a circle. It's still a full object, yet we can see through it.
Duplicate Objects in Inkscape
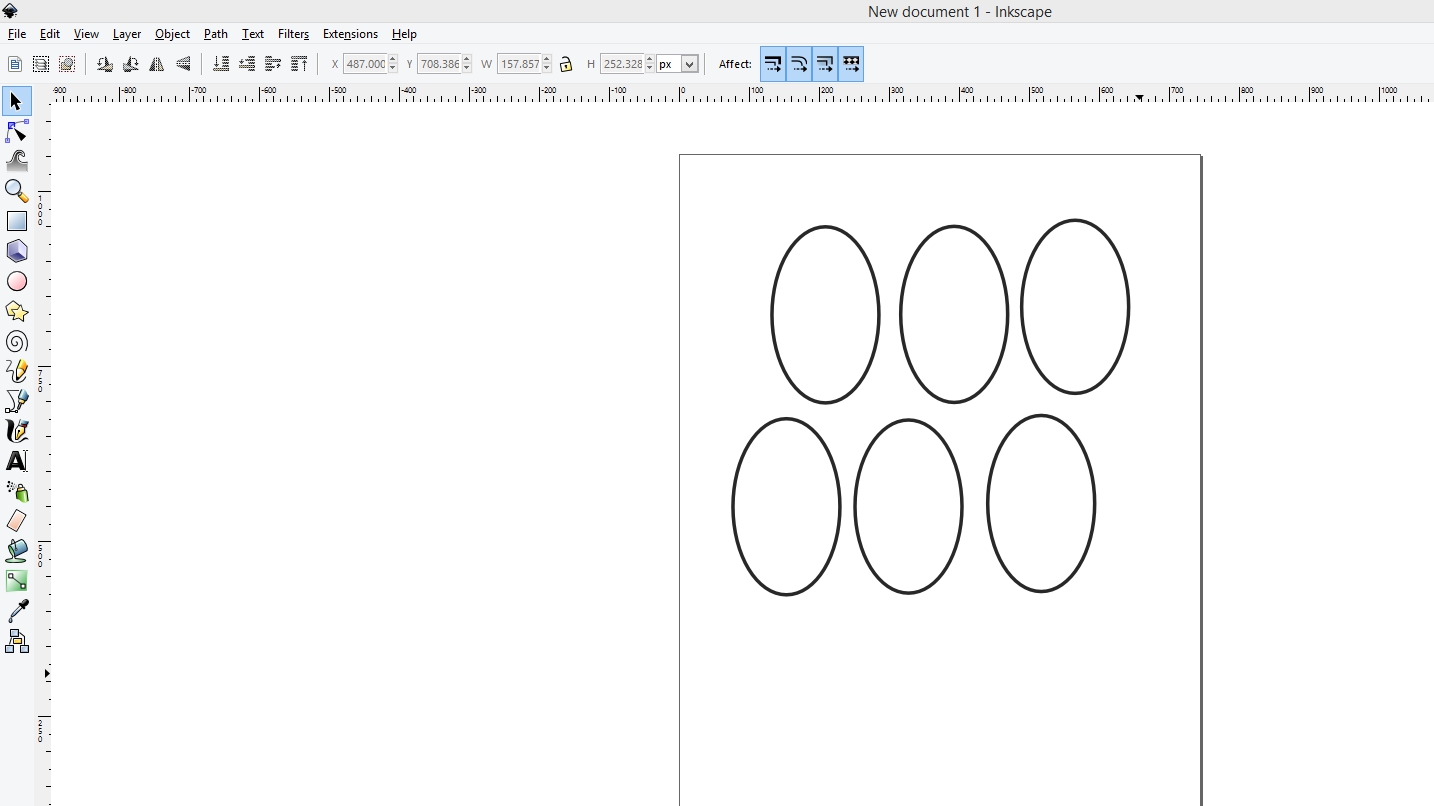
There are several ways to make five (remember our goal) identical rings out of one. I prefer selecting the object (in our case a transparent circle) and pressing ctrl-C, the most common way of copying. After that just press ctrl-V to call a copy out of the buffer. In our case, we need to do that five times.
Wait a minute!
We already had one circle, so why not only four times?
Well, we'll need another element – an arc – for construction purposes.
Make an Arc From a Circle
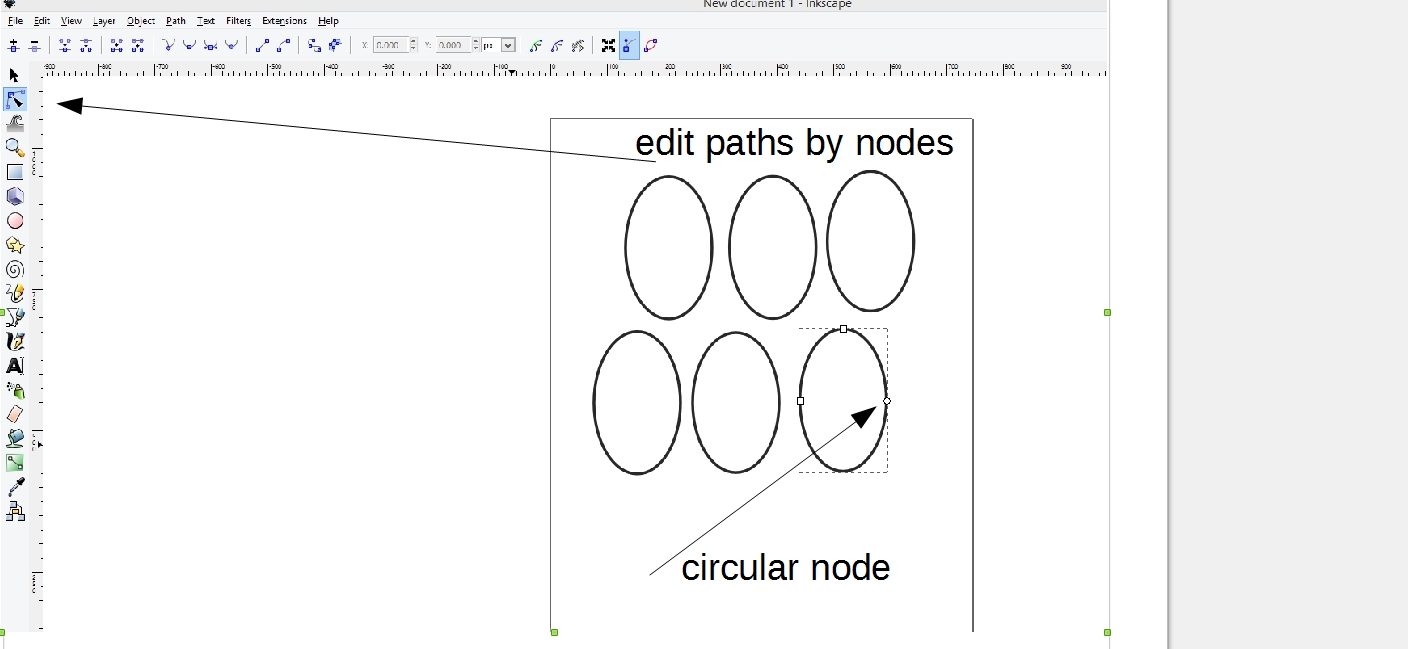
Don't forget our rings are still circles for the Inkscape, they are just transparent inside. To create an arc, we need to pay closer attention to so-called handles / anchors – little rectangles and circles, which are shown when we select an object and use another tool. This tool is for paths editing with nodes.
Select one of the circles. Press F2. Three nodes will show. As you can see, one of the nodes is of circular shape – the one on the right. Click it and without releasing the mouse button move along the line of the edge of the circle. You'll see how the object 'opens' and thanks to the transparency an arc can be created.
Play a bit with the movement. You'll notice how the edge of the object can switch from visible to invisible and vice versa depending on the movement of your mouse. You need only a small arc and no edge.
Copy Arcs
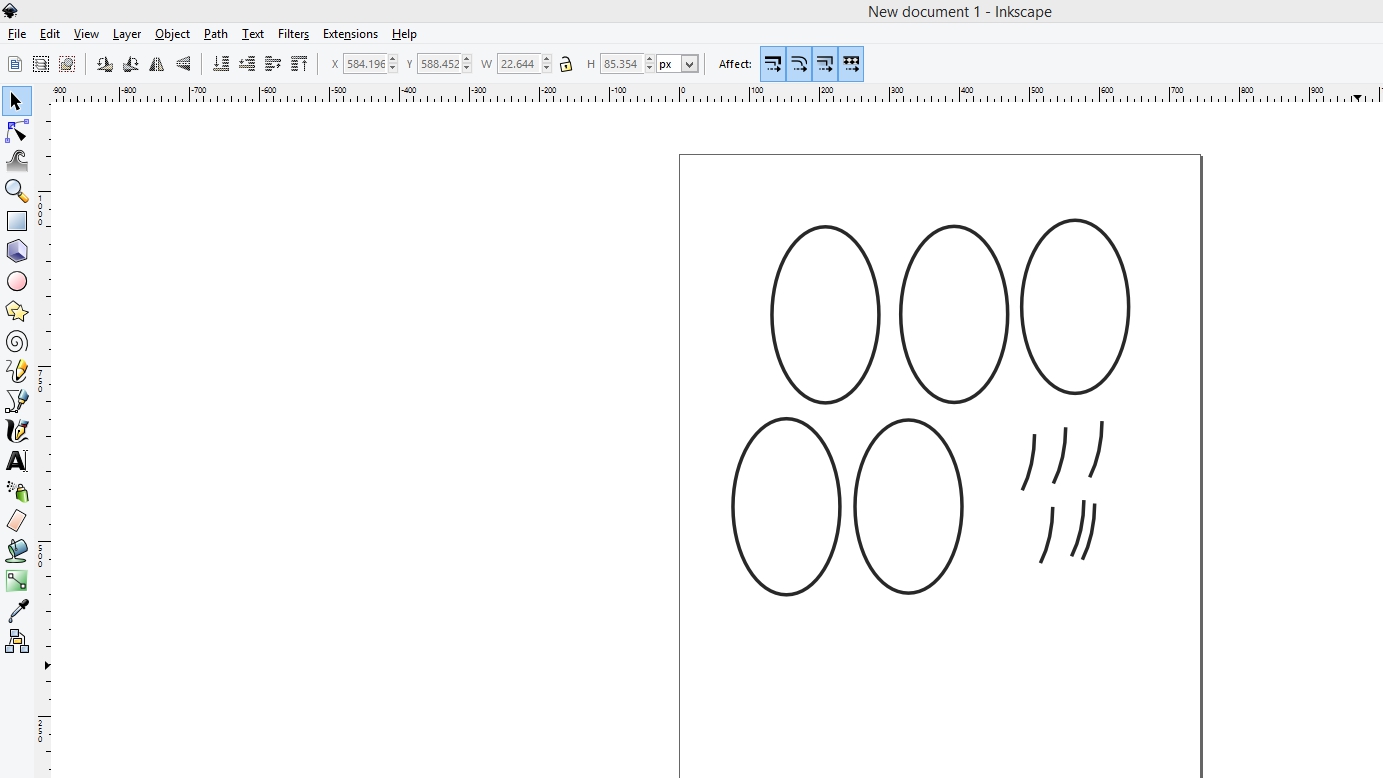
Make sure an arc is selected. Just like before when copying circles, use ctrl-C and ctrl-V to make several copies of arcs. You'll color and rotate them later.
Color the Rings
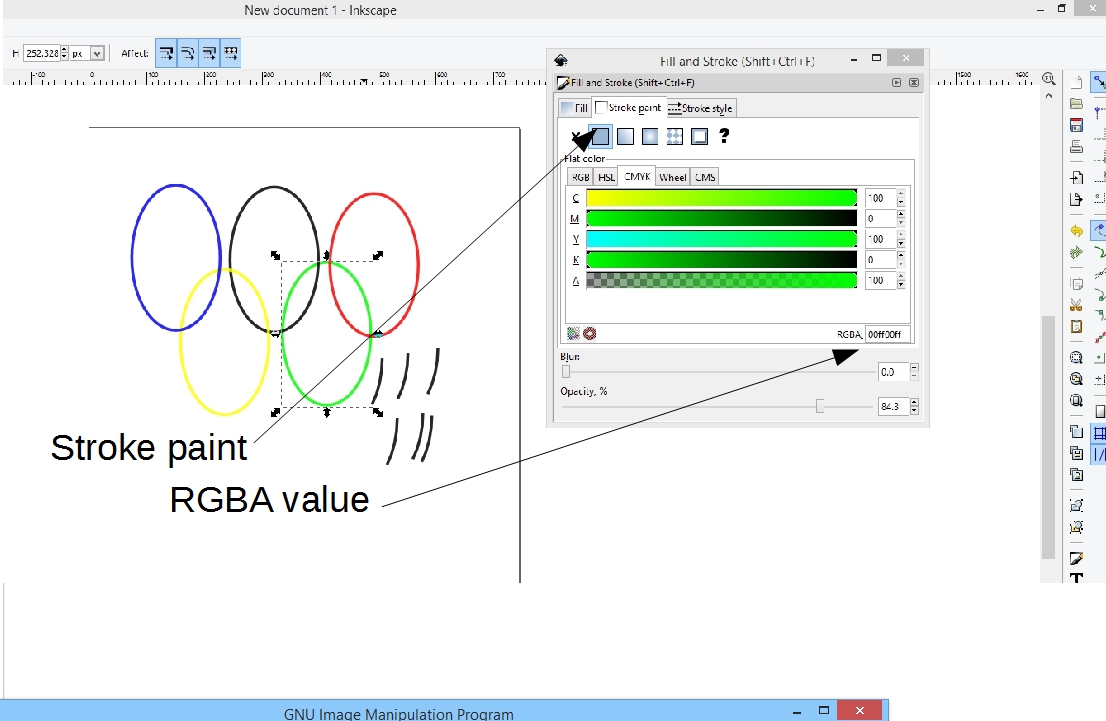
Select one ring. Press ctrl-shift-F, so fill-and-stroke window opens again. Select Stroke paint window. Click into the window next to RGBA sign and enter the value of the color. The first color in the olympic flag is blue. Its RGBA value is 0000FFFF.
Color other rings as well.
Black already has the right value.
RGBA value for red is FF0000FF.
RGBA value for yellow is FFFF00FF.
RGBA value for green is 00FF00FF.
Lay rings in the right order.
Use the same colors for arcs.
Intertwine the Rings
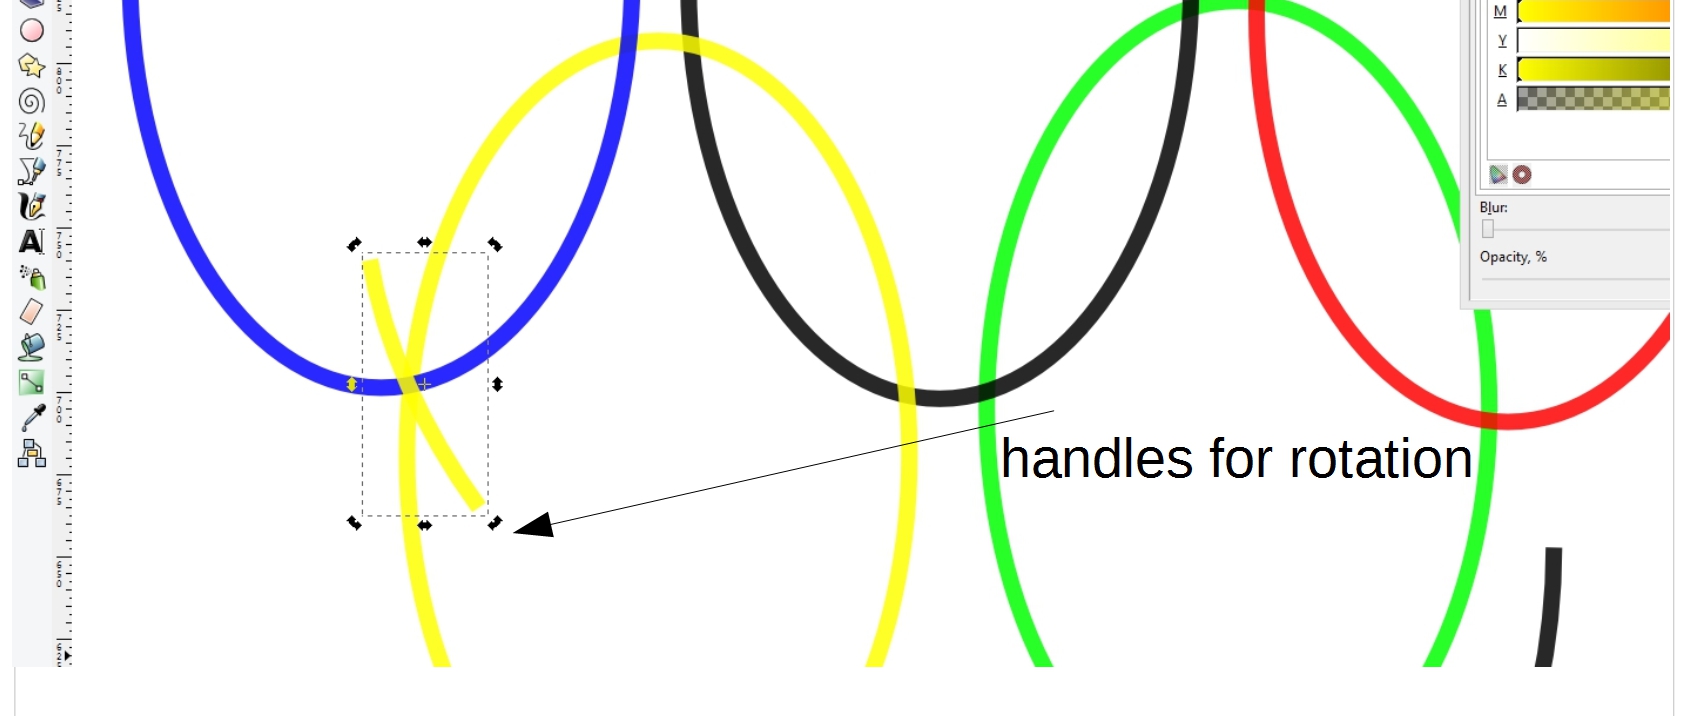
To achieve the effect of intertwining, we need to understand the layers in Inkscape and use them appropriately. Let's focus only on two rings: blue and yellow.
In our picture blue is layered over yellow, but in the picture we are aiming for, a part of blue is under yellow as well. For that, we'll pick yellow arc and lay it over blue.
First select the element (yellow arc), then move it over the section where both rings are crossing. Finally, rotate it until everything fits. For rotating, we need to click the already selected element, until rounded handles are seen. After that just pick one of the handles with the mouse and rotate the element.
Finish the Logotype
Now just repeat the last step with remaining arcs until the picture is done!
Enjoy:)