How to Create a Portable Smart Mirror/make Up Box Combo
by Eric_Gordon in Circuits > Raspberry Pi
573 Views, 2 Favorites, 0 Comments
How to Create a Portable Smart Mirror/make Up Box Combo

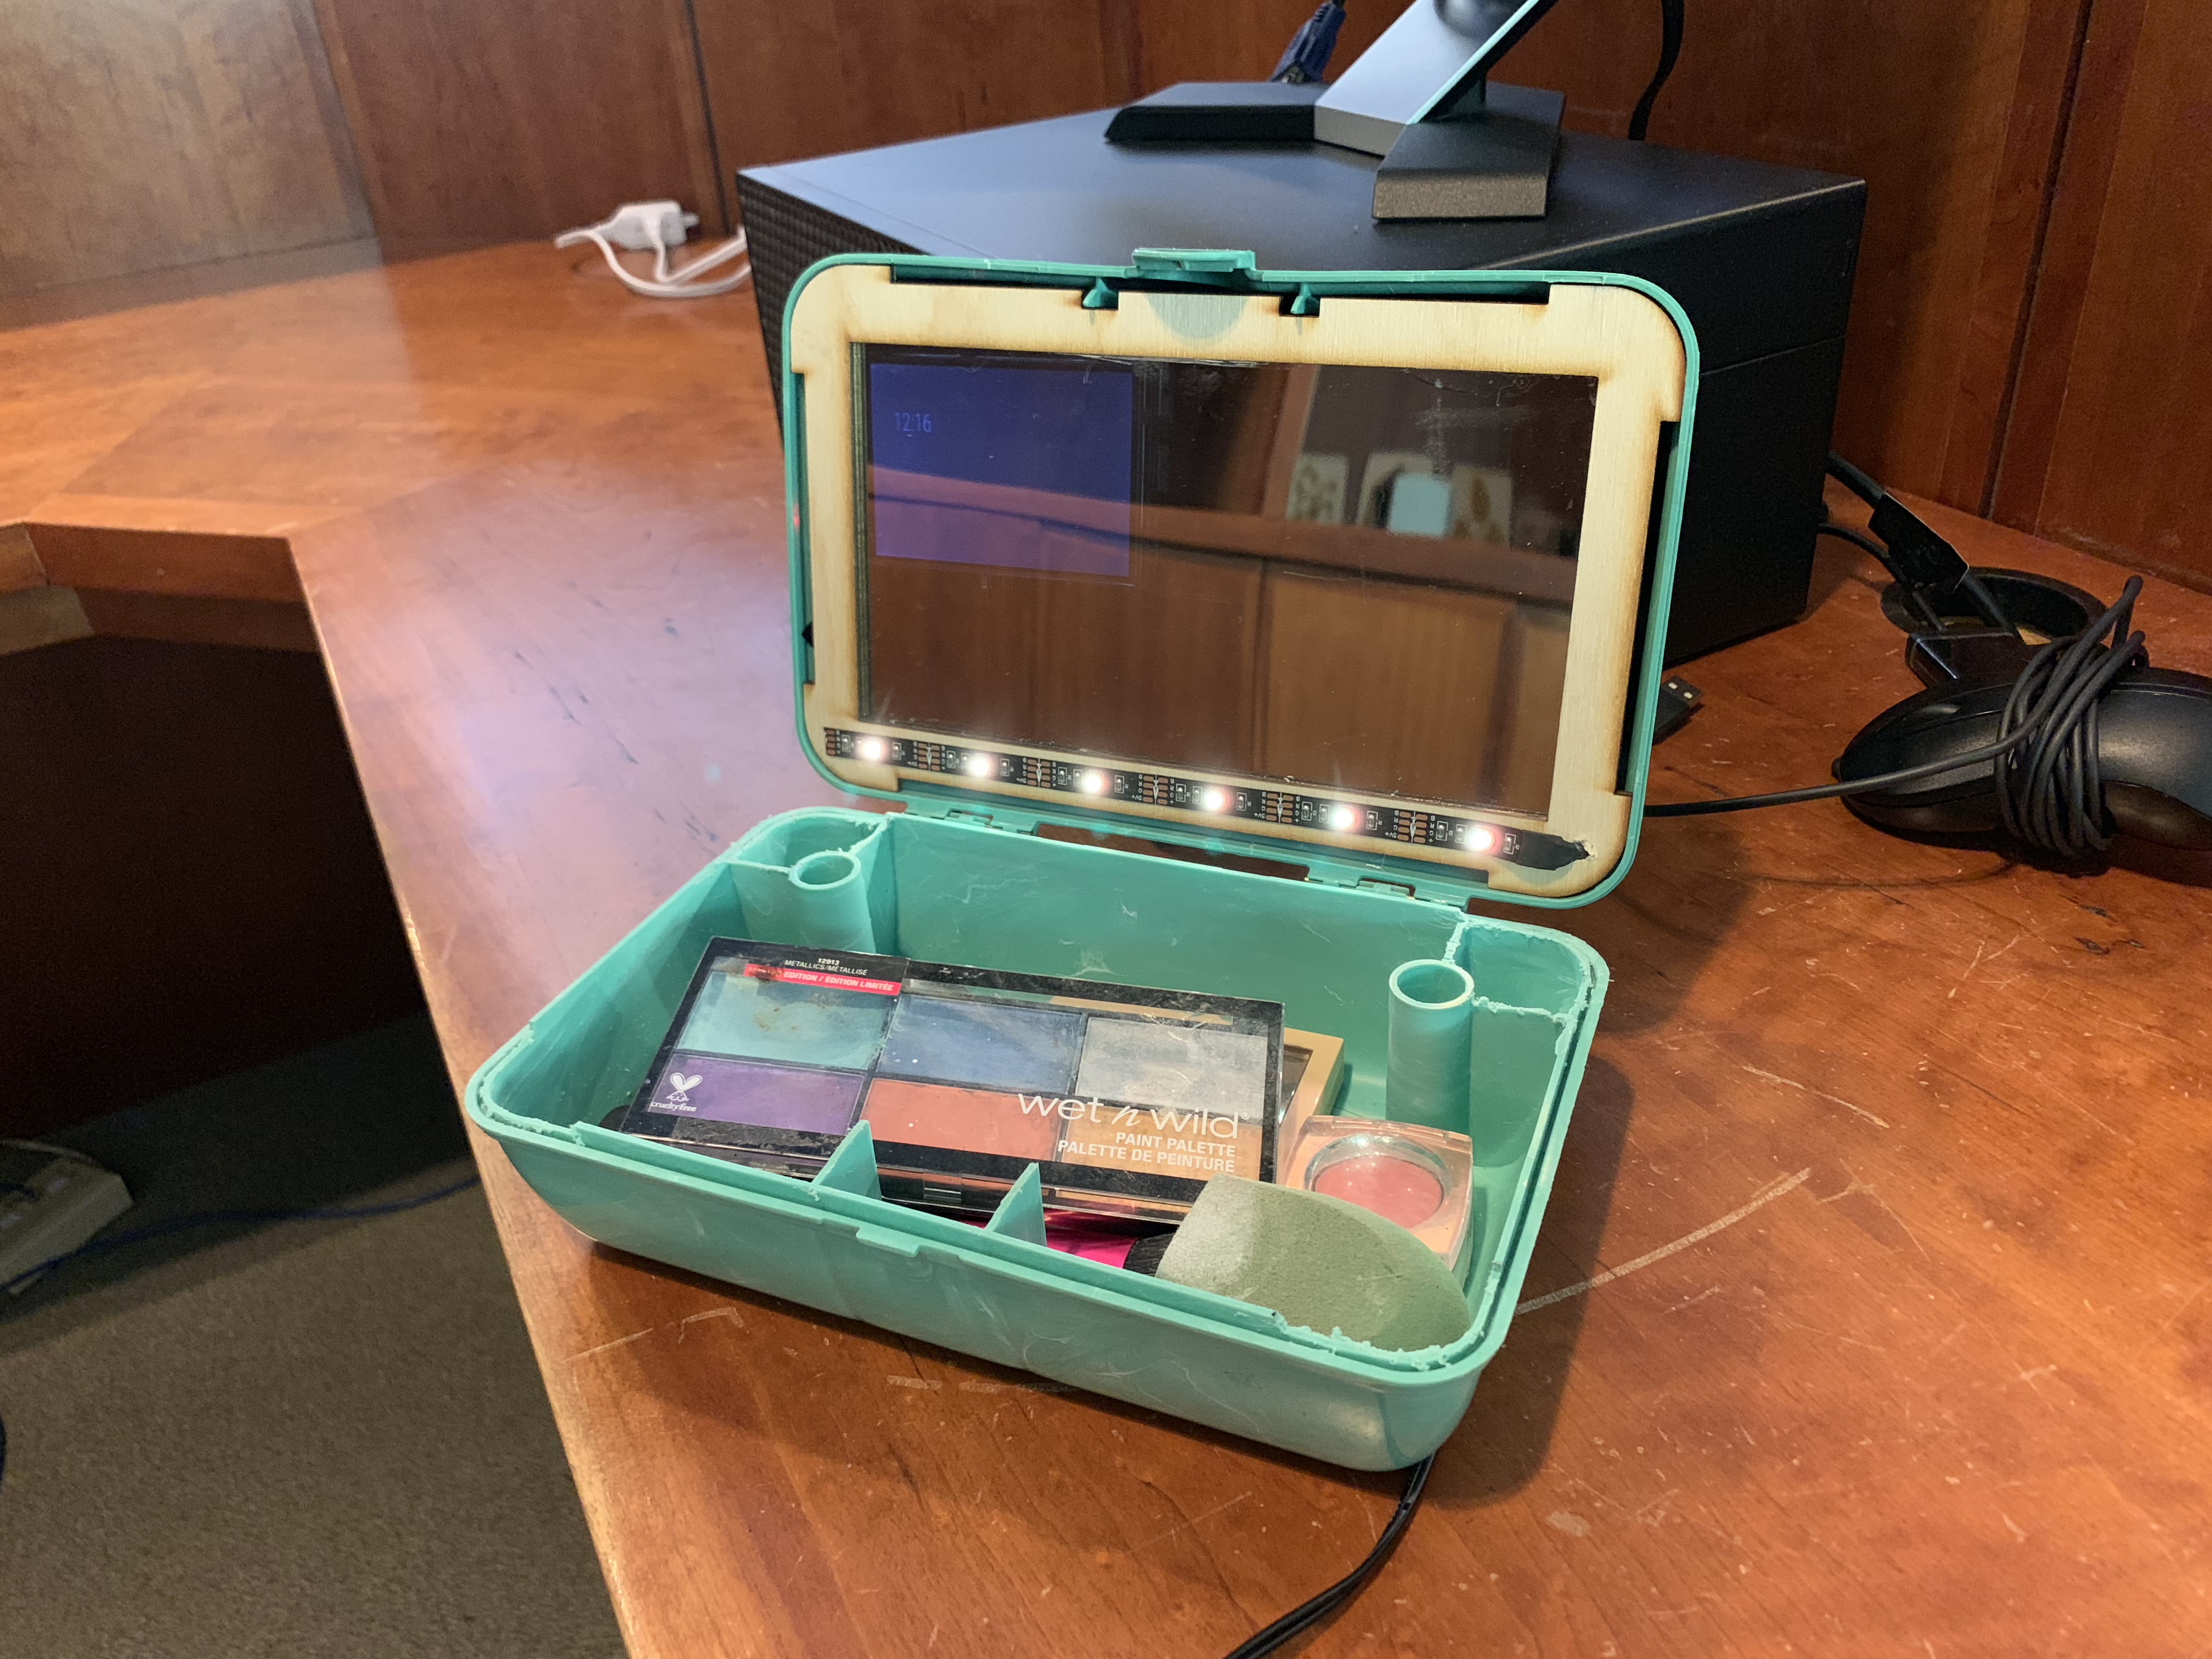
As a final project for my capstone at Davis & Elkins college, I set out to design and create a make up travel box, along with a larger mirror and utilization of a raspberry pi and the magic mirror software platform, that would function as a portable variant of the typical smart mirror. The magic mirror platform is unique in it's modularity, allowing total freedom in function and design!
What You'll Need
Parts:
A travel make up box with a hollow clamshell lid
A light strip
A raspberry pi 3
A raspberry pi GPIO powered screen
A sheet of thin two way mirror acrylic
All of these parts were sourced from Amazon (other than the Pi which was loaned to me for the purpose of this project)
A roll of electrical tape
Lumber:
I utilized 1/4" balsa available to me via my college's maker space. You'll need the piece to be at least 2'x1.5' to cut to size for our frame
Tools:
Drill and 1/4" bit
A Dremel with a cut wheel and a sanding disk
A Lazer cutter
Cutting the Frame
Our frame is designed as to be a friction fit, which means no clue or screws holding it in place. To achieve this, I measured the inside of my life as well as measuring the angle of the rounded corners. For the box I used this ended up being (!! Insert final measurements here!!) however if you opt for a differently sized box, this will affect the dimensions of your frame. I also cut away about 1/4" from each side up until the corners. I sketched the frame up using Fusion 360, thank you to student licenses, and imported that sketch into Inkscape, a free illustrator program, to be cut
Cutting the Mirror
Cutting out our mirror piece from the acrylic is far and away one of the easier parts to the project. It's procedure-wise, exactly the same as cutting our frame but with a much more simple sketch! Simply sketch a rectangle the size of the hole cut out in our frame with an extra ~1/4" on each side to allow it to be affixed to the back side of the frame
Box Modifications

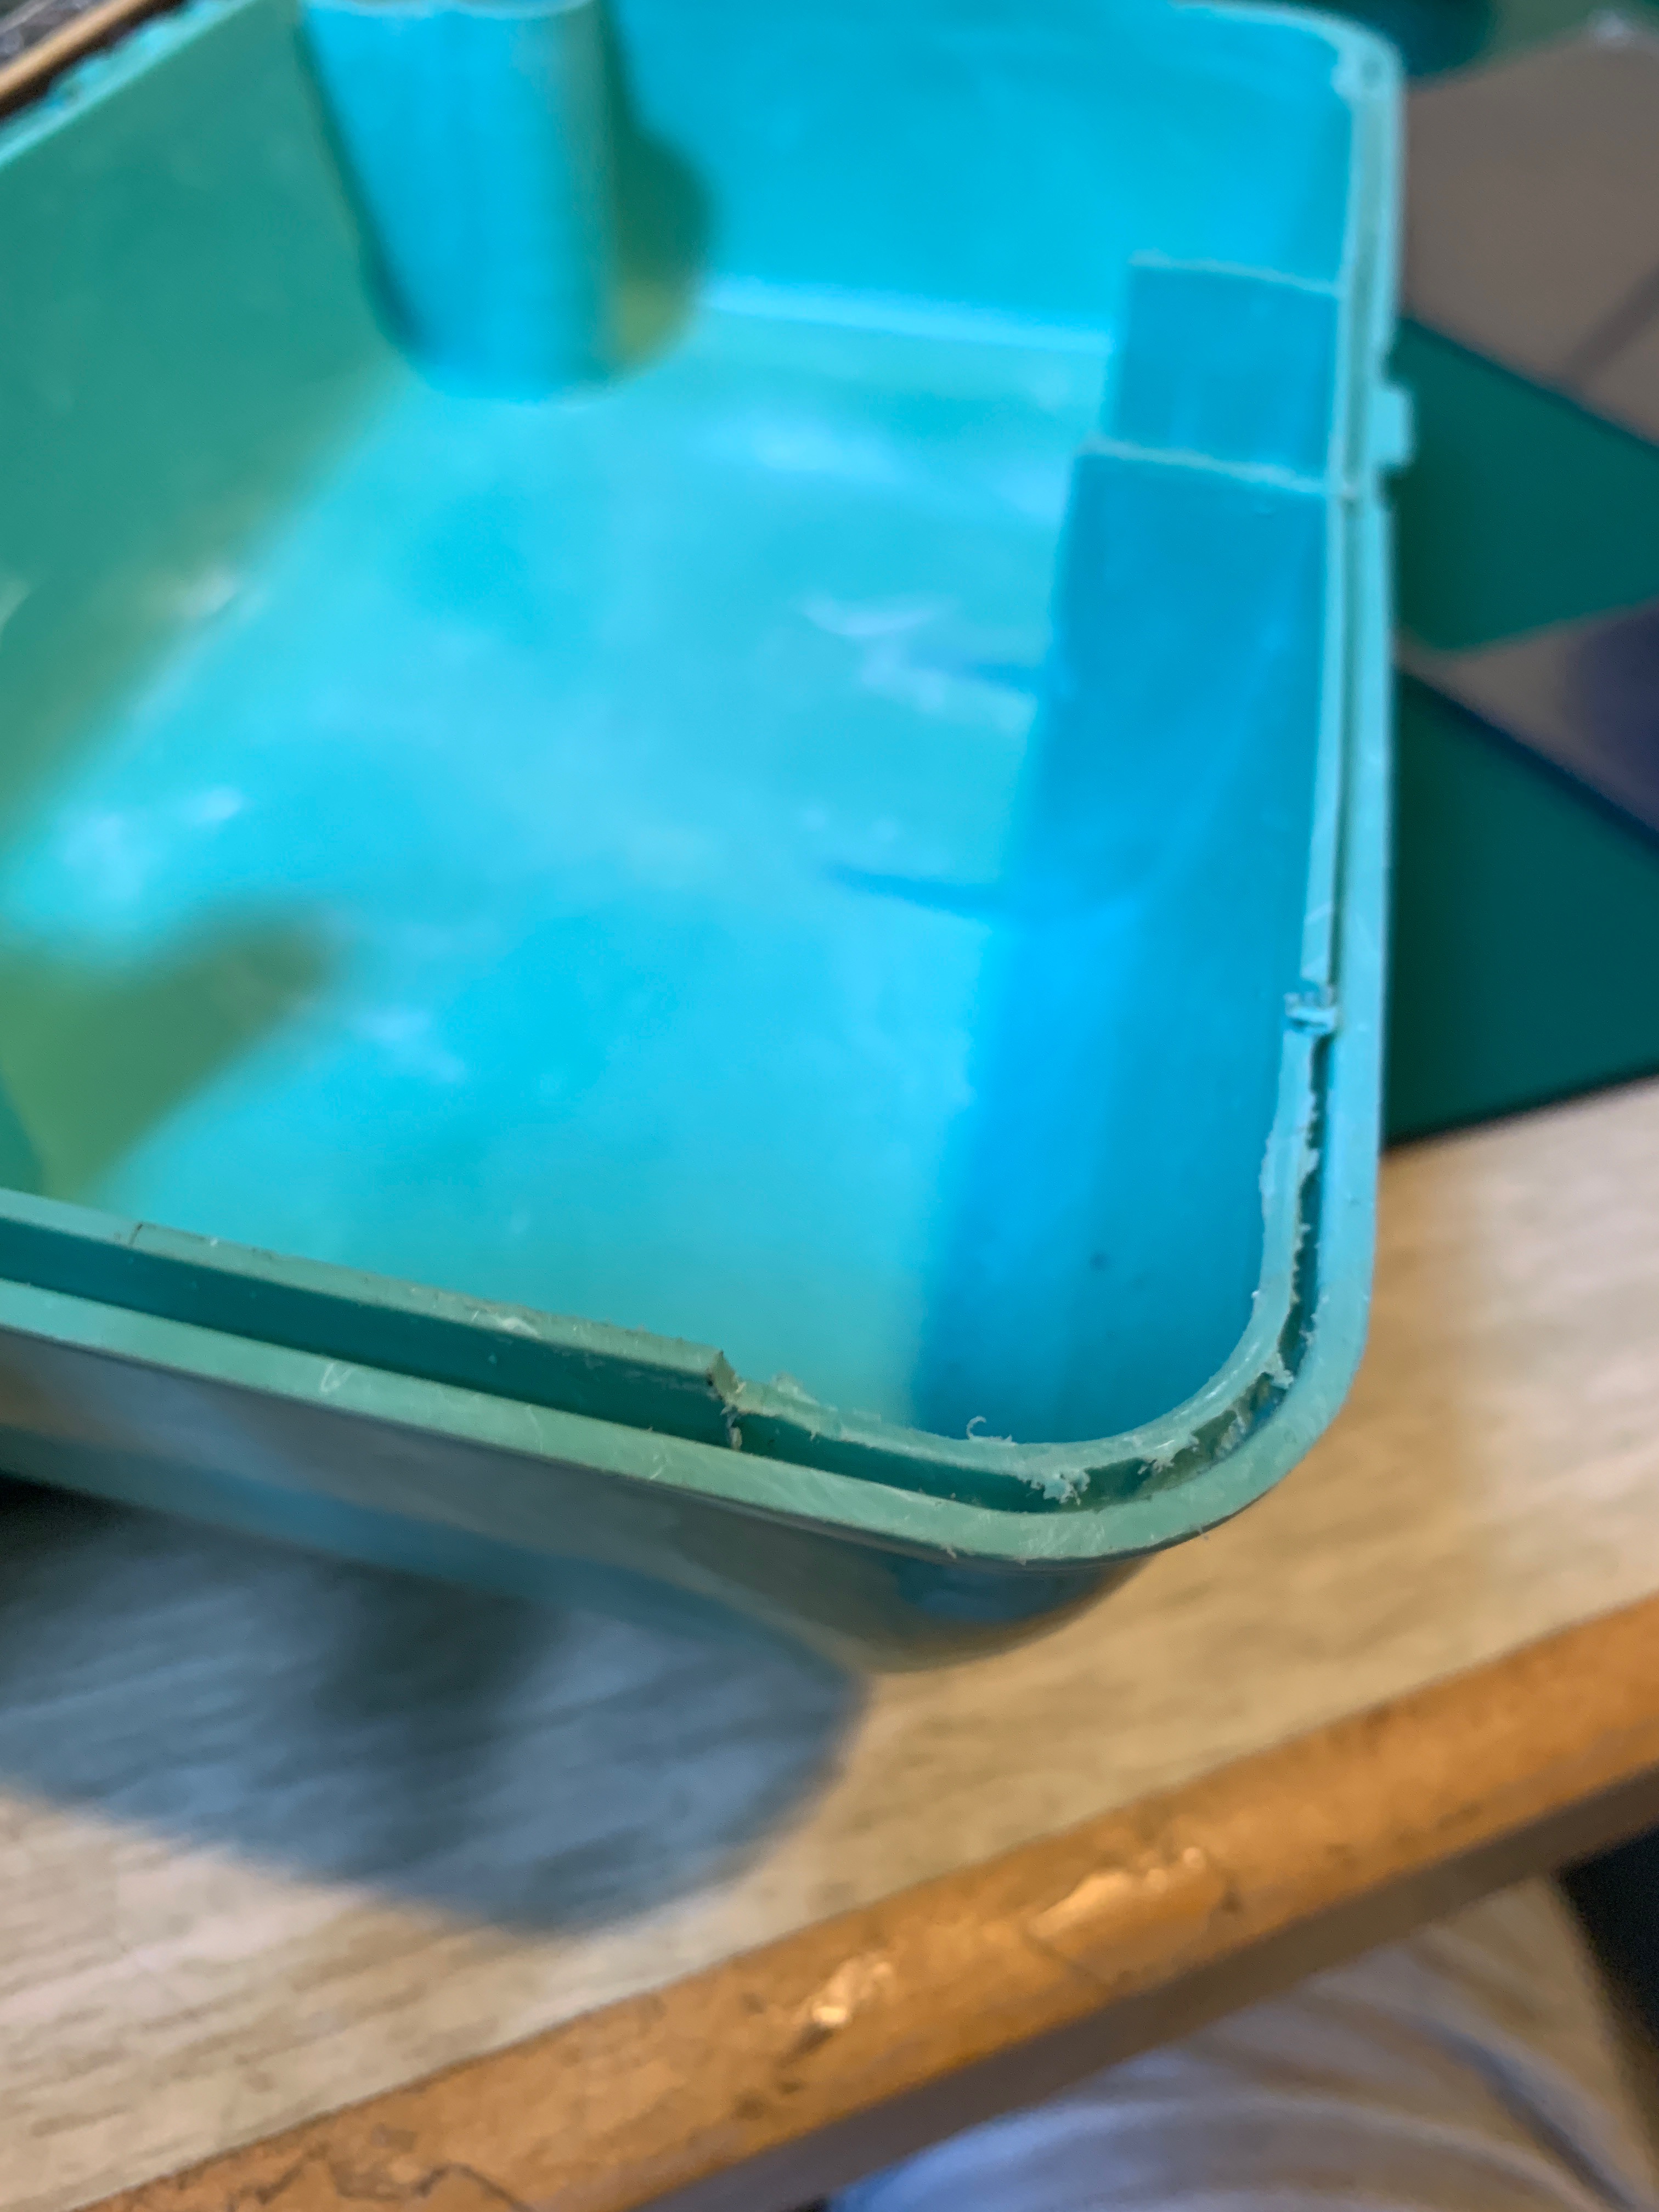
My make up box needed a good deal of modifications to work for this project, this was done for the sake of time completely and in the future I hope to have a box design of my own. The first thing you'll want to do is cut out the corners with a dremel, about 1/4" deep, this will allow our frame to interlock with the base and close up tightly. The next step is to cut out a hole in the back end for our power cord. For this I drilled two holes side by side on the rear corner and then used a Dremel to join the two holes and create a single oblong pill shaped hole as my microusb had a rather thick collar to fit through. Finally, sand everything down to make it smooth and touch up any mistakes
Step 5: Lights!

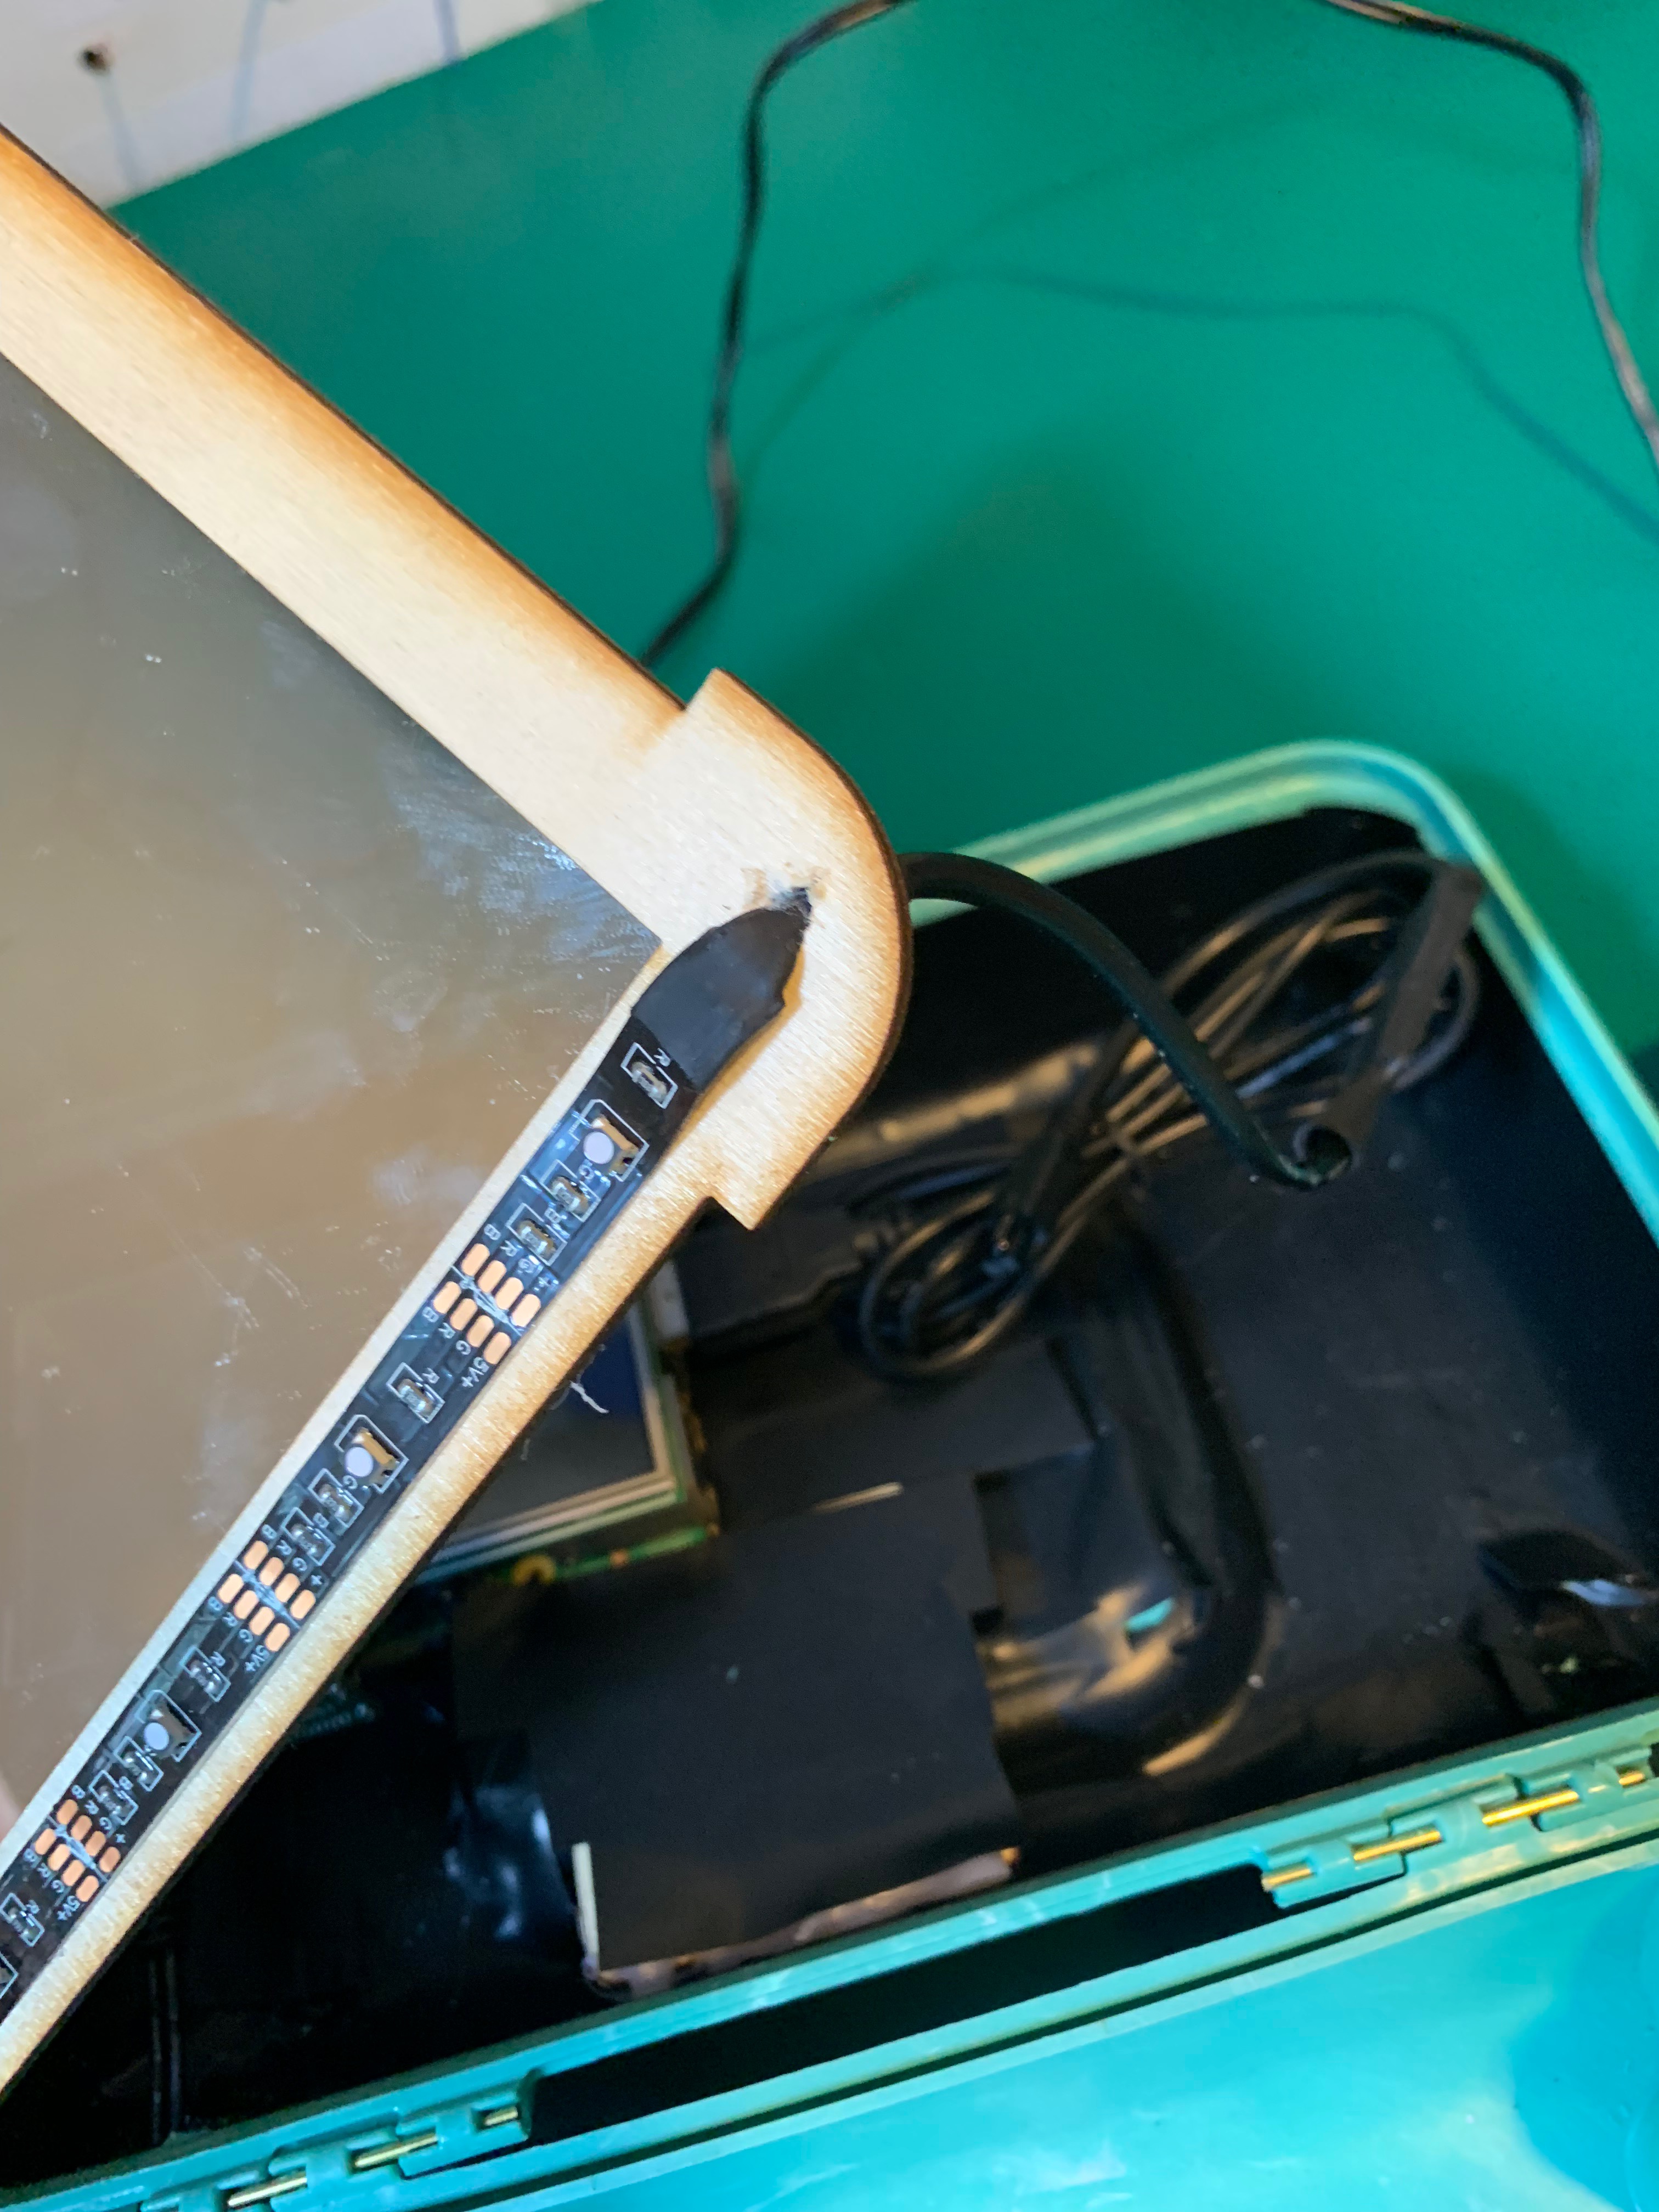
No vanity is complete without lighting! So for our portable vanity I chose to use a USB light strip. I used the same drilling technique as our hole in the rear of the box for power, but with a smaller 1/16" bit. This gave me just enough room to work the strip through. Then all that's left is to make sure the film over the strip's adhesive is removed and place the strip down firmly on the frame.
Side note:
Ideally you would use a Phillips Hue light strip for it's wide interoperability with MagicMirror or IFTTT allowing for hands free operation at the cost of the time writing your protocol or installing a module. However for this project cost was a factor, that Hue strip costs $80 on Amazon which is more than the entirety of the project otherwise, and considering how little of the strip is used for this project, it is unwise for this instance. The other caveat to better functionality is that a more sophisticated strip like the Phillips Hue strip, require a network bridge plugged directly into your given networks router which neuters much of the portability.
Step 6: Not a Piece of Cake, But a Slice of Pi
The raspberry pi is the heart of the build, and requires a good bit of set up. HDMI issues are far and away one of the most common problems with the raspberry pi. in order to avoid those issues the only thing you'll need to do is edit some settings in the boot config. To edit this file you'll need to open it in a terminal based editor, I used nano. There are 2 lines that need to be added or if they are already present, they'll need to be uncomment them by deleting the '#' character before each line. The lines you need to add are "hdmi_force_hotplug=1" and "hdmi_drive=2". These lines will help you with future upgrading and troubleshooting. They ensure that the HDMI has maximum compatibility with different screens so when you take out the pi to work on it, you shouldn't run into any issues getting a display out.
Step 7: Installing the Software
To get the software side of this project going you'll need to open up your terminal and enter the following "bash -c "$(curl -sL https://raw.githubusercontent.com/MichMich/MagicMirror/master/installers/raspberry.sh)" "
This will grab the auto installer from GitHub and get you started.
The next step is to make sure the mirror software starts on boot, and most importantly restarts itself. This is necessary to avoid having to remove the faceplate and hook up a mouse and keyboard every time you power up the mirror. To do this we use PM2 which is a process manager for node.js applications. PM2 in our case is only going to make sure our system is always in a state of having the mirror running, and minimal downtime if a crash occurs.
First you'll need to go back to your terminal and execute the following commands:
sudo npm install -g pm2
pm2 startup
These commands install PM2 and add it to the list of start up programs.
Then we need to make the script for our mirror to initiate. To do this you'll need to execute:
cd ~
nano mm.sh
This will create a blank script and puts you into the nano editor for that script, add the following lines and then make sure to save
cd ~/MagicMirror
DISPLAY=:0 npm start
Now all that's left is to ensure our script stays running, in your terminal once more execute:
pm2 start mm.sh
pm2 save
Now the pi will keep the software running 99.9% of the time, this can be disabled with the command "pm2 stop mm"
Finishing Touches
Take your roll of electrical tape and carefully line the inside of the lid. This will black out the back giving better reflection through the mirror but also keep the pi safe. Then I added some scrap wood pieces (also covered with electrical tape) with hot glue to keep the pi in place and routed all the cabling to it. From there you just need to fit the frame into the lid, and voila! You're done! You should have a portable smart vanity ready for use, or you can get straight into customizing your mirror! Modules already made can be found at https://github.com/MichMich/MagicMirror/wiki/3rd-party-modules or if you want to get into writing your own, development documentation can be found at https://github.com/MichMich/MagicMirror/blob/master/modules