How to Create a Mini City Using Big Things
by techingdragon in Design > Art
925 Views, 2 Favorites, 0 Comments
How to Create a Mini City Using Big Things
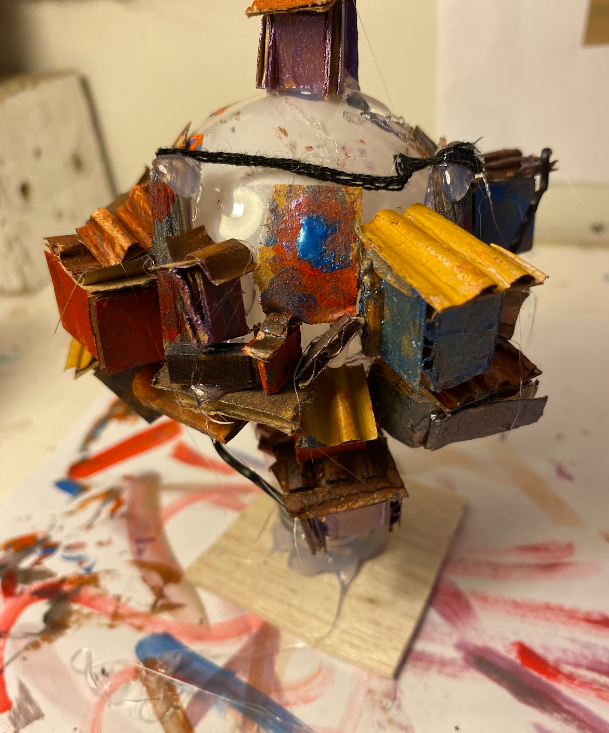
About to throw away an old light bulb? Try reimagining a bright idea with size and shape to create a tiny city on a big object such as a light bulb!
Supplies
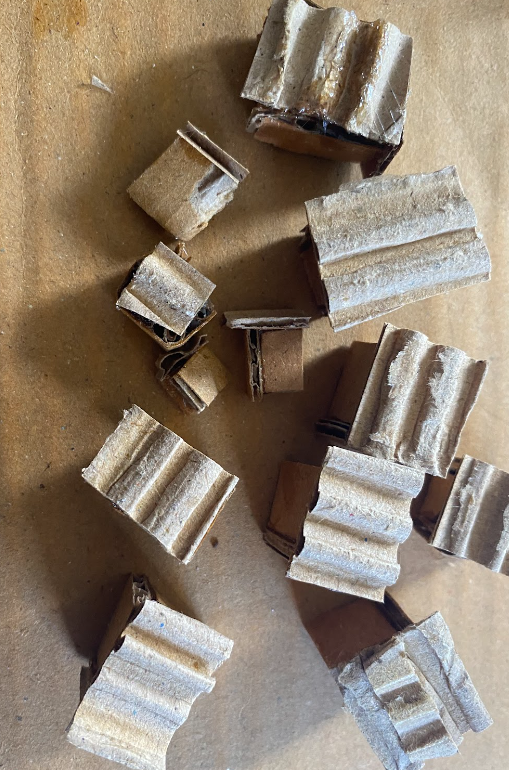
The supplies needed are as follows:
- A light bulb
- Cardboard
- Paint
- Support such as balsa wood
- Scraps of material
Tools:
- Glue/Hot Glue
- Scissors
- Paint Brush
Creating the House Walls
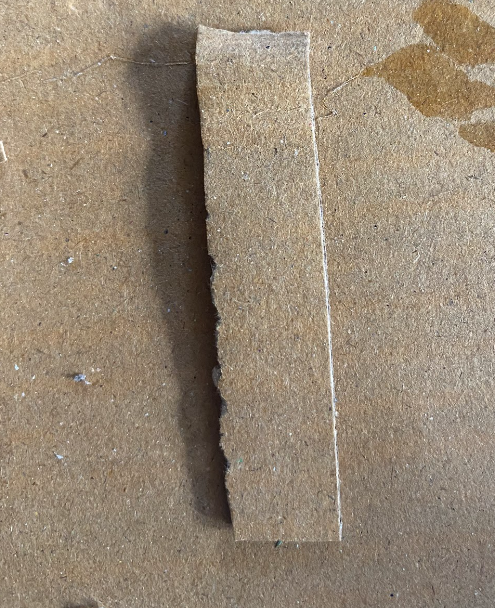
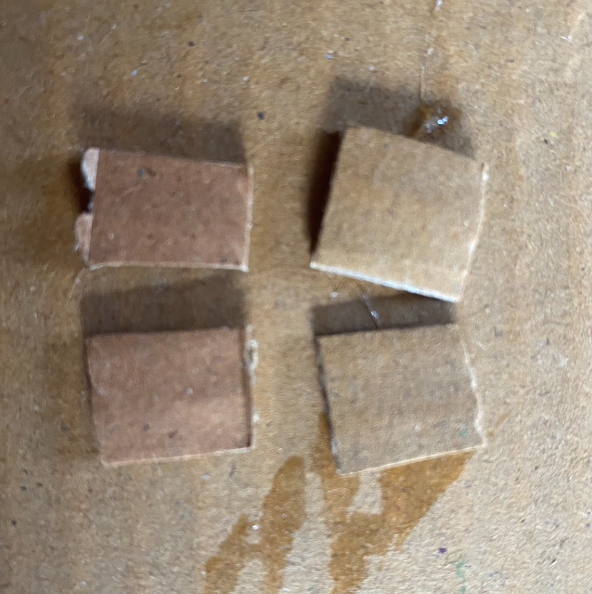
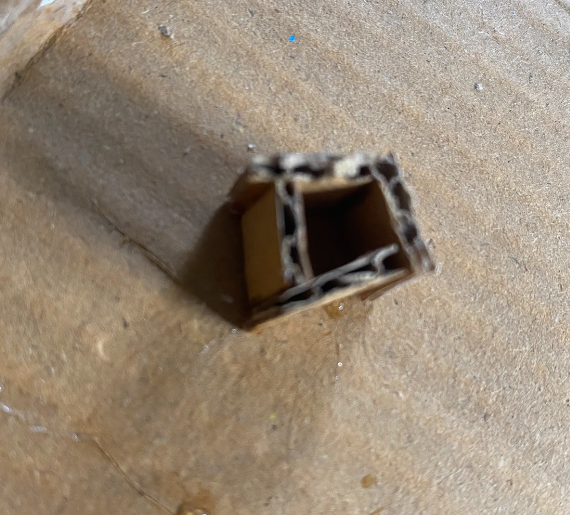
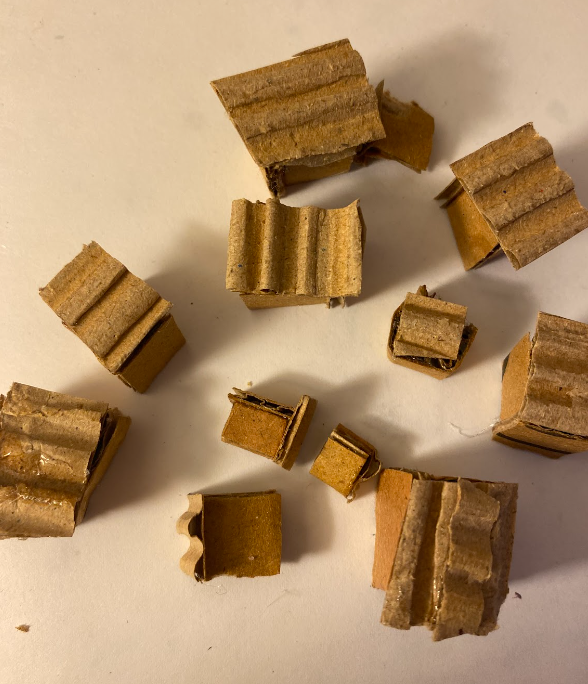
The first step is making the houses that will be glued onto the light bulb. I cut a strip of cardboard and cut it further into four rectangles.
Its good if each time you do this the squares are different sizes so you can have some size variation!
All you need to do next is glue the four walls together.
Roof and Variation
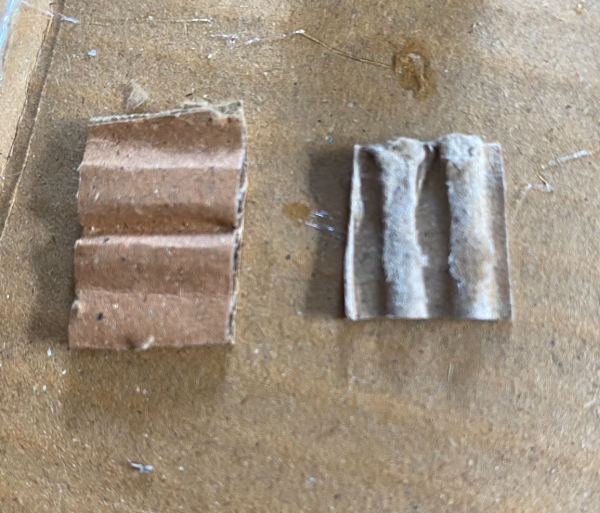
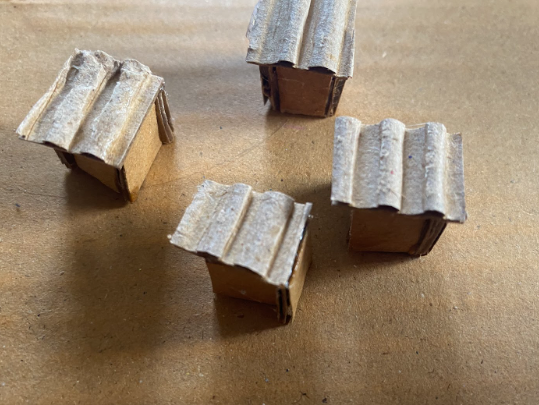
You can create the roofs from removing the top of cardboard for a nice wavy texture! All that's next is gluing it onto the top of the walls.
For the smaller houses all you need is two tiny pieces of cardboard and a roof piece and glue it all together.
I made about 12 houses in all of different sizes!
Painting
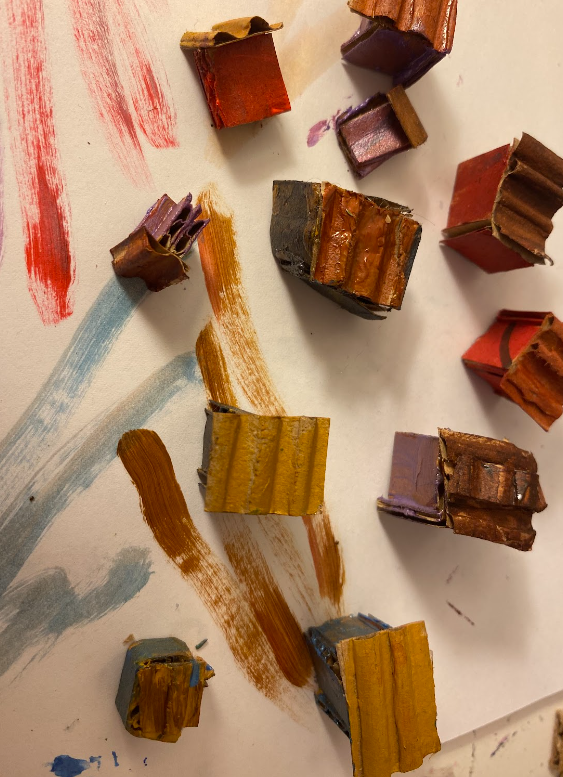
Next all you need is to pick some fun colors and paint the houses!
I picked browns and greys for the roofs and colors like purple, blue, and red for the walls.
Base Prep
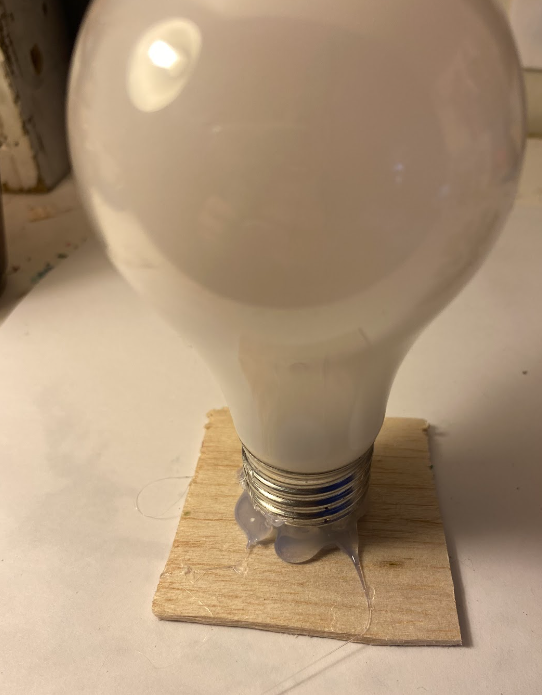
Super simple step next: Glue the light bulb so it is standing upright! I used a piece of balsa wood and hot glued the bulb onto it.
Scatter the Houses
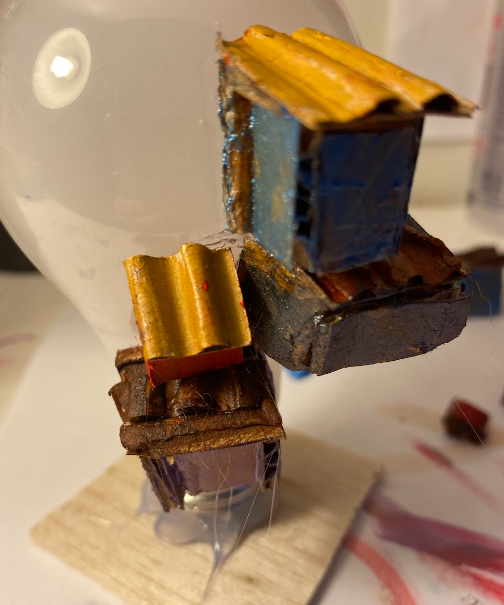
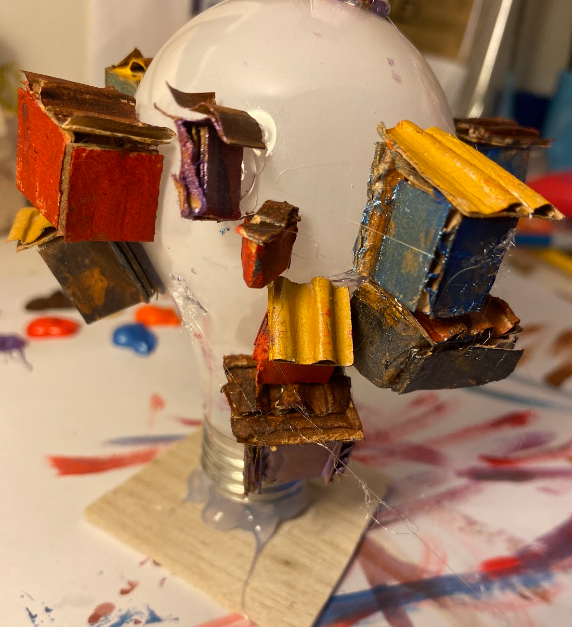
Place the houses all around the bulb with a focus on the viewpoint. Scatter and stack the houses with big and small all mixing together. Hot glue works really well for a quick dry and place!
Supports
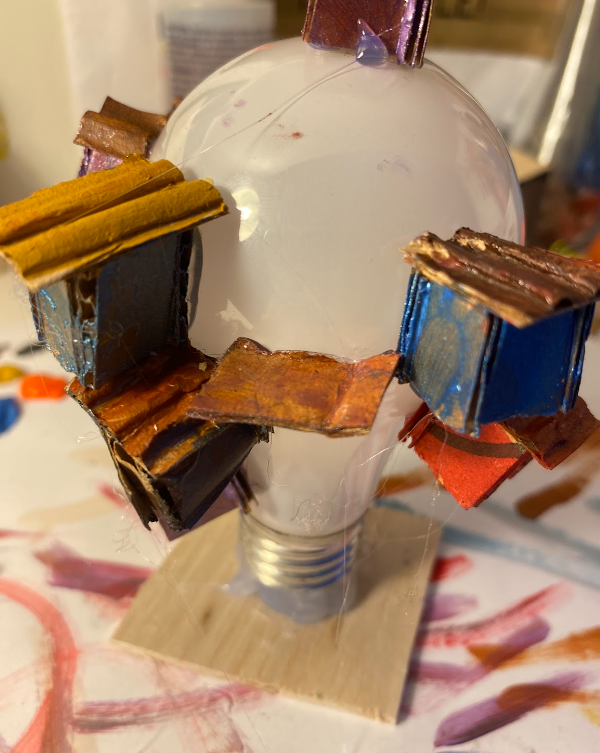
After the houses are in place connect them with materials like cardboard scraps or popsicle sticks! Make it seem like gravity is not being ignored and the mini people could get around
Bits and Bobs
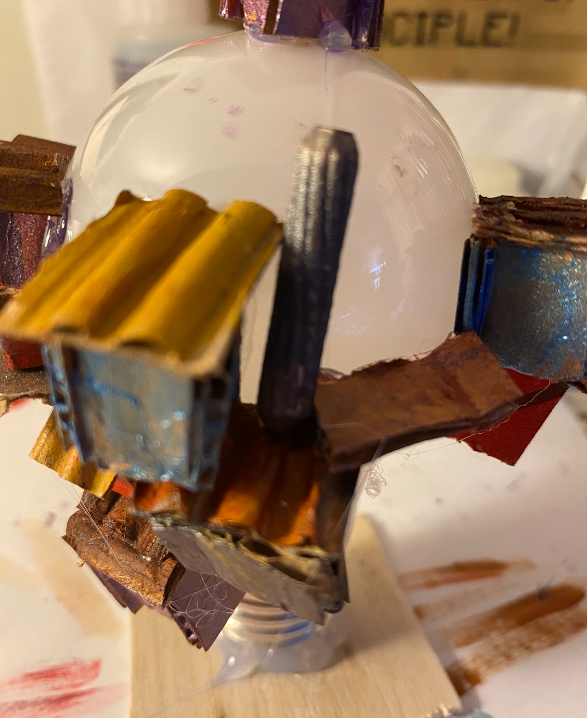
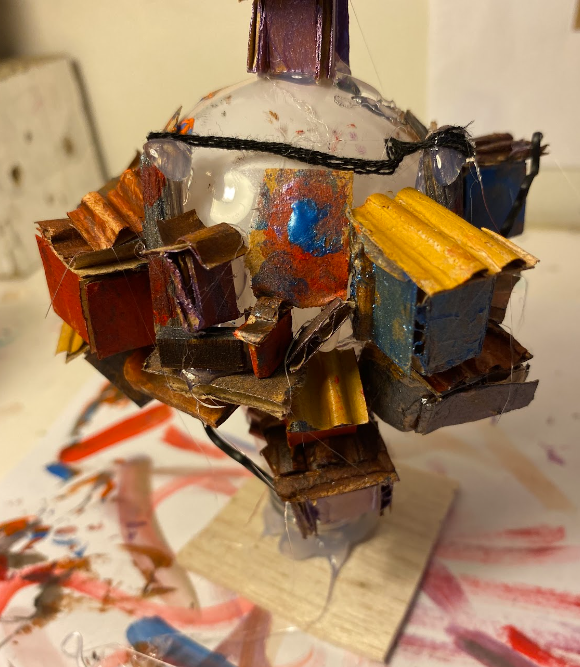
Add some fun details! Look around for some tiny scraps and paint them to be on theme for your build. For example, I used a tiny piece of wood for a telephone pole.
Extra Painting and Detailing
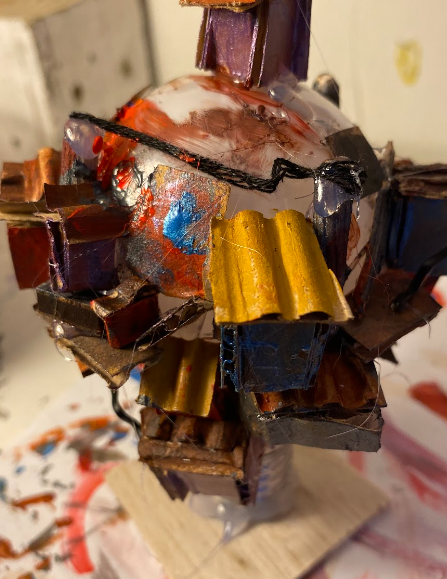
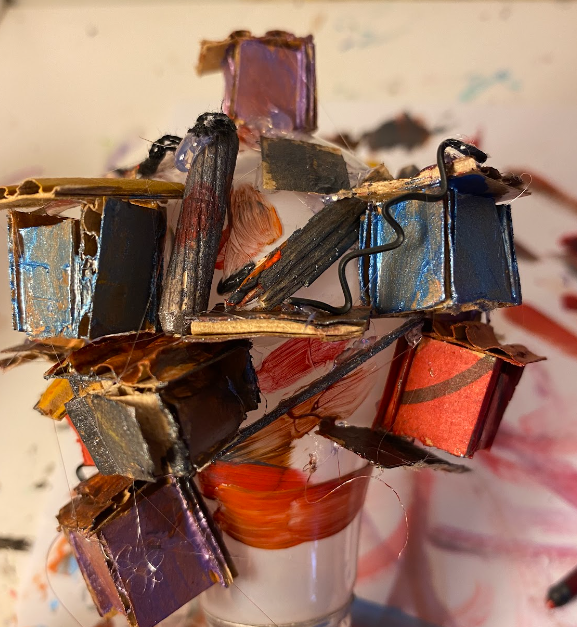
Now you can add the final touches to the artwork! I added some "street art" to fill up the empty space as well as graffiti to go with the theme a bit.
This is the step to make sure everything is blending and coming together well! Adding different types of materials with different textures can help a lot.
End
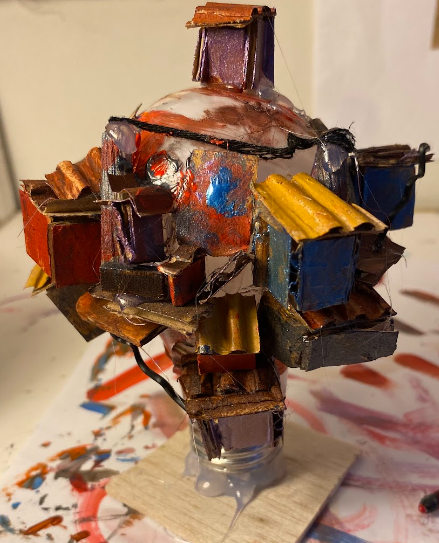
And that's all you need! Based on the theme of your work, different colors, shapes, and materials can be used. It can be a fun challenge to rethink sizes and make something small out of something big!