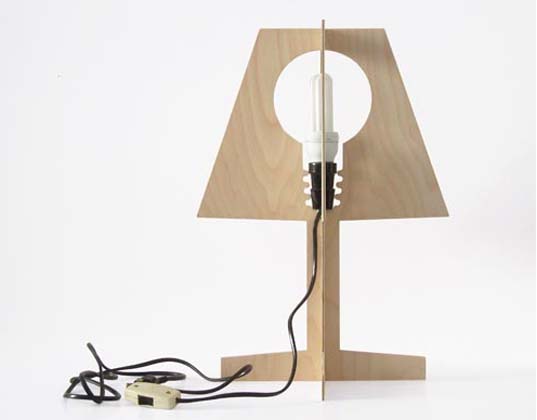
How to Create a Flatpack Lamp Design
by nurulanuar in Workshop > Laser Cutting
3086 Views, 28 Favorites, 0 Comments
How to Create a Flatpack Lamp Design

Flatpack design is taking a 2D cuts and turning it into a 3D model. It's becoming more common these days. There are many advantages to this product; it's low cost and it provides interaction with the customer. You can find flatpack designs in your local furniture store!
Requirements
Here are the list in order to design this product.
- A computer running windows, Mac OSX or Linux.
- Internet Access
- A vector editing program (Inkscape or Adobe Illustrator)
- Access to a laser cutter
- Wood/ Acrylic piece
- Pre-made light fixture; recommend using one that has a socket diameter of around 20-40 mm and accepts a candelabra style bulb.
- A lightbulb; recommend getting a low wattage bulb, (around 25 watts), or a compact fluorescent.
hot glue.
Using Processing
- Open Finder
- Go to Documents
- Click on Processing Folder
- Click on Libraries; codeableObjects; examples
- Here you'll find multiple options such as circle, polar rose, and etc. These are the basic code, you can alter them to create your own pattern.
- After altering the code to your preferences, you can click run to see how your pattern has turned out.
- In the simulation, you can alter the height, pattern, notches, and more.
- After you finish designing, click save.
Using Inkscape
- After you've prepared your designs, open Inkscape.
- Click on File; Open.
- Find your saved pdf design.
- Select the drawing, click on Object; Transform; Scale.
- Insert 36.280% for Width and Height.
- Then click on Object; Ungroup.
- Reduce the lines to cut out the corners.
- Click on the individual pieces; Object; Combine.
- Save as dxf to prepare files for laser cutting.