How to Create a Clipping Mask in Adobe Illustrator
by jennieparkshark in Circuits > Art
7913 Views, 8 Favorites, 0 Comments
How to Create a Clipping Mask in Adobe Illustrator
Introduction
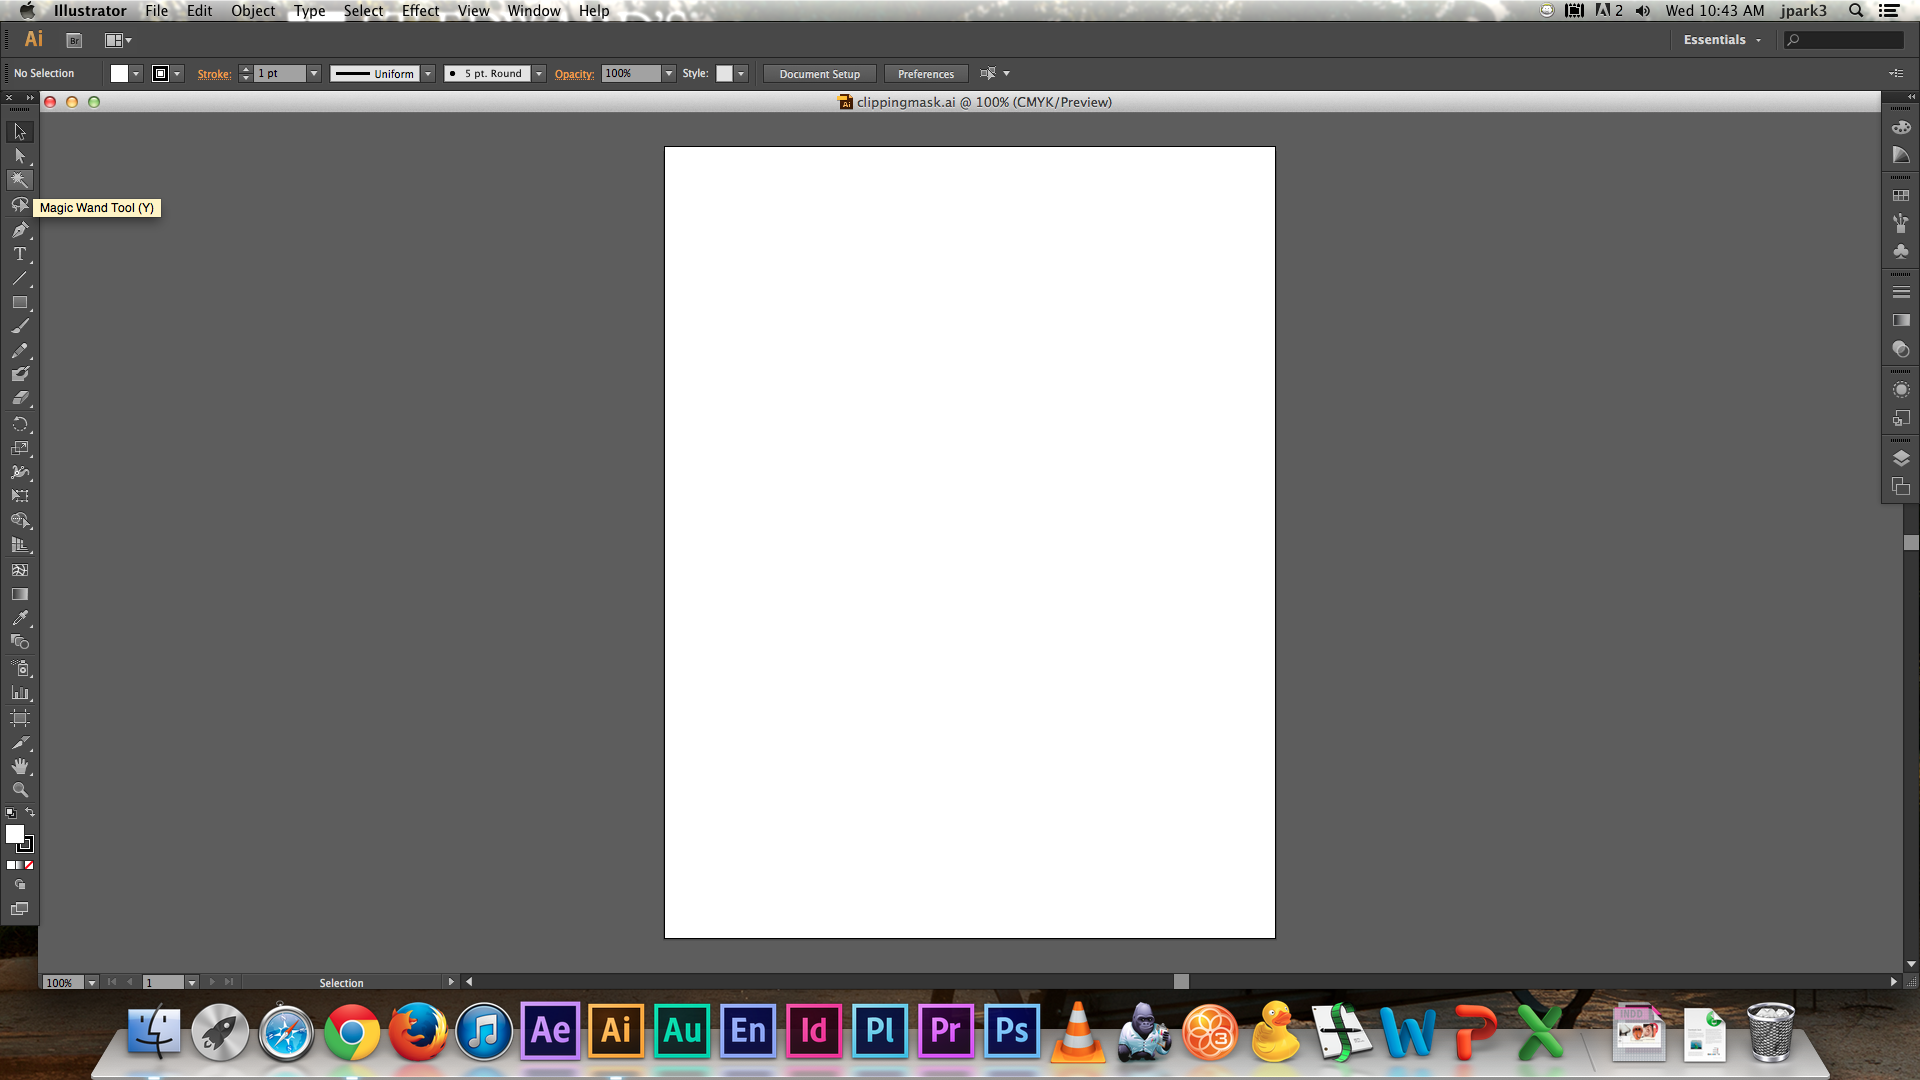
Adobe Illustrator is one of the many programs offered in the Adobe Creative Suite and is the leading software for design professionals. Adobe Illustrator utilizes vector graphics, which unlike pixel-based graphics, never lose resolution when sized up, making it a useful program for both web and print. The following instructions will help you become familiar not only with the tool panel in Illustrator, but will also teach you how to create what is called a “clipping mask.” Clipping masks allow you to fill an enclosed shape with an image or graphic that fits perfectly inside the shape, no matter how complex the shape may be.
Open Adobe Illustrator.
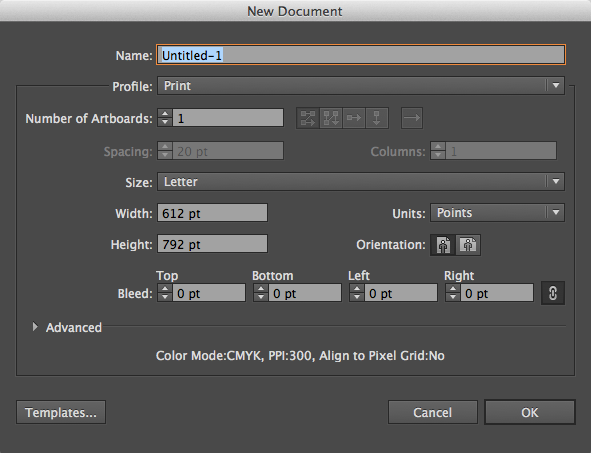
Illustrator will immediately prompt you to declare the name of the file, the size, and other basic specifications. If Illustrator does not immediately prompt you to declare document specifications, click the “File” tab and select “New.” The prompt box will appear.
The document size is not important unless you intend to print on a specific size of paper. If no document size is specified, the default settings will size your document at the standard letter size.
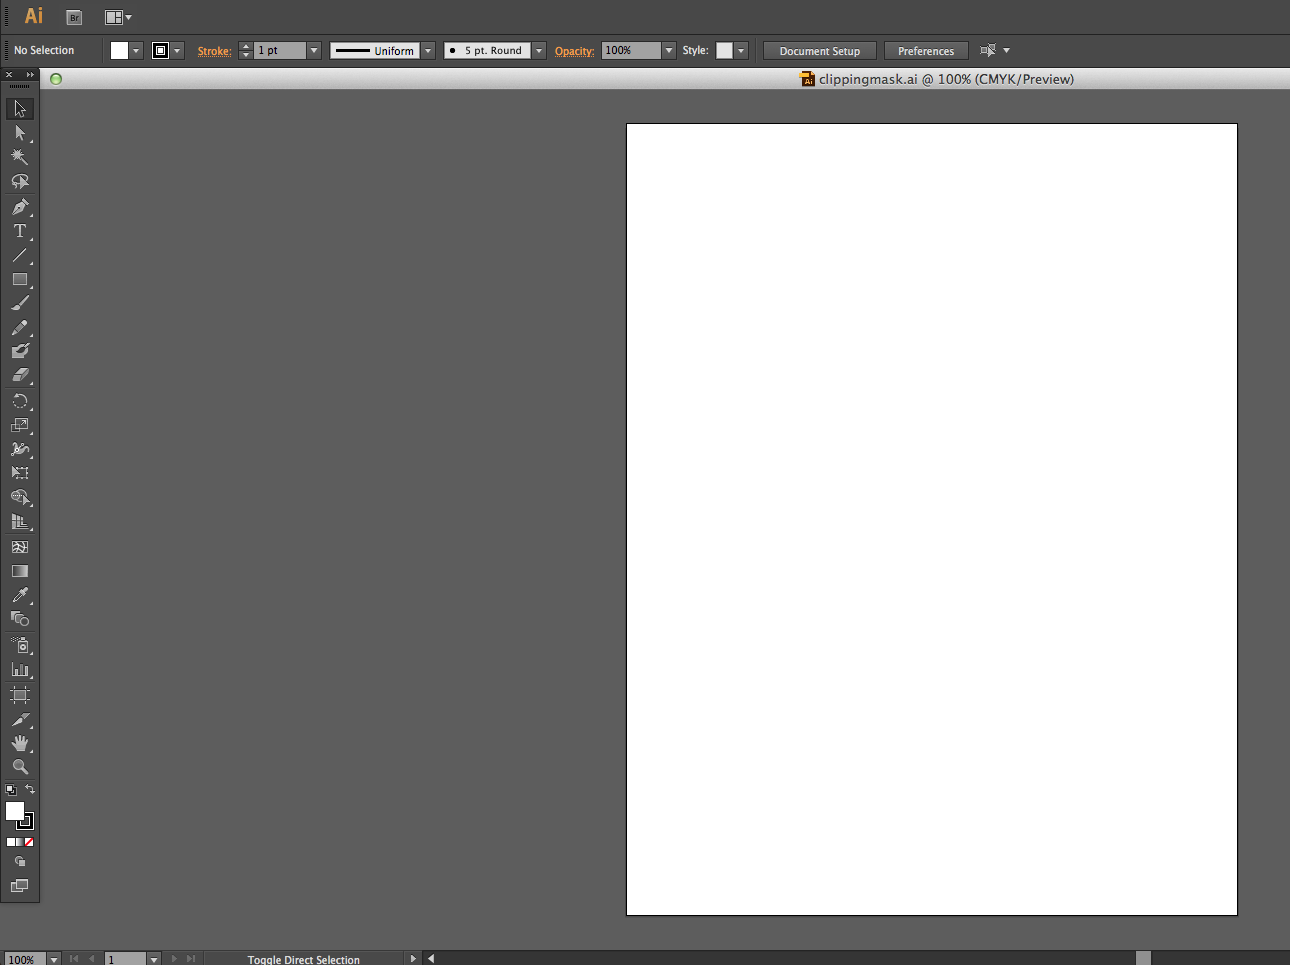
Once your document is set up, familiarize yourself with the tool panel. The tool panel appears on the left side and displays icons in a vertical manner.
If you hover your cursor over an icon, a description of the icon will appear that will help you discern what the function of the tool is.
To create a clipping mask, you will need an image or photograph to nest inside of a shape. The shape will be created in Illustrator.
Make sure the photo or image is ethically sourced. Reproducing an image without acknowledging the artist or paying for its use is illegal. For free images, go to Creative Commons. Creative Commons is a website for artists that allows them to upload photos and images for free and ethical use.
Once you have found an image or graphic, save it to your computer in whatever location you see fit.
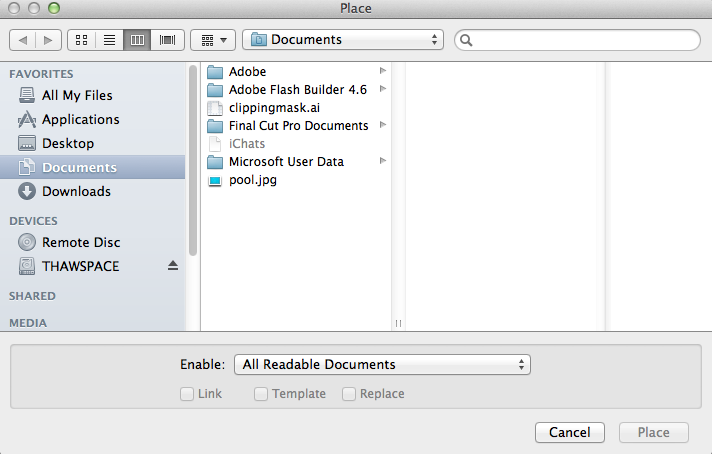
In Illustrator, click on the “File” tab and then select, “Place.” A box will appear that will prompt you to select the file you wish to place in Illustrator. Find the image you saved in step 5 and select it.
Once your image appears in Illustrator, you can resize it to the desired size. You can do this by clicking any one of the “handles” that appear on the corners of the image.
To avoid stretching or warping the image, hold the “Shift” key as you are resizing the image. Doing this will retain the original proportions of the image.
Now that you have selected an image, you must make a shape to nest the image in. You can do this one of two ways: by selecting the “rectangle” tool, which has preloaded shapes to choose from, or by creating a shape by hand with the “pen” tool. Choose whichever method you are most comfortable with.
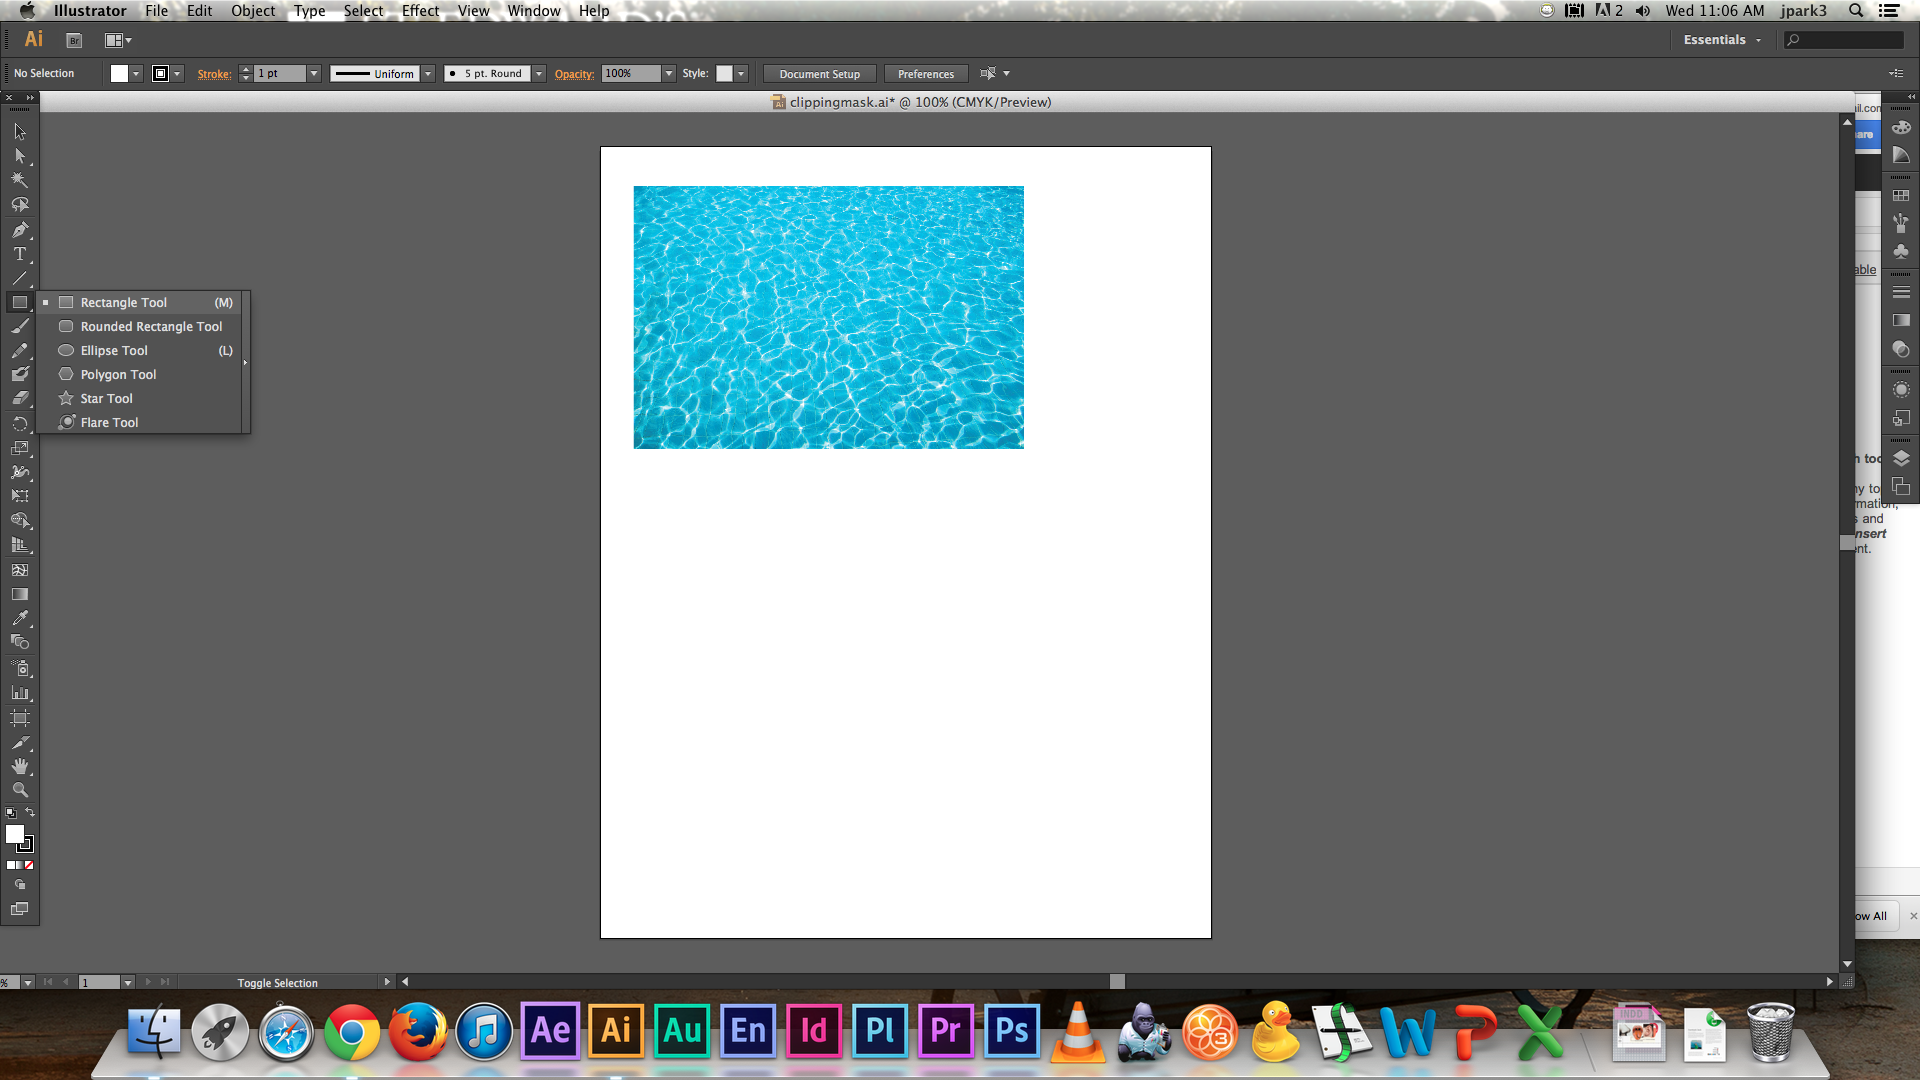
To use the rectangle tool, hold the icon down with your cursor to view all of the shape options.Select desired shape tool. Your cursor will then change to a set of crosshairs.
Click and hold down the crosshairs to create your desired shape. Release the crosshairs when you are happy with the shape.
Tip: Remember, holding down the “Shift” key retains proportions. When you hold down the shift key while creating a shape, the shape will be created with perfect dimensions. For instance, when holding the shift key down with the “ellipse” tool, you will create a perfect circle instead of an oval.
If you are using the “pen” tool, simply click to drop points. Each point dropped will connect to the previous point. To create curved lines between points, hold down the cursor before releasing. Any shape of your choosing will work. However, to create a clipping mask, the shape must be closed, meaning that the first and last points dropped with the pen tool must connect.
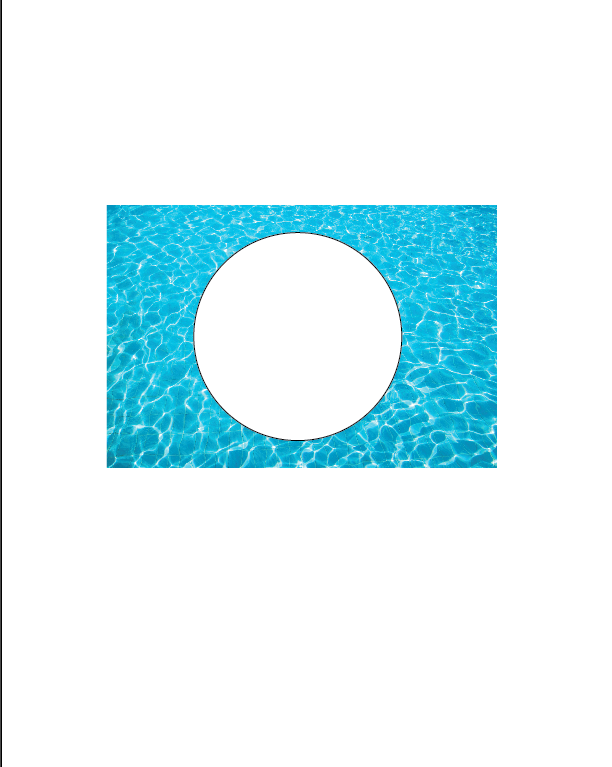
Once you have your shape, place the shape on top of the image or graphic.
It is important to note that the shape must be placed over the graphic, because here, the stacking order matters. Because the photo will be punched out of the shape and not the other way around, the shape must be on top to act as a stencil.
Select both the image and the shape by holding down your cursor. A dotted rectangle will appear that will allow you to select both items simultaneously.
Once both the image and the shape are selected, simply right click and select “Make clipping mask.” The result is a photo or image that has been perfectly punched out of the desired shape.
Now you are ready to make beautiful graphics in Illustrator. The clipping mask is useful for a variety of occasions and is often nested inside of fonts or shapes for emphasis as well as for an enhanced appearance.