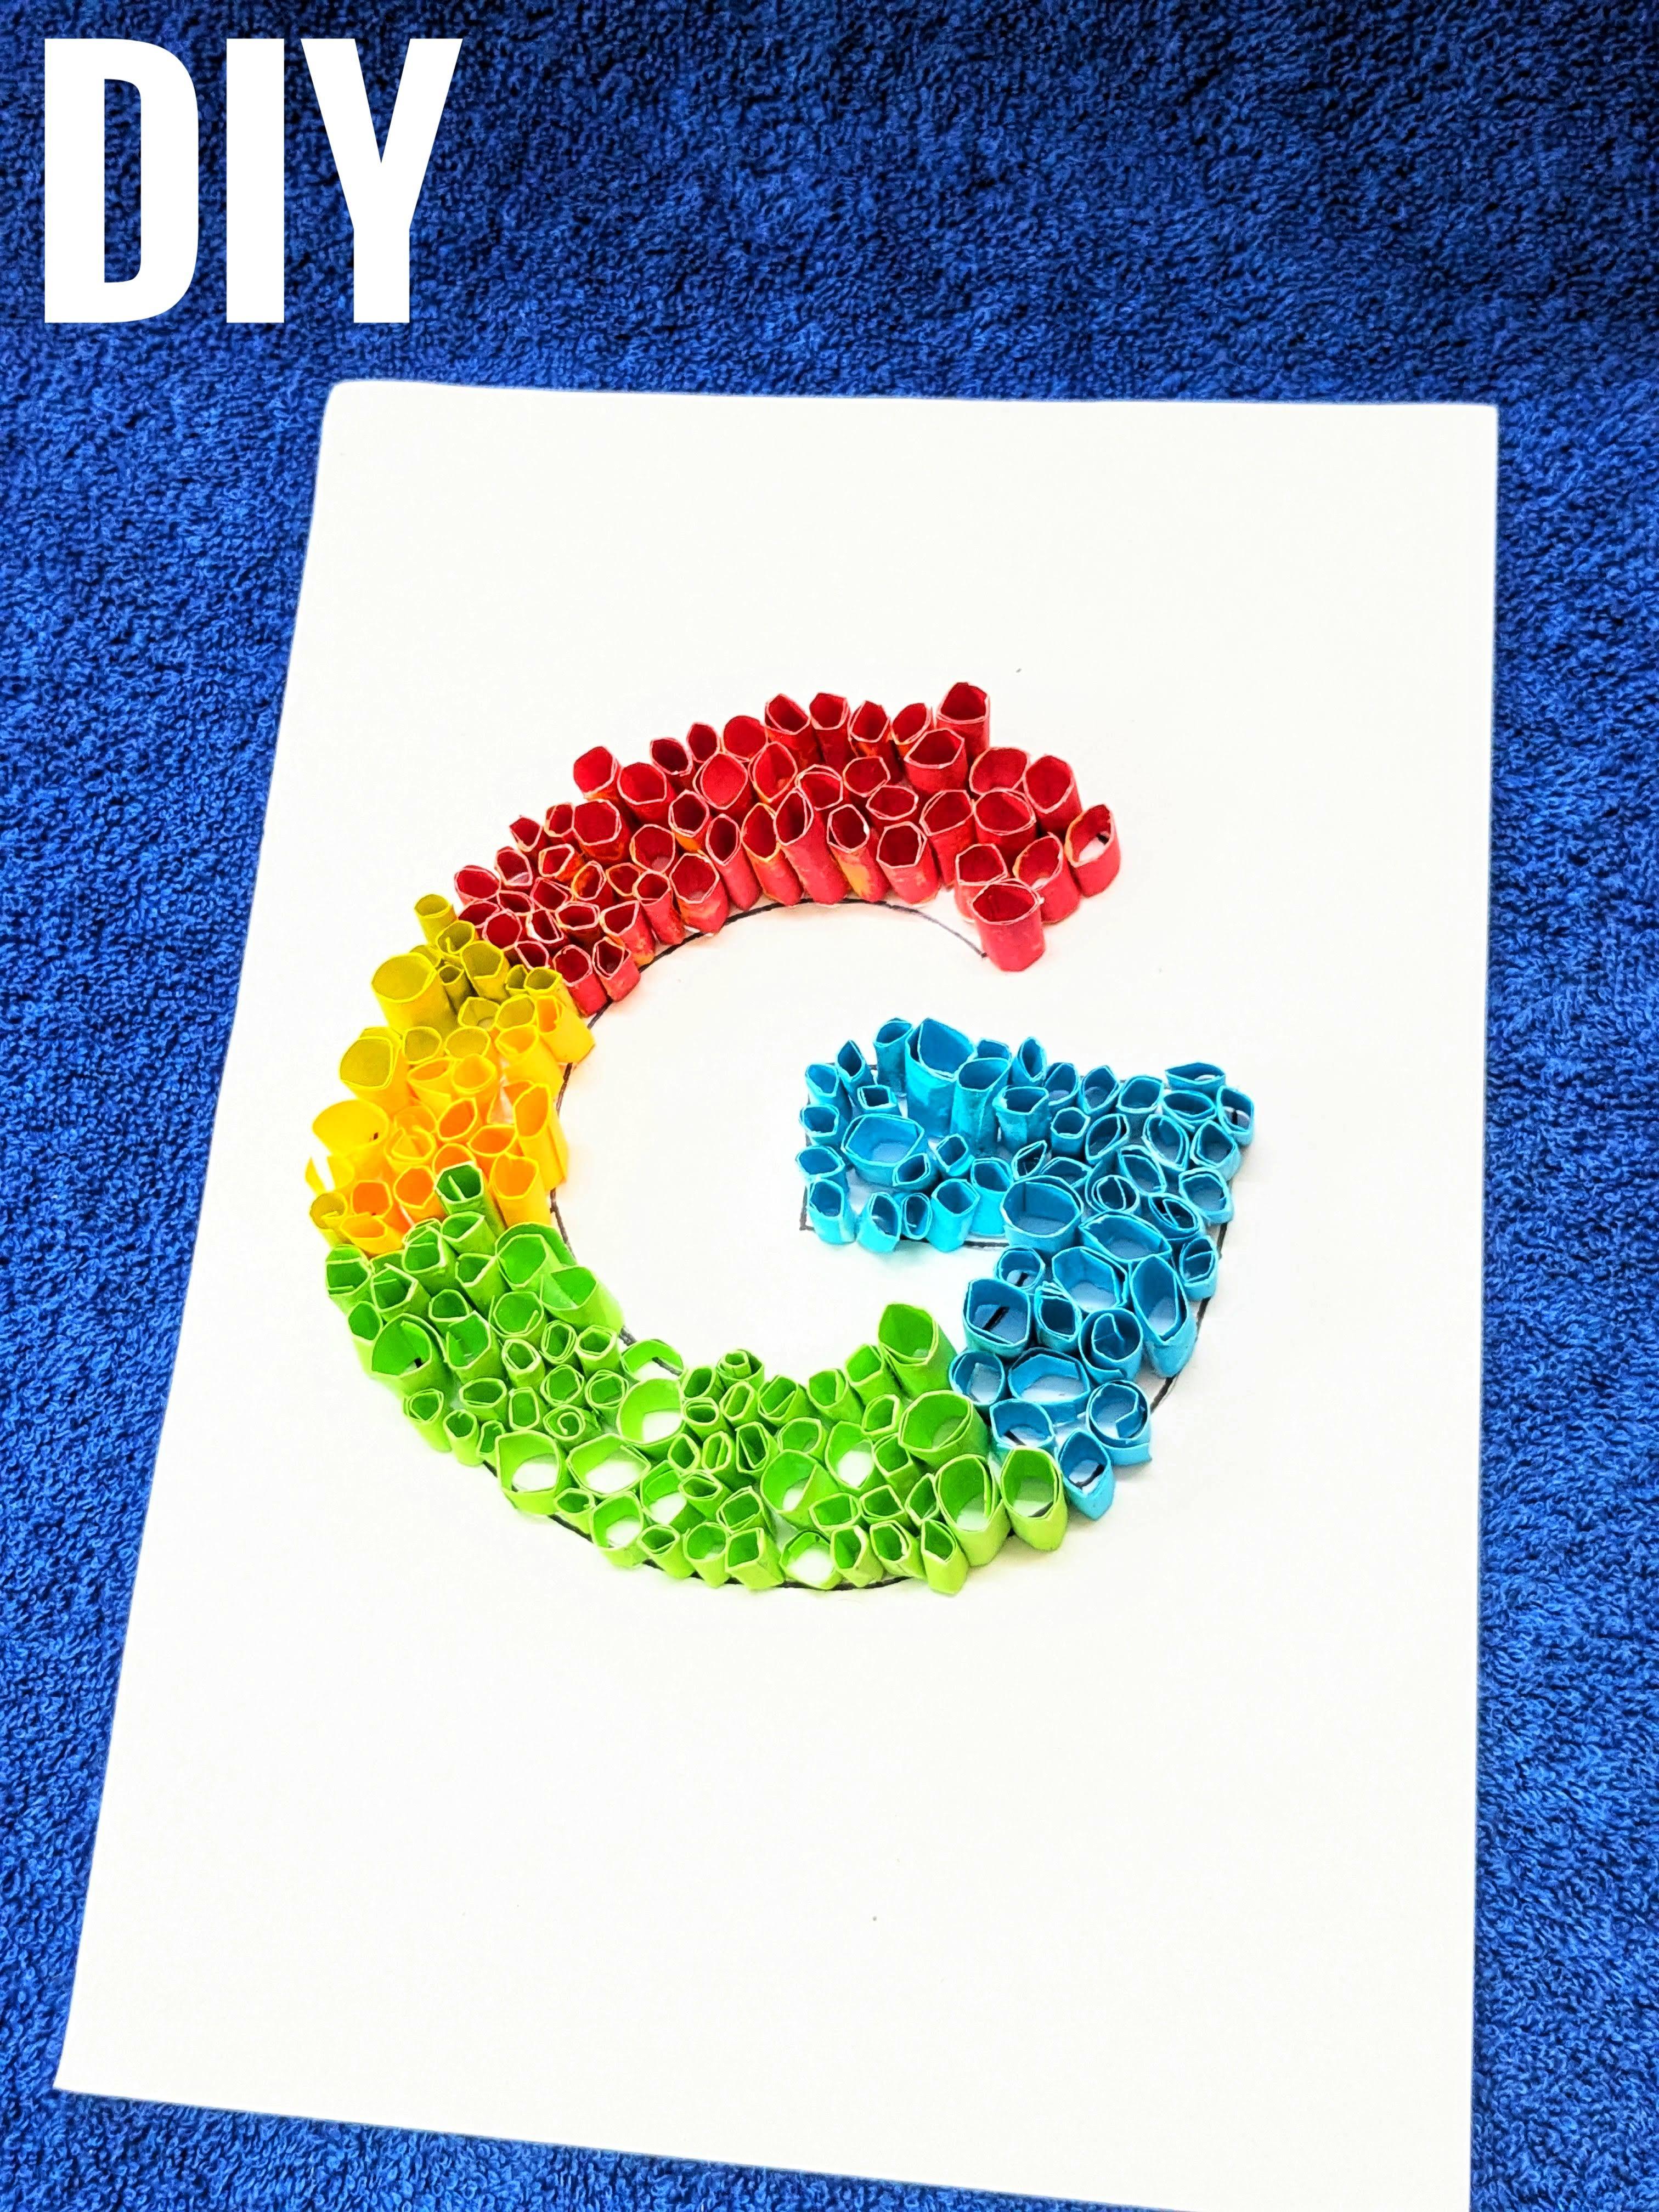
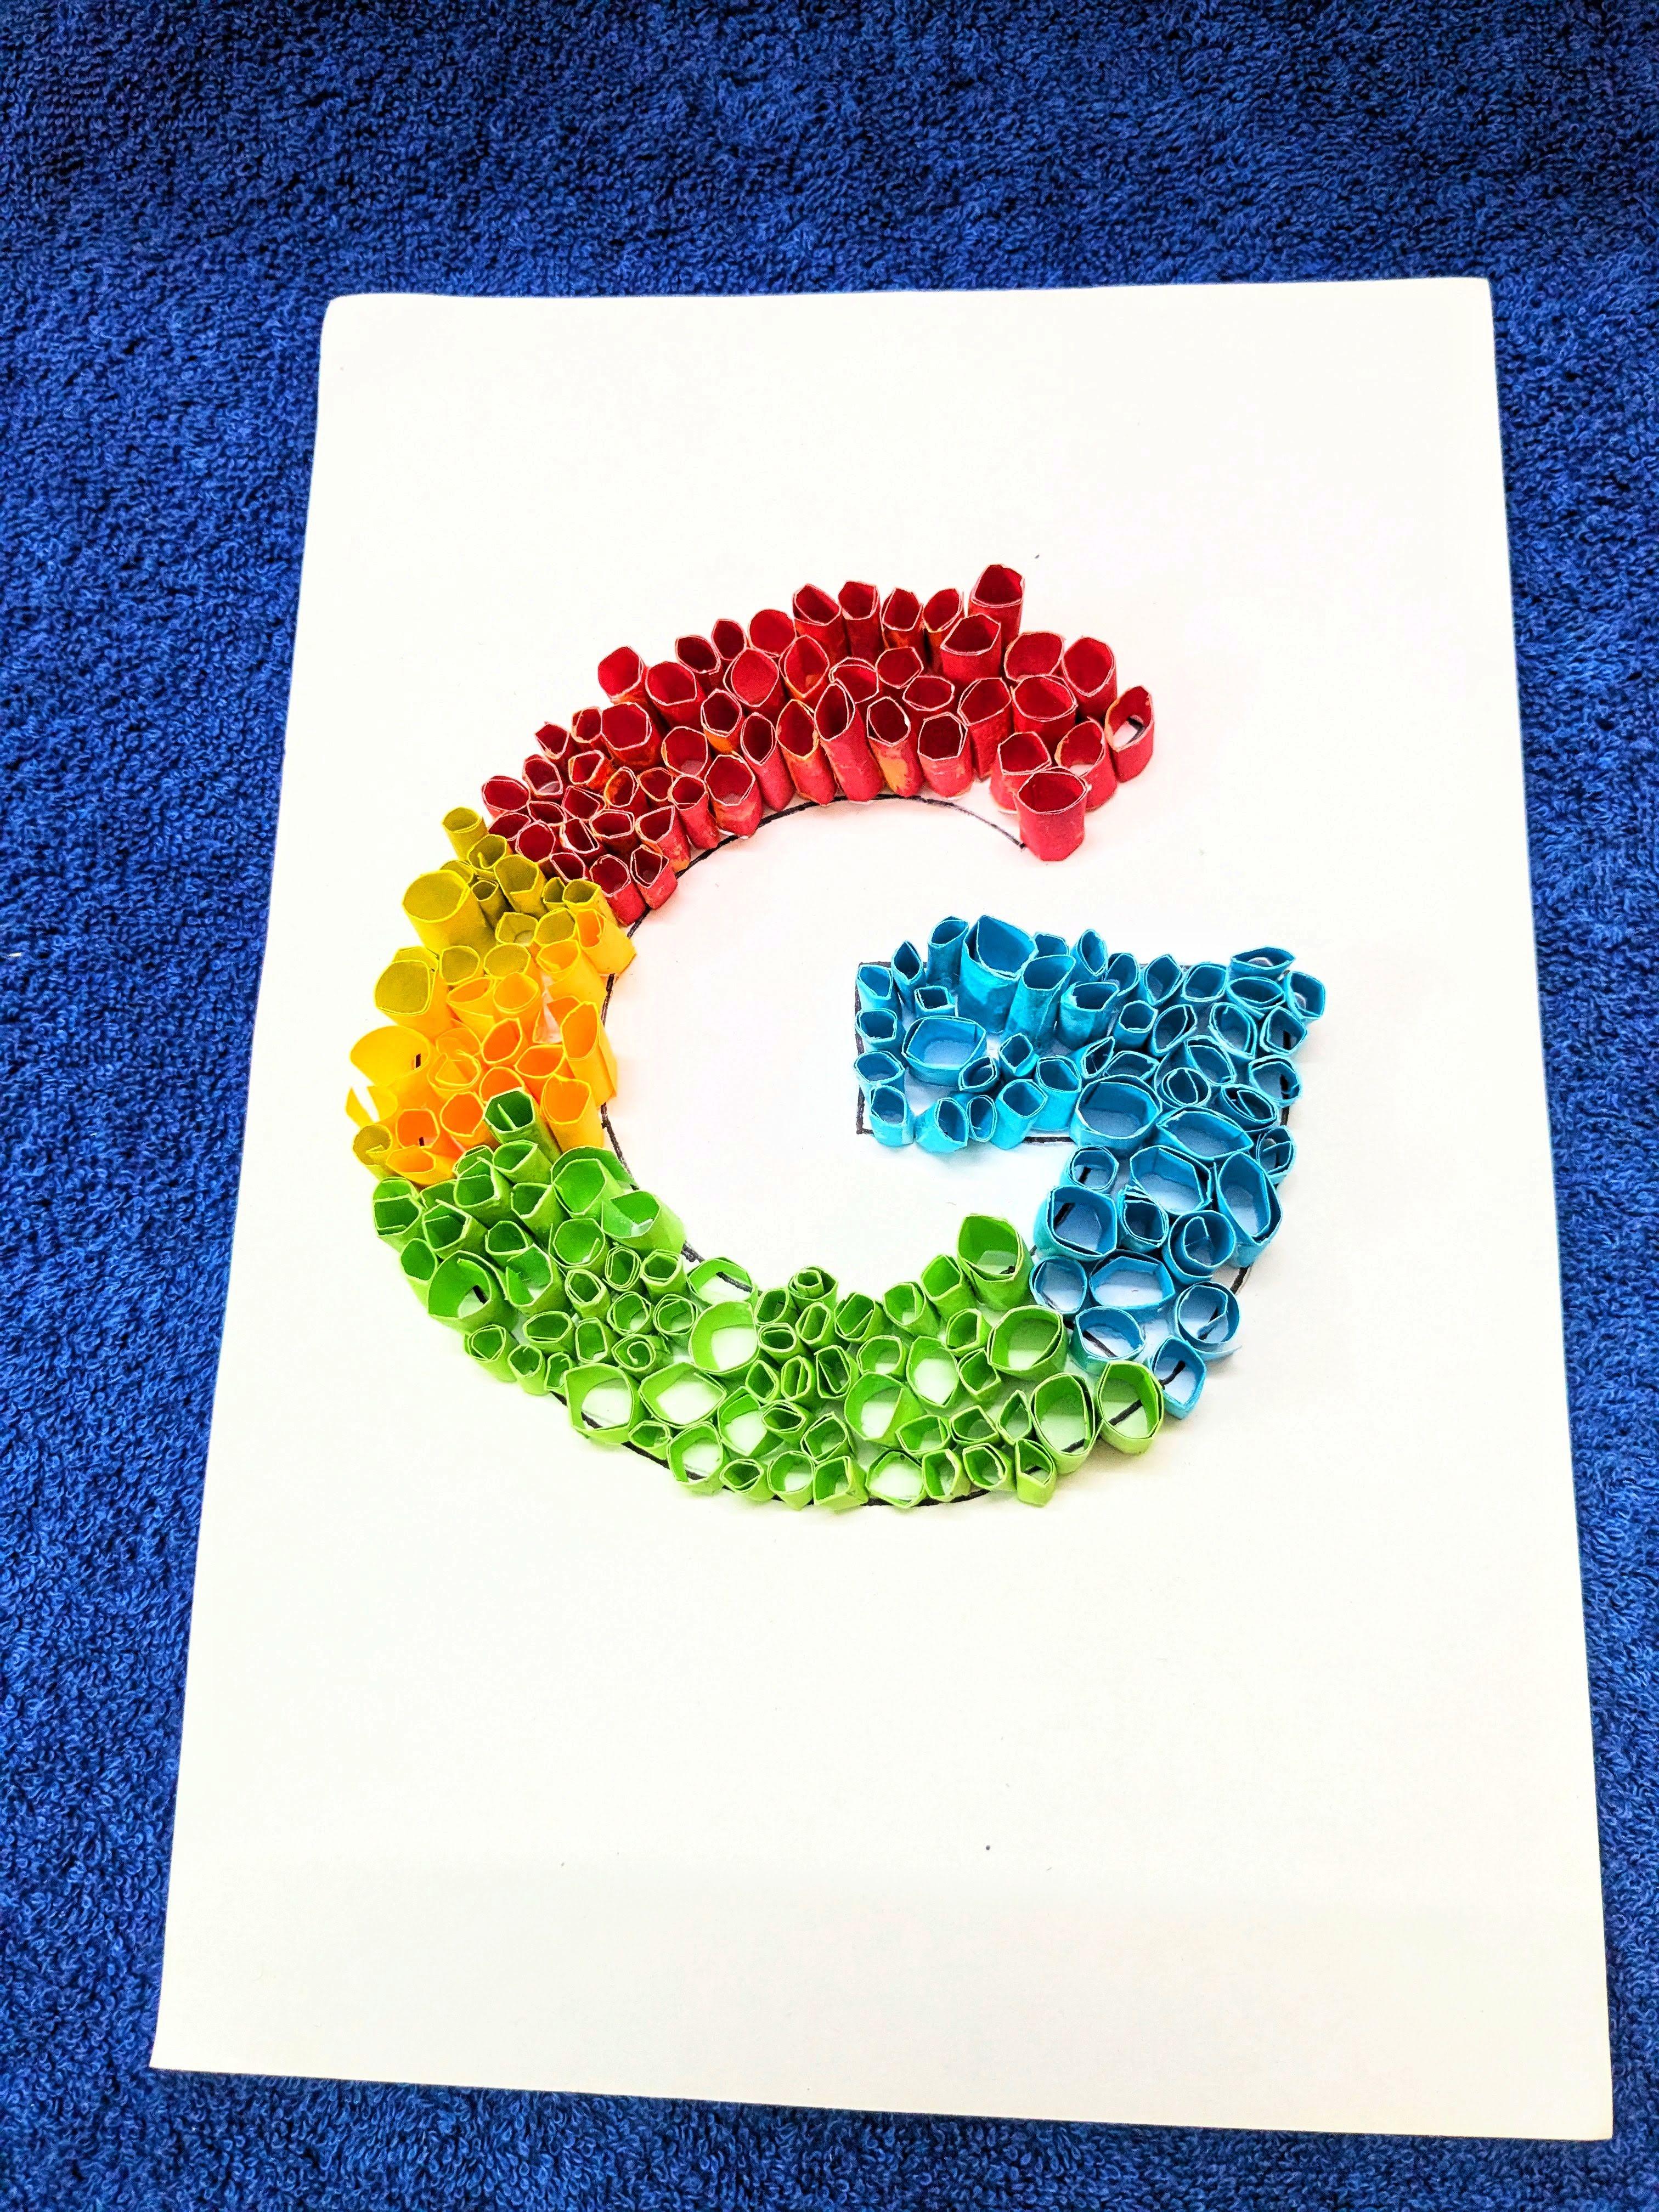
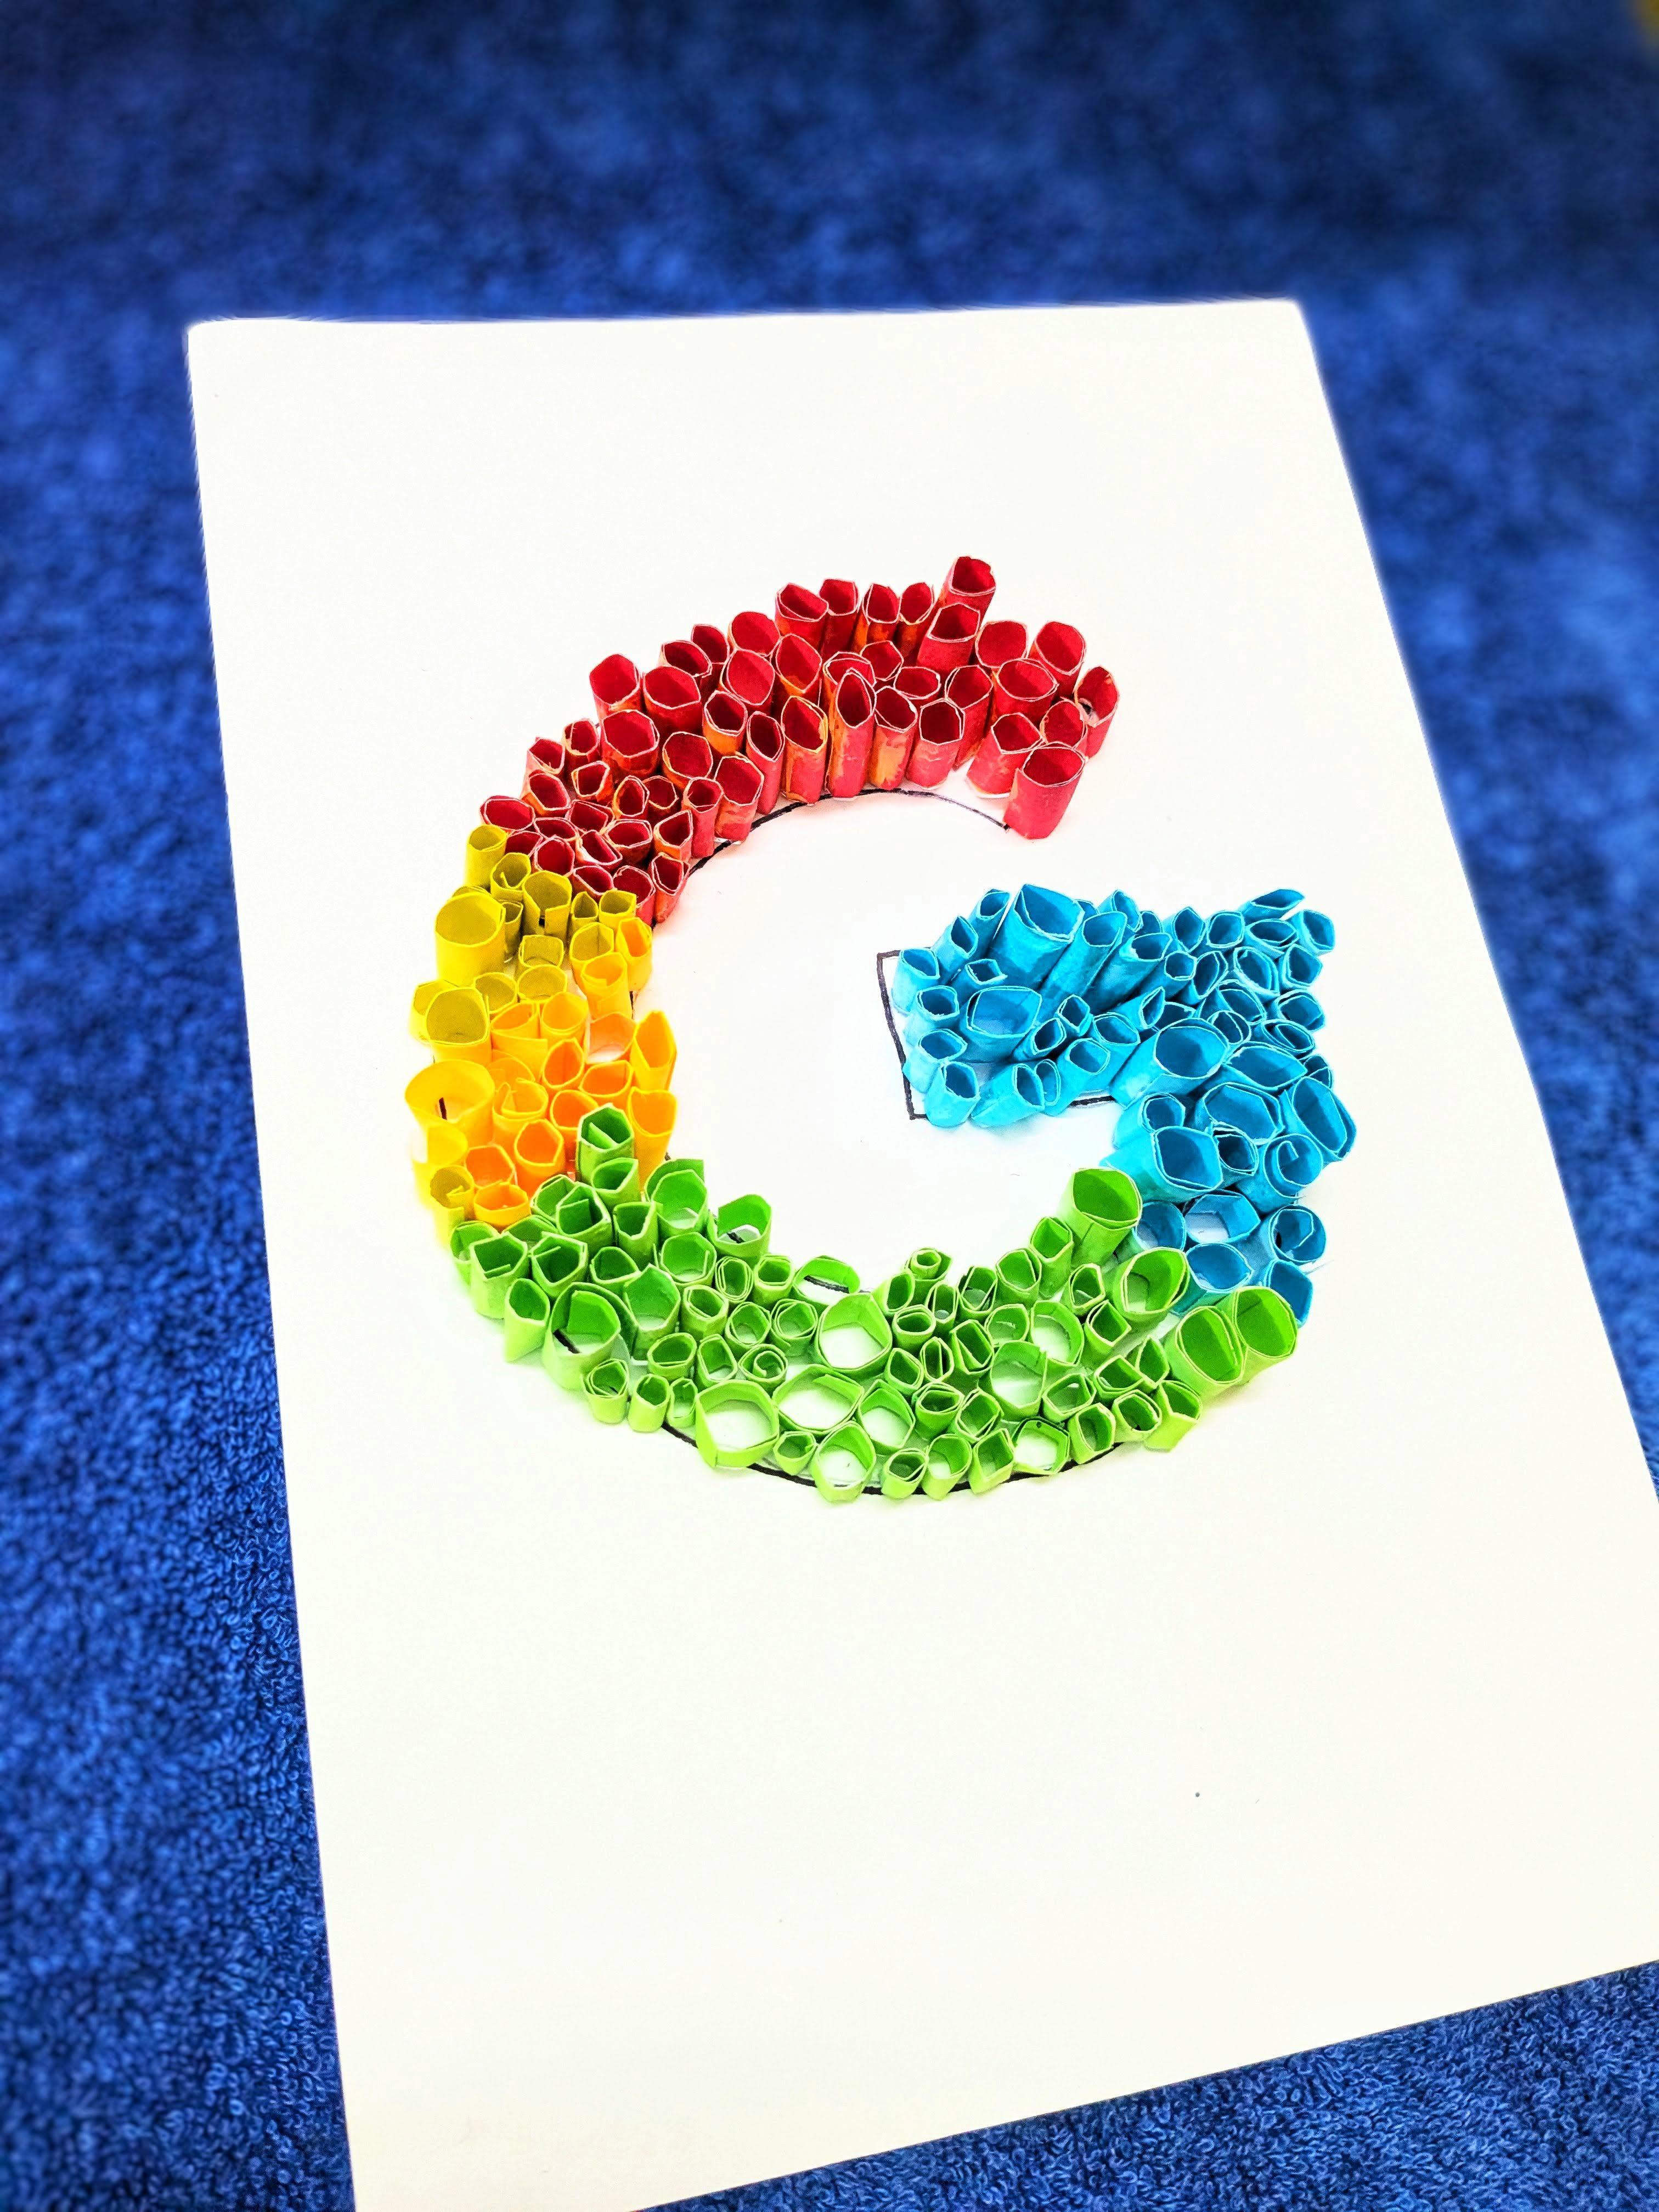
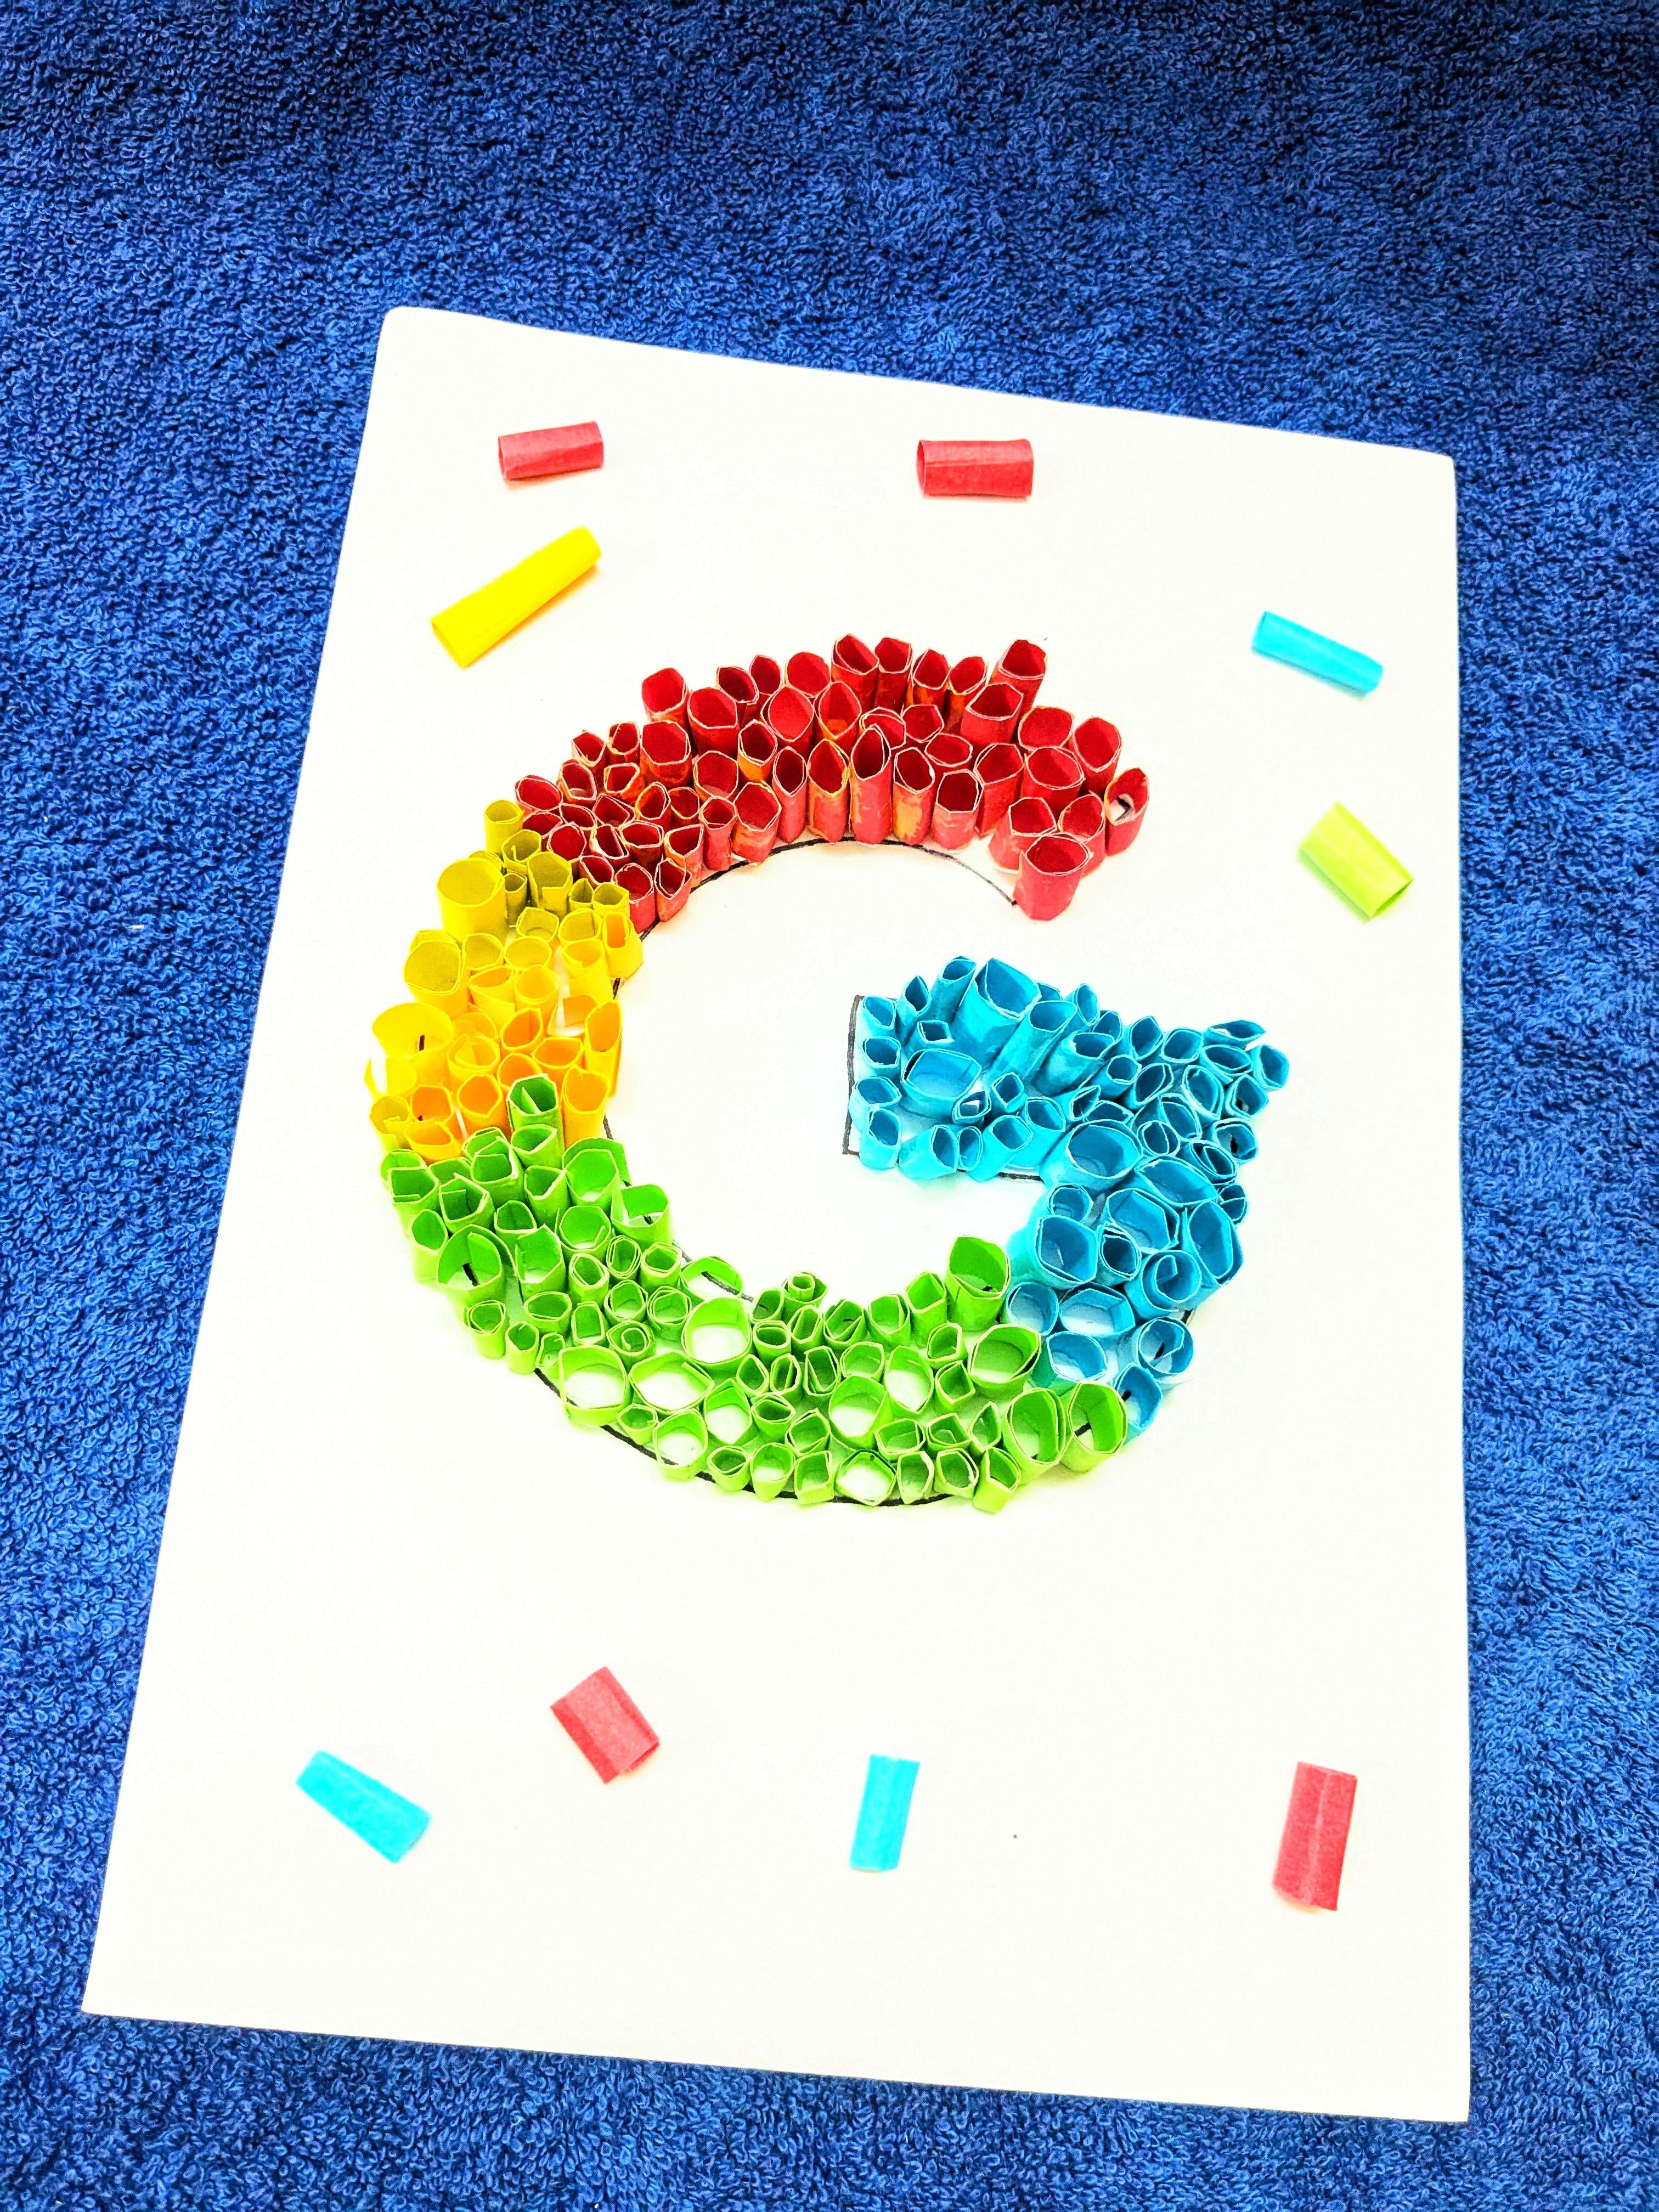
How to Create a 3D Typographic Google Logo
by TheSpaceGuy in Craft > Paper
210 Views, 0 Favorites, 0 Comments
How to Create a 3D Typographic Google Logo

Creating a 3D typographic Google logo is an exciting venture that allows you to blend traditional typography with modern 3D design techniques. This approach not only brings a fresh and dynamic perspective to an iconic symbol but also opens up endless possibilities for creativity and innovation in logo design. Using this techniques anyone can apply the principles of 3D typography to various letters and symbols, crafting distinctive and impactful logos for different brands. For example:
- Facebook "f": By creating a 3D version of the Facebook "f," designers can add a sense of depth and modernity to the familiar icon, making it more engaging and visually appealing.
- Instagram "camera": Transforming the Instagram camera icon into a 3D design can enhance its visual impact, giving it a more tangible and dynamic presence.
- Twitter "bird": A 3D rendition of the Twitter bird can bring a new level of vibrancy and liveliness to the logo, reinforcing the brand's energetic and fast-paced nature.
By mastering these techniques, you can experiment with different fonts, colors, and 3D effects to create unique and captivating logos for a variety of brands, each with its own distinct character and appeal. This instrutables serves as a comprehensive guide to exploring the limitless potential of 3D typography in logo design.
Supplies


To create a 3D typographic Google logo, you'll need the following supplies:
- Origami Paper: For creating the various elements of the logo. Choose colors that match Google's branding.
- A4 Sheet: For sketching and planning your design layout.
- Glue: To assemble and secure the different parts of your 3D design.
- Scissors: For cutting the origami paper and A4 sheet into the desired shapes and sizes.
With these basic supplies, you'll be well-equipped to bring your 3D typographic Google logo to life, experimenting with shapes, colors, and dimensions to create a visually stunning and innovative design.
The Design
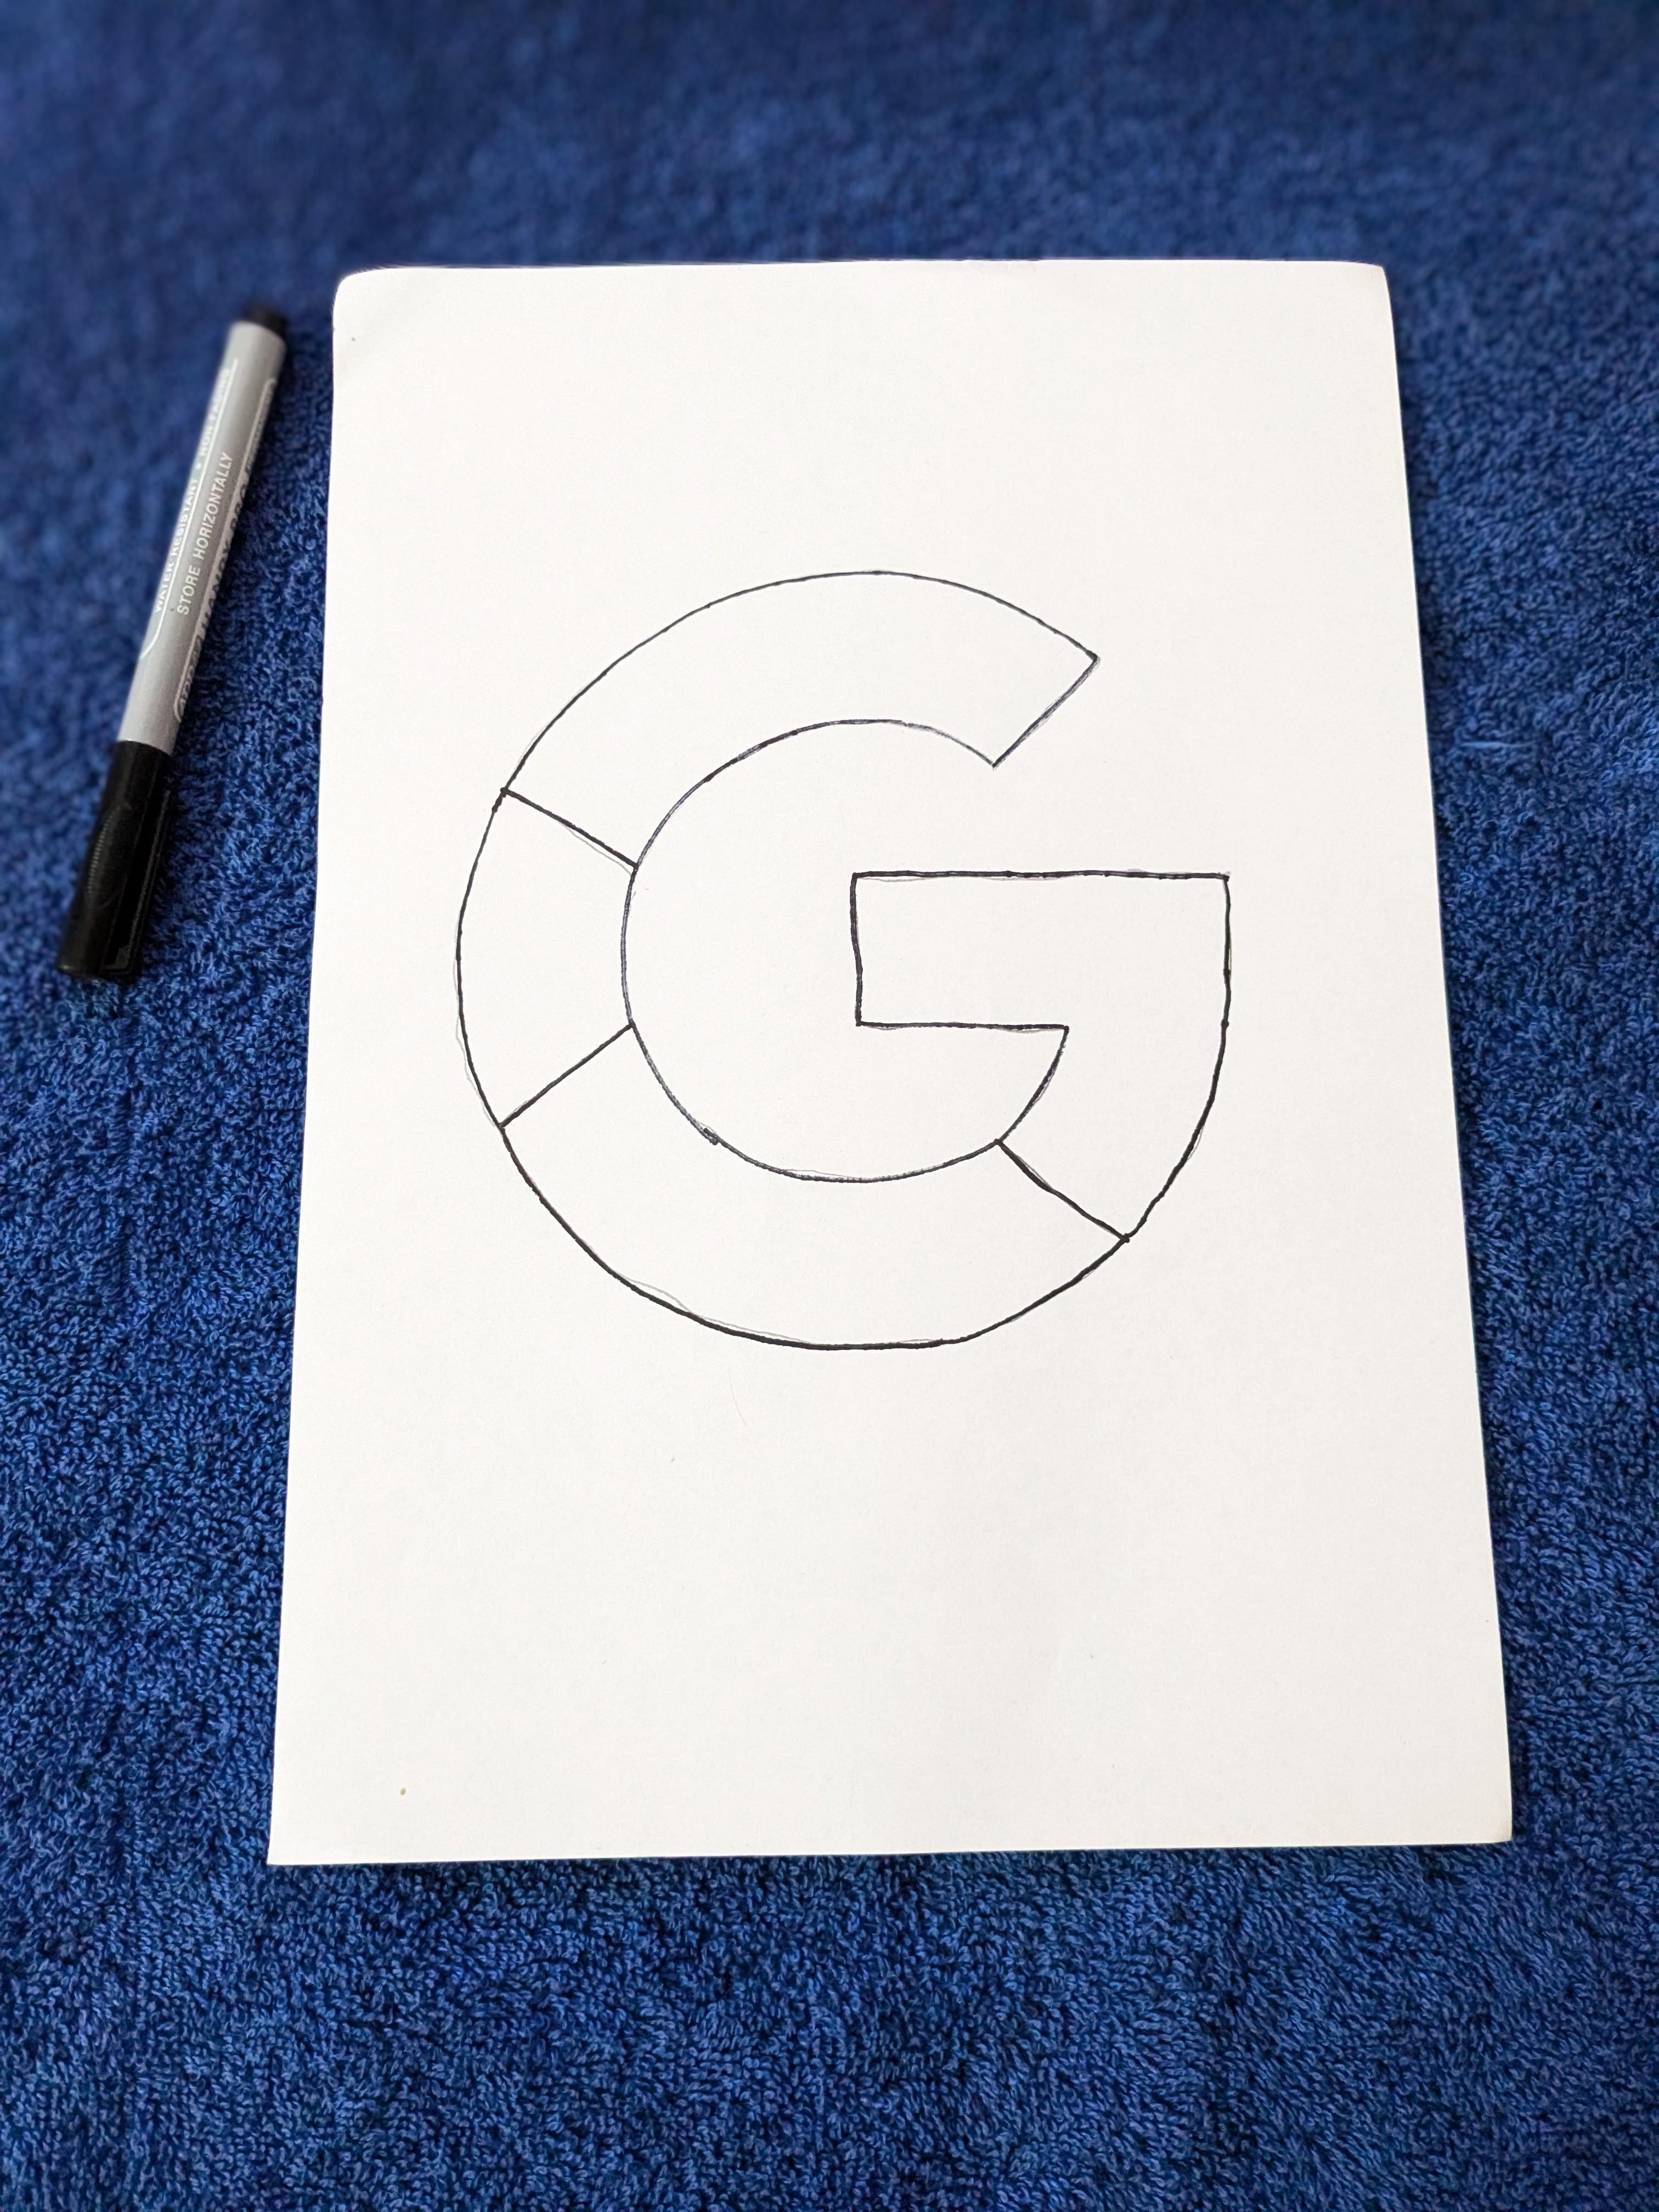

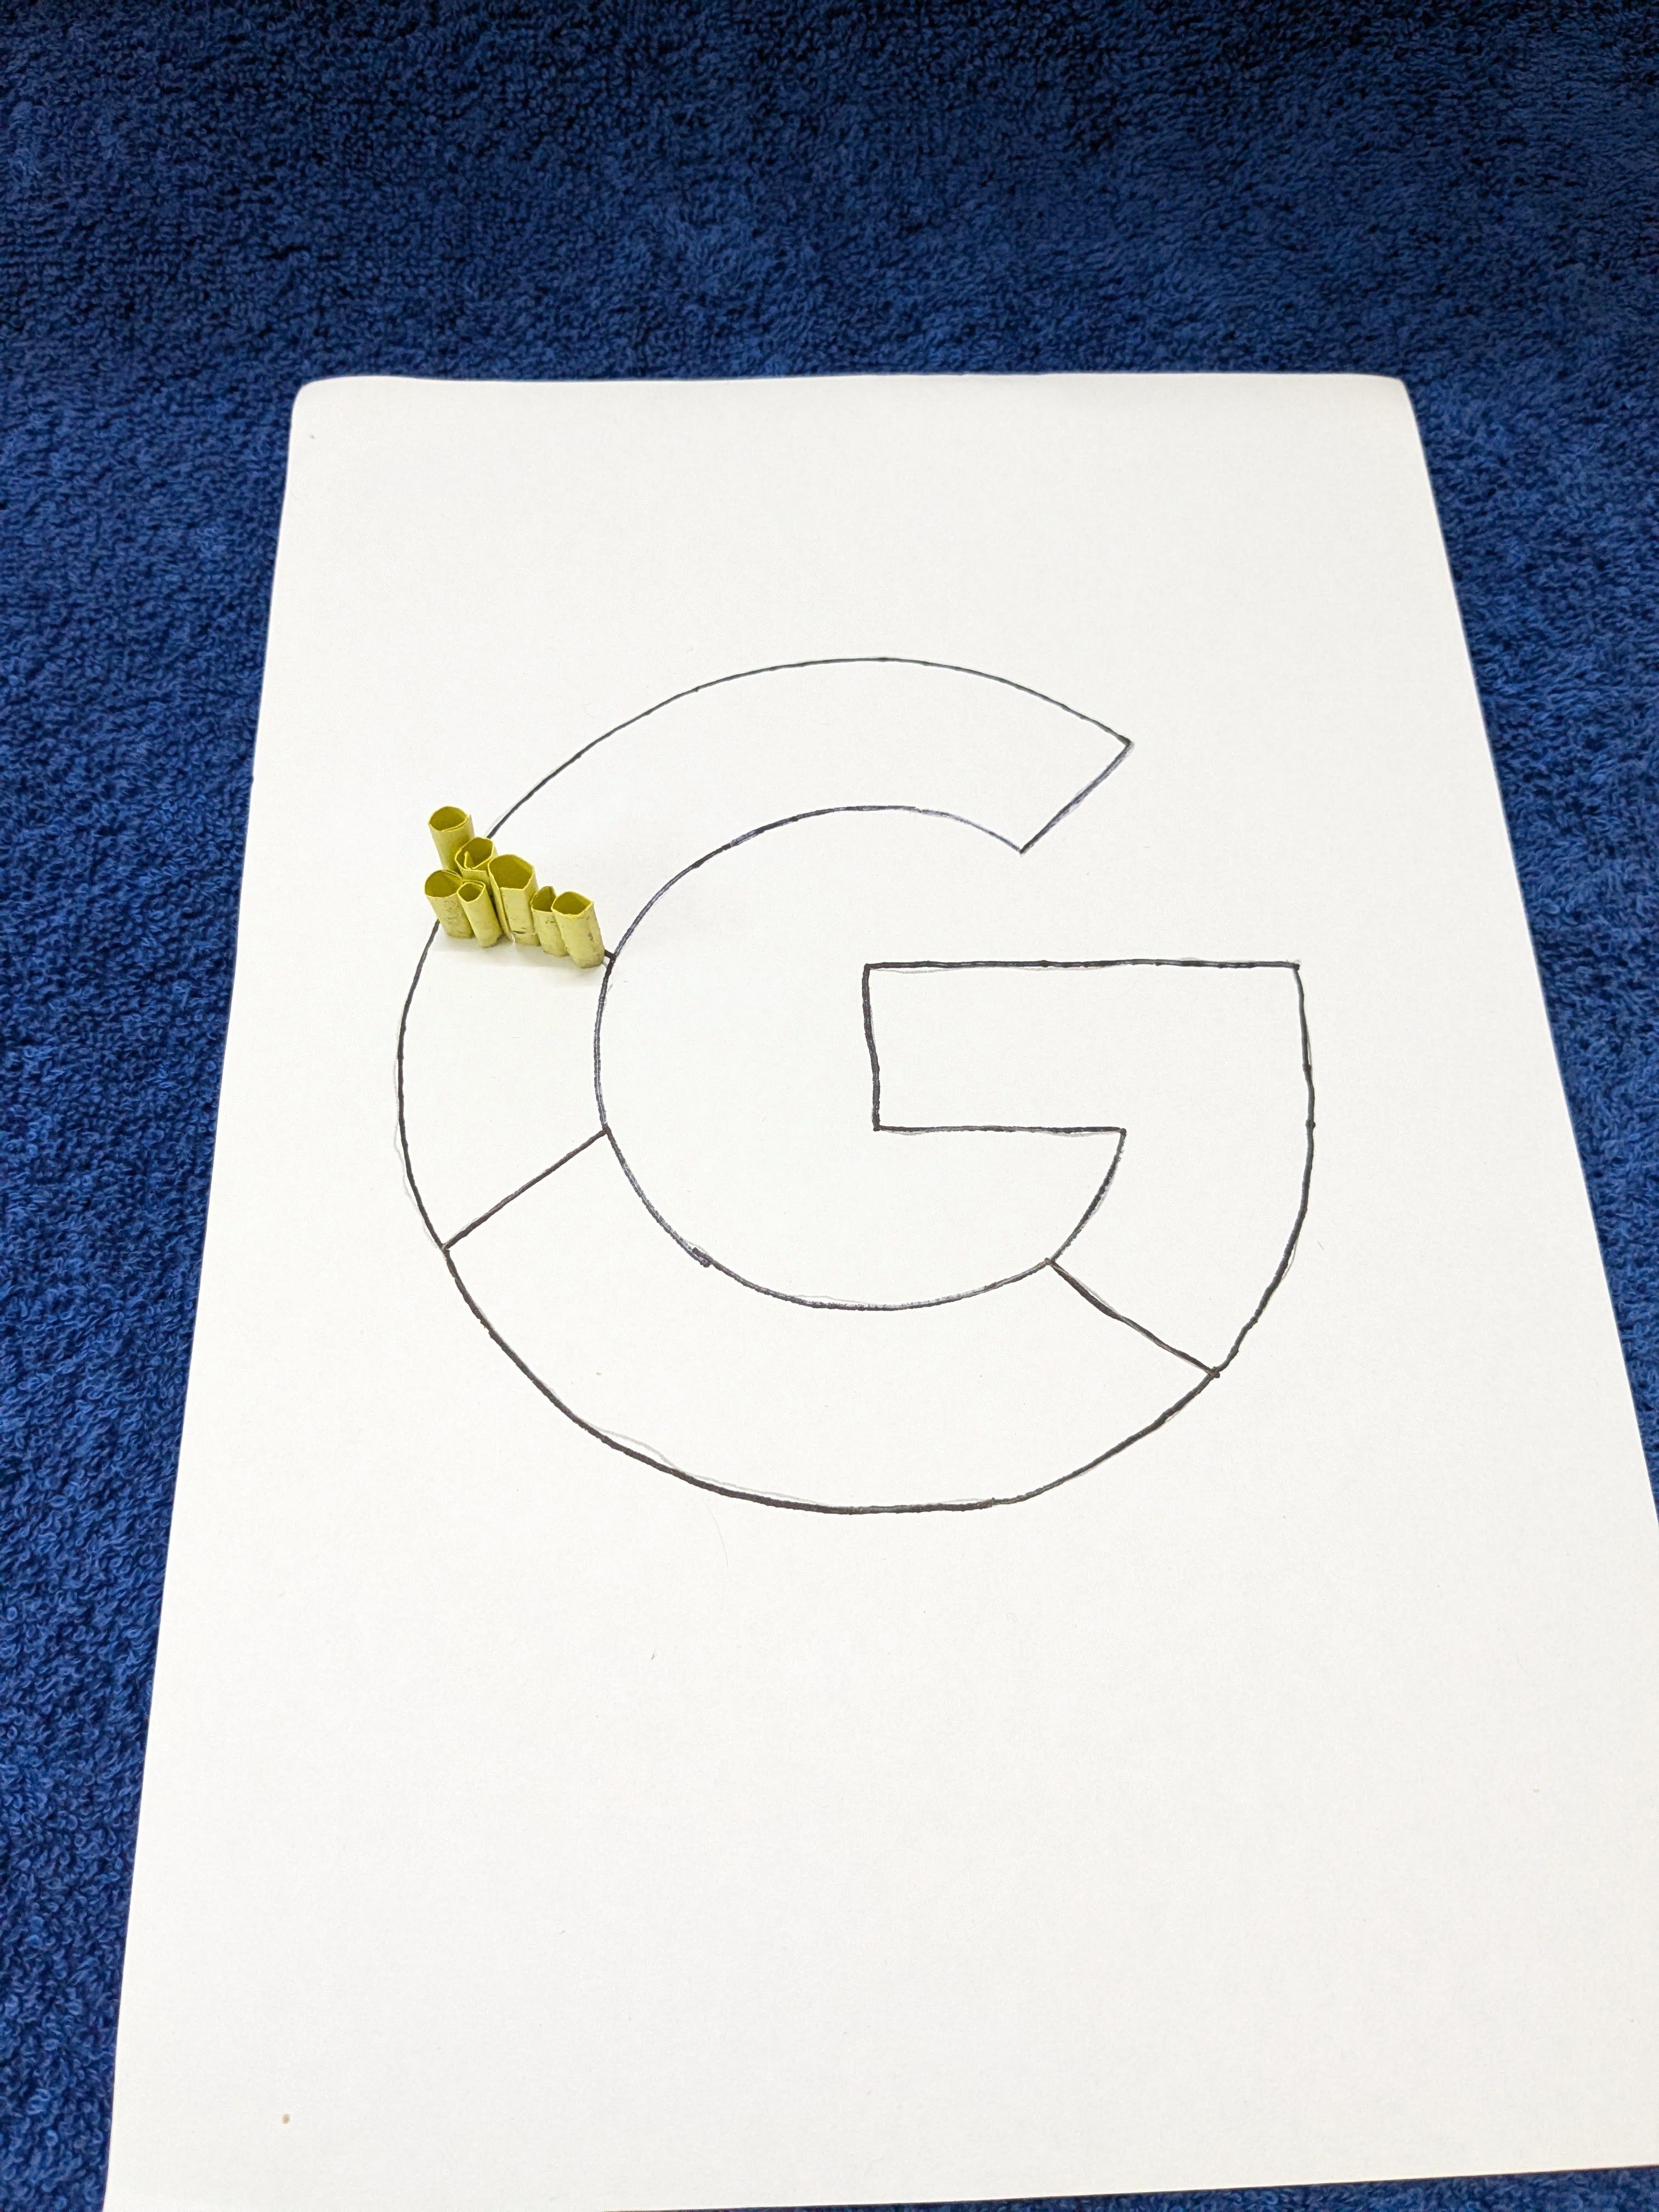
- Begin by using the A4 sheet to draw initial sketches of the Google logo with a 3D typographic style. Focus on how each letter will look in three dimensions, considering different perspectives and angles. Experiment with variations to see which design works best.
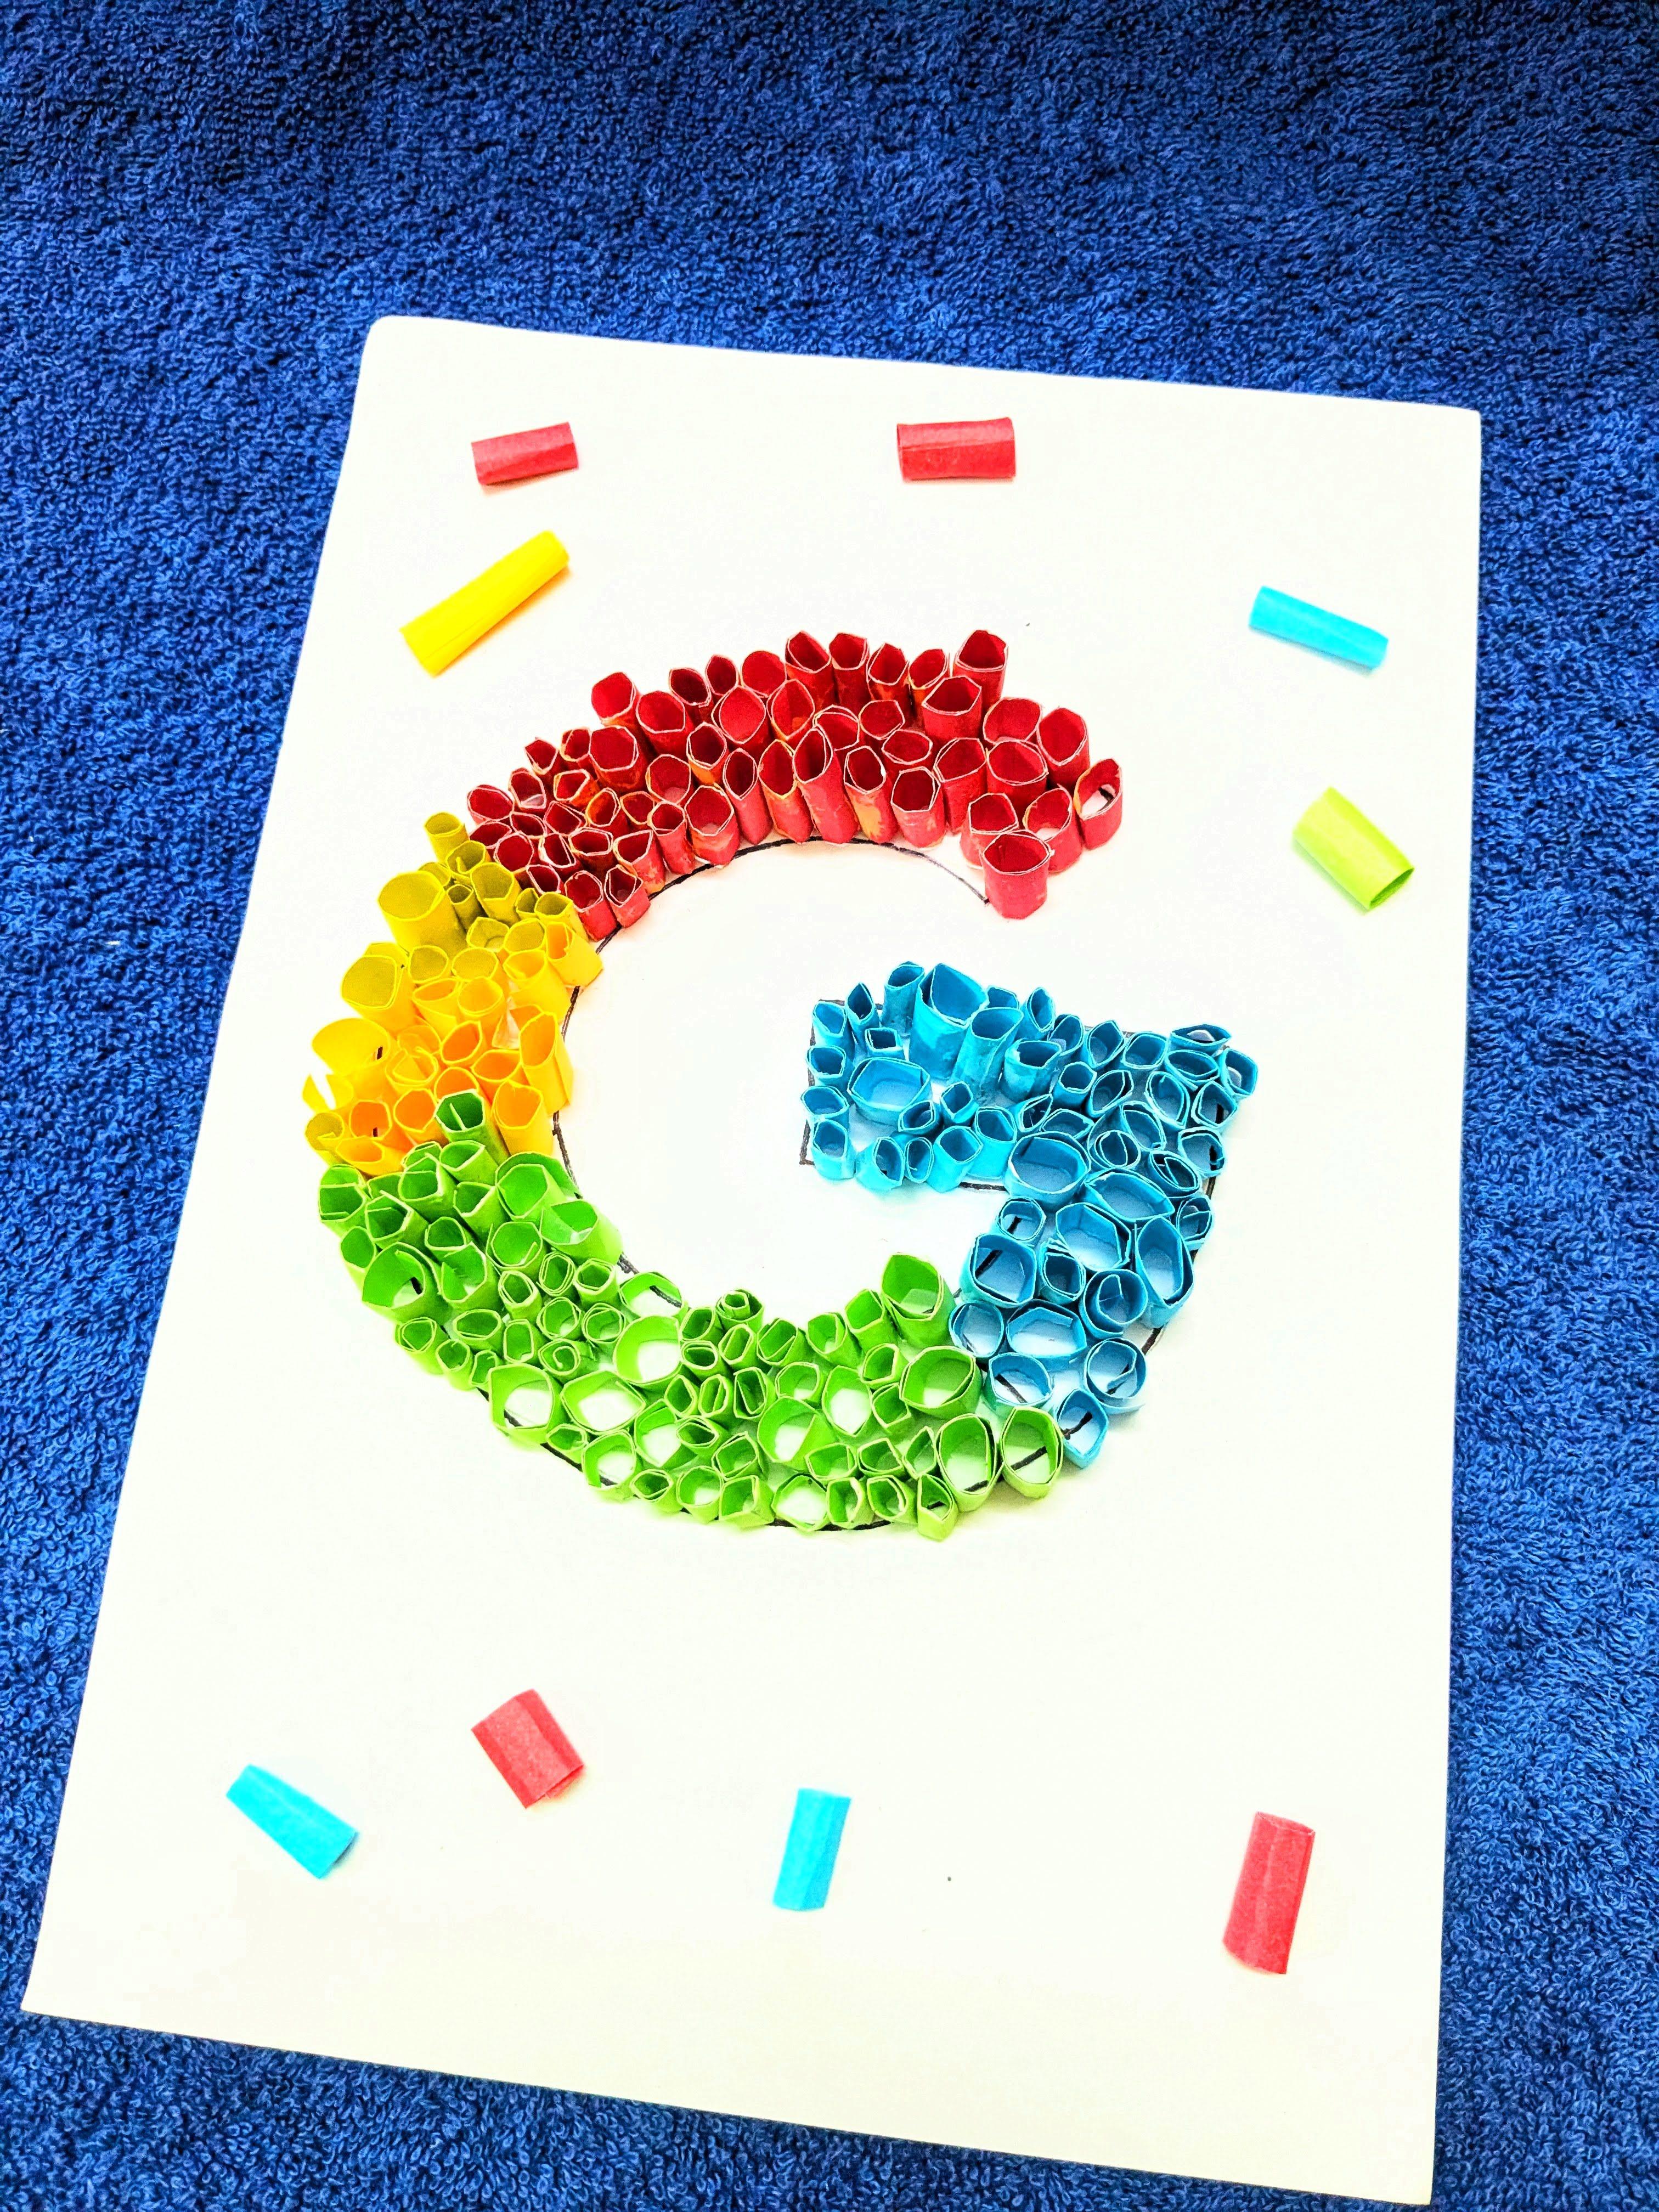
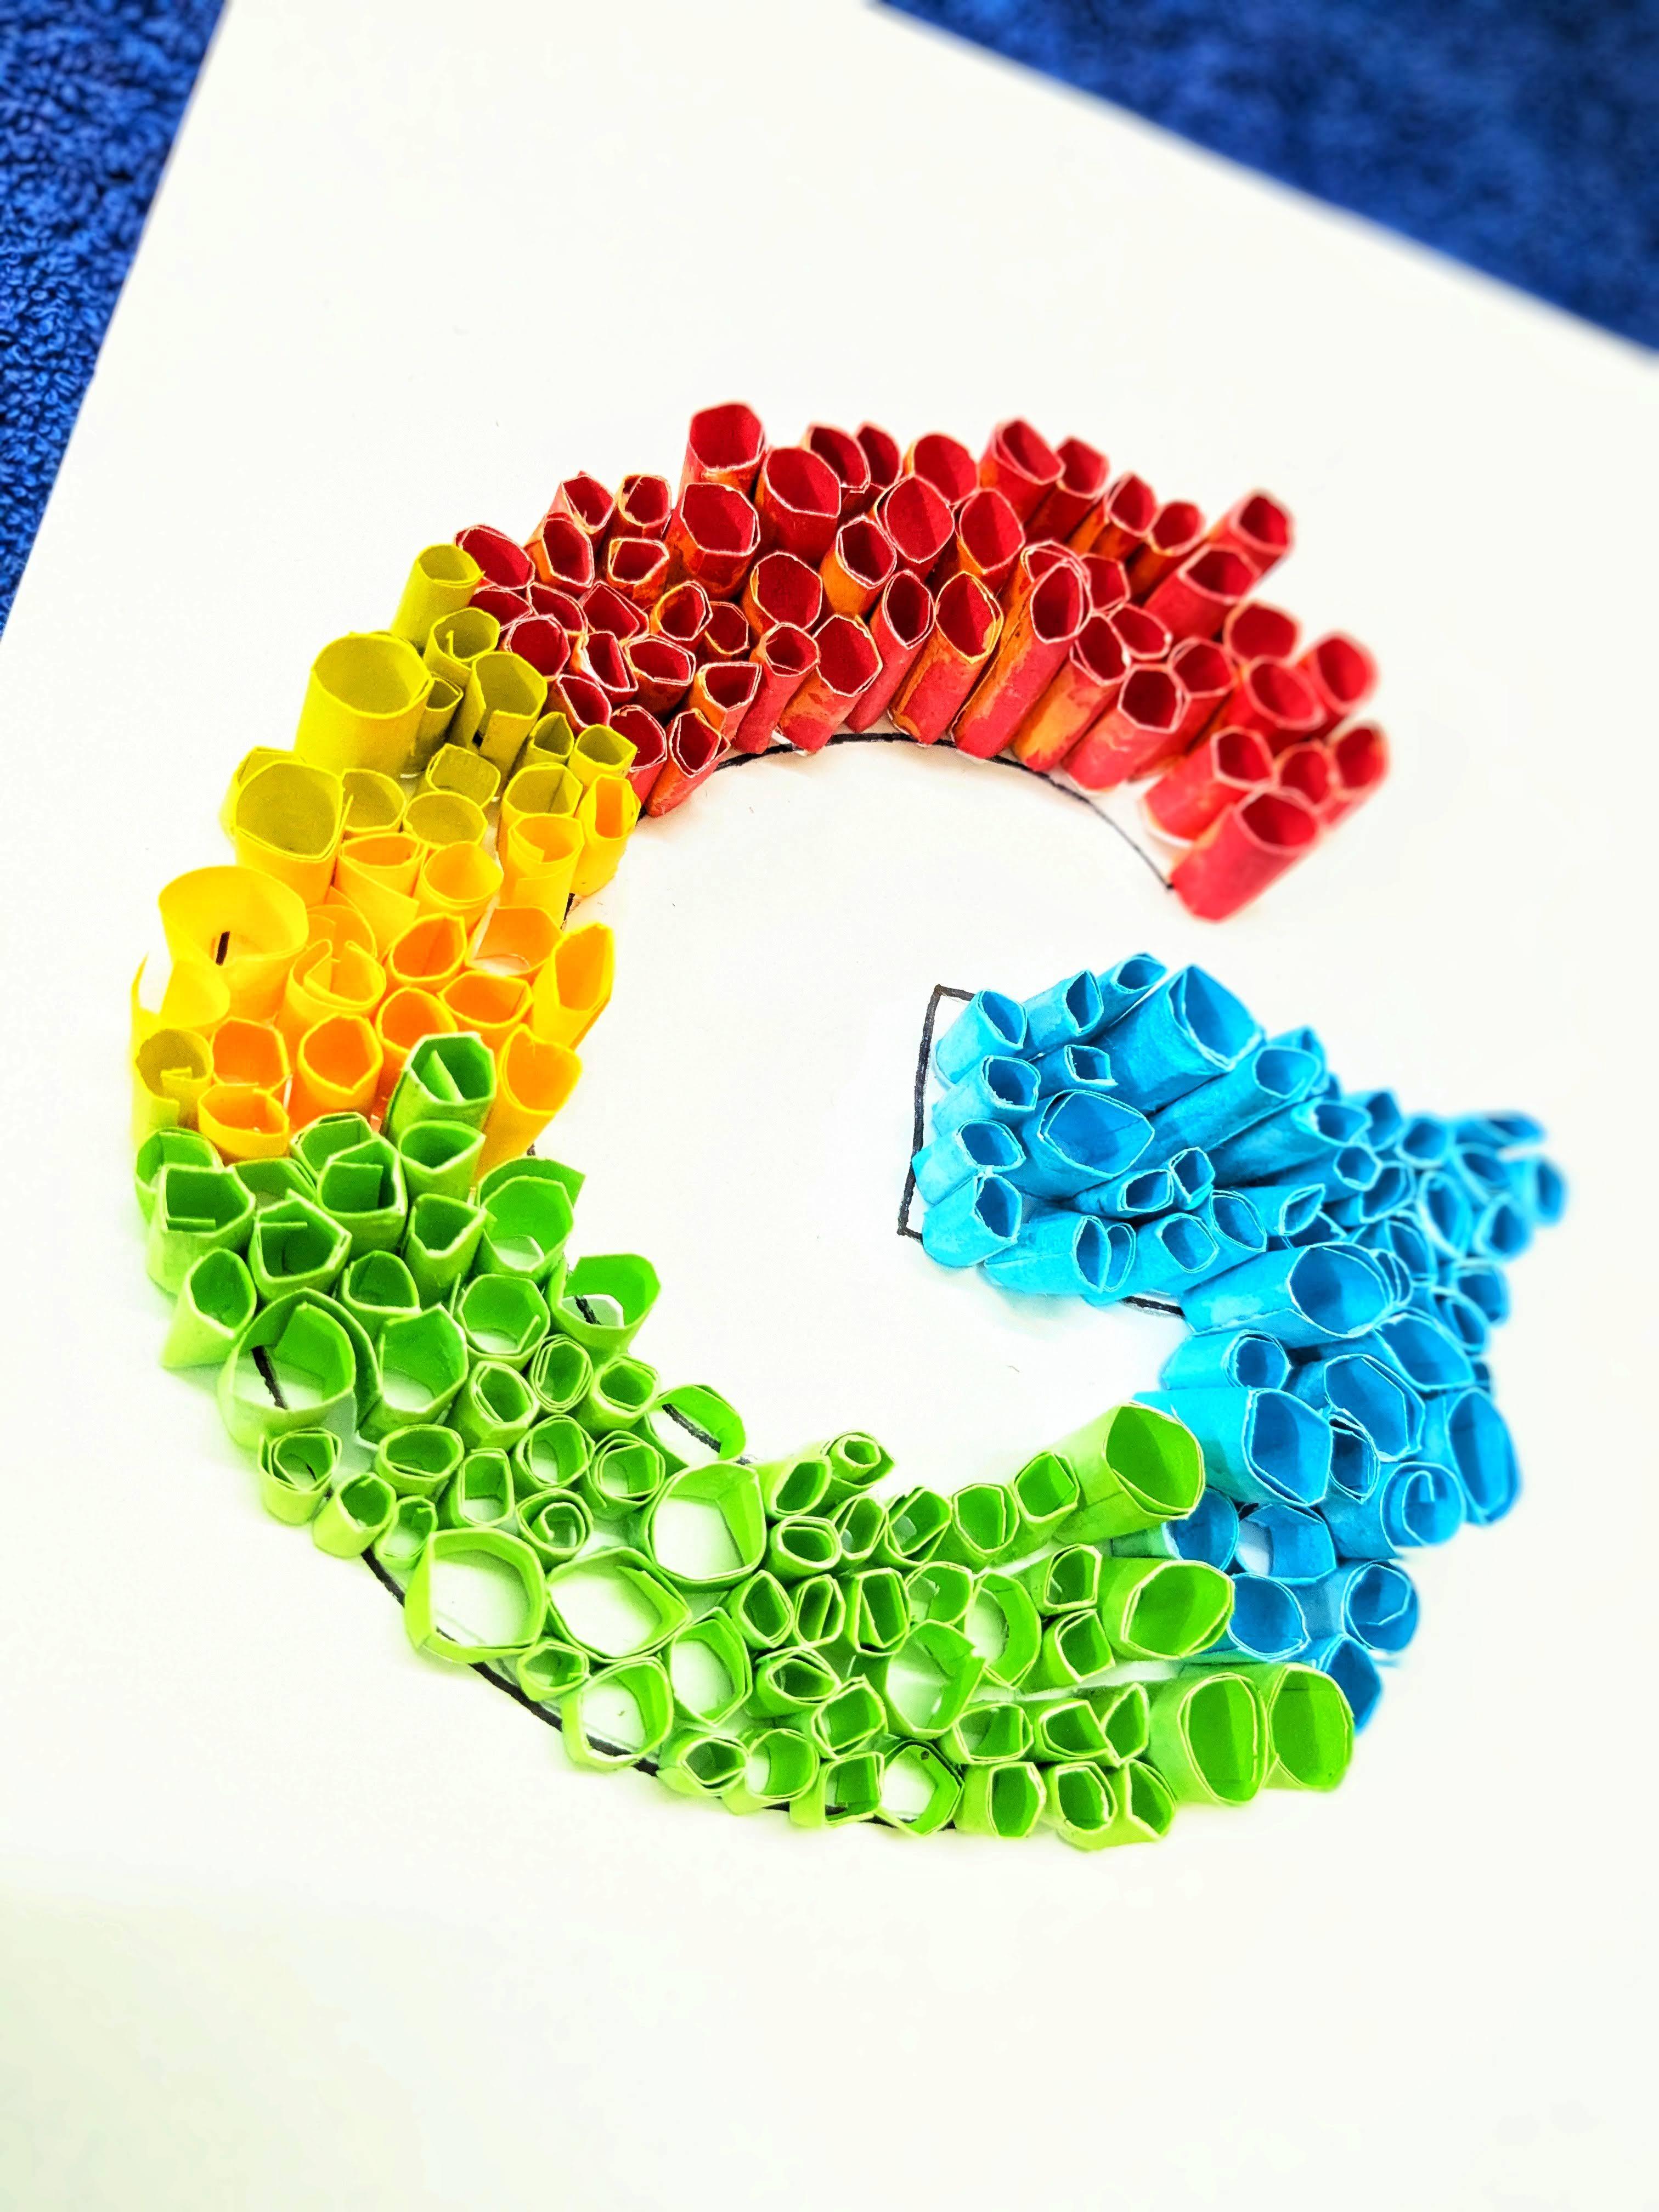
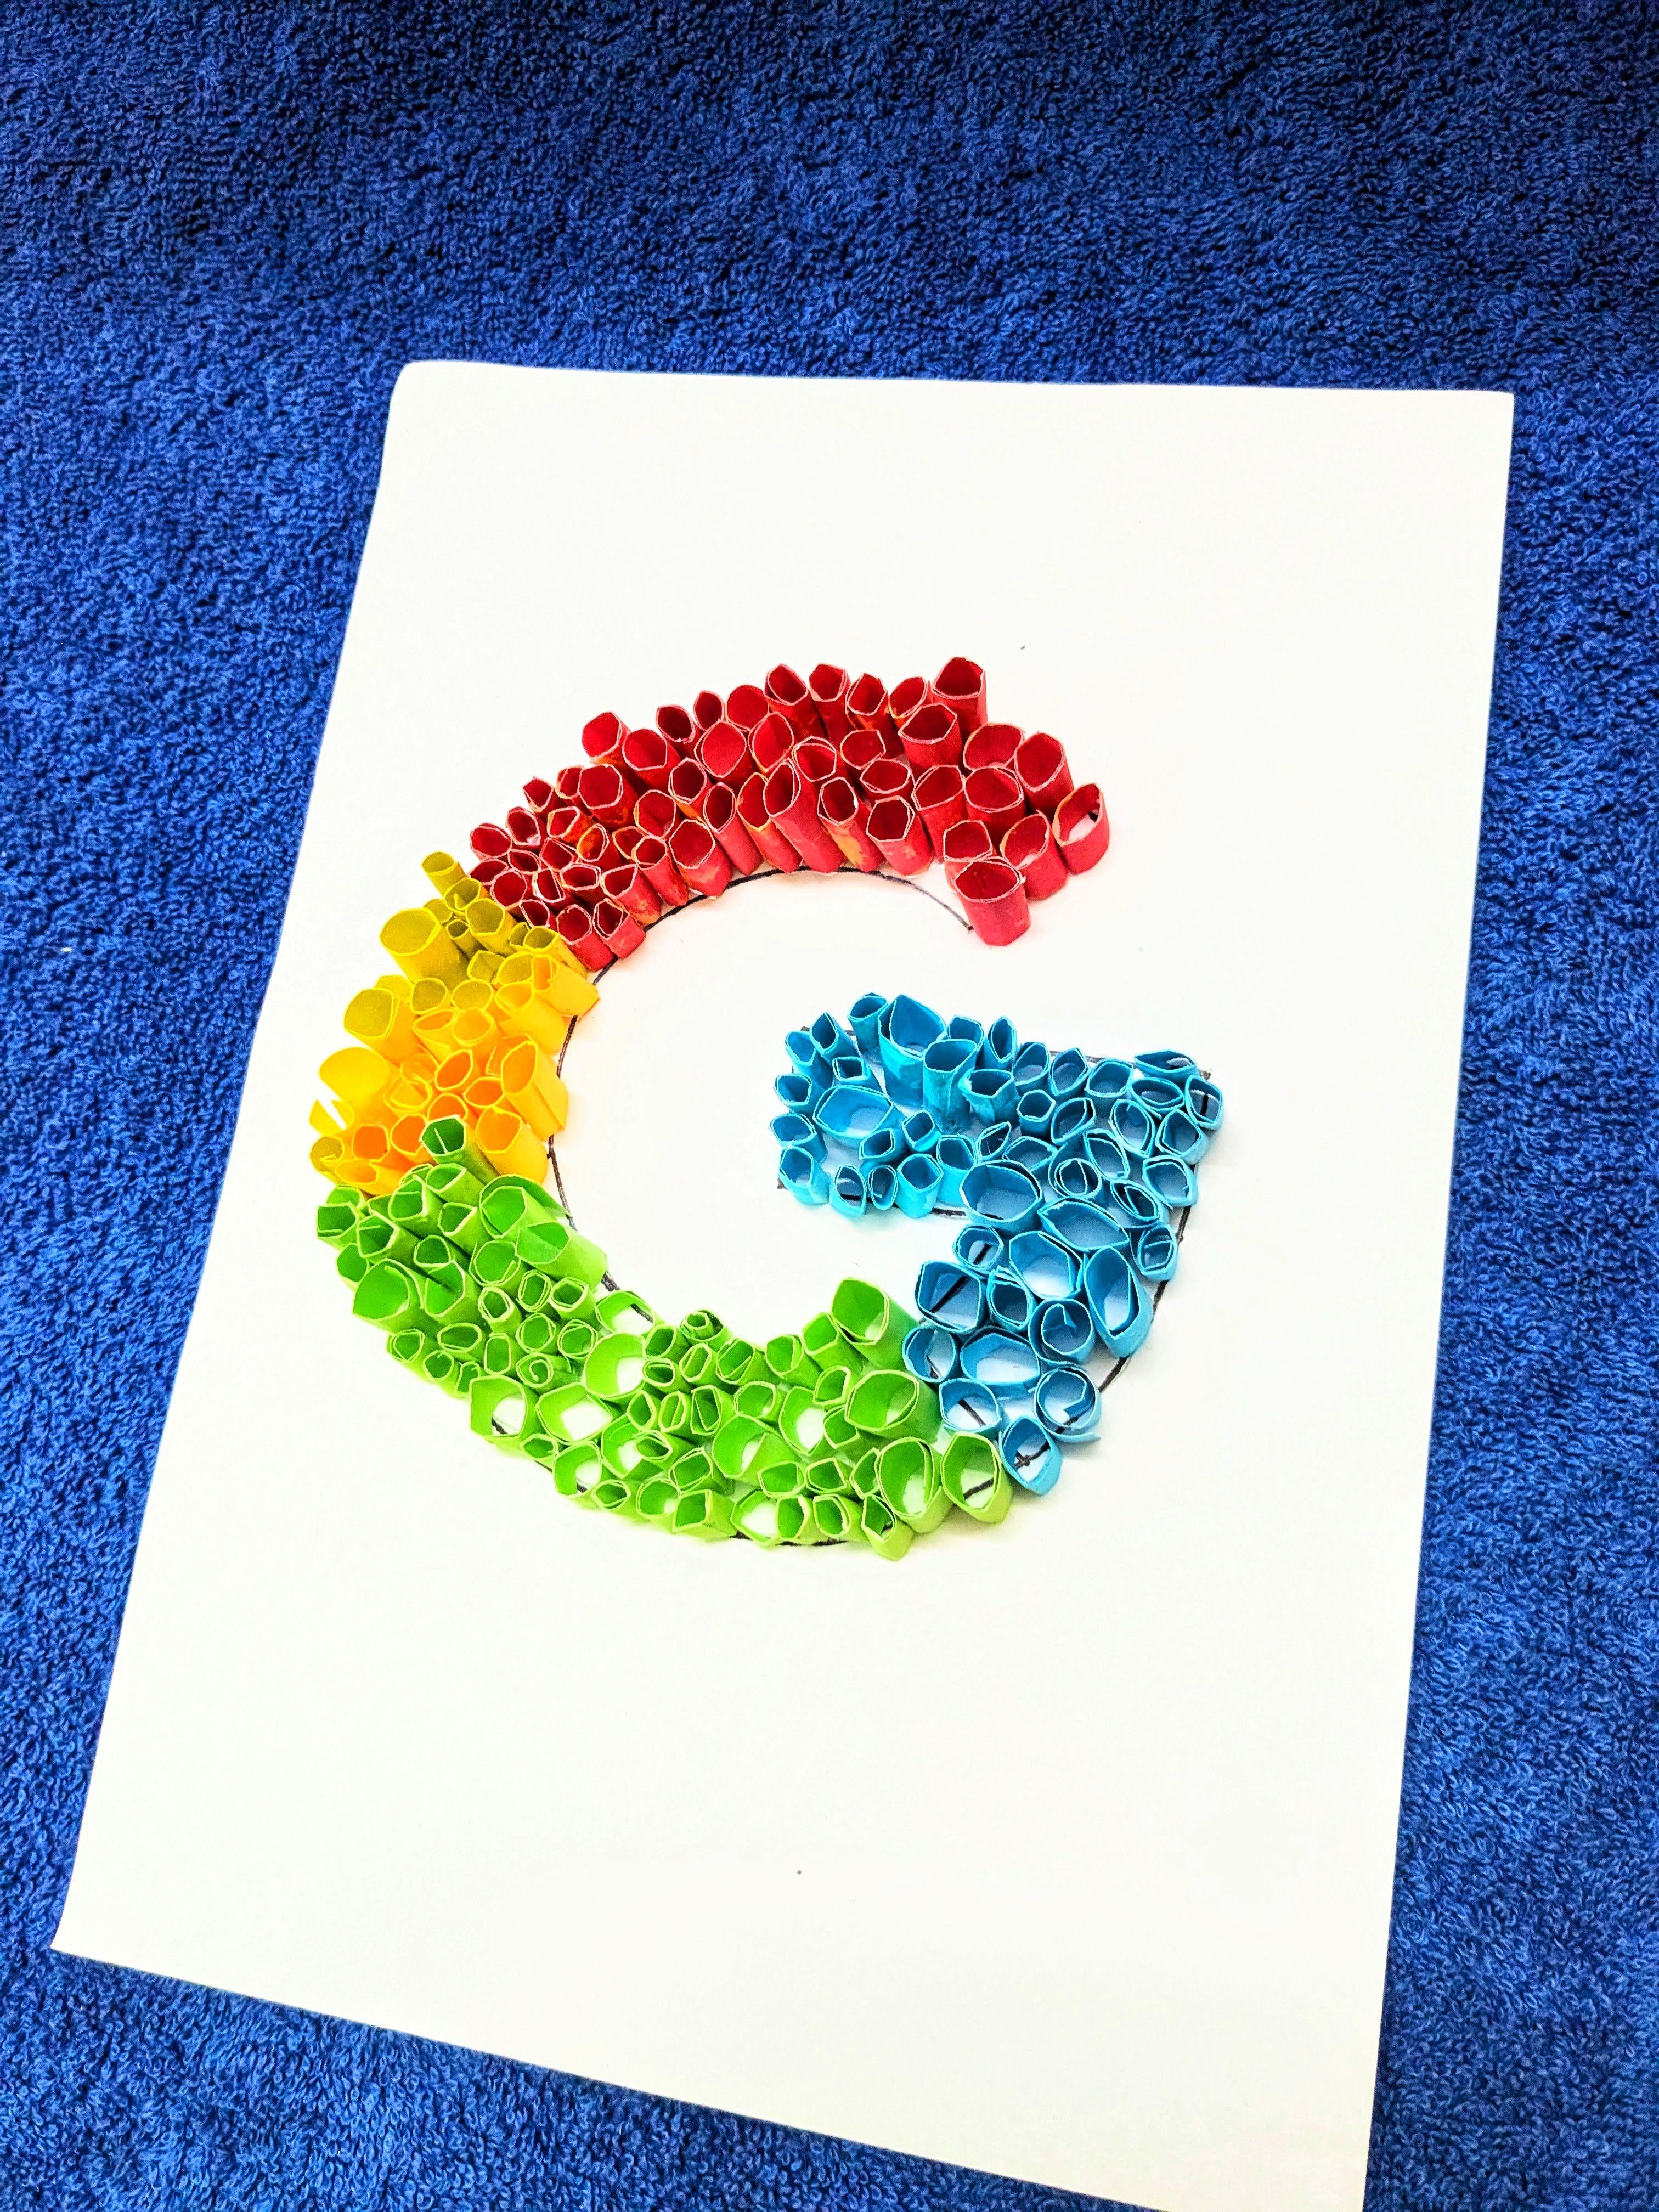
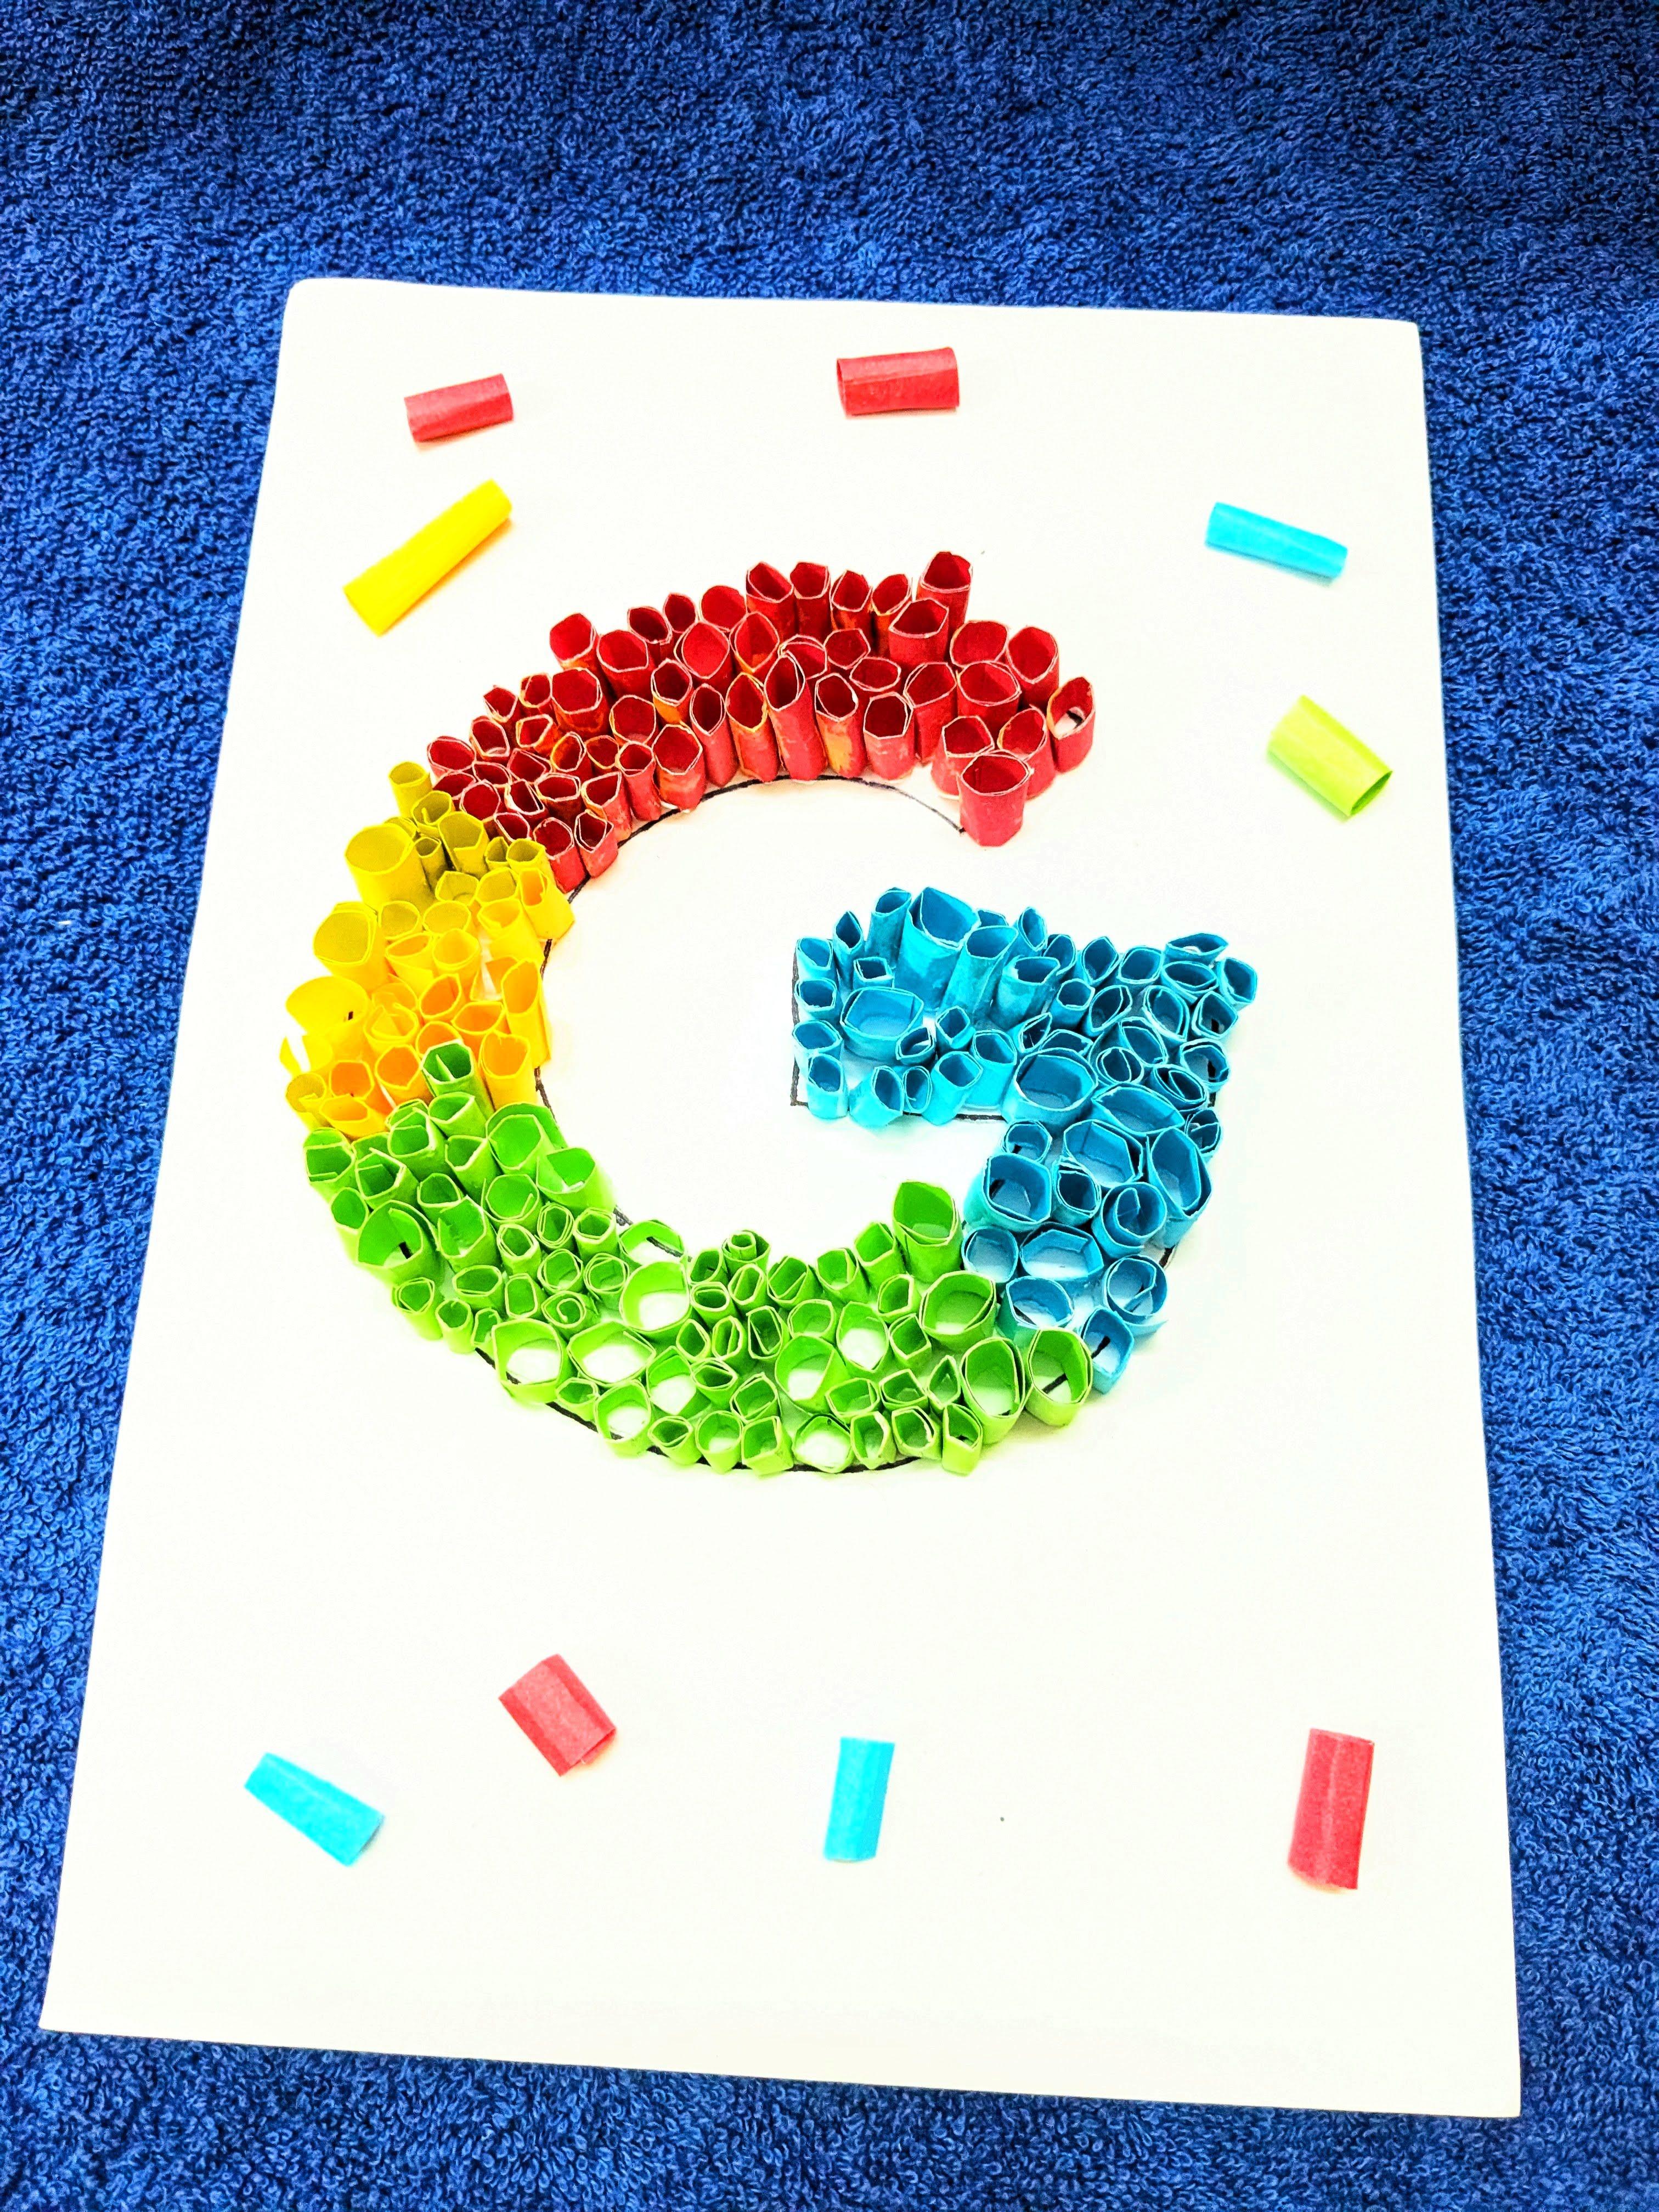
- Decide on the color scheme for your design, keeping in mind Google's branding. Google's logo uses blue, red, yellow, and green. Ensure you have origami paper in these colors or paint them if necessary.
- Based on your sketches, trace the shapes of the individual letters onto the origami paper. Ensure you trace accurately to maintain the proportions and dimensions of the letters.
- Carefully cut out the traced shapes using scissors. Precision is key here; any uneven edges can affect the final appearance of your 3D logo. Take your time to make clean, smooth cuts.
Assembling the 3D Elements
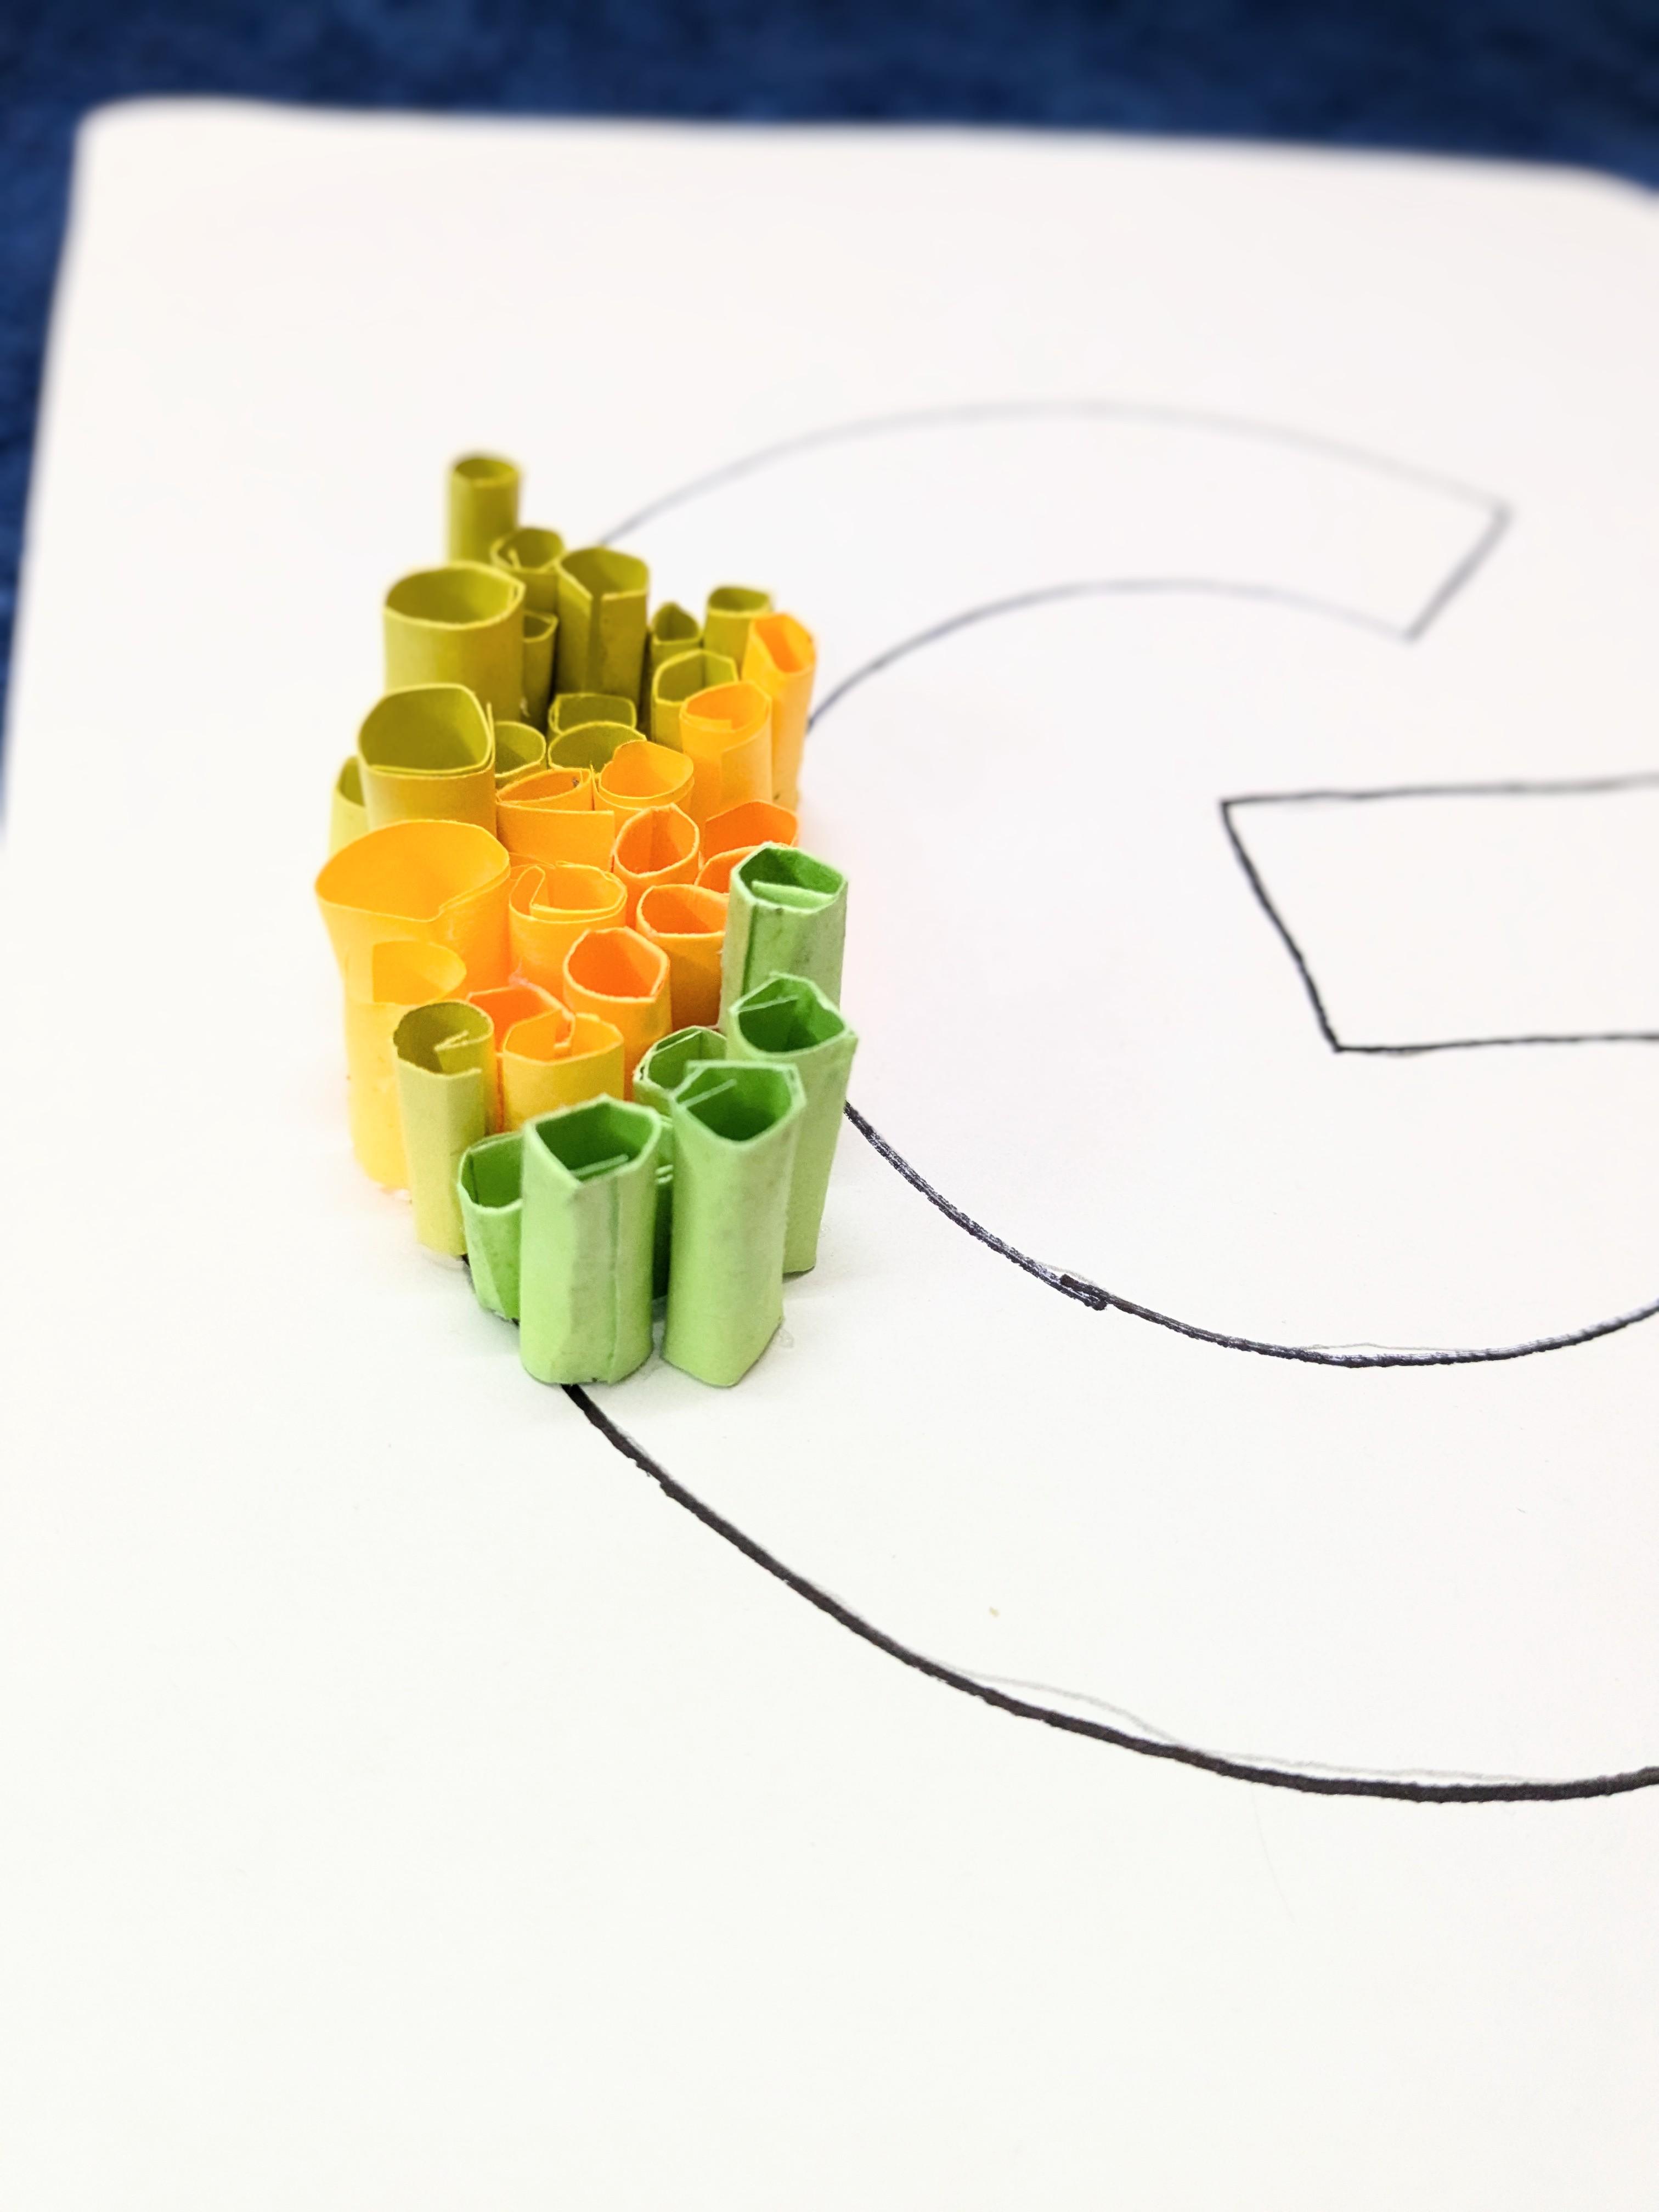
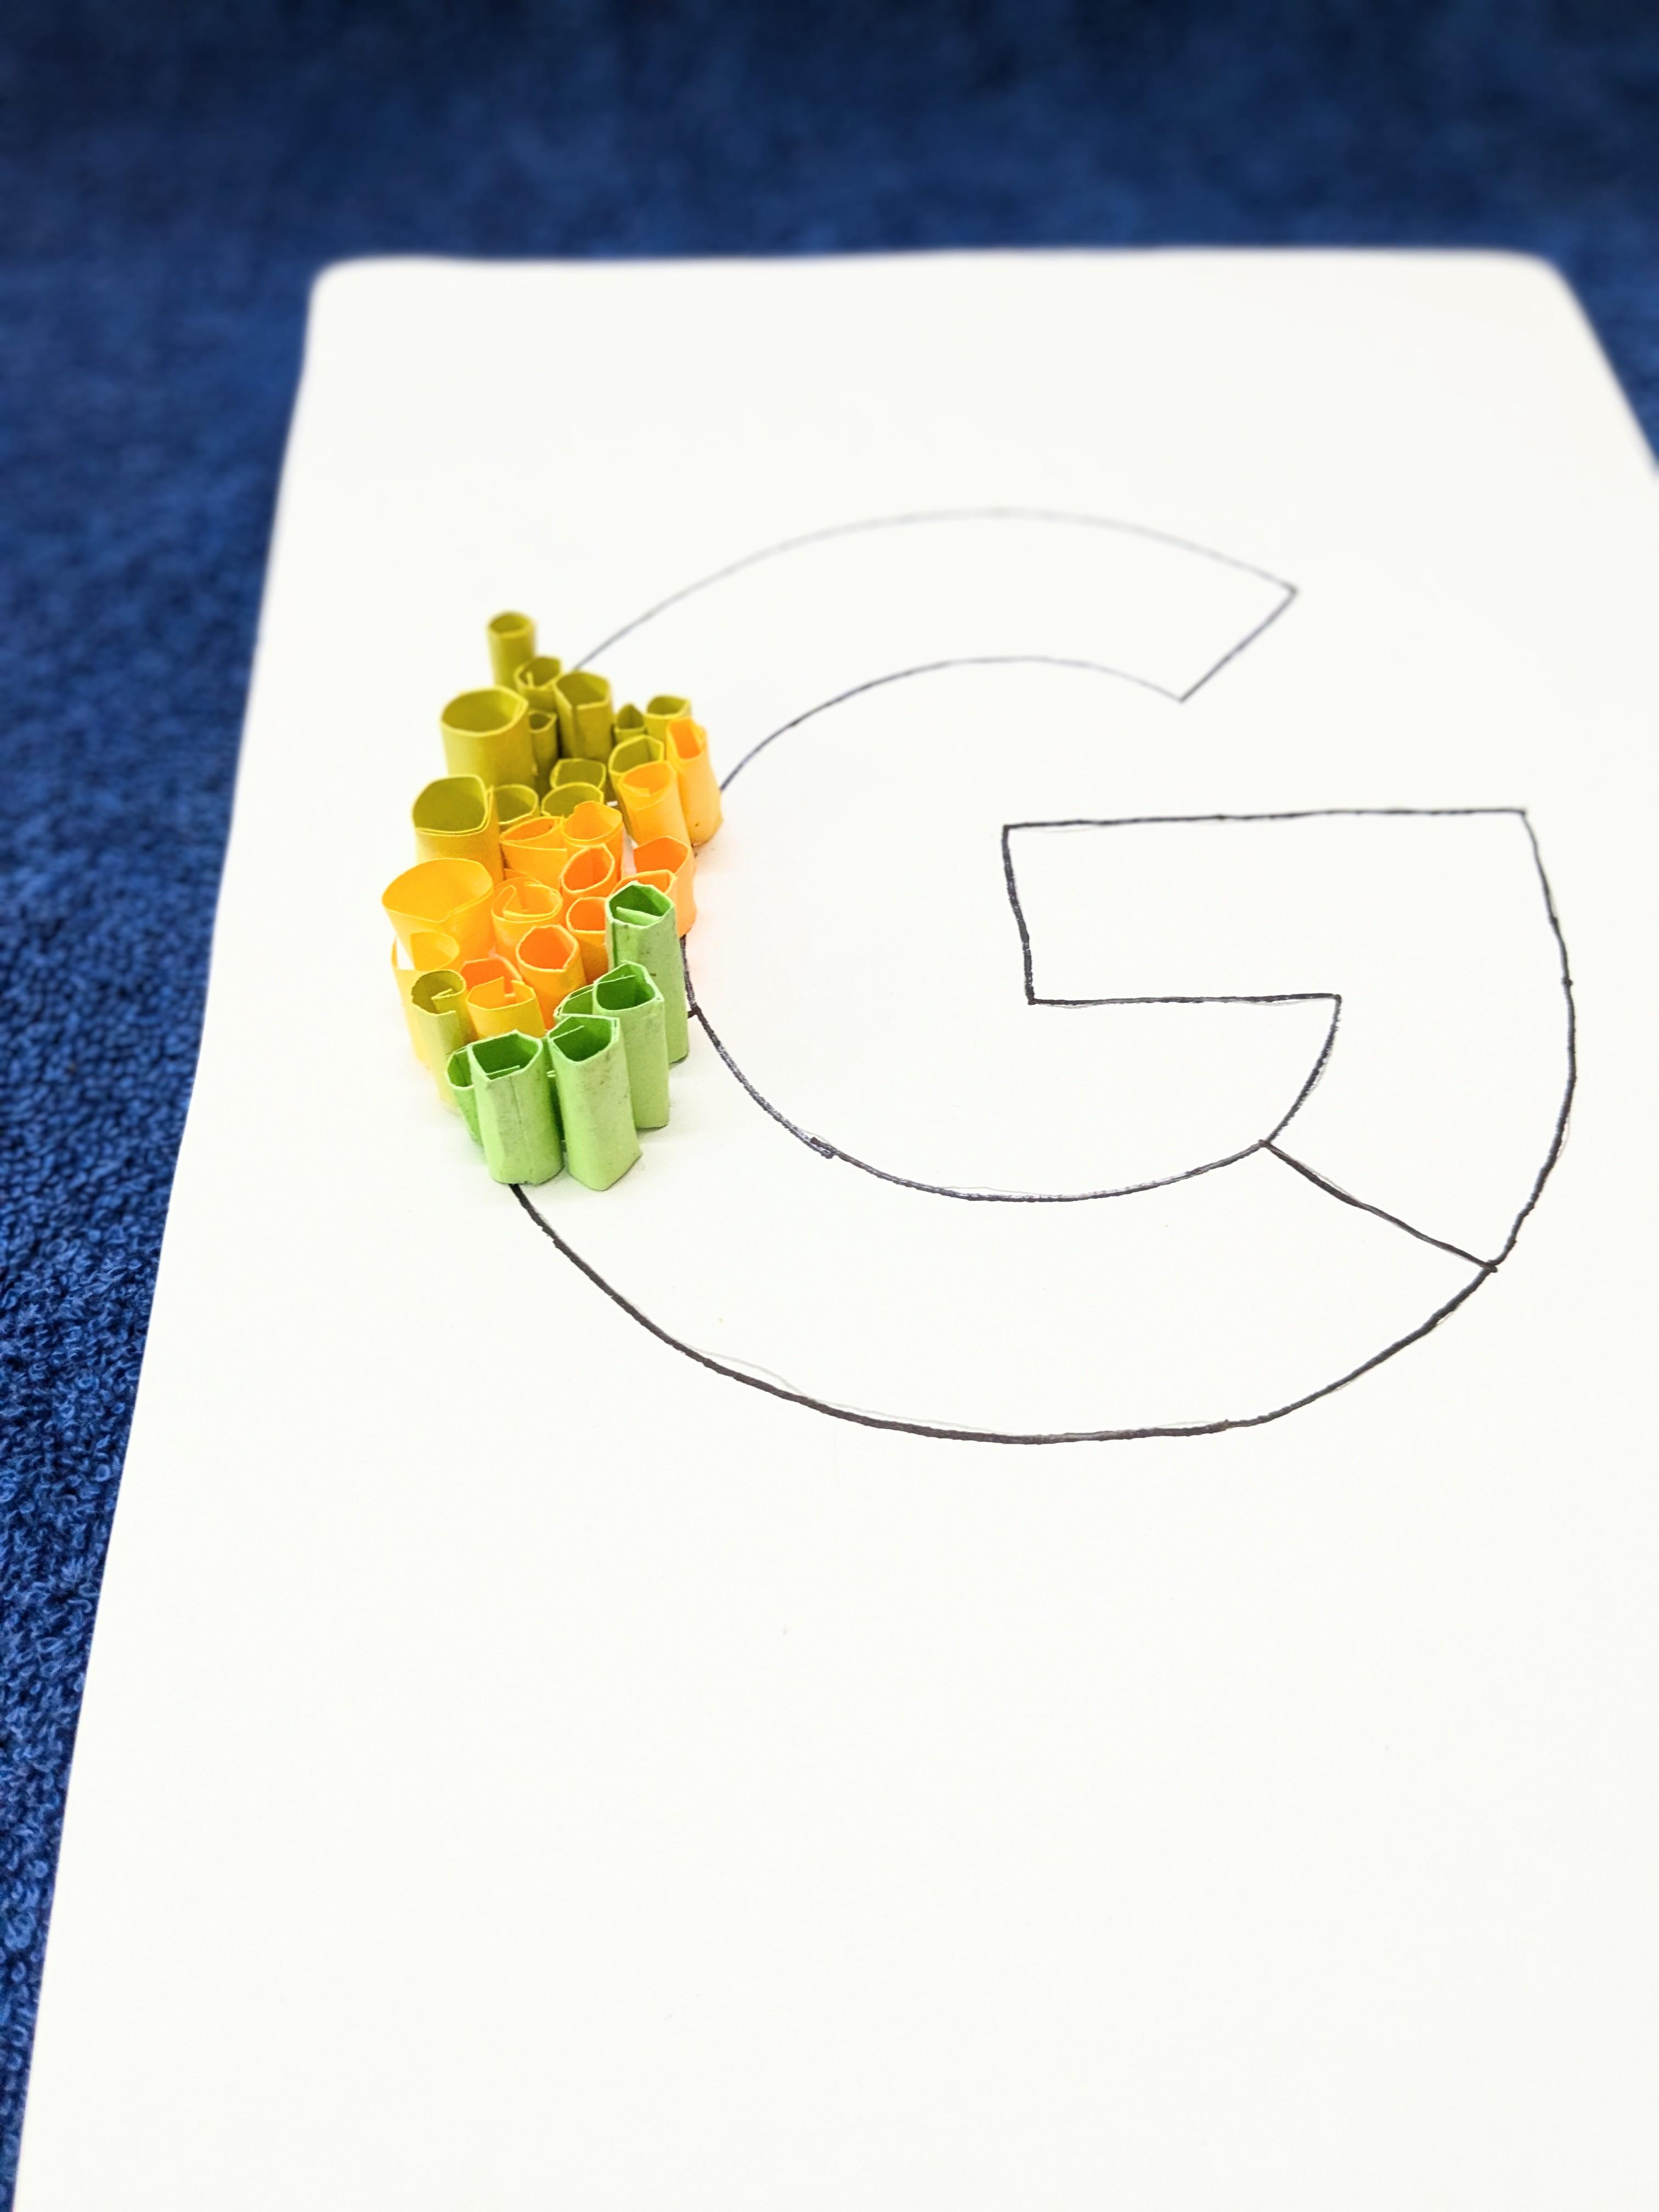
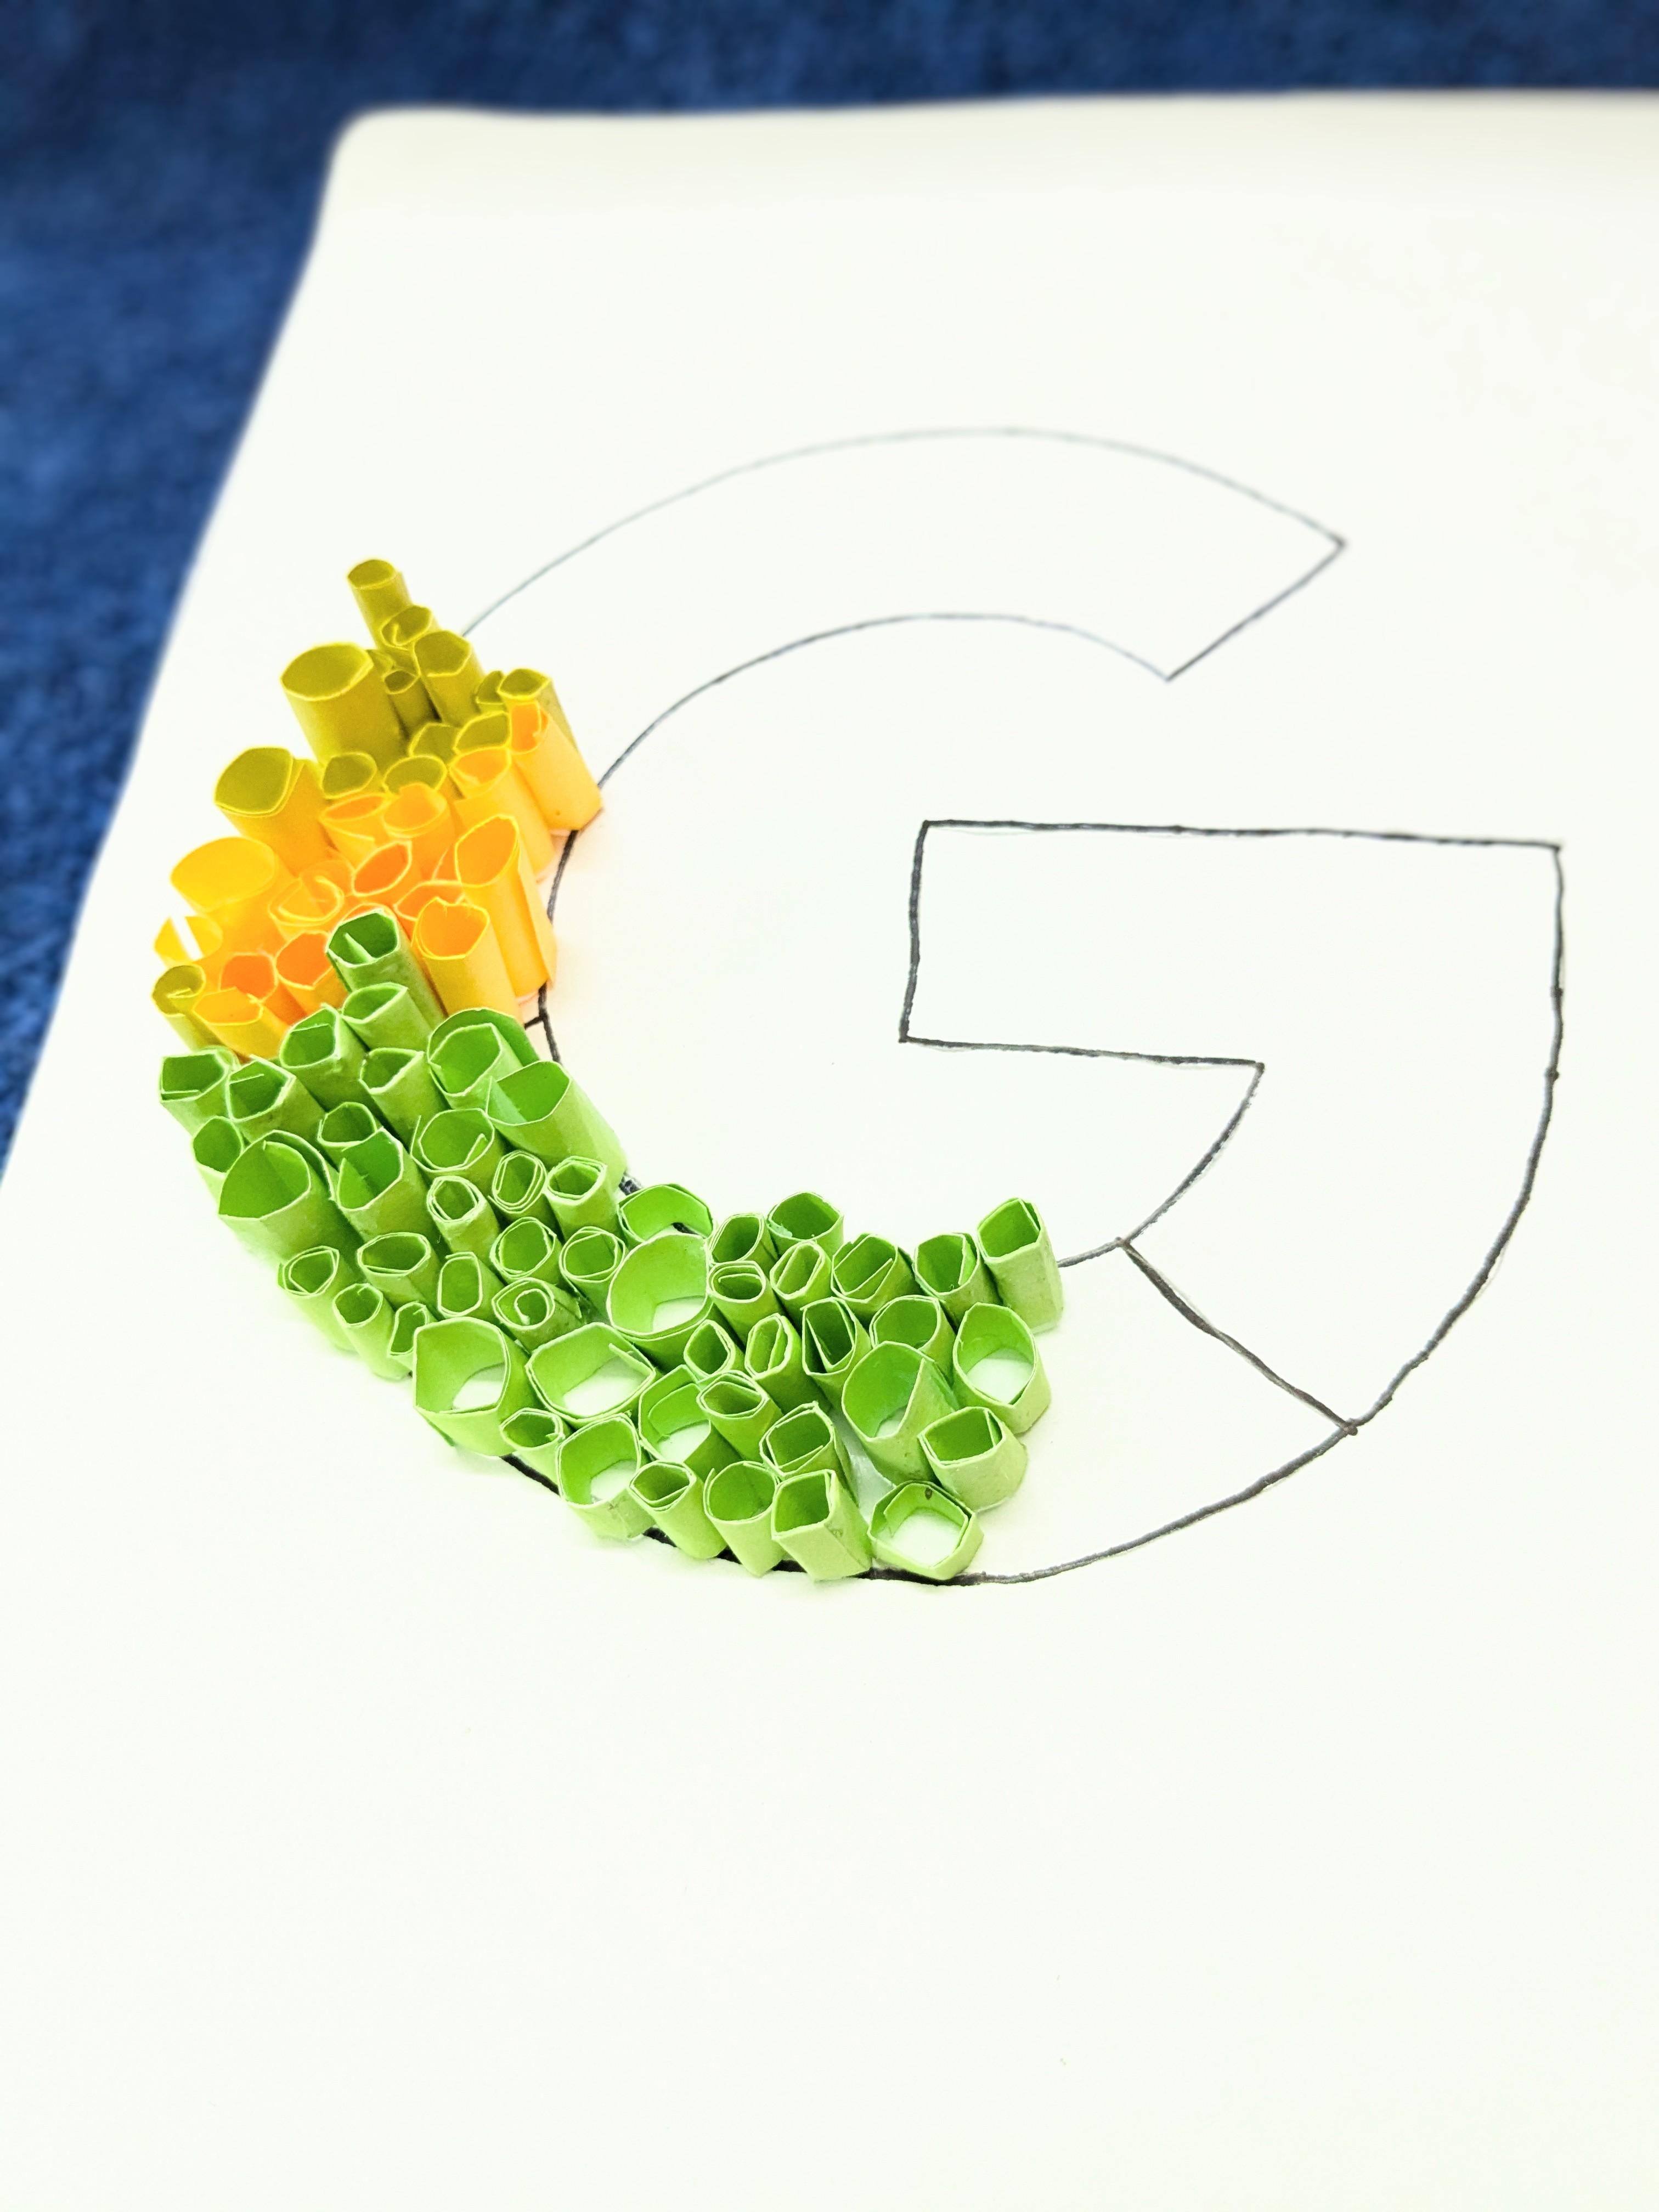
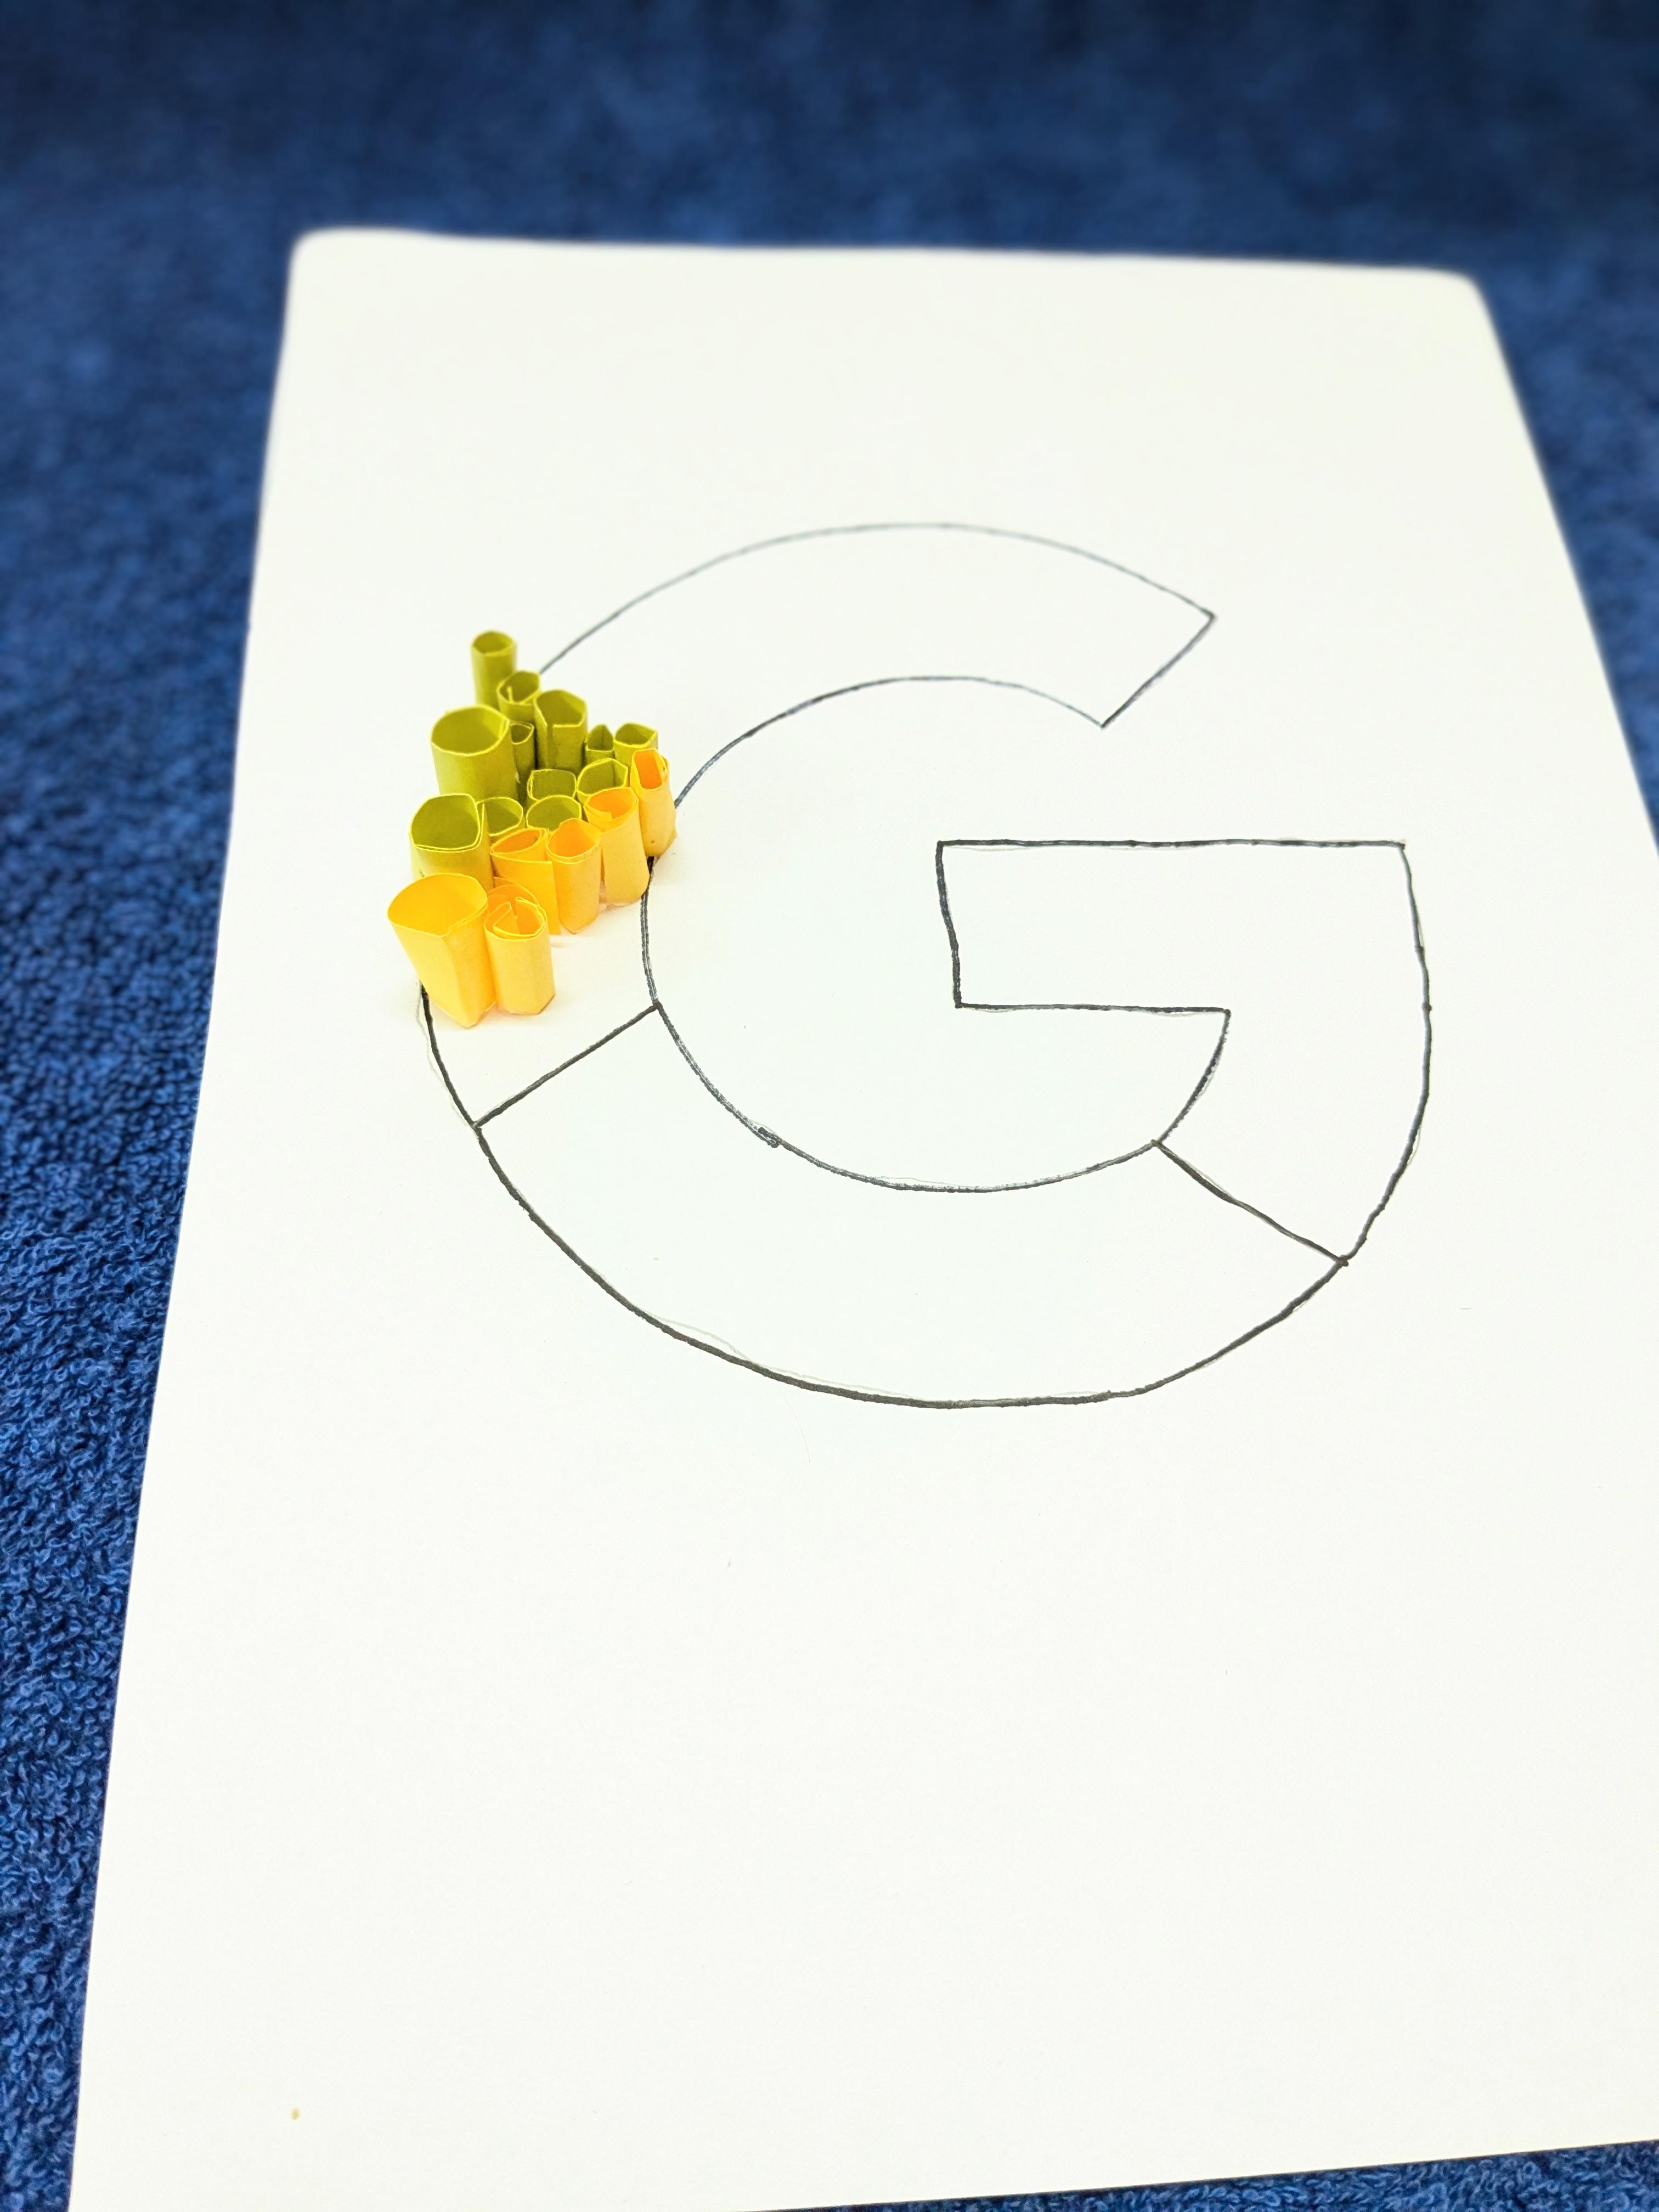
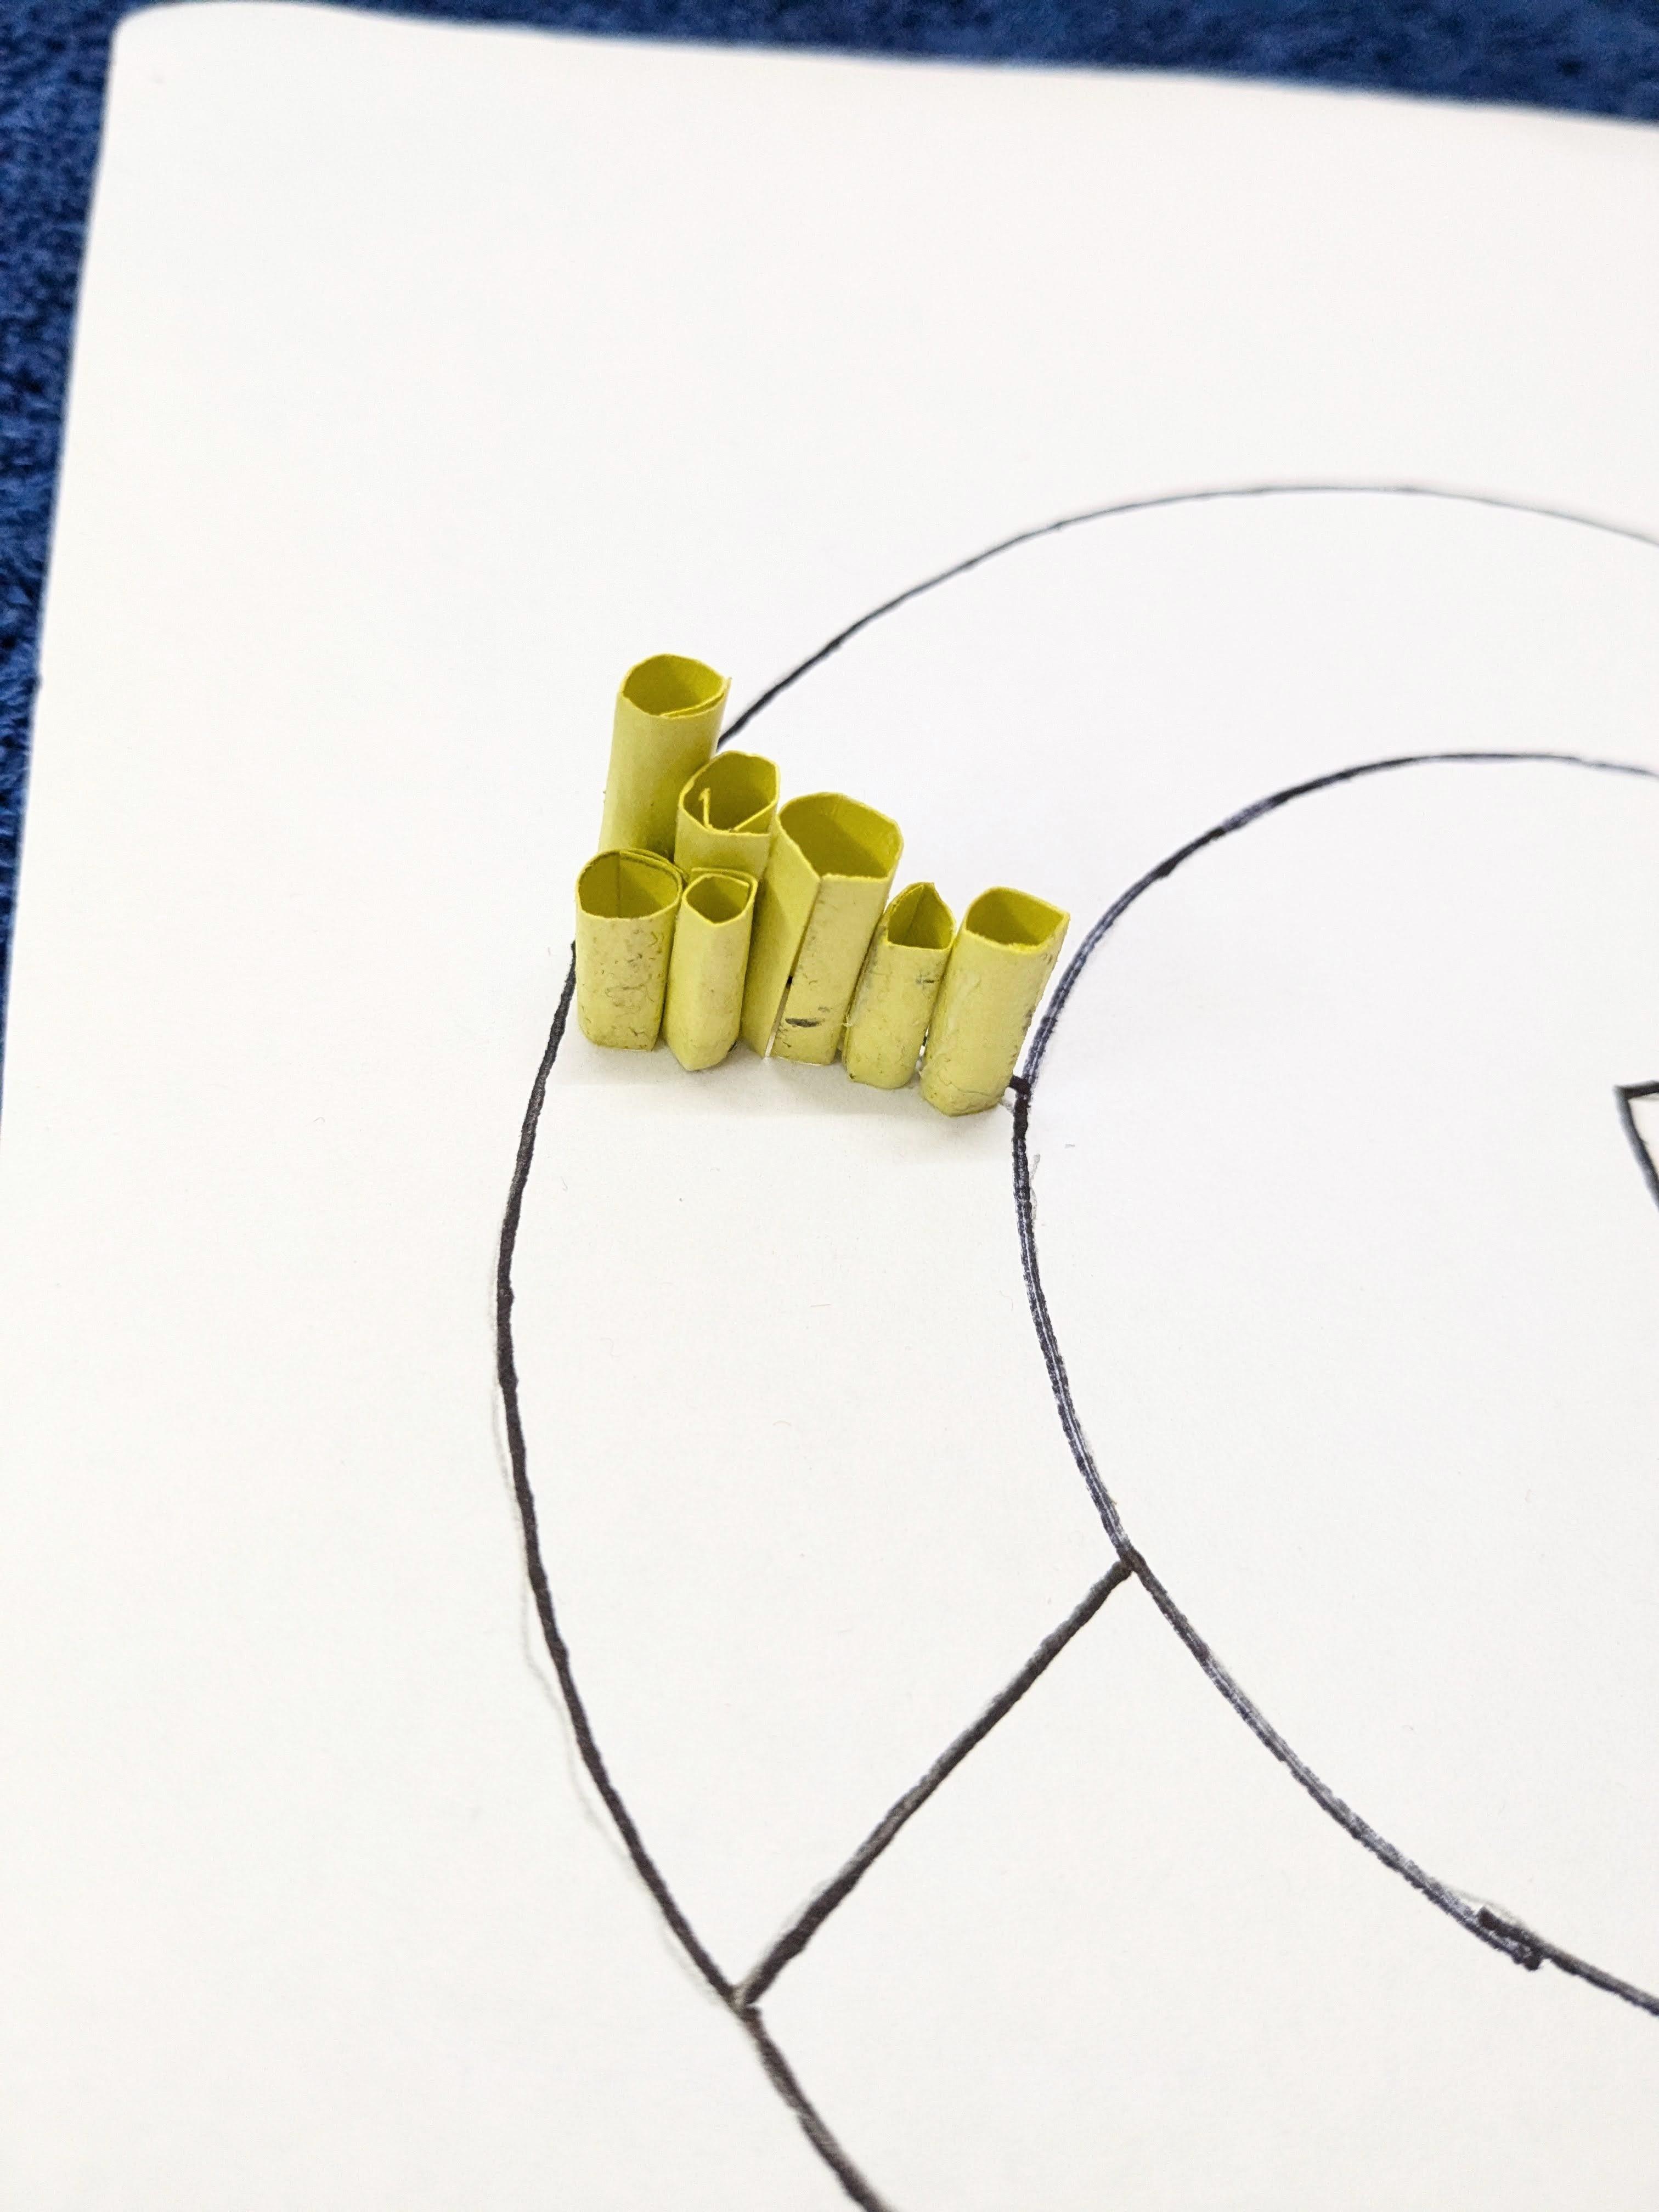
- Fold the origami paper according to your design. Use basic origami techniques such as valley folds (where the paper is folded towards you) and mountain folds (where the paper is folded away from you) to create depth. More complex folds can be used to add intricate details. For each letter, consider where you want the height and depth to be most prominent.
- Once folded, apply a small amount of glue to the edges and press the folds together to create the 3D shape. Hold the pieces in place until the glue dries to ensure they stick together firmly. For complex structures, you might need to hold them for a few minutes or use clips to keep them in place while drying.
Filling the Colors
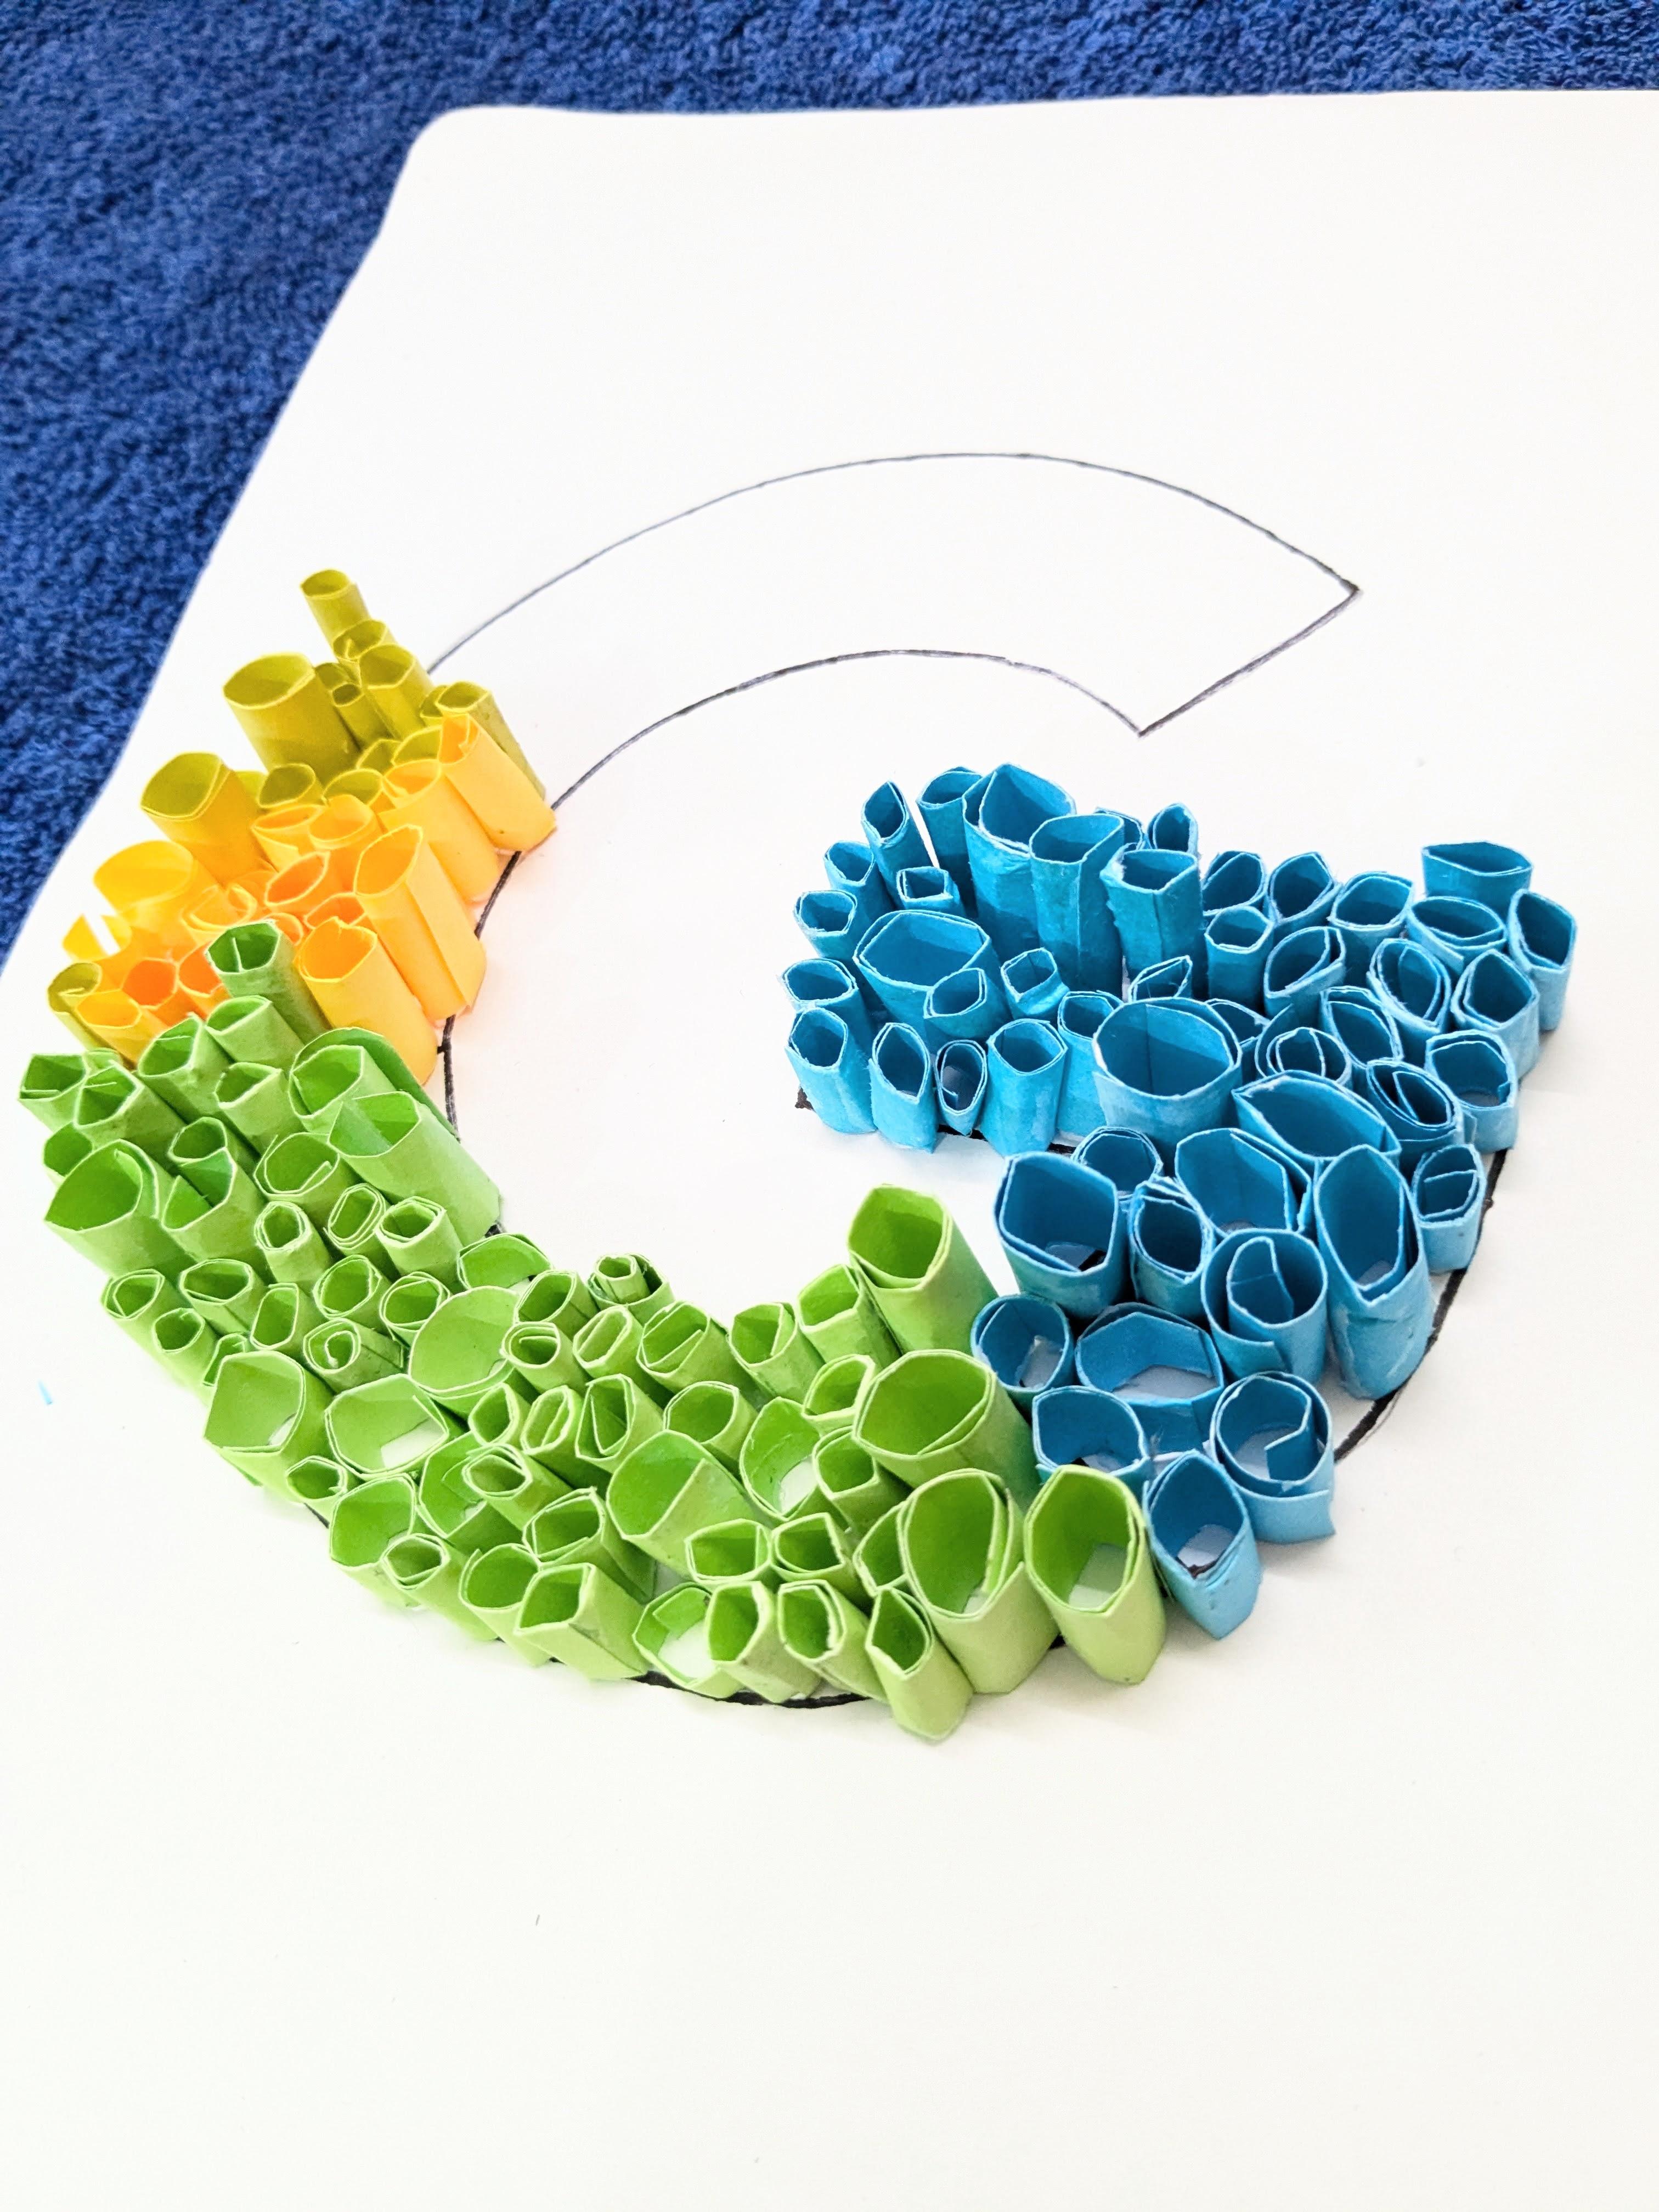
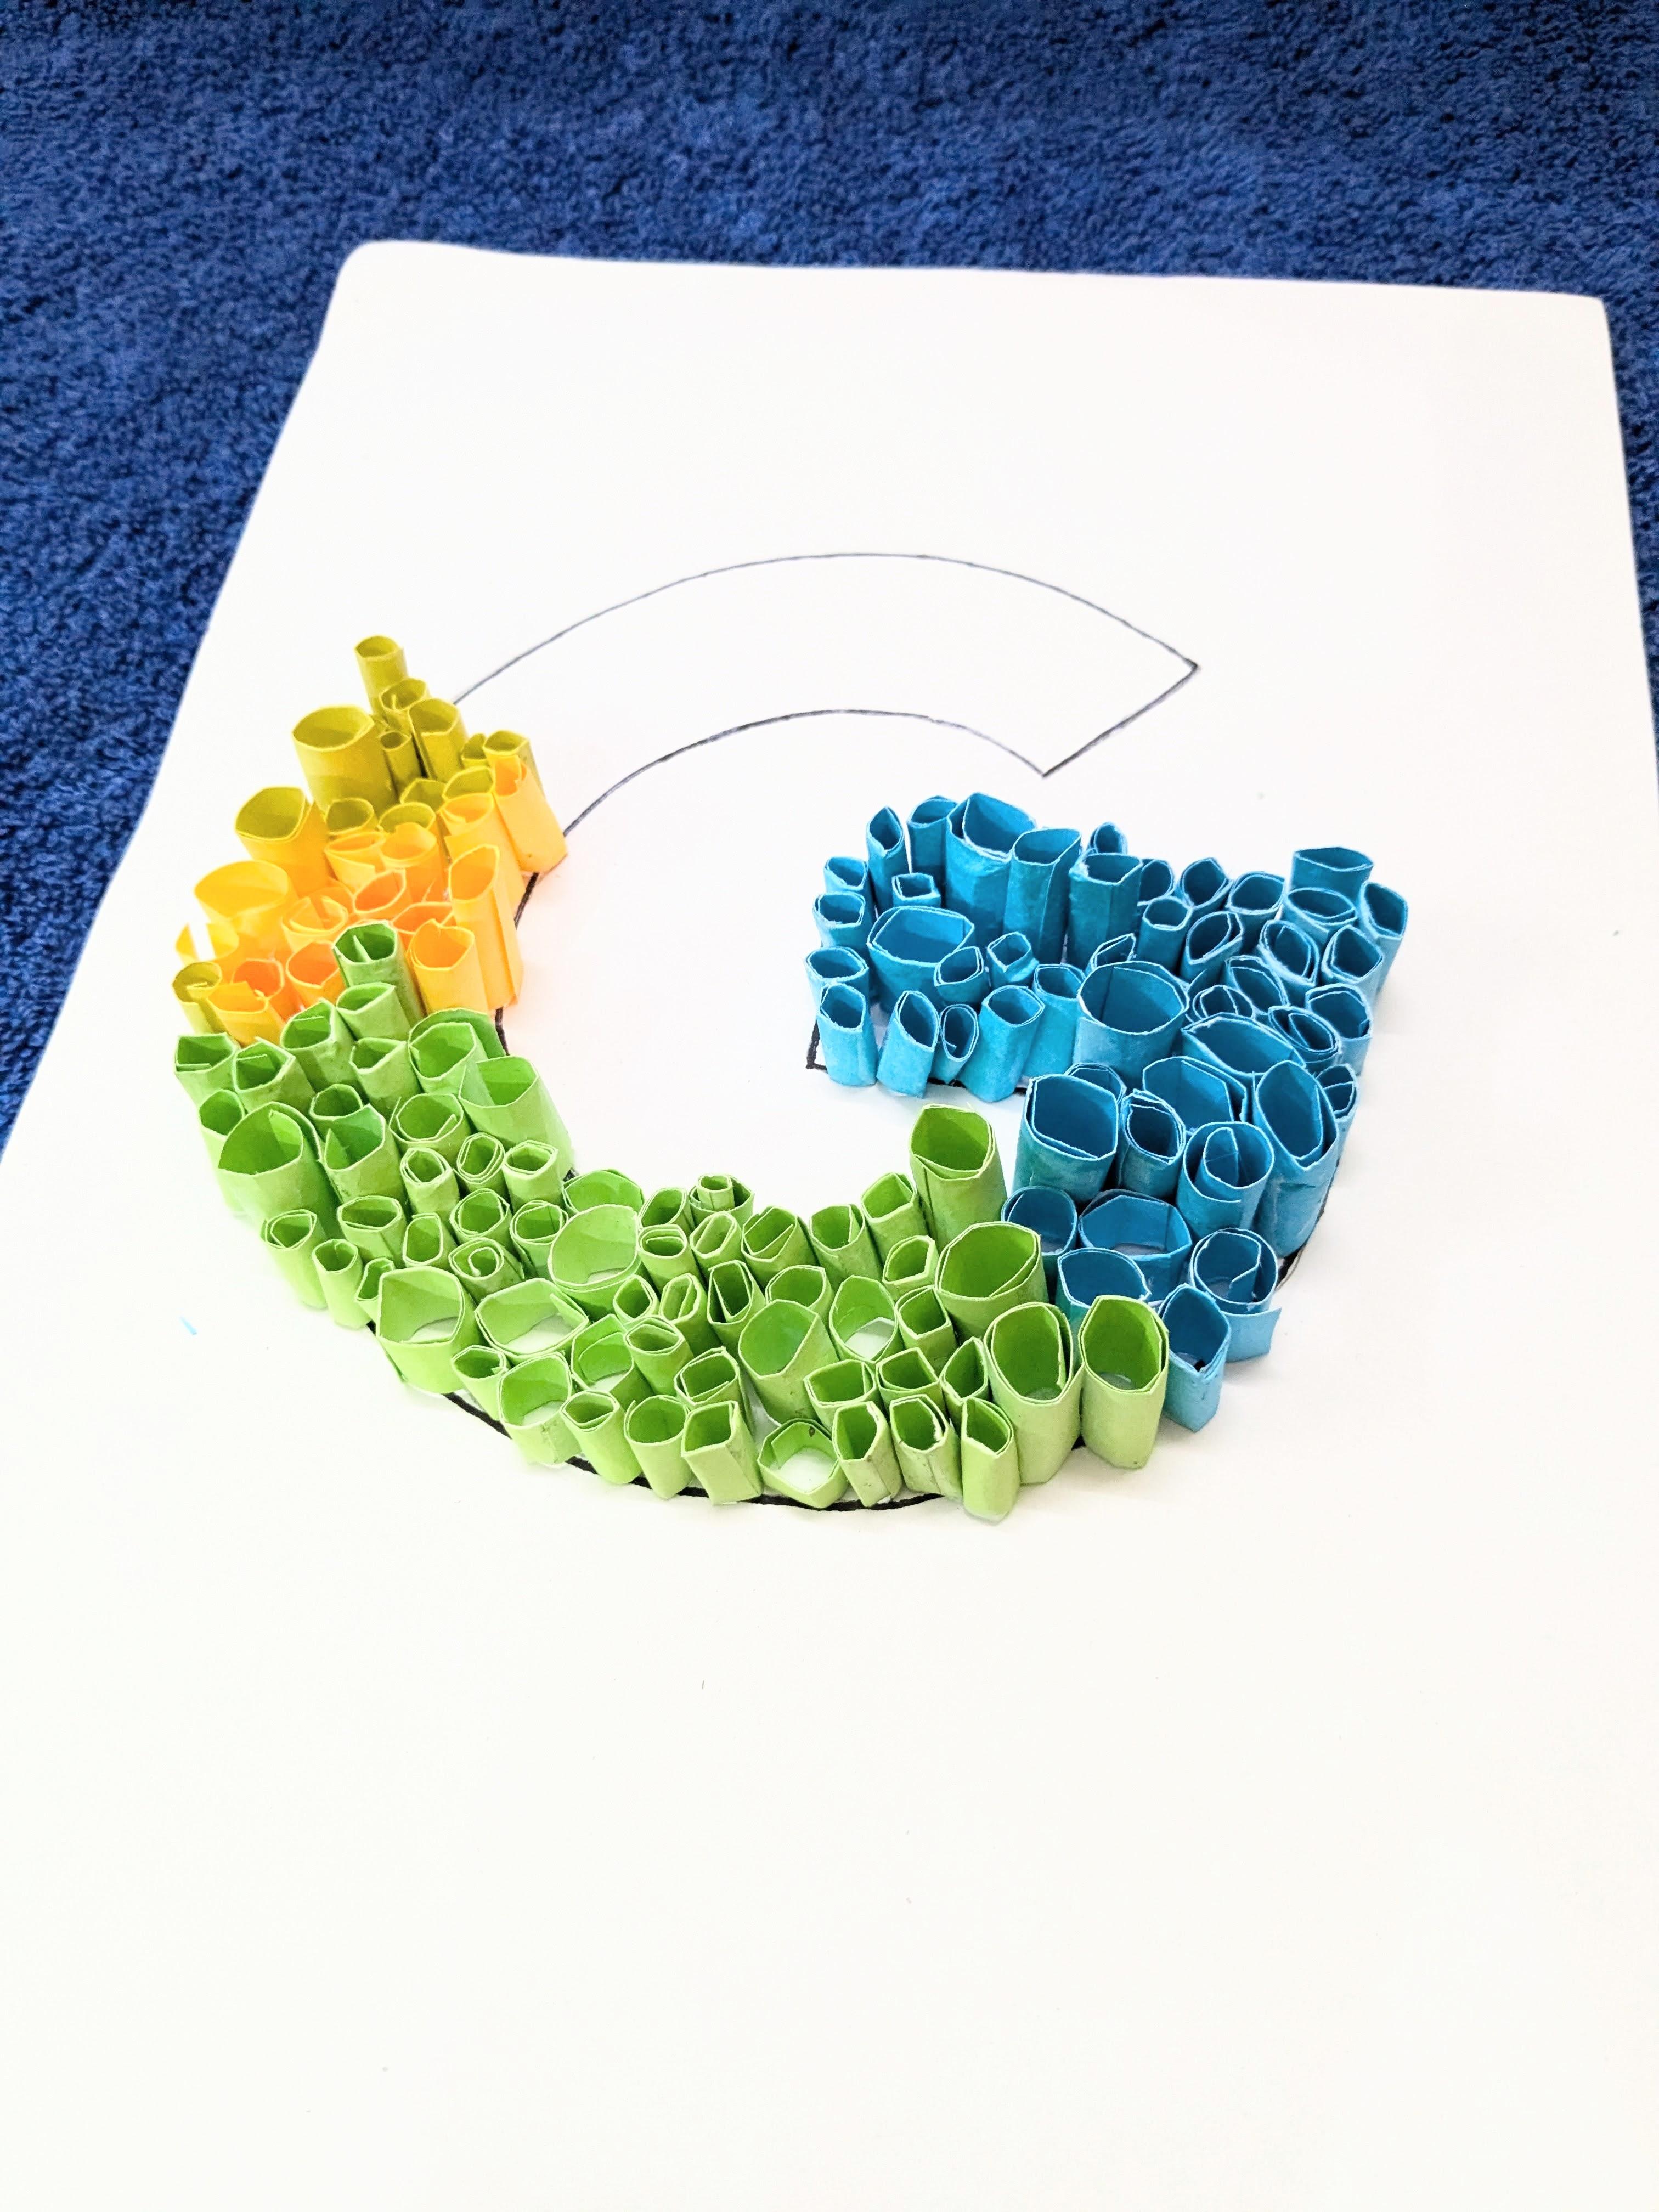
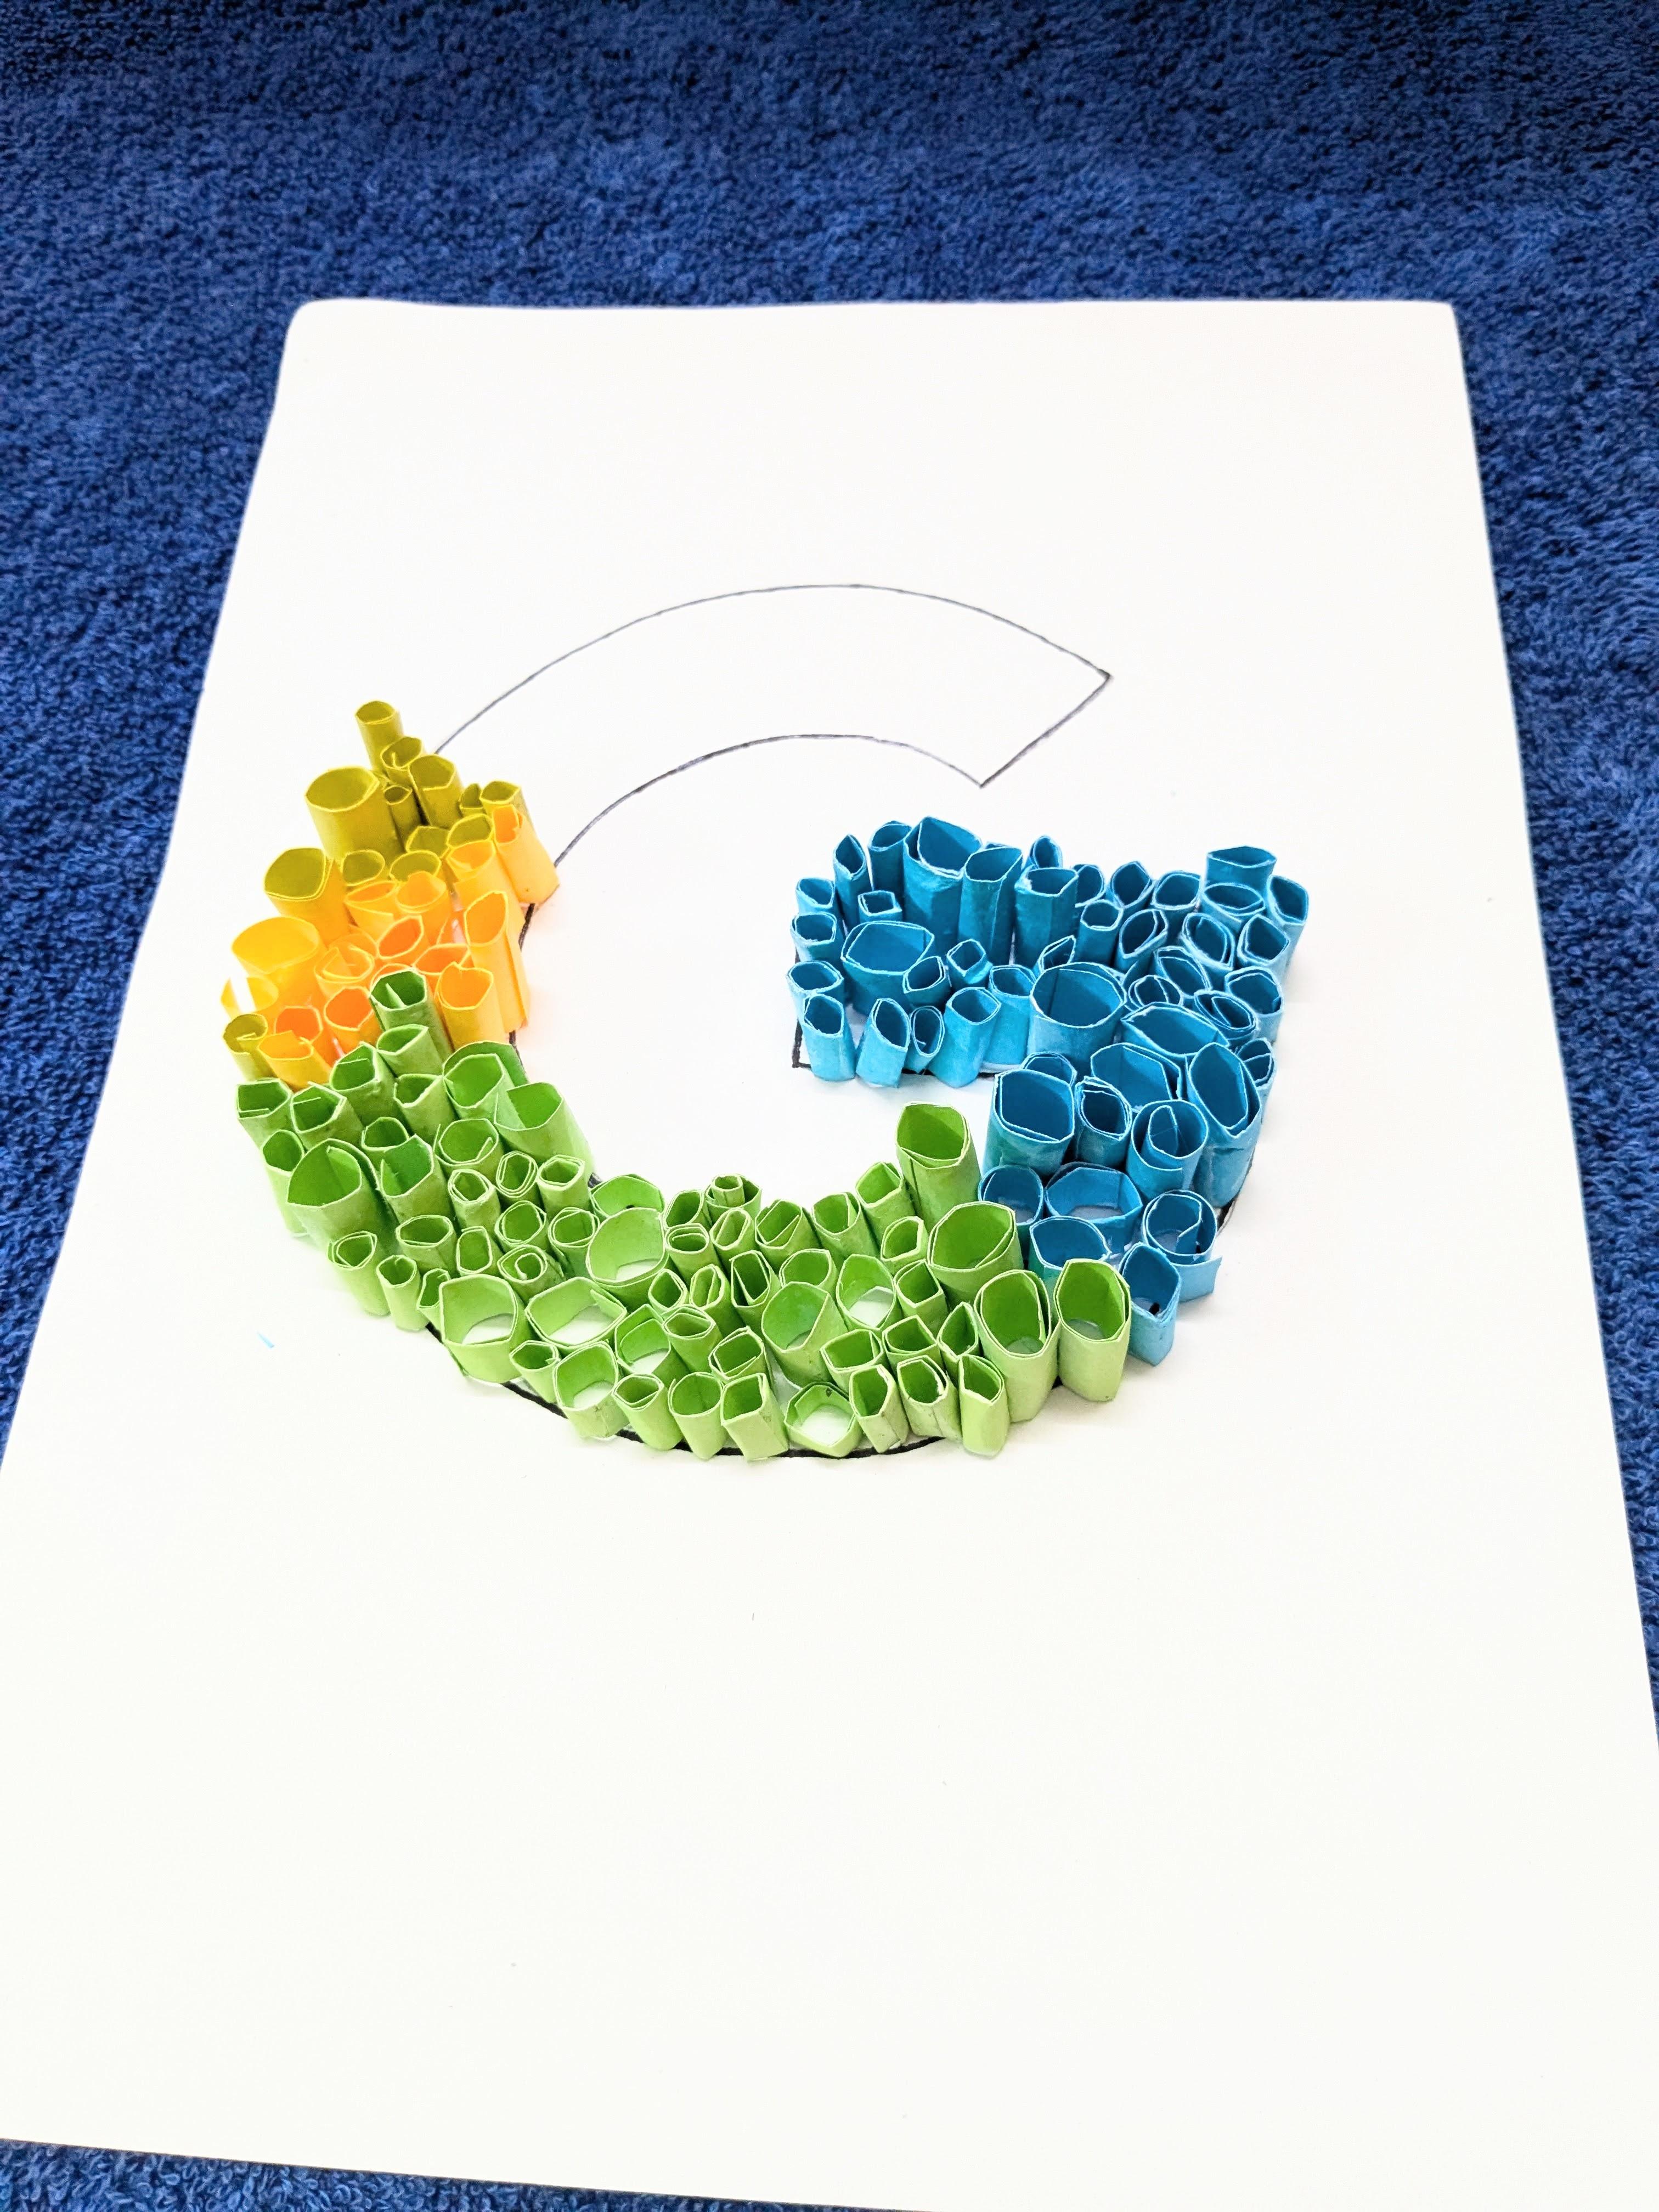
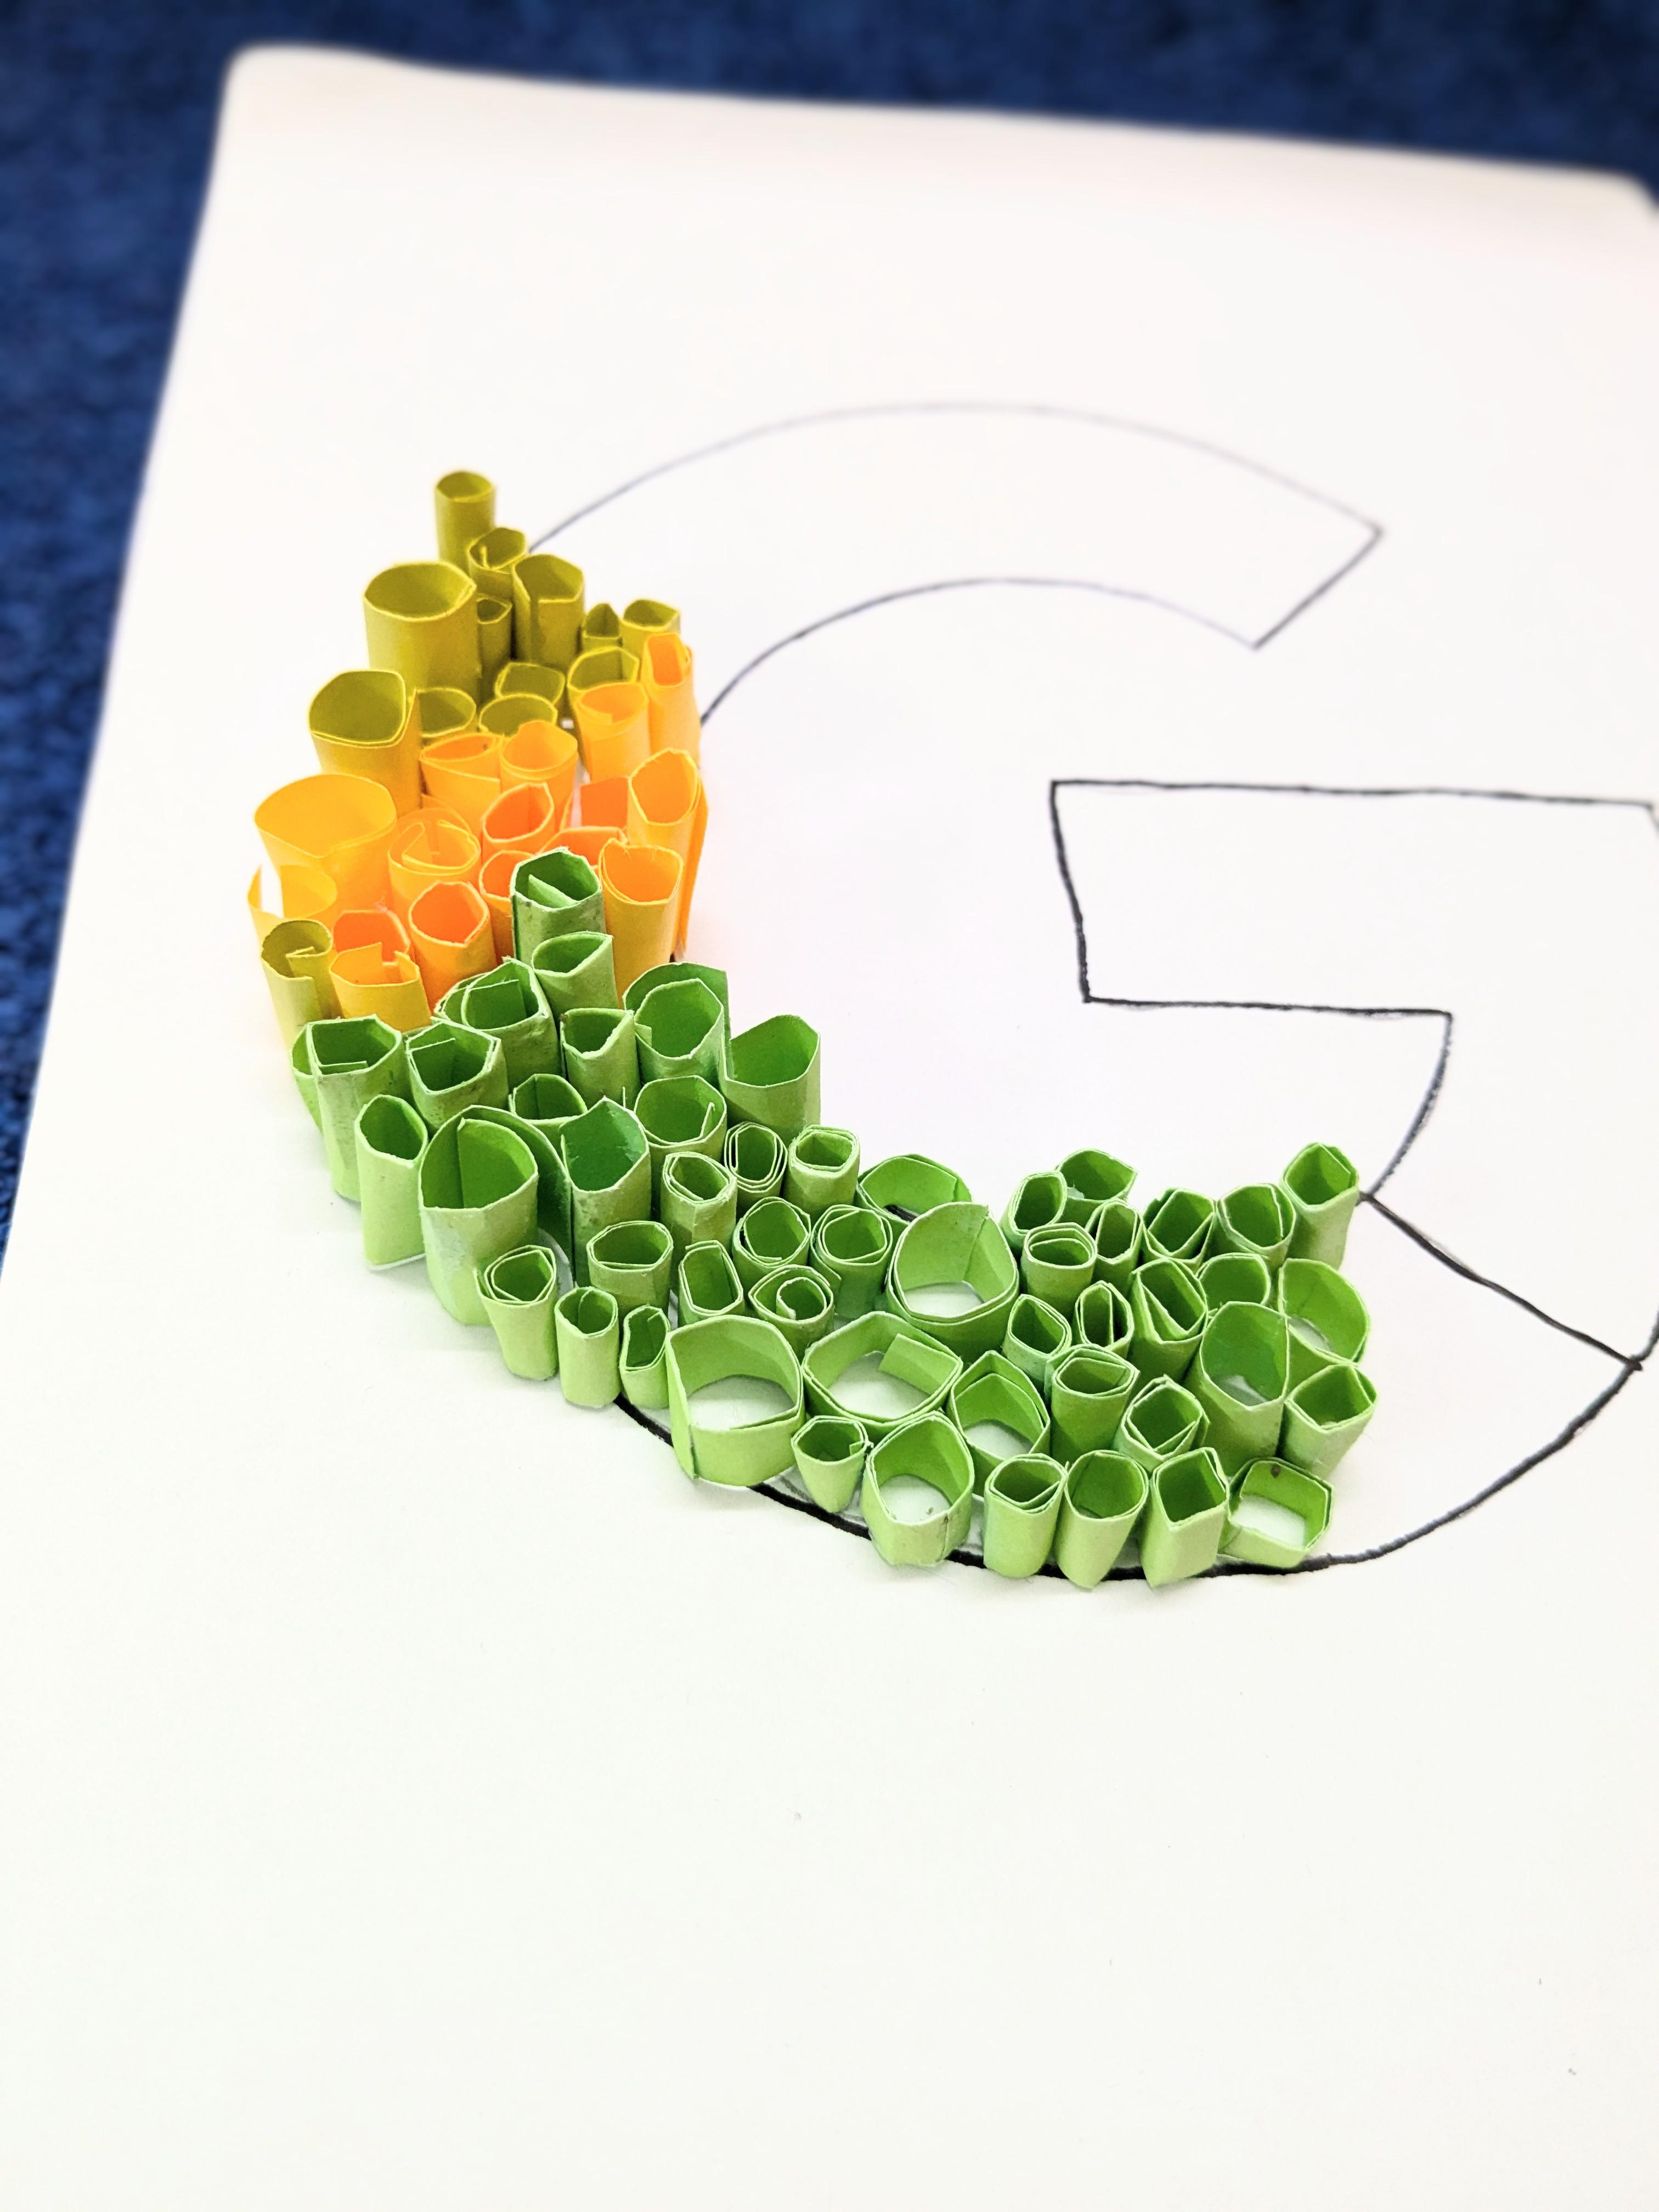
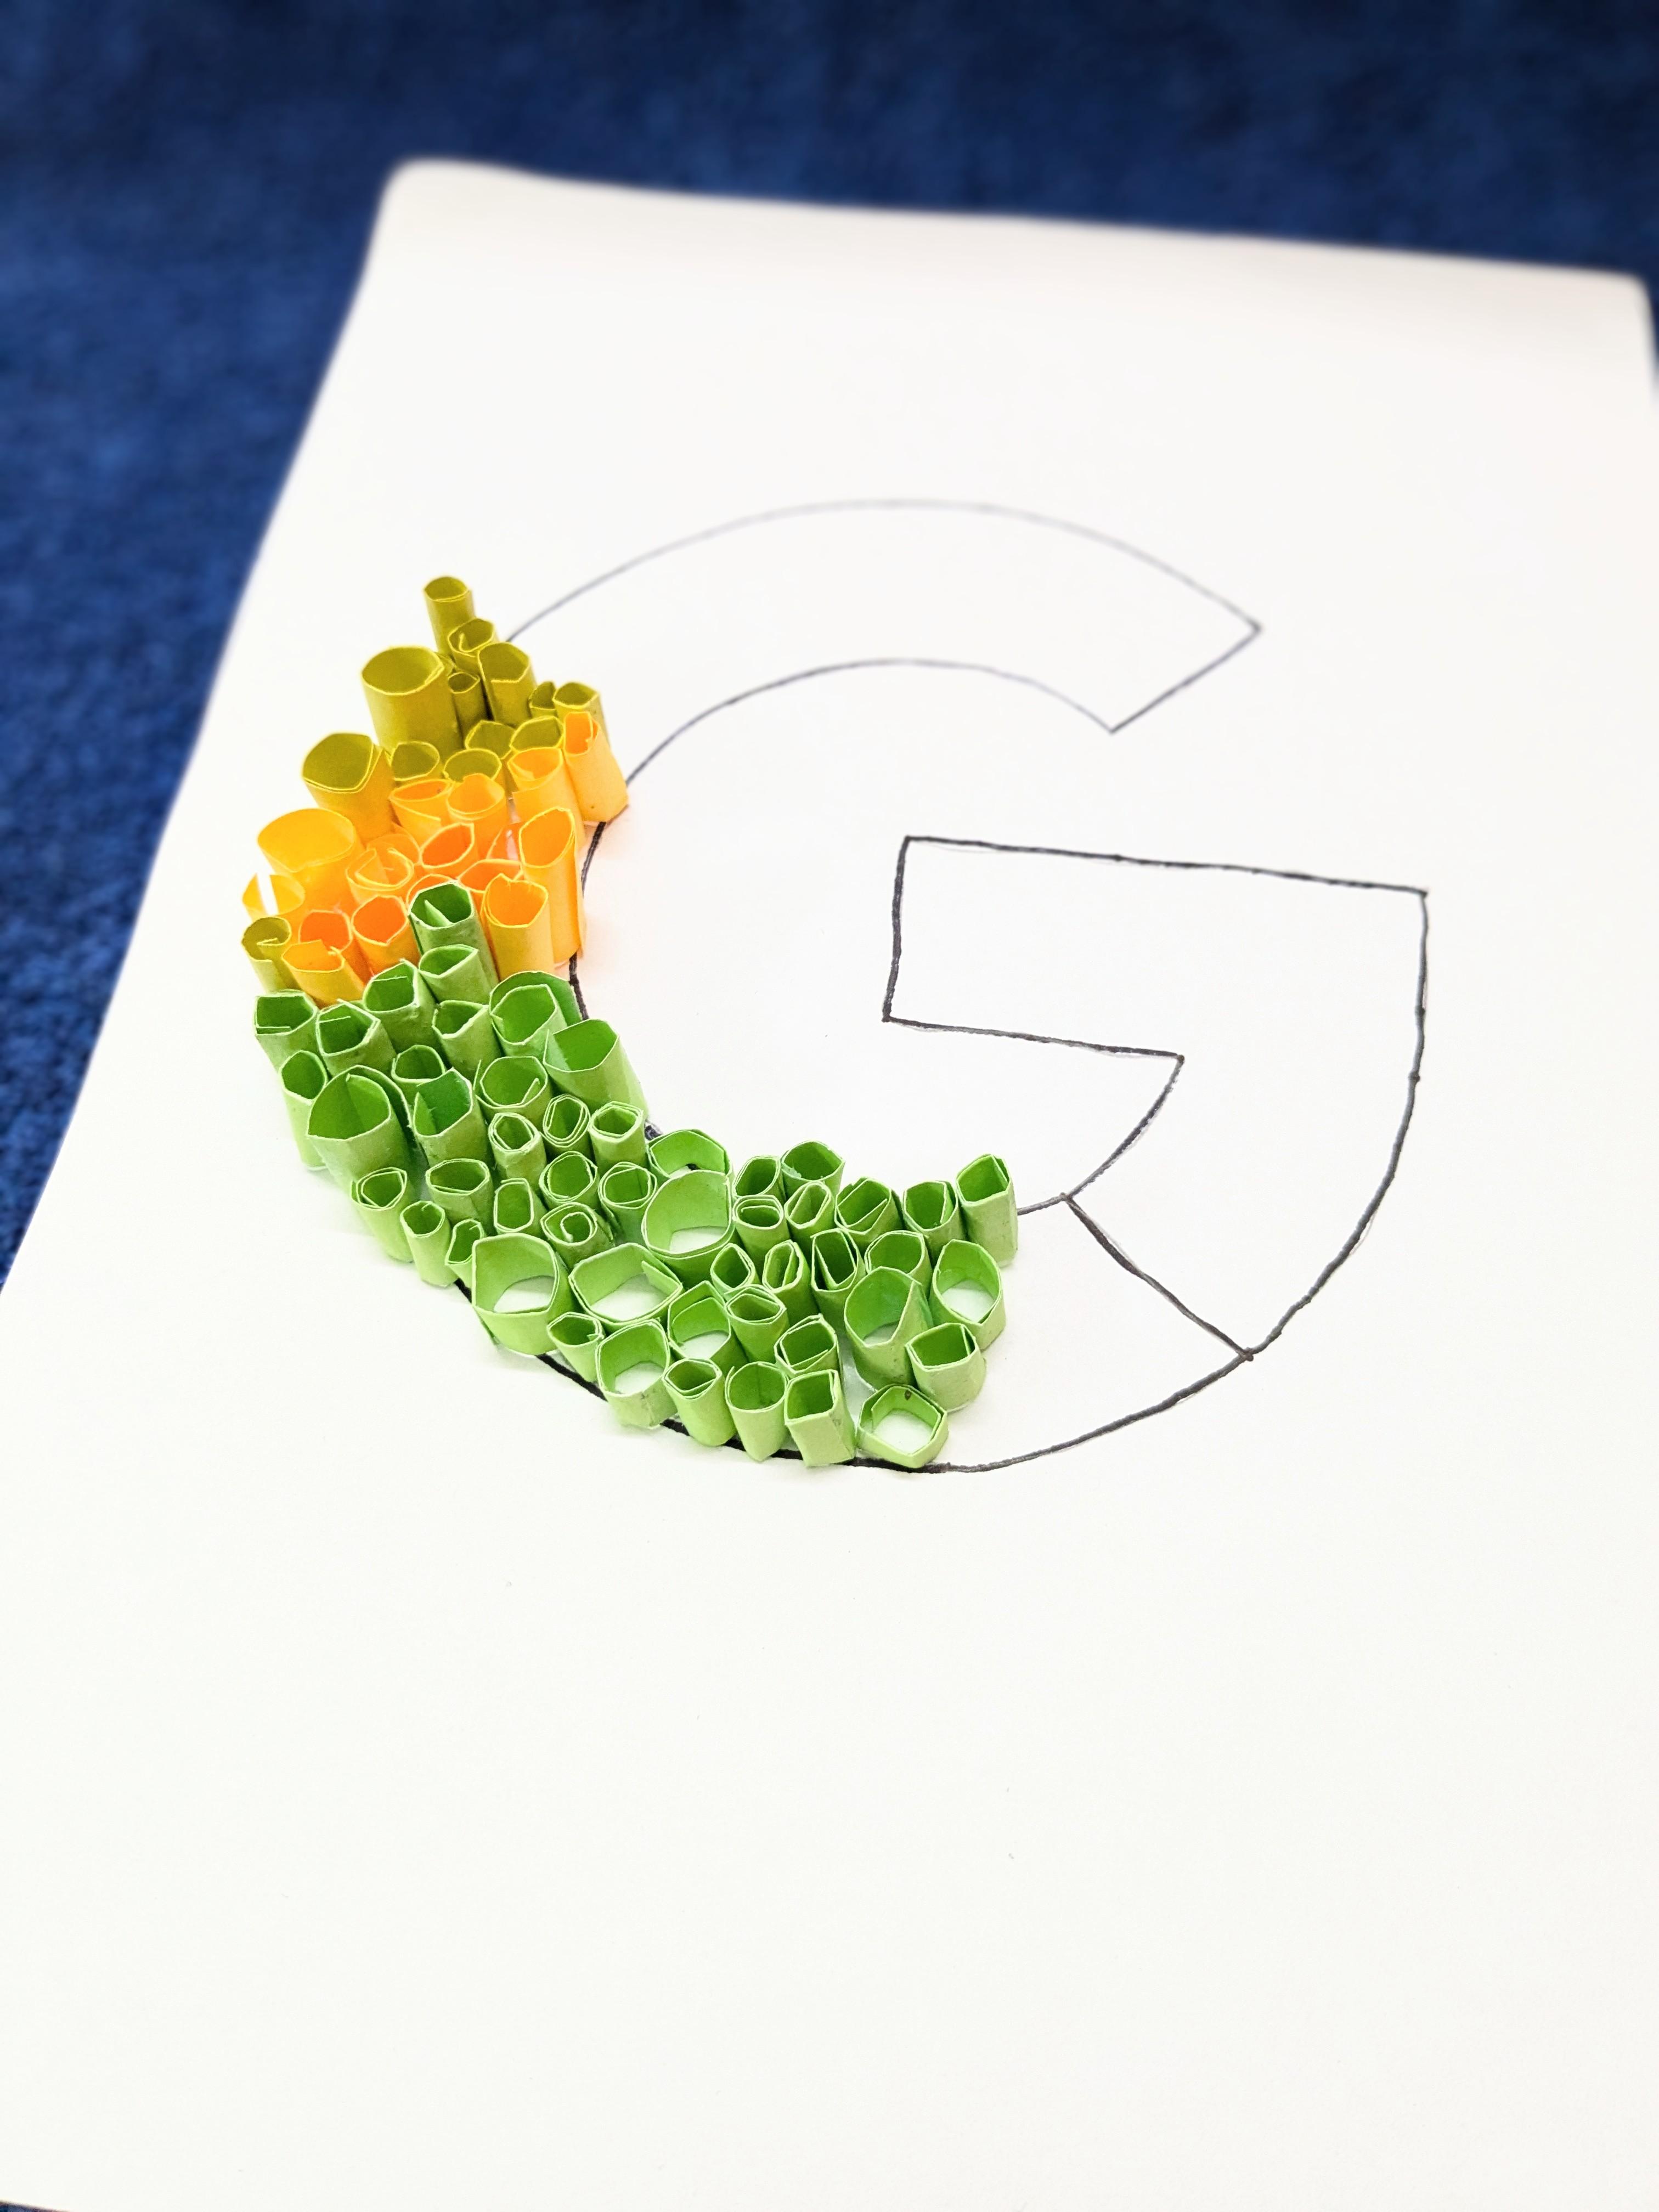
- Once the basic shapes are formed, it's time to add colors to each letter. Use origami paper or colored markers to fill in the designated areas of each letter. Ensure that the colors match your chosen color scheme for the Google logo (blue, red, yellow, green).
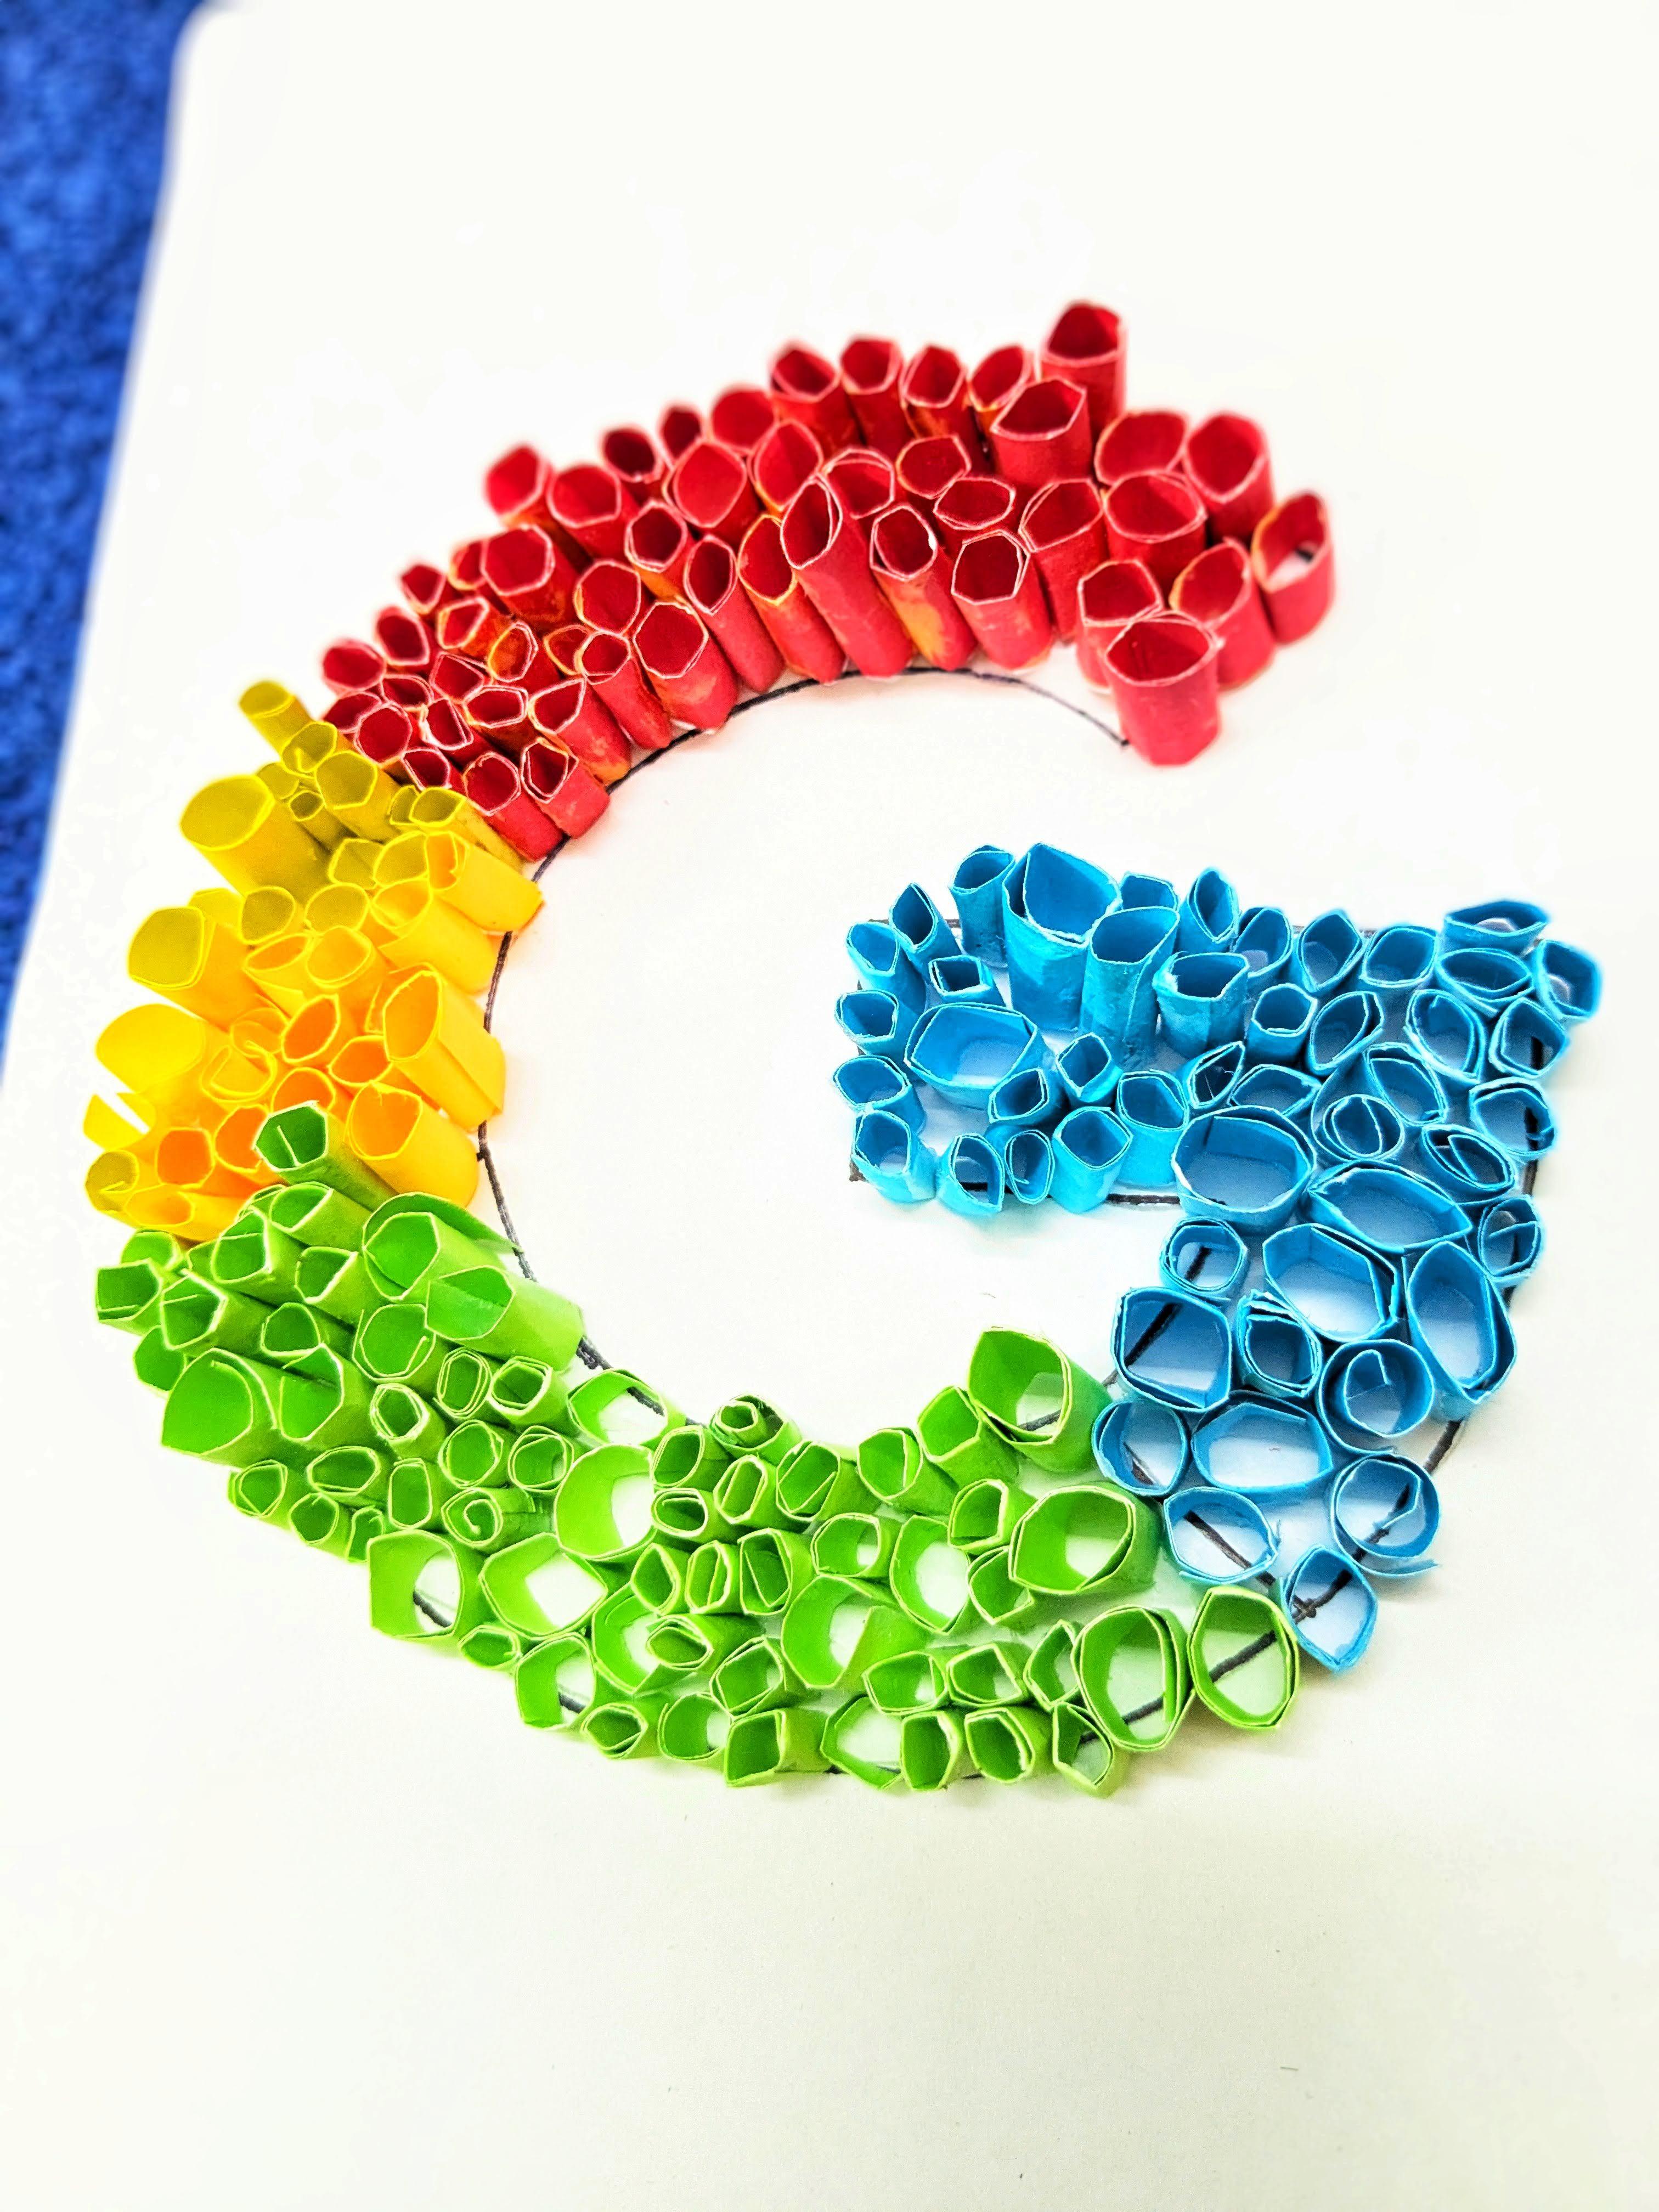
- For more intricate designs, layer different colored papers to create a vibrant and dynamic look. Pay attention to details such as shading and gradients to add depth to your 3D typographic logo.
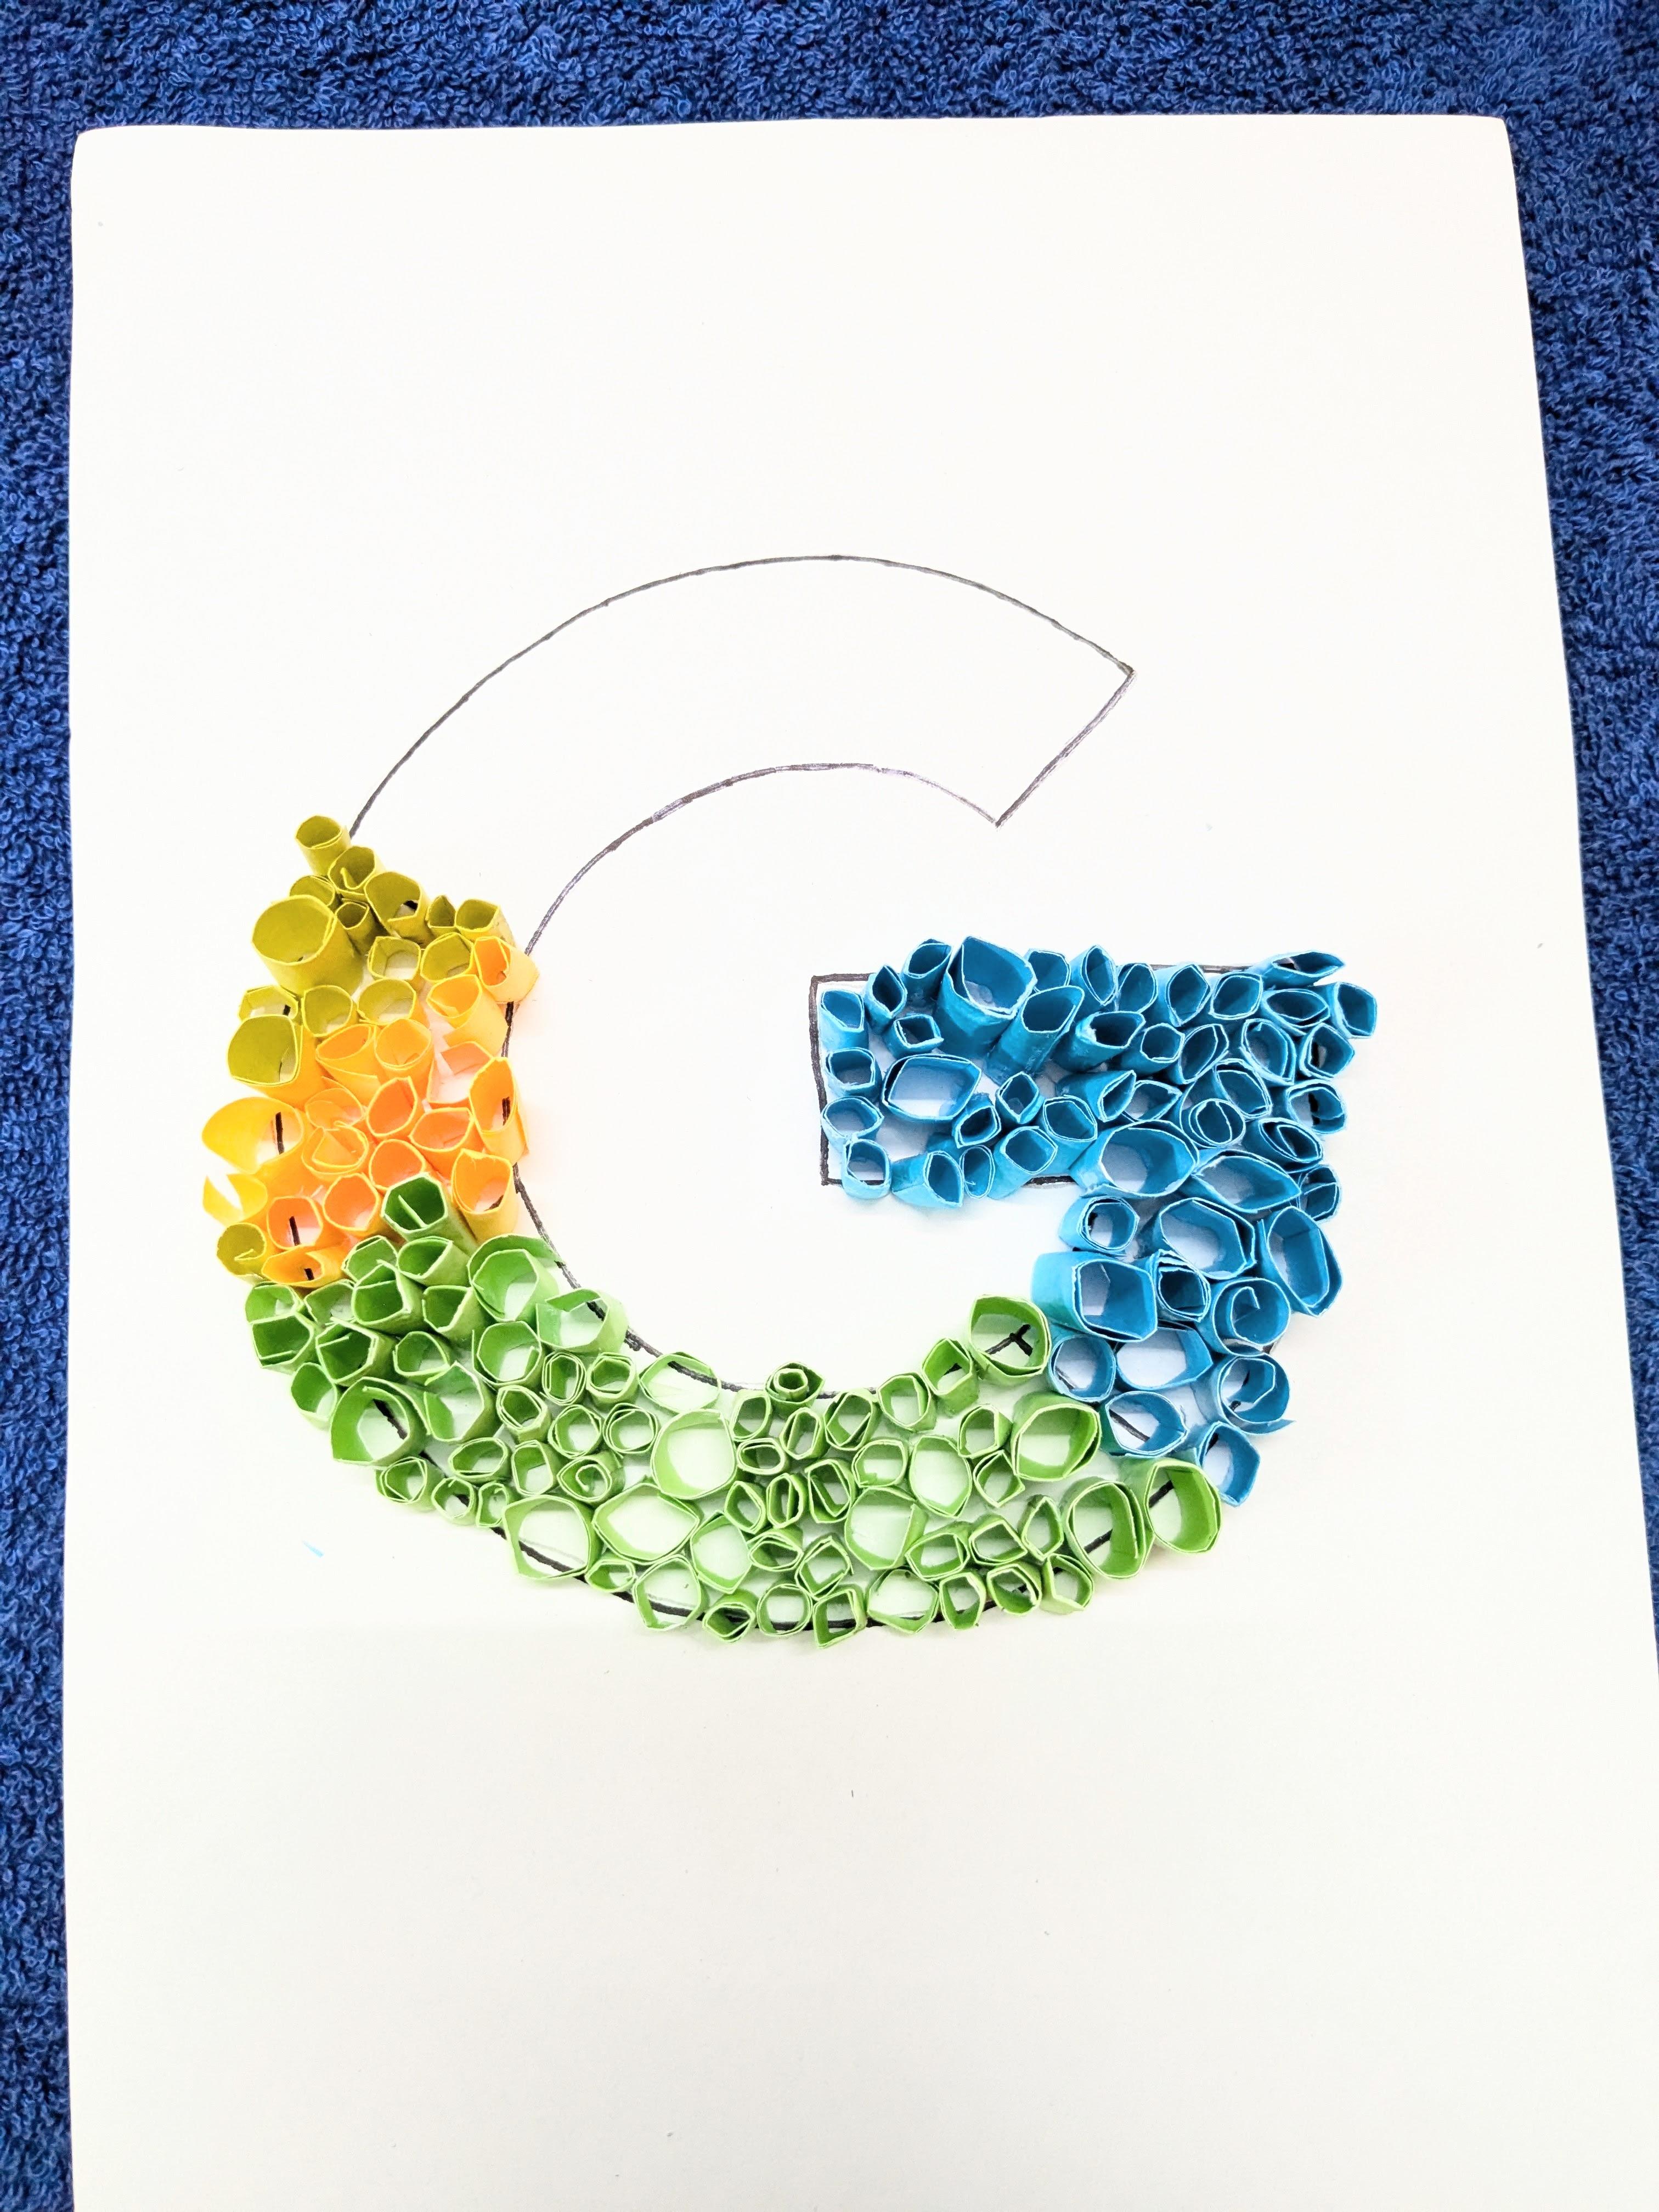
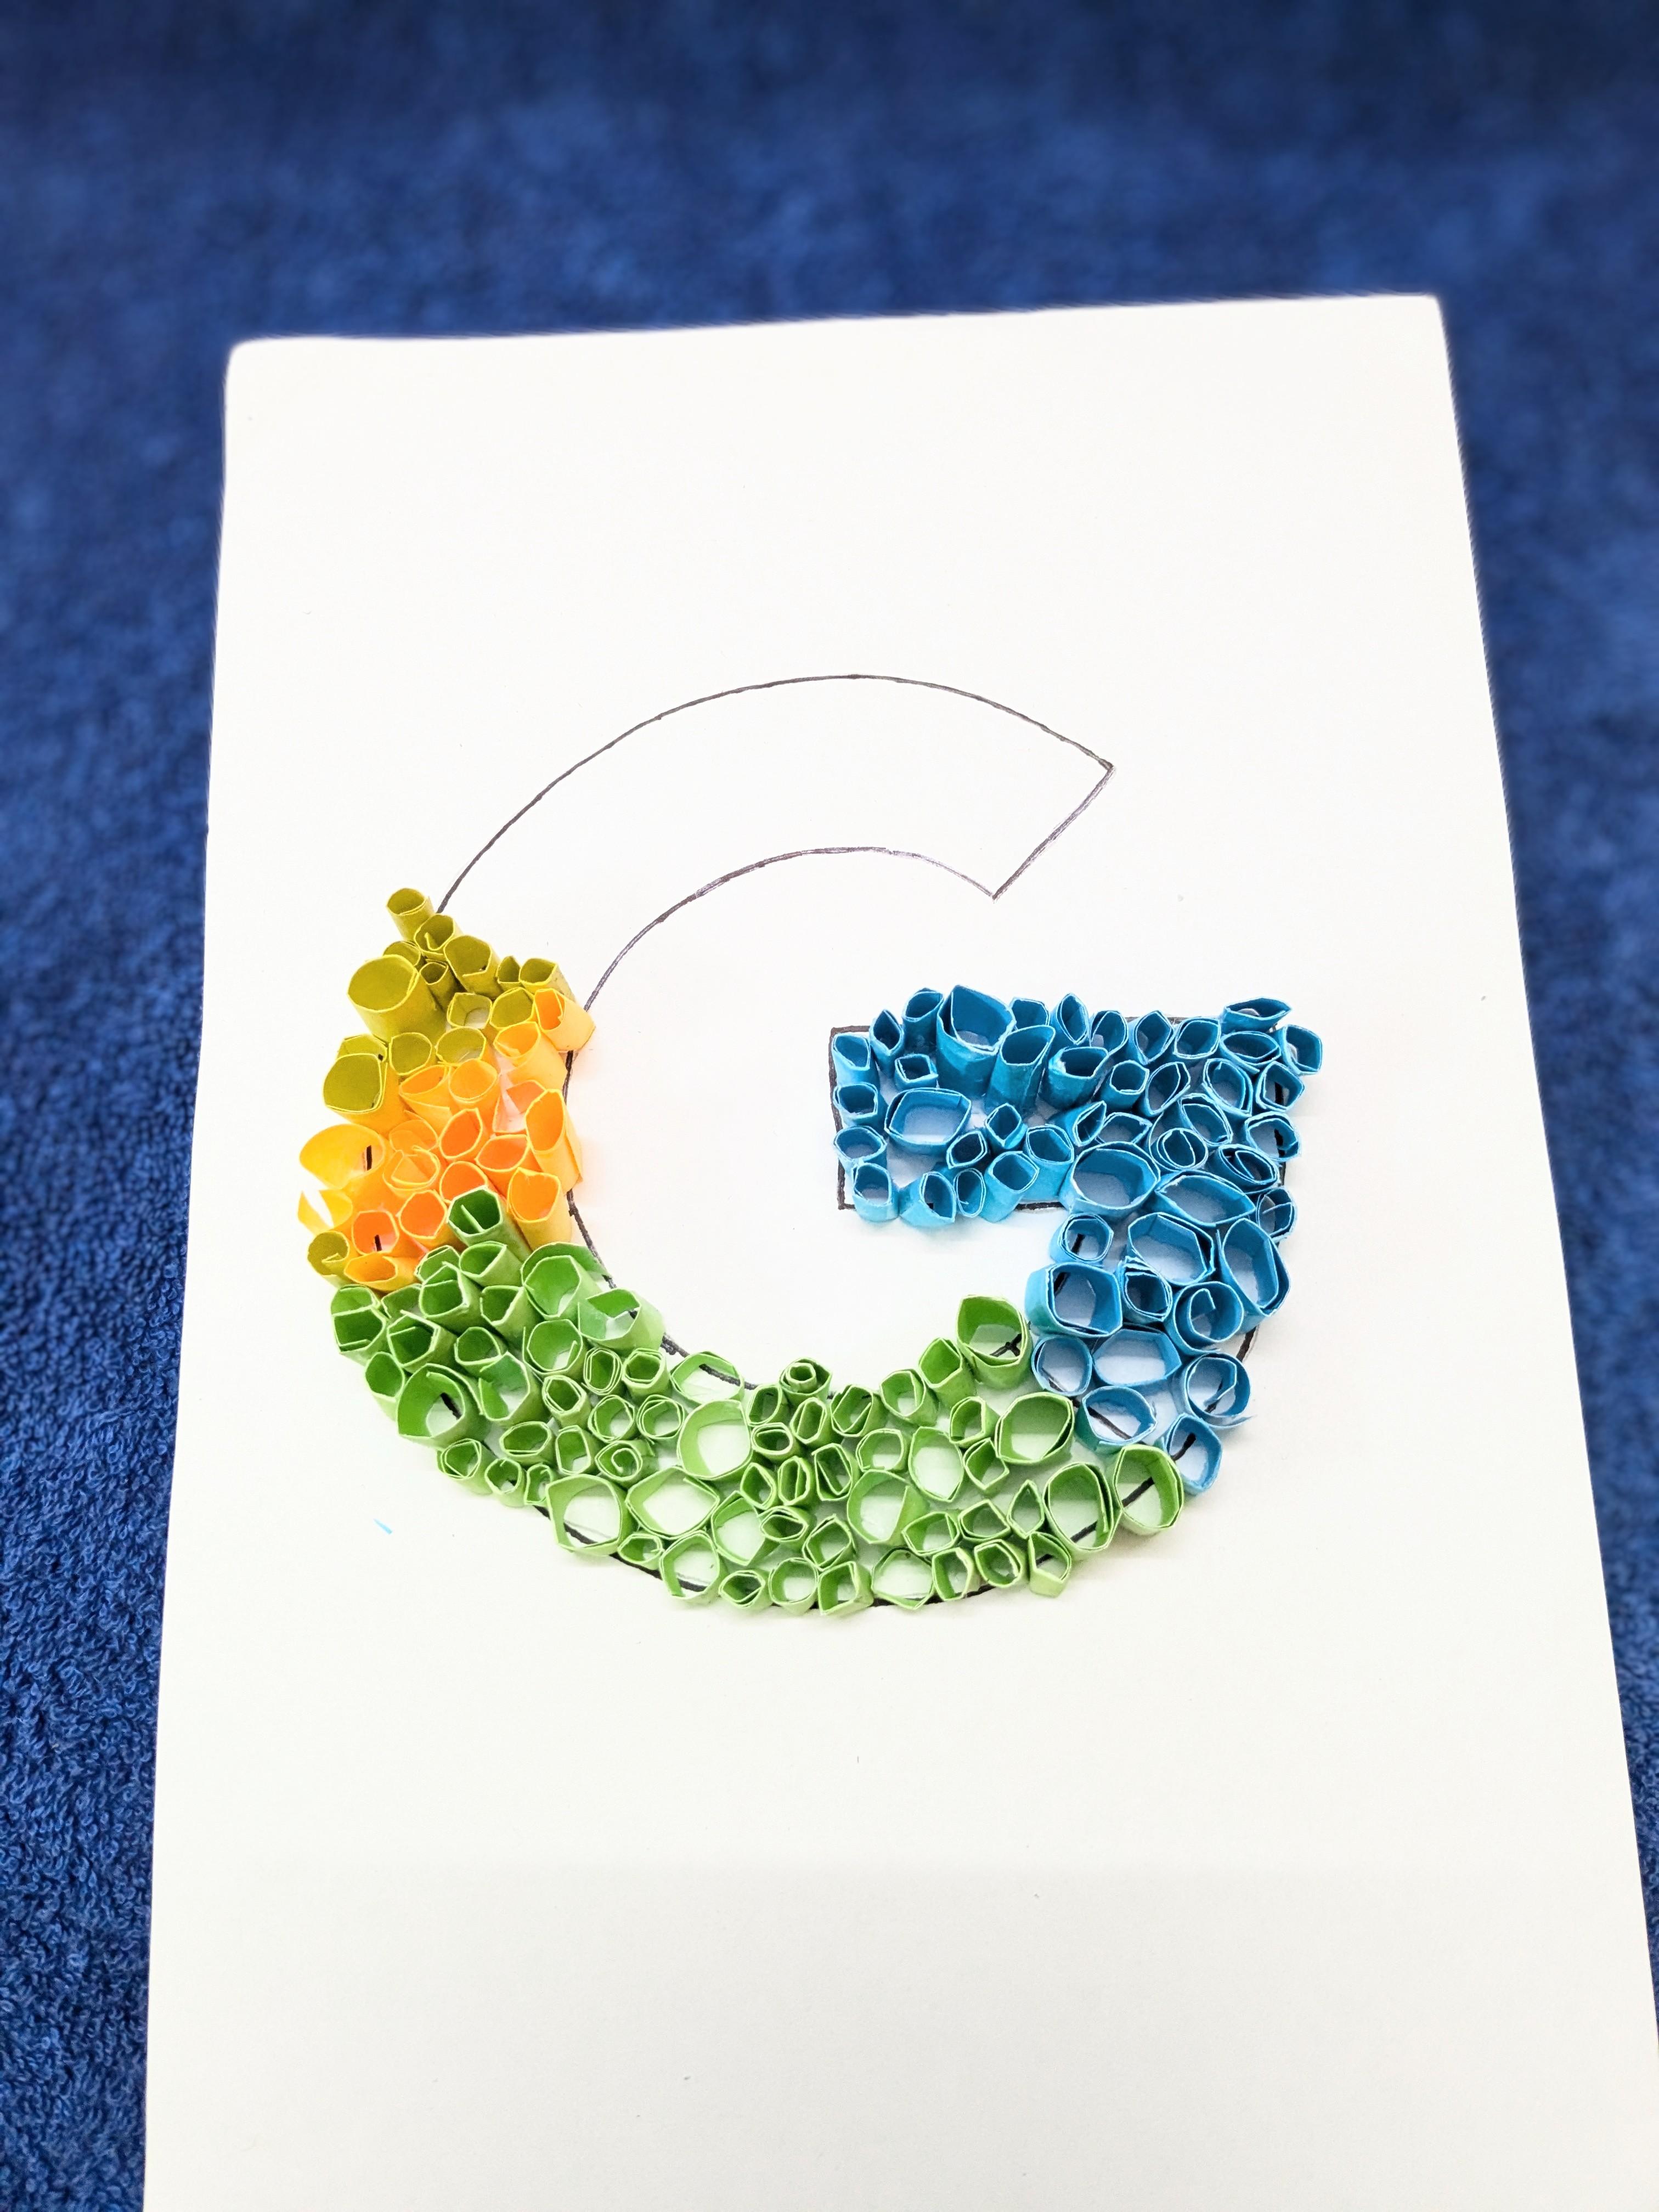
- After coloring, apply a small amount of glue to the folded edges and layers of the letters. Press the folds together firmly to ensure they stick. Hold each piece in place for a few moments to allow the glue to set.
- Let the assembled letters dry completely before moving on to the next steps. This ensures that the colors and folds remain intact and the 3D structure holds its shape.
- By carefully filling in colors during the assembly process, you'll create a visually appealing 3D typographic Google logo that effectively represents the brand's identity with depth and creativity.
Assembling Everything Together


- Once satisfied with the arrangement, apply glue to the base of each 3D letter. Carefully place each letter back into its designated position, pressing down gently to adhere it to the surface. Hold each letter in place for a few seconds to allow the glue to set and bond securely.
- Throughout the assembly process, maintain consistency in the spacing and alignment of the letters. This ensures that the Google logo retains its integrity and readability as a cohesive design.
- After assembling the 3D logo, conduct a final inspection to ensure that all letters are securely attached and that the colors and folds are intact. Make any final adjustments if necessary to perfect the appearance of the logo.
Final Touches and Presentation

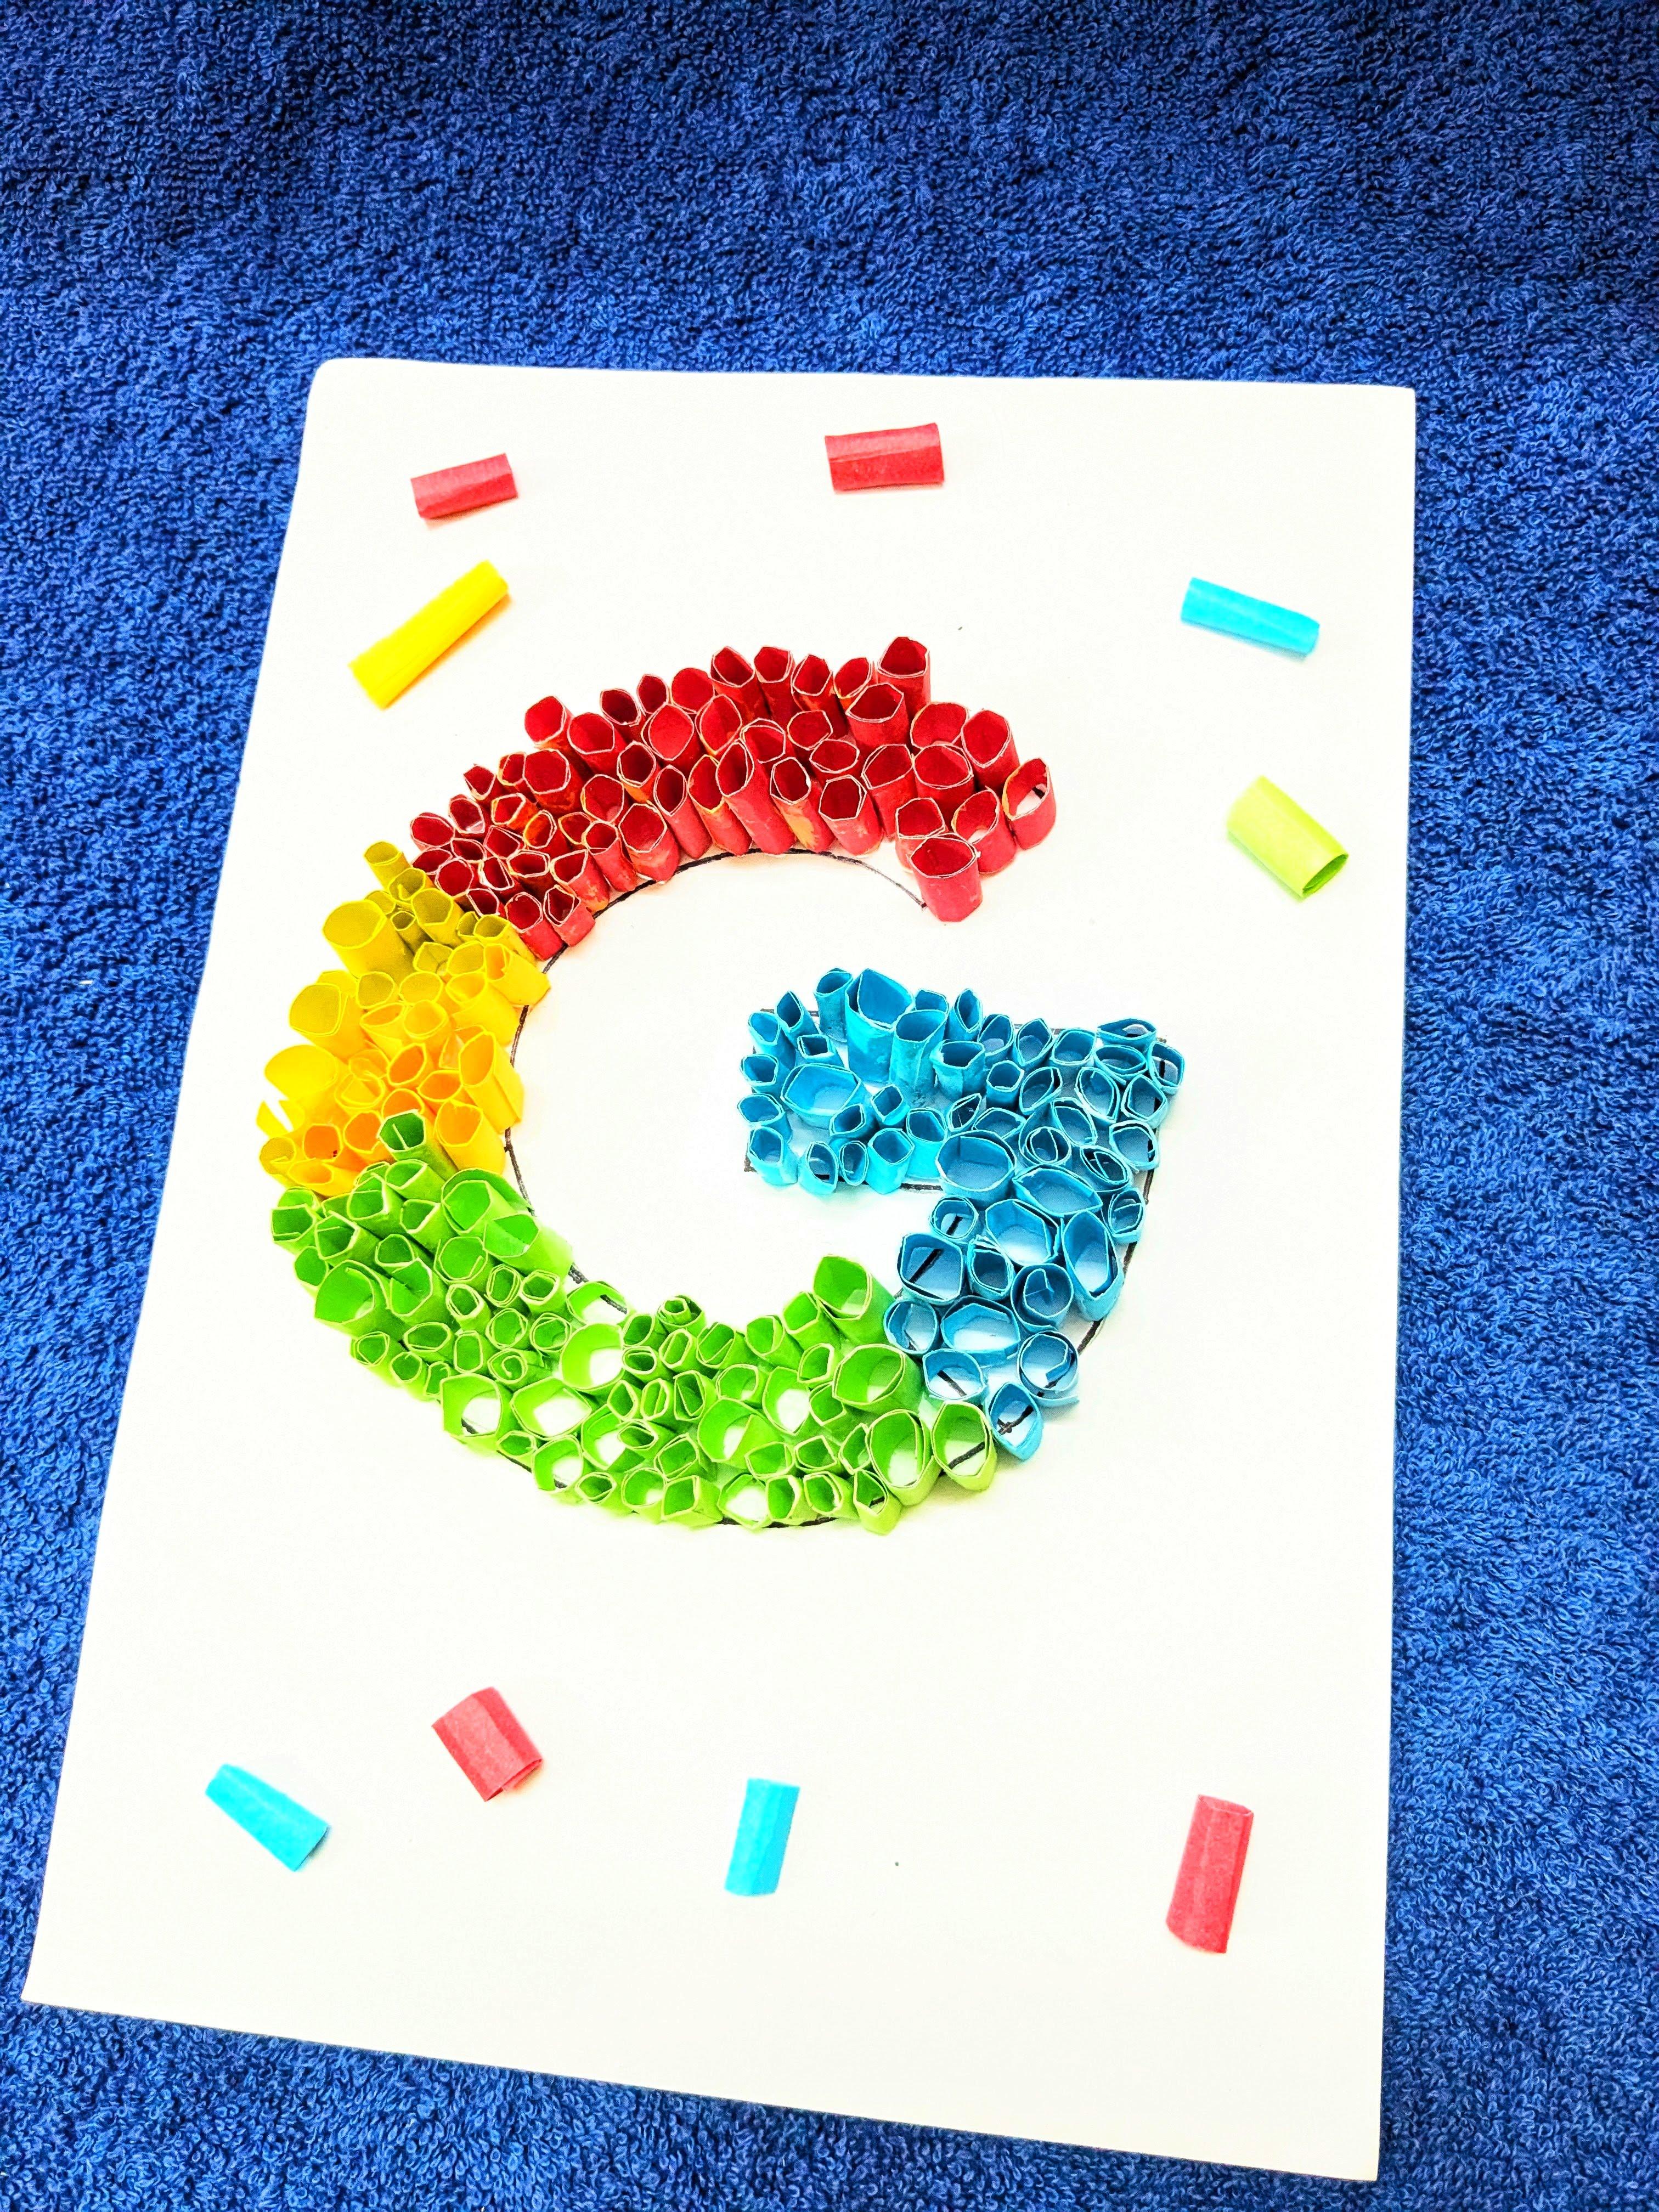


- Take a moment to review the assembled 3D typographic Google logo. Check for any areas that may need additional detailing or touch-ups. Use markers or colored pencils to add shadows, highlights, or other embellishments to enhance the visual appeal of the logo.
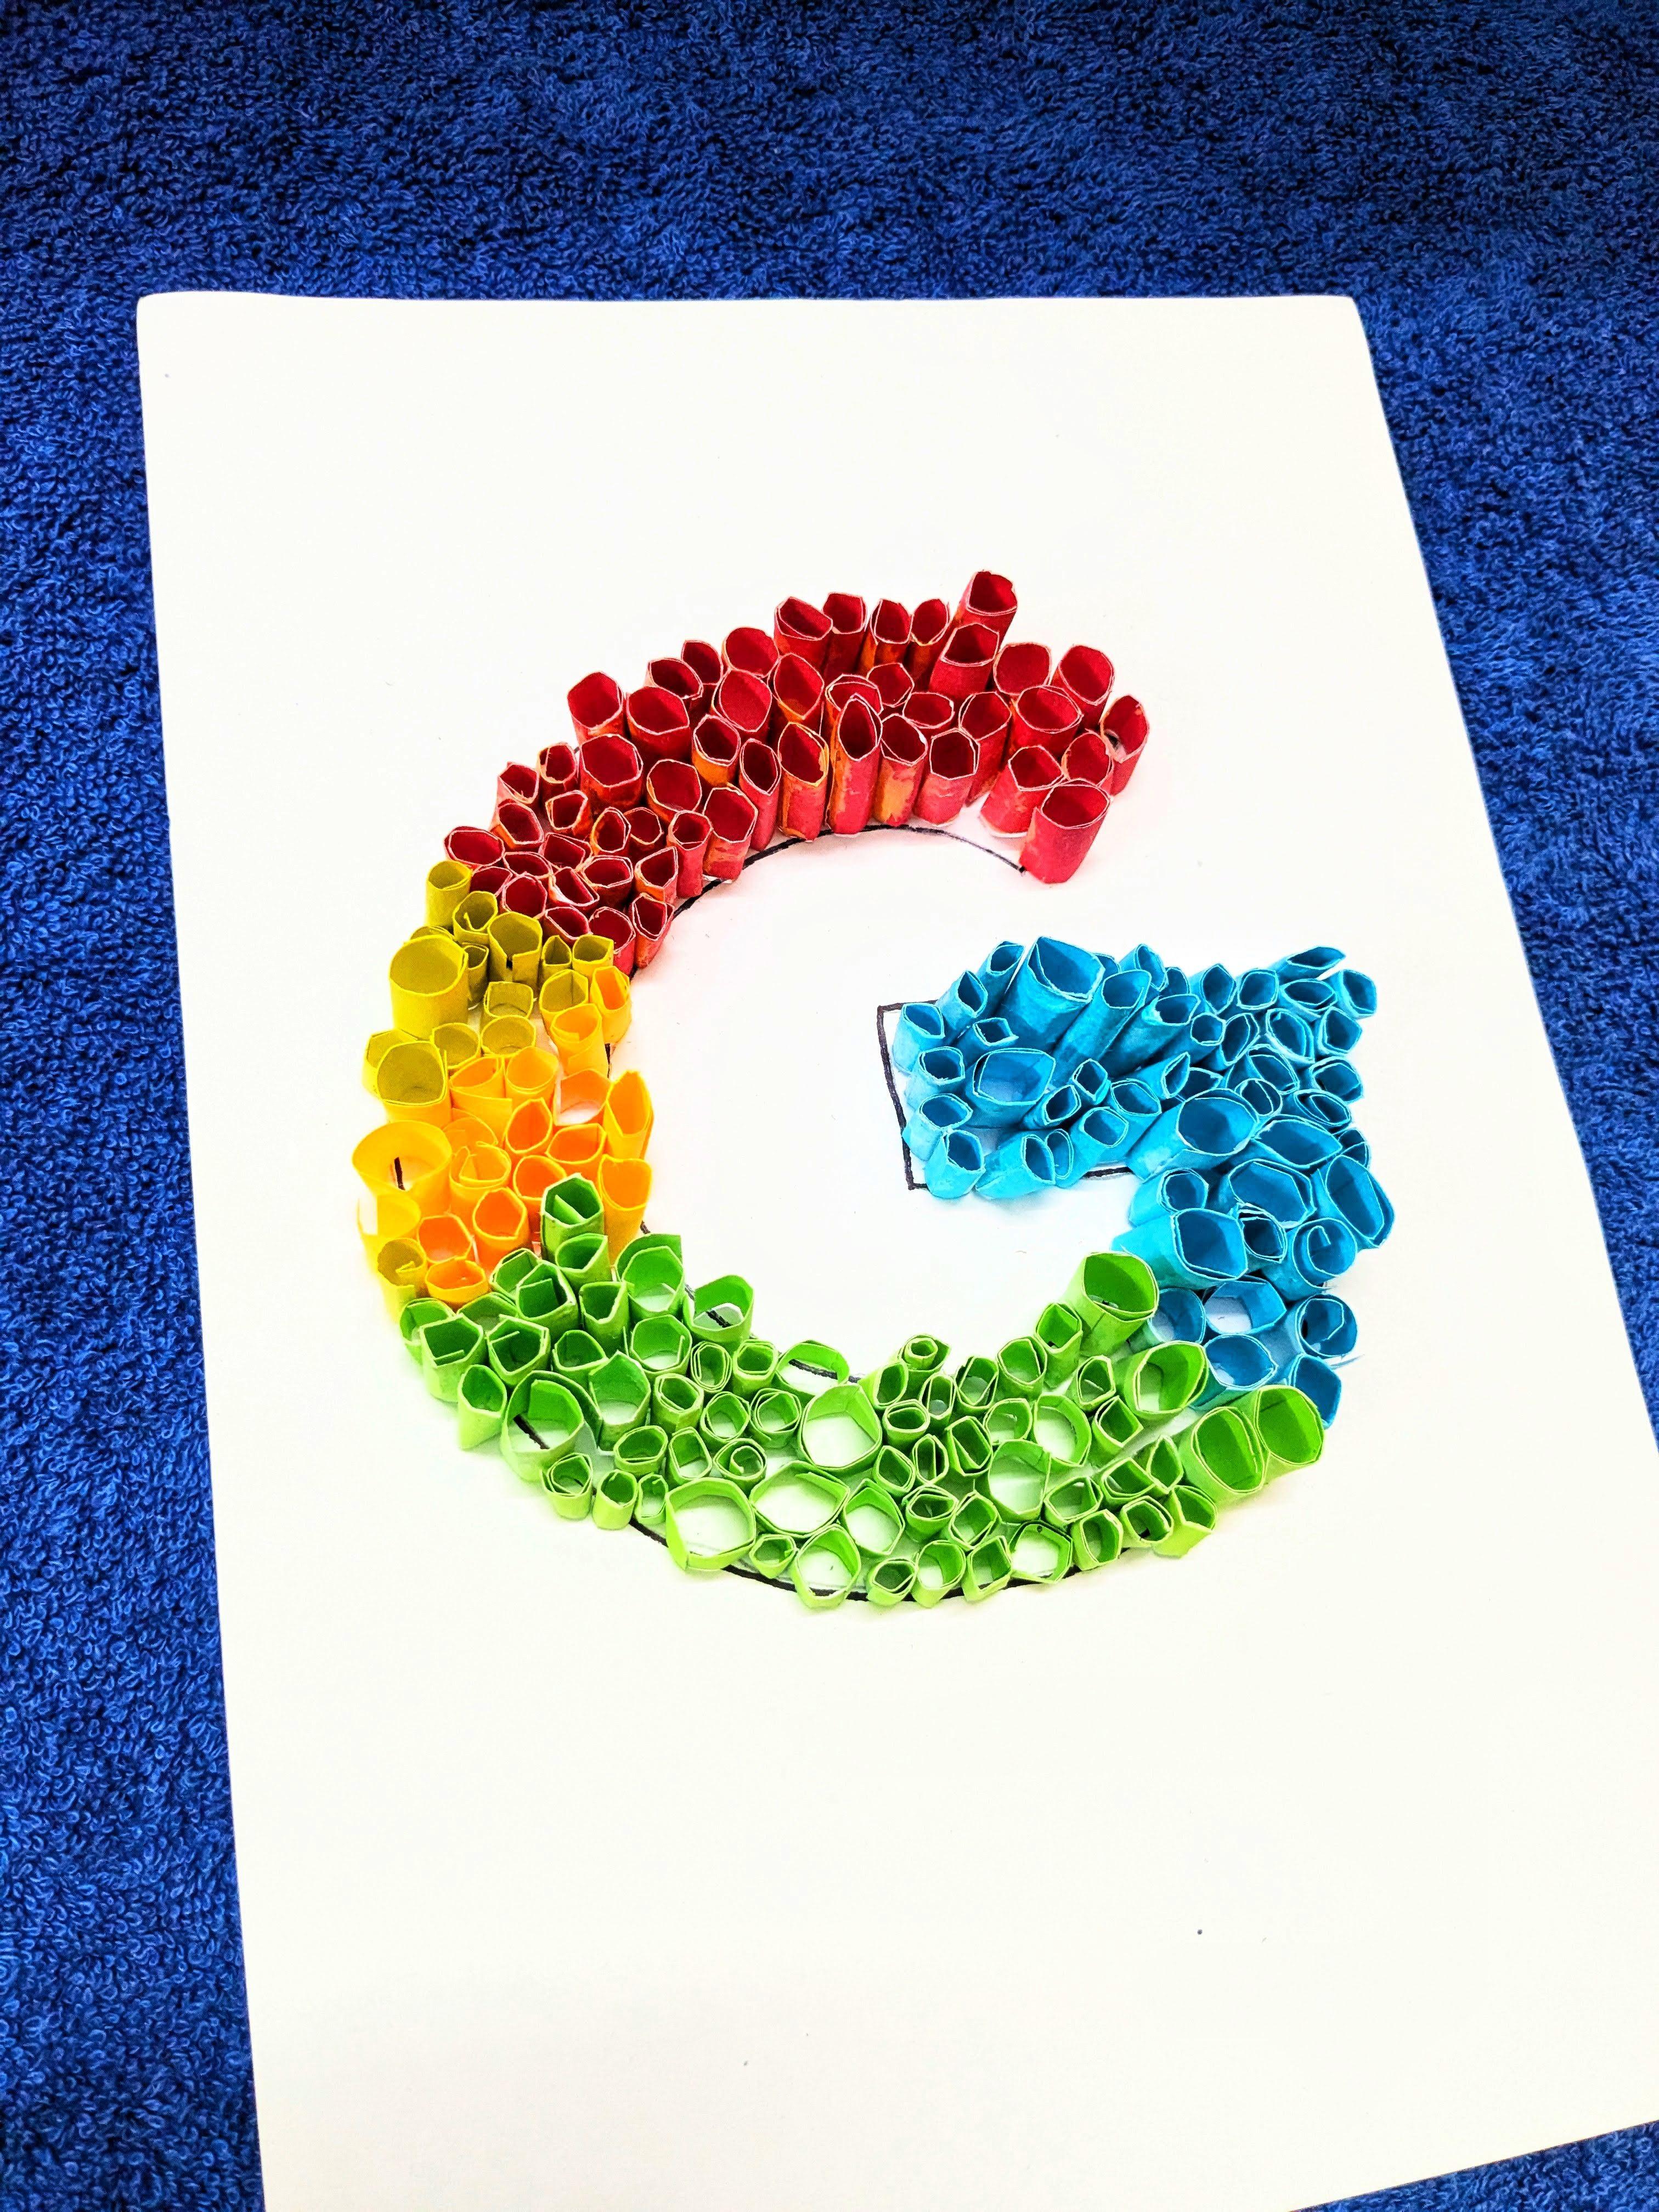
- Once satisfied with the final look of the 3D logo, decide on its presentation. You may choose to mount it on a display board, frame it for wall display, or use it in digital formats depending on your intended use and audience.
By completing these final touches and presenting your 3D typographic Google logo with care and attention to detail, you'll create a visually stunning and impactful representation of the Google brand. This logo not only highlights your creative abilities but also demonstrates your ability to translate design concepts into tangible and engaging visual solutions.