How to Create Unmoving Plaid ('Chowder Style') Animation in Flash CS6
by NanoRobotGeek in Circuits > Art
9330 Views, 9 Favorites, 0 Comments
How to Create Unmoving Plaid ('Chowder Style') Animation in Flash CS6
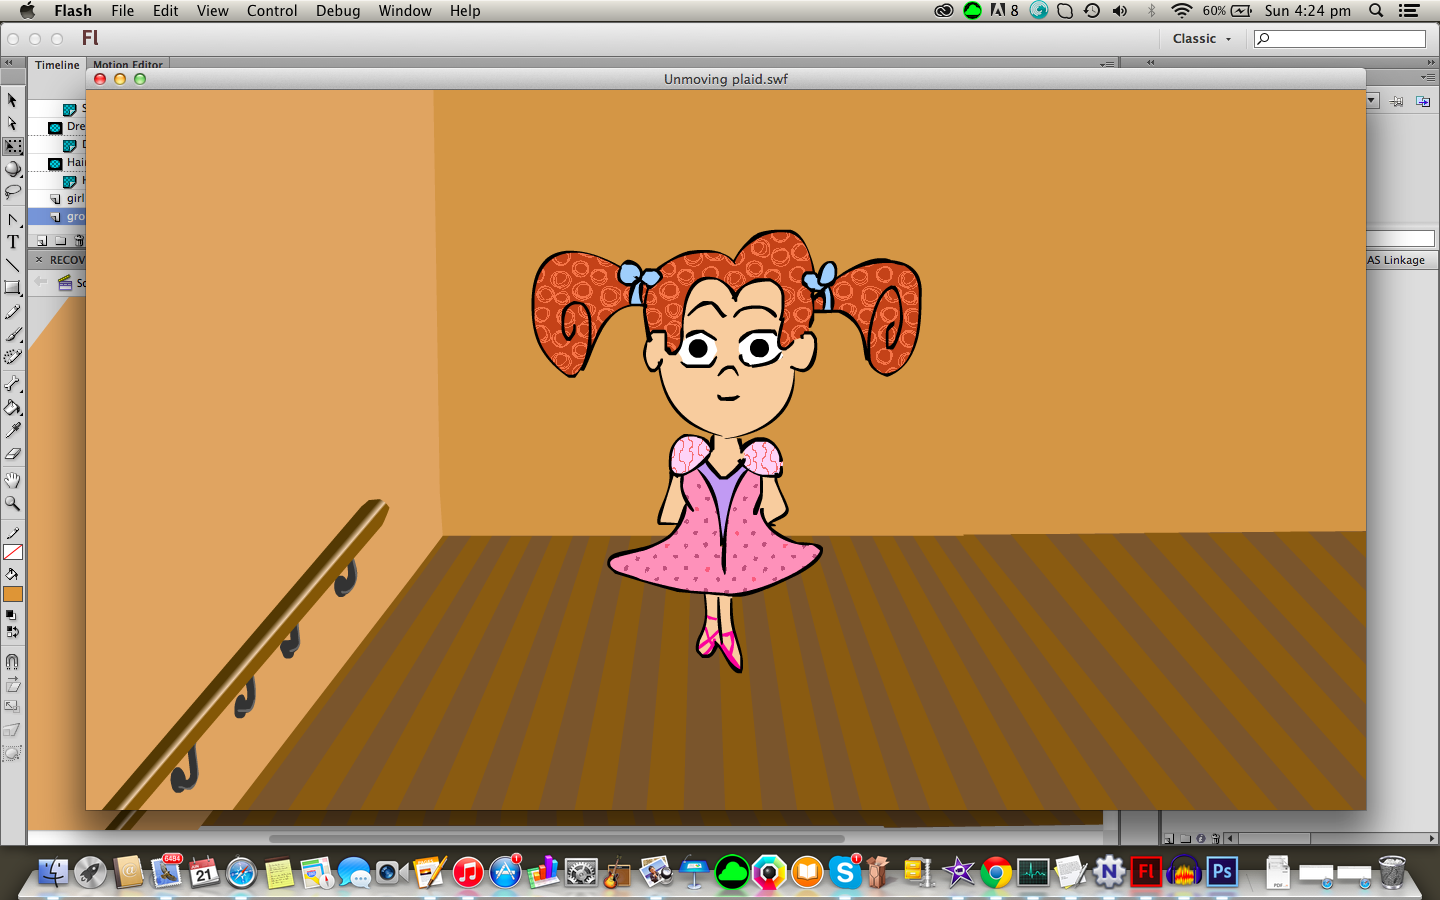
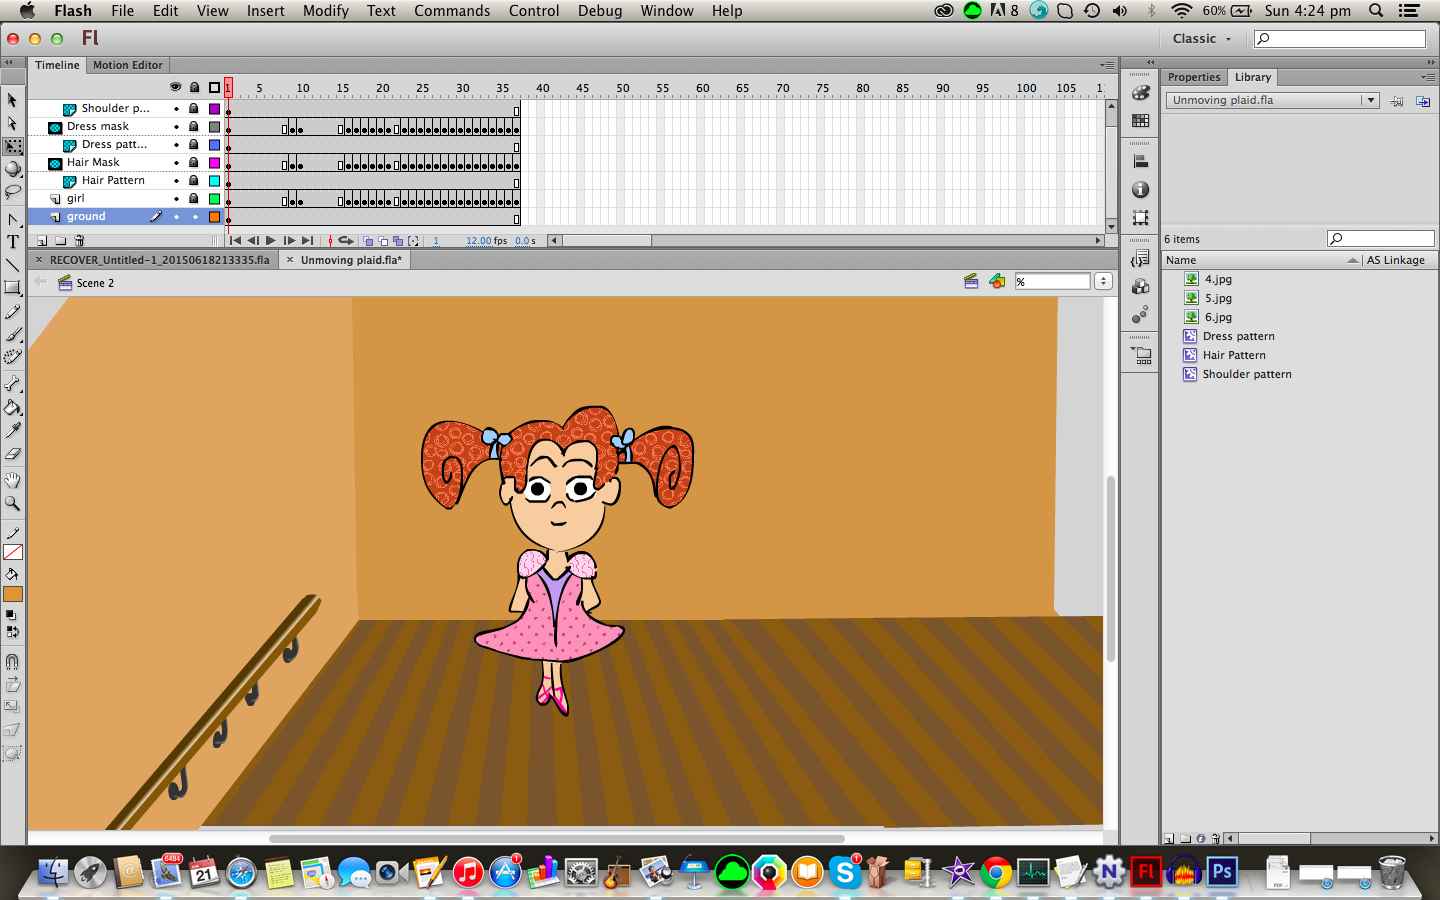
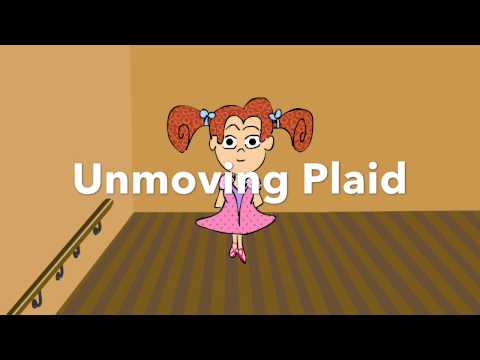
In this Instructable, I will be running you through the steps I use to create Unmoving Plaid style animation in Adobe Flash CS6. This style of animation is most well known from the popular cartoon "Chowder". To achieve this effect, most animated characters are coloured green which is later replaced with the pattern required in programs such as After Effects. To do this in flash we will need to create masks where we want our pattern to show through and we will need to create a still pattern which will show through the mask.
Make an Animation
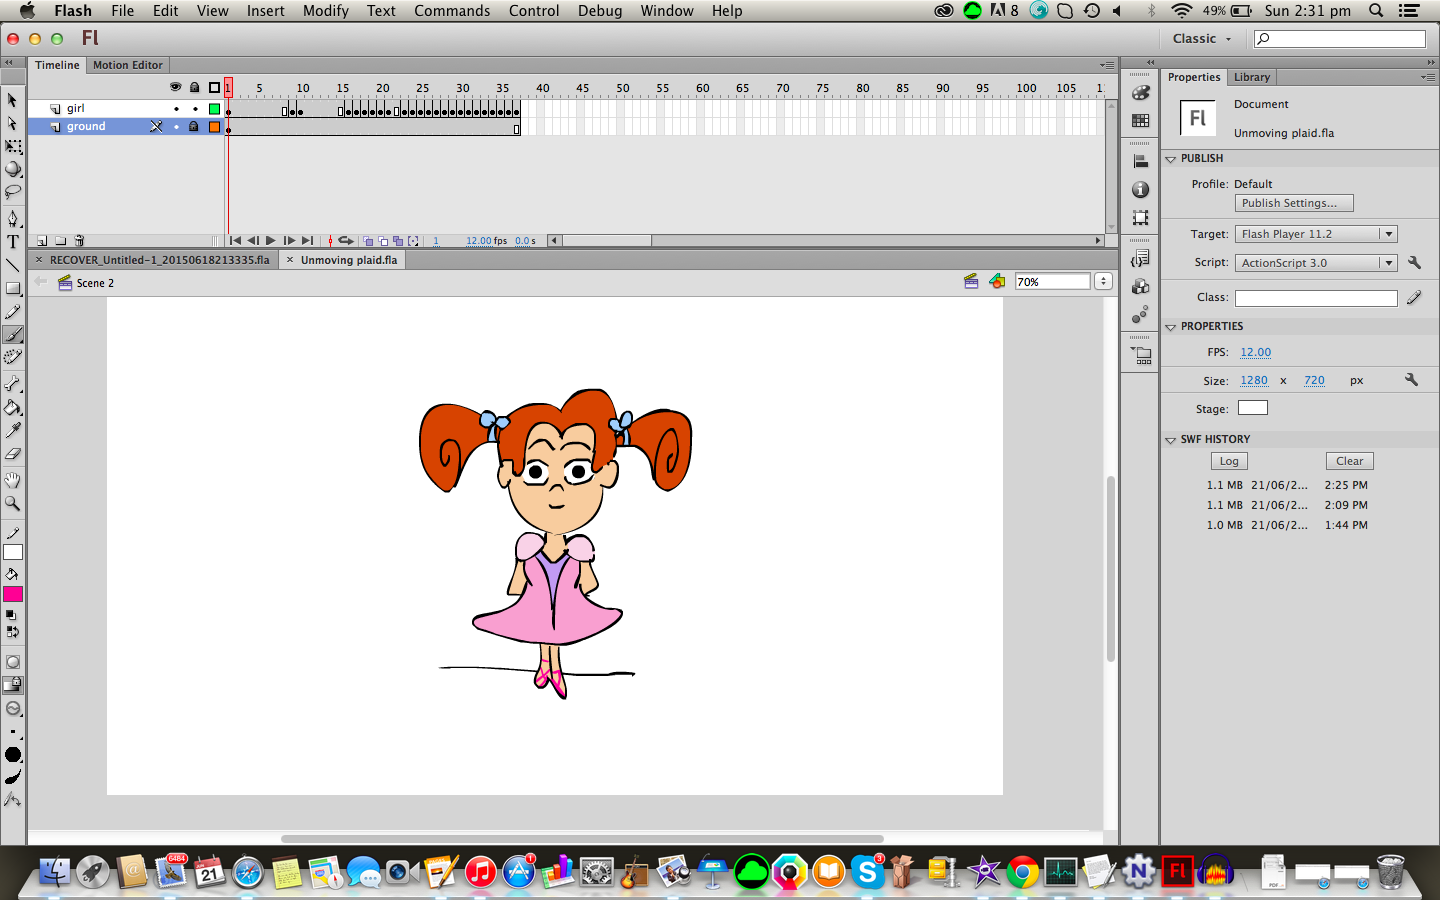

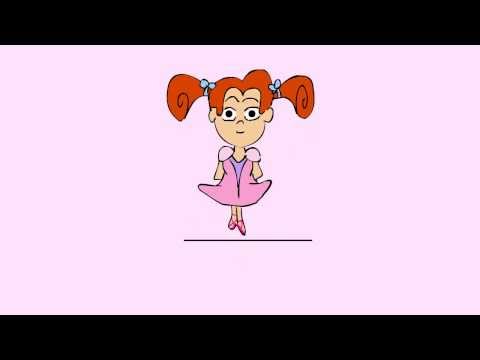
The first step is to create a simple animation. In this tutorial I will be using a short animation of a girl jumping.
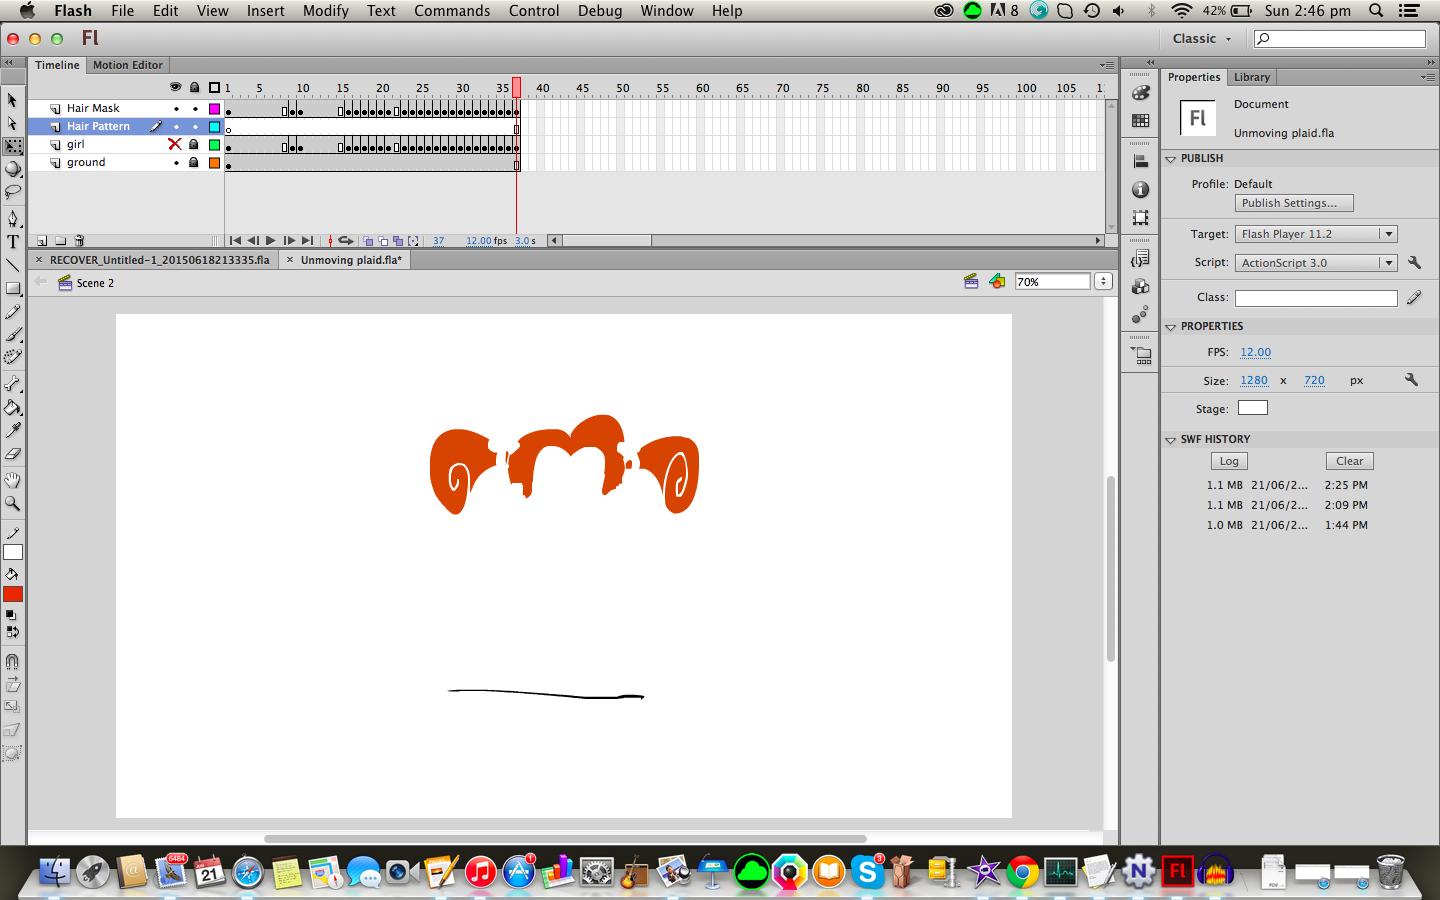
I am assuming your timeline currently looks like the one above.
Duplicate the Frames
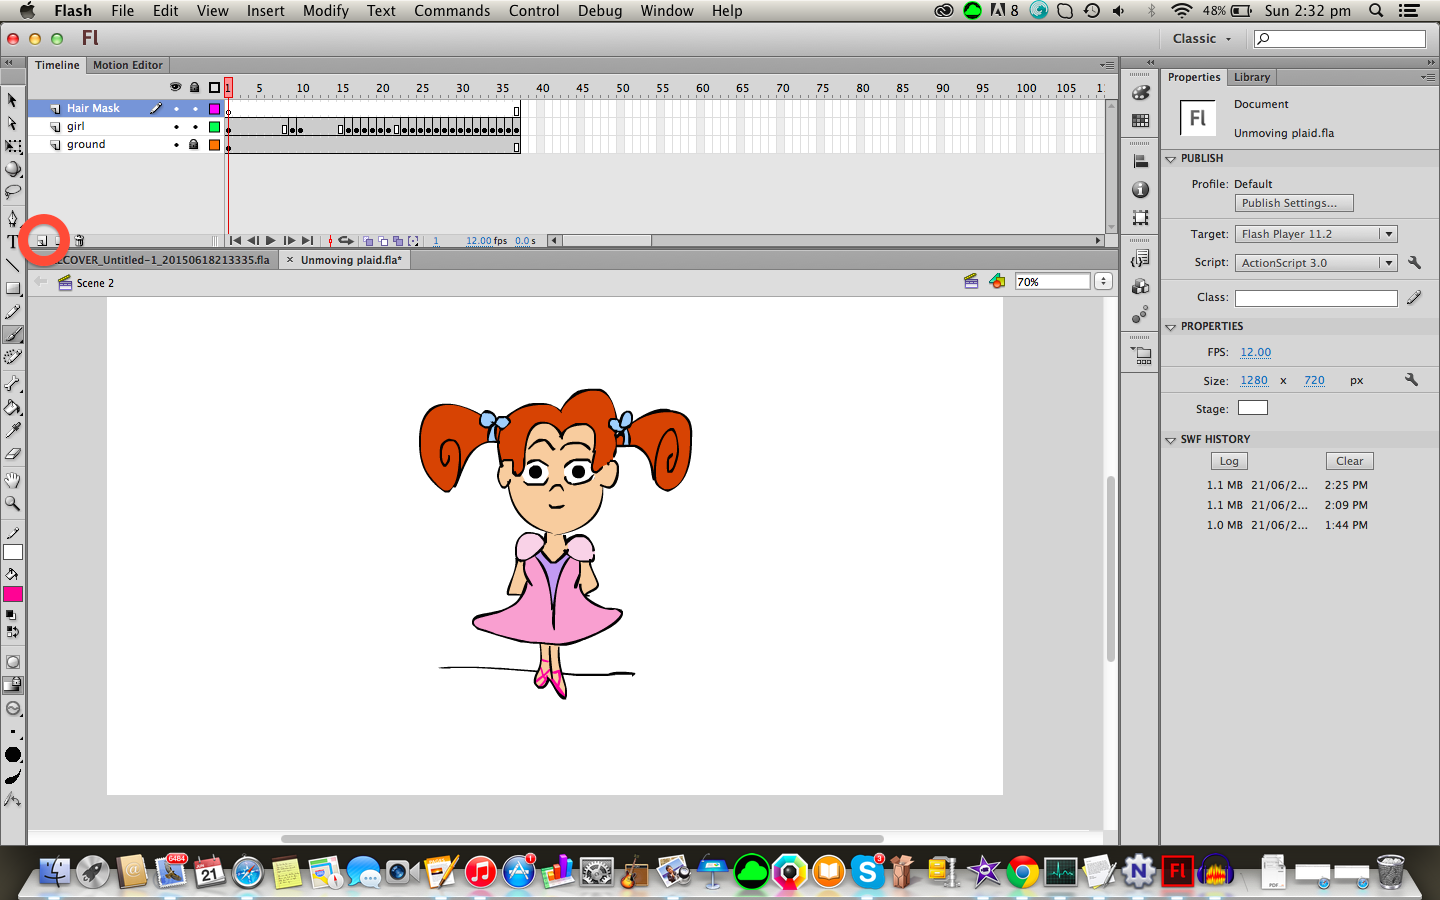
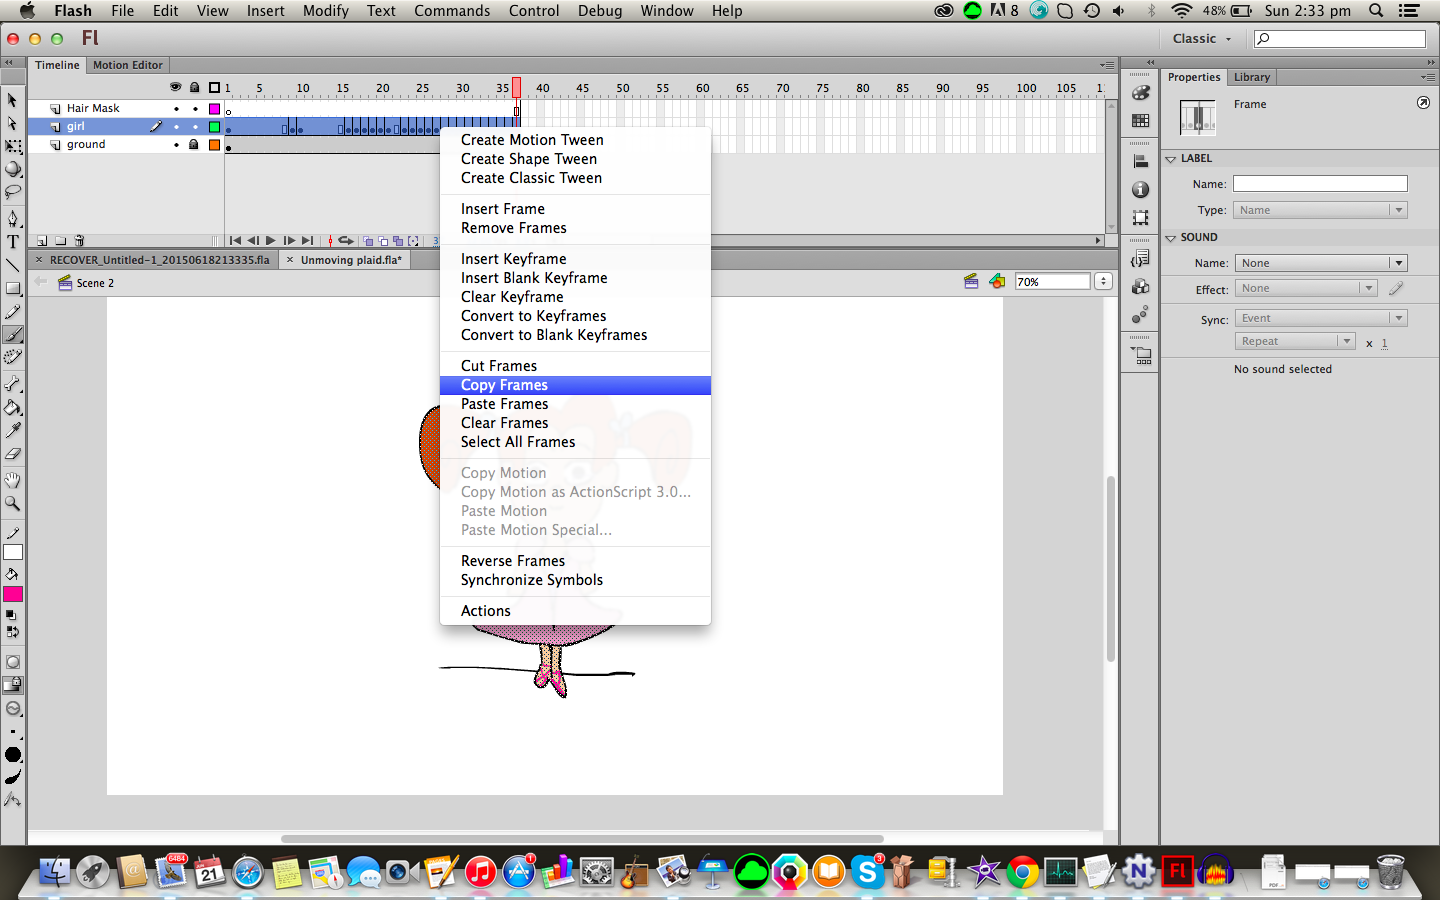
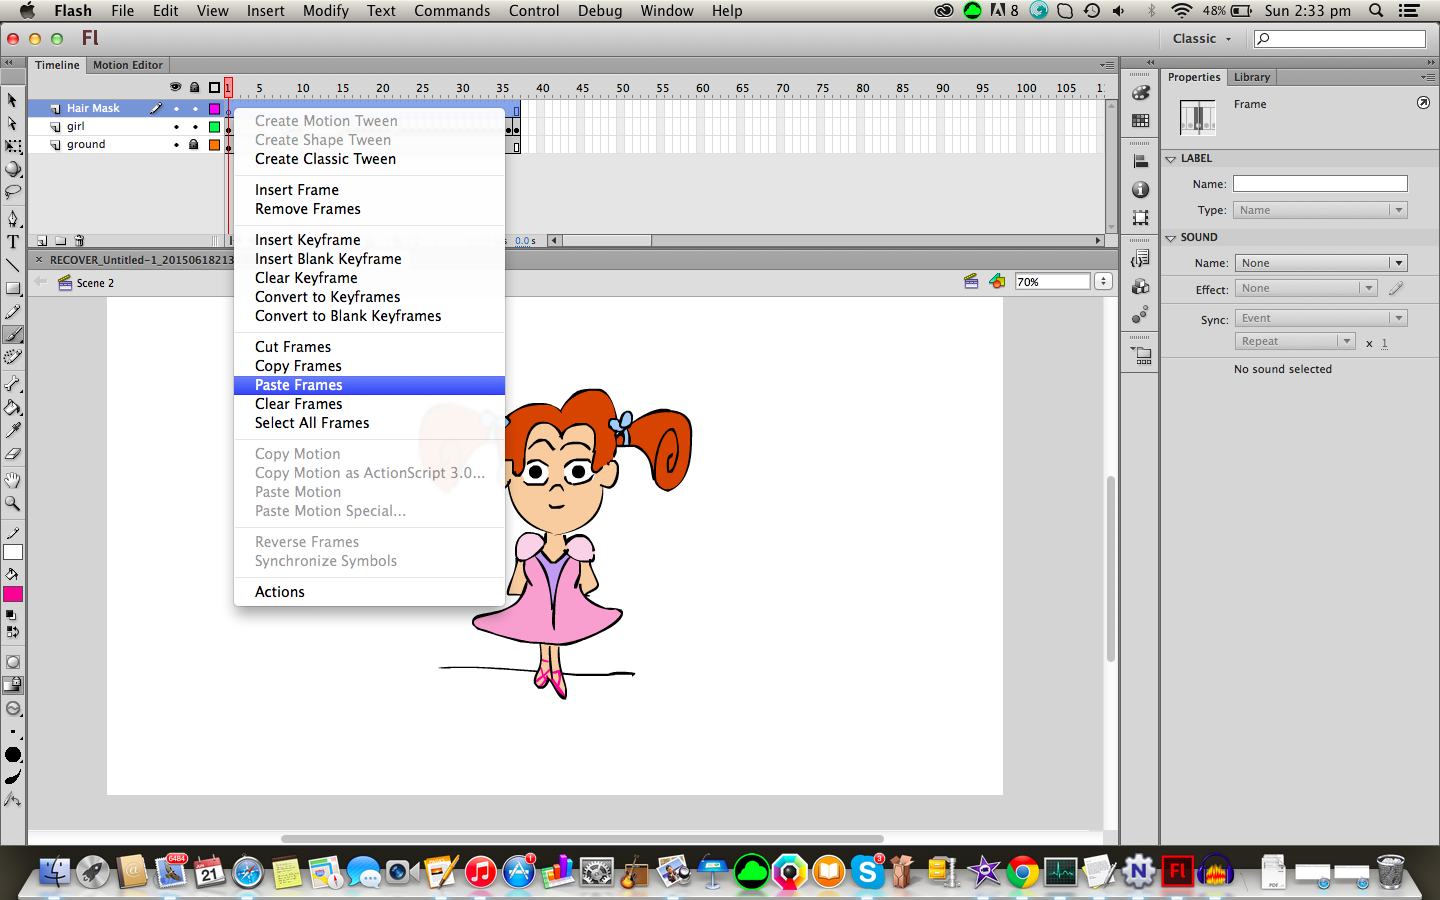
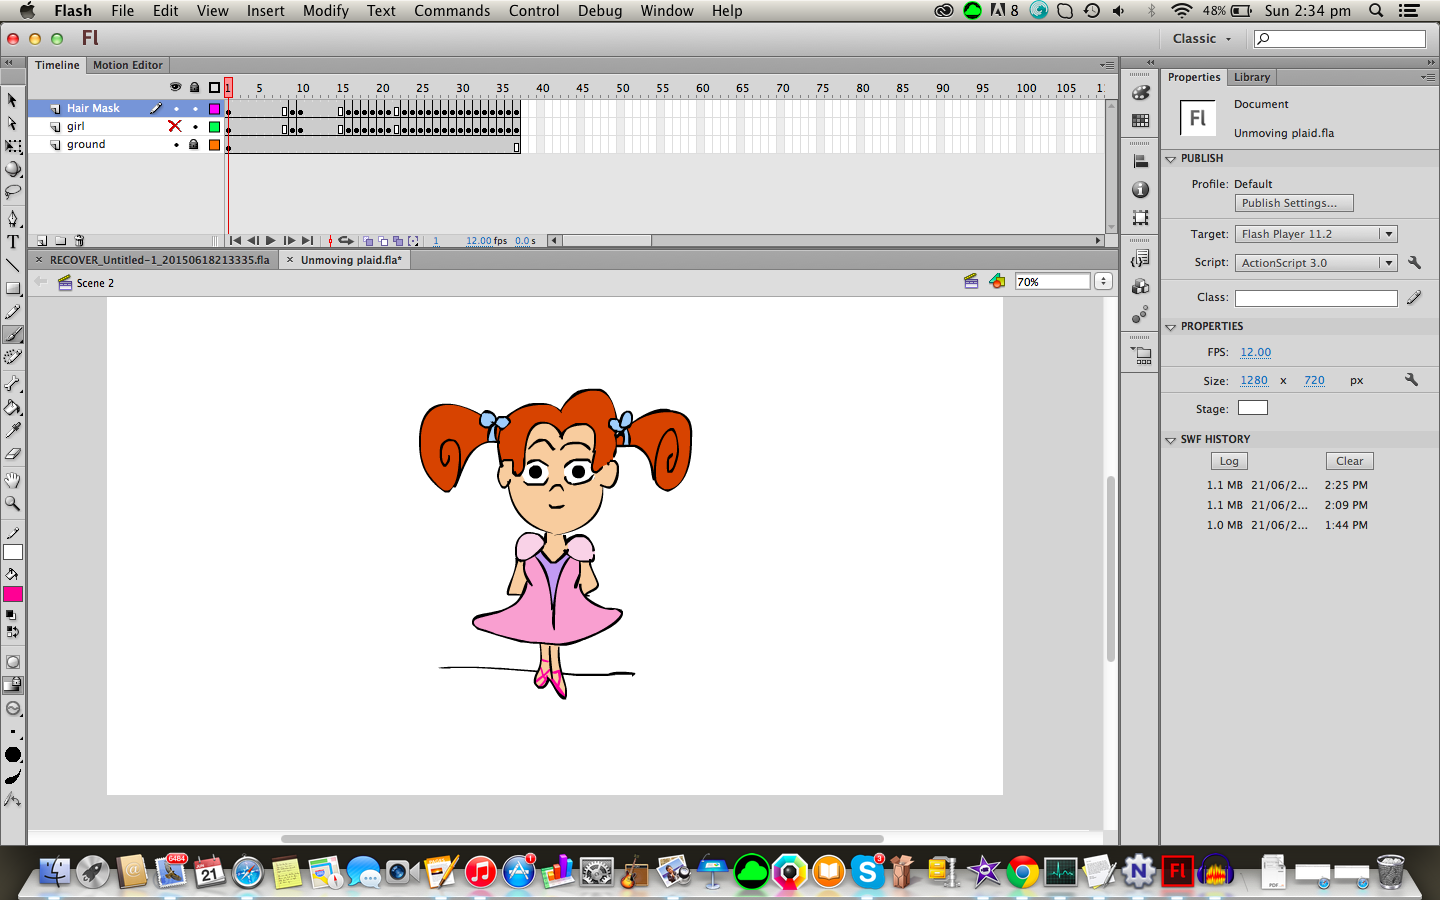
Make a new layer and name it something like "Hair Mask".
Highlight all the frames of your current animation, then right click and select "Copy Frames".
Now highlight all the frames of the new layer, right click and select "Paste Frames".
Normal copy/paste will NOT work here
Preparing to Mask: Part 1
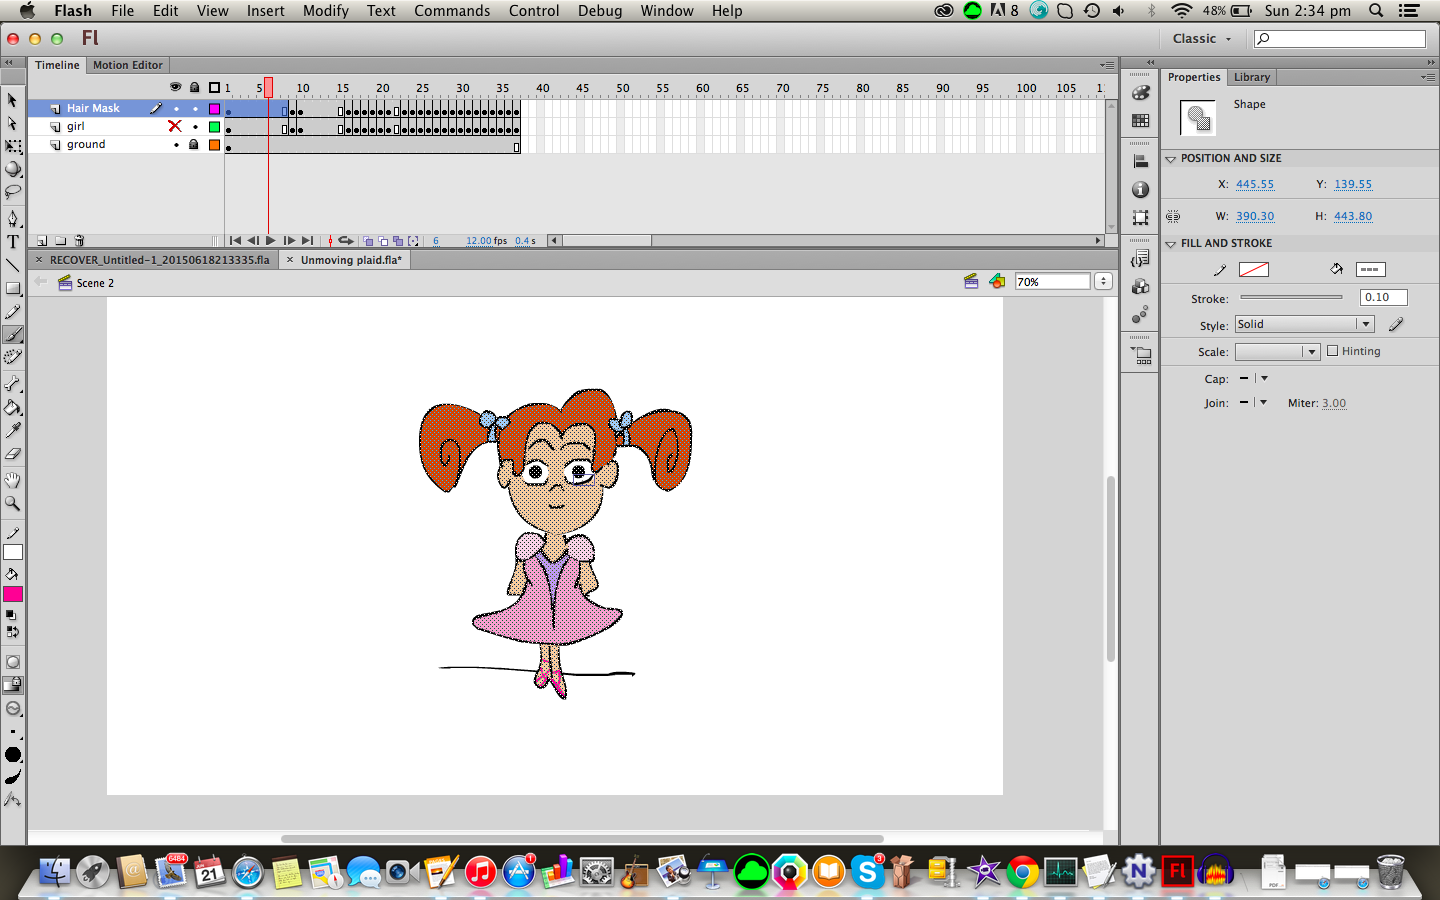
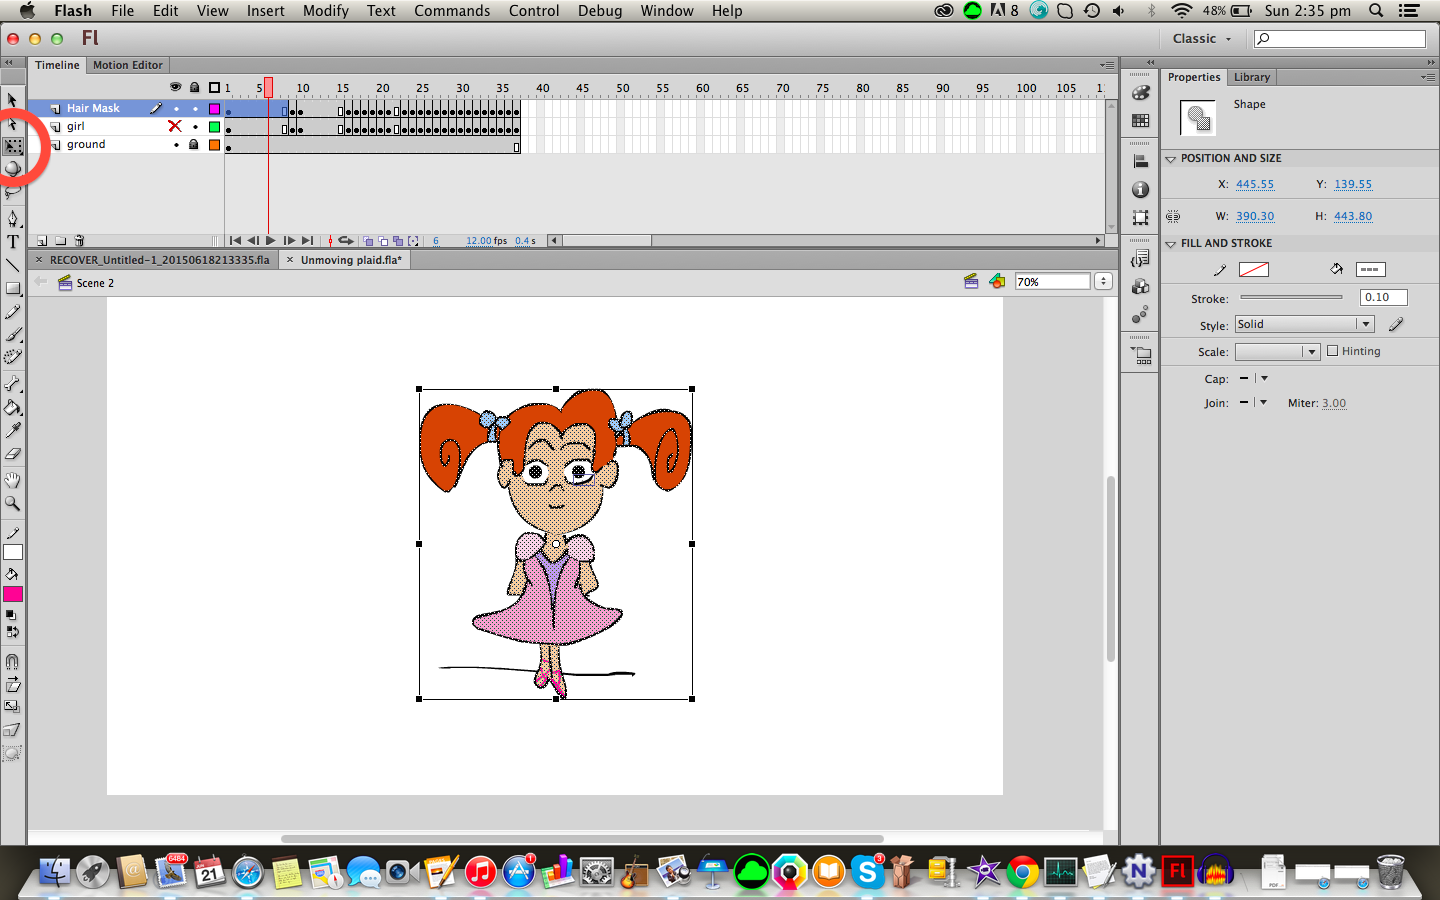
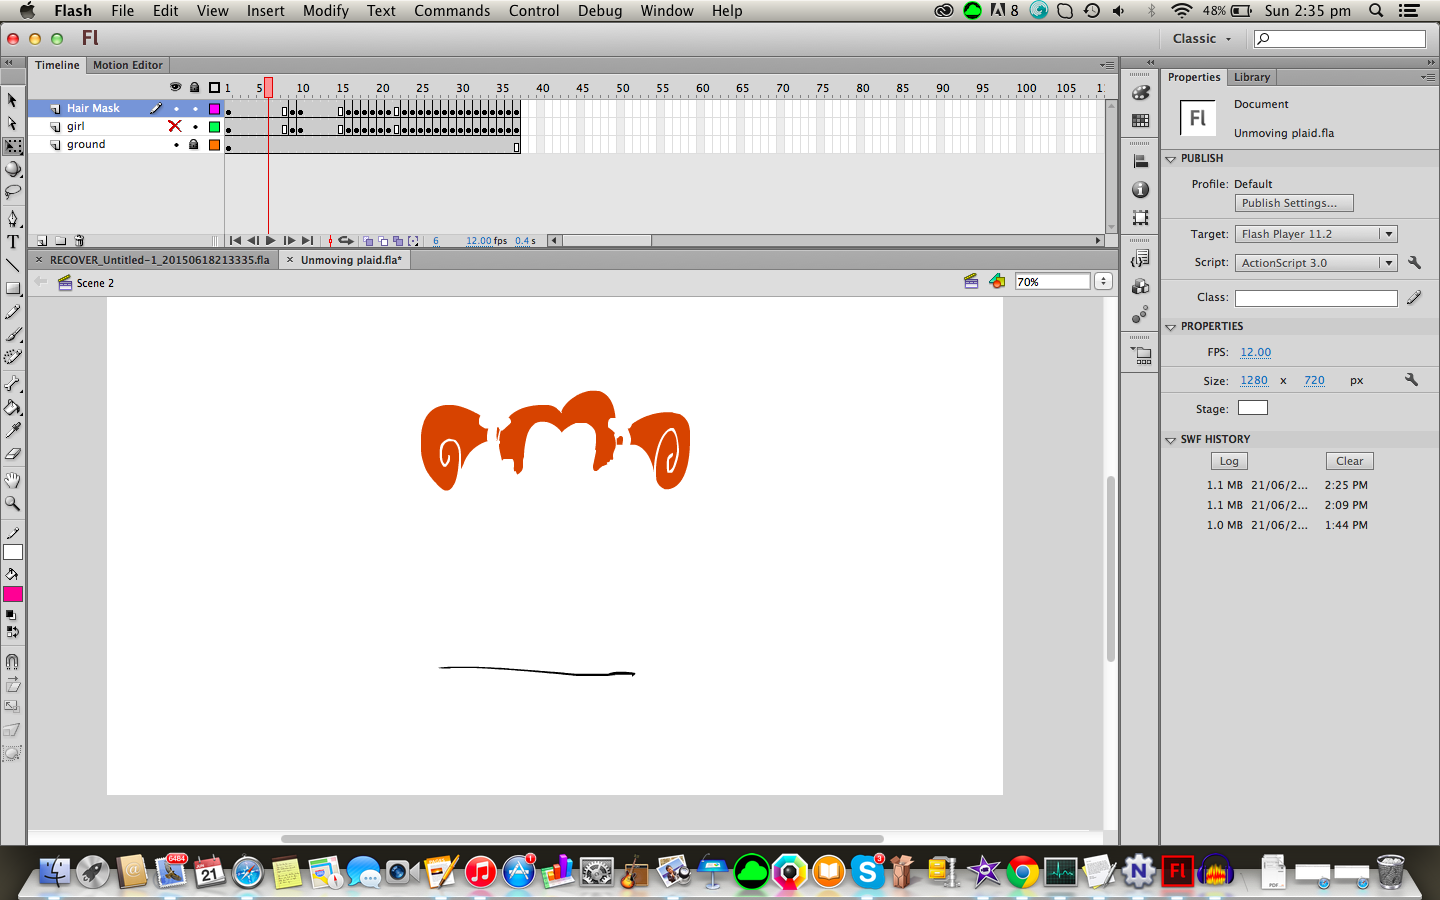
Before we mask we must have two layers; the mask layer and the pattern layer. This step will look at how to create the shapes for the mask layer.
Hide and Lock your old frames (in this case the "girl" layer) and press "control/command + a" to select all parts of the image in your new layer.
While holding down shift, click all parts of the current image you wish to mask with the pattern (in this case all the red hair), this will de-select the hair.
Now press delete to delete everything except the hair.
Preparing to Mask: Part 2
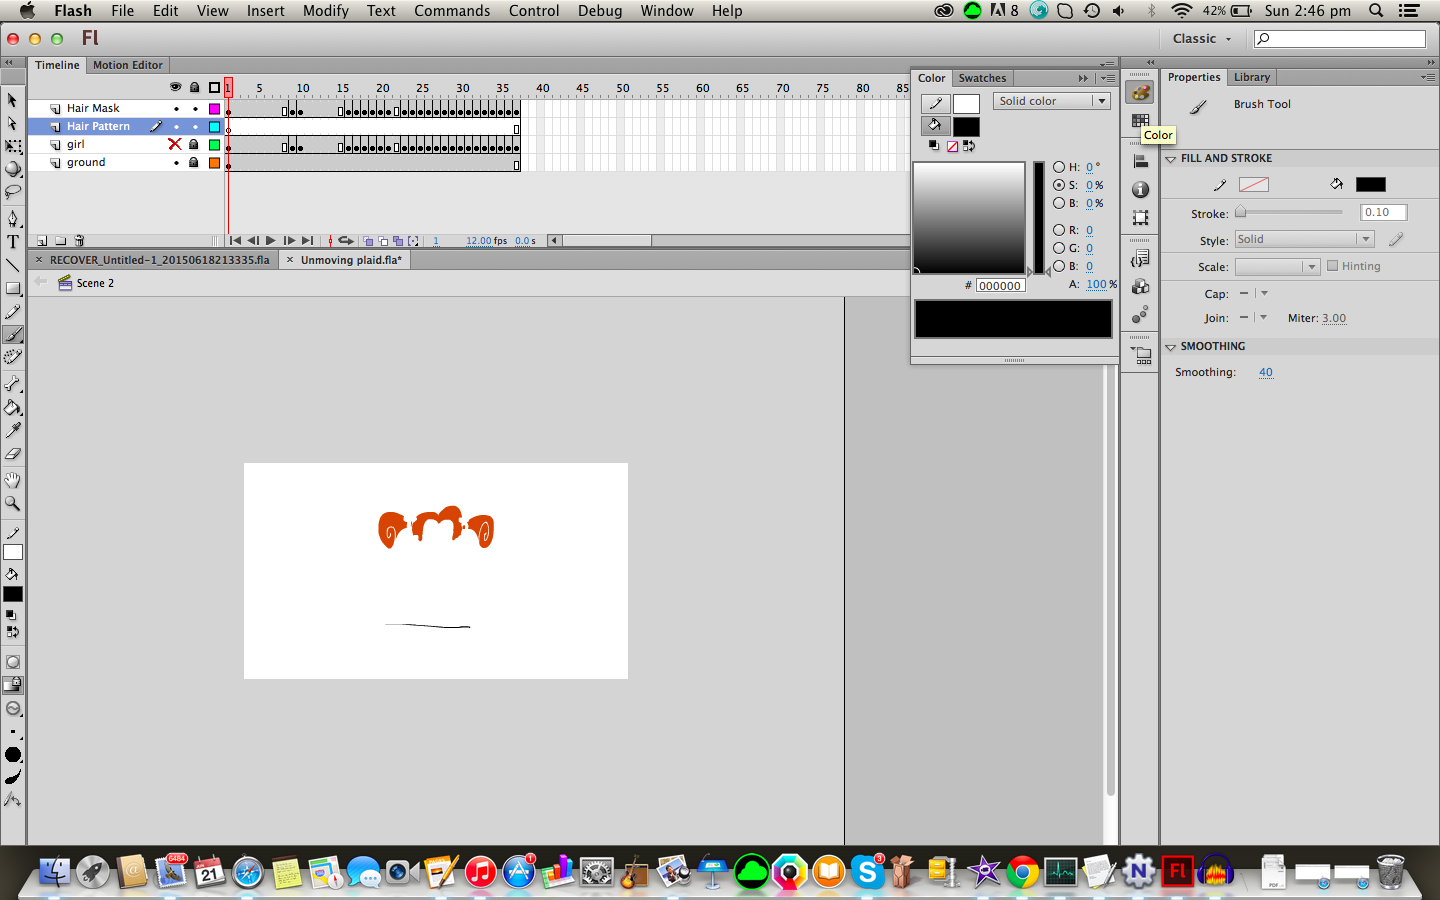
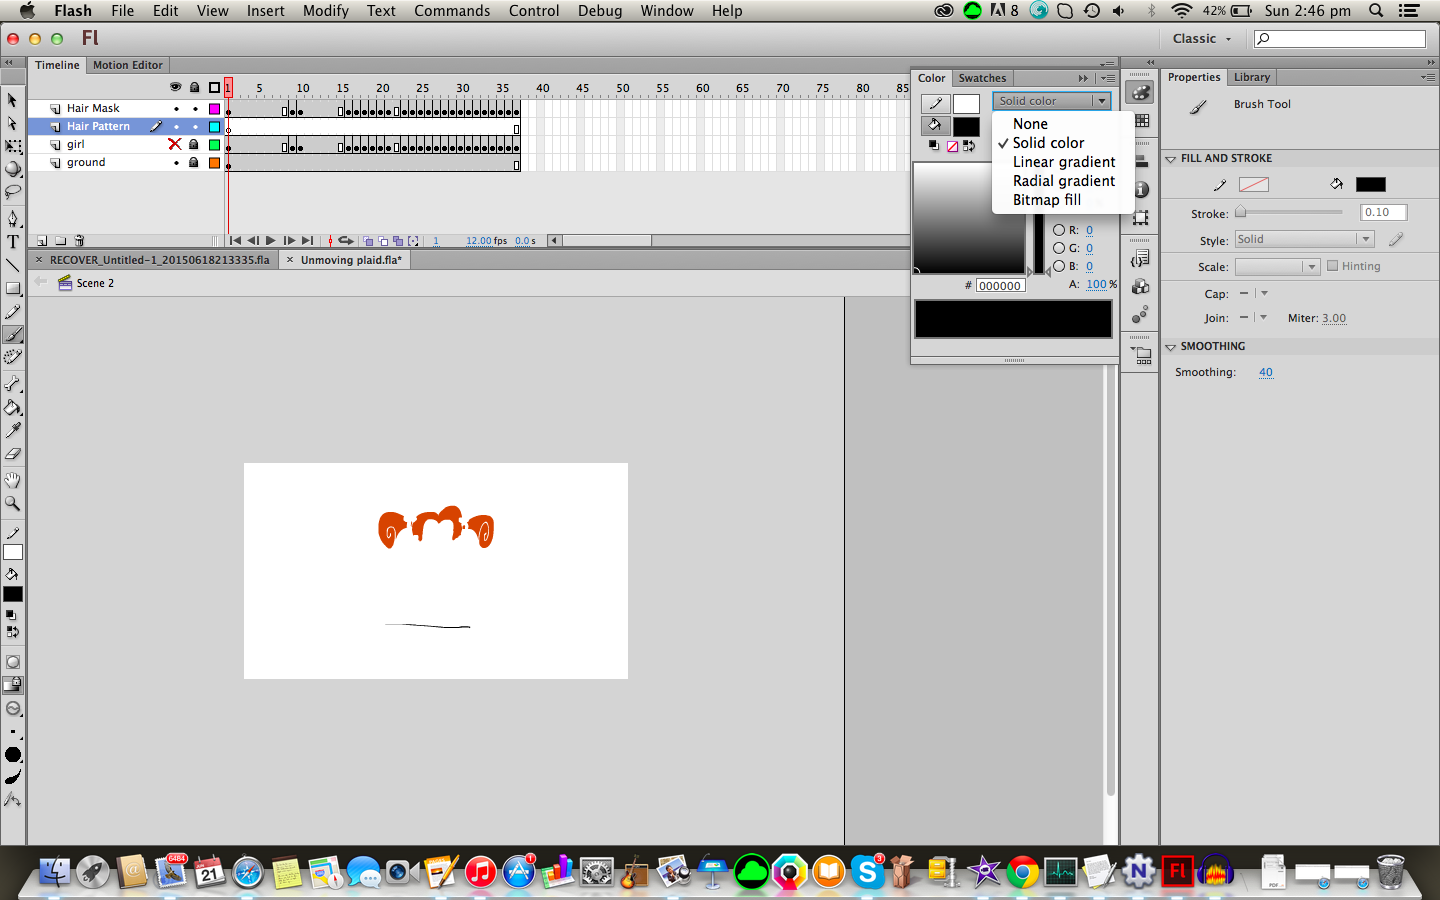
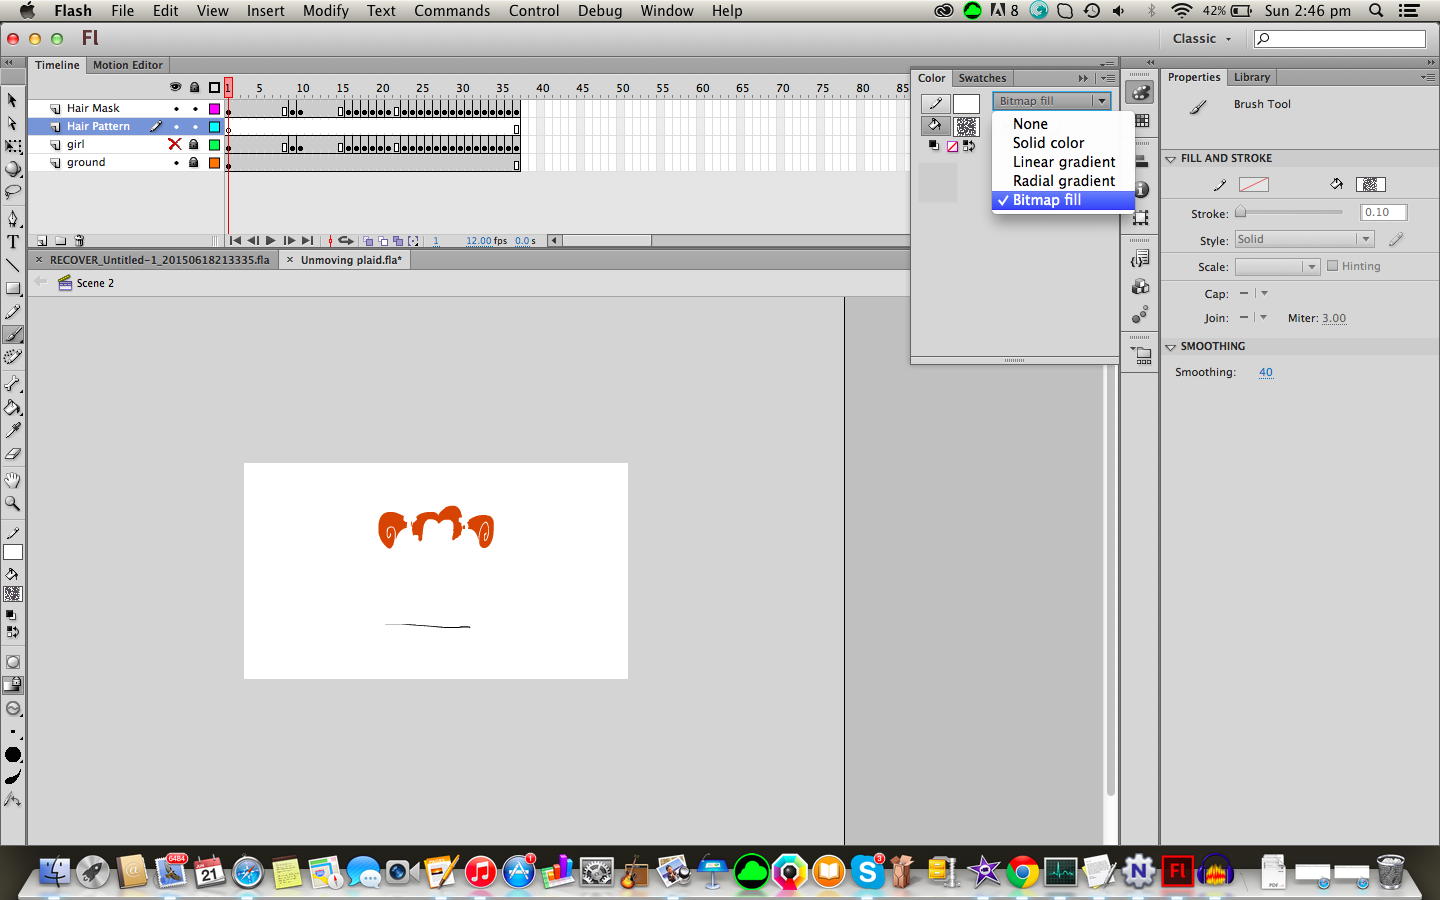
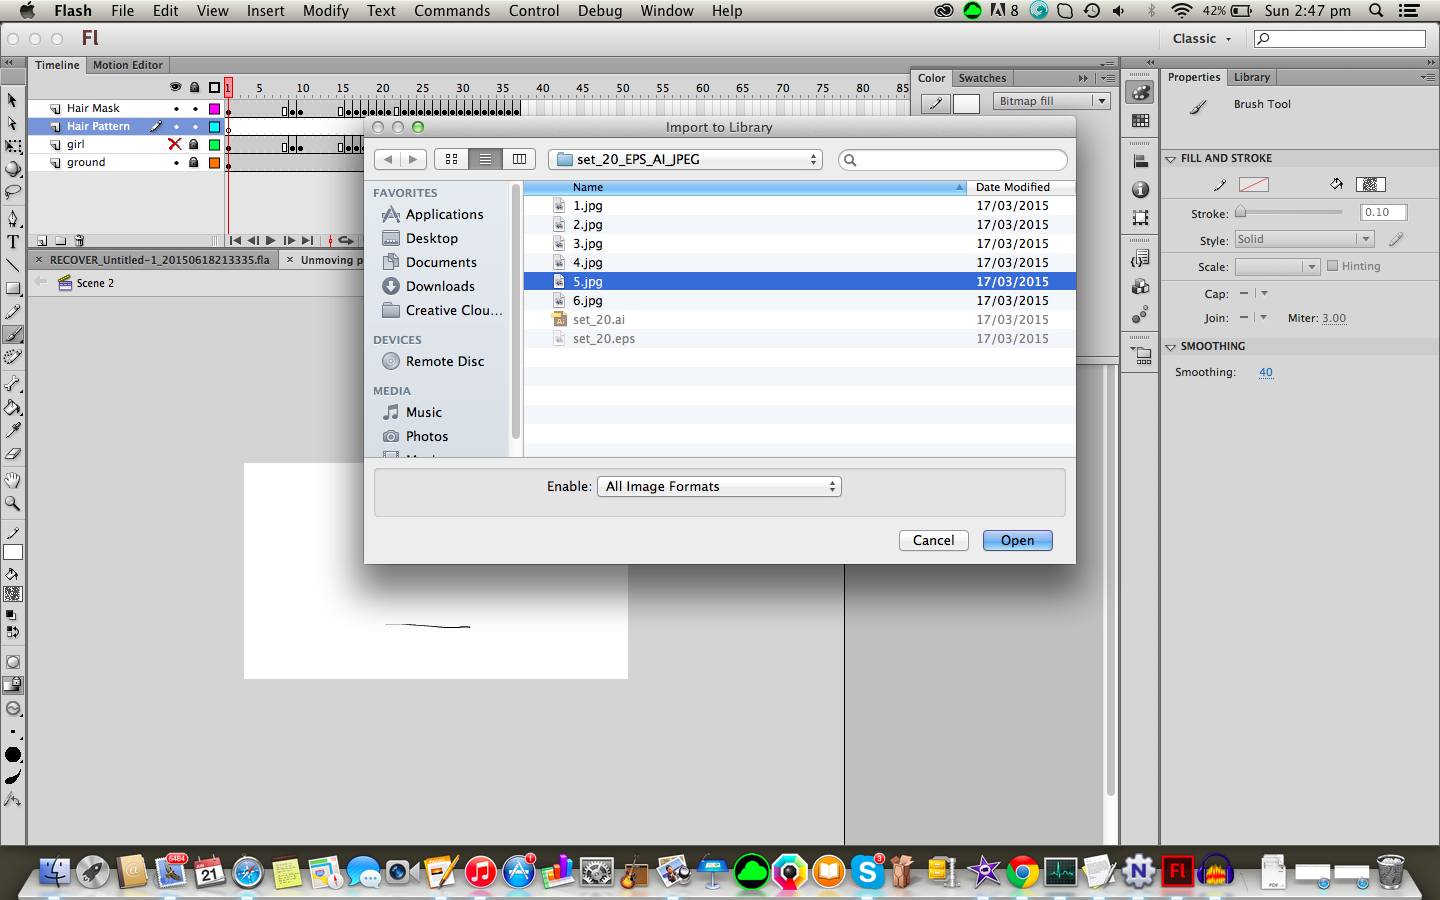
Create a new layer and name it something like "Hair Pattern" then drag and drop it UNDERNEATH the mask layer (this step can be done later).
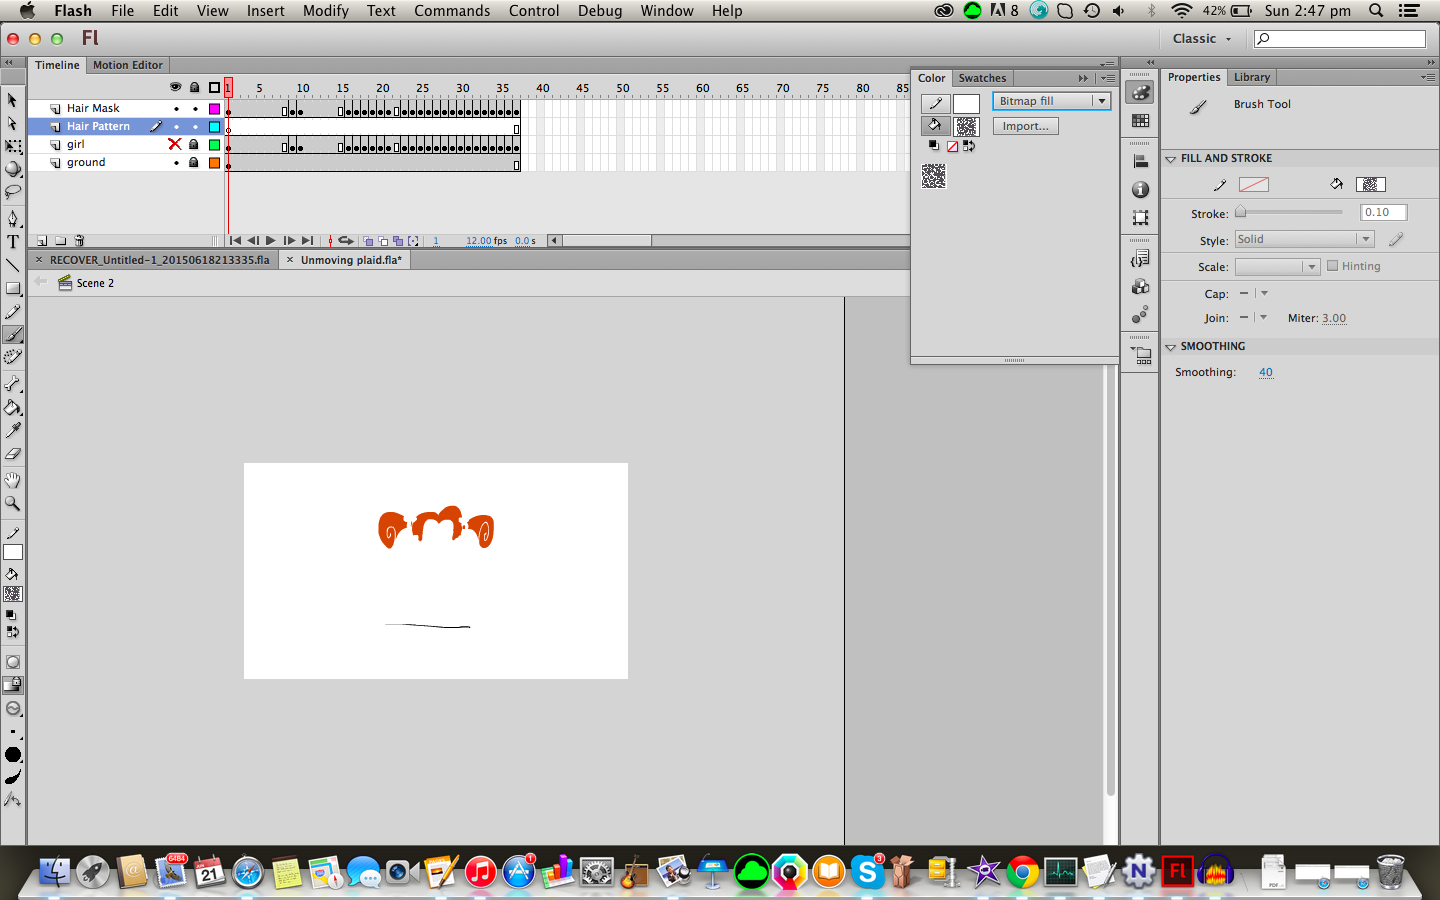
Now we need to get the pattern we want into our colours library. To do this, click on "colour", then use the drop down menu (which should currently say "solid colour" or "linear gradient" etc.) to select "Bitmap fill".
Now click the "import" button and select the file you wish to use. The patterns which I used were downloaded from CreativeMarket.com
As you can see in the last photo, we now have this pattern available for us to use.
Preparing to Mask: Part 2.5
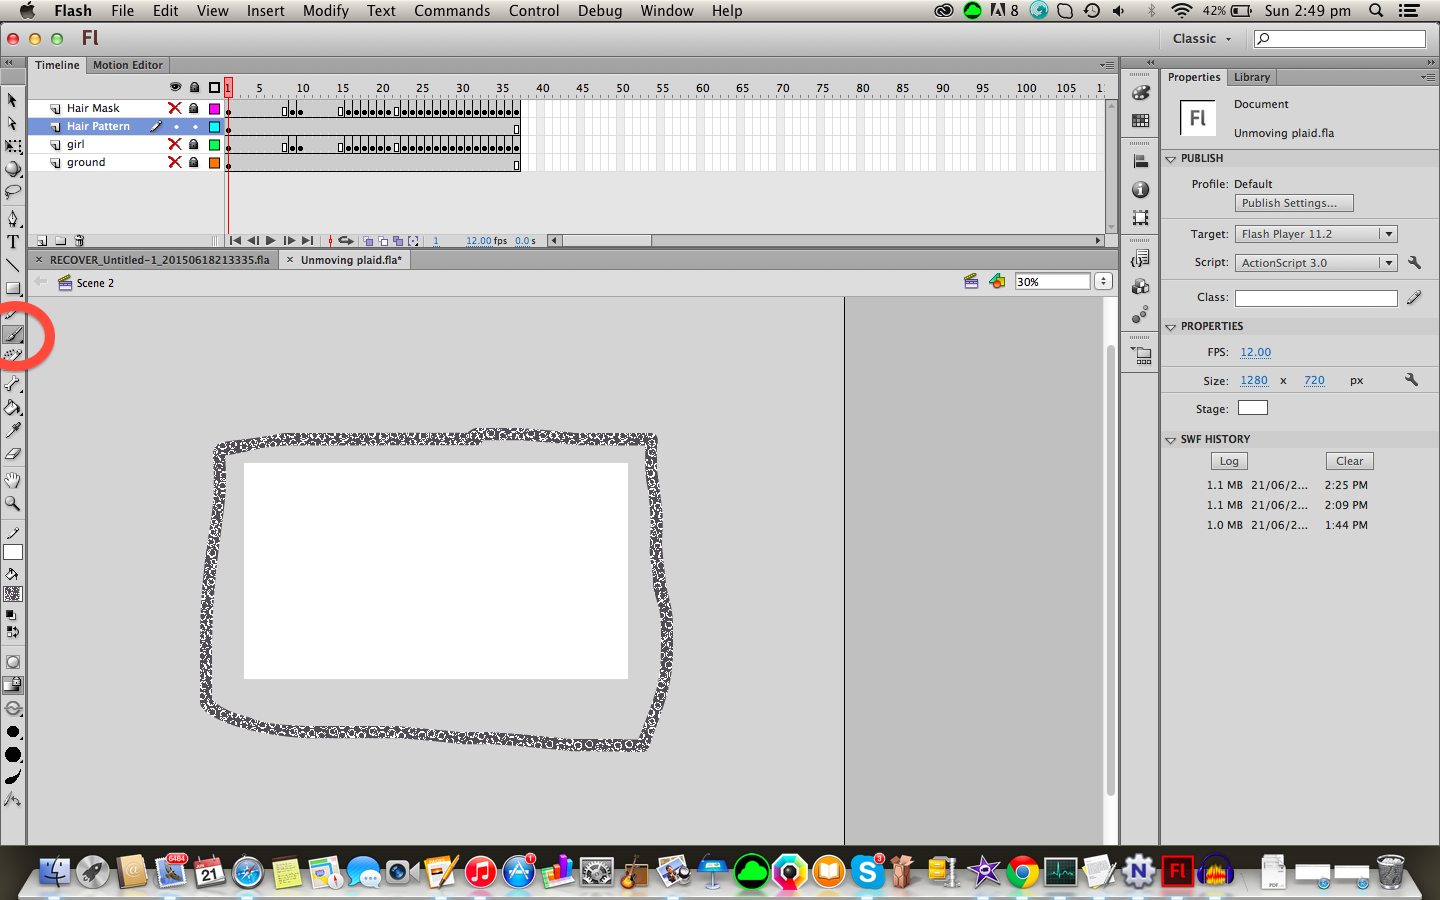
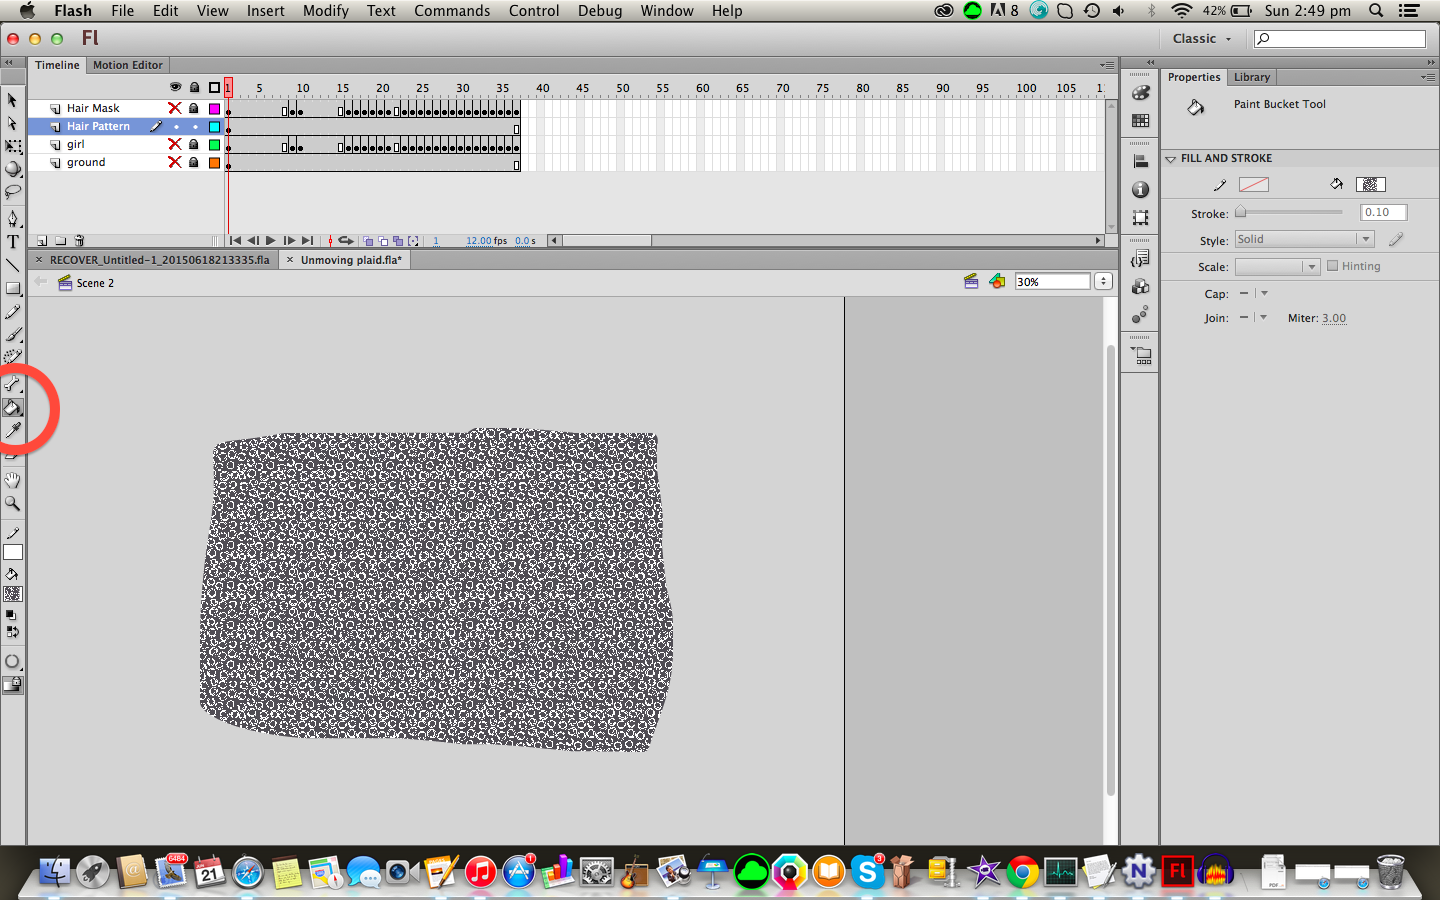
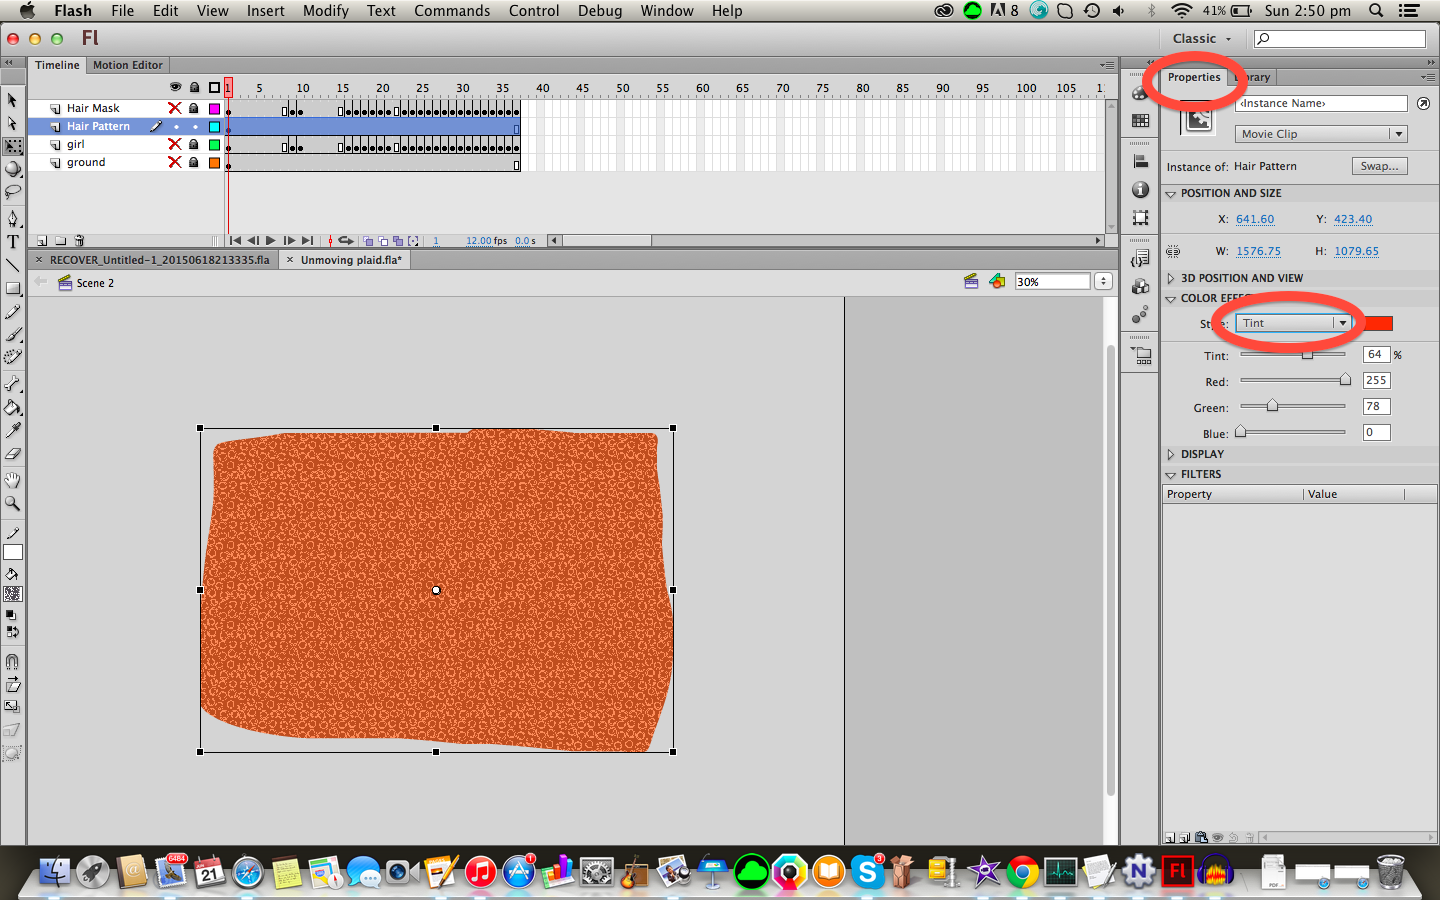
There are many ways to do this step but this is the way I go about it:
Zoom out so that you can view the whole stage and go to the "Hair Pattern" layer.
Draw a rectangle around the whole stage and fill it in with the pattern.
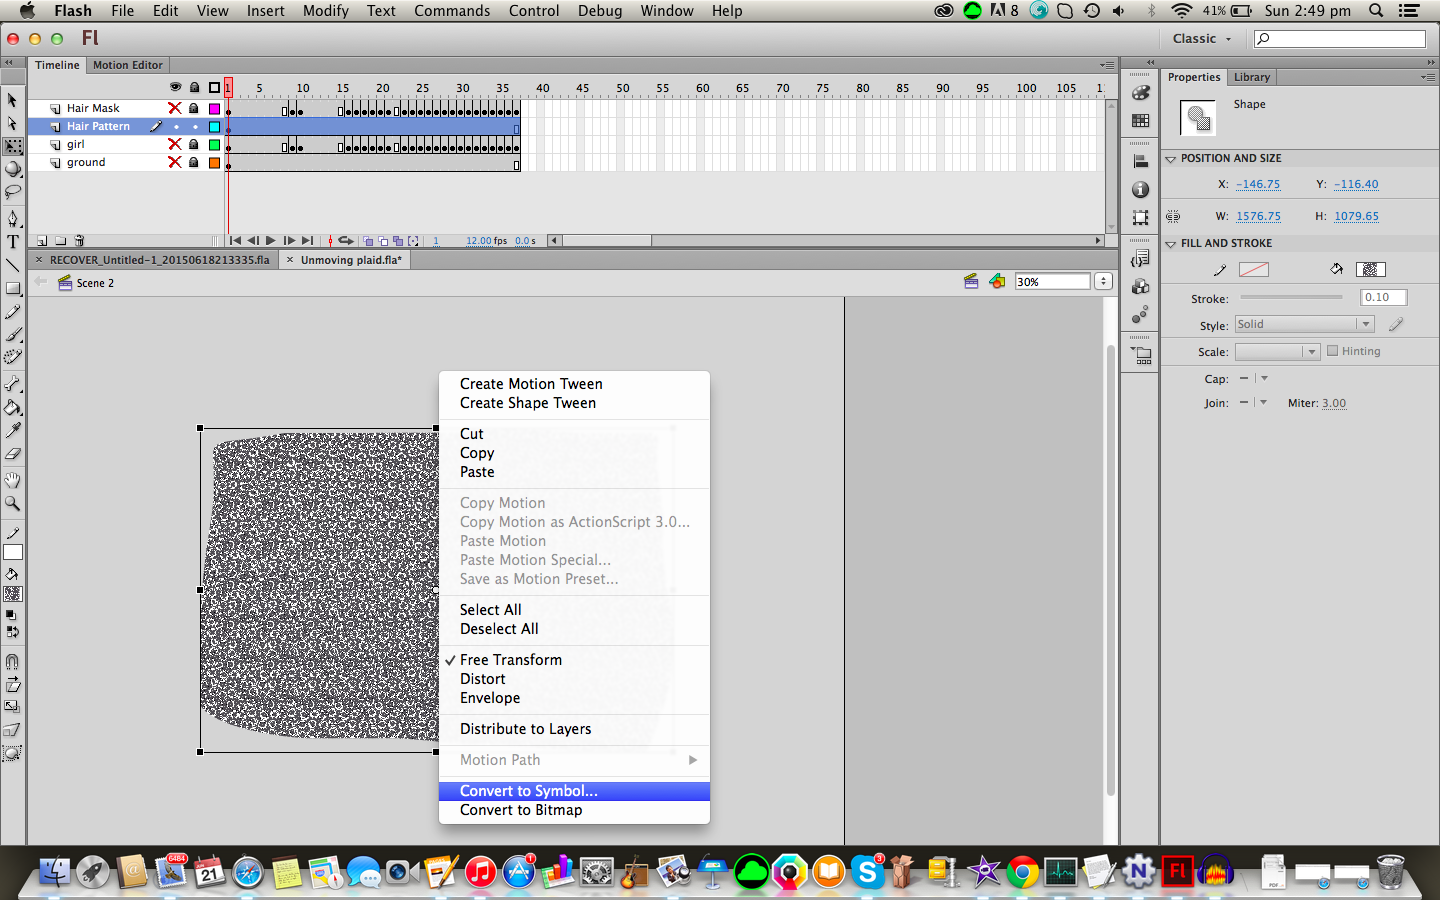
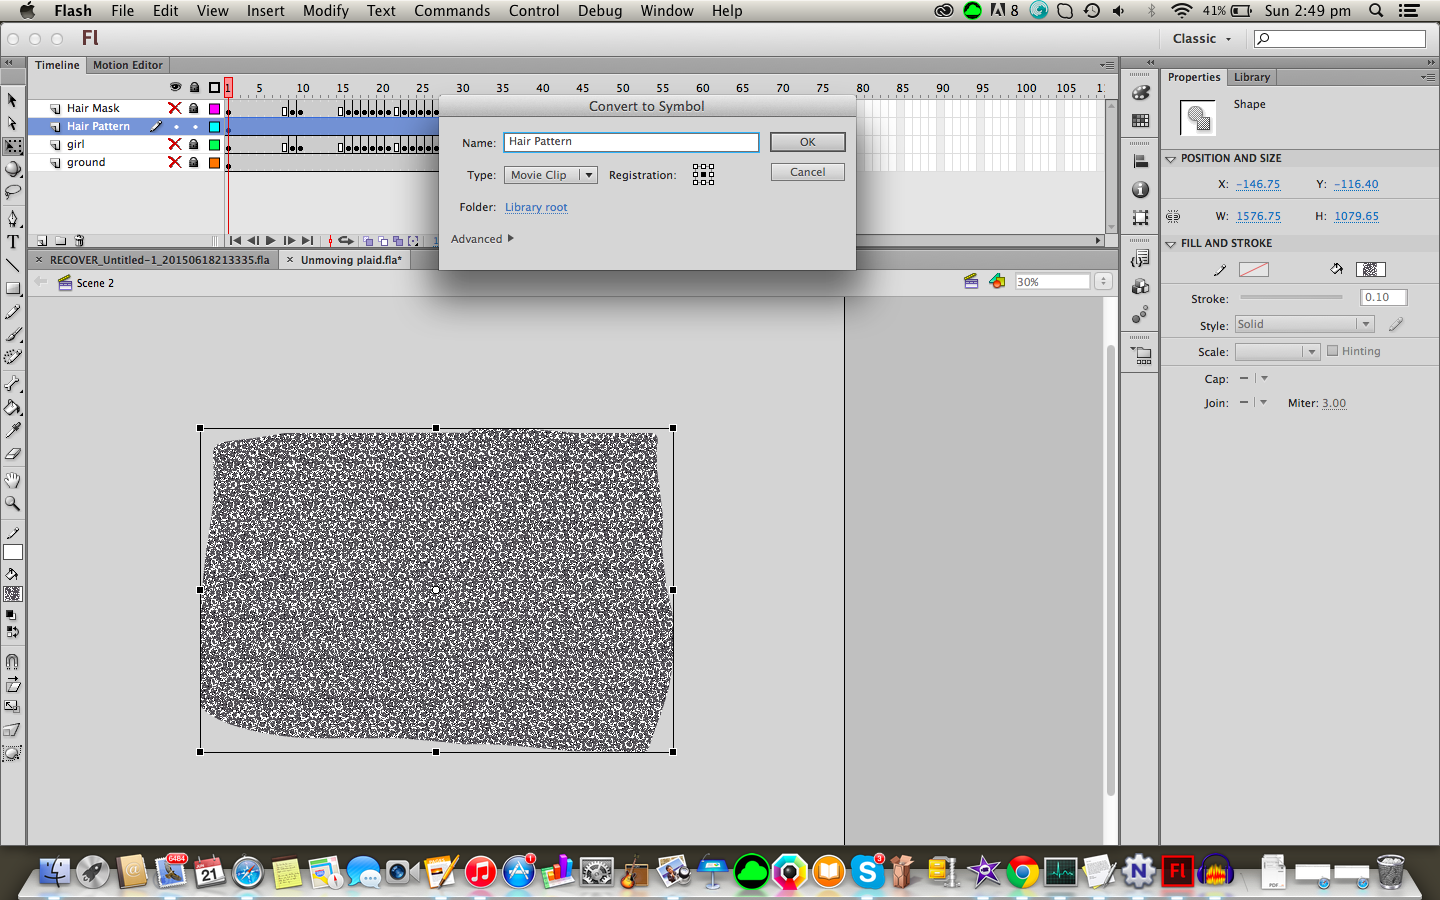
Now right click the object you just made and select "Convert to Symbol..."
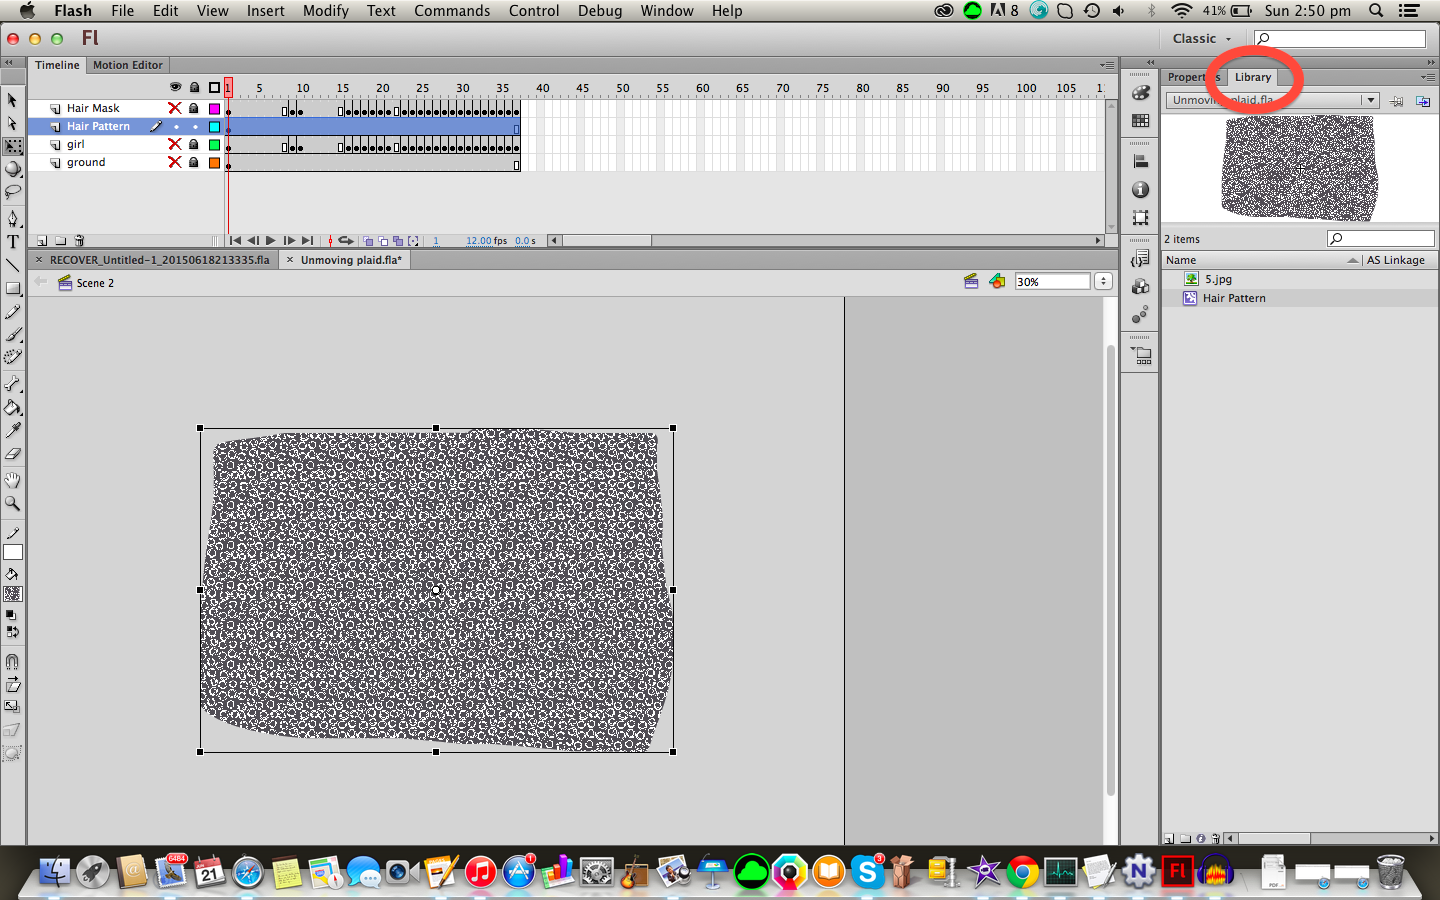
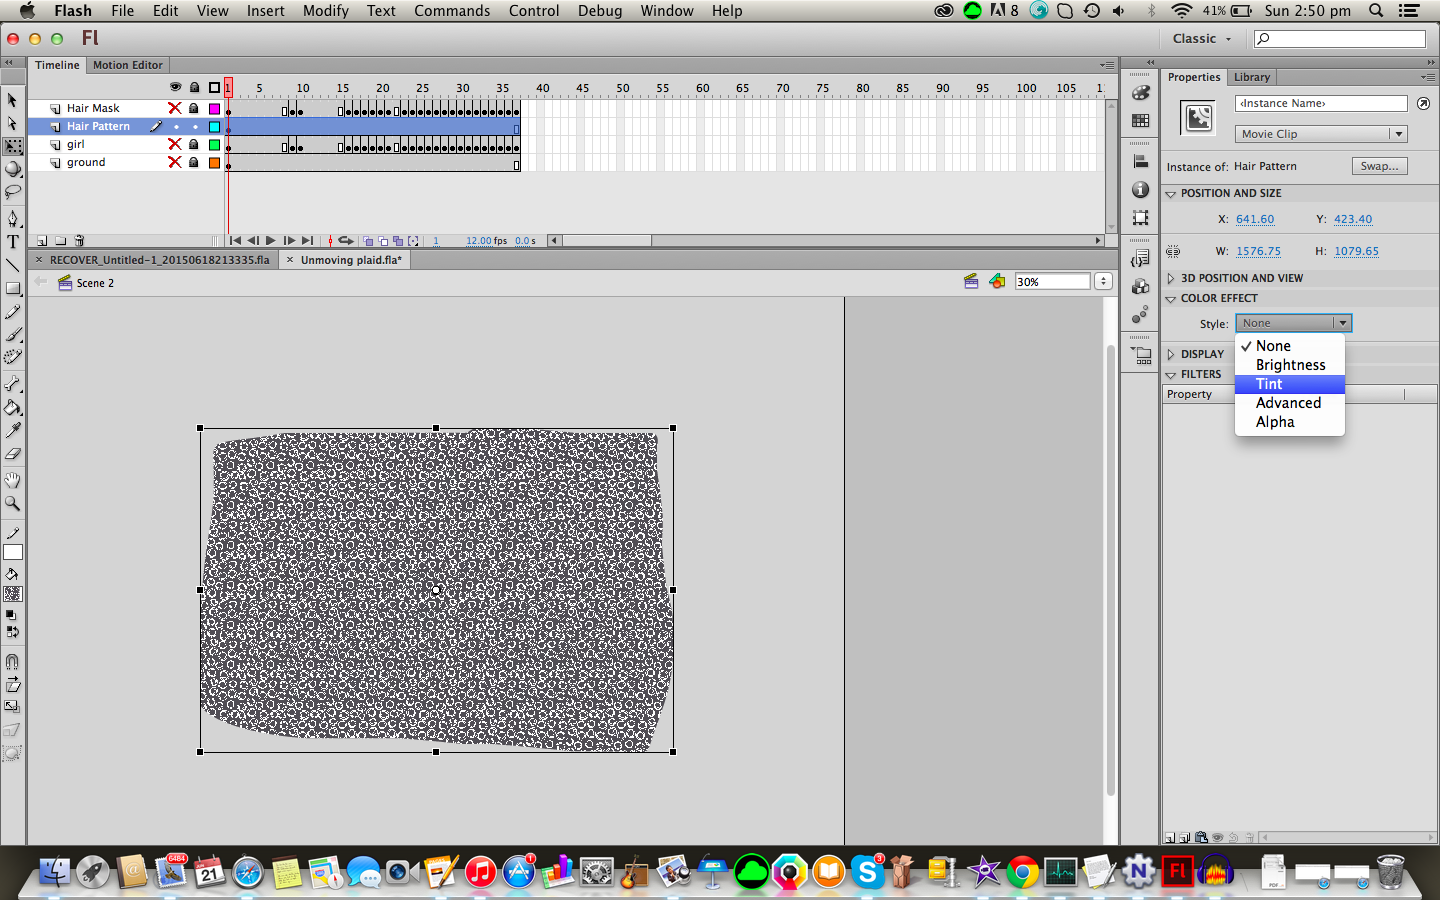
Select "Movie clip" or "graphic" (I prefer movie clips) and click "OK", this will add the symbol to our library which we can now drag and drop around the stage and apply effects to such as changing the tint, size and alpha (opacity).
I then changed the tint so that it was a reddish colour, lowered the alpha so the pattern wasn't so in your face and later resized the symbol so that there was more pattern in the hair.
Masking
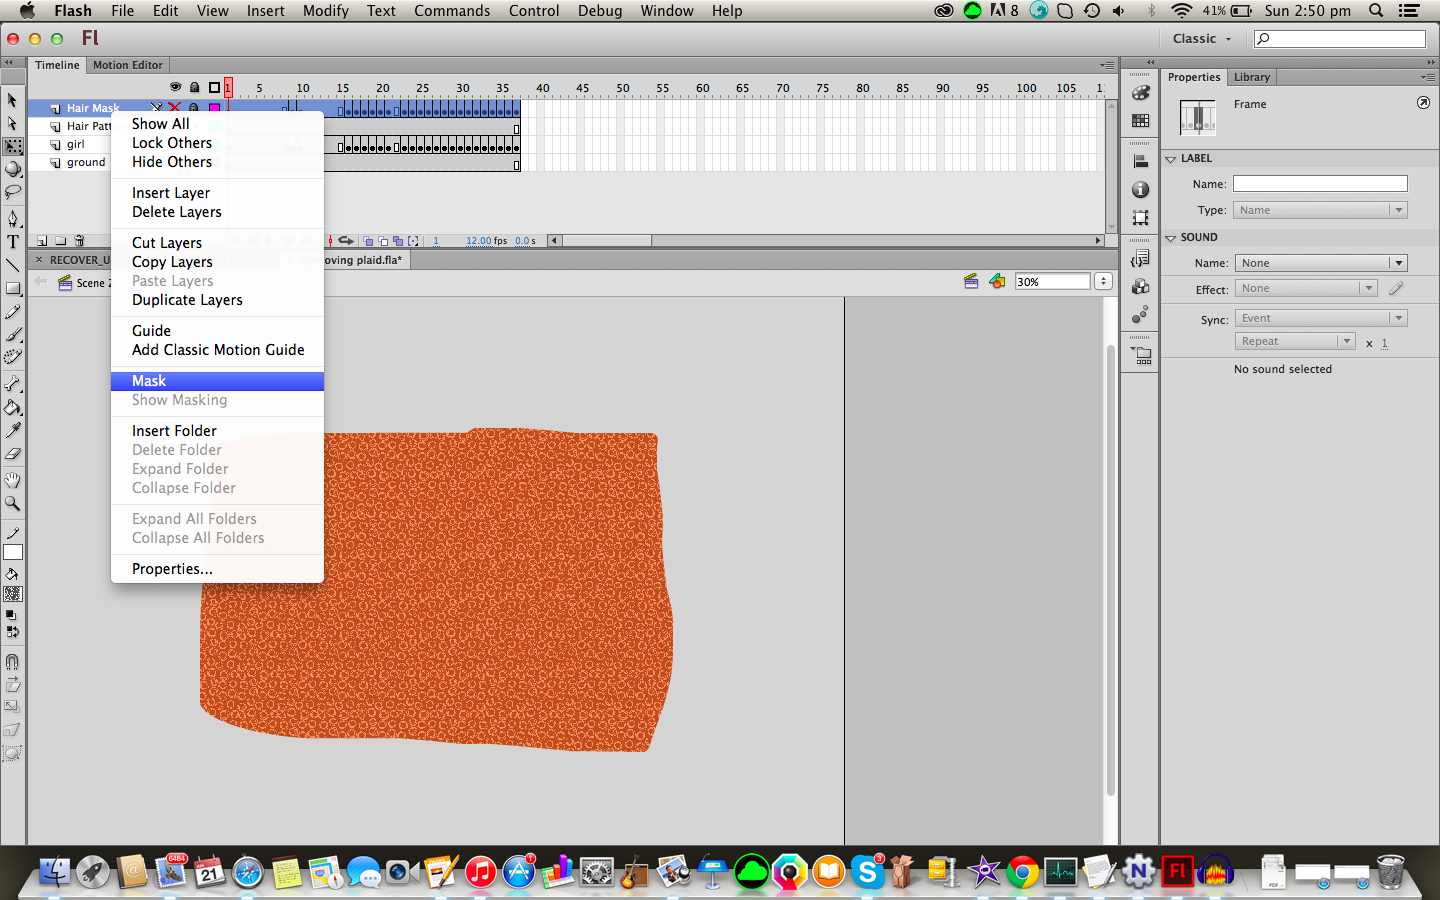
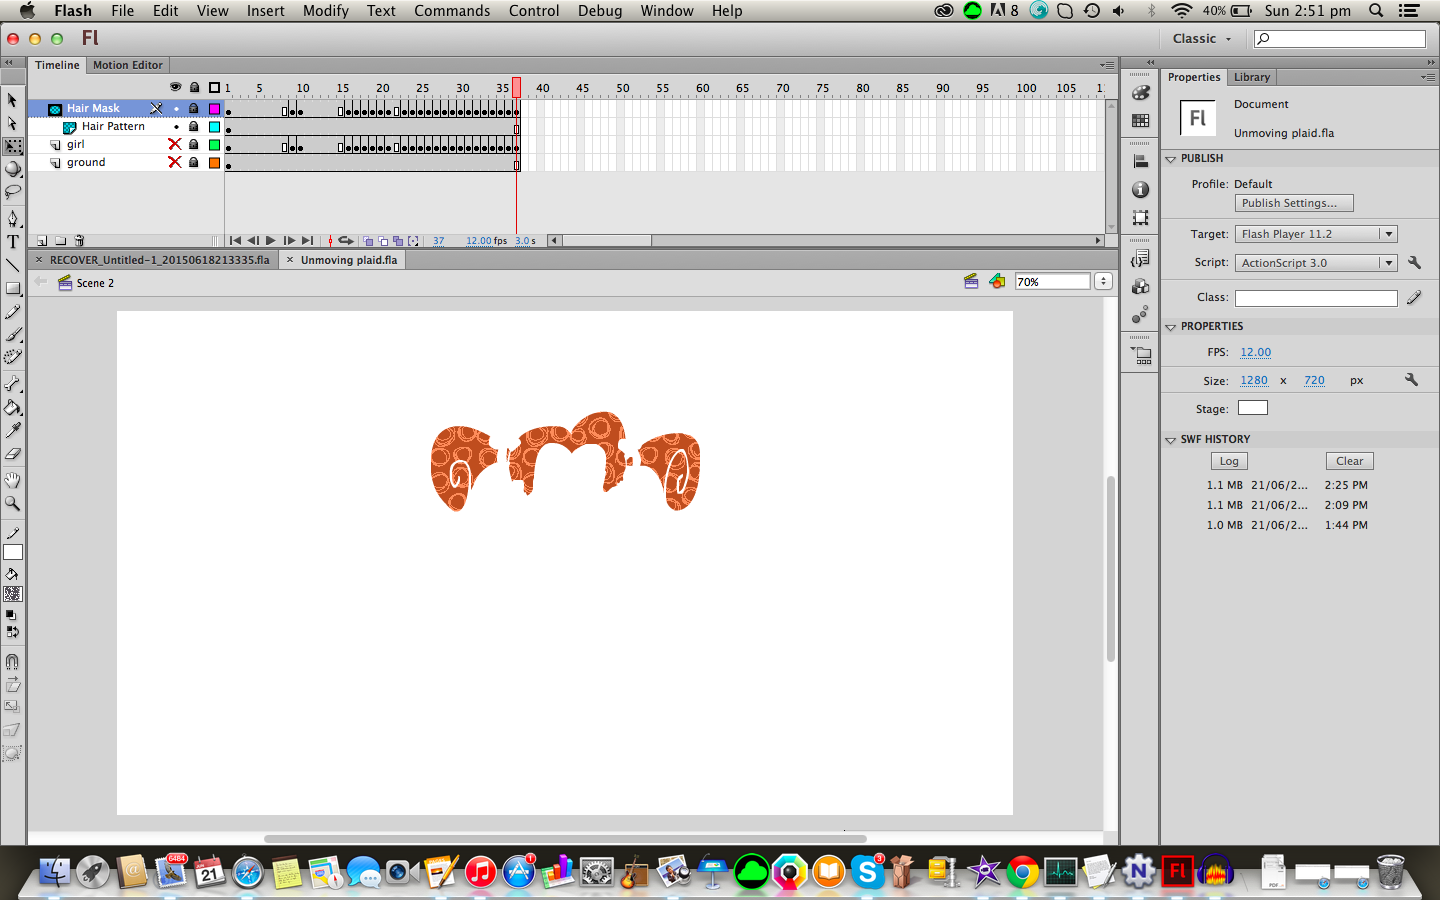
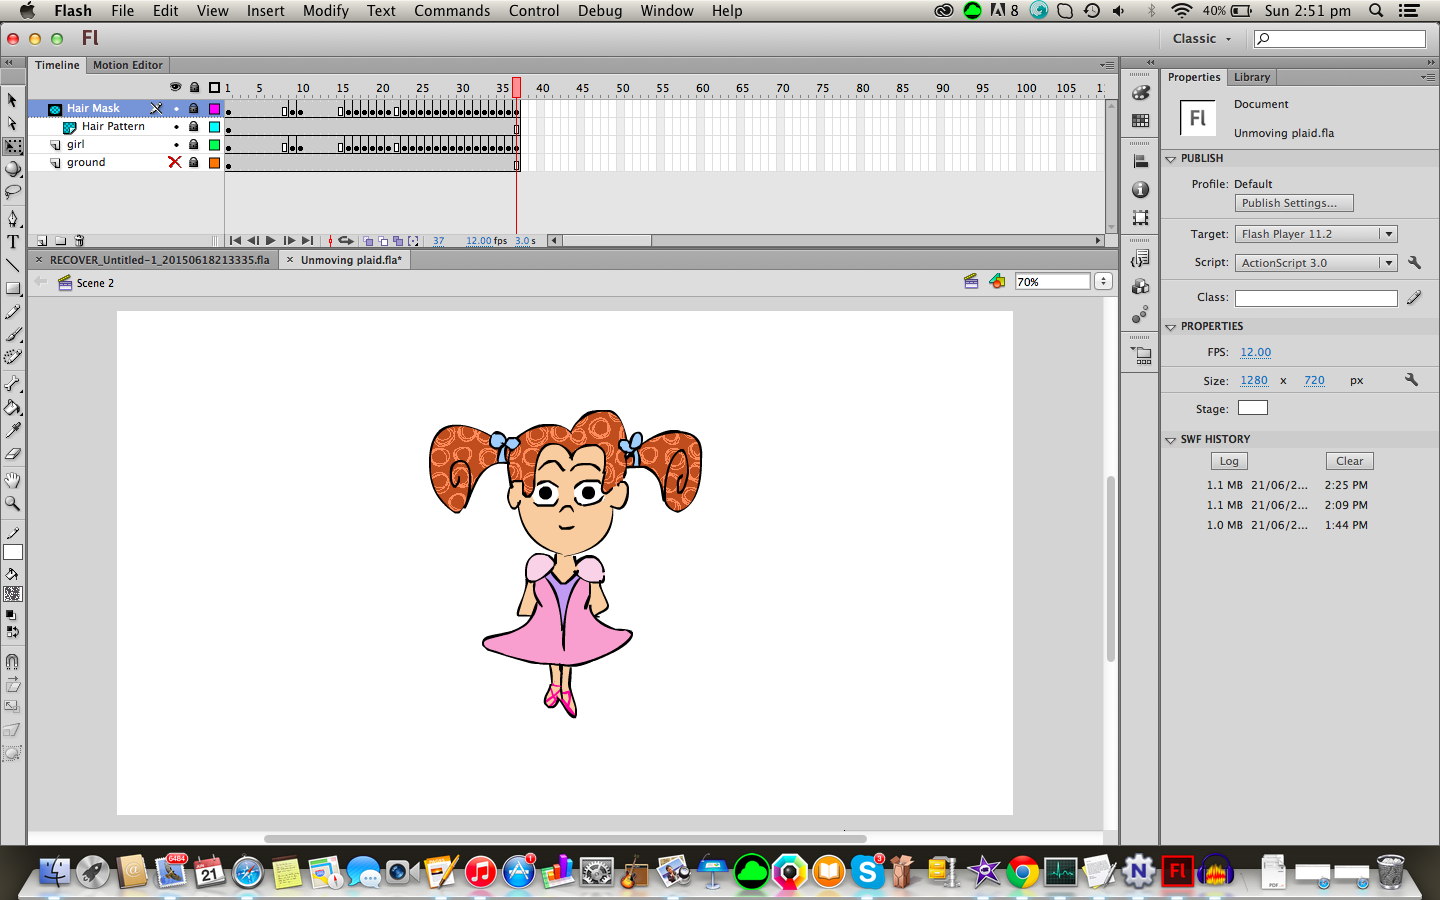
To mask, make sure the pattern layer is underneath the mask layer, right click the mask layer and select "Mask".
We can then show the girl layer. If when you show the girl layer, the pattern doesn't show up, drag the girl layer below the mask layer so that it is behind the mask.
Finishing Up
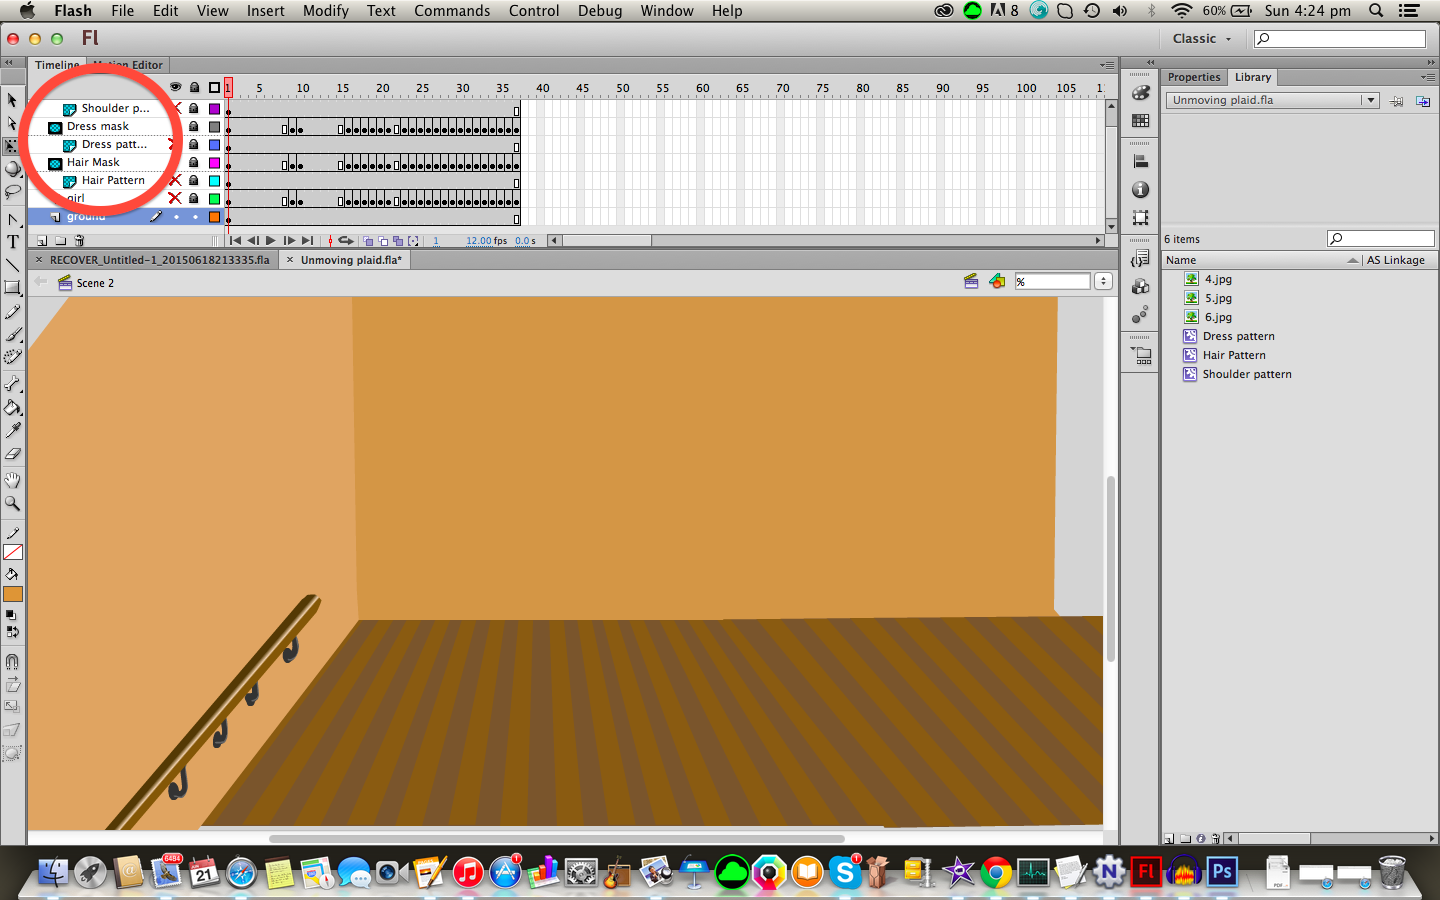

Repeat these steps for all other parts of the animation you want to use unmoving plaid on, add a nicer background, do whatever else you want to do and your done.
You're Done =D
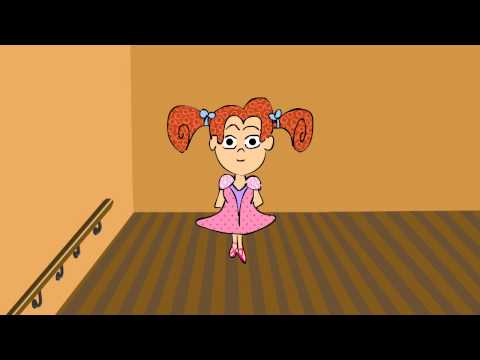
now press control/command + enter to test the animation, and admire its beauty.