How to Create Soda Can Mosaic Art on a Computer Screen!
by Birdz of a Feather in Craft > Reuse
3603 Views, 12 Favorites, 0 Comments
How to Create Soda Can Mosaic Art on a Computer Screen!
This I'ble has two creative reuses going for it: soda cans and a computer screen plucked from the curb!
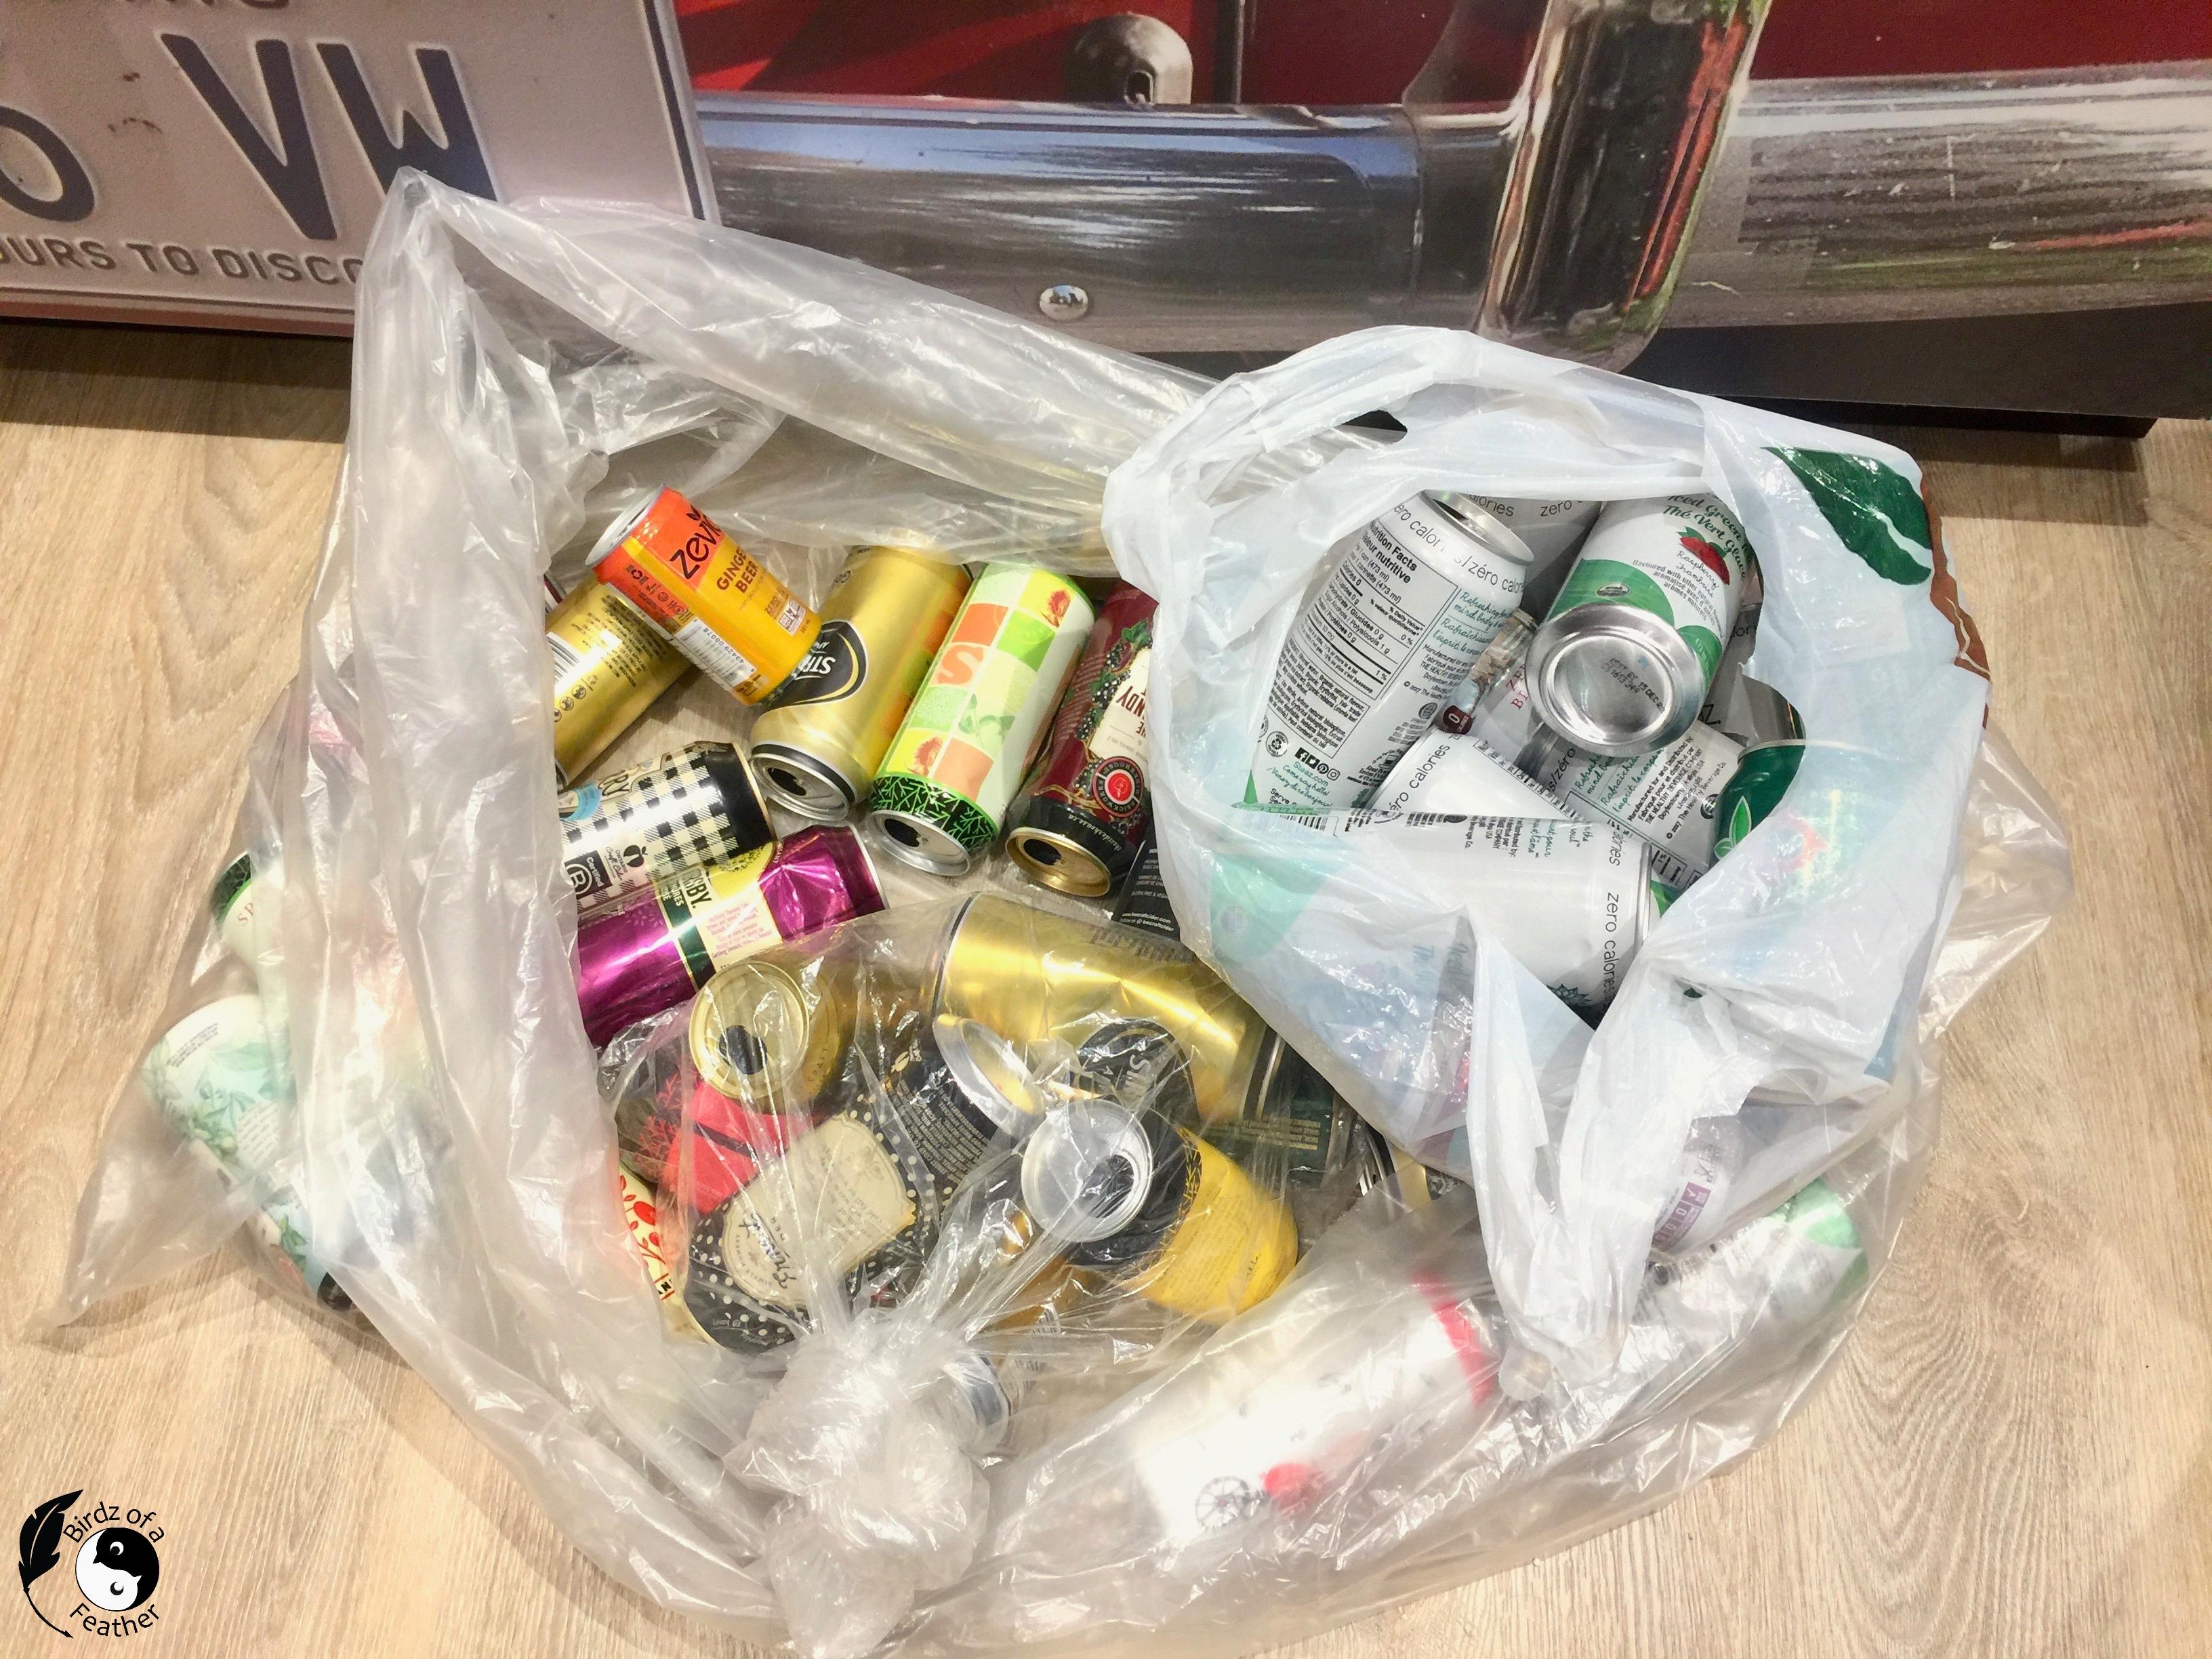
Crafting with cans is high up there on my list of favourite upcycles! That’s because cans are free and there are so many creative uses. We’re not soda drinkers, so I enlist the help of my sisters to broaden the range of can colours beyond our Spirit Tree Cider and iced tea cans.
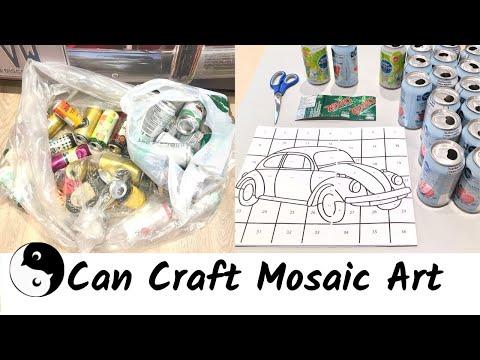
Read through the Instructible, but the video is helpful in showing you how each step is done so be sure to watch.
Supplies
* [If you’re looking for some of the things we used, we’ve got you covered (disclosure): Clicking on the affiliate links below means we may receive a commission. But don’t worry, you don’t pay a cent more and it helps us make more unique crafts to share with you! Thanks for helping to support our blog!]
- Aluminum cans – rinse them out first before using
- Utility Knife (I find this one actually works best)
- Microplane cut resistant glove
- Clear adhesive book cover vinyl / contact paper
- Rubber brayer/roller
- Double side tape (use one that leaves a thin adhesive, not the kind with mounting foam)
- Small self healing cutting mat (only needed if cutting straight edges
- Utility knife
Making the Template
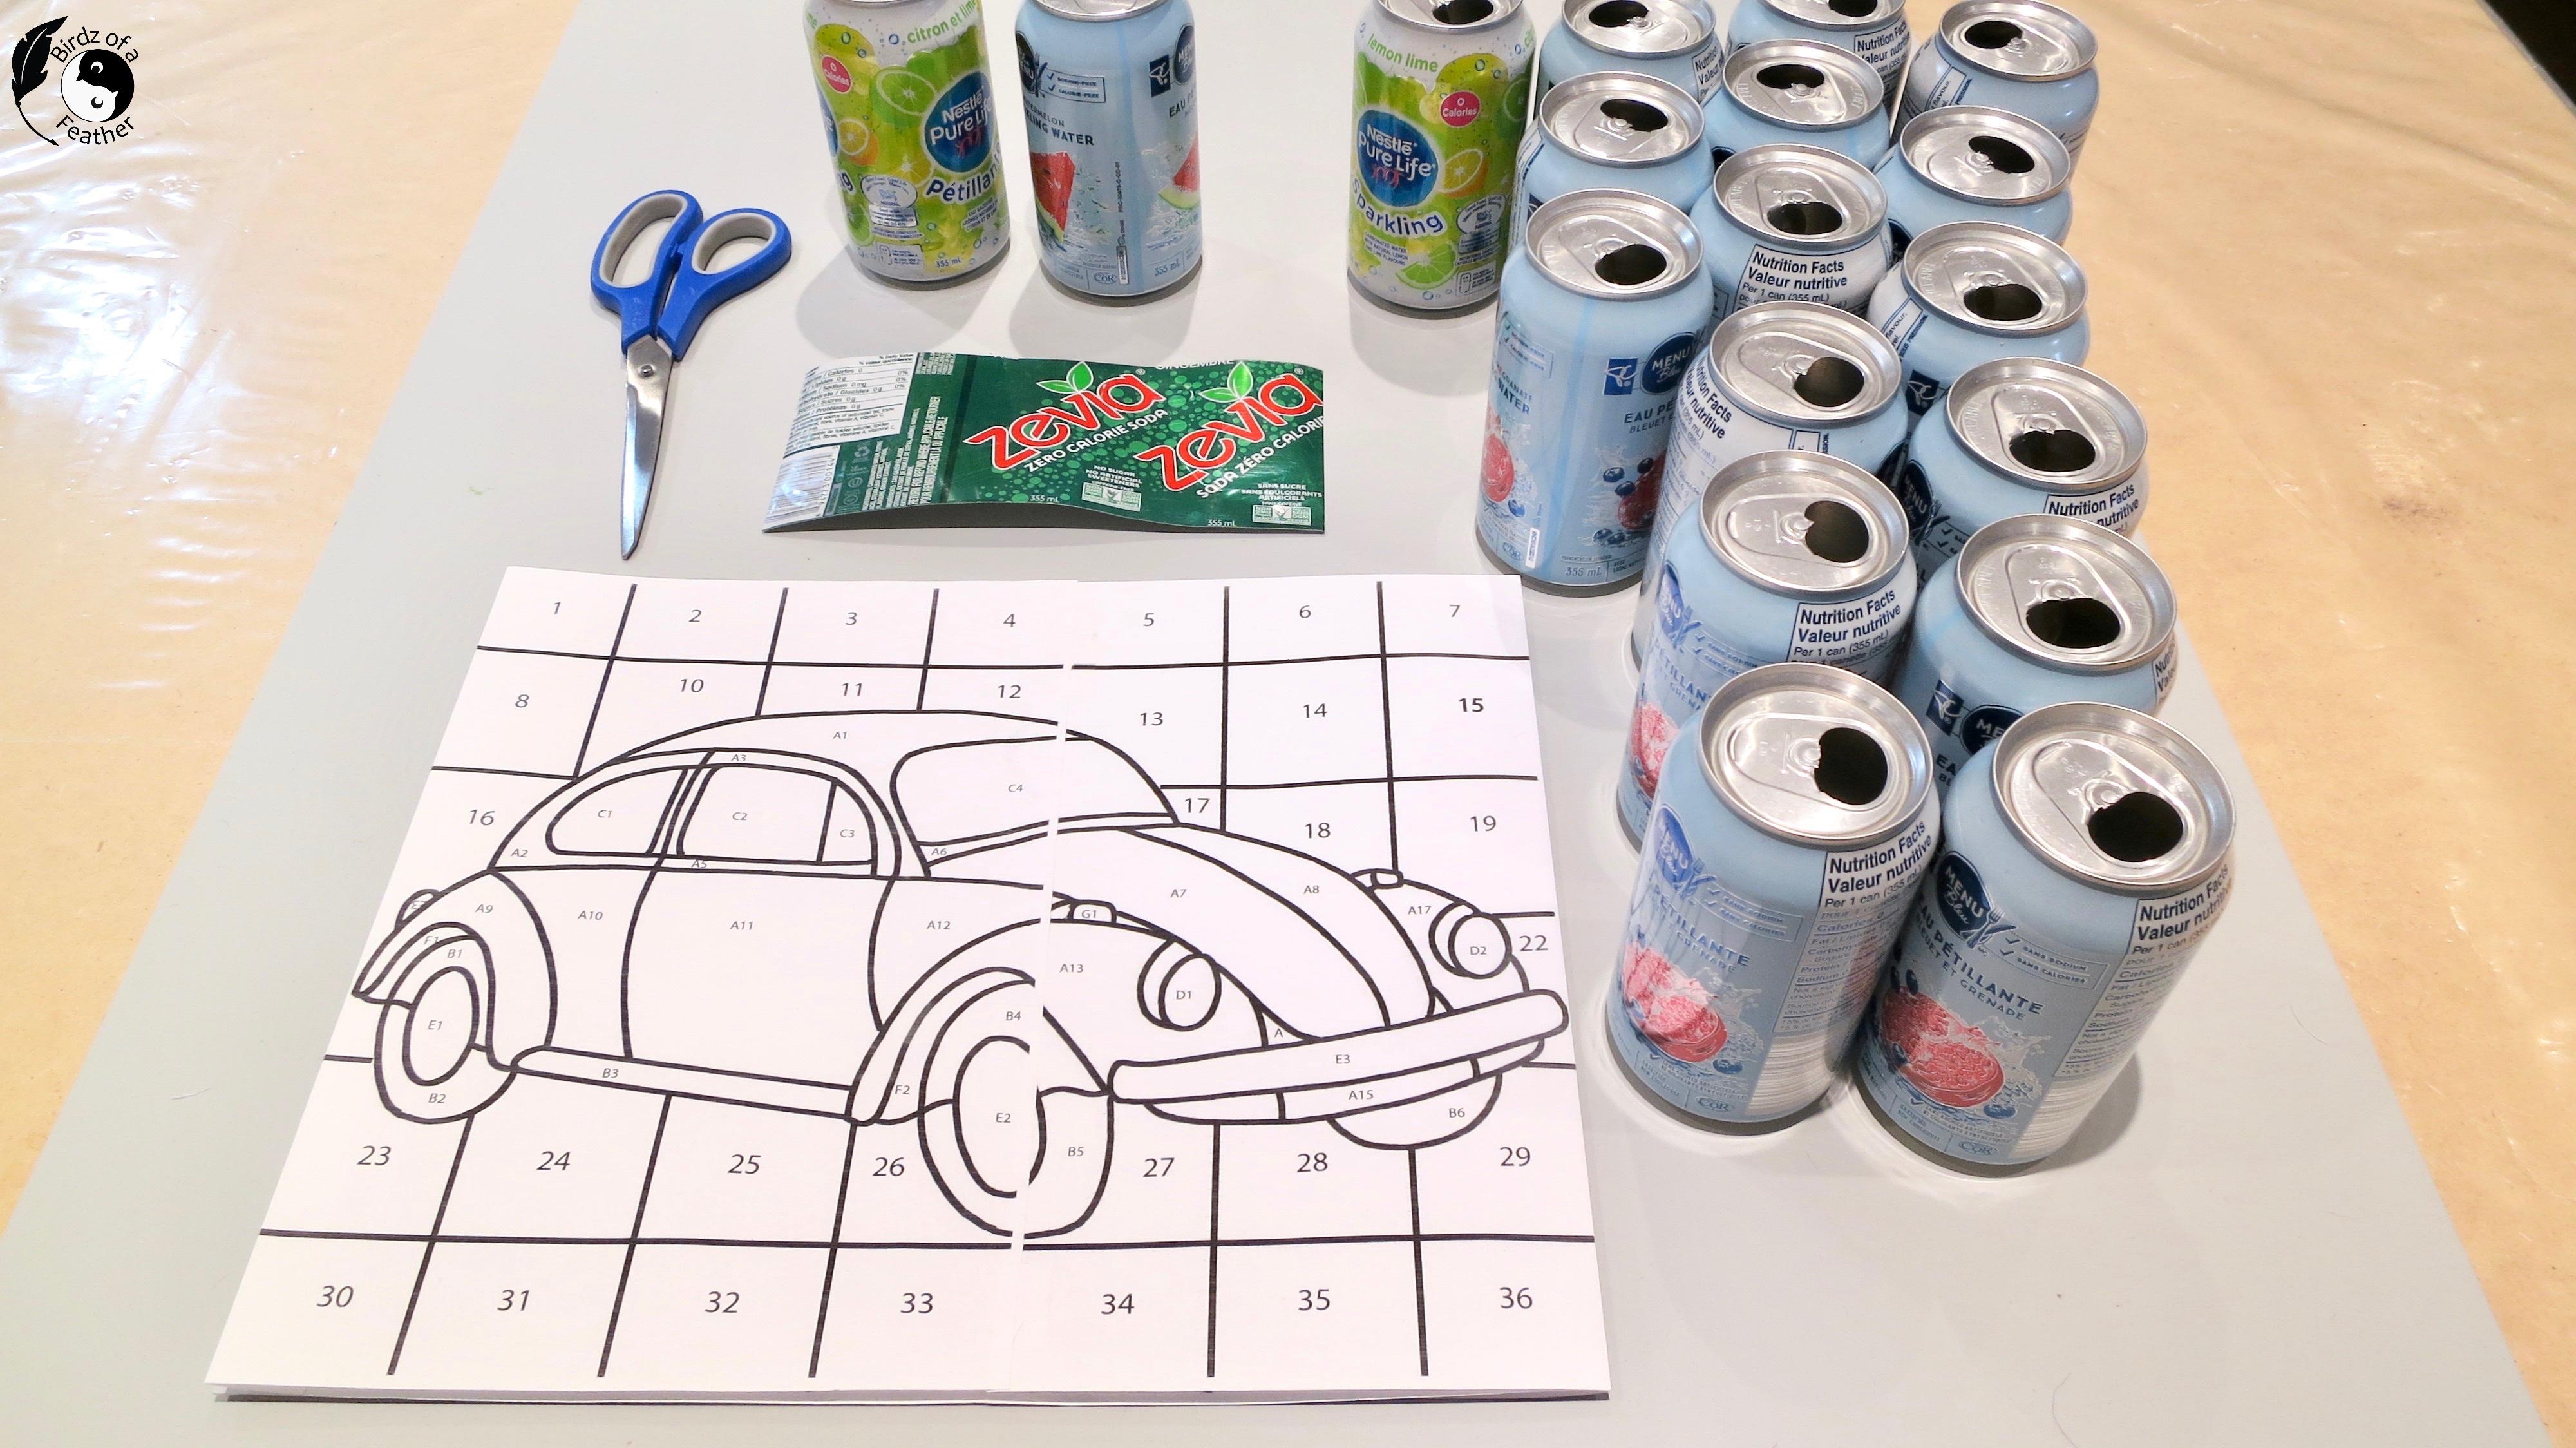
Measure the size of your computer screen so you know the finished dimensions of your artwork.
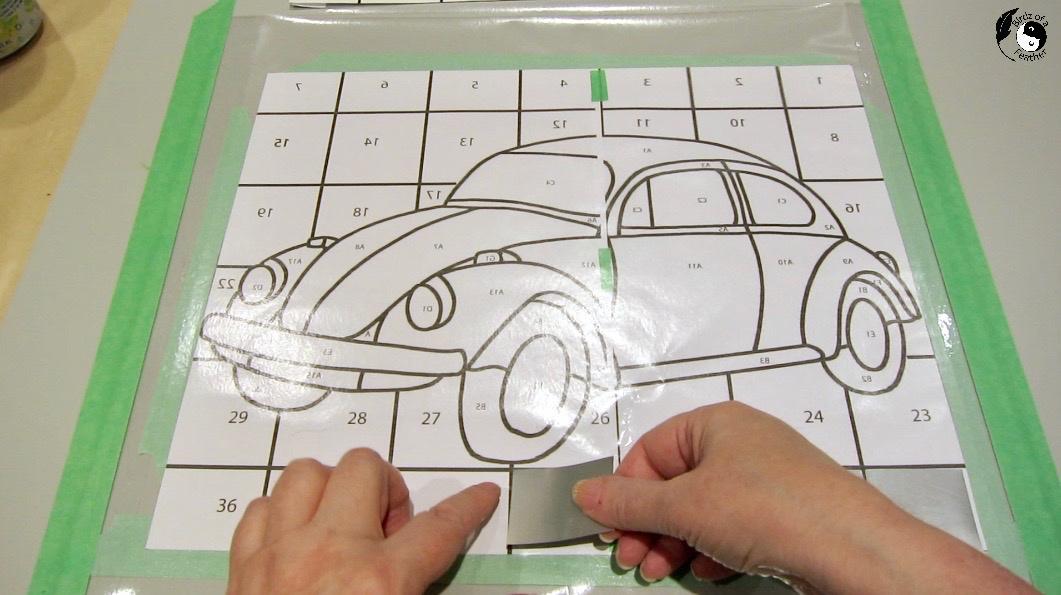
When you’re making tin can mosaic art, you’ll need 3 templates. Two will be regular images and the third will be a mirror image (which you’ll use last).
Notice the extra thick black lines on the template? That’s so the background of the monitor will show through and look like grout lines.
In an editing program, such as illustrator, start with a blank page that's set to the dimensions of your computer screen. Then add the lines in the background to create the squares. Because I did this in illustrator, I was able to set a ruler grid to help with line placement. It doesn't have to be perfect, but try to balance the spacing so it's pleasing to the eye.
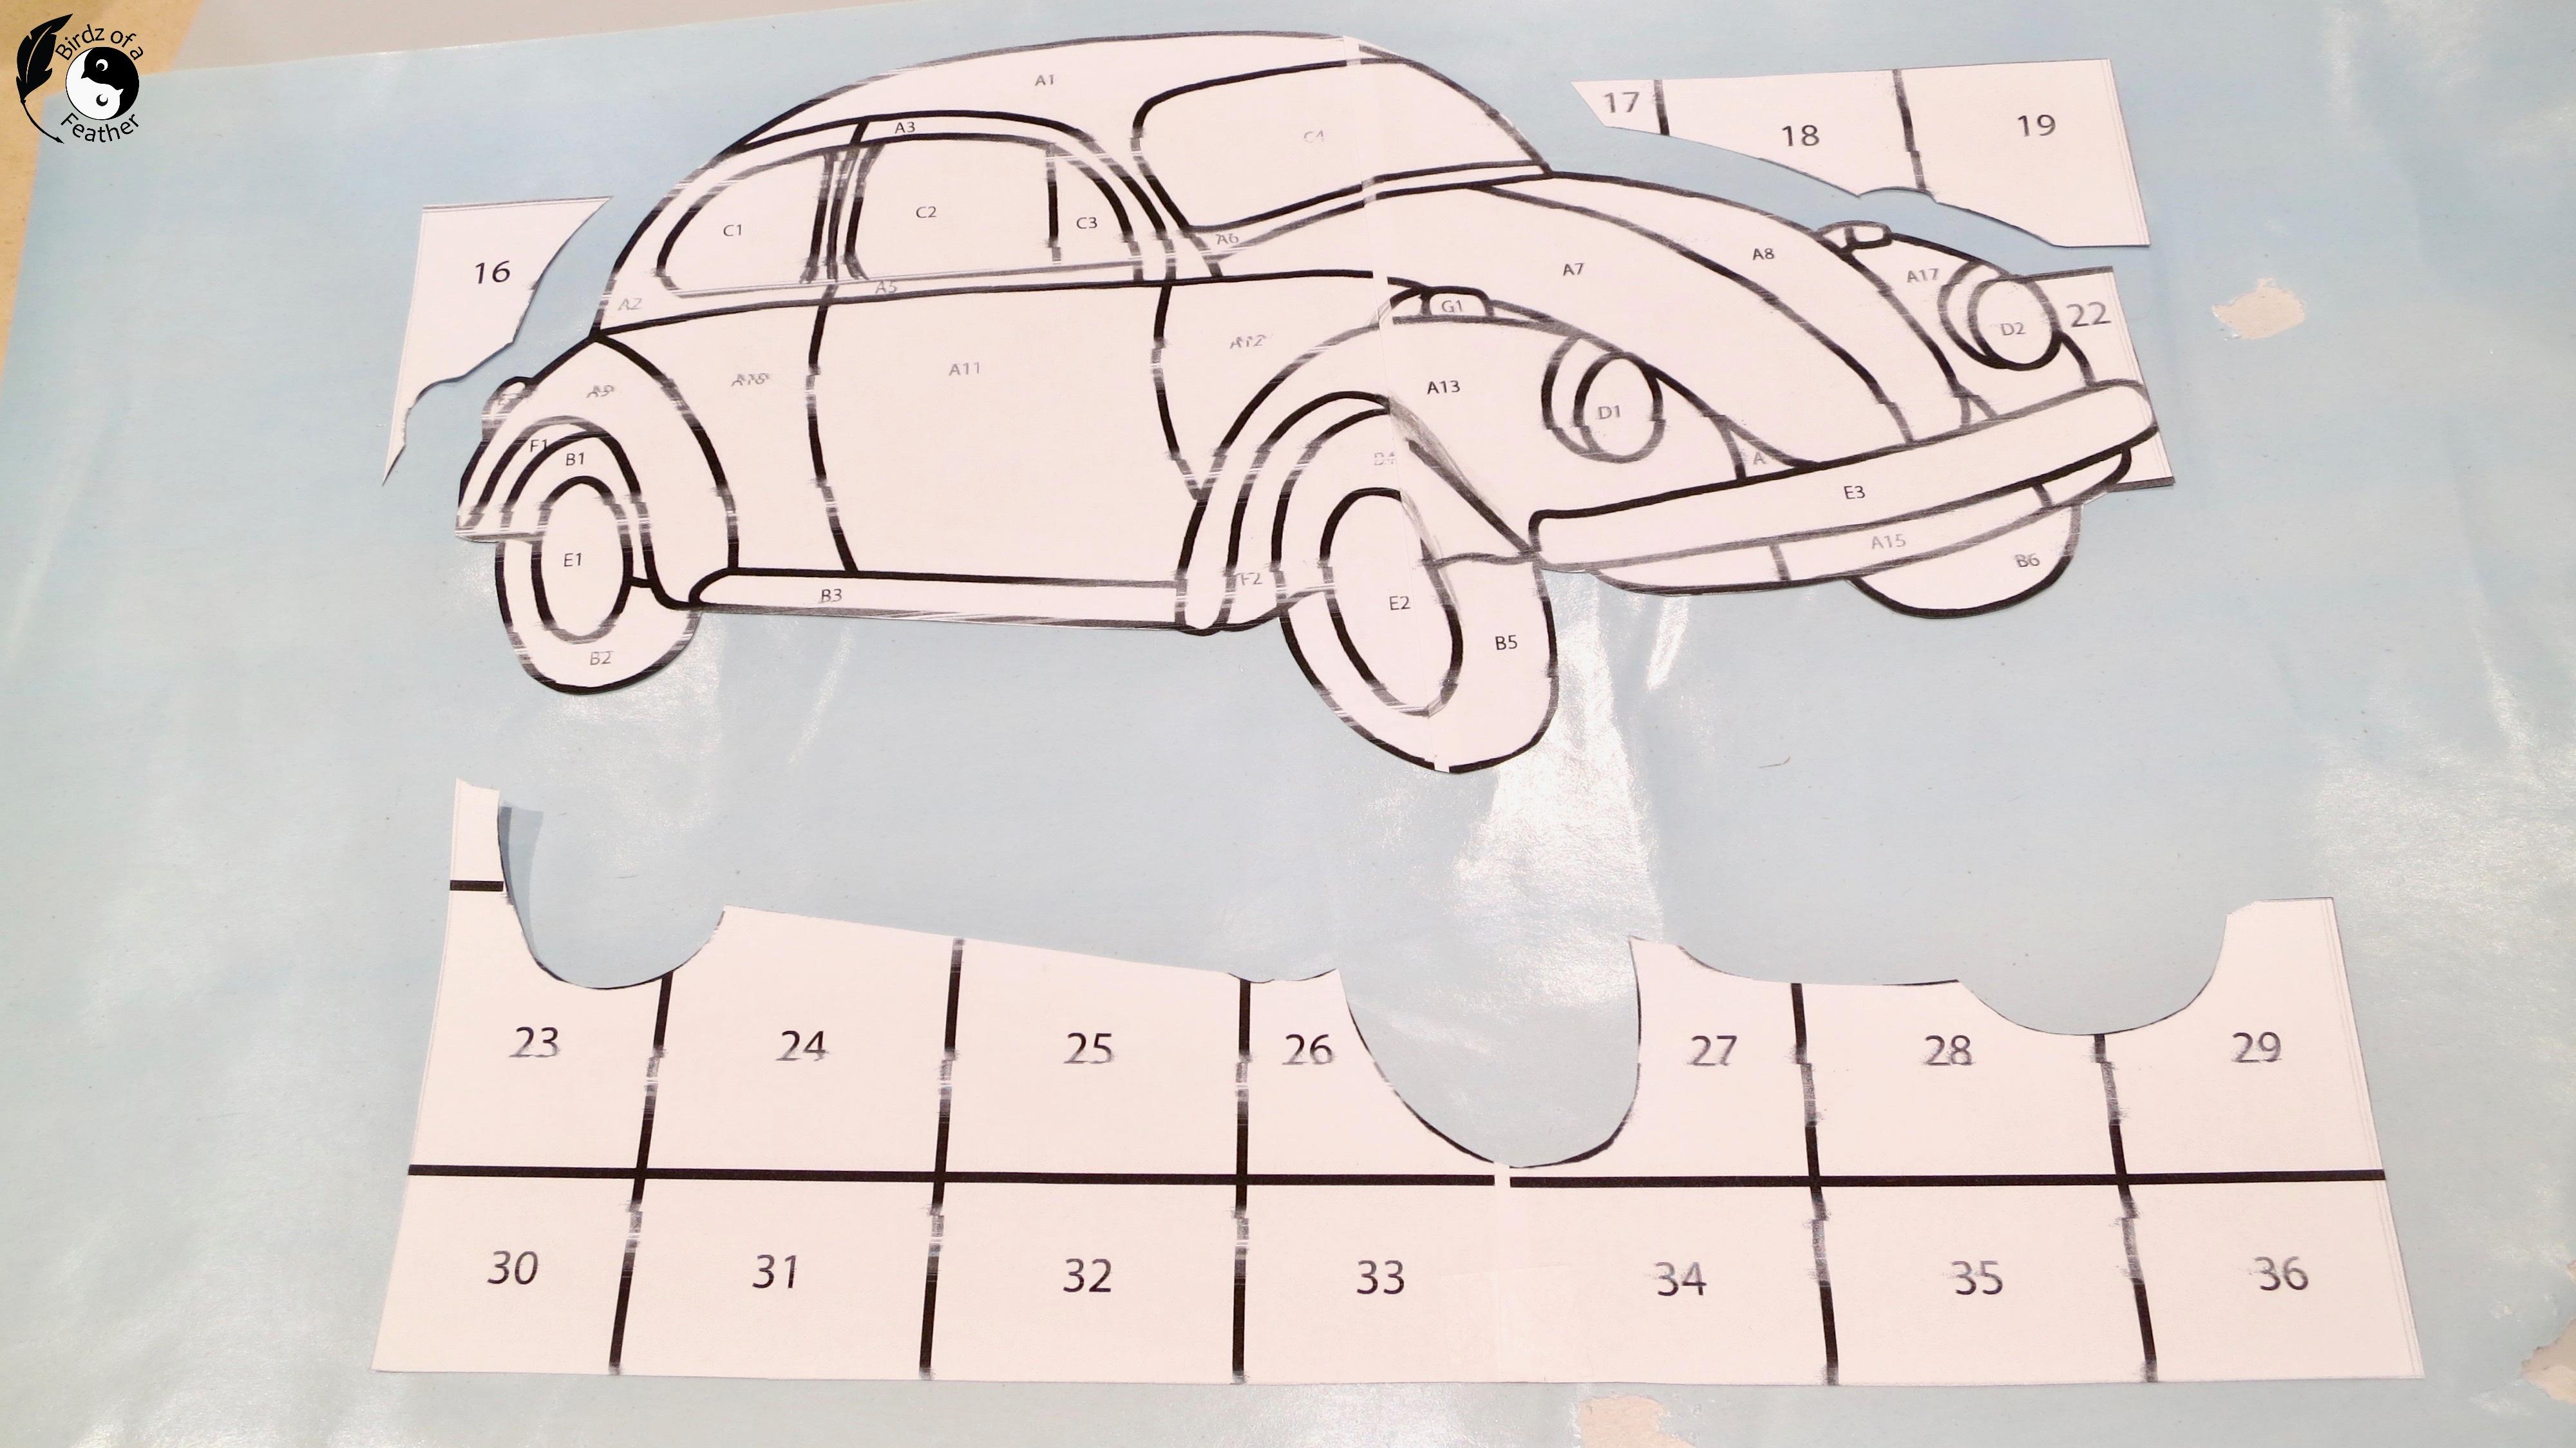
For personal use, grab a simple line drawing off the net. You can also look to stained glass patterns for inspiration. Or draw something, if you're talented in that way, then go over it with a thick marker to thicken your lines and scan it into the computer. Place your chosen image on the page over the background, leaving enough space around it to still see the squares.
Number every single piece on your template. When you mirror image one of the three template, you may want to re-write the numbers as they'll be backwards.
To get the template big enough to fit the screen, you will likely have to tile print your template and tape pieces together. It's best to cut away the white margin on one of the pieces so you can match the seams up more precisely (I didn't do this, but should have). You can also have it printed at a shop that can print large format sizes, like blueprints, if you'd like to keep the template all in one piece. Remember to print two regular template and one mirror imaged.
Cutting the Cans
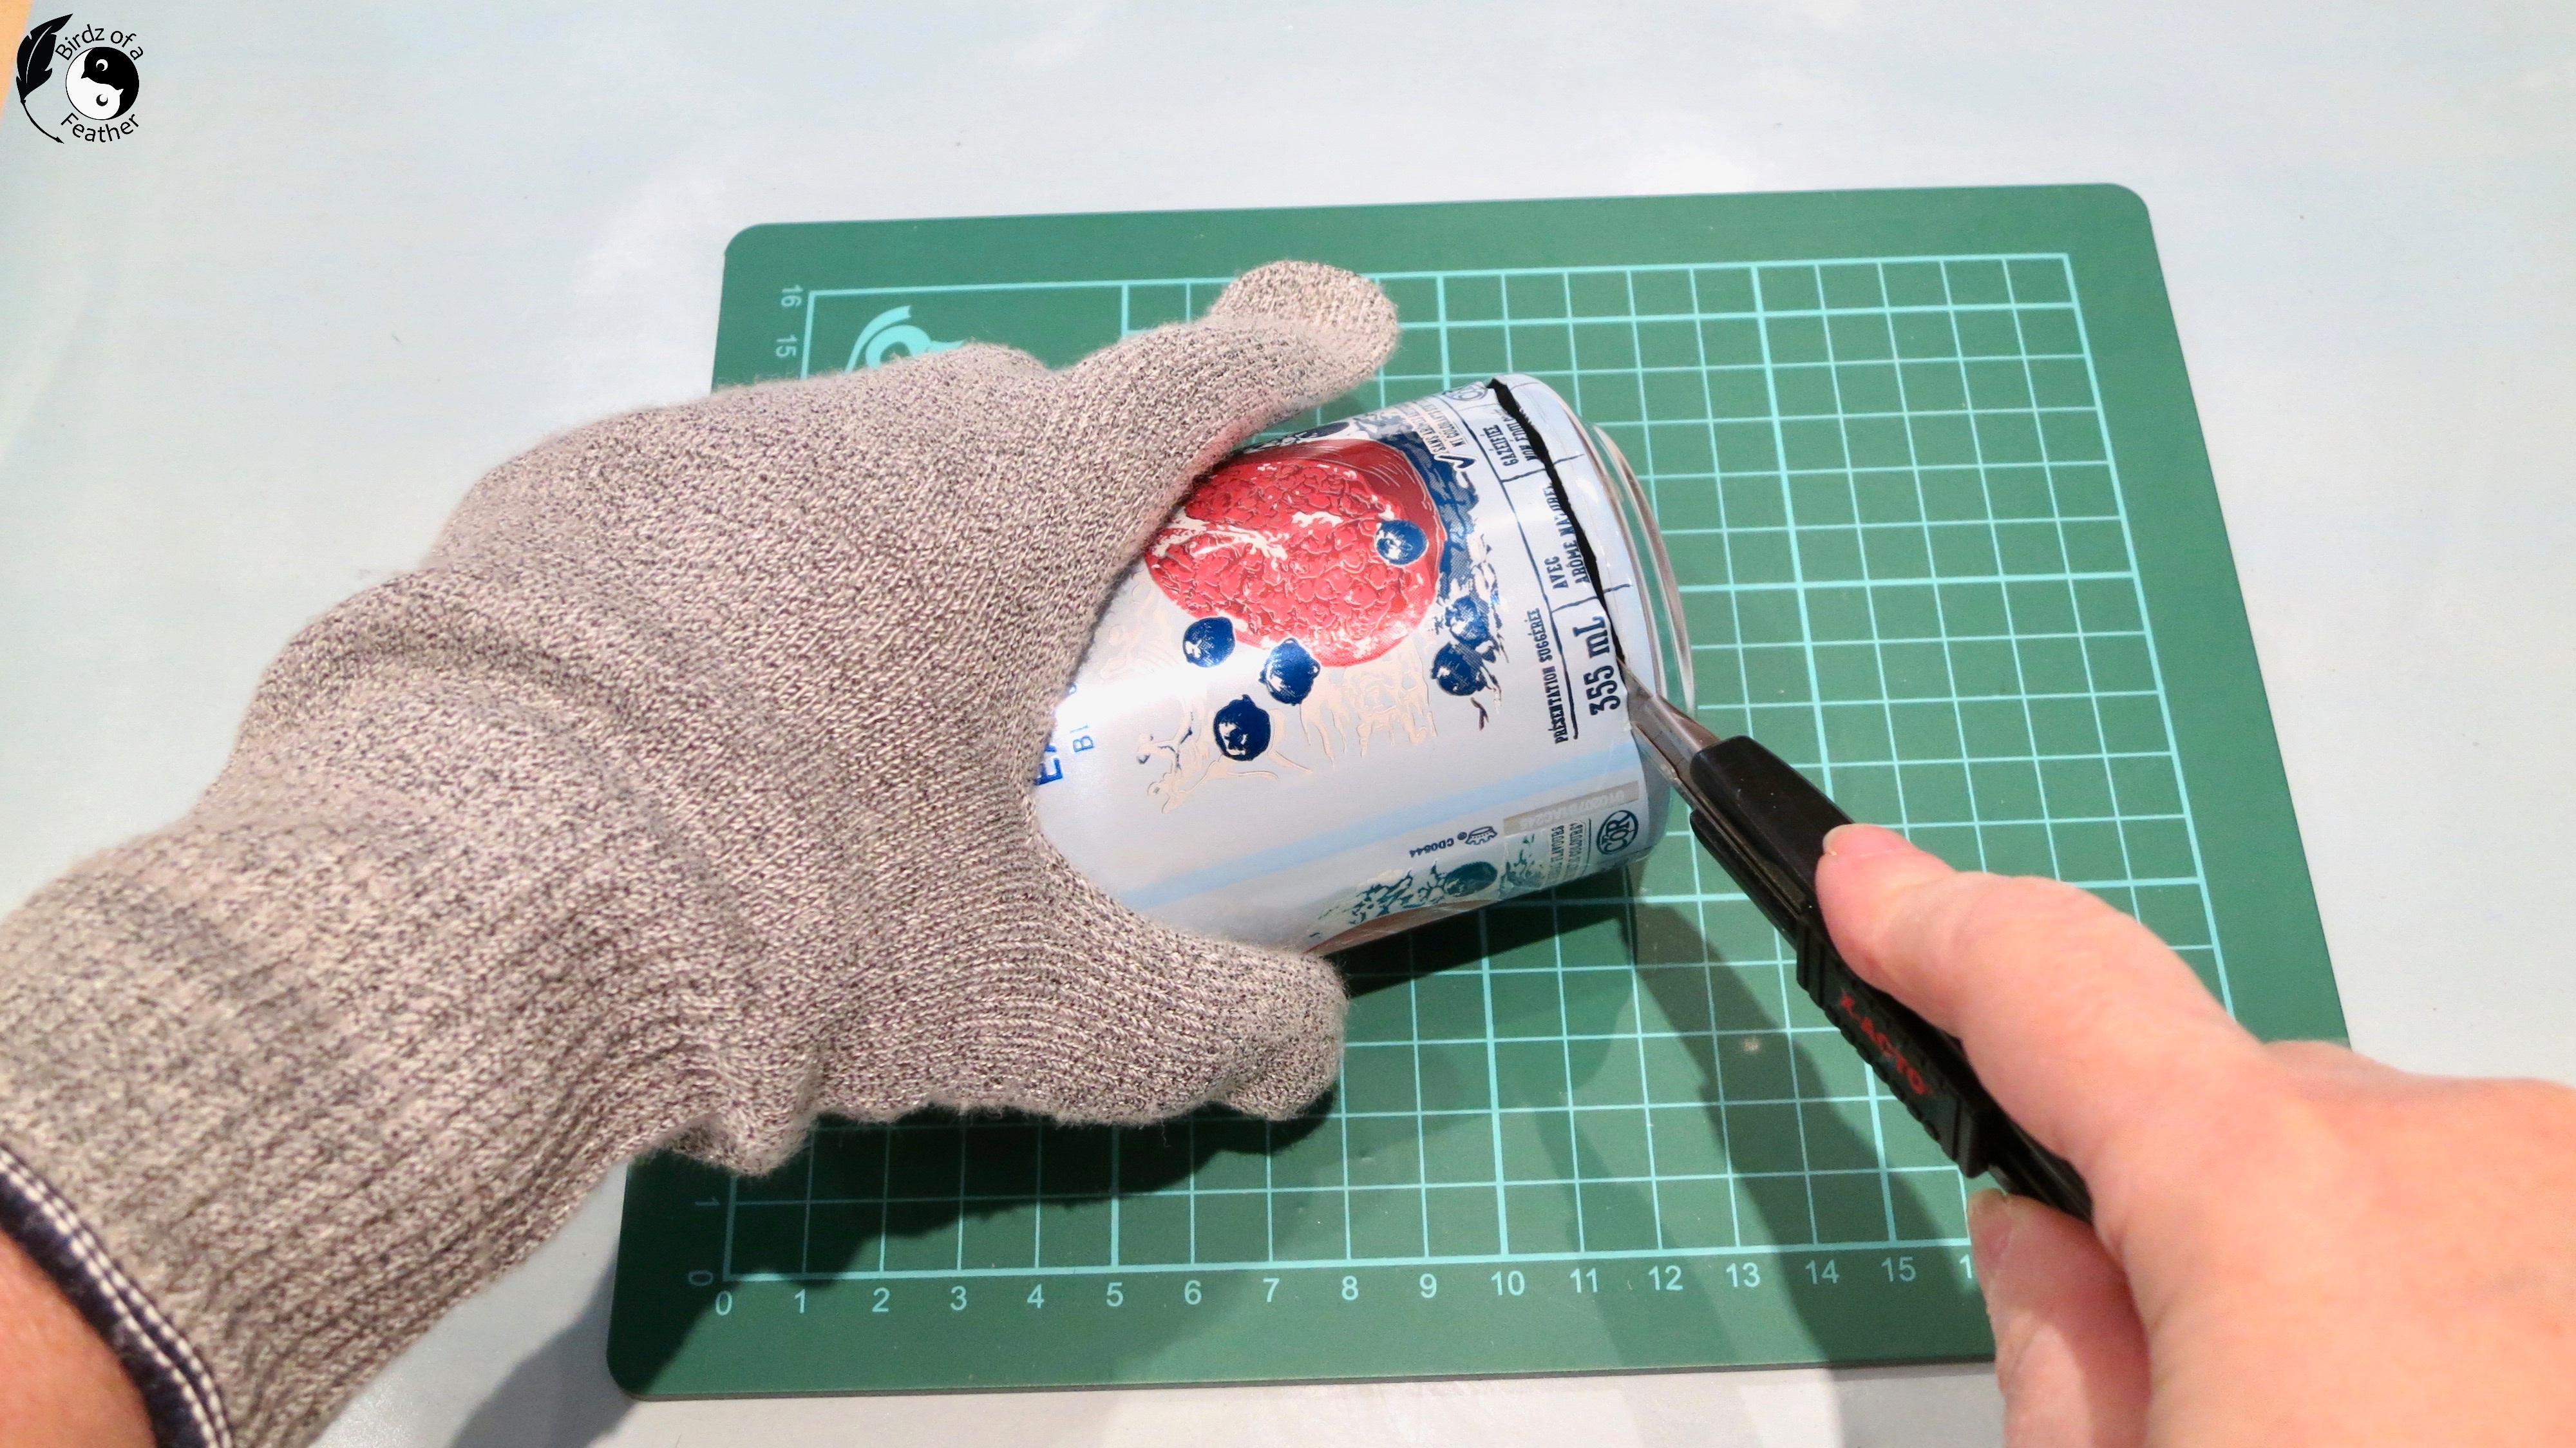
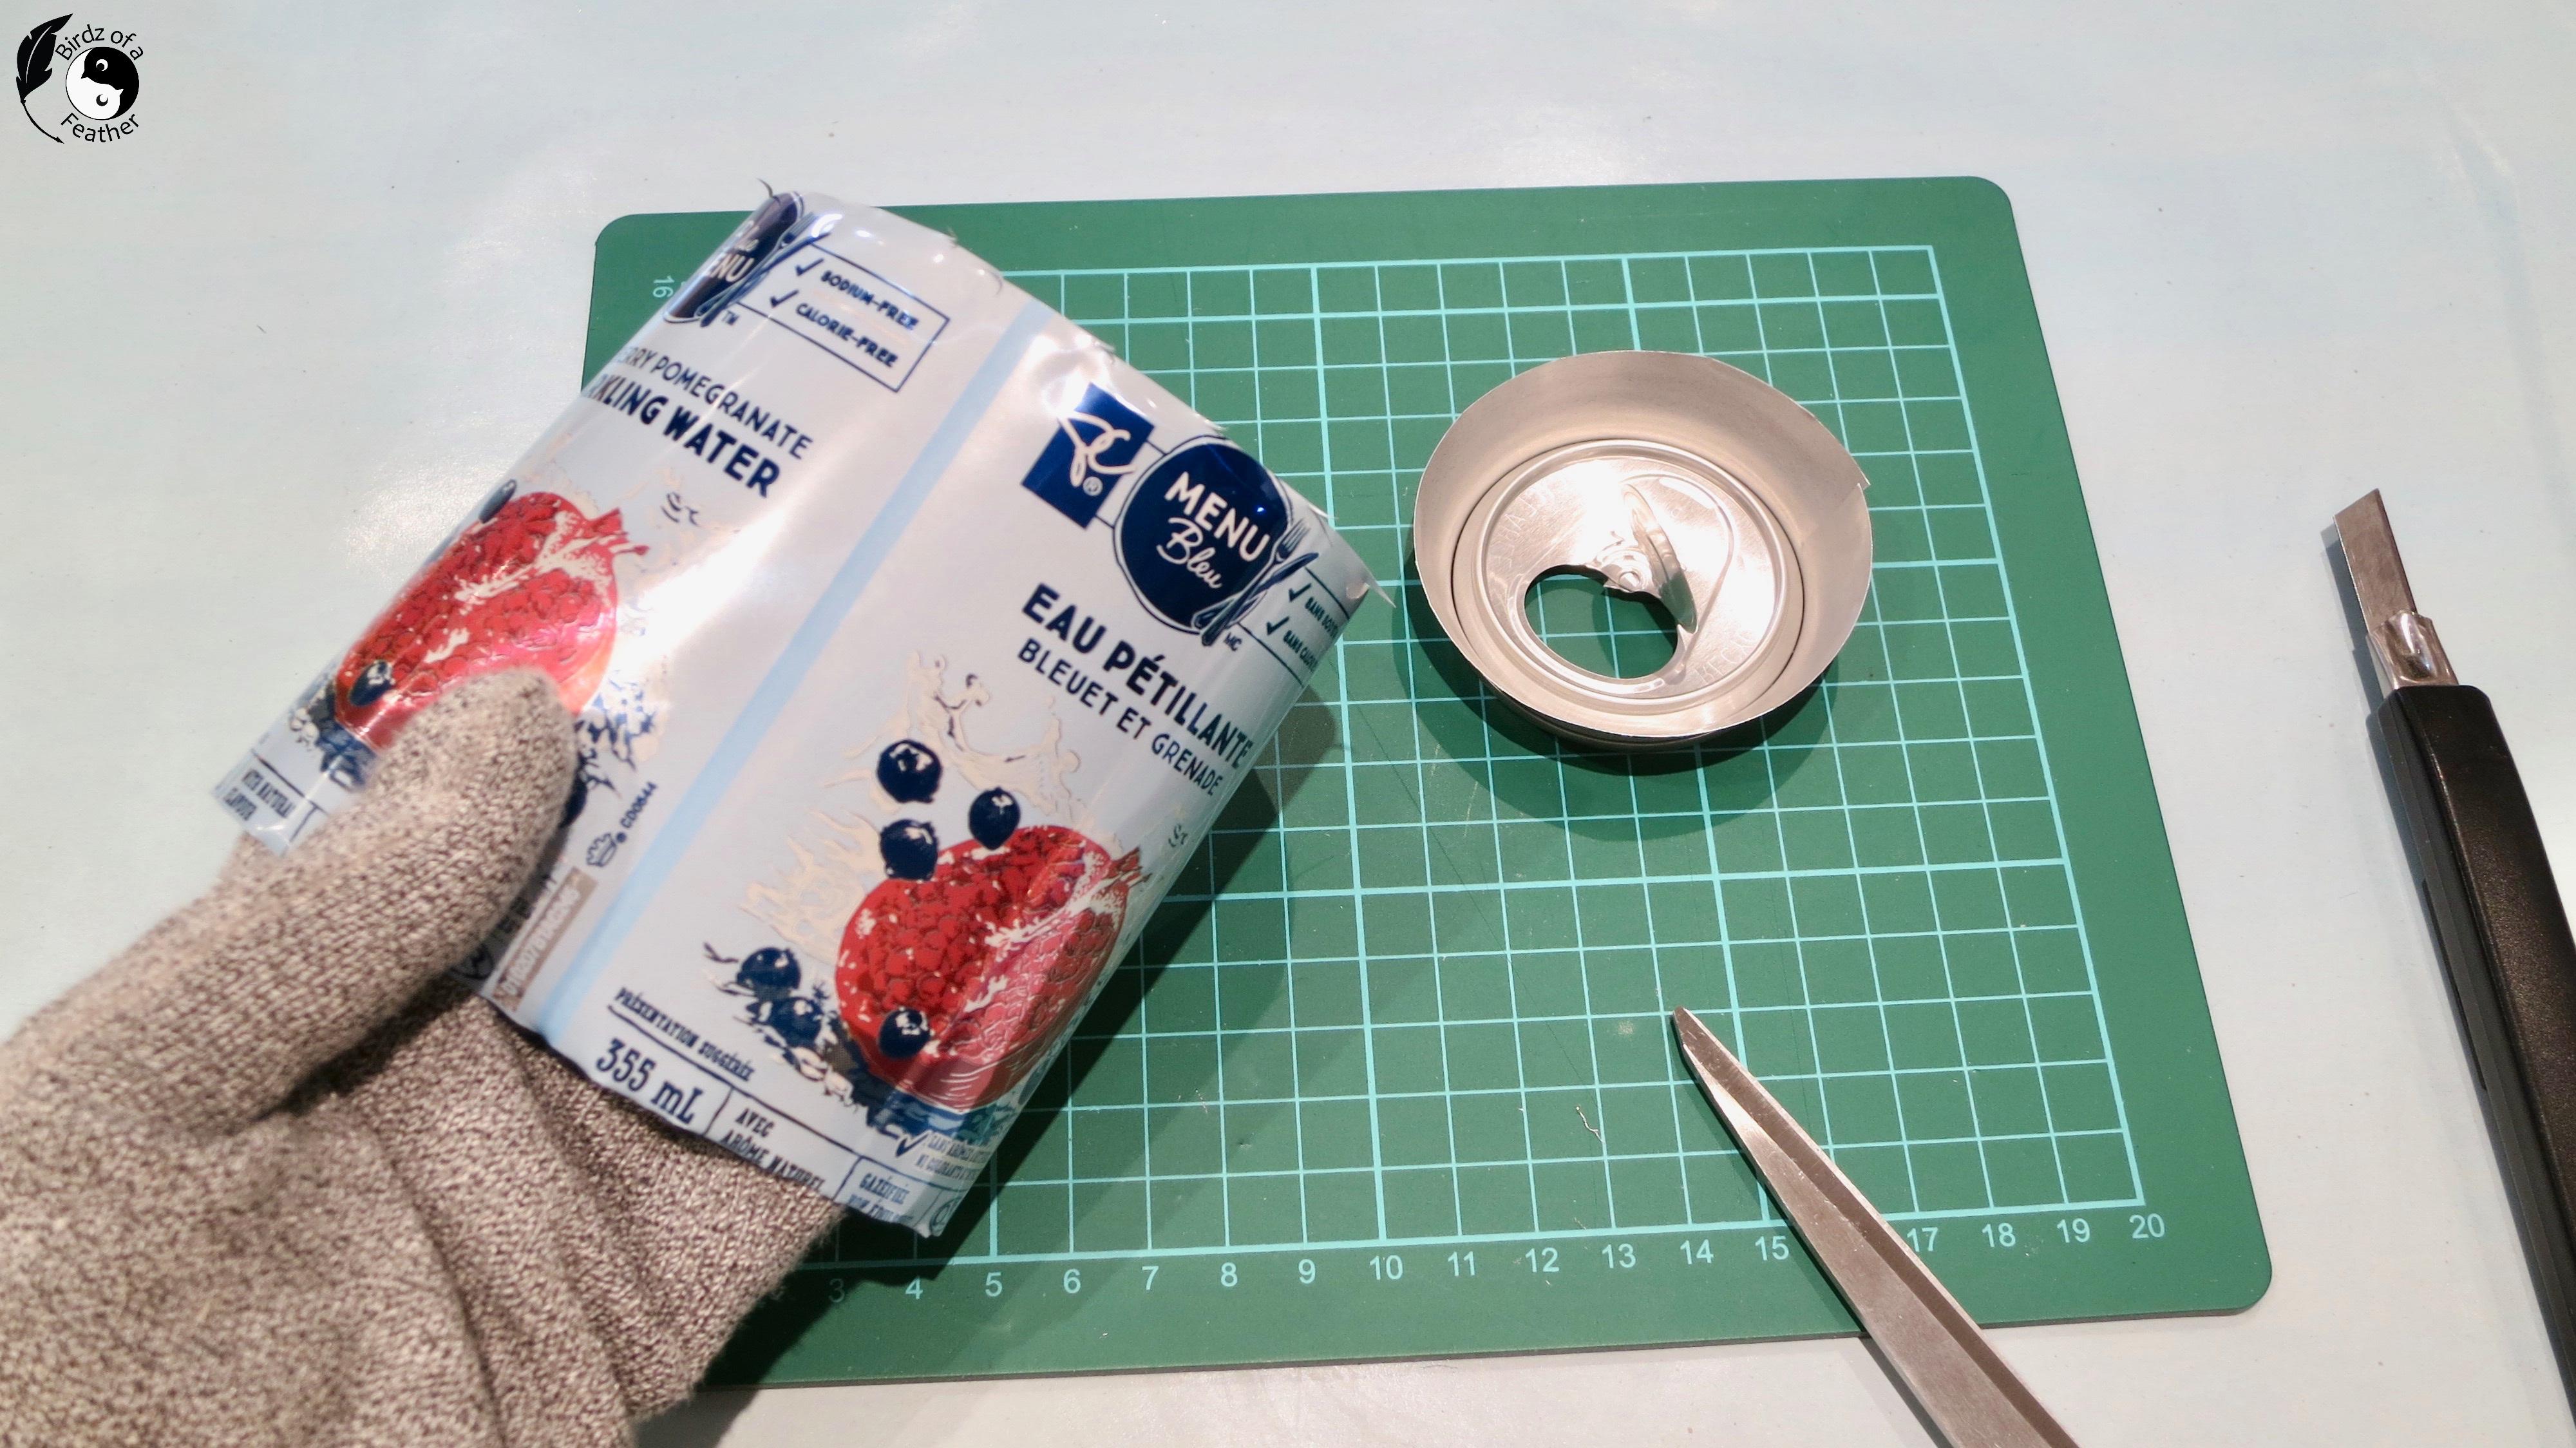
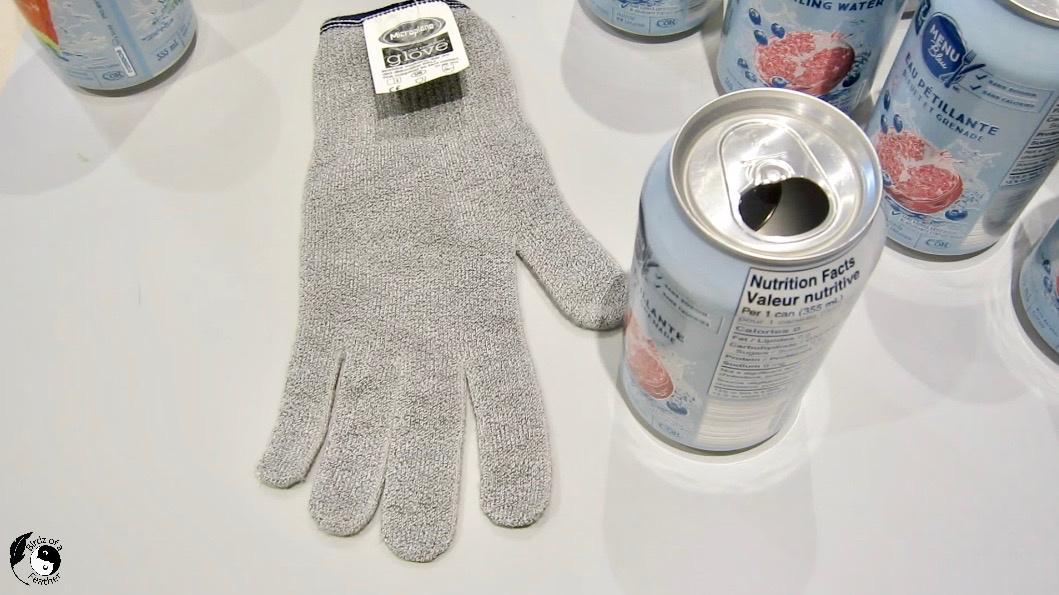
Be cautious when cutting the cans; the edges can be sharp! I borrowed the Microplane glove I’m wearing from the kitchen. It’s a cut resistant glove usually used when chopping food, but it's great for cutting cans! In case the utility knife slips while I’m cutting, it’ll keep me safe. Which brings up another point: work with sharp fresh blades and switch it as soon as it become dull.
Poke the tip of the utility knife into the can at the top (in a flat area, not where the can curves). I like to start at one end and slice all the way around. Cut down the can where the bar code and nutritional info is located (this part is typically not used as part of the mosaic anyway).
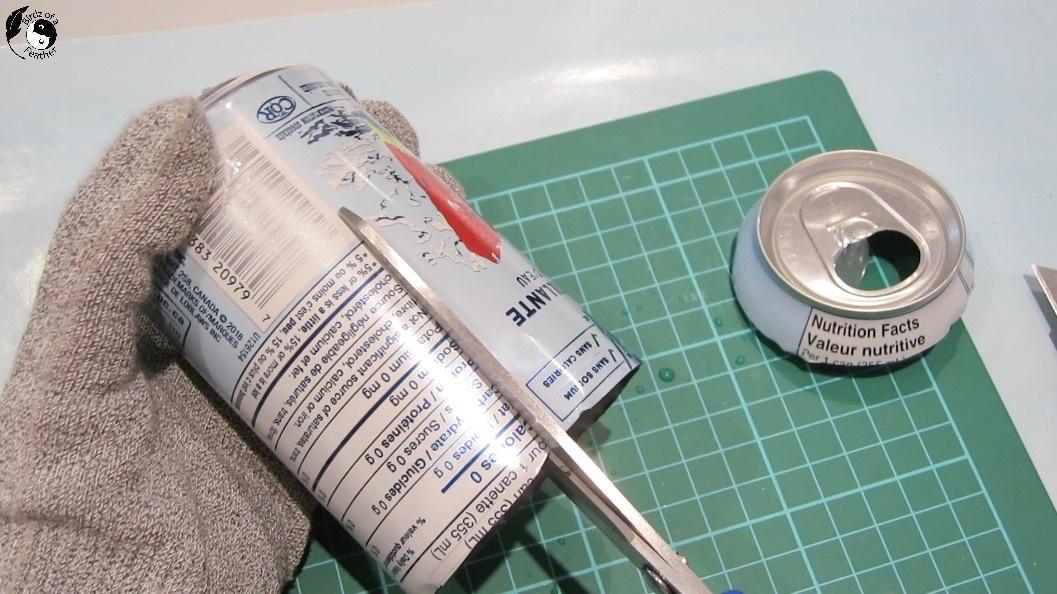
I find it helpful to make a double cut down the centre so I can get my scissors in to make the final cut.
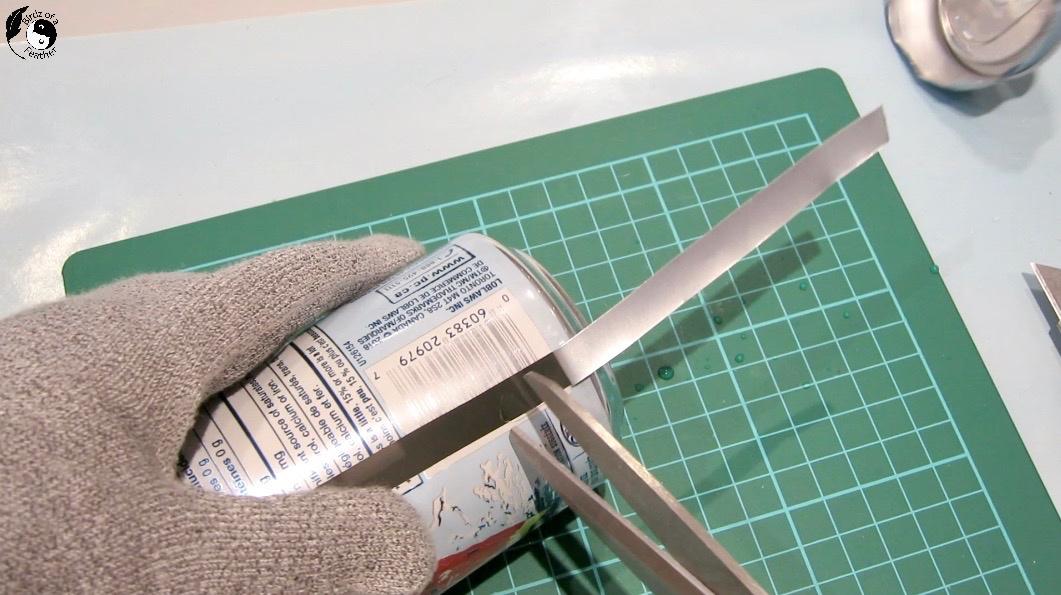
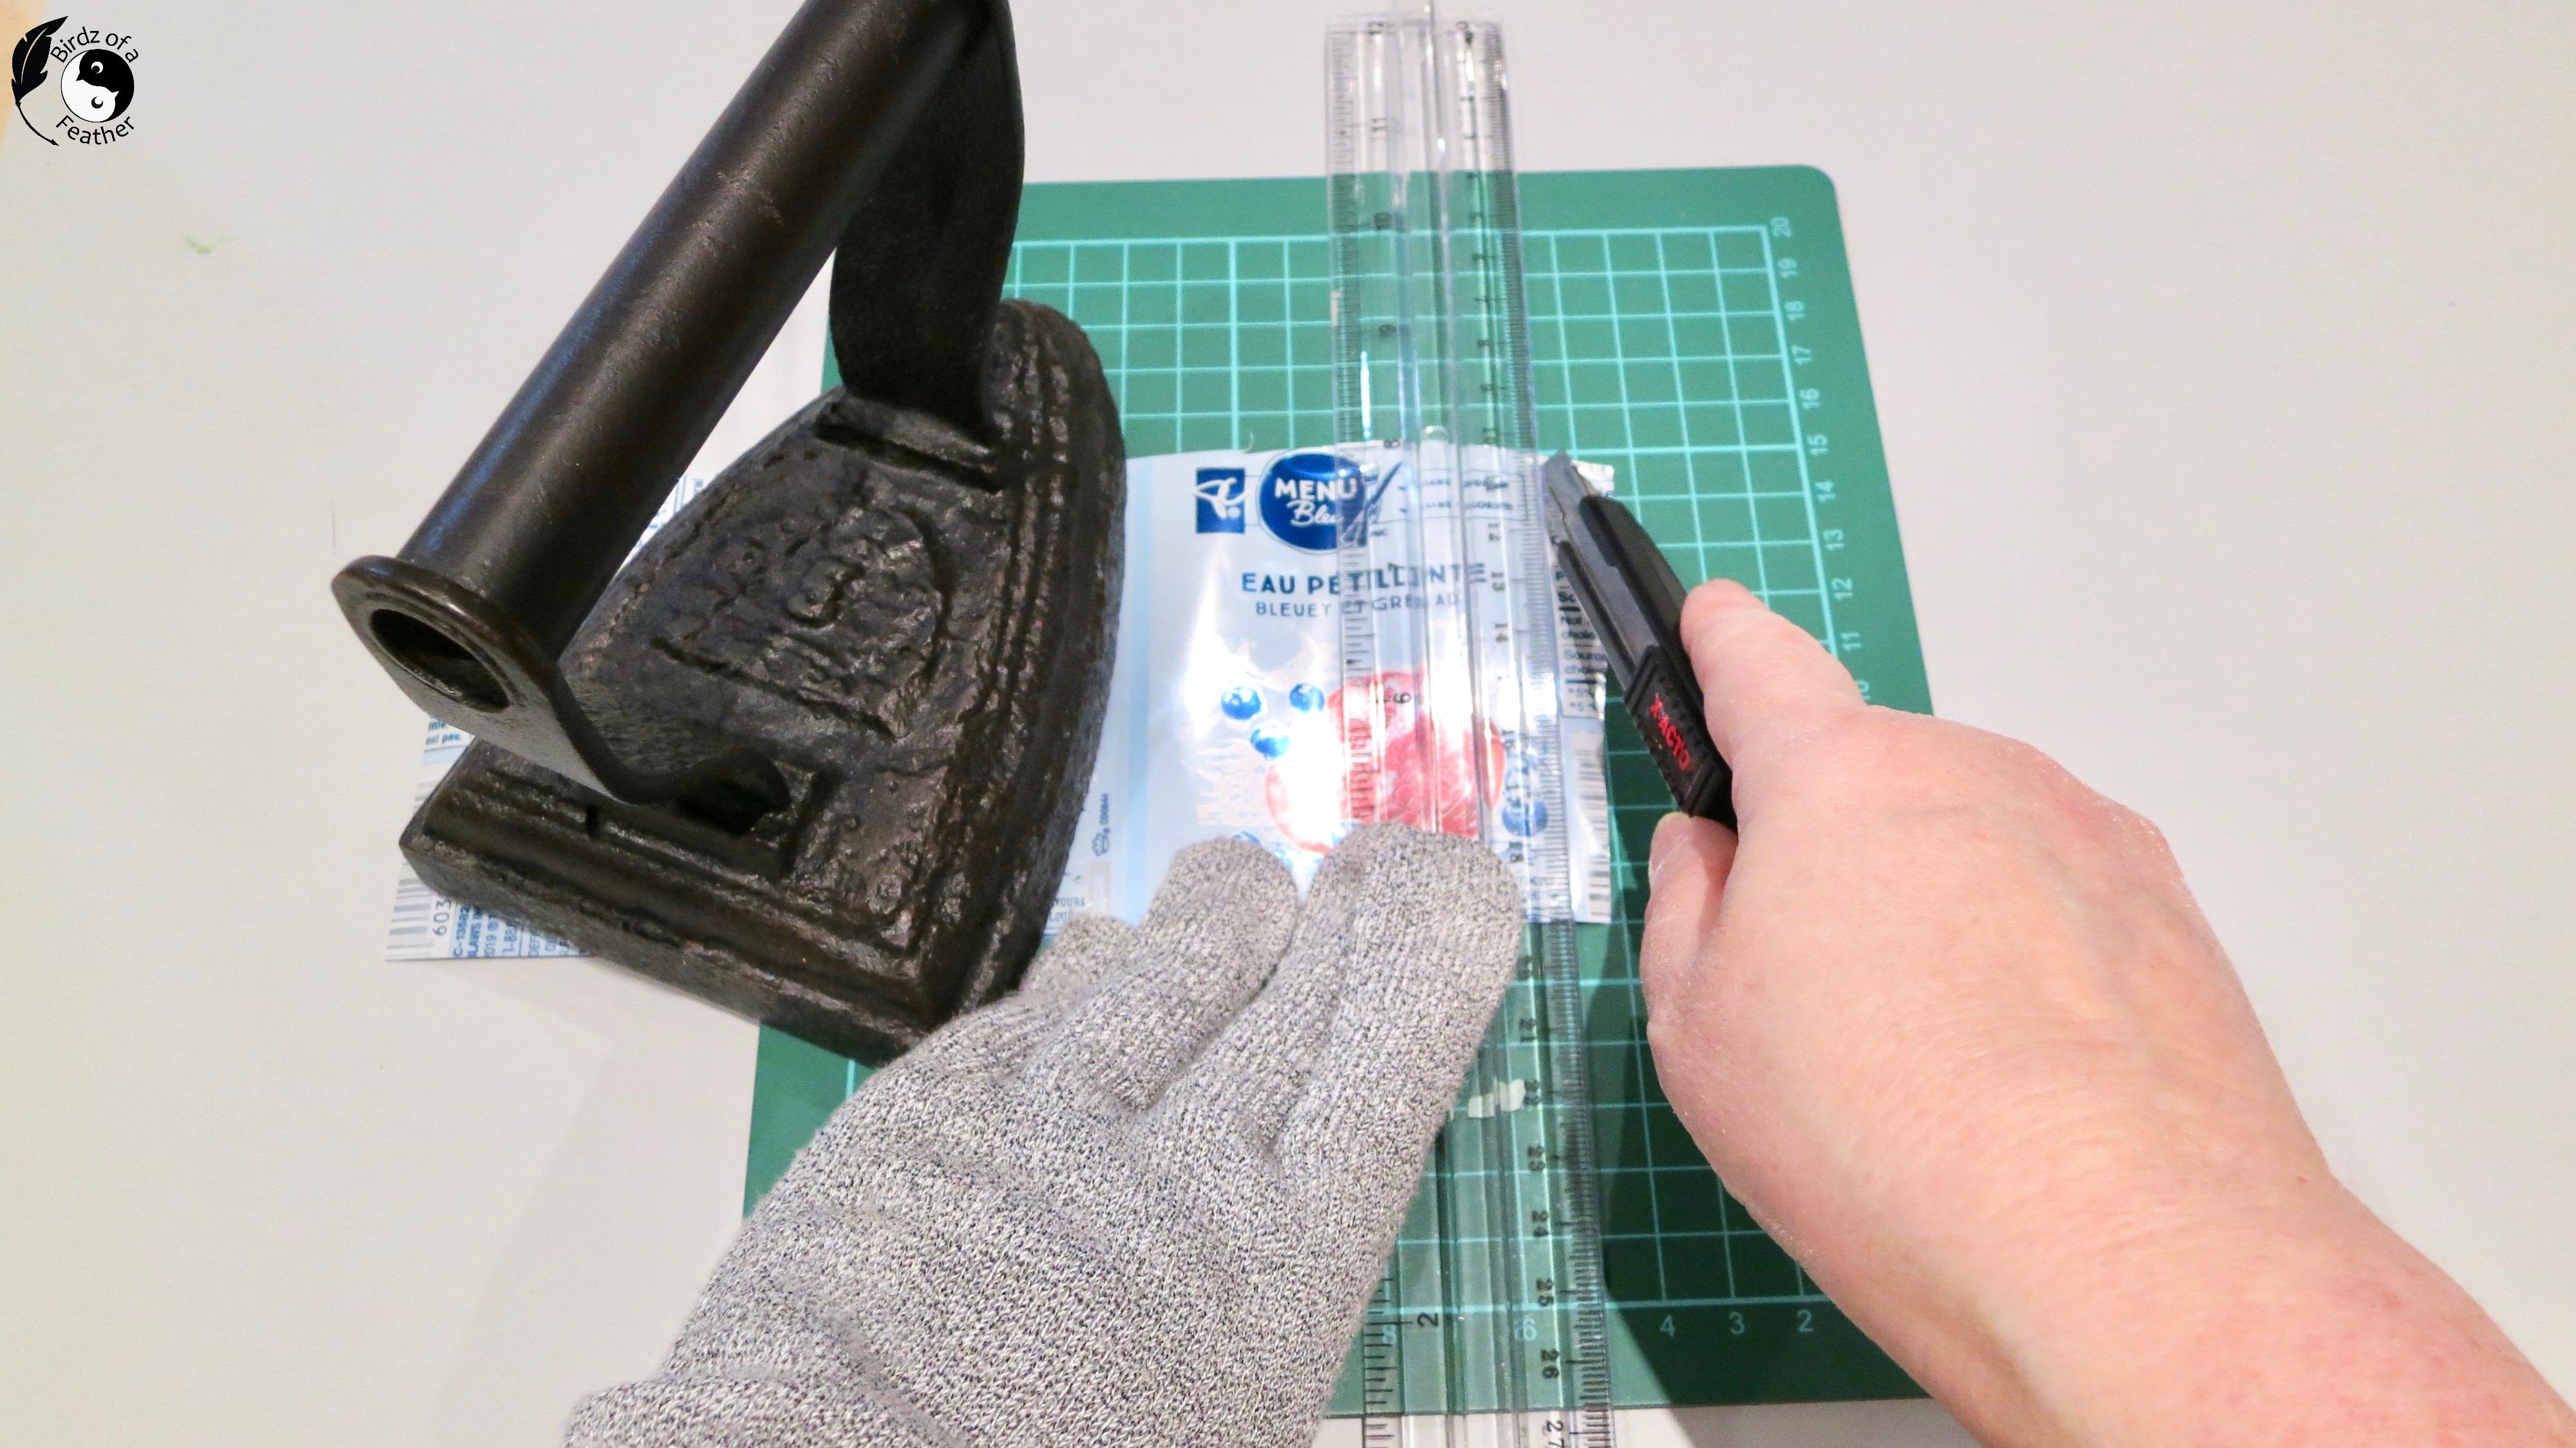
The edges may be a little jagged so trim them so they’re relatively smooth. To cut the background tiles, instead of scissors, I like to use a ruler and score a straight line instead of cutting the edges free form. That way, I can line up all my straight cuts along perfectly straight edges. Score the line with a utility knife, a few times as necessary, then bend it back at the score to snap it free (you'll see this on the video).
To Flatten the Can
The can will still be in a cylindrical shape. To flatten it before cutting out the pieces, cut a piece of brown paper bag large enough to wrap it around. This will prevent any graphics from scratching off. I hold it carefully at each end and run the piece along the edge of a table in the opposite direction of the curve. Now we’re ready to cut!
Cutting the Pieces
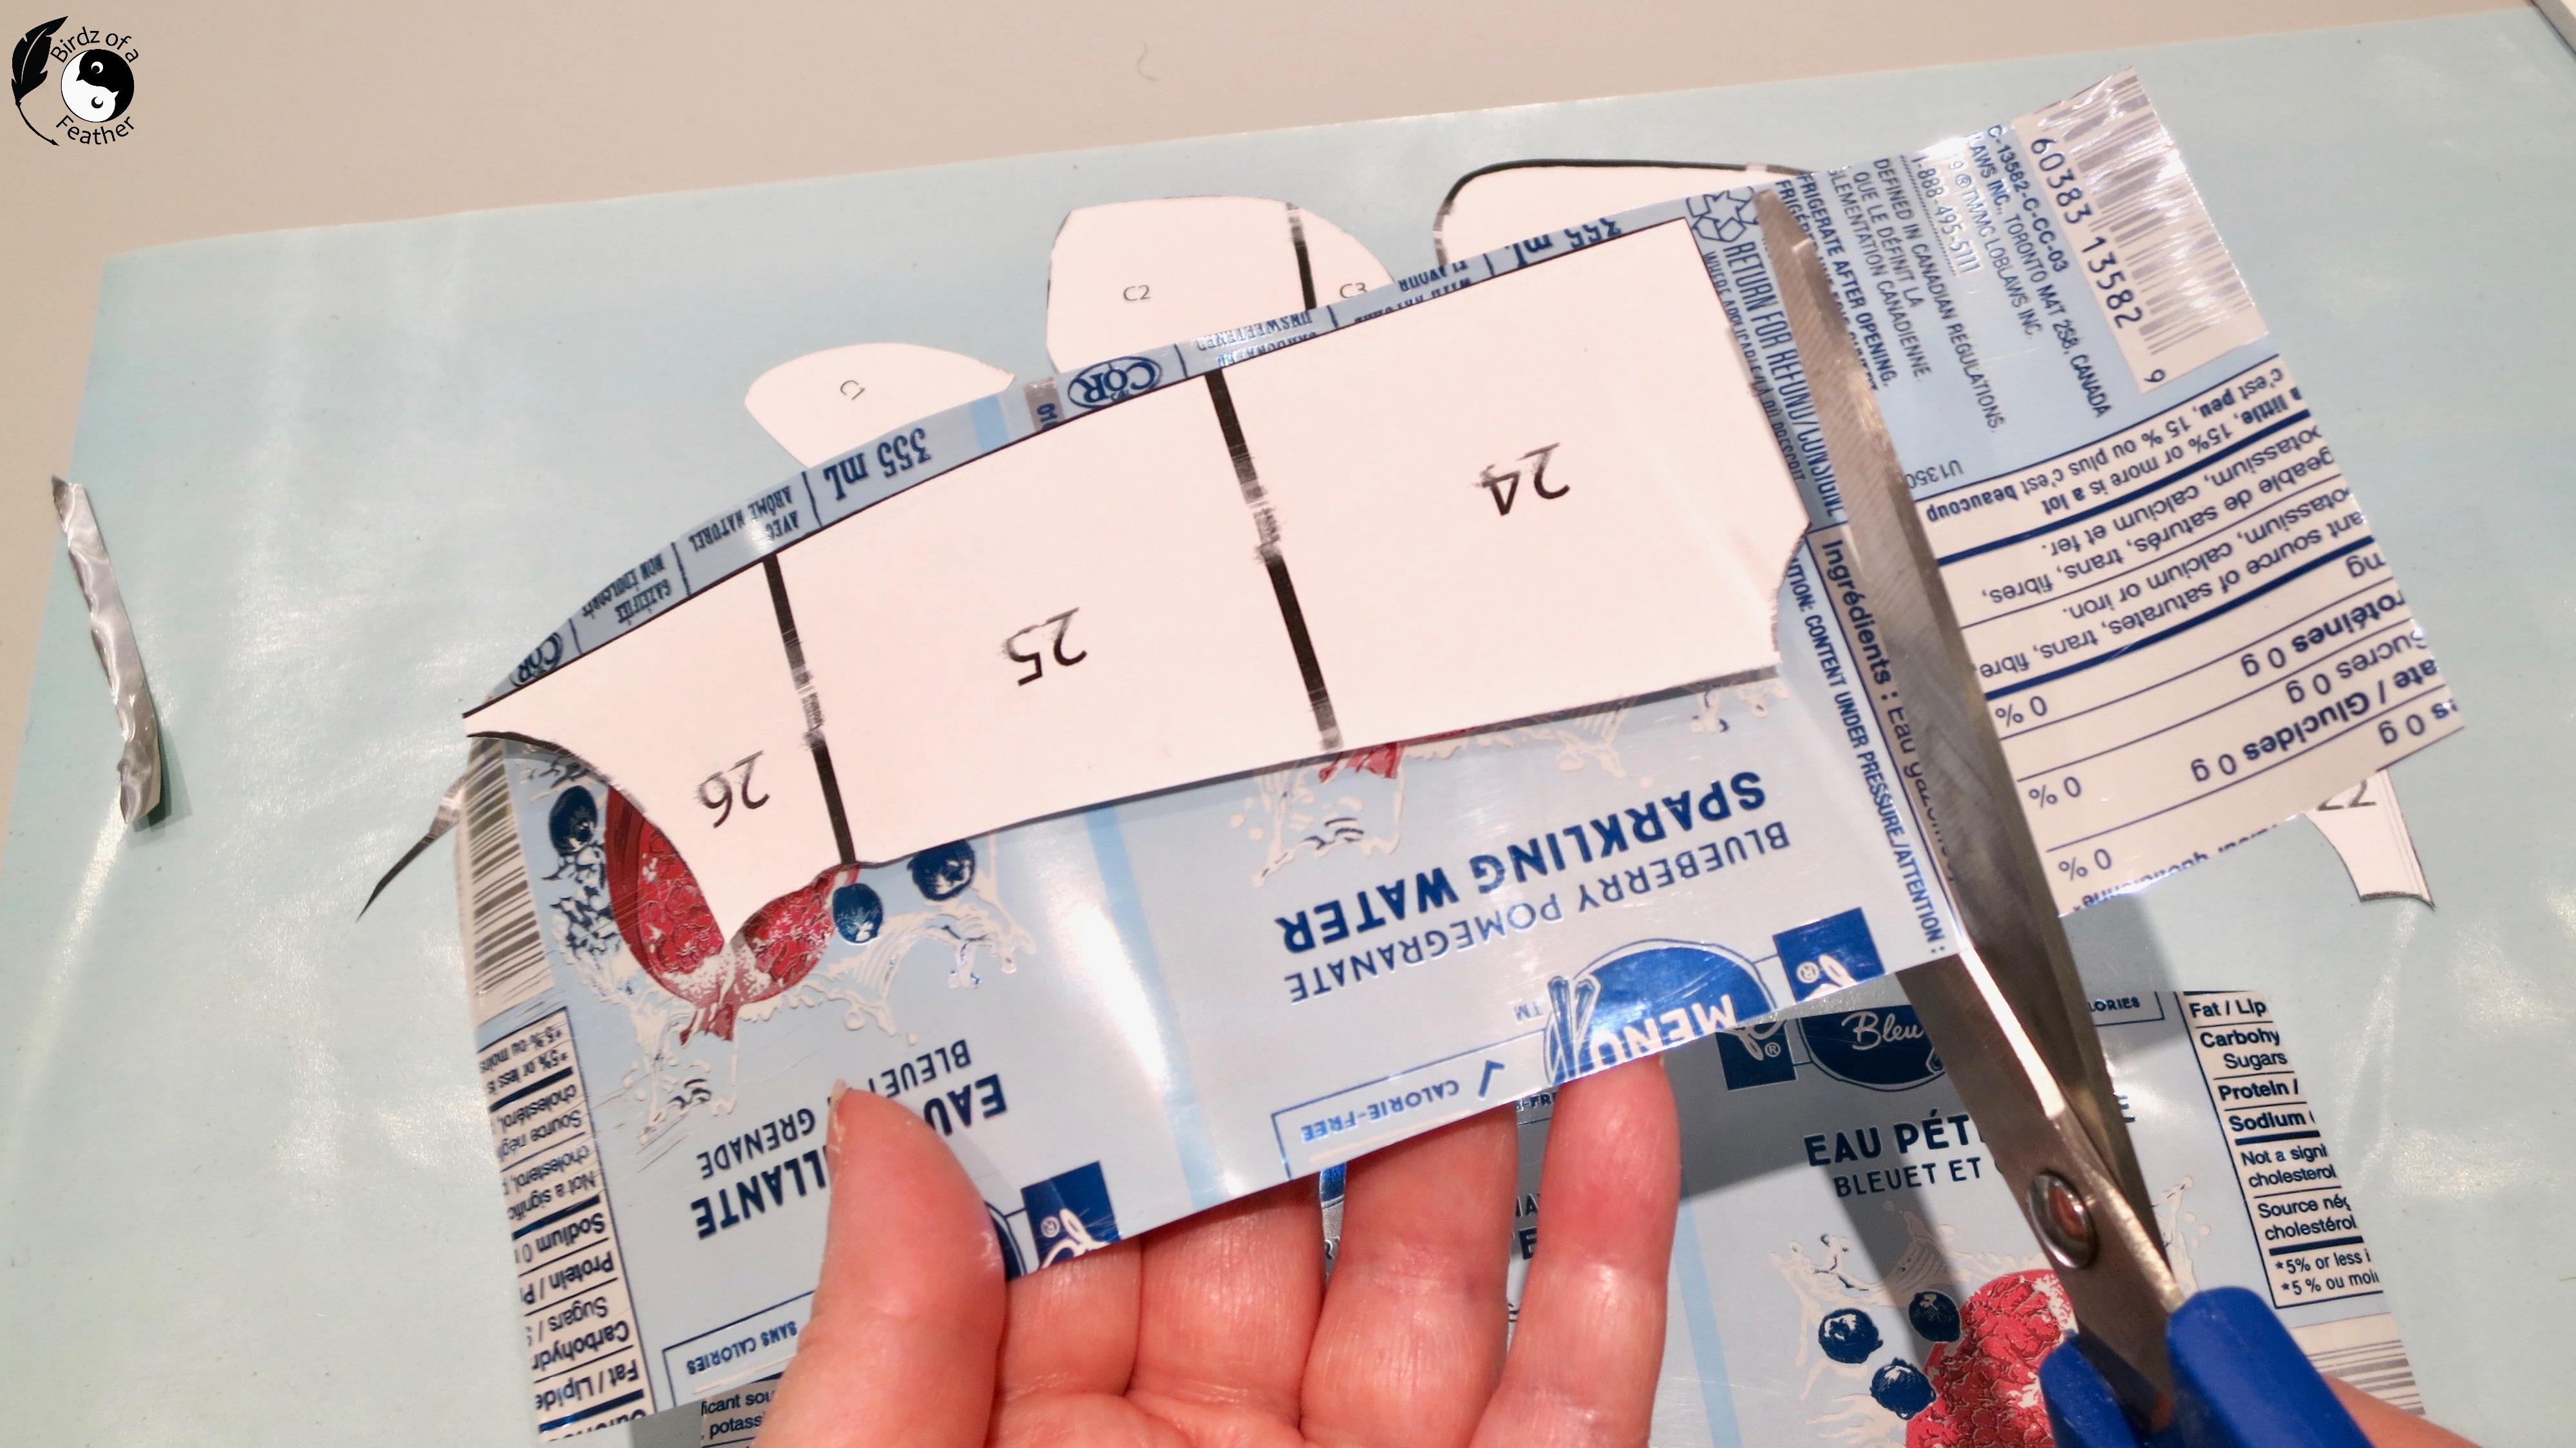
I start with the background first. Cut one regular template into pieces.
You can see I keep some of the background pieces together as I place them onto the can to be cut (2nd pic). You can do this now, or as you cut with the metal, but eventually all the black lines will be removed.
Use double face tape to stick the template to the cans temporarily and cut around each piece with scissors. Again, cut away any black lines you left on the paper.
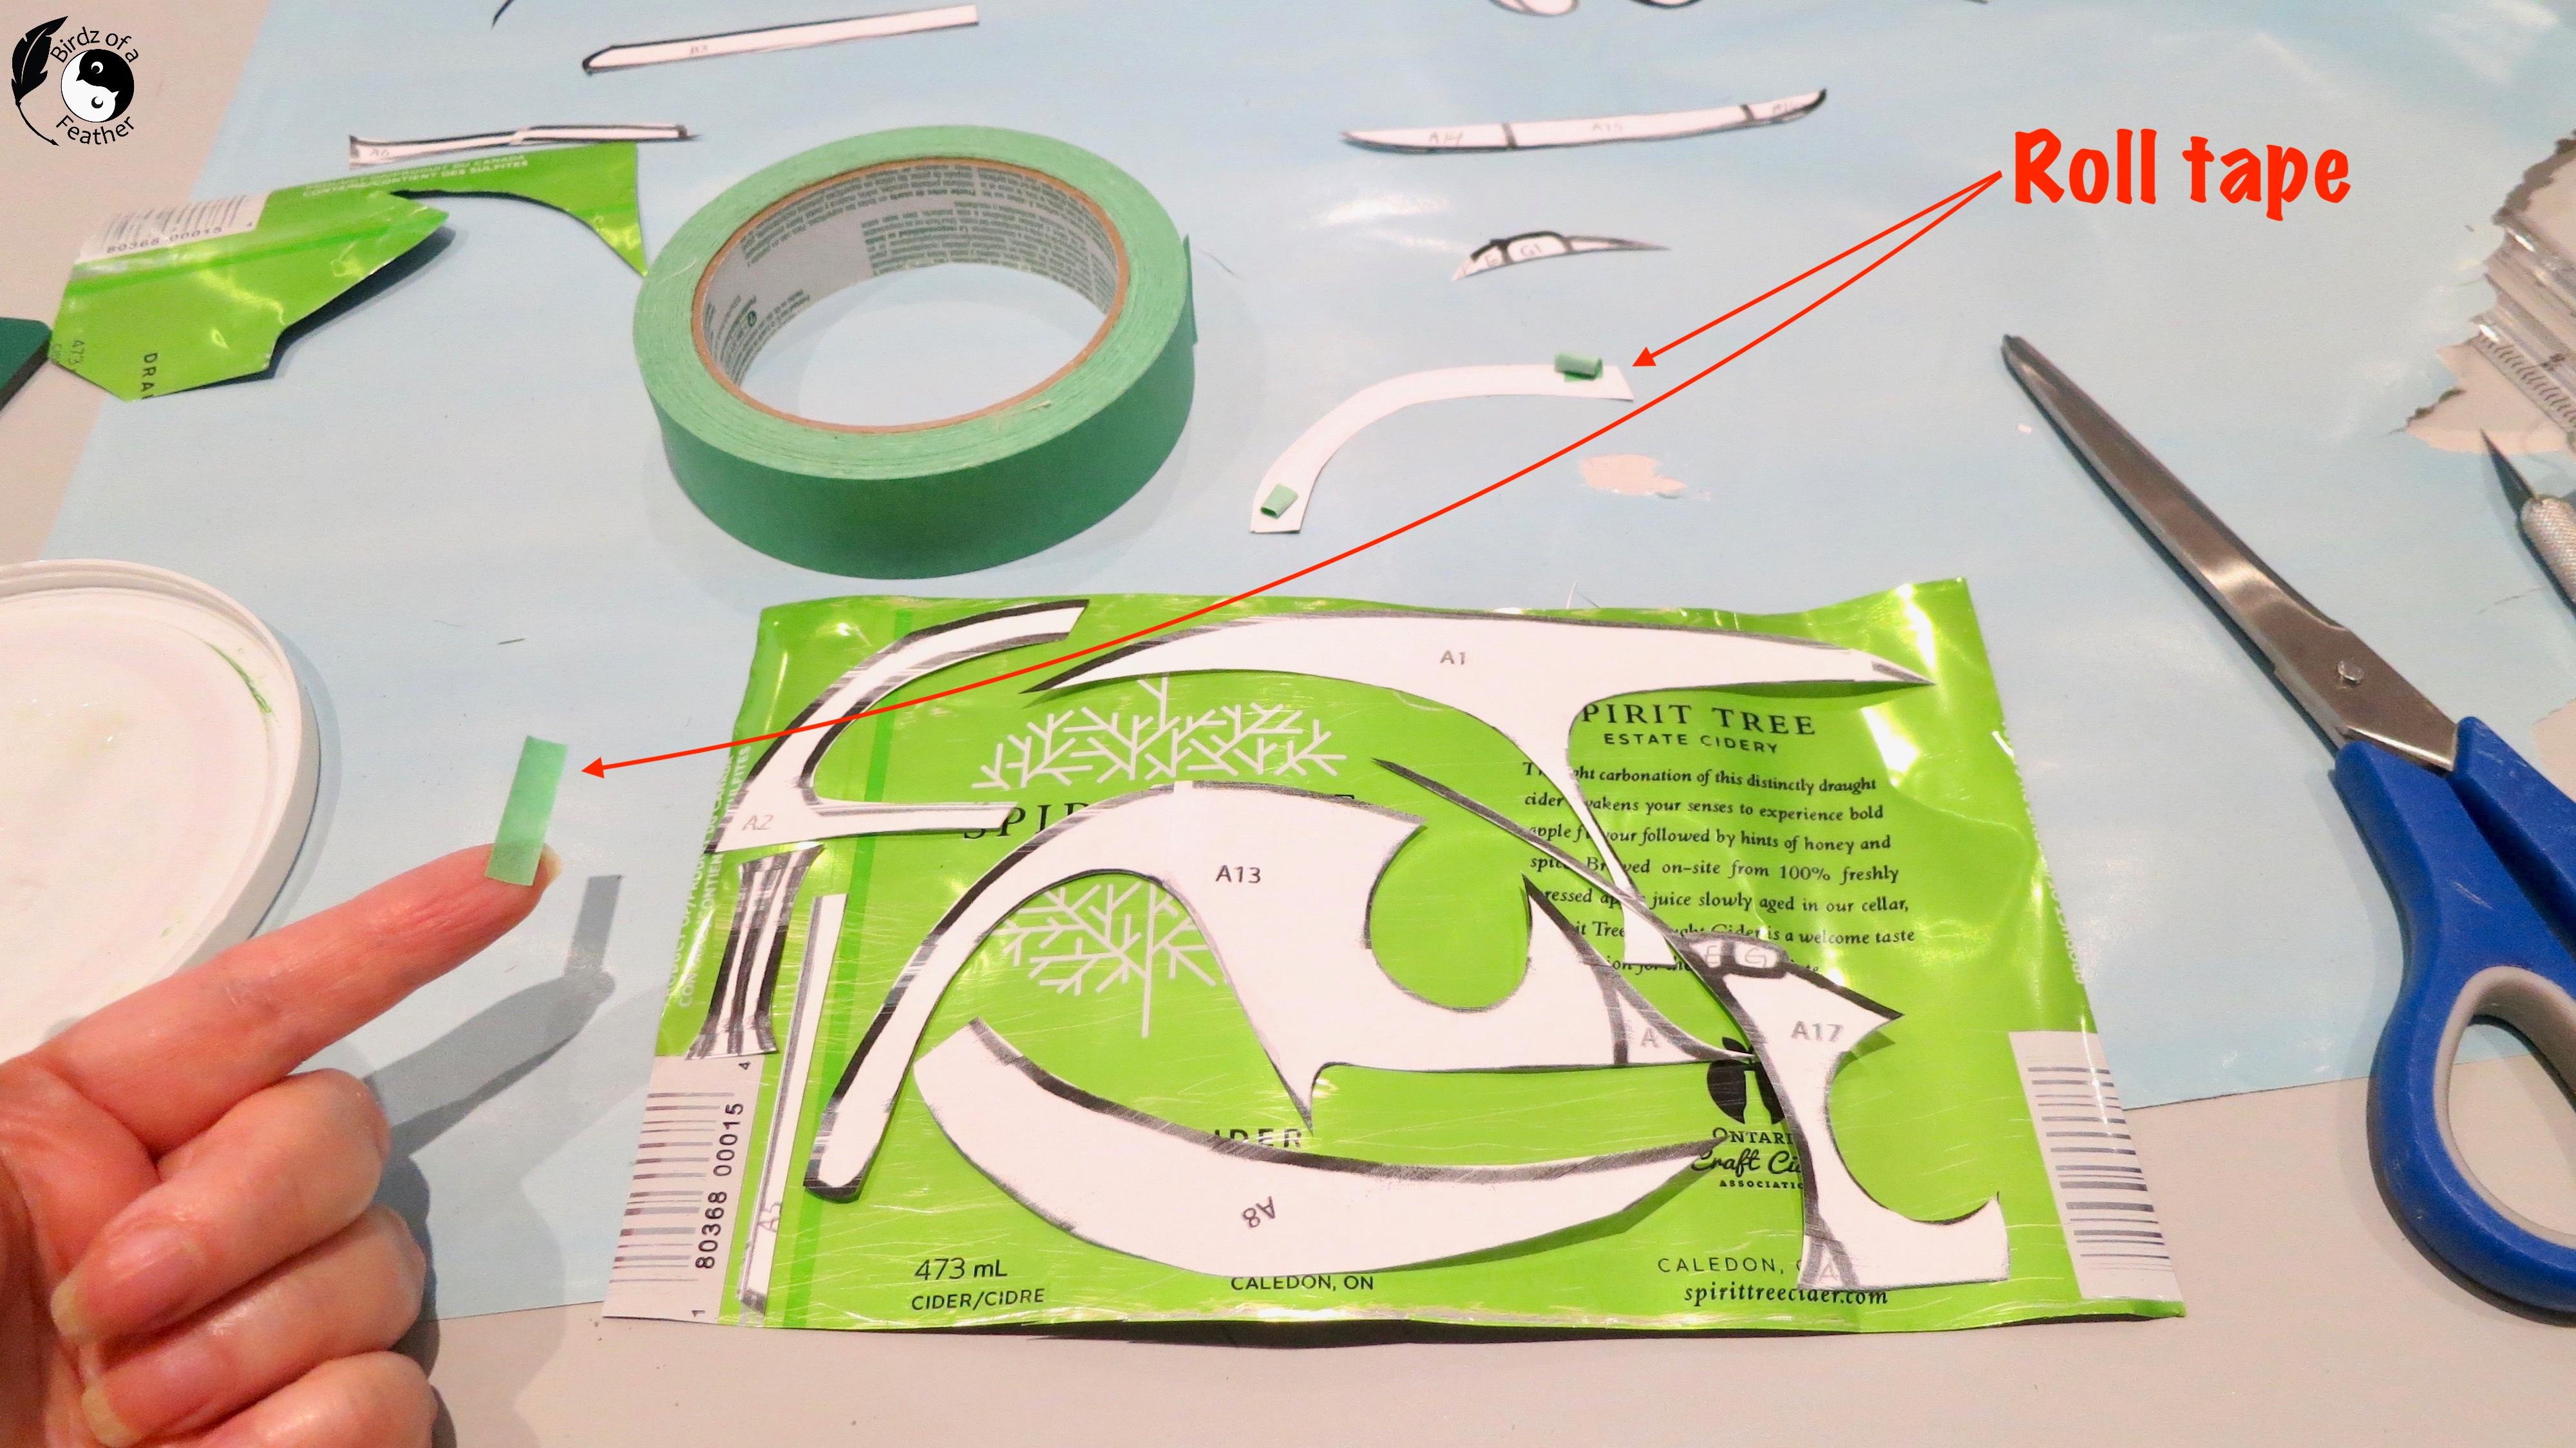
I was running low on double face tape so you can also roll regular or painters tape back on itself and use that to stick the pieces down as shown in the 3rd pic.
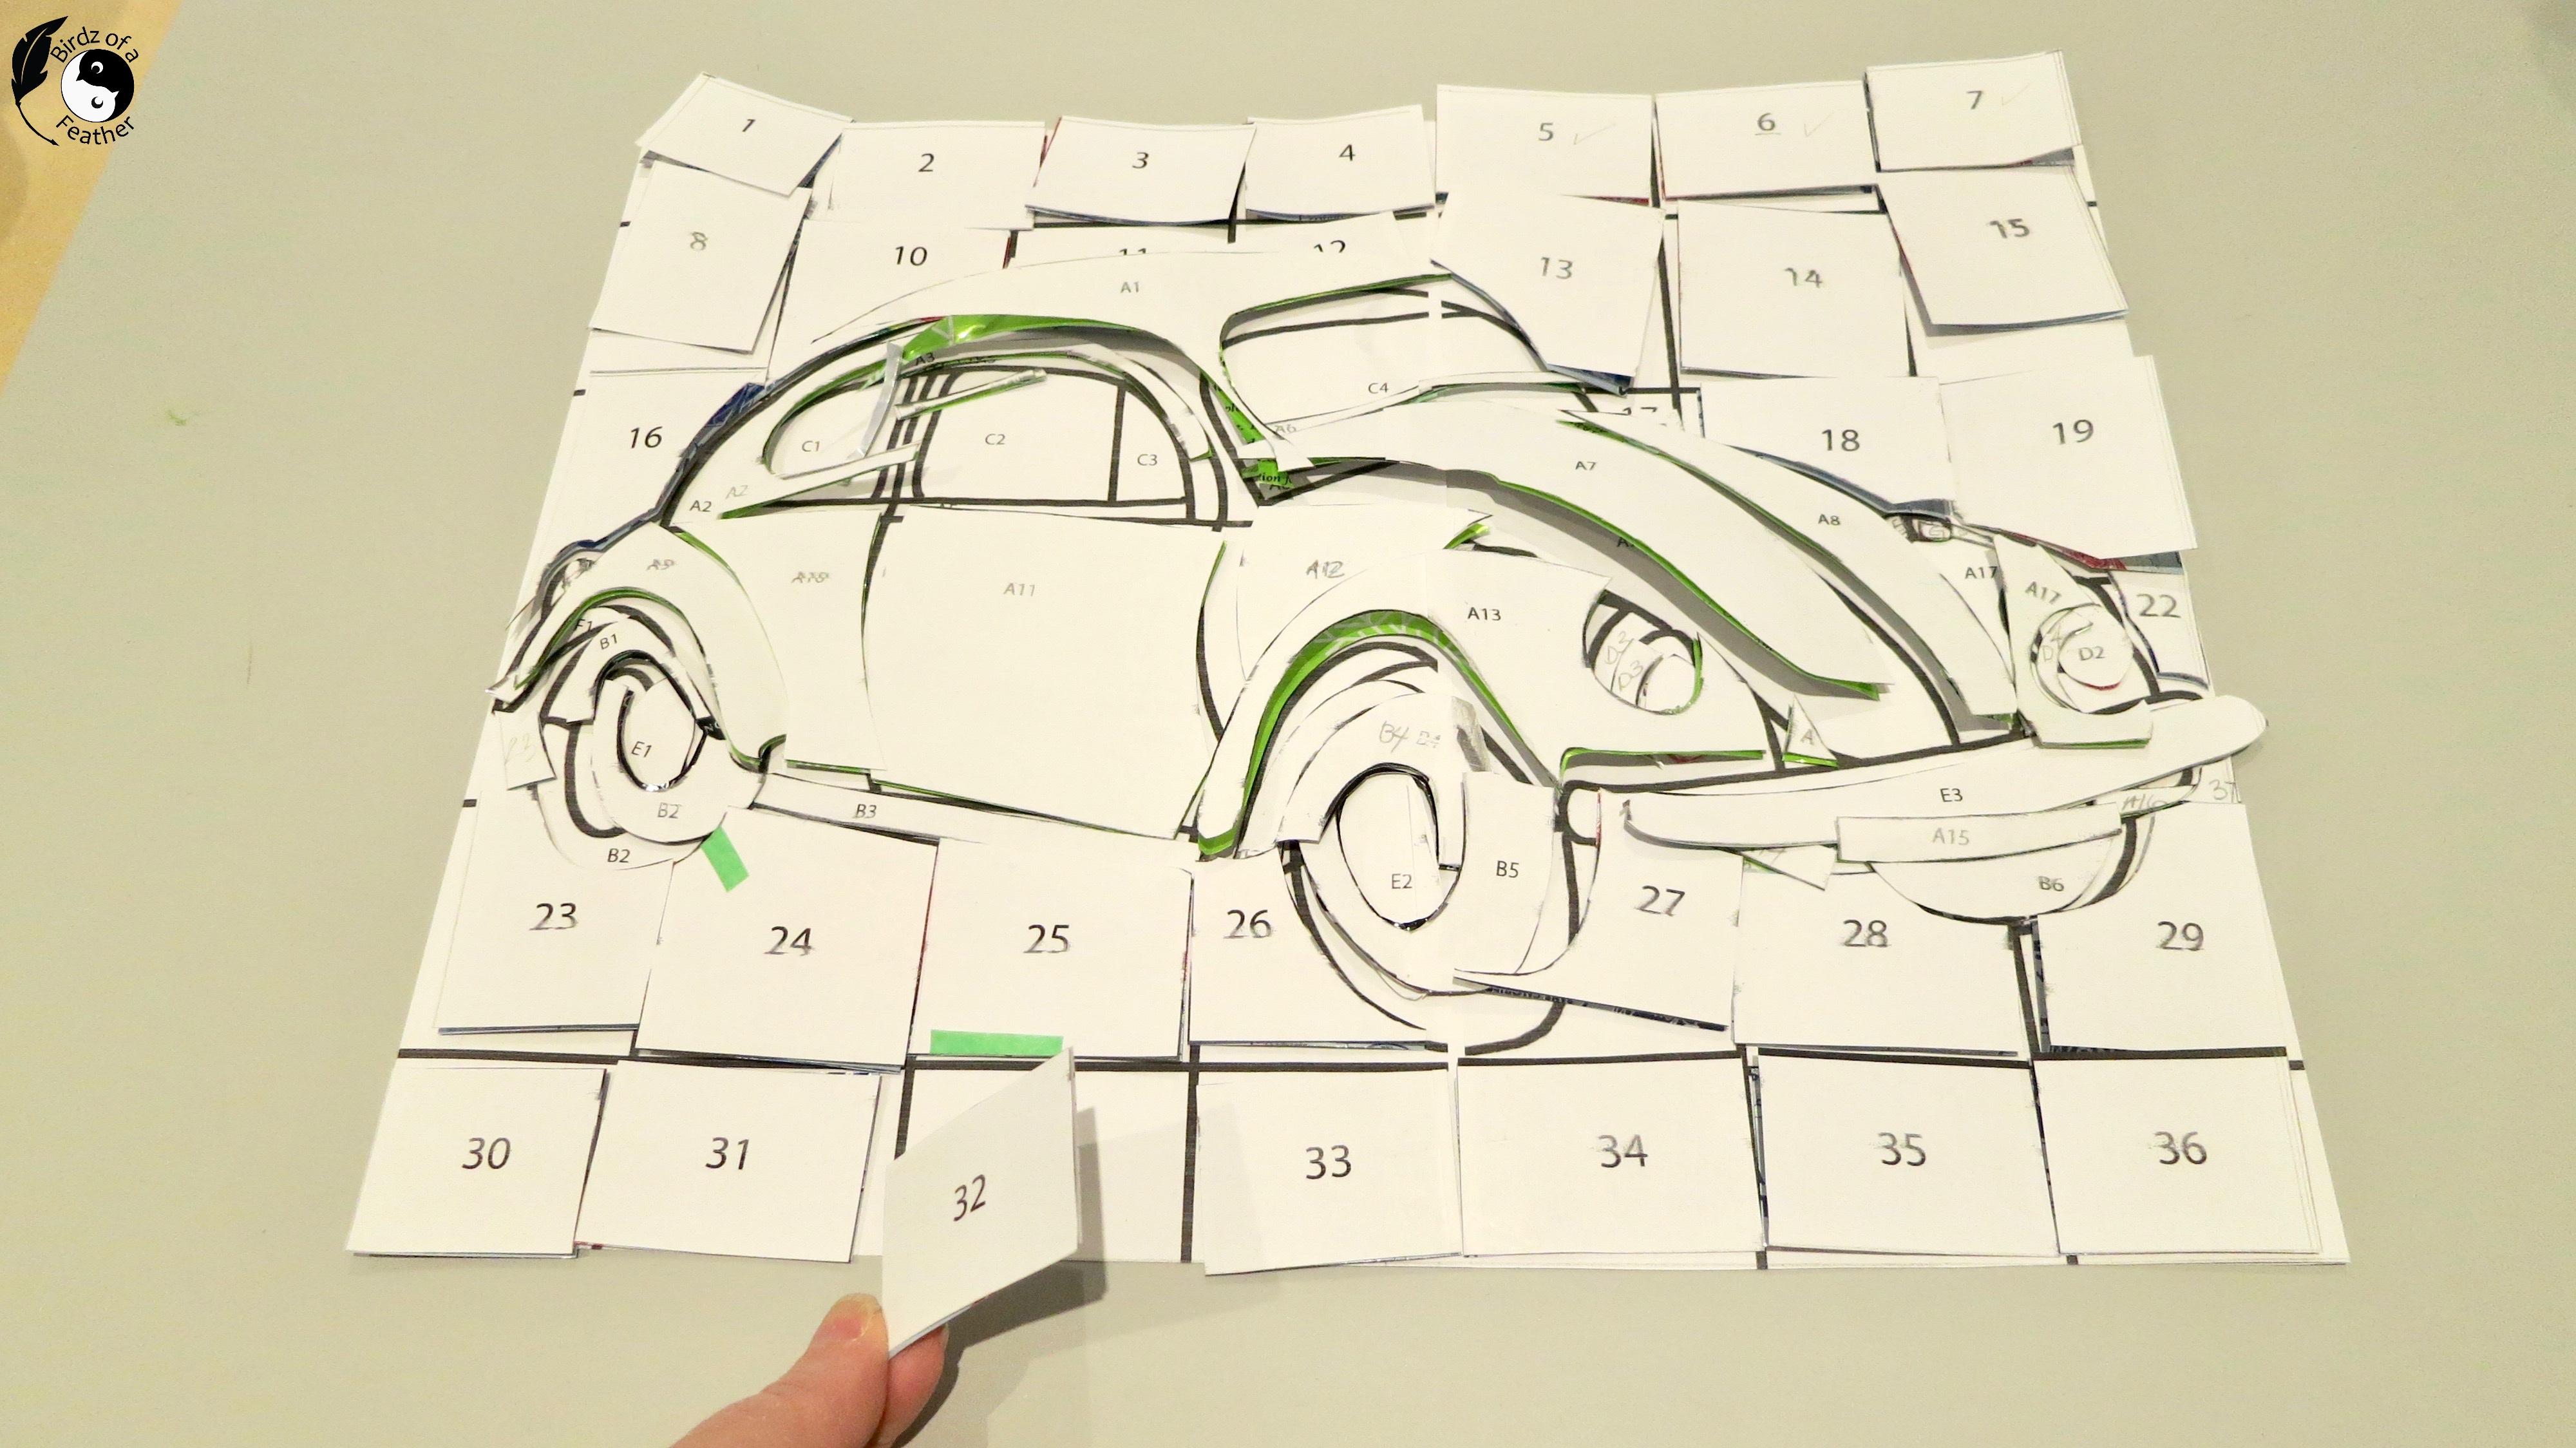
As your pieces are cut, put them onto the second copy of the template, leaving the paper on (last pic). That way, if the pieces get jumbled you still have all the numbers on each one and can quickly identify where it goes.
How to Adhere the Pieces
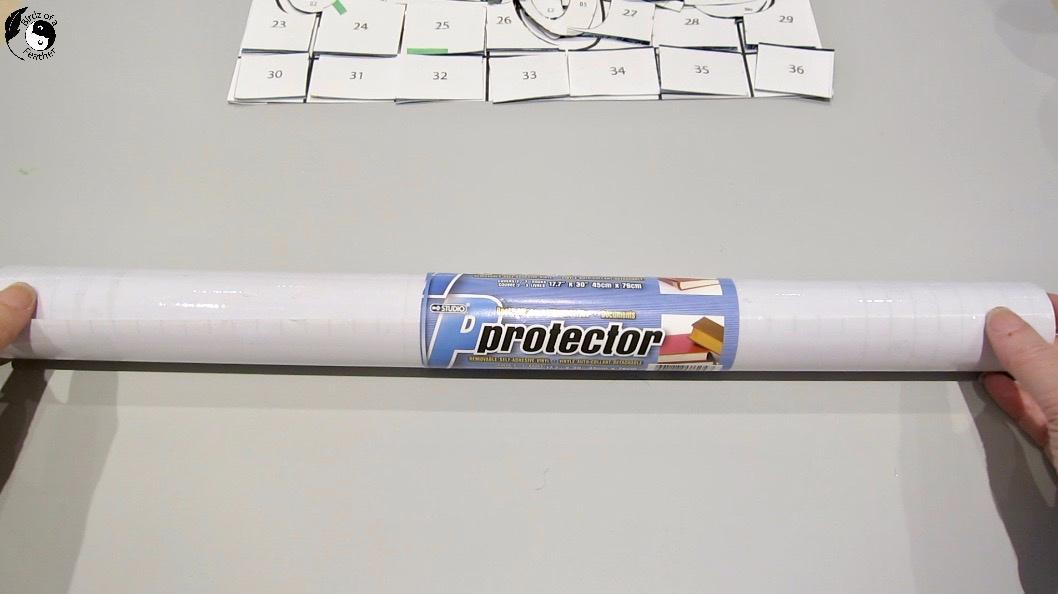
Now we’re temporarily adhering the tin pieces to clear adhesive vinyl contact paper. Whether it’s matte or shiny, doesn’t matter; It just needs to be see-through.
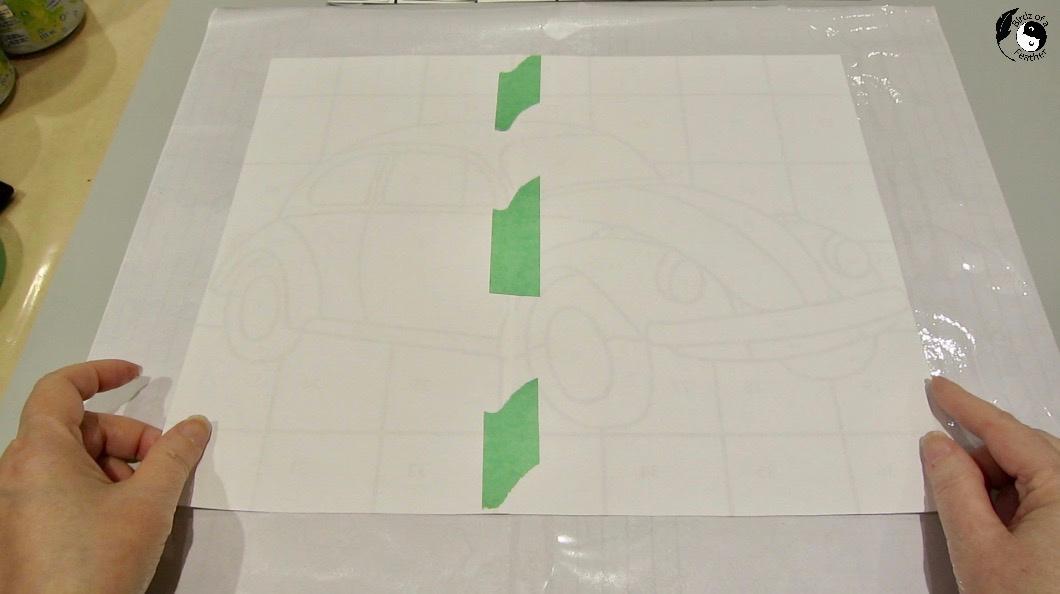
Cut the vinyl about 2″ bigger all around. Now take the mirror image template and turn it upside down onto the front of the vinyl. Tape it down around the edges.
Flip it over and peel off the backing, but save the backing for later. The sticky side is now facing up. Fold in the right and left edges and tape it down to the surface (I’m using the back of my cutting mat).
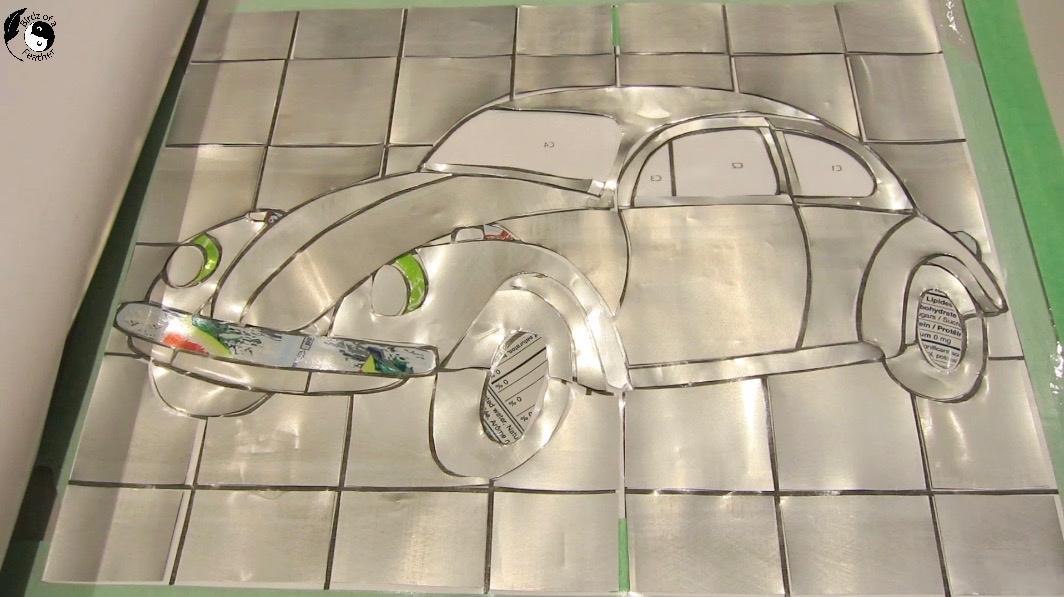
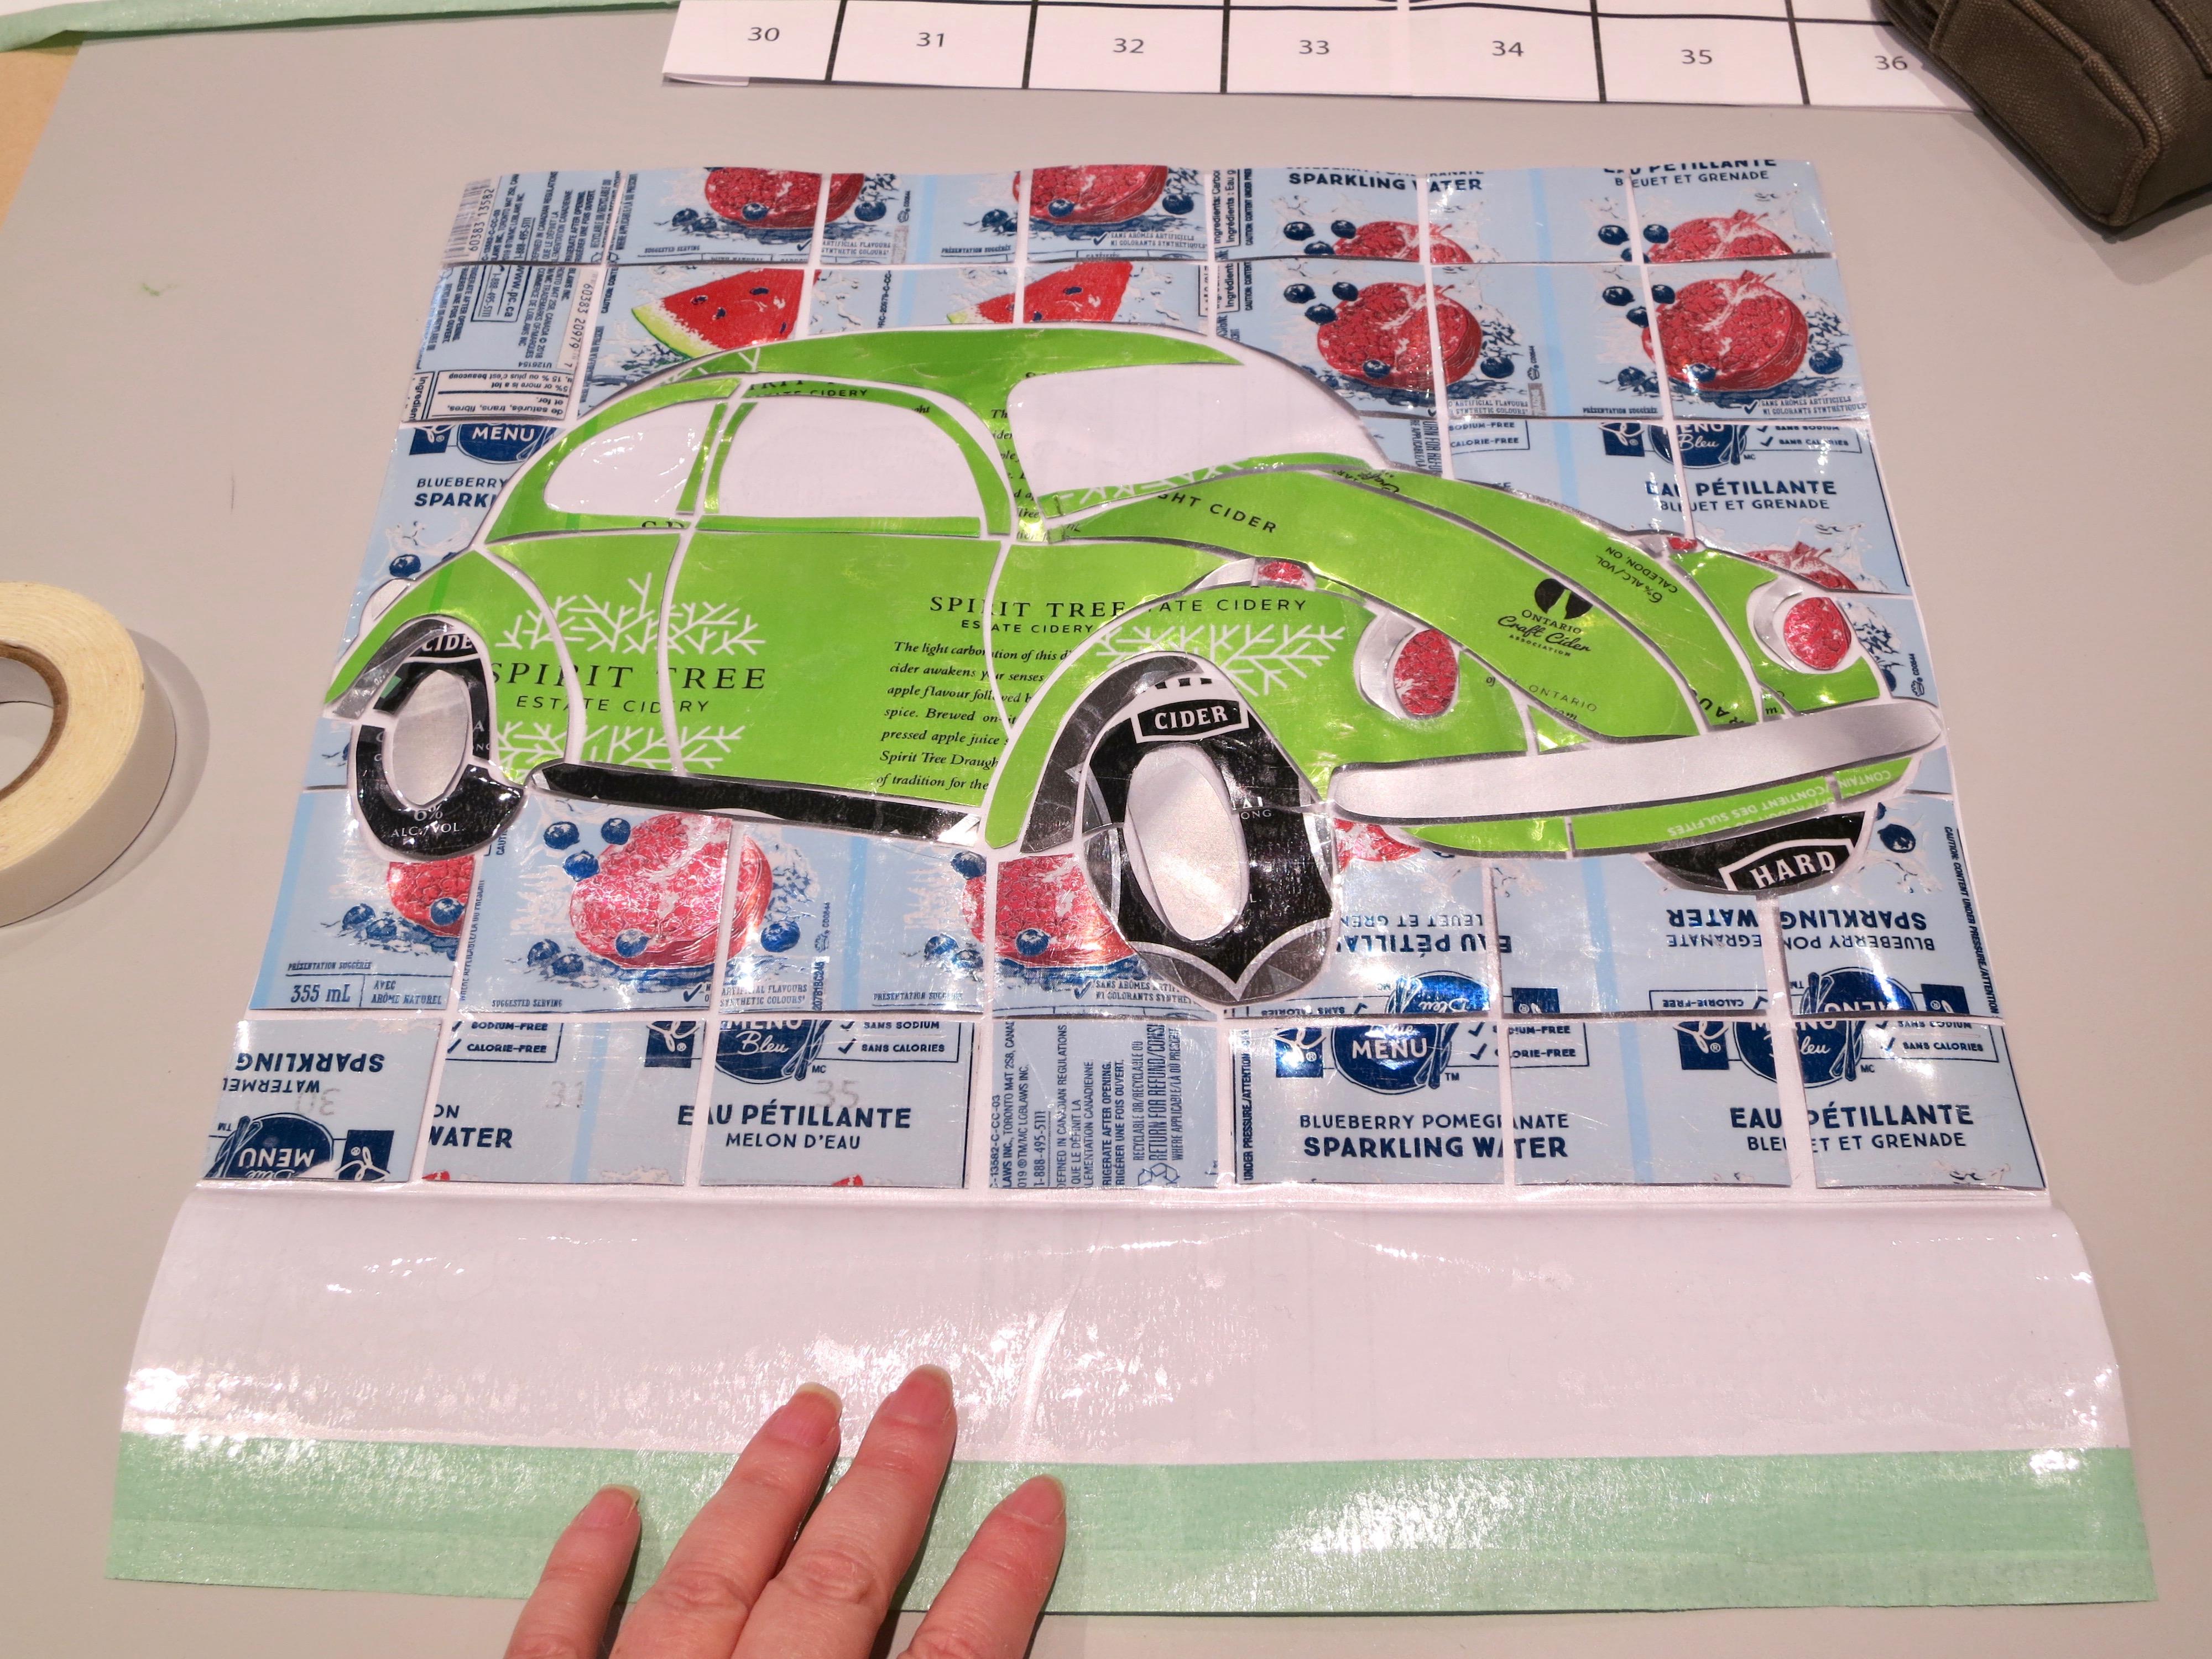
Now you can transfer the cut pieces of metal onto the sticky adhesive vinyl. First, remove the paper. Then each piece is laid onto the adhesive face side down. Be sure you can see black lines all around the piece before sticking down.
Once all the pieces are stuck down it will look like the 4th pic with the shiny aluminum facing up.
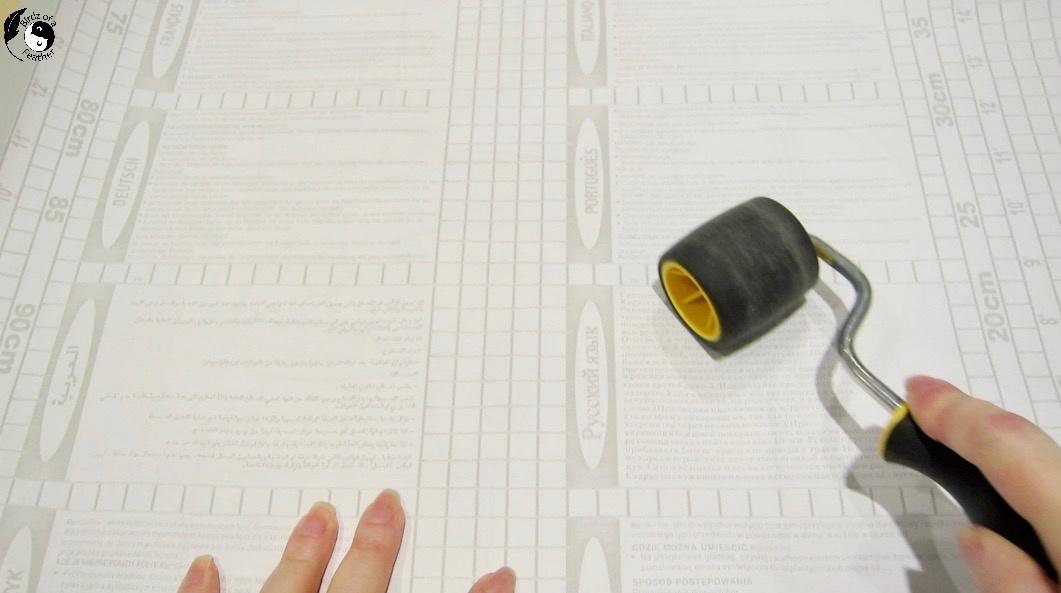
Bring back the paper backing and place over the metal tiles. Use a rubber roller to carefully roll over the surface to ensure a good bond. I used the one we installed our luxury vinyl flooring with, but any brayer will work.
Apply Adhesive
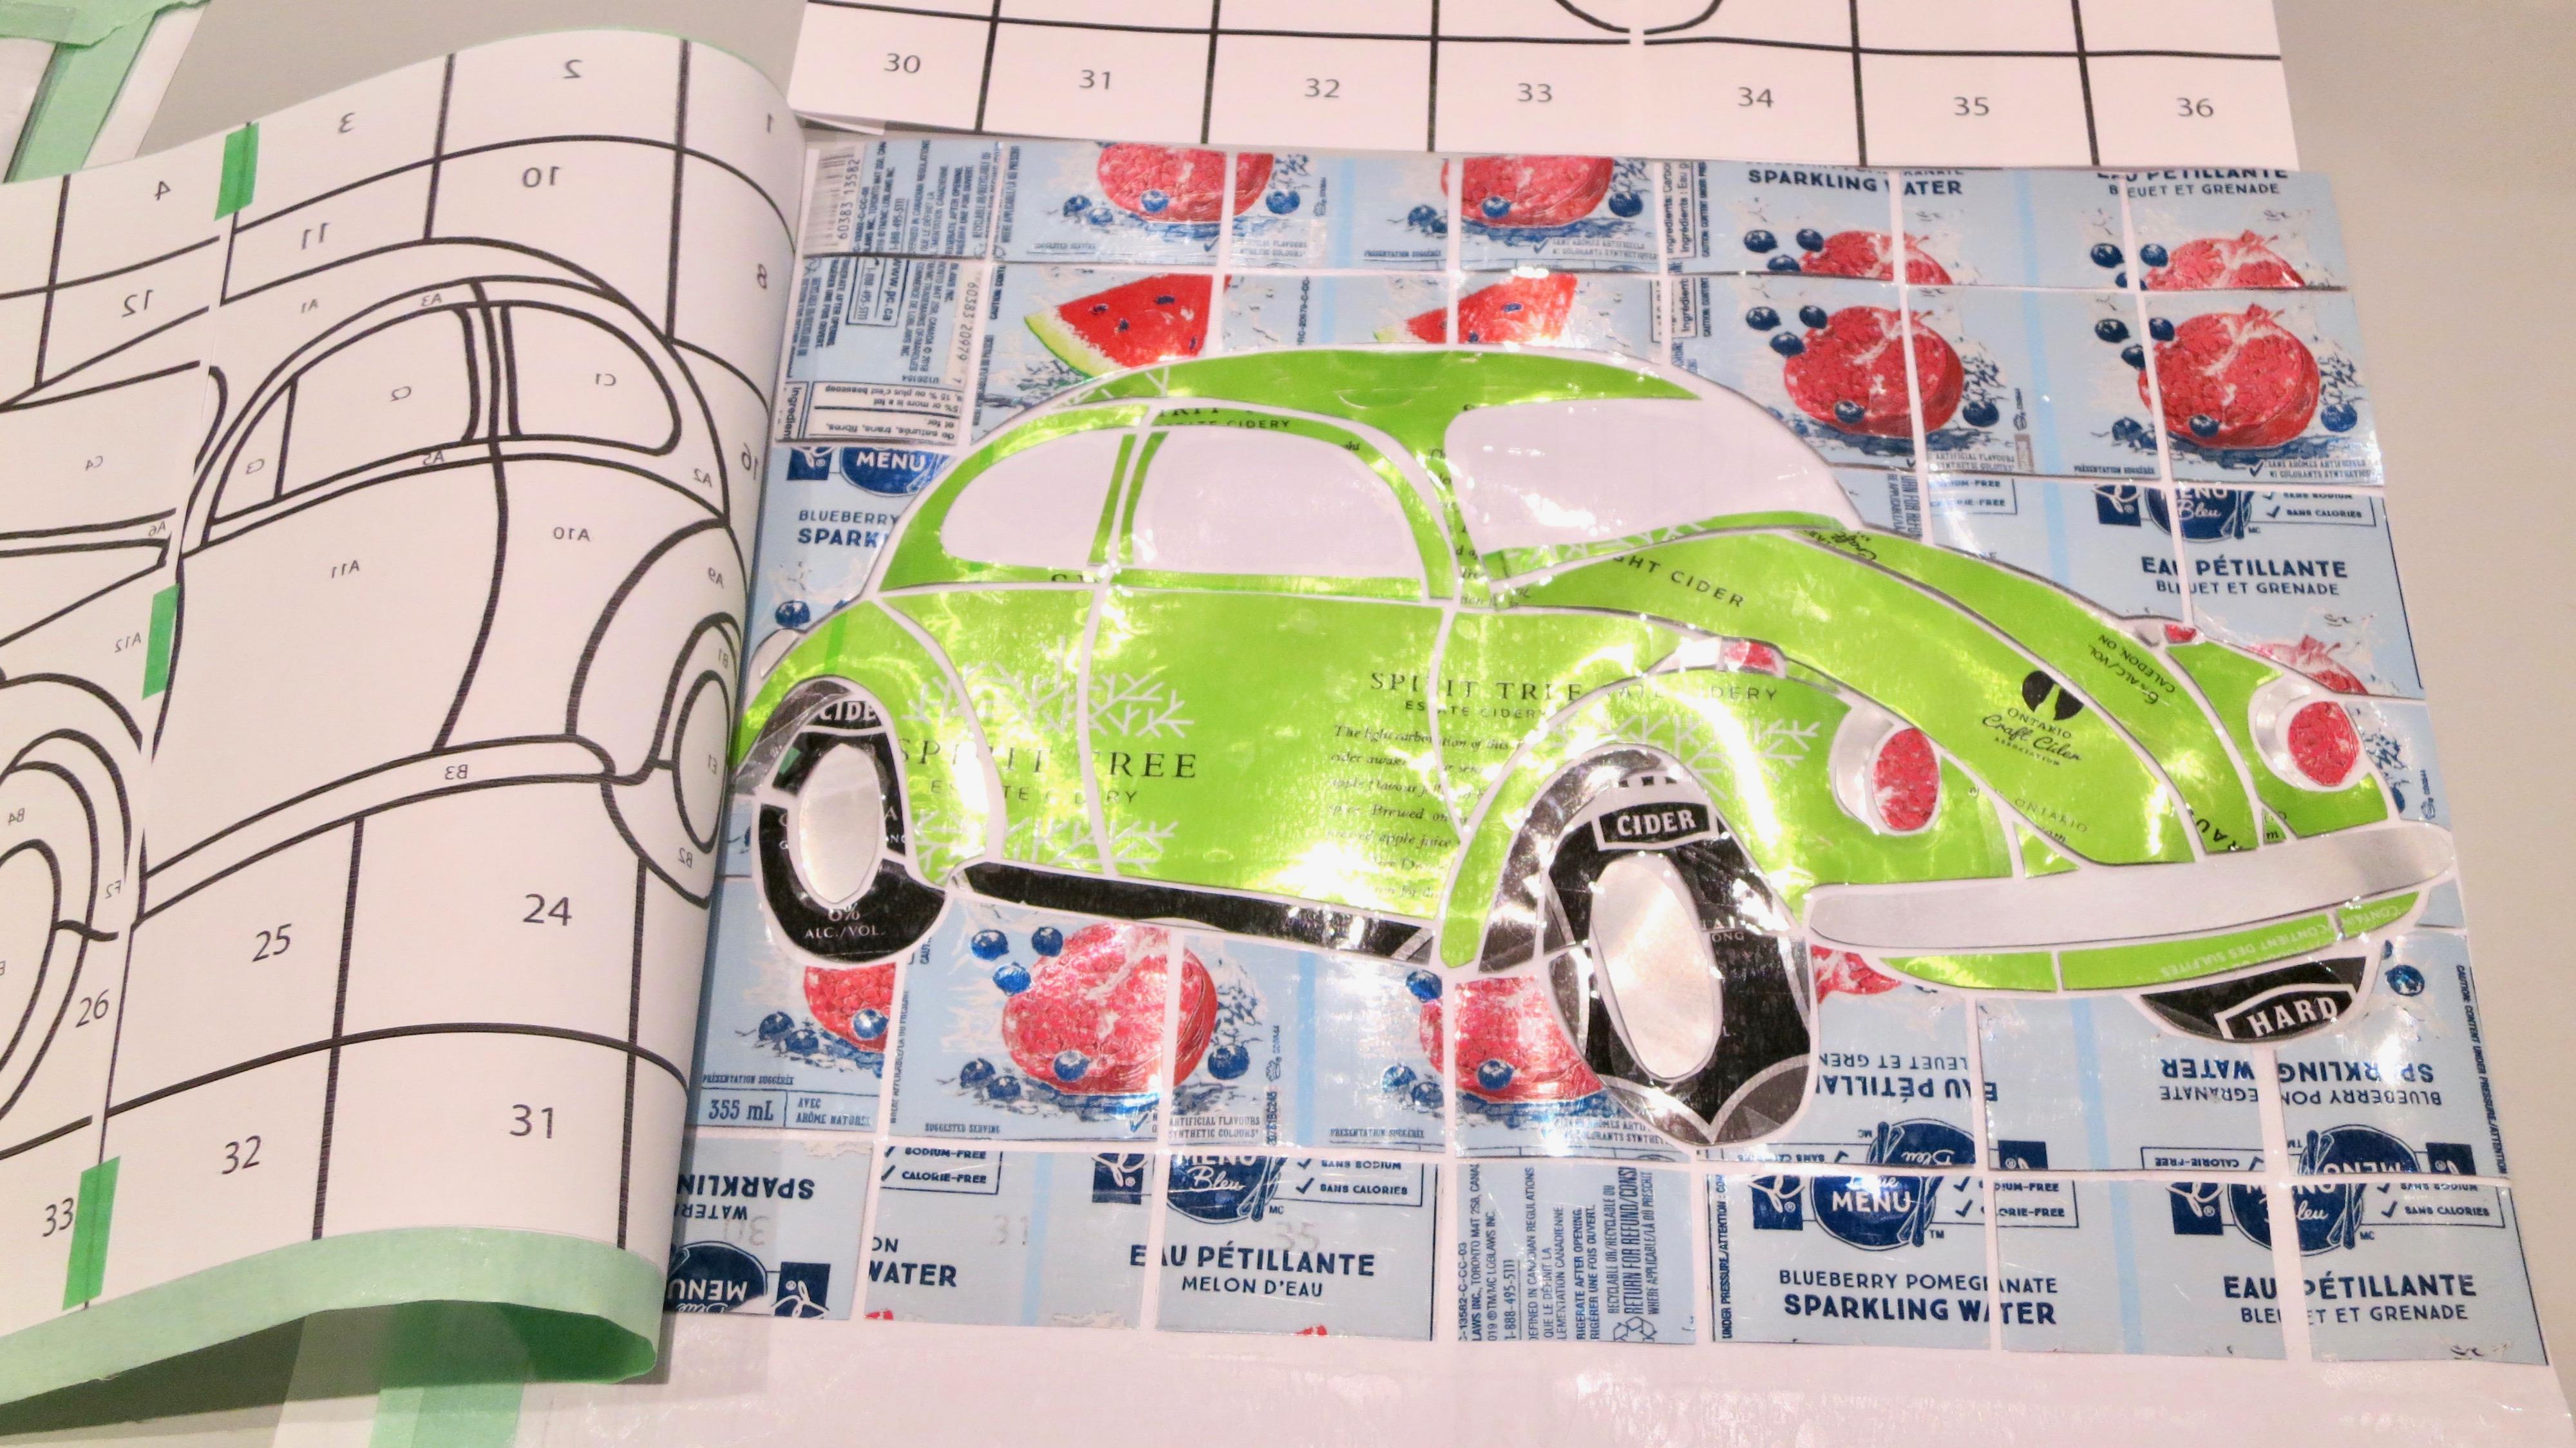

When you flip over the vinyl, you’ll see your tin can craft mosaic come to life. But now it has to be transferred onto the final backing.
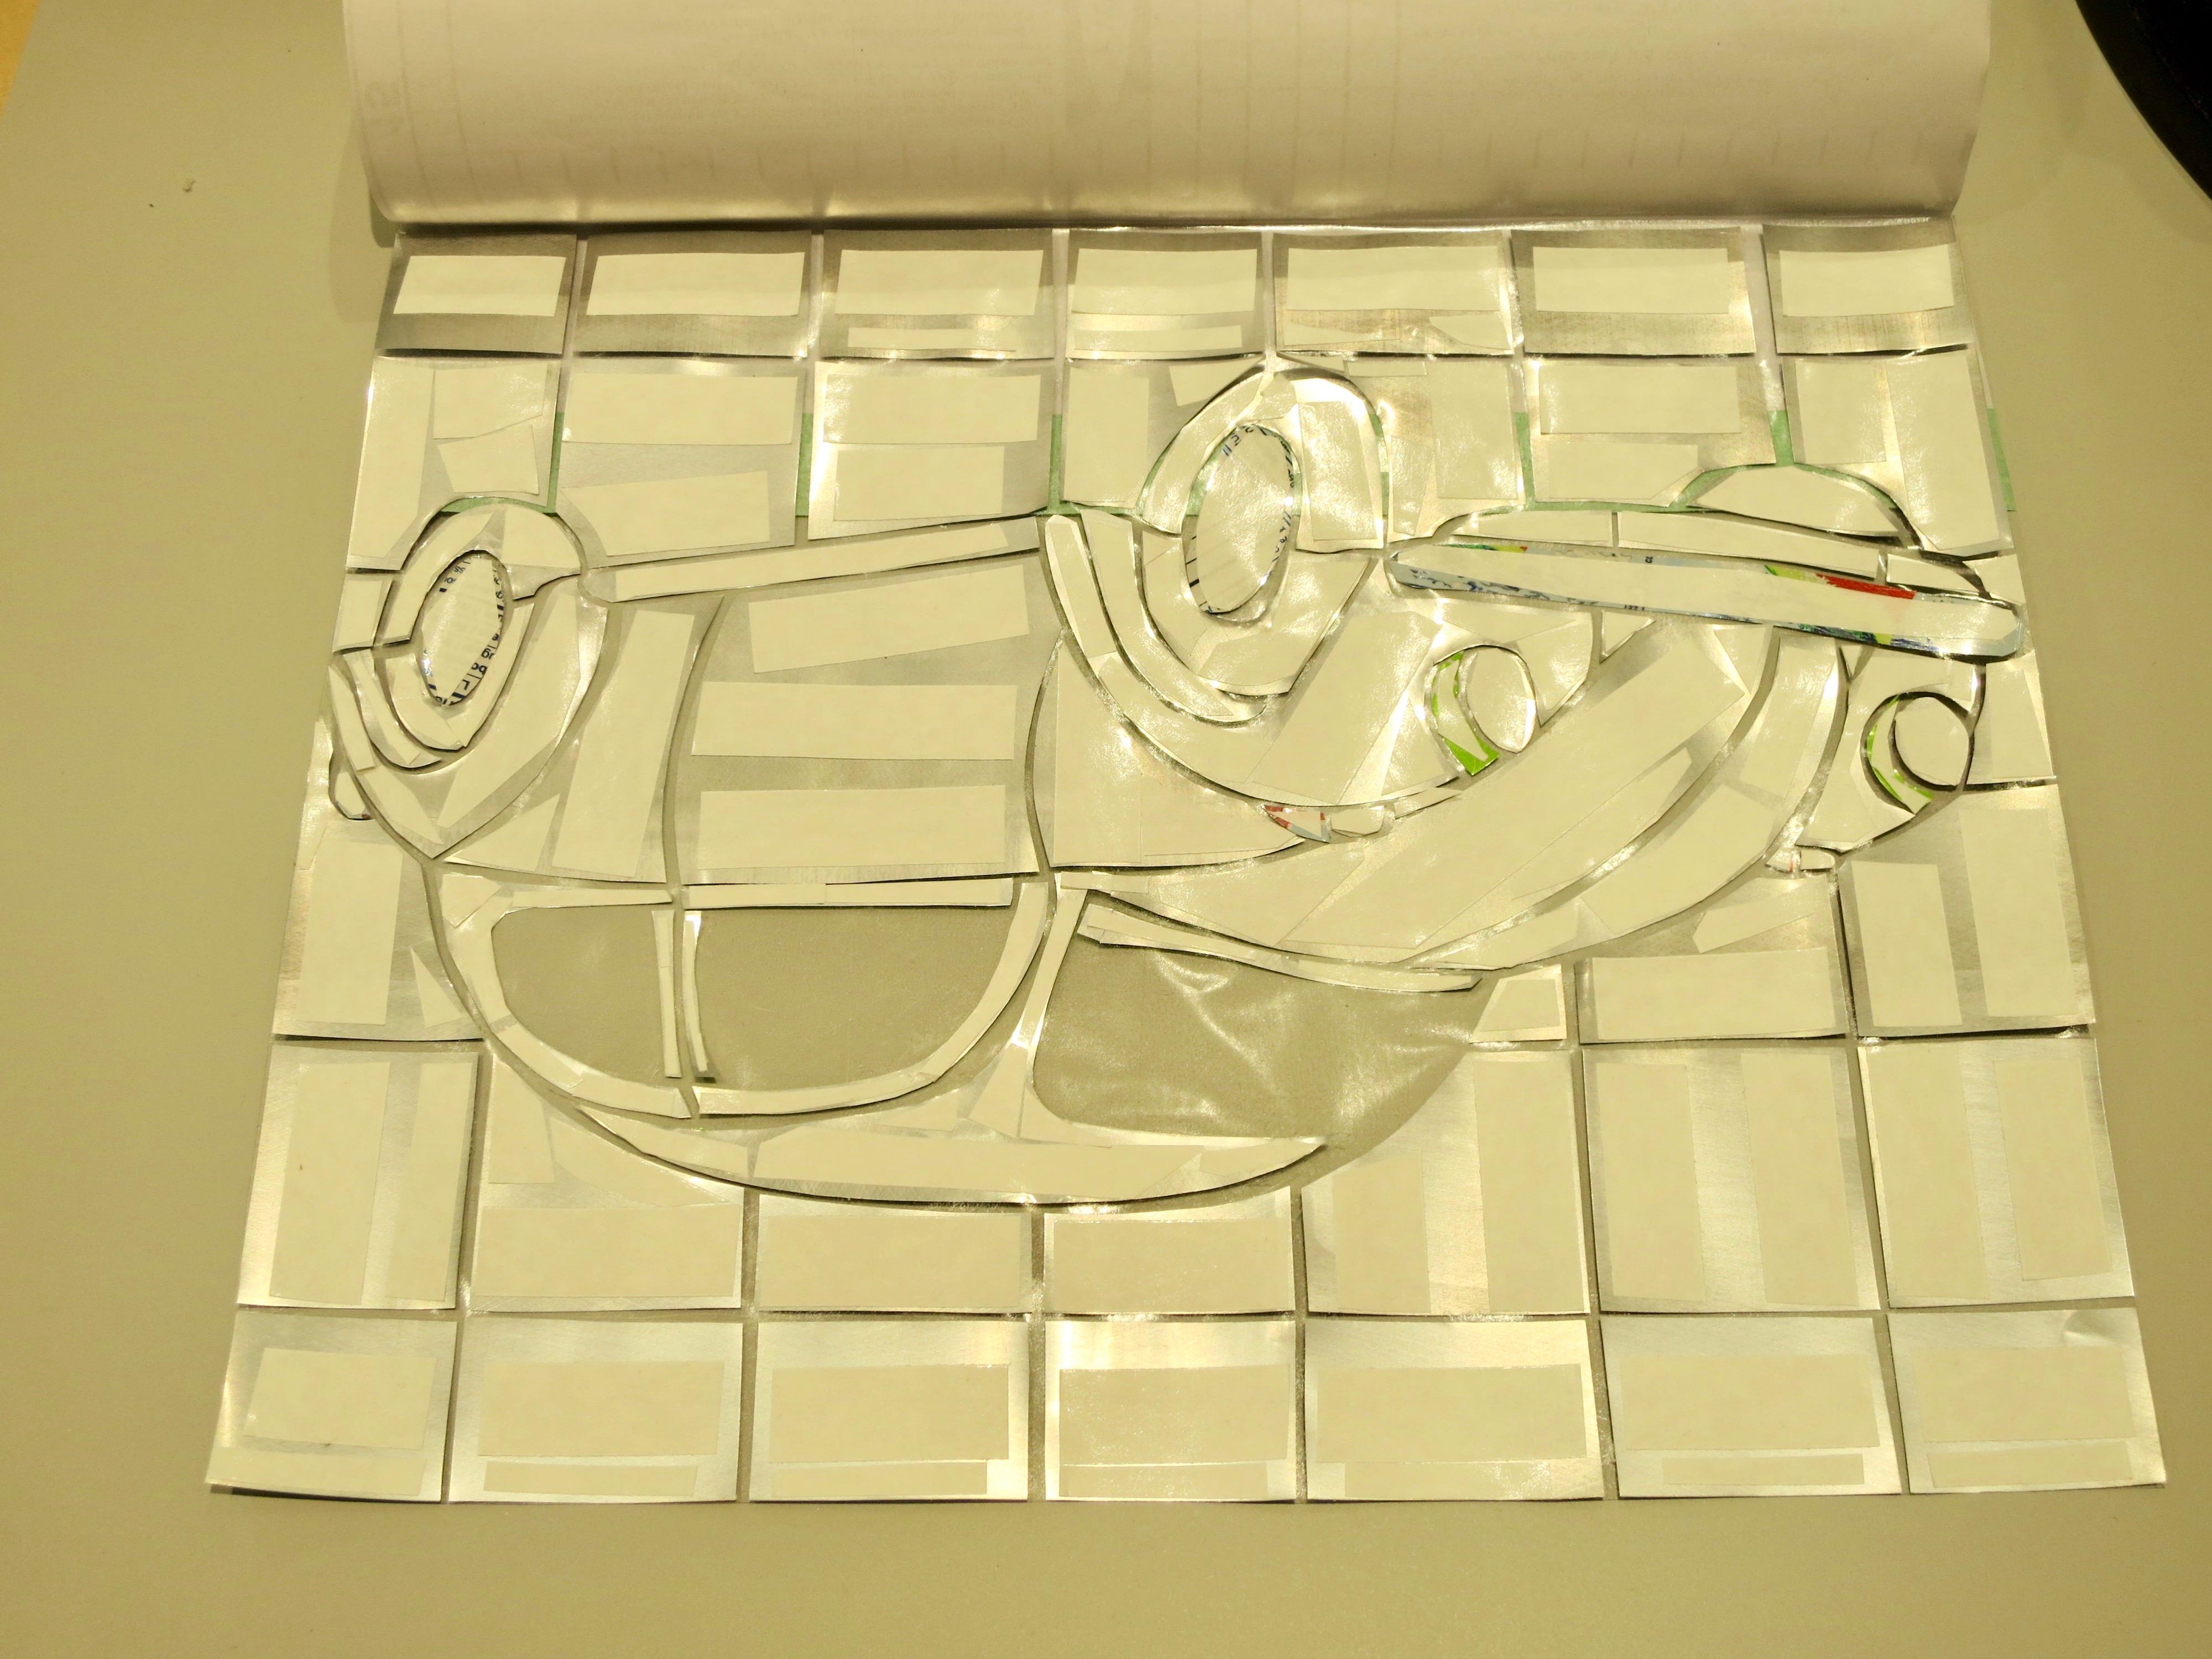
In order to prepare the piece for transfer onto the computer monitor, tape the white vinyl adhesive backing shiny side down onto the back of the mosaic (this is so it won't stick once the adhesive is on the metal). Then cut around three edges, leaving the bottom as shown.
Now flip it around again and fold back the white backing to expose the metal. At this point, I was going to glue the tiles but I couldn’t find a glue with a long open time that would stick to both metal and glass - and allow me to mount it all in one shot. So instead, I’m cutting pieces of double sided tape.
Once there’s double sided tape on all pieces of the metal, you can peel off the tape backing. After the adhesive is exposed you can cover it again with the white backing to protect it until it’s transferred.
Transfer to Computer Screen

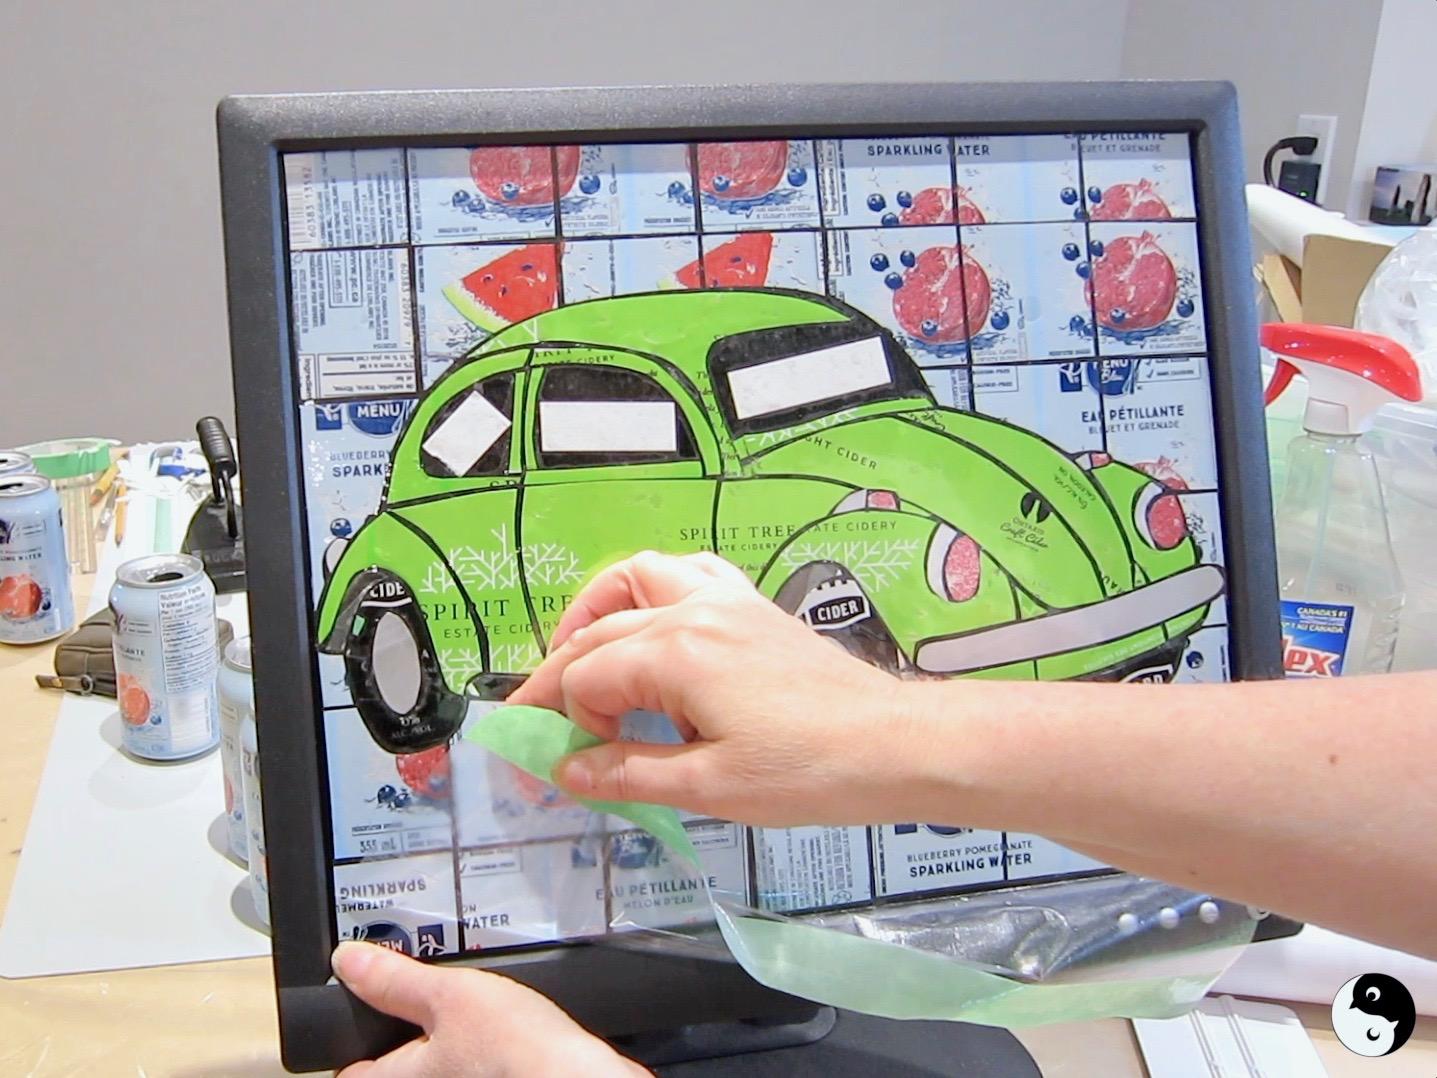
To see how the mosaic can art is transferred, it's best to watch the video to see the process in action (with all the tips and tricks). You'll find the video at the start of this I'ble:
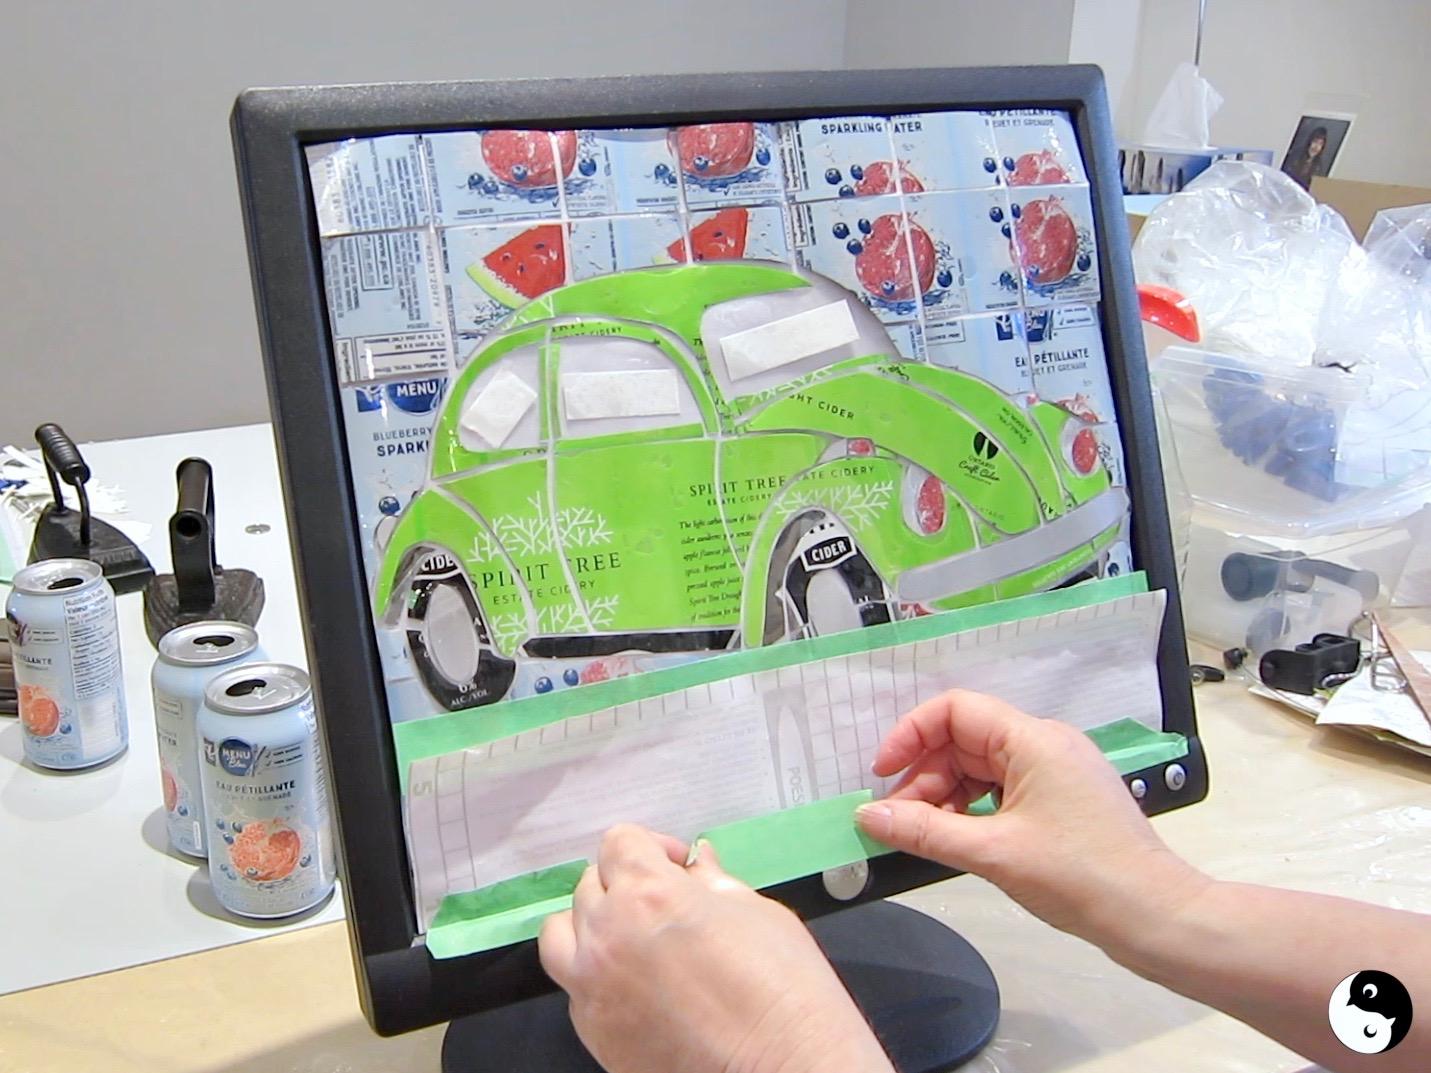
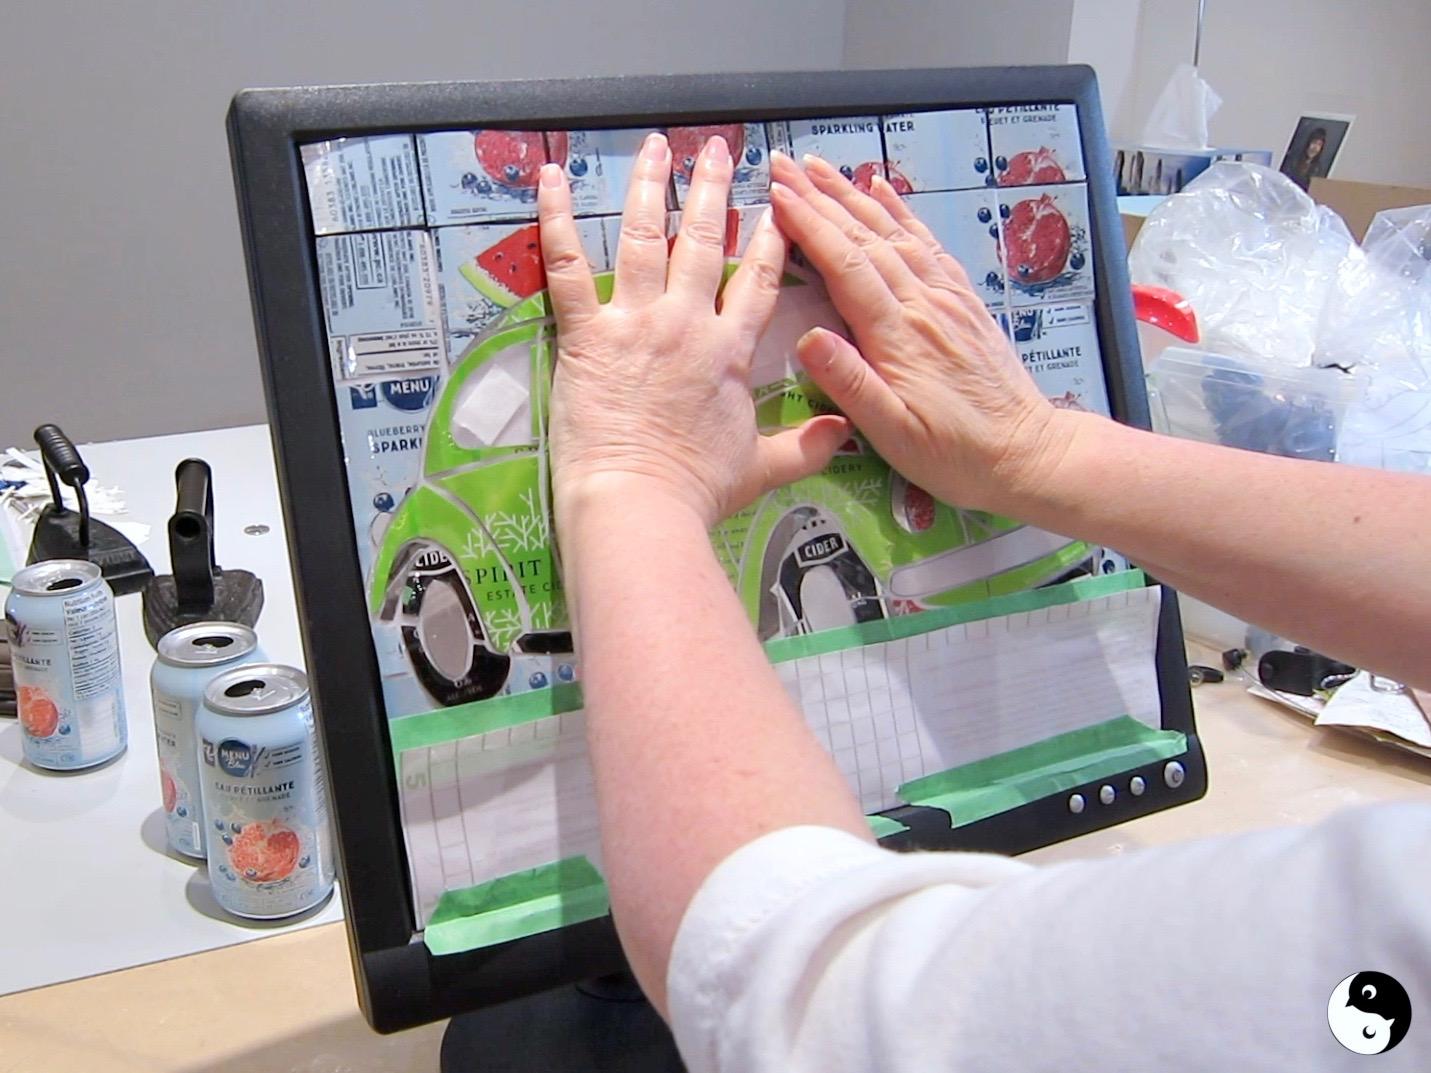
- Pre-crease the top of the white backing, folding it down the equivalent of the first row. Then open it back up. Position the mosaic onto the computer monitor, ensuring it's centred. Add painters tape along the bottom to act as a hinge.
- Bend the mosaic forward so you can re-fold the crease at the top exposing the adhesive.
- Bring the mosaic back up to meet the monitor, sticking it along the top.
- I start at the centre and move out to each side. Burnish it well.
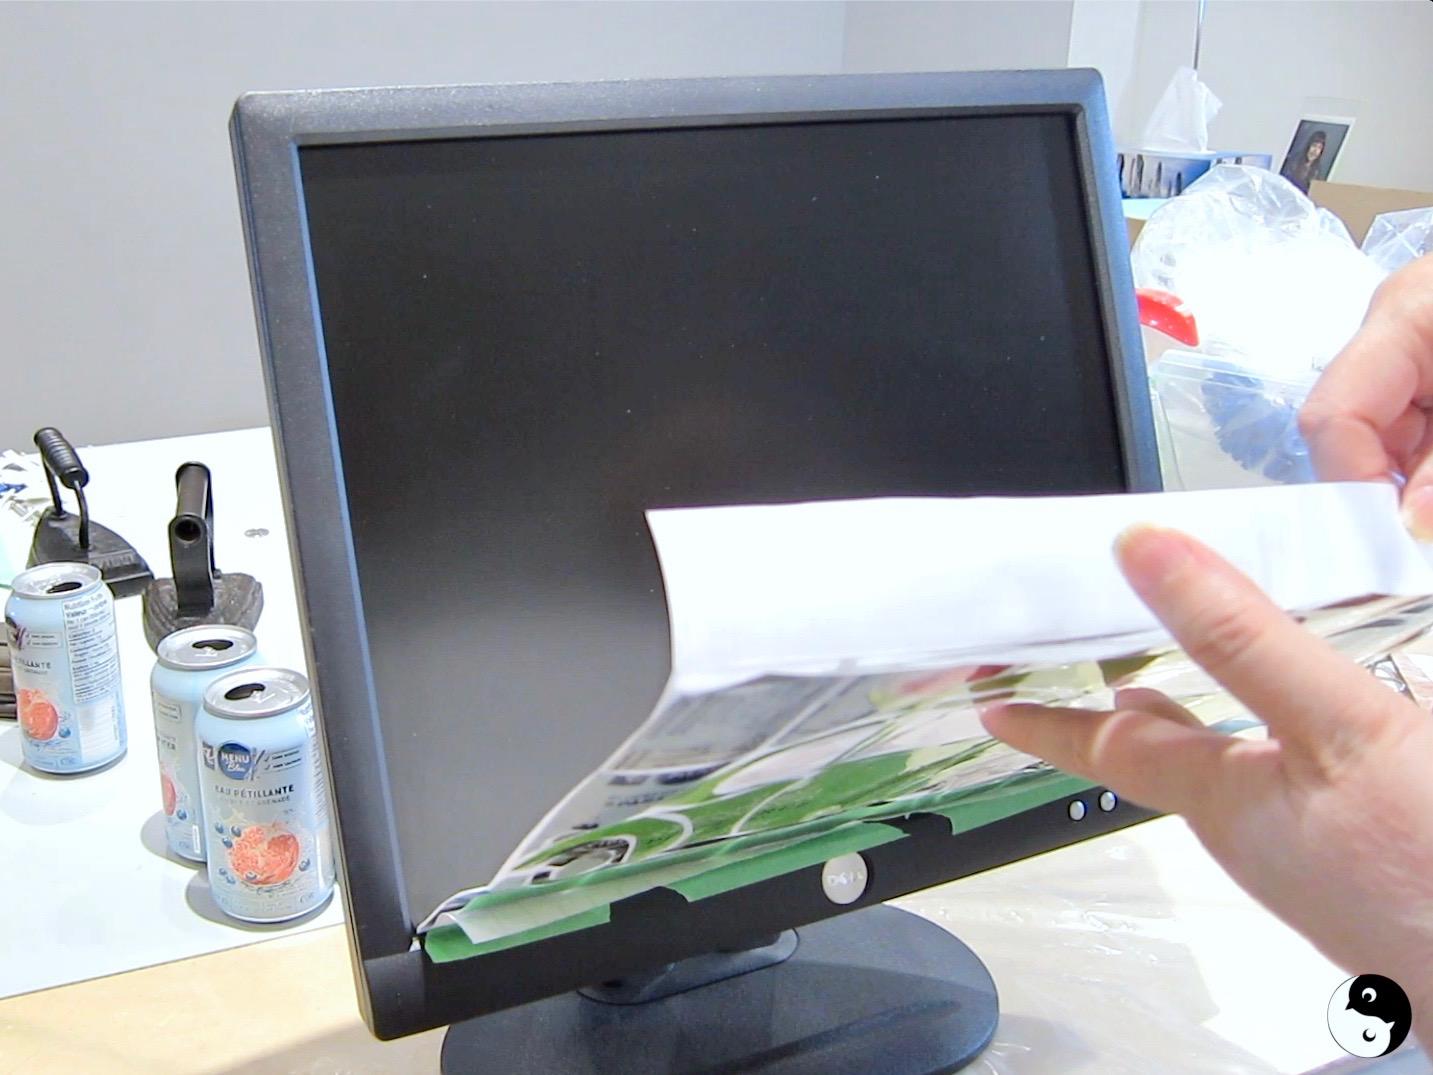
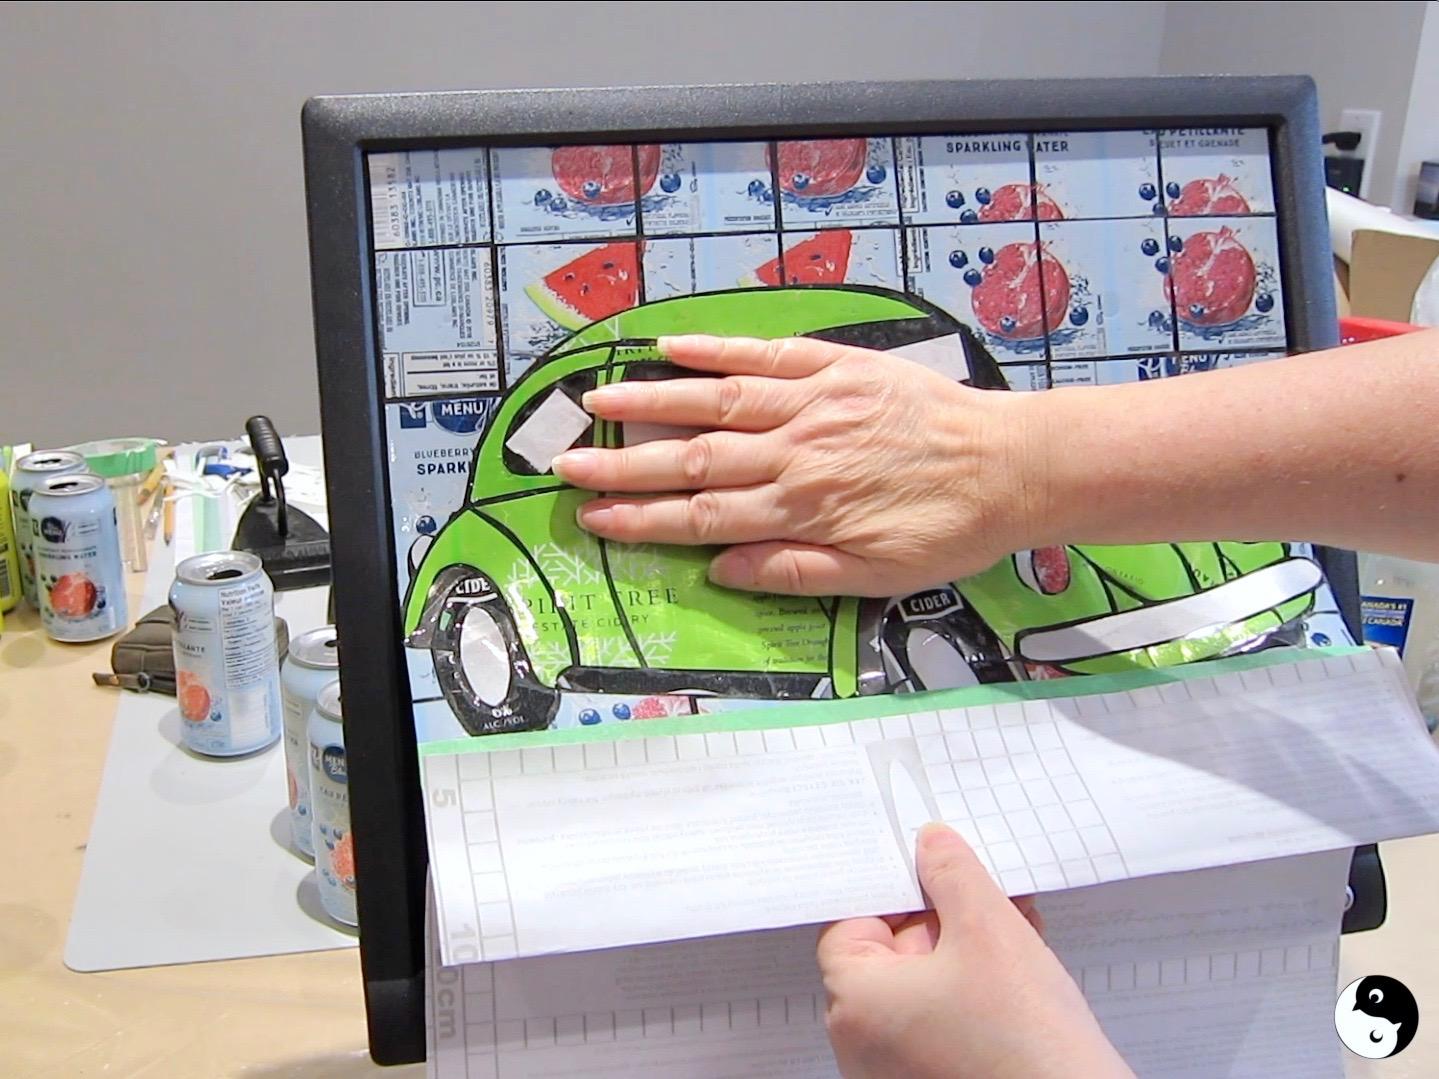
- Now that the first row is stuck down, remove the painters tape from the bottom. Lifting up from the bottom, reach underneath to peel away another row from the white backing from the top, sticking down as you peel.
- Burnish in a downward motion and out to the sides.
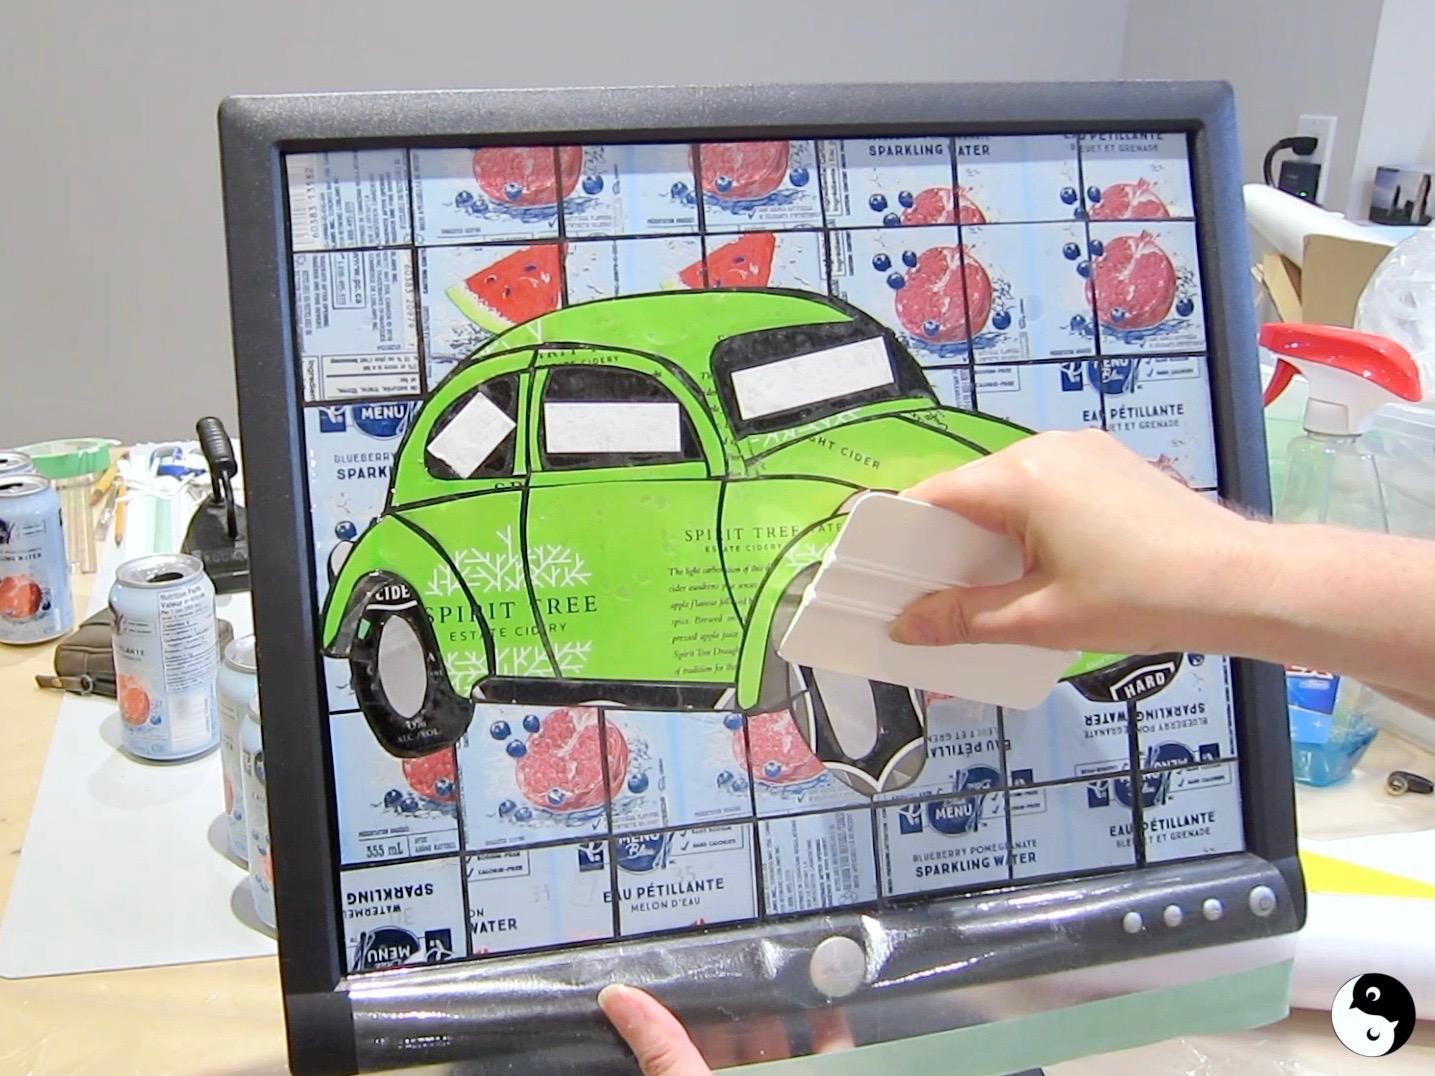
- Continue in this manner until all the white backing is removed and the mosaic is on the computer monitor. Use a plastic scraper / squeegee to burnish everything down well.
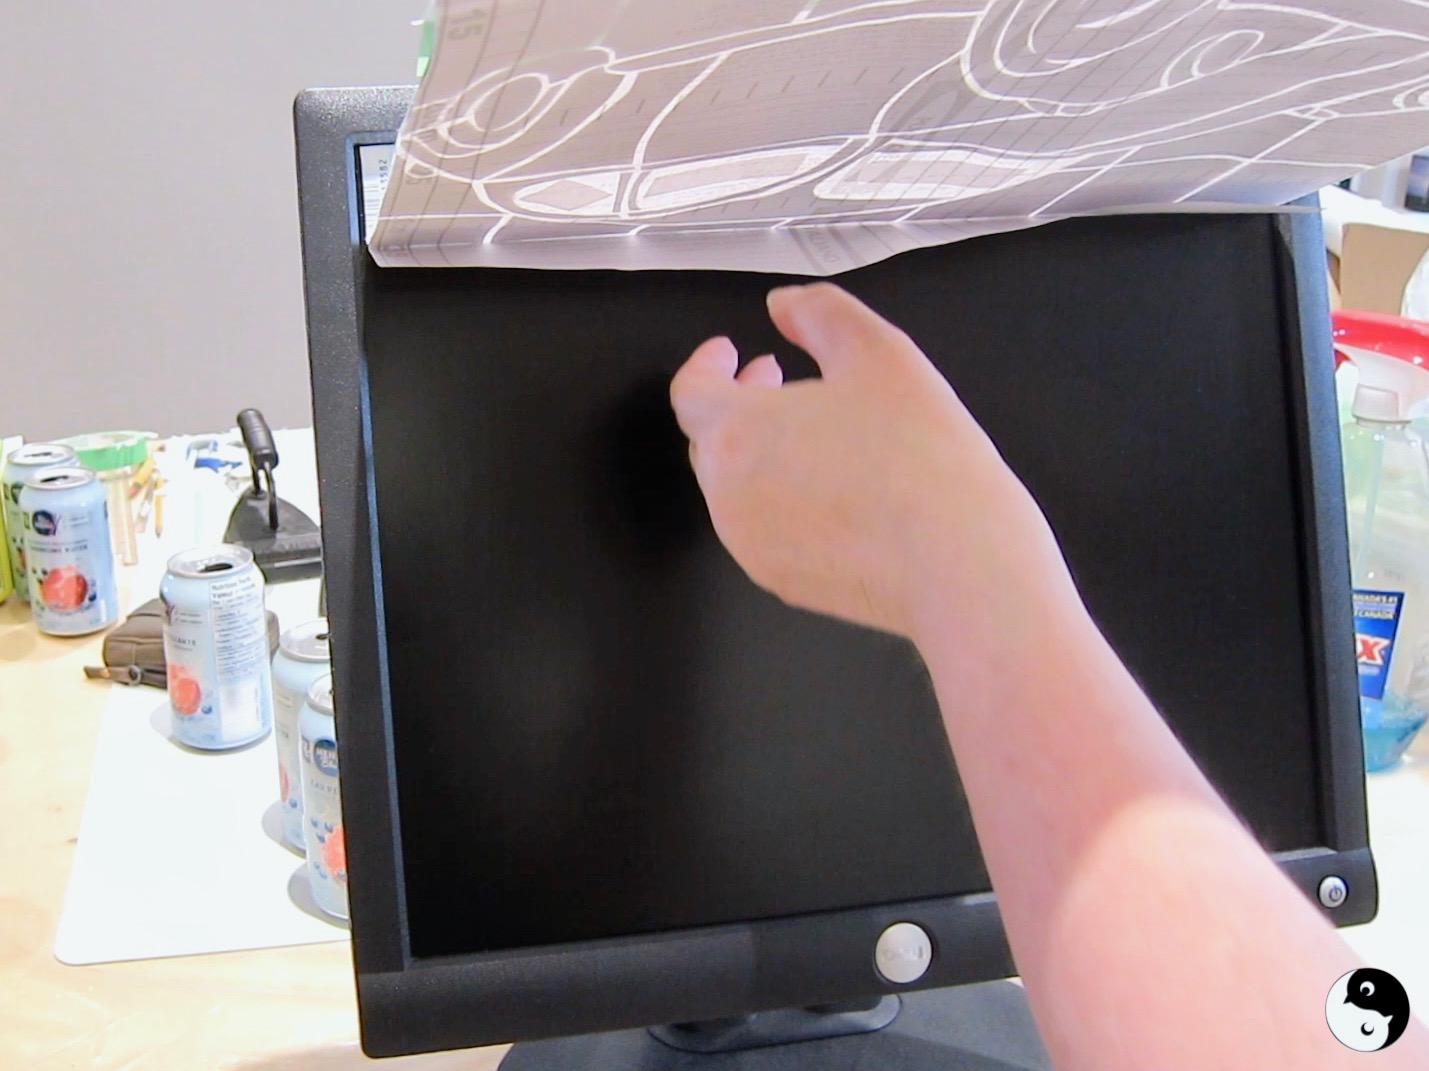
- Once satisfied everything is stuck, life a corner of the vinyl. Carefully peel it away at a 45 degree angle exposing the mosaic.
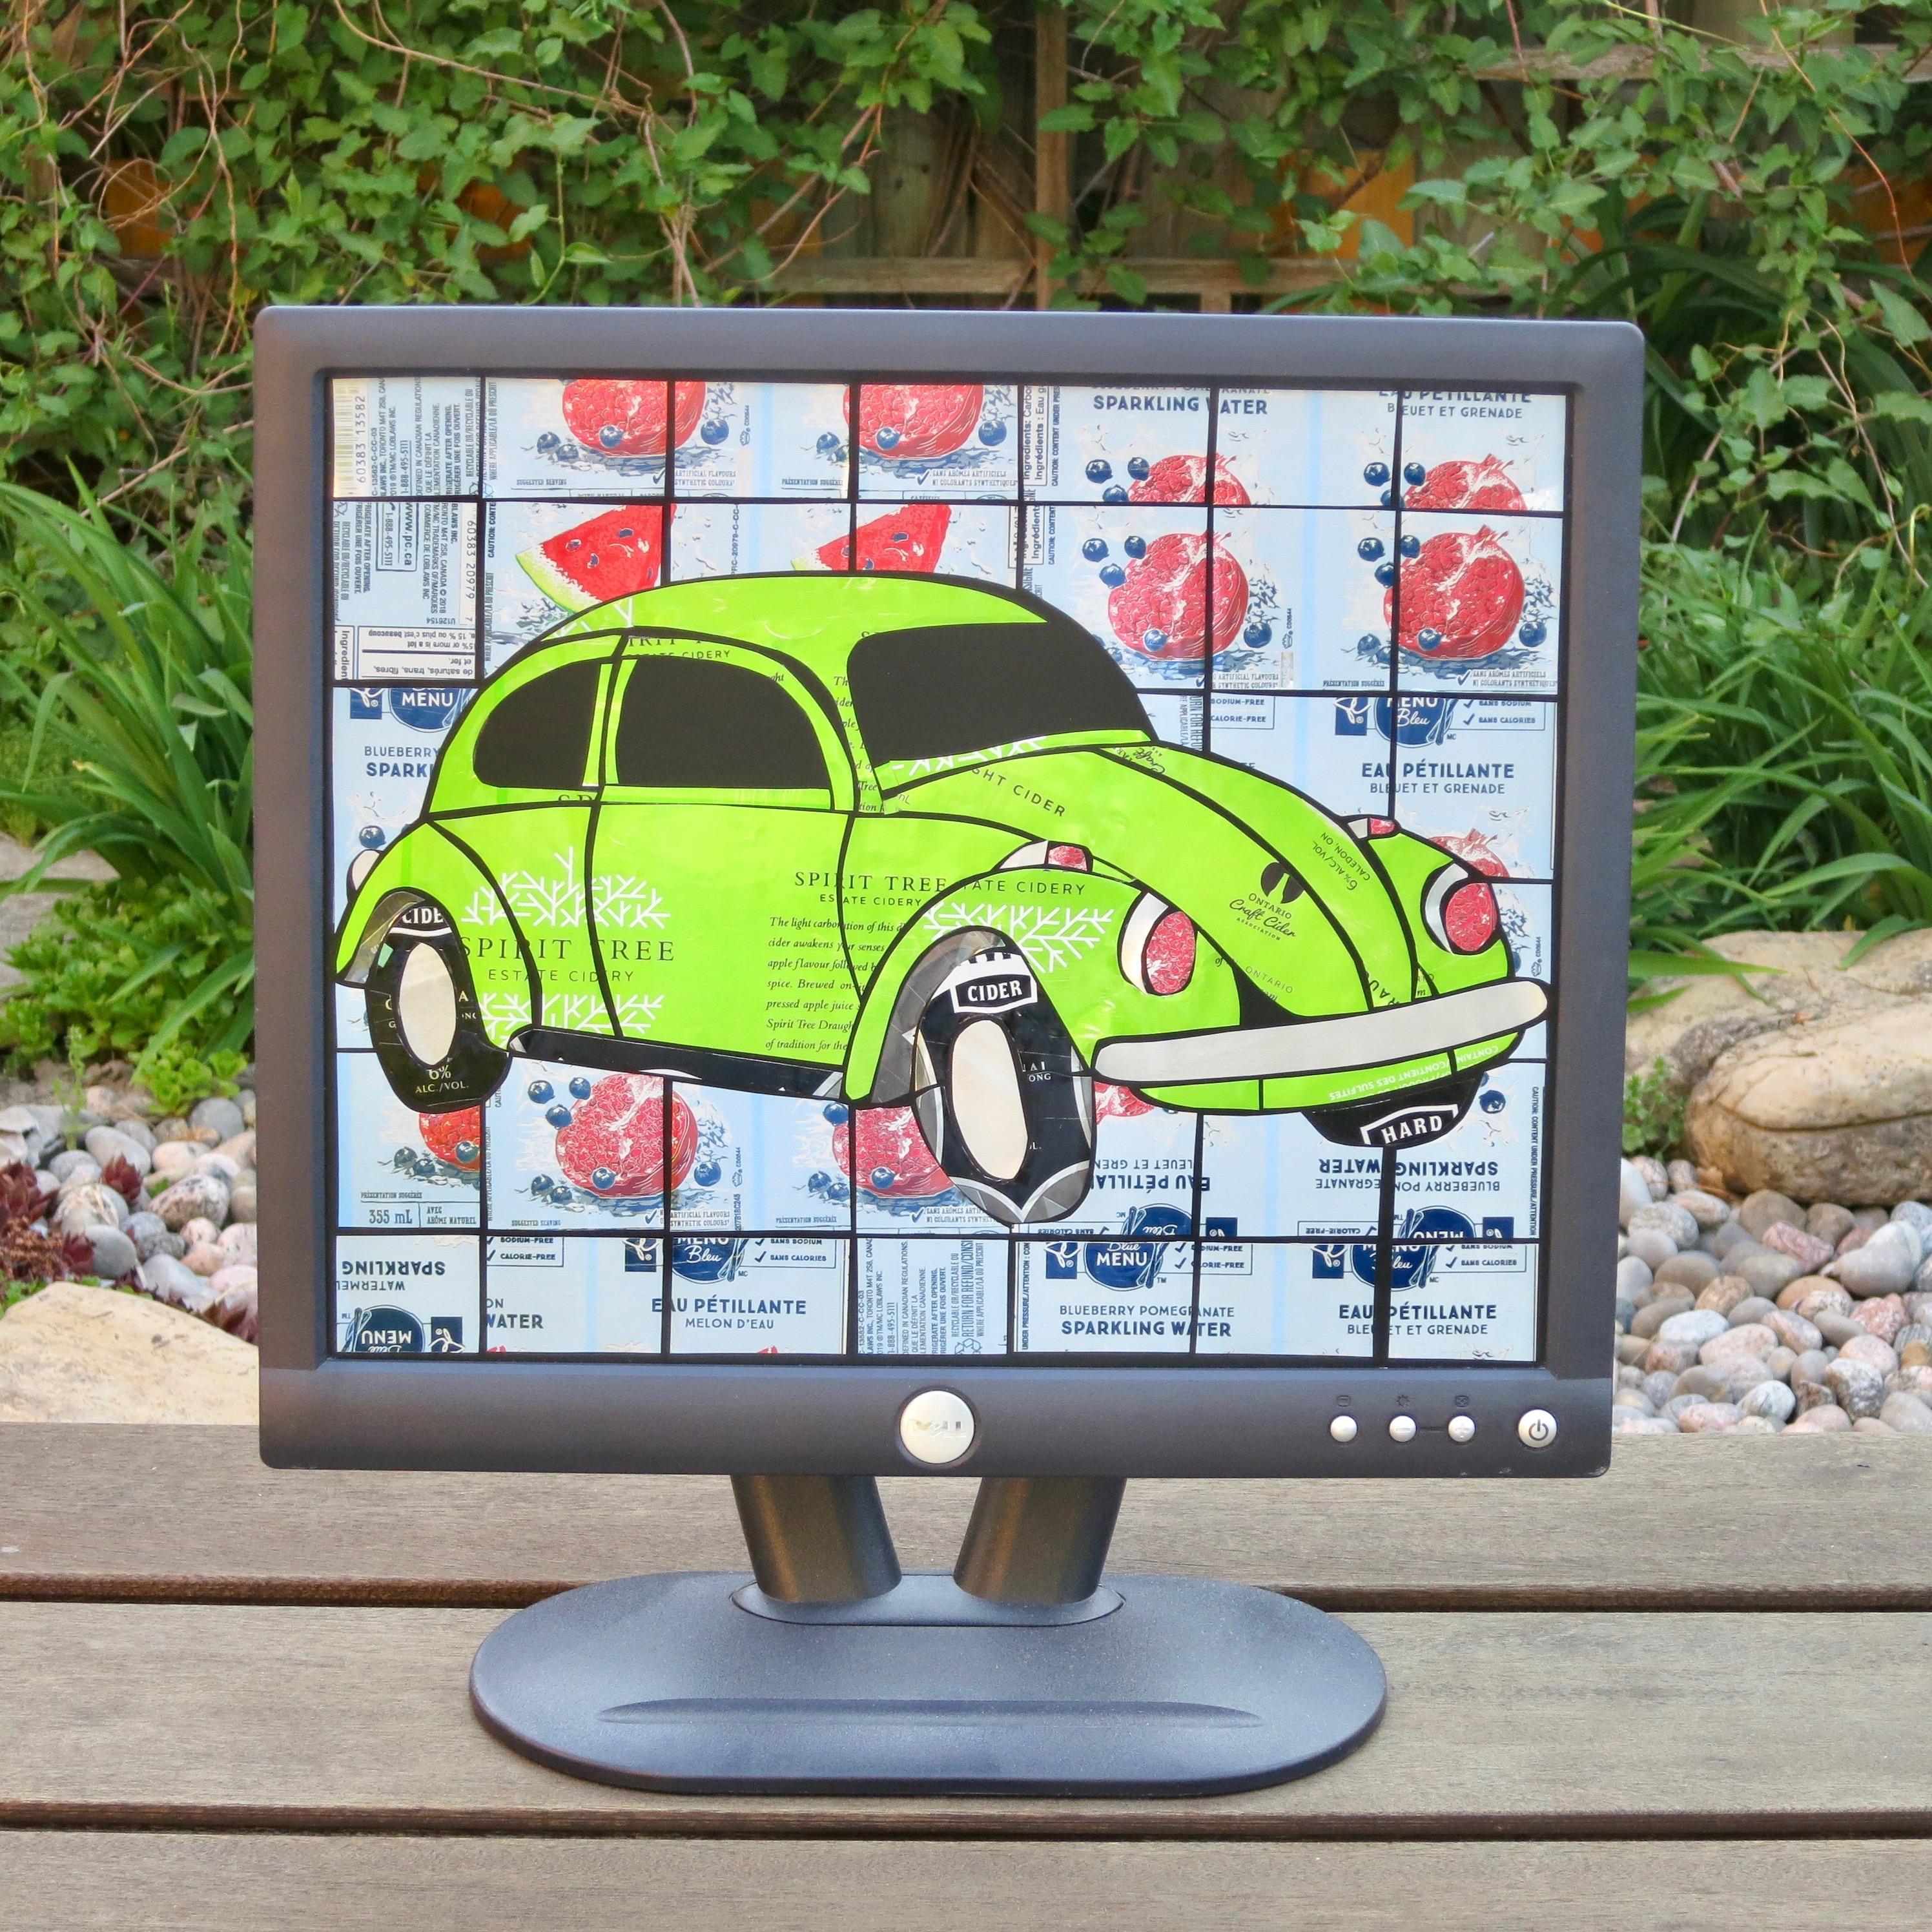
Craft Sustainably!
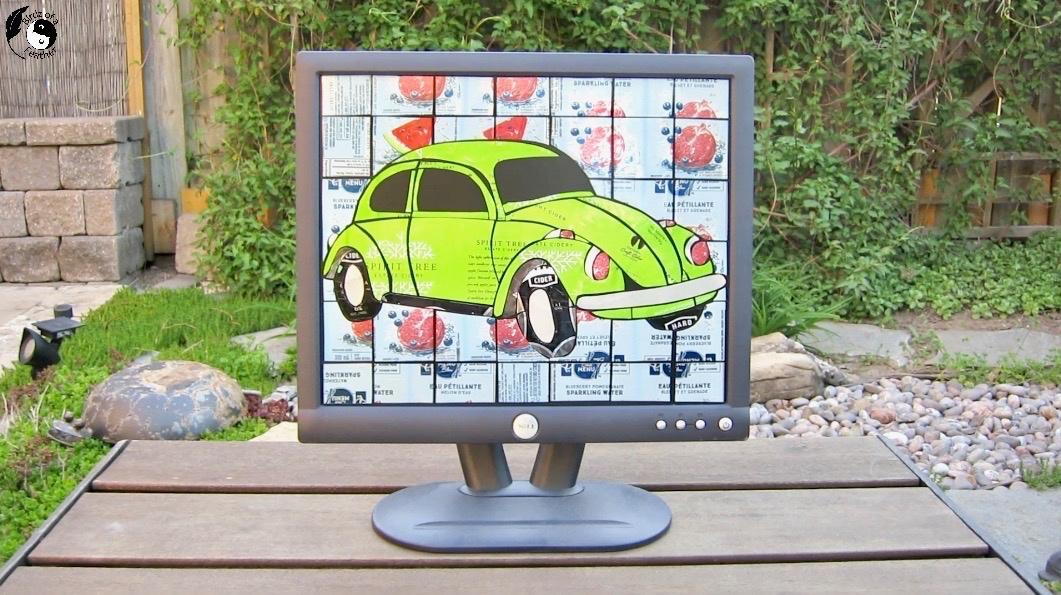
When we found the computer monitor curbside, I actually hoped it worked. But, as is often the case, things work out for the best. It looks pretty awesome as a frame for our upcycled can craft!
We’re all about sustainable crafting here at Birdz of a Feather, so hope you use this tutorial to inspire your own sustainable craft projects because good planets are hard to find! Check out what else you can make with empty tin cans, like these tin can crafts! Spoiler alert – it’s just as unique as this mosaic project :).
Subscribe to Birdz of a Feather for innovative home and garden DIY ideas, like the ones you see above, and easy recipes from 'The Unknown Chef'. Follow us on Pinterest, Facebook, YouTube and Instagram.

Fall Into Fabulous
One of the things I love most about blogging is connecting with other makers, and this Fall we’ve created something truly inspiring together.
Grab 16 digital goodies from top creators — planners, recipes, colouring books & more — including our Beginner Crochet e-Book!
Every dollar of our commission goes straight to Alzheimer’s research — a cause close to our hearts. Your purchase through this link means you’re not just treating yourself; you’re making a real difference.
Grab it now — the bundle is only available for a limited time! Let’s make this Fall fabulous and full of hope. 💜