How to Create Halloween Pumpkin in SelfCAD
by Sammy50 in Living > Halloween
313 Views, 0 Favorites, 0 Comments
How to Create Halloween Pumpkin in SelfCAD
.jpg)
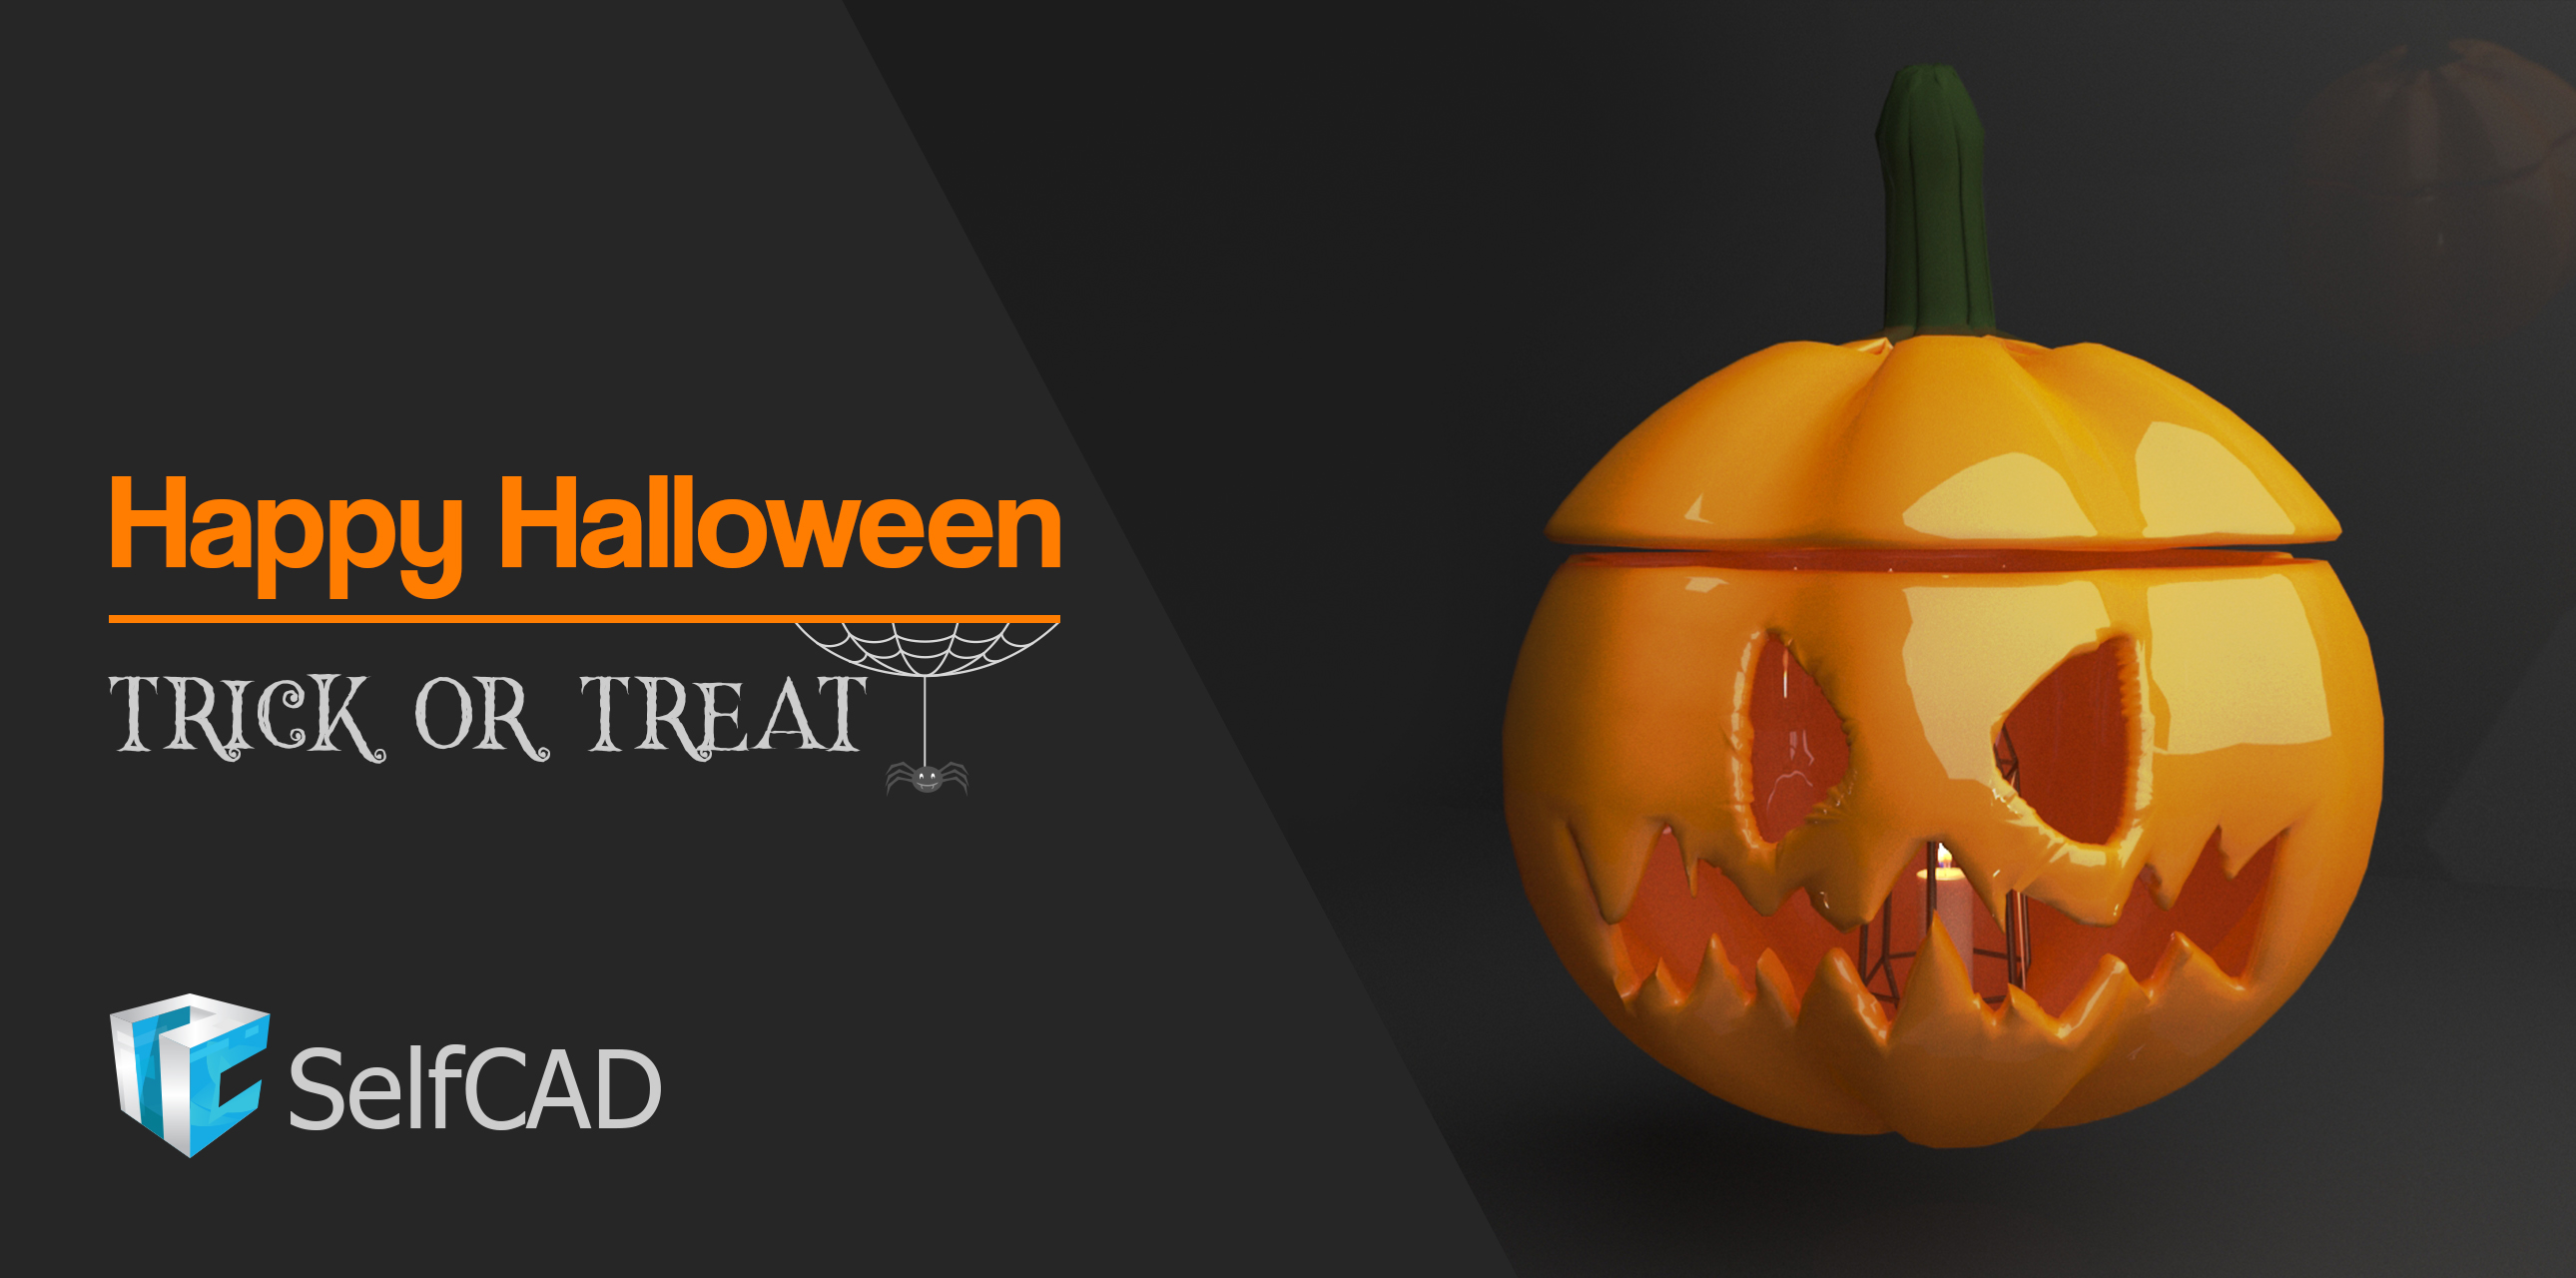
Halloween is finally here with us!
If you are concerned about the messy pumpkin carving, forget about it and indulge in the creative process of making your own Halloween pumpkin through 3D modeling and printing. This fun project is amazing and easy for the entire family and these latest skills can help you make use of the latest technological advances. The SelfCAD software can aid you with design or modification of a ready-made downloaded Halloween pumpkin draft.
To get started, you need to have access to the SelfCAD software. Visit https://www.selfcad.com to create your account and launch the editor.
Start Design Process
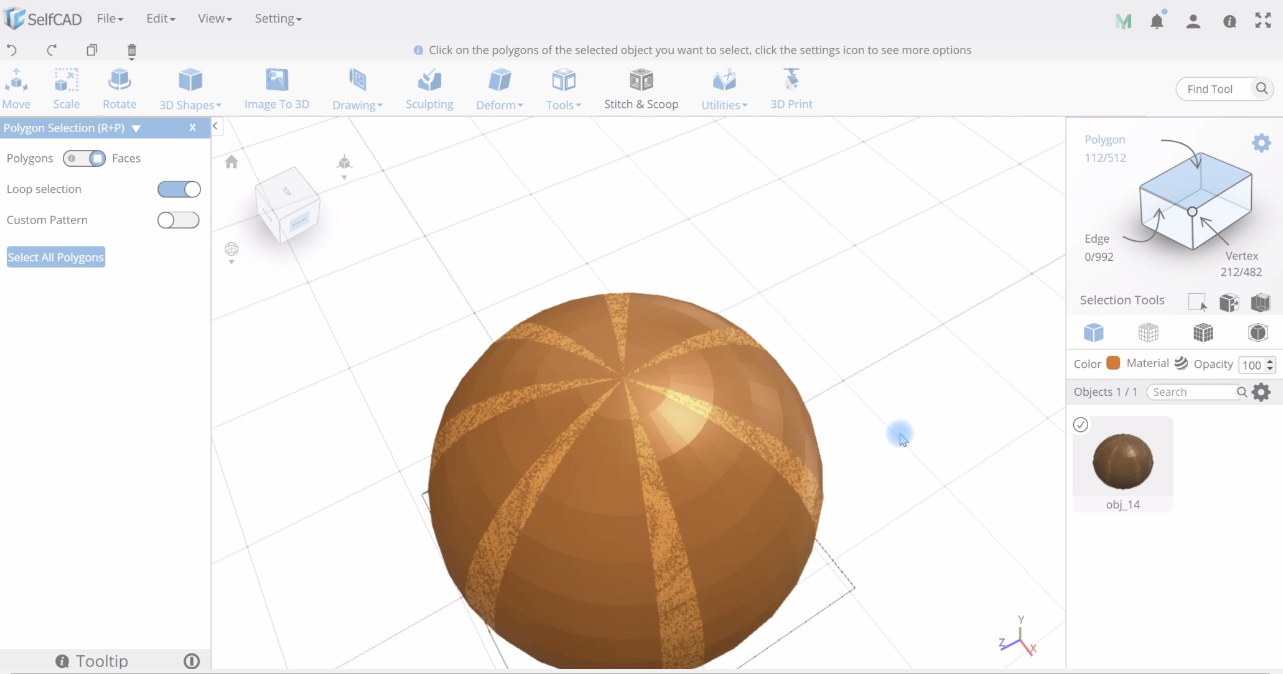
Select a sphere from the basic shapes. Select the scale tool and set the X, Y and Z axis to 100, 83 and 100 respectively. Select the polygon selection tool from the selection section and turn on loop selection tool. After doing so, start selecting the sides of the pumpkin as shown above.
Modifying the Model
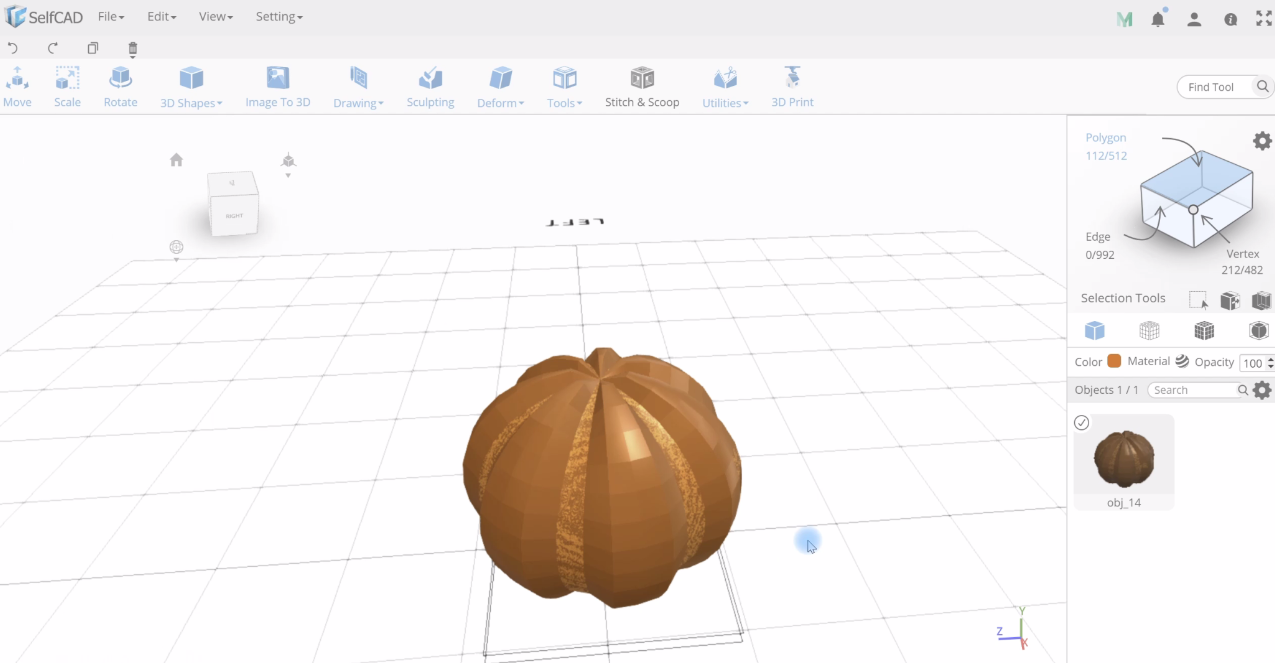
Select the Scale tool and scale inward to make the shape of the pumpkin. You can achieve this by reducing the x, y and z values to 87, 78 and 88 respectively.
To further modify the pumpkin, select the upper section of the pumpkin using the cube selection tool. You can do this by setting the left, bottom and back options to 100, 87 and 100 respectively then click Finalize option.
Delete the selected parts now so that you can achieve the image like one in 2nd position above.
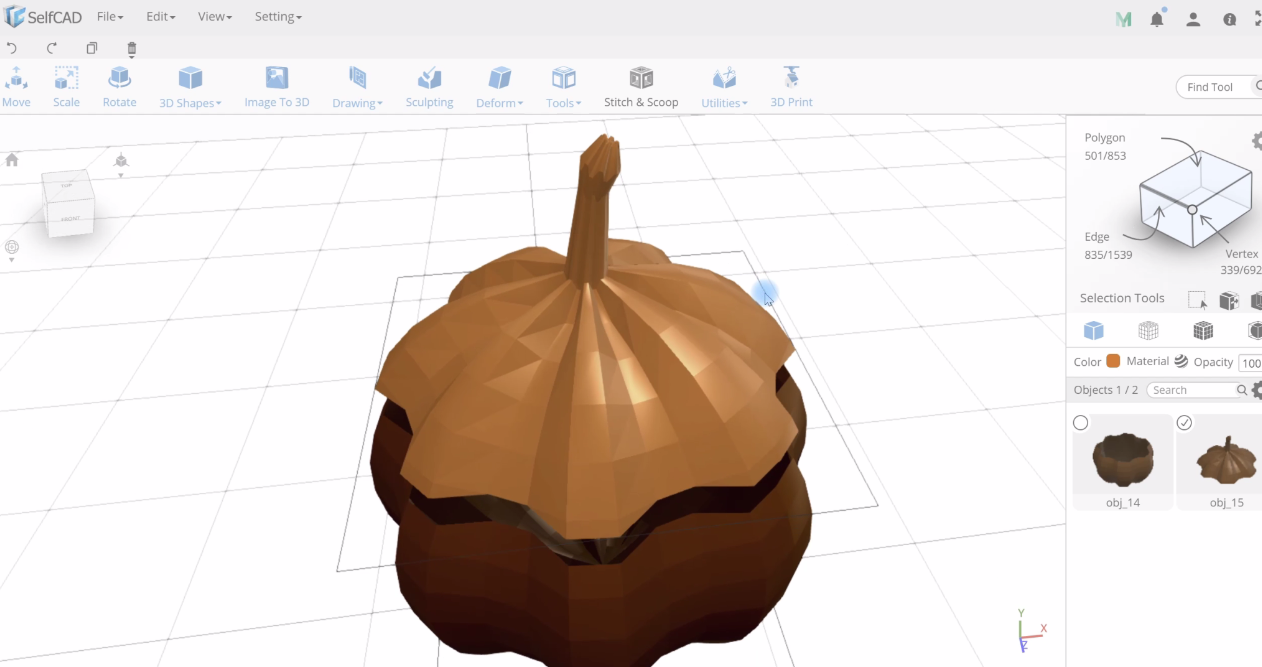
Create a copy of the top selected part and delete the first one. Position the copied part on top of the main model using the move tool. Select the top polygons using the polygon selection tool and increase the polygons using the polygon selection tool so that you can achieve the model shown below. Use the scale tool to adjust the size and the shape of the model and finally use the Bend tool to bend the twig of the pumpkin.
Creating the Eyes and Teeth of the Halloween Pumpkin
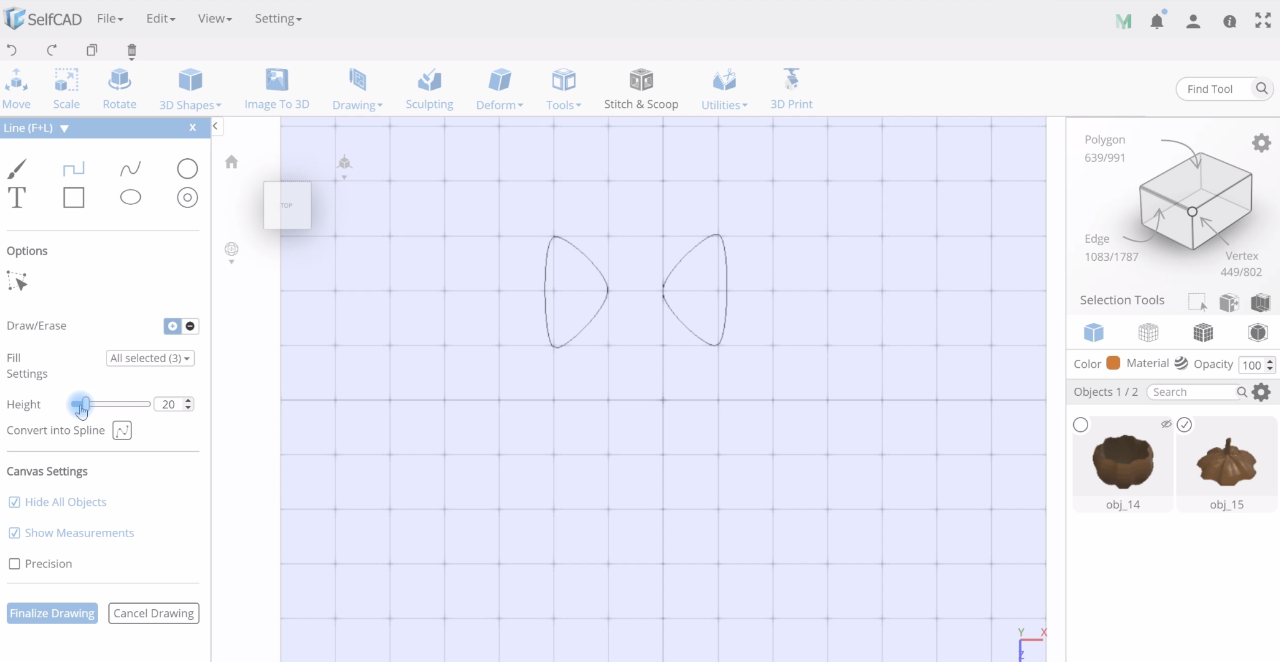
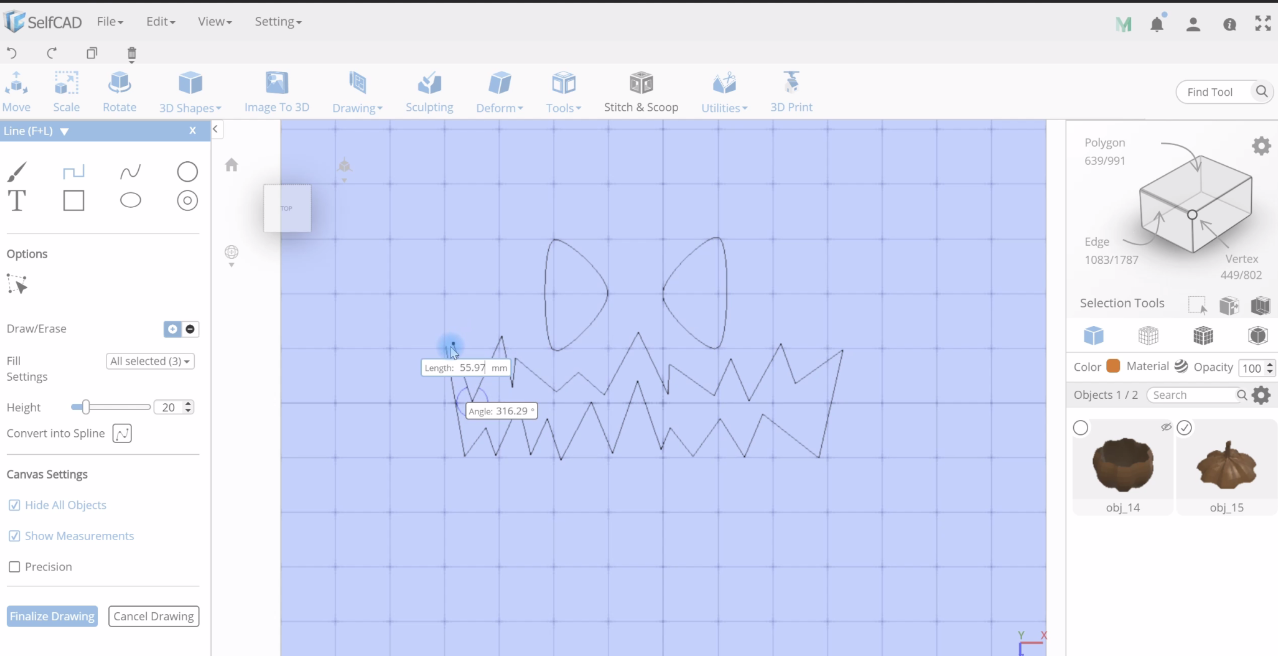
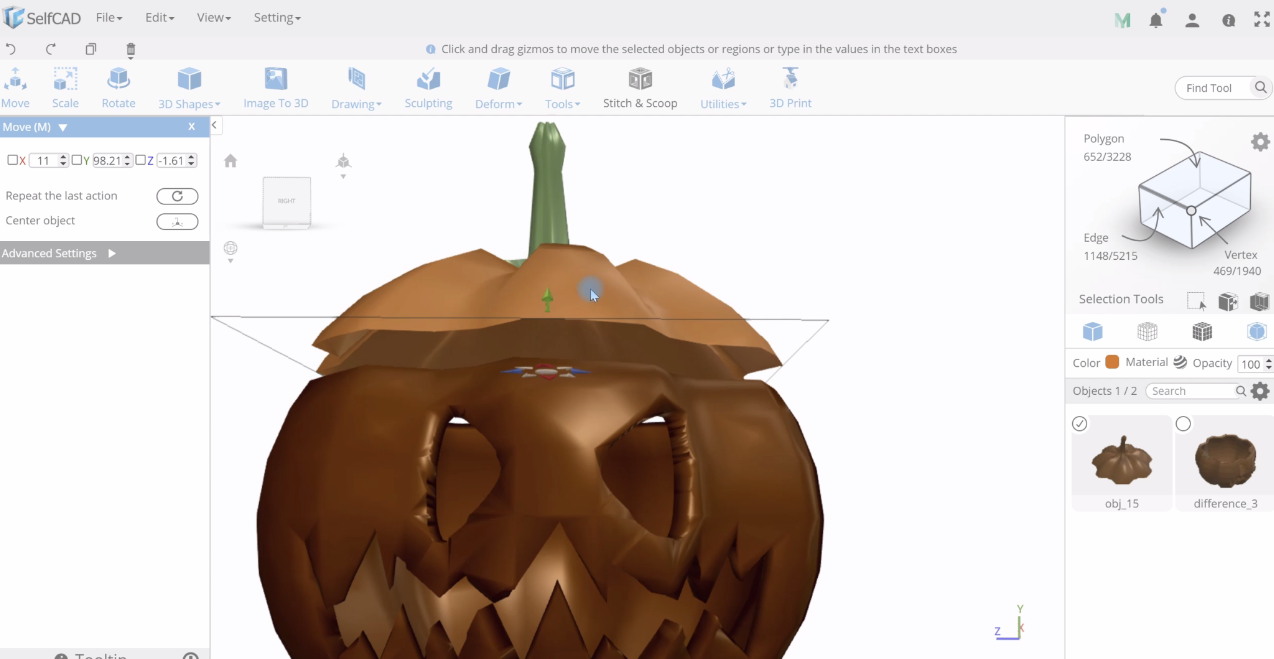
There are various ways in which you can be able to make the model hollow in SelfCAD. One of those ways is modifying the basic shapes and using the Stitch and Scoop tools to extract them.
But the easiest ways to do this is by drawing the structure of the hollow part using the drawing tool and later extracting it from the model. Let’s start!
Select the Free Hand tool from the drawing section and select the Spline drawing option and set the smoothness to 5 then start drawing the eyes.
Select the line drawing option and set the height to 20 then start drawing the teeth and finalize. After doing this, use the scale tool to scale it so that it can fit in the model.
Rebuild the model using the resolution tool so that all the meshes may be intact.
Make the entire model round using the round tool.
Creating the Section for Halloween Pumpkin to Sit On
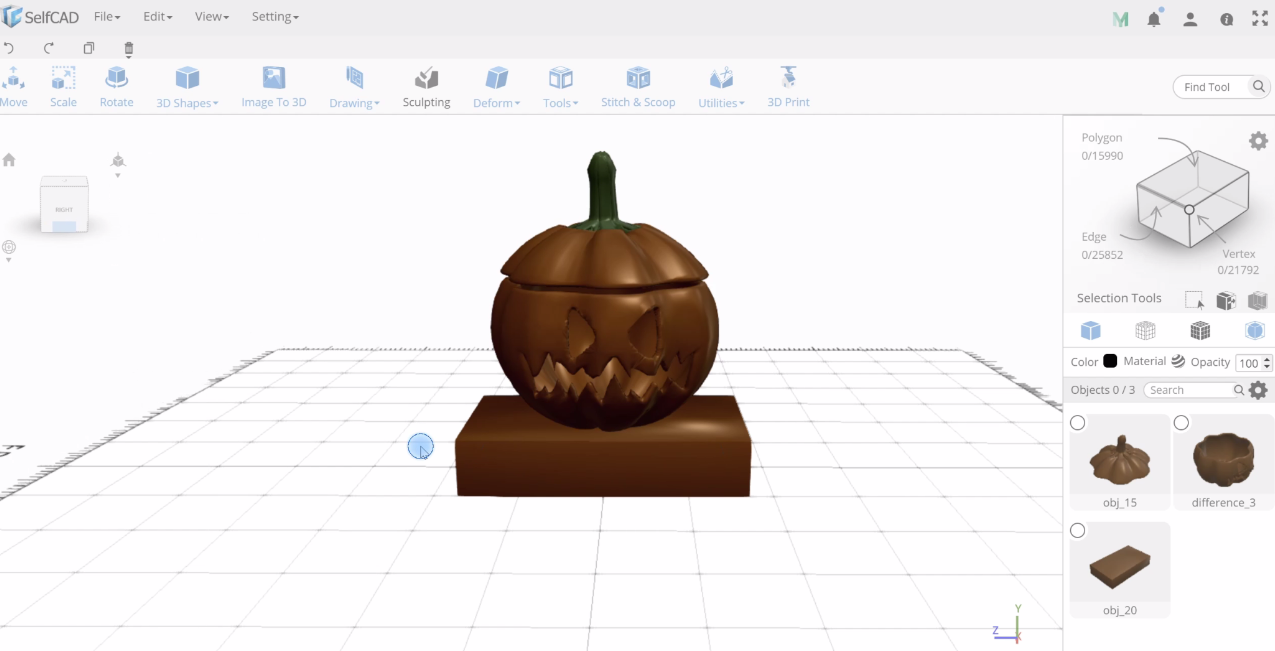
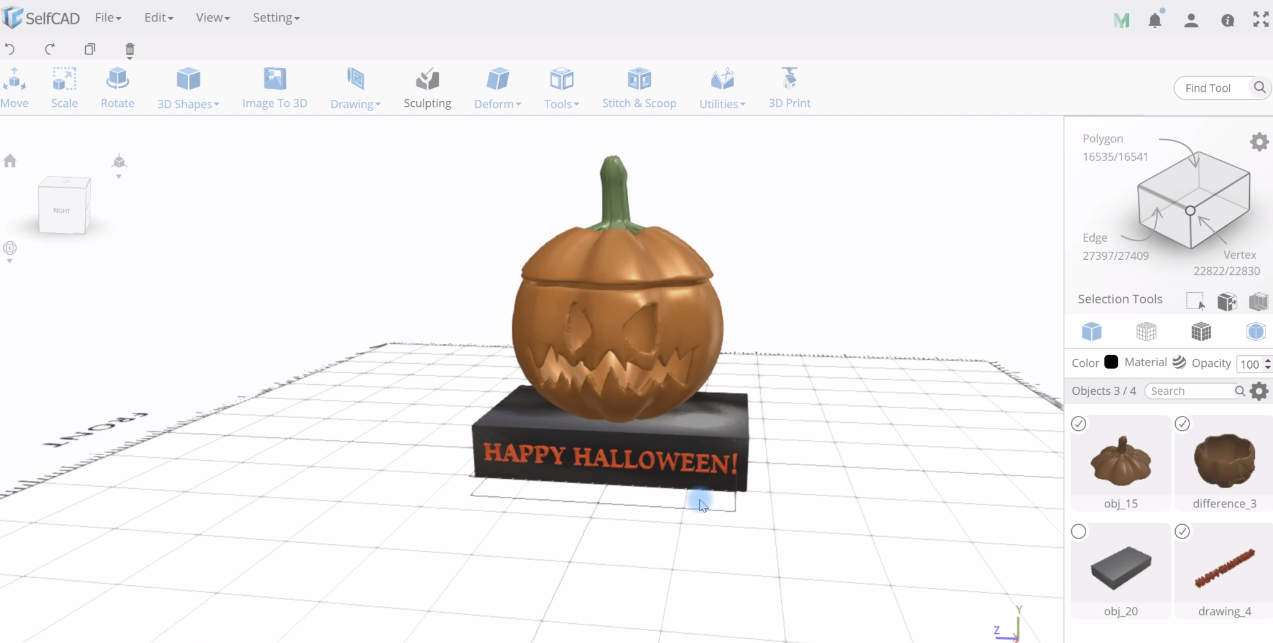
Select a cube from the basic shapes section and set the width, height and height to 50, 10 and 20 respectively and use the scale and move tools to position it on in its place.
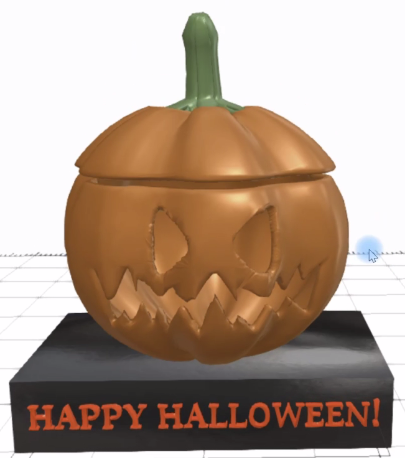
Select the text drawing option from the freehand tool and write Happy Halloween and drag it to position it well.
You can change the color and material using the color and the material options.
To 3Dprint your model, select 3Dprint option then select your preferred 3D printer and enjoy 3D printing your model!