How to Create Halloween Night Lamps Using Dollar Tree Night Lamps
by ICreateCrafts in Design > Art
1123 Views, 1 Favorites, 0 Comments
How to Create Halloween Night Lamps Using Dollar Tree Night Lamps
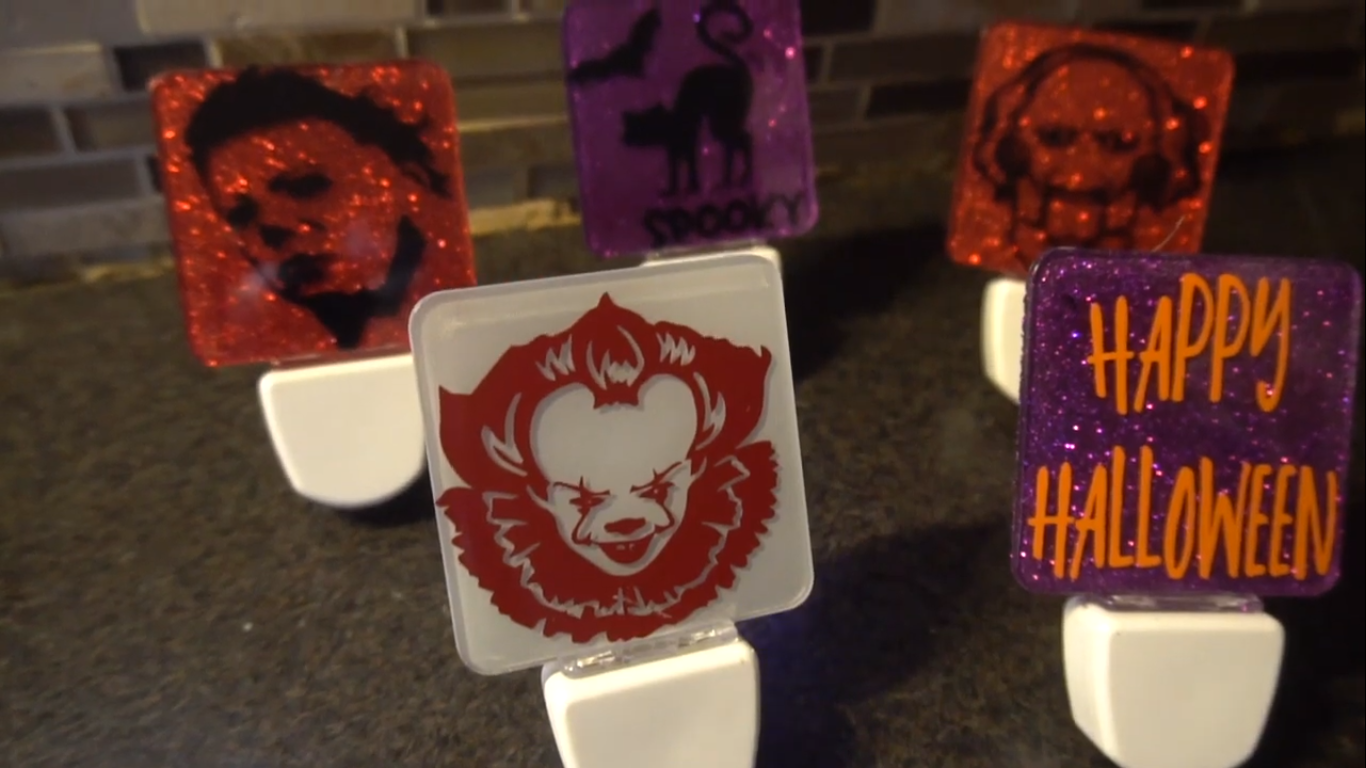.png)
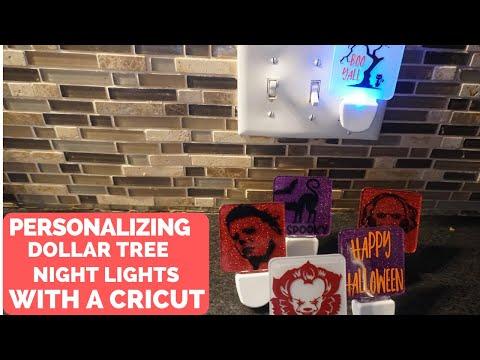
In this tutorial, I am going to take a regular Dollar Tree night lamp and transform it into a custom Halloween lamp. Watch how we did it here.
Supplies
Here's what we need. Most of the items were bought off Amazon.
Get Your Halloween Designs
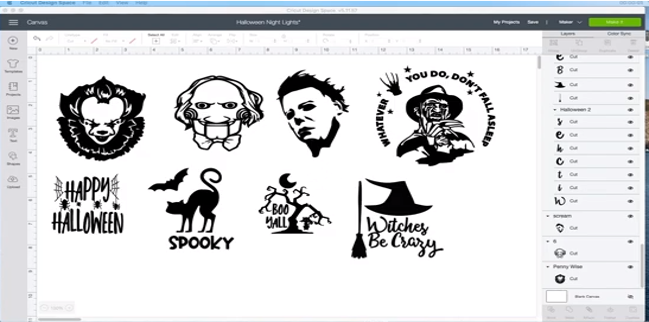
There are lots of places to buy your designs from, but I prefer Etsy and designbundles.net.
Customize the Designs
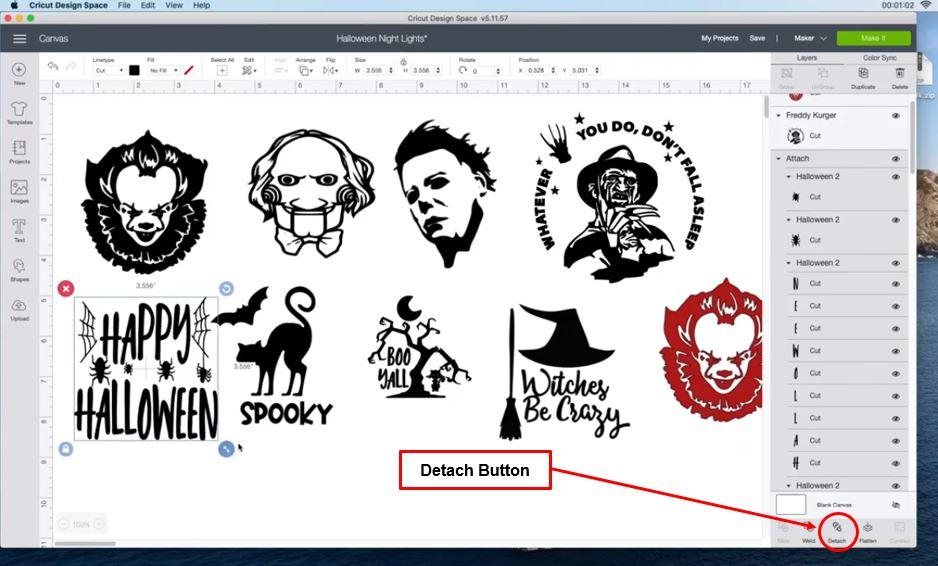
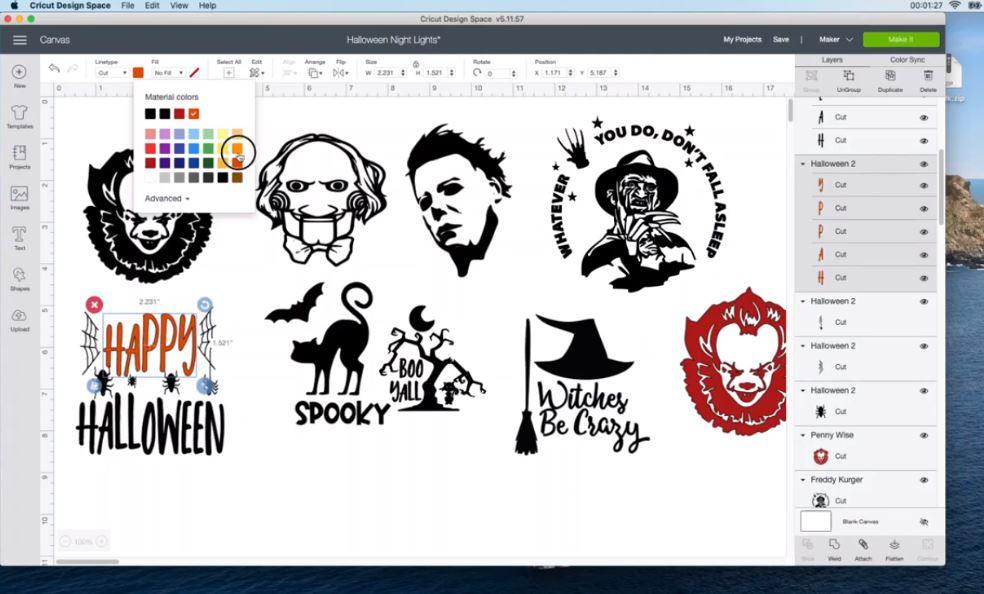
You don't have to stick to the design that you have. Go ahead and customize them. My daughter wanted some color changes, and that's exactly what we did.
We selected the first design and simply duplicated it, in another color (Read on to know how to change colors).
Select a design. Then go to the bottom right of the screen and select 'Detach'. This will ungroup all the parts of the design so that you can change the color of just the things you want.
Next go to the top left corner and select the color of your choice. We changed the color of 'Happy Halloween' to orange, without changing the color of the spiders or the webs.
Tip: You can do this with each of the images. Once you are done with the color changes, make sure that you go back to the detach button, which now reads attach and click it. It is extremely important to attach all parts of the design.
Select the Size
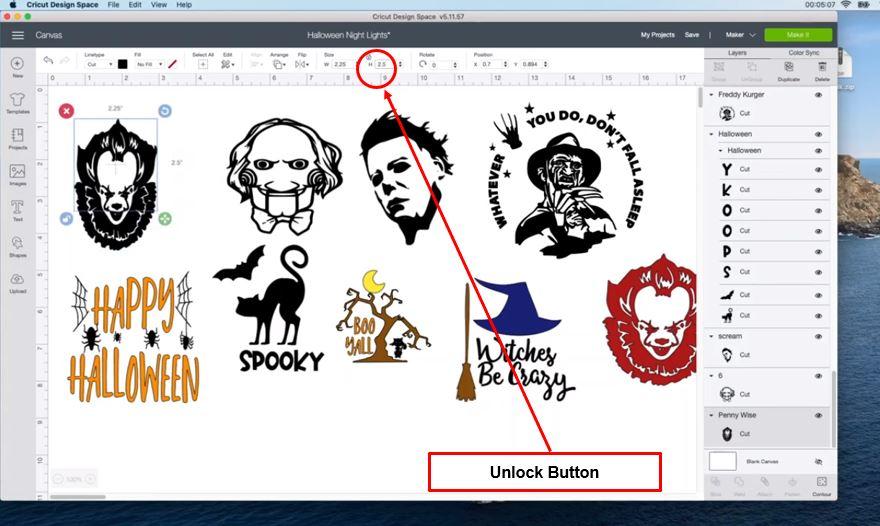
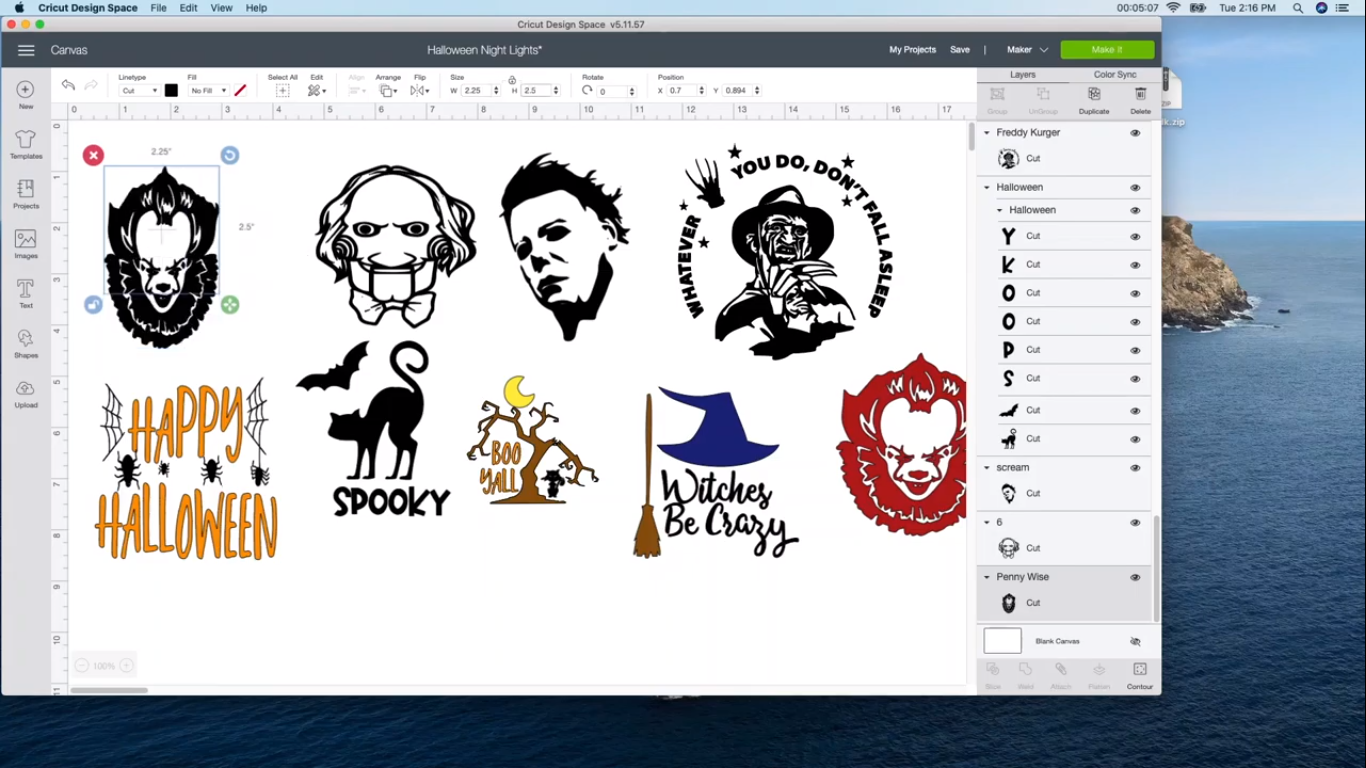
Click on the unlock button and then change the size. I know the night lamps are roughly 2.5 by 2.5; so enter those dimensions next to the unlock button.
Check How the Designs Will Look on the Mat
.png)
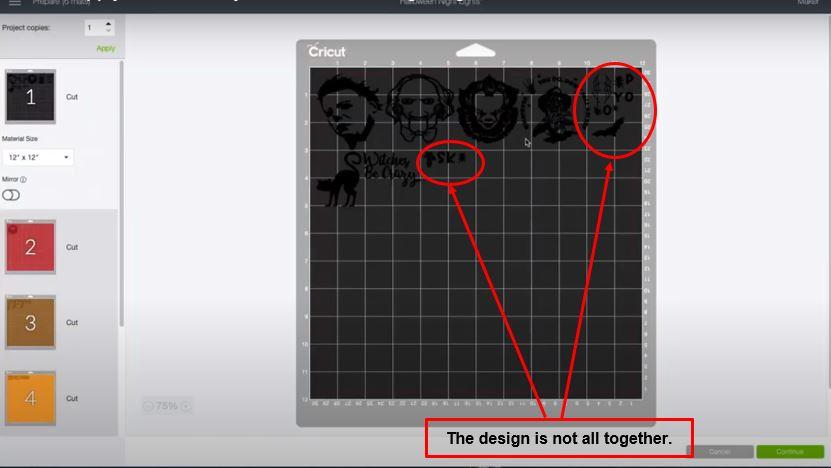
Once all the designs are about 2.5 by 2.5, go to the green 'Make it' button on the top right corner and click it. It will show you the designs.
Notice how the faces are all fine, but the 'SPOOKY' design is in bits and pieces. This happens when you forget to click on the 'Attach' button.
So, click on cancel. Go back, select the design and then click the 'Attach' button. This will make sure that the design cuts out as a whole, and not separately. Do this for all designs that are a bit off.
For the 'Happy Halloween' image, all the spiders seem to be cutting out separately. So, select one spider, hold the control button down, and then select the other spiders & webs, then click attach on the bottom right hand side corner. This one step will save you a lot of headache, so be careful!
Check Each Mat Before Cutting
.png)
.png)
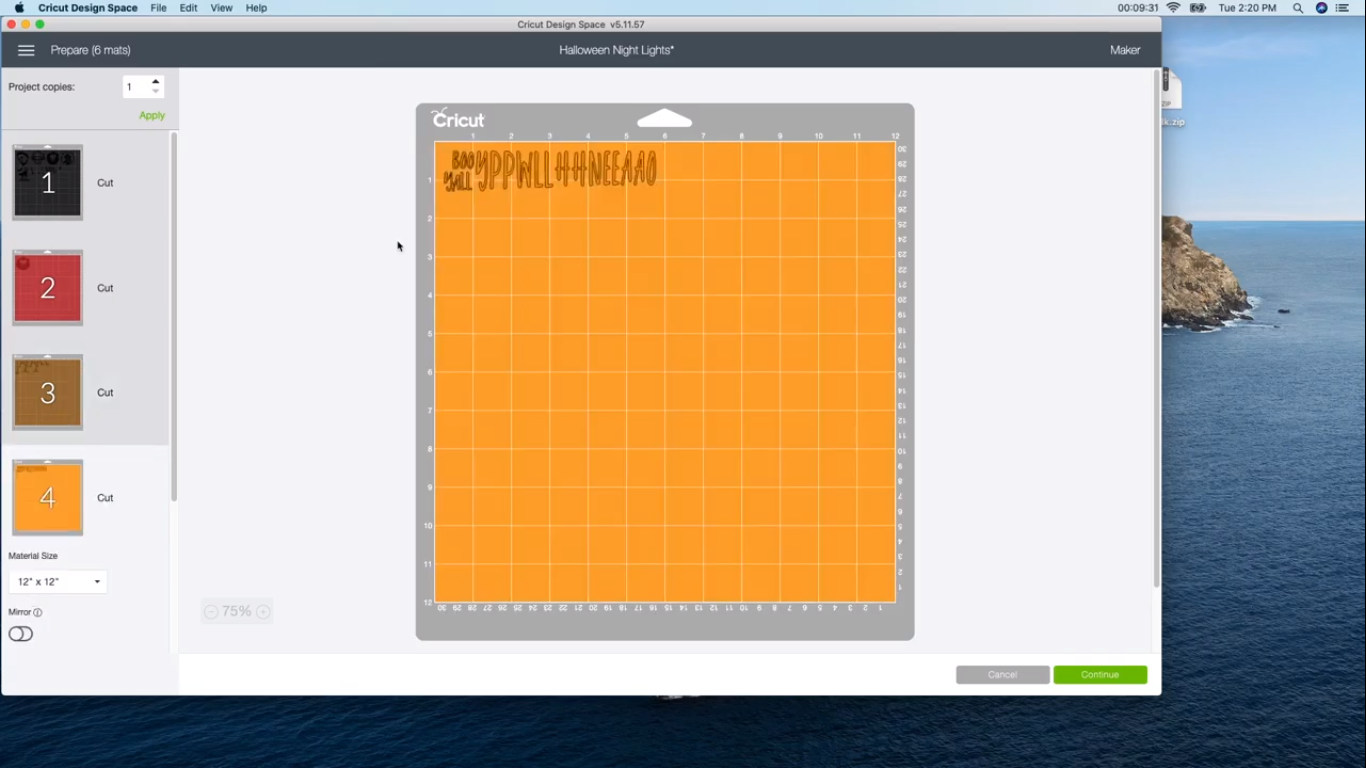
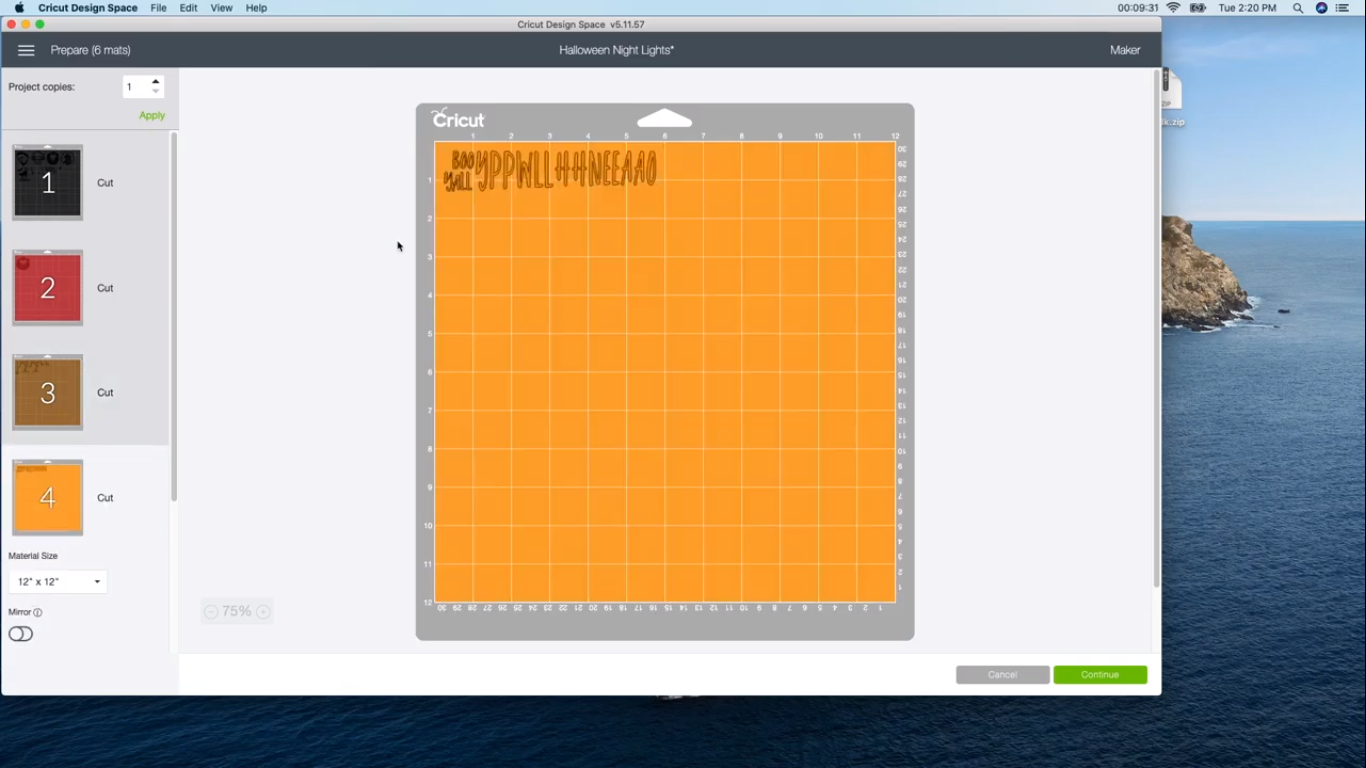
Since each color will cut out on a different mat, you need to check each mat carefully.
The letters for HAPPY HALLOWEEN and BOO YALL are cutting out separately (notice how they are all jumbled). Once the letters are attached, everything falls into place.
Also, the tree is not how we want it.
So, go back to the respective designs. Select the design and click attach at the right hand corner of your window.
Once all the designs look complete, you are good to go.
Space Out the Designs a Little
.png)
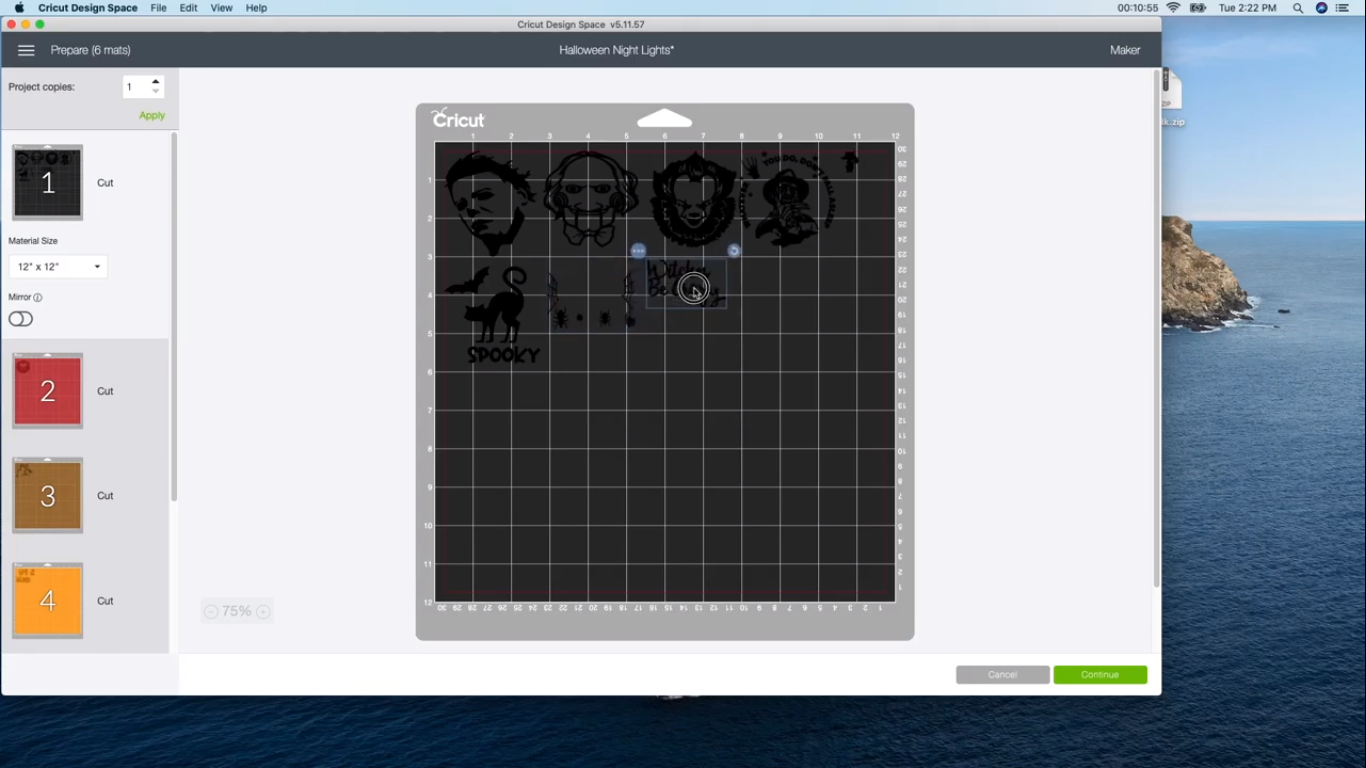
I do not like wasting vinyl, but yes, I do recommend spacing the designs out a bit, to give yourself enough room around the design. Next load the mat with the colors, cut the designs out and weed them out carefully.
Prep Your Night Lamps
.png)
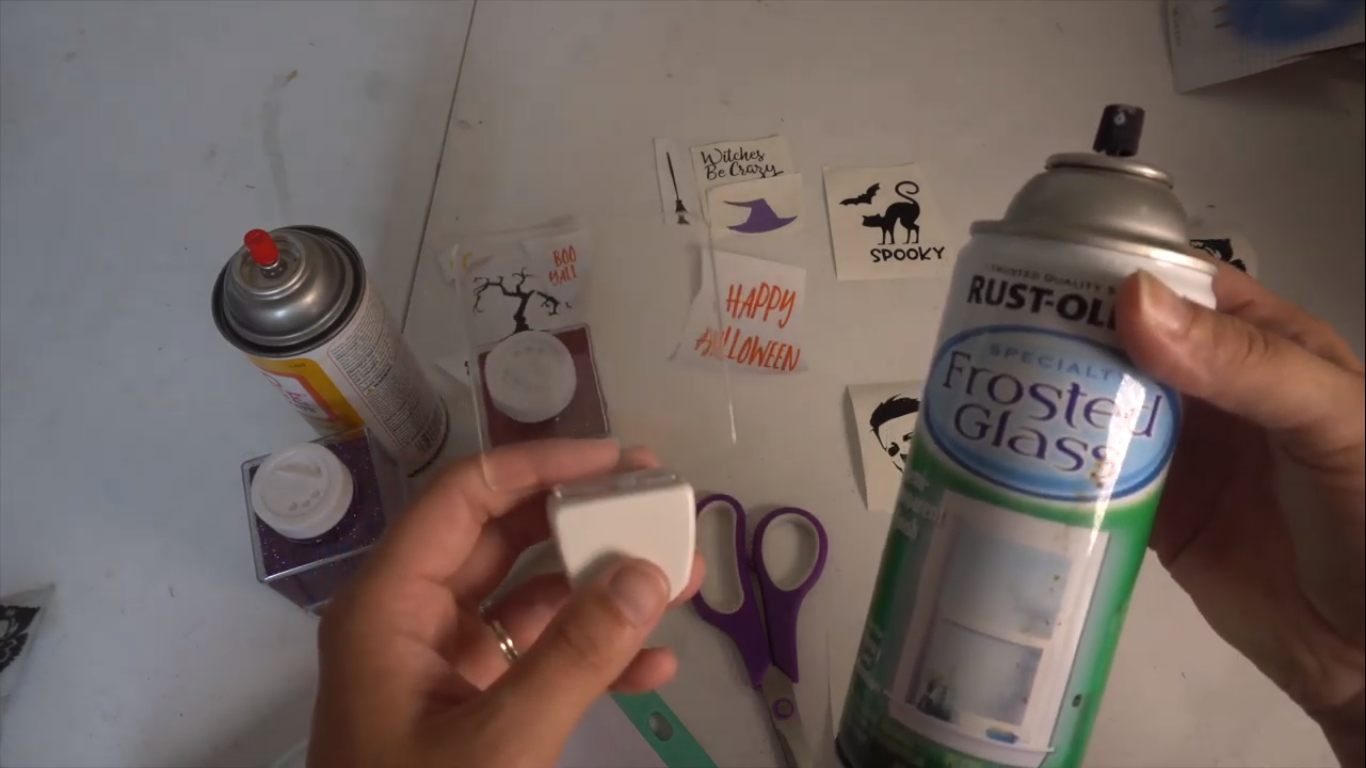
Take the night lamps and spray Frosted Glass on them.
Let them sit for a few minutes. Once dry, clean it a little bit.
Tip: Do this outdoors if you don't want your house to smell of paint.
For the 'Witches Be Crazy' Night Lamp
.png)
.png)
.png)
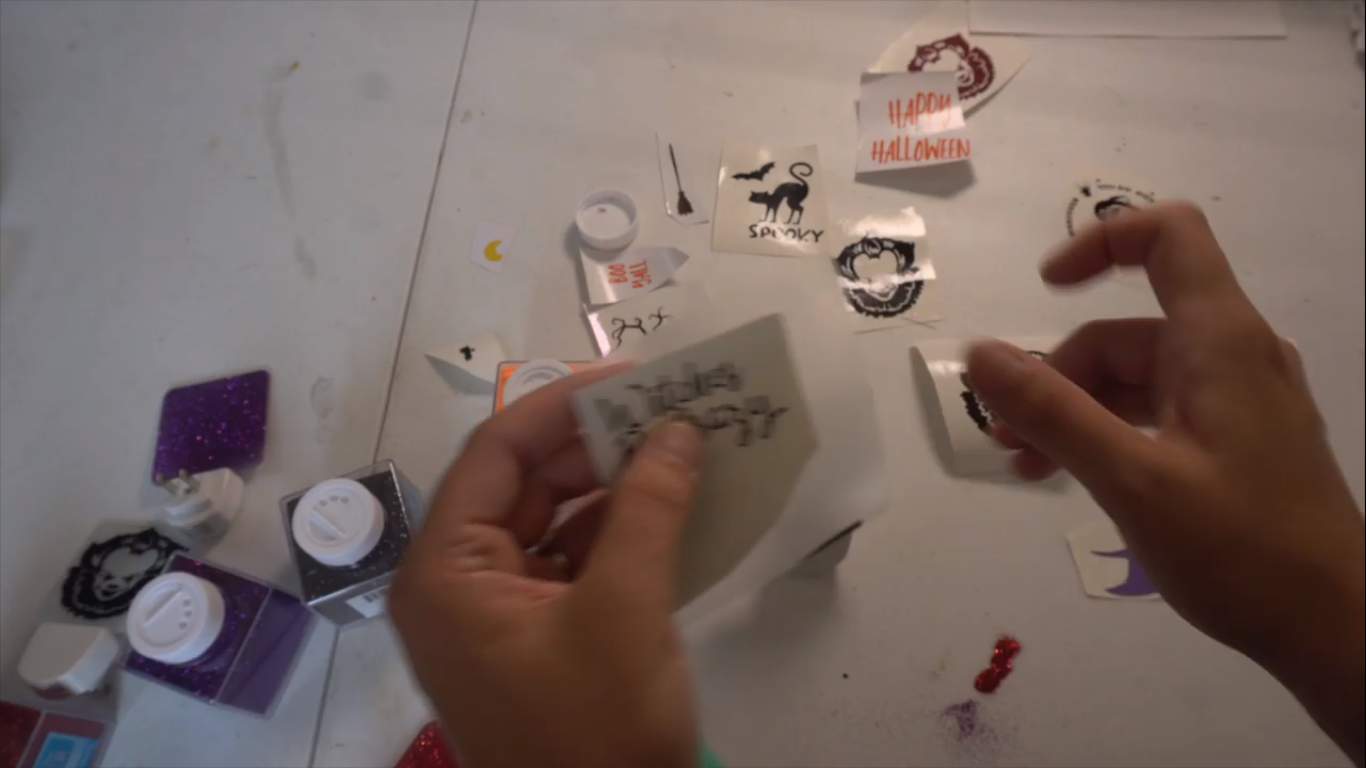
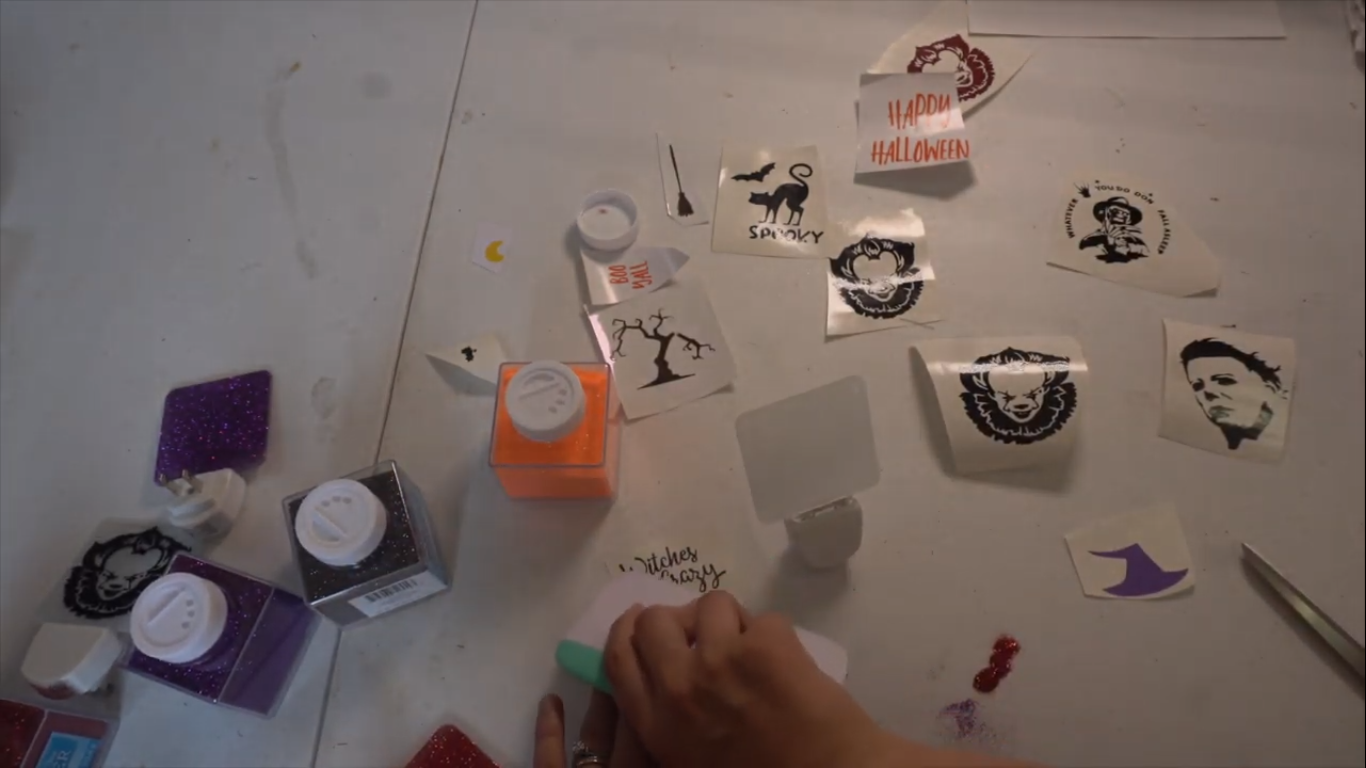
Cut a piece of a transfer tape and put it over the Witches be Crazy design. Using a scraper, get the image to stick to the transfer tape well. Slowly, pull off the tape so that you have the words on the transfer tape.
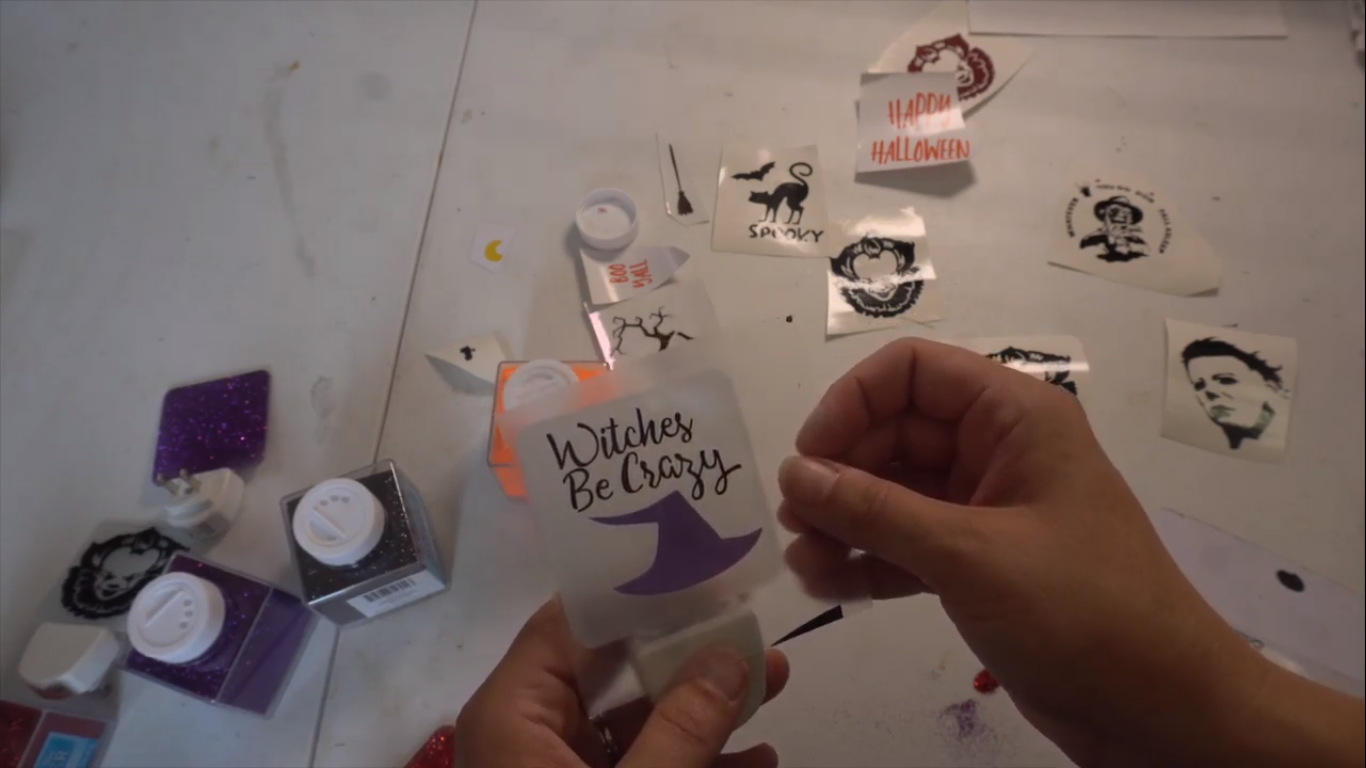
Now take the hat print and put it below the Witches be Crazy words on the tape from behind. Use a scraper to get it to stick well and then slowly pull off the tape. You now have the words and the hat on the transfer tape.
Now line up this tape on the LED light. Stick it with your fingers and use the scraper for better adhesion. Pull back the tape off slowly.
Tip: If you see any bubbles, use a blow dryer on the bubbles and then slowly push the bubbles out with your fingers.
For the Joker Design
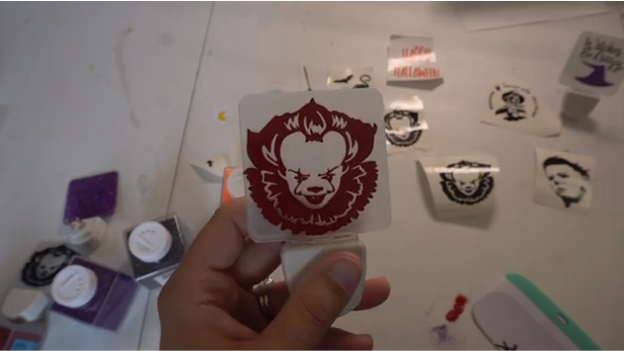
Take an LED night lamp. Spray frosted glass on it and let it dry. Once dry, clean it a little bit. Cut a piece of a transfer tape and put it over the Joker print and then use the scraper over it. Slowly, pull off the tape. Then transfer the design onto the lamp. Make sure no bubbles remain.
For the Glittery Night Lamps
.png)
.png)
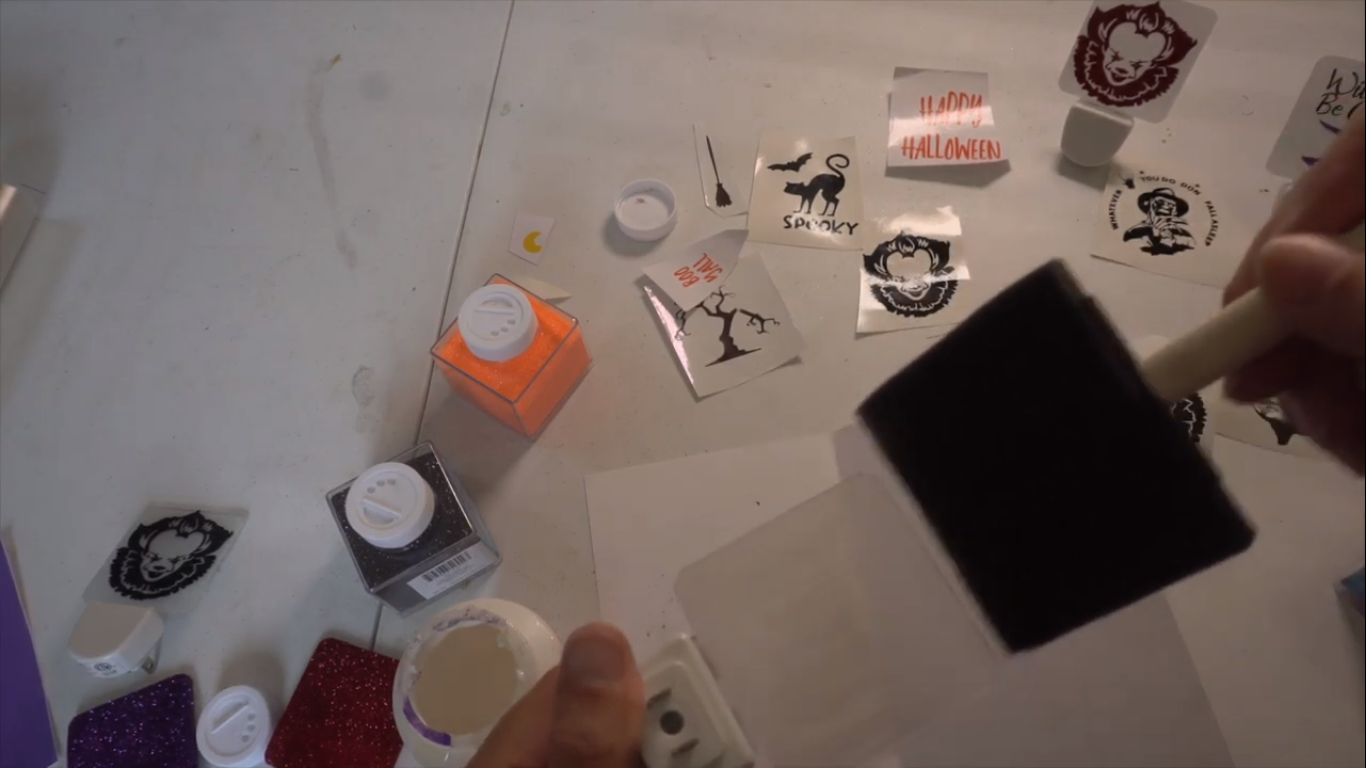
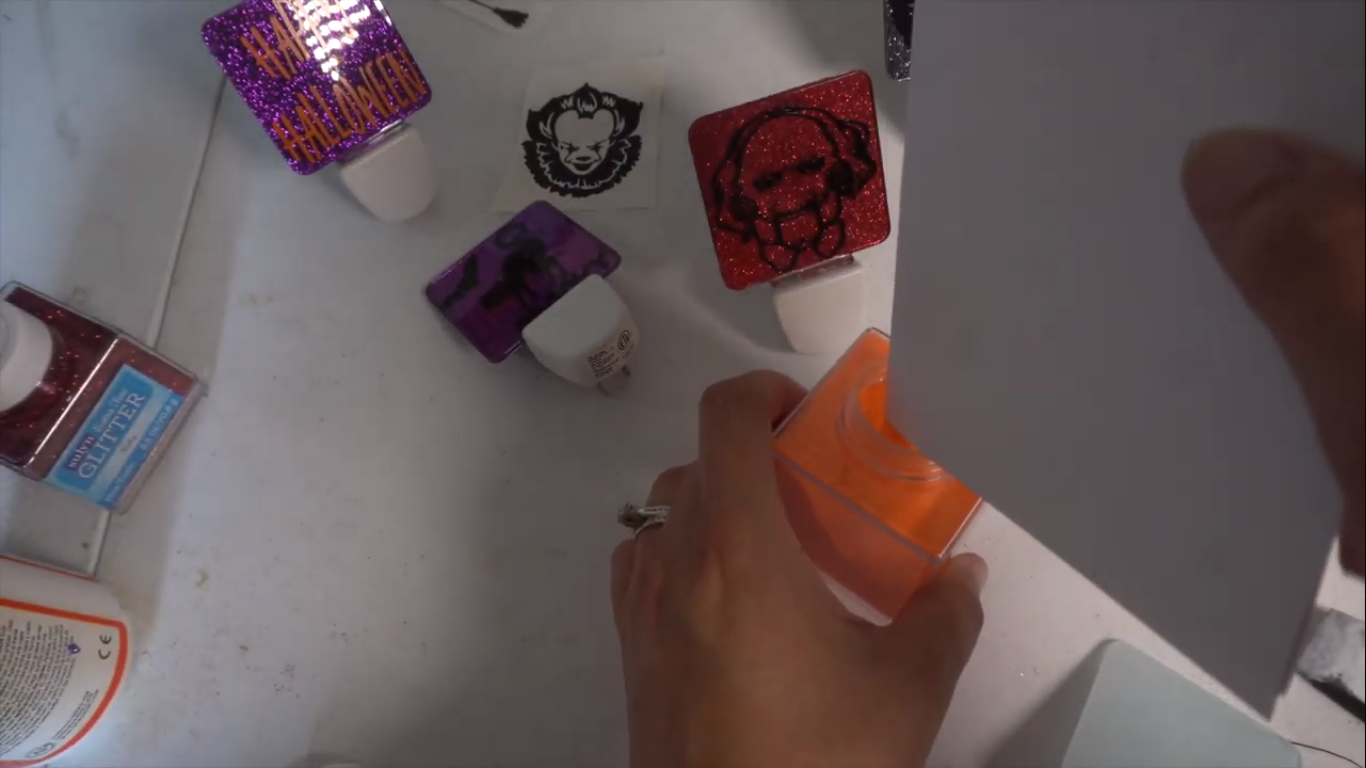
Take some Mod Podge on a brush and brush it on the rear side of the LED light. Now, hold the LED light over a piece of paper and pour the glitter on the light. The glitter needs to go on the rear side of the lamp and the vinyl on the front. Then shake all the extra glitter off the lamp and onto the paper. That way you don't waste any glitter.
Add your vinyl print onto it once it's completely dried.
Tip: Do not use the Mod Podge glitter spray. The results are not too good. I found it better to stick to the traditional Mod Podge in a bottle + glitter in another bottle.
Do Layers of Mod Podge and Glitter
.png)
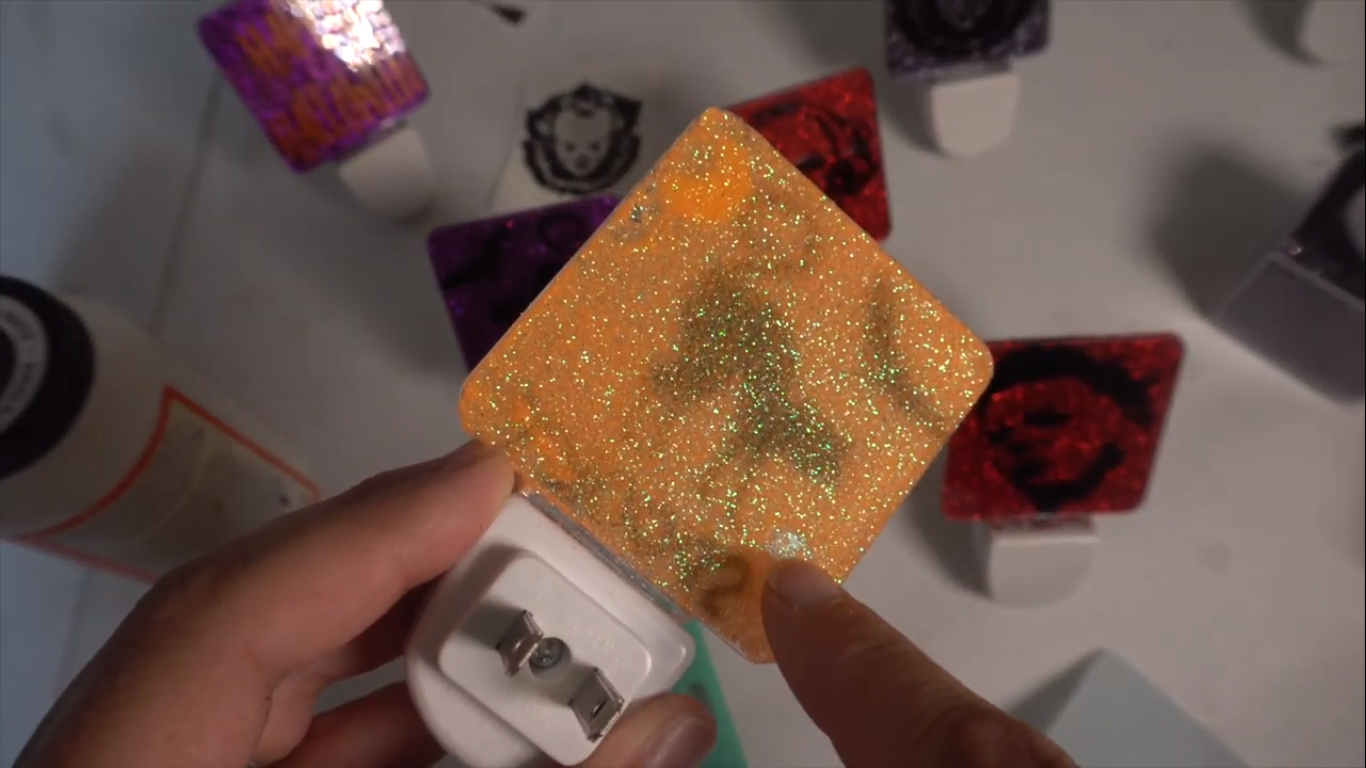
Once a layer is completely dry, add another layer of Mod Podge and glitter. This will cover up any spots where the glitter is missing and will also give it a good finish. The final layer should be of Mod Podge. That will keep the glitter from falling off.
The Final Look
.png)
.png)
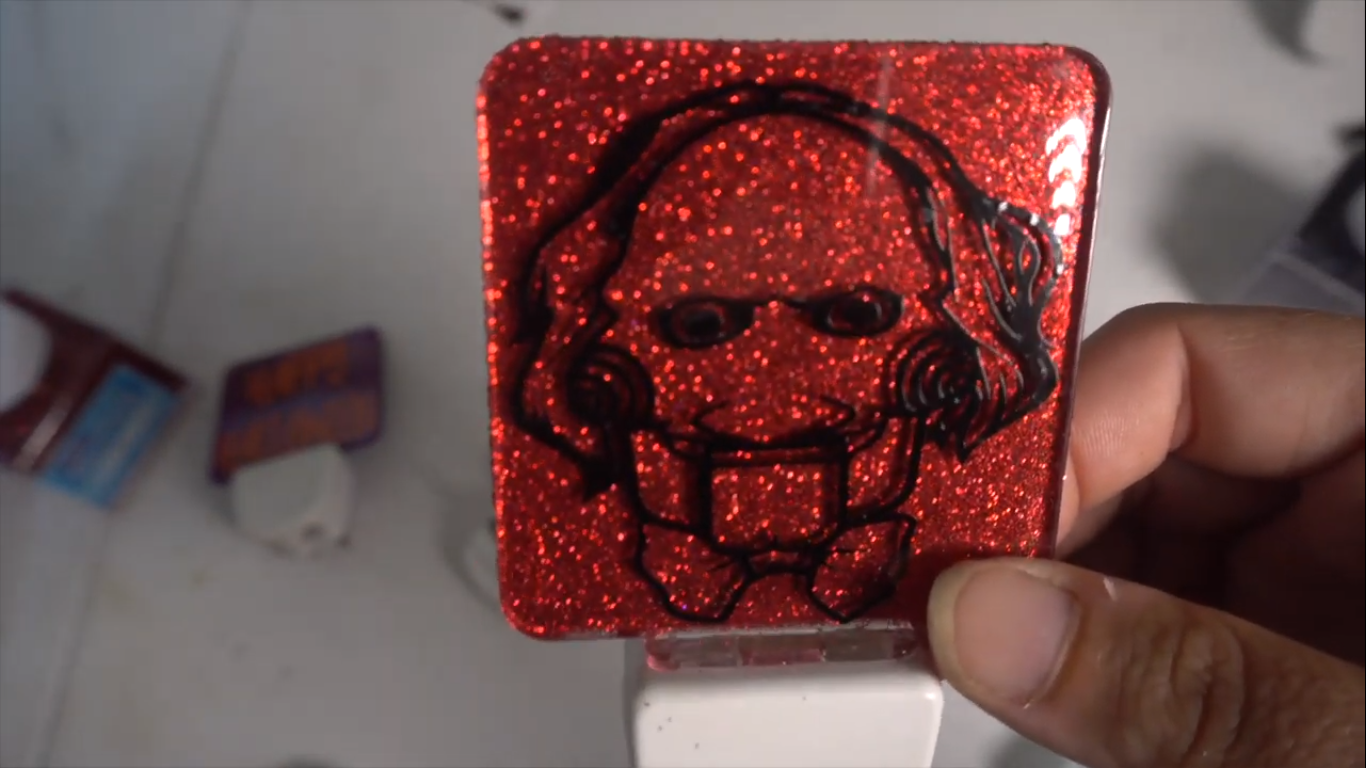
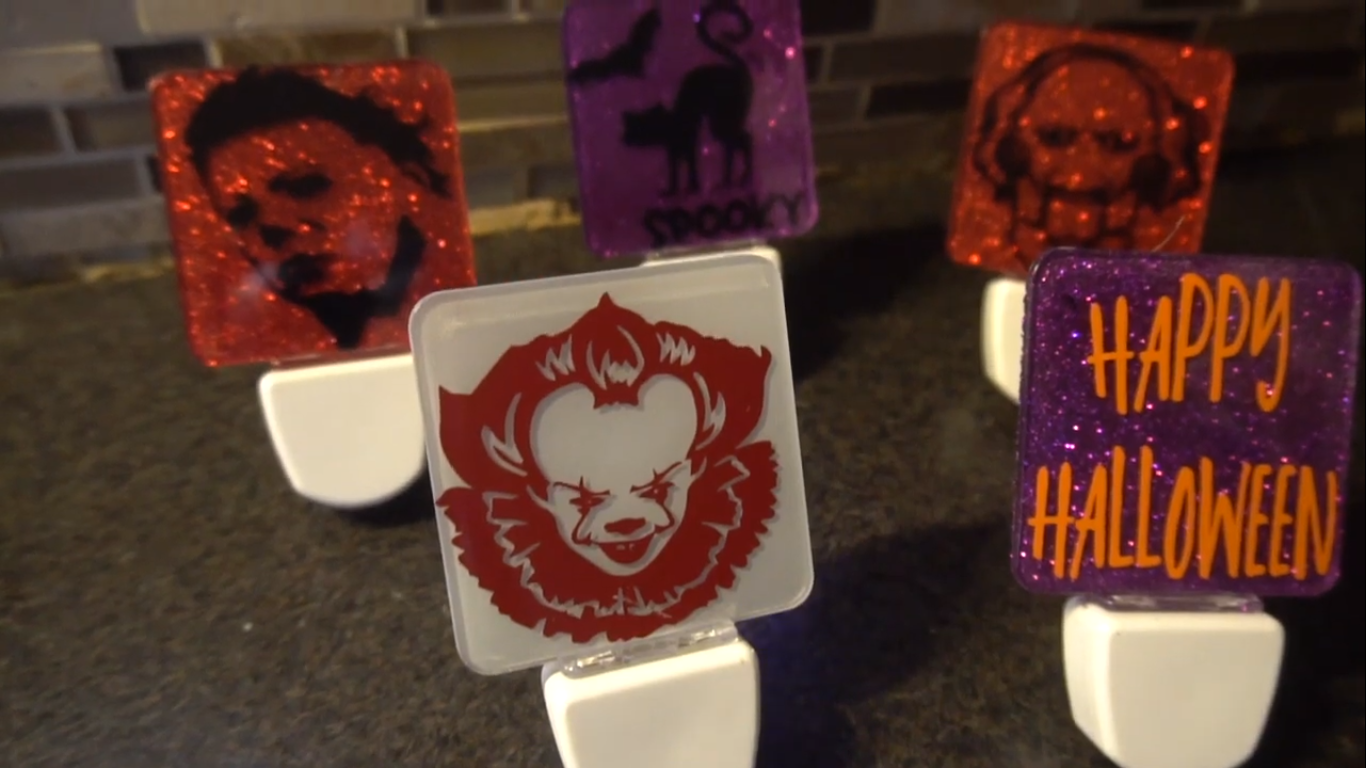
The lamps turned out just as I wanted them. Good luck with yours!
Happy Crafting! :)