How to Create Graffiti Letters in Adobe Illustrator
by clairedumas8 in Design > Digital Graphics
1748 Views, 1 Favorites, 0 Comments
How to Create Graffiti Letters in Adobe Illustrator

If you want to make a unique, eye catching logo, you’ve come to the right place! Graffiti letters stand out and aren’t nearly as boring and simple looking as most logos. Graffiti letters are also great to know for multiple other fun designing work. For me, I was creating a business card and I wanted something original, unique and bold. Here is where the graffiti letter idea was born! I am a beginner with graphic design, but thankfully, the graffiti letters are actually a lot easier than I suspected!
Disclaimer: Graffiti comes from a history of vandalism, so be careful when producing these letters as they may offend someone.
Supplies
Adobe Illustrator
Sketching Out Your Graffiti Letter(s)
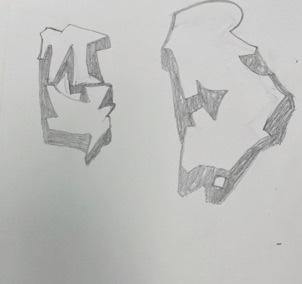
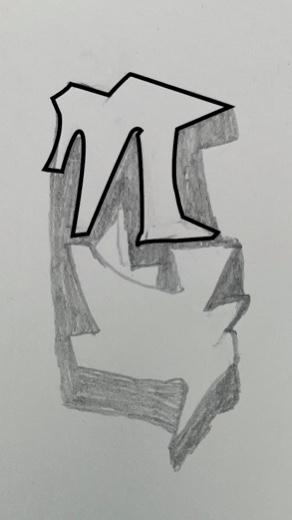
Start off by sketching out how you want your graffiti letters to look. If you are struggling, there are tutorials on how to draw graffiti letters on this website. You can also look at photos off of the internet for inspiration. Here is the link I used to help me out. 735 × 566
When you get your graffiti lettering to look how you like, then you can go ahead and log into Adobe Illustrator.
Creating Your Art Board
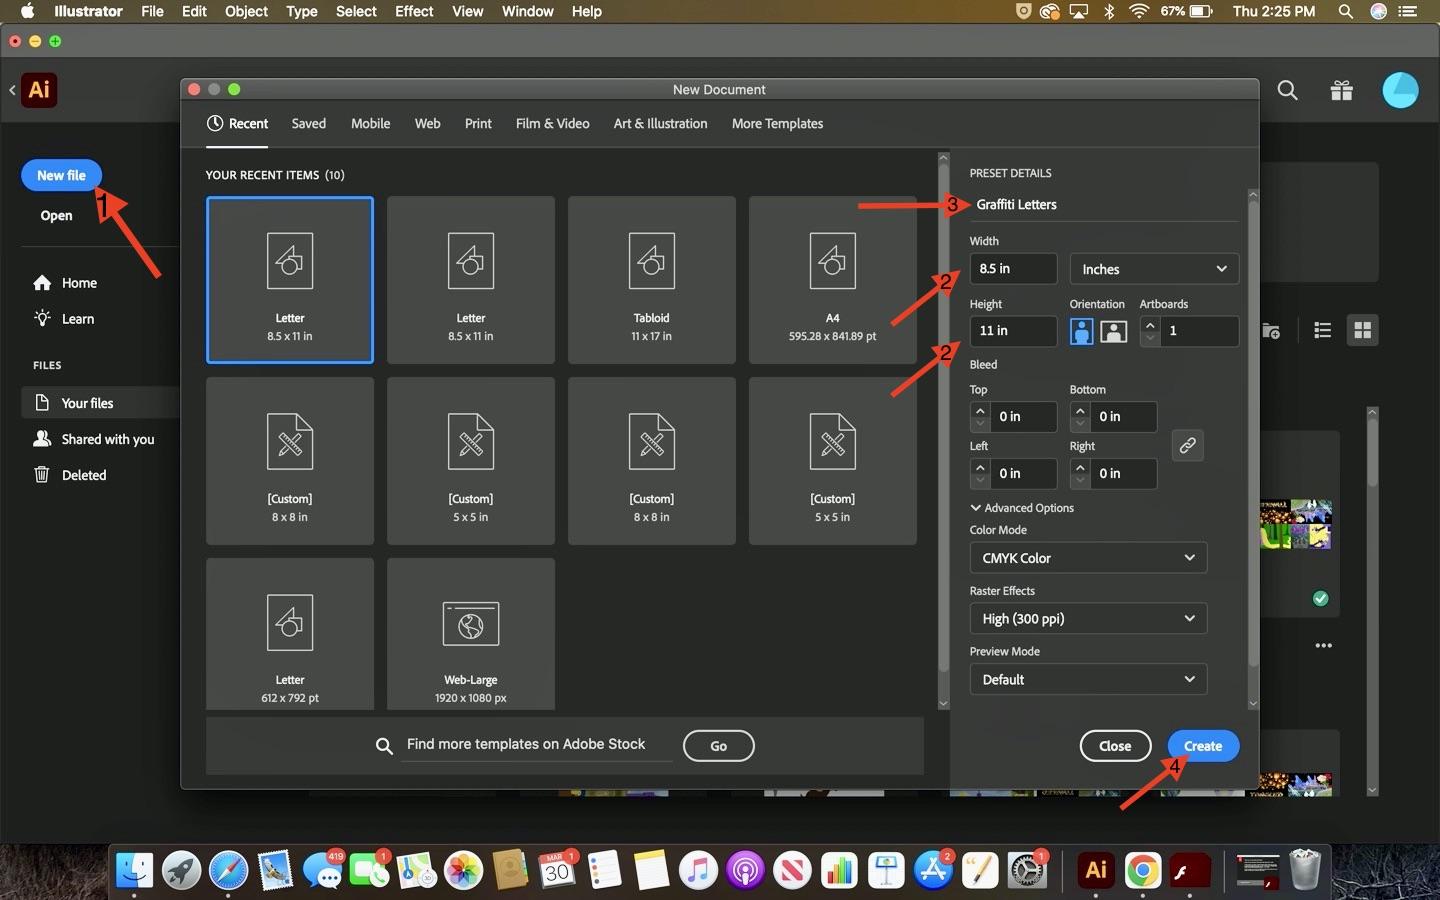
Click on “New File” in the top left of the main page.
Then, set your dimensions for your artboard. I am setting mine to 8.5 x 11 Inches.
It is also a good idea to name your art board in case you are switching through different artboards at once.
Then click “create” on the bottom right.
Upload Your Sketch
Take a photo of your sketch, and send it to your computer where you will then download the image.
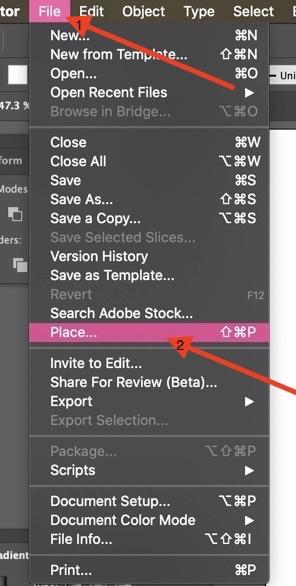
Once the image is downloaded, go onto your illustrator art board and click “File” in the top left corner.
Next, click “Place.” Your finder application should open up. Click on your sketch, opening it up in illustrator.
Size Your Sketch
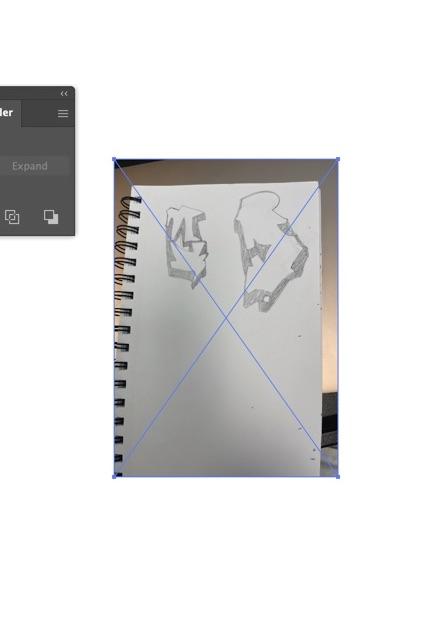
Size your photo using the 6 dots bordering the photo. Feel free to make it as big or small as you like.
The Start of the Pen Tool
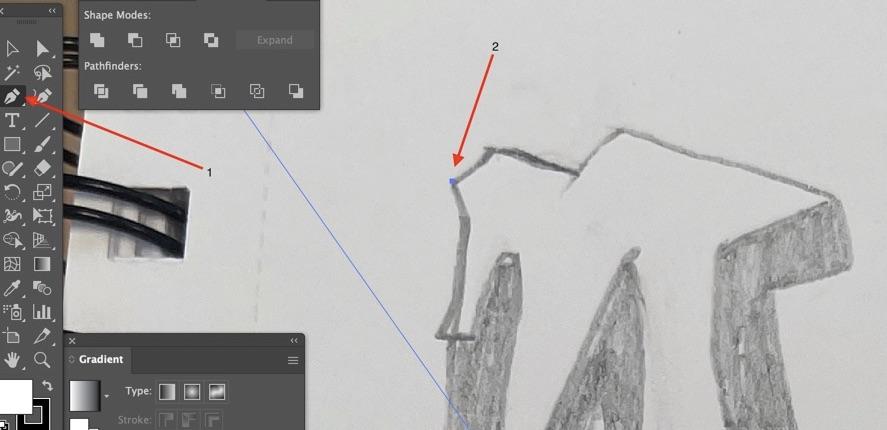
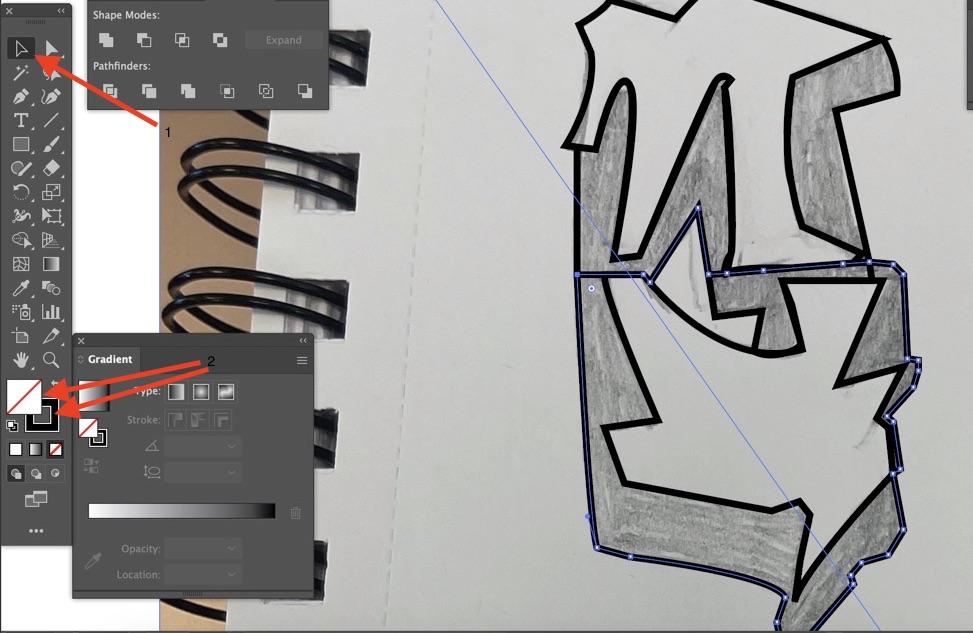
Click on the pen tool, then zoom in to your first letter and click on an edge. This will be your starting point.
Trace Your Letter
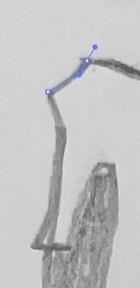
Just like on image 1, click and hold the next point. As you hold down that spot, you are able to drag the line into the line you are trying to follow.
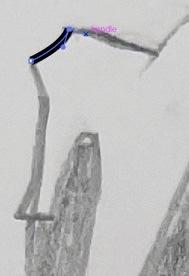
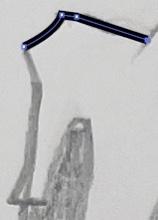
For straight lines following a curved line, hold down the option key on your keyboard, click, hold, and drag out the previous point in the direction you are wanting to go. Then let go of the mouse and click again on where the straight line ends.
When you get to the end of tracing your text, make sure you connect the last line to the first line you traced, making it a full shape. If you do not, then you will not be able to put color in as it is not a completed shape.
Now you know all the steps to trace your image.
First Finished Shape
Here is my finished shape. Do the same to the bottom shape, trace it, and then to the shadows of the shape.
Adding Color
Click on the selection tool, then click on one of the shadow traces that you did. Then click on the fill to change the color. After click on the border color under it and change the color to transparent. Do these same steps for every shape.
Revising Your Letter Shapes
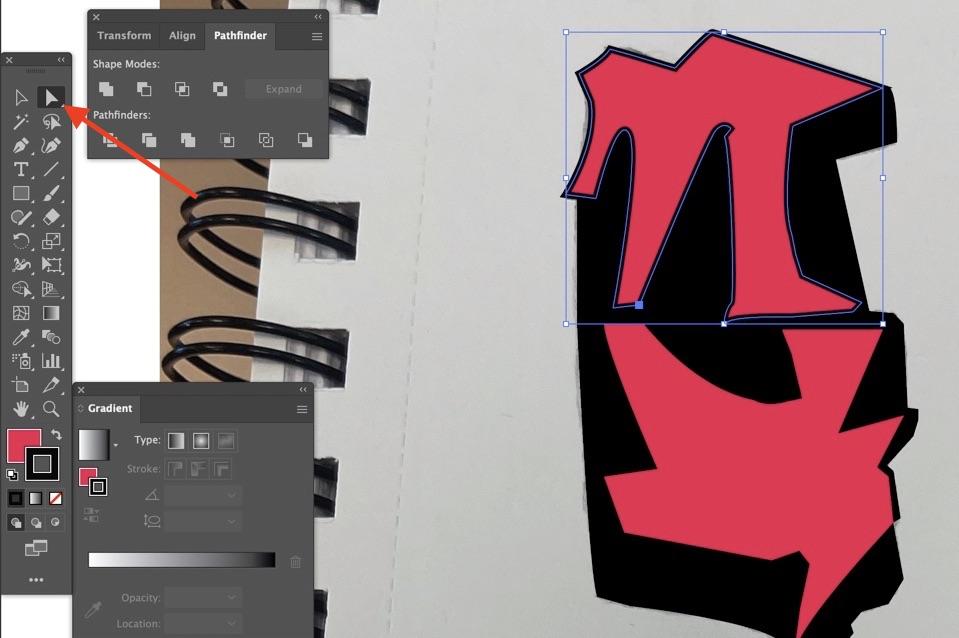
If you want to adjust your shape, click on the direct selection tool, then, press on a shape. Anchor points will pop up.An anchor point is a blue, squared point. Double click on a point you wish to move and drag it to change the shape.
Your Finished Letter(s)
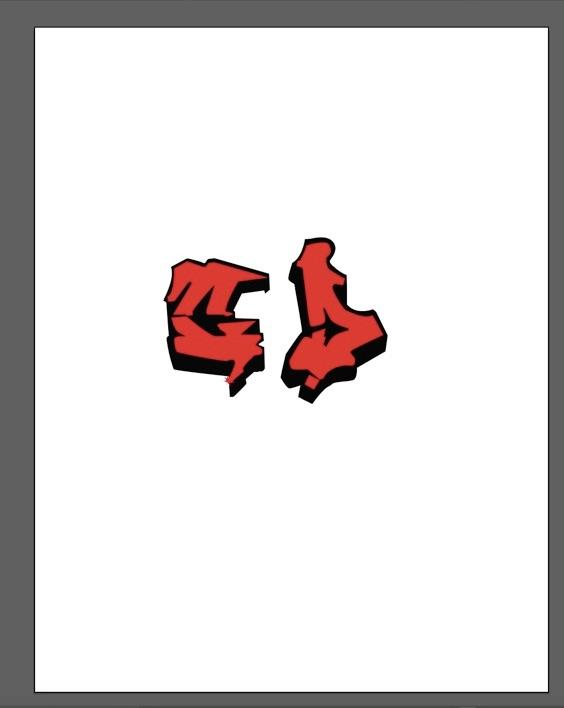
Now, you will have your finished product. I resized, reshaped and changed the red color on mine. I also decided to throw in another initial as well. Happy illustrating!