How to Create Glitch Text Effect in GIMP
by paasadani in Craft > Digital Graphics
18507 Views, 39 Favorites, 0 Comments
How to Create Glitch Text Effect in GIMP
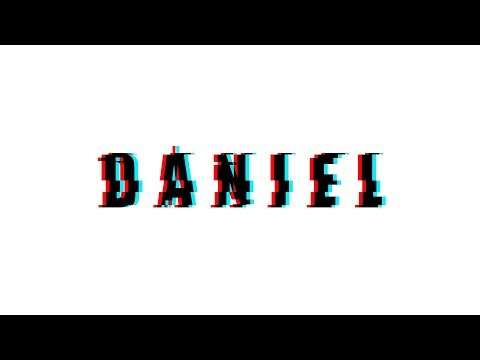
Hi Everyone, In this Article I'm gonna show you How to create a GLITCH Text Effect in GIMP
GIMP is the Alternative for Photoshop. So you can try this same method in Photoshop as well.
Add a New Image to GIMP
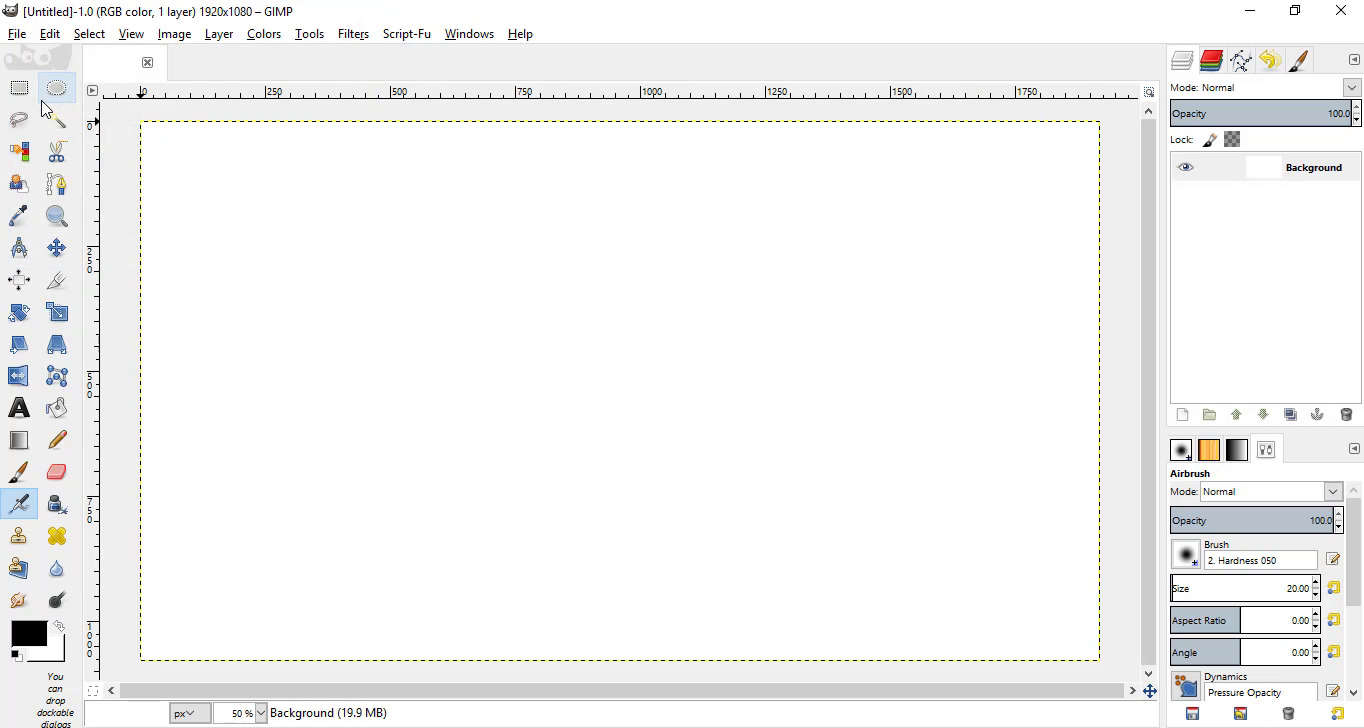
- Open GIMP
- Go to File - New
- Change the Width to 1920 and Height to 1080
Add Your Text
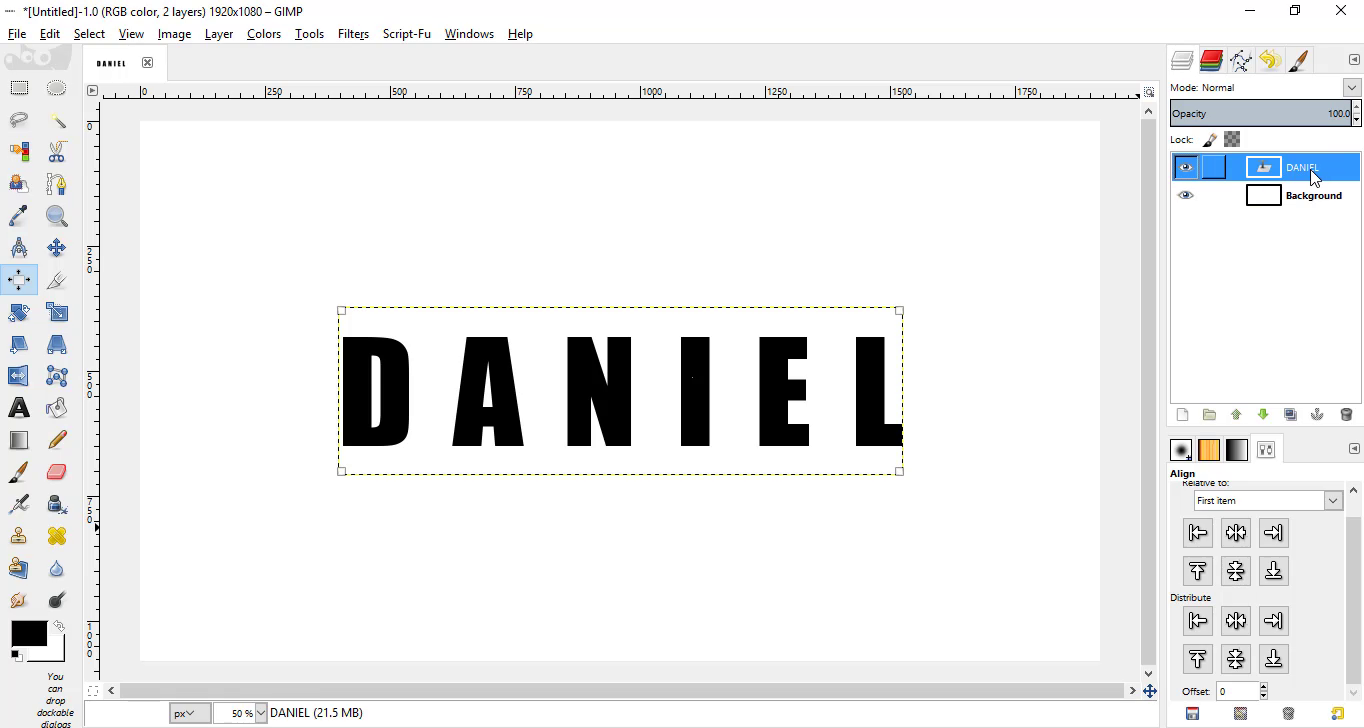
- Select Text Tool
- Type in your Text with your favorite font with suitable size
- Increase the Spacing between the Letters
- Align it to the centre using Align Tool
Distort Your Text
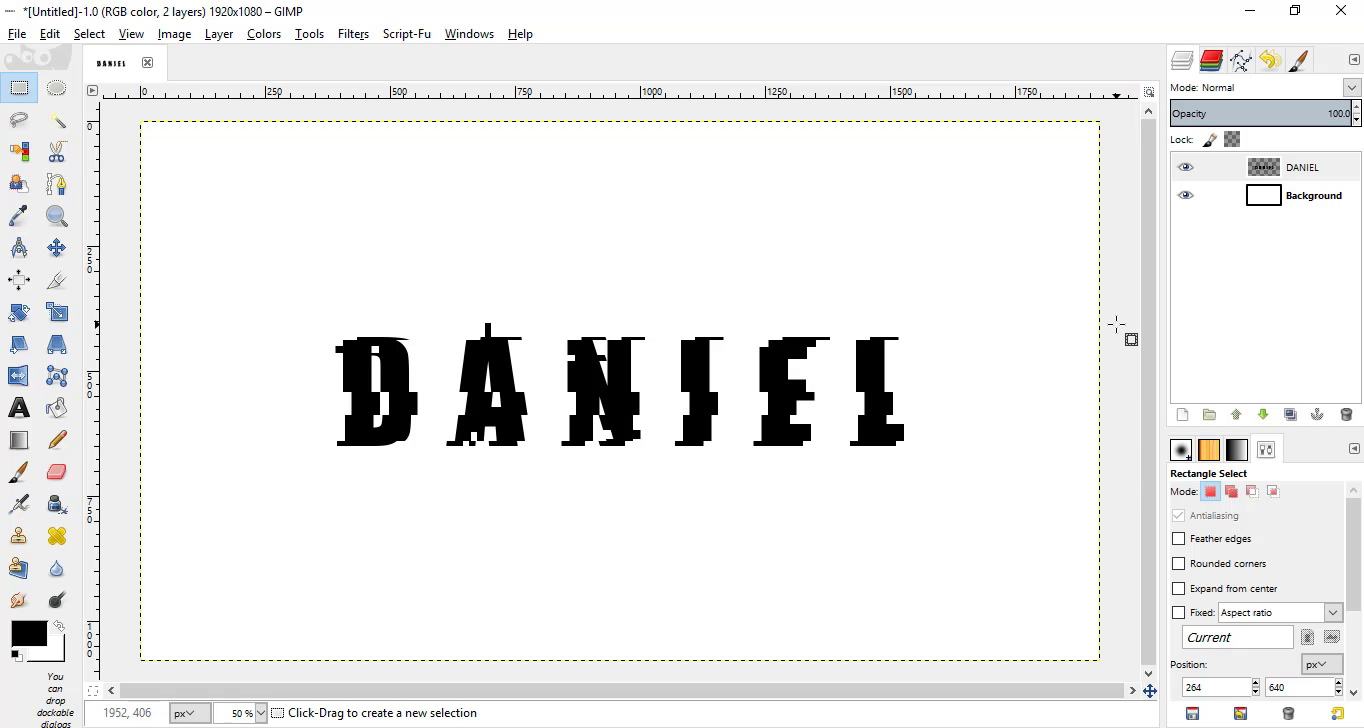
- Make the Text layer to Image Size
- Select the Rectangle Select Tool
- Make the Selection of down portion of the Text
- Ctrl + X - Cut the Selection then Ctrl + V - Paste the Selection
- Click inside the Selection and move it to the Left or Right to Create the Distortion
- Do this step as much as possible
Add a Red and Cyan Distorted Text
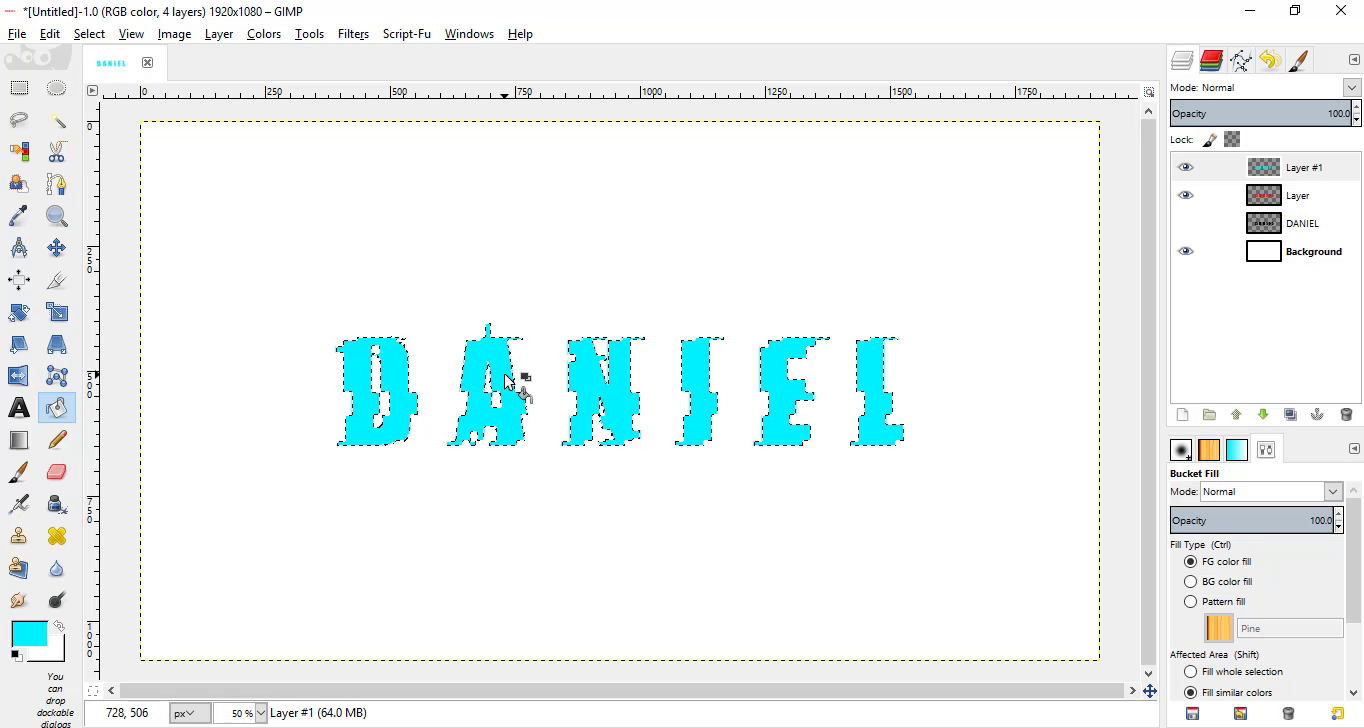
- Make Alpha to Selection of the Text Layer
- Add a New transparent Layer
- Fill the Selection with Red
- Add Another Transparent Layer and Fill the Selection with Cyan
- Hide the Original Text
Create GLiTCH Effect
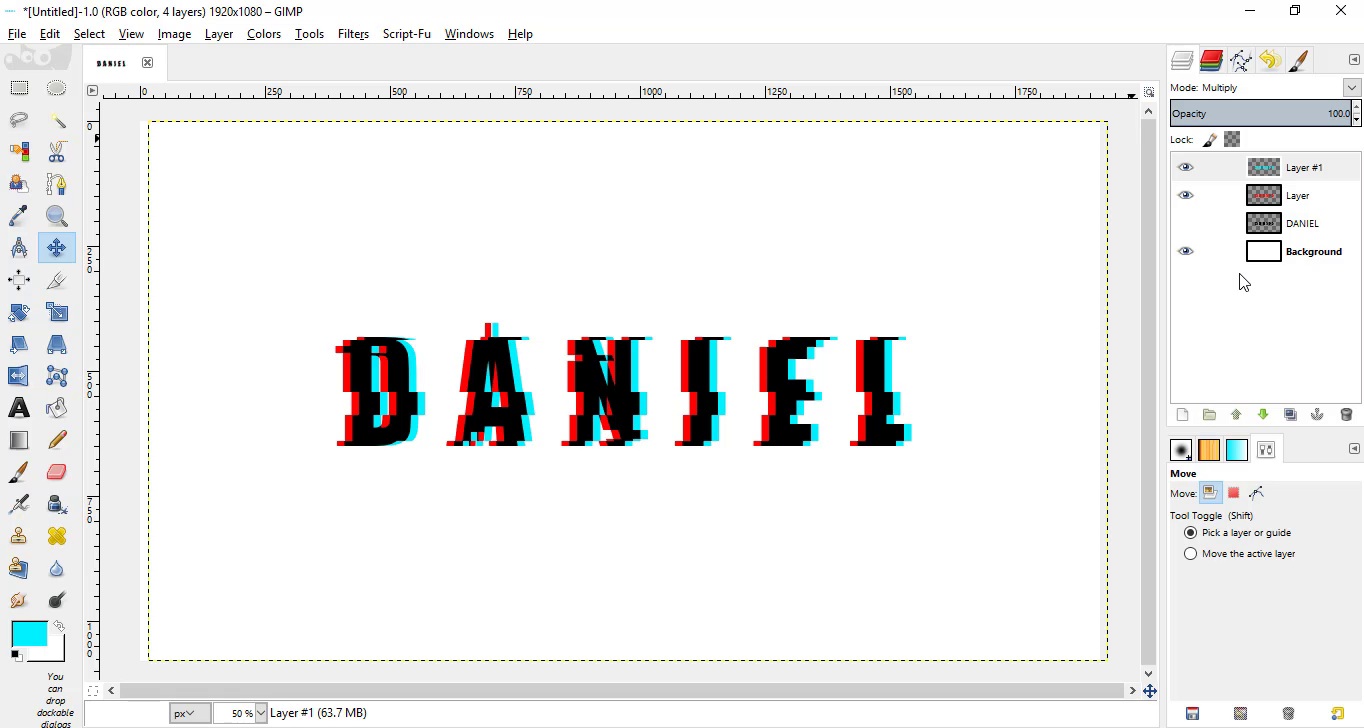
- Move the Cyan Layer Little bit to the Right using Move tool
- Change its Mode to Multiply
Conclusion
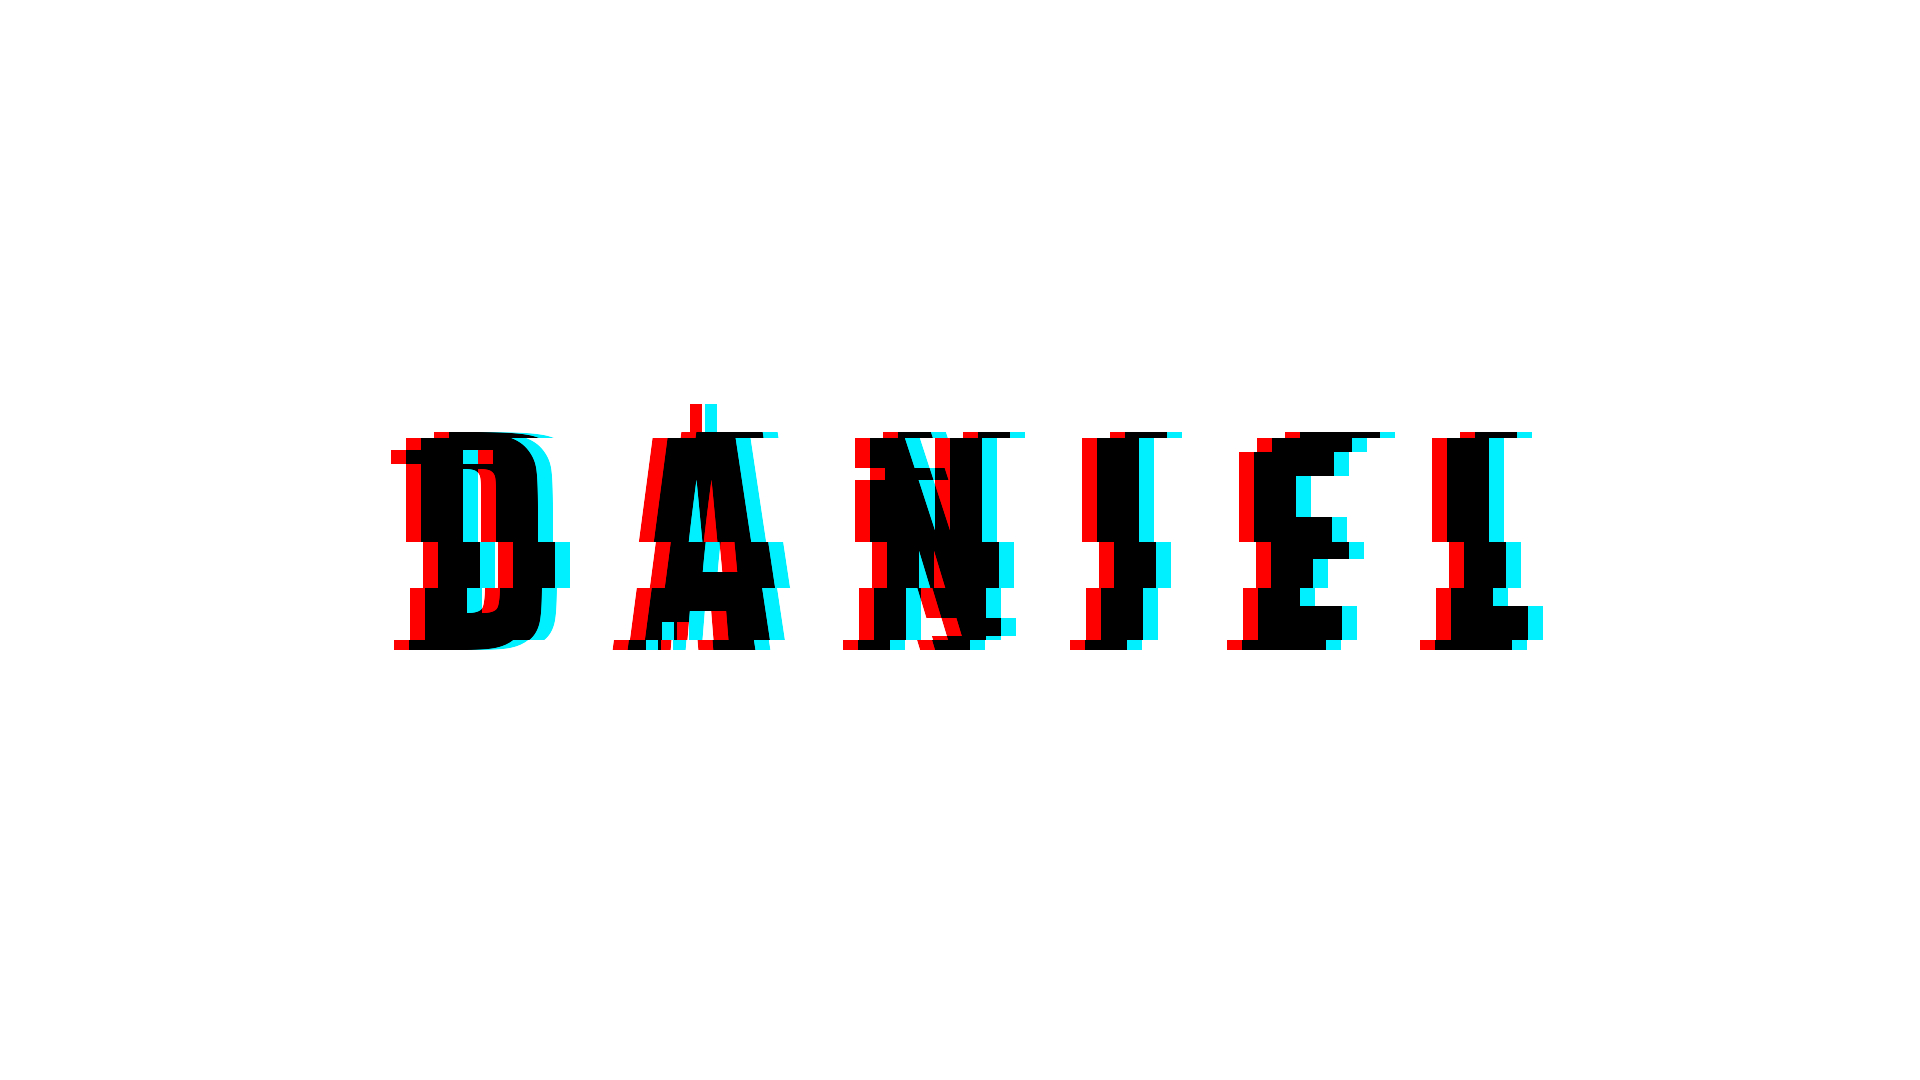
So that's it guys. Using this trick you can simply create a glitch text effect in GIMP. If you have any doubts watch this Video I have explain each and every step clearly there!!..