How to Create Giant, 3D Printed Copies of Objects Around Your House: Some General Tips and Tricks
by benjikd580 in Workshop > 3D Printing
252 Views, 1 Favorites, 0 Comments
How to Create Giant, 3D Printed Copies of Objects Around Your House: Some General Tips and Tricks
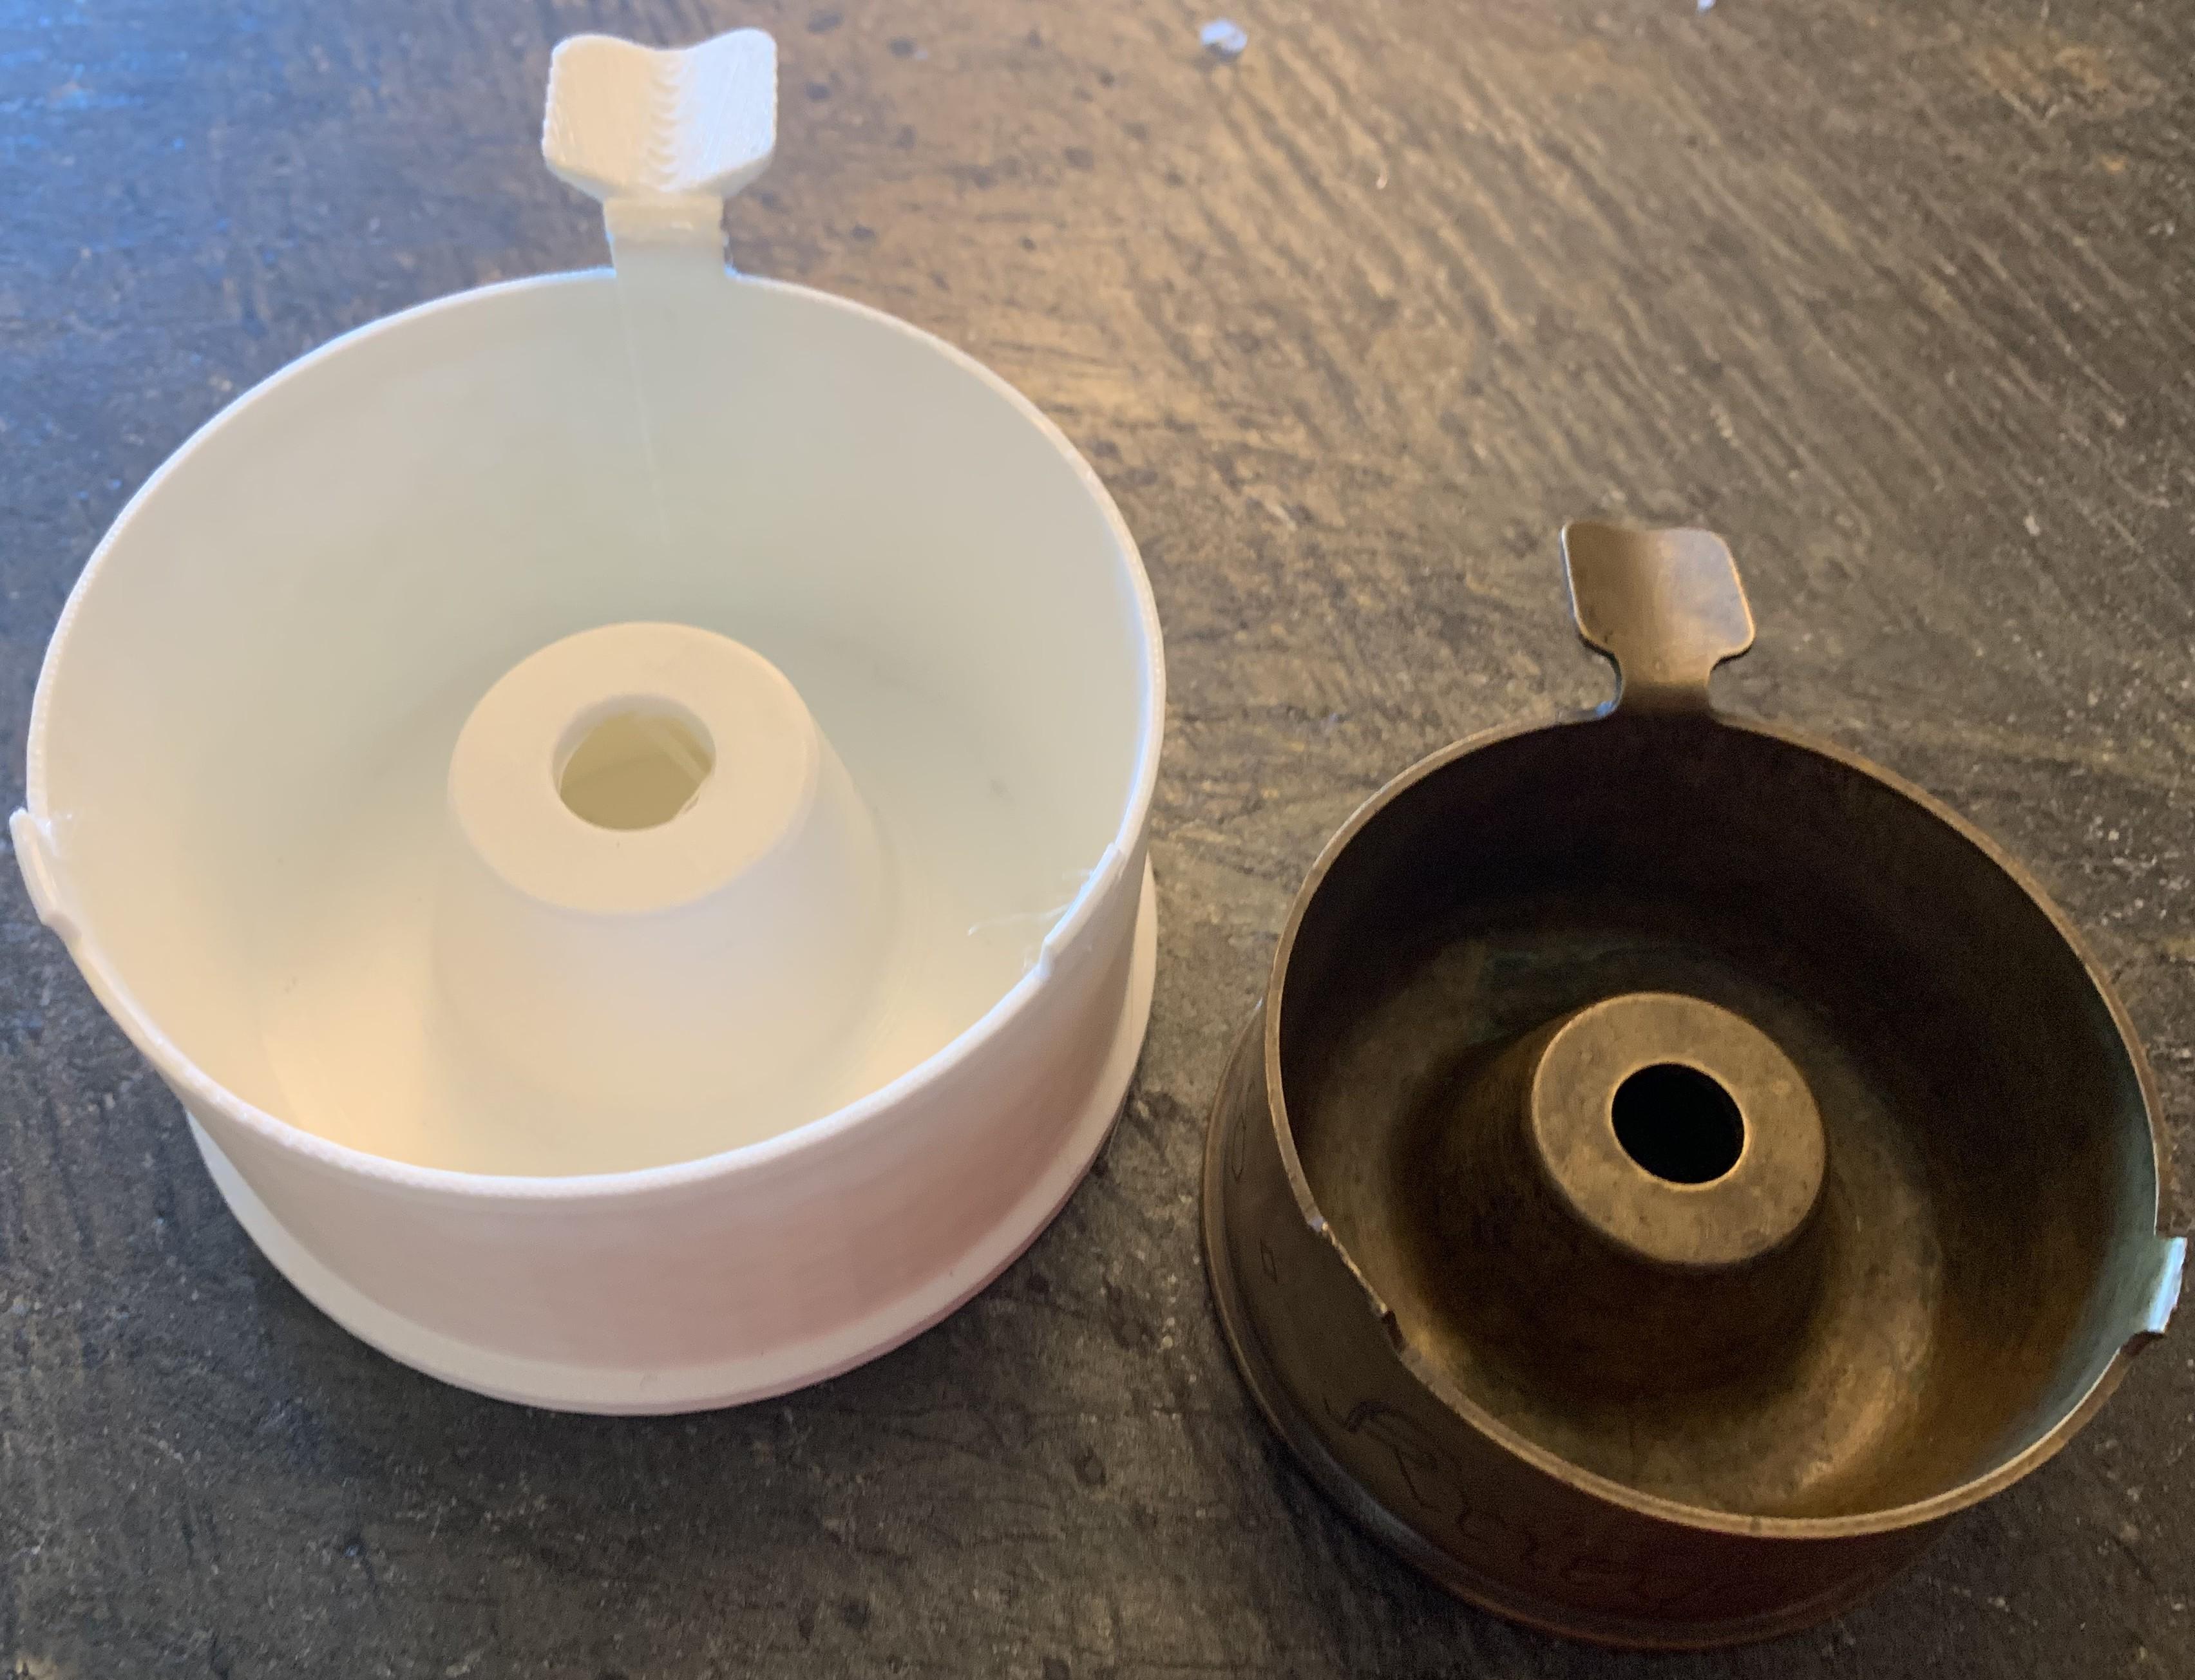
Ever see something around your house and just think, "I wish I had something that looked mostly like this, but giant and made of plastic"? If so, I've got you covered. Using CAD software, a 3D printer, measurements, and some guesstimating, I will give you some tips to supersize your own objects. I made my object from an old artillery shell bottom (?) which was my grandfather's. He served in WW2 and fought in Germany, and he took this shell back as a memento, complete with German writing I can't read. It is very nice and a cool desk object, and I thought it would be interesting to supersize it. Please note that I am a novice, and that these models will not be exact in terms of dimensions, but should be close enough that nobody will notice the difference.
Supplies
An object to work on
A working 3D printer and all the necessary equipment to run it.
A computer
A CAD program you know how to use
Calipers
Optionally:
Other measurement devices
Paint and other decorations
Plastics glue (if you want a
Step 1: Base/Basic Structure
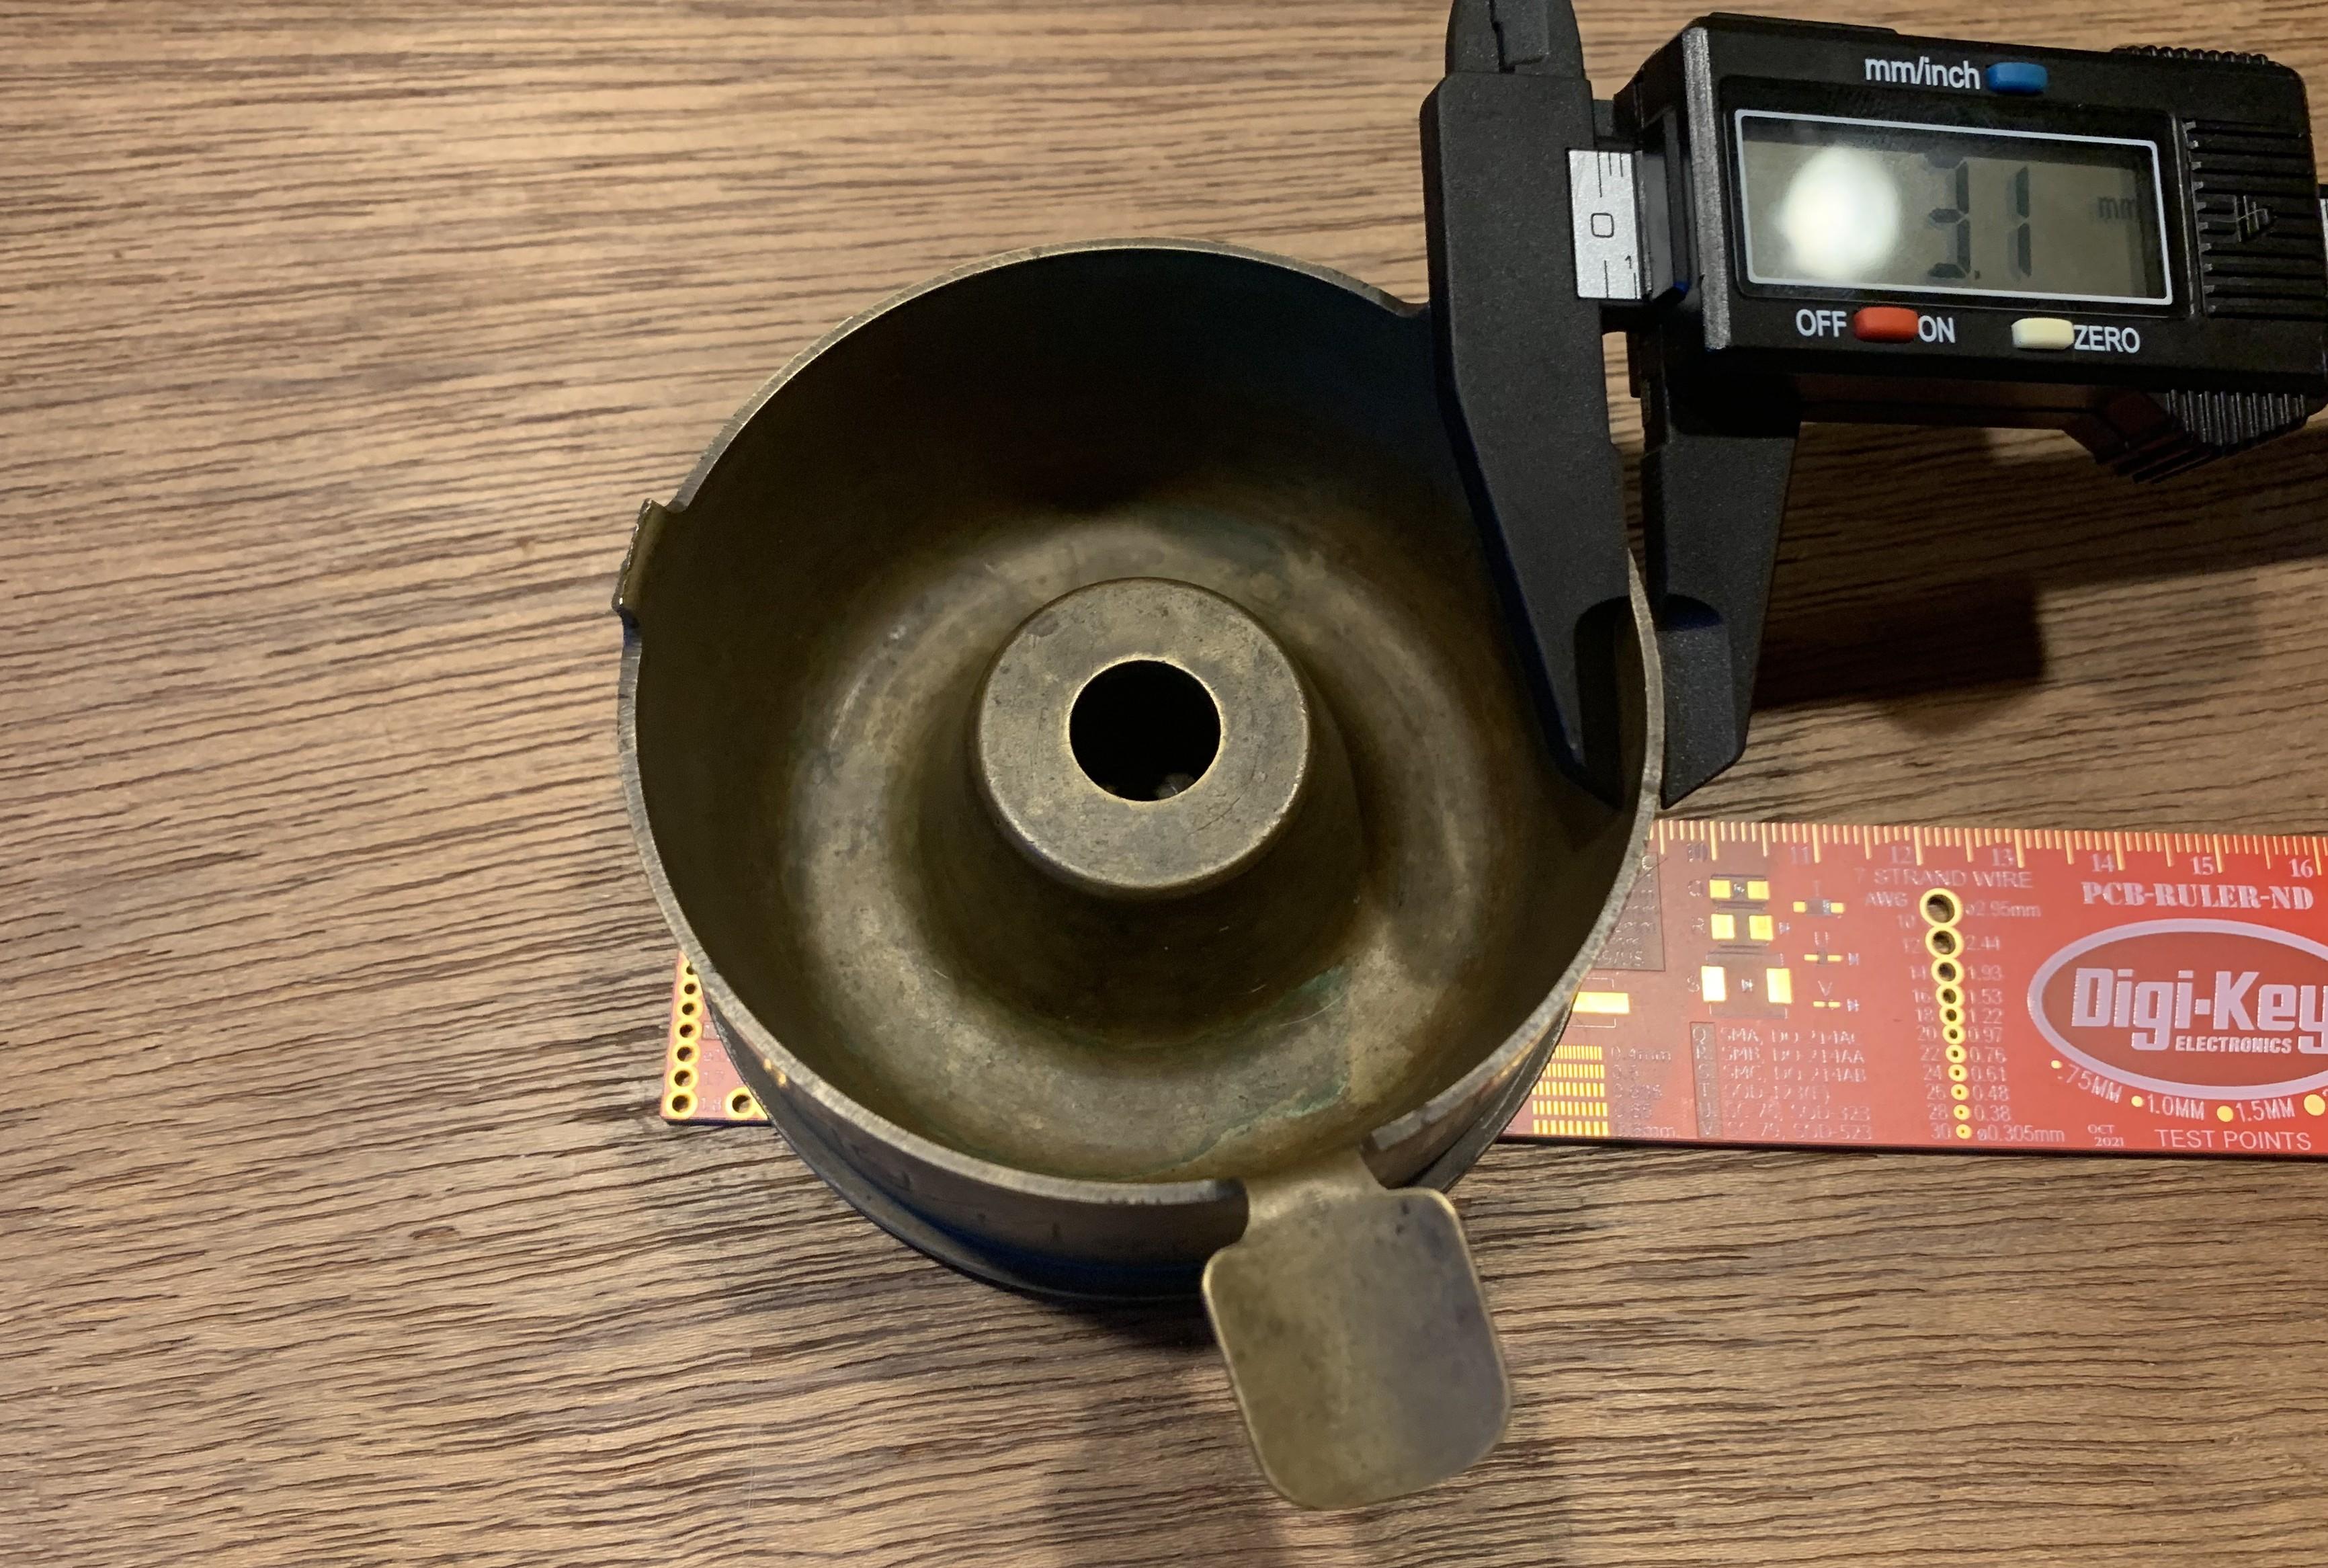
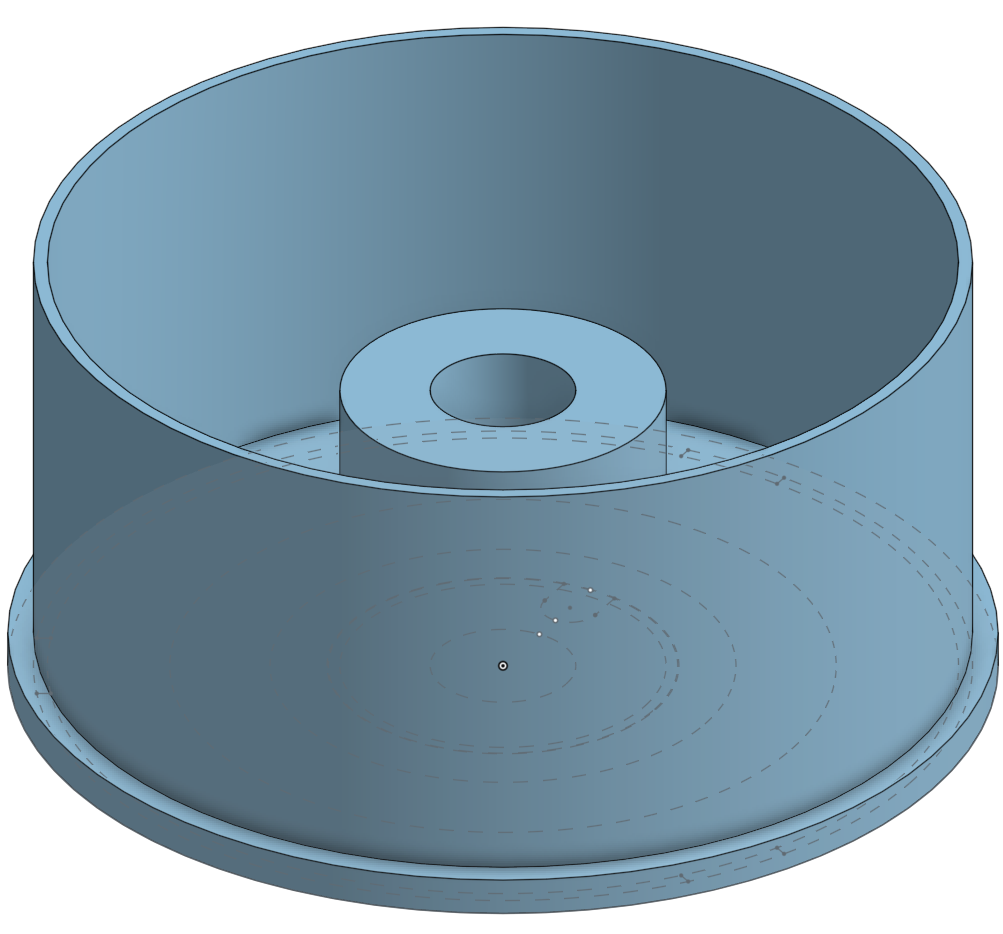
This is the first part of the design. Start by measuring the general dimensions of the largest features of the project. This for me was the diameters of the lip, main wall, a circular pattern on the bottom of the shell, along with a few other things; along with various dimensions. On your object, such as an USB stick, this would be the general body of the USB stick, excluding text and rounded or complex geometry. I put this all on one master sketch, along with some smaller features, like the little window-shaped things inside the circle on the bottom. Once you have everything in a sketch, use your calipers/ruler to figure out how far each part needs to be extruded or revolved to create the right 3D shape. One optional thing you can do if you wish to resize everything in cad alongside/instead of in your slicer is create a variable in your cad program, I called mine #shell_increase, and define every feature you wish to be sized up by * .Please note that I did not include drafts, fillets, chamfers, or anything other than extrudes or revolves in this step; those will come in the next step.
Step 2: Adding Some Curves and Complexity to the Base
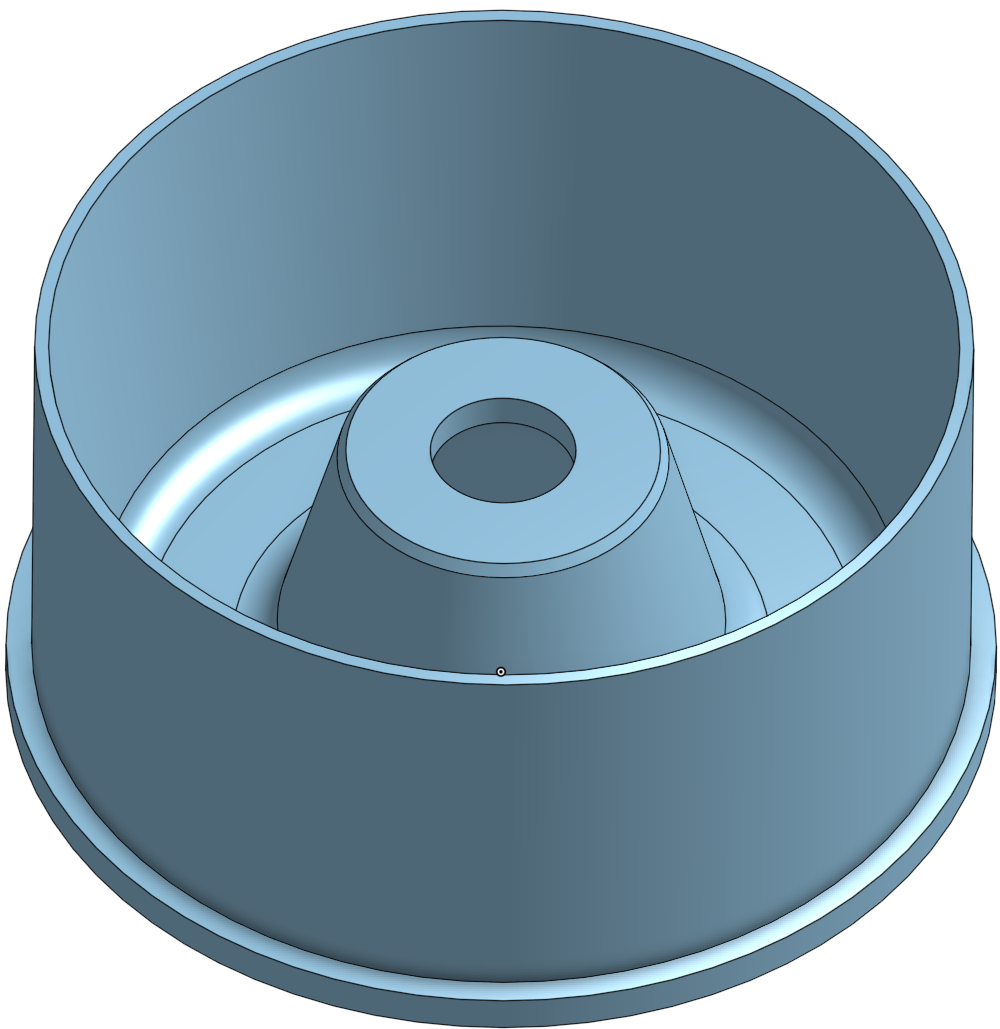
Very few objects are perfect rectangles or spheres, often they have slanted sides, curved corners, and other non-right angle geometry for both style and function. Properly replicating an object means respecting these geometries. In my case, I had a draft on the main wall which went 4.8mm out from the top of the wall to the top of a fillet on the bottom of the wall. The centerpiece also had a draft and a fillet, along with a small chamfer at the top of the outer ring and a draft on the inside which follows the outer draft. With our USB example, this might be rounded corners. You can figure out the rough dimensions and angles of things by using your calipers, and your cad program. To find the angle of a draft, create a sketch with a right triangle in your cad program. Use your calipers to find how high and far out the draft goes, then input these values into the right triangle and then use the dimension tool to get the angle of the draft. For chamfers and fillets, it often can be better to use an option which allows you to input the distance moved in each direction, instead of the radius. If you are working with the optional variable you created at the start, you will most likely want to include it in the dimensions of the features. By adding these slight changes in geometry, the shape is already looking a lot better!
Step 3: Small Detail Additions
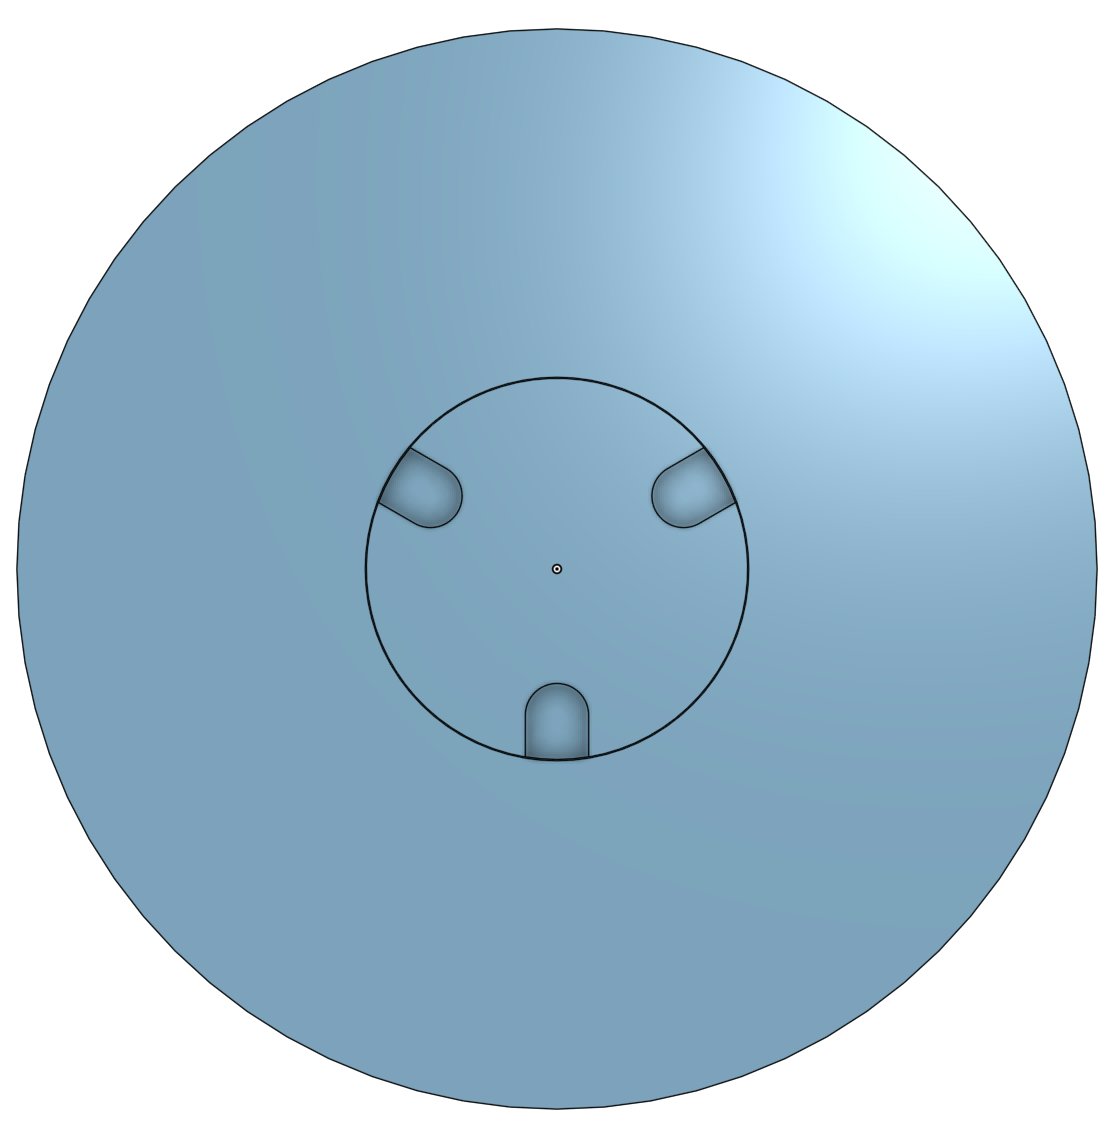
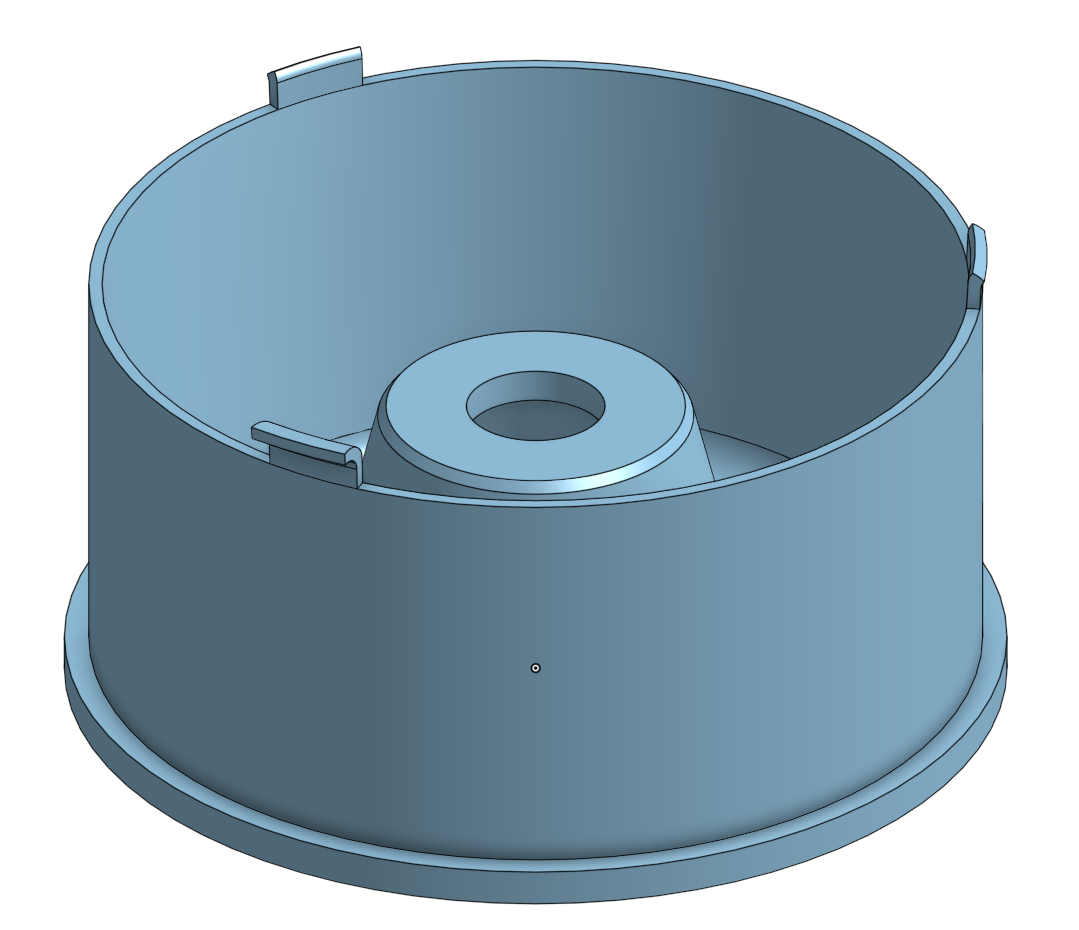
Often, shapes cannot be defined by a few extrudes and curves. Many things have small details sticking in or out of them, which are crucial for their character. This is the step where you add them. Some features, such as the bottom circle and the little window shapes in it or my shell or the head of a USB stick might already be defined in your main sketch, so all you need to do is extrude/revolve and then do whatever filleting or drafting you need to do. Others, such as the broken pieces on top of my shell or the details on top of the head of a USB stick, are likely not already on there, so you must create new sketches and add them. It is generally a good idea to define these based off of the existing dimensions you have already created, for example I defined the width of the broken pieces using the width of the wall they were a part of. Since I revolved them (I revolved one and then used a circular pattern to copy it; I did the same for the little windows), I needed to figure out how to revolve them, so I divided the width of the broken things by the circumference of the fall they were on and then multiplied by 360 to get the # of degrees I need to rotate it by. You obviously do not multiply measurements like this if you are using a variable, and some other features at this stage you may choose to avoid scaling with. These smaller features are crucial because they are often what best allows someone to identify the object and they give a lot of character.
Advanced/Harder Features
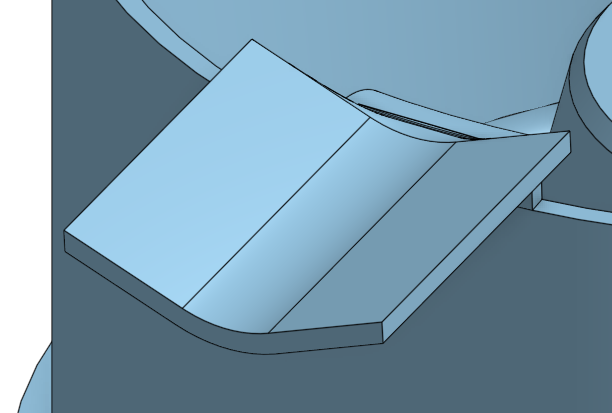
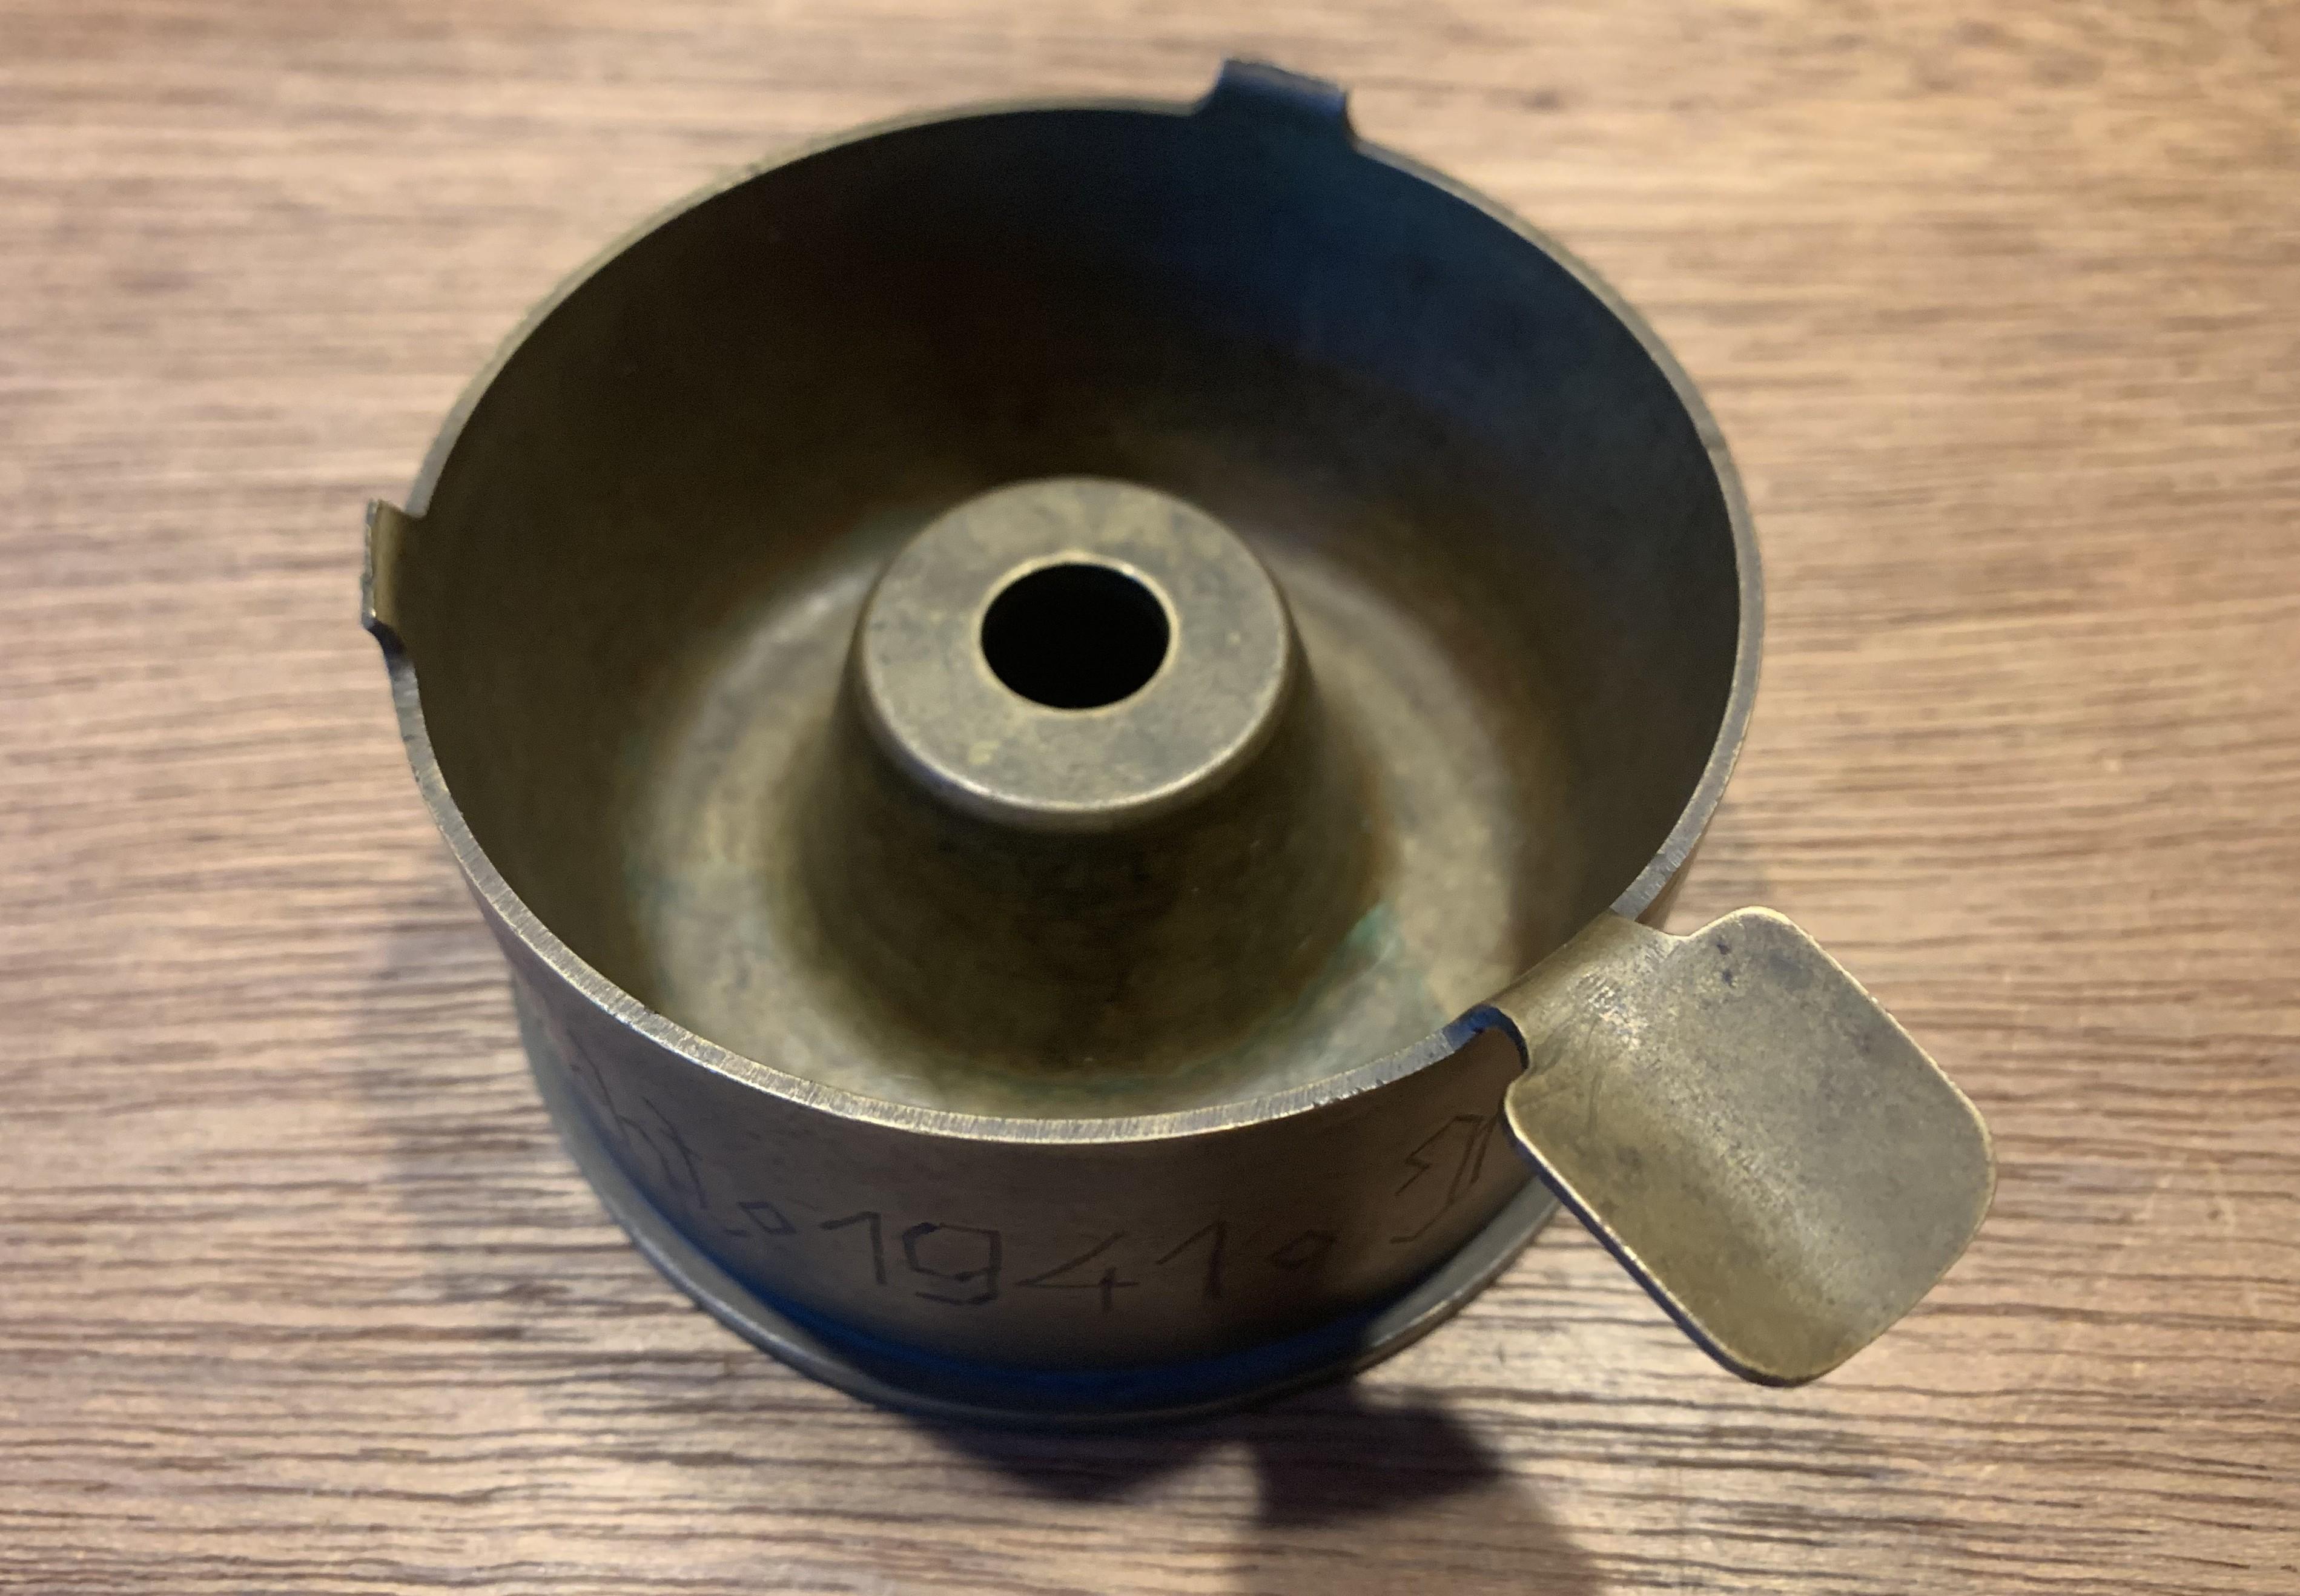
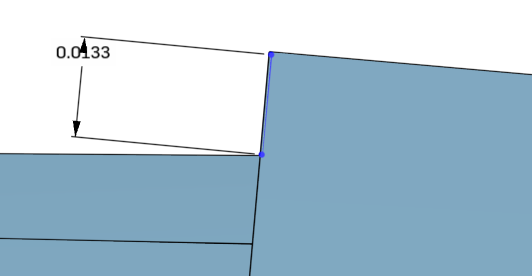
Especially as a novice CADder, there are certain things I struggle with, for this project, the still intact, but bent thing at the top was the hardest. I spent several hours trying to figure it out and it has about at many moves to define it as the entire rest of the cad. It is a mix of being on a non-right angle while being connected to another (revolved) part, while being curvy and bent, which makes it hard to define, It's not easy for beginners like me to make organic shapes like bends in metal. There's only so much I can recommend or help with here, So ill just give some tips which helped me personally as a beginner:
1. Lofts are super useful for complex geometry, especially if you define them so that they form right.
2. You can generally ignore small imperfections like the one in the picture because if they're significantly less than layer height, they won't even show up in the final print.
3. In Onshape, I found the line angle plane creation scheme to work for my purpose of creating a plane for the 5 degree inclined feature i was making off of another, already inclined feature it was tangent with. I extruded into the revolved object I was building the plane off of so that I could get straight extrudes.
4. Fillets, chamfers, and other smoothing can really help hide/remove stuff which juts out.
5. If extruding into a piece of geometry with non-constant distance from the extrude, extruding the very minimum amount possible to make it more smooth from the start.
Step 4: Finishing Off the CAD
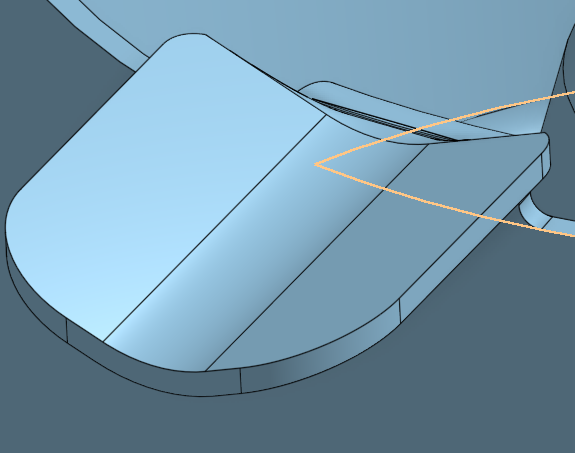
This step is pretty self-explanatory, measure and put fillets, chamfers, etc. where you haven't already to make it look accurate and good. This is an important finishing step to ensure that everything is correct and looks good
Step 5: Slicing and Printing
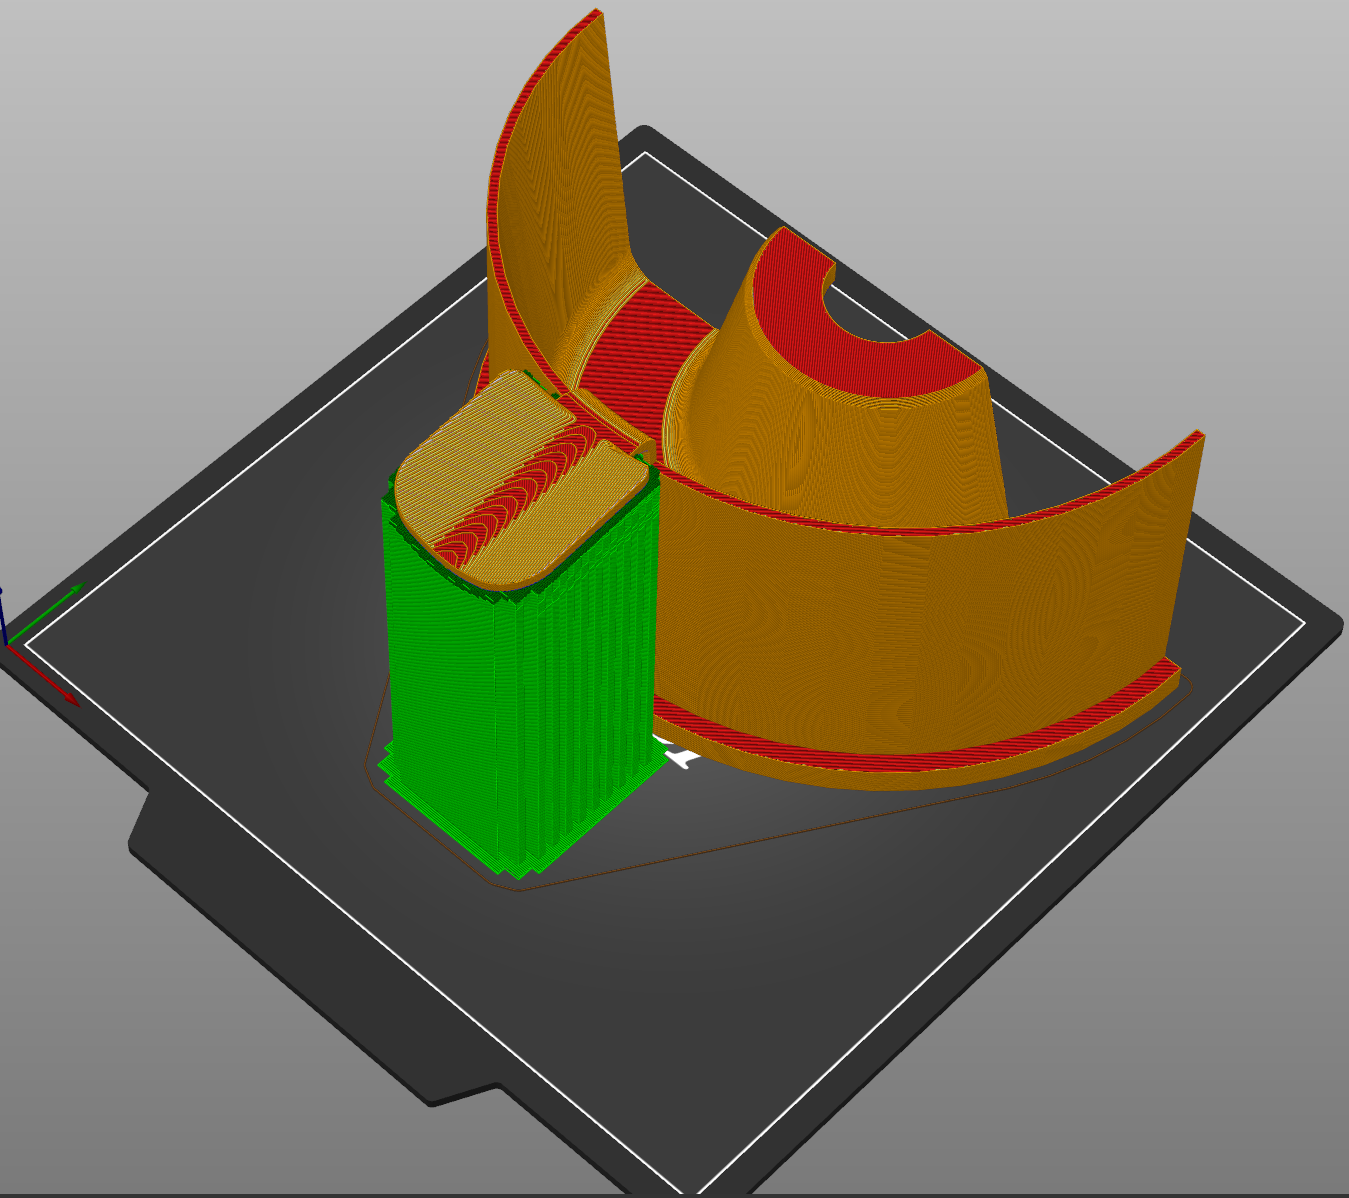
This is very straightforward, especially if you already are familiar with your printer. Most people probably won't need to read this.
1. Export the stl file from your CAD program as a .stl or .3mf.
2. Import the file into your program
3. Change your settings to fit the print, since this print will likely be large, I suggest using a layer height of 0.28/0.3 mm, which will cut 33% of the time off of a print compared to 0.2 mm, at the cost of precision.
4. If your model is too big to fit on the plate, many slicers will allow you to split models, in SuperSlicer, I had to rotate my model 90 degrees to do so as it only allows splitting in the z direction. WARNING: You will have to glue or otherwise attach these parts together after printing, which may leave noticable artifacts.
5. Slice gcode for the part and upload it to your printer. If you split your model, you will need a file for every part you got by splitting, so don't delete the parts after they are split off, or it will be hard to match the parts up.
6. Print all of your parts
Word of warning: the thing sticking out from my print broke because the supports were too close to it, so watch out for that.
Final Step: Paint and Asthetics
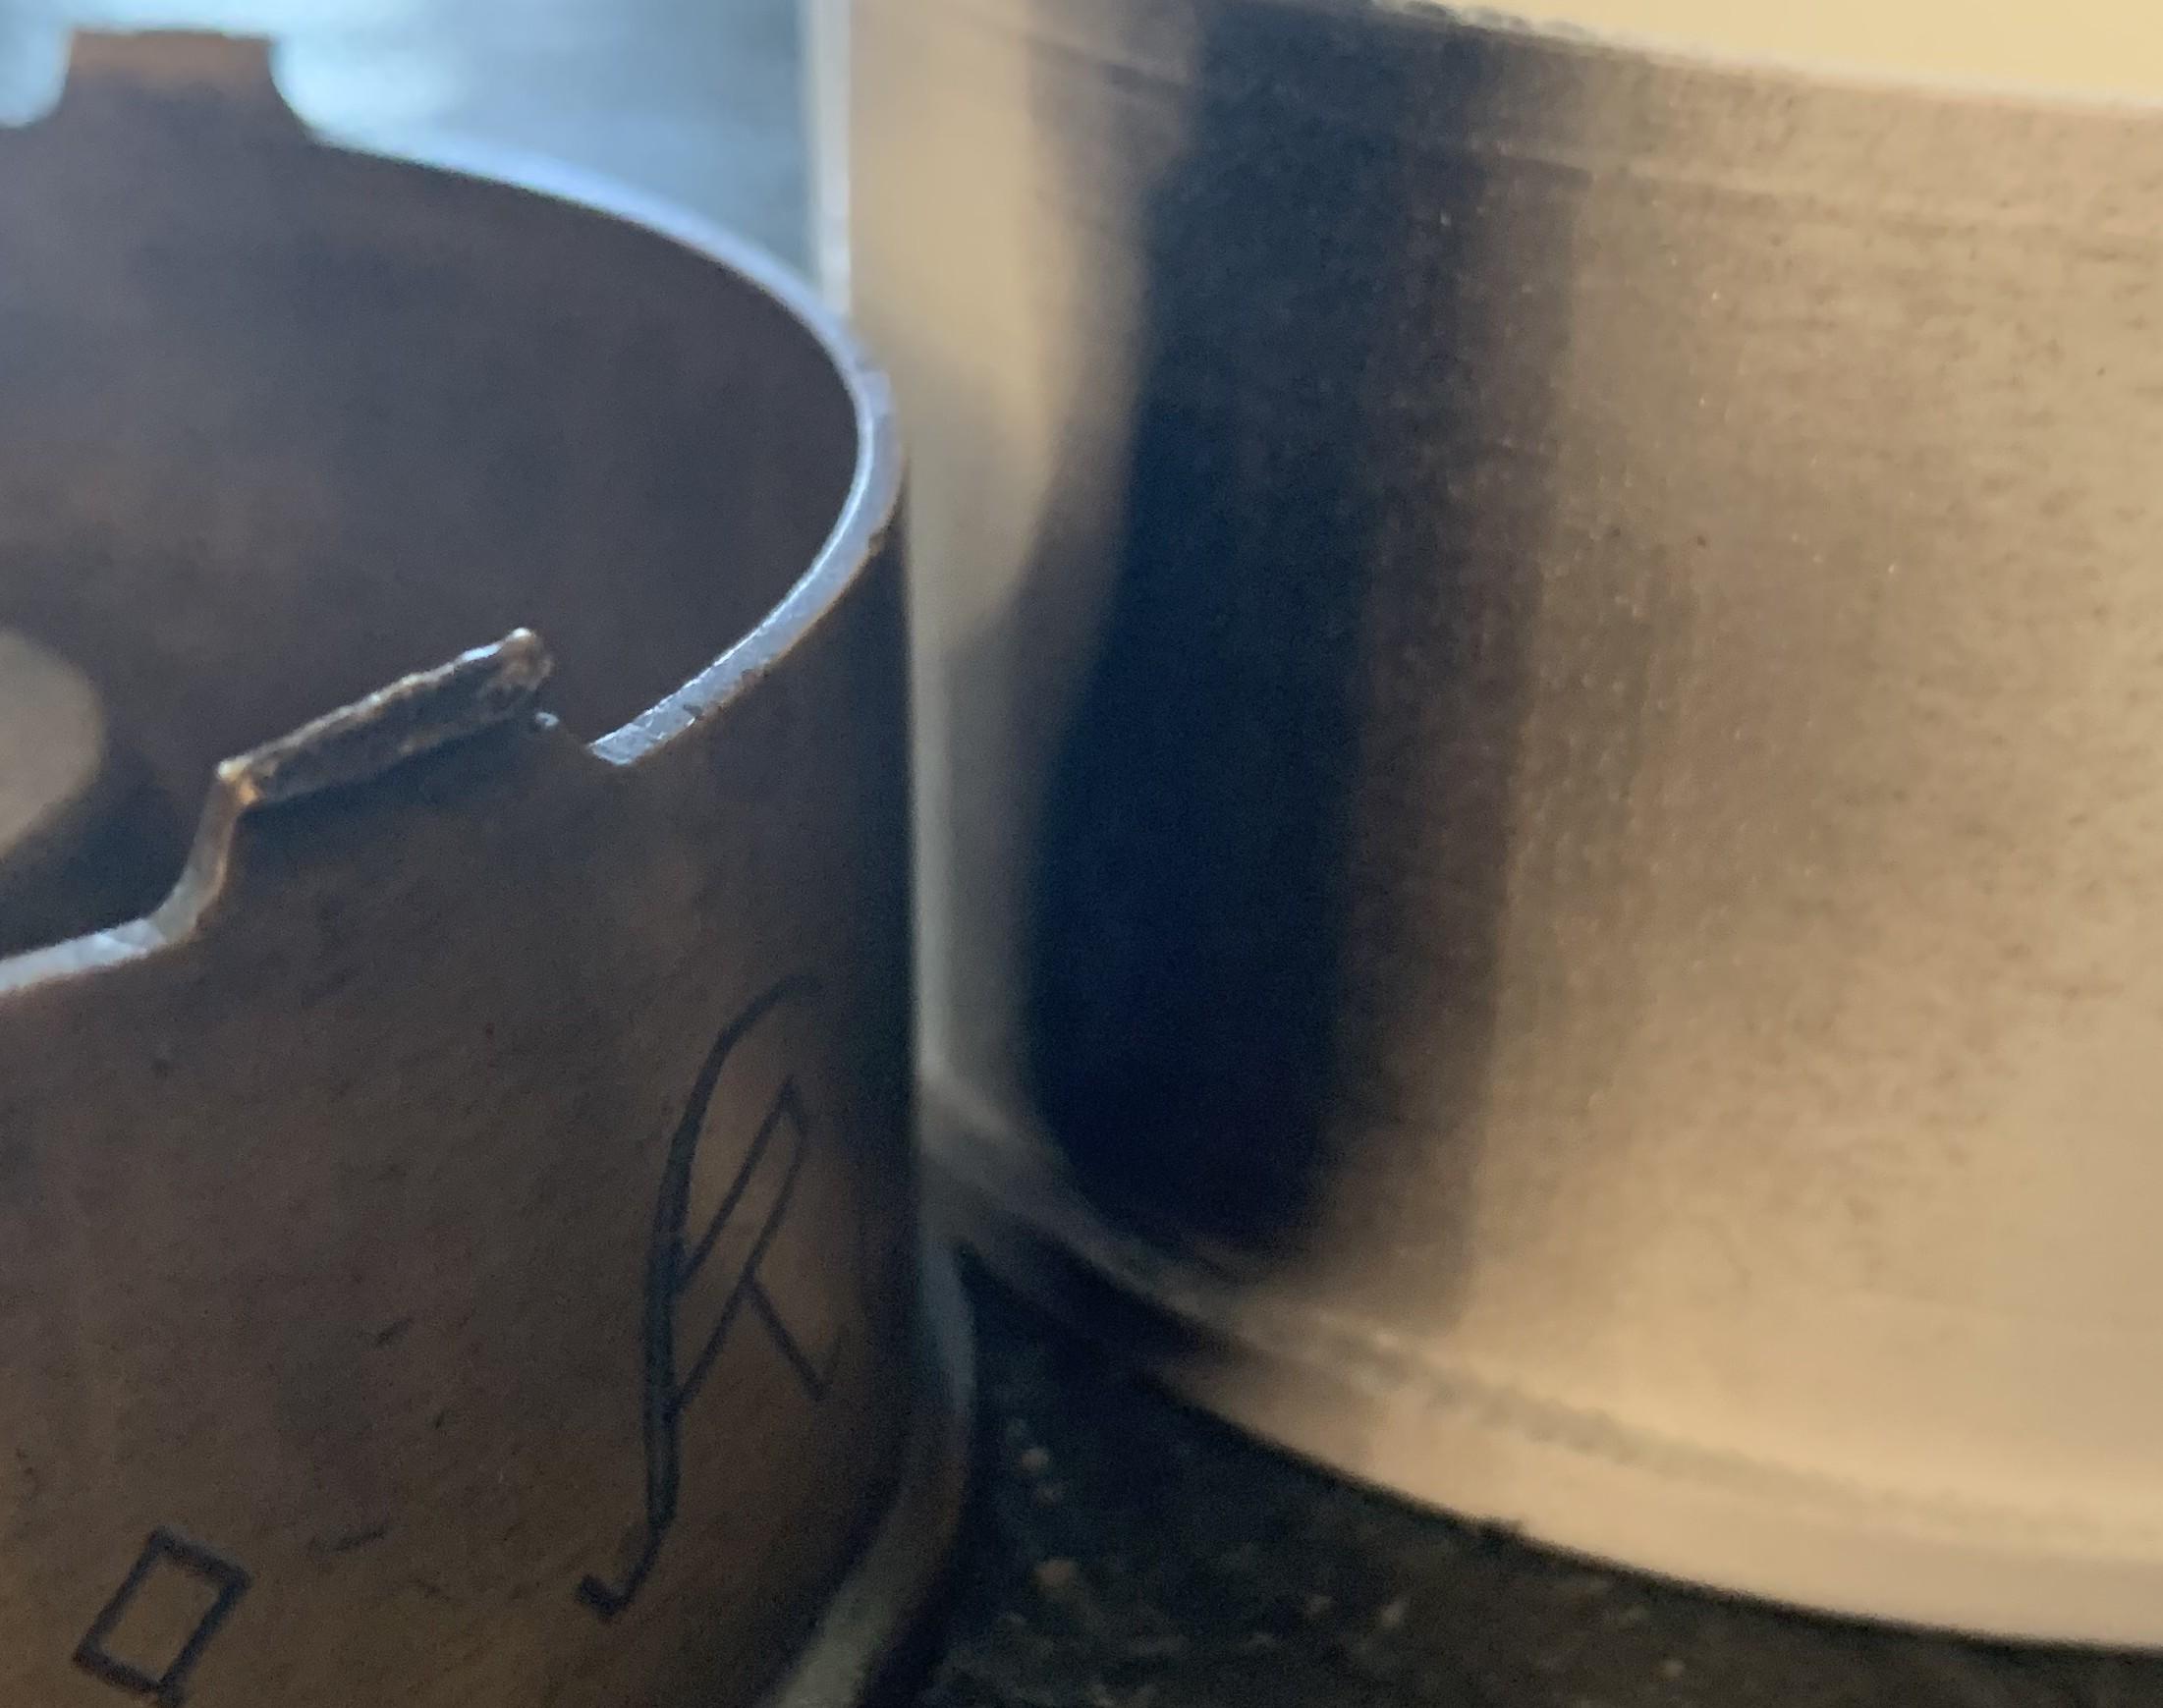
Whatever plastic you used probably doesn't match the look of the original object, or maybe you wanted something like text which is hard or impossible for you to do in CAD. If this is the case, as it likely is you may want to paint your new plastic object. Additionally, you may need to glue parts of your print together because you were unable to print it all at once. I havent painted mine yet because I learned the hard way to pick your paints right, as the picture shows, the spray paint I bought was "oil-rubbed bronze" and looked nothing like the shade the real shell is made out of, so I have left it white for now. Once I get the right spray paint, I also plan to paint on the text, which is a weird, handcrafted (I assume) font and would've been hard to replicate via CAD. If you want the object to look right, this step is absolutely critical, for both the overall color and details that can't be CADded.
After this, you can let the paint dry, and you're done! You have a completed, giant copy of your object, although likely significantly less dense and not super dimensionally accurate.