How to Create LED Arduino 3D Printed Christmas Tree Lamp
by dziubym in Circuits > Arduino
2373 Views, 23 Favorites, 0 Comments
How to Create LED Arduino 3D Printed Christmas Tree Lamp
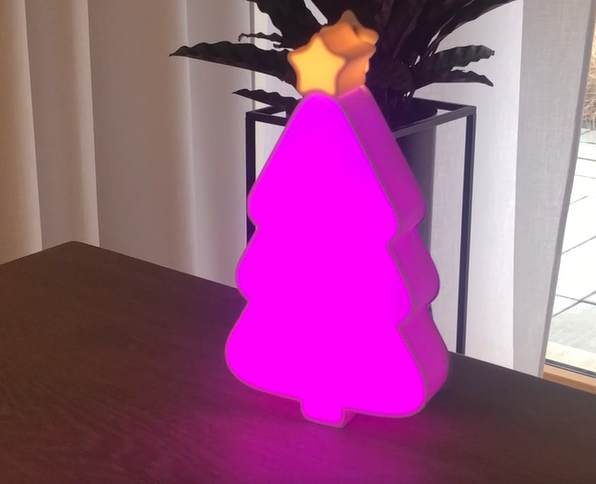

In this tutorial I will show you how to make christmas tree lit with
WS2811 or WS2812 built in LED strip, out of clipart schape I found in the internet.
Hope you like it and moreover you would use this procedure to create your own christmas trees in different shapes and different color lighting patterns.
Turning Clipart Found in the Internet Into Outline Vector Image
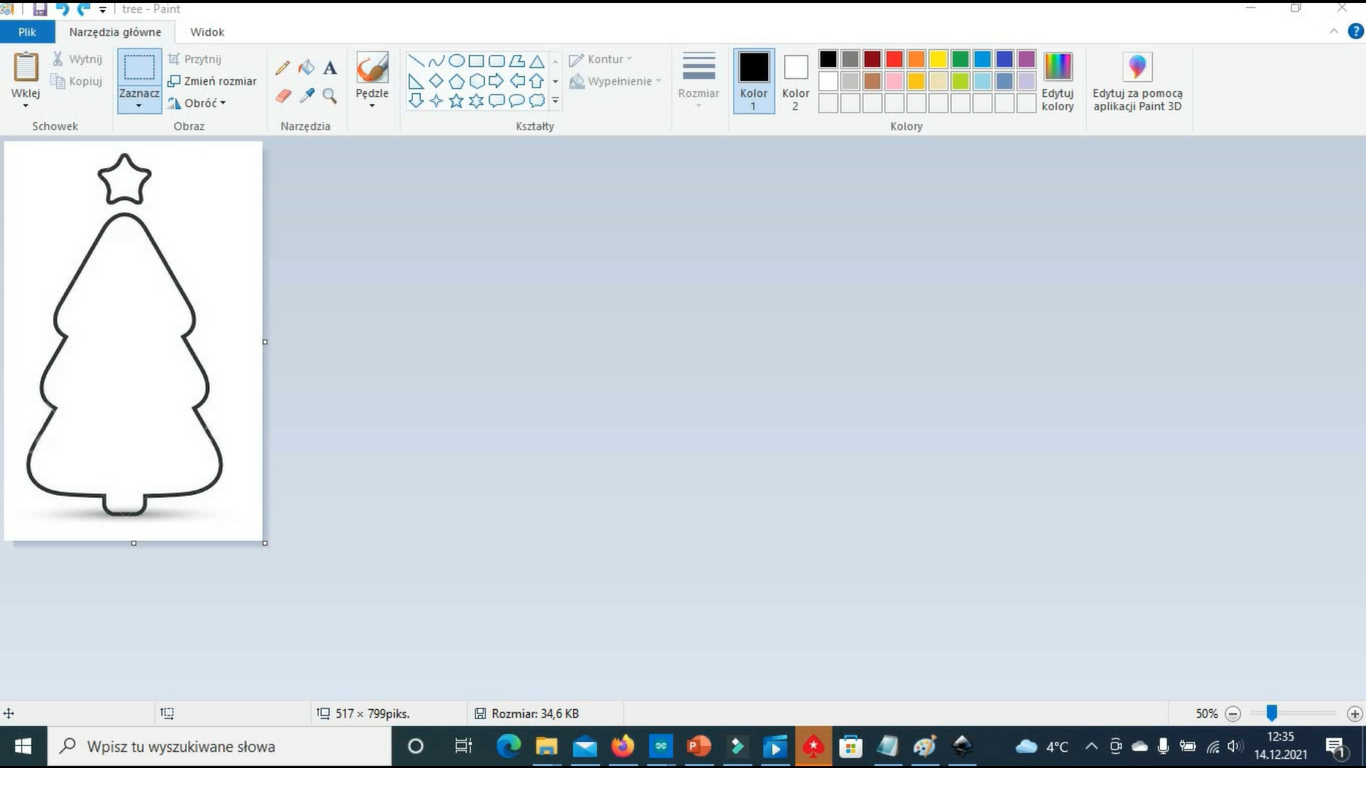
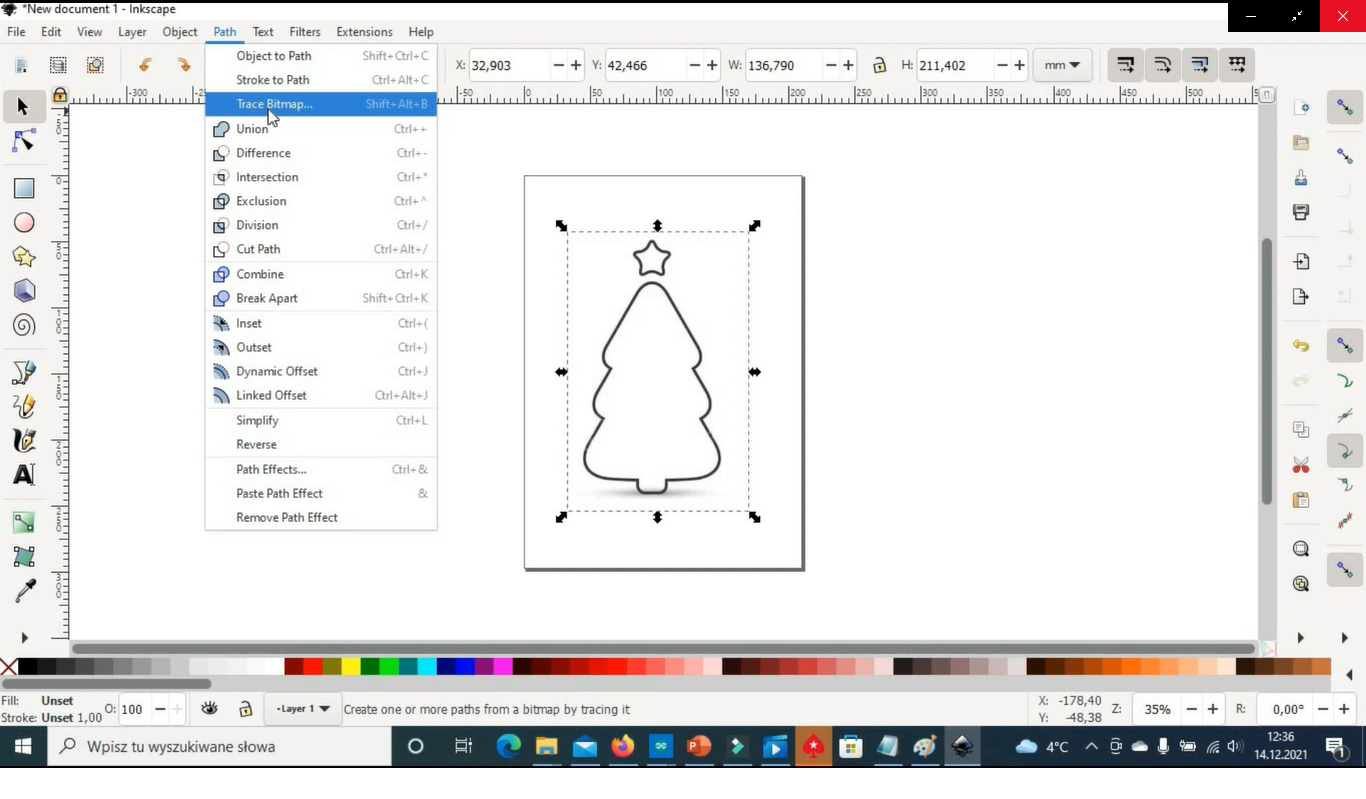
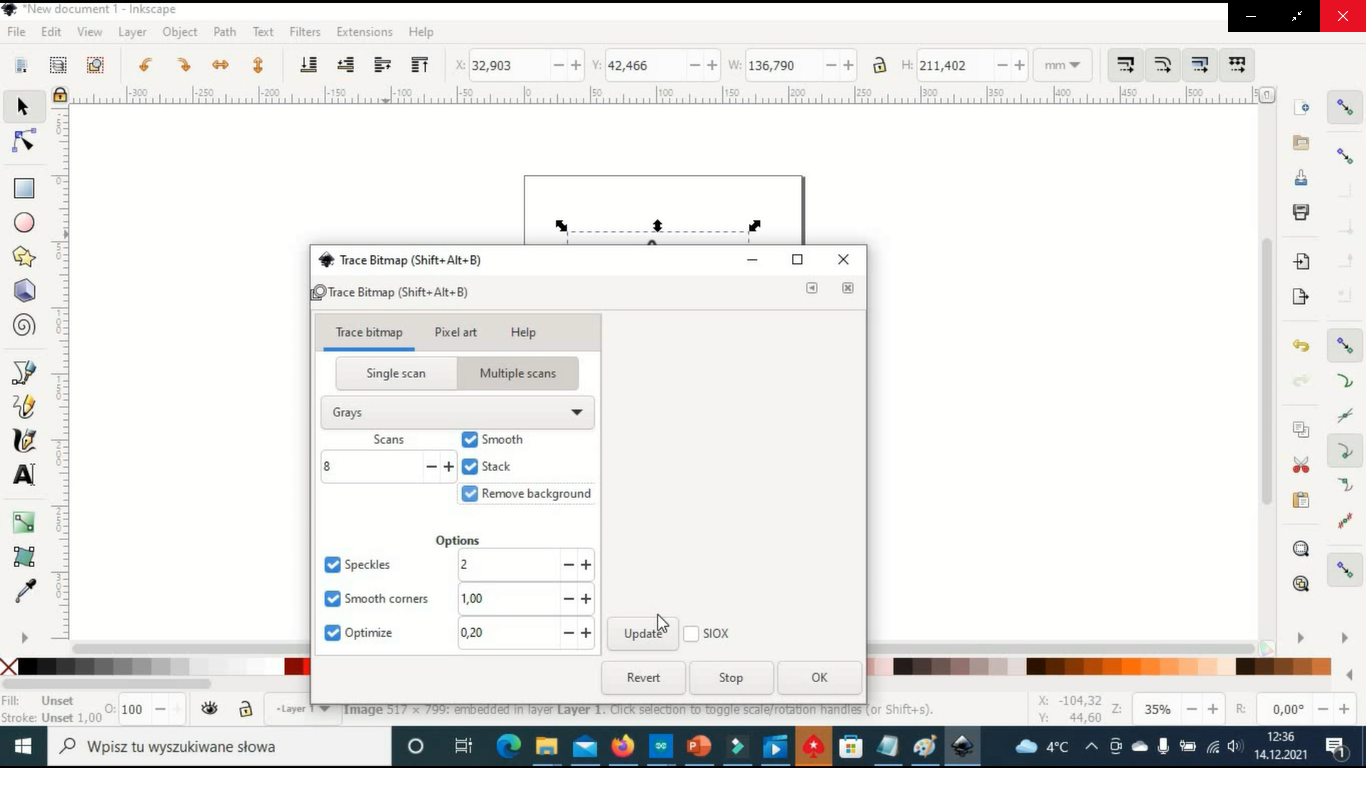
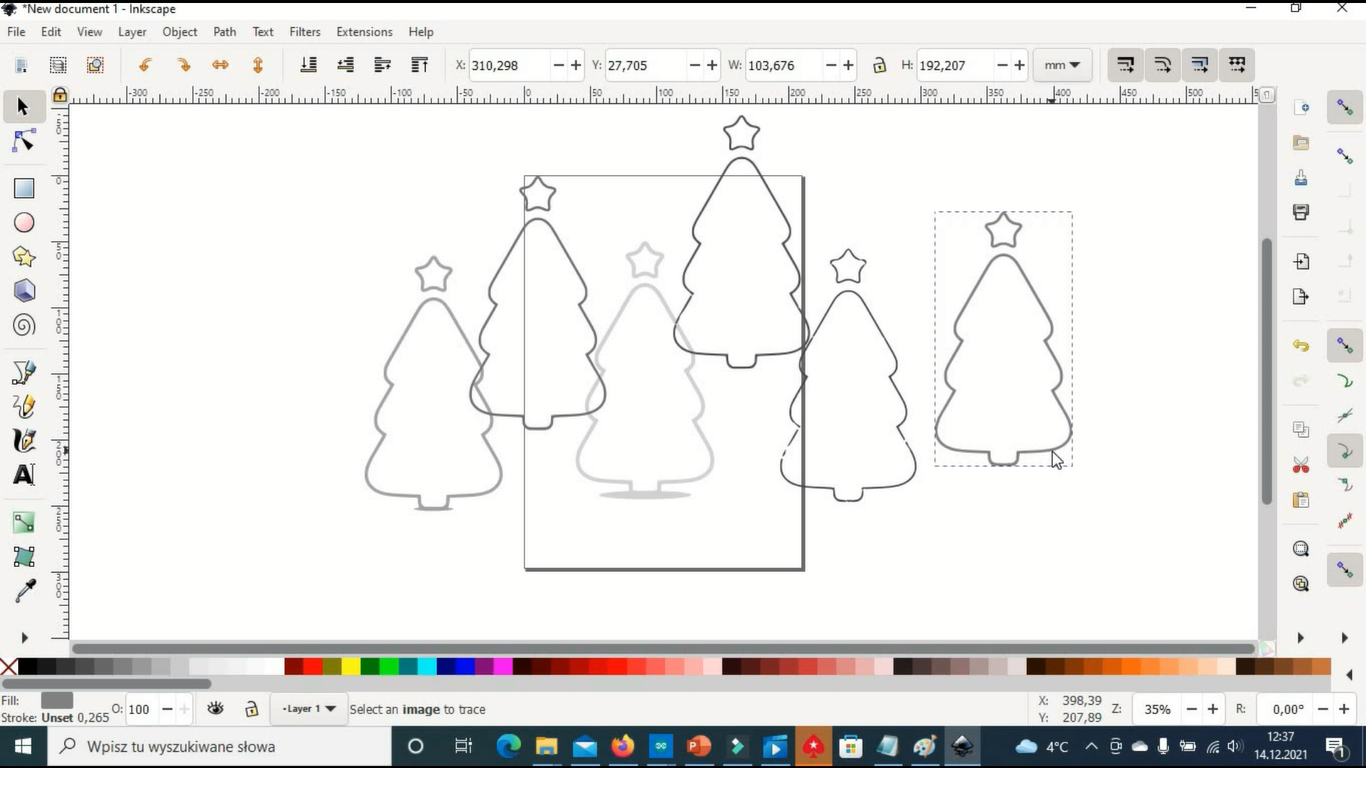
Follow following steps:
- Crop image in paint
- Open it in inscape
- Select the image and go to Path->Trace bitmap
- Select Multiple scans , Grays and checkall three check boxes
This will create the stack of 8 vestors each representing different shade of gray.
- Ungroup the stack and choose the vector you like best
- Save the vector into SVG file format
Edding Solid Fill to a Clipart and Creating Second Vector Image
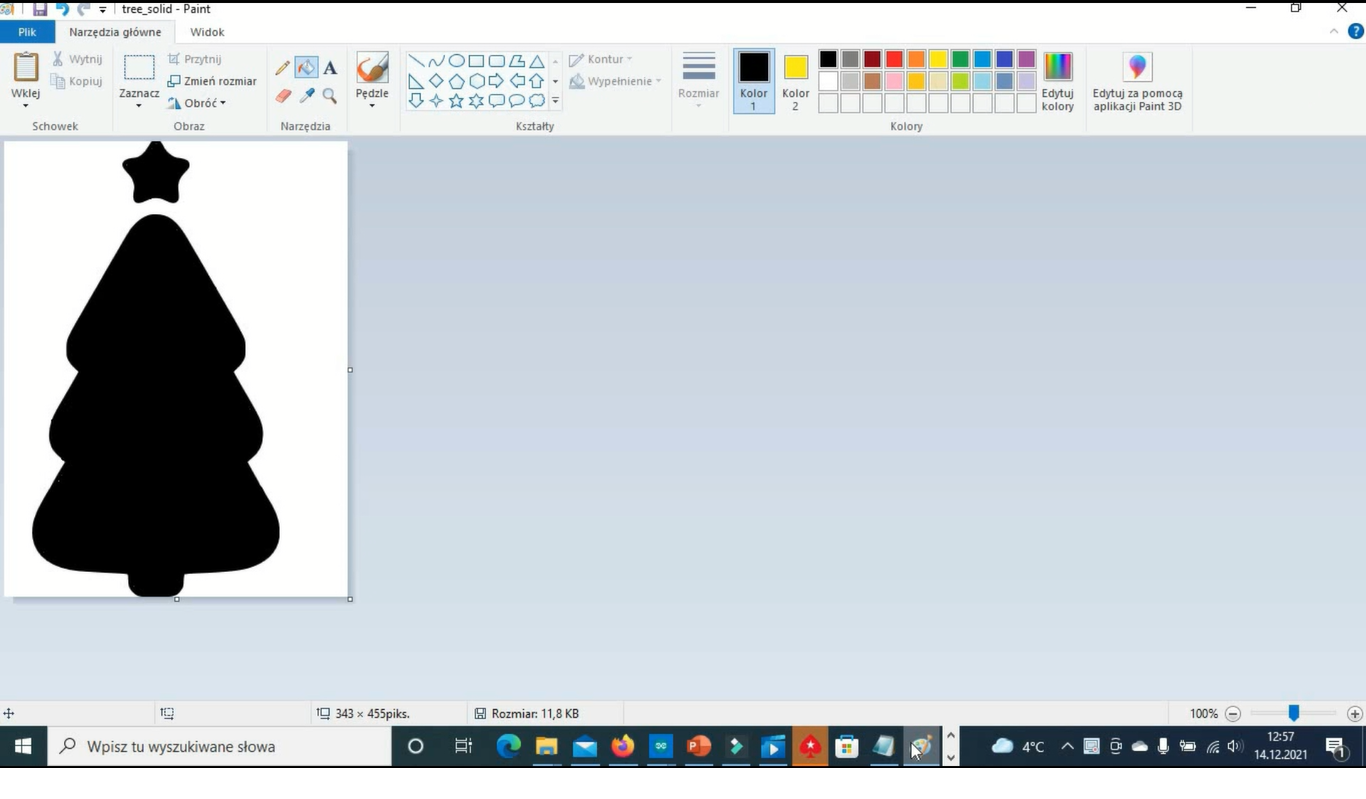
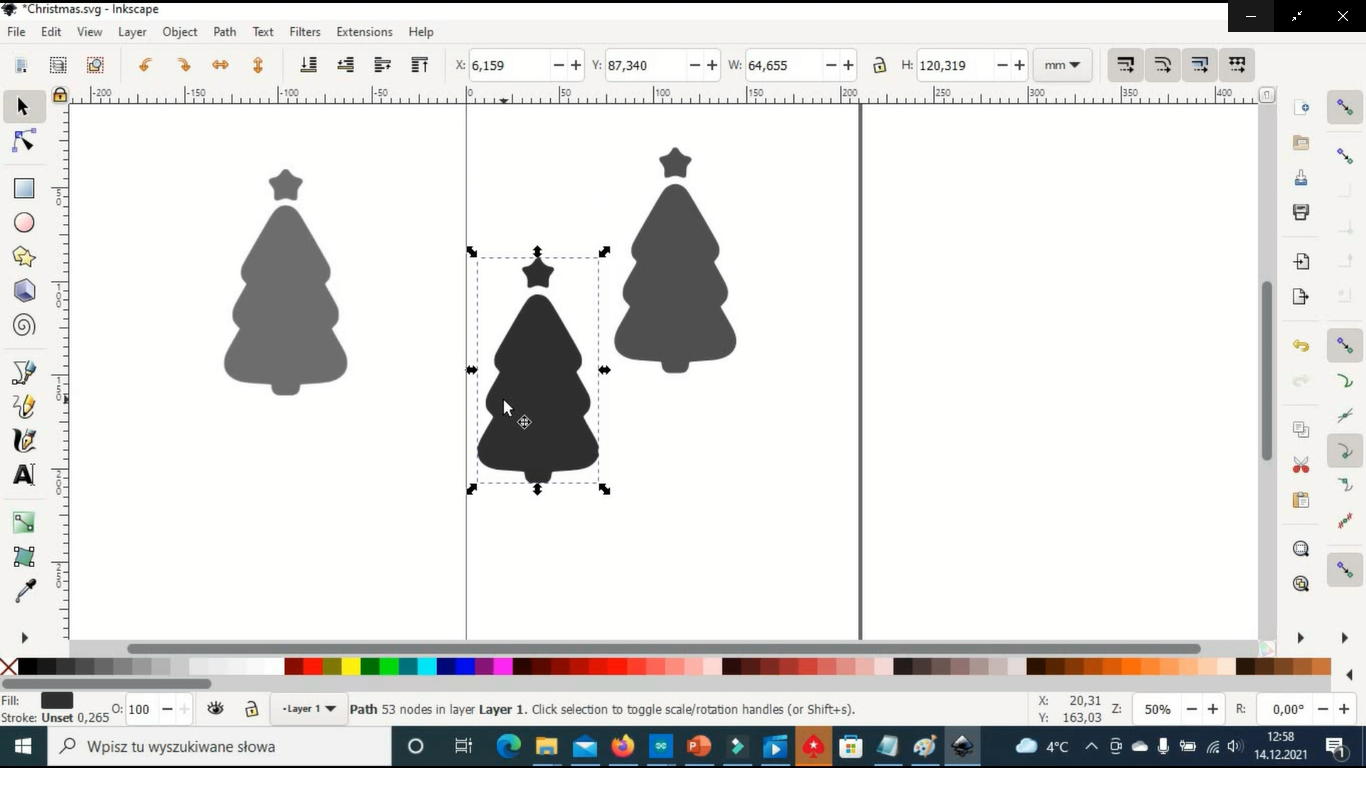
In paint we edit our clipart to add a solid fill and again open it in inscape and repeat the same procedure. We end up with the second vector file.
Please watch the movies to waatch the whole process in details.
Creating 3d Model in Tinkercad

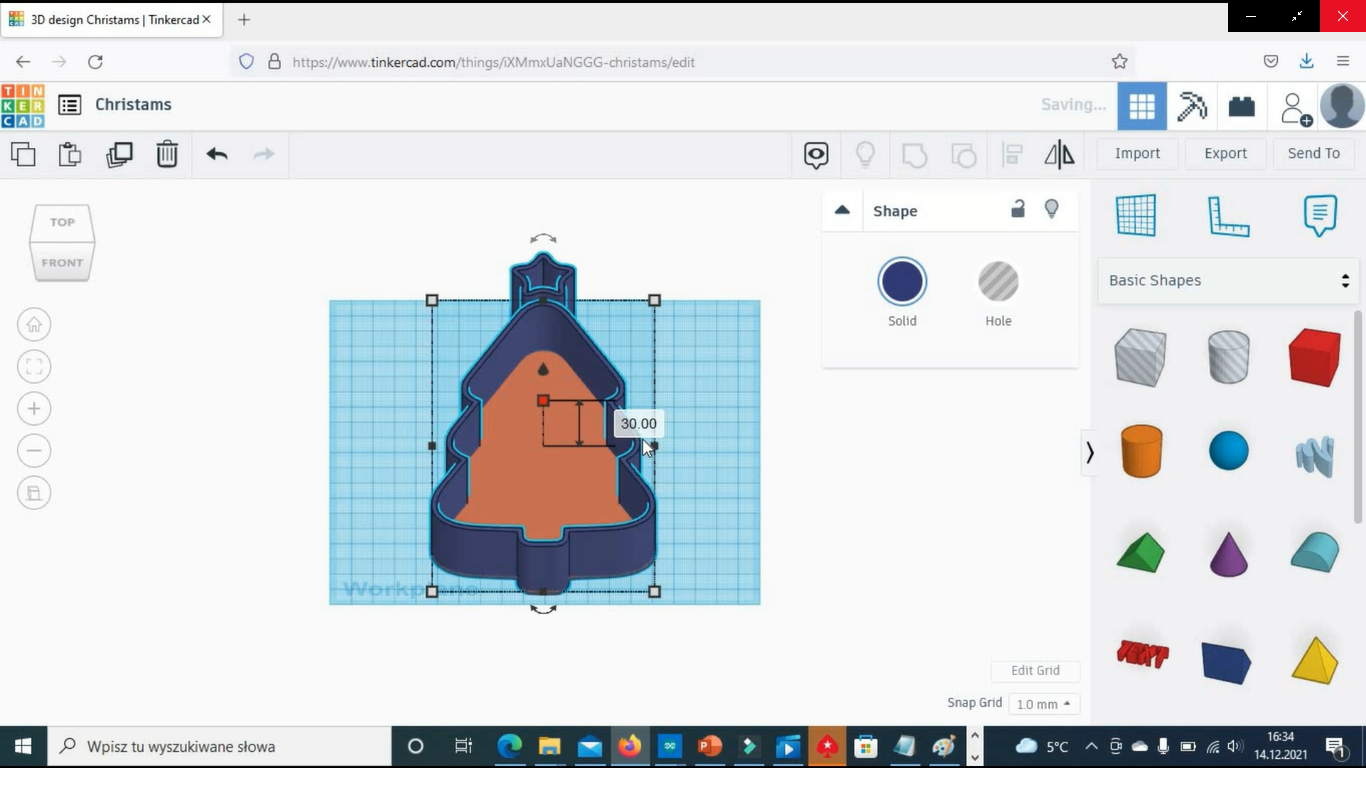

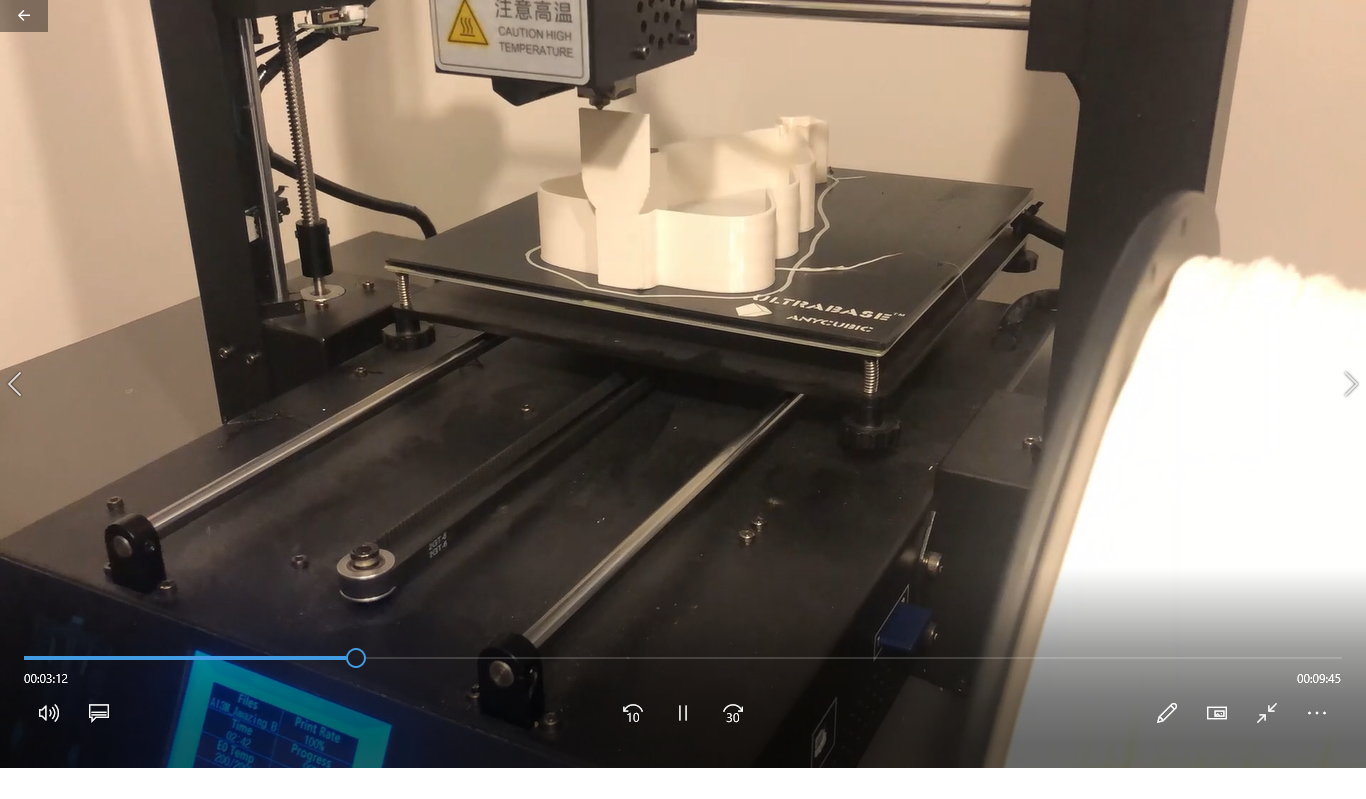


The two vector that we created can now be opened in Tinkercad.
To bult the 3d model you have to follow following procedure:
- Change the hight of the vector with solid fill to half a millimenter.
- Scale both vectors so they are of the same size
- Align both vectors
- Changing the hight of the outline vector to 3cm.
- Group the both objects together.
- Add shapes that would make the stand that will stabilise the tree but also provide the place for the arduino casing. Aligned and grouped the objects
Our 3d model is ready. It can be now send it to the 3d printer.
I also created back side of the tree with Arduino casing with closing lid . This has also been printed.
STL files would be attached at the end of this tutorial
Putting Leds on the Back Panel of the Tree
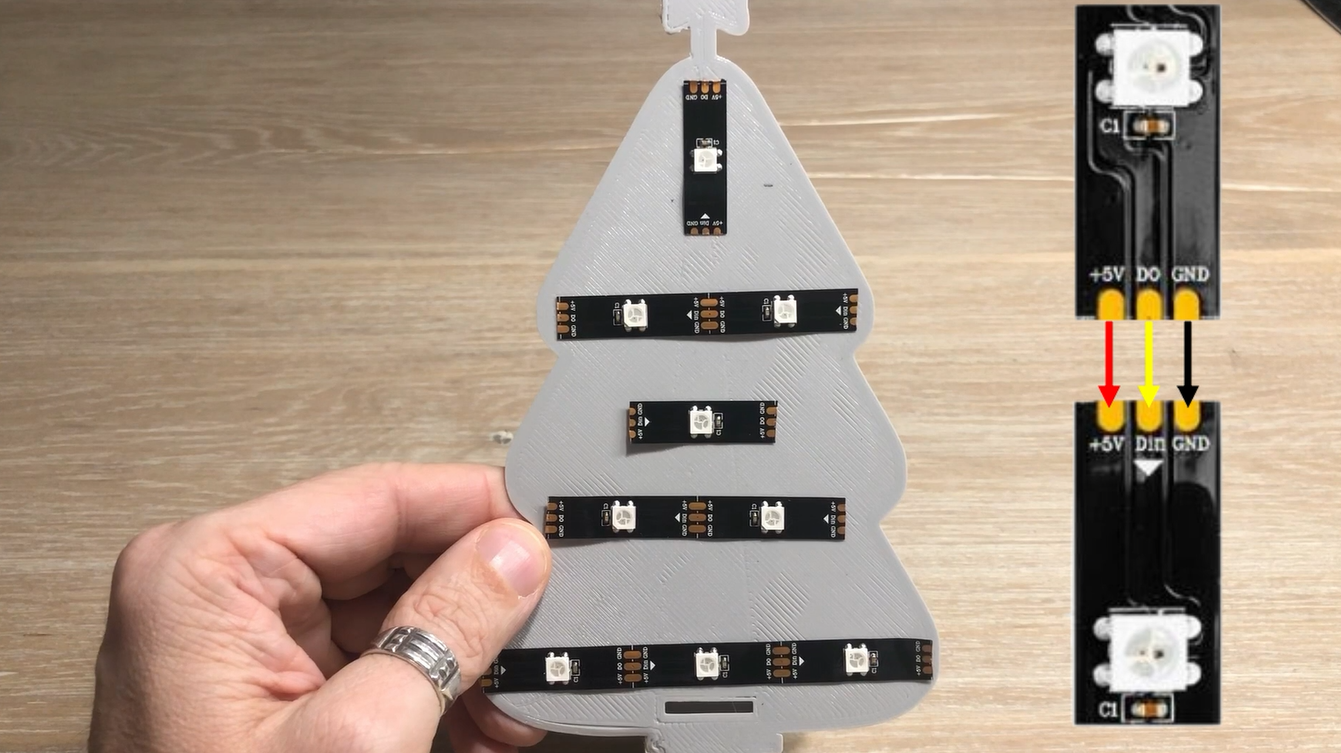
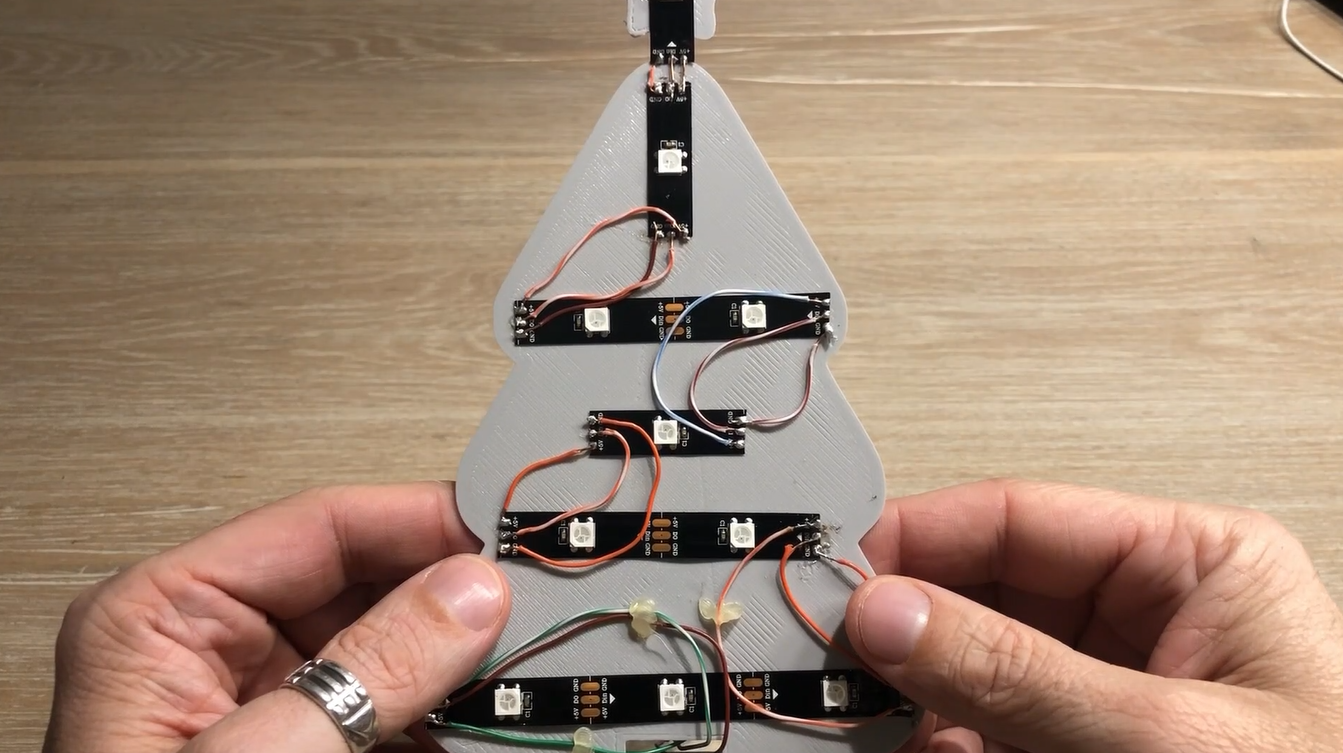
Next task would be to arrange the leds. I would be using WS2811 with 30leds/m. The plan is to have 10 leds in total. Each strip has the GND and 5v and signal connection. Please note that on one side of the strip you have data in and on the other side you have data out. So you connect the strip in this way that the data out of one strip goes to data in of the strip that is next in sequence.
You can see that we have cables connected to the first strip aregoing through the whole into the Arduino case.
Connecting LEDs to Arduino
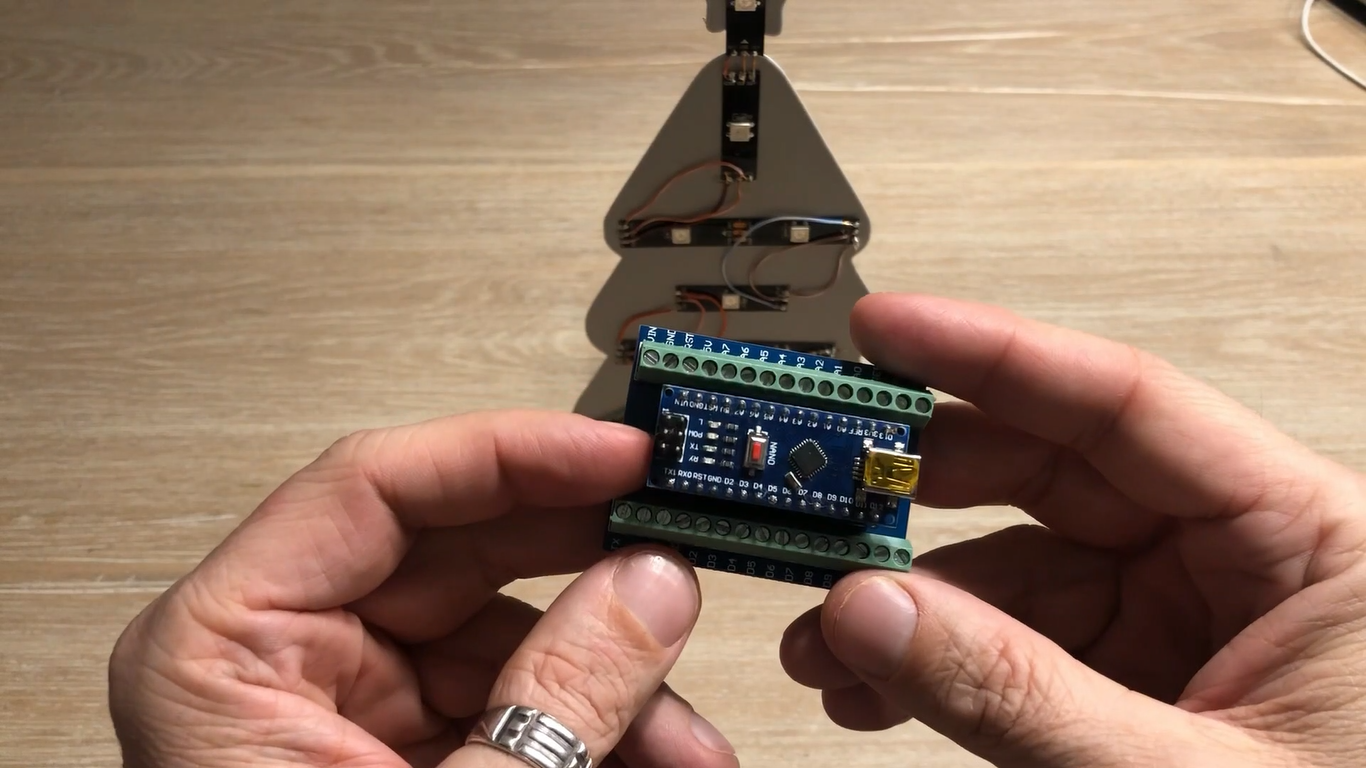
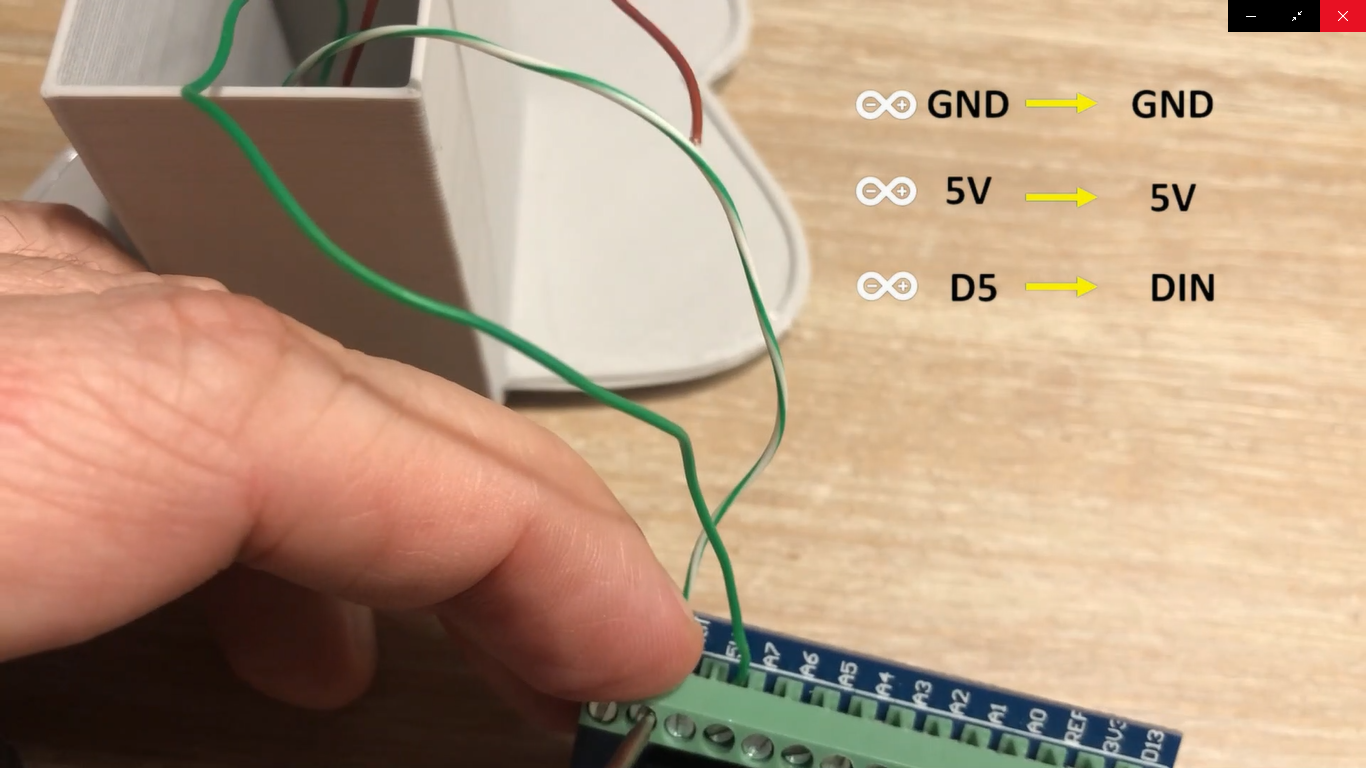
I will use the dedicated screw terminal for Arduino nano to make connectivity easier.
We connect the leds to Arduino in the following way:
- Ground goes to Arduino Ground
- 5v goes to Arduino 5v
- Signal goes to digital pin 5.
Installing FASTLED Library
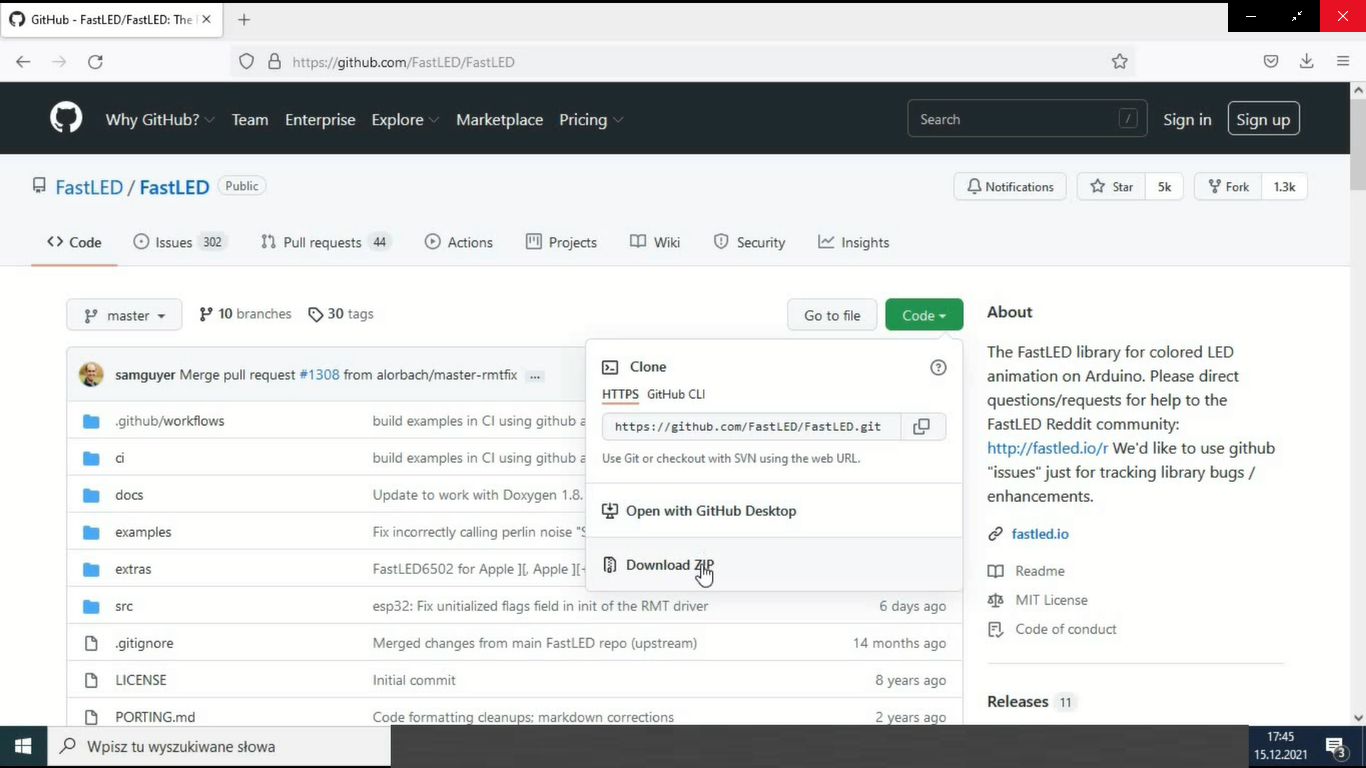
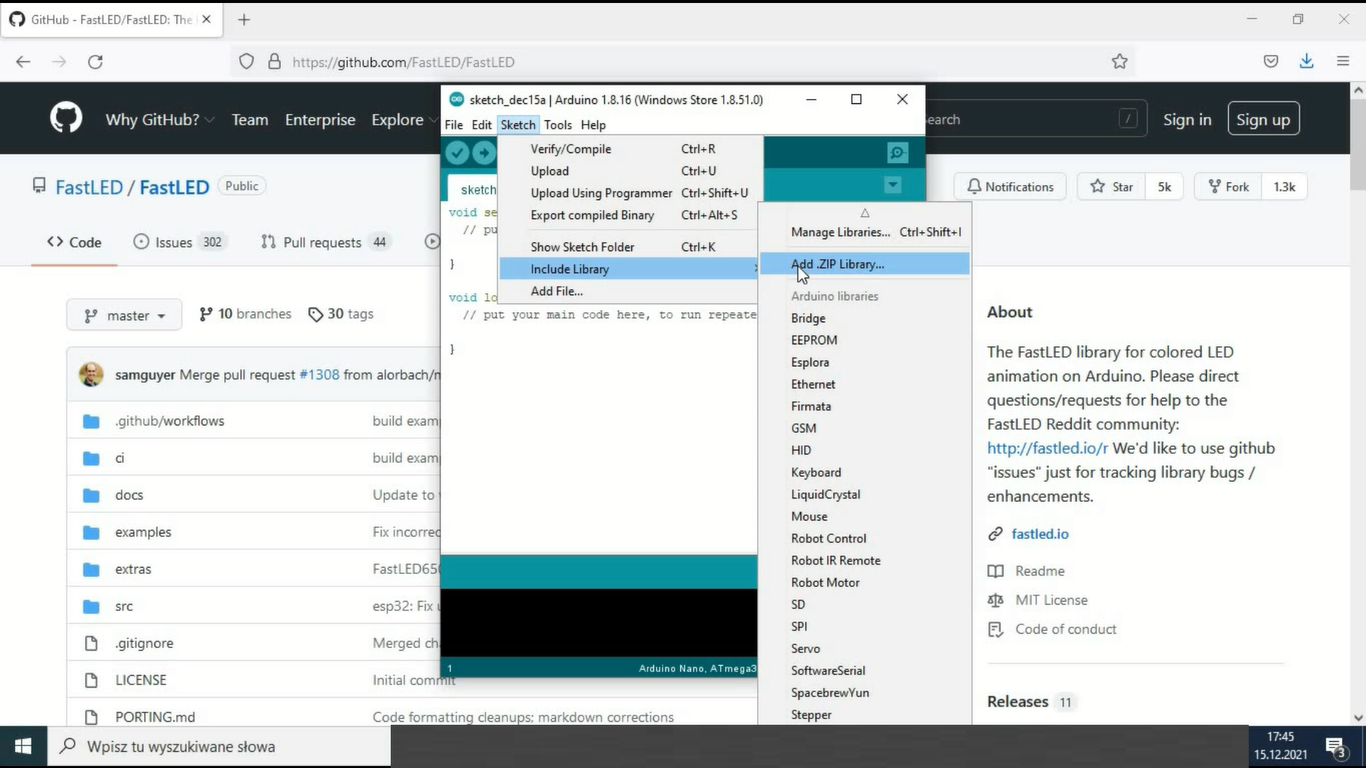
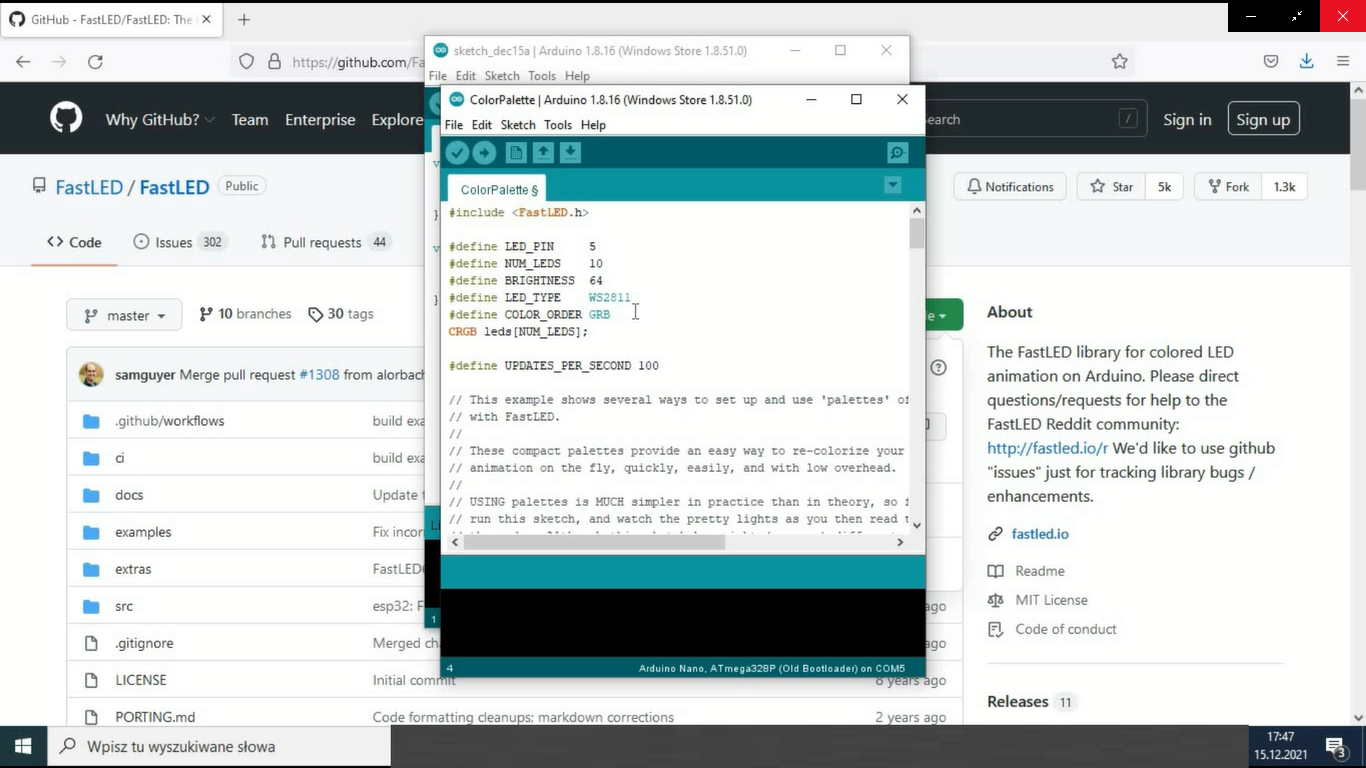
To control the led strips from our code we need fast led library:
To Install it:
- Google it
- Find the github link where you can download zip file.
Go to Arduino IDE and install it.
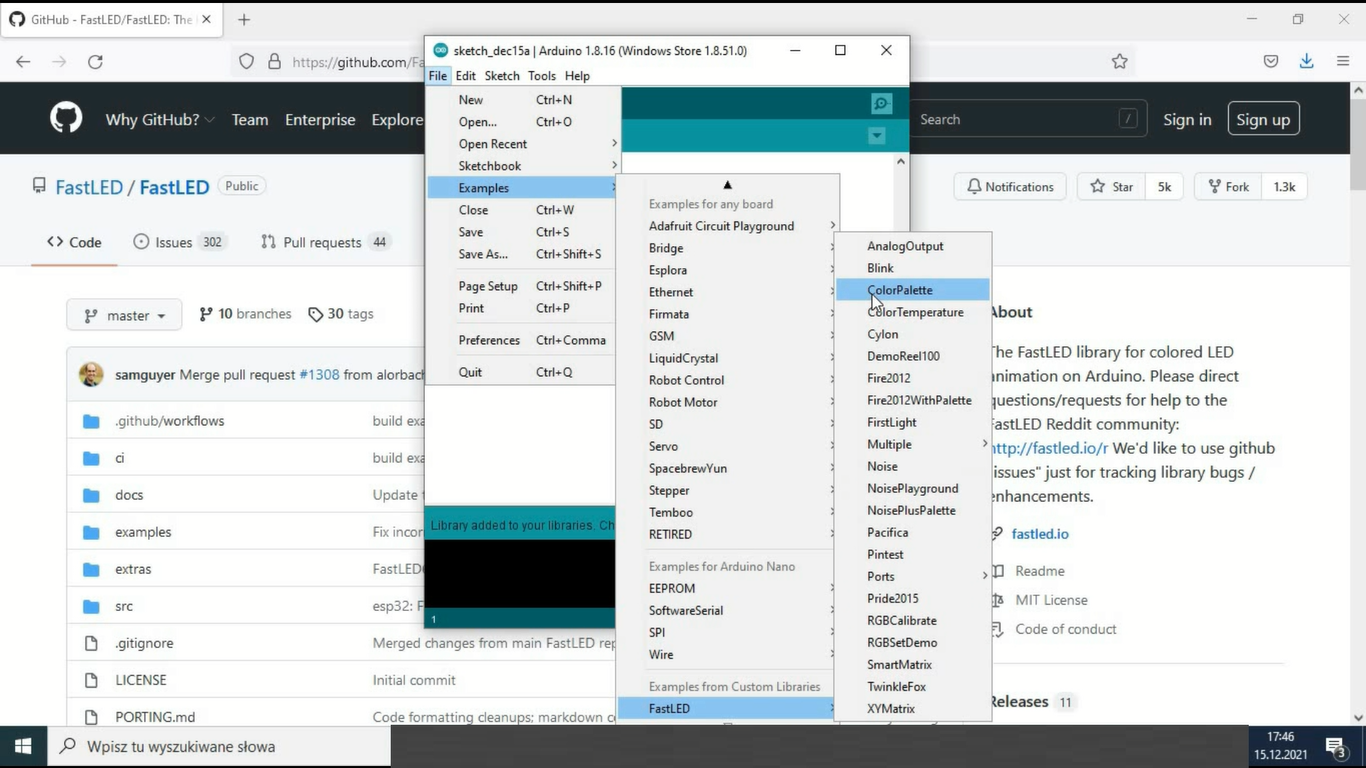
With the new library come code examples. So we do not even have to write our own code to bring the led Christmas tree to life. Lets open Color Palette exemple. The only thing we need to change is the number of leds in the strip. In our case it is 10. You also need to check if the signal pin is properly set in the code. Set it to digital pin 5.
Lets load the code to the device and observe the results
Final Result
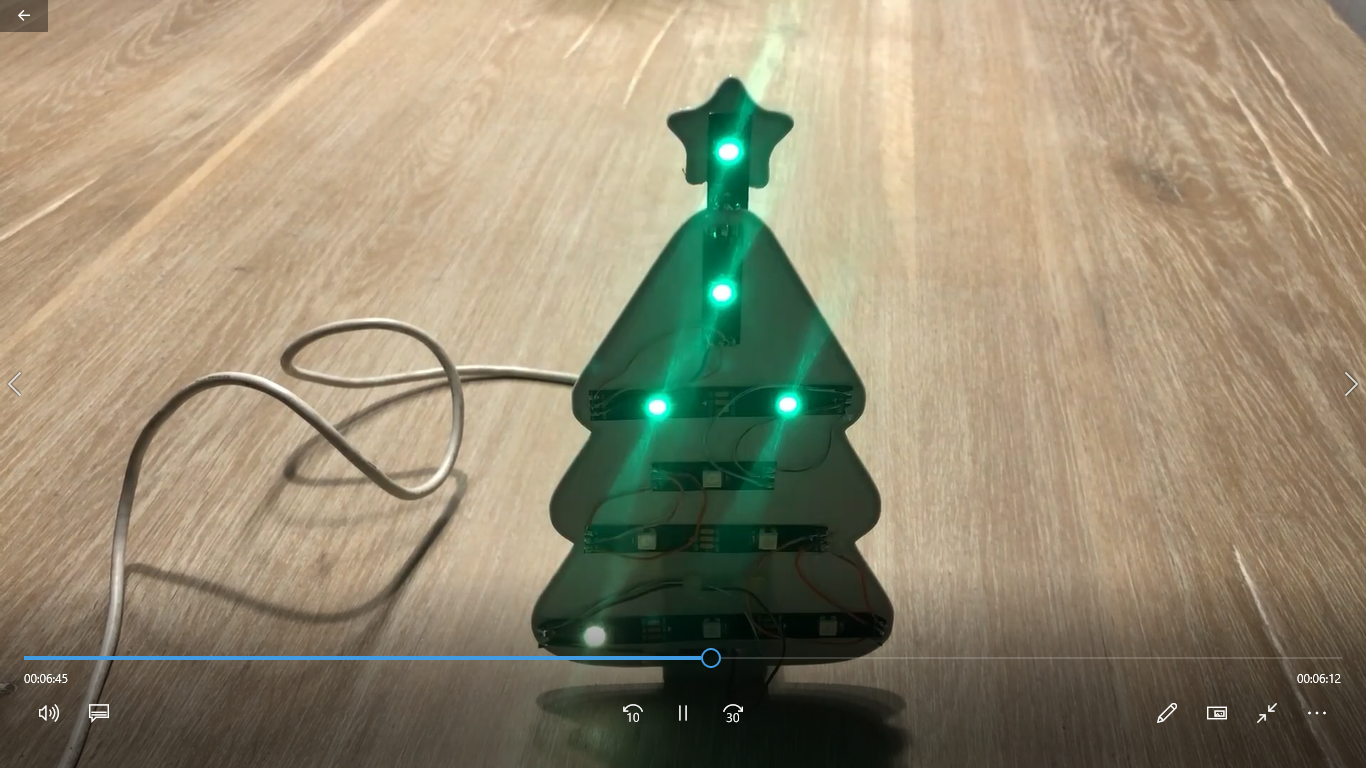
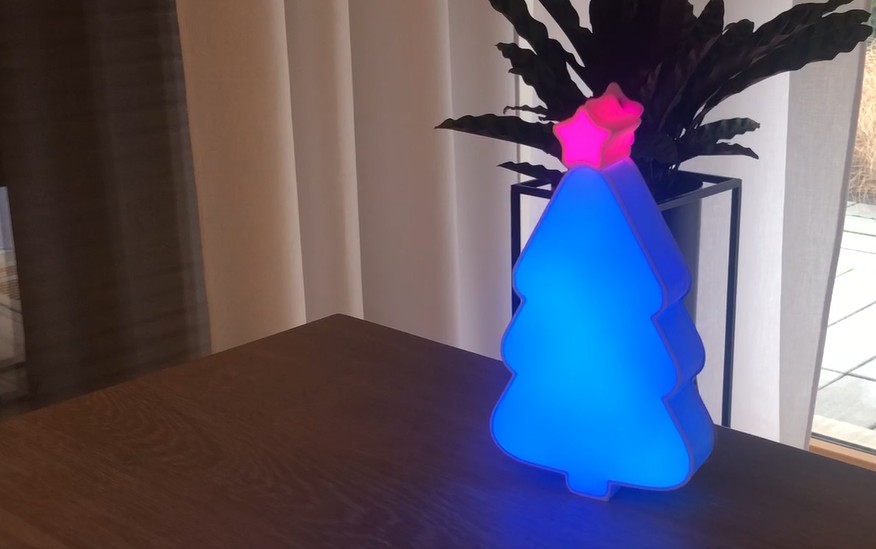
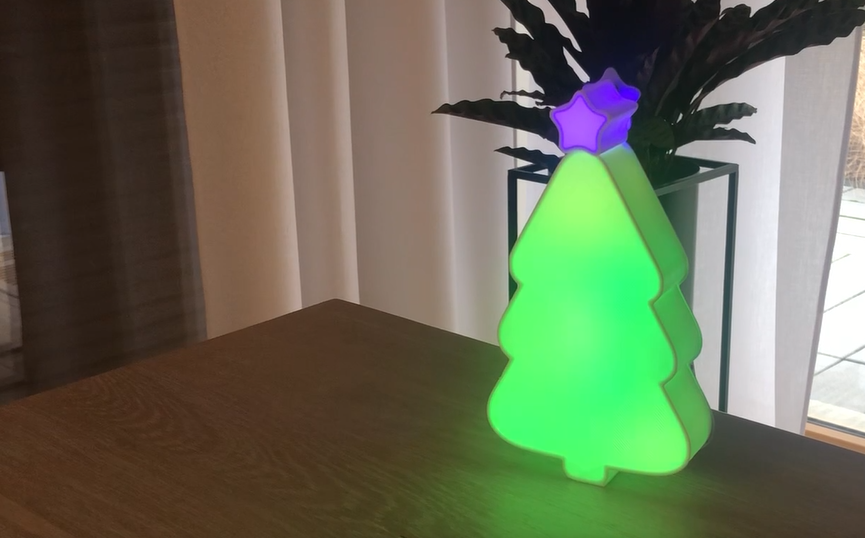
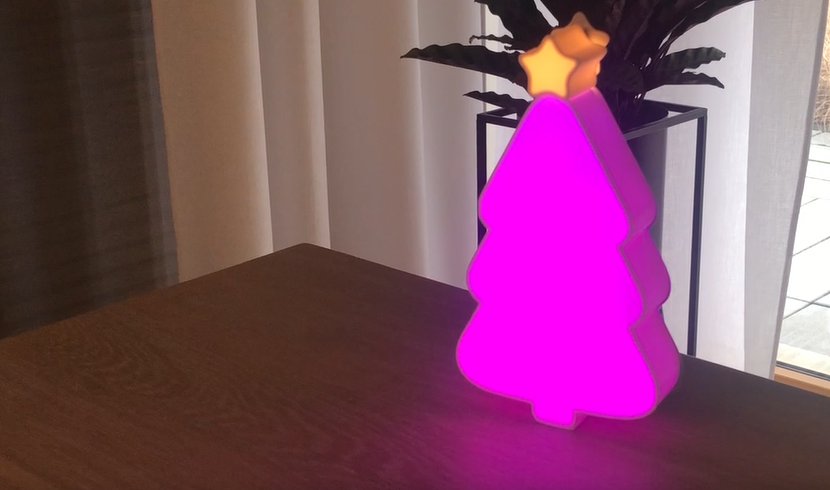
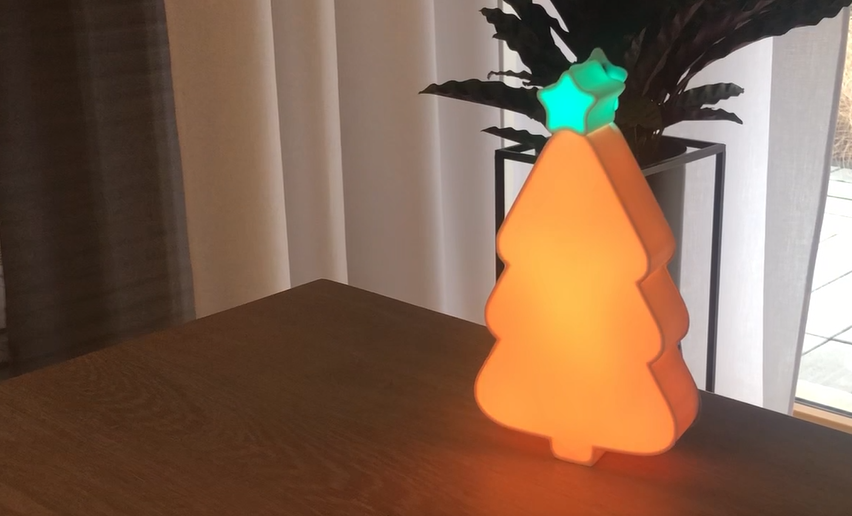

The leds light up as expected.
When I put the front panel in place the effect is great.
You have to watch the video linked at the top this instructable.
Standard code however is "too loud" for me.
In the video you will find the breakout of code, I wrote, that provide much smother color transitions with glistening effect. Also the star at thetop of the tree changes color but is always in stark contrast to the rest of the tree.
Here is the link to code:
I am attaching STL Files