How to Create Eye-Catching Stomp Kinetic Typography
by MexDesigns in Design > Digital Graphics
974 Views, 2 Favorites, 0 Comments
How to Create Eye-Catching Stomp Kinetic Typography

Introduction
Welcome to My Instructable on Stomp Kinetic Typography!
Have you ever heard of Stomp Kinetic Typography? If not, you’re in for a treat! This is a dynamically animated technique that creates eye-catching, exciting, and engaging motion graphics. It combines rhythmic, percussive beats with dynamic, animated text to produce captivating videos that synchronize text movements with the music's rhythm. Perfect for project pitches, presentations, or business advertisements, this style makes your text stand out like never before.
Why This Project?
In today’s digital age, capturing and retaining viewers' attention is more crucial than ever. Stomp Kinetic Typography offers a creative and effective way to convey your message in an engaging manner. Whether you're a beginner or an advanced user, this instructable is designed for all skill levels. You don’t need to be a motion graphics expert to create something amazing.
What You'll Learn
In this instructable, I’ll guide you step-by-step through the process of creating stunning Stomp Kinetic Typography. We’ll use motion graphics software, choose the right fonts, and select percussive music to make your project truly stand out. Additionally, I'll share the best resources for finding templates and music that will help you get started quickly.
So, if you’re looking for a cool way to showcase your text for a project, presentation, or business advertisement, you’re in the right place.
By the way, I’m a 21-year-old undergraduate student currently studying engineering at the University whose just casually preparing for his exams, I discovered the amazing world of Stomp Kinetic Typography and decided to share this journey with you.
Supplies

For this project, all you’ll need is:
- A laptop
However, depending on the software of your choice, you can use an iPad or even your phone. I recommend using a laptop because most motion graphic software are optimized for laptop or desktops (Photo by Kari Shea on Unsplash)
Draft Your Words
.png)
This is one of the most important steps.
Here you’ll decide what you want to describe. It could be that you want to describe something, pitch an idea or make an audience interested your business. If you need help drafting your words, you can meet someone whose an expert in literature or you can use any AI tools such as ChatGPT, copilot or even Google Gemini.
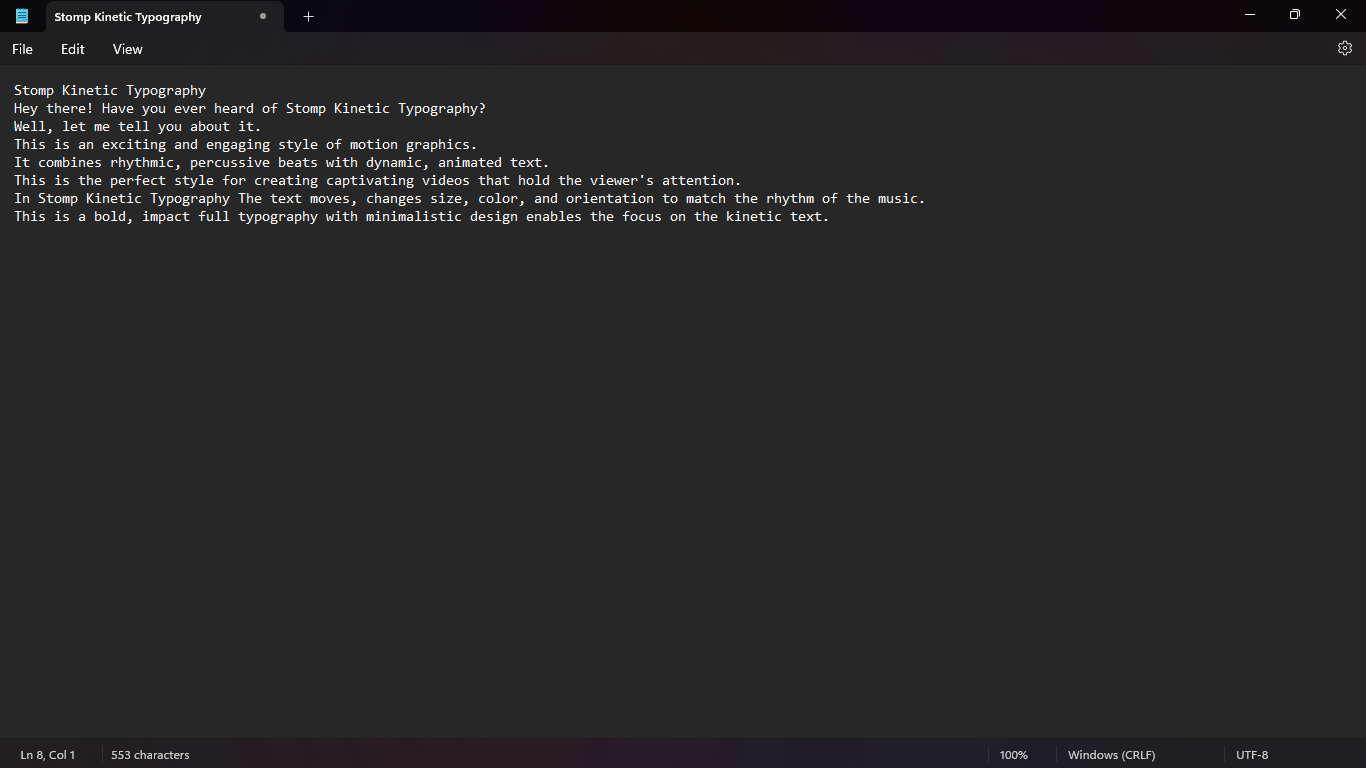
Here’s what I drafted for my introduction video:
"Hey there! Have you ever heard of Stomp Kinetic Typography?
Well, let me tell you about it.
This is an exciting and engaging style of motion graphics.
It combines rhythmic, percussive beats with dynamic, animated text.
This is the perfect style for creating captivating videos that hold the viewer's attention.
In Stomp Kinetic Typography The text moves, changes size, color, and orientation to match the rhythm of the music.
This is a bold, impact full typography with minimalistic design enables the focus on the kinetic text."
Select Your Fonts
.png)
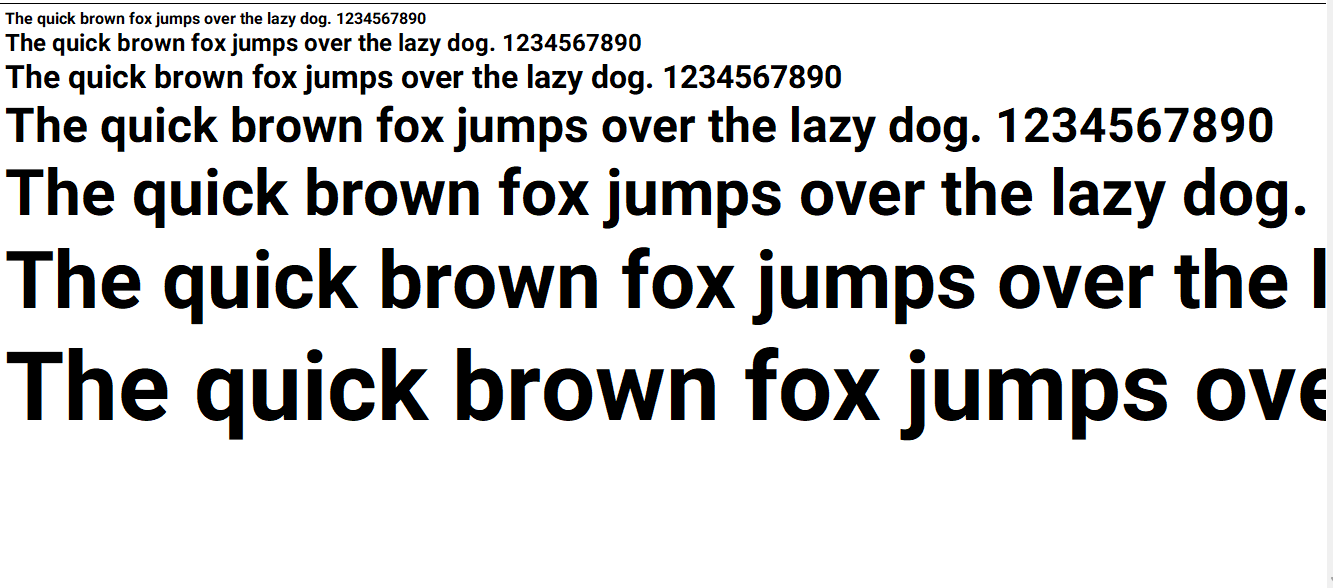
Choosing the right fonts is crucial for your project. For this example, I wanted a bold and impactful font, so I chose Roboto Bold by Christian Robertson. This font is completely free and can be used commercially. You can check out his page and see all his fonts here.
If Roboto Bold isn’t your style, you can explore many more fonts at 1001fonts.com. This site offers a wide variety of fonts that are free for personal or commercial use.
Choose Your Software.
For my design, I used Adobe After Effects. While it isn’t free, you can access a free trial to get started. If you prefer not to use Adobe After Effects, there are many other free software options that meet industry standards. One highly recommended alternative is DaVinci Resolve, which is a fantastic choice if you don’t have access to Adobe After Effects.
Select You Beats/song
.png)
.png)
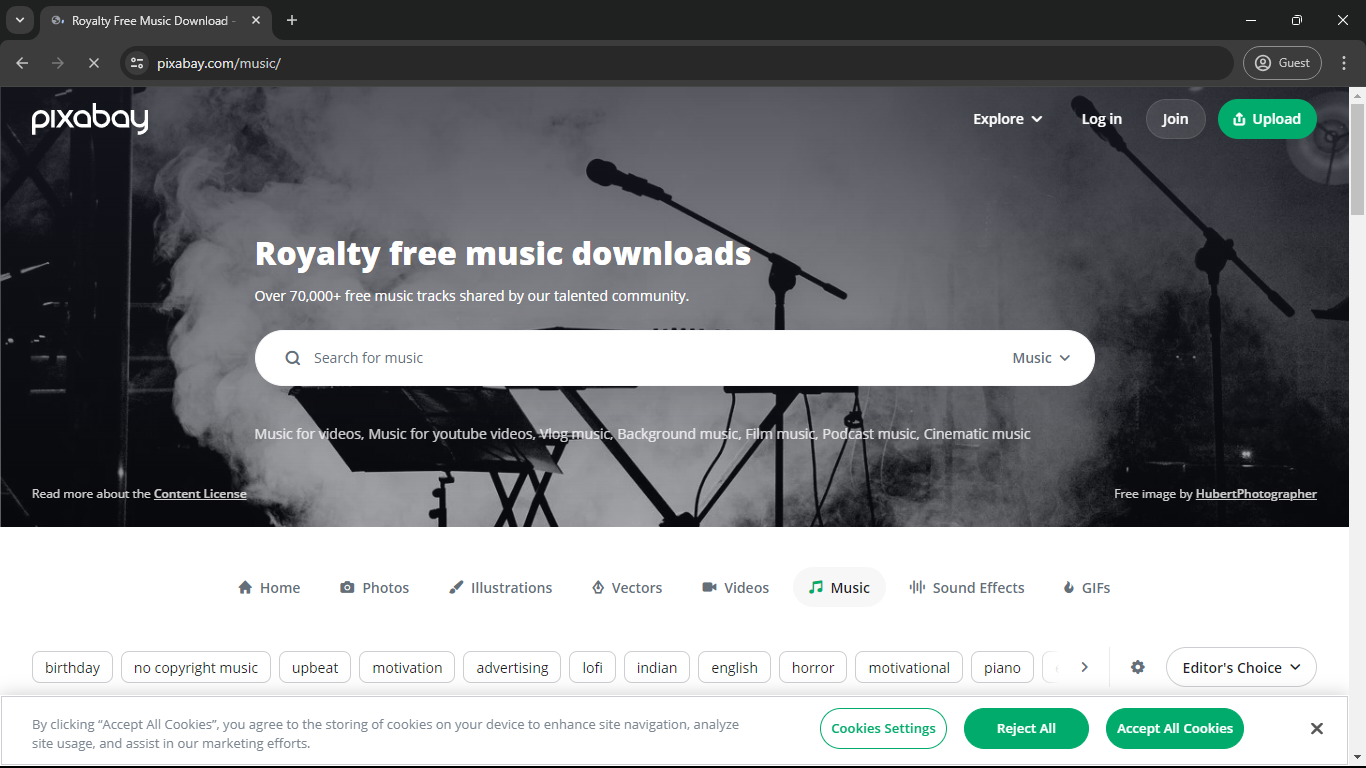
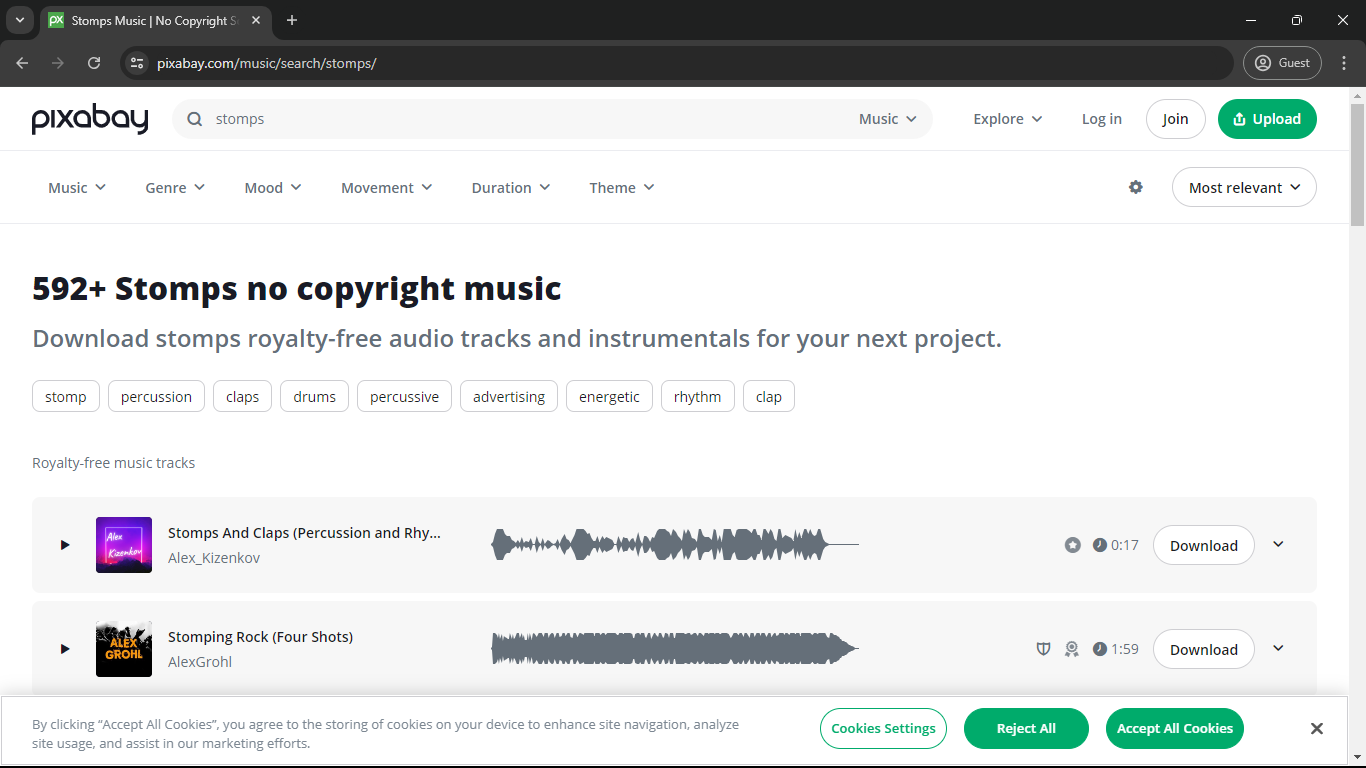
Choosing the right music is crucial, as our Stomp Kinetic Typography will sync with the beats to make it more engaging and interesting. This will also give our video a rhythmic flow. For royalty-free music, check out sites like Pixabay or Bensound. Envato Elements is another great choice, though it is not free. For my video, I used a track called "Stomps," an ideal royalty-free audio track for projects that require an advertising, background, or body audio tune. You can download a preview of the song here
Select Your Templates
You have two options here: create your own templates or use free templates available online. If you're experienced with motion software like Adobe After Effects, I highly recommend creating your own templates. This will make your work unique and standout. I recommend watching this video here or this one if you want to learn on how you can create your own templates. As you'll see in the last step, I created my own templates and later uploaded them to YouTube. I wanted to share it here, but unfortunately, Instructables doesn't support Adobe After Effects Project (.aep) files. Despite that, I'm thrilled to show you my process and hope you enjoy the video. Don't forget to like it!
However, if you're a beginner, which I assume you are, there are many fantastic templates available online that are completely free and can be used for personal or commercial projects. The templates used in this instructable are some of my favorites that I found online.
The first template I recommend is by S7 Studios, which you can download here
You can also support them by checking out his YouTube channel at youtube.com/@S7Studios.
Another great template I highly recommend is by Filipe Meunier, available for free here
These templates are free, but you can choose to pay what you want to support the creator. You can also support him by visiting his YouTube channel at youtube.com/@FilipeMeunier.
Launch the Your Selected Software and Open Your Template
.png)
.png)
.png)
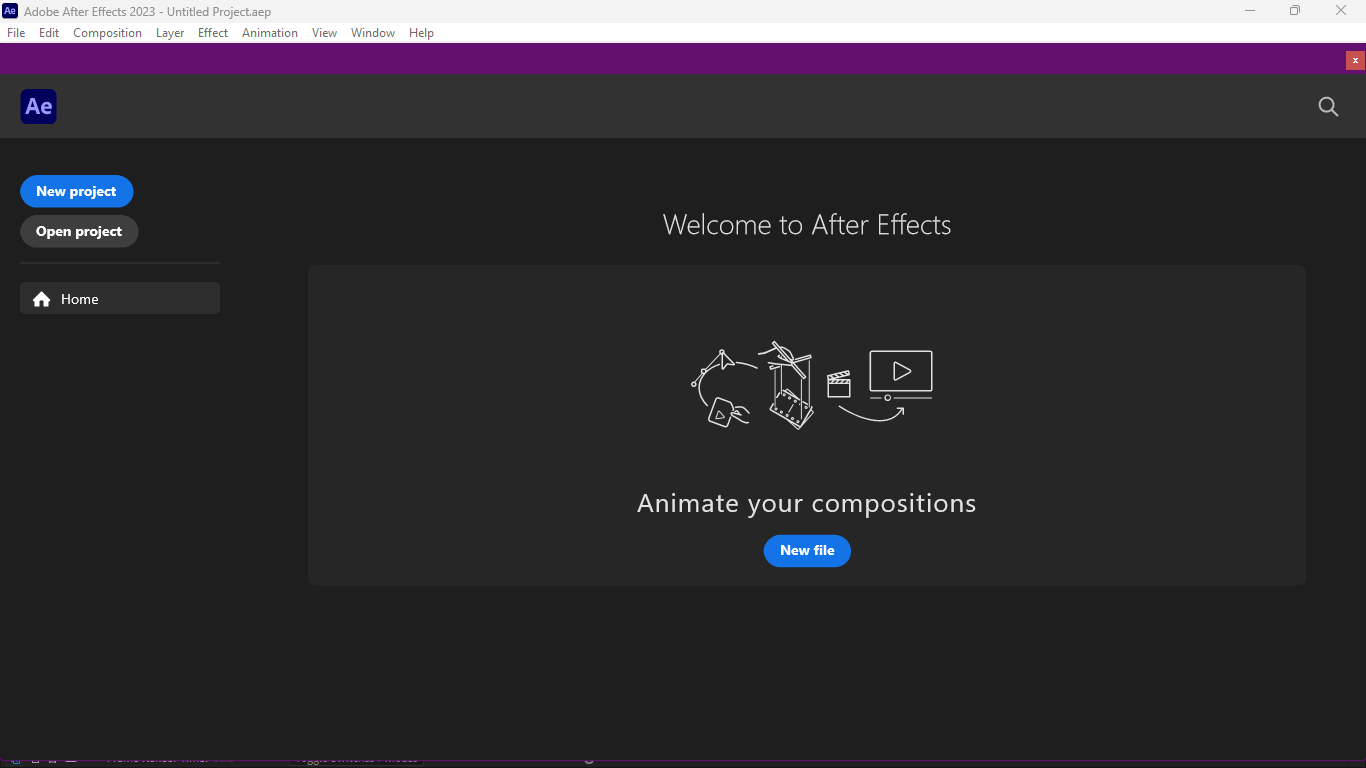
As mentioned earlier, I’ll be using Adobe After Effects for this project. When you first open the app, you should see something similar to the image above. If you already have your template ready, simply click on "Open Project" and select your template. If you want to create your own, click on "New Project" and let your creativity flow!
Personalize the Selected Template
.png)
.png)
.png)
.png)
.png)
.png)
.png)
.png)
.png)
Now you’re ready to create your Stomp Kinetic Typography!
Please note that the template acts as a guide to help you get started.
Using the words you drafted in Step 1, you’ll personalize the template. Follow the images as a guide to help you through each step.
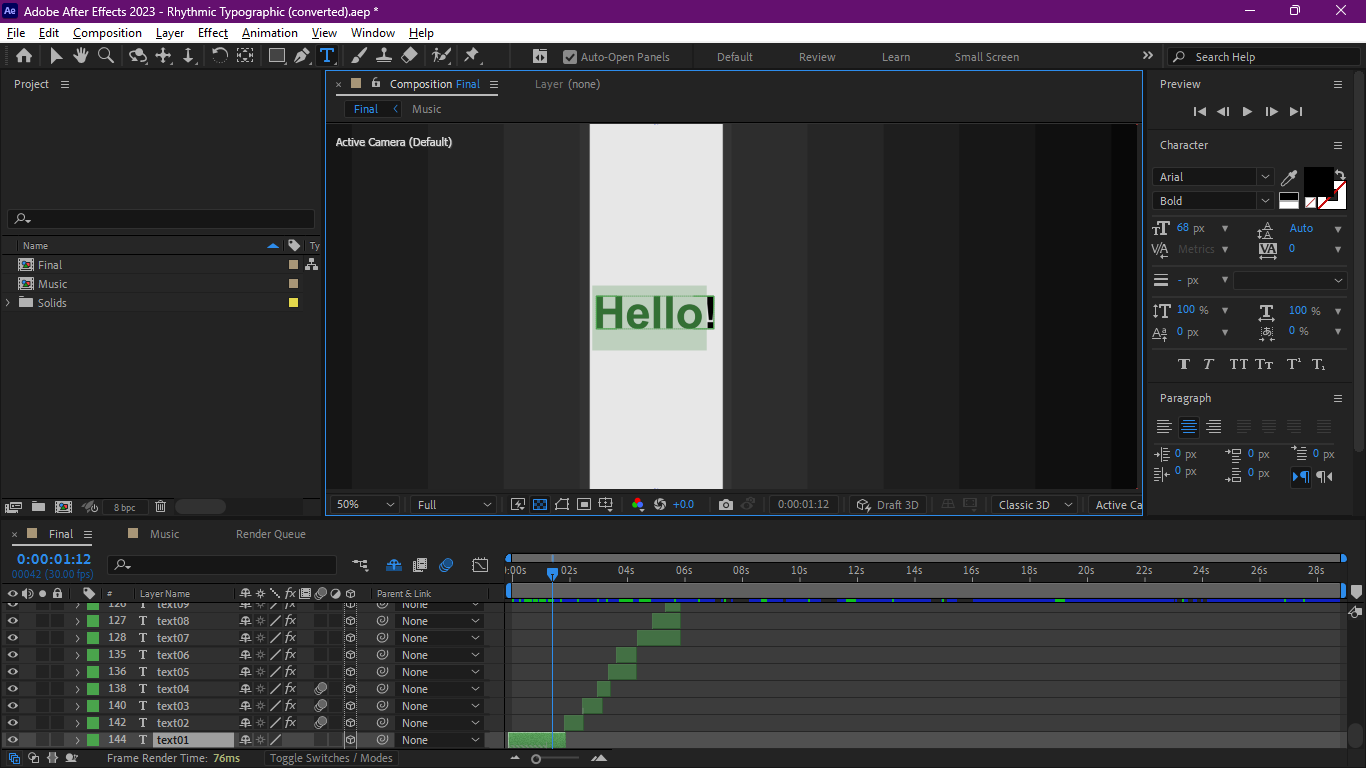
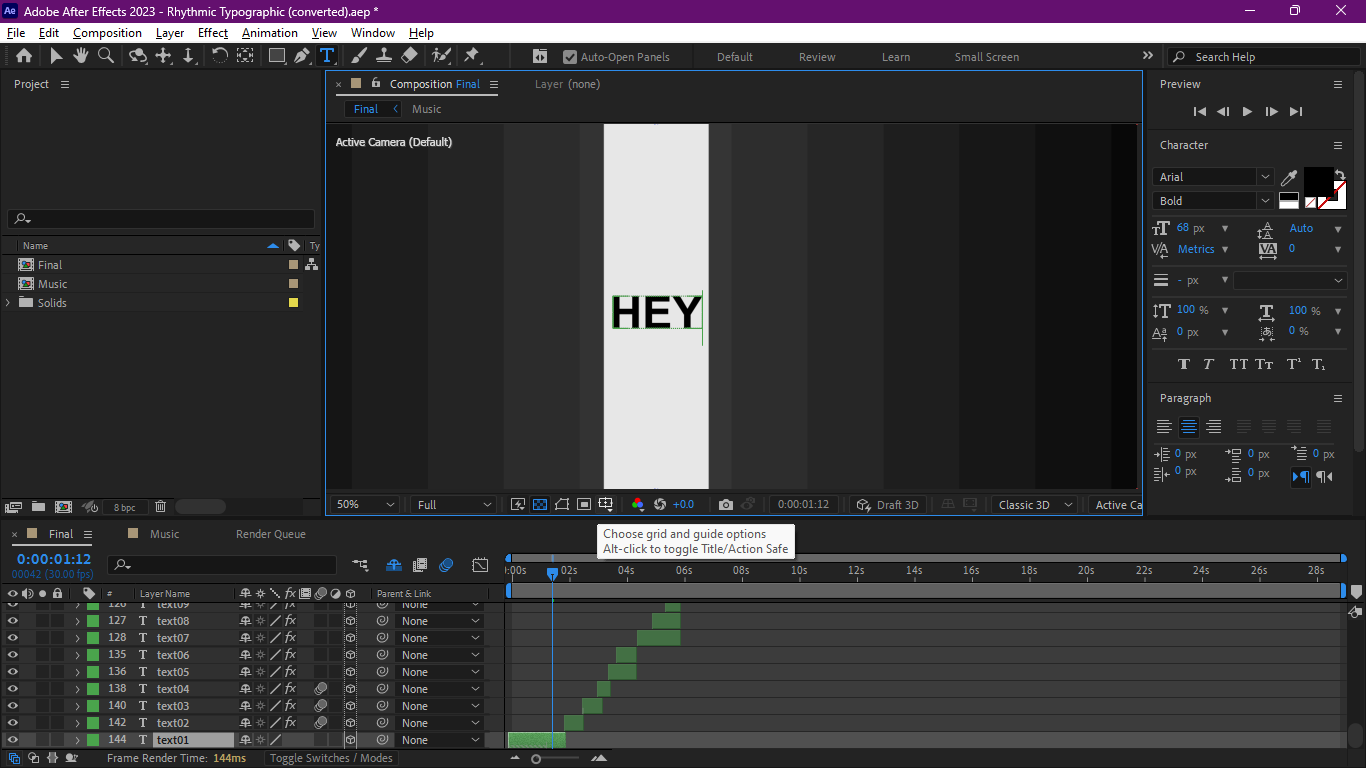
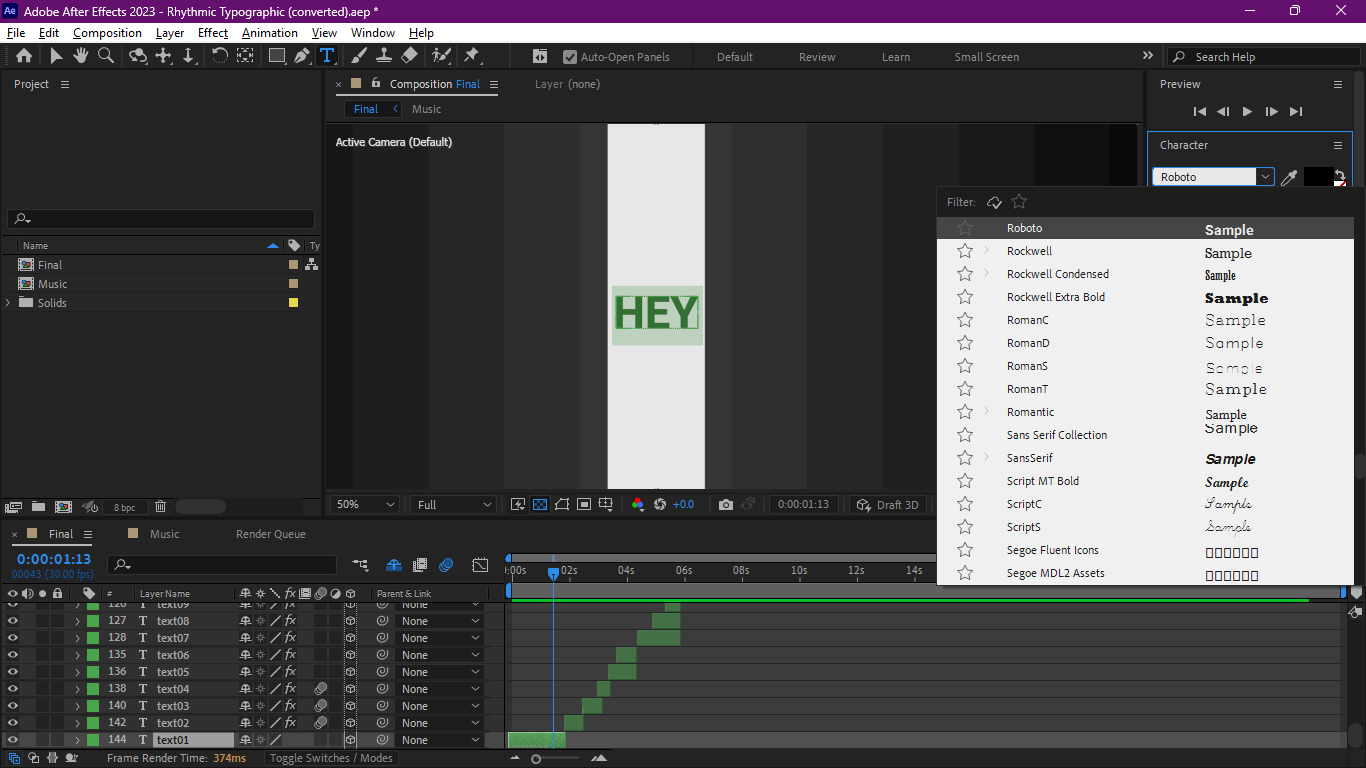
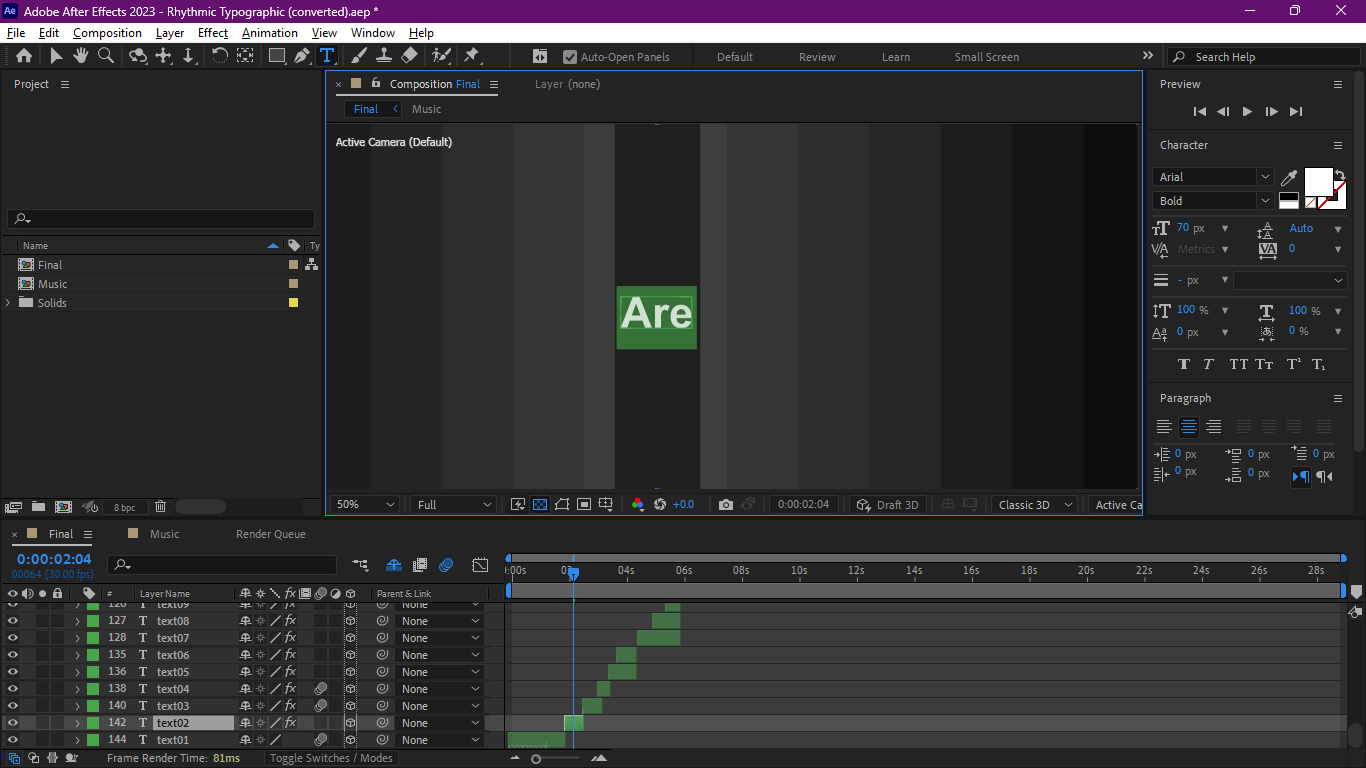
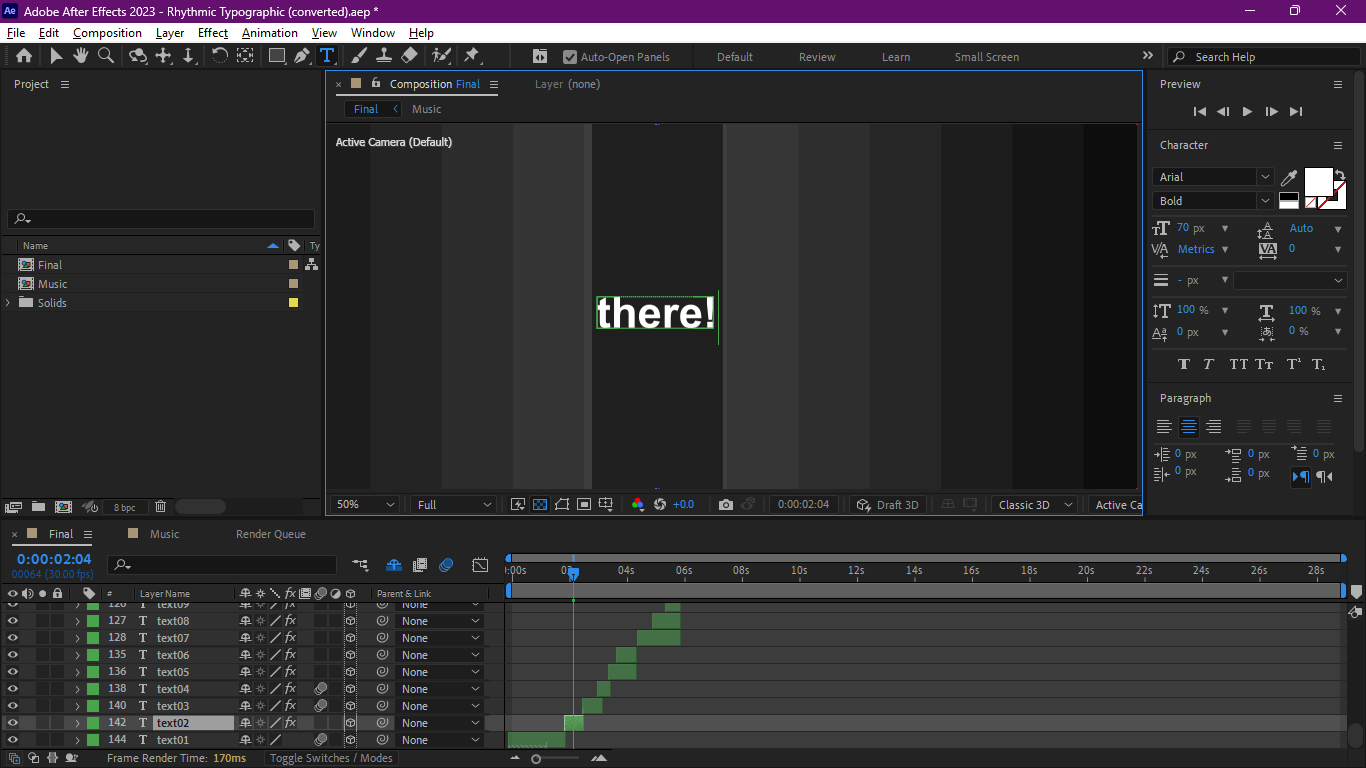
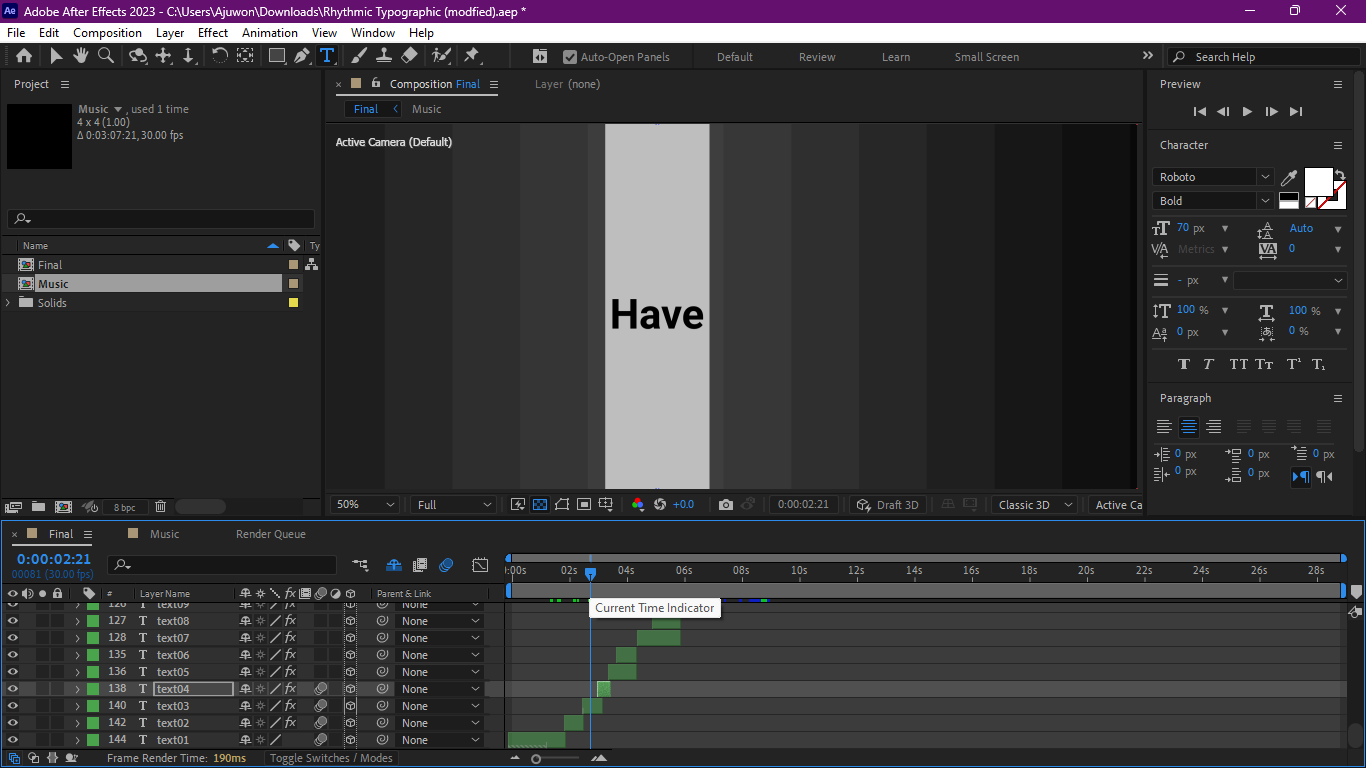
Locate the Timeline: At the bottom of the screen, you’ll find the timeline panel. This is where all the text layers are located.
Navigate the Timeline: Use the duration bar and the blue slider to navigate through your video. Each text layer is marked with a label color. In the template I used, all labels are green.
Edit Text Layers: Drag the blue slider to the first label, then double-click on the text to start typing your message. Edit each text layer one by one, following the order in the template until you’ve added all the words you drafted in Step 1.
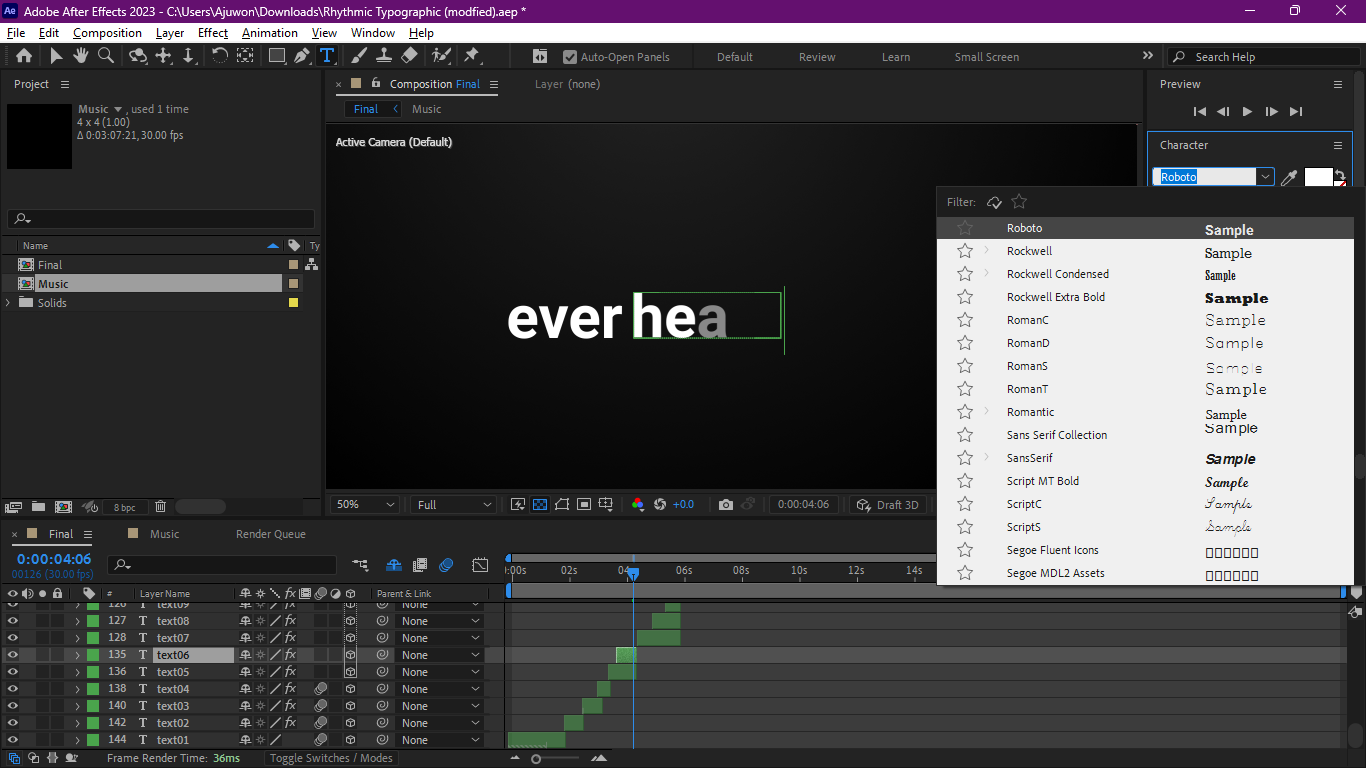
Change the Font: Don’t forget to change the font for each text layer. I’m using Roboto Bold, but feel free to choose any font that suits your project. To change the font, go to the "Character" panel on the right side of Adobe After Effects.
Add Effects and Transformations: To make your project unique, experiment with new effects and different transform options. You can change the text size, orientation, and transition effects until you're satisfied with the results. For instance, I adjusted the position of some parts of the video using the "Transform" option and increased the size of some parts of the text to create more emphasis on them. I also added extra text layers to provide more information about Stomp Kinetic Typography and changed some of the transitioning effect.
As you following these steps, you’ll be closer to creating a dynamic and engaging Stomp Kinetic Typography video. Have fun and let your creativity shine!
Add Your Selected Song/beats
.png)
.png)
.png)
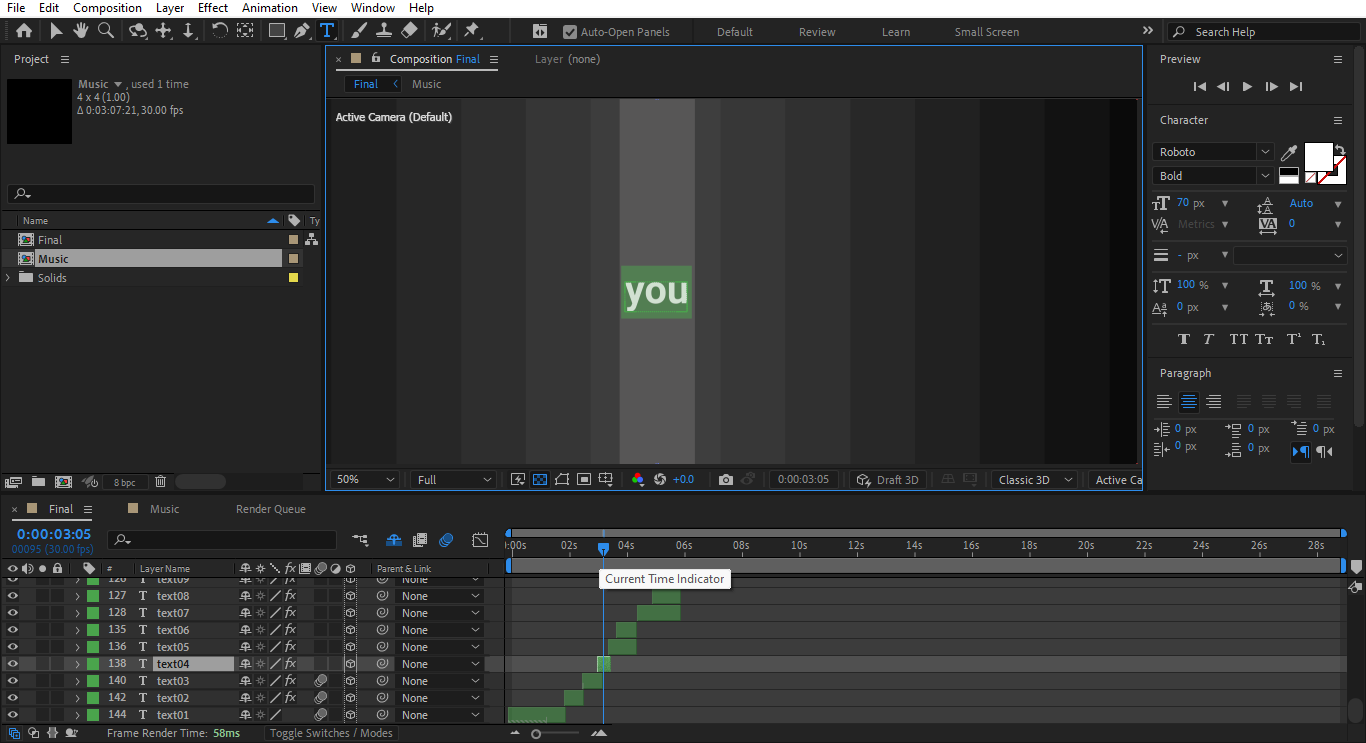
In this step, we’ll add the song you selected in Step 4 to your project. Follow these instructions to seamlessly integrate your music with your text animations:
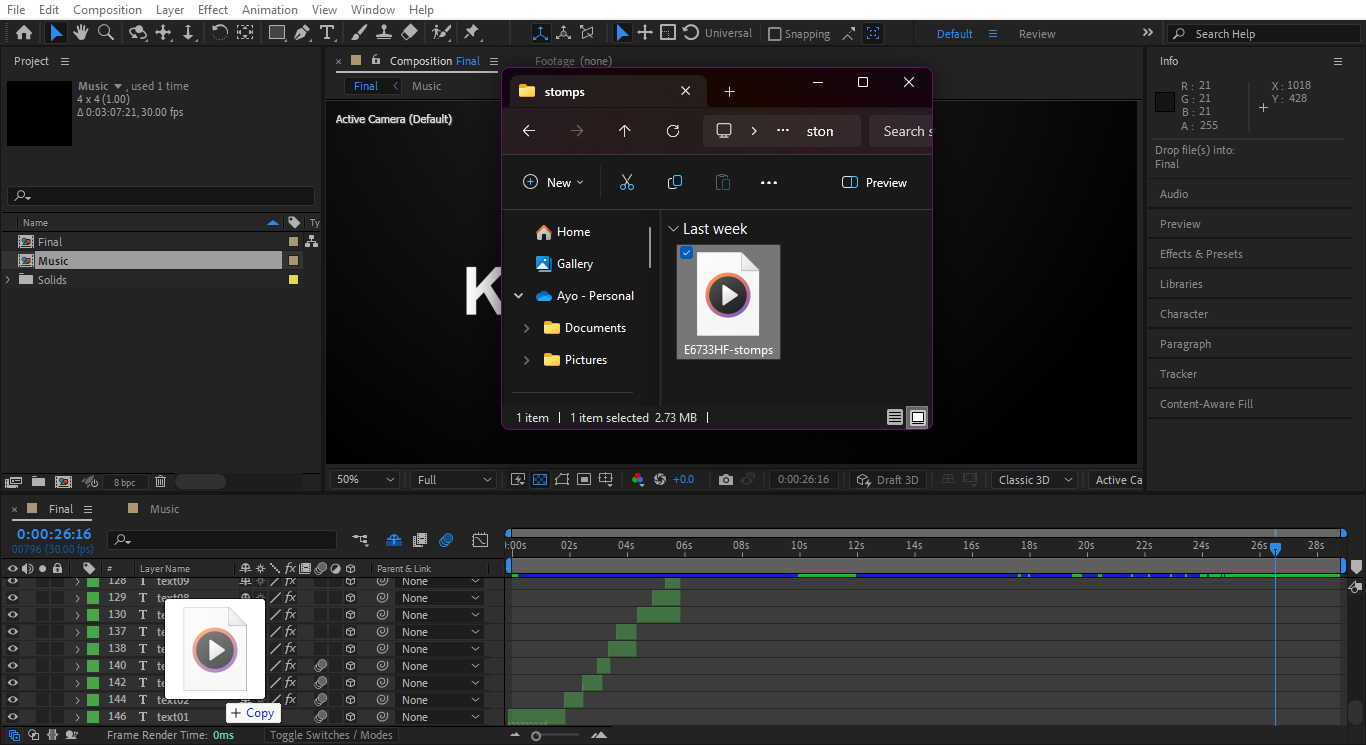
Drag and Drop the Song: Open your project in Adobe After Effects. Locate the timeline which is the bottom panel. Drag and drop your selected song into this panel. This will import the audio file into your project. Once you've placed the song there it will be part of the timeline and when you paly the video the song also will be played
Sync Text Transitions with the Music:
- Preview the Audio: Play the audio in the timeline to familiarize yourself with the rhythm and beats of the song. This will help you determine the best points for your text transitions.
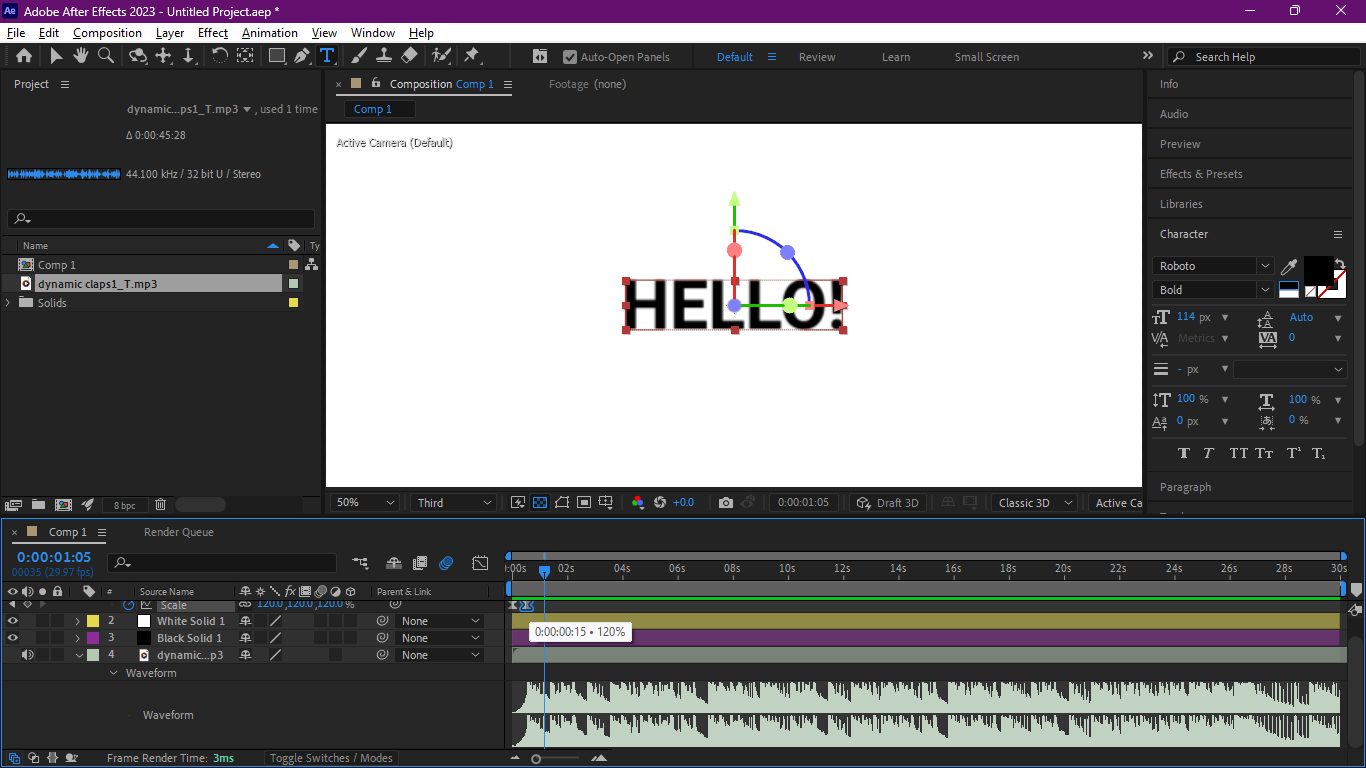
- Set Keyframes: Select the text layer you want to sync with the music. Navigate to the point in the timeline where you want the transition to occur and set keyframes for properties like position, opacity, or scale.
- Adjust Timing: Use the audio waveform as a visual guide(As shown in the third picture). You can expand the audio layer to view the waveform, which shows the peaks and valleys of the music. Align your keyframes with these peaks to ensure your text transitions match the beats.
- Fine-Tune Transitions: Scrub through the timeline and adjust the timing of your transitions to ensure they are perfectly synced with the music. This may require some trial and error to get it just right.
- Add Effects for Enhanced Impact: To further enhance the synchronization, you can add additional effects like motion blur, scale changes, or color shifts at key points in the music. This will make your text animations more dynamic and visually appealing.
Render It Out!!
.png)
.png)
.png)
.png)
.png)
.png)
.png)
.png)
.png)
.png)
.png)
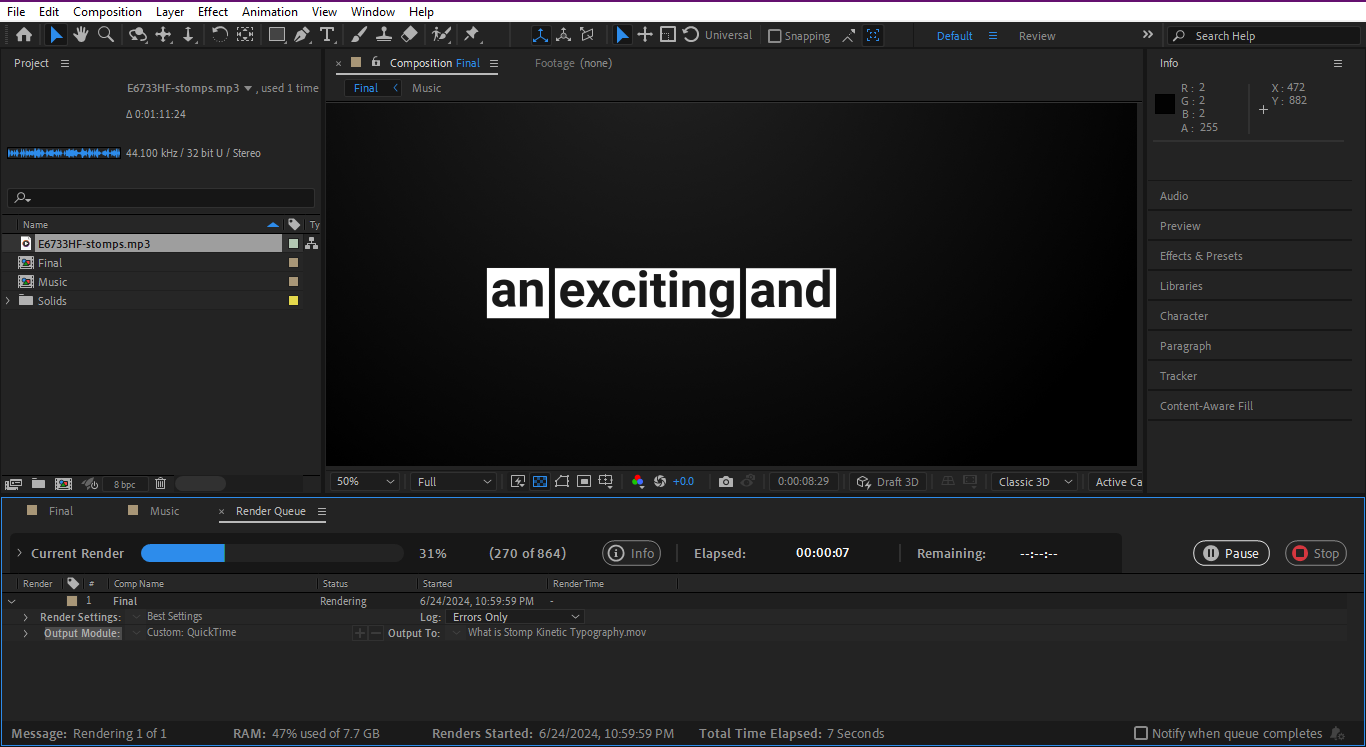
Now that you’ve reached this step, you’re basically through, but you need to render it out to showcase your eye-catching Stomp Kinetic Typography.
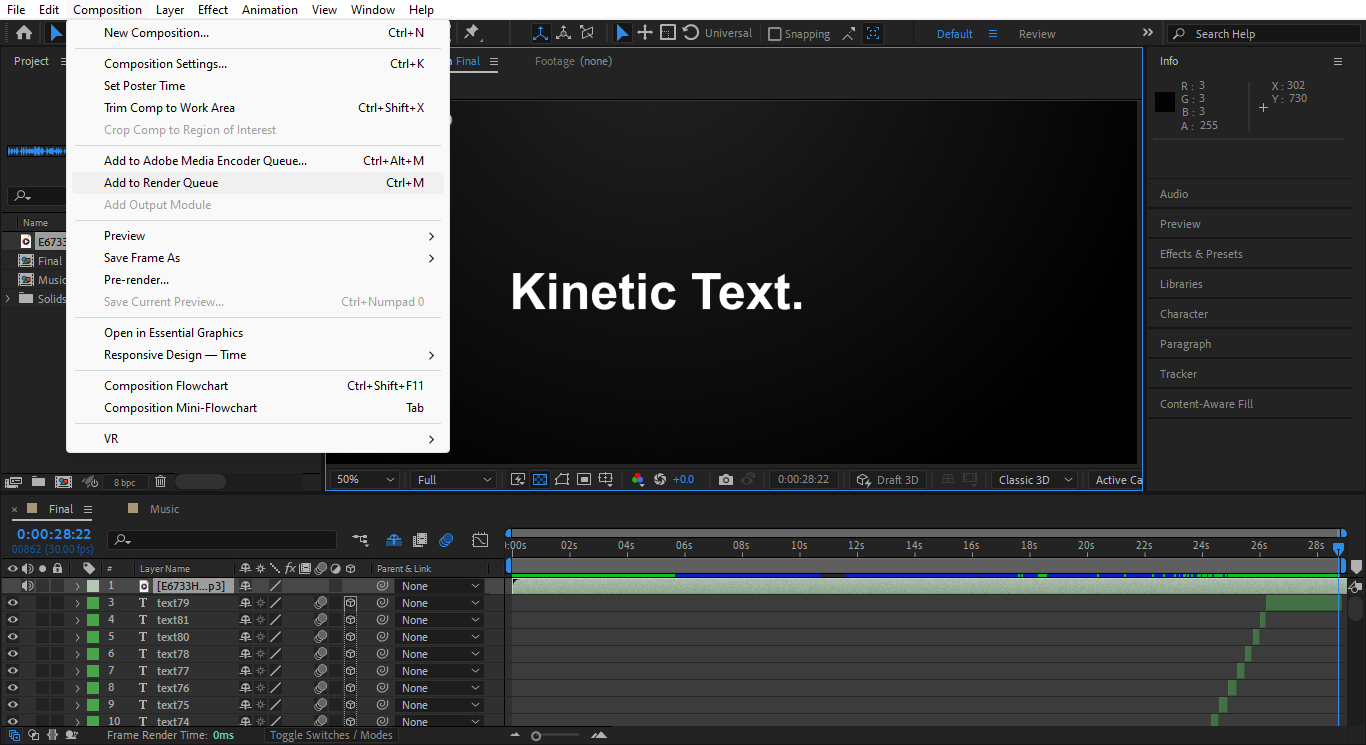
Add to Render Queue:
- Go to the Composition menu at the top of Adobe After Effects and select Add to Render Queue. Alternatively, you can use the shortcut Ctrl+M on Windows or Cmd+Ctrl+M on macOS.
- Your timeline will switch to the Render Queue panel at the bottom of the screen.
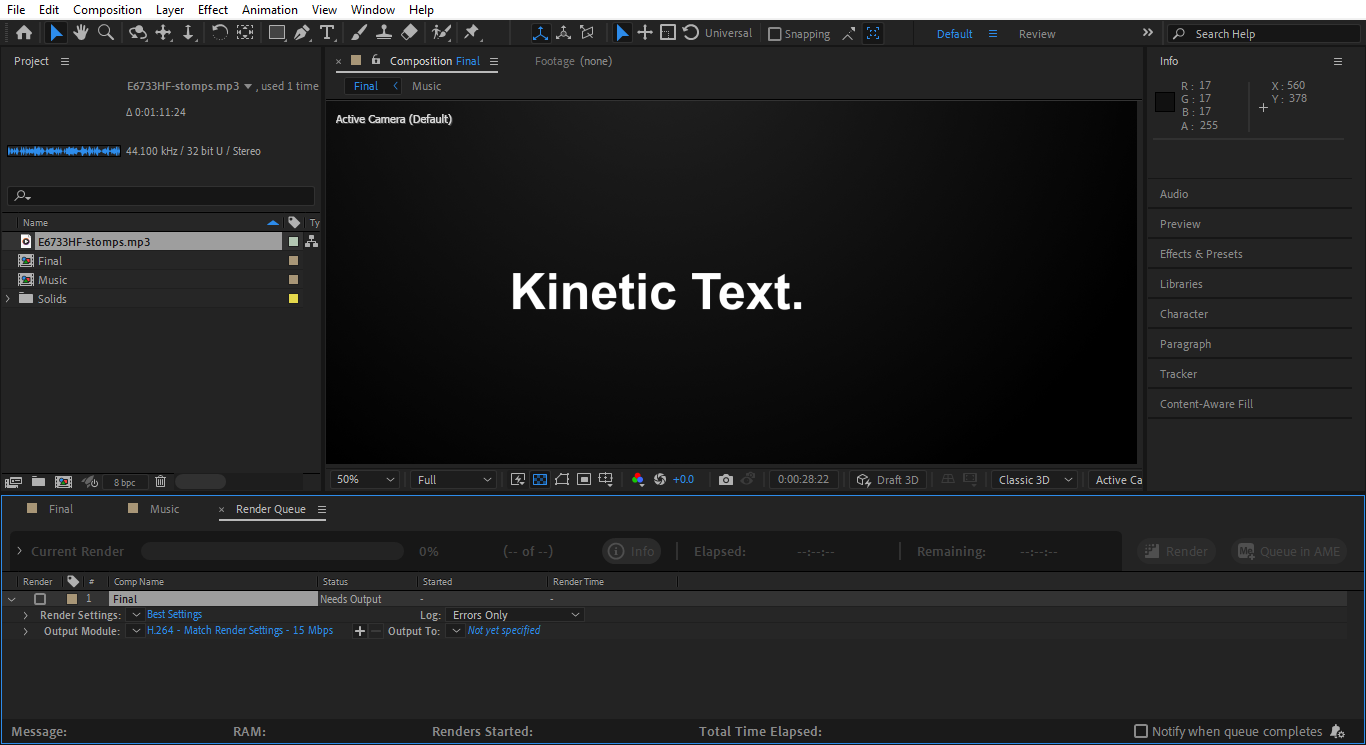
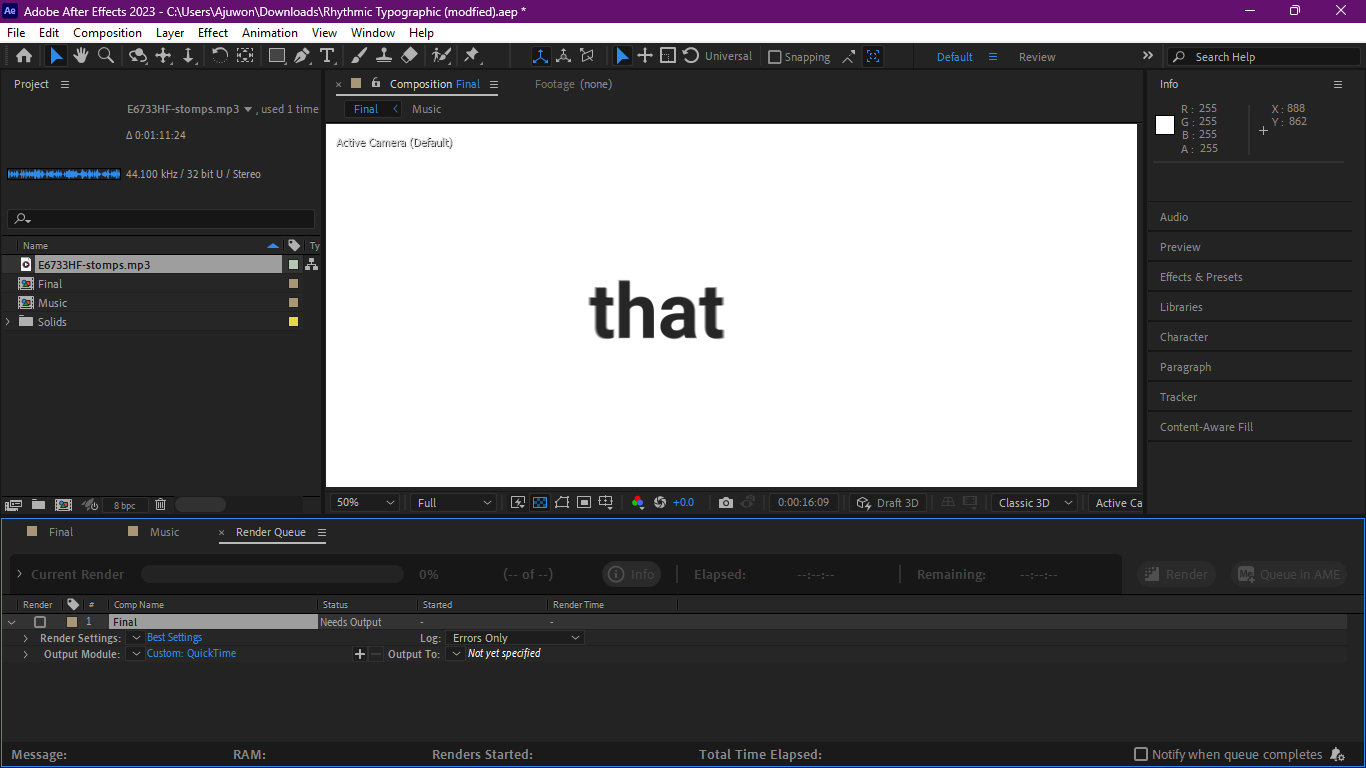
Set Render Settings:
- In the Render Queue panel, look at the Render Settings option. Leave the Render Settings at Best Settings because, as the name implies, they are the best settings.
- Click on Lossless next to Output Module to change some settings.
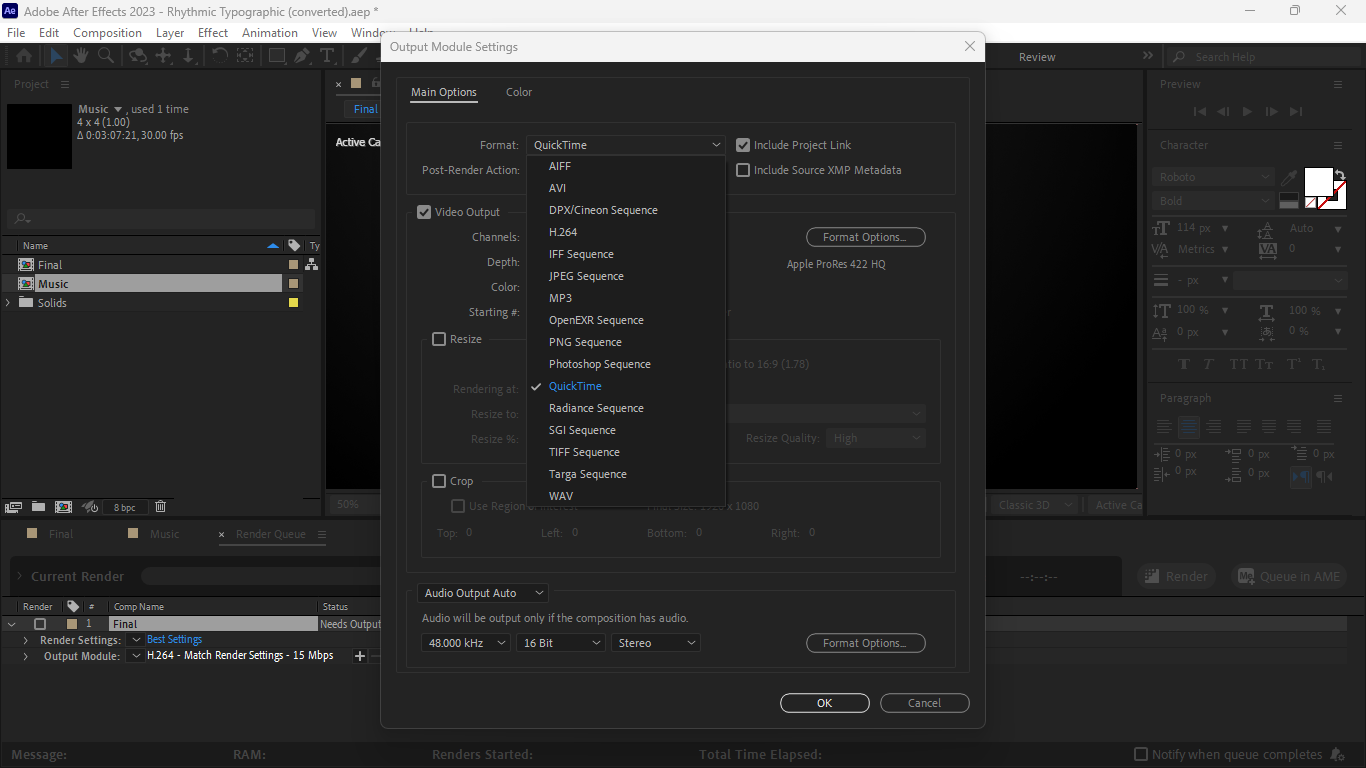
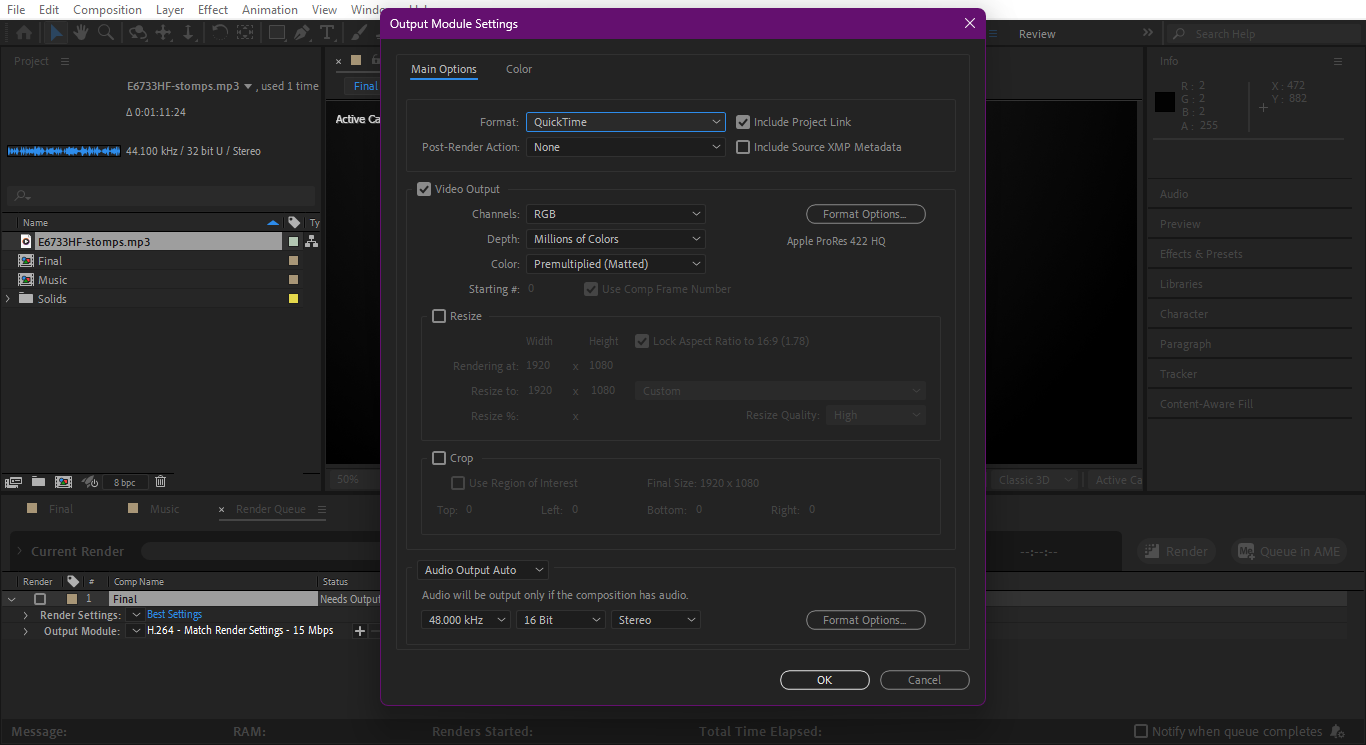
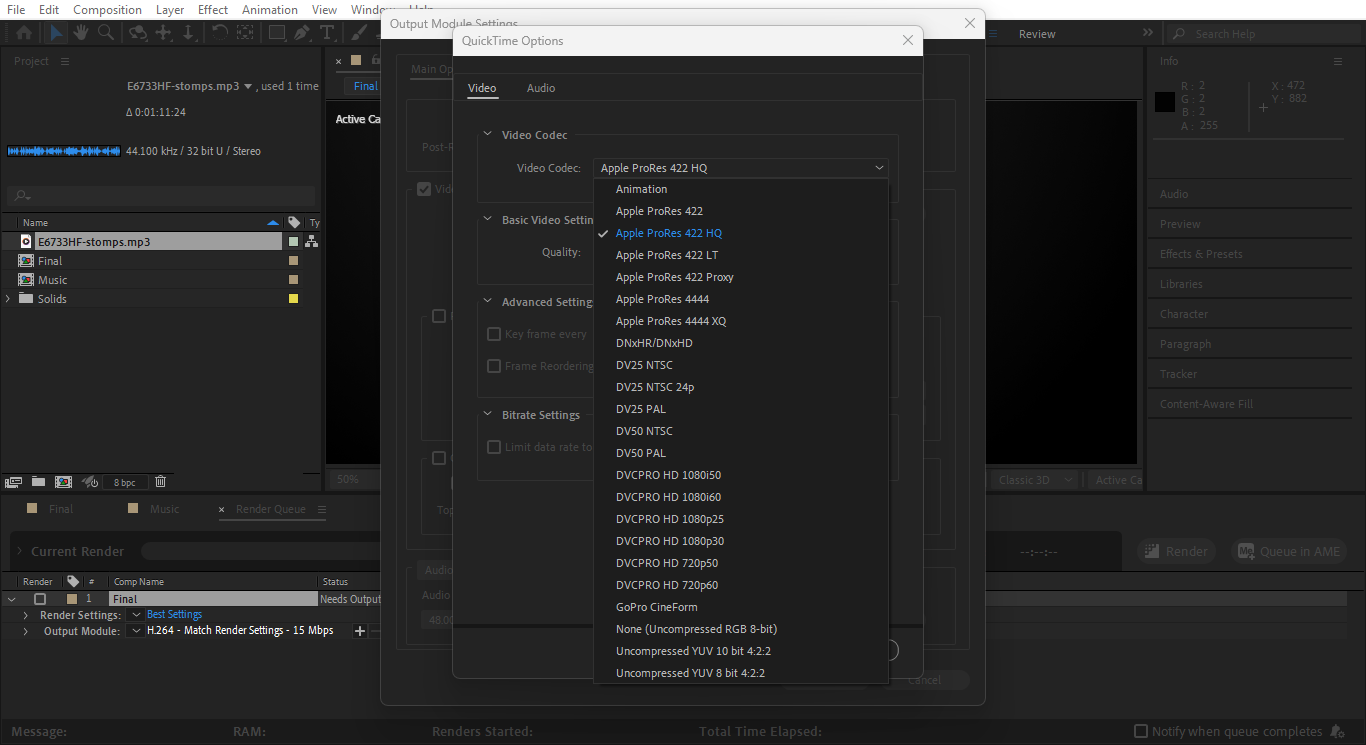
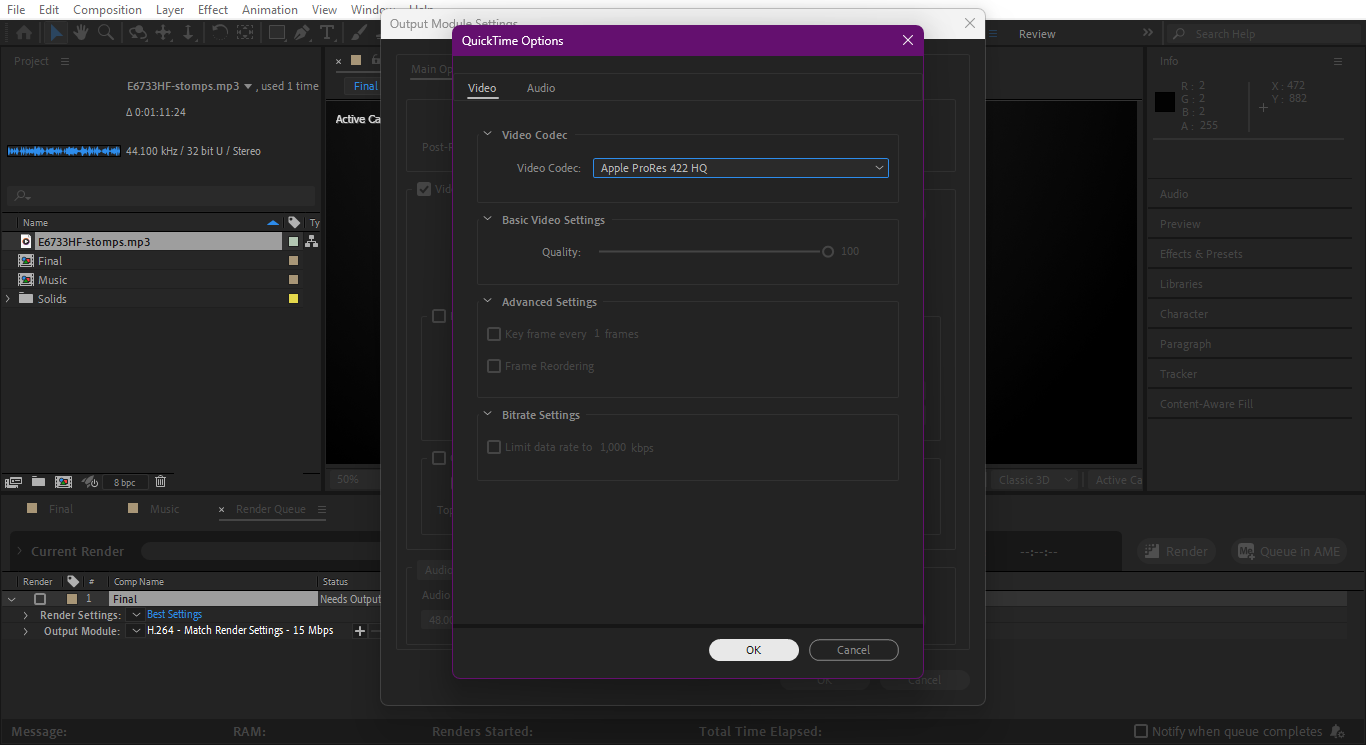
Adjust Output Module:
- In the new window, change the Format from AVI to QuickTime.
- Under Format Options, select Apple ProRes 422 HQ for high-quality rendering with a manageable file size.
- Click OK to save these settings.
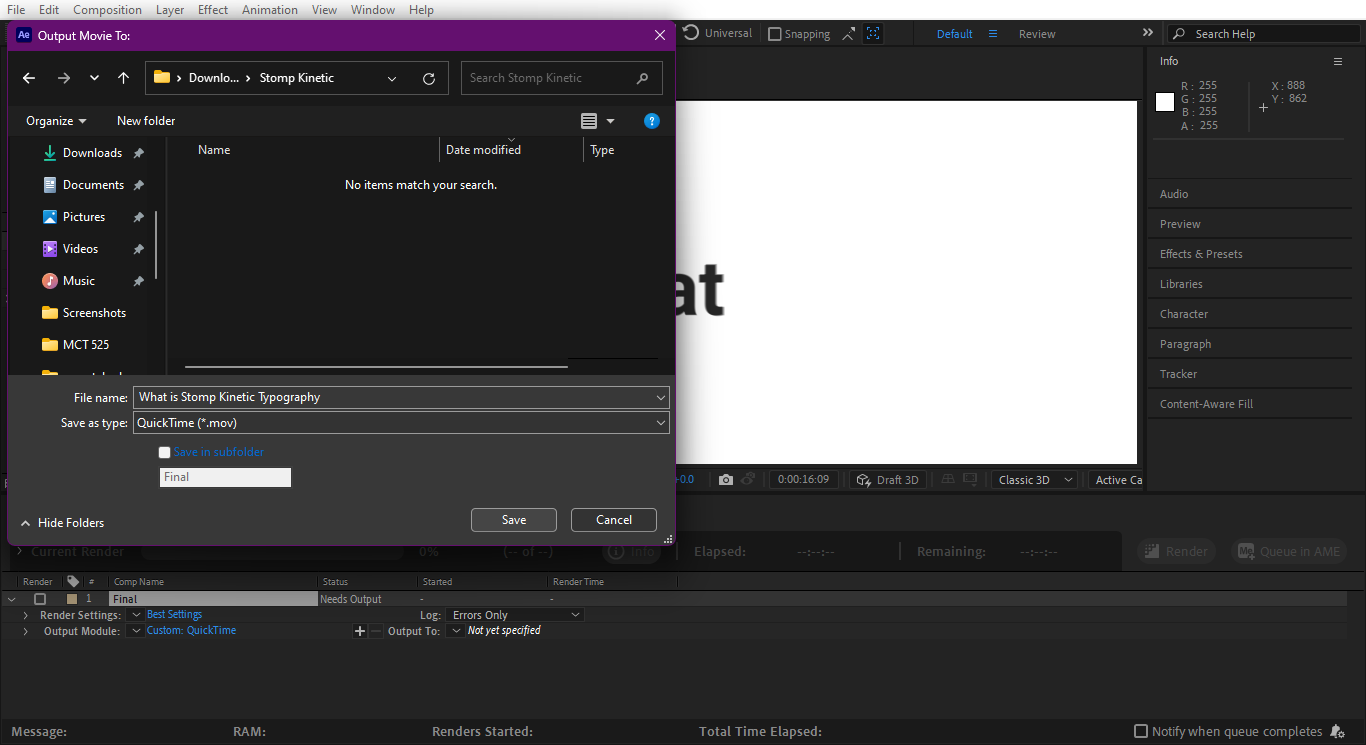
Choose Output Location:
- Click on Output To to select where you want to save your video file.
- Name your file and choose the save location.
Render the Video:
- Click on Render. A blue progress bar will show the rendering progress.
- Please note that the Rendering time depends on your computer's specifications. For example, my laptop has 10th generation Core i3 and 8GB of RAM, it took about 2 minutes. Systems with higher specifications, like a Core i5 or higher with a dedicated graphics card, or Apple silicon Macs, will render faster.
Reduce File Size (Optional):
- If your video file is still too large, you can use Adobe Media Encoder to reduce the size.
- For a free option, you can use Movavi, available for both Windows and macOS. Movavi allows you to compress the video without significant quality loss.
Upload, Present or Advertise

At this point you're done with crating you Stomp Kinetic Typography!!!
This is the perfect moment to present your rendered video! You can use it for a presentation, to promote a brand or company, or just to showcase your artistic abilities. Your Stomp Kinetic Typography video can be added to your professional portfolio to show off your ability to create compelling motion graphics, shared with friends, family, and coworkers to highlight your new skills, or included into presentation slides to wow your audience. It can also be shared on social media sites like Facebook, Instagram, and Twitter to draw in new clients. For a larger audience, upload your film to websites like Vimeo or YouTube.
In my case, I uploaded my video on YouTube. The second video shown above is a personal favorite because I created it using a custom template I designed myself. However, when I tried to upload it in step 5, I ran into a snag—the file type wasn't supported. Despite this hiccup, I'm excited to keep experimenting and sharing my creative process with you all! Oh, and don't forget to like the video!
You should also think about posting it in online forums to get comments and suggestions for development. Remember that your video is a representation of your hard work and creativity, regardless of how you decide to distribute it. Take pleasure in the journey and acknowledge your accomplishments!