How to Convert Film Negatives With a Digital Camera/Smartphone
by pbriggs8 in Circuits > Cameras
36971 Views, 90 Favorites, 0 Comments
How to Convert Film Negatives With a Digital Camera/Smartphone
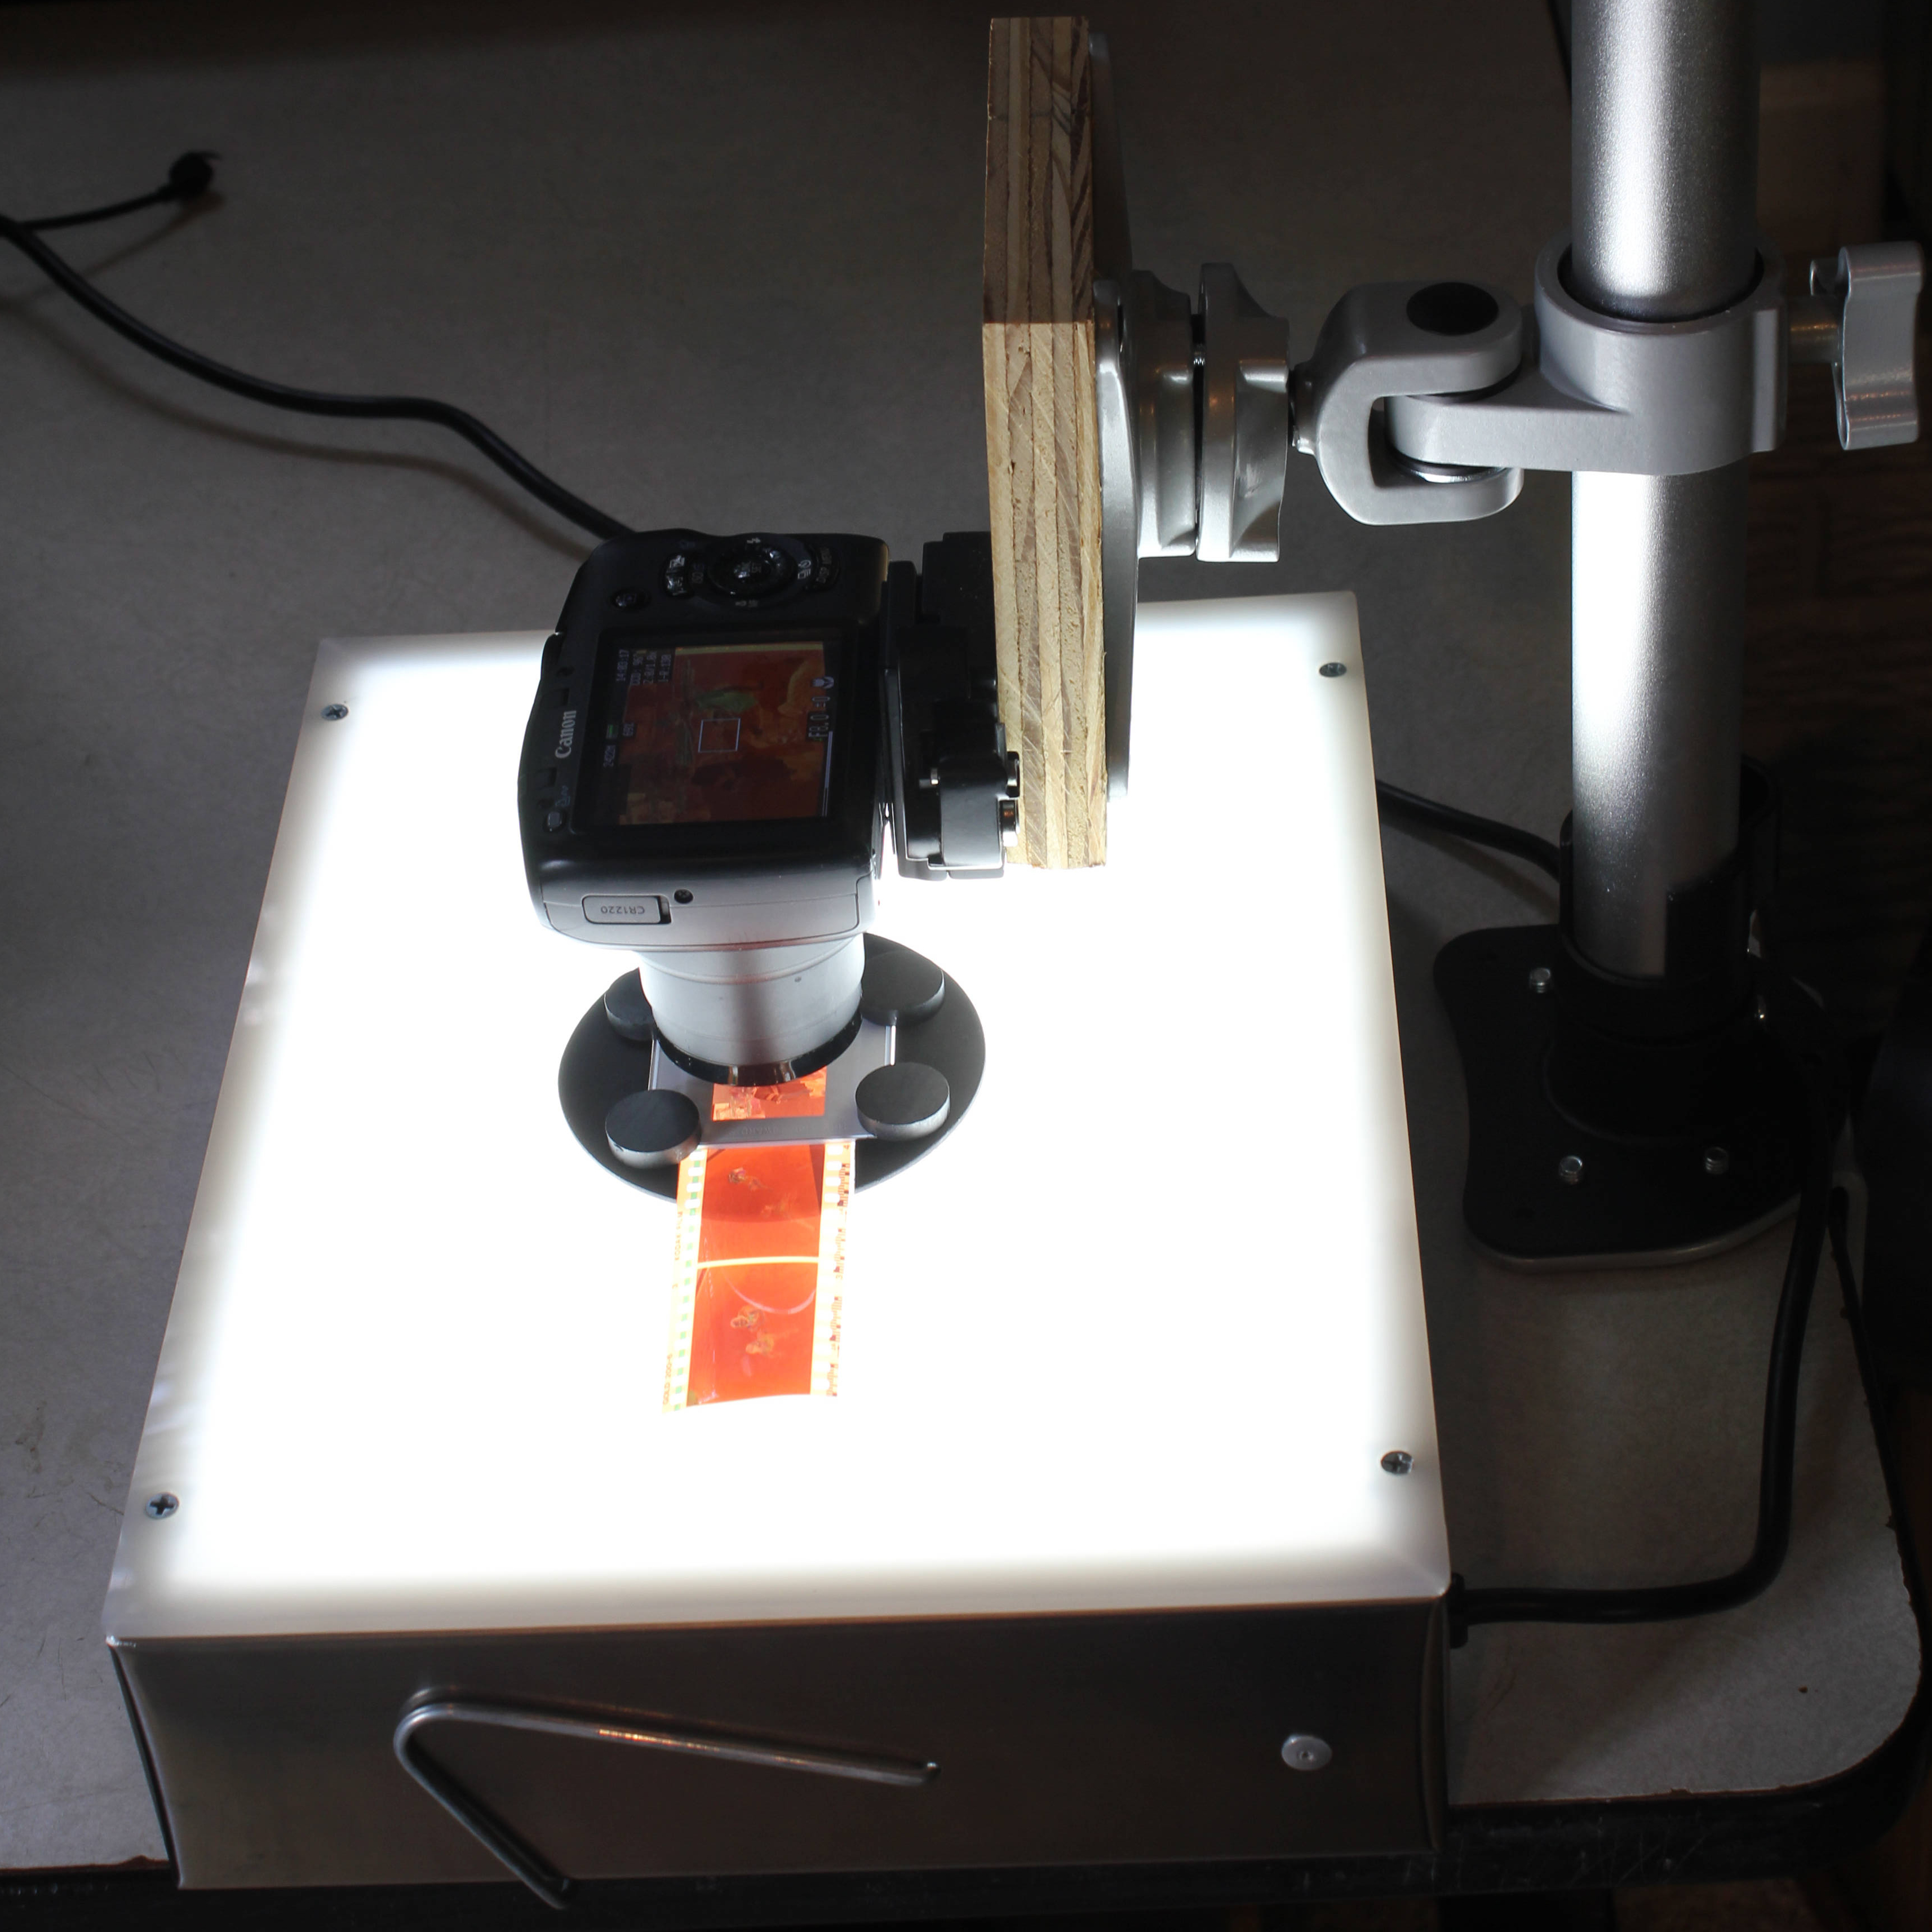

This Instructable shows you the details of how to quickly convert film negatives into quality positives using a digital camera or smartphone. This method will allow you to digitize negatives at a rate of approximately one every 5-10 seconds, versus one every 2-3 minutes when using a film scanner.
This Instructable focuses on how to convert 35 mm film negatives, but the same basic approach can be used for both smaller and larger format film negatives.
This Instructable also focuses on how to quickly convert camera digitized images (jpegs) of your negatives into positives using an application called VueScan. You can get even better quality positives of digitized negatives (RAW files) using a PhotoShop plugin called ColorPerfect, but this takes more software and expertise and will be the subject of a separate future Instructable.
The speed with which you may take your digital images depends upon how quickly you can insert and position your film negatives on a light box and under your camera. This Instructable shows one way to position your 35 mm film negatives using a readily available negative holder & light box. There are other, even faster ways, to position your 35 mm negatives over a light box. I will describe one faster method (which requires more work) in a future Instructable.
Additionally, it is important to position your negatives in the same relative location if you want to batch process the digitized images into positives. This is why I highly recommend positioning your camera or smartphone over the negatives using a jig.
Note: You will be surprised at the quality of the images that are obtainable with a camera or smartphone. When using a camera or smartphone to digitize negatives, however, you will not be able to use automatic dust correction, as this feature is only available on selected film scanners. Automatic dust correction uses a second infrared scan of negatives (which doubles the scan time), to detect dust on the negatives. The scanning software then subtracts the infrared scan from the base scan to give an image that minimizes the dust imperfections in the scanned image. Therefore, make sure that your negatives are clean before digitizing them with your camera.
Obtain Equipment & Software
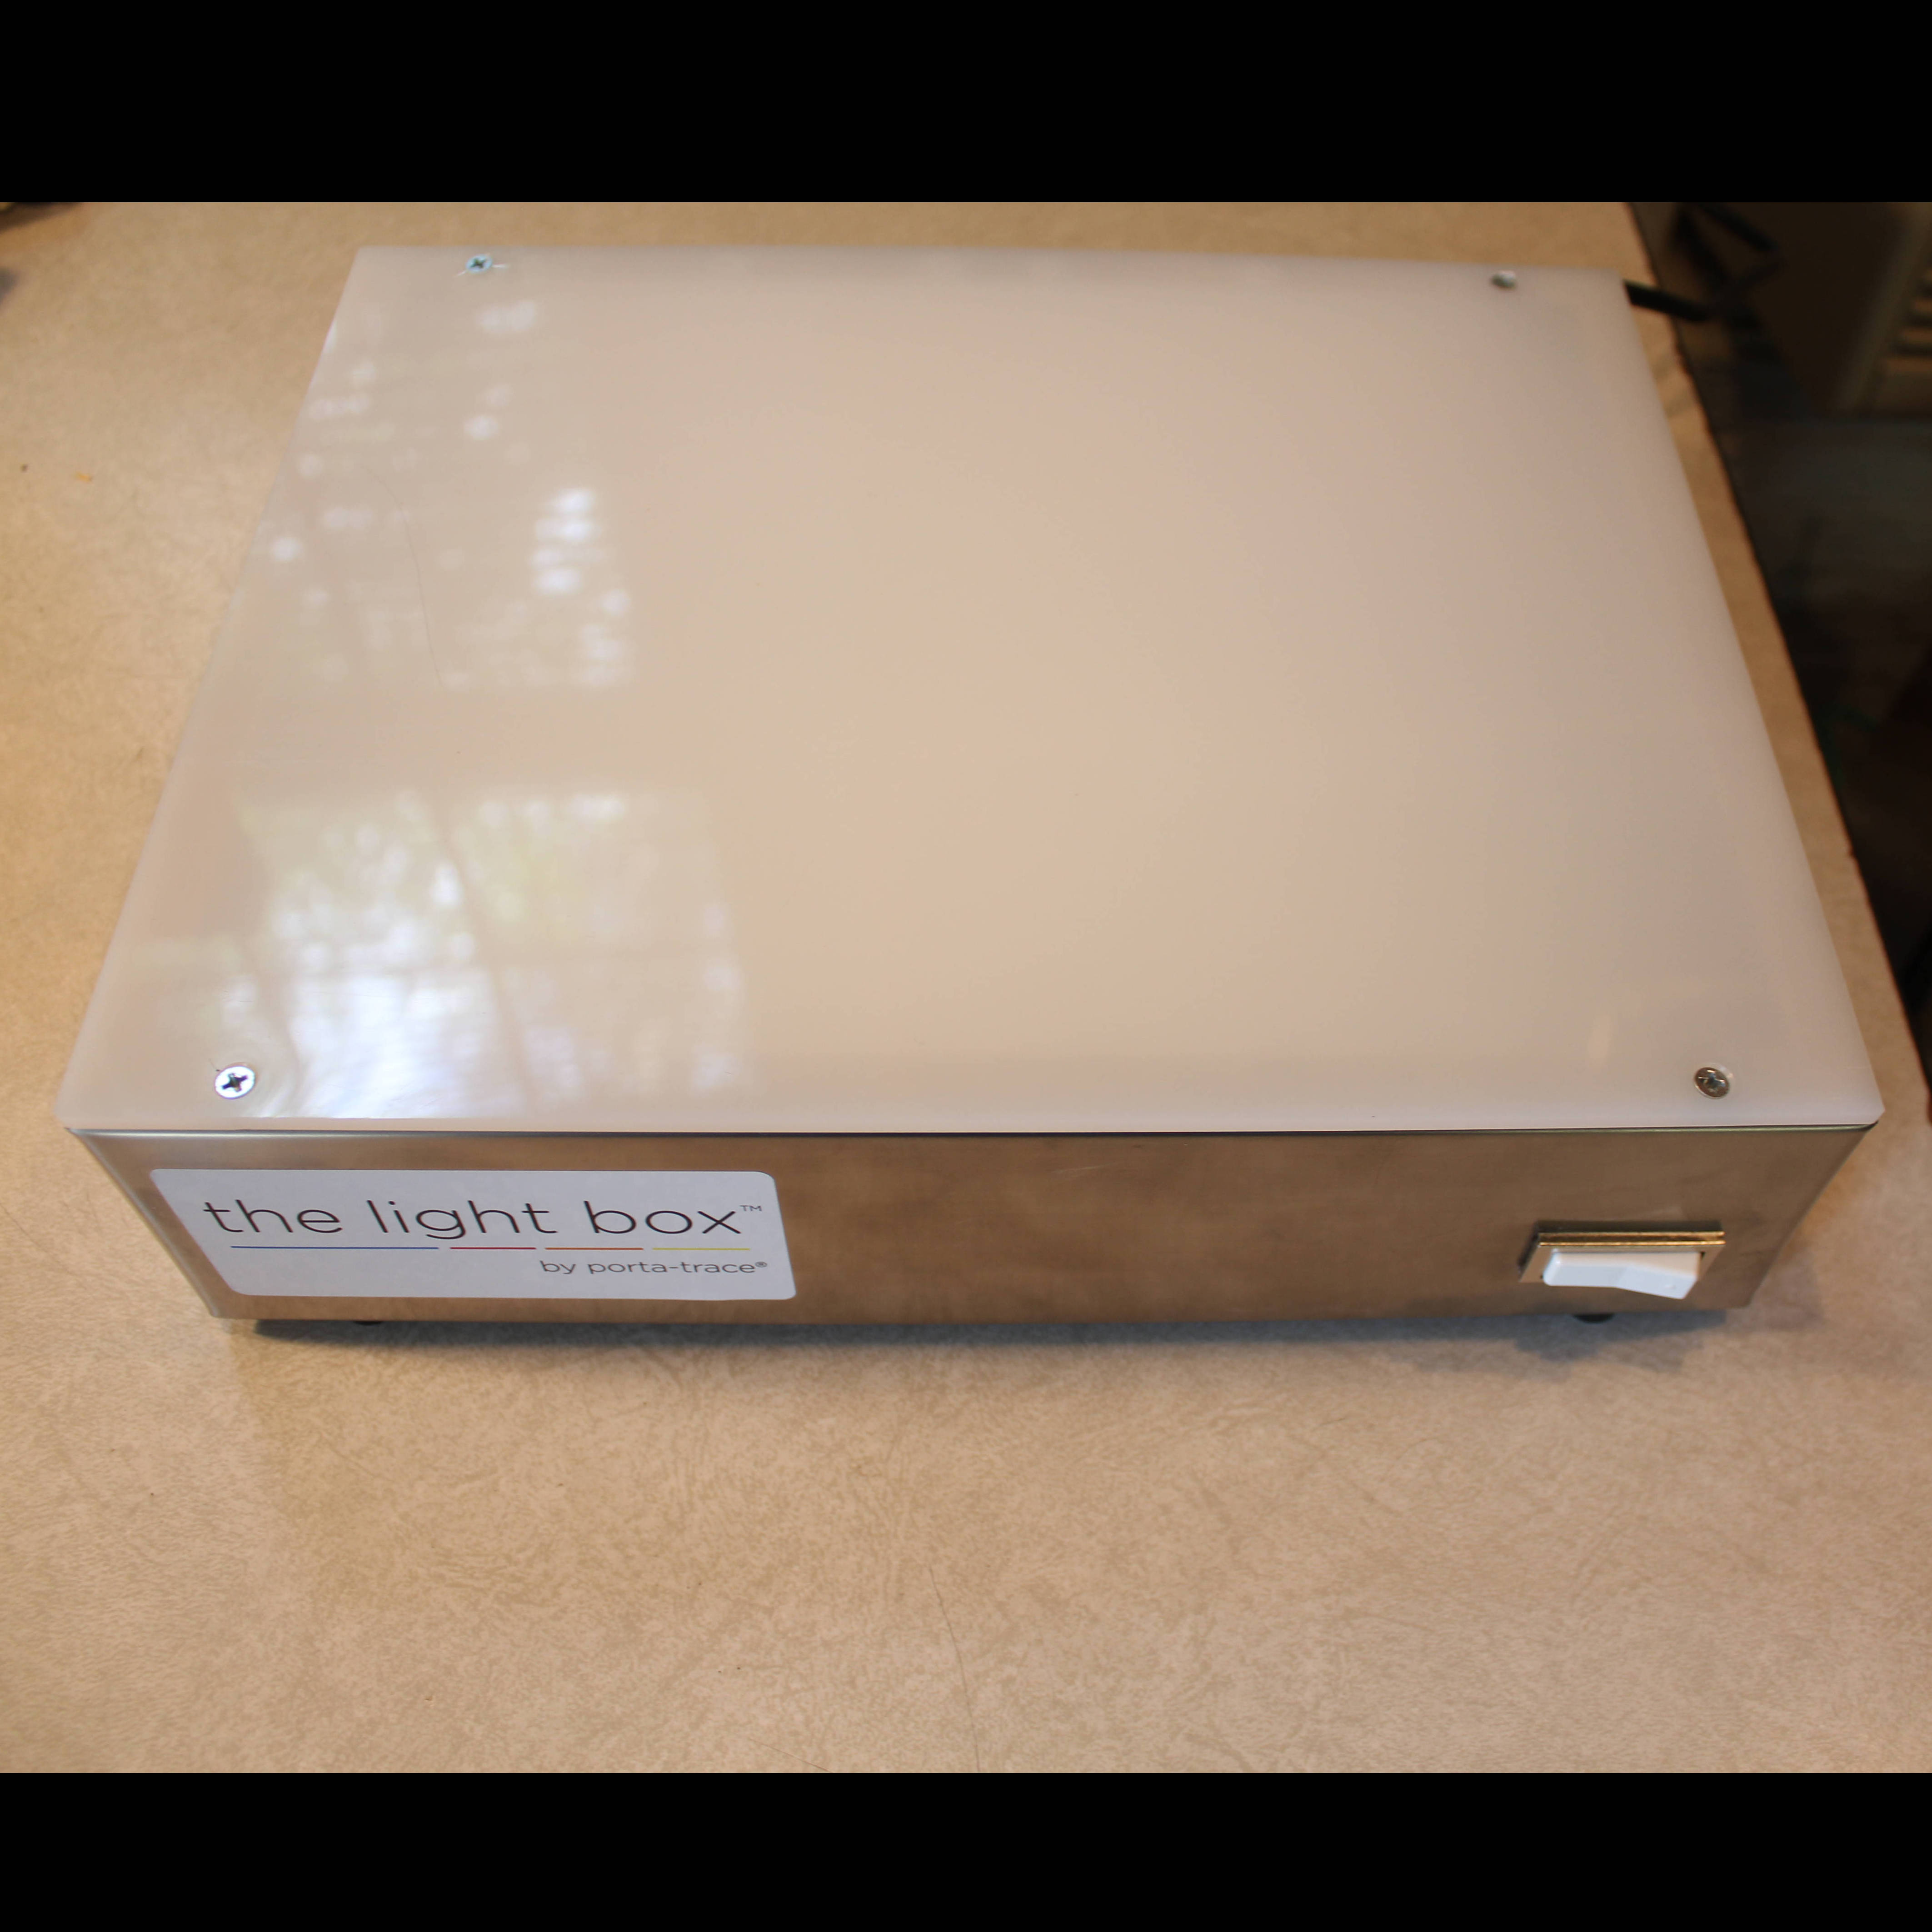
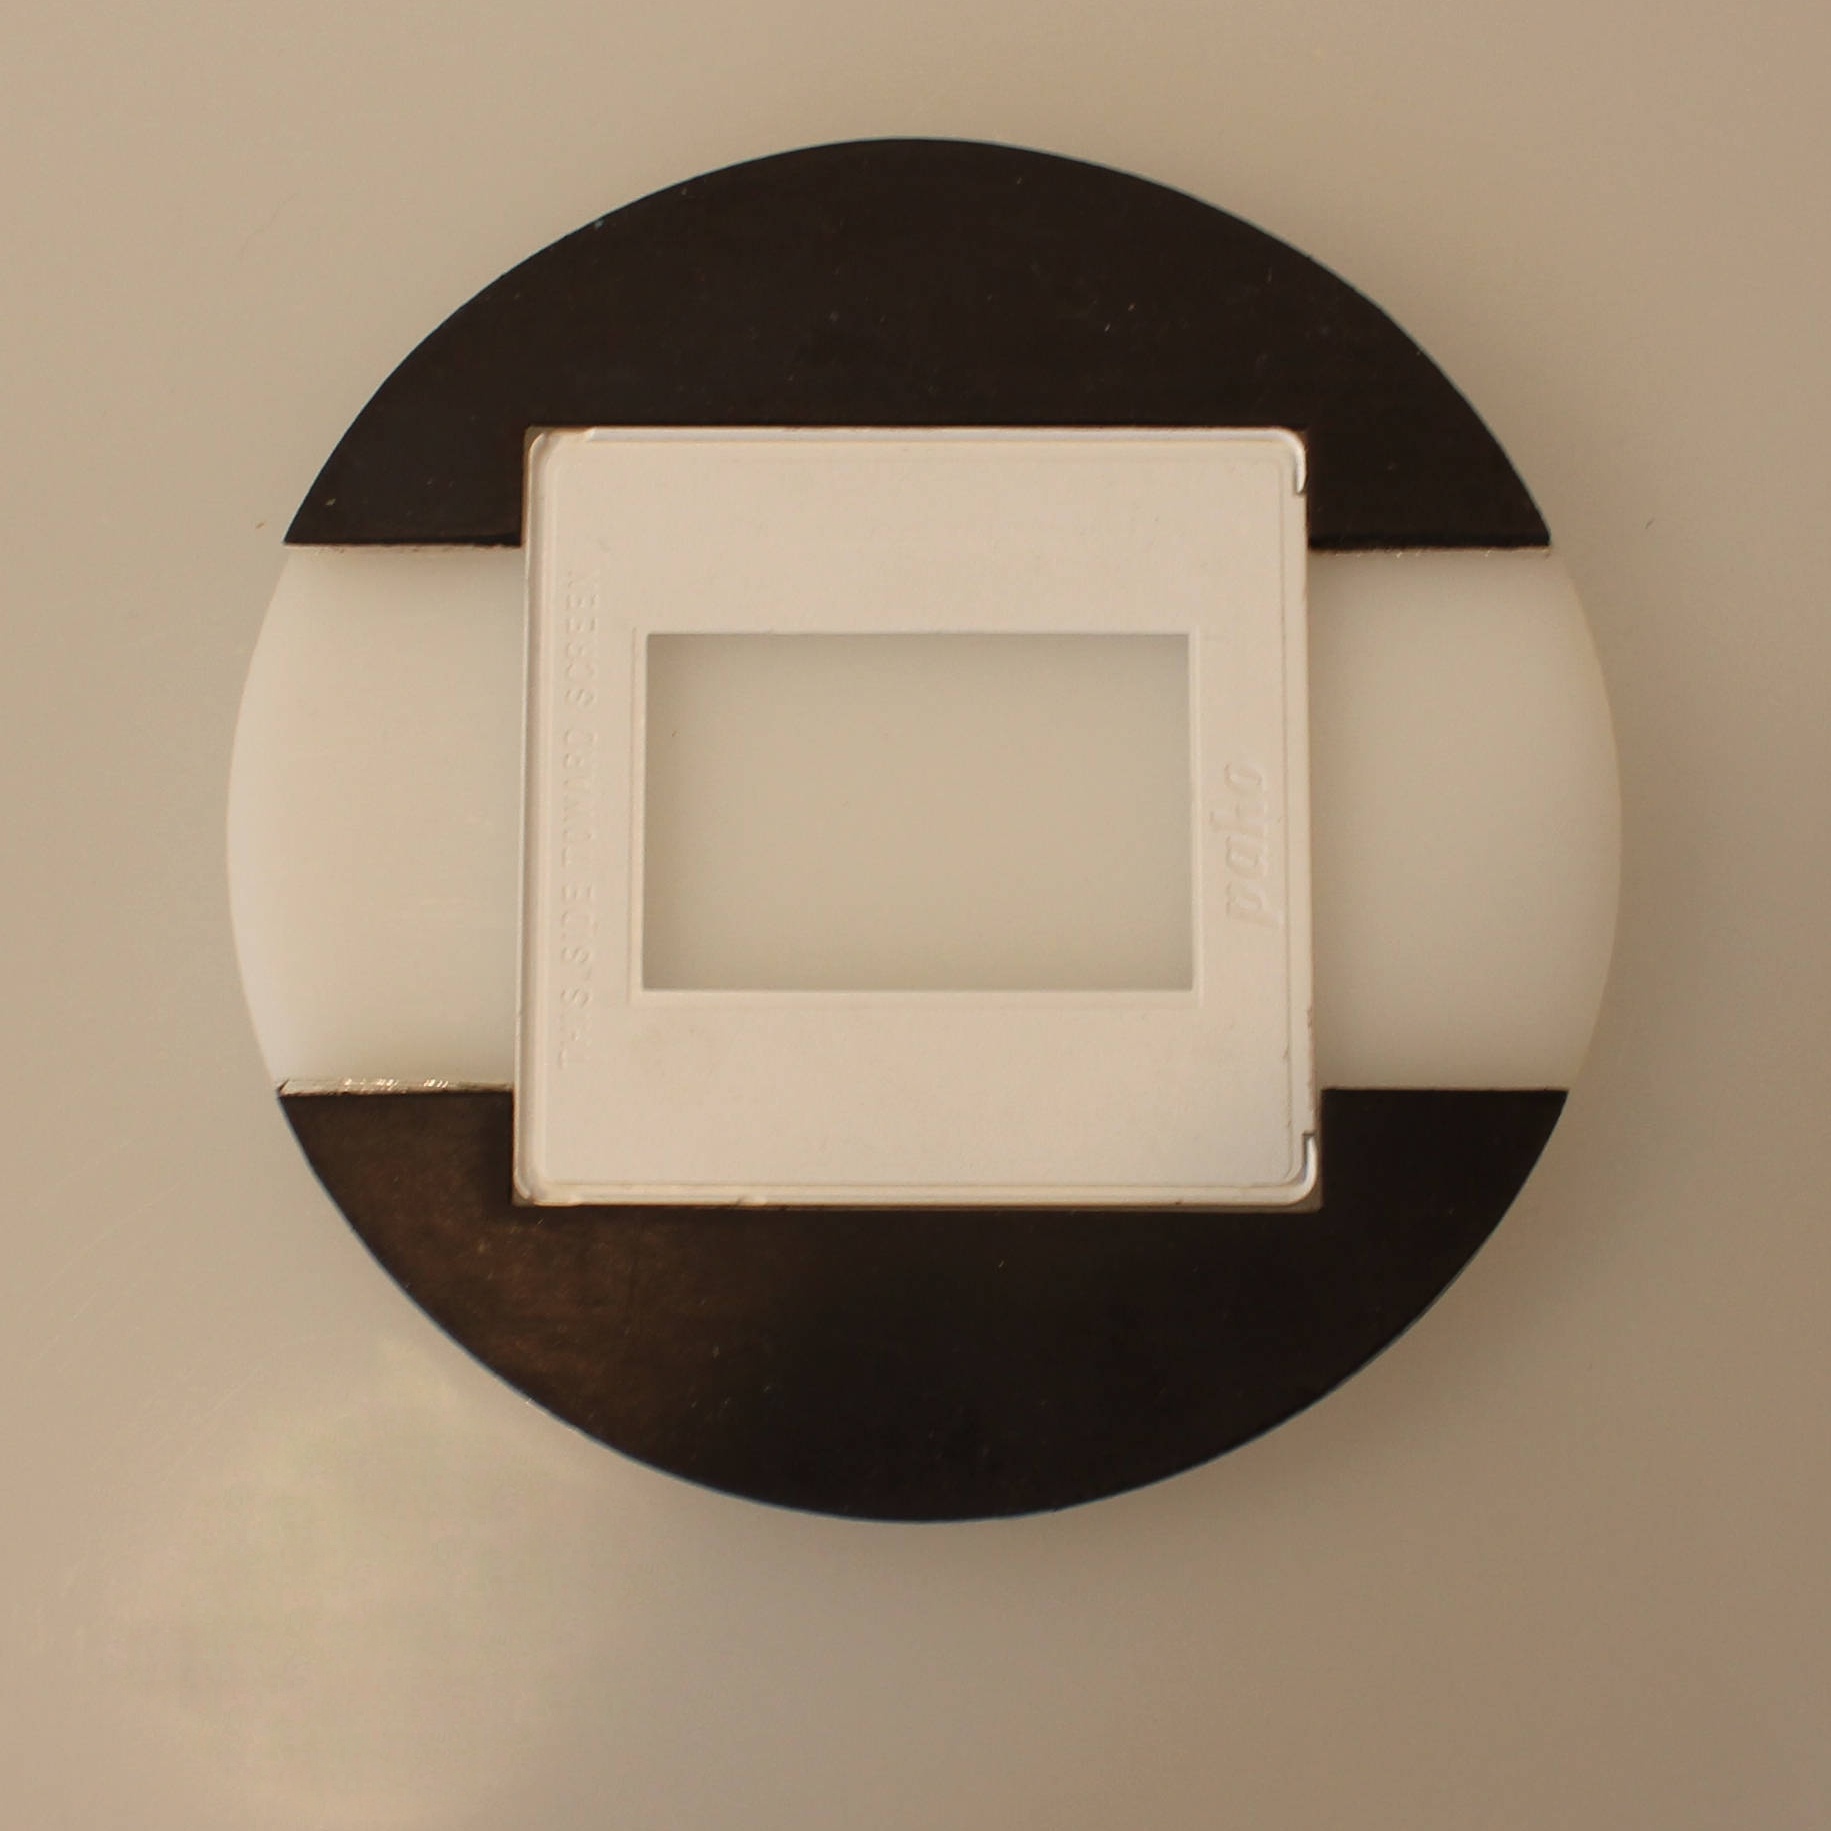
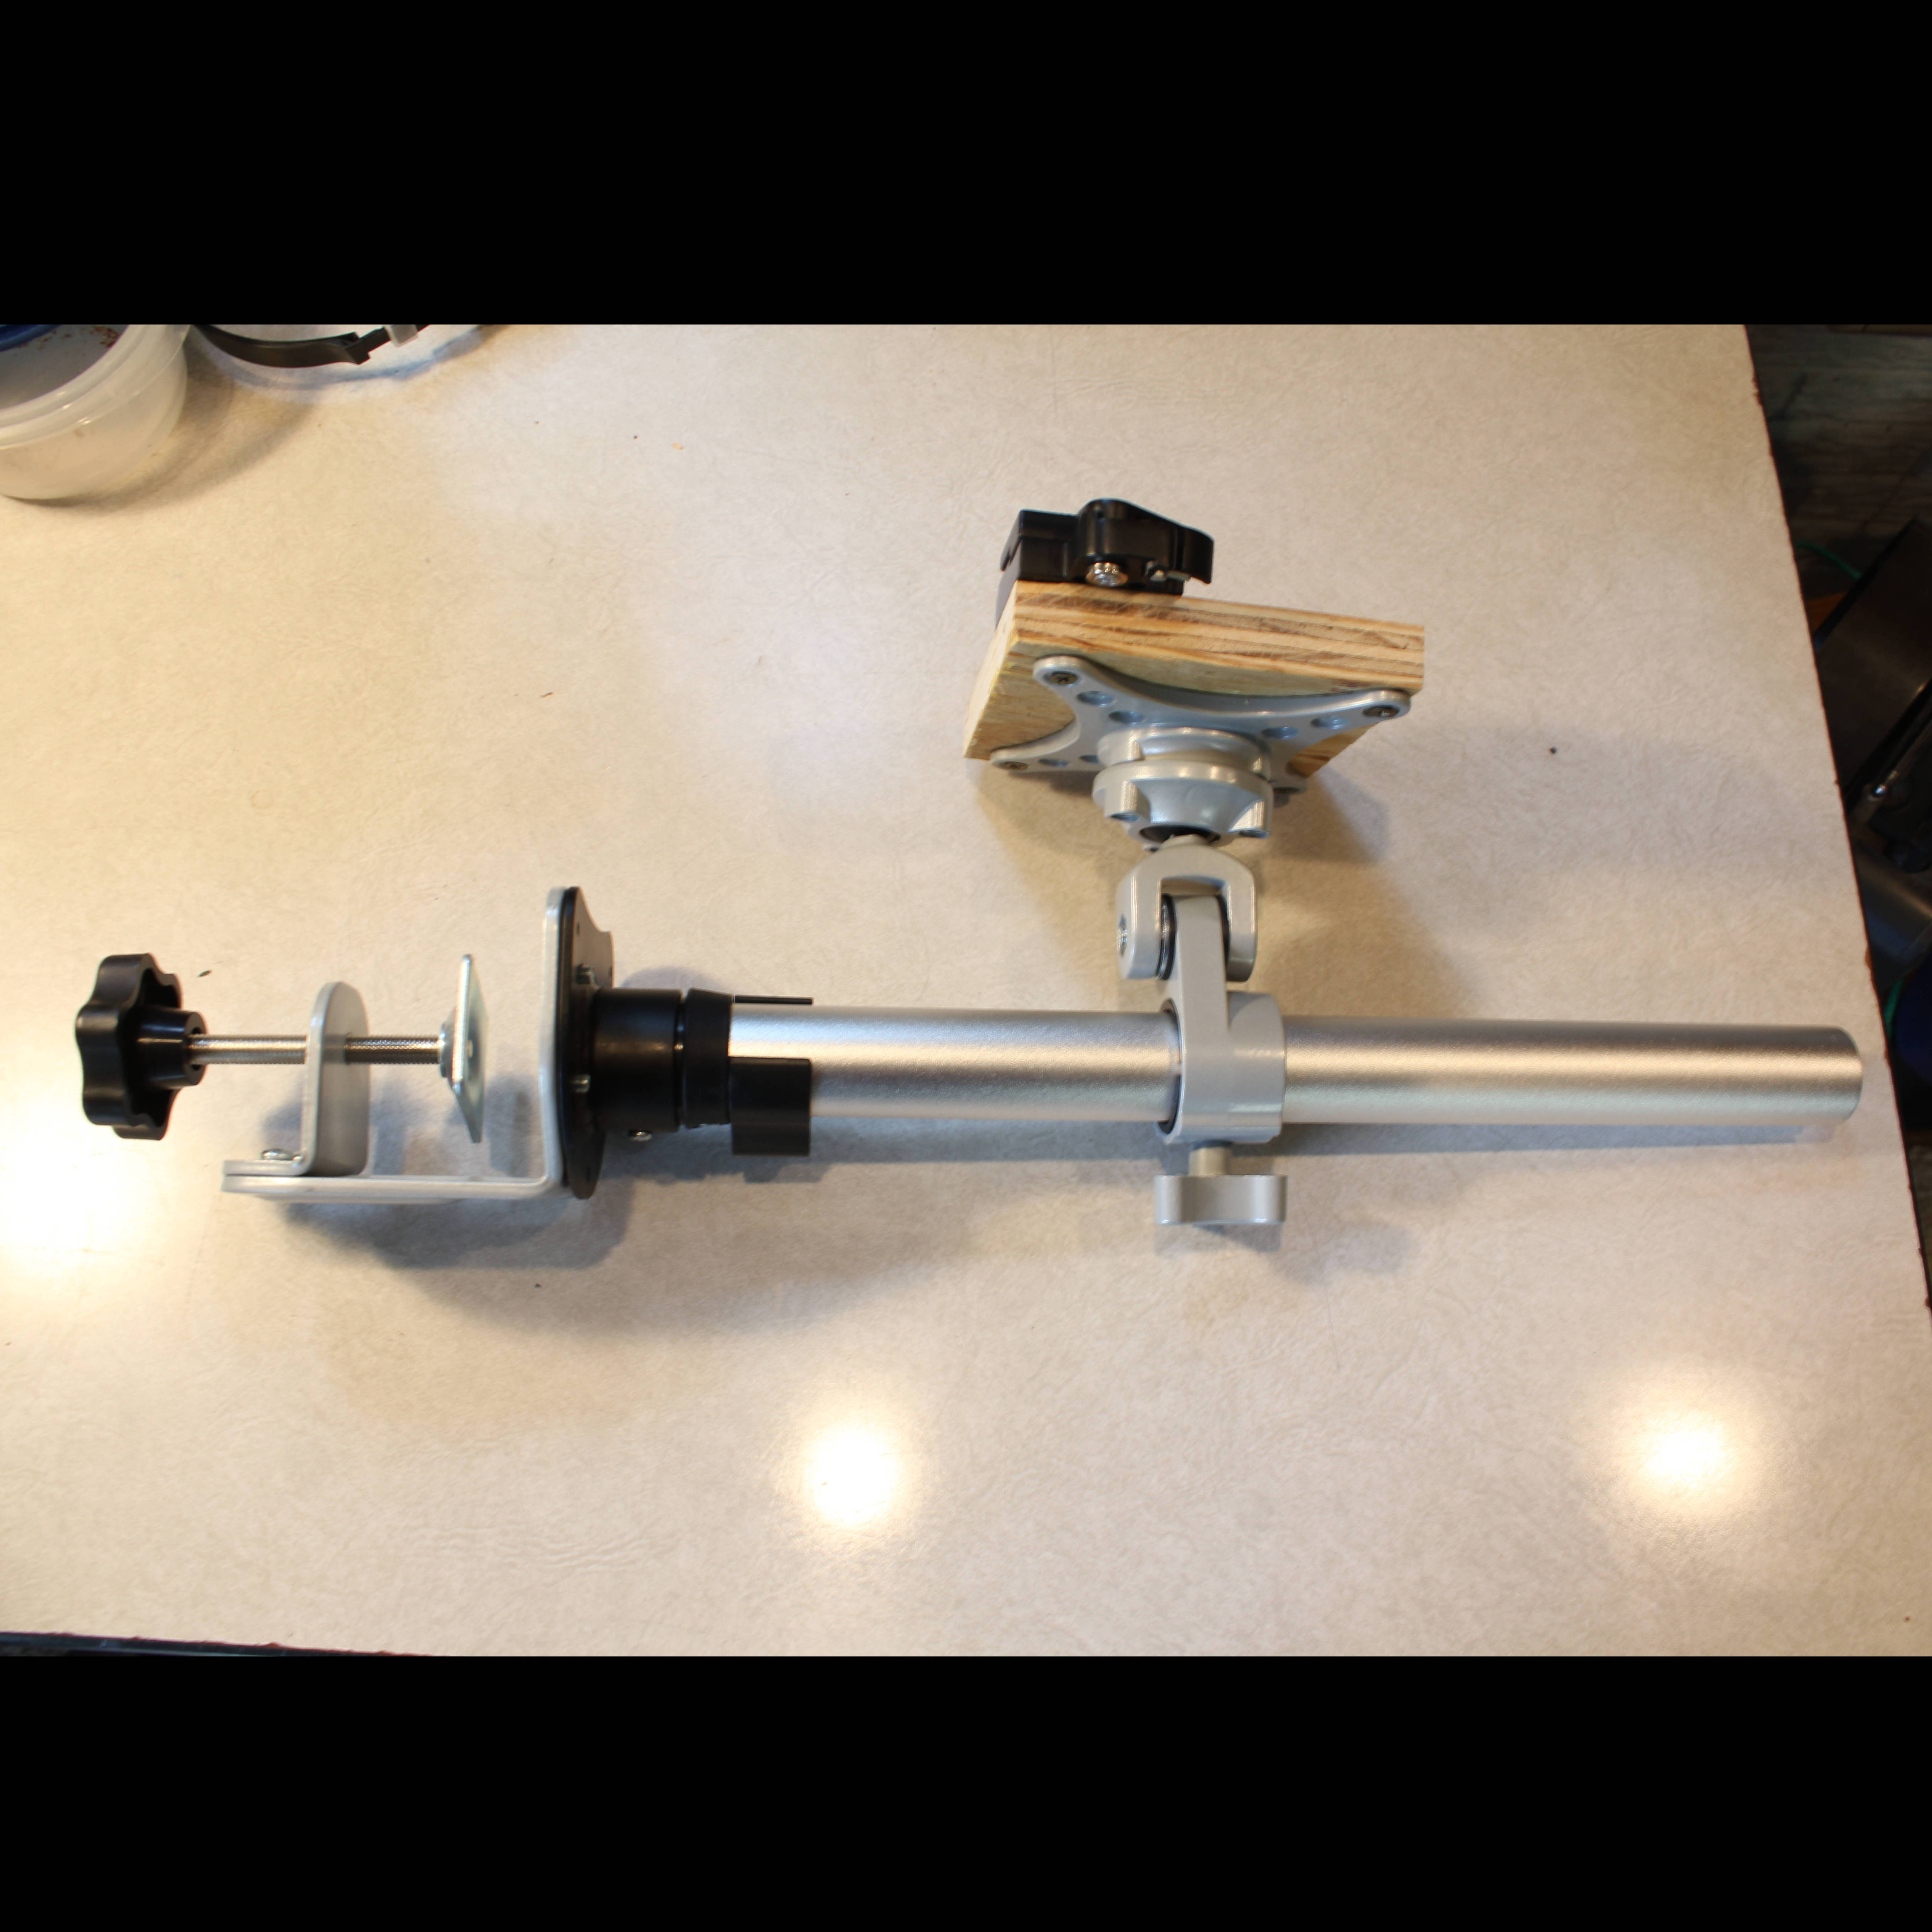
1. Light box ($50)
a. Porta-Trace / Gagne 10 x 12" Light Box - Stainless Steel Frame and Two 5000K Lamps
- http://www.bhphotovideo.com/c/product/117090-REG/P...
2. 35mm negative holder
a. Photosolve adapter - Xtend-a-Slide™ film carrier (for holding and positioning 35 mm negatives) ($14)
- http://www.photosolve.com/main/product/xtendaslid...
b. Magnets
c. Tape
3. Camera jig
a. Adjustable monitor stand ($35)
- Single LCD Monitor Desktop Mount / Stand, Silver Height Adjustable for 1 Screen up to 24", Model STAND-V001S by VIVO (or equivalent)
- http://www.amazon.com/gp/product/B00EQ8ETIG/ref=oh...
b. 5" x 5" piece of wood & four wood screws
c. Camera quick disconnect plate (when using cameras) ($9 - ebay)
- DSLR SLR Black Camera Lens Tripod Shutter Quick Release Clamp Plate Adapter Set
d. Smartphone to tripod stand adapter (when using smartphones) ($35)
- Shoulderpod S1 Professional Smartphone Rig
-http://www.amazon.com/gp/product/B00KO4SBR6/ref=oh...
4. Negative conversion software
a. VueScan software (easy to use, for conversion of jpegs) ($40)
b. Advanced: ColorPerfect plugin for PhotoShop/PhotoLine (difficult, for conversion of RAW files) ($67)
- http://www.c-f-systems.com/Plug-ins.html
5. Advanced: DSLR remote control software (optional, helpful when digitizing hundreds or thousands of negatives)
a. DSLR Remote Pro for Windows/Mac for Canon or NKRemote ($175)
Make Camera Jig: Modify Adjustable Monitor Stand to Support Camera/smartphone
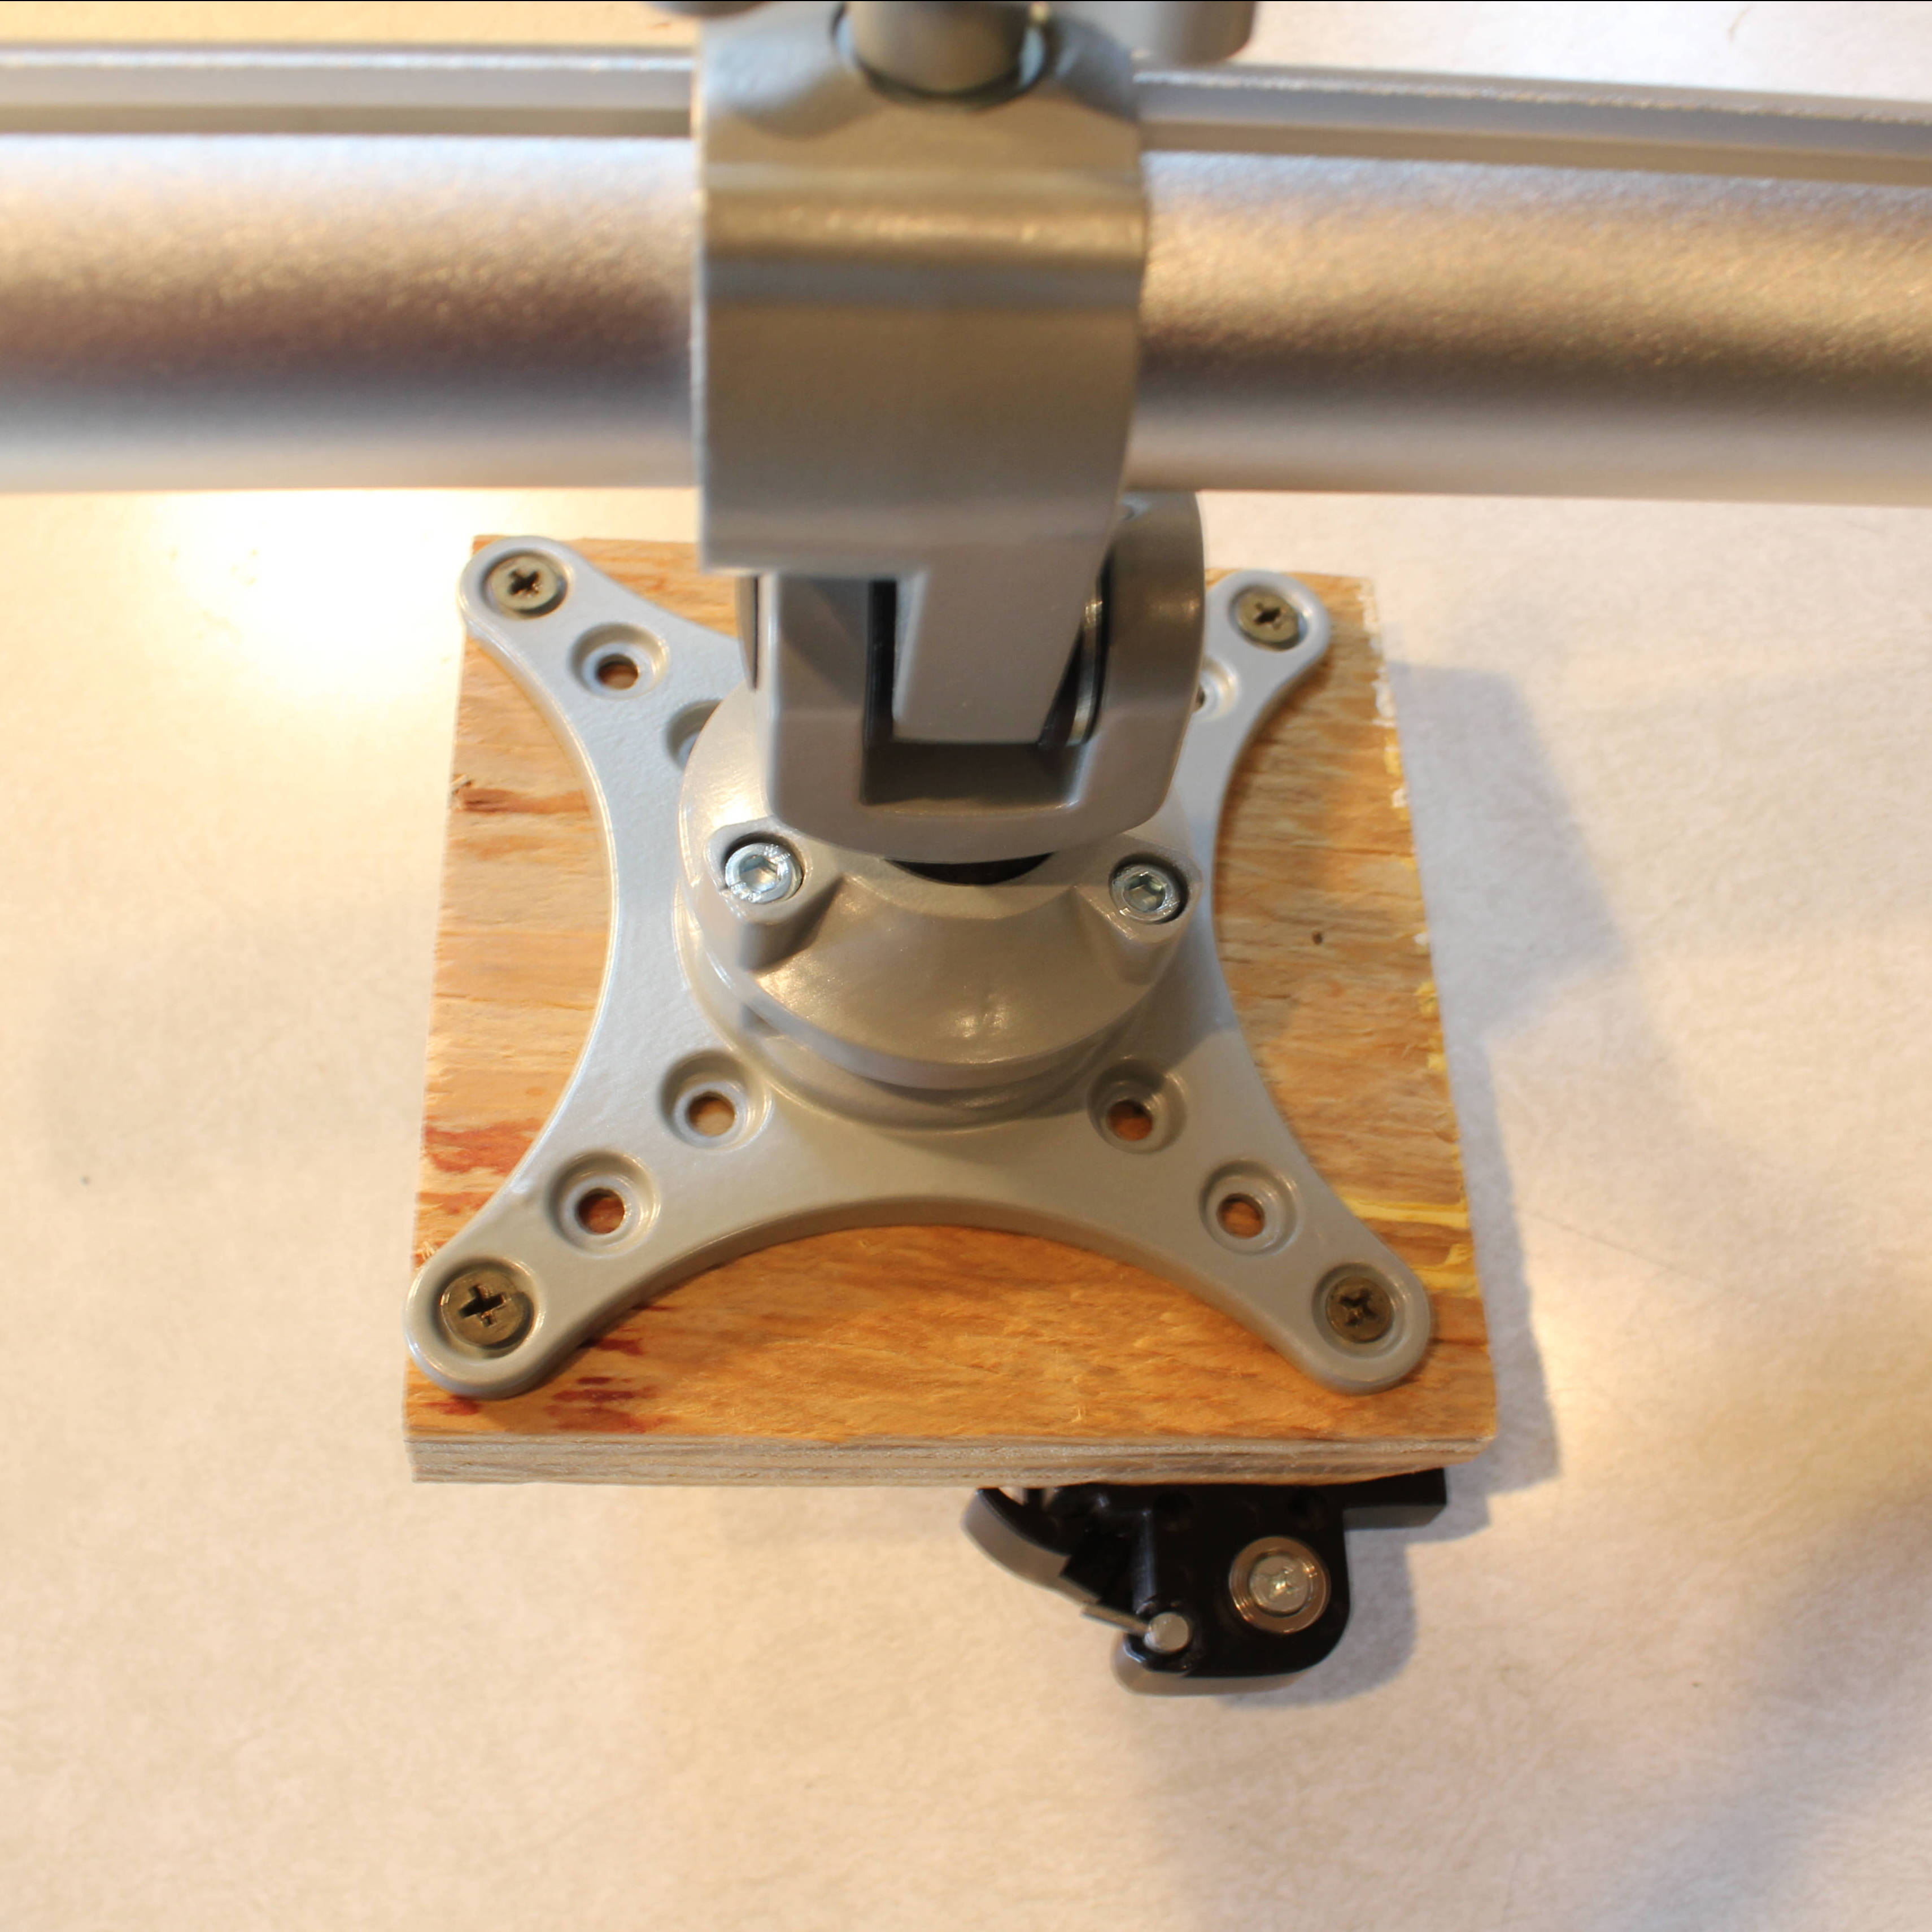
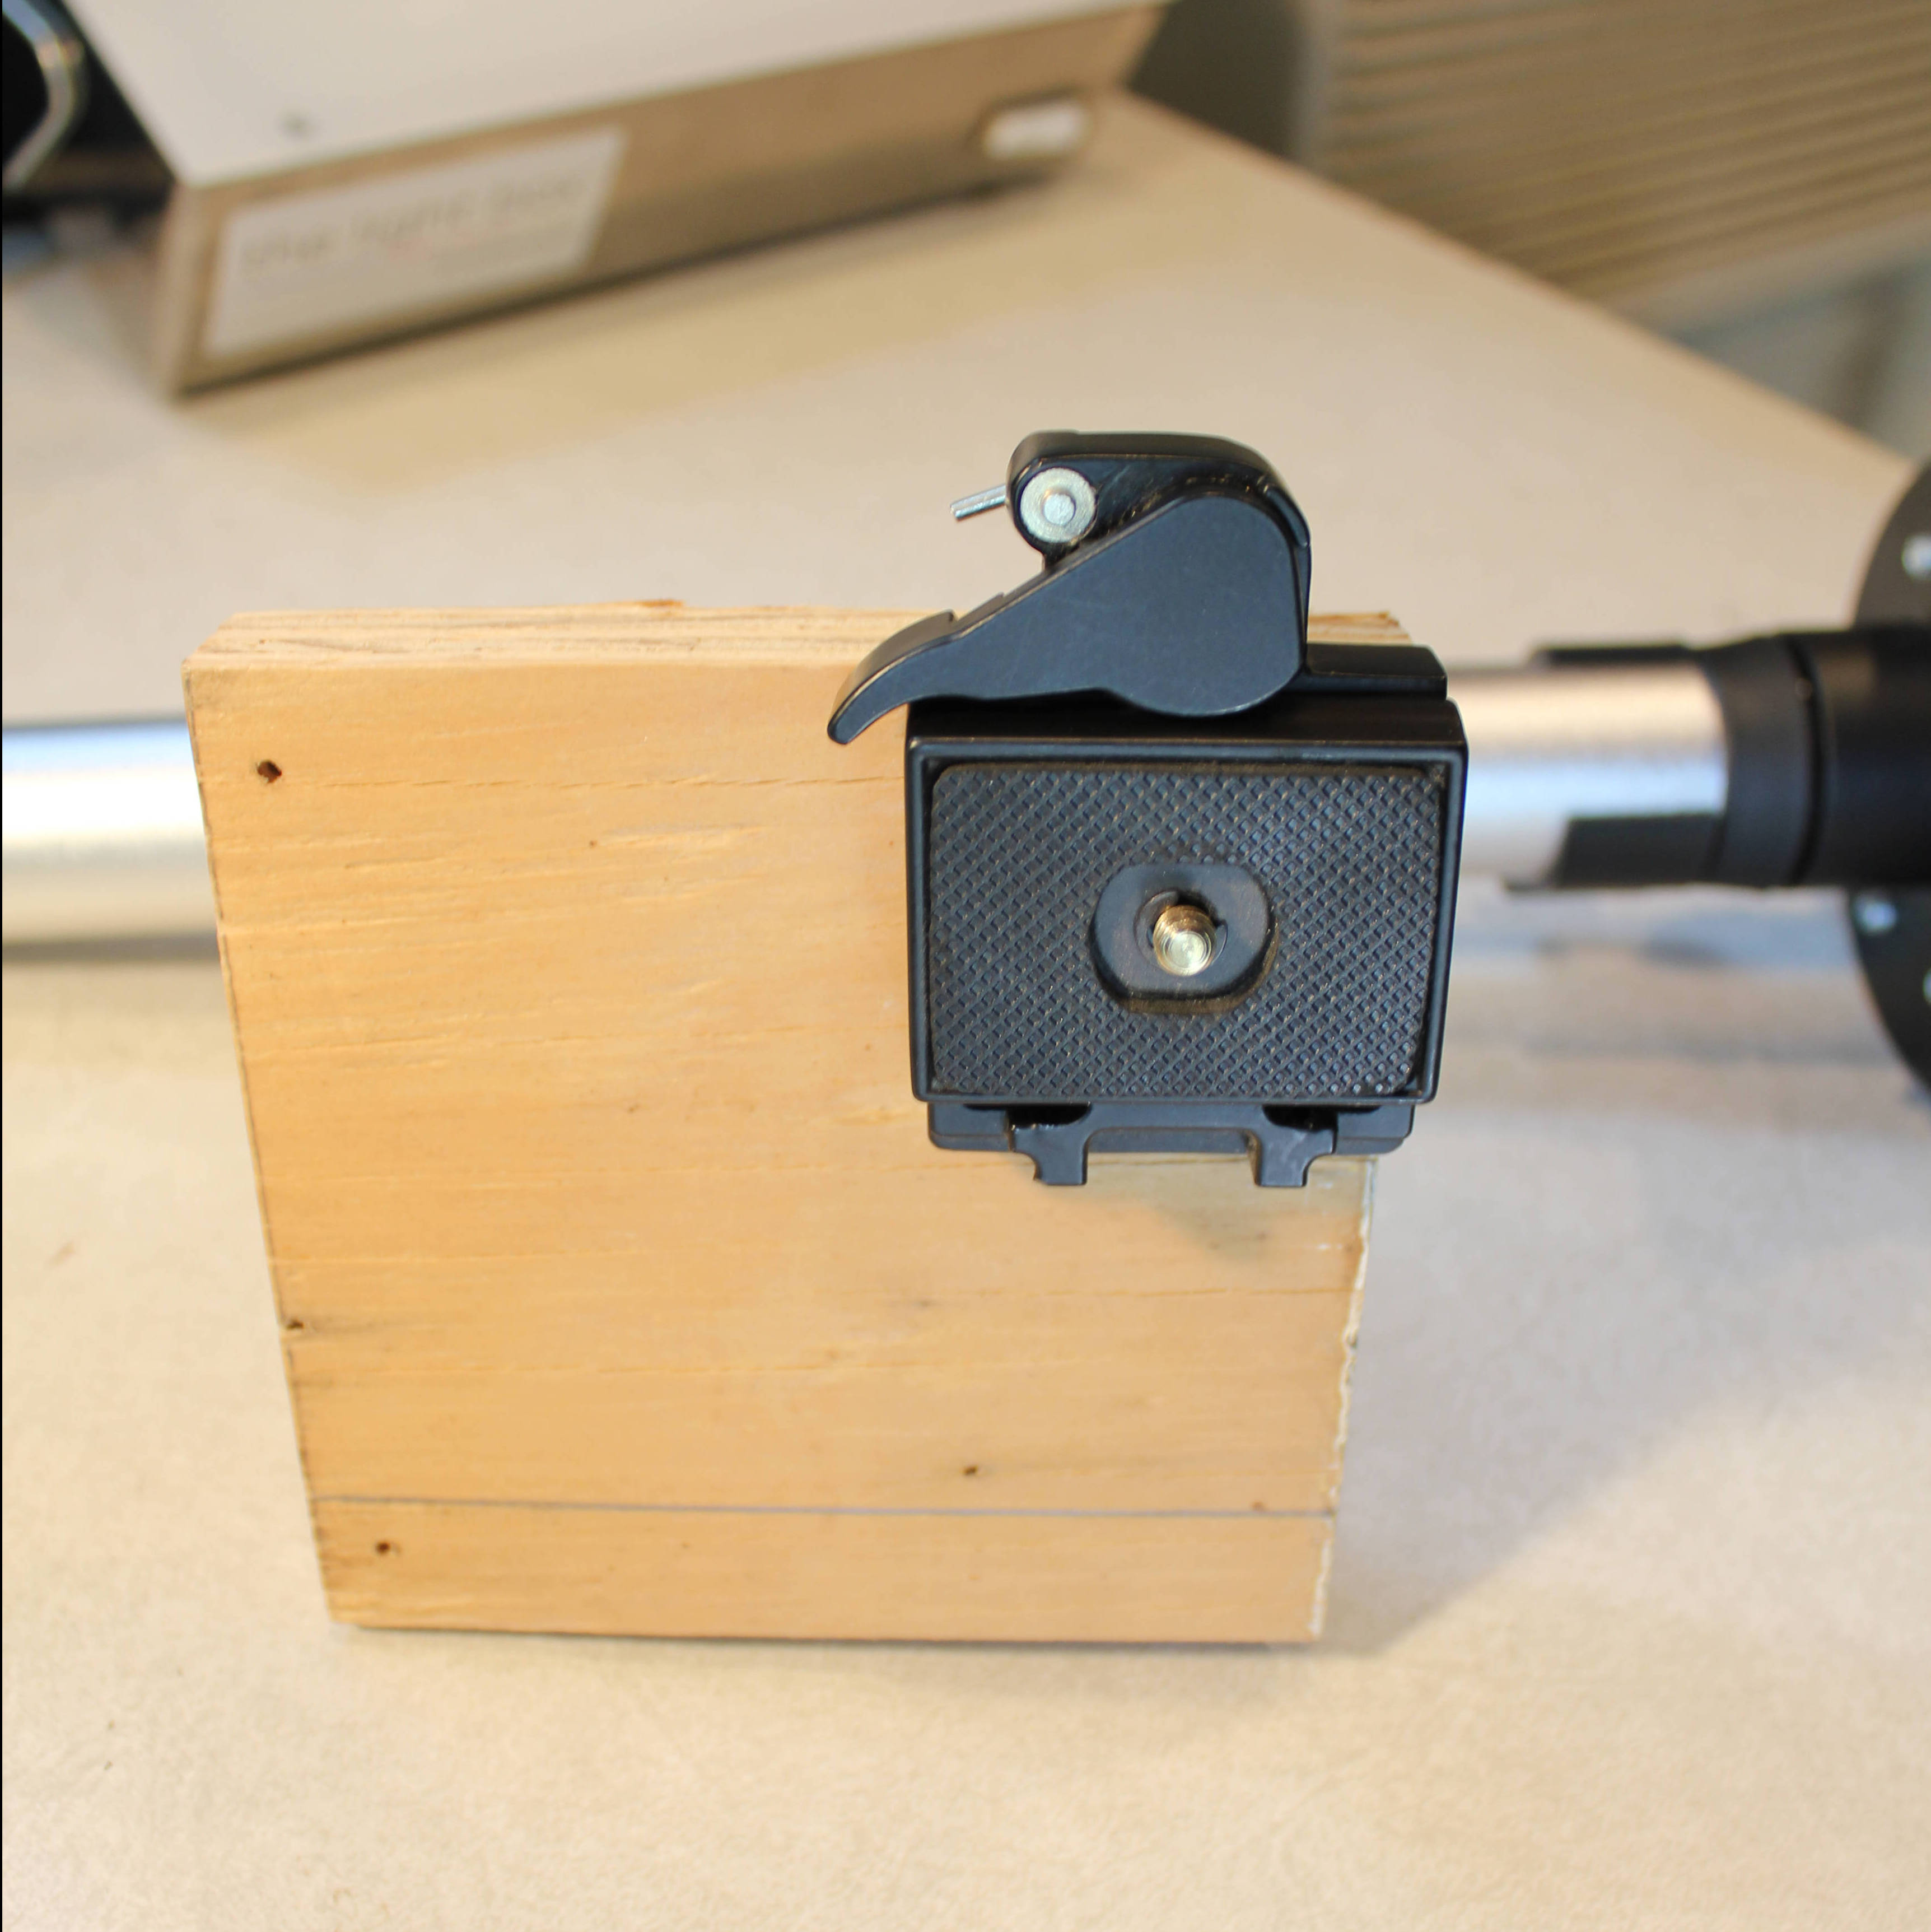
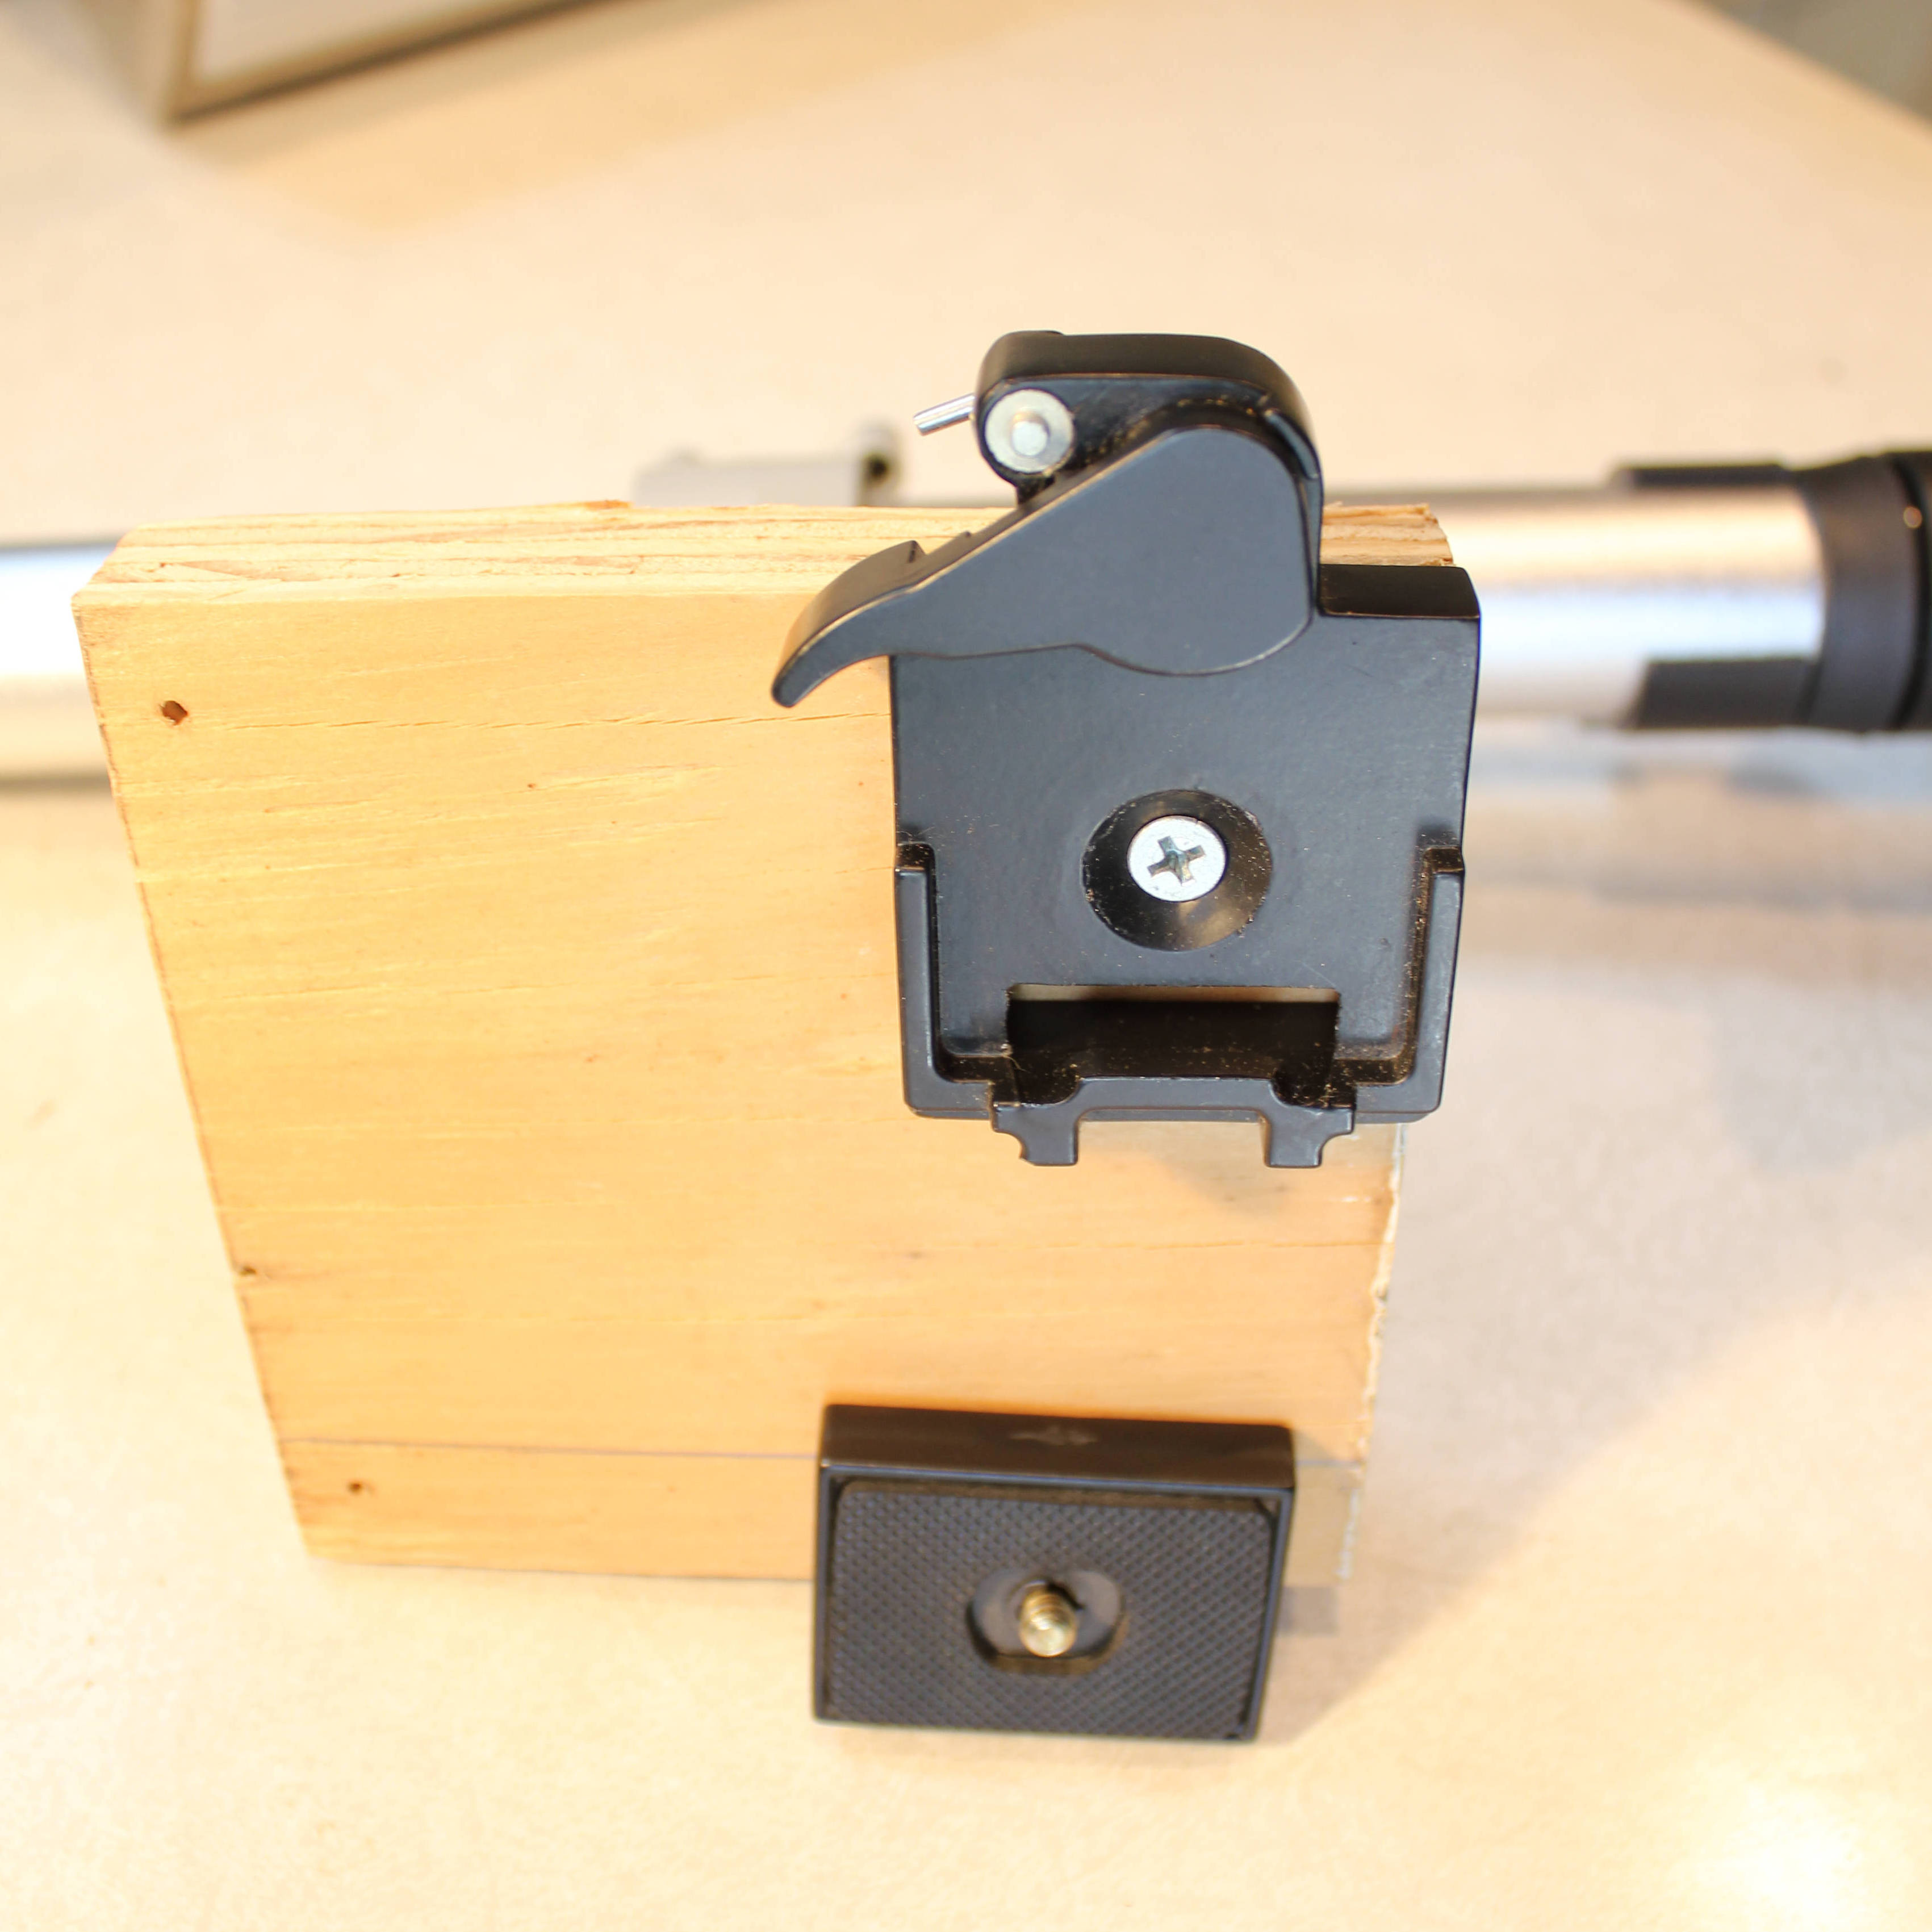
o Build a jig to hold your smartphone or camera above the light box and negative holder
1. Obtain adjustable monitor stand
2. Cut a piece of 1/2" or 3/4" plywood (approx. 5" x 5") and attach it to the monitor stand using four wood screws
3. Attach a camera quick disconnect plate to the wood. Ensure that the quick release mechanism is off to the side of the wood.
Set Up Light Box and Negative Holder
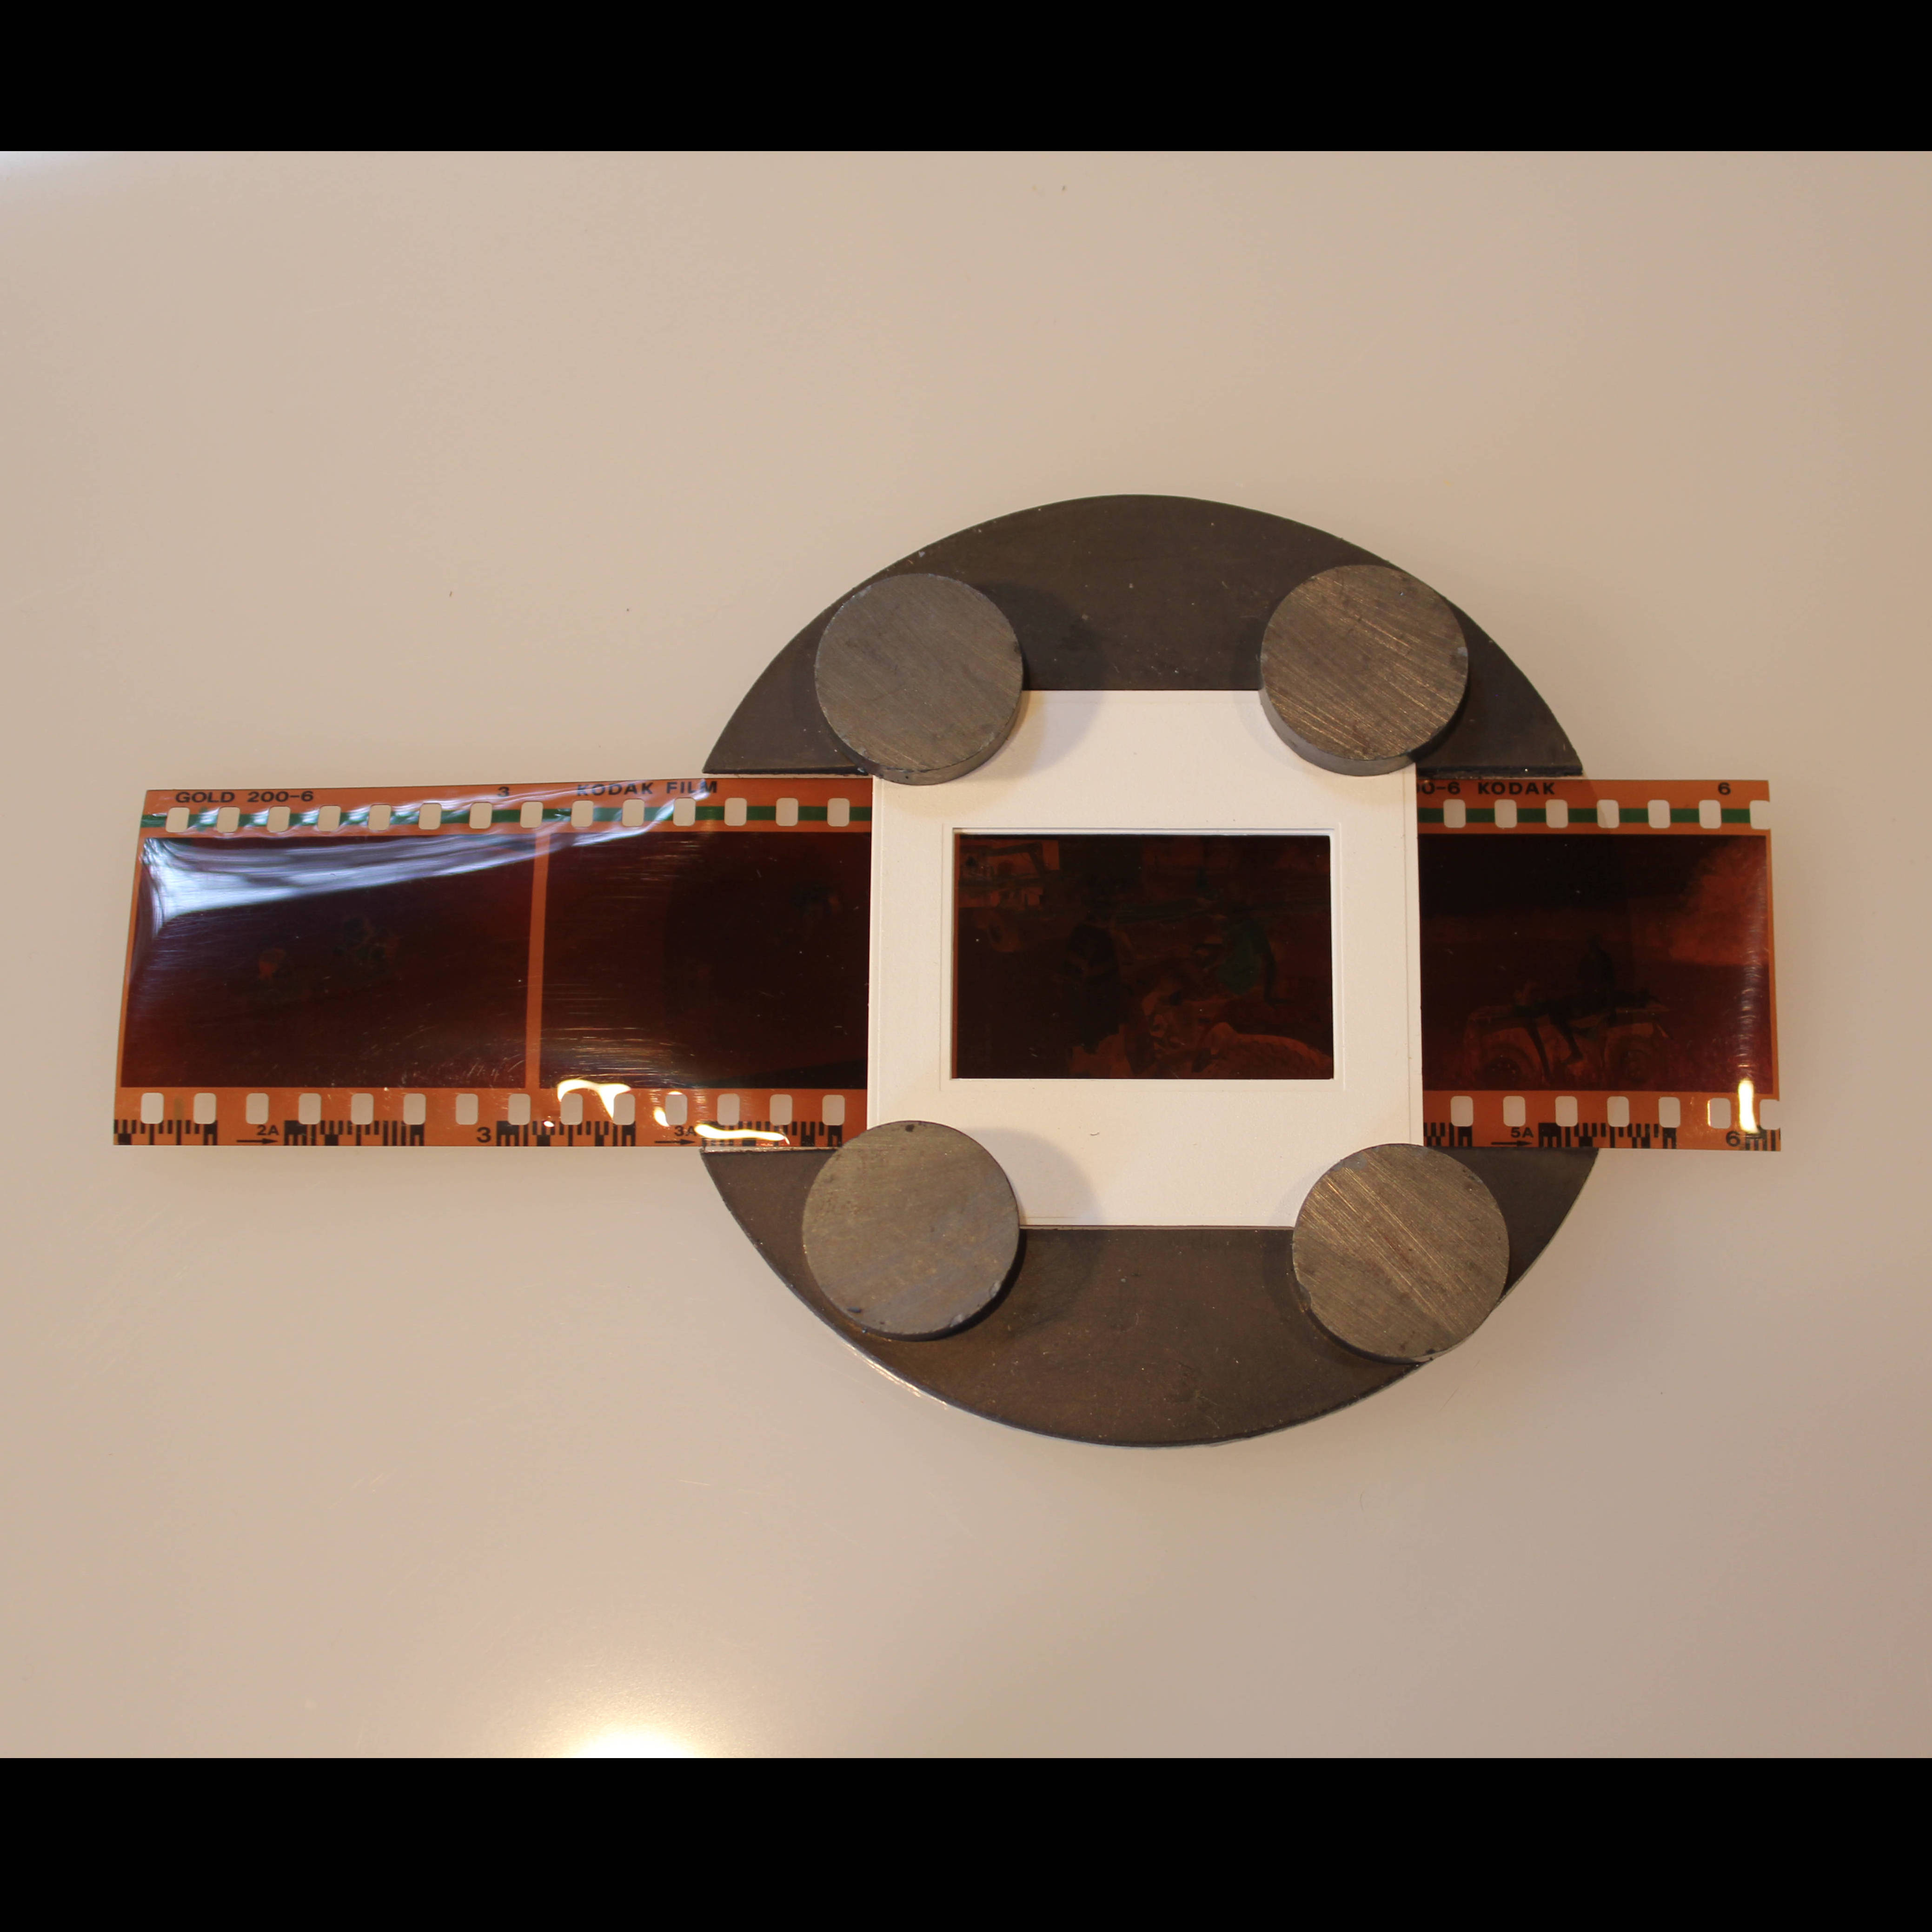
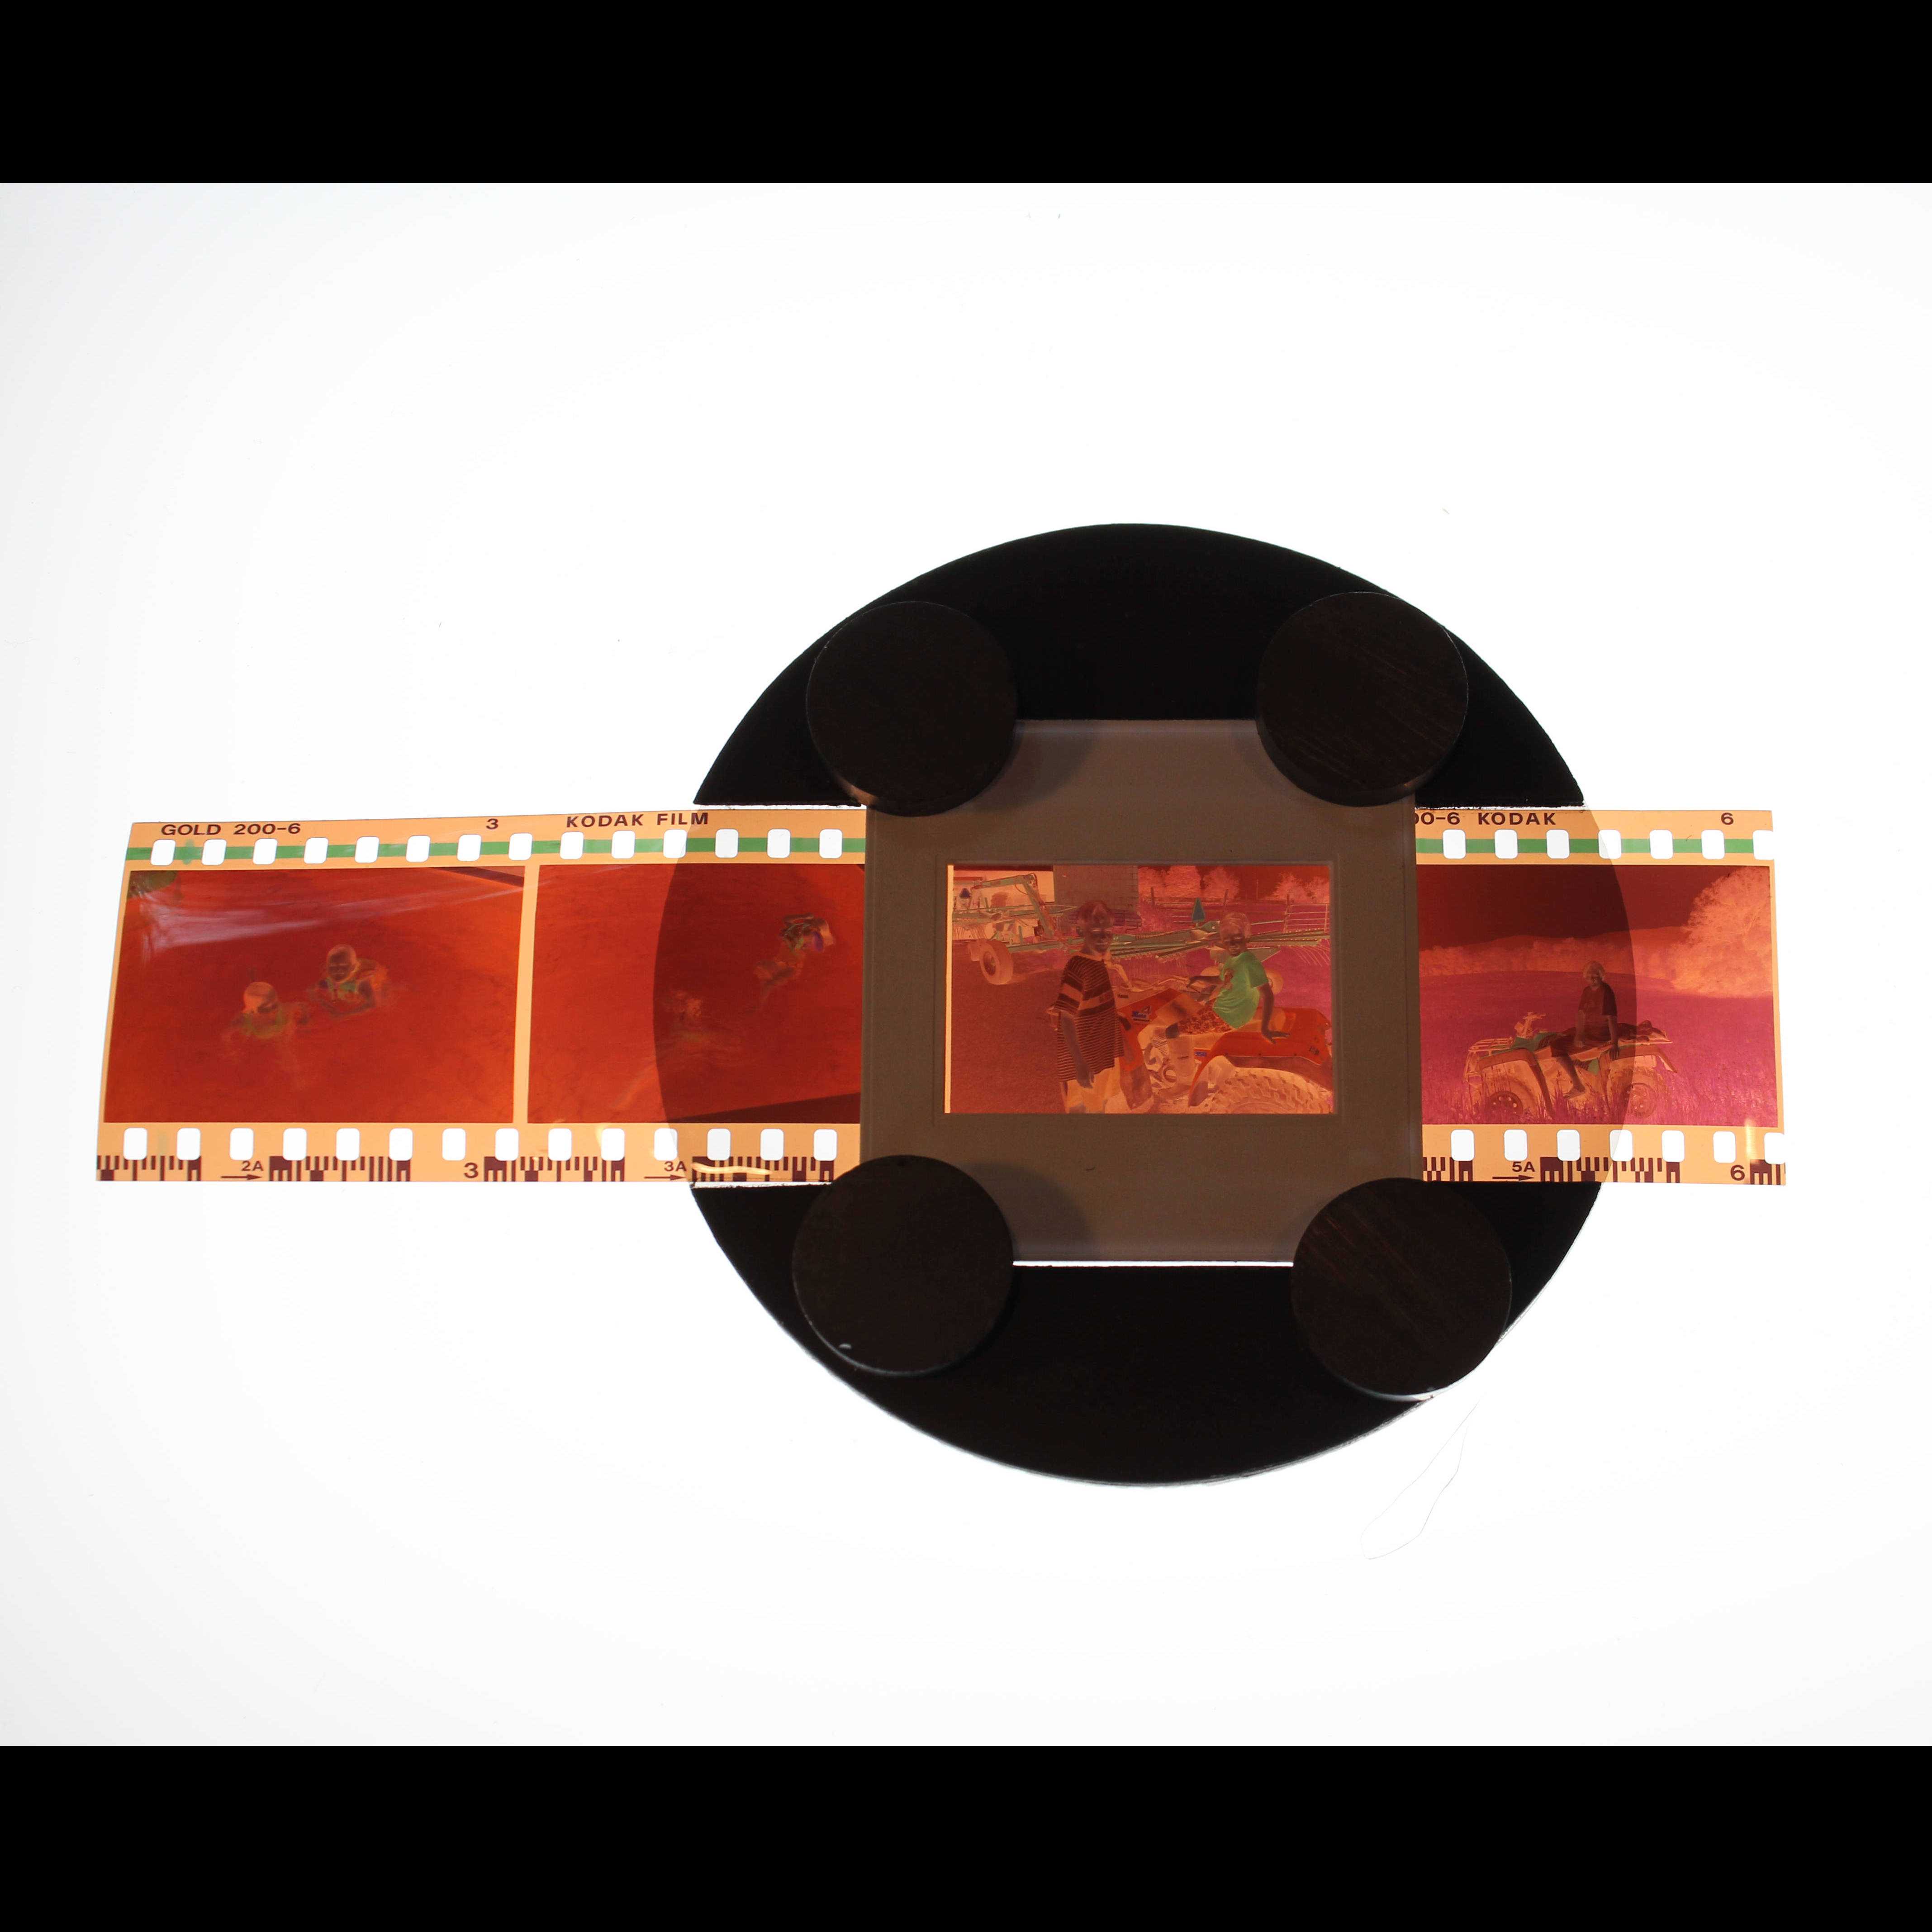
1. Determine where you will set up the camera jig and light box. Temporarily attach the adjustable camera jig to the table top in the location where you plan to take pictures of the negatives.
2. Position the photosolve negative holder at a location on the light box which will be directly under where your camera/smartphone will be located.
3. Tape the negative holder temporarily in place using electrical tape or other easily removable tape.
4. Insert a clean negative strip into the negative holder.
5. Place the photosolve-provided 35 mm slide frame over the negative.
6. Put magnets on the corners of the slide frame to holder the negative film strip flat.
Attach Camera/smartphone to Camera Stand
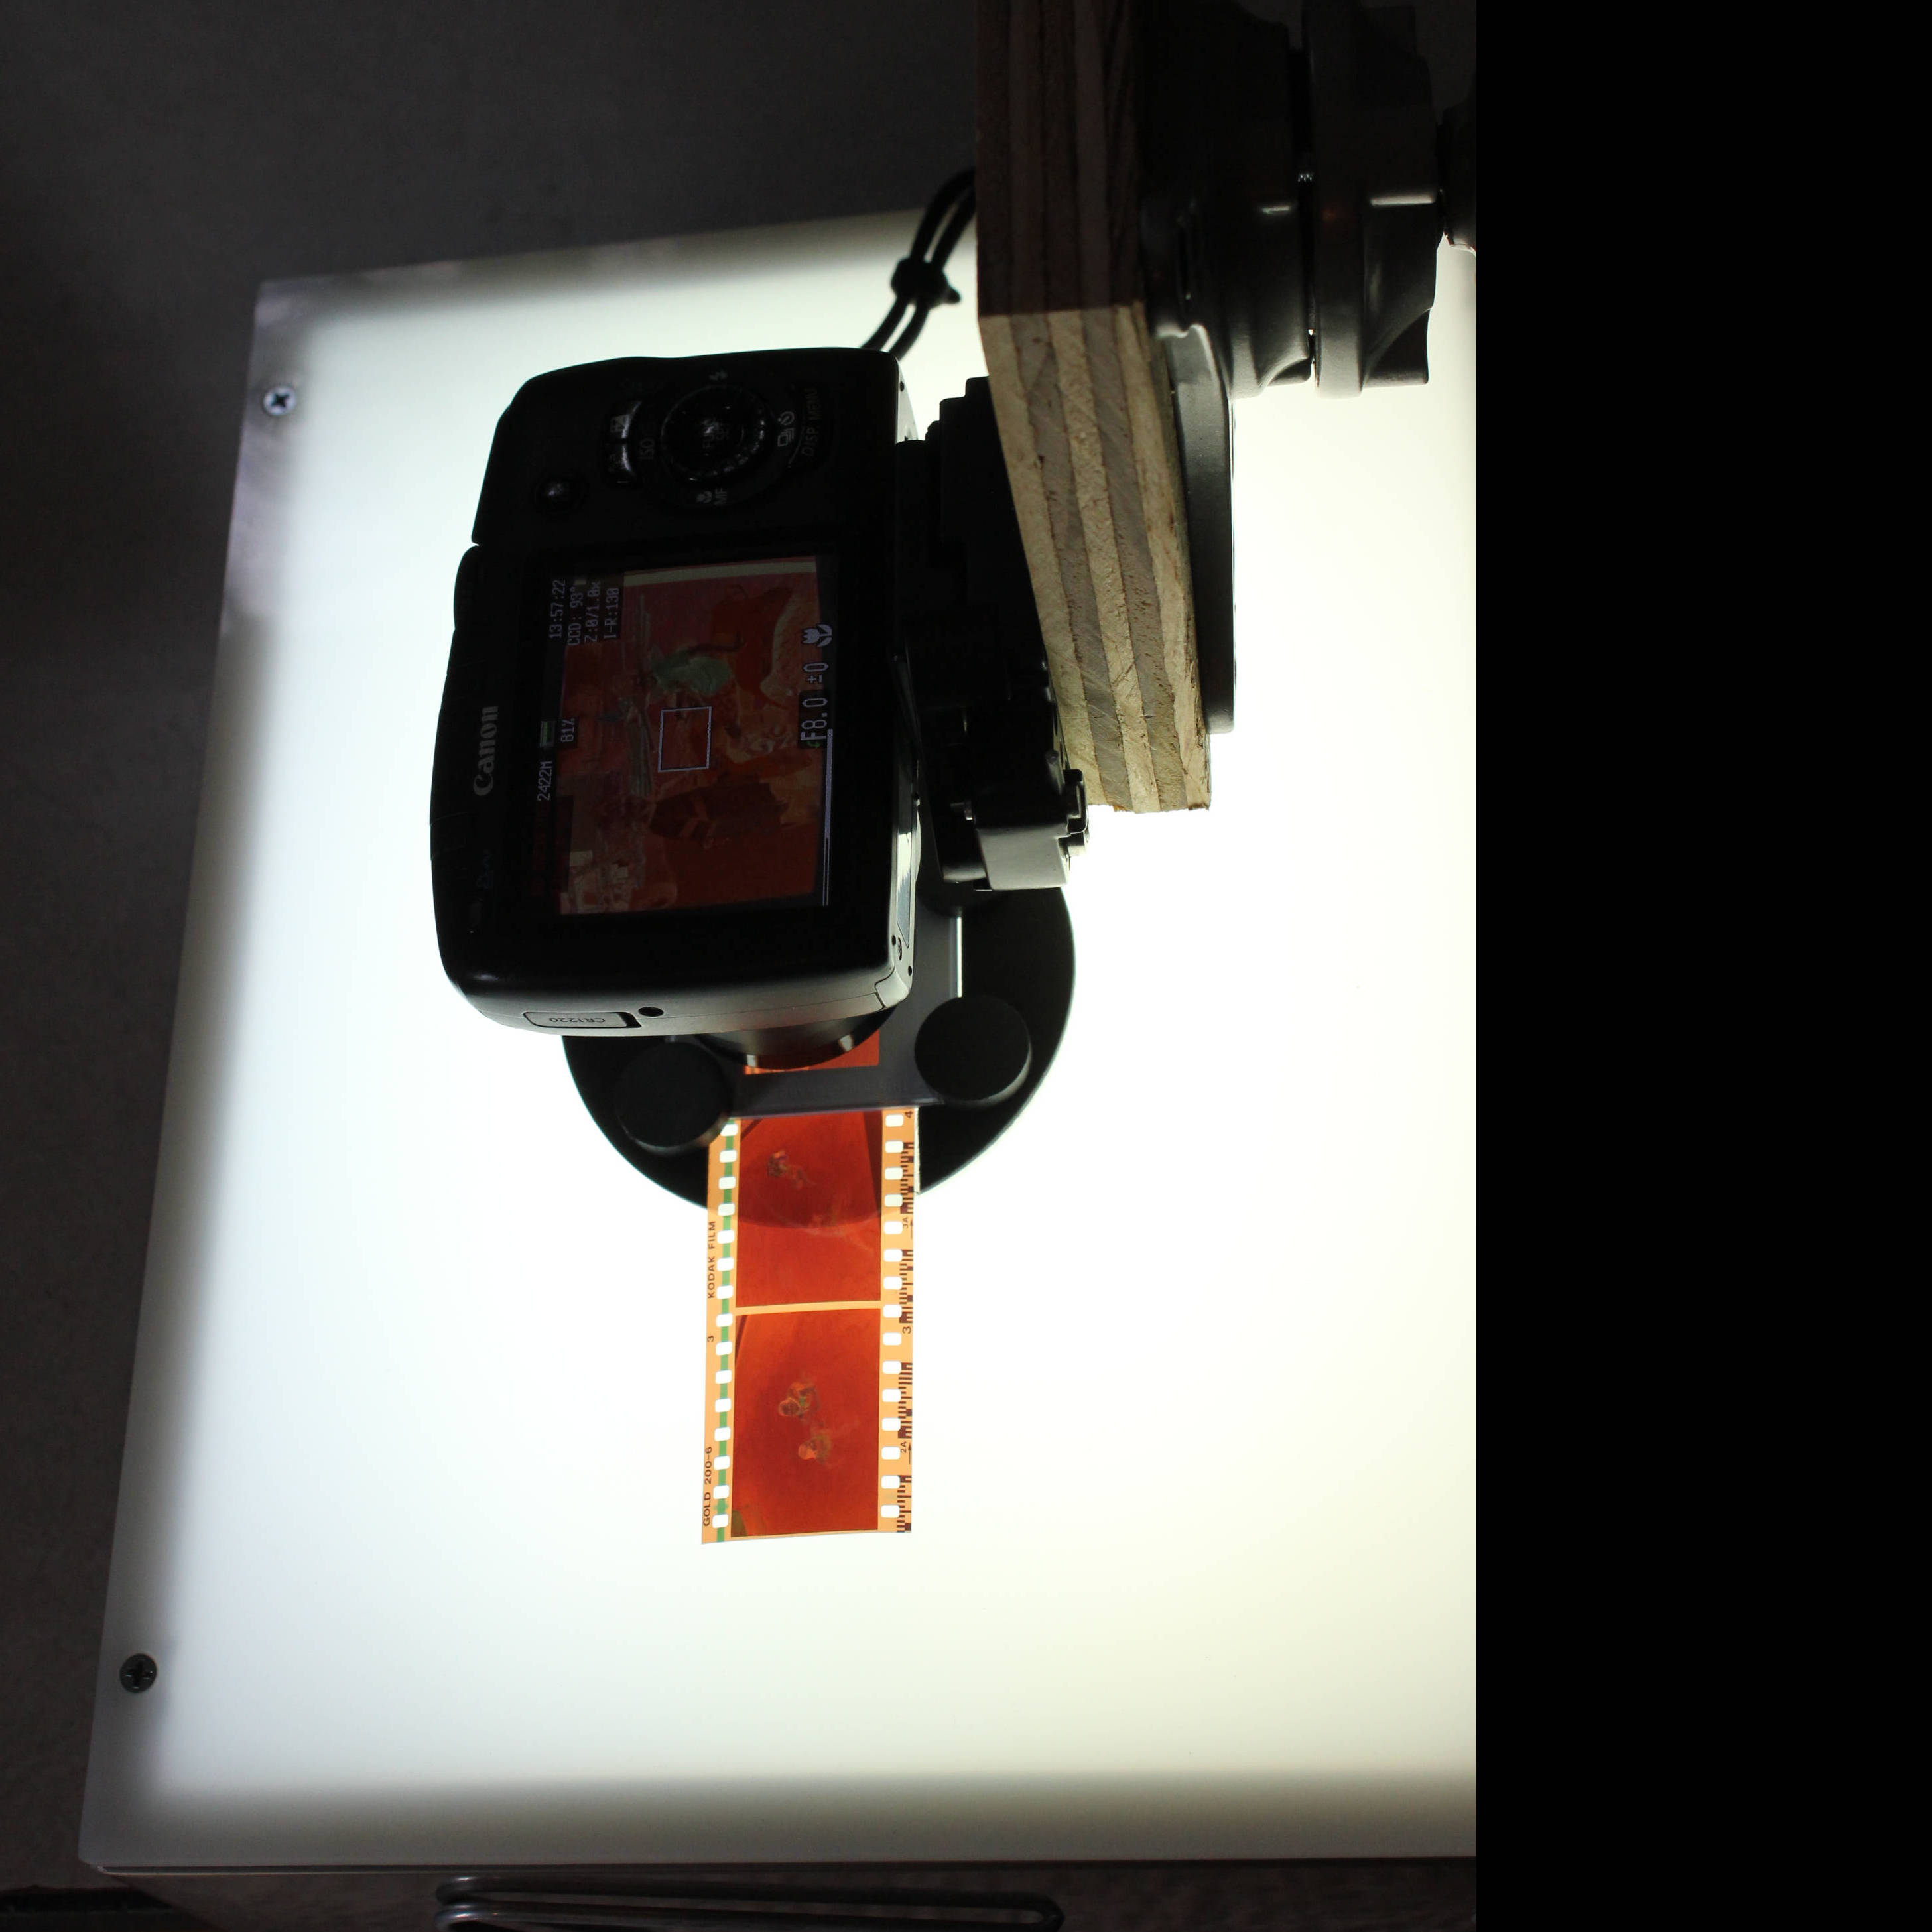
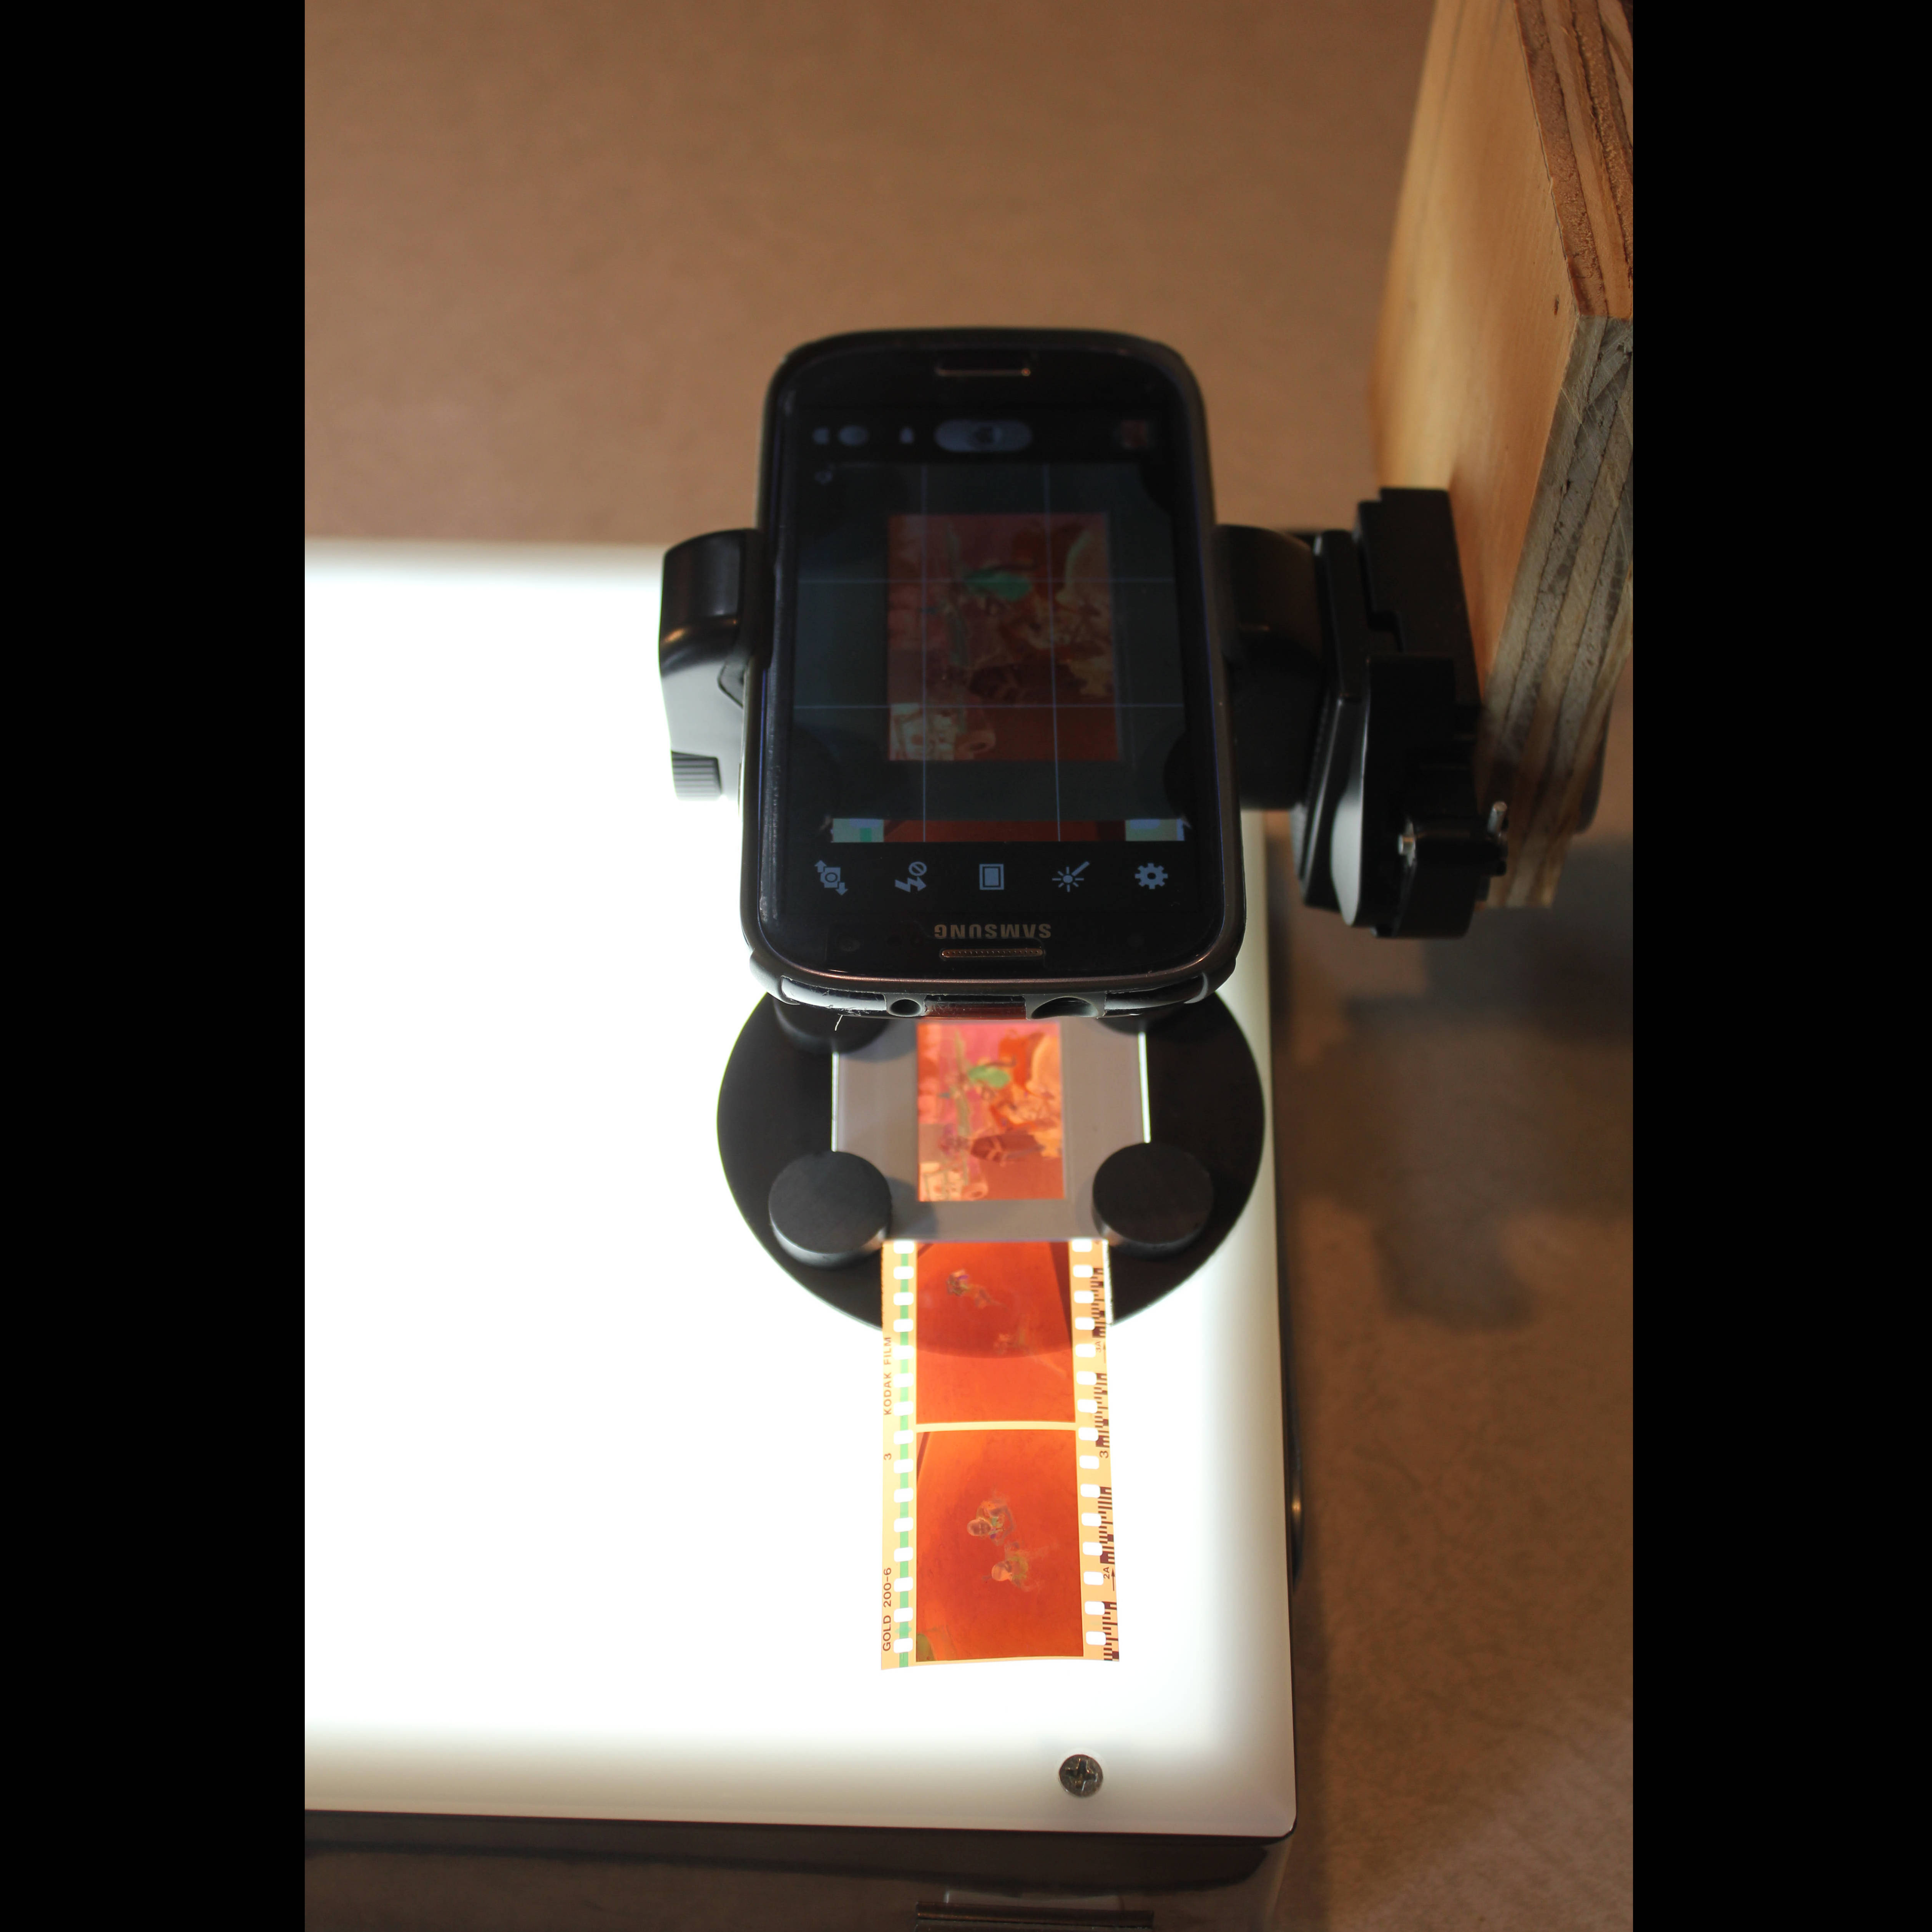
1. Attach the camera or smartphone to the camera stand using camera quick disconnect plate.
a. If you are using a smartphone, you will want to attach the smartphone to the quick disconnect plat using an adapter. The recommended smartphone adapter (Shoulderpod) is robust and will work well, but less expensive adapters are available.
Turn on Light Box, Adjust Camera for Proper Image Position & Focus, Take Pictures
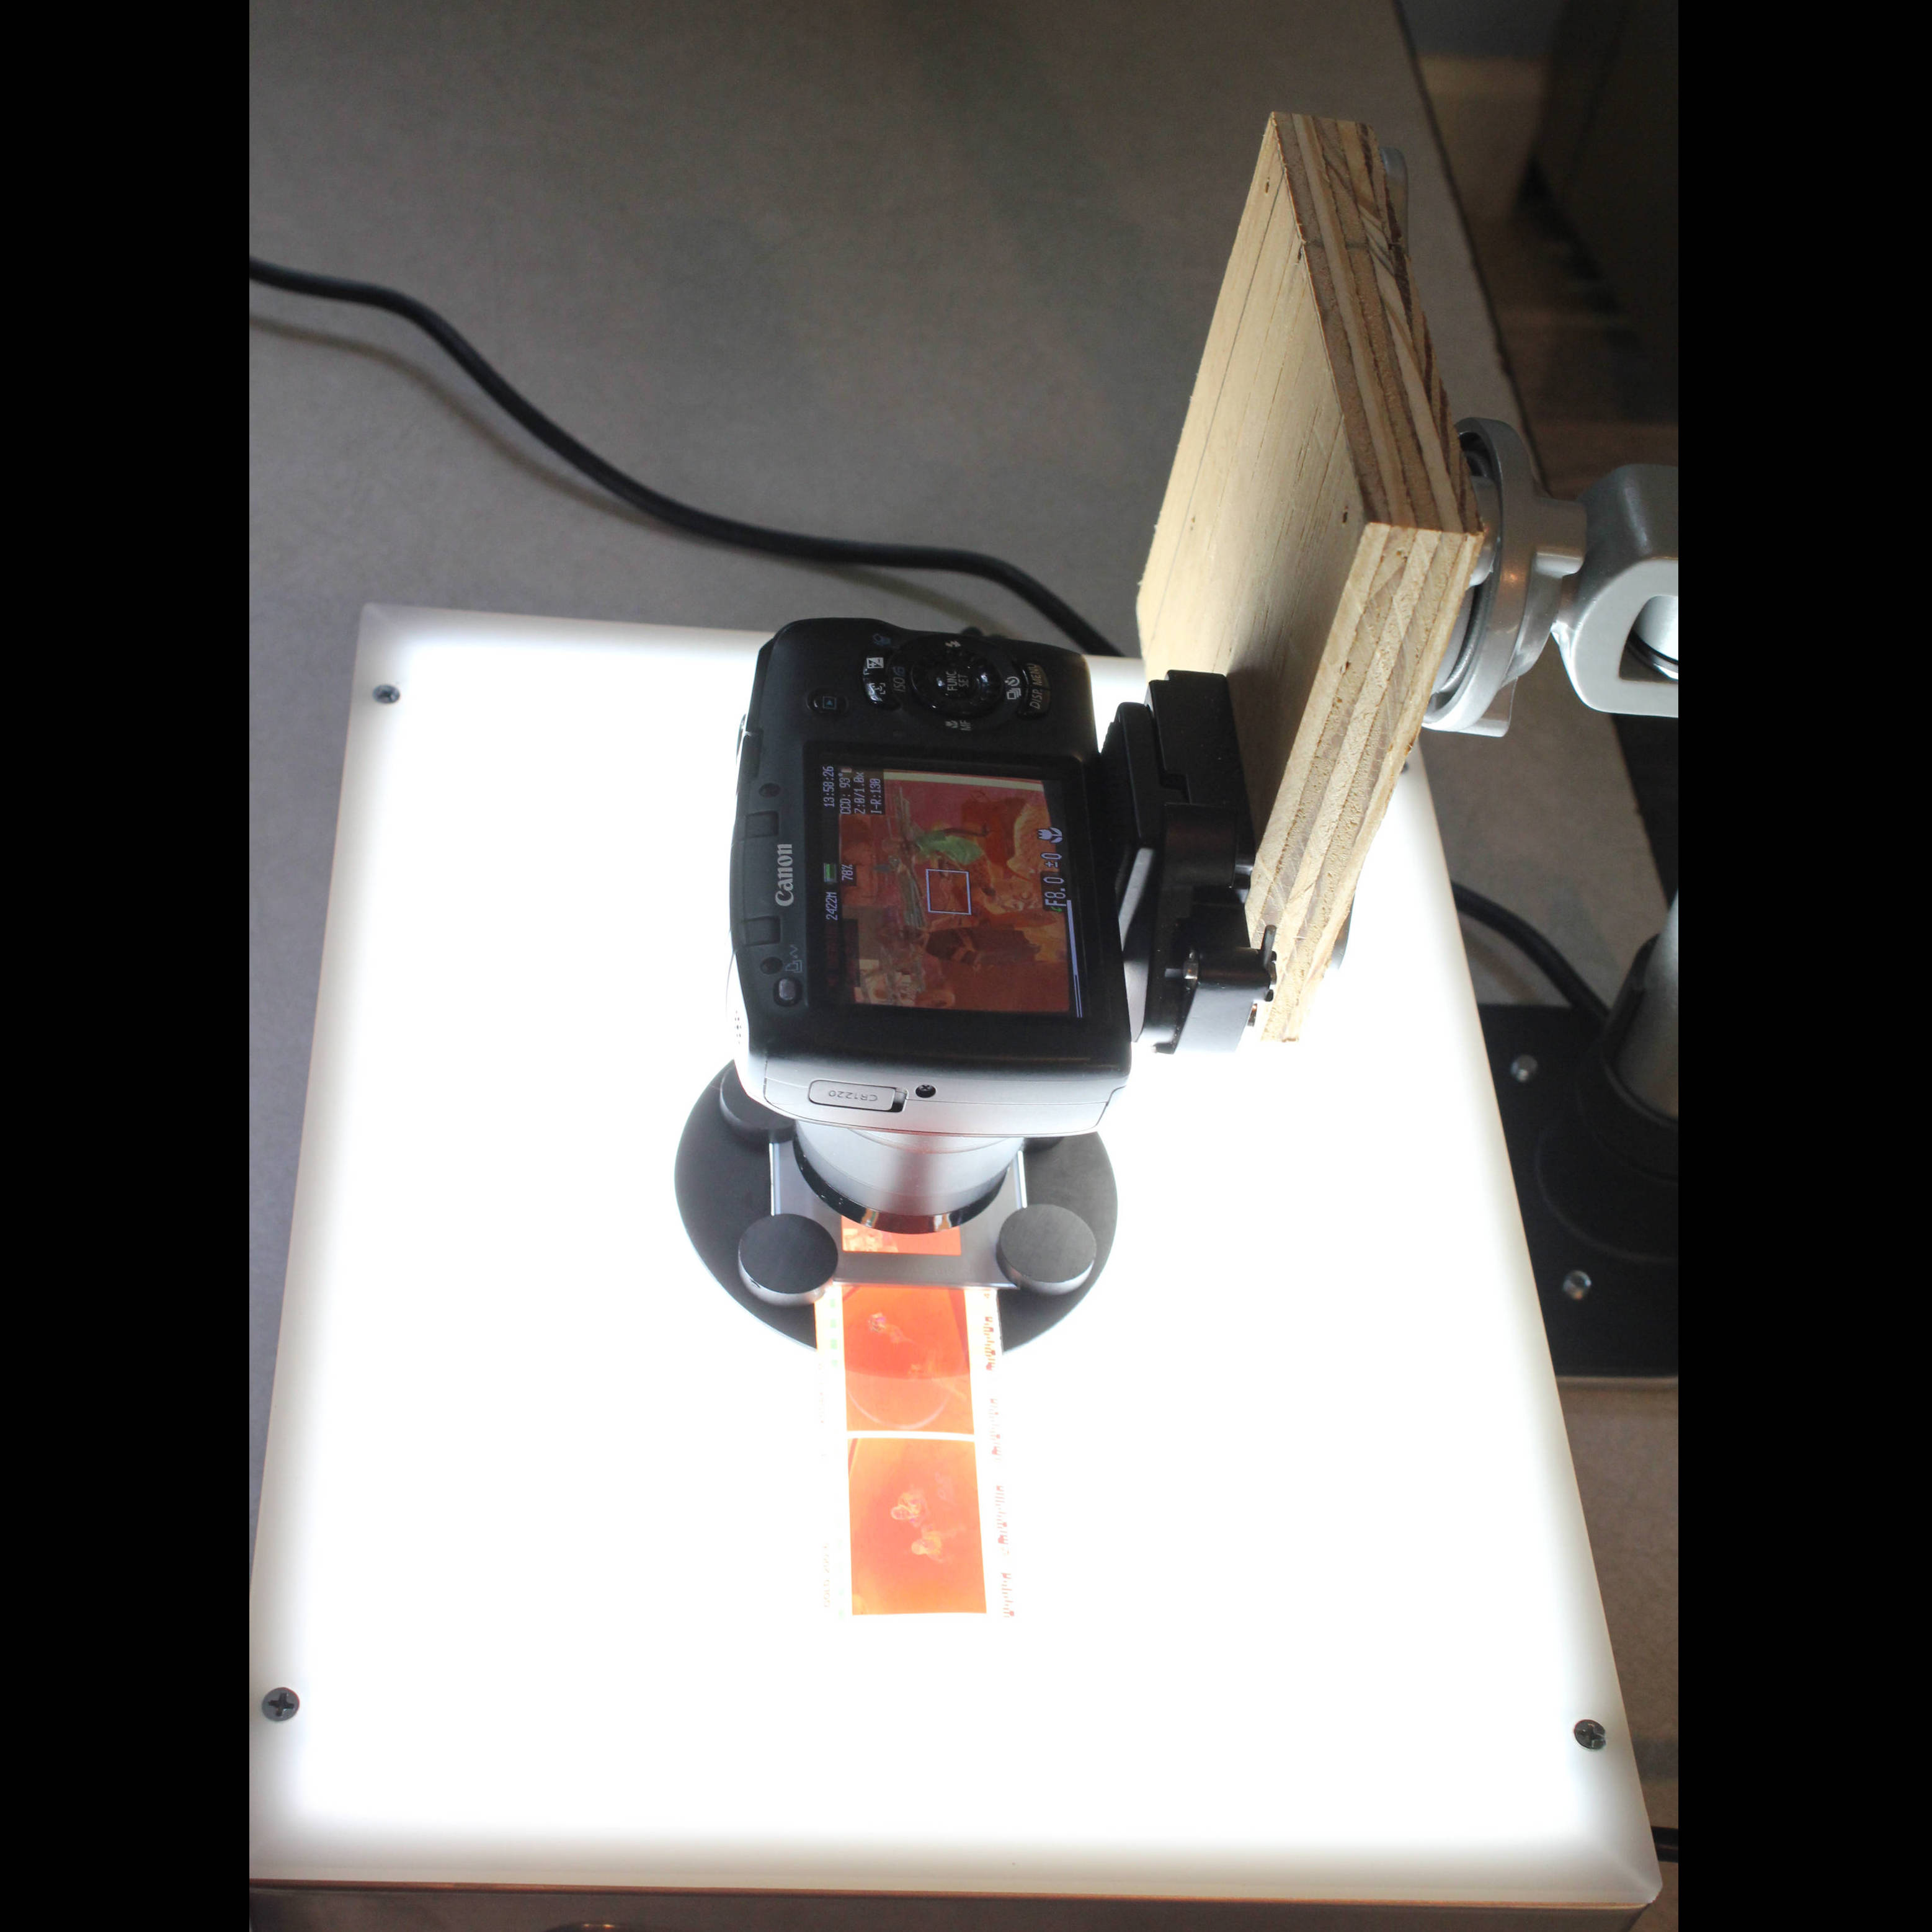
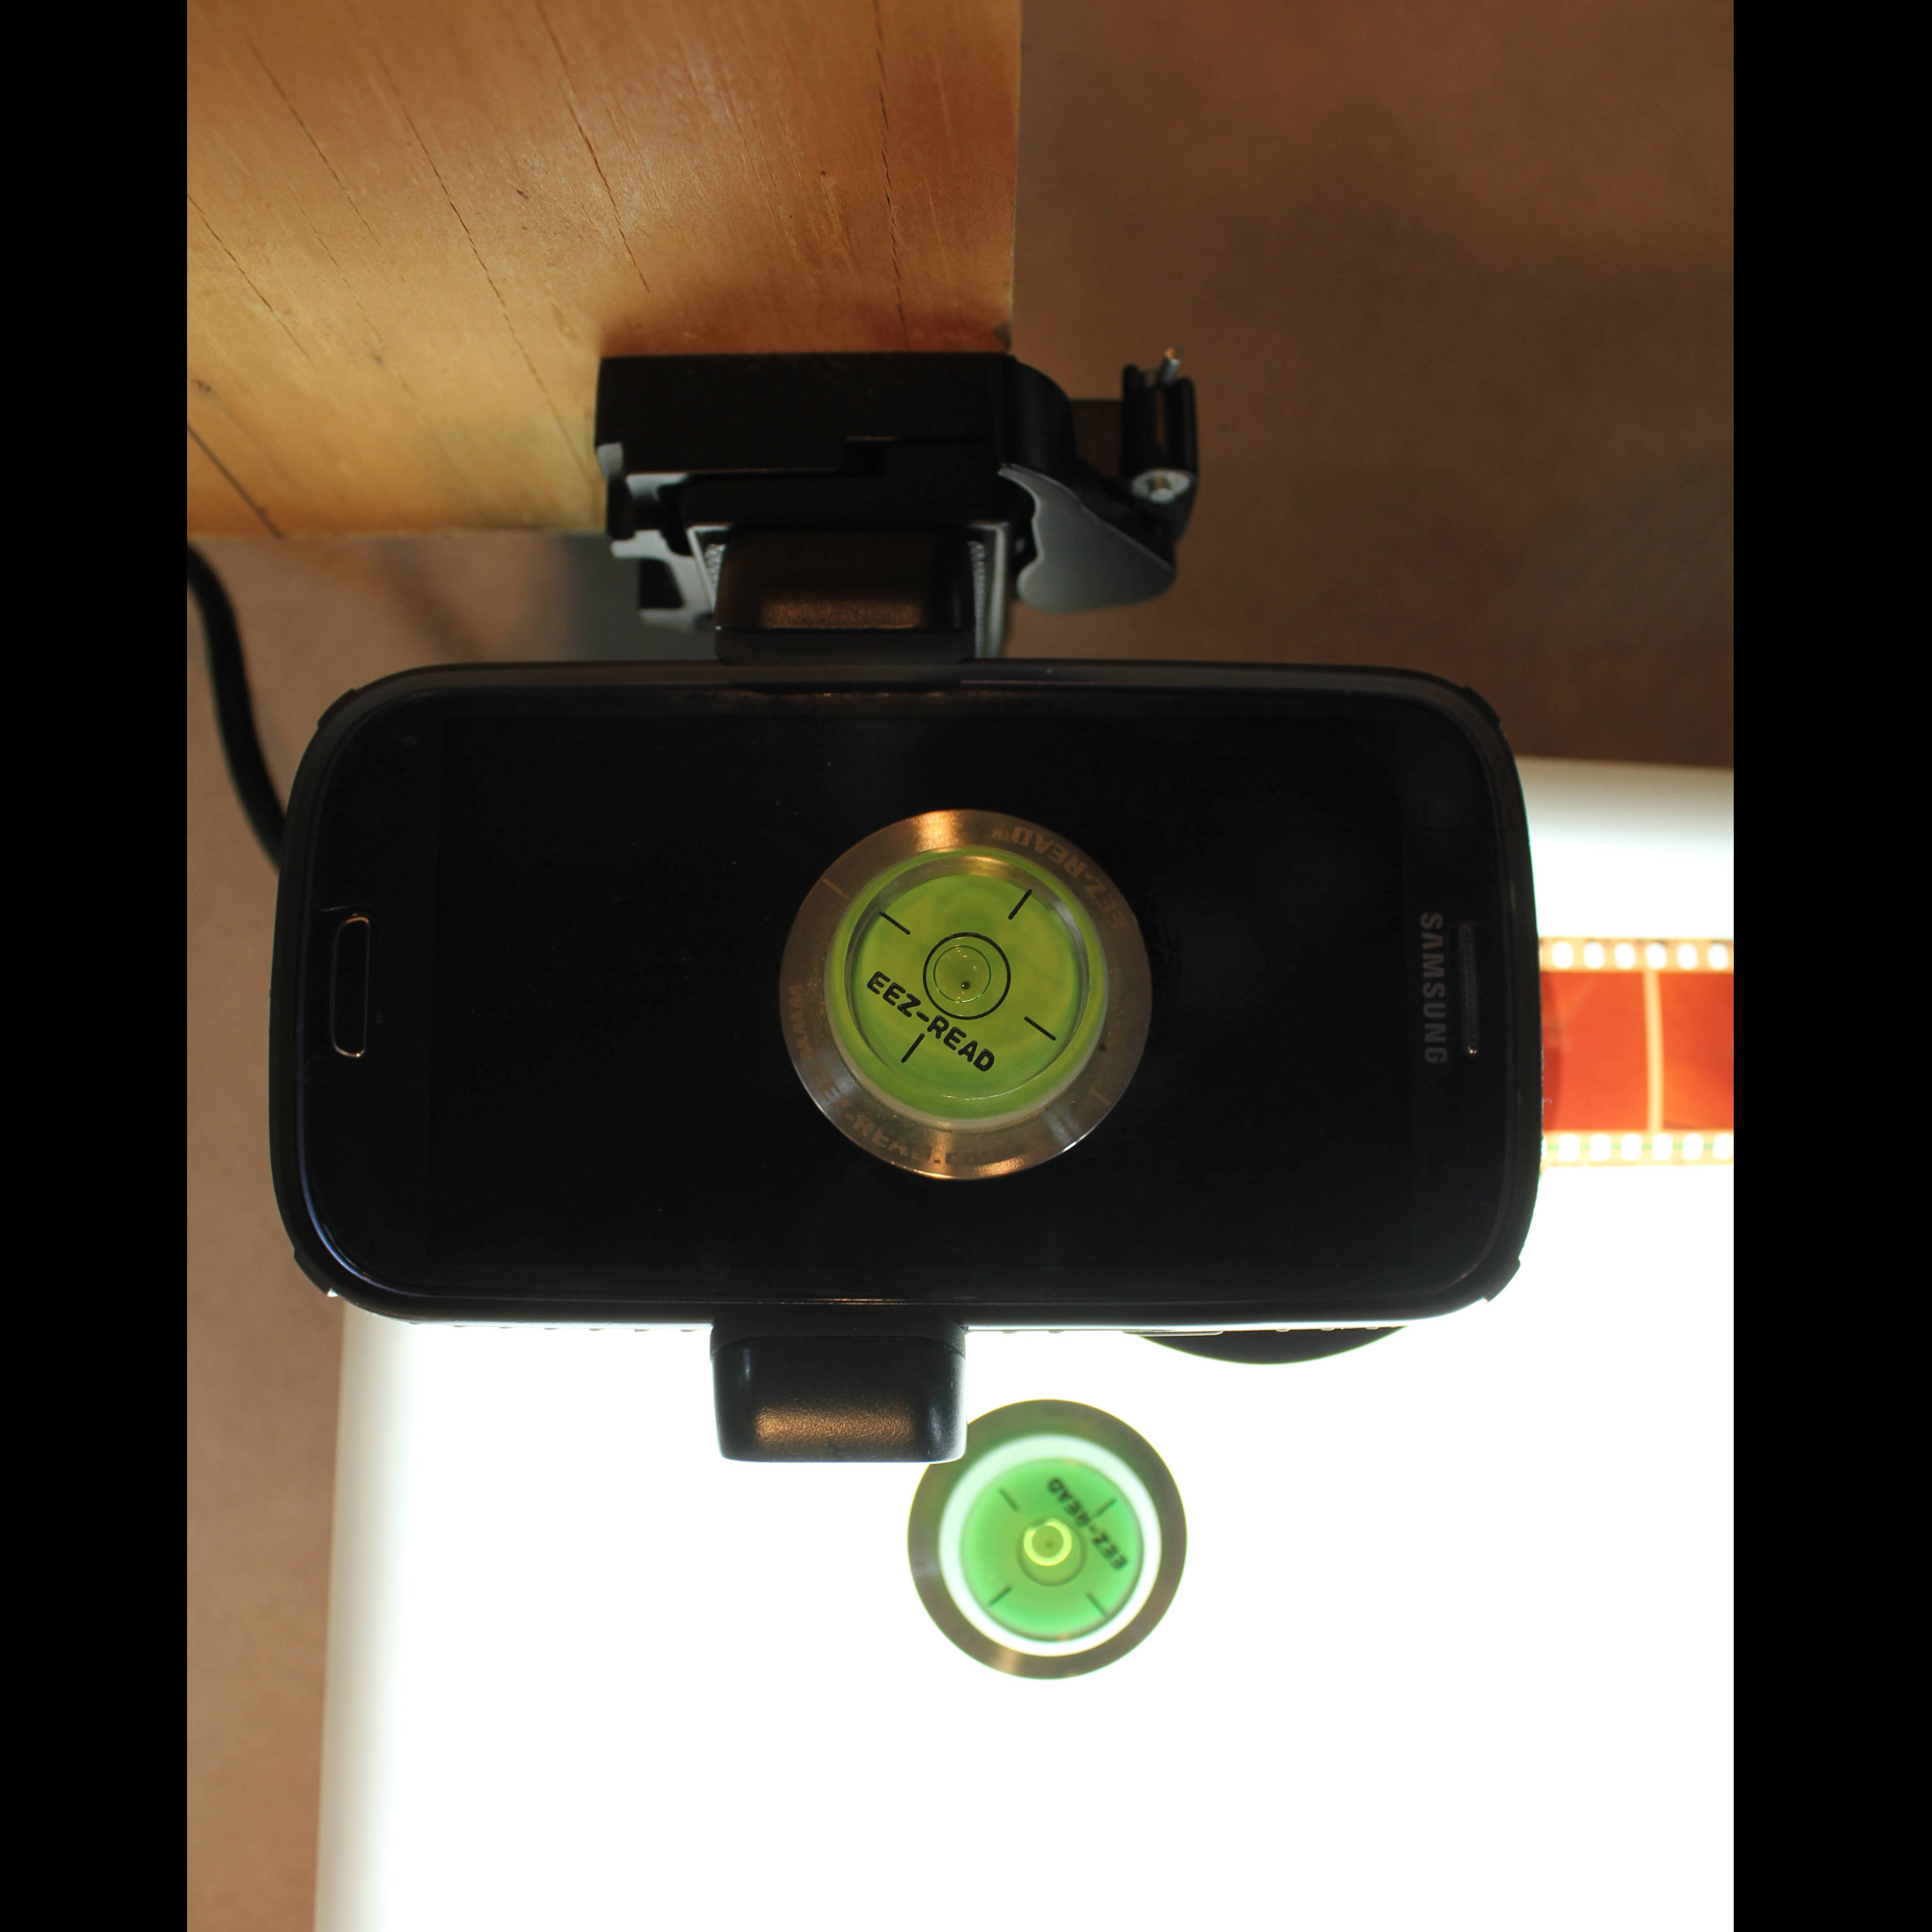
You are just about ready to take pictures.
This Instructable assumes that the picture format will be jpeg (RAW file conversion to positives will be the subject of a separate TBD Instructable). Ensure that the light box and camera stand are in a location that minimizes outside lighting and glare as this can affect image quality. In addition, ensure that the camera stand is attached to a sturdy table surface, as any vibration or camera movement will also affect image quality.
1. Turn on the light box.
2. Turn on the camera or smartphone and adjust the positioning of the camera/smartphone so that it is as close as possible to the backlit negative and is still in focus. You may need to use the macro setting of the camera to do this. It is OK to use the automatic or P mode on your camera. You will want to use as low of an ISO as possible while still having shutter speeds of approximately 1/20 of a second or faster to minimize blur.
3. Position the negative image so that it fills as much of the camera sensor frame as possible, and yet is still in focus. You will find that you will not be able to fill the entire frame with the image. You may want to position a corner of the negative in a corner of the camera viewing area. Ensure that the image is focused. If you desire to batch process the negatives later, the various images need to be positioned in the same location. Experiment and choose a positioning method that is repeatable for you.
4. Ensure that the camera/smartphone is level with the light box as this will affect the focus throughout the image. It is helpful to use a bubble level to compare the two. Adjust the camera/smartphone as needed to make them parallel with the lightbox/negative holder.
5. Take an image of the backlit negative by gently pressing the capture button to minimize motion.
6. Gently slide the negative film strip in the negative holder to the next negative and repeat.
Convert Negative Images to Positives
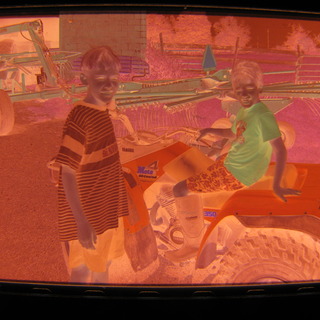


1. Transfer the images to a computer.
2. Use VueScan to convert the jpeg images of the negatives to positives. See the Instructable below for details.
https://www.instructables.com/id/How-to-Convert-Dig...
Note: The three images above are: 1) Initial digitized film negative taken with a Canon Powershot SX110 IS, 2) the initial output from VueScan, and 3) the VueScan image, adjusted for white balance and contrast (touchup is not covered in the Instructable).
Below is a link to a youtube video that I made which gives an overview of the entire process: