How to Convert 2D Images Into 3D Objects
by Treatstock in Workshop > 3D Printing
50399 Views, 9 Favorites, 0 Comments
How to Convert 2D Images Into 3D Objects
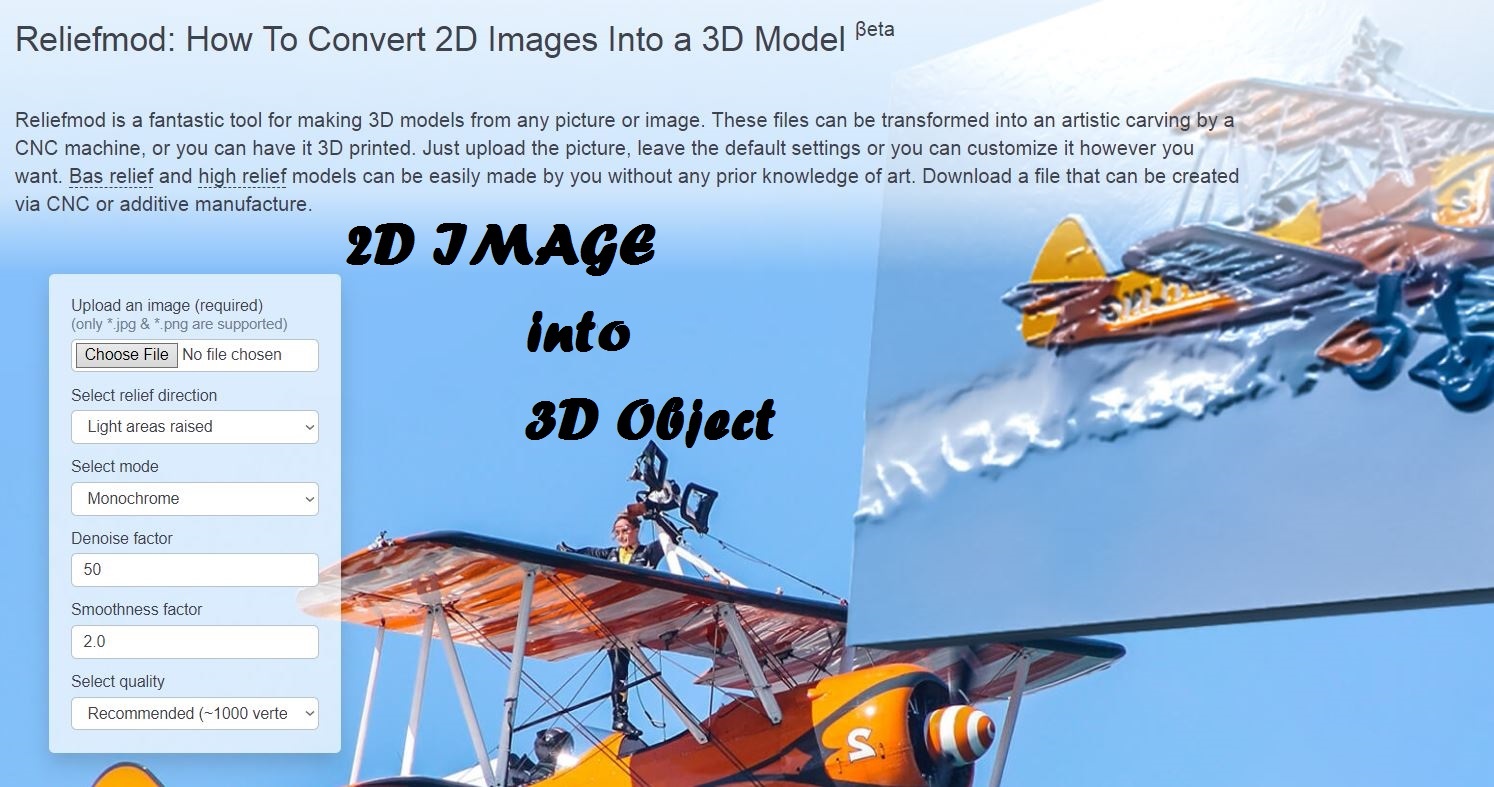
Are you looking for a cool and unique gift for family and friends? Perhaps you have a cherished photograph that captured a special moment in your life? Reliefmod provides a fast and effortless way to make a 3D model using 2D images. It can be compared to Bas Relief, one of the most ancient sculpting techniques that has been used throughout humanity for thousands of years. A bas relief sculpture involves cutting out the voids of an image from a flat surface, leaving behind artwork that appears to be raised above a solid background. After 3D model is made, you can have it manufactured and shipped to you.
Choose an Image
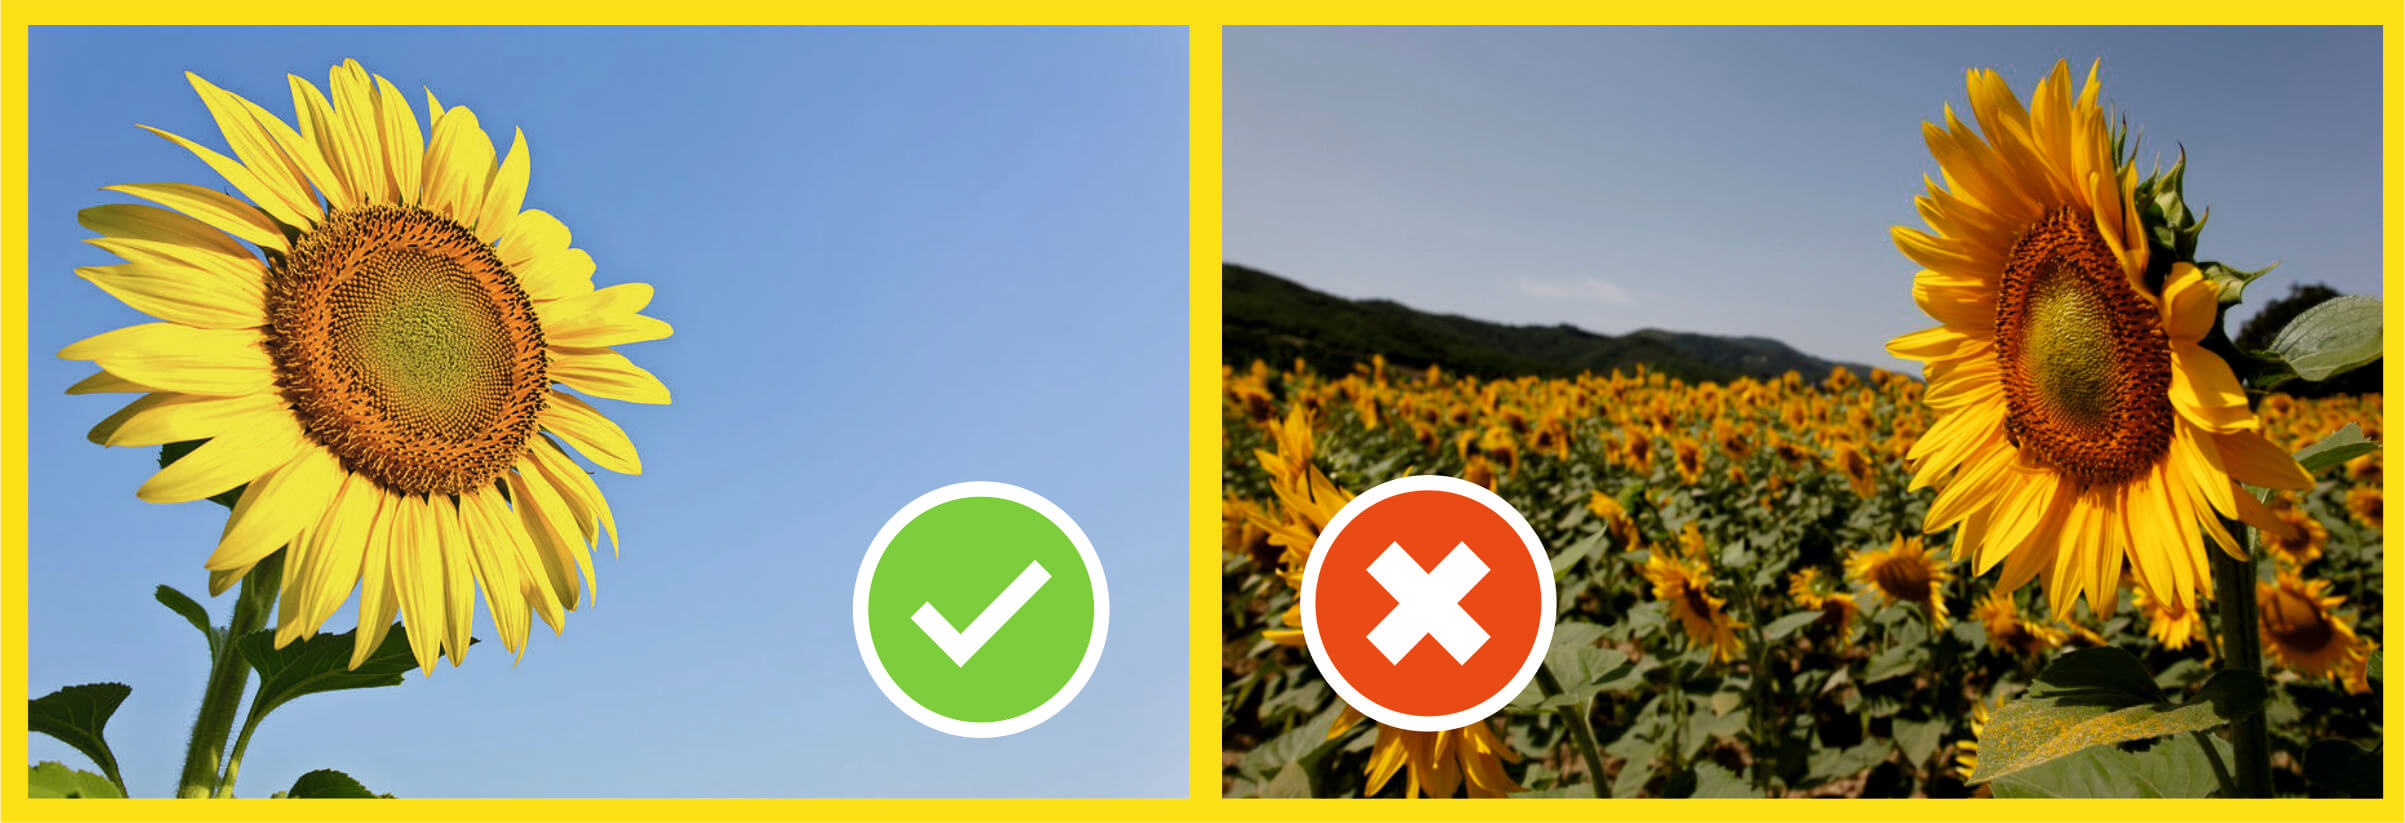
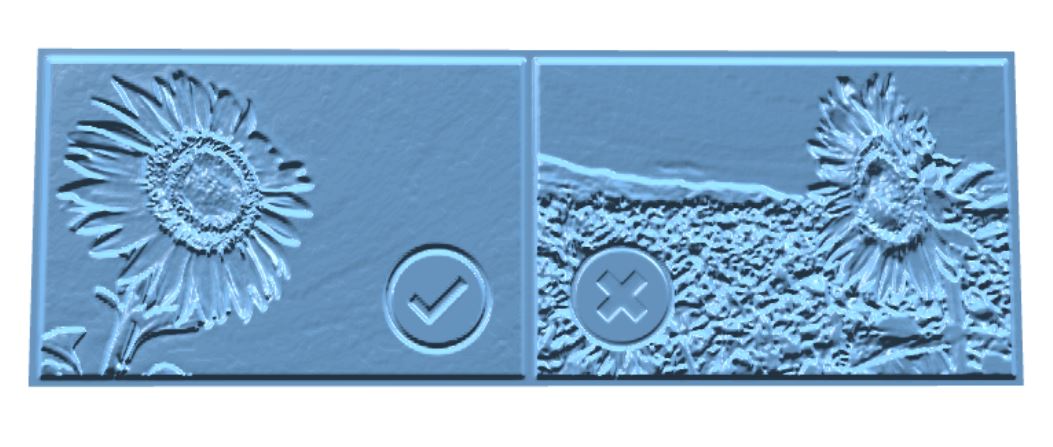
Upload an image (only JPG and PNG formats are supported) you want to transform into a 3D object. For optimum results, the image should have a clear silhouette and a solid background, otherwise the background can form part of the relief and obscure the picture. If you want to use a photograph, be sure that it is well-lit with minimal shadows (the less shadows the better). Also, please note that if the image has too many details, the 3D model can look a little sloppy.
Choose Proper Settings
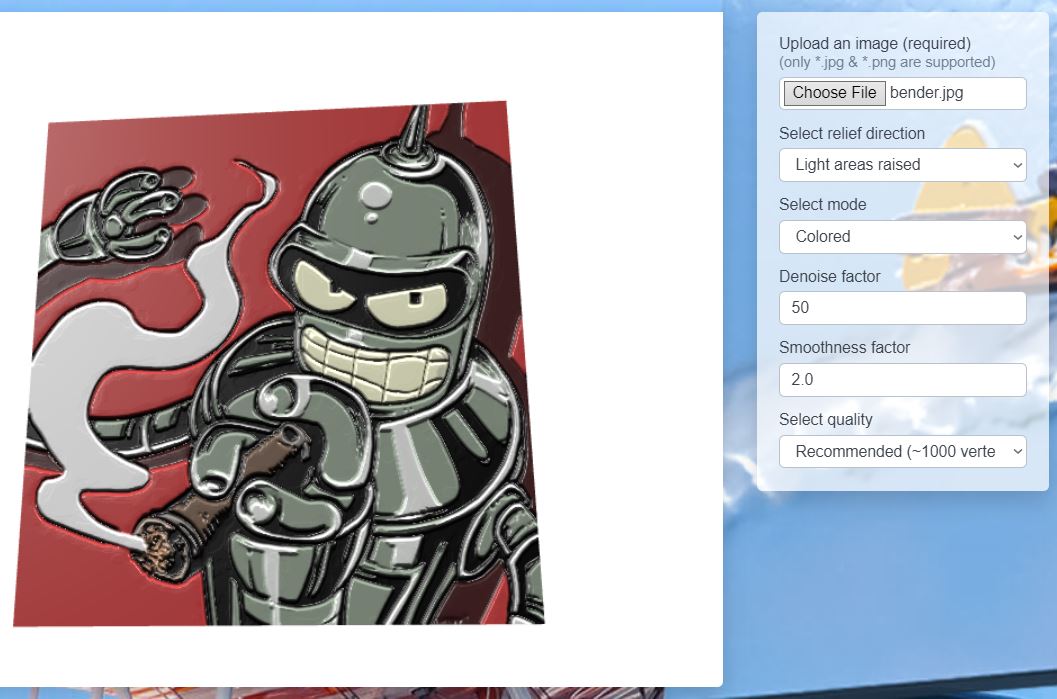
After uploading the image, a relief will be automatically generated. If you don’t like the result, you can experiment with following features:
- Select relief direction
This feature works based on the light in the image. If you want the light areas of the image to be sunken and dark areas to be raised, then you should select ‘Light areas sunken’. If you want the light areas of the image to be raised and dark areas to be sunken, then you should select ‘Light areas raised’. - Select mode
This feature allows you to select between monochrome and colored. Monochrome uses only the one color and is recommended for standard desktop 3D printers and CNC machines. Colored, as its name suggests, uses all the colors from the image in the relief but can only be produced by full-color 3D printers. - Denoise factor
The denoise factor can reduce visual distortions or the appearance of noise in images (e.g. splotches and discoloration) and make it more accurate for manufacturing. - Smoothness factor
The smoothness factor can be compared to a blur tool in photo editing. It smooths edges and roughness, but some details may disappear as well. The greater the smoothness factor, the smoother the relief will be. - Quality
This feature allows you to choose the quality and size of the file: Small, Recommended and Extra. A small file will be ready instantly. The Extra file will take more time to prepare, but it will also give the best quality as well.
Manufacturing Settings
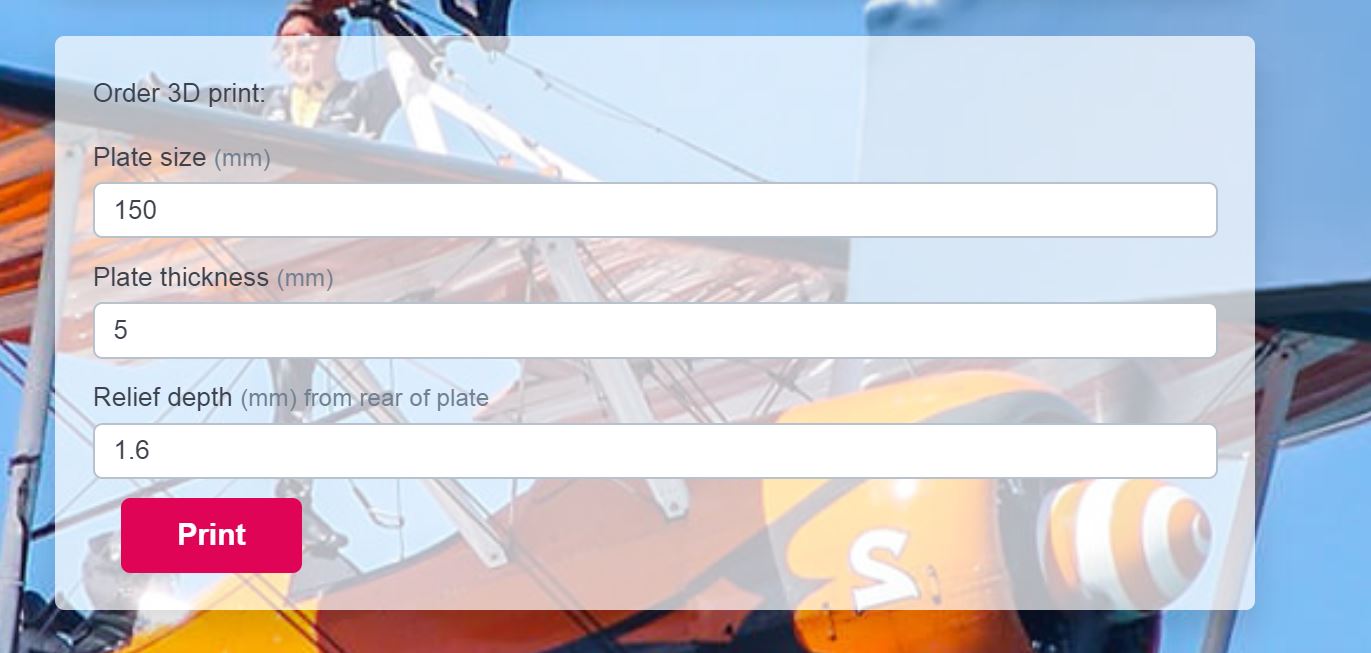
- Plate size
Keep in mind that 3D printers and CNC machines have limits on the maximum size of an object they can produce. Don’t overdo it. - Plate thickness
The thickness of the plate can be as thick as you want but similarly to the plate size, it can’t be too thick or else it can’t be manufactured. - Relief depth
The relief depth determines the depth of the relief from the rear of the plate. The greater the depth, the deeper your relief will be. Minimum setting is 1 mm.
Have It Manufactured
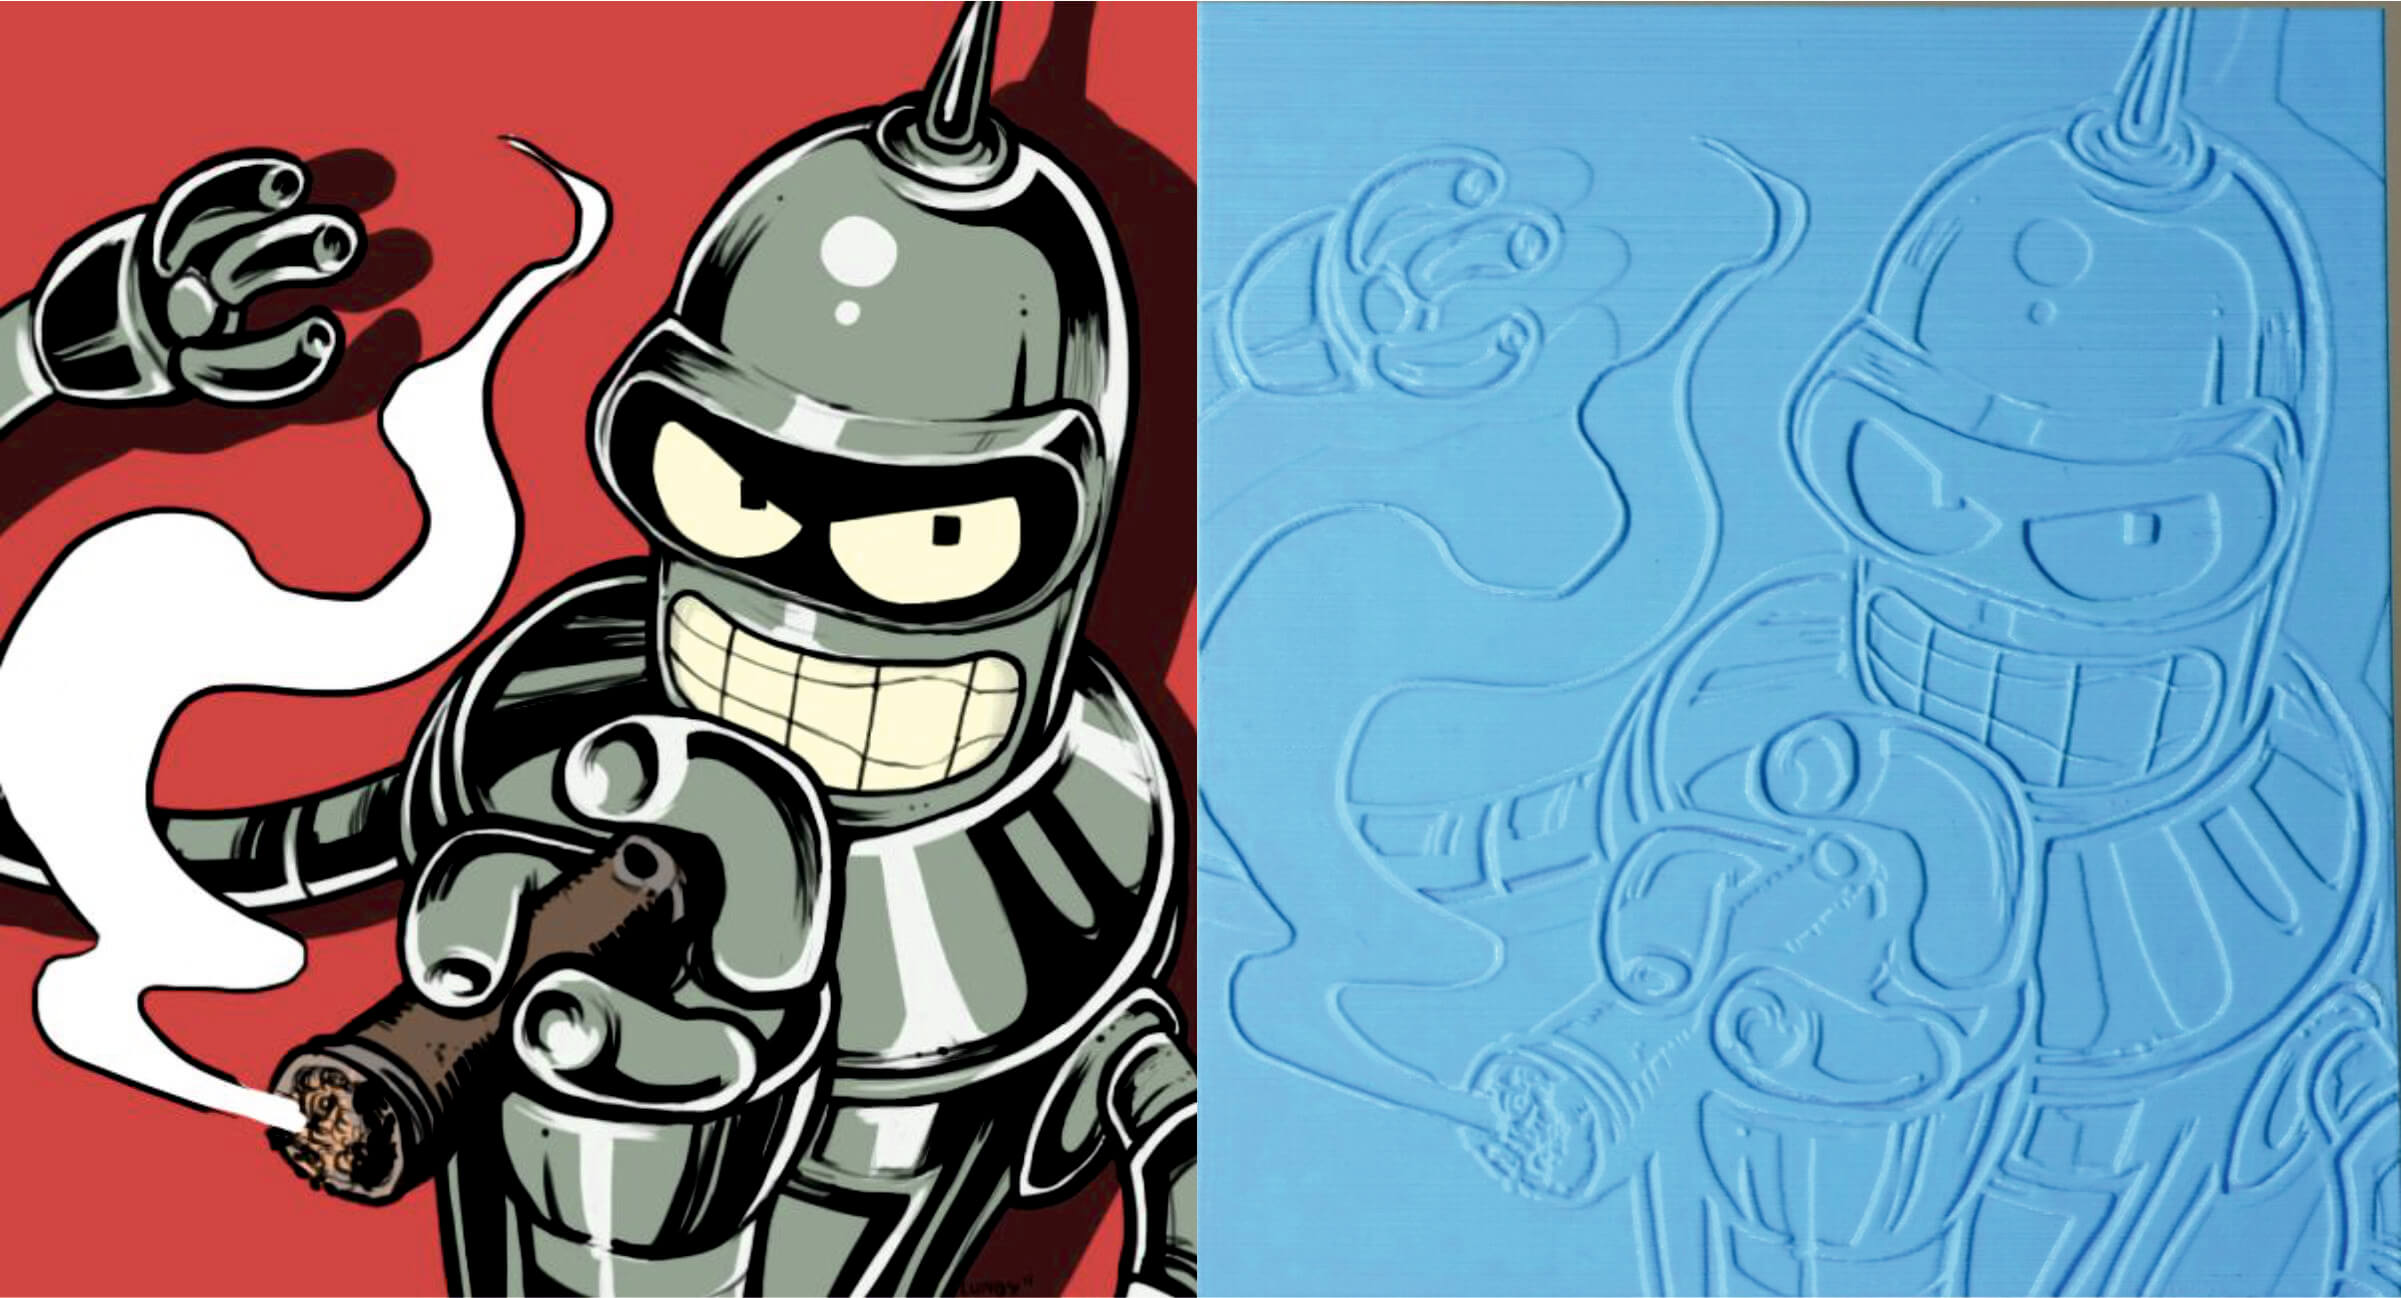
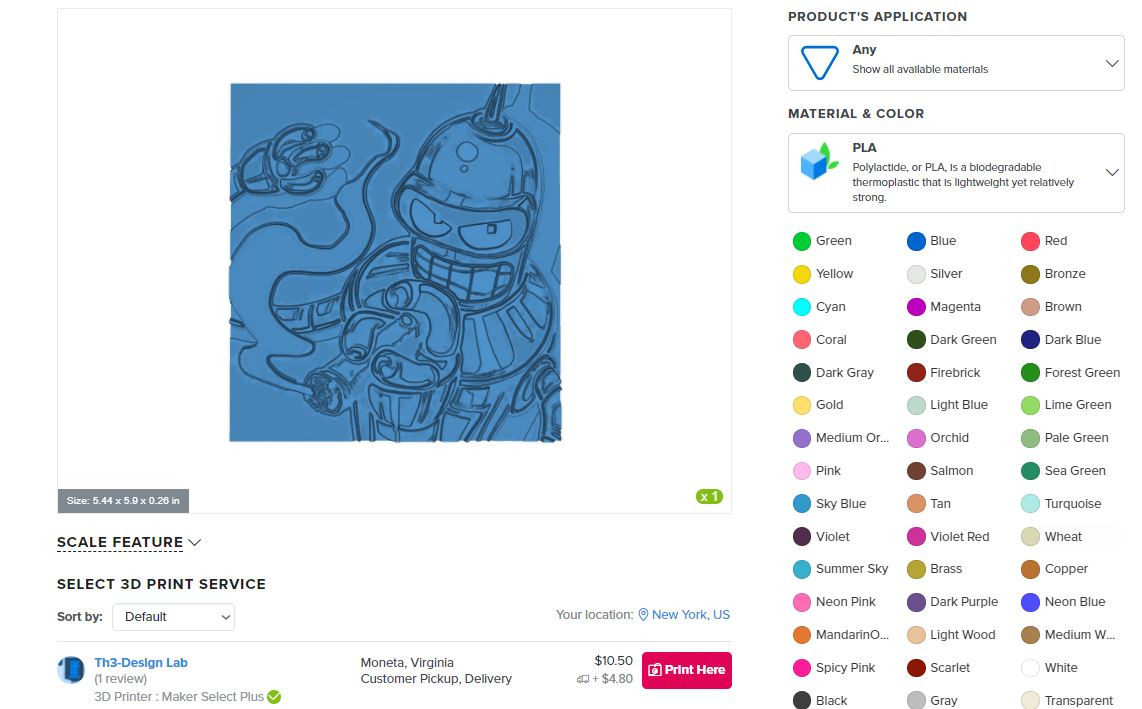
Once you’re happy with the appearance of the relief, you can turn the 3D model into a real object using manufacturing services on Treatstock. If you have your own 3D printer or CNC machine, you can produce a relief yourself by signing up as a service on the site.