How to Control a Neato Robot From a Raspberry Pi
by nschreiber0813 in Circuits > Raspberry Pi
4825 Views, 5 Favorites, 0 Comments
How to Control a Neato Robot From a Raspberry Pi
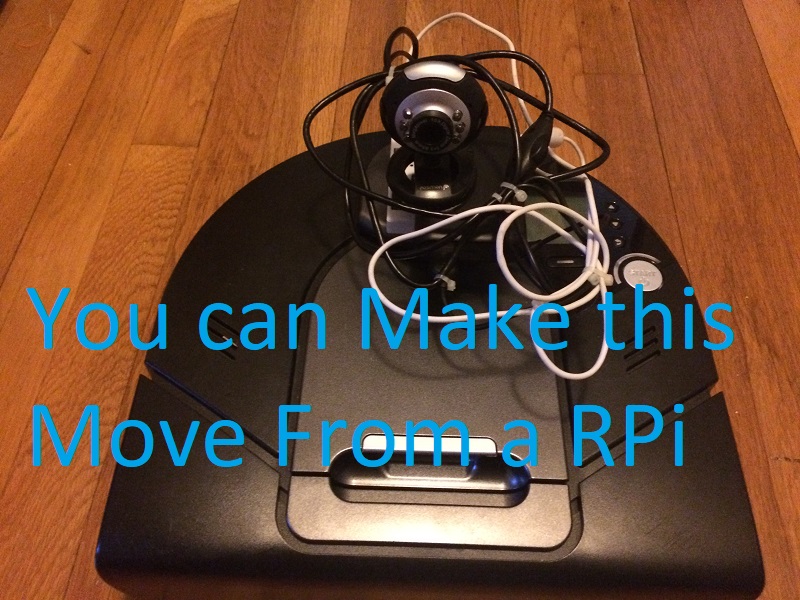
If you are interested in making a Raspberry Pi robot Neato is a great robot to use for the project for it is cheap and has far more sensors than the IRobot Create. What I did for my robot was hook a Raspberry pi onto it by 3D printing an enclosure for it and hot gluing it on. Then I hot glued a portable usb charger onto that to power the Pi. After that I had hot glued a camera onto it for future use with open CV.
All Neato robots have a usb adapter for controlling it from. It is being blocked by a rubber stopper. You will need to remove it to access the robot's diagnostics to control it. Then you will need to hook a USB cable to it that also connects to the Pi.
I highly recommend using a Pi 3. That is the best way to do it. No pi version will work exactly the same as this tutorial or will have wifi built into it. Let's get started!
Install Ubuntu MATE 16.04
I used Ubuntu MATE 16.04 for this project. If you decide to not use it this tutorial might not be the same as doing it with another version of Ubuntu.
You will need to install a bootable OS onto your SD card. If you don't know how to do it you can use Rufus. Rufus is a free software that converts OS images into boots onto bootable devices such as flash drives and SD cards.
Install Screen
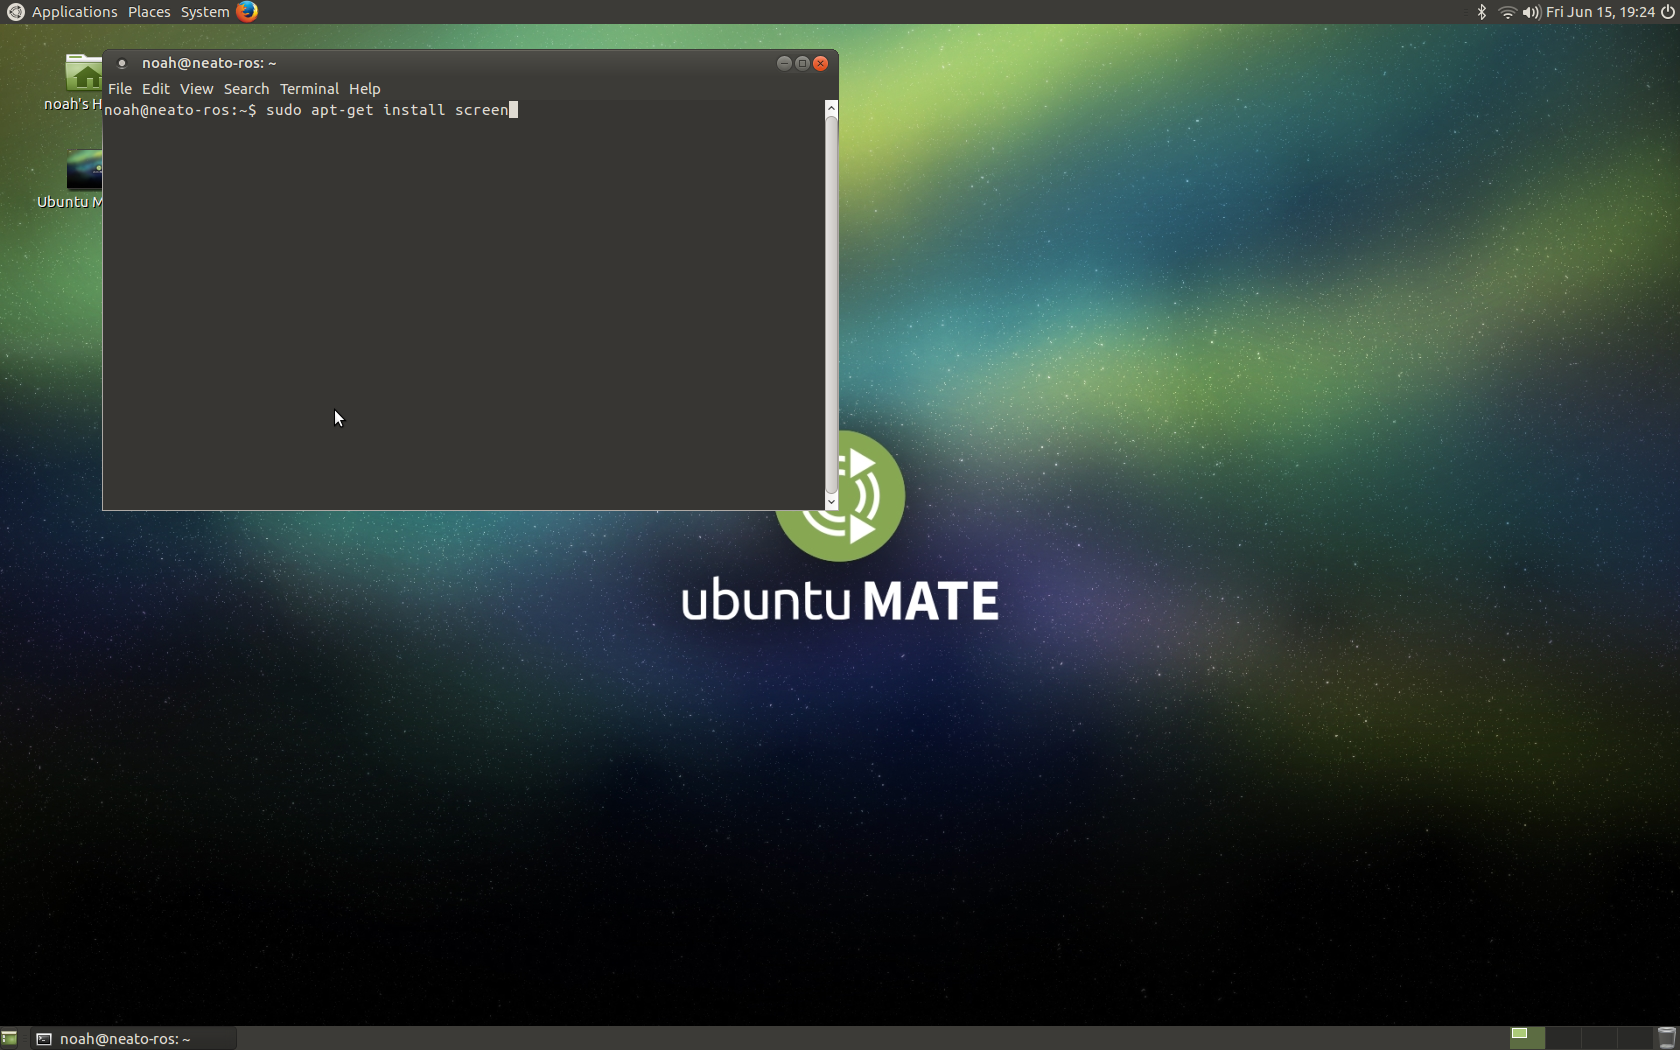
We will be using the Package screen for this tutorial. Screen is probably the best way to communicate between the pi and the robot. After you have plugged in your keyboard and mouse into your Pi you will need to type in the following command into your terminal.
sudo apt-get install screen
Then you will need to type in your password you chose in your terminal to officially install it.
Sudo Screen /dev/ttyAMC0
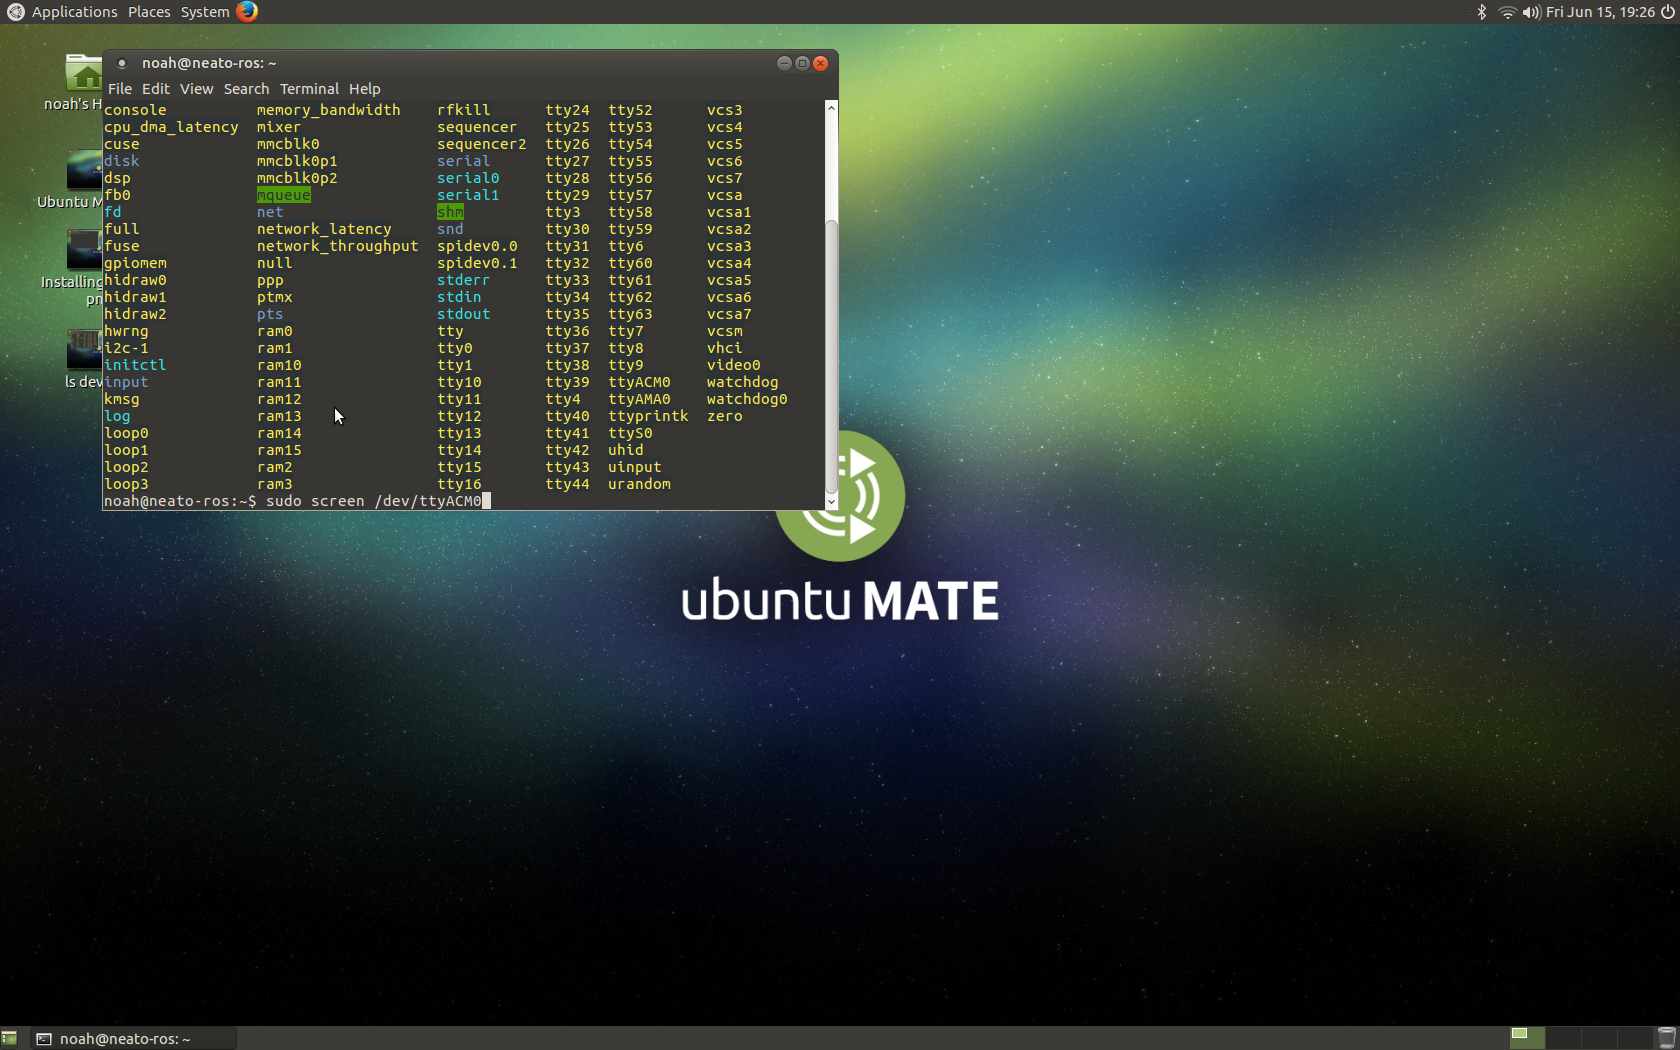
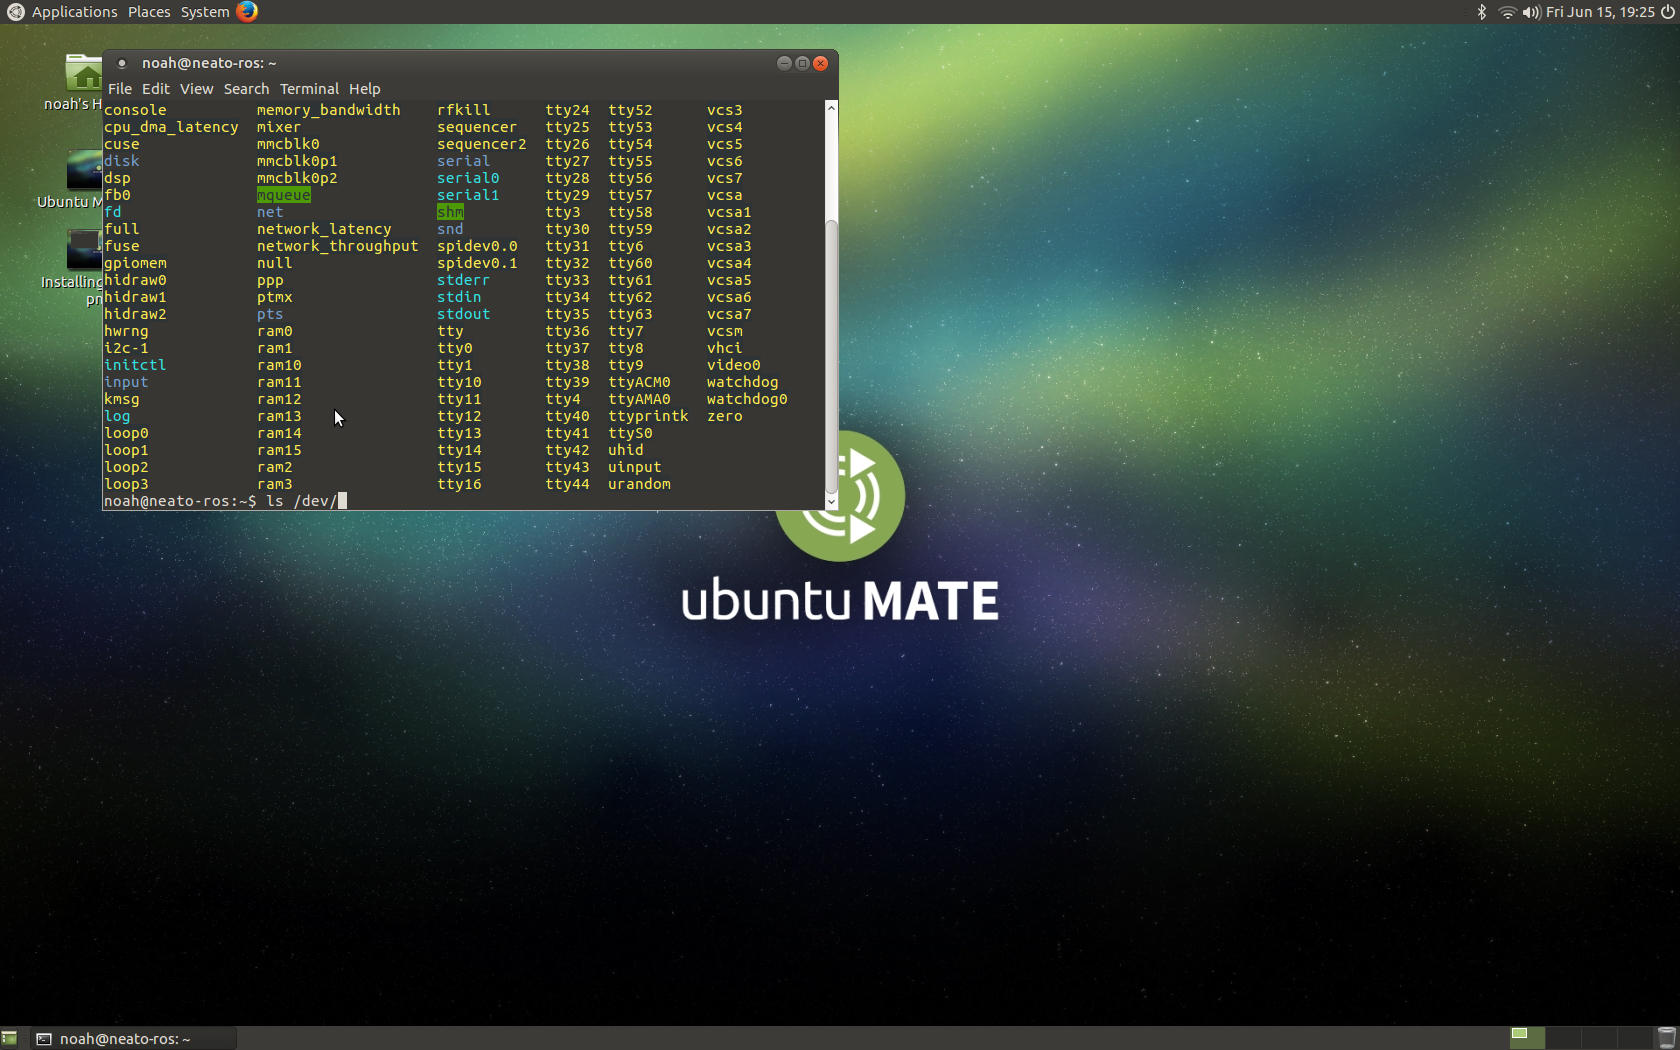
You will need to type this in your terminal when your robot is powered on in order to communicate to it.
sudo screen /dev/ttyAMC0
If that doesn't work find one of tty ports that is not tty#. You can find it by using this command.
ls /dev/
Help Command
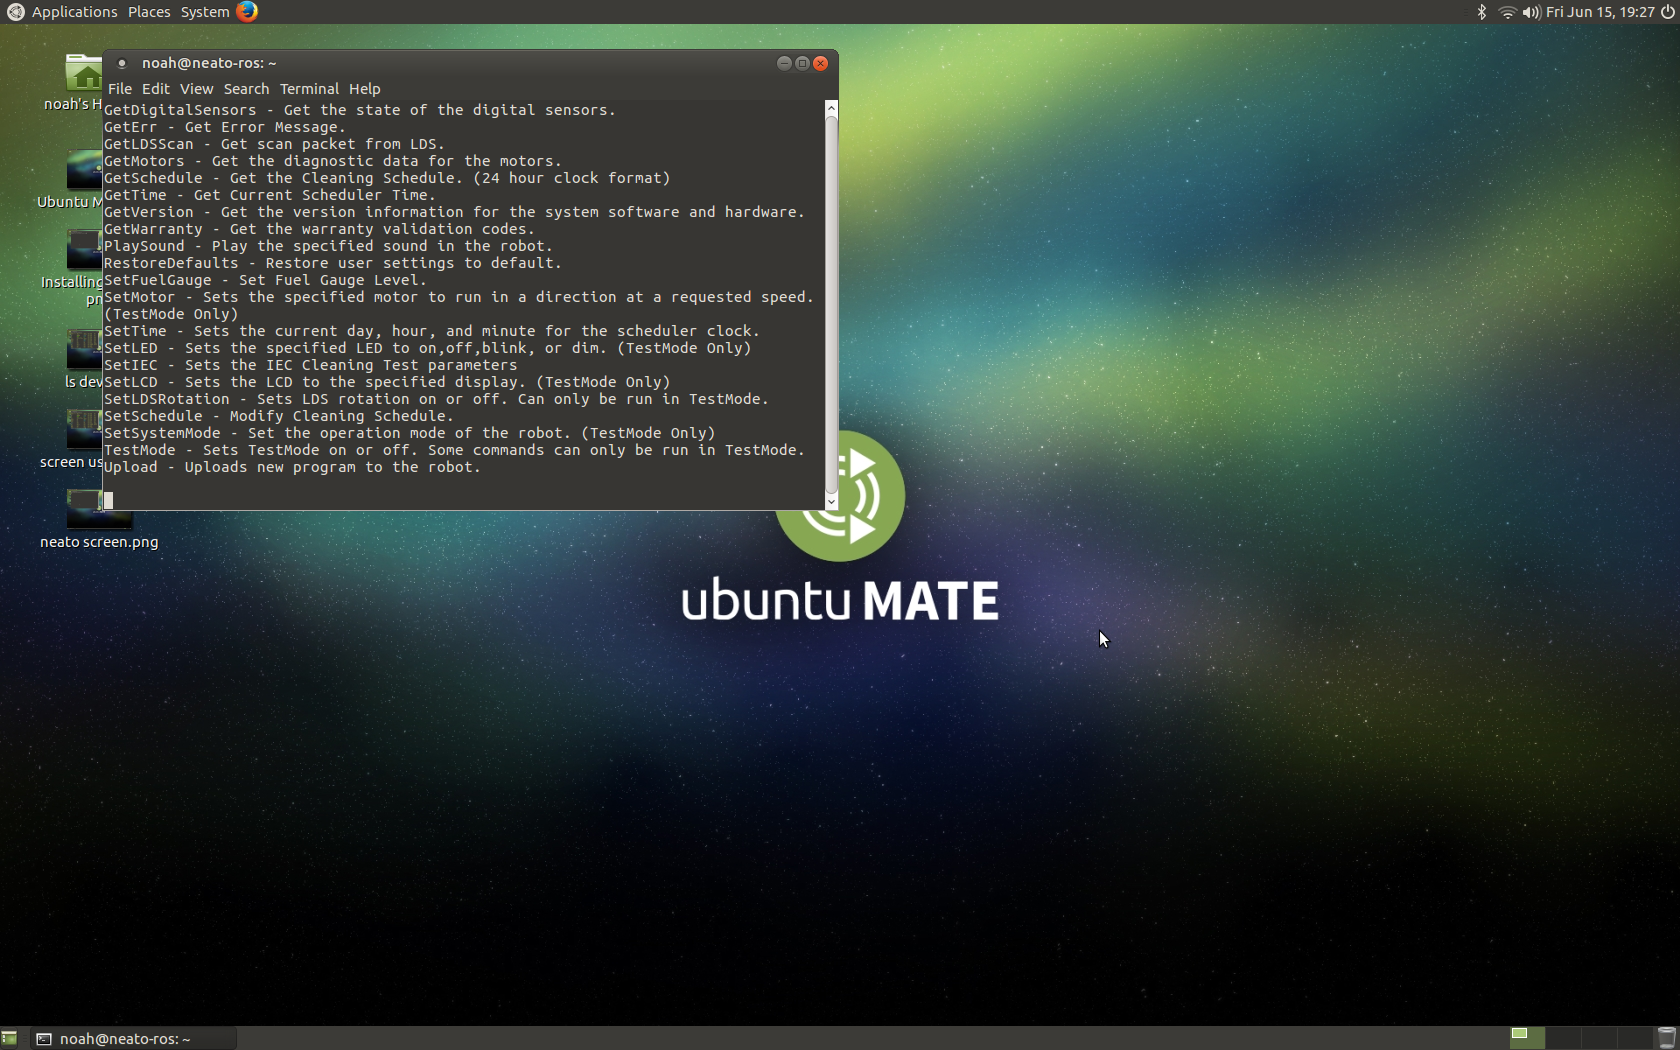
You will need to see what commands your Neato has. Each Neato is slightly different but mostly the same. Different versions of the Neato will have different updates or variations of the same commands. This is an important step because in this step you will learn what commands your neato has. Just type in the following command to see what your neato can do.
help
TestMode
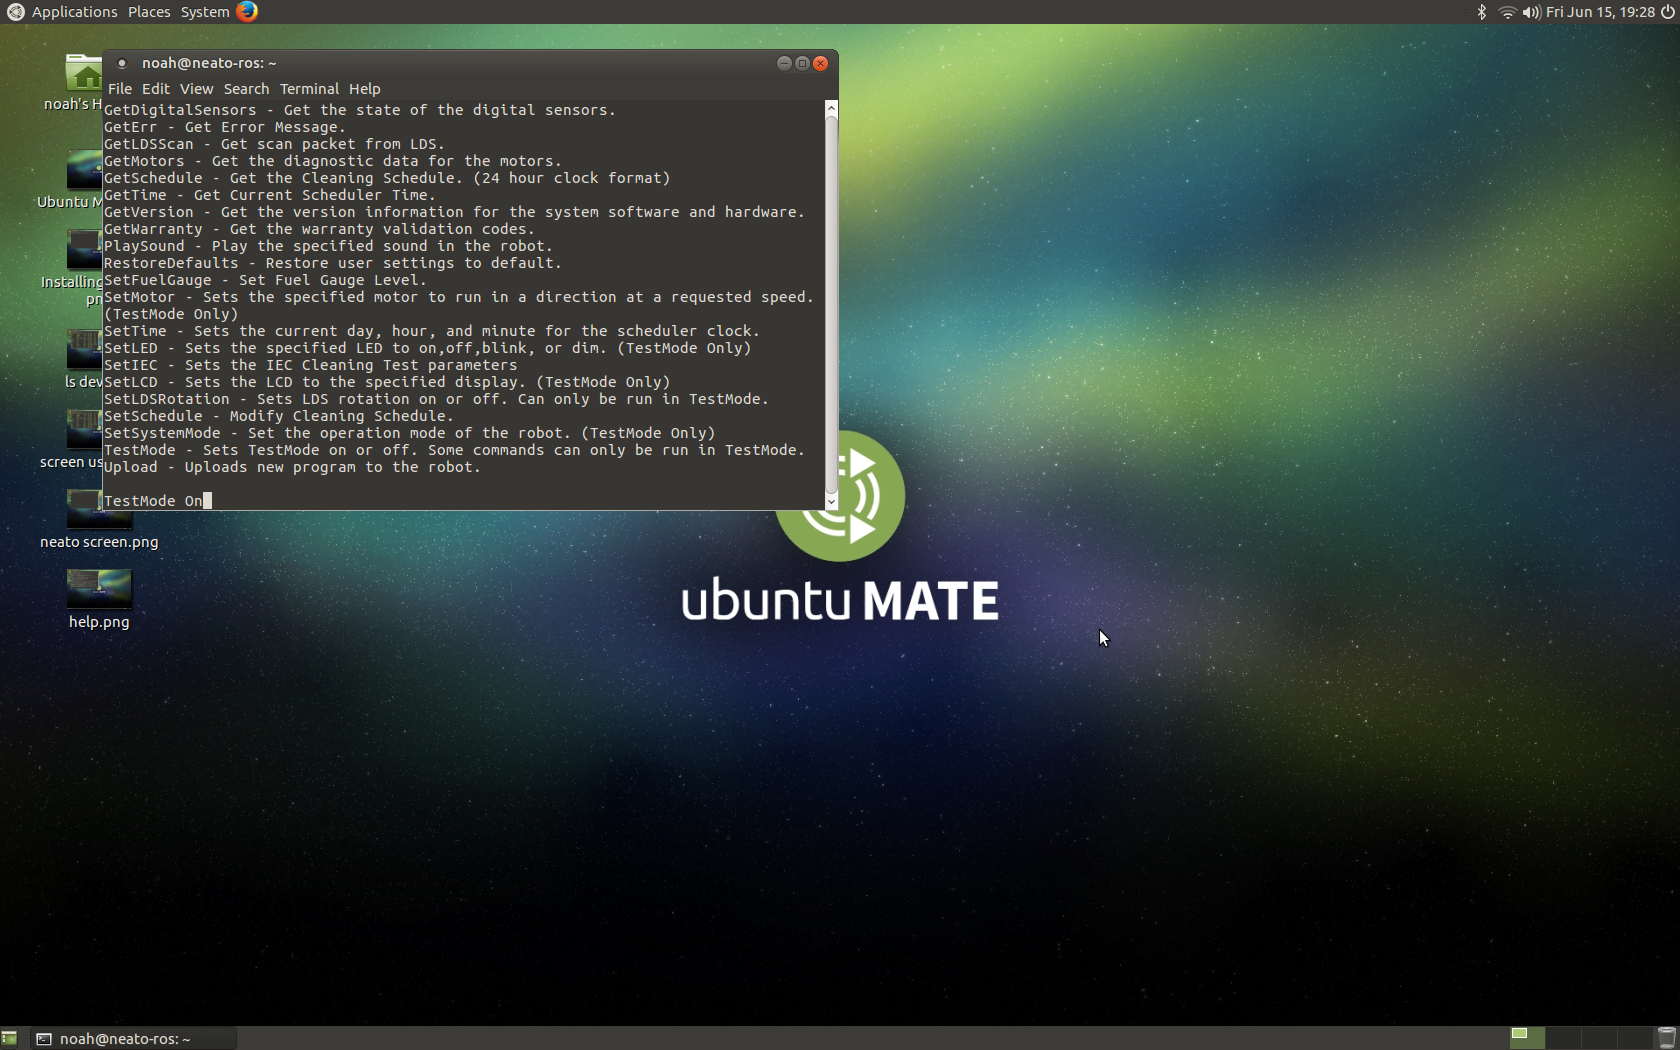
You will need to turn on TestMode to do majority of the things with your Neato. To turn on or off test mode put the code below in your terminal.
To turn it on do this.
TestMode On
To turn it off do this.
TestMode Off
Sensor Reading
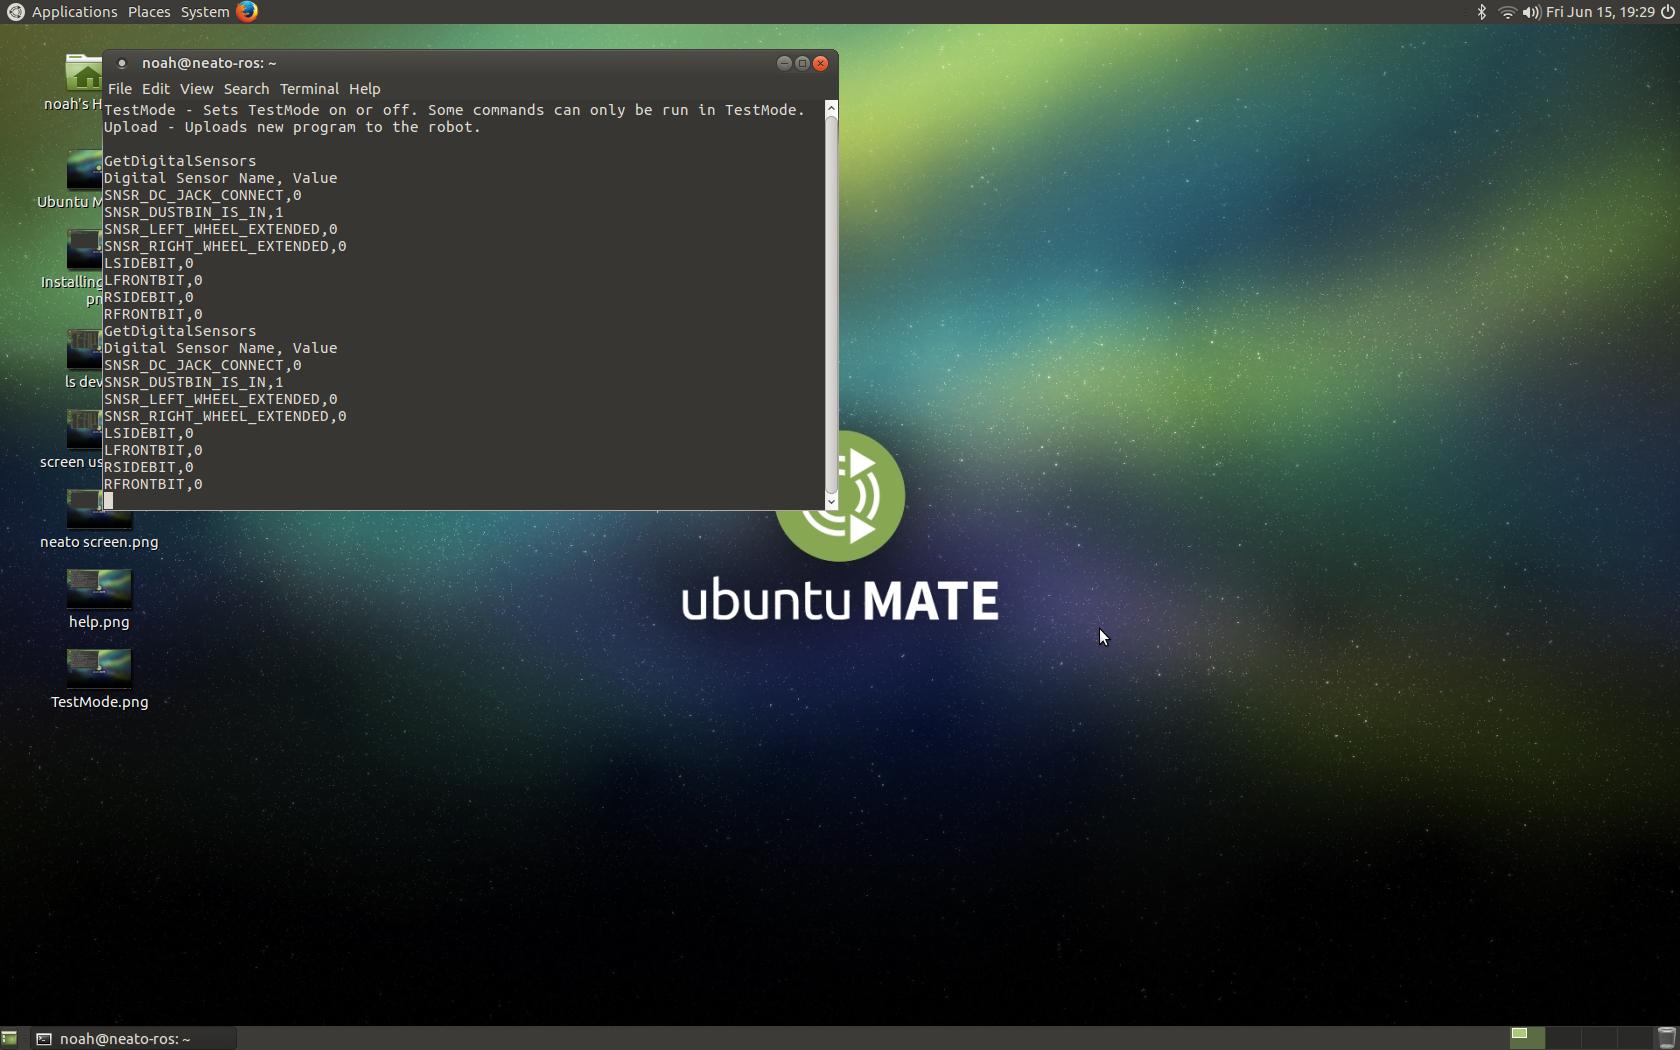
You can type this line of code to be able to see what your digital sensors are reading.
GetDigitalSensors
Moving Your Robot
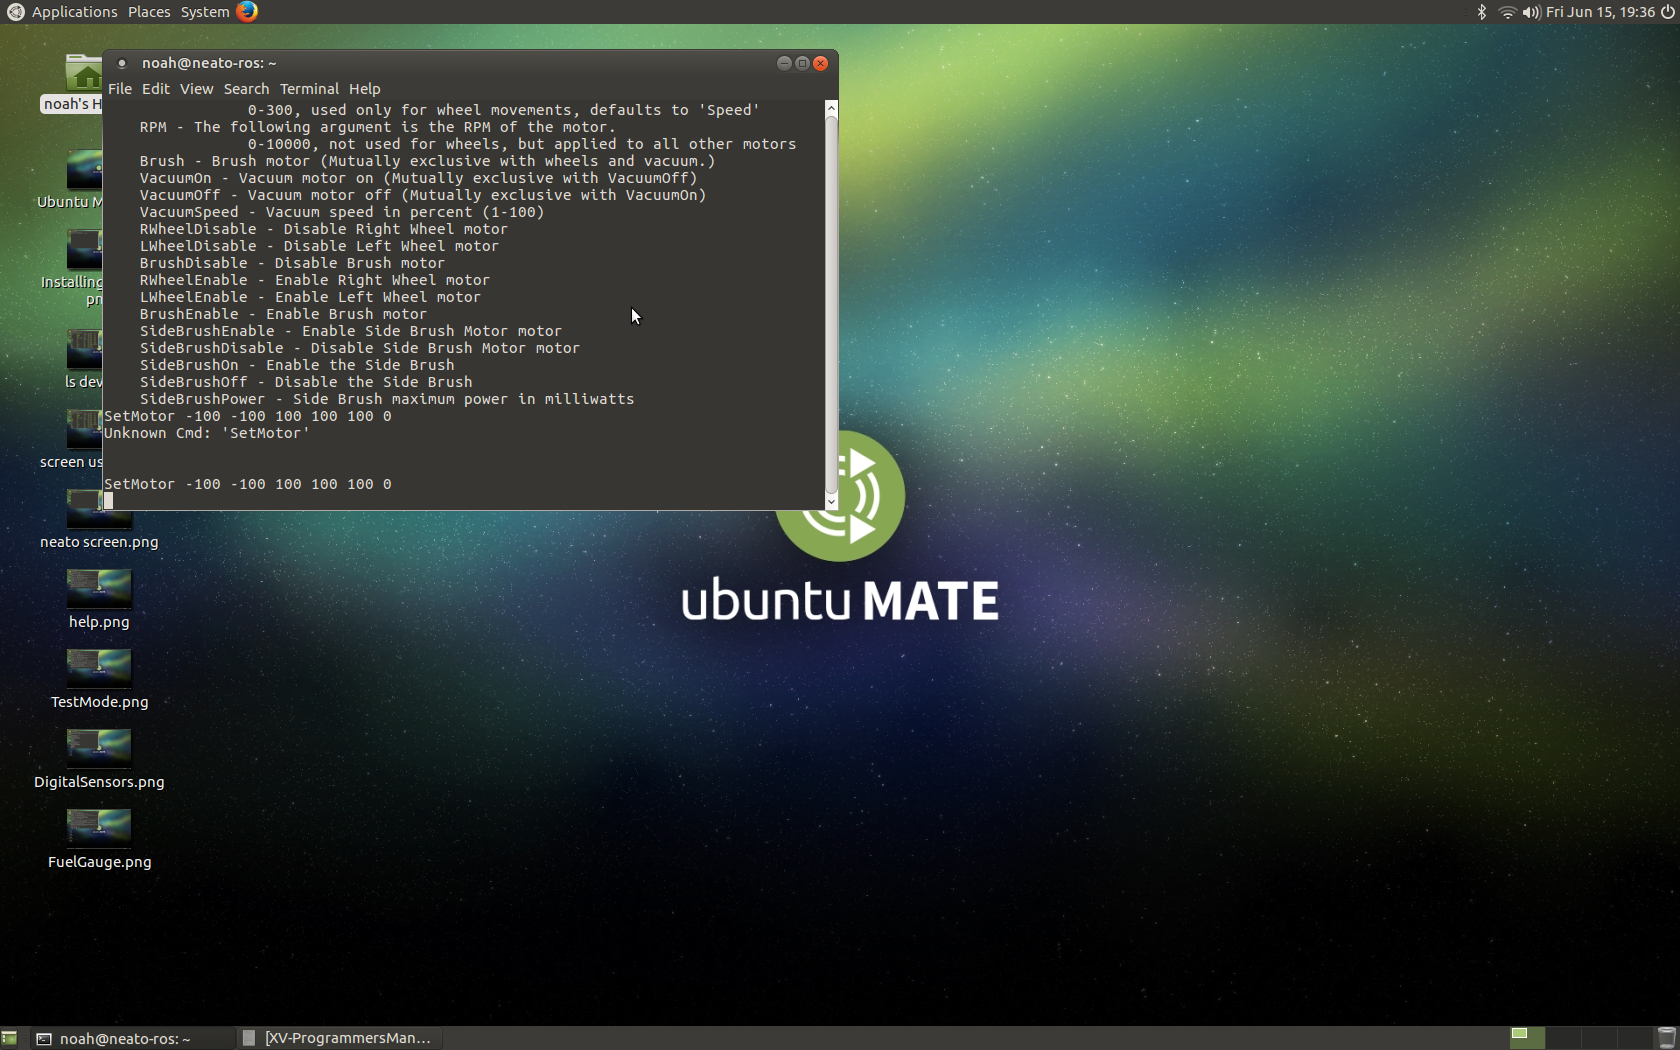
The cool thing about the Neato is you can actually control the distance each of the robot's motors travel in Millimeters, you control there acceleration, and the RPM of them. The following line of code moves the left motor 100 mm forward, right motor 100 mm backwards, speed of 20 mm/s, acceleration of 50 mm/s, 75 rpm, and disables the brush motors.
SetMotor 100 -100 20 50 75 0
The left most number controls left motor distance. Right motor distance is controlled by the second left most number. Speed is controlled by the third left most number. Acceleration is controlled by the third right most number. RPM is controlled by the second right most number. Last but not least the brushes are enabled or disabled by the last number.
Conclusion
The Neato XV is a cool robot. Not only is it mostly open source it is quite easy to hack. I have had a lot of fun attempting to make this autonomous and it is pretty cool. Anyways I hope you enjoyed this read. Let me know of any questions or comments please. Thanks!