How to Control Servo Motor Using Arduino
by Ranuga in Circuits > Arduino
4498 Views, 6 Favorites, 0 Comments
How to Control Servo Motor Using Arduino
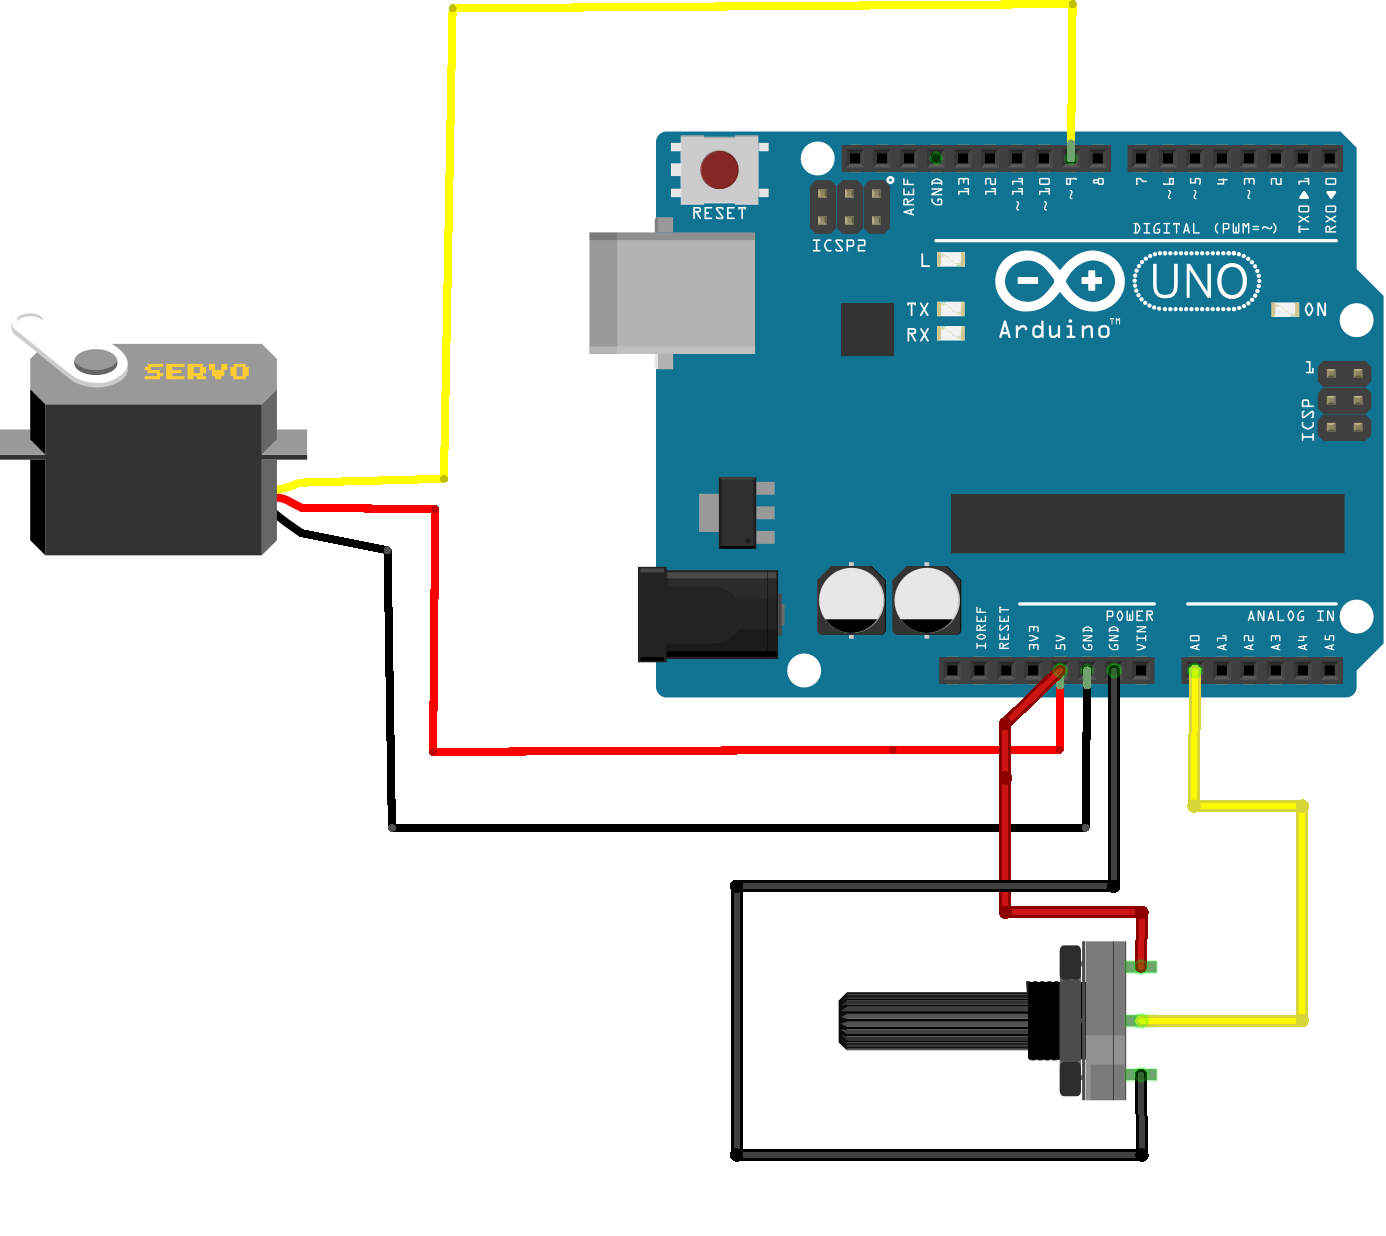
Hello everyone. Welcome to Ranuga Instructable. This is my first Instructables tutorial and if problems please excuse. Here, I will be setting up and interfacing a servo motor to the Arduino and controlling it. This tutorial explains how to control a servo motor using Arduino and potentiometer. First, I will show you how to control it without a potentiometer. After understanding how the servo motor is controlled by Arduino, I'll show how to control the same servo motor using the potentiometer. All the circuit diagrams and codes are given. For more information visit my site. Enjoy.
Supplies
- Arduino UNO-www.ebay.com
- Servo motor-www.ebay.com
- Potentiometer-www.ebay.com
What Are Servo Motors
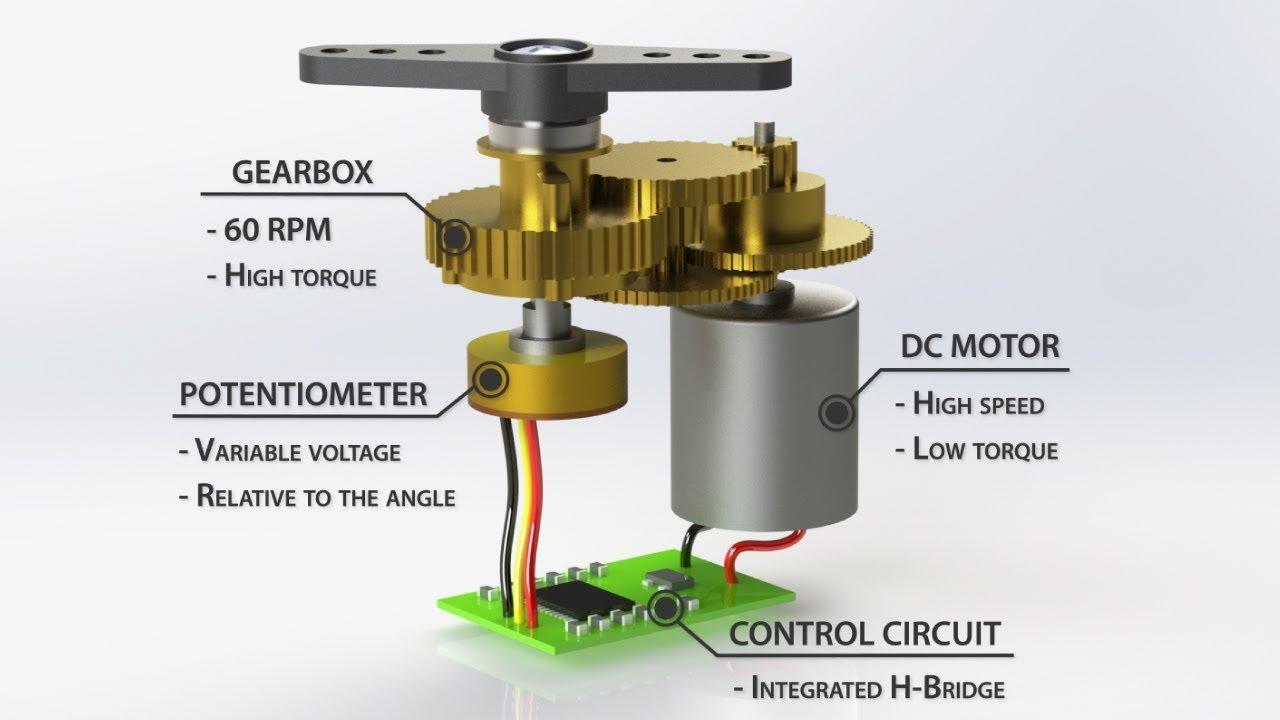
A servo motor is a rotary actuator or linear actuator that allows for precise control of angular or linear position, velocity, and acceleration. It consists of a suitable motor coupled to a sensor for position feedback. It also requires a relatively sophisticated controller, often a dedicated module designed specifically for use with servomotors.
Servomotors are not a specific class of motor, although the term servomotor is often used to refer to a motor suitable for use in a closed-loop control system. If you want to rotate an object at some specific angles or distance, then you use a servo motor. It is just made up of a simple motor that runs through a servo mechanism. If the motor is powered by a DC power supply then it is called a DC servo motor, and if it is an AC-powered motor then it is called an AC servo motor.
Wiring to Circuit Diagram-1
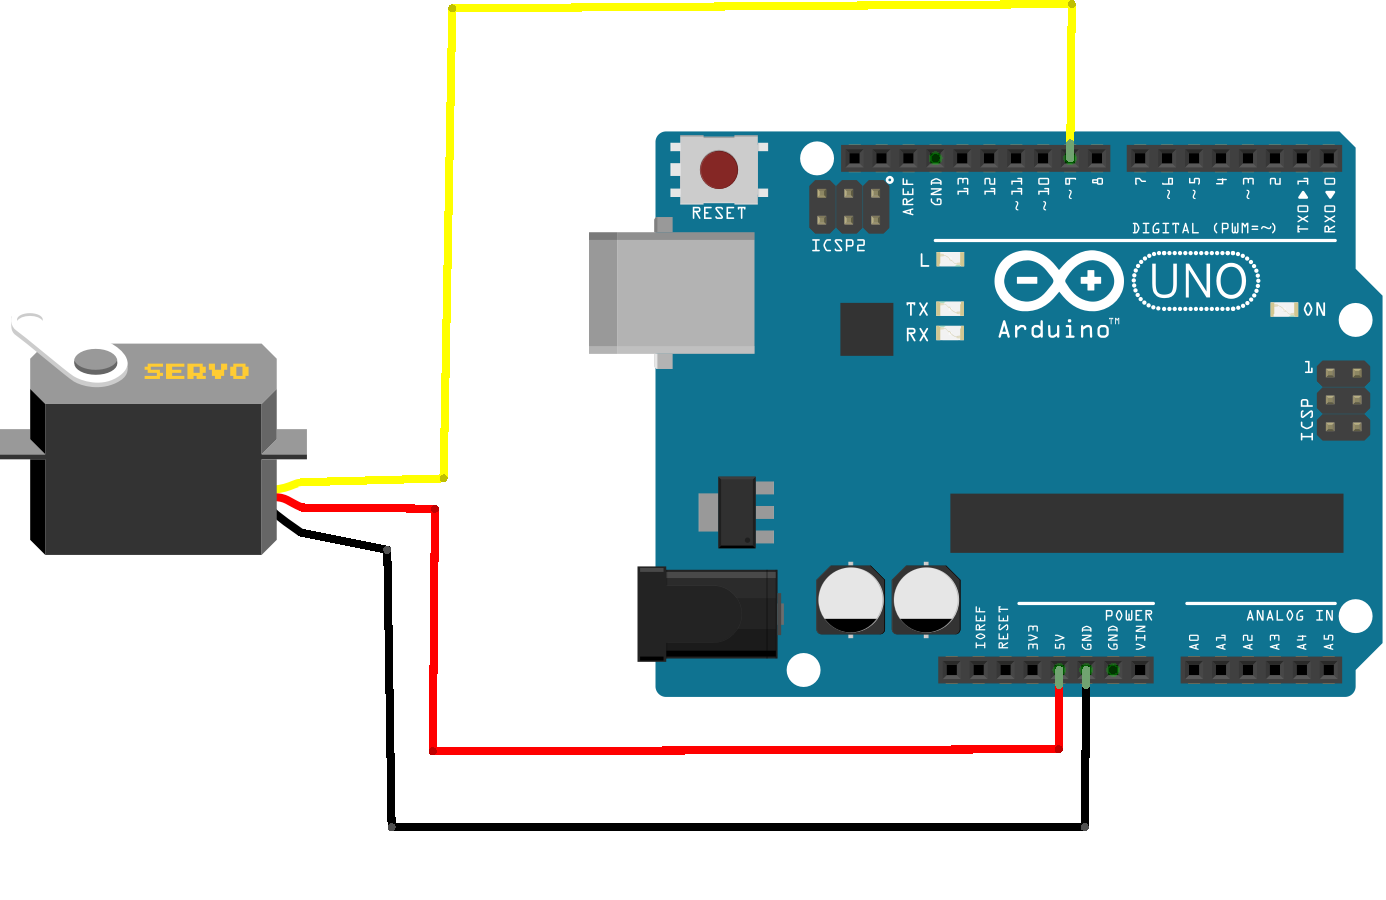
I’m using in this tutorial a simple tower pro micro servo(9g), like all servos it has three wires, one wire for the control signal, and two wires for the power supply which is 5V DC from Arduino 5V pin.
I’m using an Arduino UNO board which has already PWM pins for signal control. but you can use any Arduino board with PWM pins.
Following are the steps to connect a servo motor to the Arduino:
- The servo motor has a female connector with three pins. The black or brown wire is usually the ground. Connect this to the Arduino GND.
- Connect the red wire to the Arduino 5V pin.(Note-if your motor is more than 5V use a different power source.)
- Connect the remaining wire(Yellow wire) to the Arduino 9th pin.
Code-1
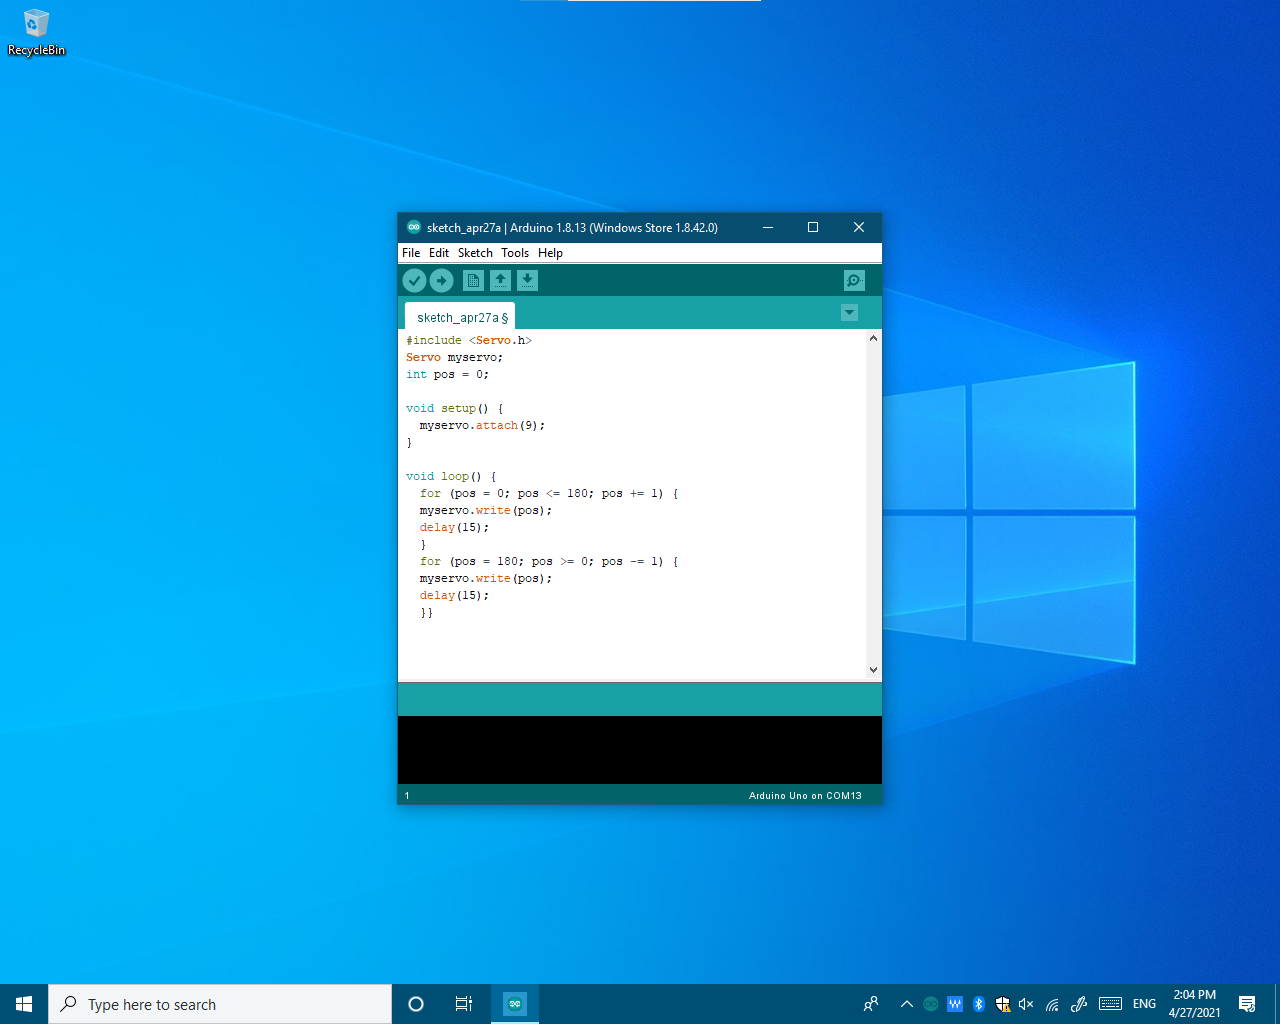
The following code will turn the servo motor 0 to 180 degrees continuously. Copy and paste the below code to Arduino IDE.
#include <servo.h>
Servo myservo;
int pos = 0;
void setup() { myservo.attach(9); }void loop() { for (pos = 0; pos <= 180; pos += 1) { myservo.write(pos); delay(15); } for (pos = 180; pos >= 0; pos -= 1) { myservo.write(pos); delay(15); }}
Selecting the Board
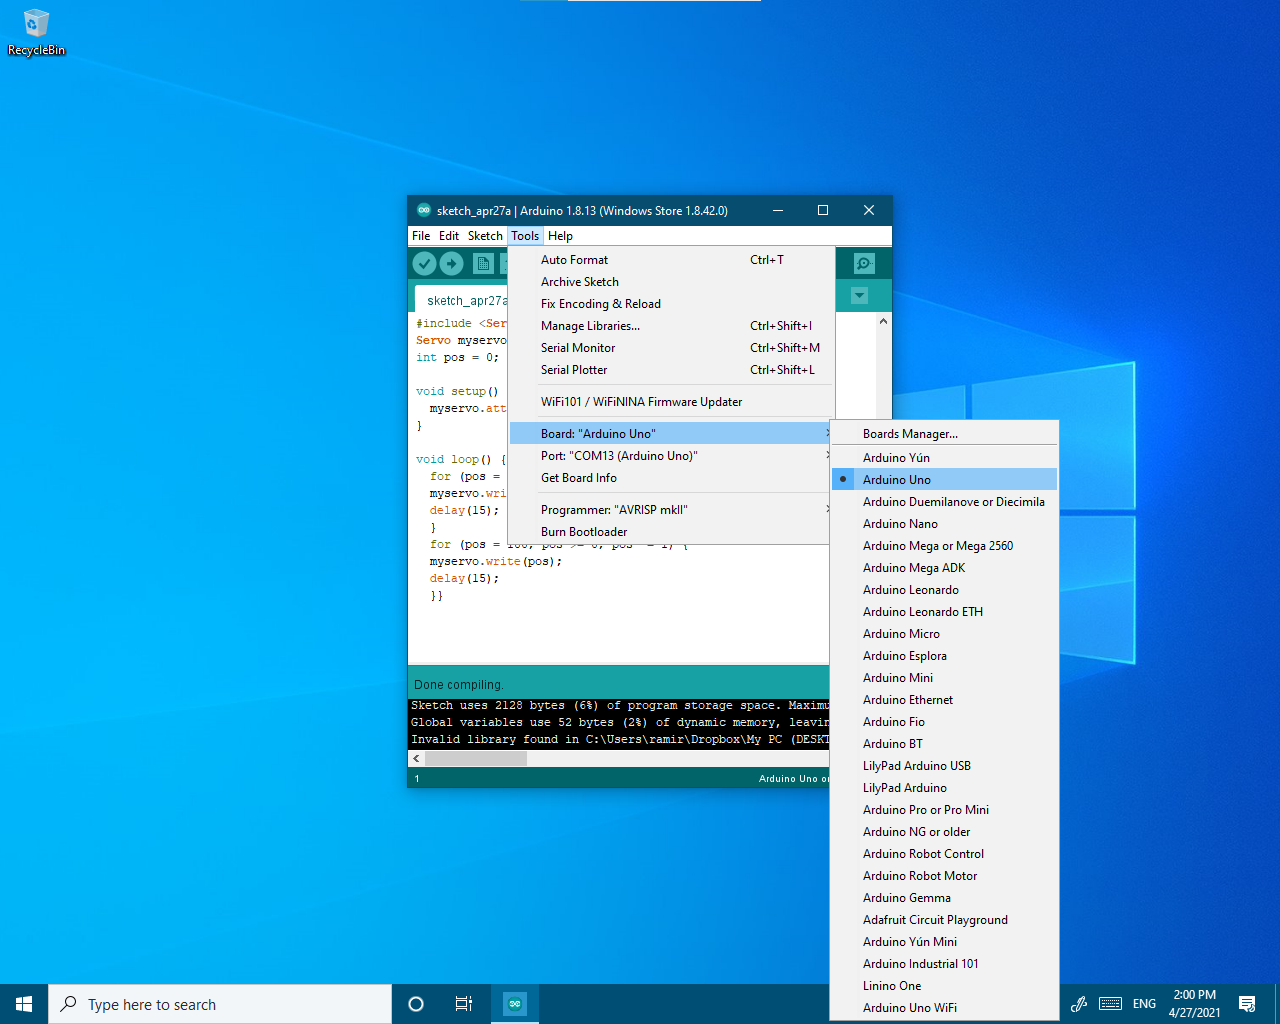
Select your Arduino board in Arduino IDE
- Go to Tools on the top bar.
- Click on it.
- Click on Bord:
- Select the board you are using.
Selecting the Correct COM Port
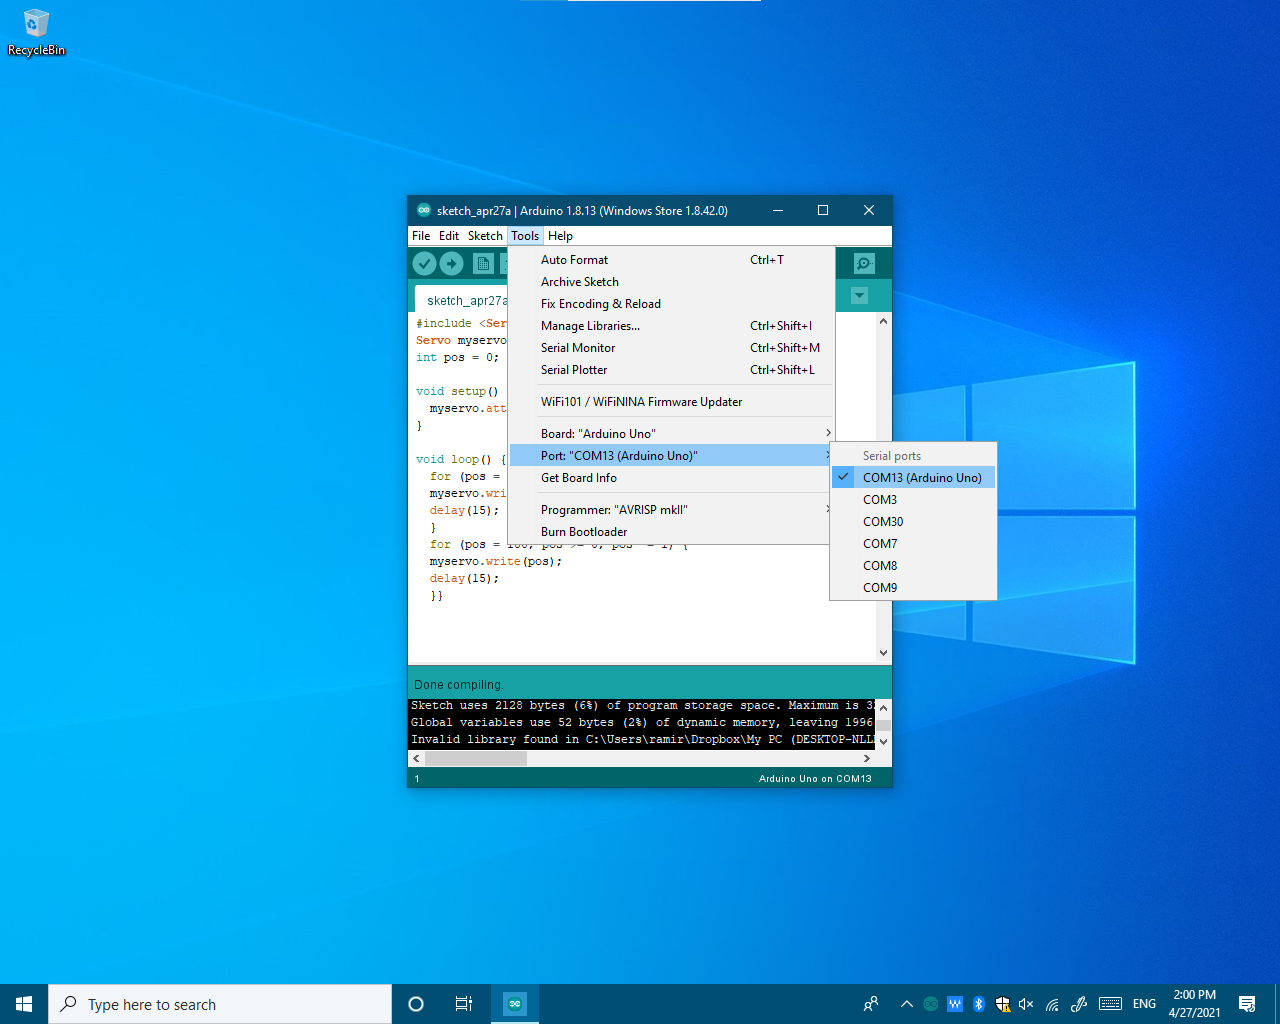
Select your COM port in Arduino IDE
- Go to Tools on the top bar.
- Click on it.
- Click on Port:
- Select the COM port which your Arduino is connected.
Compiling the Code and Uploading to Arduino Board
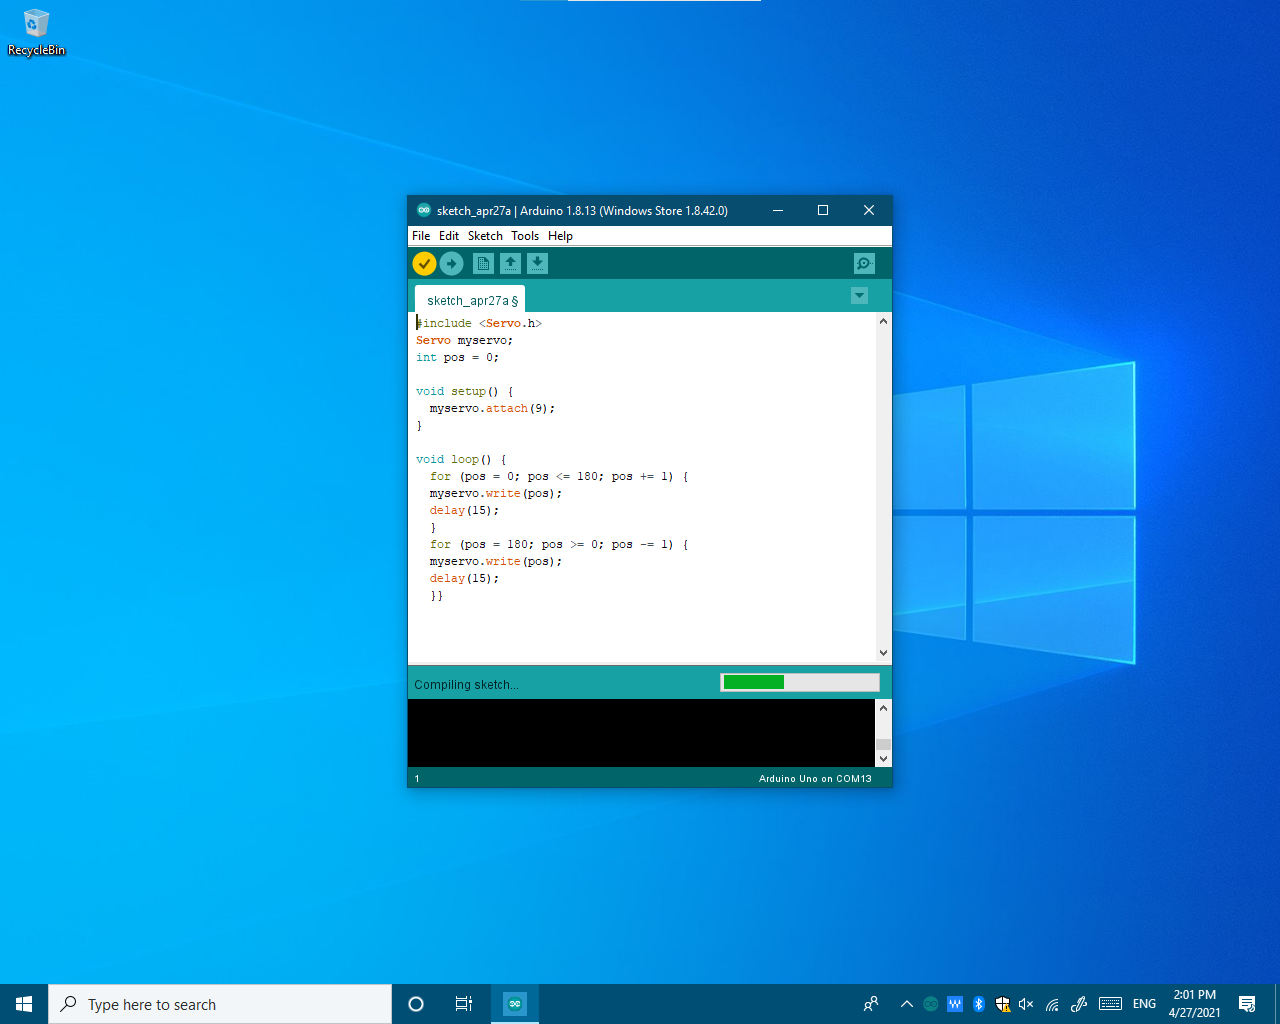
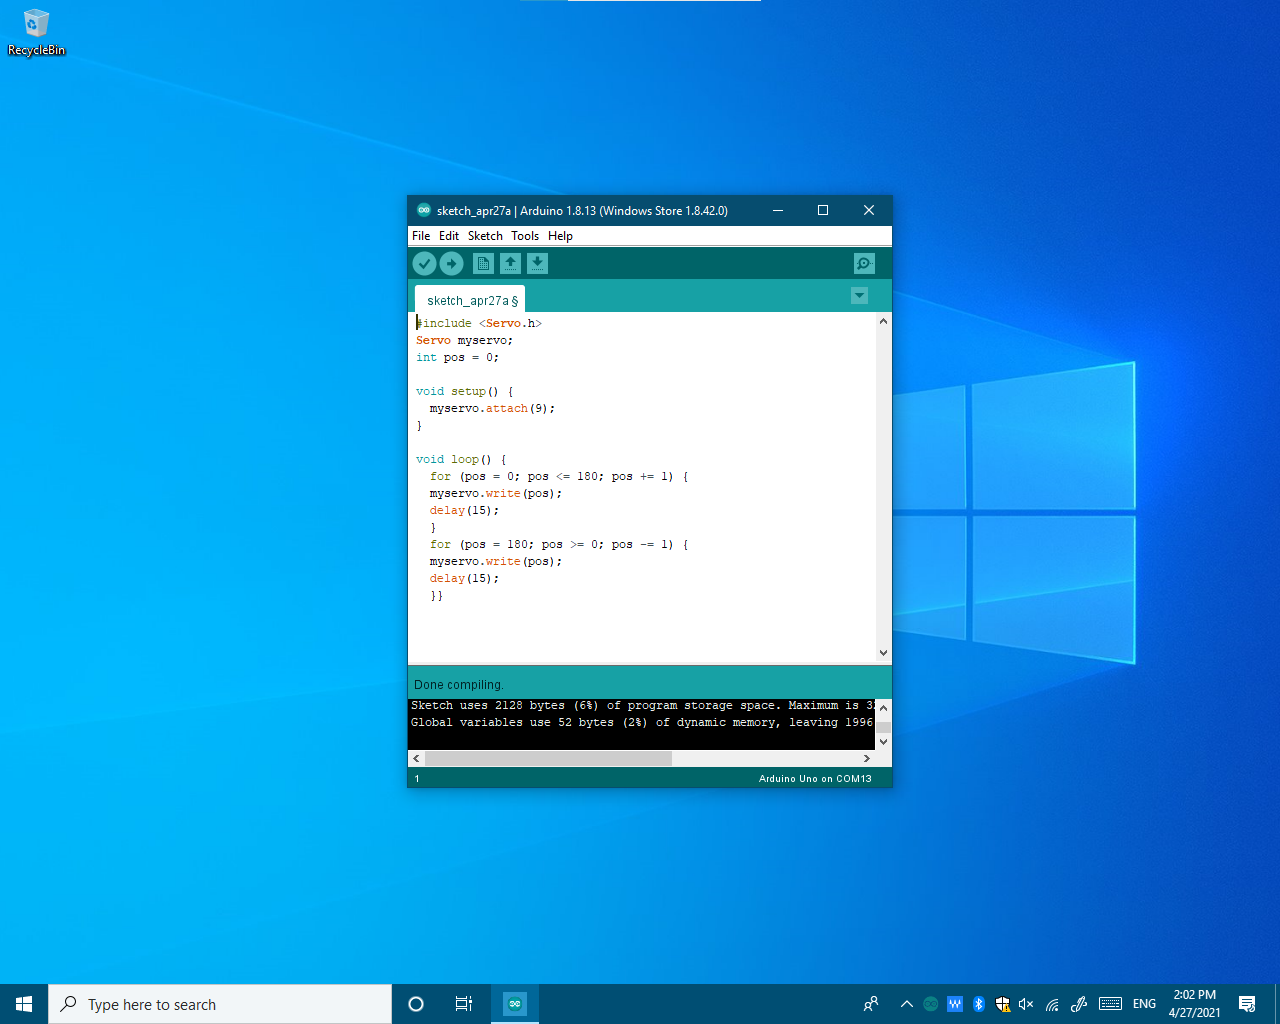
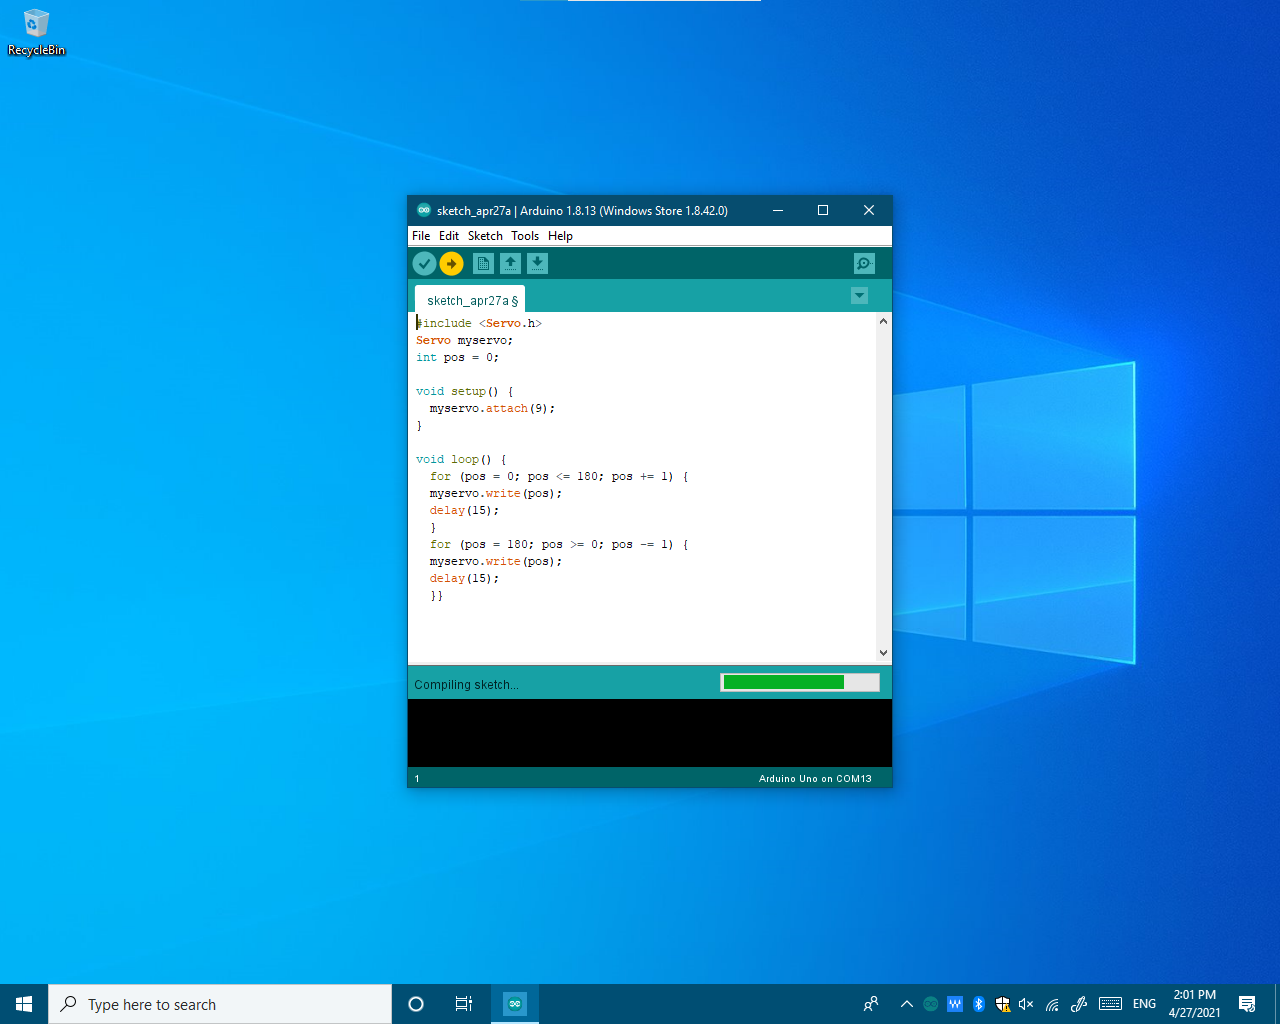
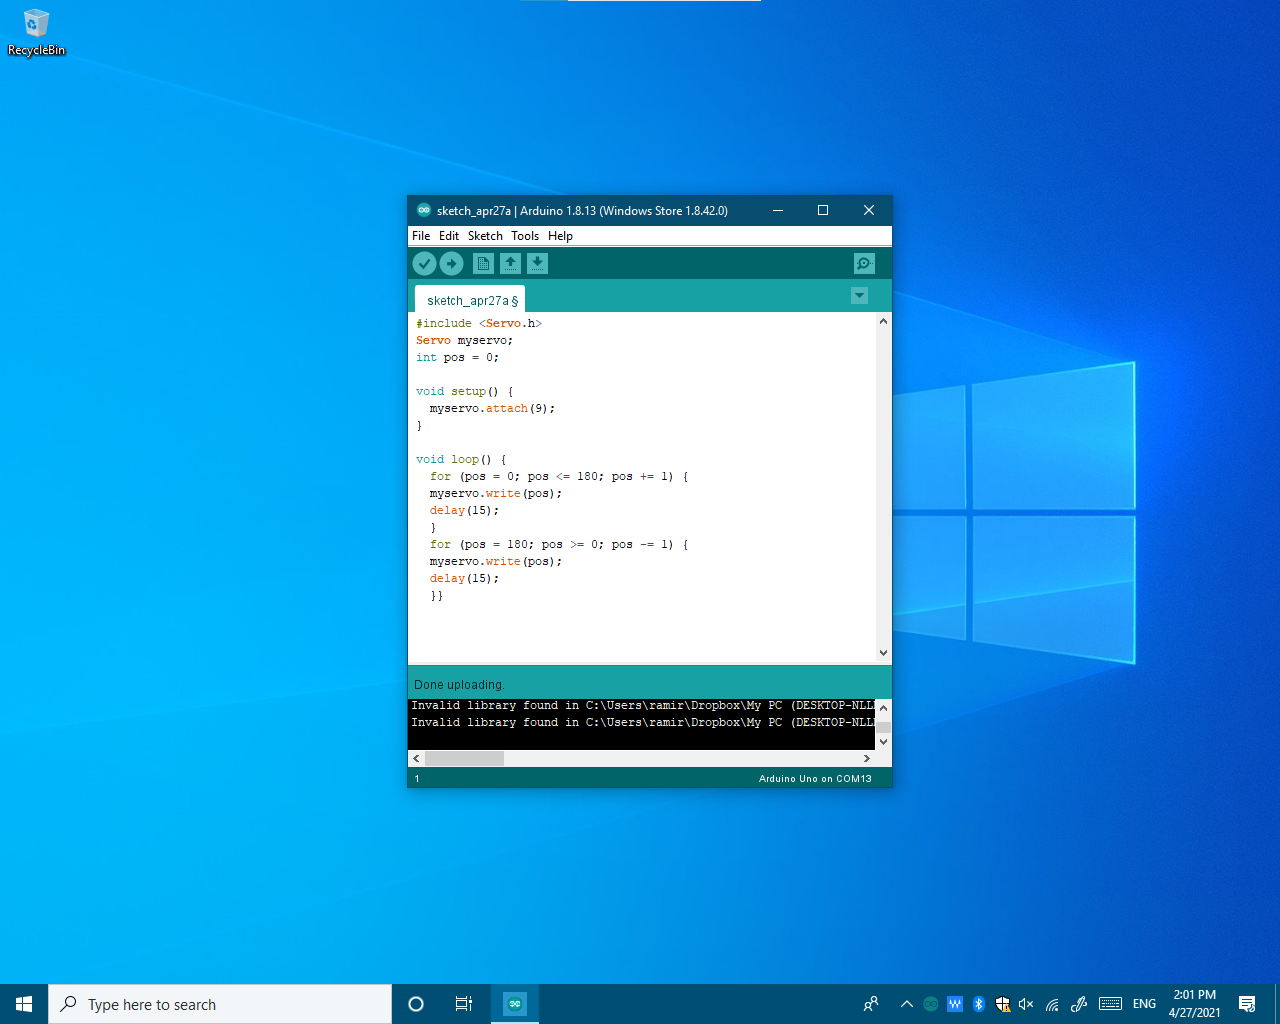
Once you select the correct COM port and Board it's time to compile the sketch.
- Click on the '✓' Button or CTRL+R and wait until the green bar is completed.
After compiling the sketch you have to upload it to your Arduino board.
- Click on the '➡' Button or CTRL+U and wait until the green bar is completed.
If the code uploaded correctly the servo motor should run 0 to 180degrees.
Controlling the Servo Motor Using a Potentiometer
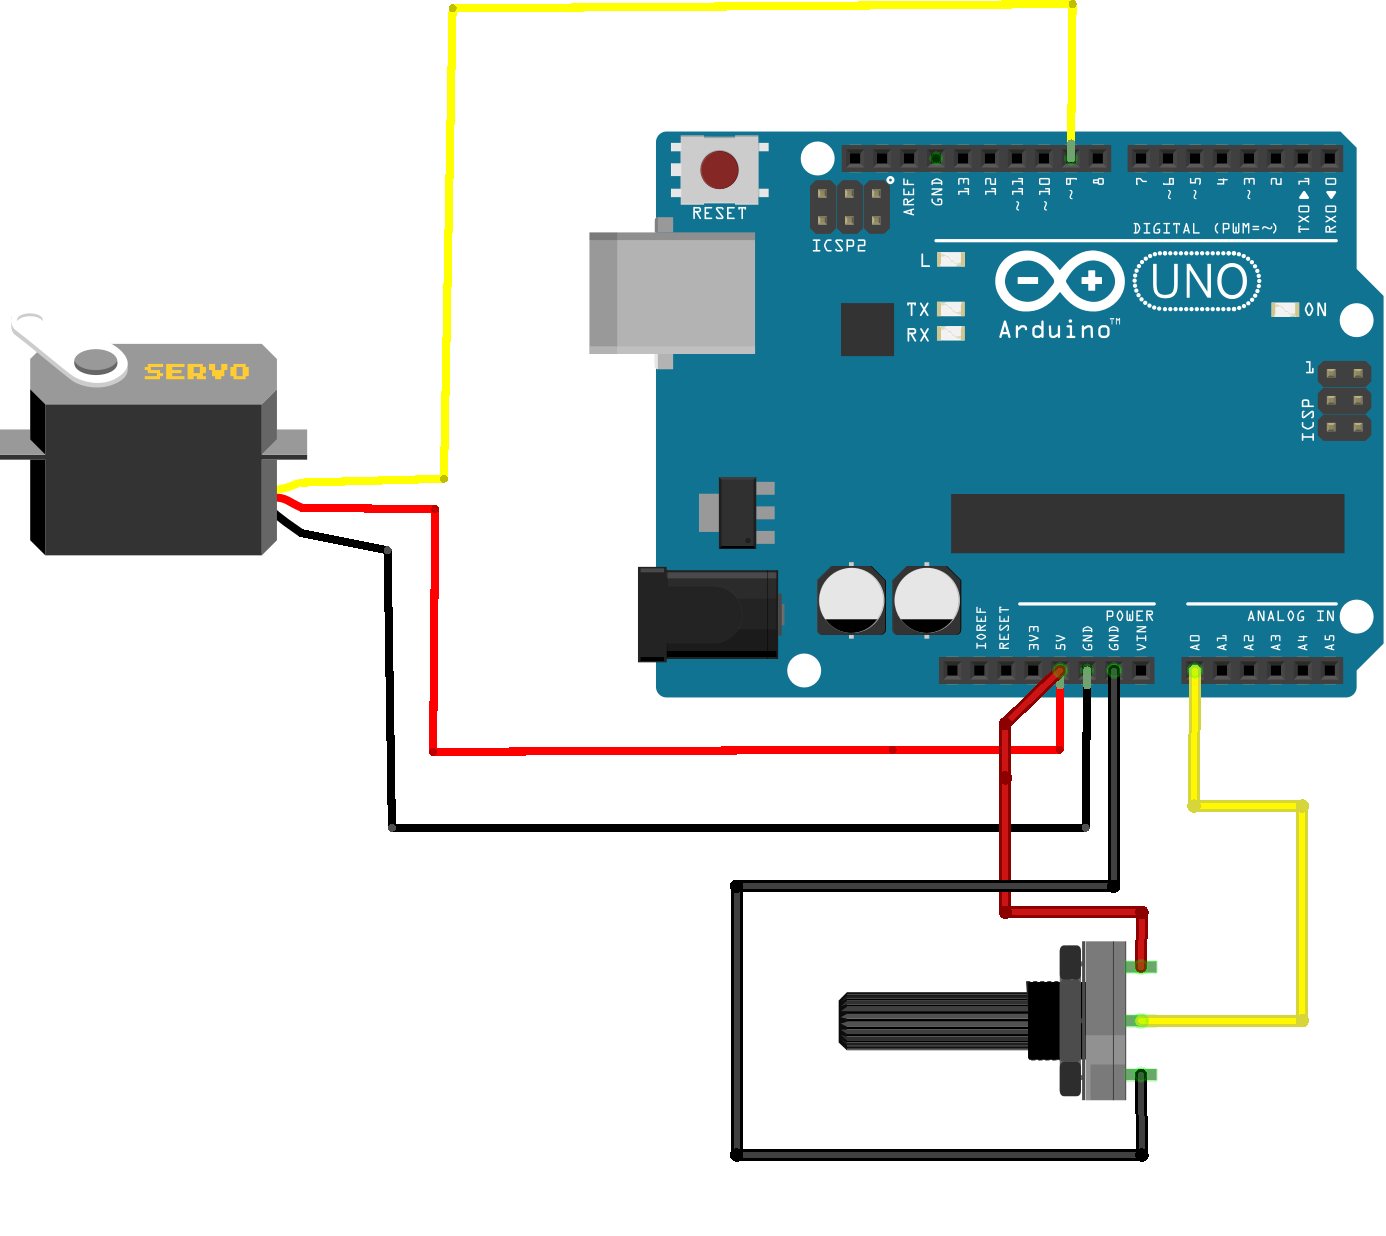
Following are the steps to connect a servo motor to the Arduino:
- The servo motor has a female connector with three pins. The black or brown wire is usually the ground. Connect this to the Arduino GND.
- Connect the red wire to the Arduino 5V pin.(Note-if your motor is more than 5V use a different power source.)
- Connect the remaining wire(Yellow wire) to the Arduino 9th pin.
- Connect potentiometer middle wire to Arduino A0(Analog) pin.
- Connect the remaining two wires to Arduino GND and 5V pins.
Code-2
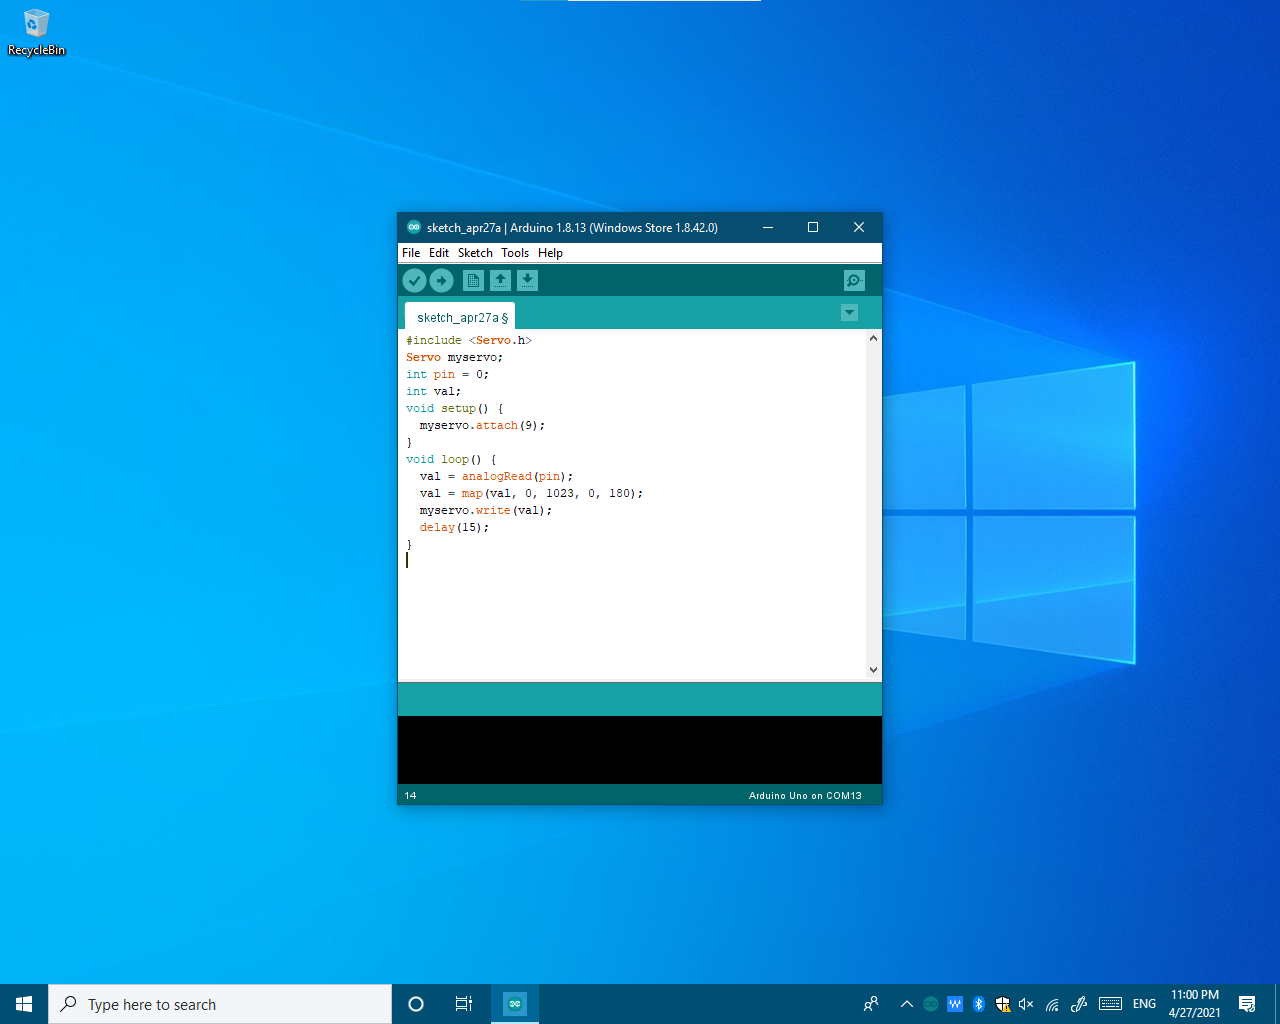
This code will control the servo motor using a potentiometer. When the potentiometer value changed the servo angle will change. Copy and Upload the below code to Arduino IDE.
#include <Servo.h>
Servo myservo;
int pin = 0;
int val;
void setup() {
  myservo.attach(9);
}
void loop() {
  val = analogRead(pin);
  val = map(val, 0, 1023, 0, 180);
  myservo.write(val);
  delay(15);
}