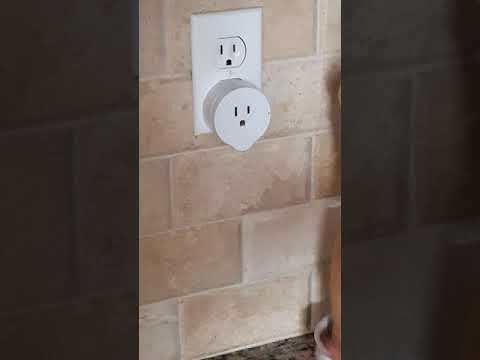
How to Control Lighting From Your Smartphone (VeSync)
by calecbgsu in Workshop > Energy
1059 Views, 3 Favorites, 0 Comments
How to Control Lighting From Your Smartphone (VeSync)
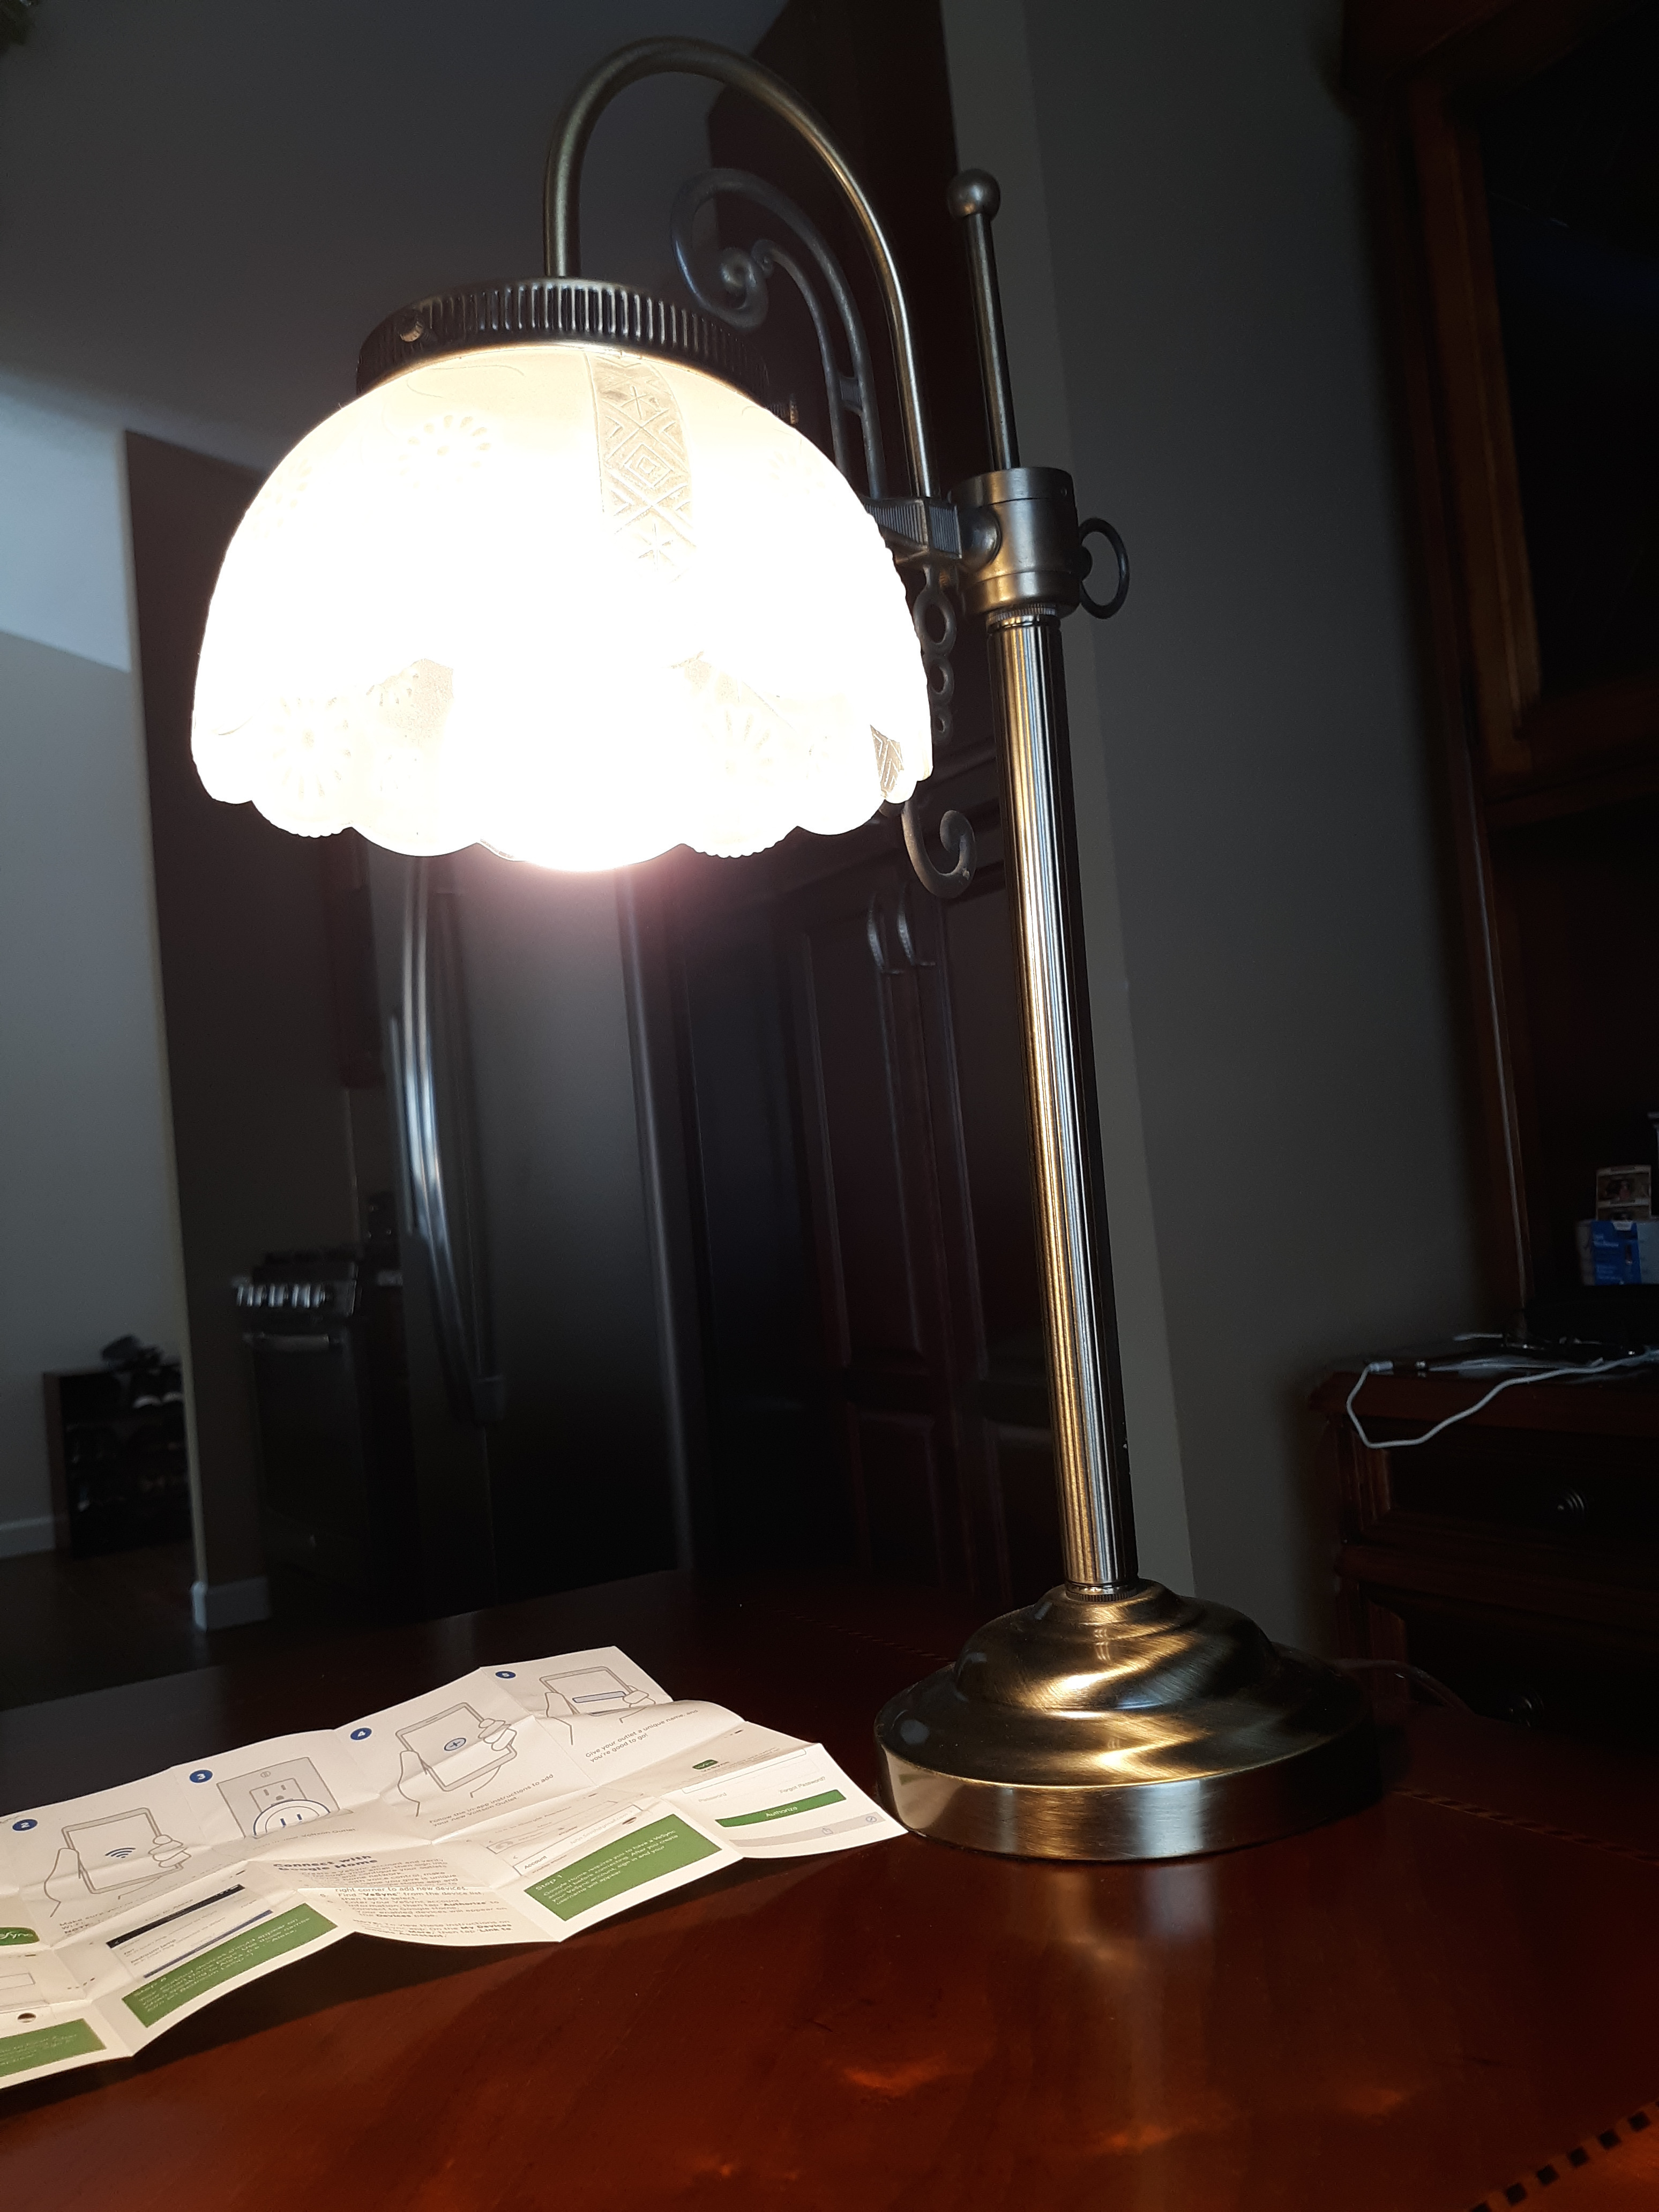
After a long day at work, wouldn't it be nice to control your living room lights from your couch? With smart technology, you now have the ability to do just that. Smart outlets have become increasingly common in everyday households, granting you the ability to control lights from your very own phone!
Supplies
Supplies needed for this project include...
1. Smartphone running Android OS or iOS (Purchased from Amazon.com)
2. 10 AMP outlet
3. VeSync app
4. Etekcity smart plug (Purchased from Amazon.com)
5. Light source (Lamp or lighting product)
This tutorial will provide you with the knowledge of how to control everyday lighting from your smartphone.
Disclaimer: The person presenting this tutorial has no association with the products being shown in the video below. In no event shall the speaker in the video be liable for any direct, indirect, punitive, incidental, special consequential damages, to property or life, whatsoever arising out of or connected with the use or misuse of shown products.
Download and Open the VeSync App Onto Your Smartphone
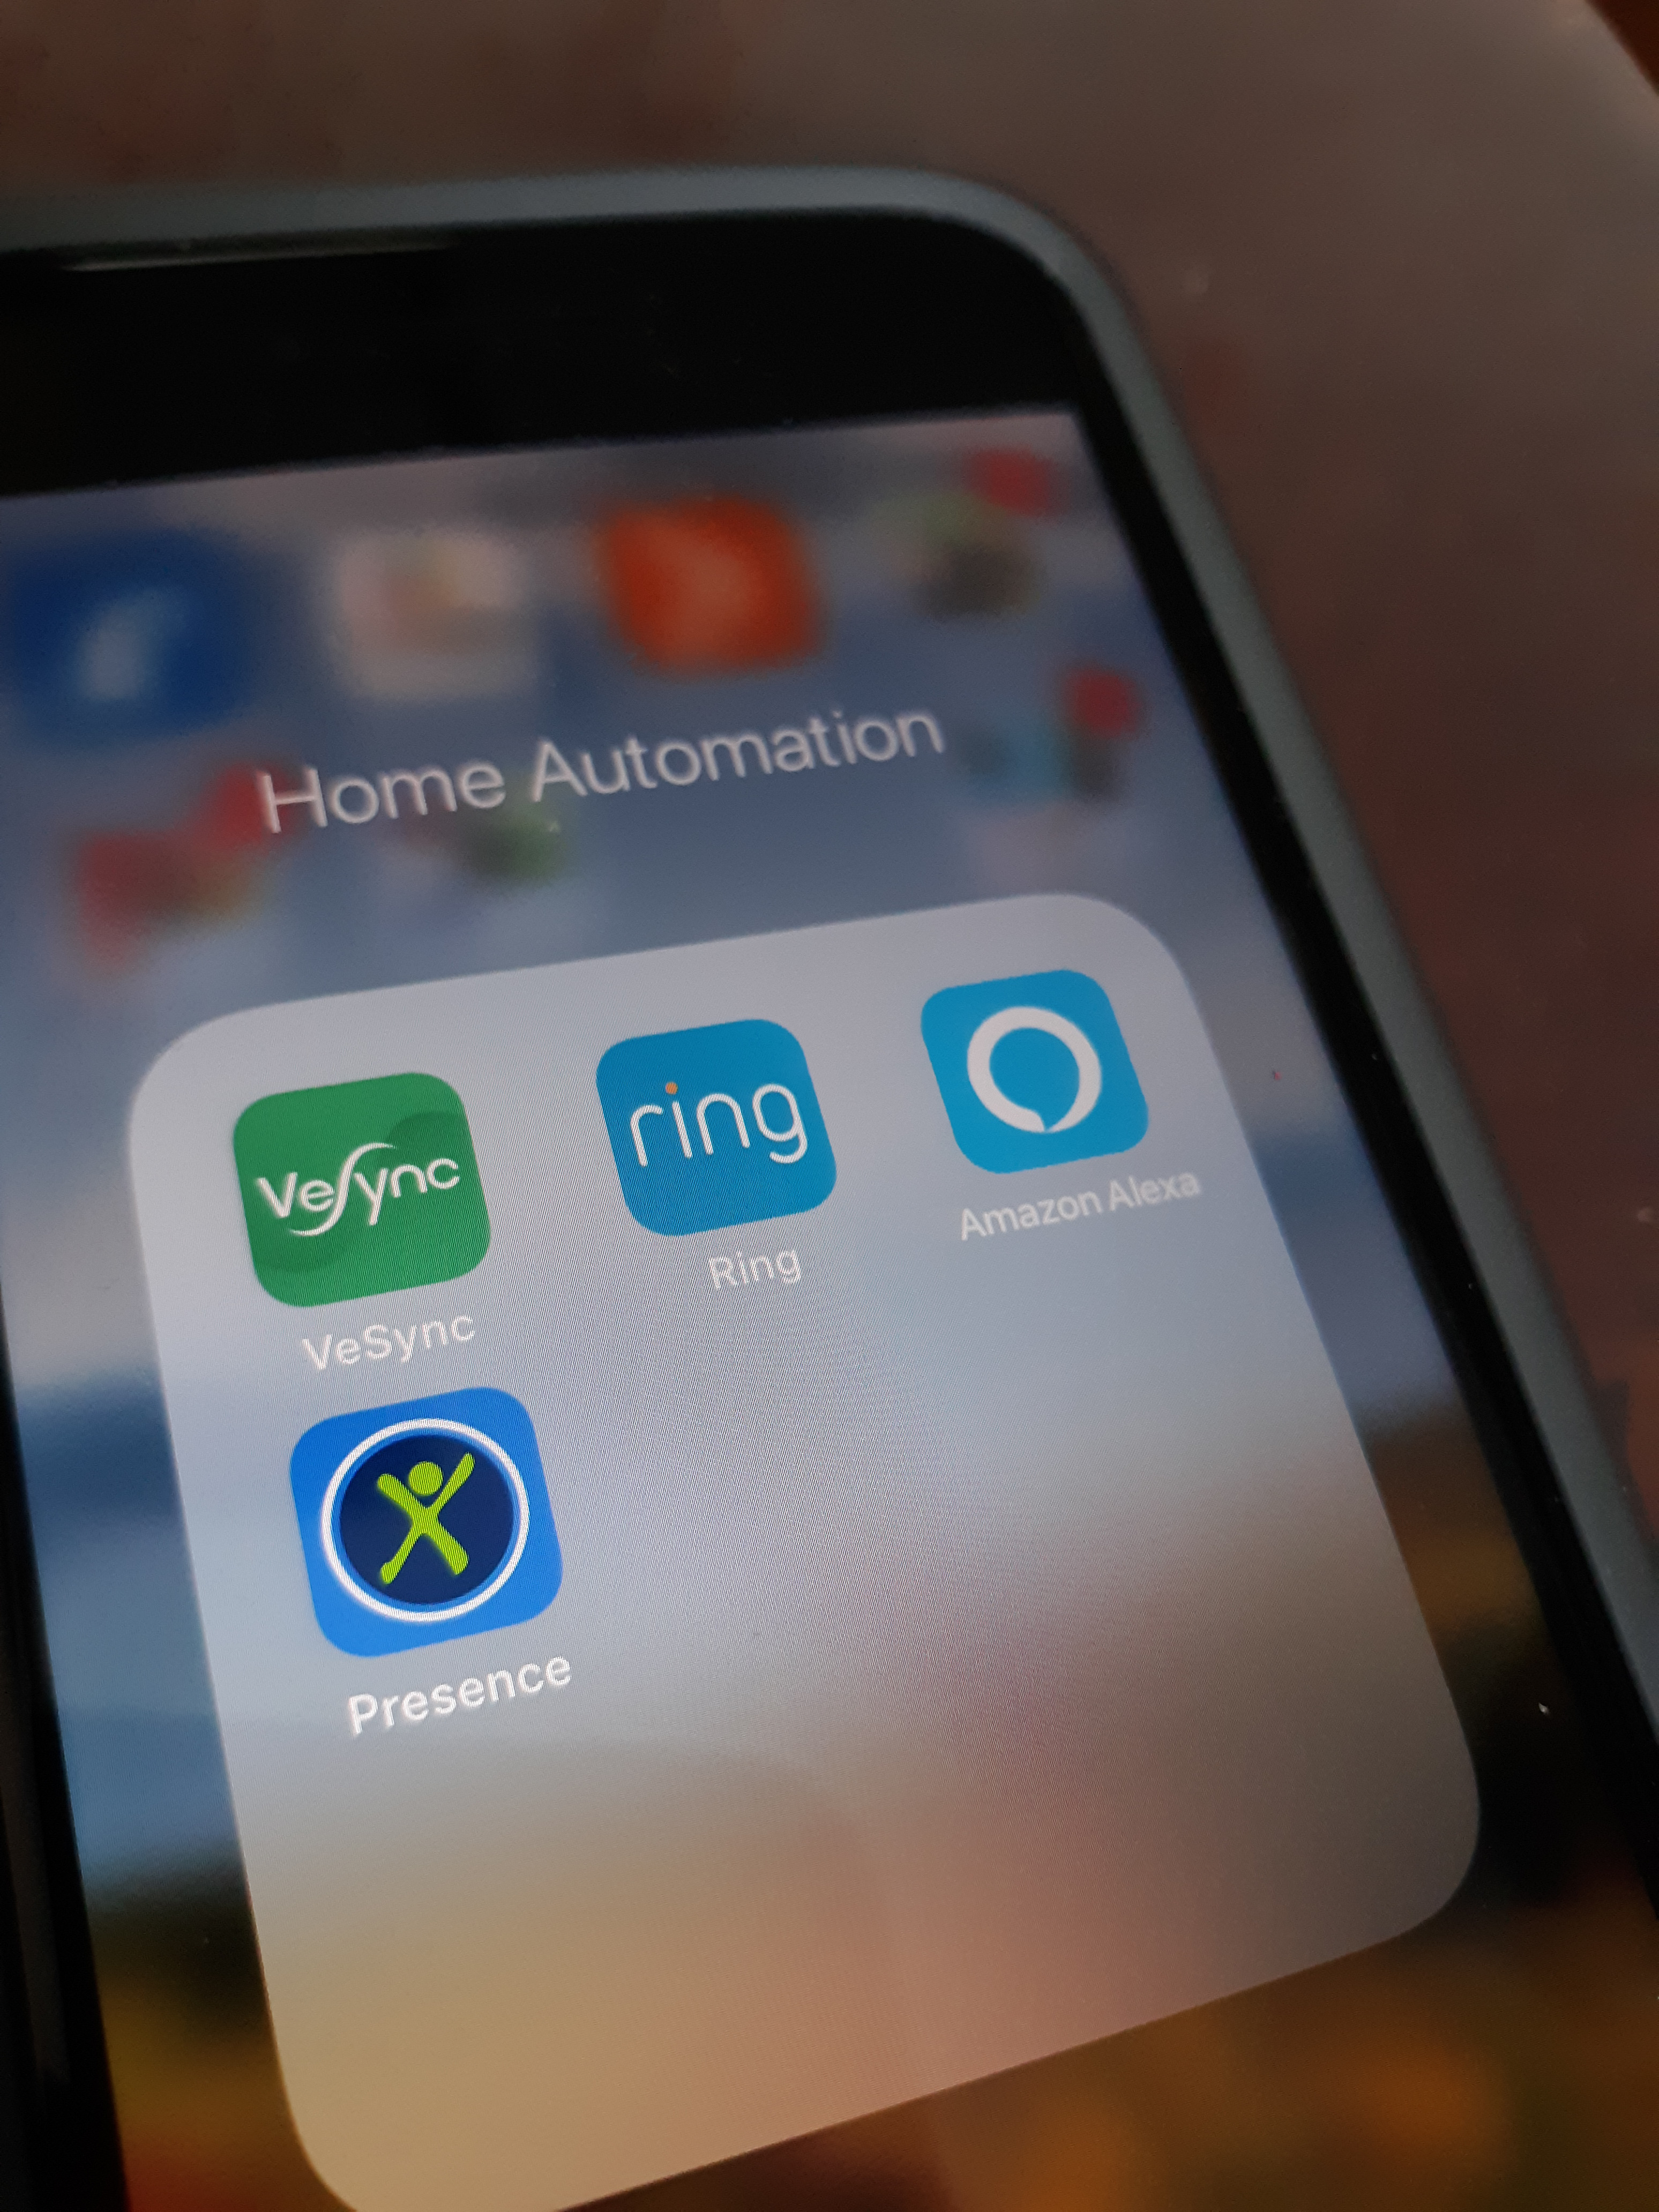
The VeSync app can be found on both the Google Play Store and Apple App Store. The app is free of charge and is relatively small in file size.
Open the VeSync App
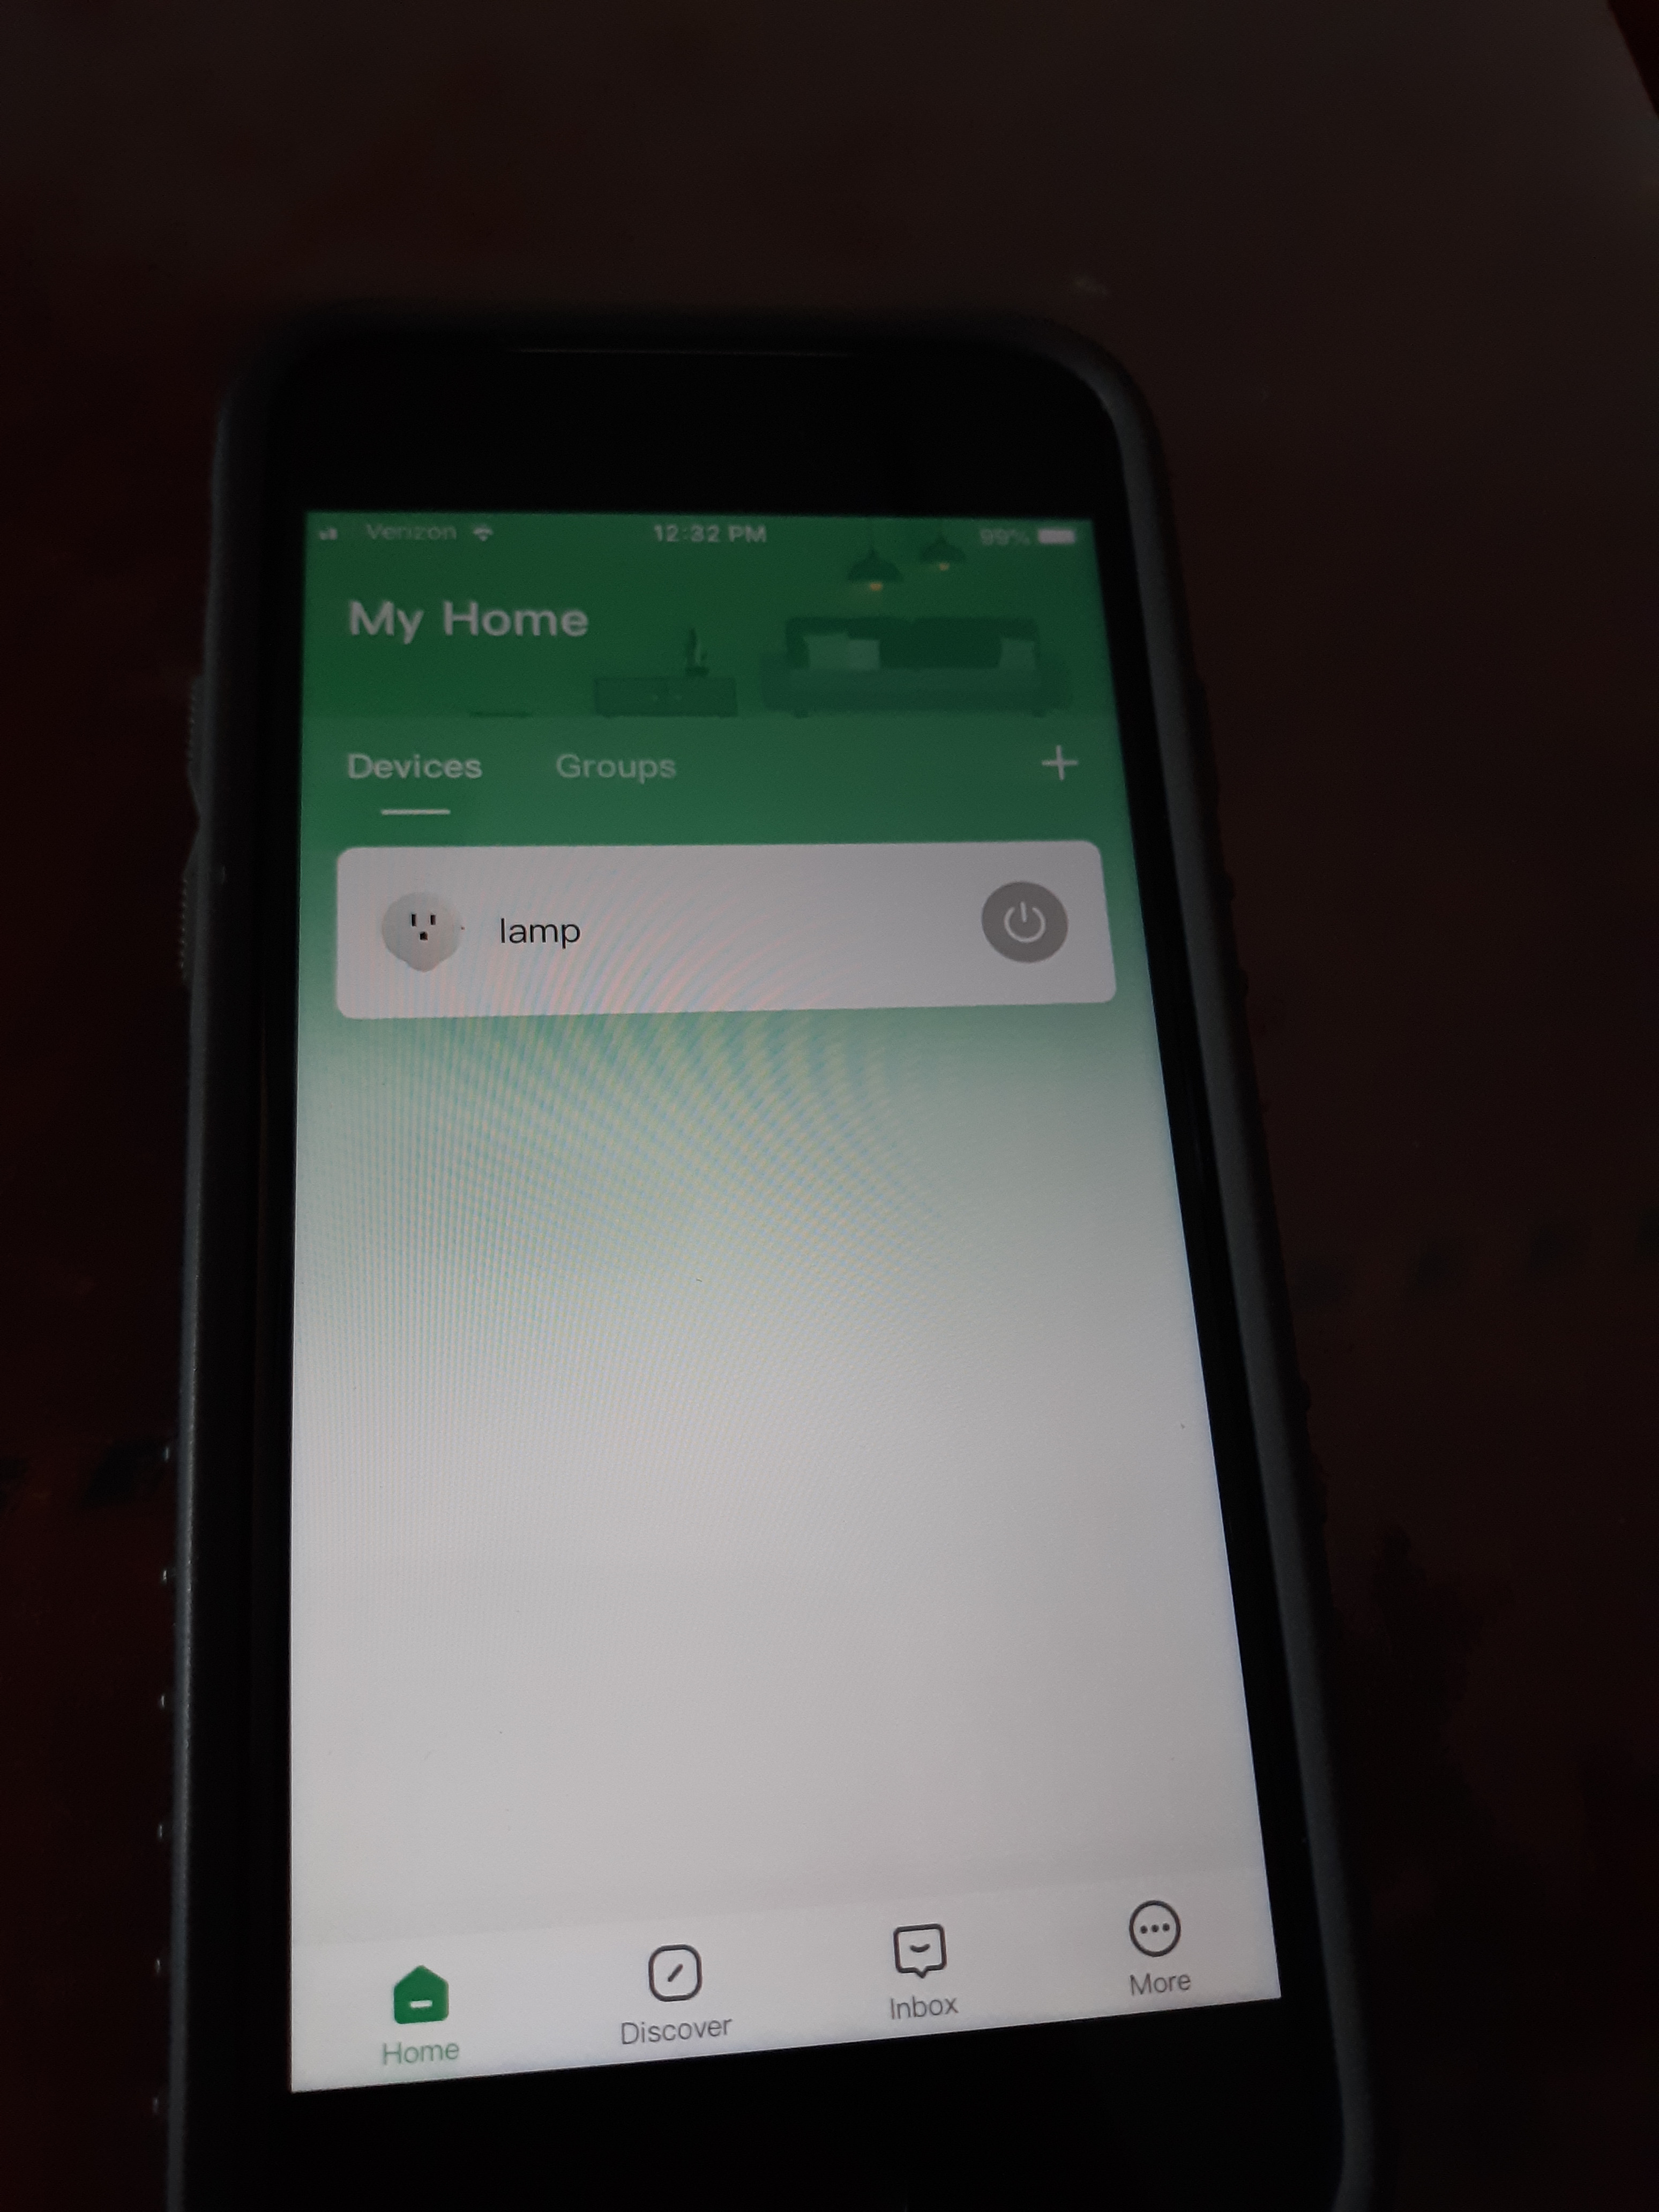
Click on the VeSync icon to open the app. Once VeSync is running, you will be presented with the home screen of the app, as shown above. In the middle, is a list containing lights that are already configured on your network (it will be blank). Since you will be adding new lighting, press the plus sign + located in the top right corner.
Choose the Type of Device You Want to Add
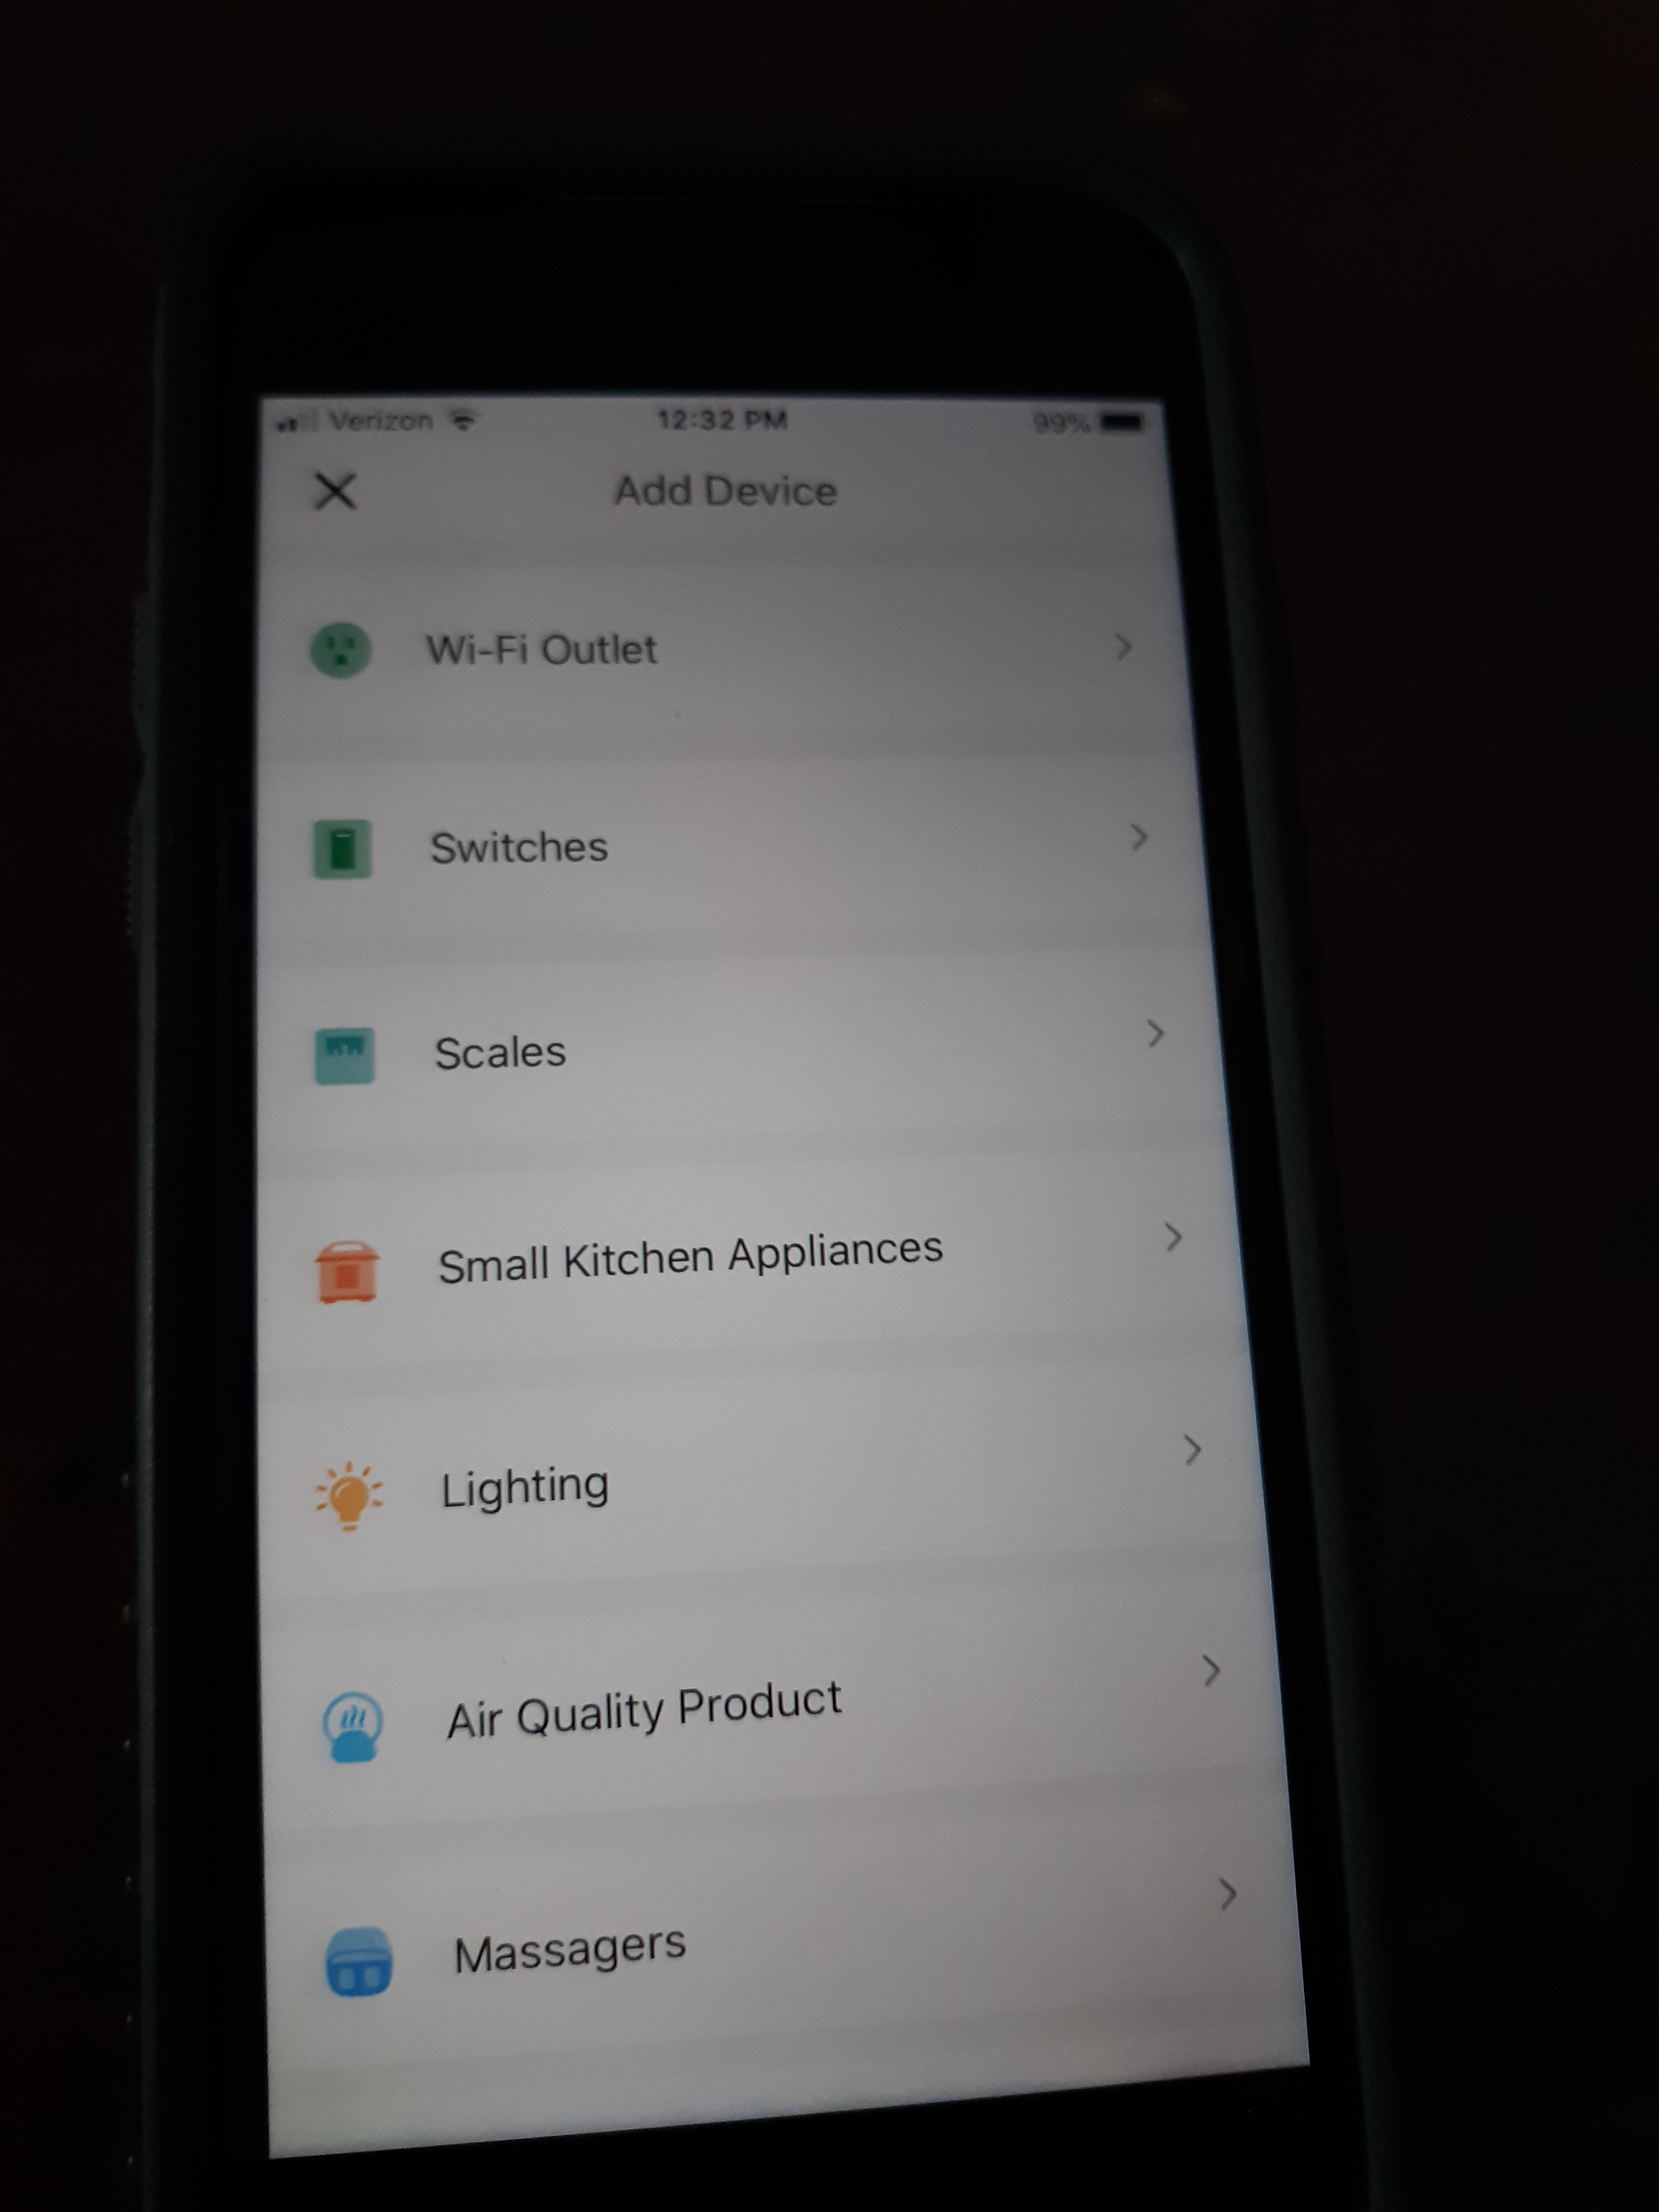
VeSync, has the ability to control a wide variety of products, including small appliances, scales, massagers, and Wi-Fi outlets. For this tutorial, we will be using a Wi-Fi outlet.
Model Selection
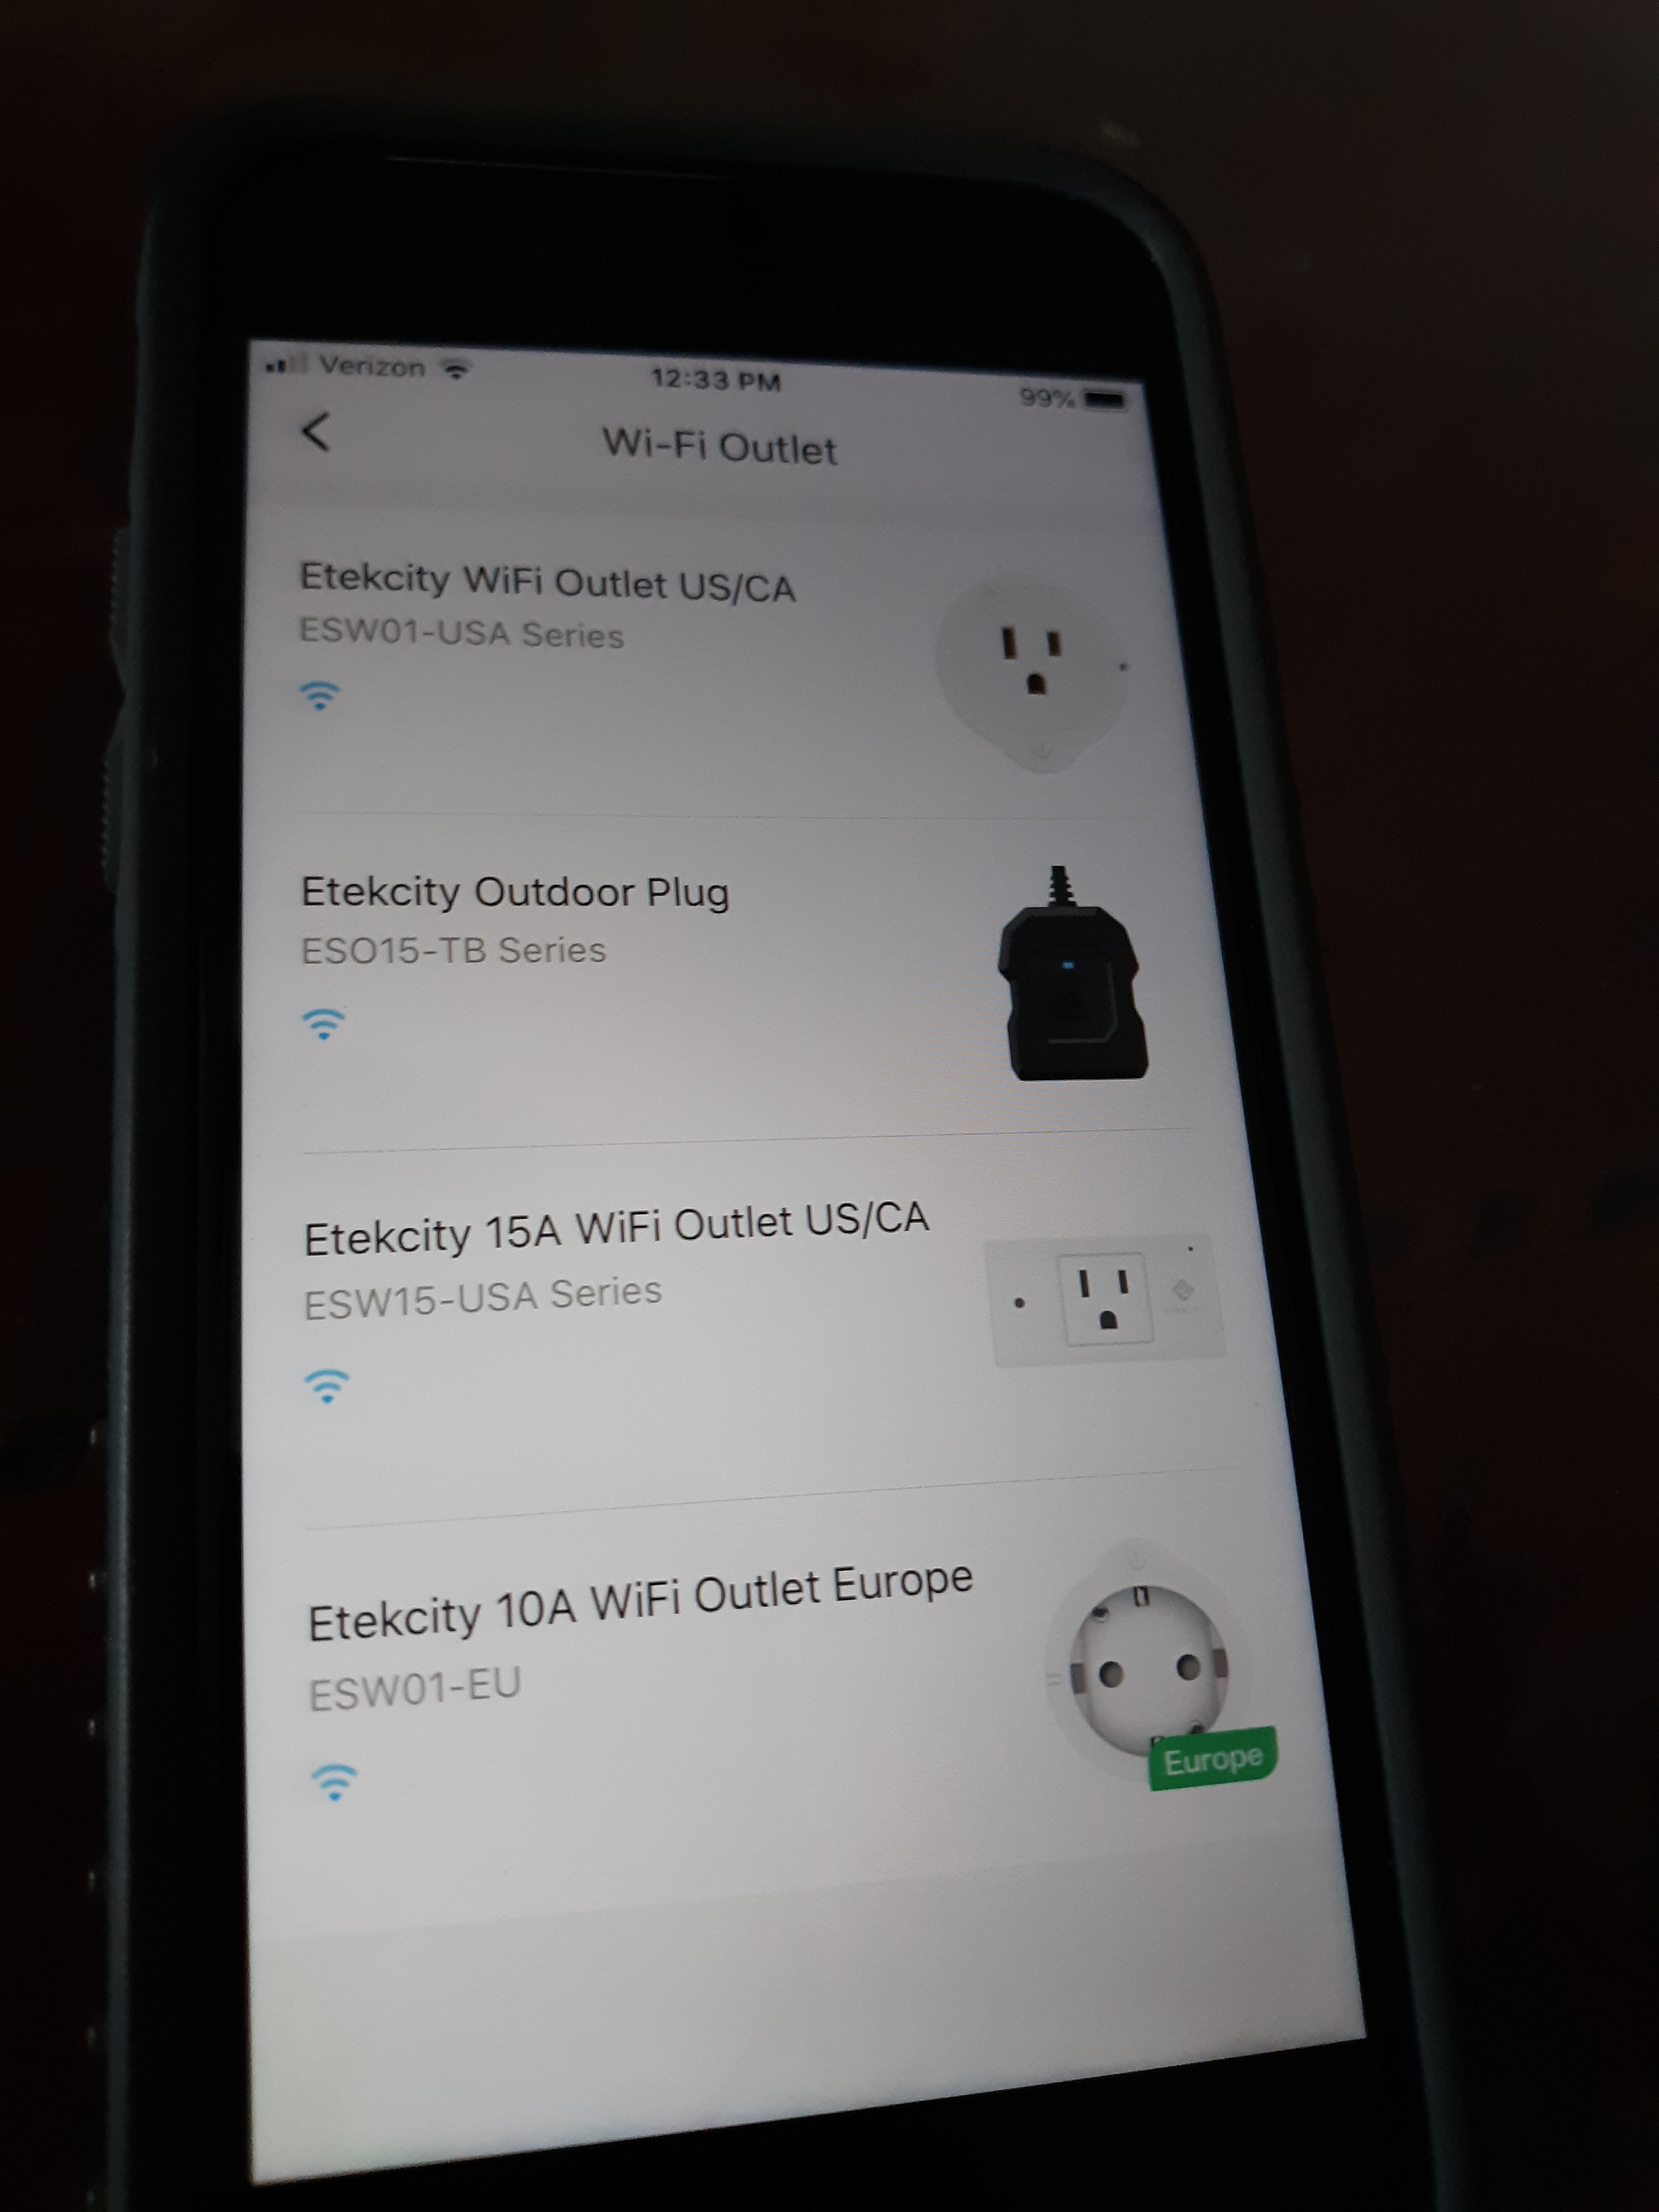
Select the exact model that you will be using to control your lights.
Step 5: Plug in the Smart Outlet
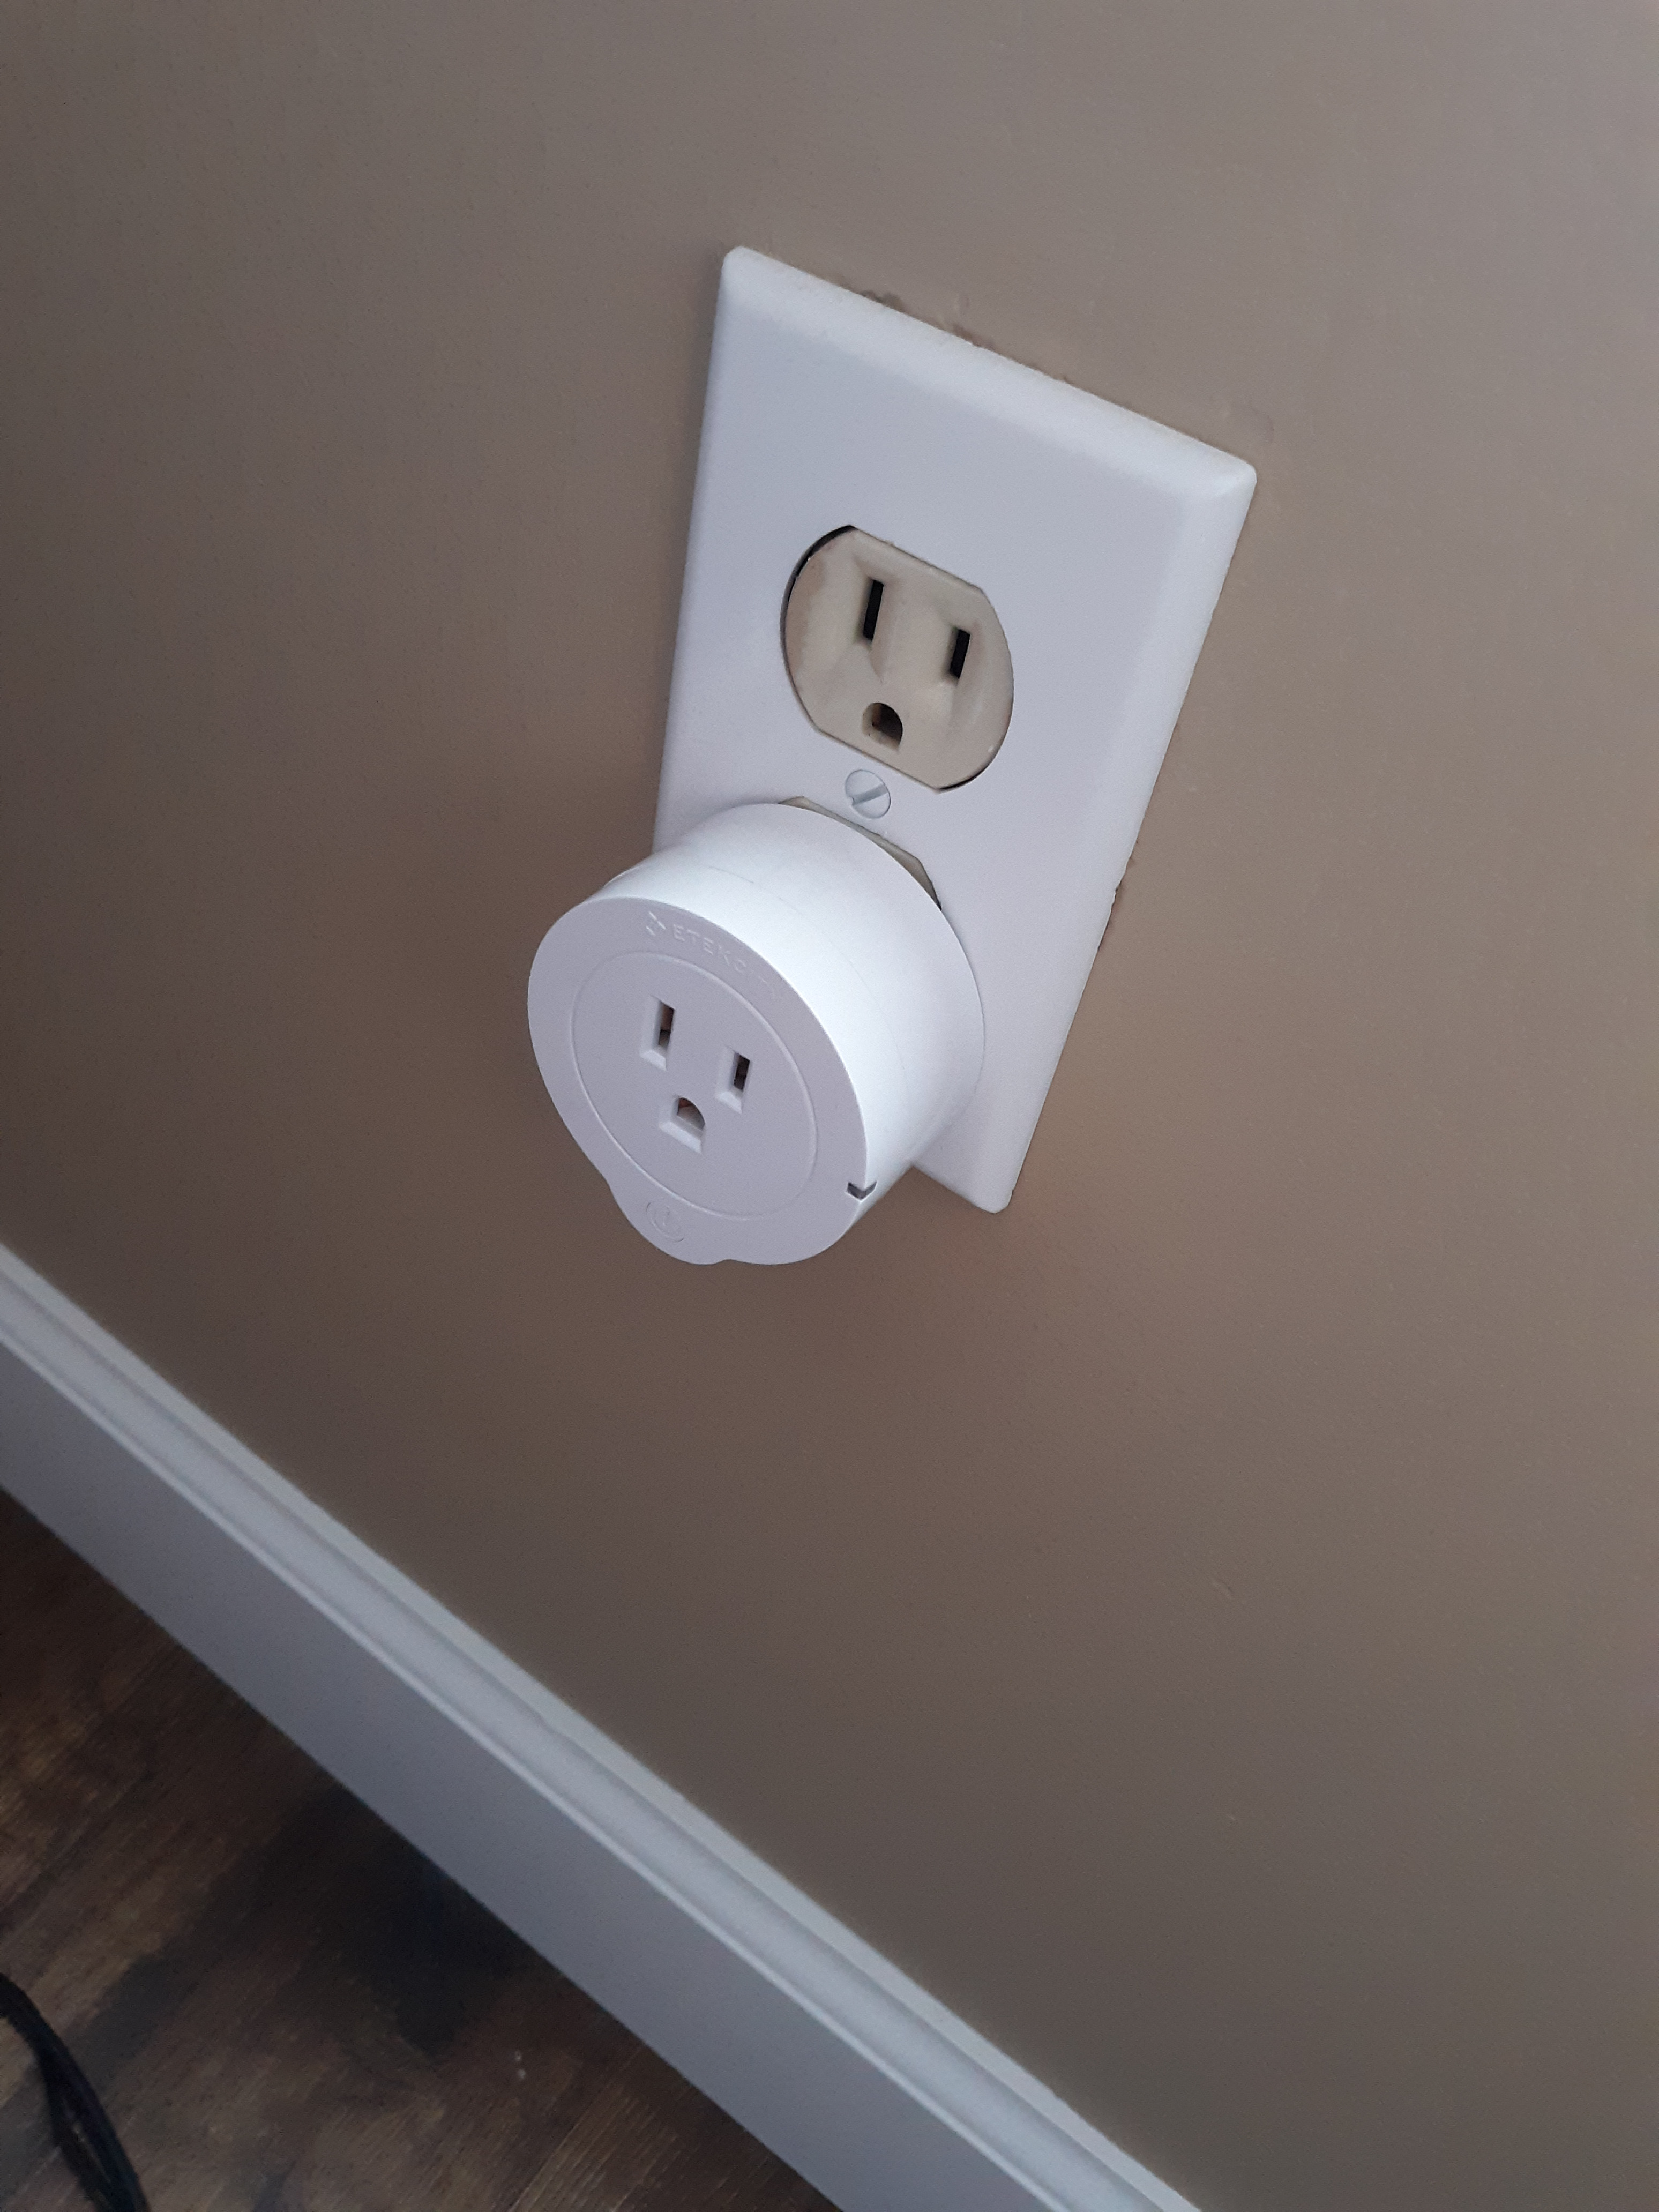
When plugging in the smart outlet, make sure you push it in all the way, as it can be fairly resistant. Tip: Plug the smart outlet into the bottom outlet, as plugging it into the top one will block the bottom one, making it unusable.
Hold Down the Power Button
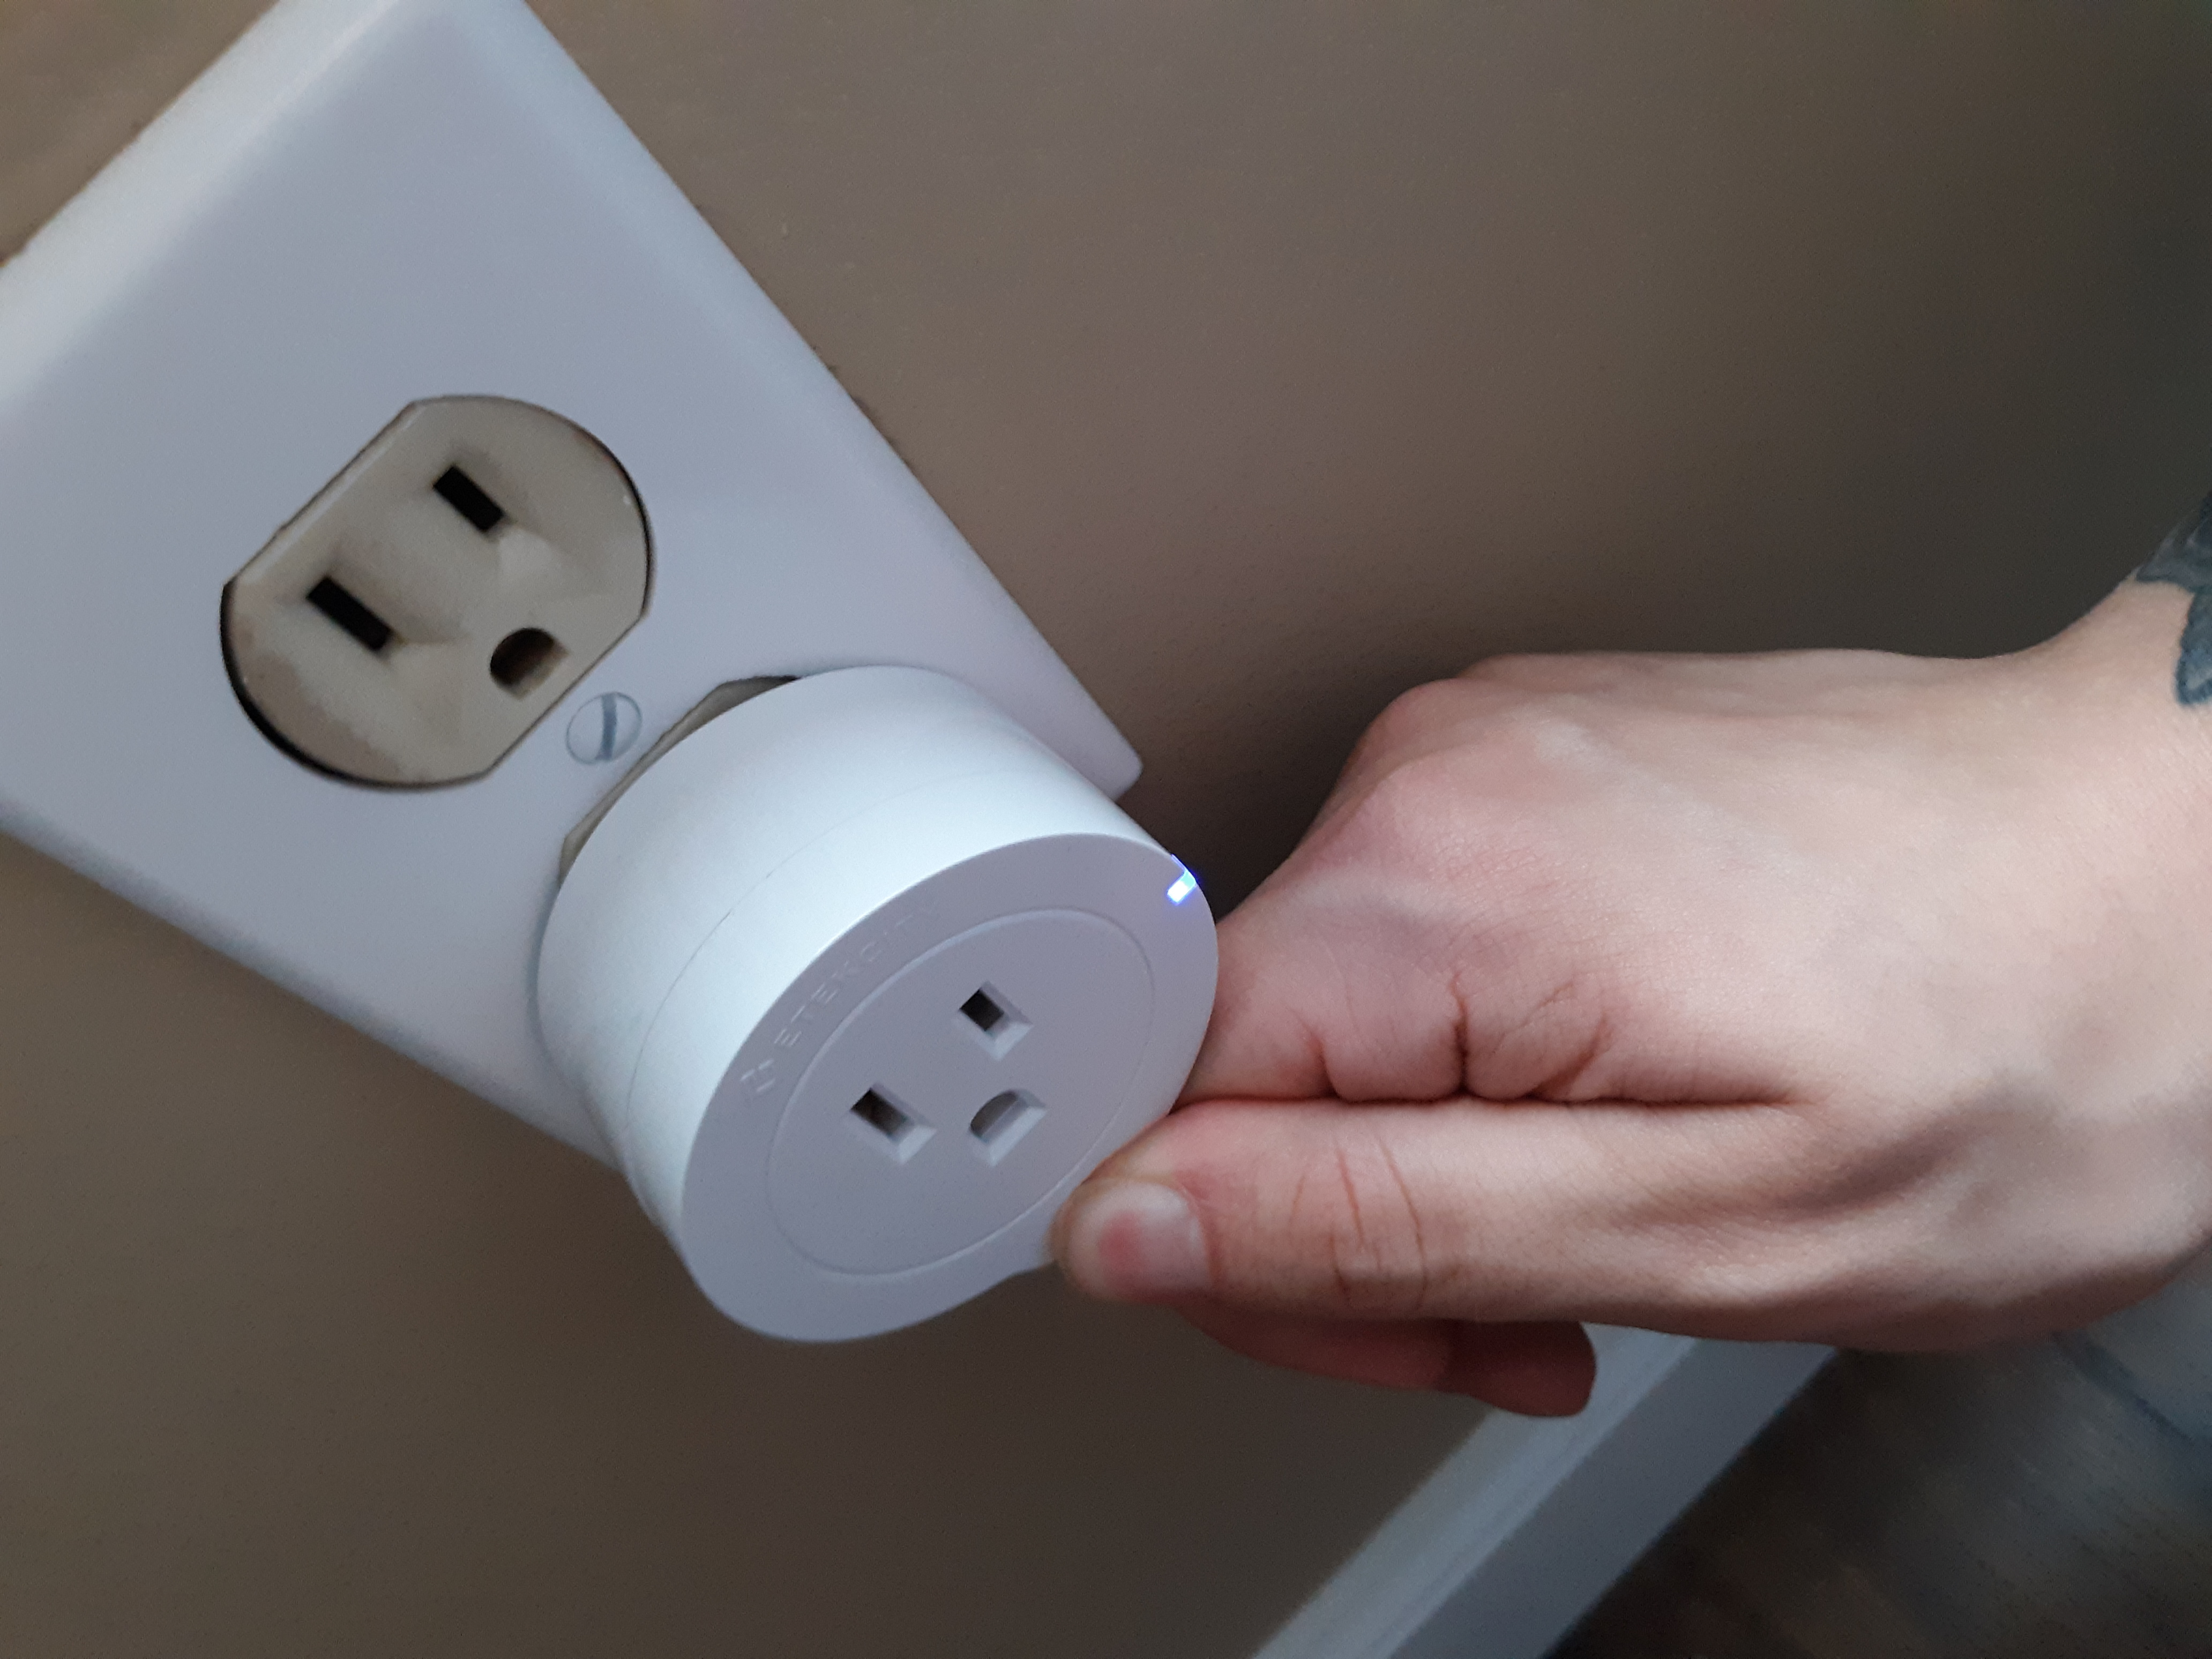
Hold down the power button for ten seconds. The button is located on the bottom of the smart outlet. The LED light on the right side of the outlet will start blinking blue once it's internet capabilities are turned on.
Connect Your Device
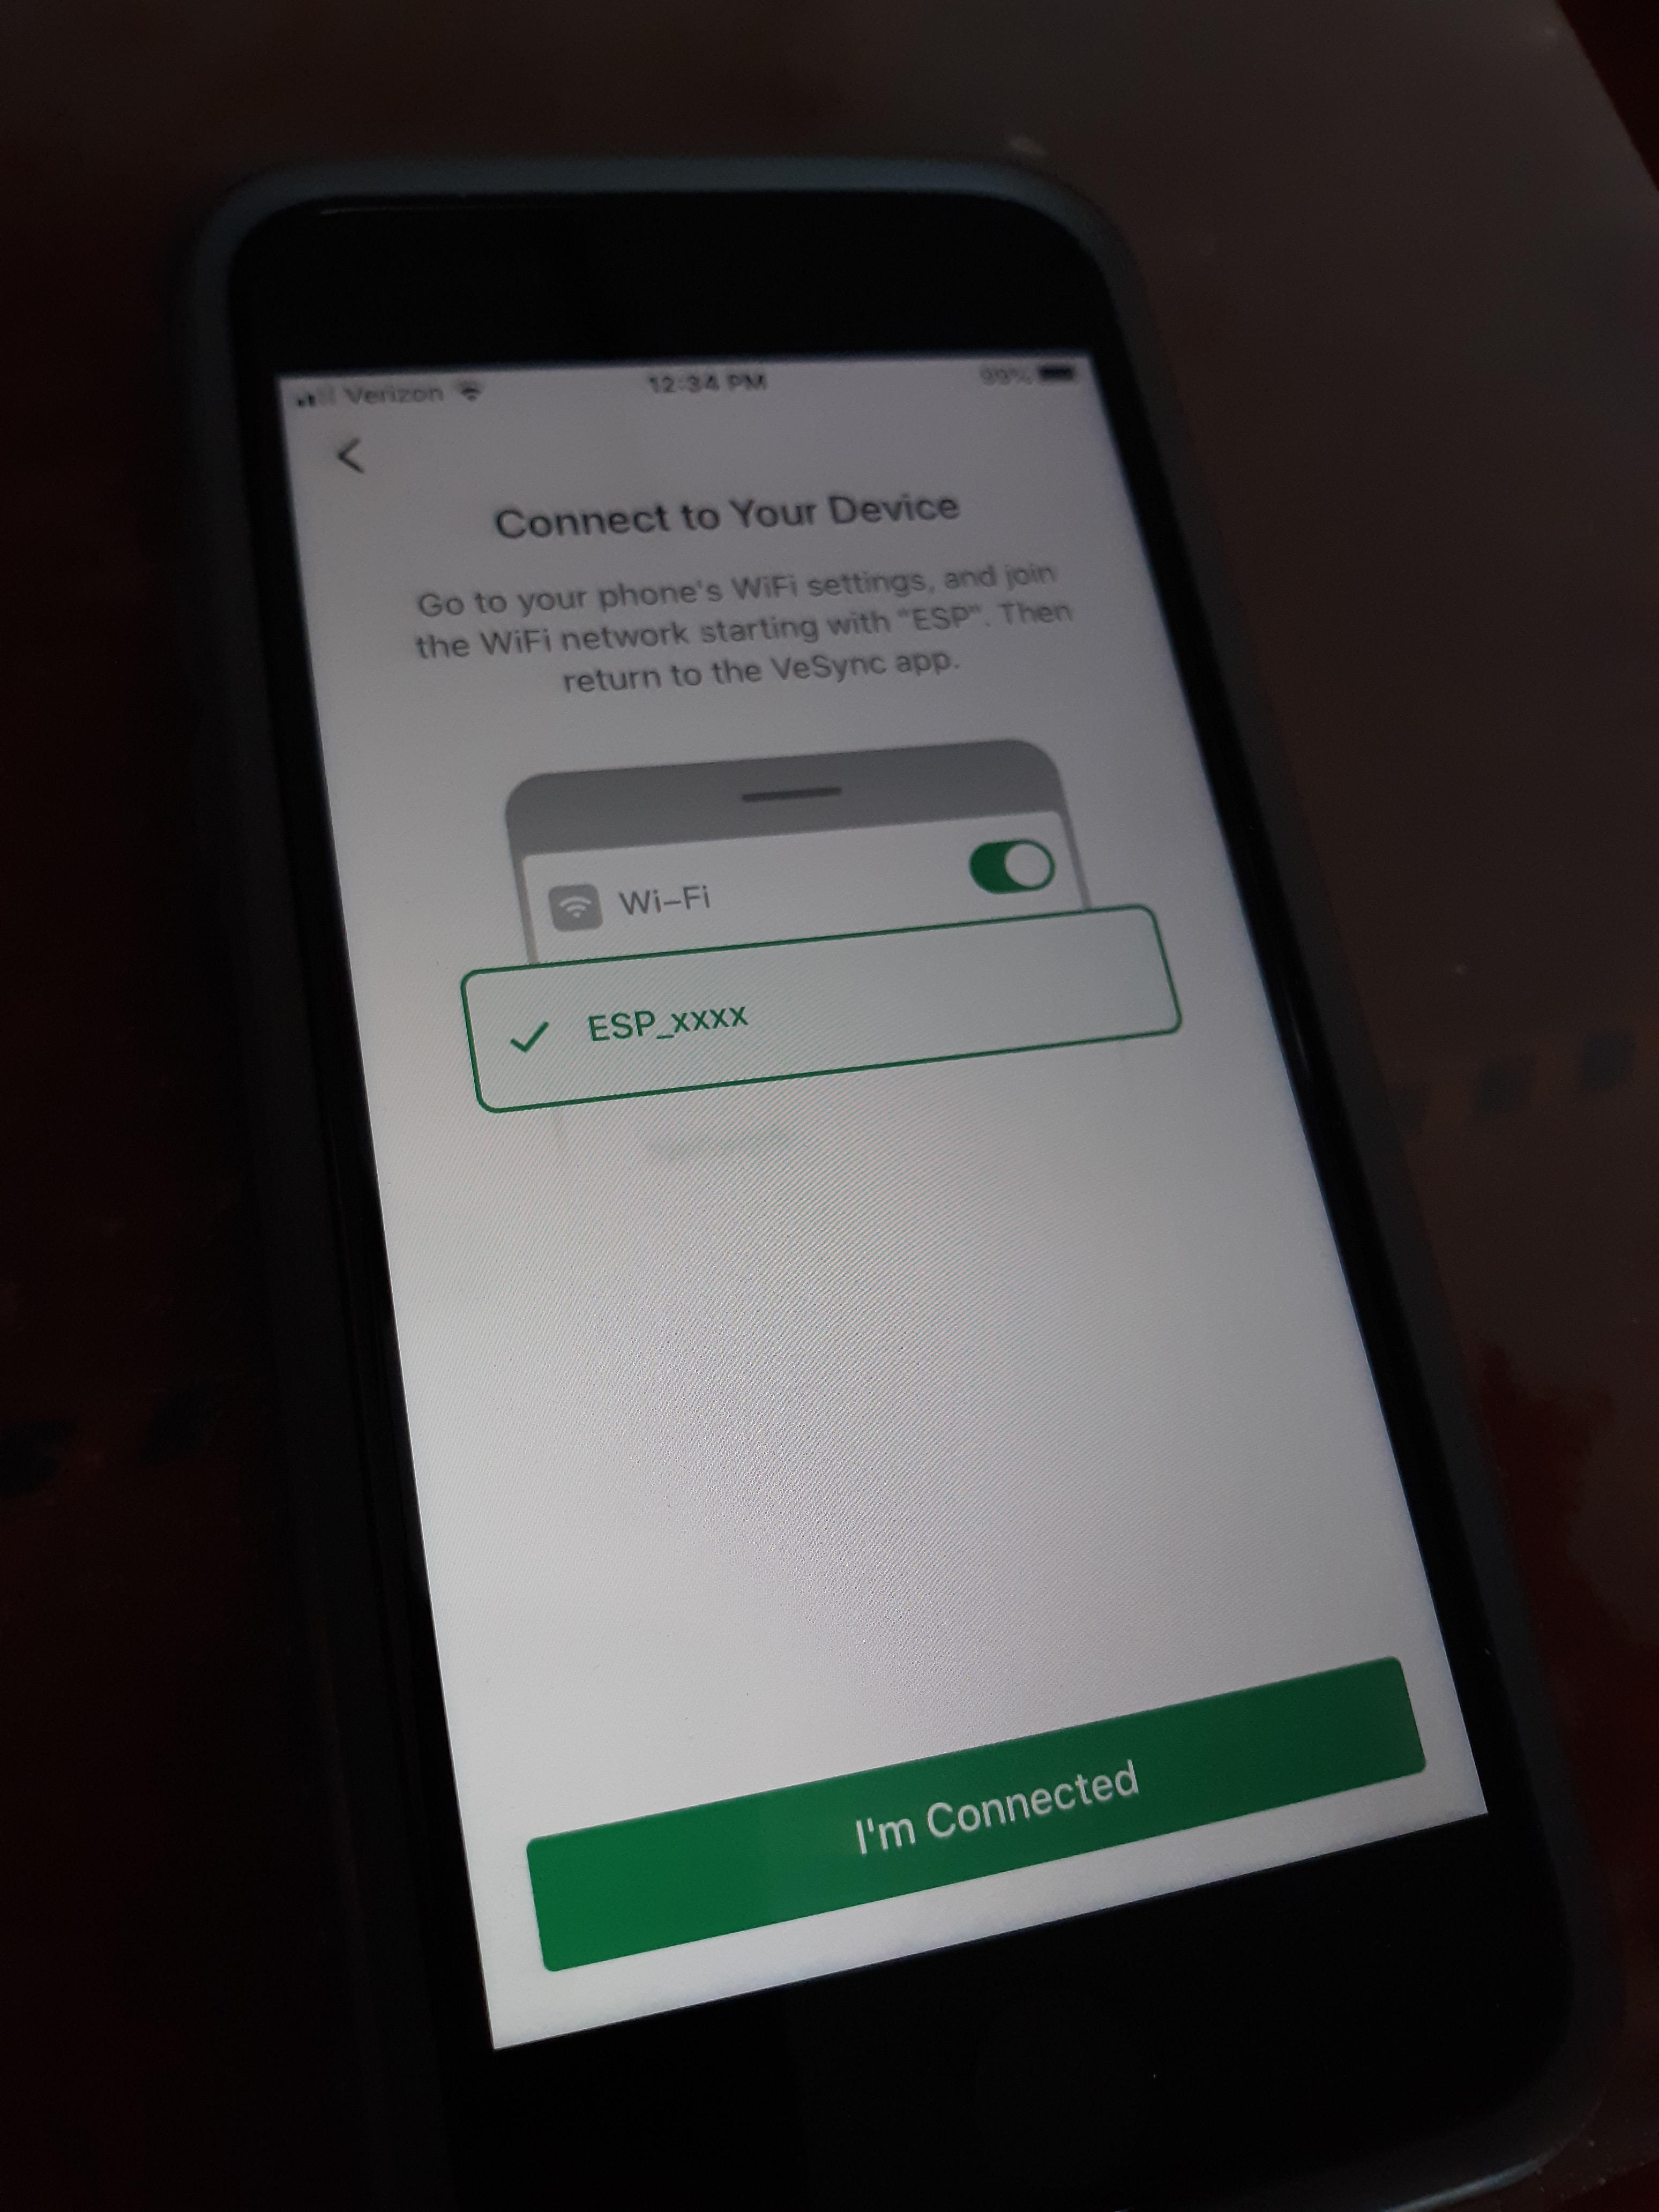
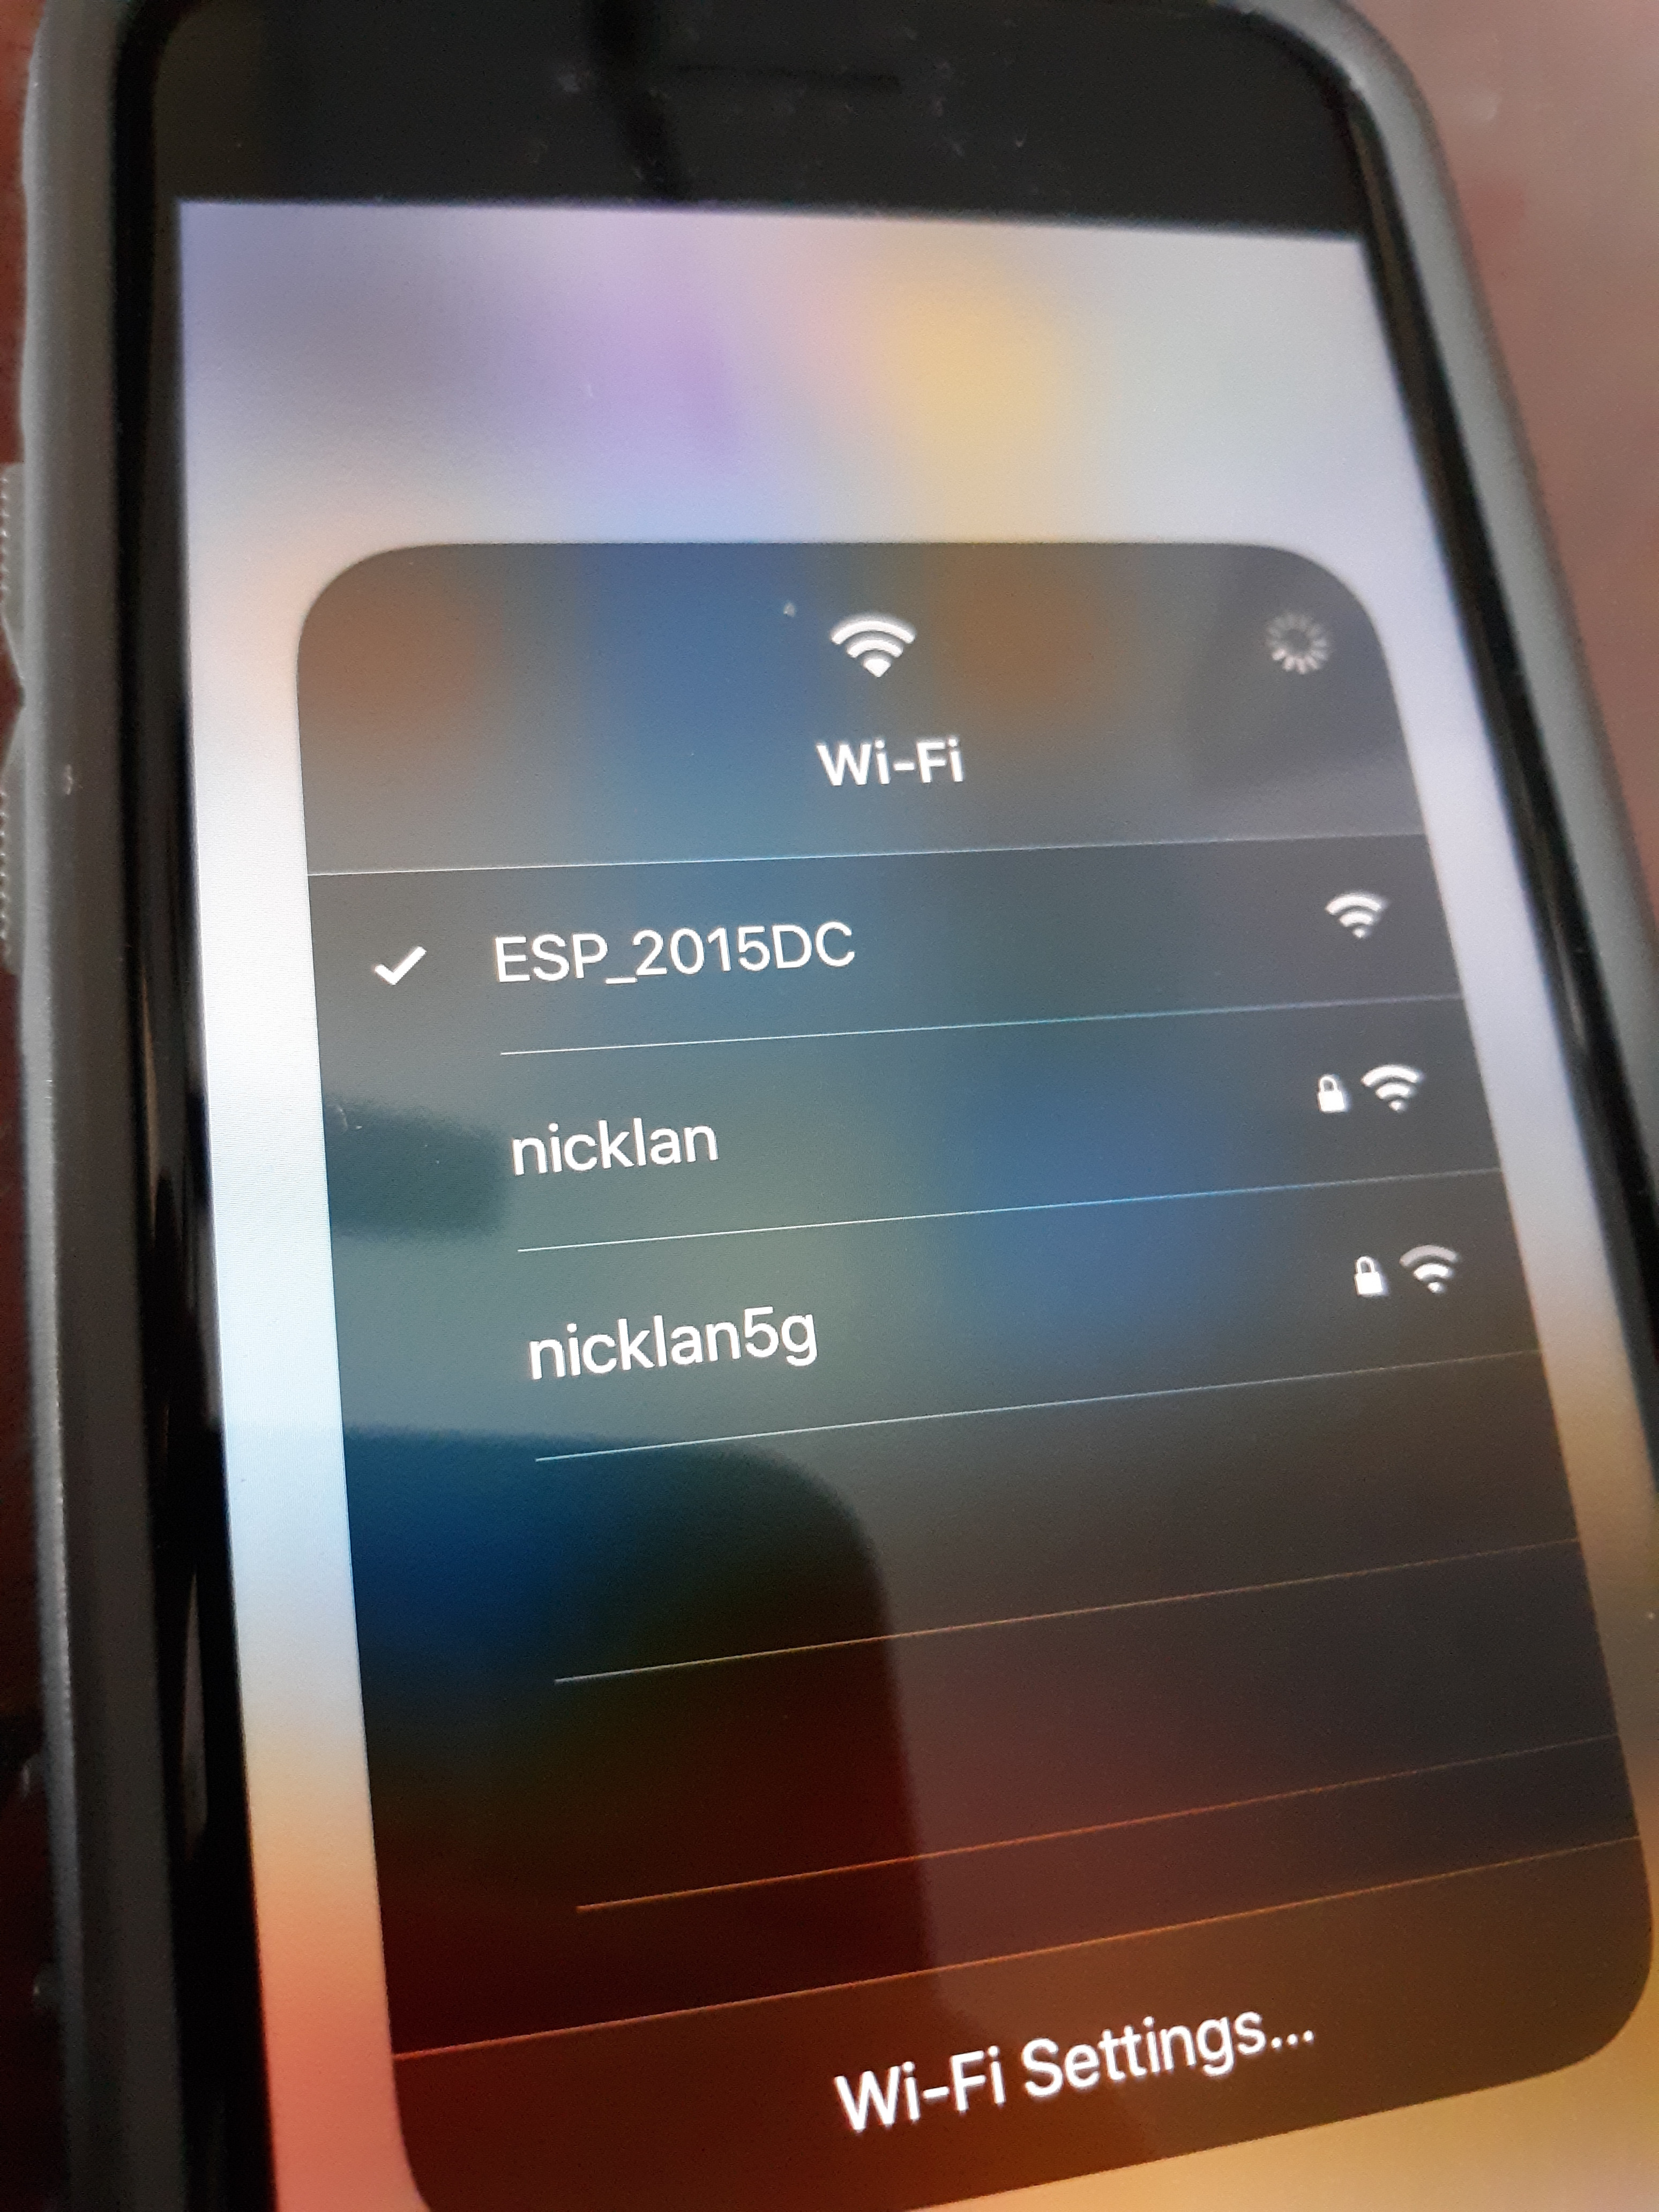
At this point, you will need to connect your phone to the Wi-Fi network made public by the smart outlet. Generally, the name of the network starts with the letters "ESP".
Activate Your Device
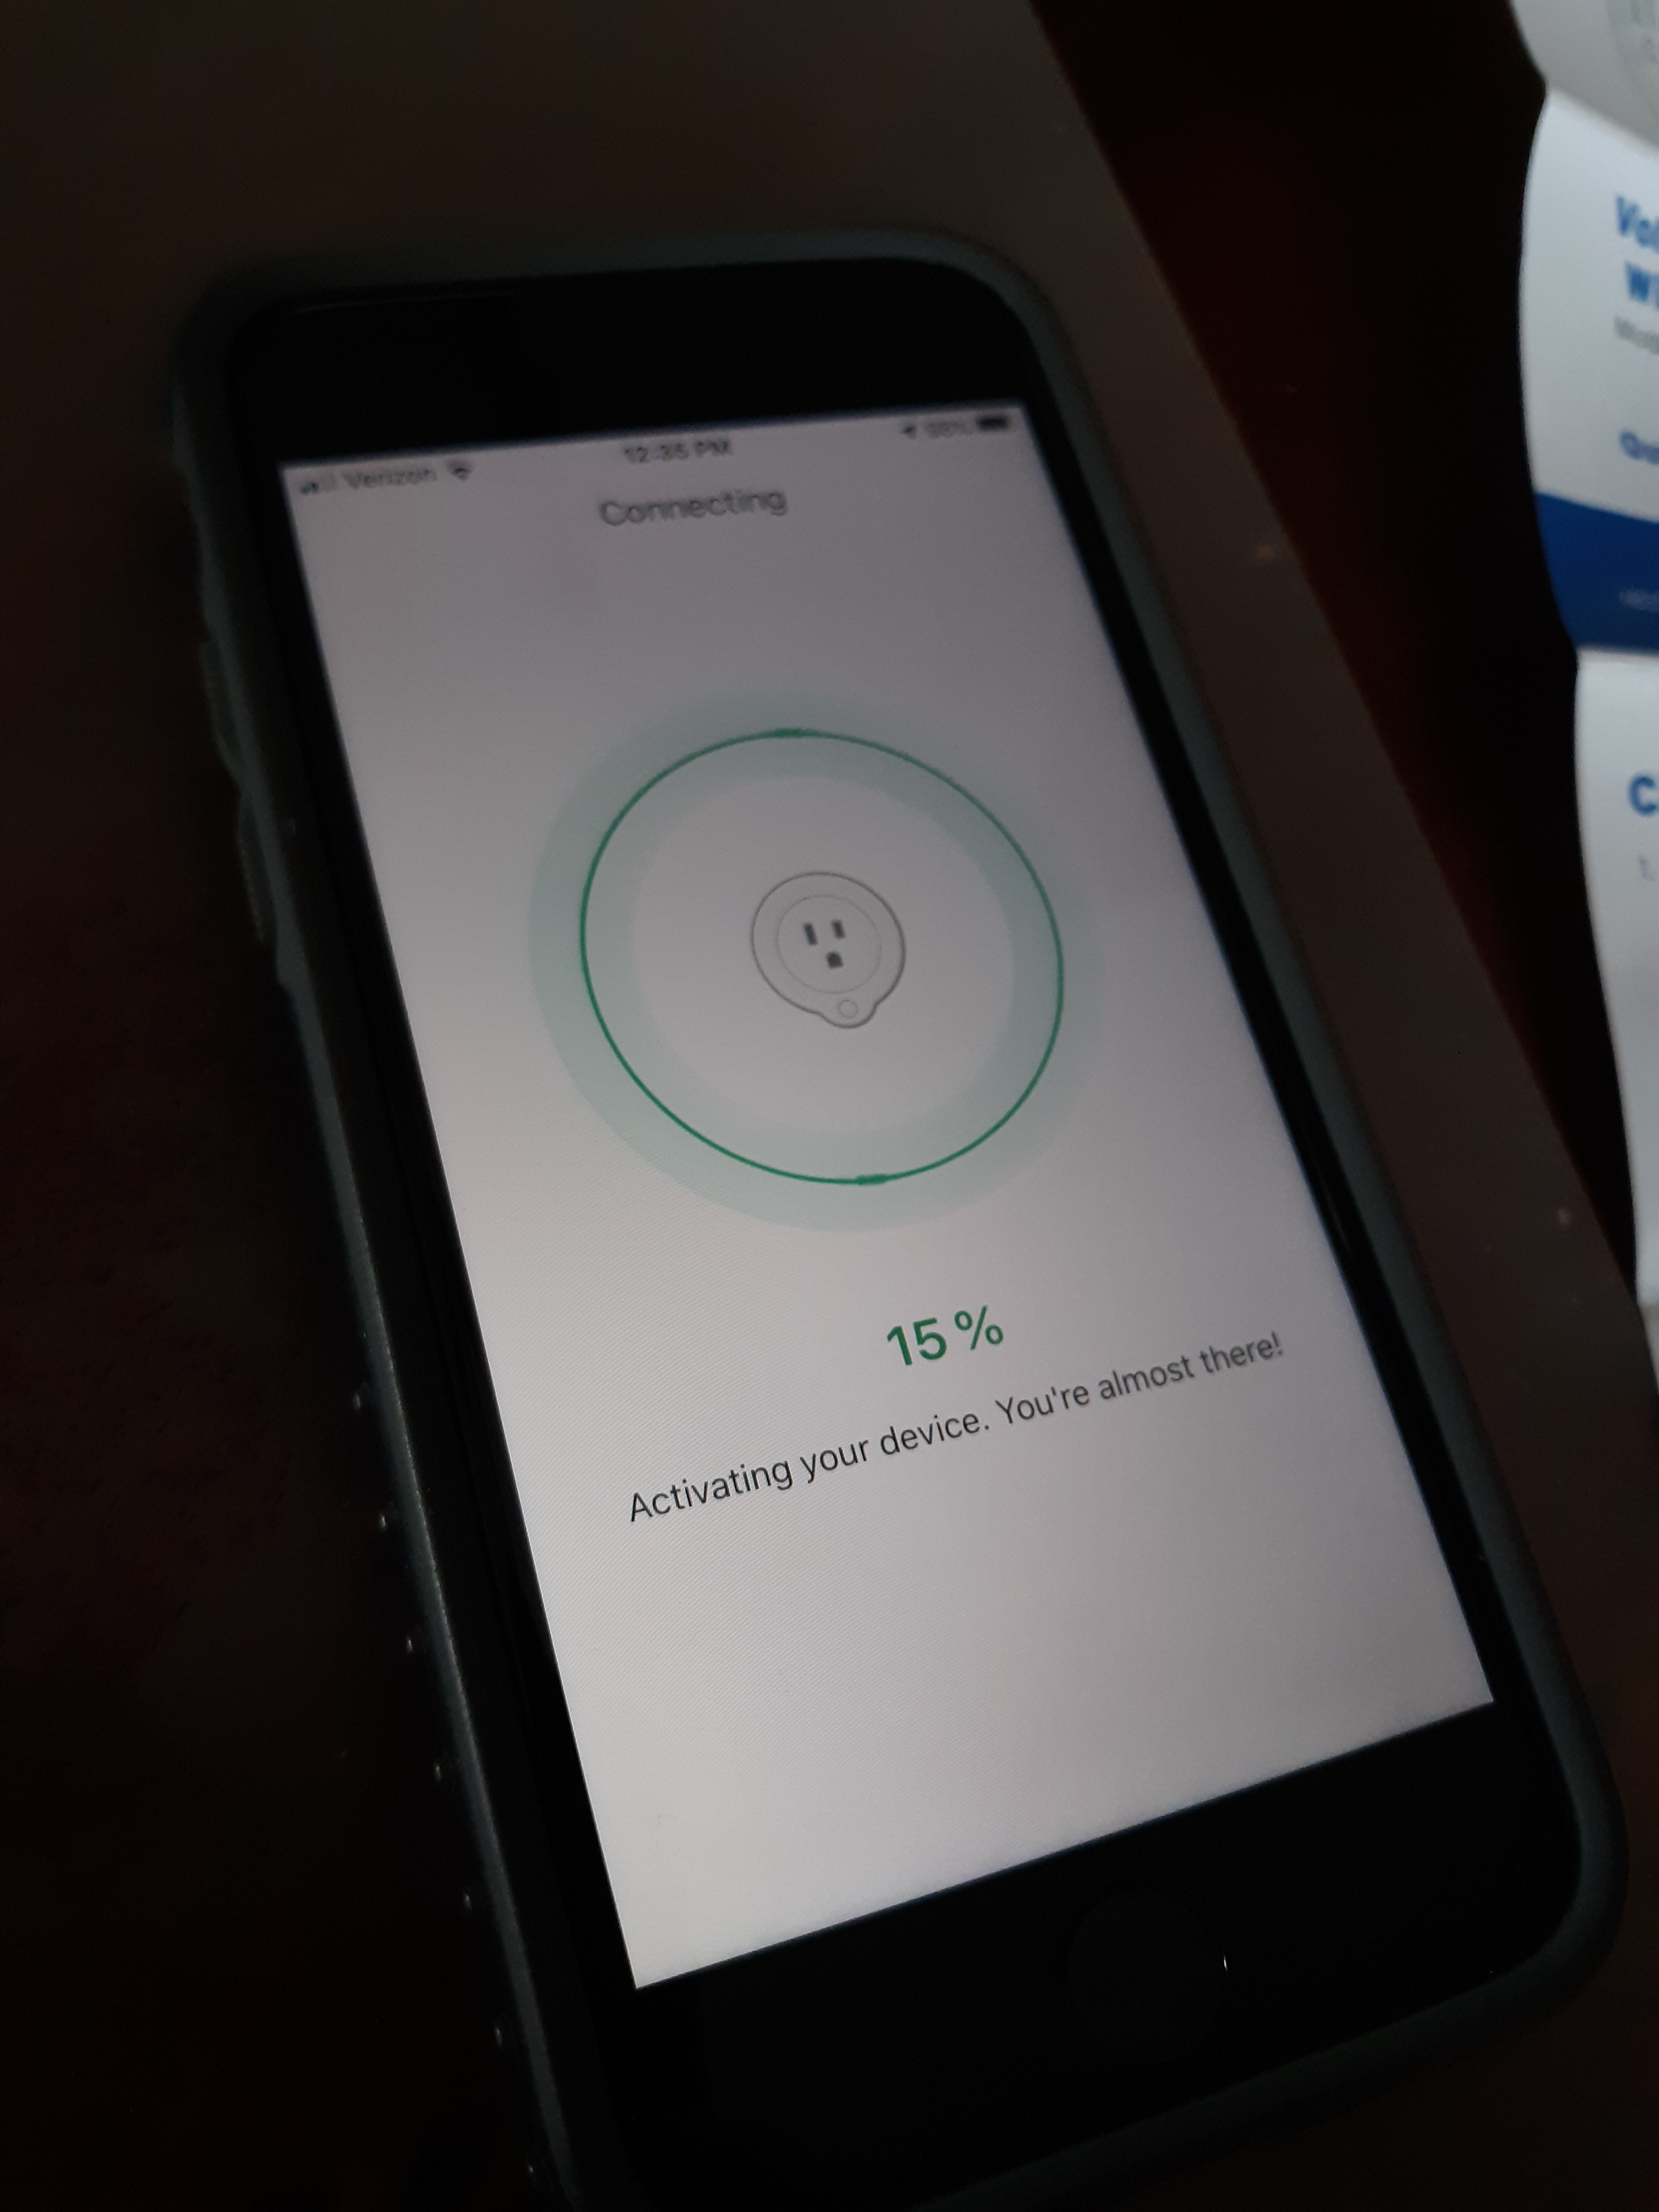
After connecting to the smart outlet's network, you will need to enter your home network's ID name and password. Upon completion, your phone and smart outlet will be synced.
Plug in Your Lighting
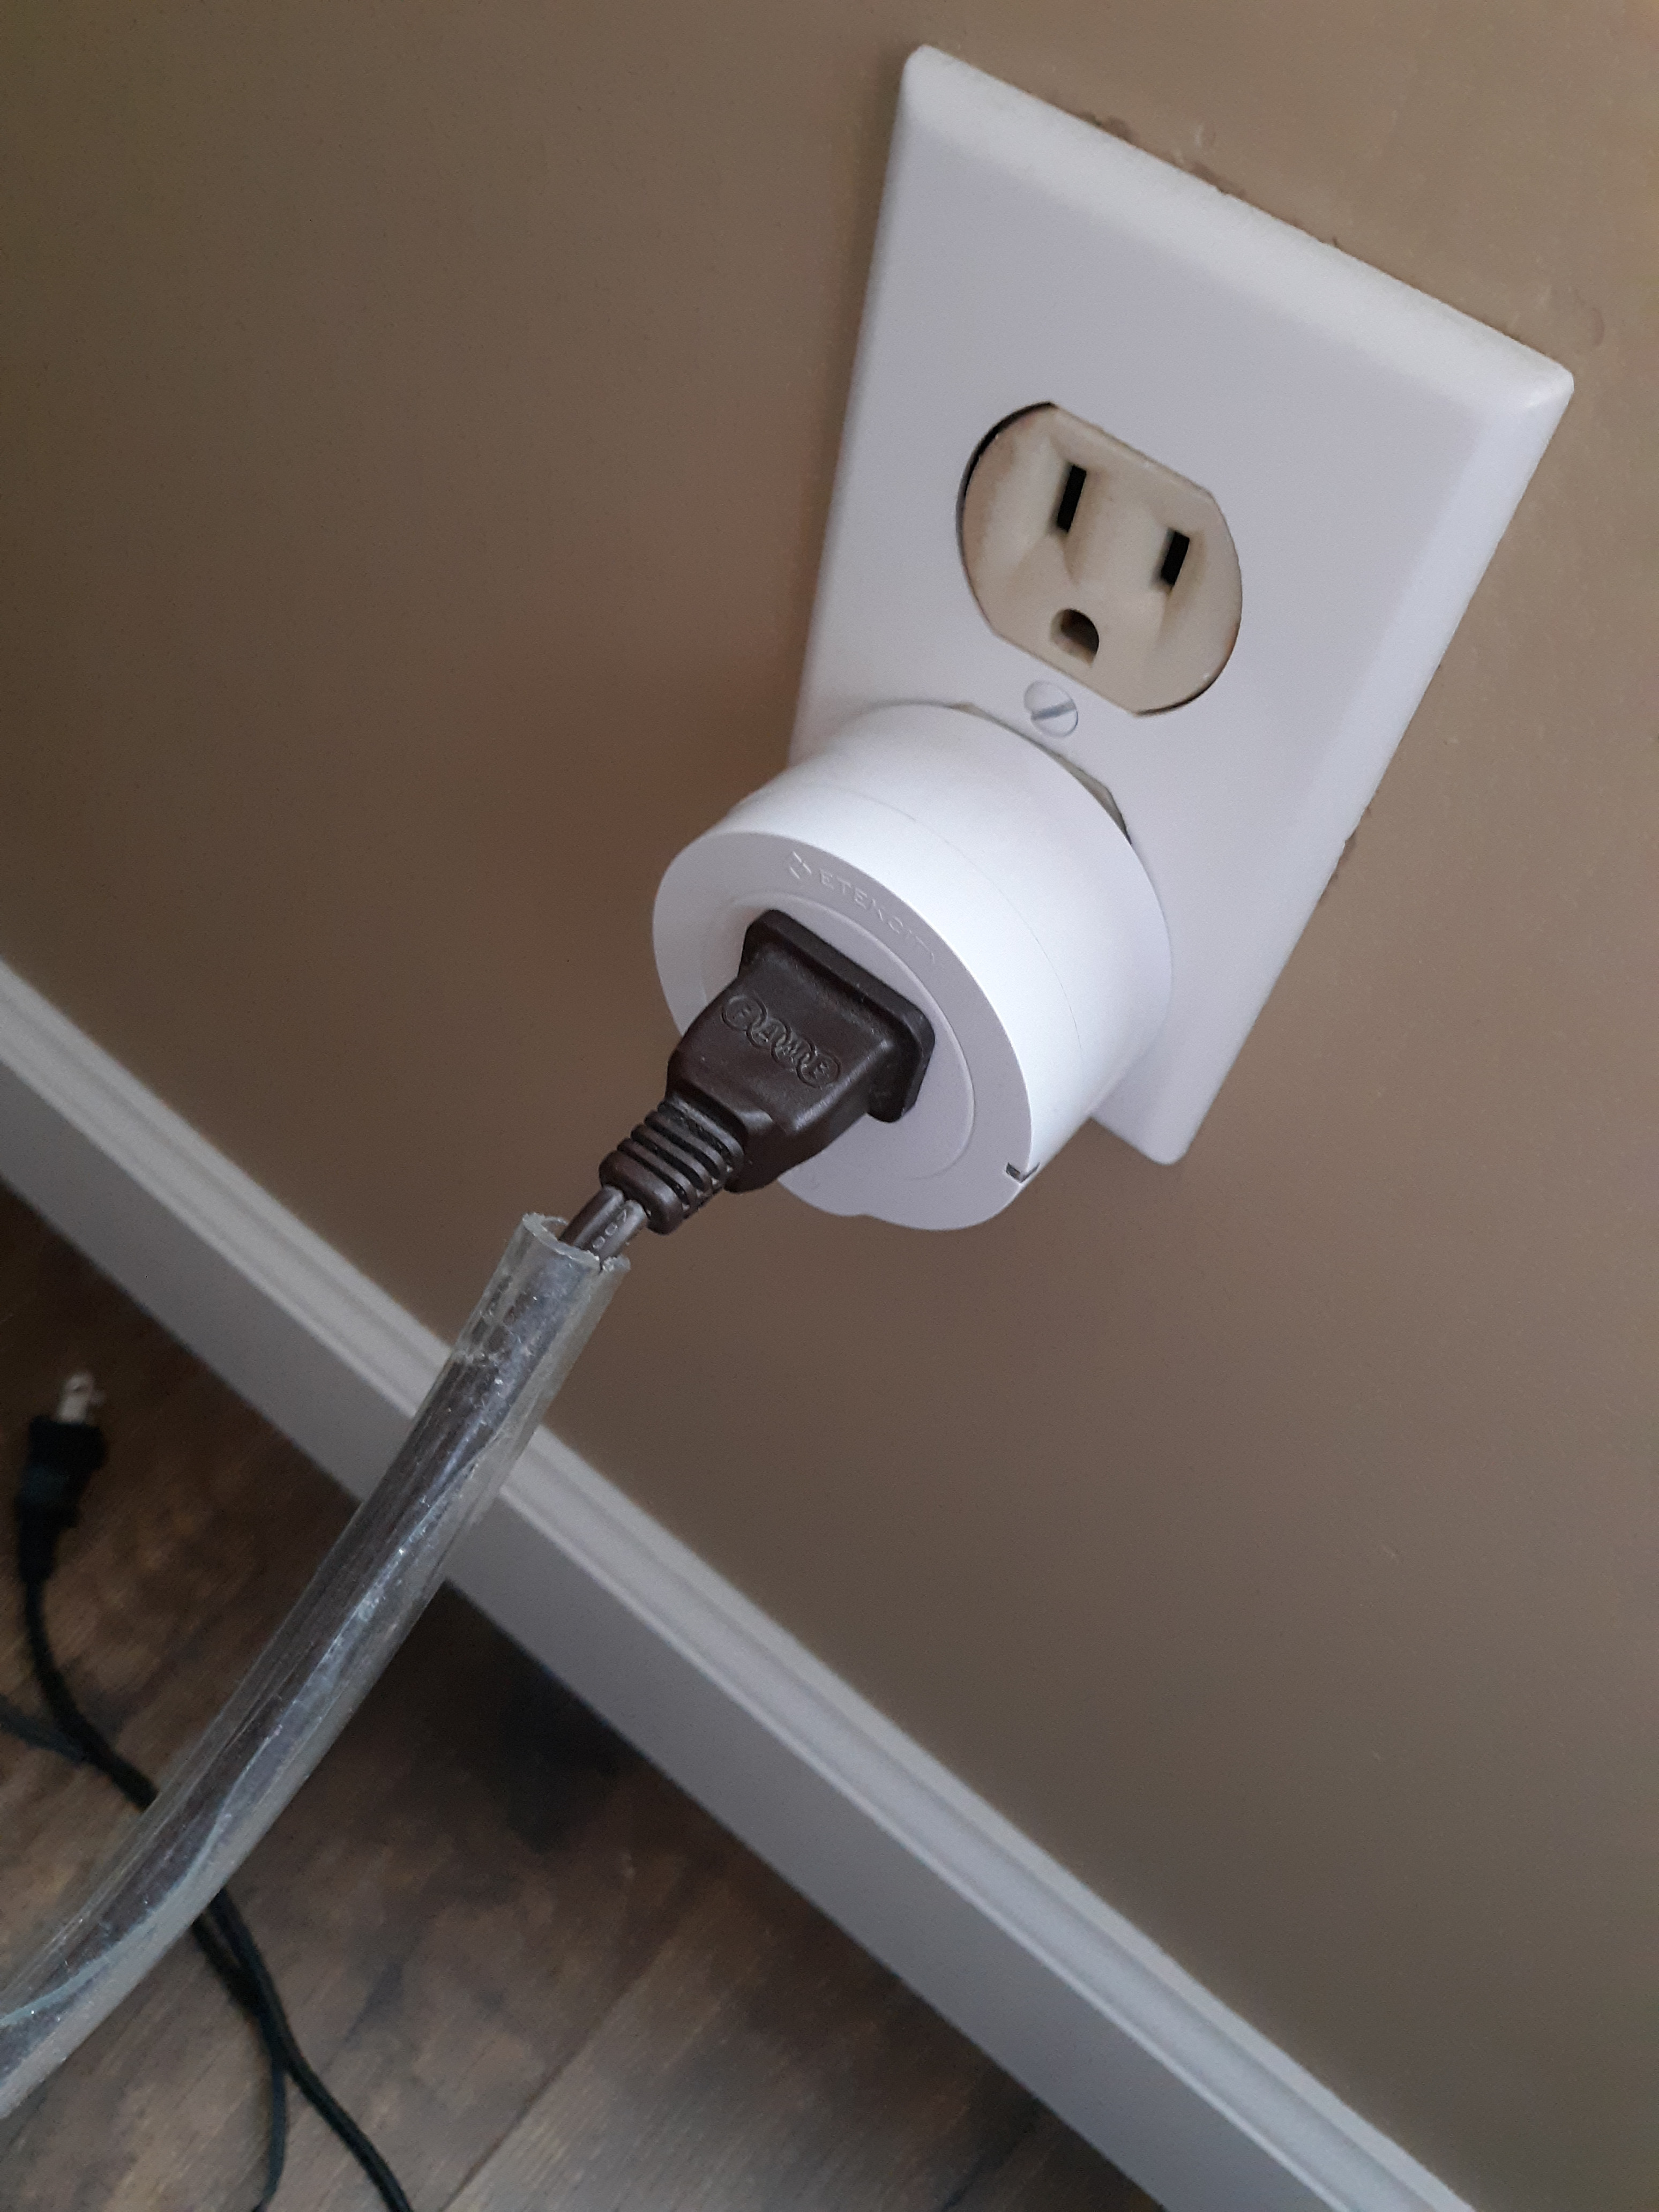
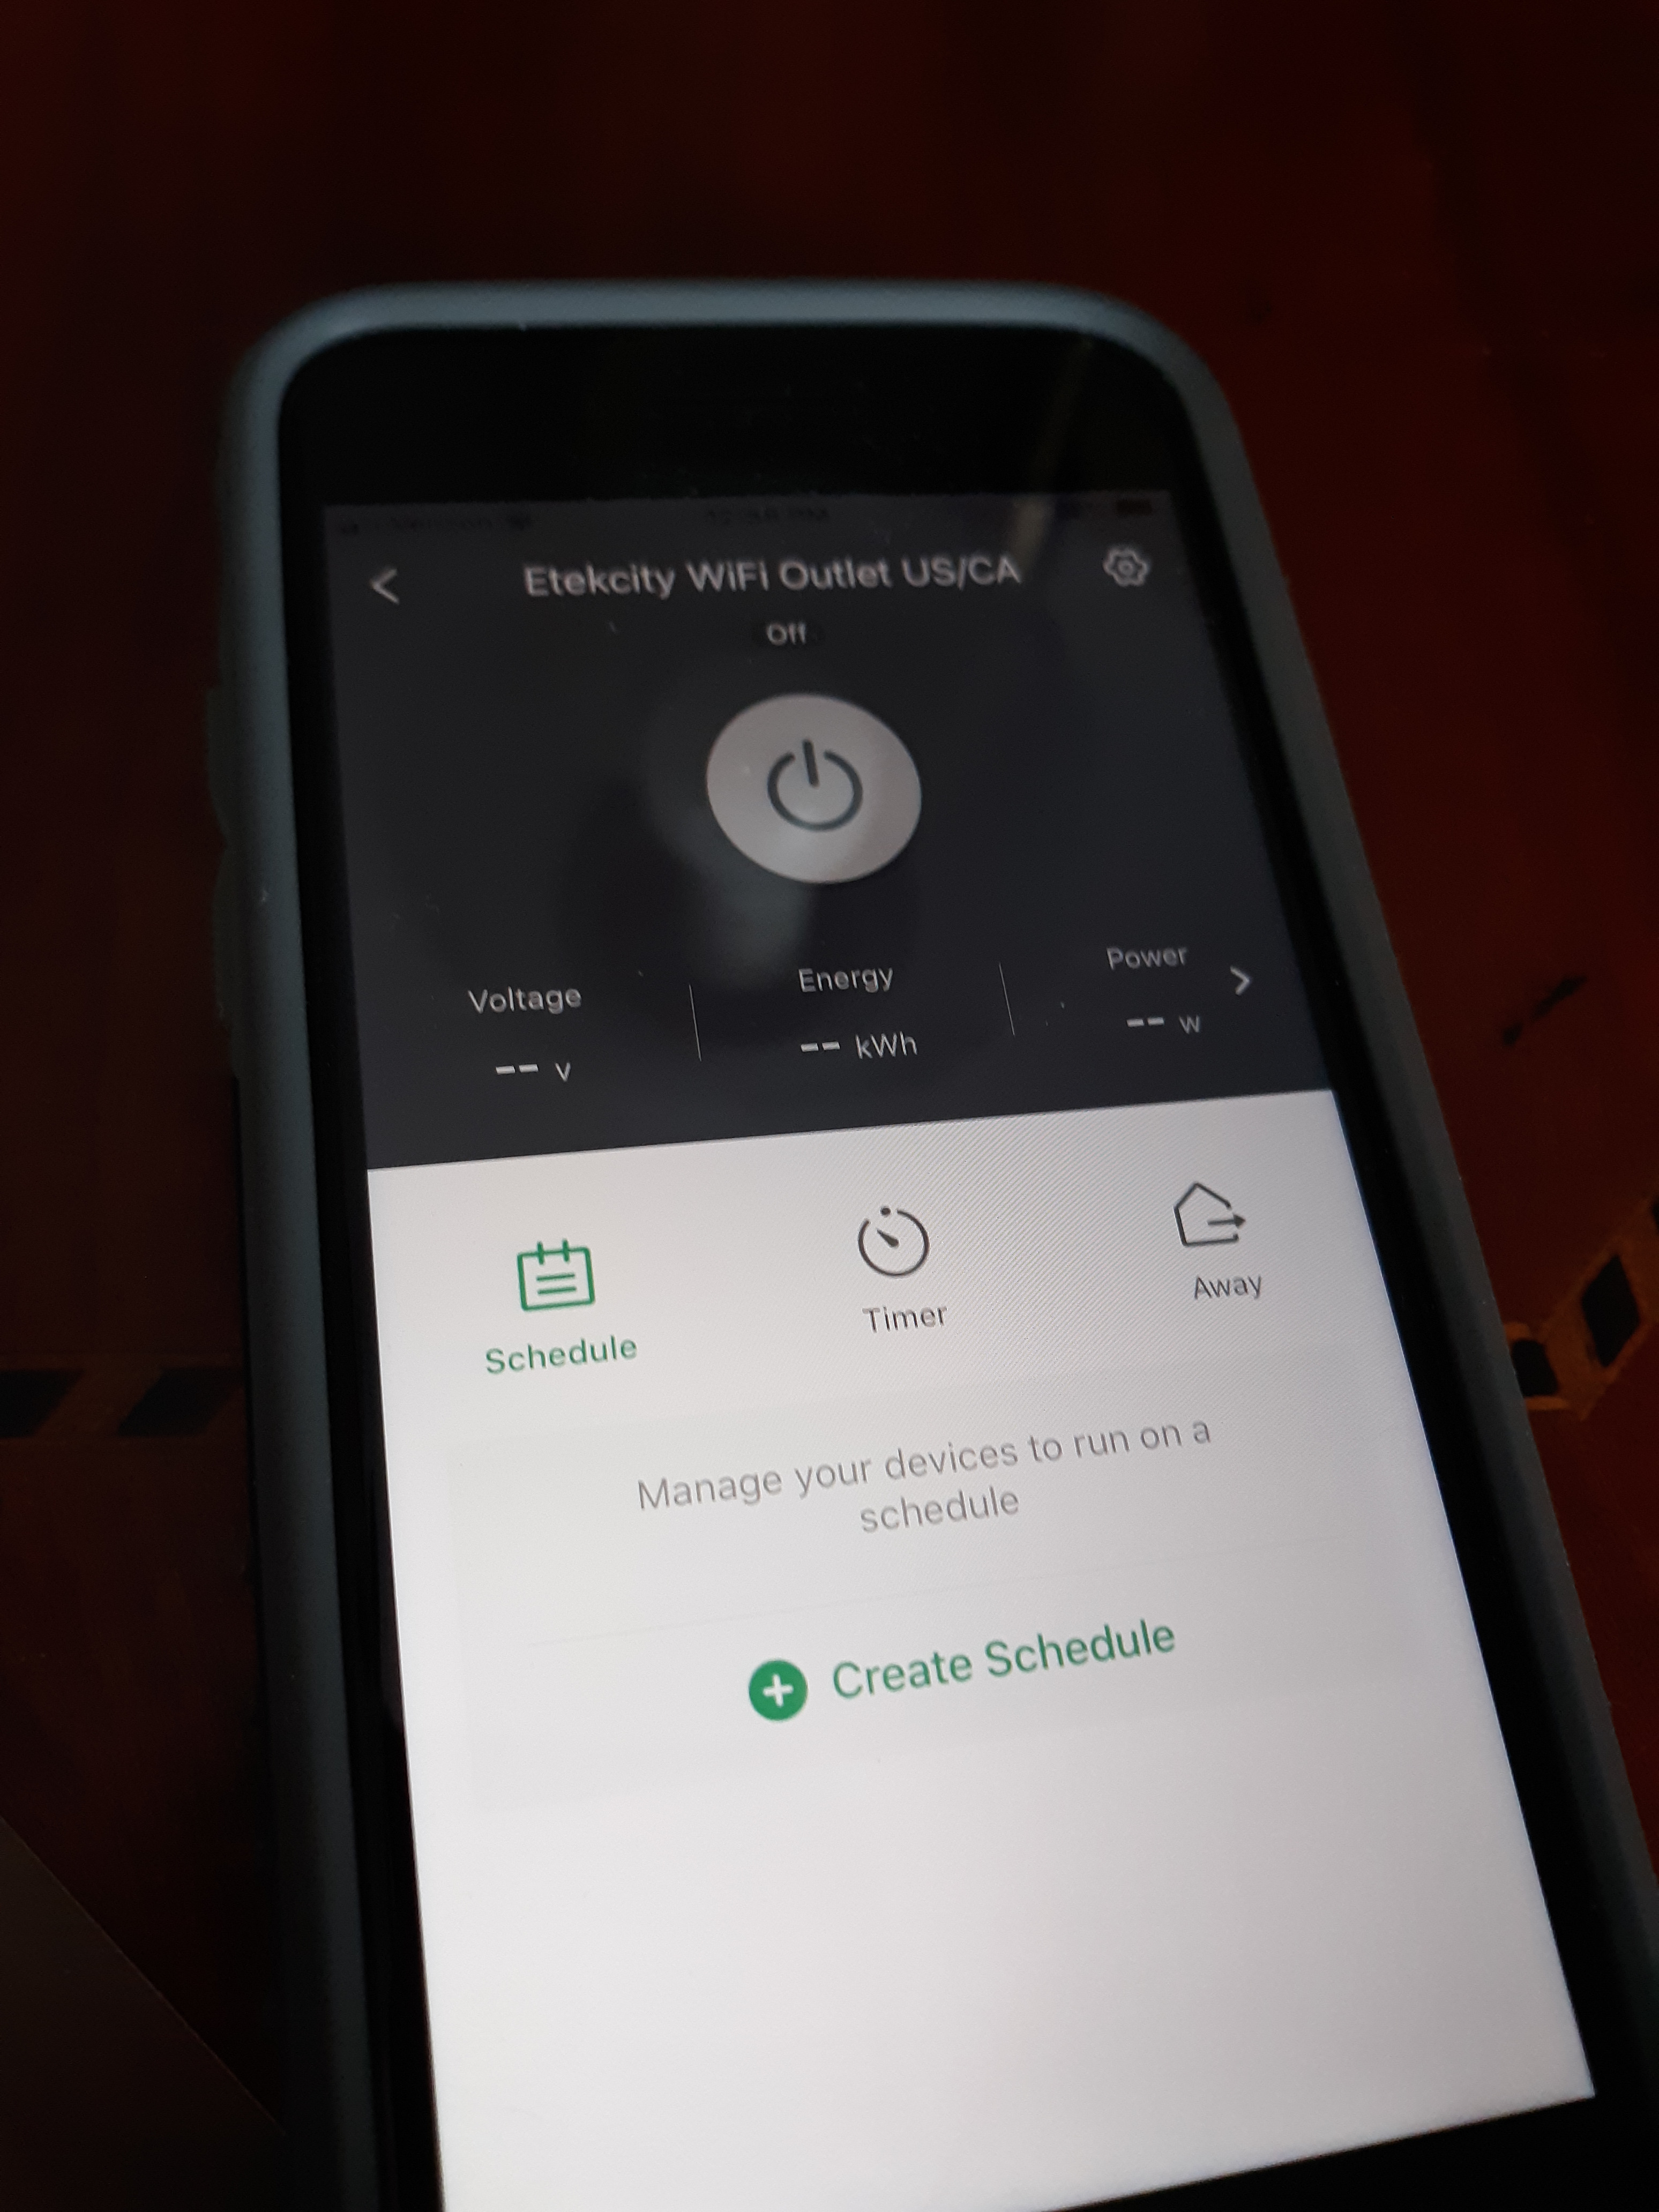
Plug in the lighting to the smart outlet. Now, you should be able to power the light using the VeSync app! To do this, just press the power button once you have selected which light you would like to turn on or off.
Video Tutorial:
