How to Connect NodeMCU / ESP8266 and OLED Shield
by Zihatec in Circuits > Arduino
9952 Views, 6 Favorites, 0 Comments
How to Connect NodeMCU / ESP8266 and OLED Shield
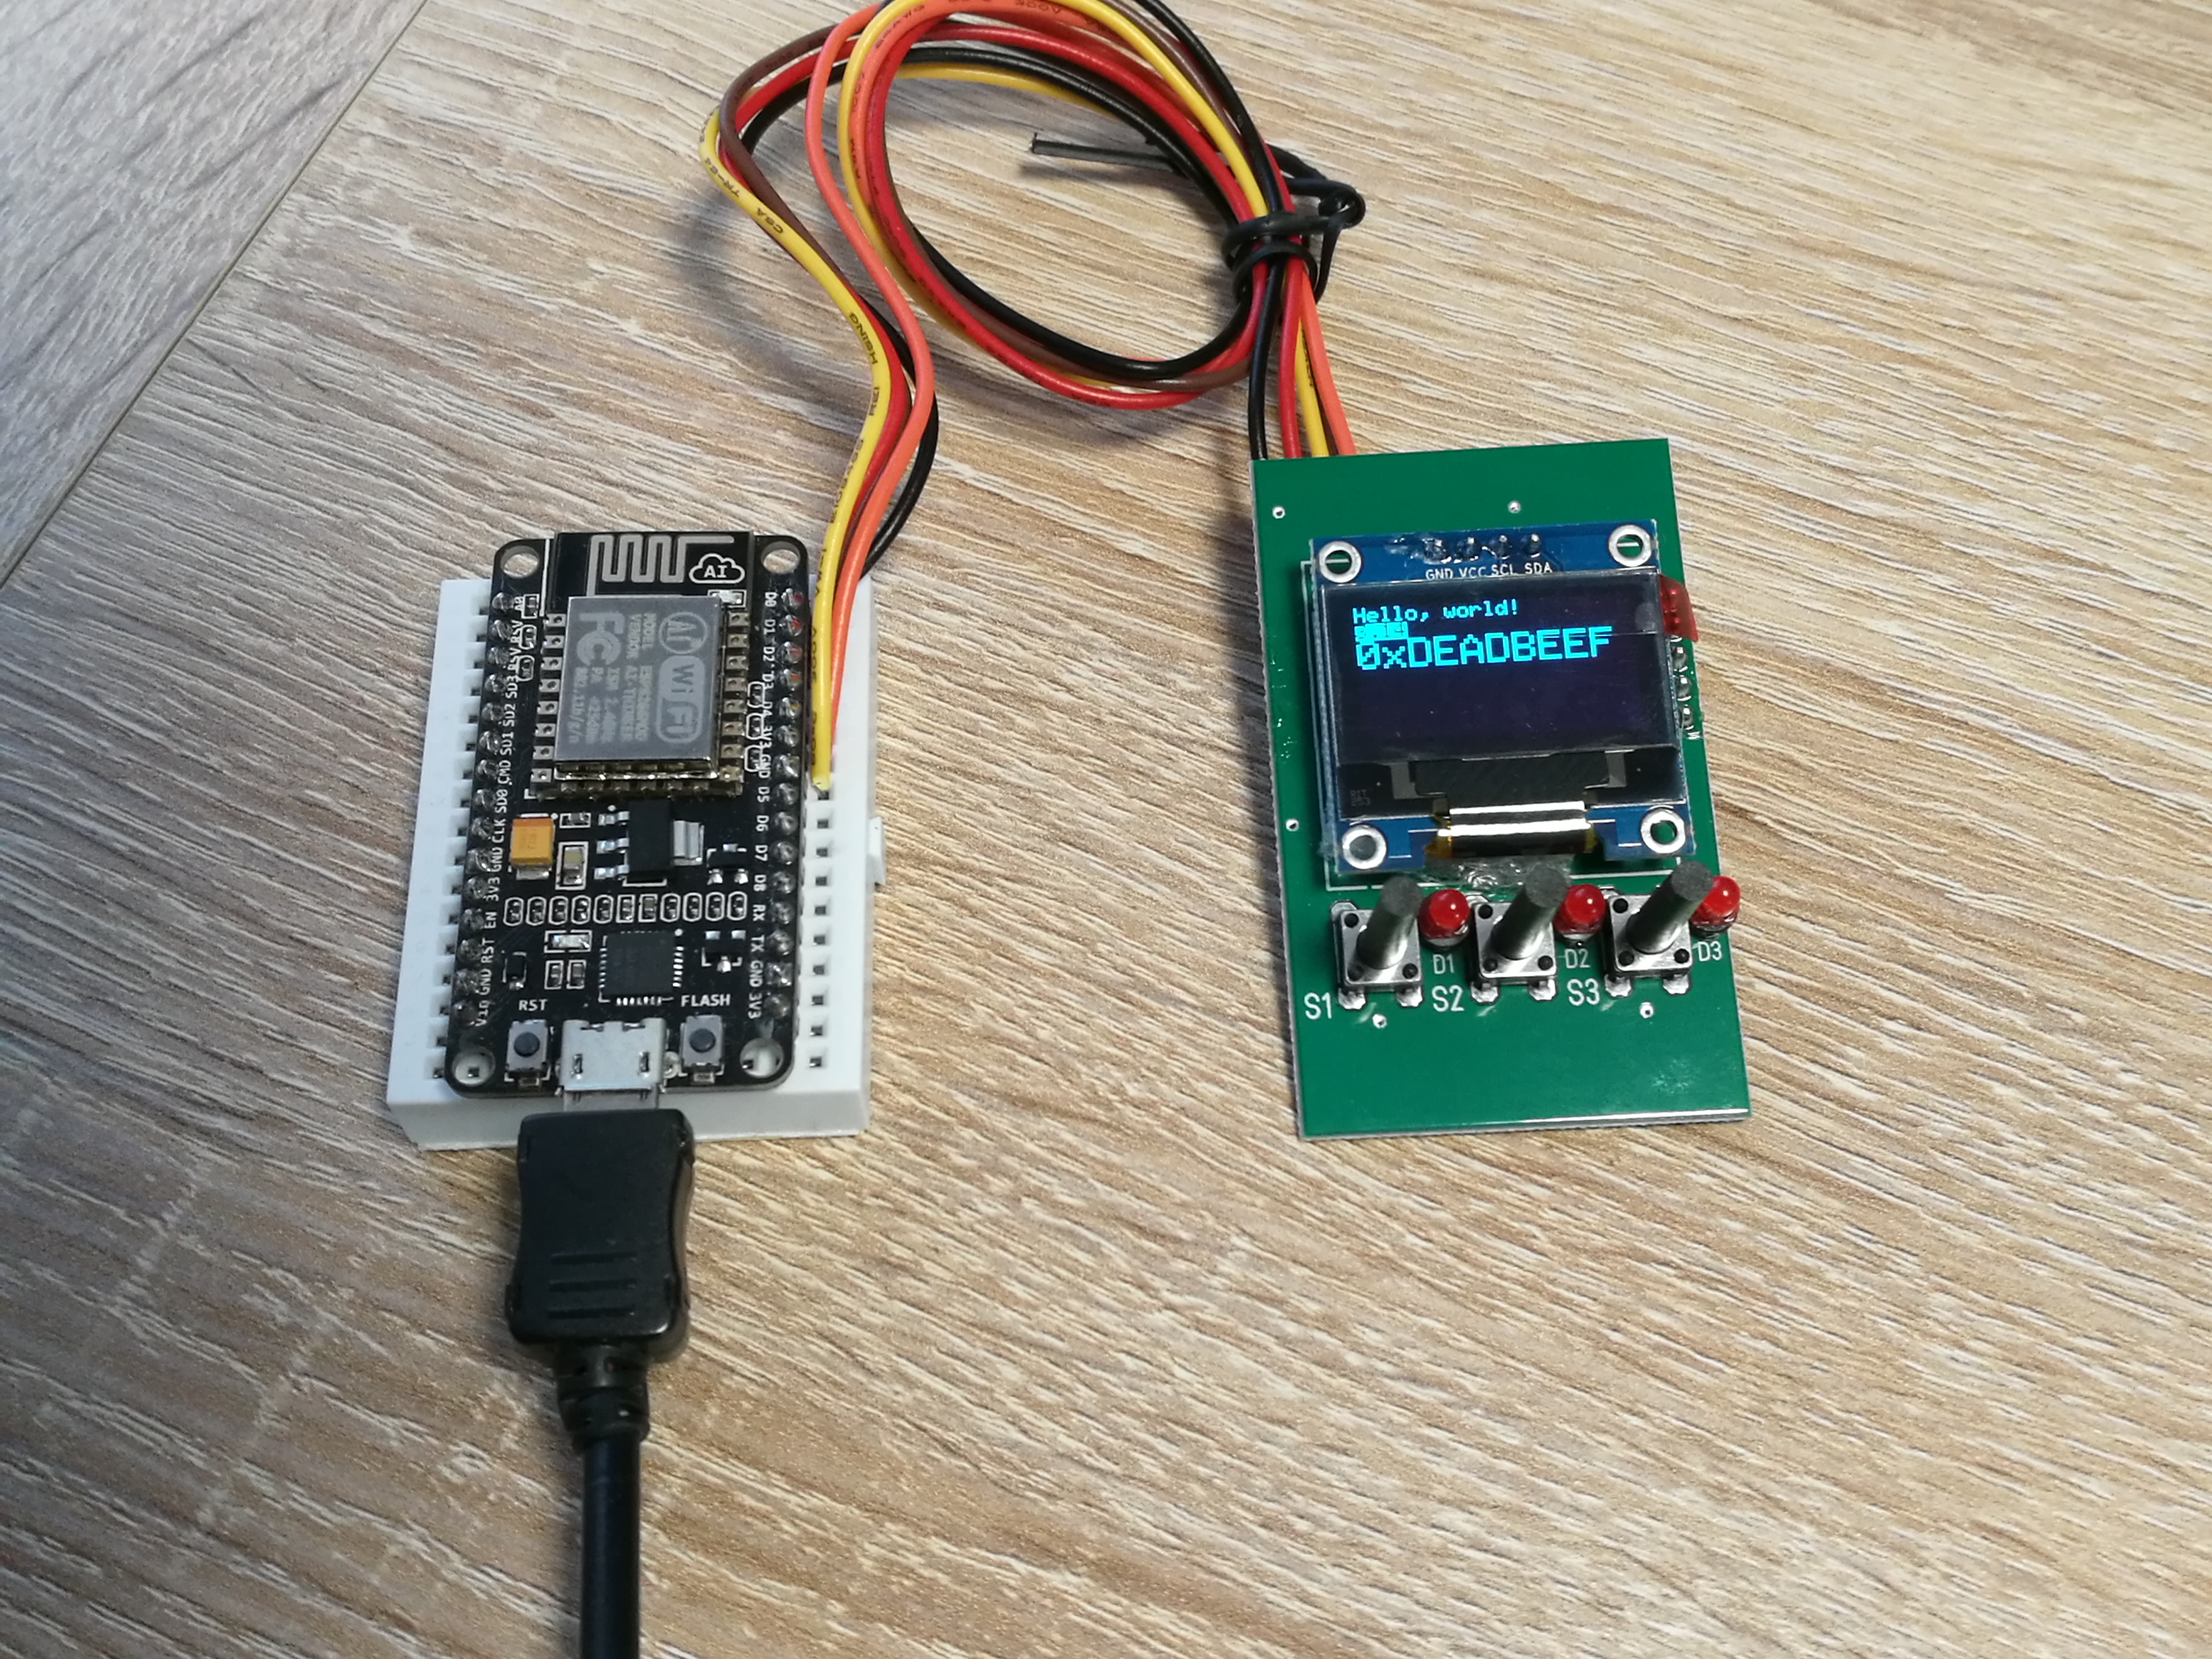
I will show in this instructable how to connect a NodeMCU V2 Amica (ESP8266) via I2c to an OLED display based on the famous SSD1306 chip. For the OLED we will use in this instructable an OLED Shield which comes with the solderes 0,96" inch OLED and 3 button + 3 LEDs connected to an MCP23008.... It's very easy to realise menu systems and other complex function with this shield .....
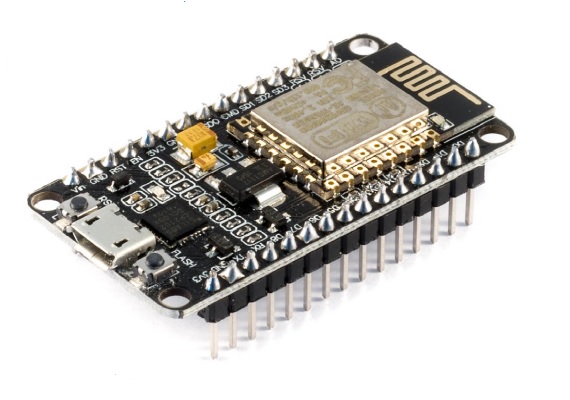
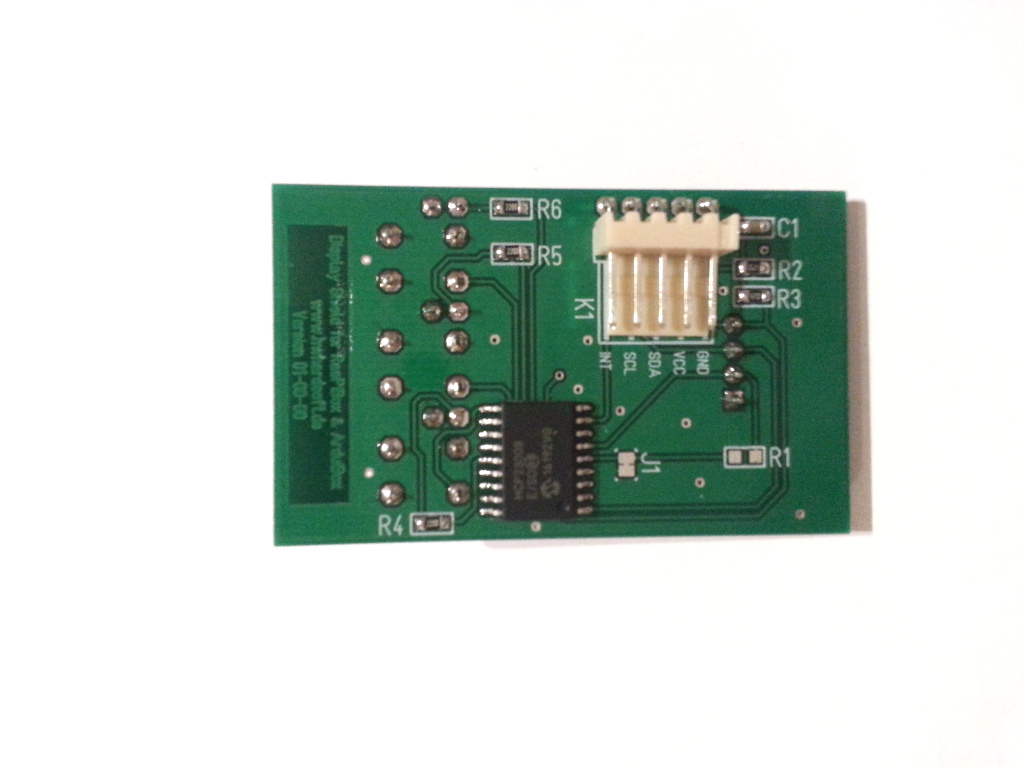
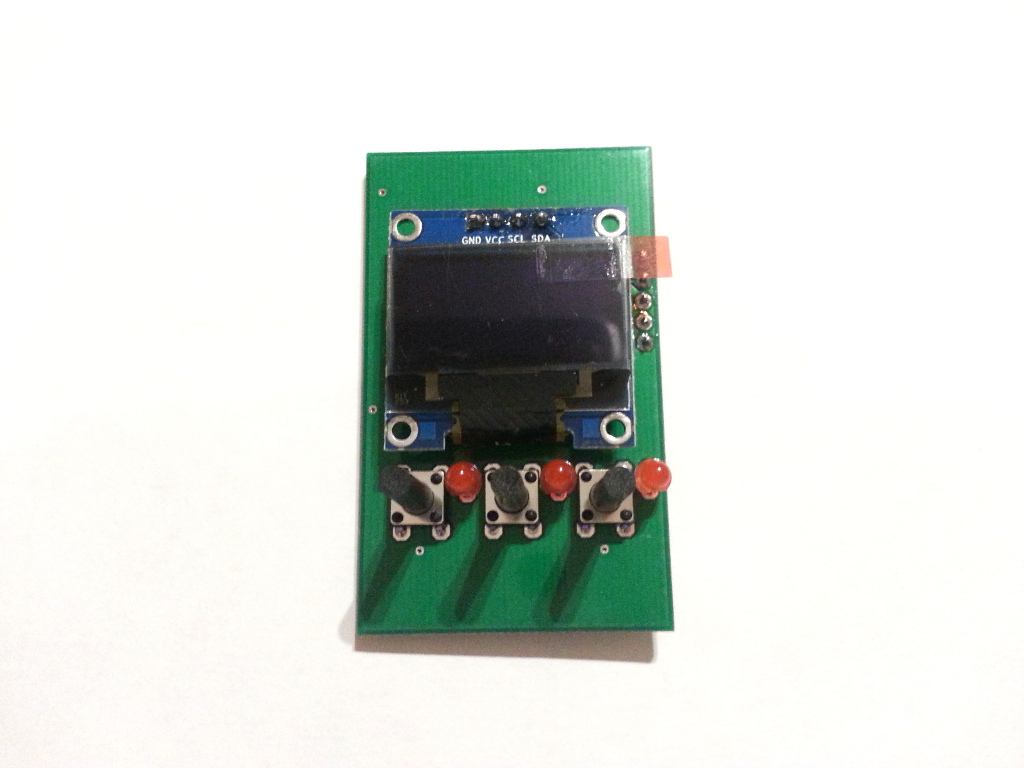
Bill of Material
- NodeMCU V2 Amica Module
- OLED Shield
- Breadboard
Wiring

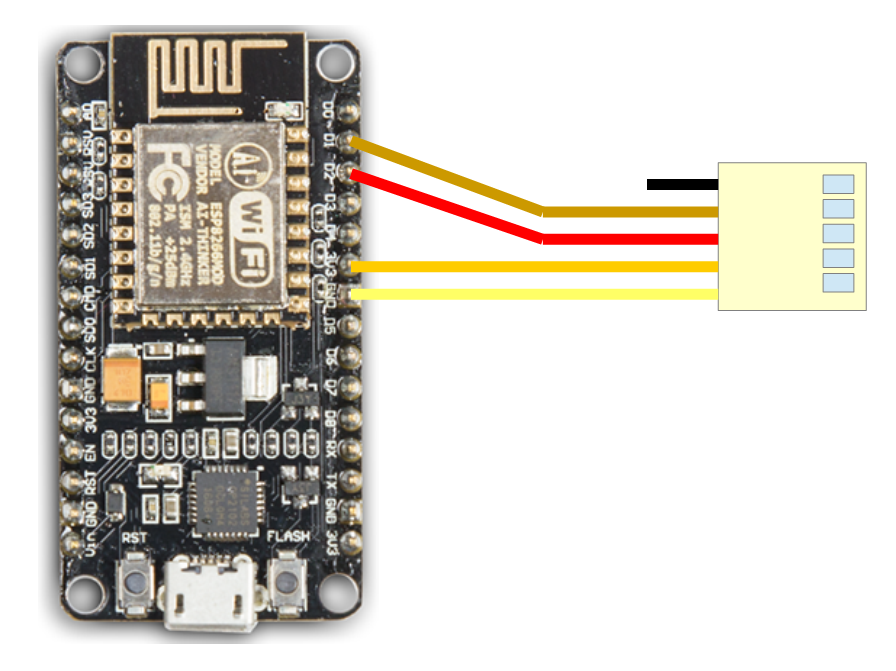
The shield comes with a coloured connection cable - see the pictures below for wiring.
Install the NodeMCU Drivers
The NodeMCU module includes a CP2102 chip for the USB interface. Usually the driver
will be installed automaticaly if the NodeMCU is connected the first time with the PC. Sometimes this procedure failed. In this case you have to install the driver
http://www.silabs.com/products/development-tools/software/usb-to-uart-bridge-vcp-drivers
manually in the Windows device manager.
Preparation of Arduino IDE - Add the NodeMCU
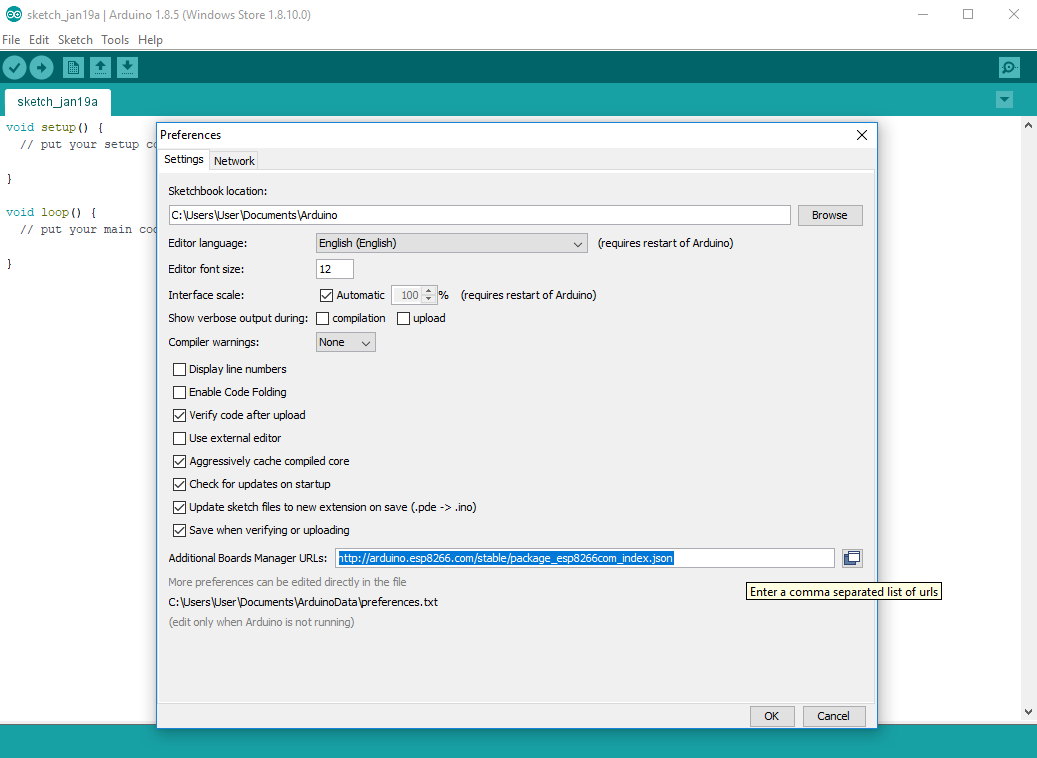
The NodeMCU module isn't part of the Arduino-IDE. We have to install it first.
Open file / preferences in the Aduino-IDE and insert the following link in the Additional Boards Manager URLs field: http://arduino.esp8266.com/stable/package_esp8266...
Close this window with the OK Button.
Preparation of Arduino IDE - Install the NodeMCU Module
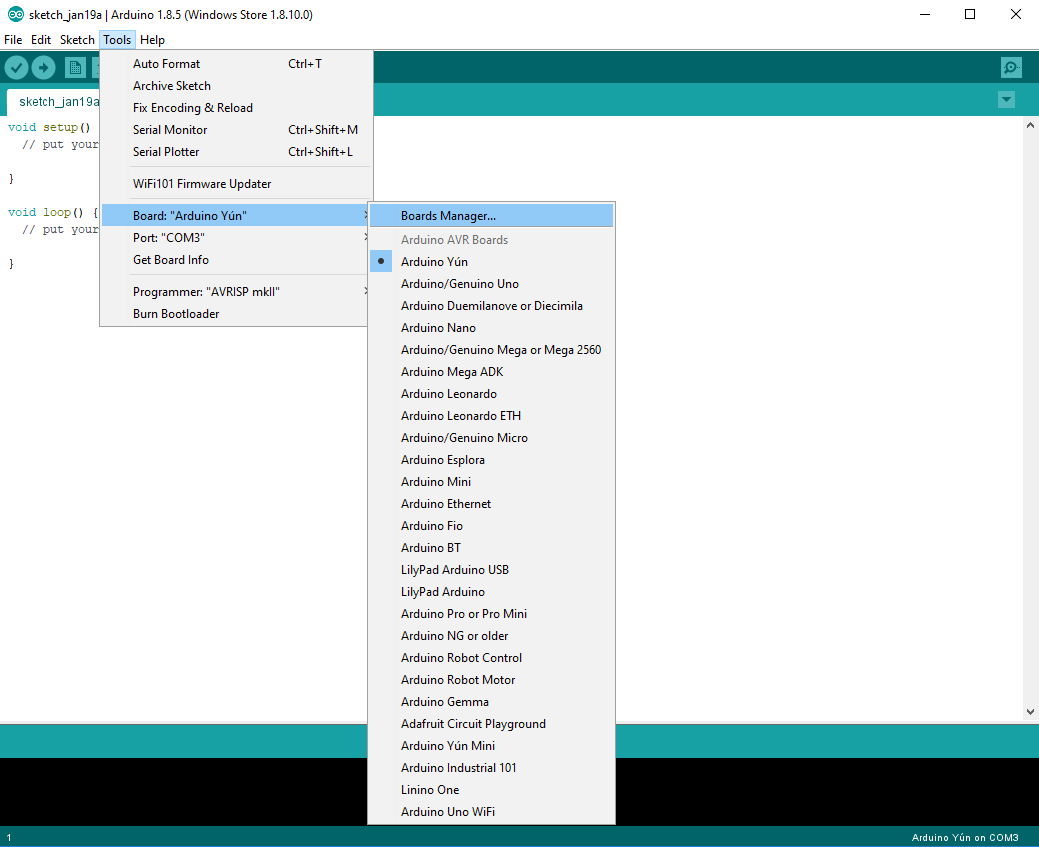
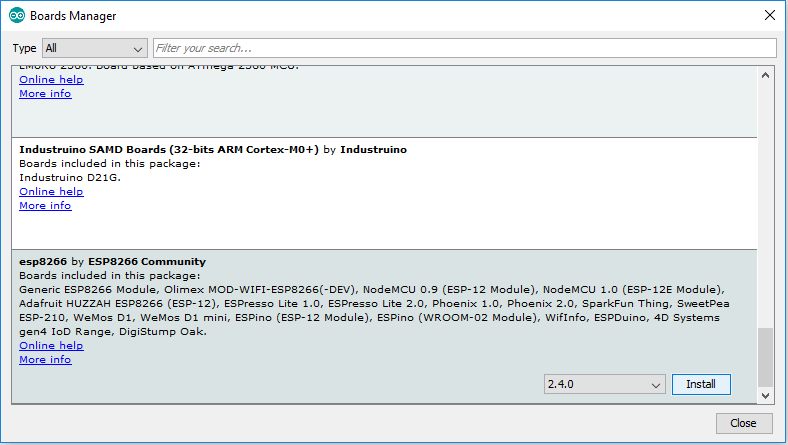
Open now the board manager: Tools / Board / Board Manager
Go to the ESP8266 entry and install it.
Preparation of Arduino IDE - Configuration of NodeMCU Module
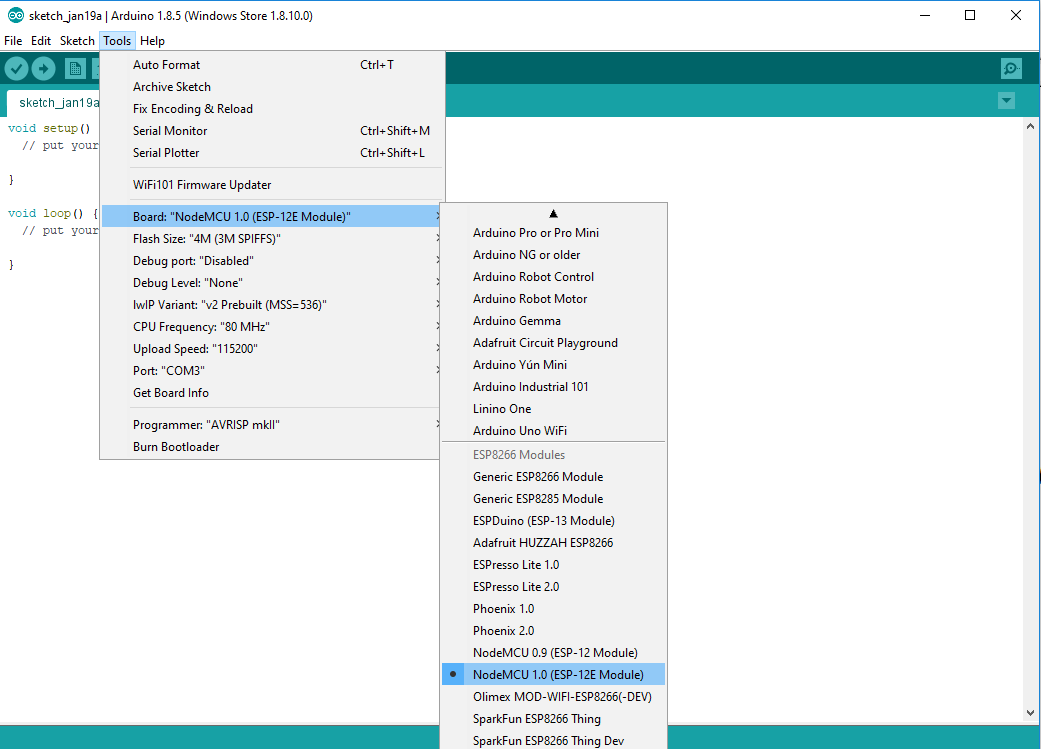
Now you can choose NodeMCU 1.0 (ESP-12E Module). Set the CPU frequency to
80MHz, Flash Size to „4M (3M SPIFFS)“ , the baud rate of your choice and the COM port. 8 of
Install the Libraries
Adafruit SSD1306 Library:
Start by installing the support library for the OLED display, you'll need it to talk to the OLED
controller chip. We are using the Adafruit SSD1306 library repository on GitHub if you're interested in looking at the code. You can download the library also directly as ZIP file via this link:
https://github.com/adafruit/Adafruit_SSD1306/archi...
Rename the uncompressed folder Adafruit_SSD1306 and check that the Adafruit_SSD1306 folder contains Adafruit_SSD1306.cpp and Adafruit_SSD1306.h
Place the Adafruit_SSD1306 library folder your arduinosketchfolder/libraries/ folder.
Adafruit GFX Library:
You will need to do the same for the Adafruit_GFX library available here:
https://github.com/adafruit/Adafruit-GFX-Library/a...
Rename the uncompressed folder Adafruit_GFX and check that the Adafruit_GFX folder contains Adafruit_GFX.cpp and Adafruit_GFX.h
Place the Adafruit_GFX library folder your arduinosketchfolder/libraries/ folder like you did with the SSD1306 library
Adafruit MCP23008 Library
You will need to do the same for the Adafurit_MCP23008 library available here:
https://github.com/adafruit/Adafruit-MCP23008-libr...
Rename the uncompressed folder Adafruit_MCP23008 and check that the
Adafruit_MCP23008 folder contains Adafruit_MCP23008.cpp and Adafruit_MCP23008.h
Place the Adafruit_MCP23008 library folder your arduinosketchfolder/libraries/ folder like you did with the libraries above
Demosoftware
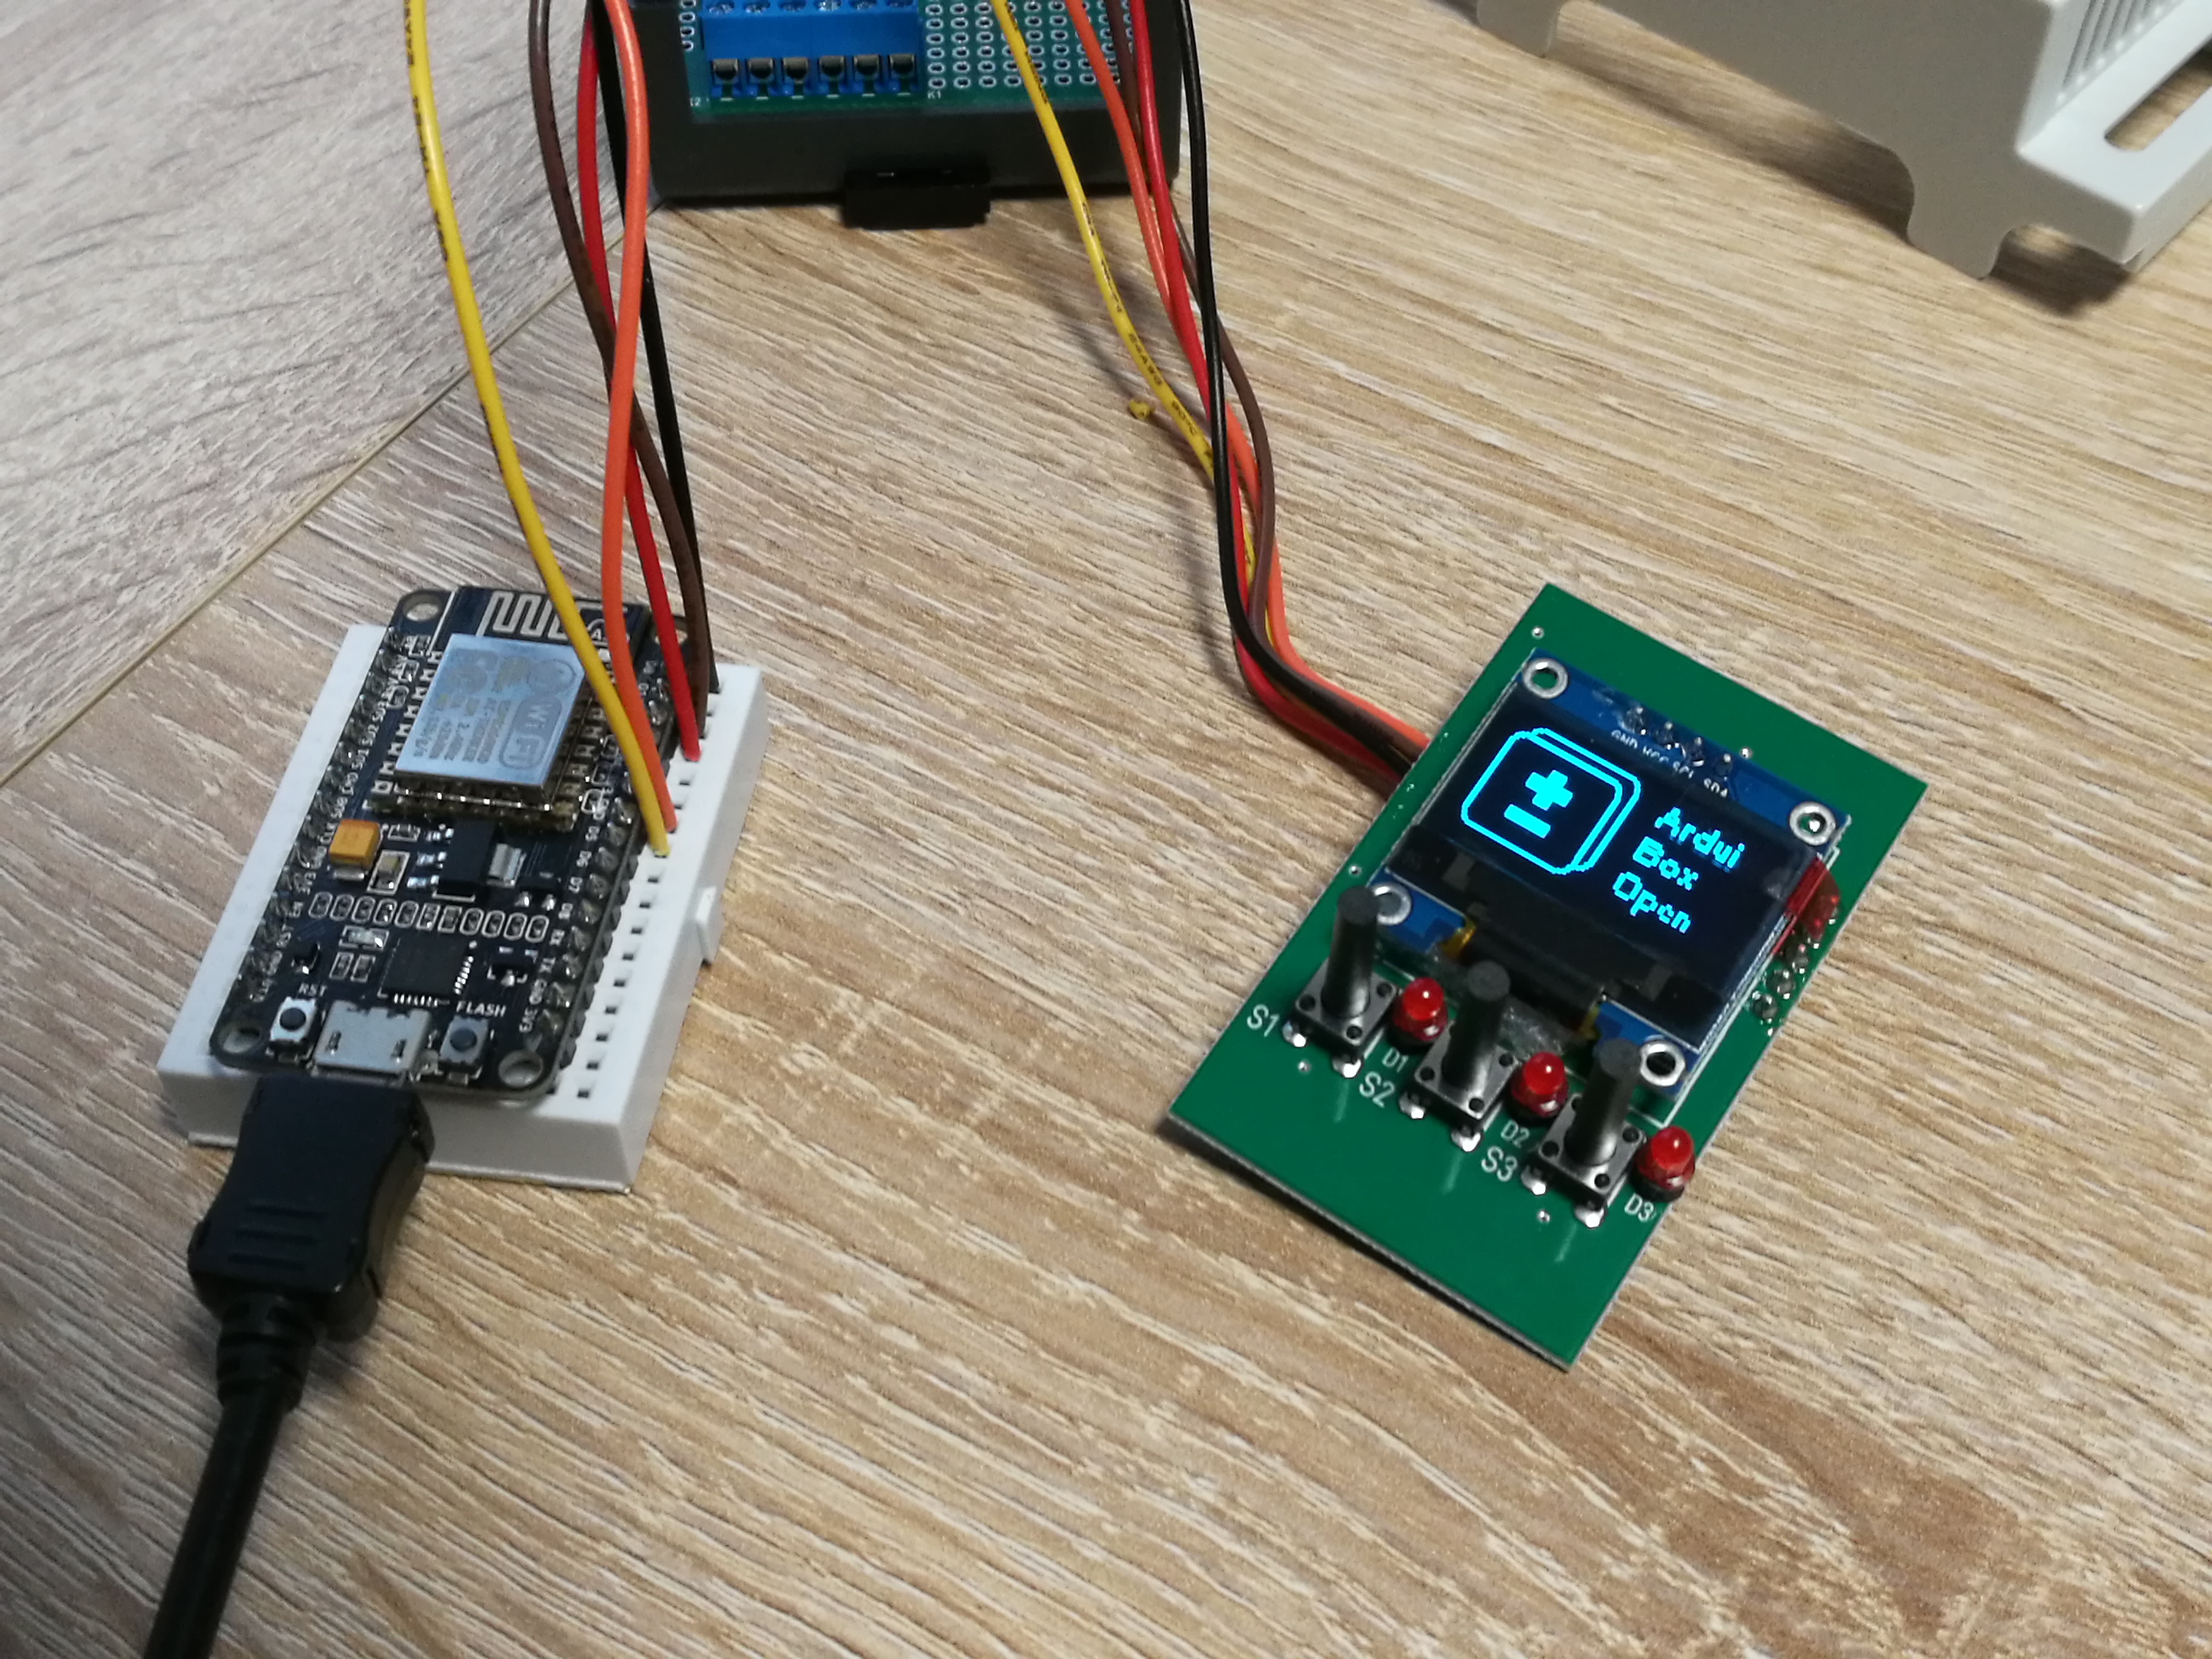
After installing the Adafruit libraries, restart the Arduino IDE. You should now be able to
access the sample code by navigating through menus in this order: File→Sketchbook→Libraries→Adafruit_SSD1306→SSD1306...
You have to download our sample code for the NodeMCU & OLED Shield from
https://www.hwhardsoft.de/english/projects/displa...
now. Please open this sample in the Arduino IDE. After compilation and upload you have to press the 3 buttons to view different screens.
Our demo contains only some samples of the possiblities of the Adafruit GFX engine. Please visit this link of additional informations about the Adafruit library