How to Compress a Video File Using IMovie
by Ben Parker in Circuits > Apple
489470 Views, 5 Favorites, 0 Comments
How to Compress a Video File Using IMovie

If you have a Mac computer, here is a quick, free, and easy way to compress a video file with iMovie, which should come installed on your Mac computer(Laptop or Desktop). This should take your video file and make it about one half it's original size or smaller depending on what options you choose later. In this tutorial, I'm using iMovie 10.1 but it does work with some older versions as well.
Check the Original File Size (Optional)

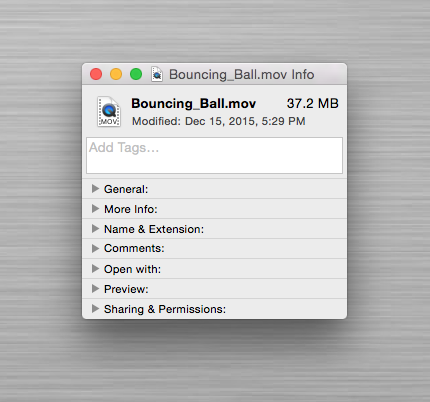
Begin by right-clicking the icon of your video. This should pull open a menu. Click "Get Info", and a window will pop up with a bunch of different information about your file. This particular video is about 37.2 MB.
Set Up IMovie

NOTE: This step may be slightly different for different versions of iMovie
1. Open iMovie
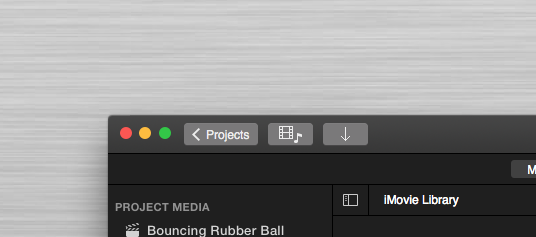
2. Find the "Projects" ("Library" for some, older versions) menu, and hit the "+" button in the upper left hand corner.
3. Select the "Movie" option.
4. Choose a theme or "No Theme".
5. Choose what you want the file to be named.
Import Your Video File
NOTE: This step may be slightly different for different versions of iMovie
1.a. In the upper left-hand corner of the iMovie window hit the button with the downward facing arrow.
OR
1.b. Click the "Import Media" button.
2. Either double-click the file you want, or click it once and then hit "Import All".
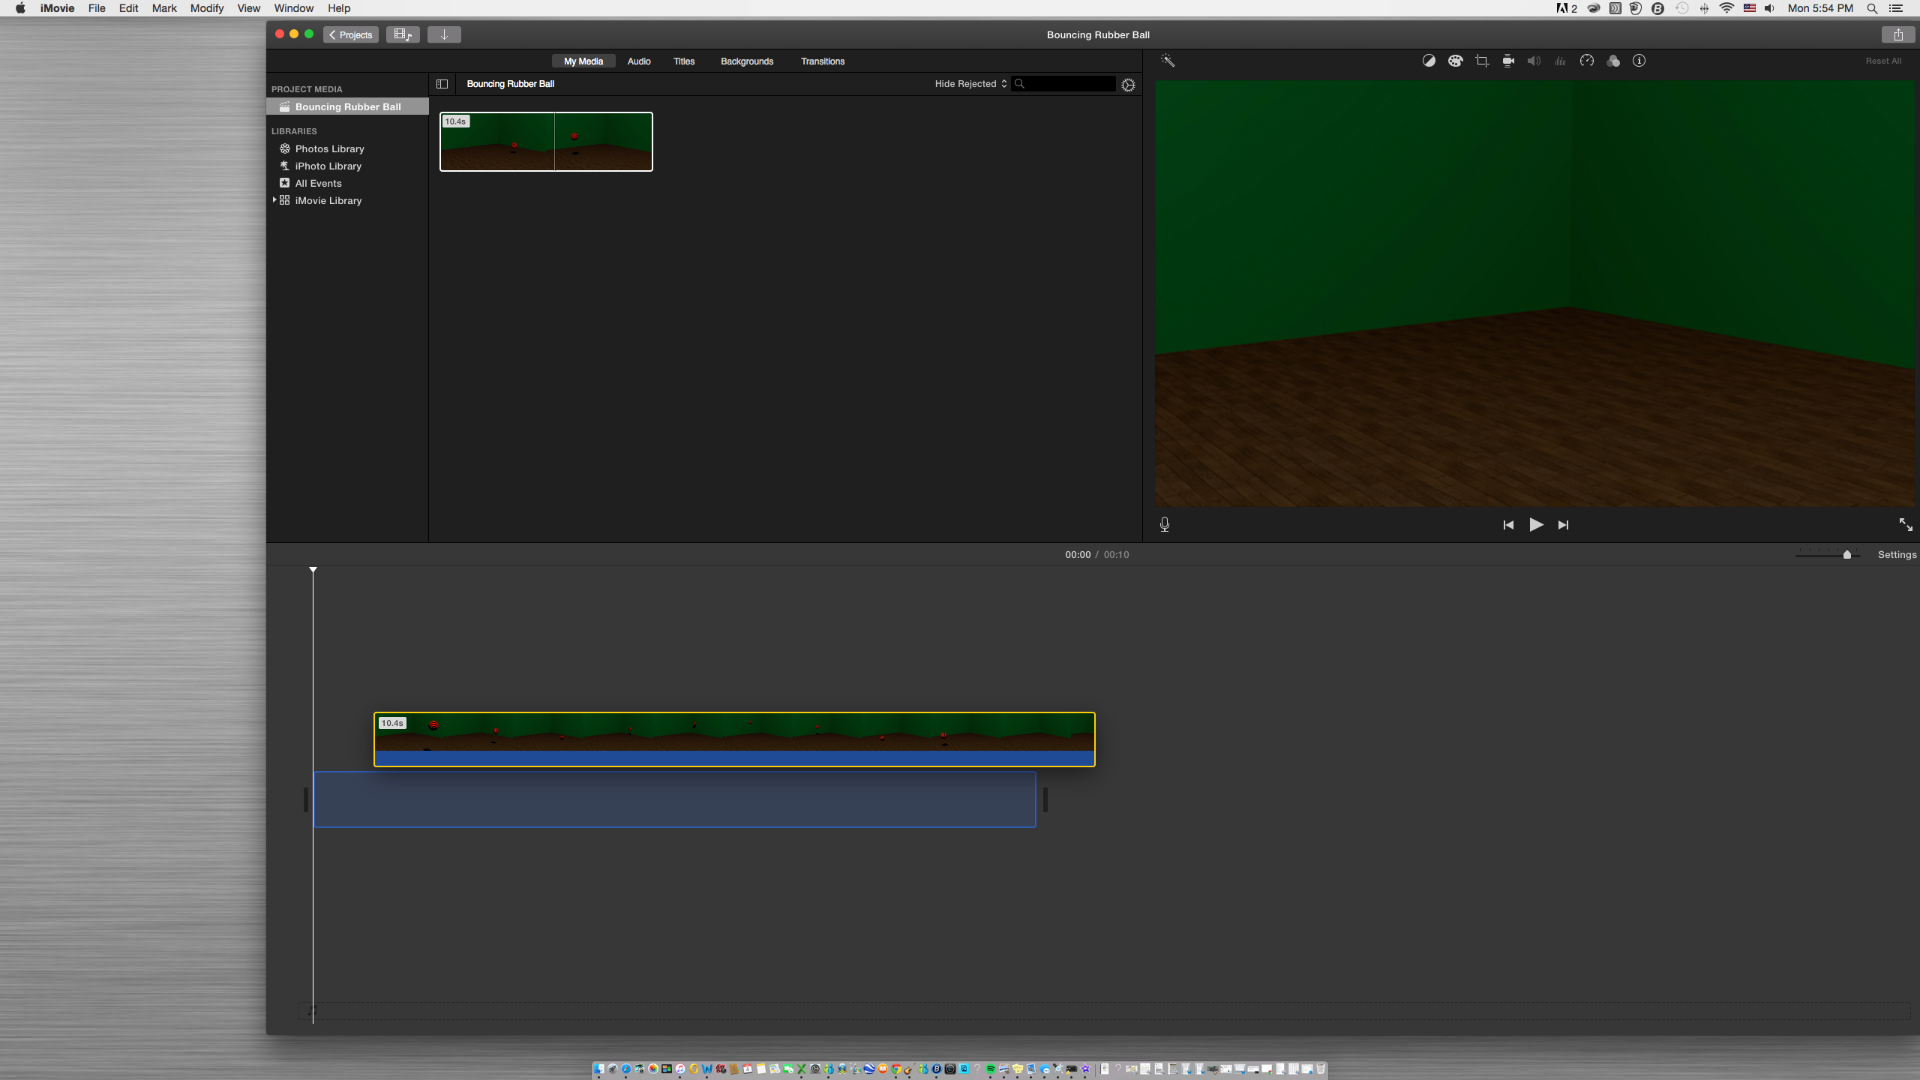
3. Click and drag anywhere on the video strip until a yellow box appears.
4. Adjust the size of the box until it covers the section of video you want.
5. Drag the selected section of video into the large gray area at the bottom of the window.
Edit Your Video (Optional)
Note: Editing your video may affect the final file size.
Export Your Video
NOTE: This step may be slightly different for different versions of iMovie
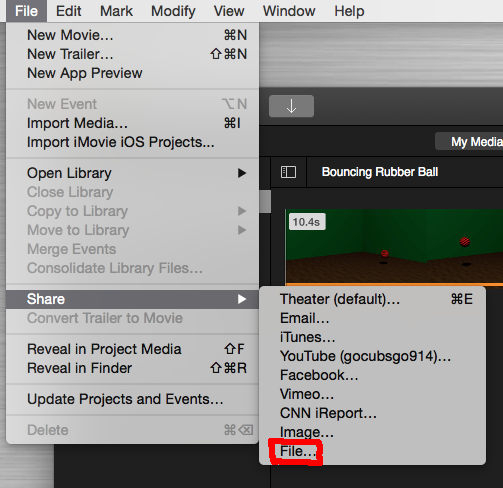
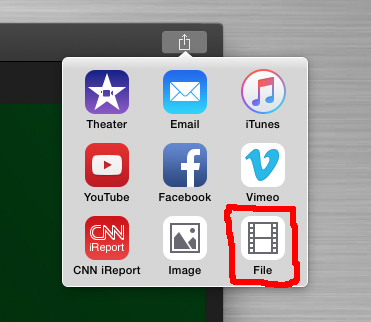
1.a. In the upper right-hand corner of the window click the button with a box with and arrow sticking out of it and then click "File".
OR
1.b. In the menu bar of your computer click File > Share > File...
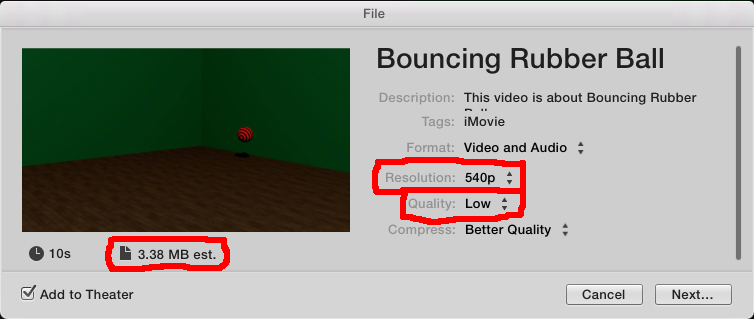
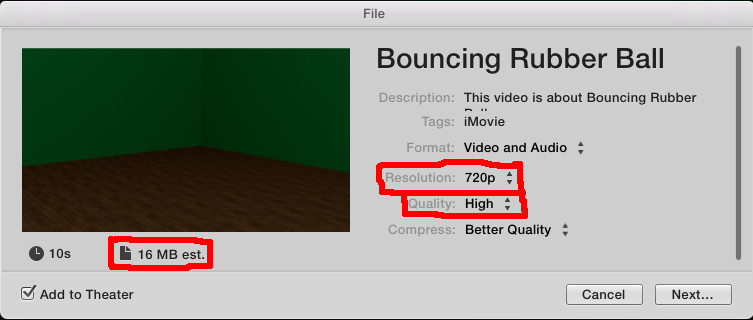
2. In the menu, choose the settings you want. Lower Resolution and Quality make a smaller sized file, while higher Resolution and Quality make for a larger sized file.
3. Click "Next...".
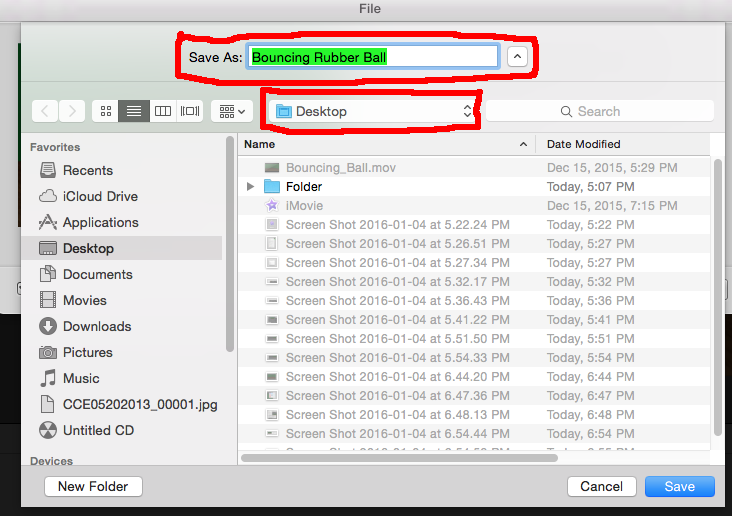
4. Give the file the name you want.
5. Change where you want to save the file.
6. Click "Save".
Find Your File Where Ever You Saved It
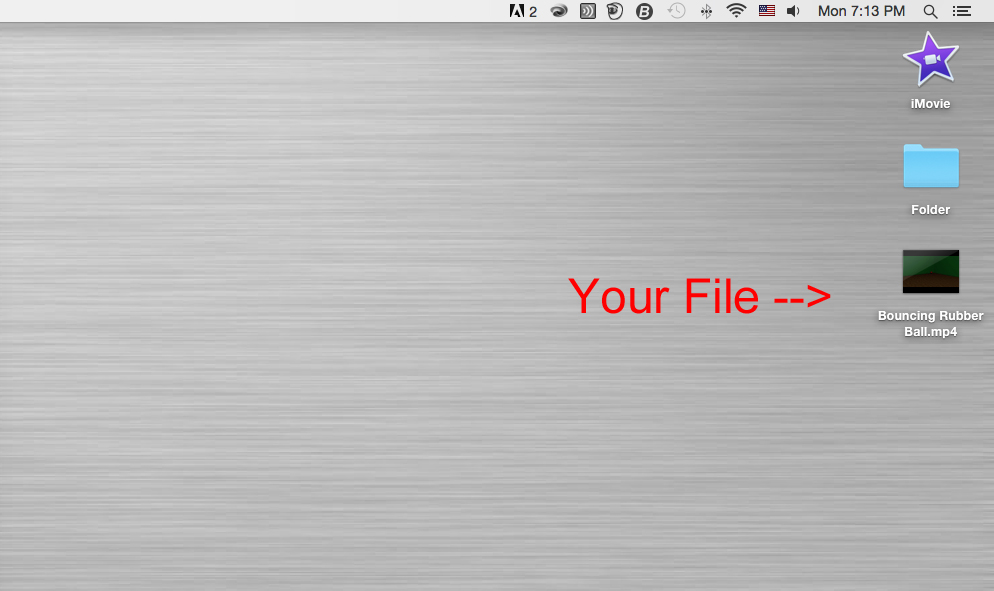
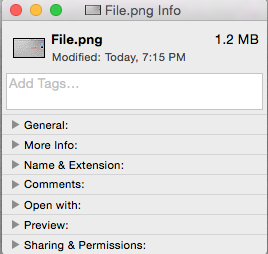
Find your file where ever you saved it. You can check the file size the way you did in step one, and see that, the lower Quality and Resolution you picked when Sharing your file, the smaller the size of the file. Your file should now be anywhere from one half the size to even smaller! As you can see, this same video is now only 1.2 MB in size! That's over 30 times smaller!