How to Colorize a Black and White Photo With Adobe Photoshop CS6
by chishio52572 in Circuits > Cameras
7716 Views, 85 Favorites, 0 Comments
How to Colorize a Black and White Photo With Adobe Photoshop CS6
Hello!
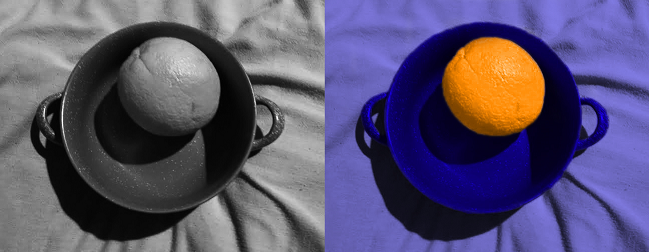
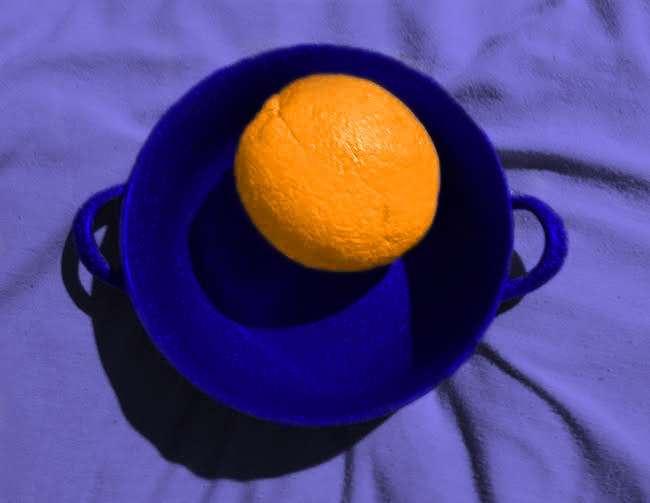
Do you have an old black an white photograph that you'd like to see in color? Or maybe you'd like to make a single image in a black and white photo "pop" by giving it some color? In this tutorial, I will show you how to do just that. Today you will be colorizing a photo of an orange in a bowl.
Know What You'll Need
What you'll need before beginning:
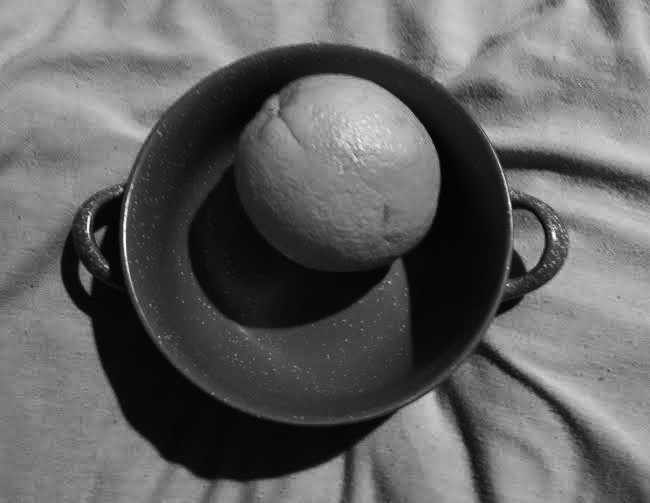
- A photo of an orange in a bowl. You can just use my image.
- Adobe Photoshop CS6.
- Basic knowledge on how Photoshop works.
Other things you need to know:
- I am using Windows and I have never used Photoshop on a Mac device. If you are using a Mac, you will need to know what the equivalent for the "alt" key is on your device.
- This is my first Instructable!
Set Mode to RGB Color
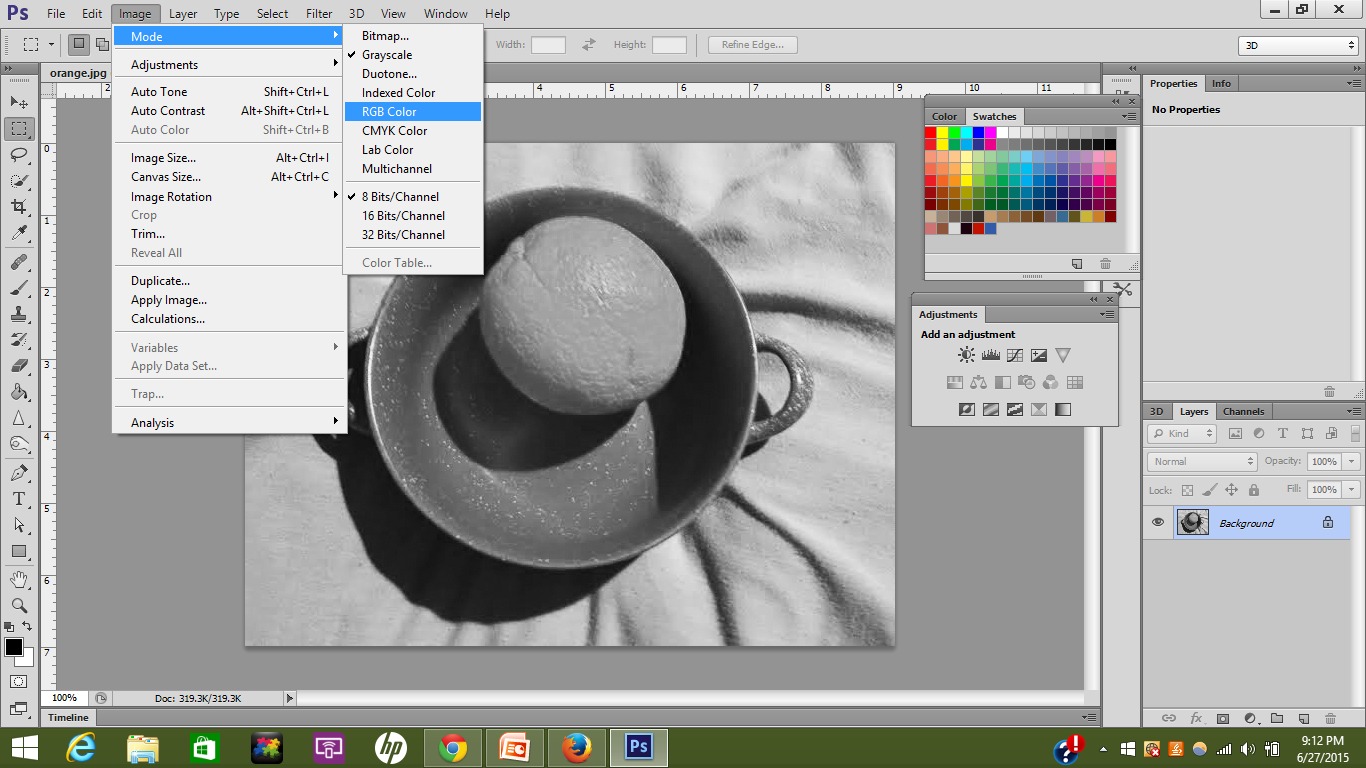
After you've opened up the photo in Photoshop, hover over "Image" in the top toolbar and follow the screenshot. If RGB Color is already checked, skip this step.
Zoom-in on the Orange
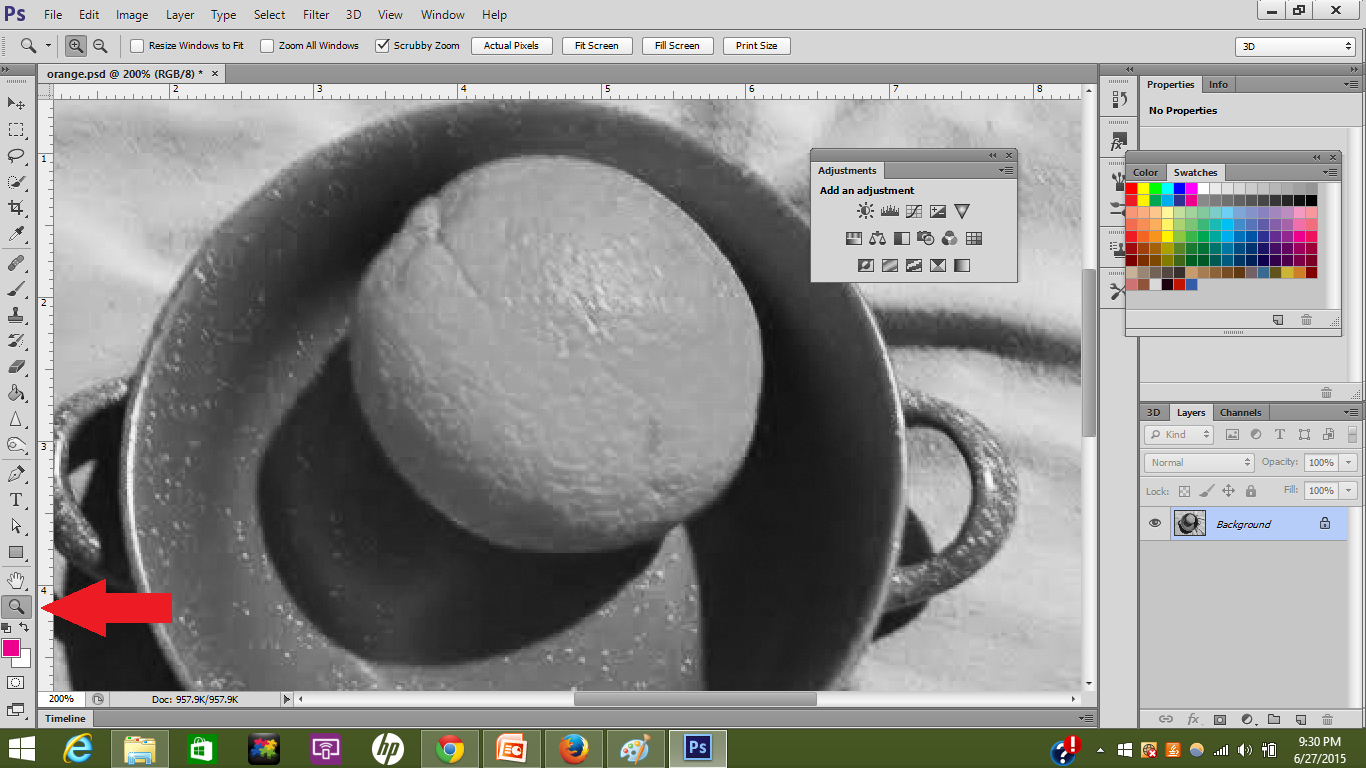
Click the Magnify button (where the red arrow is pointing), then click the orange once or twice or until it is as close as you want it. Alternatively, you can type in a specific percentage in the box located in the bottom-left corner.
Note: I apologize for the poor quality of the photo, I took it with my phone.
Select the Quick Selection Tool
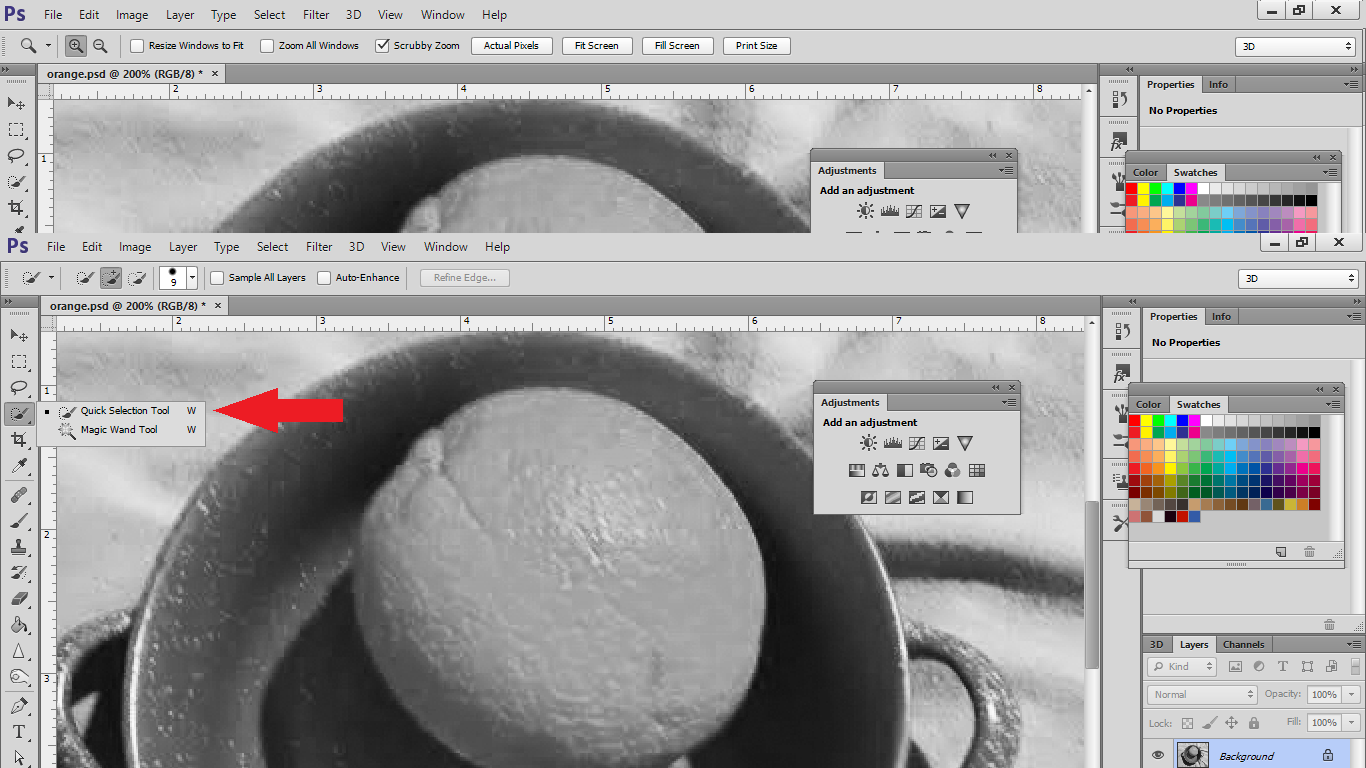
Click on the Quick Selection Tool. If you see the Magic Wand Tool instead, click and hold down on the button until a drop menu appears, then select the Quick Selection Tool.
Note: The Quick Selection tool is not really the best method of selecting part of a photo because it may not select everything you need. However, it is the quickest and easiest method. With this simple, high-contrast photo it is fine to use the Quick Selection Tool, but for photos that contain more complex shapes, such as grass or fur, I recommend that you use the Pen Tool.
Apply Quick Selection Tool
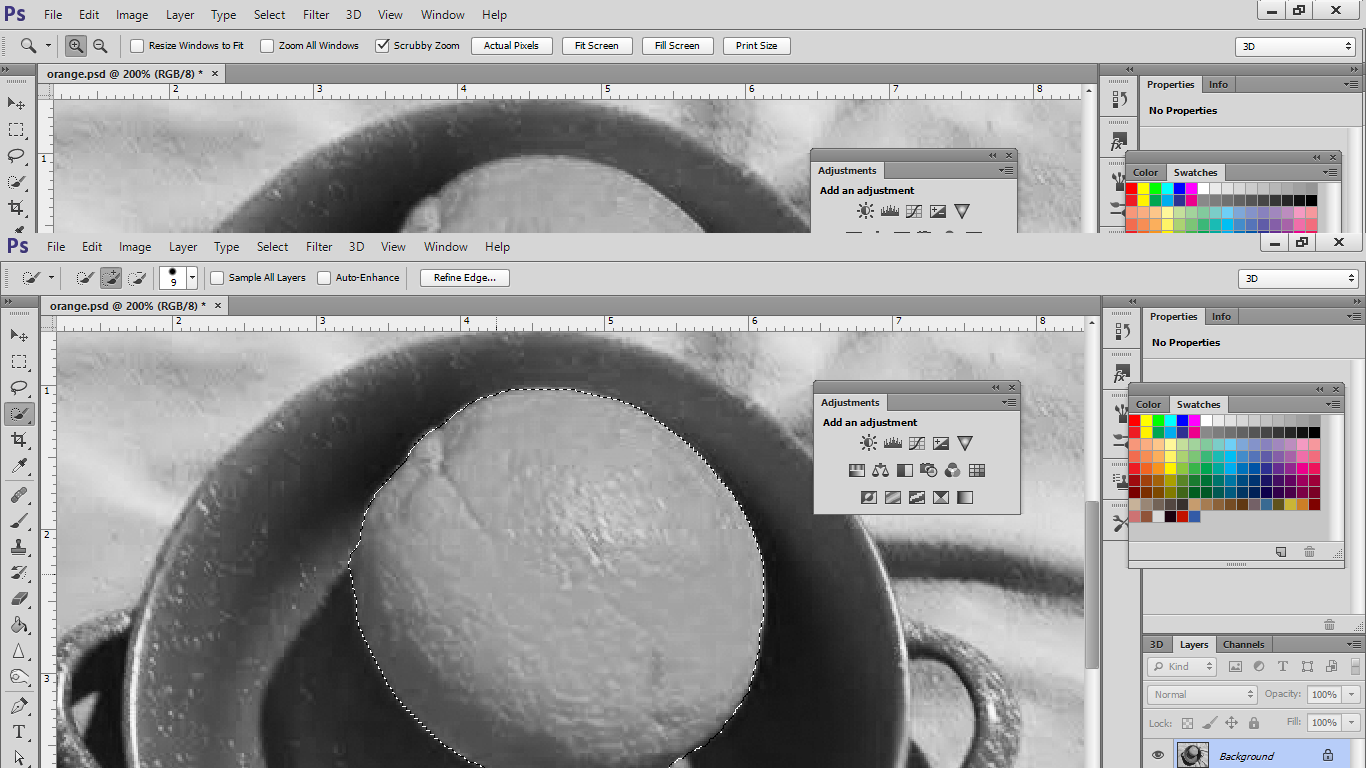
Click and drag your cursor across the orange until it is completely surrounded with dotted lines, or "marching ants."
Select the Refine Edge Button
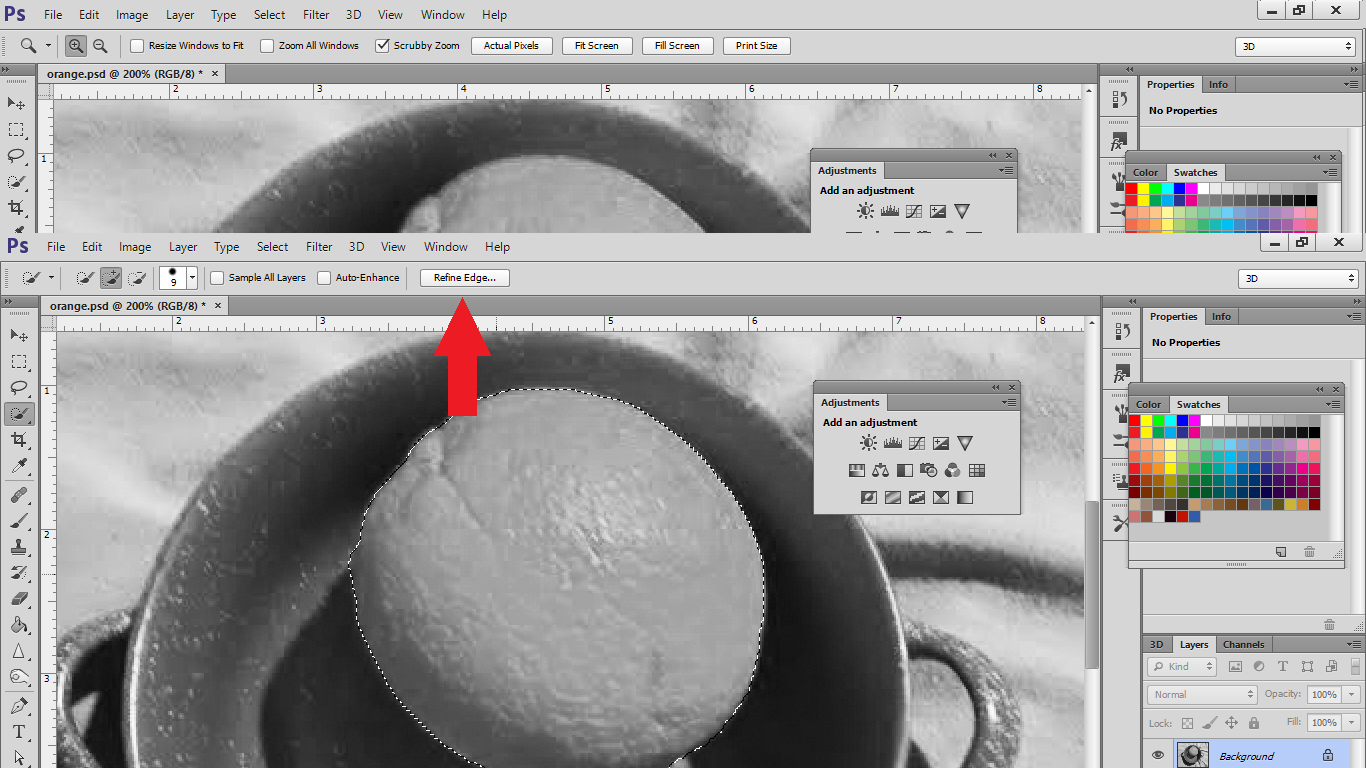
Follow the screenshot.
View Selection in Overlay Mode
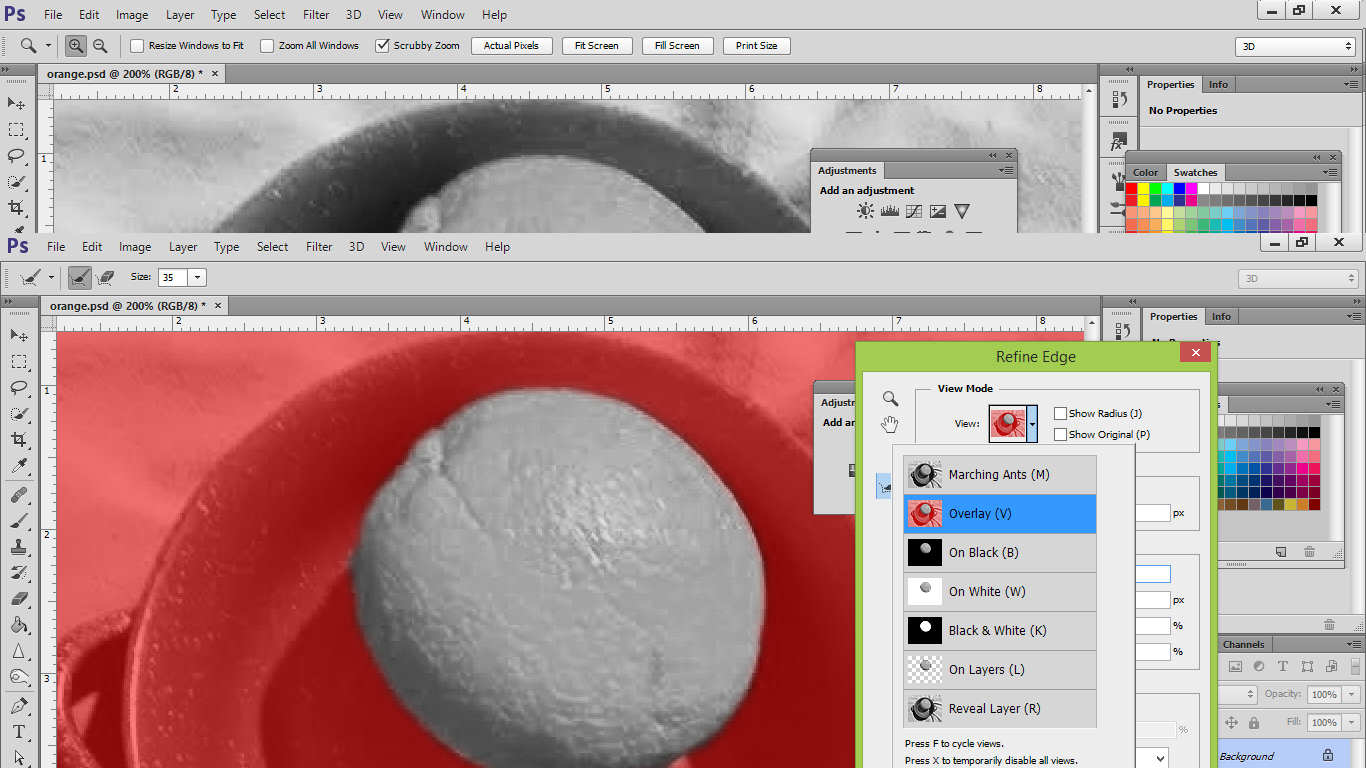
Change the View Mode to "overlay" to make sure the entire orange has been selected.
Feather
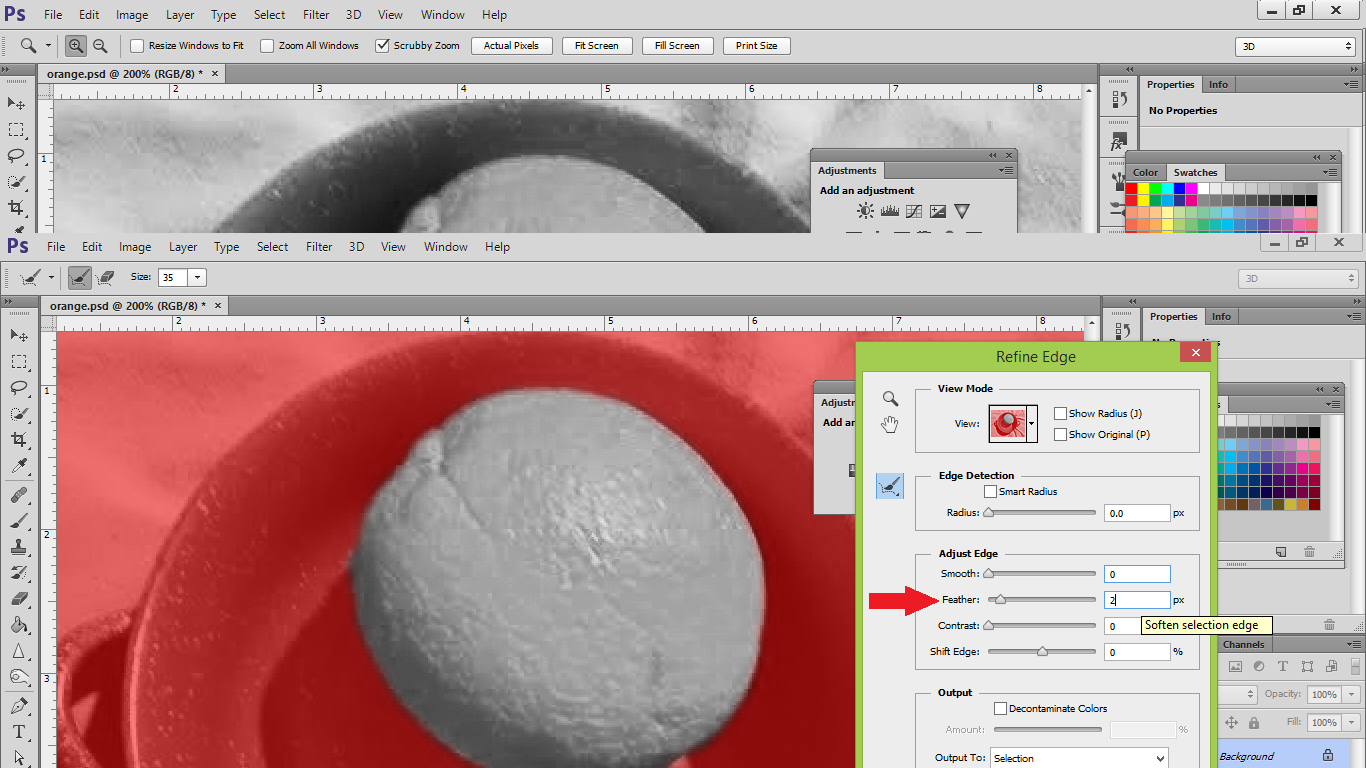
Set "Feather" to 2px. When you get ready to color the orange, this will help make it look more realistic. When you are done, click OK.
Select the Brush Tool
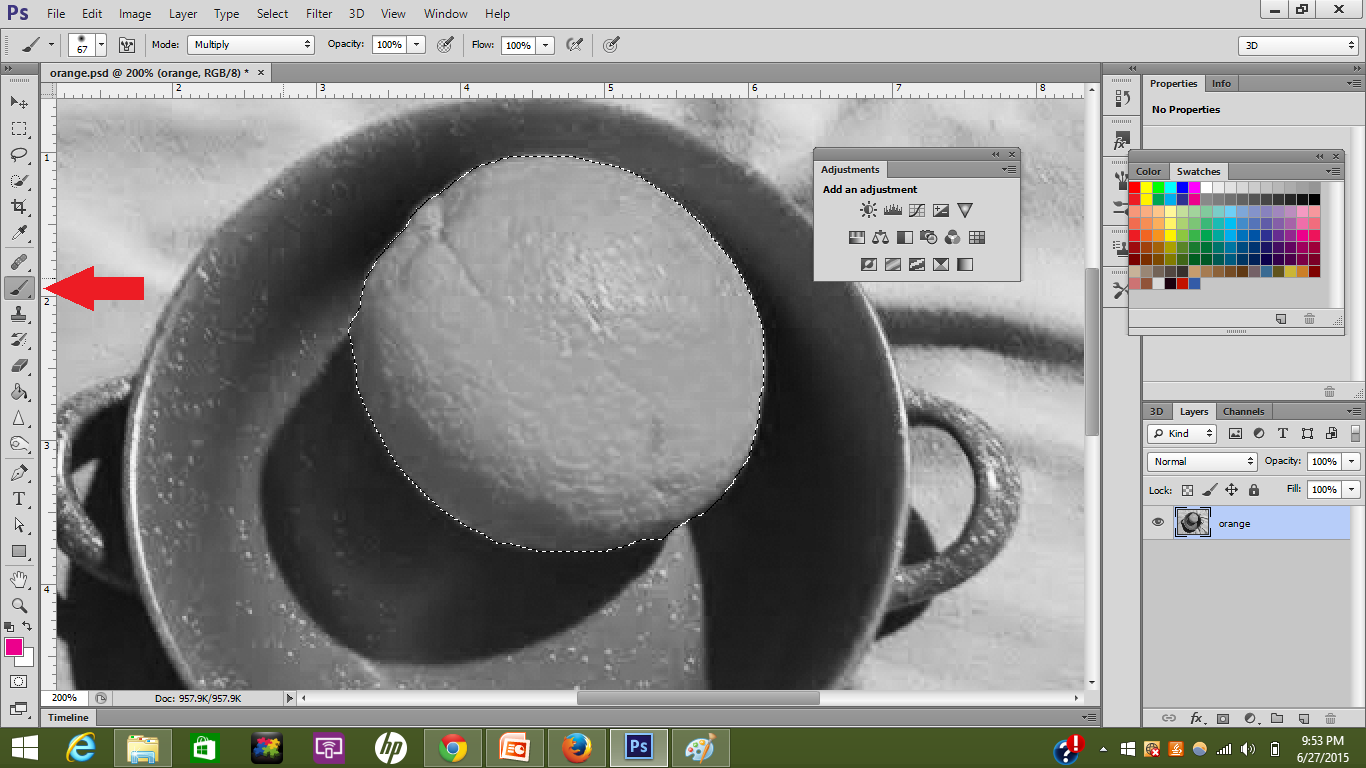
While the orange is still selected, click on the Brush Tool.
Check Mode and Opacity
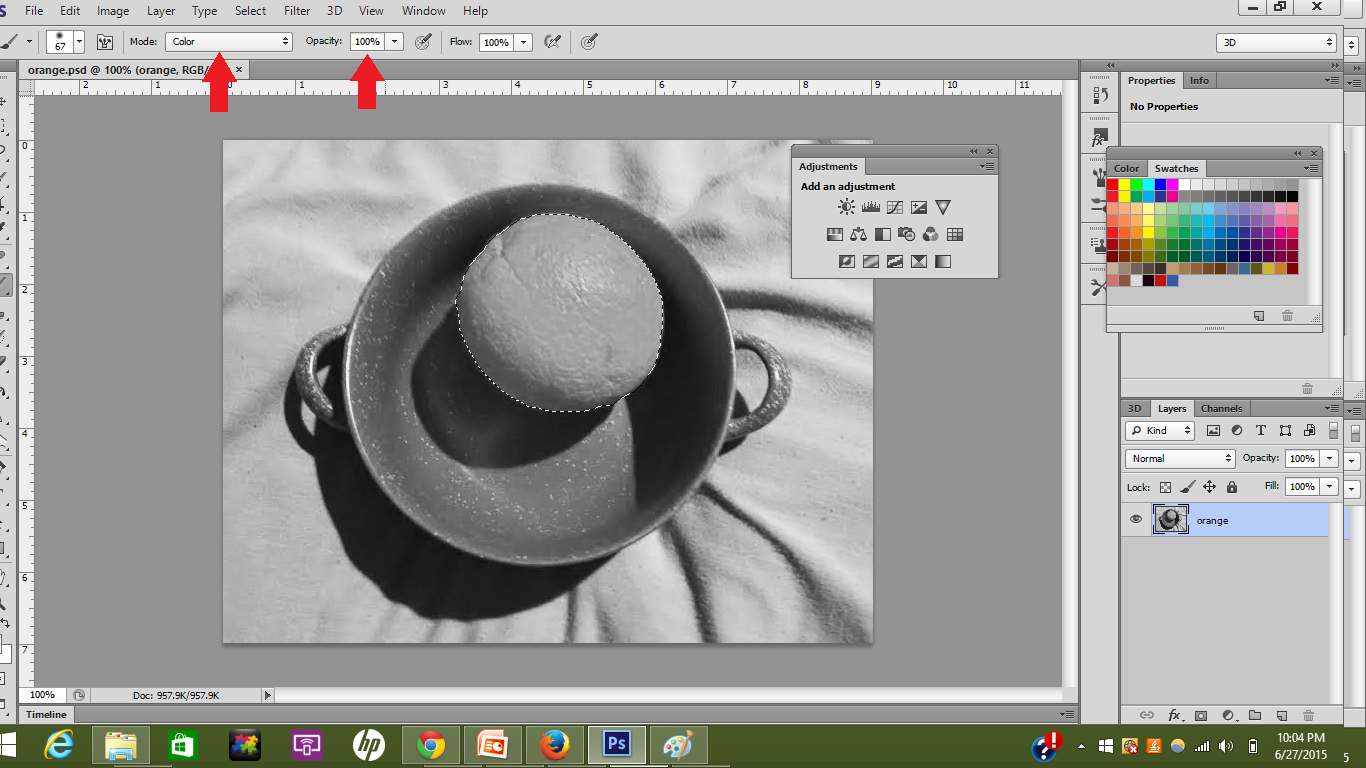
Make sure that Mode is set to "Color" and Opacity is set to 100%.
Note: While colorizing most photos, you will want to set Mode to "Multiply." Oranges are brightly colored, however, so the orange will have more of a brownish color if you use Multiply.
Set Foreground Color
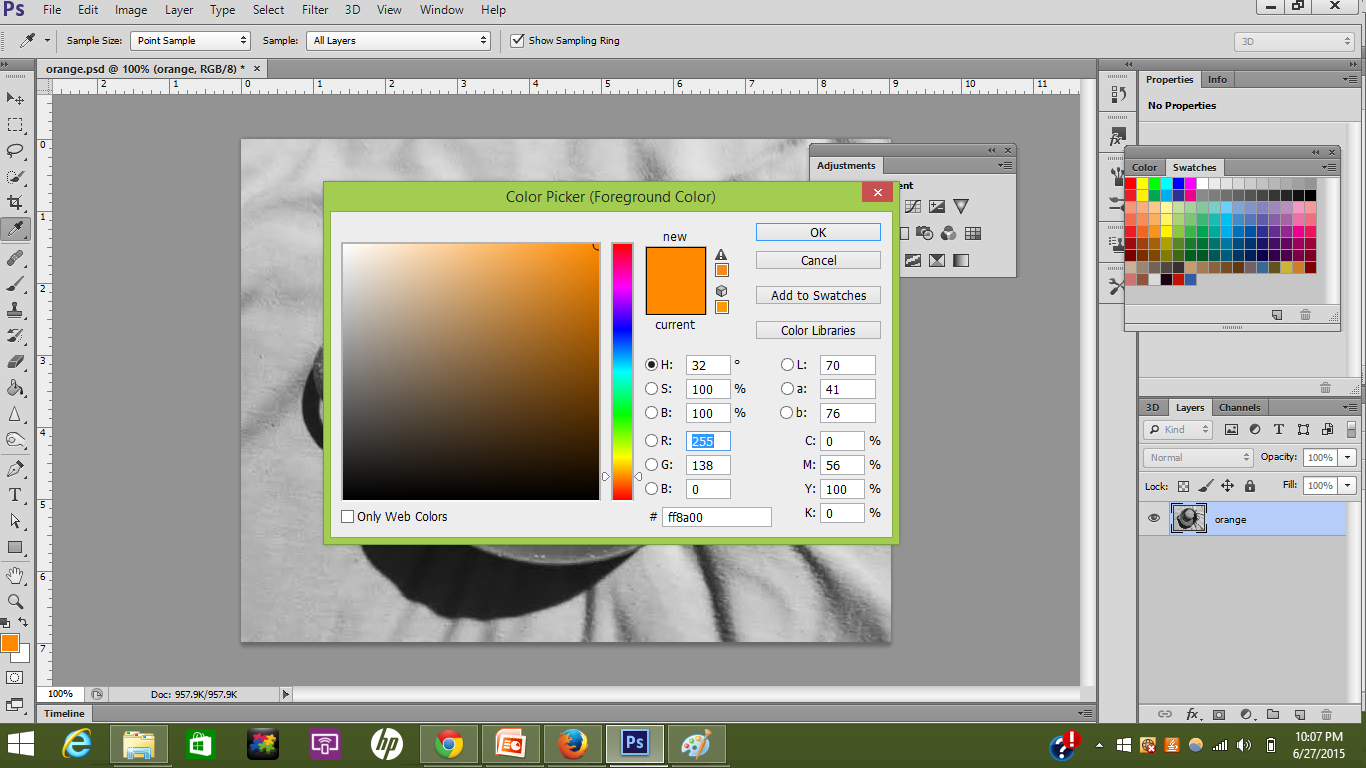
Click on the Foreground Color in the bottom-left corner (mine is orange), which will open the Color Picker. Find a yellowish-orange color. Alternatively, you can select a yellowish-orange swatch, located in the Swatches Panel.
Once you find a color you like, exit the Color Picker and color the orange with your Brush Tool.
Deselect the Orange
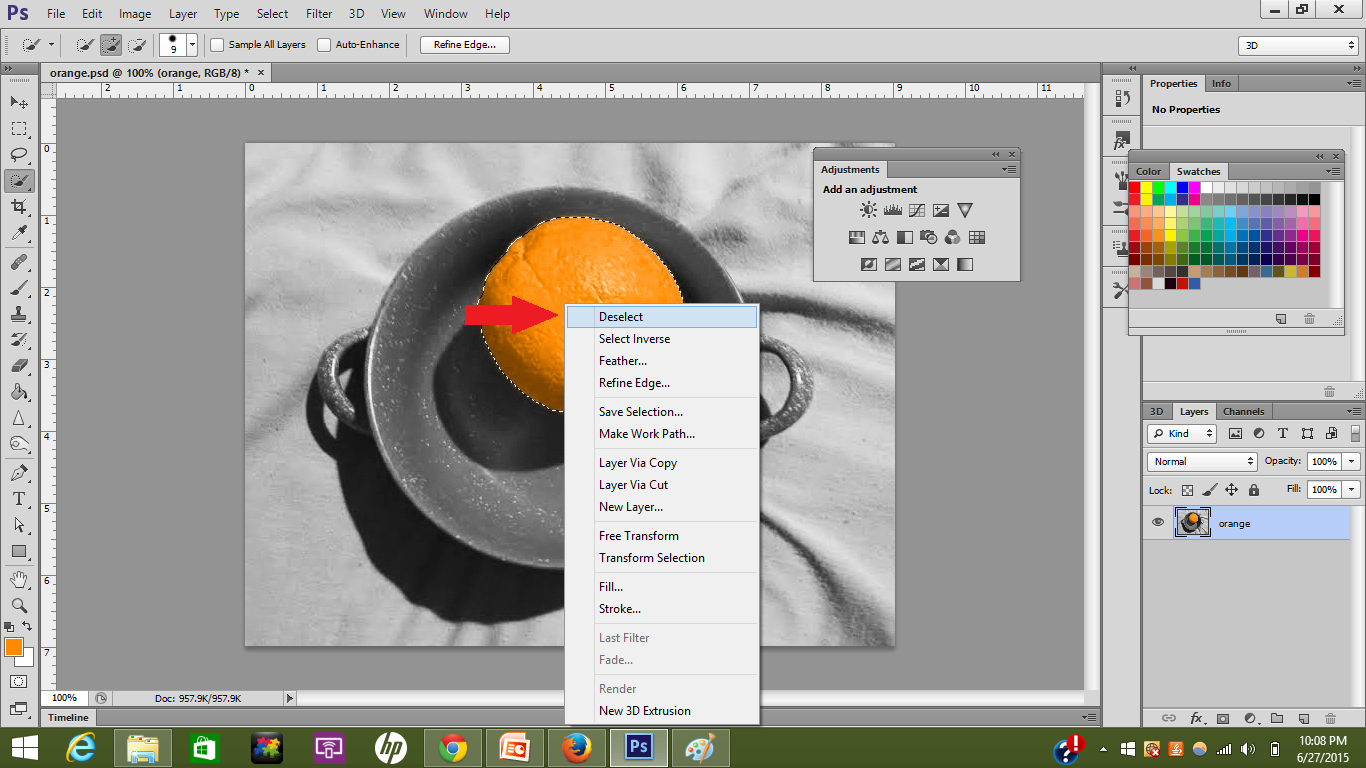
When you are done coloring the orange, click on the Quick Selection tool, then right click on the orange. A drop menu will appear. Click "deselect."
Note: If you like the the Black and White photo with just the colorized orange, you can save your project as is and quit the tutorial. If you'd like to color everything else, continue on to the next step!
Select the Bowl
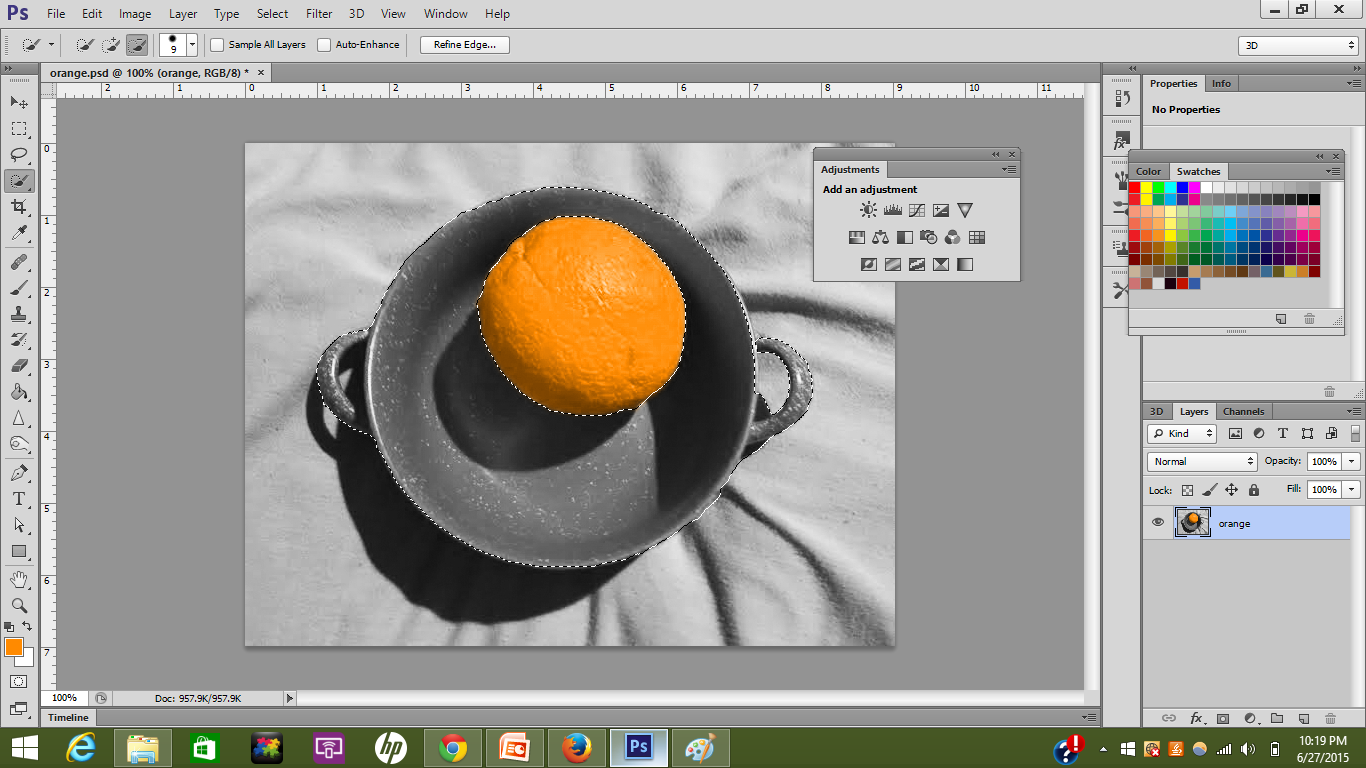
Now it's time to select the bowl. Be careful not to select the orange again.
Trim Up Your Selection
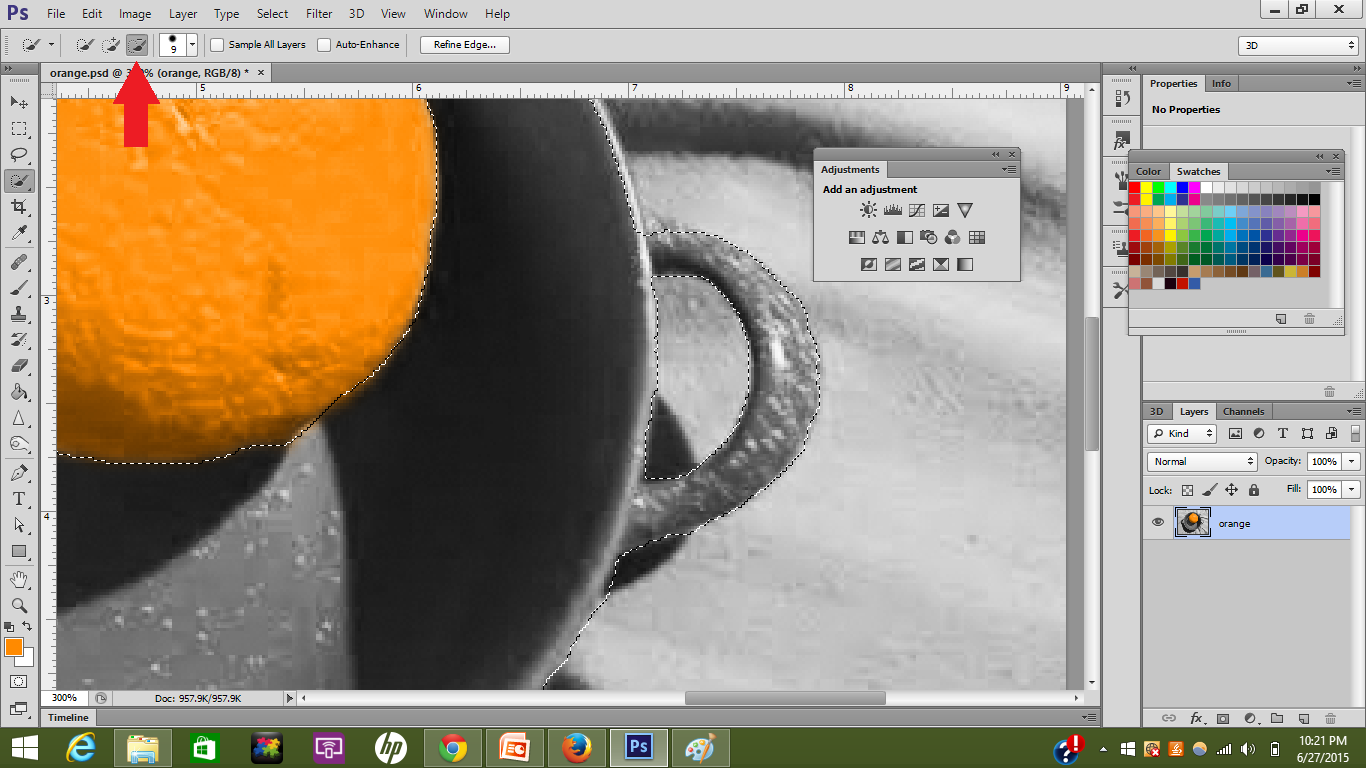
If you have selected too much or too little, correct this by using the "+" and "-" buttons, as shown above. Make sure the area inside the handles are not selected.
Repeat Steps 6-8

After you have completed selecting the bowl, repeat steps 6-8.
Select the Brush Tool Again
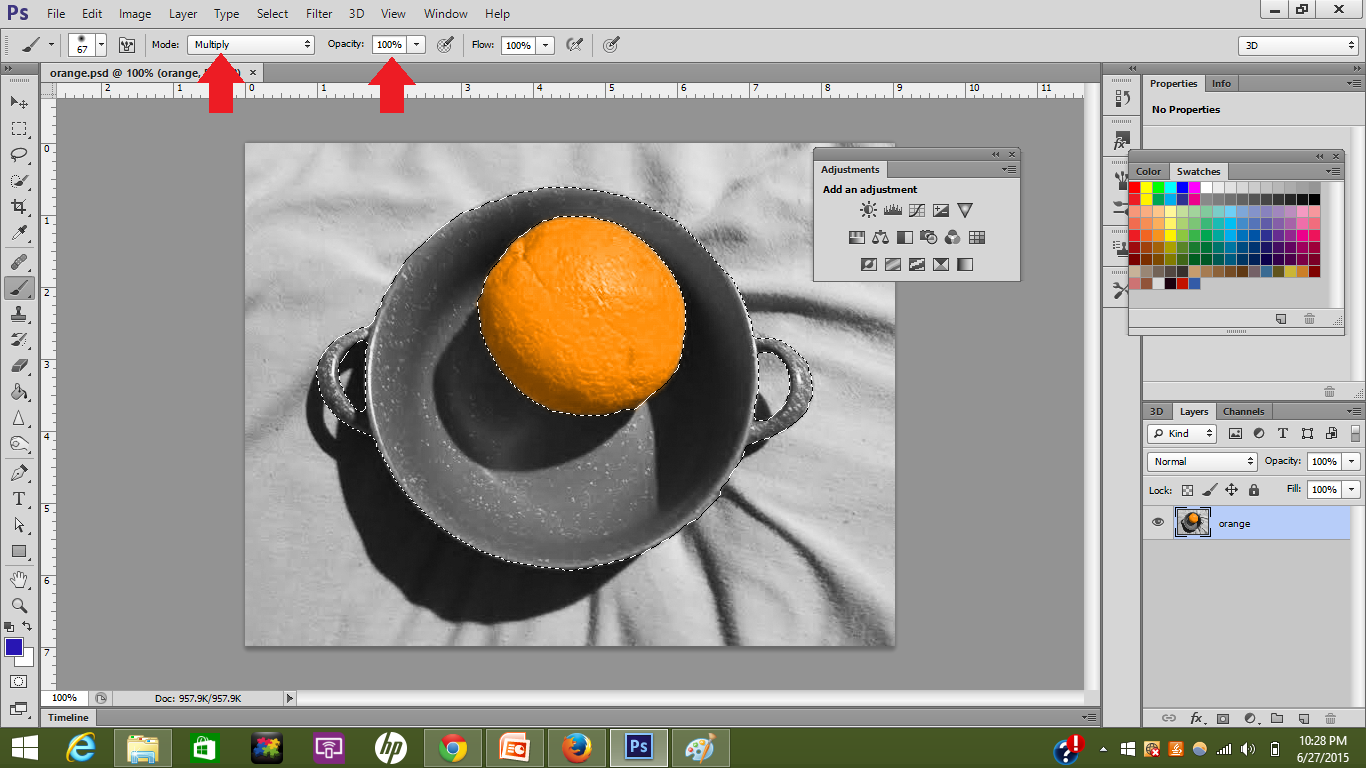
Select the brush tool, but this time change Mode to "Multiply" and keep Opacity at 100%.
Change the Foreground Color
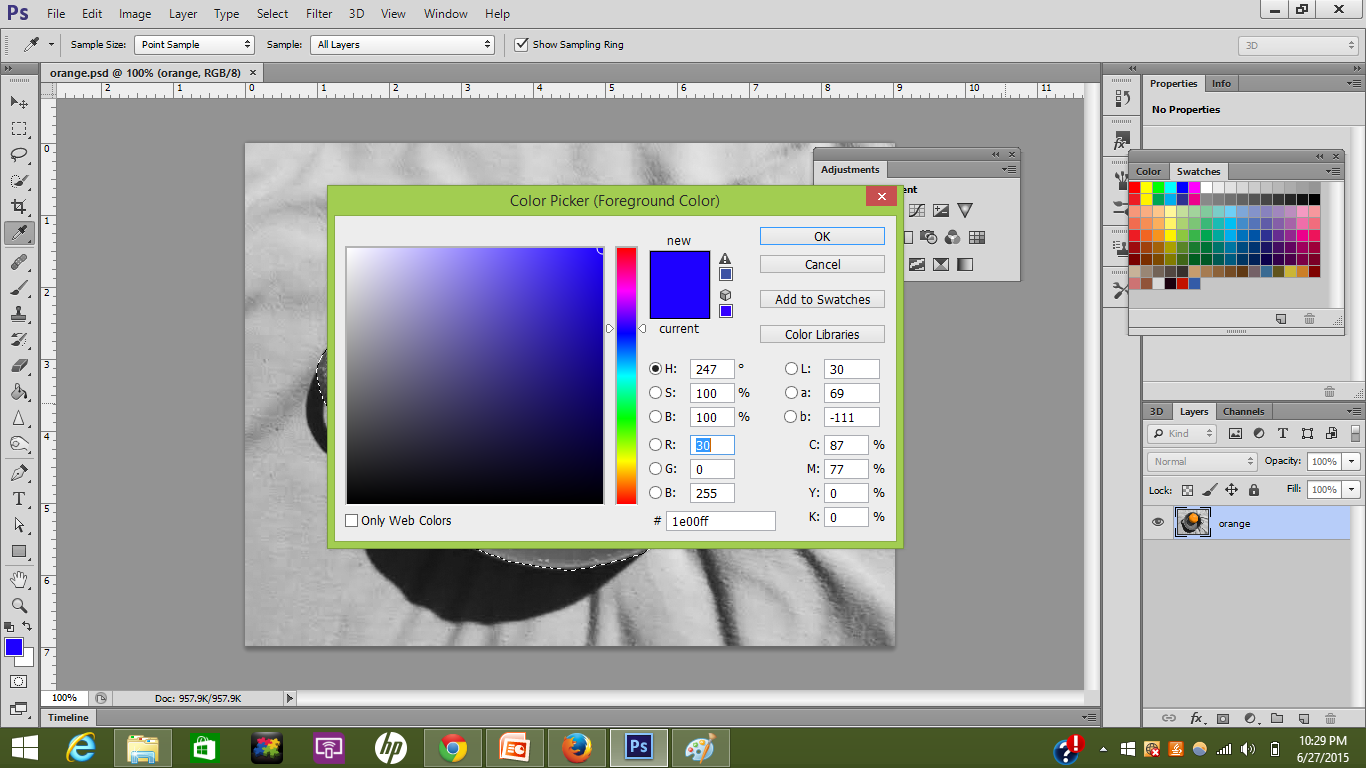
Change the Foreground Color to any color you like. I am going to choose blue because blue and orange compliment each other.
Select Inverse
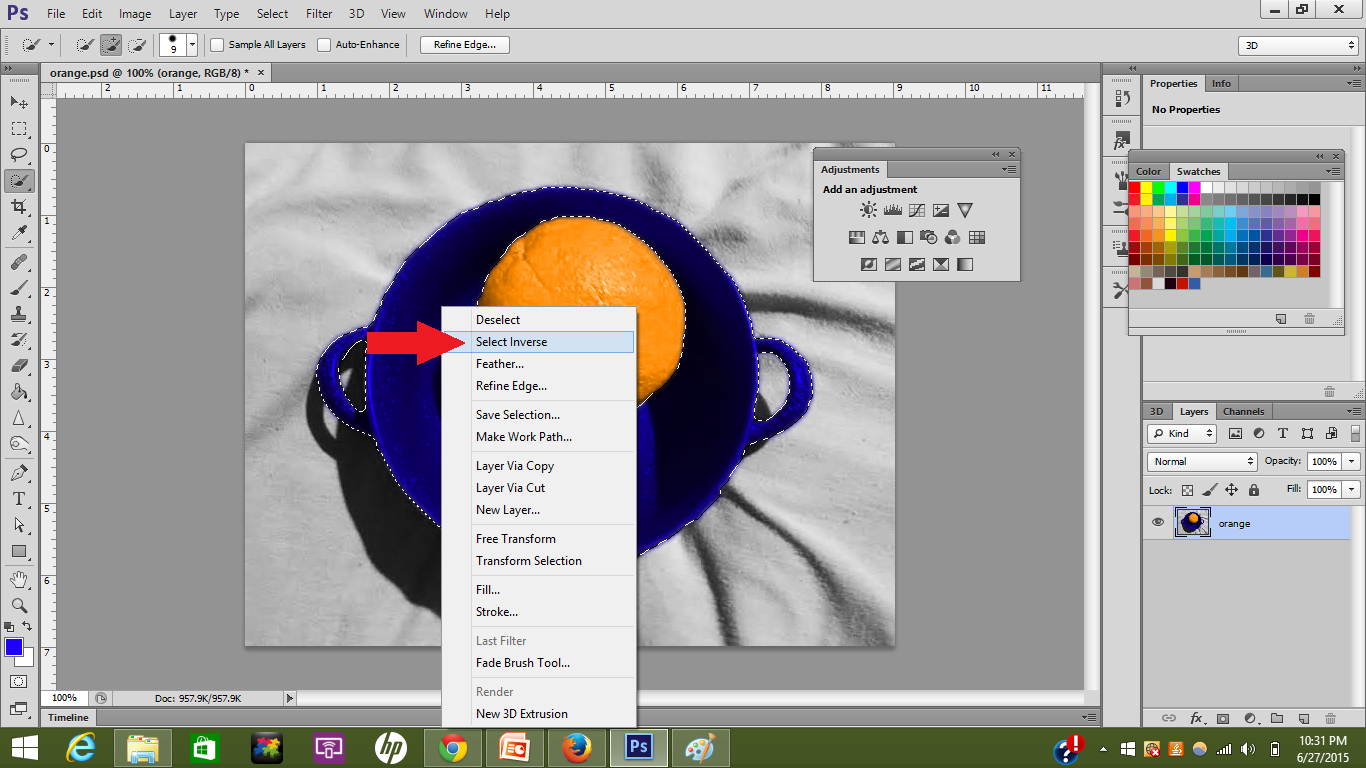
After you are done coloring the bowl, it is time to color the background. Click on the Quick Selection Tool, right click on the bowl, and this time click on "select inverse." This will select the background.
Pick Another Foreground Color
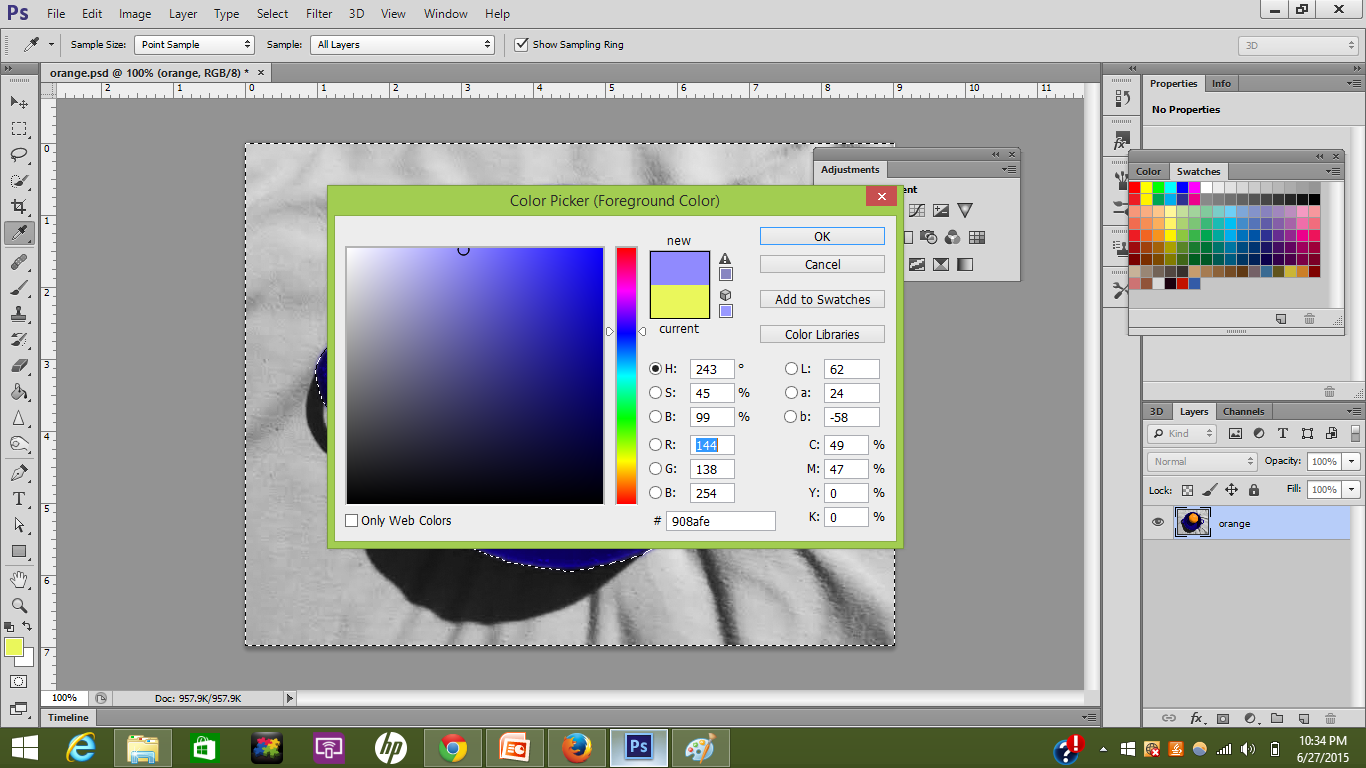
Since the background is a lighter than the bowl, use any pastel color you like in the Color Picker.
When you are done coloring the background, deselect it. If you see any grey, I'll show you how to fix that in the next step.
Cover Up Gray Areas
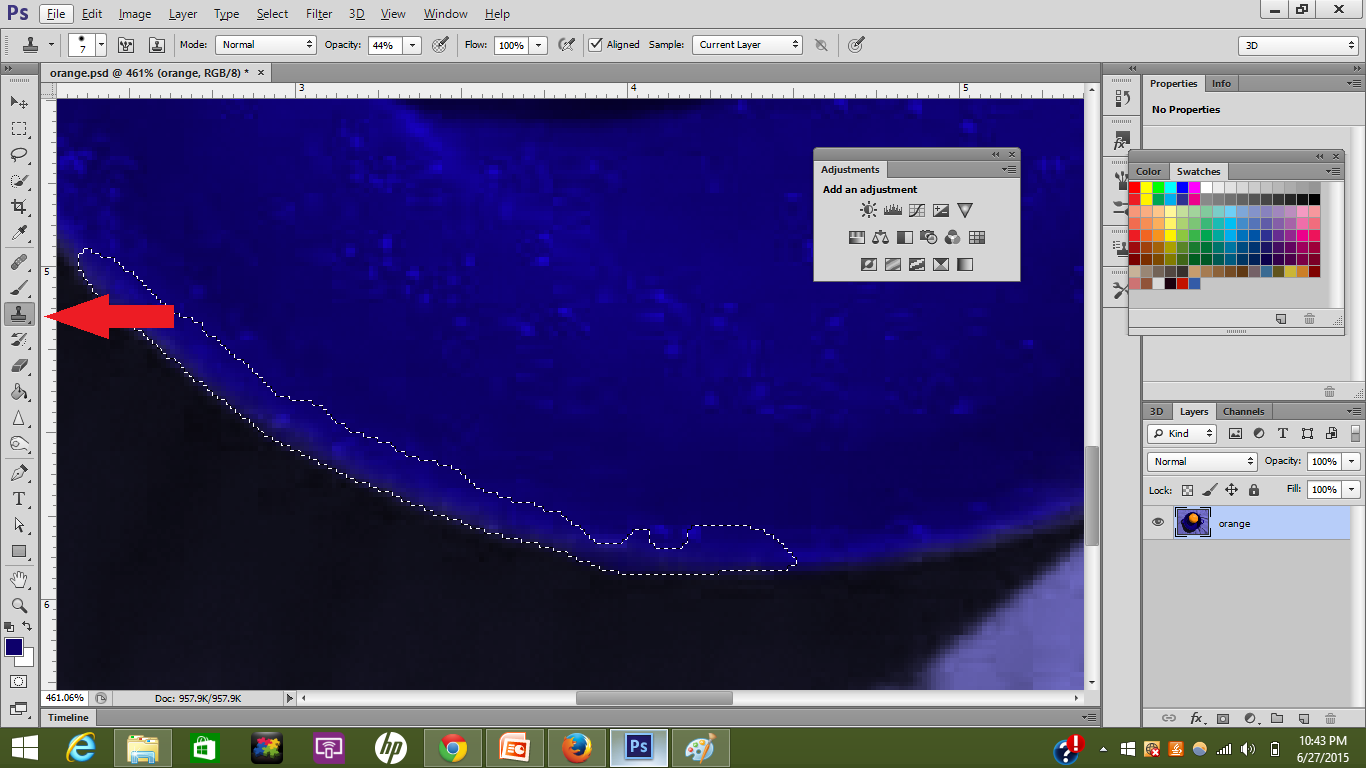
Due to using the Quick Selection Tool, it is likely you have found some grey edges around the bowl or elsewhere. Here is how you can fix it:
- Select the problem area.
- Click on the Clone Stamp tool.
- Press Alt while clicking on a colored area near the grey.
- Carefully patch up the grey area with the clone stamp tool.
Save Your Project!
After you have patched up any grey areas, save your project. Congratulations you are done! If you'd like to take your new skill to another level, there are many more colorizing tutorials available at Instructables.com created by people who are more skilled than me.