How to Clone a Dragon
I was lucky to get an opportunity to have a free 3D print from Instructables. I wanted to create something myself, but I have absolutely no experience making 3D models. At the time there were several Instructables posted that demonstrated the use of 123Catch, so I figured that I could try creating a model that way.
I was looking around my home for something to capture, I thought about my cat but he wouldn't sit still long enough to take all of the photos that I would need. My crochet dragon seemed like a good choice. This is just a quick overview of how to capture a 3D model since there are many instructables about this already and they can explain it much better than I can. I would just like to show that someone as clueless as I when it comes to 3D models can actually create something. Hopefully it would encourage others to give it a try
What you will need:
For best results you need good lighting (bright, even lighting) for your pictures. Set up your object on an uncluttered surface with a neutral background. I put my dragon on a sheet of white paper on the floor and used white poster board as a background, which I moved as I worked my way around the dragon taking pictures. I took roughly 36 photos of my dragon. I started at ground level taking photos every 45o in a circle around the dragon, then went around again taking photos at a higher angle. I then took pictures directly above the dragon.
Turn images into a model:
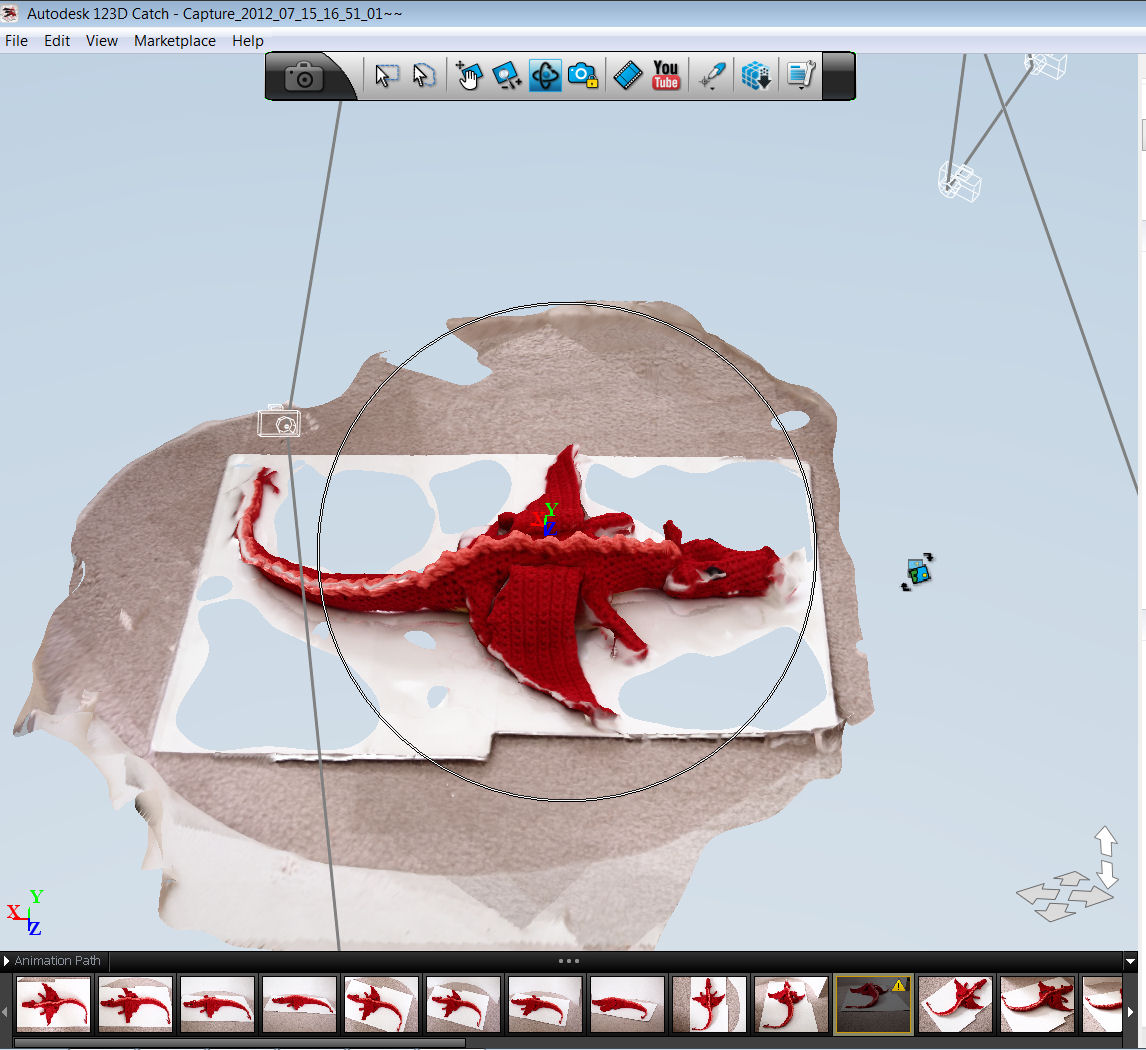
Once satisfied with the photos start 123D Catch and select Create a New Capture. Select your photos and click Create Project. The program will upload your photos and stitch them together. If you took enough good quality photos the images should be stitched together well. If there are greyed out photos on the bottom of the screen those indicated pictures that weren't stitched. You can manually stitch them following these instructions. Once that is done you can export the model as an .obj file. The file takes a while to process so you can get the program to email you when the file is done.
Clean up mesh:
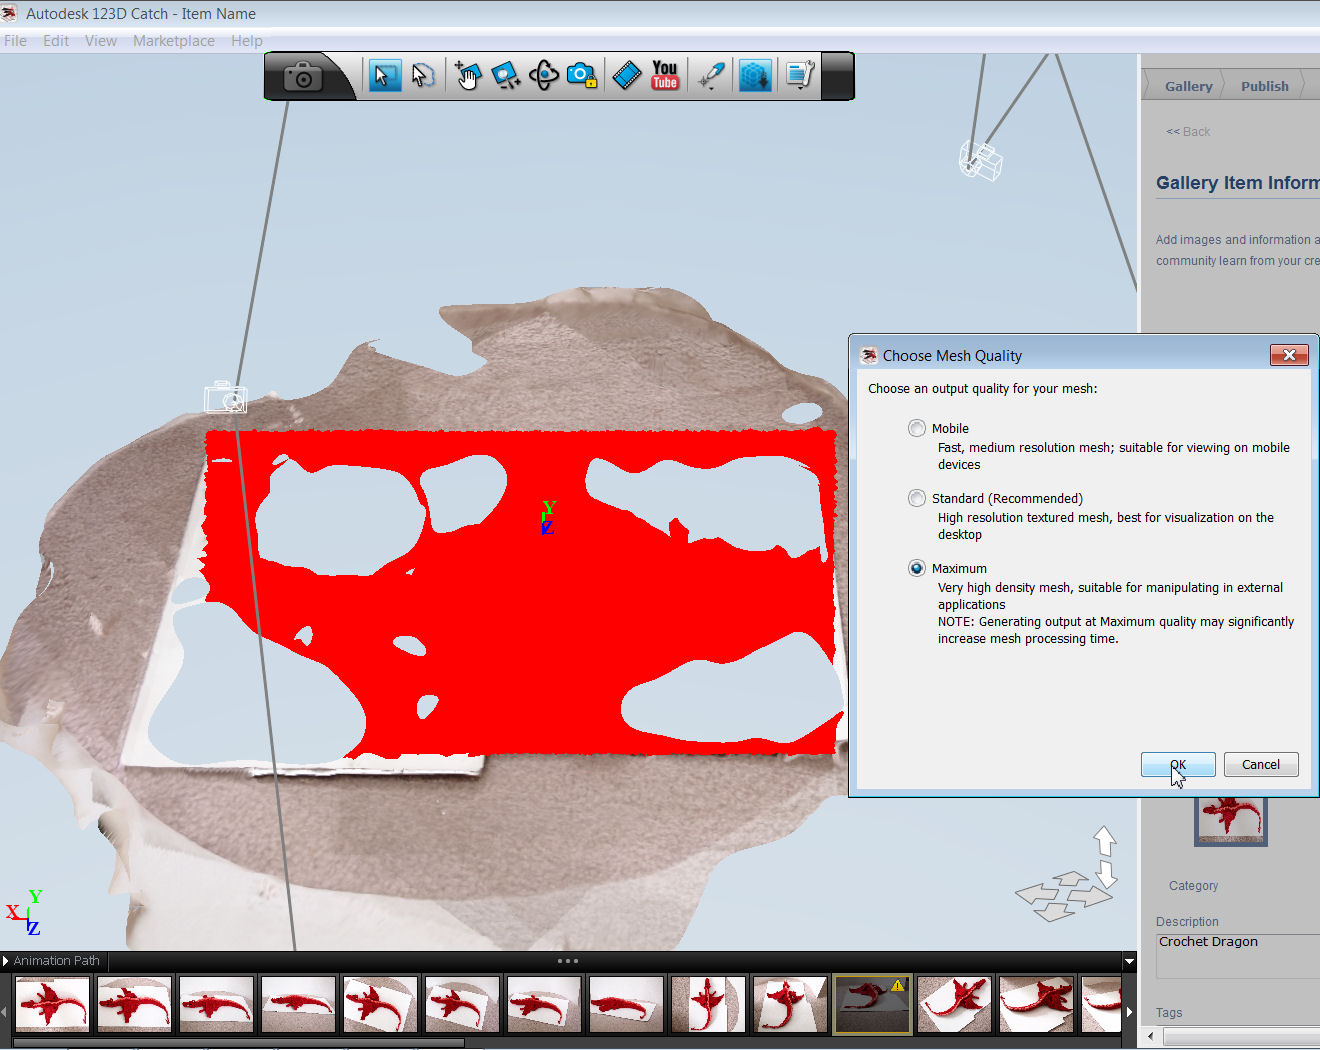
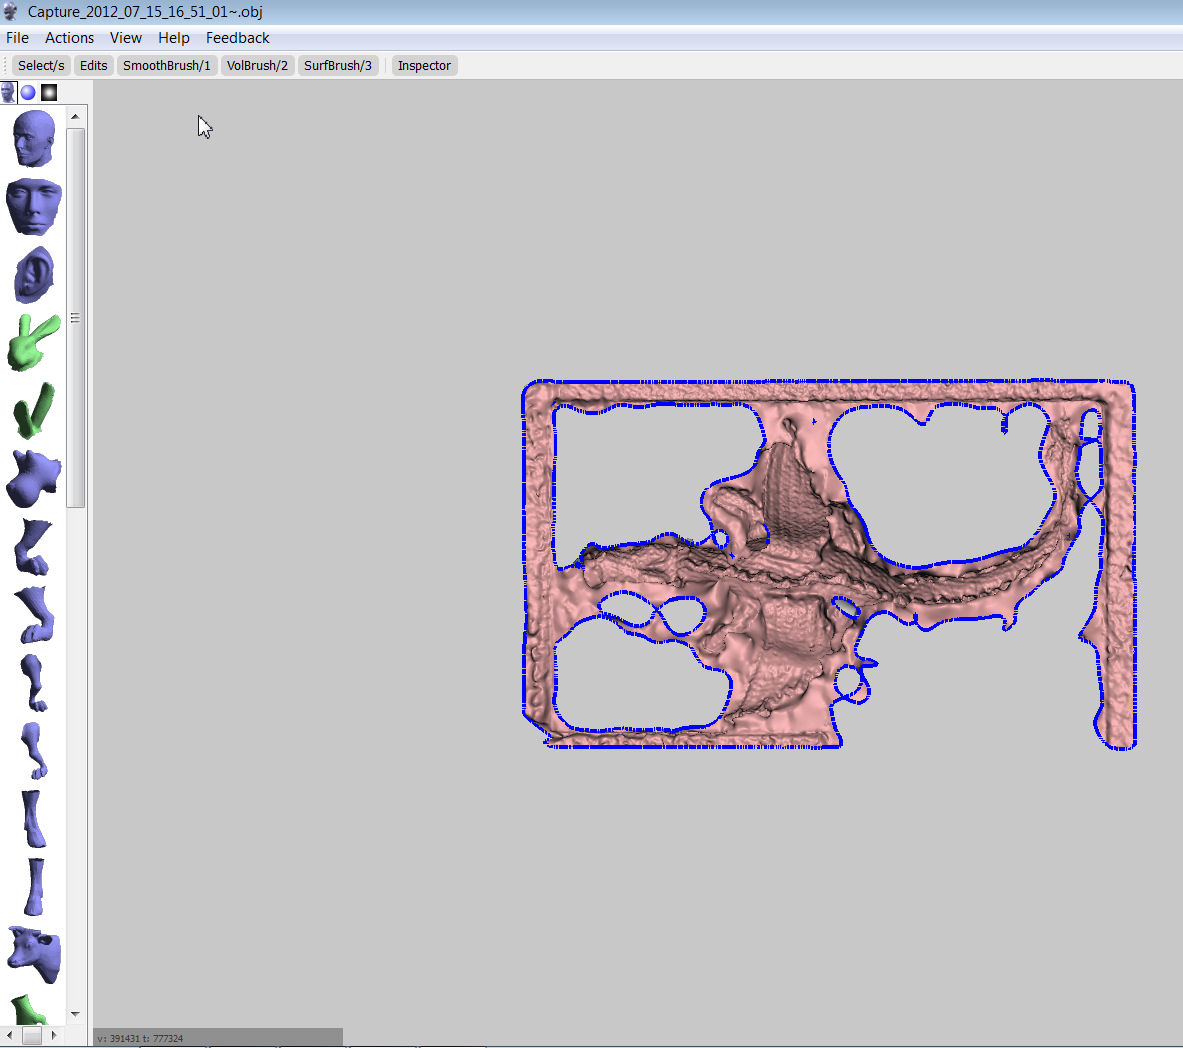
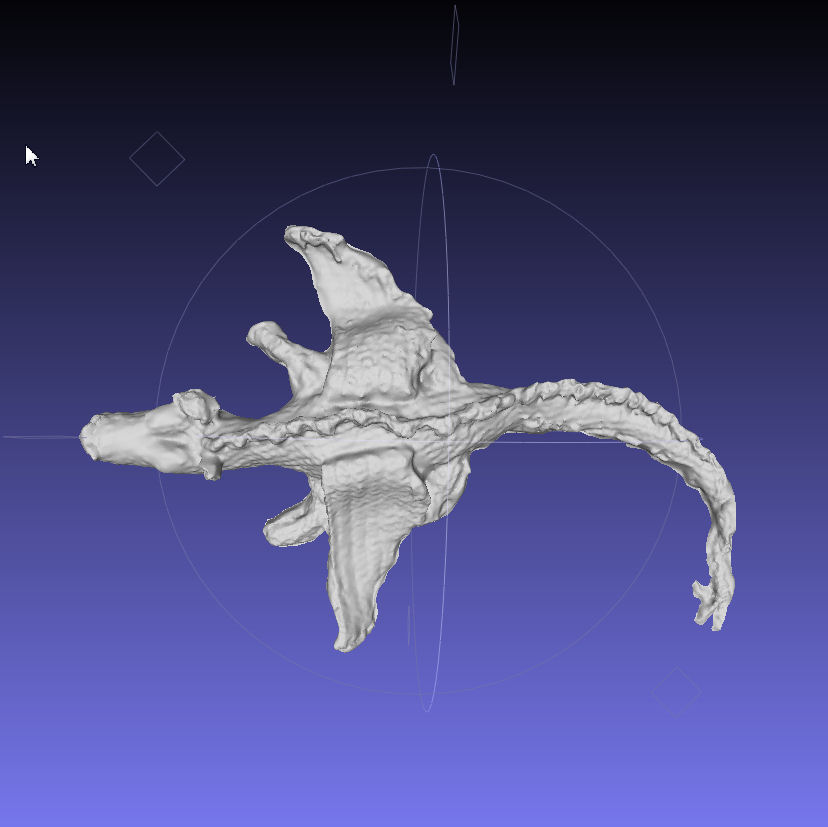
Once you have your .obj file of your model open it up in Autodesk Meshmixer. Here you can clean up your model. I had parts of the floor included in my model so I was able to delete the extraneous parts. Once that was done I used the Inspector feature in the program. Since the capture did not create an underside for the dragon there is a big hole. The Inspector tool was able to create a bottom for my dragon and filled in the other holes as well (and fix all the other things that were wrong with my model.) Here is a link to some tutorials on how to use Meshmixer.
Prepare model for printing:
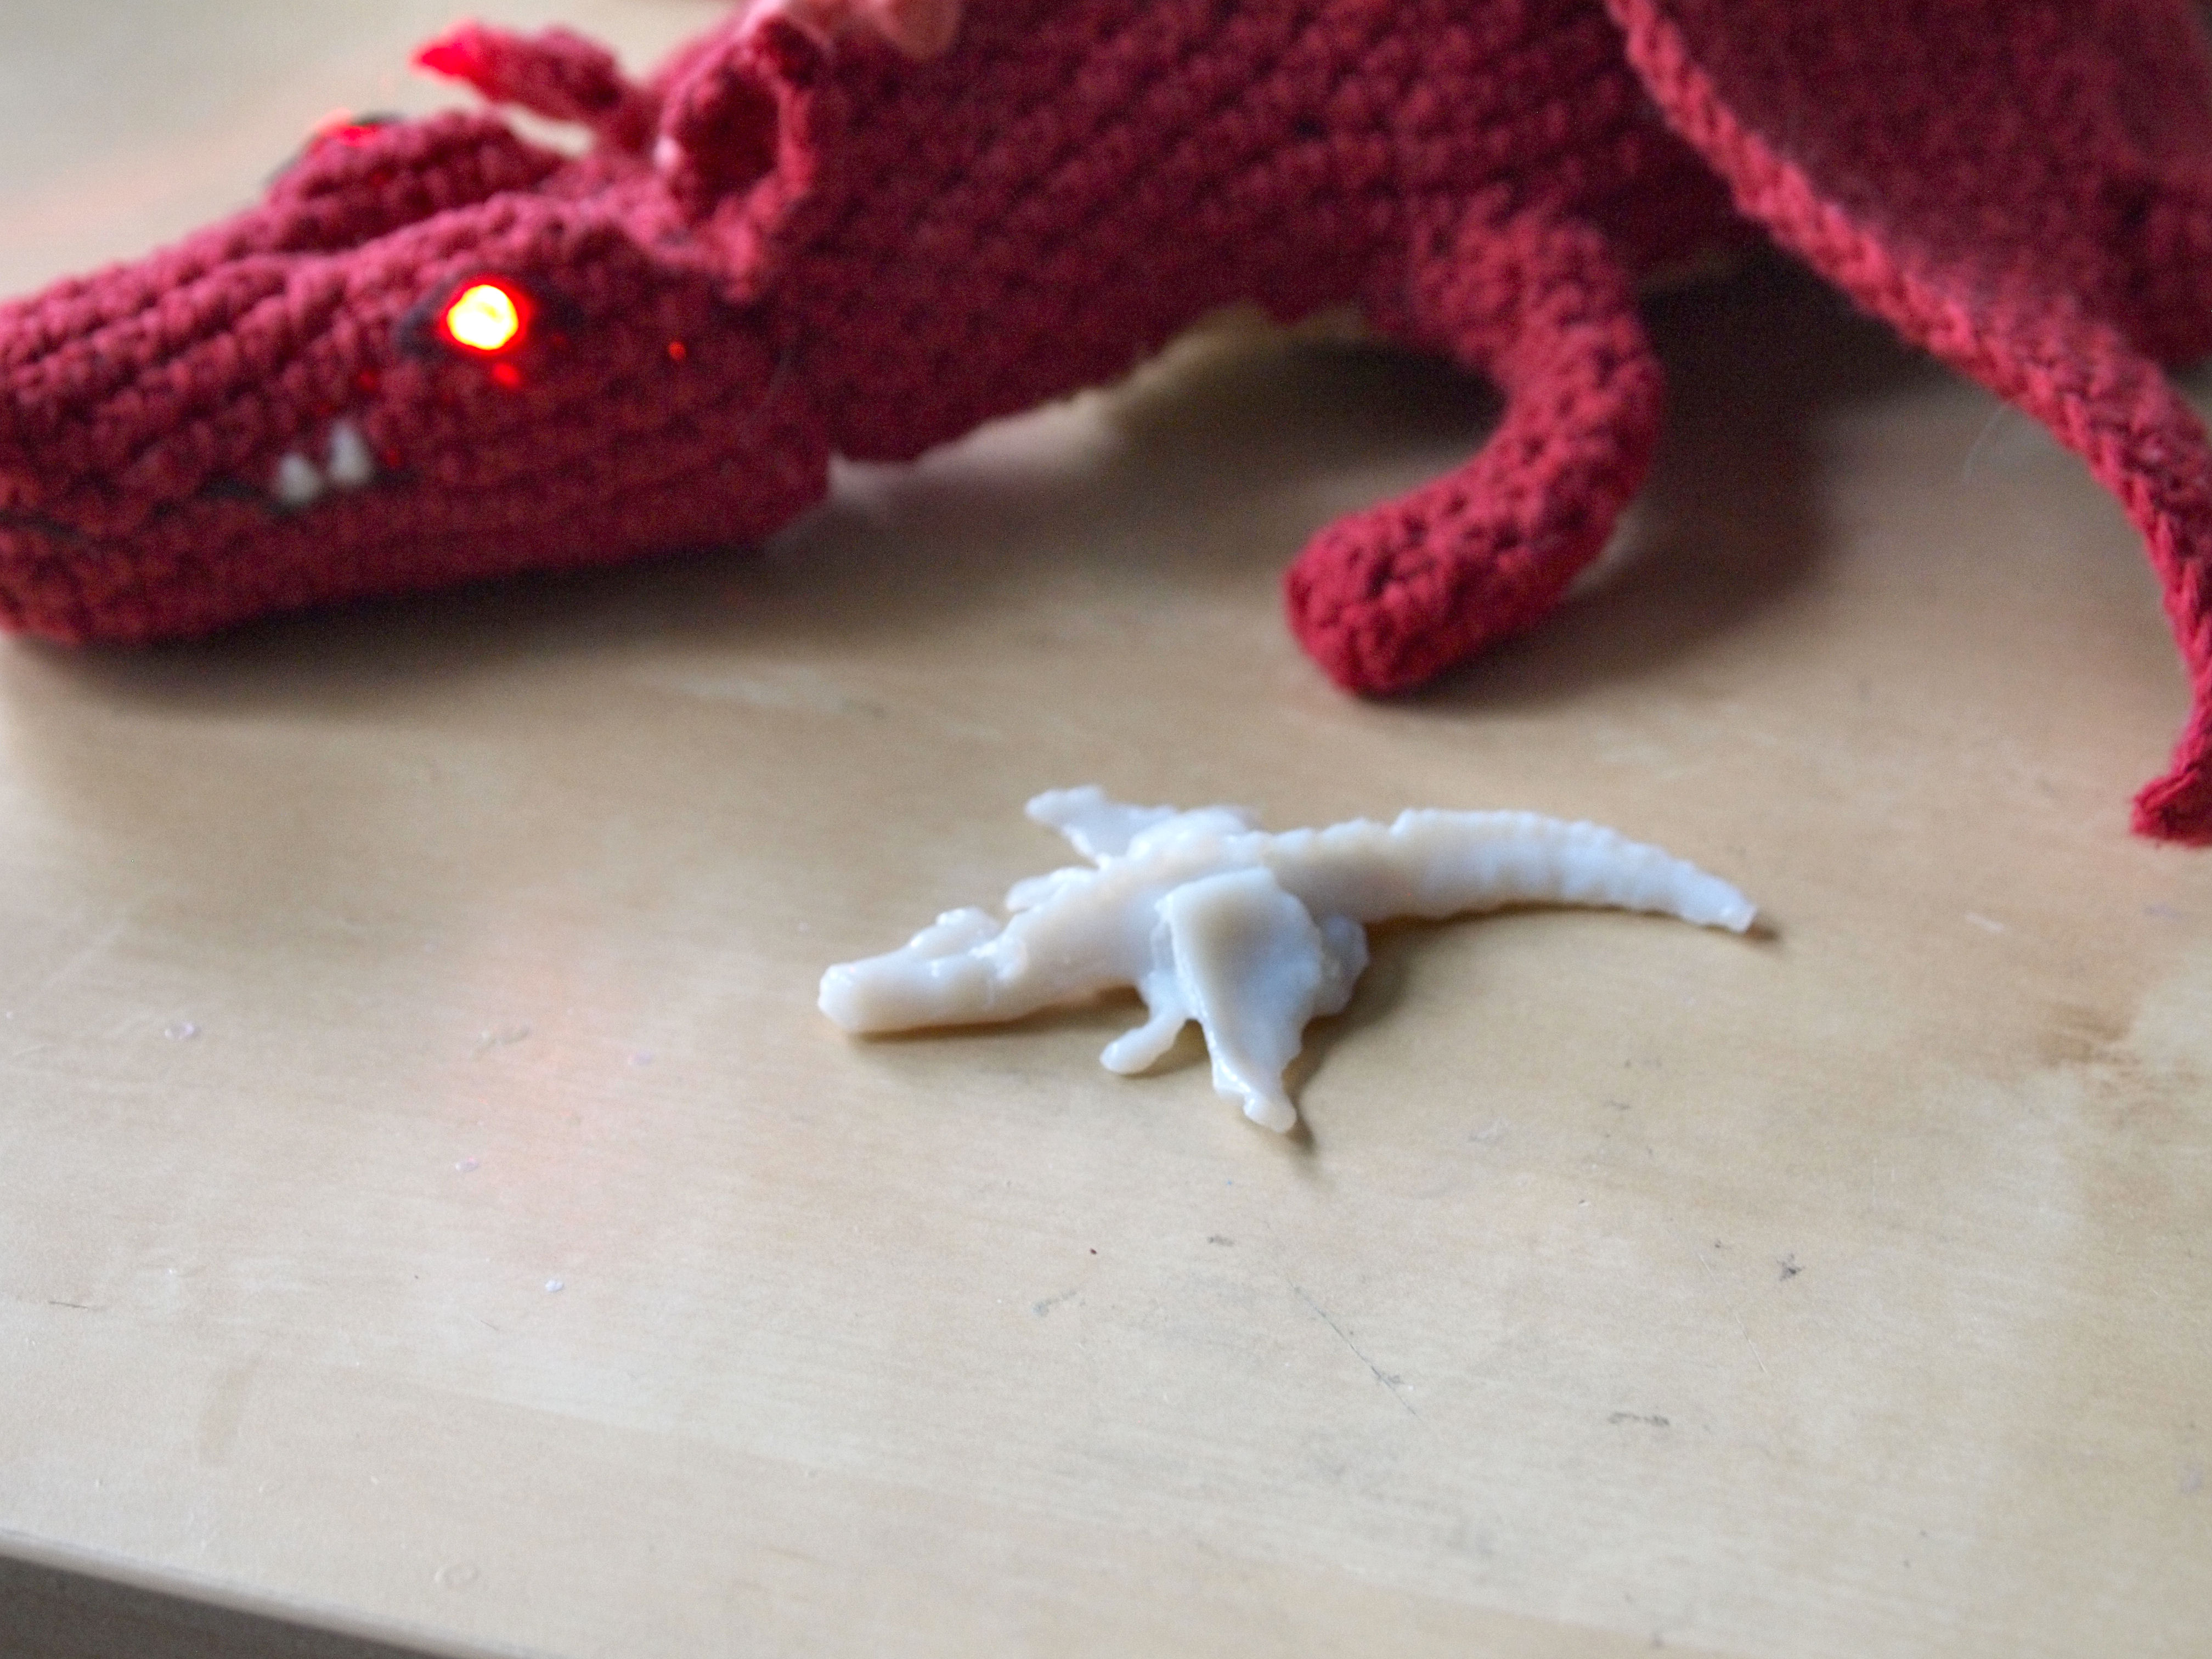
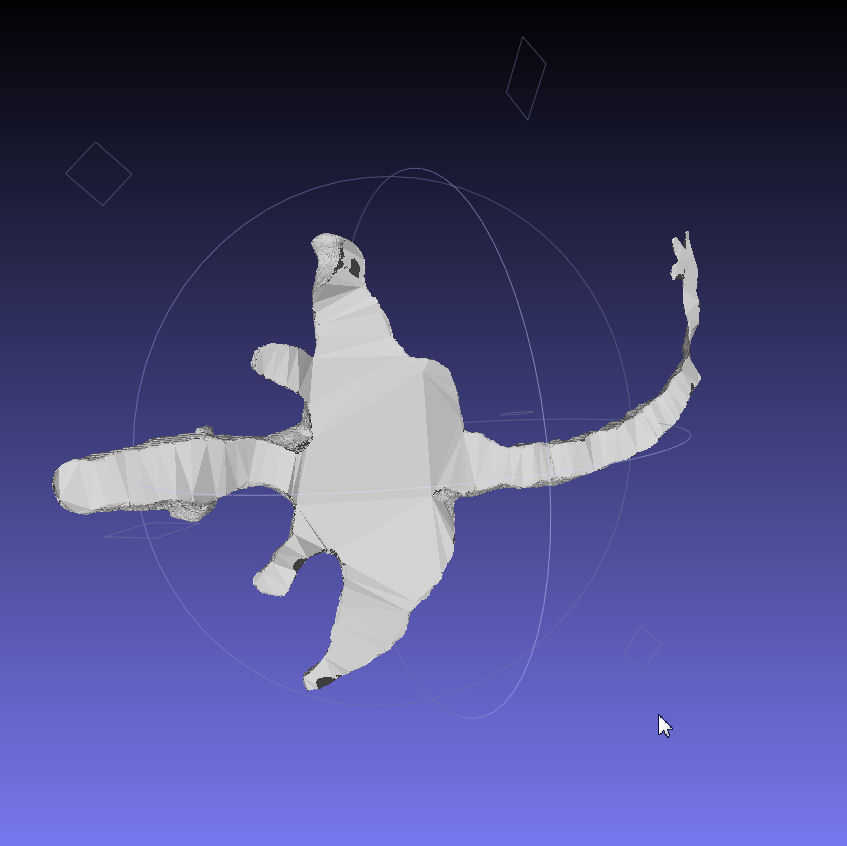
At this point I realized that my file was really huge (over 20Mb) whereas most of the other models that I have seen posted on Instructables were a couple of Mbs. I didn't know were I went wrong. I browsed through a number of 3D printing instructables and came across Don Whitaker's 3D fractal. In it he describes reducing the number of polygons and smoothing the mesh using MeshLab. I basically followed step 7 of his instructable and used Merge Close Vertices, Re-Orient All faces Coherently, Quadric Edge Collapse Decimation, and HP Laplacian Smooth. I then selected Close Holes then Export Mesh As STL File Format for printing. You can also use MeshLab to resize your model but I can't remember if I did that. Now your model is ready to print!
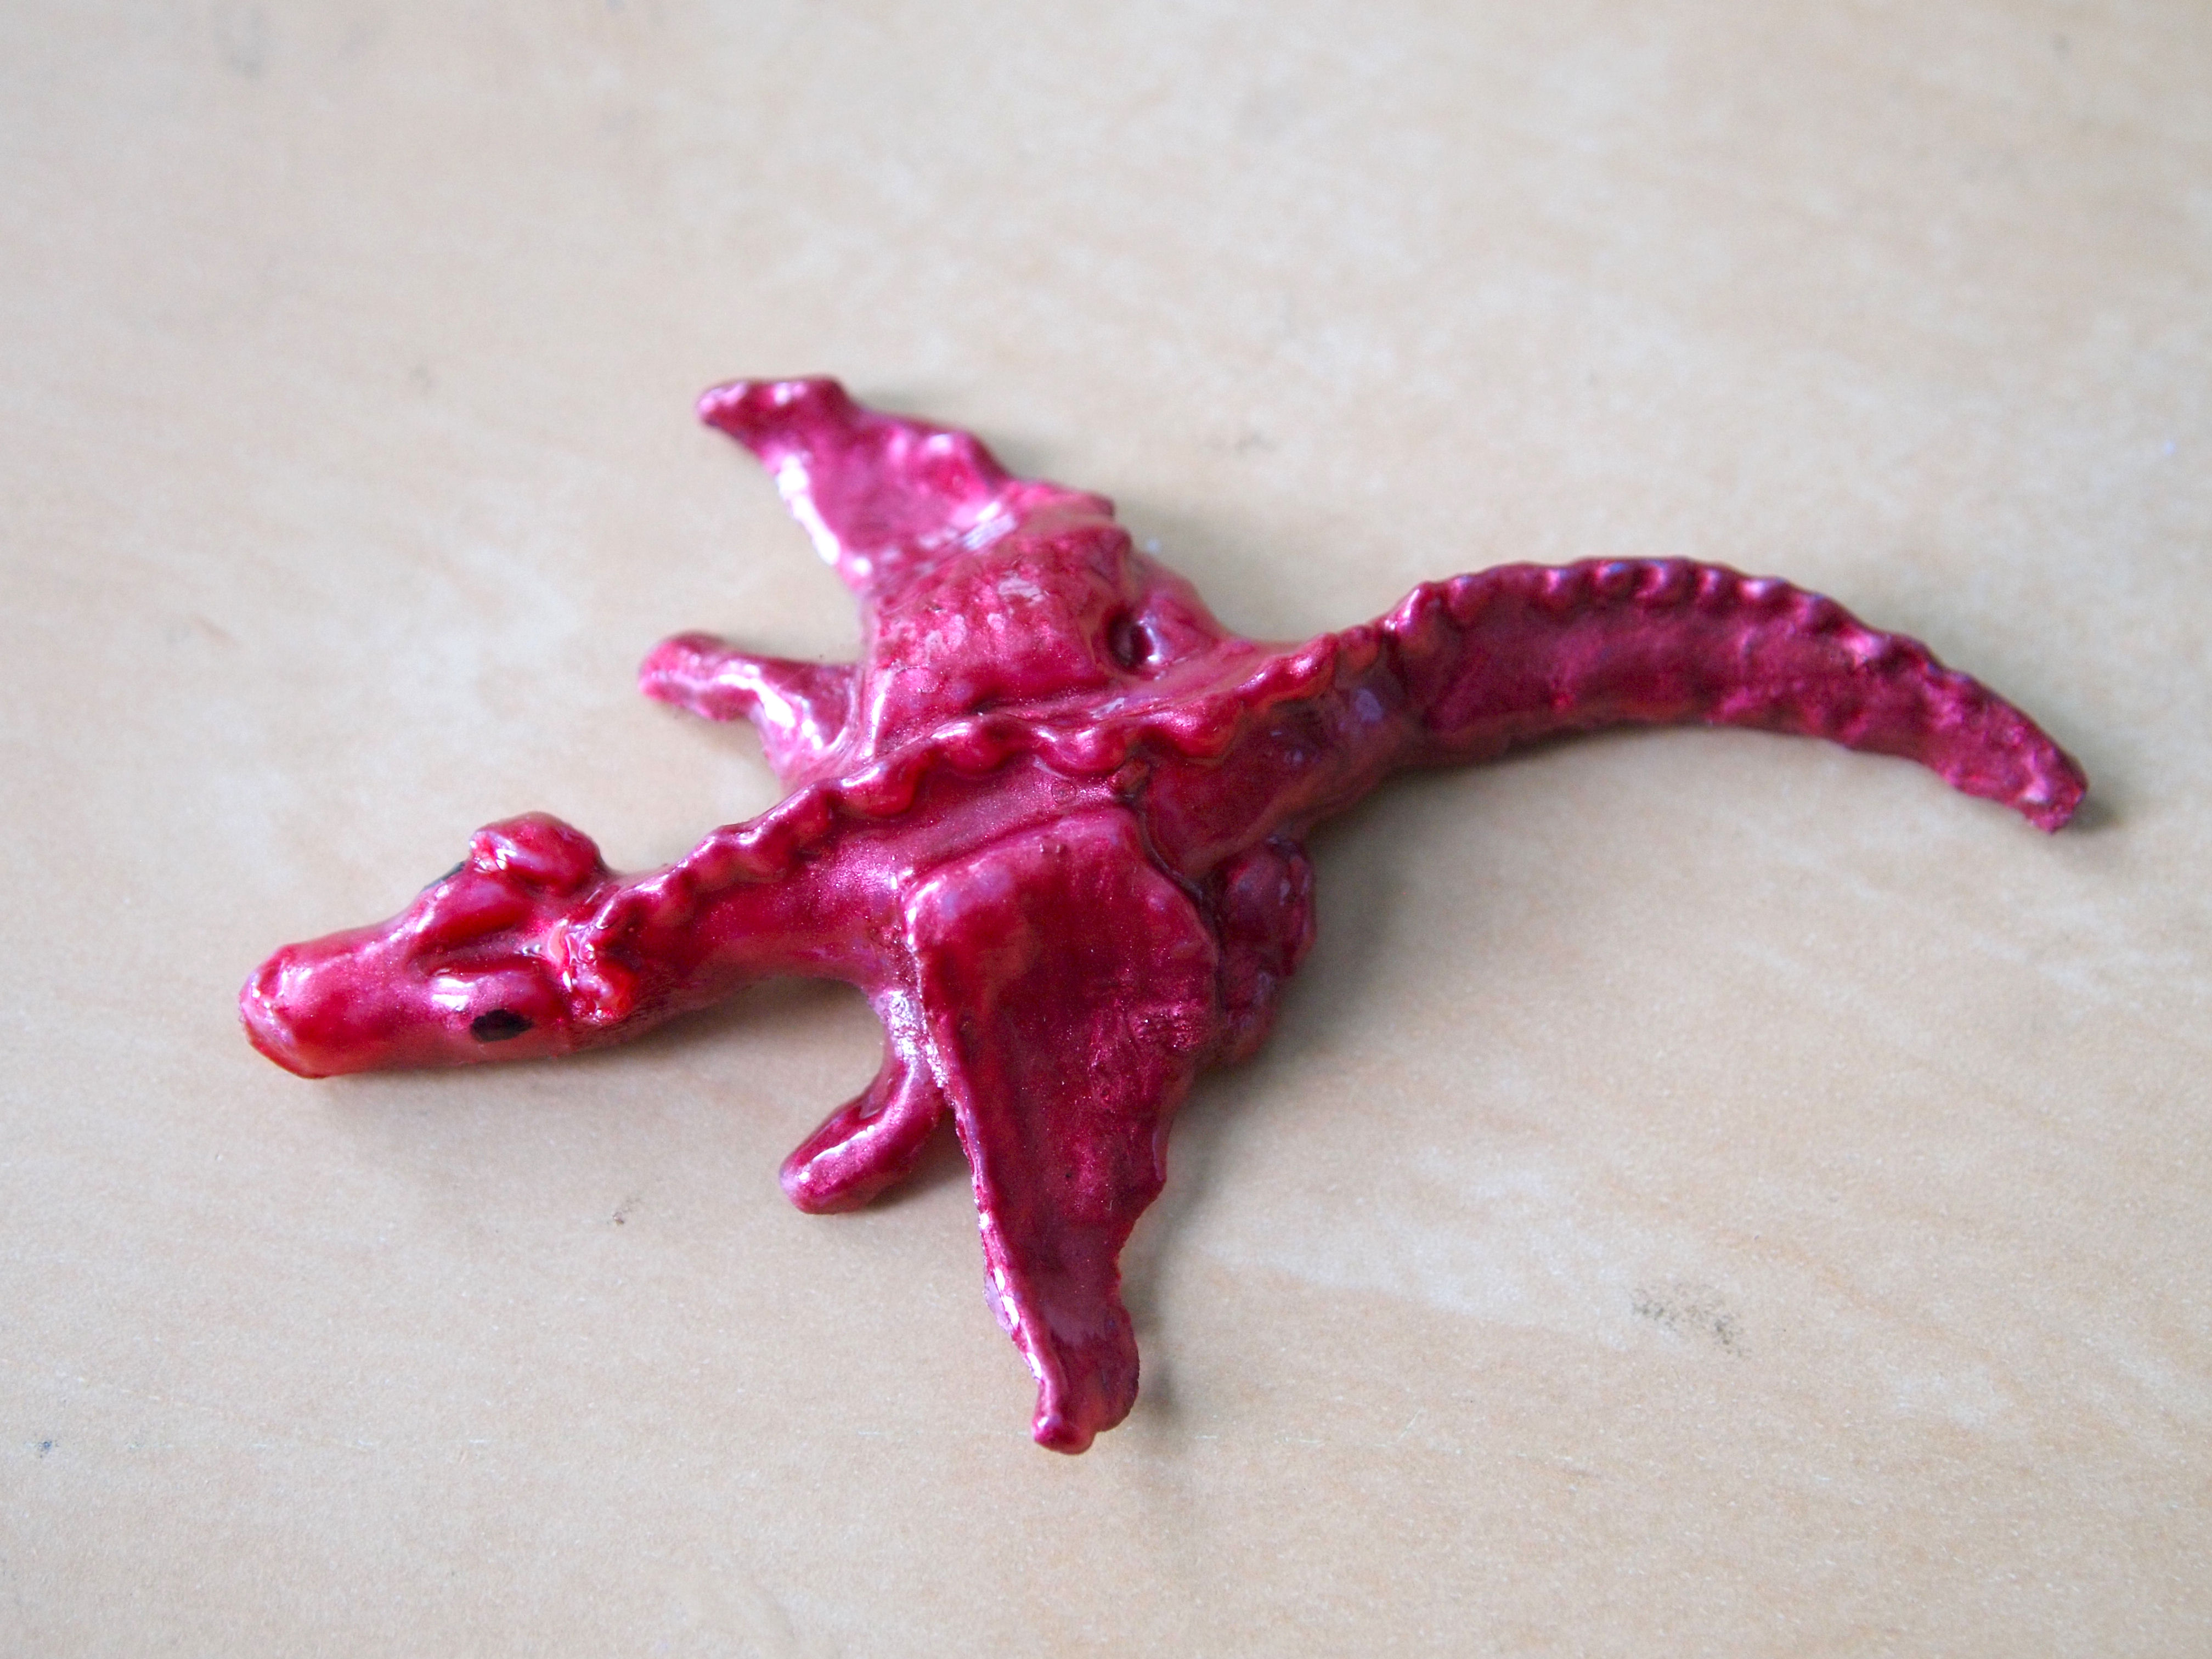
After it was printed, I painted it with Testor's model paint.
I was looking around my home for something to capture, I thought about my cat but he wouldn't sit still long enough to take all of the photos that I would need. My crochet dragon seemed like a good choice. This is just a quick overview of how to capture a 3D model since there are many instructables about this already and they can explain it much better than I can. I would just like to show that someone as clueless as I when it comes to 3D models can actually create something. Hopefully it would encourage others to give it a try
What you will need:
- Camera
- 123D Catch
- Autodesk Meshmixer
- Meshlab
- (Optional) Testors model paint (I used metallic red and gold for the belly)
For best results you need good lighting (bright, even lighting) for your pictures. Set up your object on an uncluttered surface with a neutral background. I put my dragon on a sheet of white paper on the floor and used white poster board as a background, which I moved as I worked my way around the dragon taking pictures. I took roughly 36 photos of my dragon. I started at ground level taking photos every 45o in a circle around the dragon, then went around again taking photos at a higher angle. I then took pictures directly above the dragon.
Turn images into a model:
Once satisfied with the photos start 123D Catch and select Create a New Capture. Select your photos and click Create Project. The program will upload your photos and stitch them together. If you took enough good quality photos the images should be stitched together well. If there are greyed out photos on the bottom of the screen those indicated pictures that weren't stitched. You can manually stitch them following these instructions. Once that is done you can export the model as an .obj file. The file takes a while to process so you can get the program to email you when the file is done.
Clean up mesh:
Once you have your .obj file of your model open it up in Autodesk Meshmixer. Here you can clean up your model. I had parts of the floor included in my model so I was able to delete the extraneous parts. Once that was done I used the Inspector feature in the program. Since the capture did not create an underside for the dragon there is a big hole. The Inspector tool was able to create a bottom for my dragon and filled in the other holes as well (and fix all the other things that were wrong with my model.) Here is a link to some tutorials on how to use Meshmixer.
Prepare model for printing:
At this point I realized that my file was really huge (over 20Mb) whereas most of the other models that I have seen posted on Instructables were a couple of Mbs. I didn't know were I went wrong. I browsed through a number of 3D printing instructables and came across Don Whitaker's 3D fractal. In it he describes reducing the number of polygons and smoothing the mesh using MeshLab. I basically followed step 7 of his instructable and used Merge Close Vertices, Re-Orient All faces Coherently, Quadric Edge Collapse Decimation, and HP Laplacian Smooth. I then selected Close Holes then Export Mesh As STL File Format for printing. You can also use MeshLab to resize your model but I can't remember if I did that. Now your model is ready to print!
After it was printed, I painted it with Testor's model paint.