How to Clone Your Drive
This is a guide on how to clone your boot drive on a laptop or desktop and properly replace it. This guide is meant to educate people on how to properly clone their drive to make the transition to the newer drive easier. This guide will not show how to disassemble either the laptop or desktop since there are to many models of laptops and desktops to cover.
Precautions
Before attempting any clone there are a few precautions that you should take. The first being with replacing drivers on a laptop verify which drive that your laptop is able to take. Most laptops will take either and 2.5" SSD or M.2 NVME this will very depending on age of the laptop. One tool that can be useful in finding this is on cruical.com in which you can use their tool or look up your model to see what would be compatible. The second precaution that should be taken is to make sure to back up all important data on your computer to some external drive before attempting cloning to the new drive. The reason for this is if for whatever reason the source drive you cloning from has issues and or crashes resulting in data loss on that drive you have a backup of all the important information.
Supplies
Tools
-Screwdriver with the appropriate head for disassembly
-Cloning Software(Free version of Macrium used)
-Replacement drive
-SATA to usb adapter and or M.2 NVME reader(depends on what kind the replacement drive is)
-Anti Static wrist strap
Download Macrium
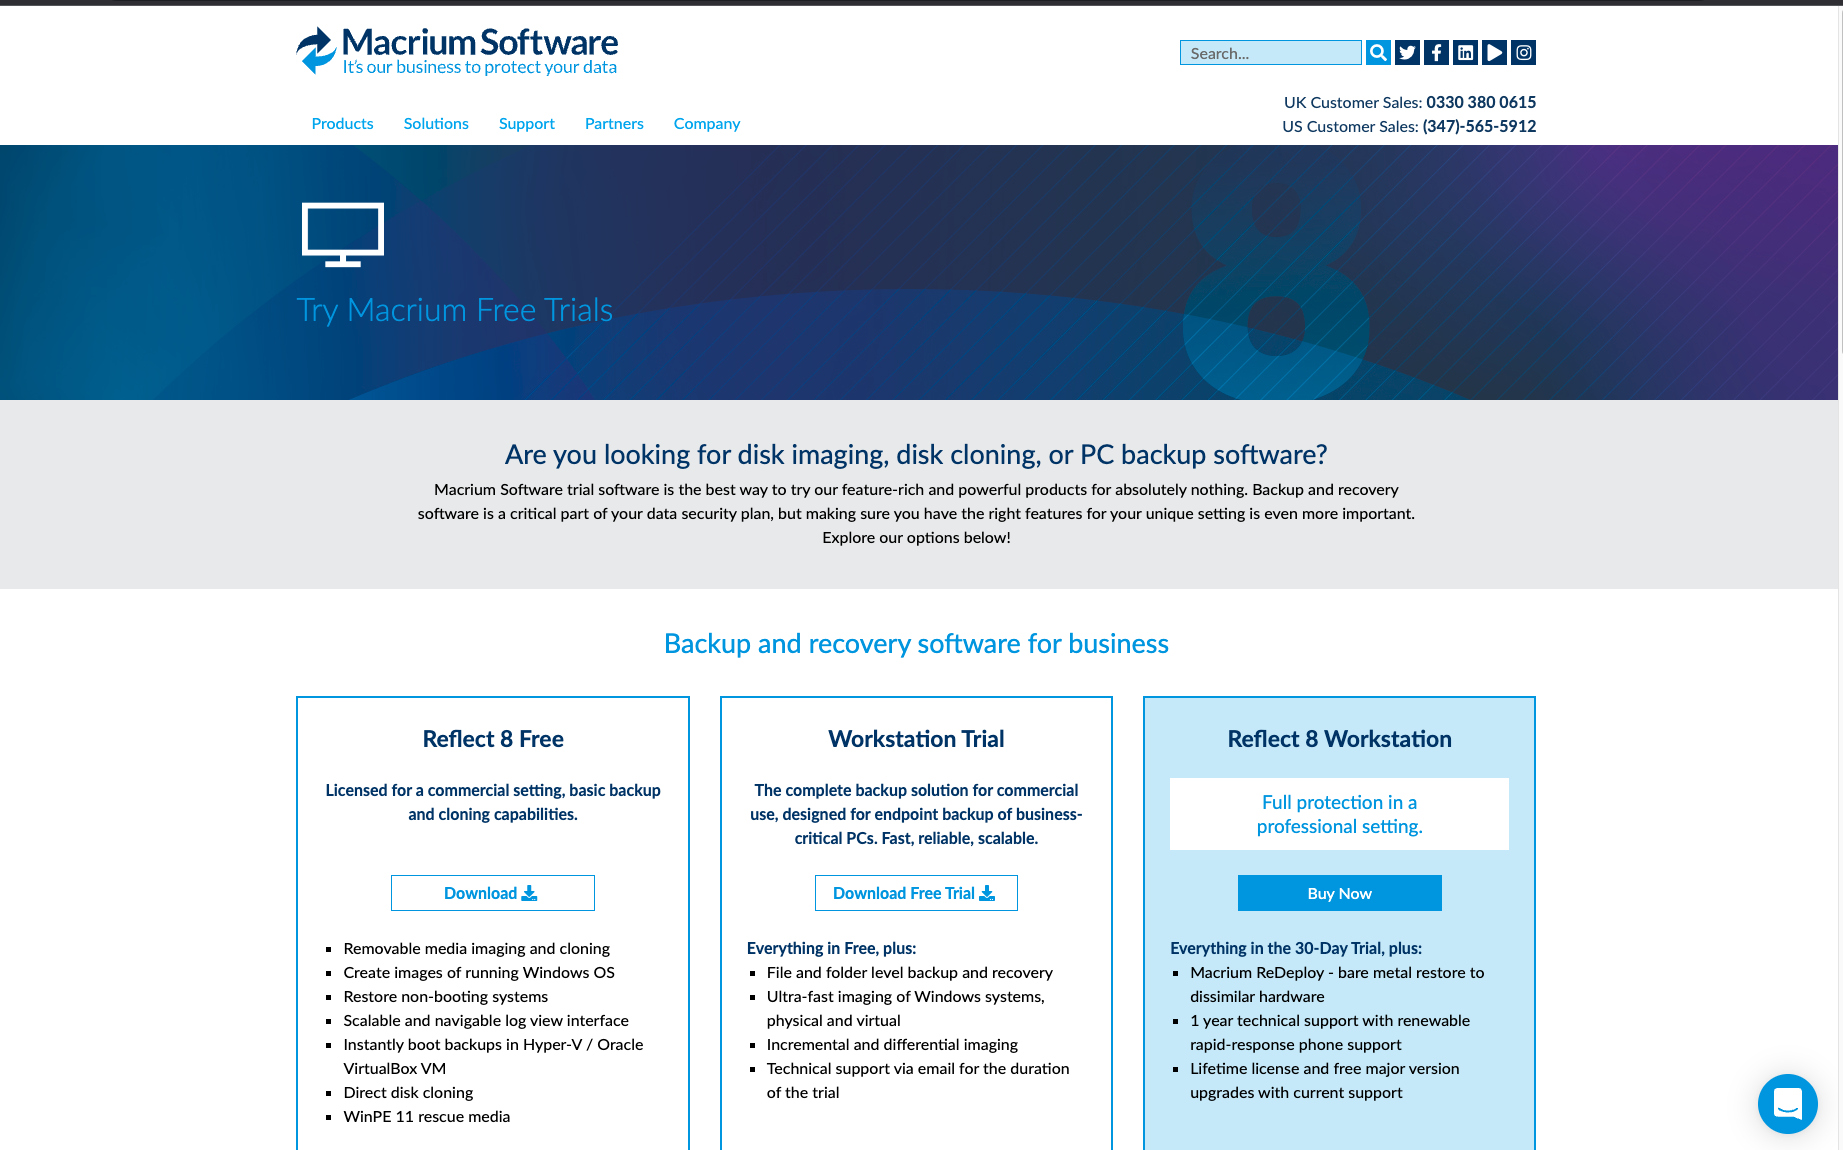
Once you have verified that the proper precautions mentioned above have taken place you may begin. The first thing you would want to do is boot up the computer you will be replacing the drive on and download the free version of Macrium Reflect. Once download you can install it on the computer, you can leave the default values it has for the installer. Once you get to the registration portion of the installer you can just say no. Once installer is finished open the software. During this whole process one thing you will want to do is keep your laptop plugged into a power source to help prevent any issues with the computer losing power.
Select Source Drive
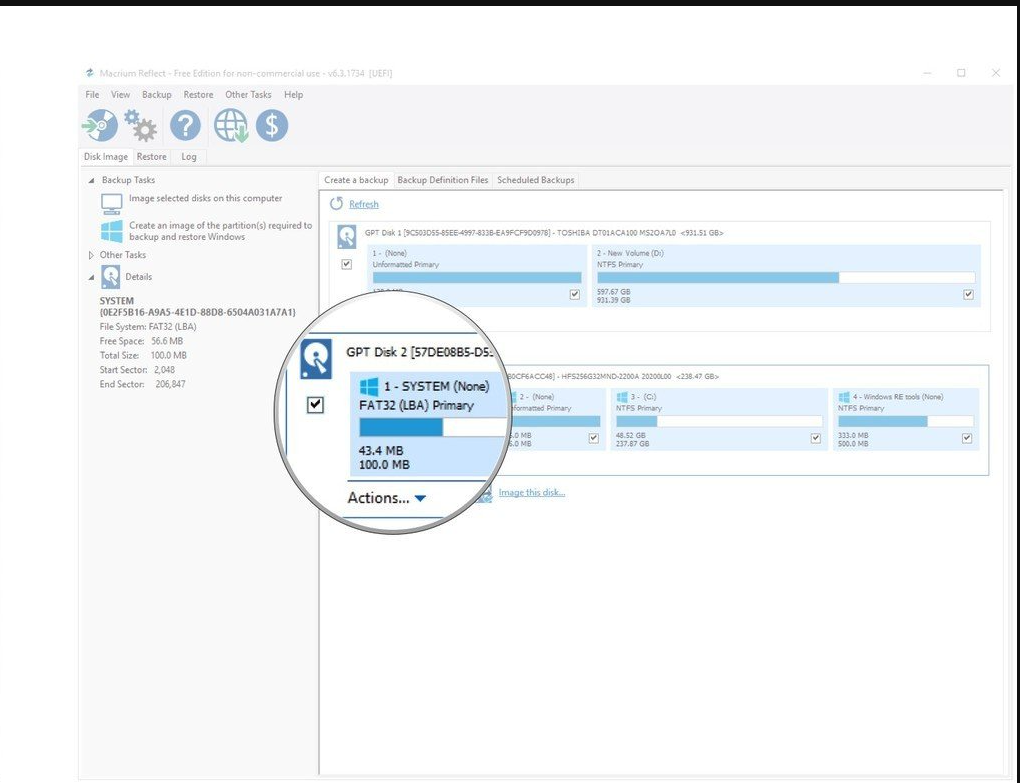
The next step the software will have you do is to select the source drive. The source drive should be the main drive of the computer that you are on.
Select Target Drive
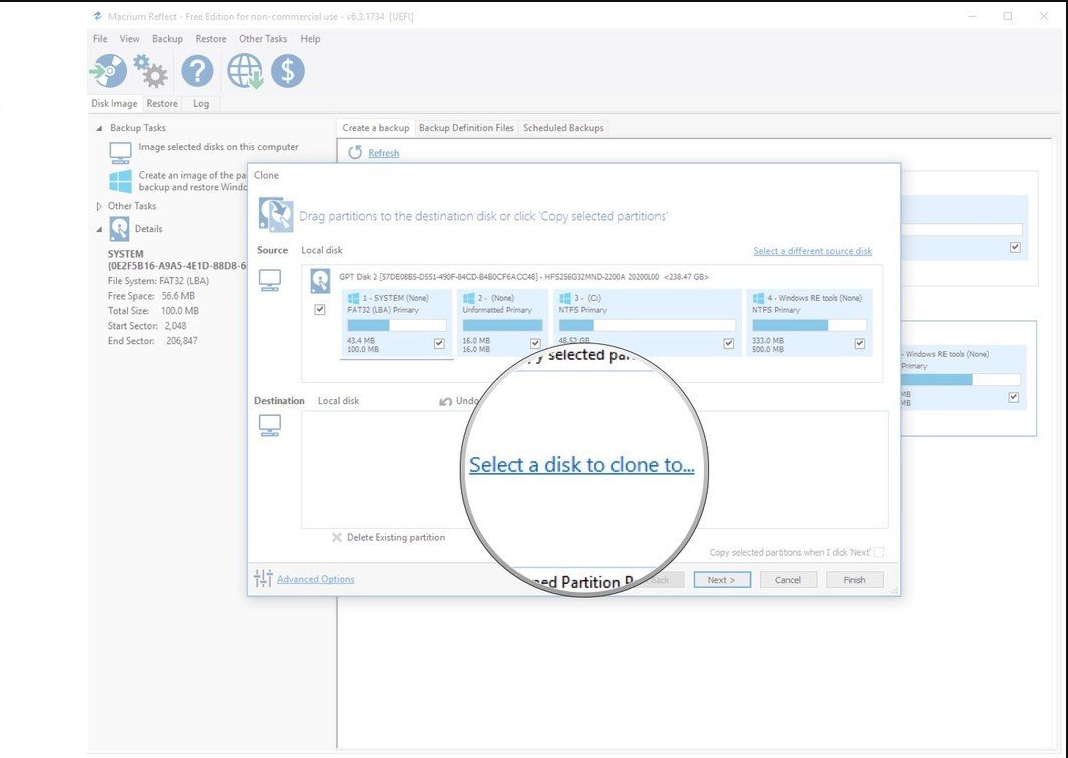
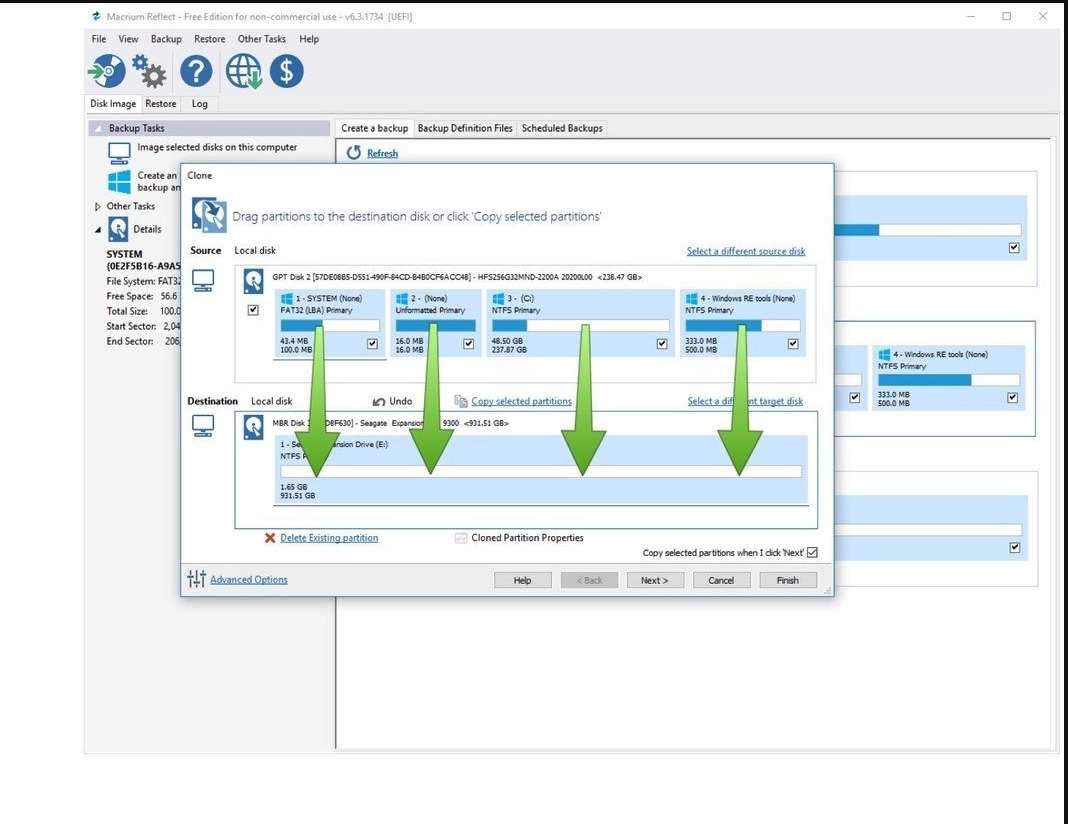
After selecting the source drive then next step would be to select the drive you are cloning to. This will become available once you plug the replacement drive to the computer. This will be done via usb to SATA cable if your replacing with a 2.5 SSD or M.2 NVME reader.
If your source drive has partitions like it is in the picture you will have to drag that over to the target drive like it is done in the picture. The next still will be used for situations where the target drive is of a larger size than what you currently have installed. If the target drive is the same size you can skip step 4.
Expand C Partition

When it comes to cloning to a drive larger than what is originally in the computer there is an extra step. That process is expanding a partition since when cloning it doesn't automatically fit to the size of the target drive. So from the picture what you'll do is select the C partition and click Cloned partition properties. In the properties menu you will expand that partition to include the rest of the free space thats one the drive. Once this is done you will be then able to move onto the finishing step.
Finish Cloning
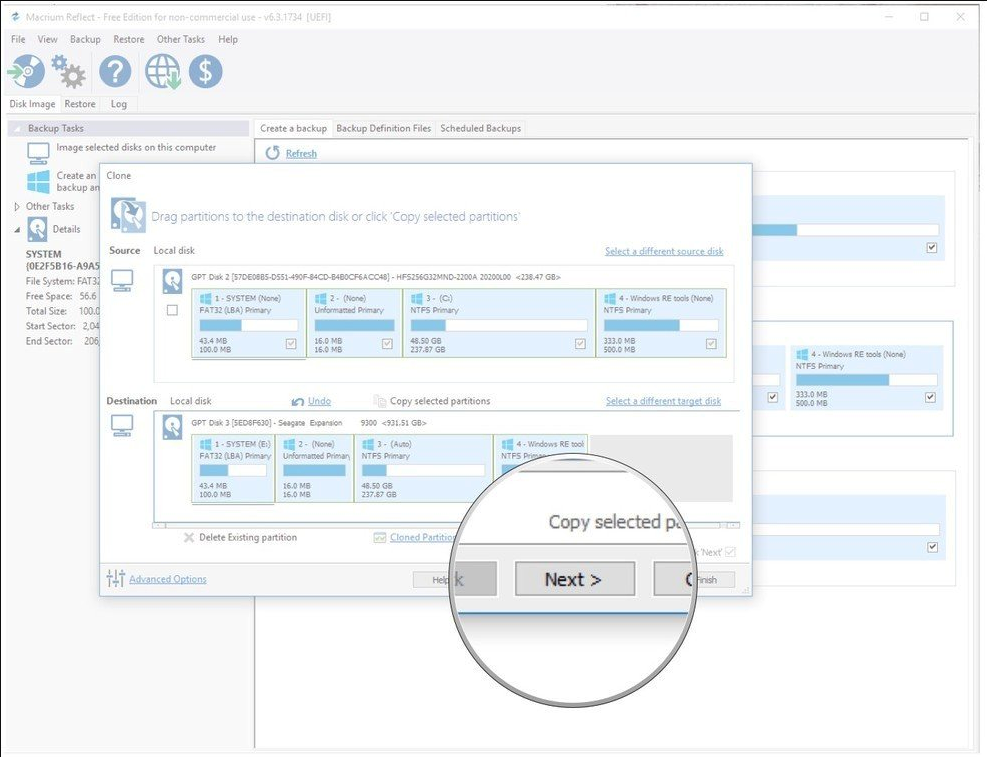
Once you have gotten all of the above steps completed you can then click the next button and then after that click ok and the cloning process will start. This process may take some time to complete this will all depend on how much data there is and how healthy that source drive is. But once the process is complete it will notify you make sure during this process you keep the laptop plugged in.
Installing Replacement Drive
During this next process make sure to have you anti static wrist strap on in order to prevent any shorts from happening.
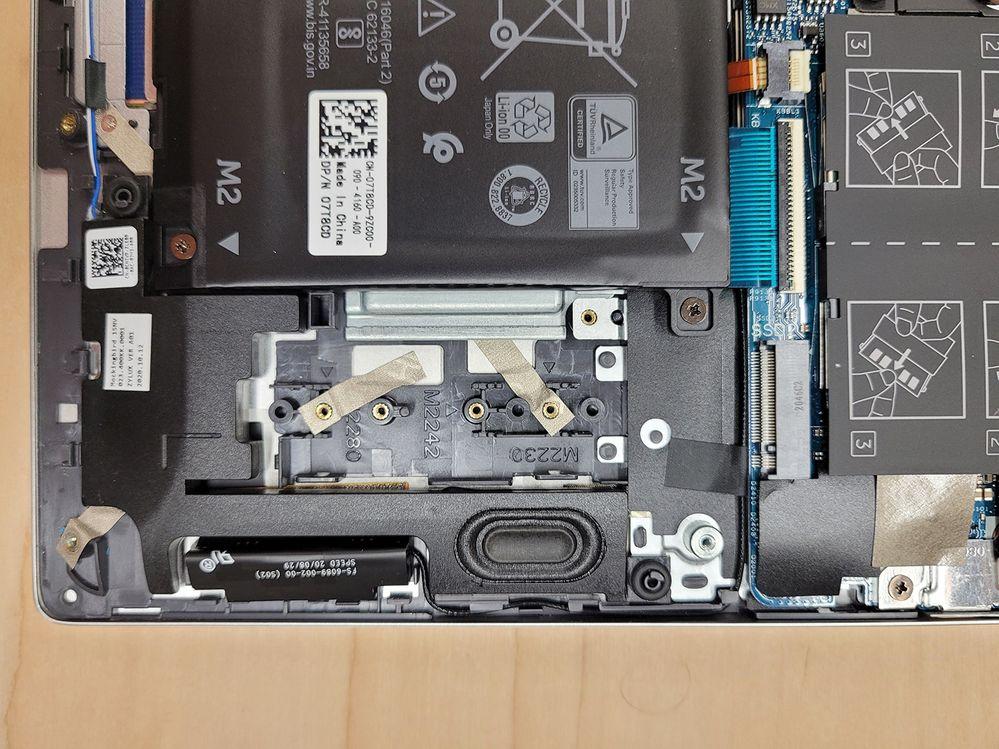
This step will be performed in reference to the guide that should have been looked up regarding disassembly of the bottom of your laptop. Once disassembly is complete you will want to remove the old drive from the computer. If the old drive is a 2.5 HDD and your are replacing with a 2.5 SSD you will be placing the new drive in the same location that you took the old out. If you are replacing with a M.2 NVME then you are looking for the M.2 connector on the board itself. Reference to the disassembly guide maybe needed. But you are looking for something like what is pictured above.
Verifying Replacement Works
Before closing up the laptop carefully open the laptop and attempt to power the laptop up. If the laptop successfully boots in the operating system you can shut the computer off and reassemble the bottom of the computer and at that point everything will be successfully completed. If the laptop doesn't successfully boot you may need to attempt to reclone the drive. If after a second attempt it still doesn't boot up take it into your local pc repair place .