How to CNC Without a CNC
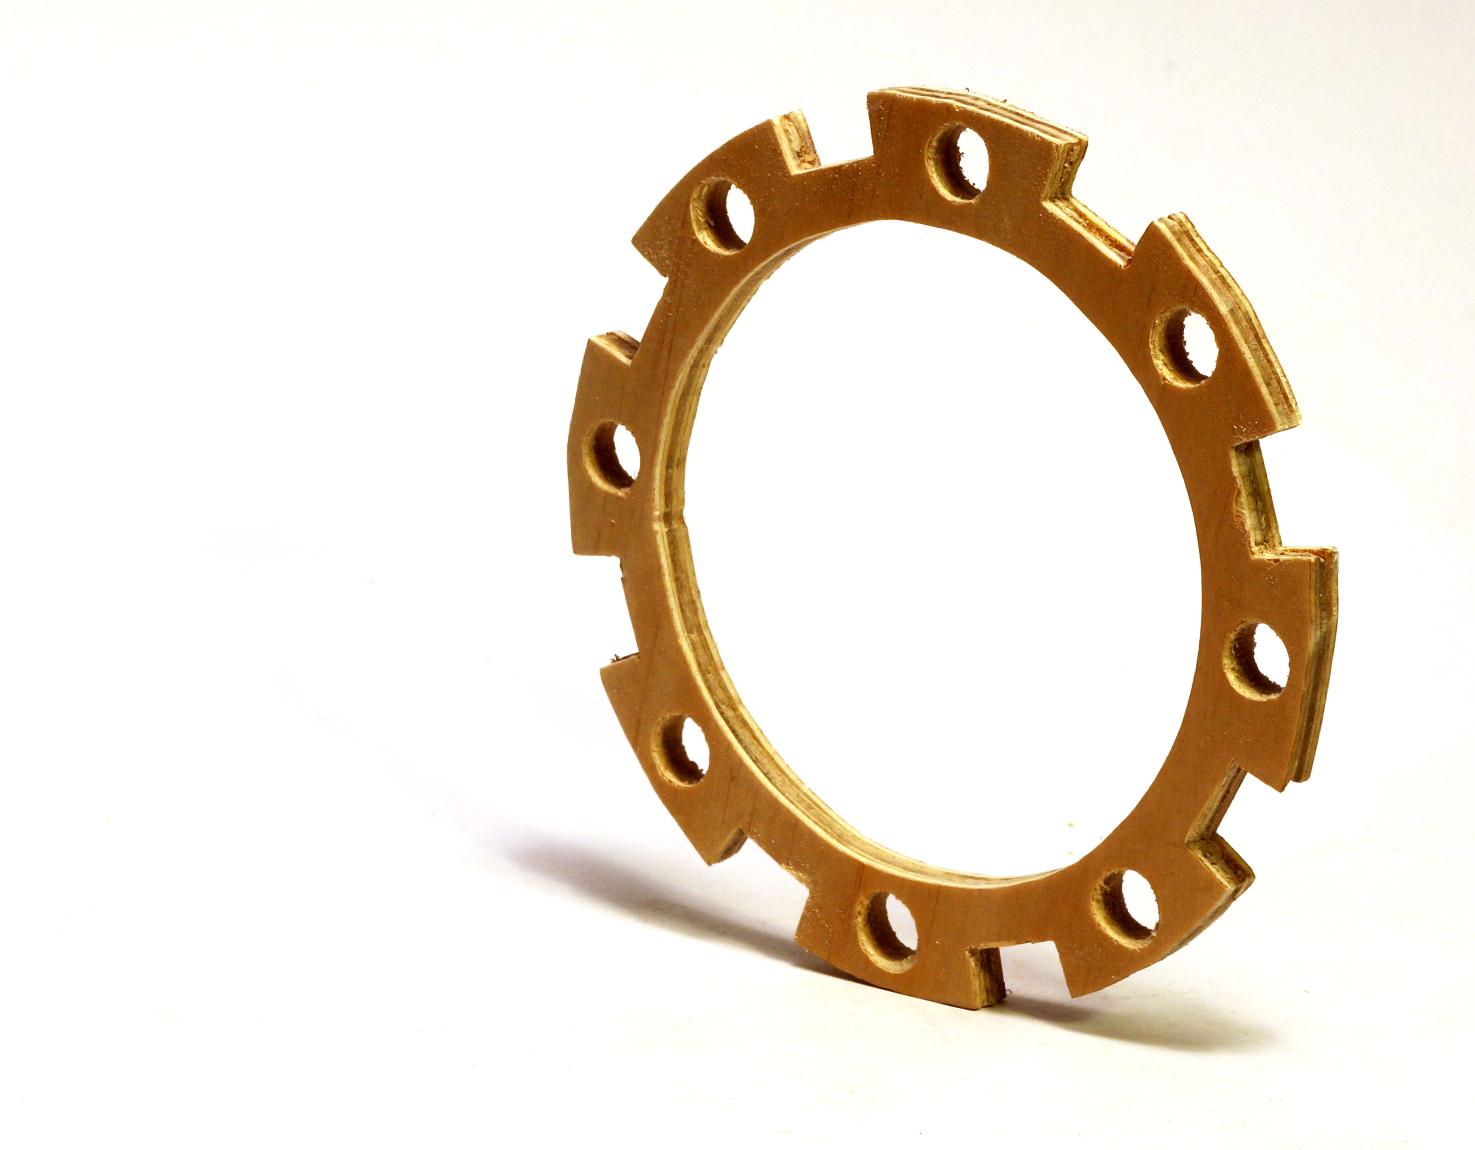
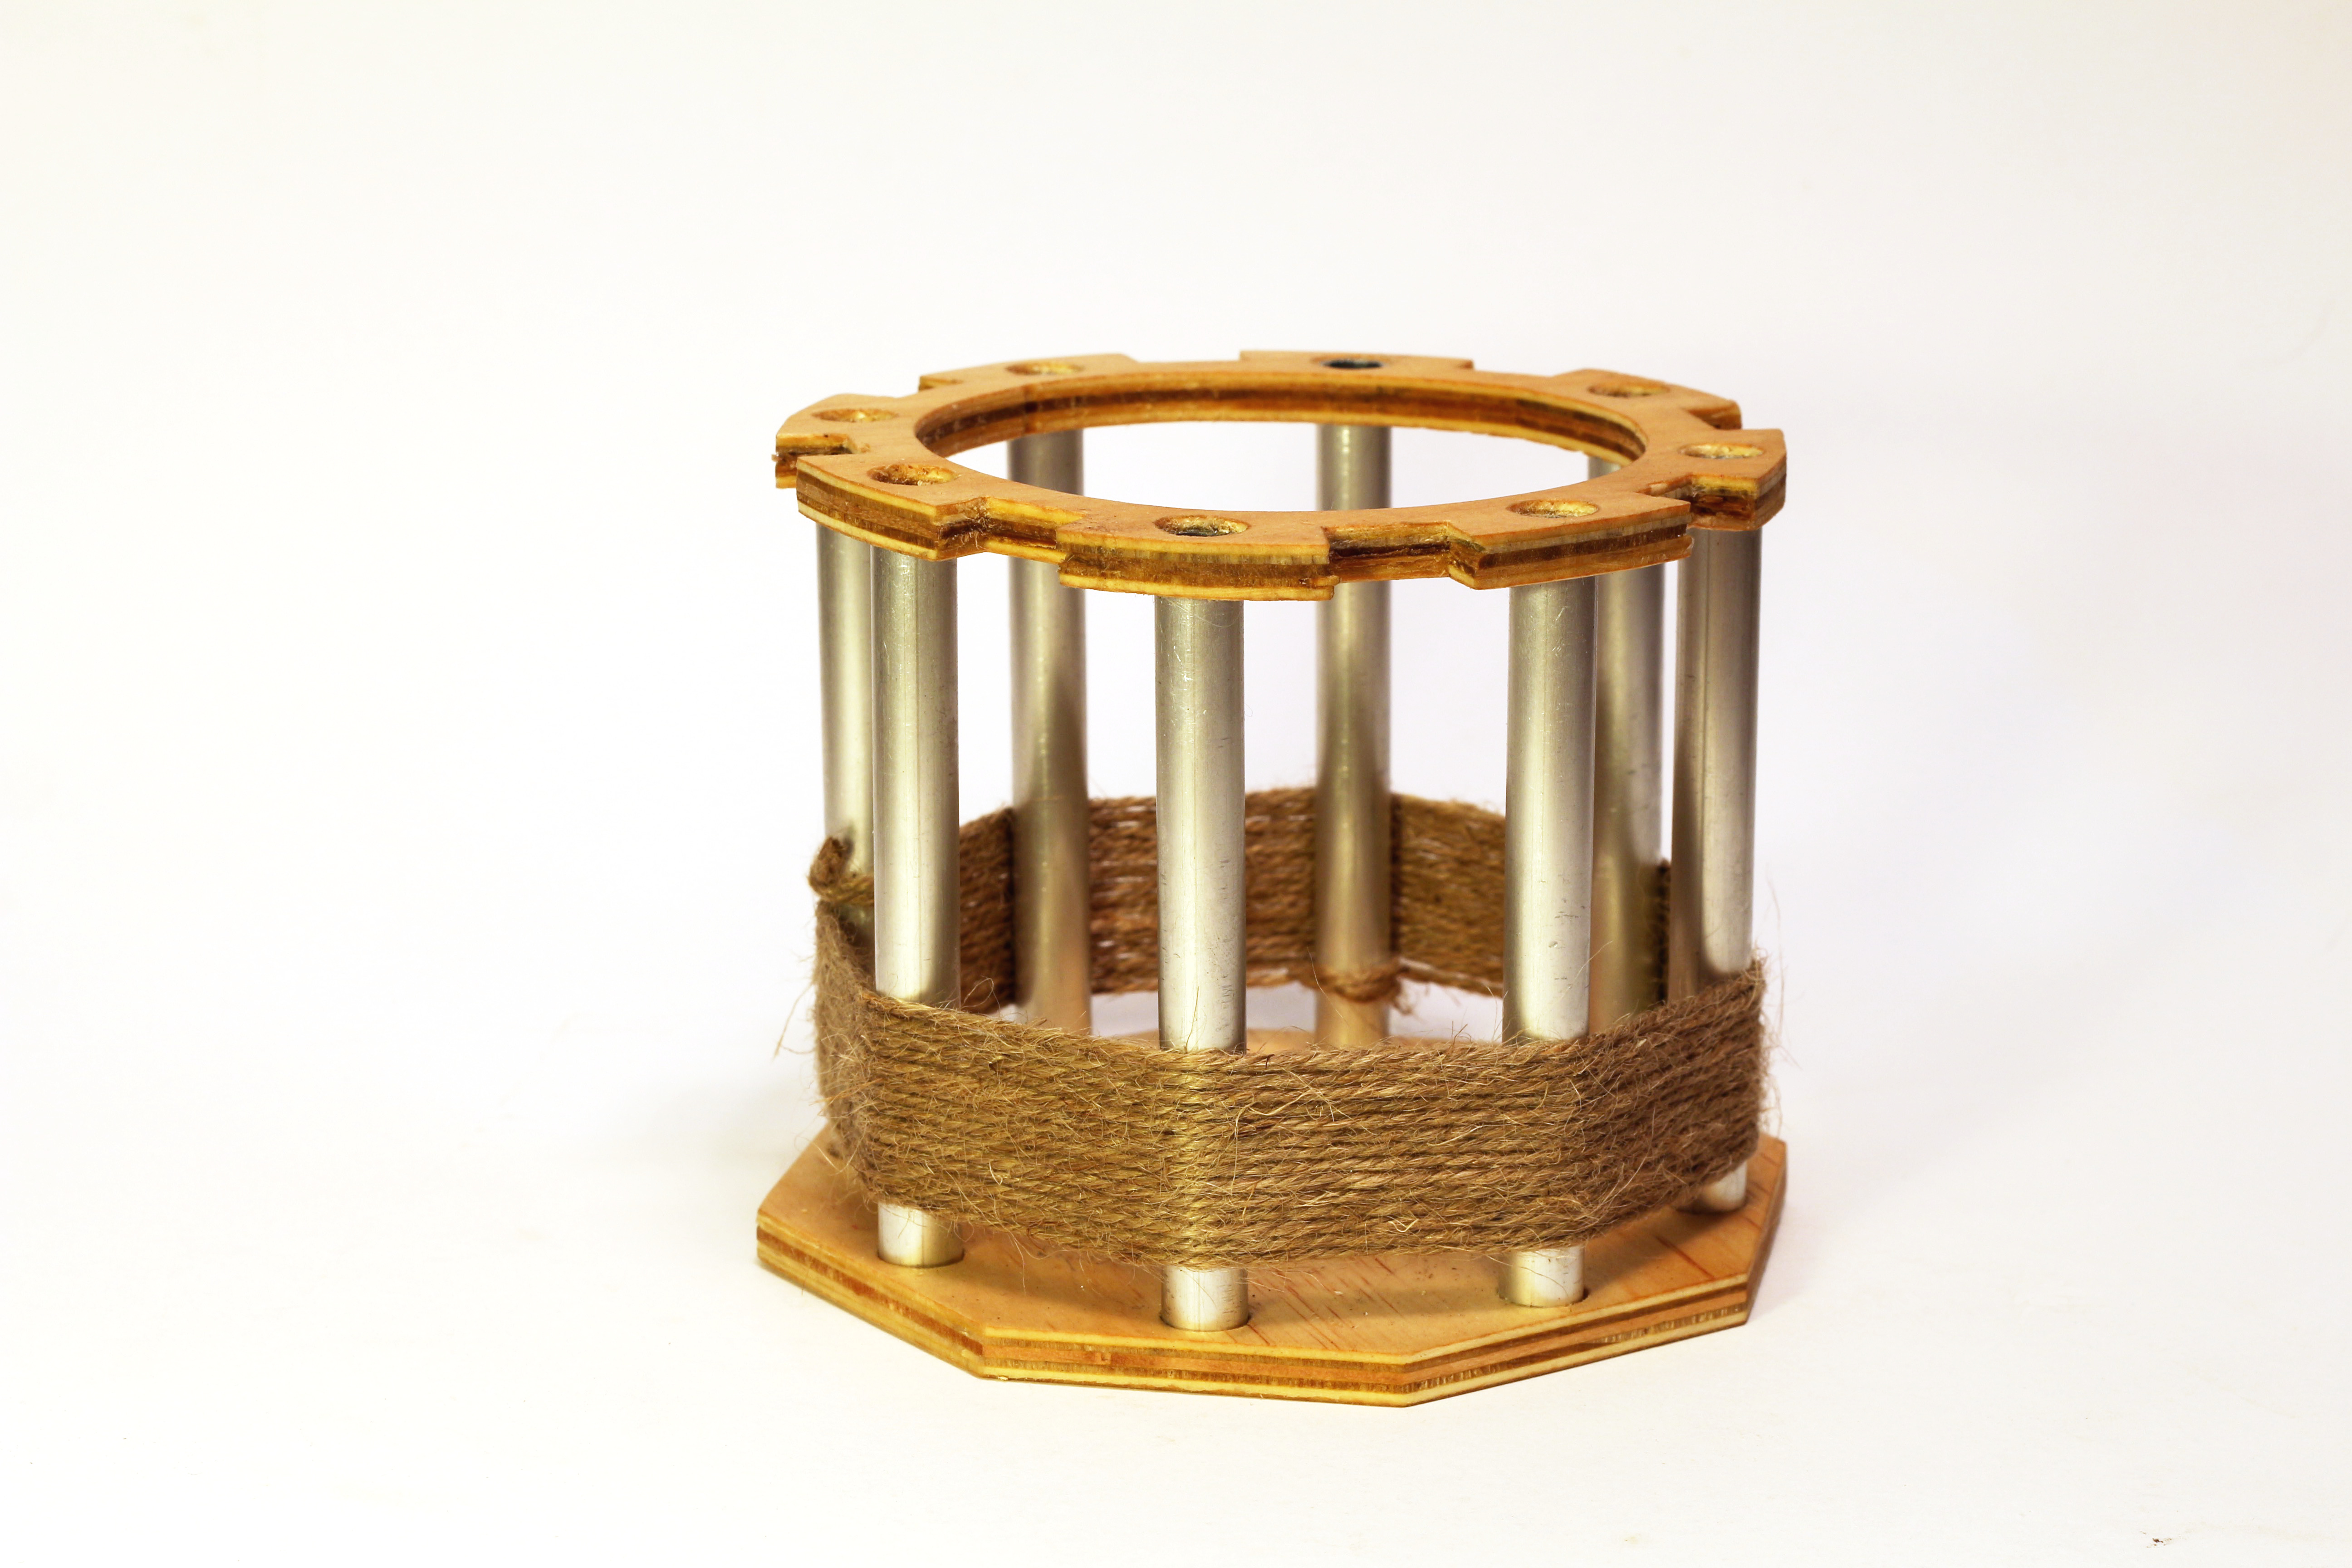
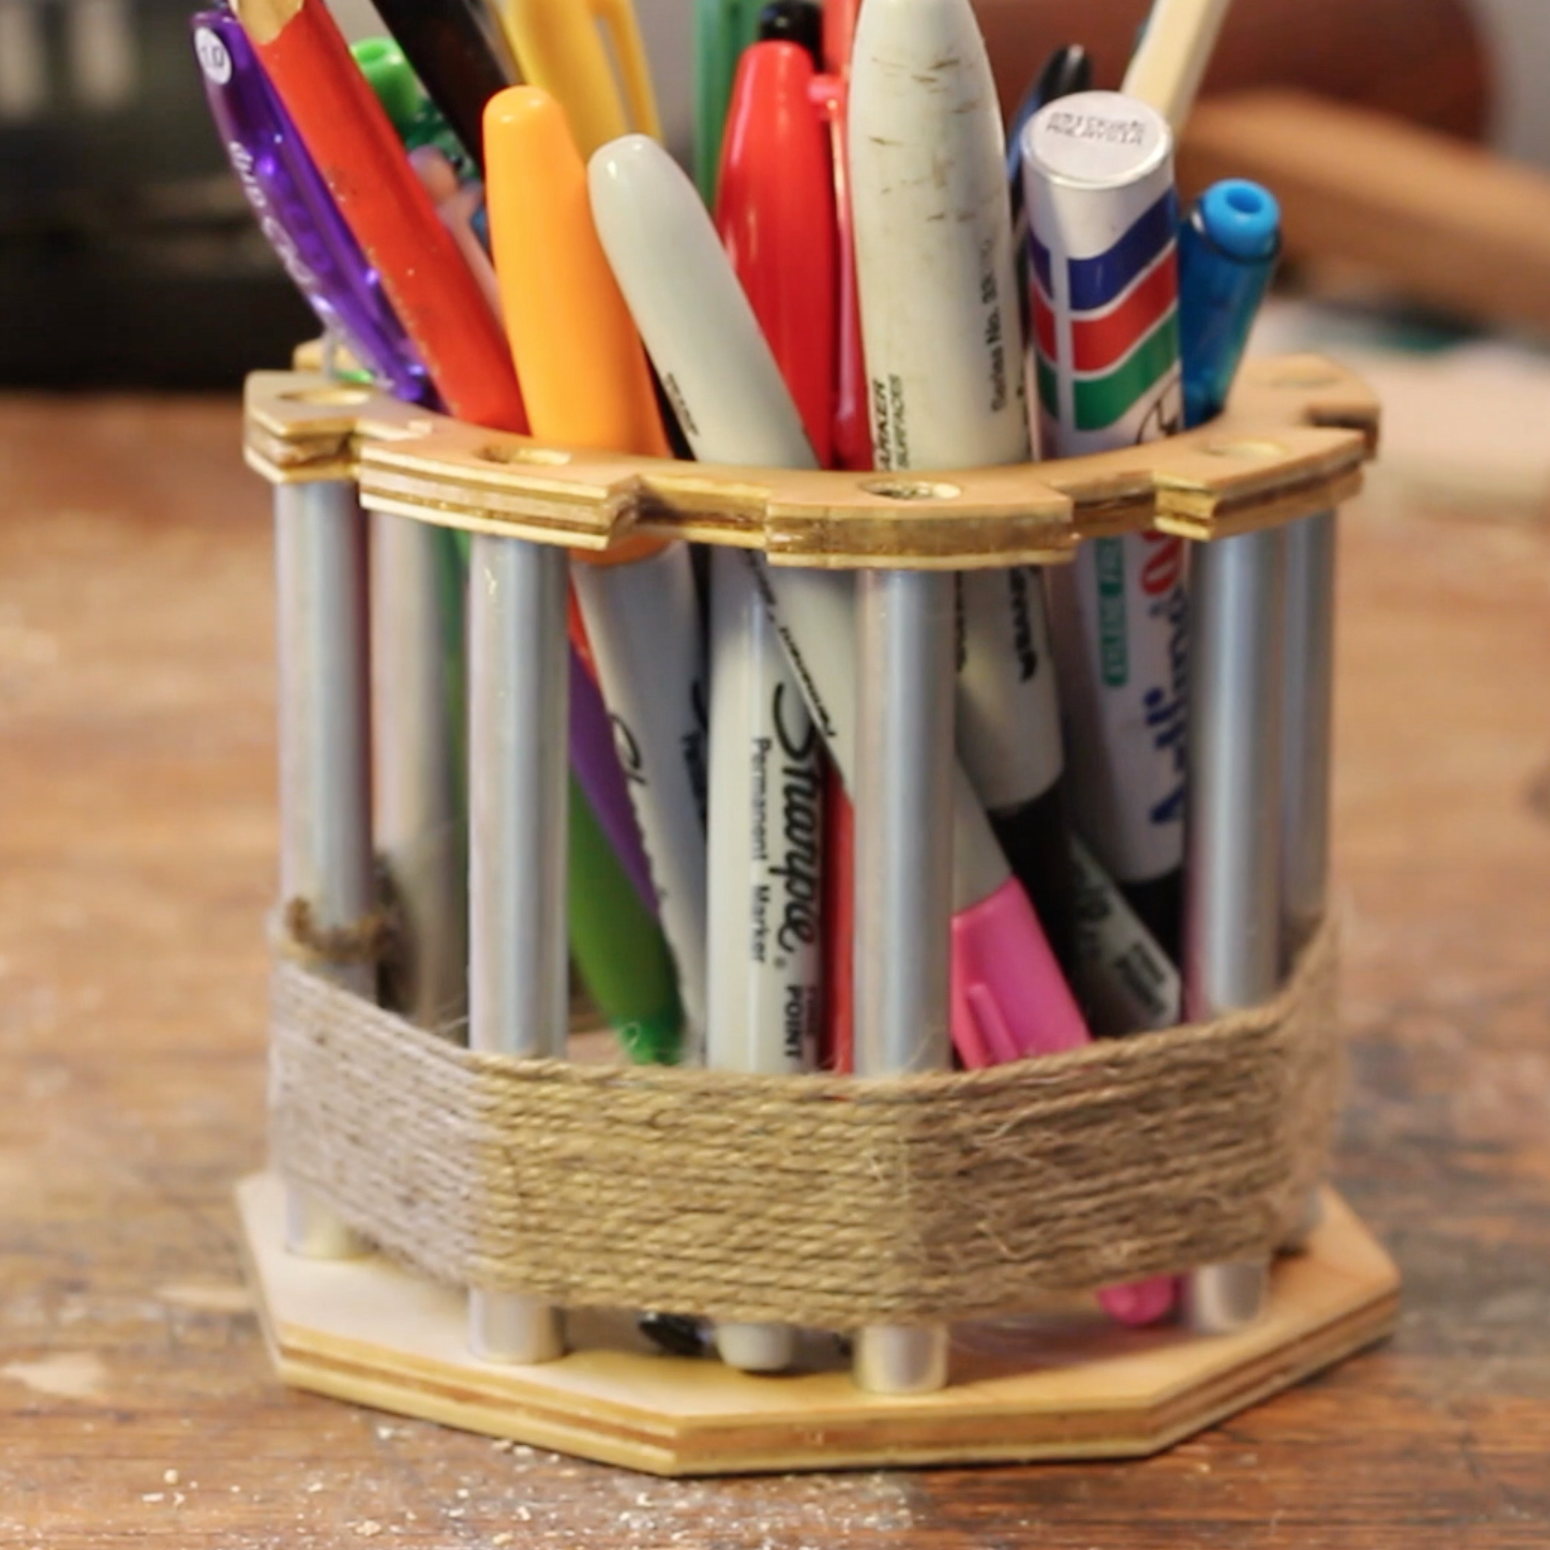
In this instructable I'll show how you can use paper templates and a few simple woodworking tools to create plywood parts that hopefully look like they have come out of a CNC. This is an exercise in improvising around not having a CNC. If you want to use my templates, you'll end up with a fun stationary holder (pictured). I also discuss how I make the templates if you want to apply these techniques to your own project.
Watch the Build Video
This video shows how I made the parts with paper templates. Hope you enjoy it. If you like my video please consider subscribing to my channel.
Gather Tools and Materials
For this project I used:
- Sharp #5 hand plane. #4 or block plane will also work.
- Bench chisels
- Tenon saw
- Panel saw
- Small drill press, 2mm, 4mm and 10mm drill bits
- Sharp bench chisels
- Mallet
- Marking knife
- Clamps and vise
- Sand paper
- Wood finish, I used boiled linseed oil
- A drum sander drill attachment or or similar.
- Spray glue
- Utility knife
- Hacksaw
- Metal file
- Coping saw
Materials used
- 7mm thick plywood cut down from a 1.2x0.4m board. But you alternatively could use MDF.
- 10mm diameter aluminum tube.
- Twine
Create the Paper Templates
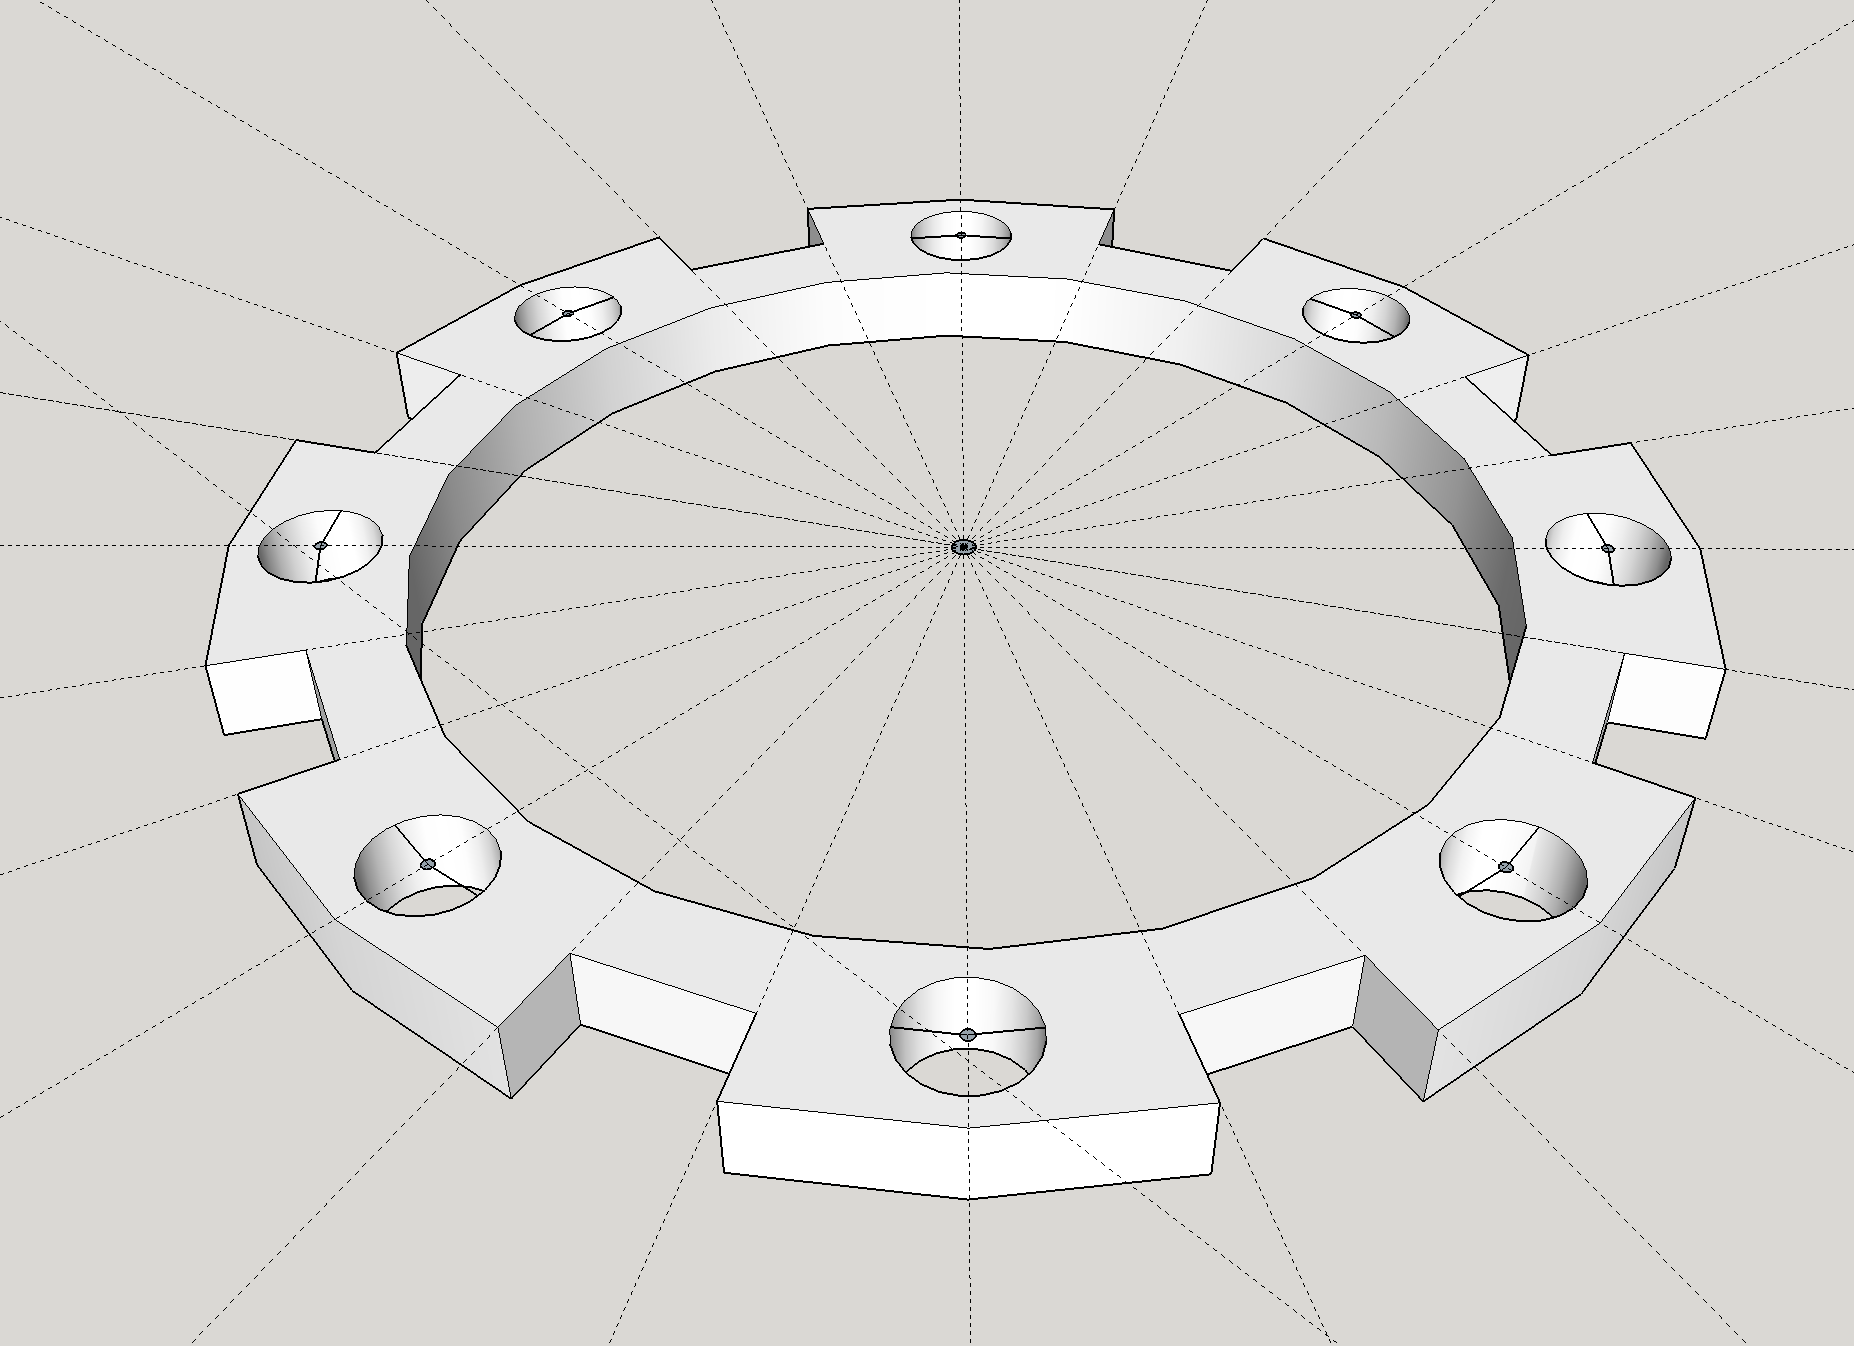
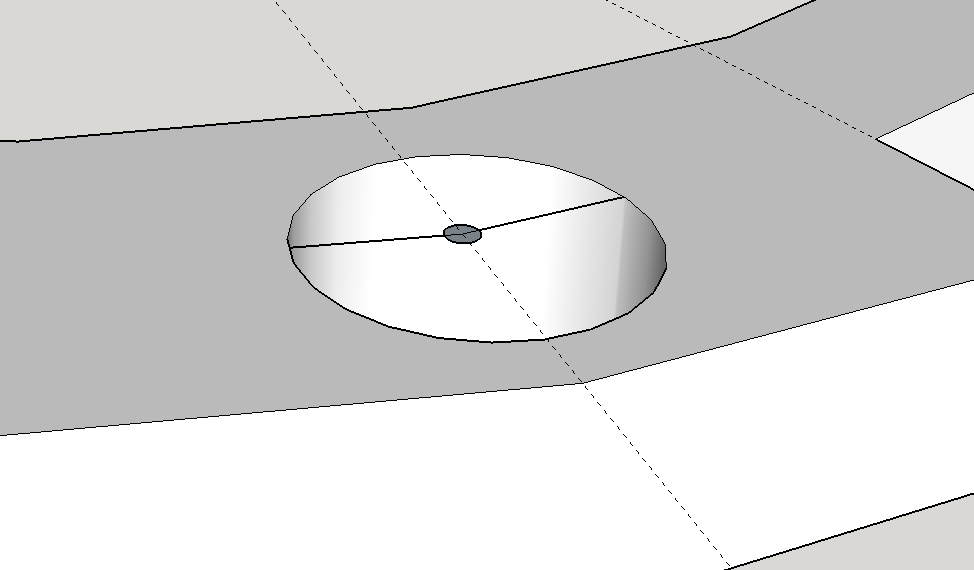
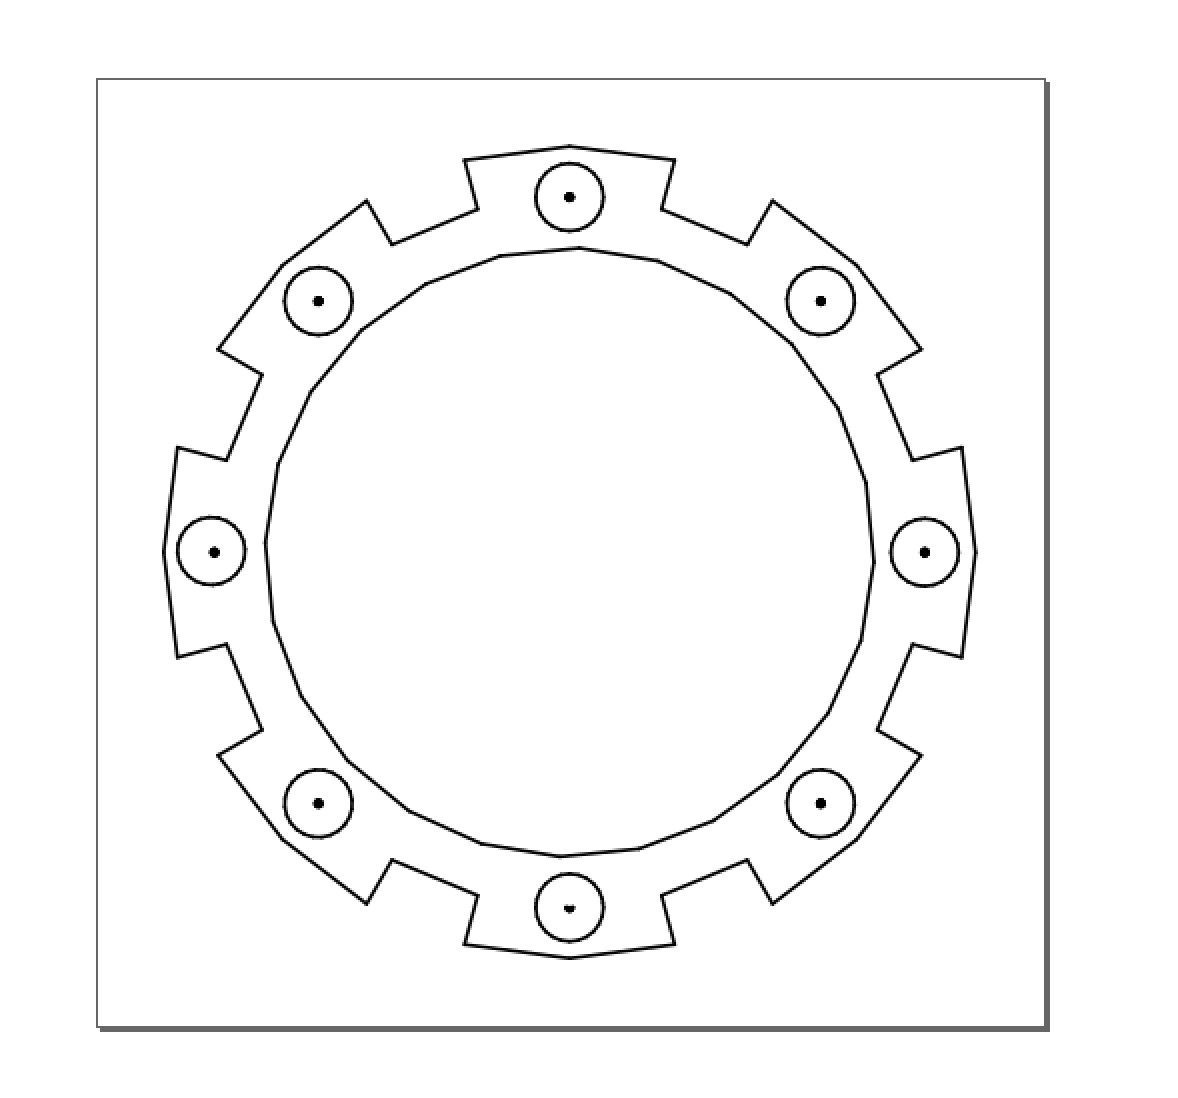
To model the parts I used the free version of Google sketchup, with a SVG (scalable vector graphics) export plugin. The plugin can be downloaded here. You could also use other CAD packages like fusion360. If you don't know how to use Sketchup there are tonnes of excellent tutorials available for it. When modeling drill holes make sure you add a small 2mm disk in the center of the hole that can be used as a guide for drilling pilot holes.
Once you have modeled the shape for the template select all the surfaces you want to export and export them using the SVG plugin.
Printing the templates
The SVG file needs a little preparation before printing. I use the free vector drawing program inkscape. Open the svg file in inkscape, select all the lines and reduce the line thickness to 1mm. This gives you a nice clean line to work with. When printing the templates make sure the correct paper size is selected (in my case this was A4) and scaling is set to 100%. This is important because printer software will often autoscale an image to nicely fit on the page and you will end up with an incorrect template size.
My templates can be downloaded from here if you want to use them.
Glue the Templates to the Plywood
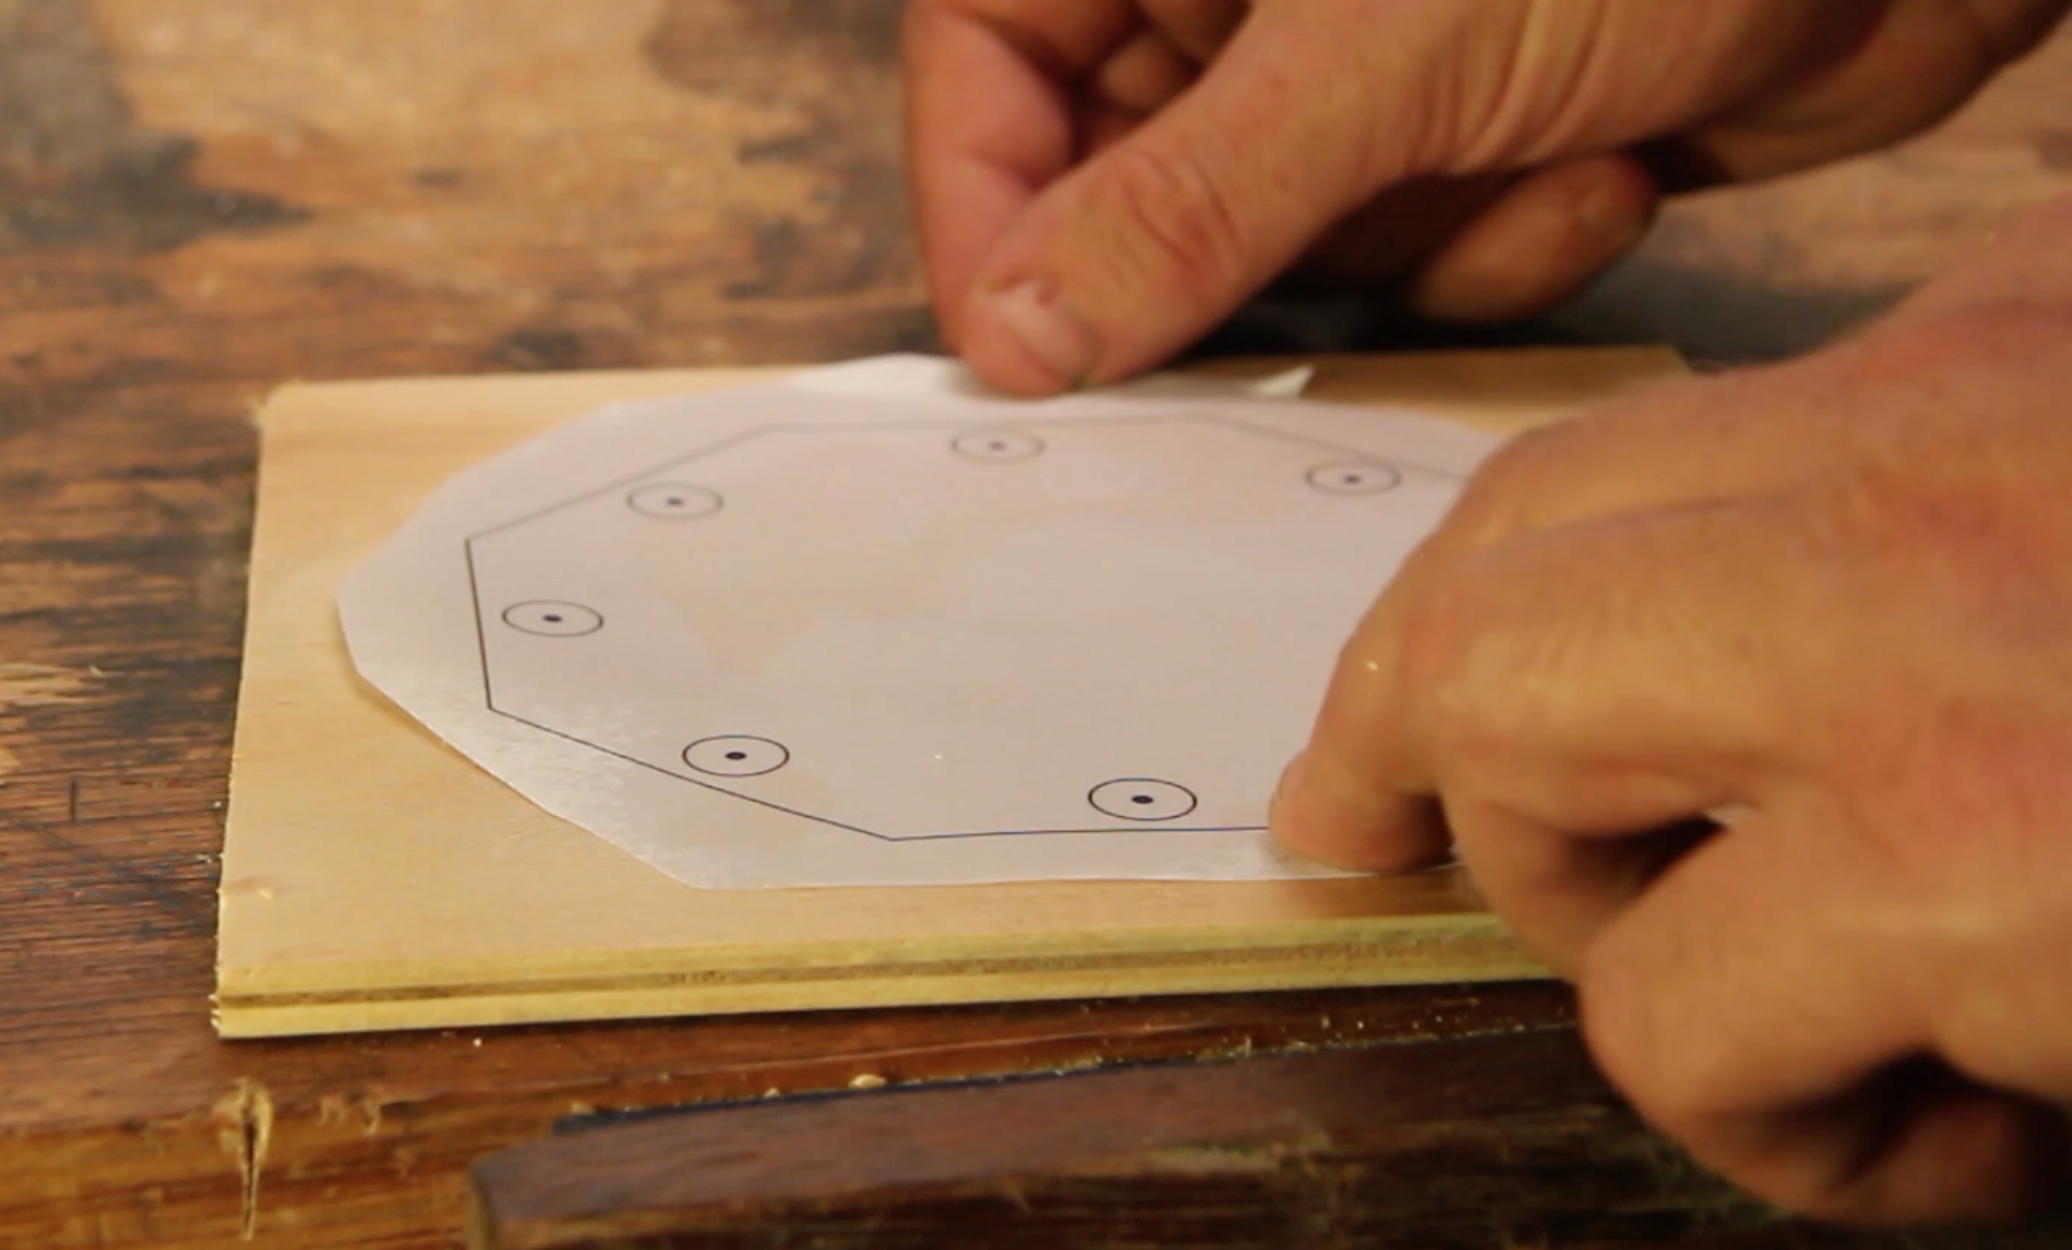
Cut the plywood down to manageable sizes using a panel or jig saw. Apply spray glue to both the plywood and the paper templates and stick them to the board. Iron out any air bubbles with something flat. I use the bottom of the spray can.
Important: Leave the templates to dry for at least 1 hour before continuing or you run the risk of it moving when working with the part.
Cutting Out the Octagon Part
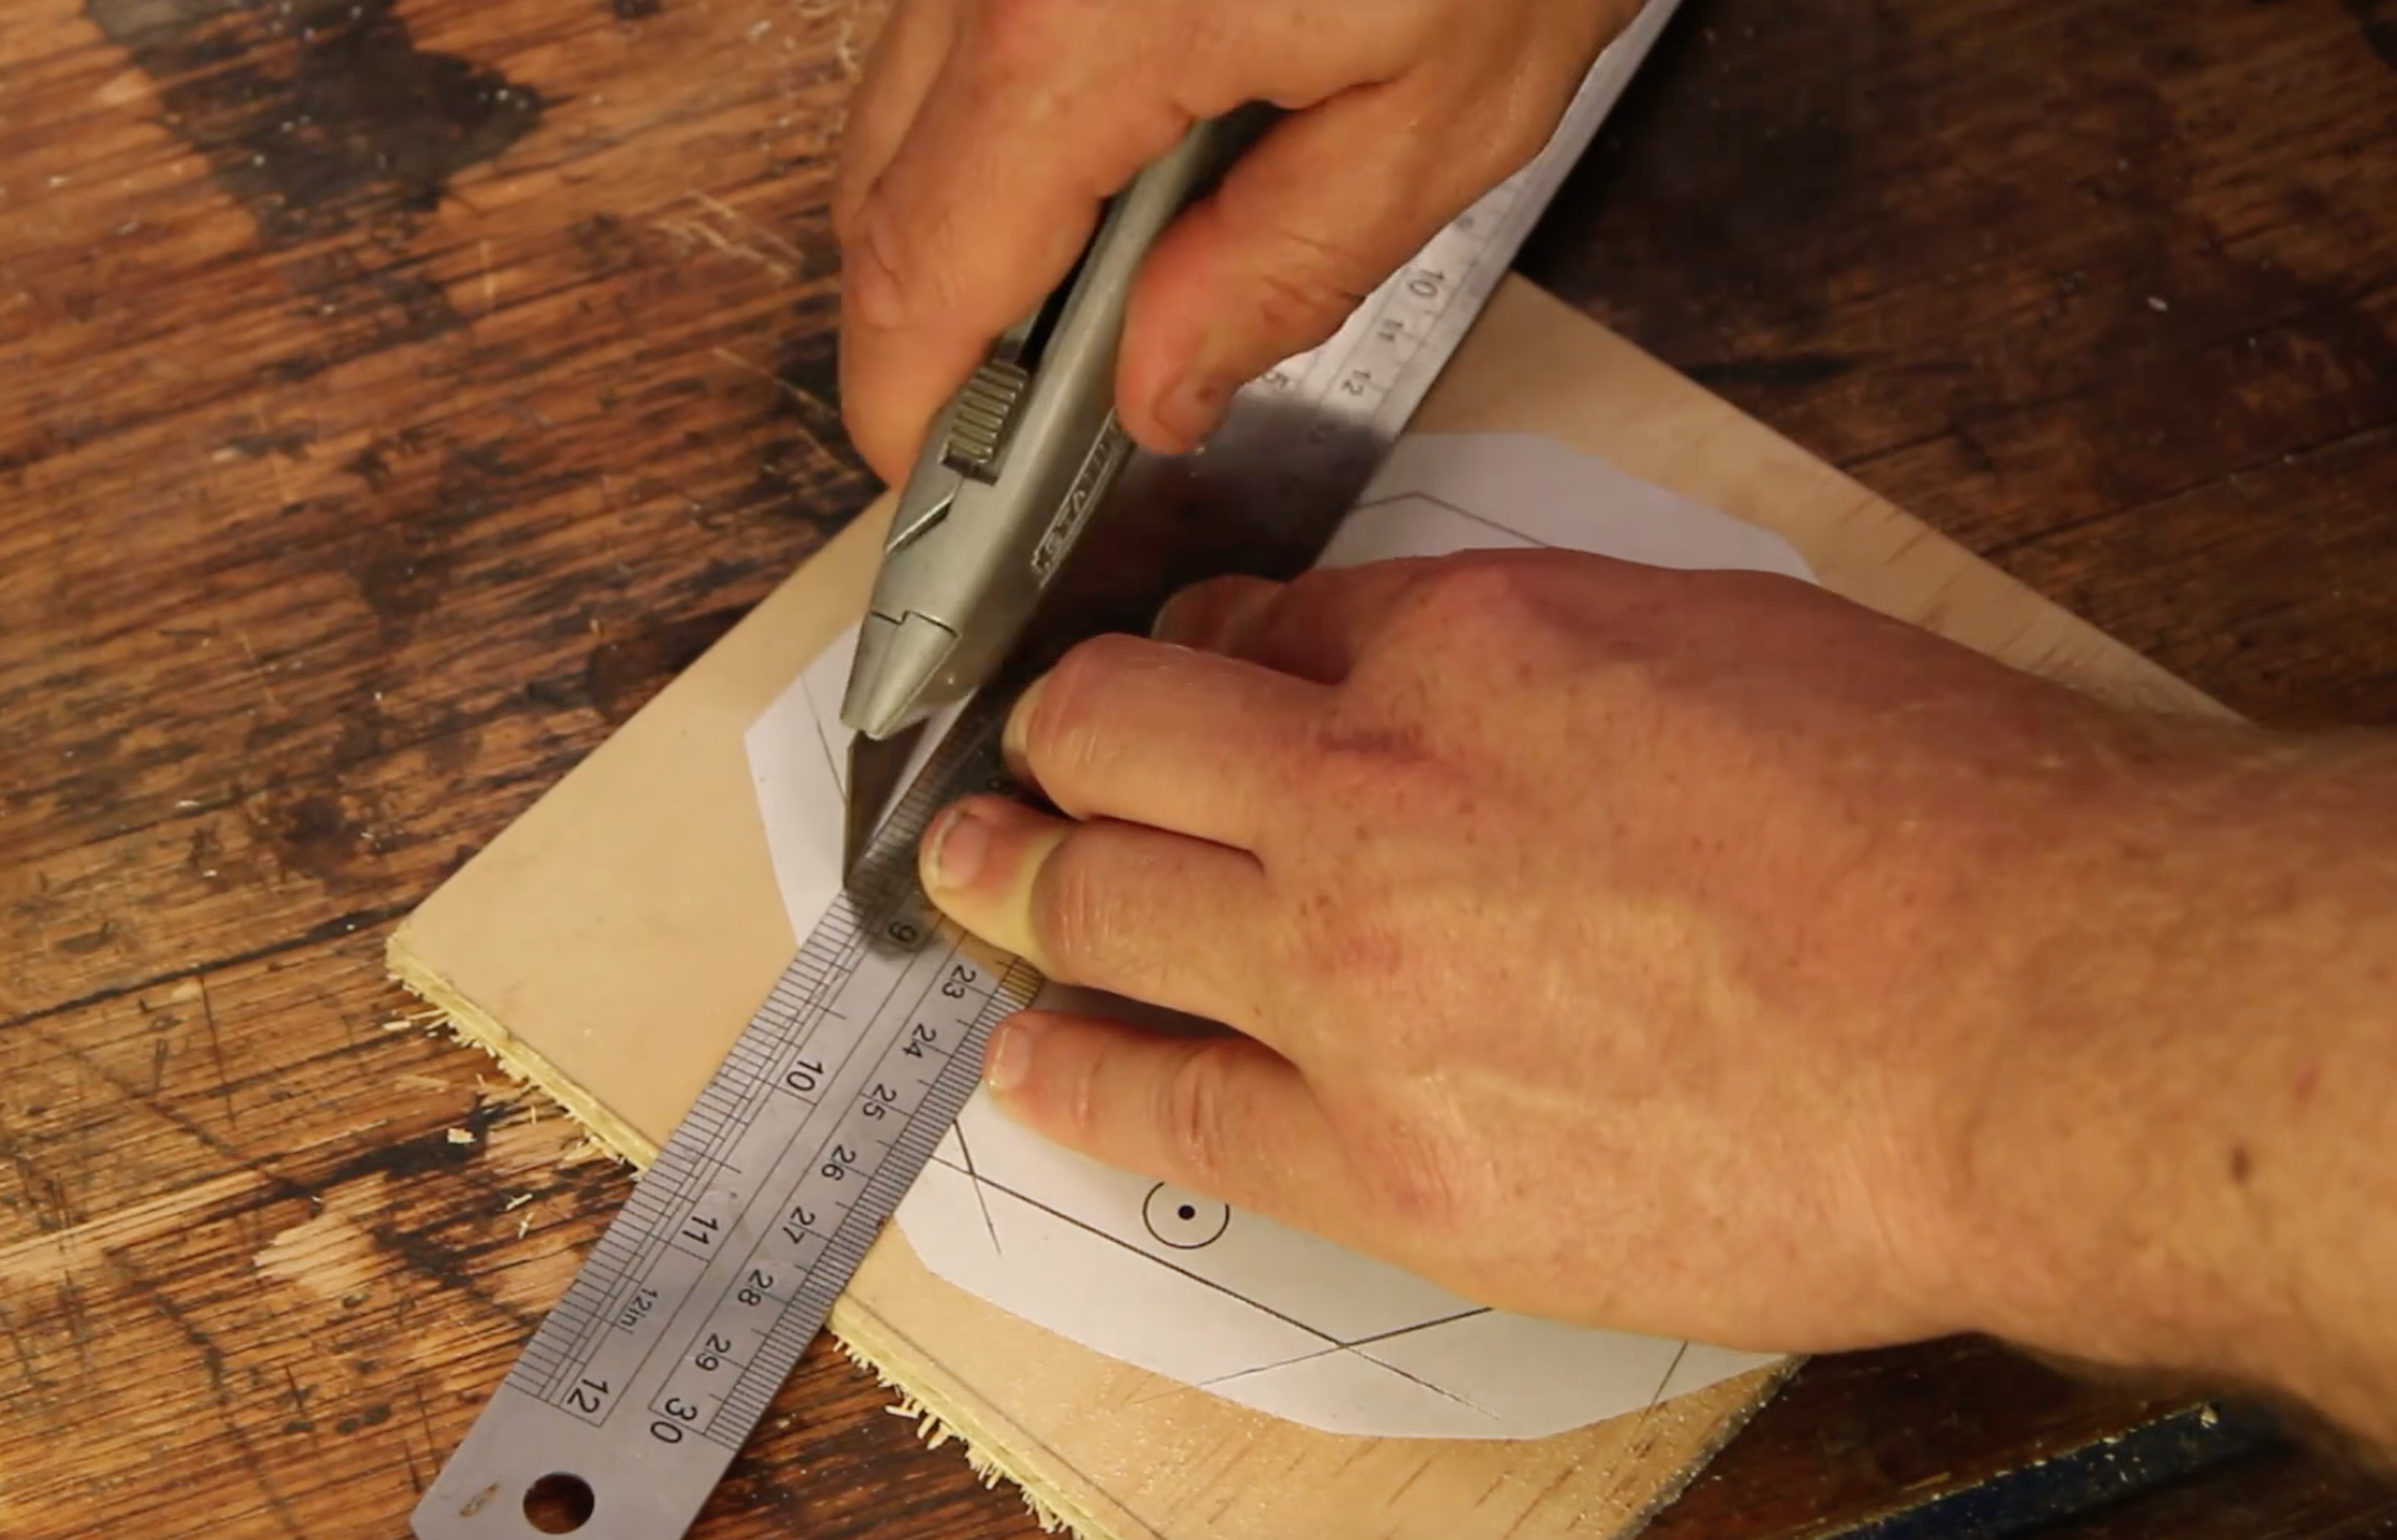
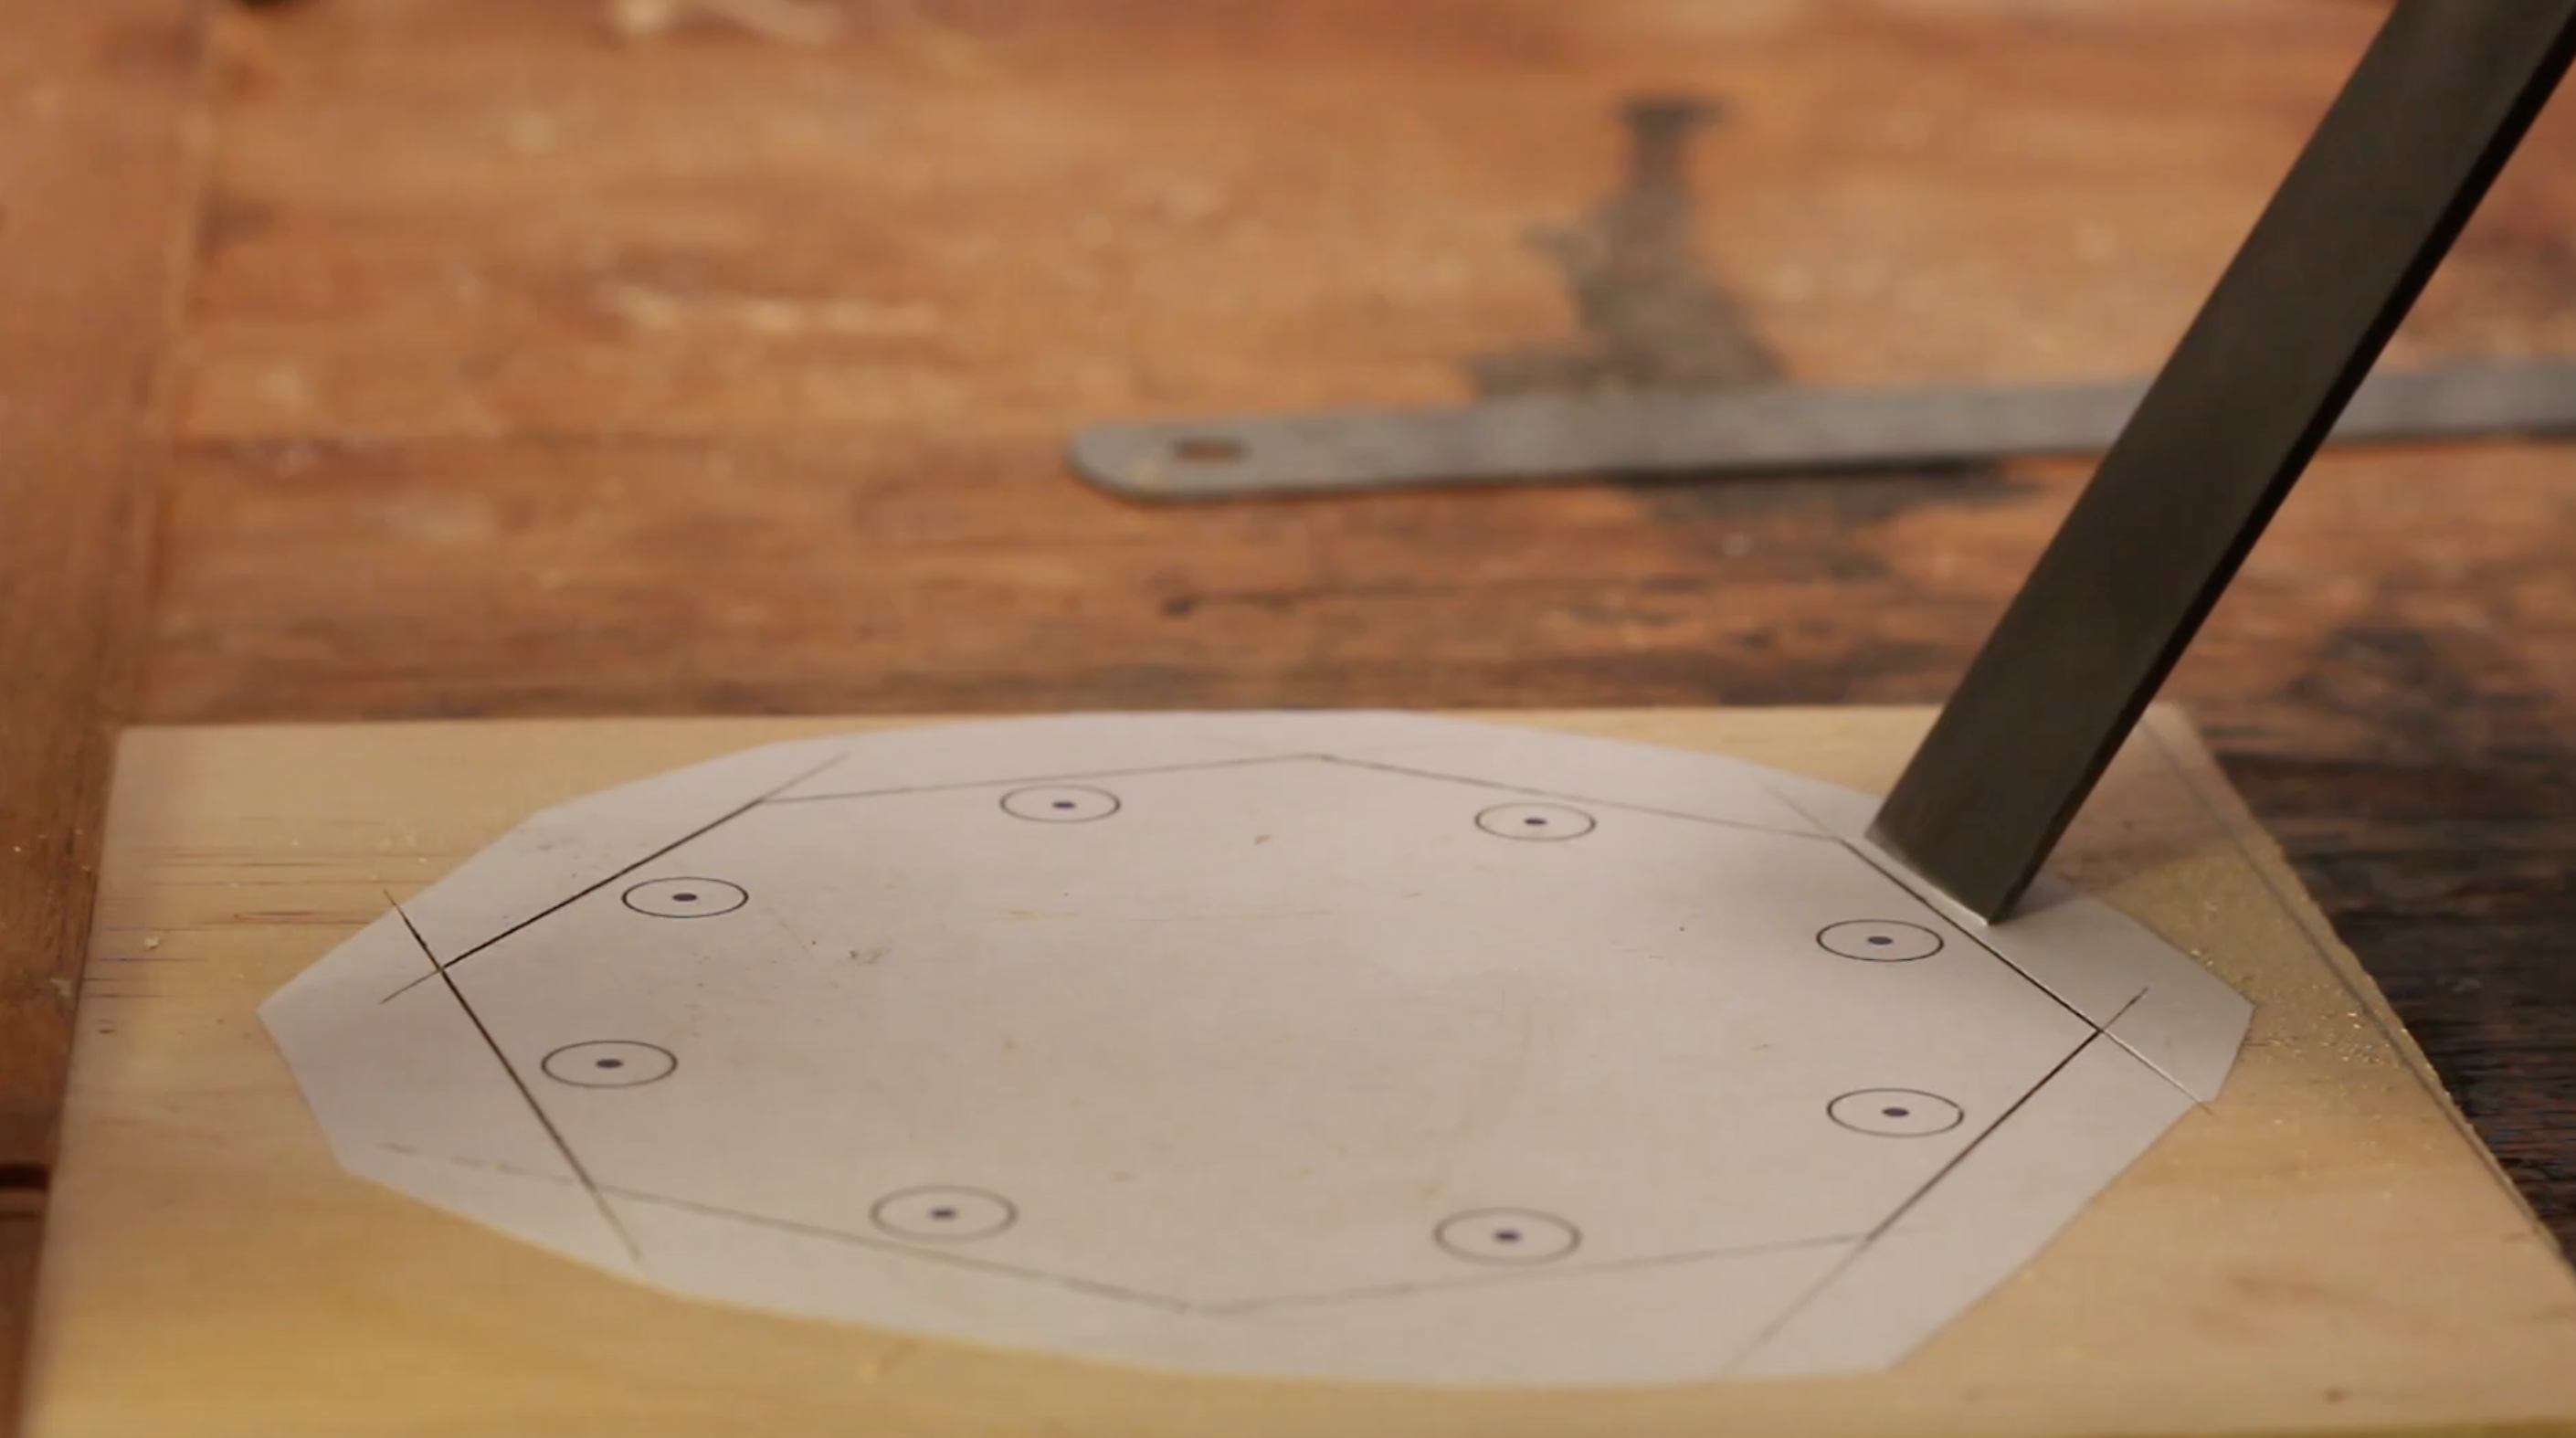
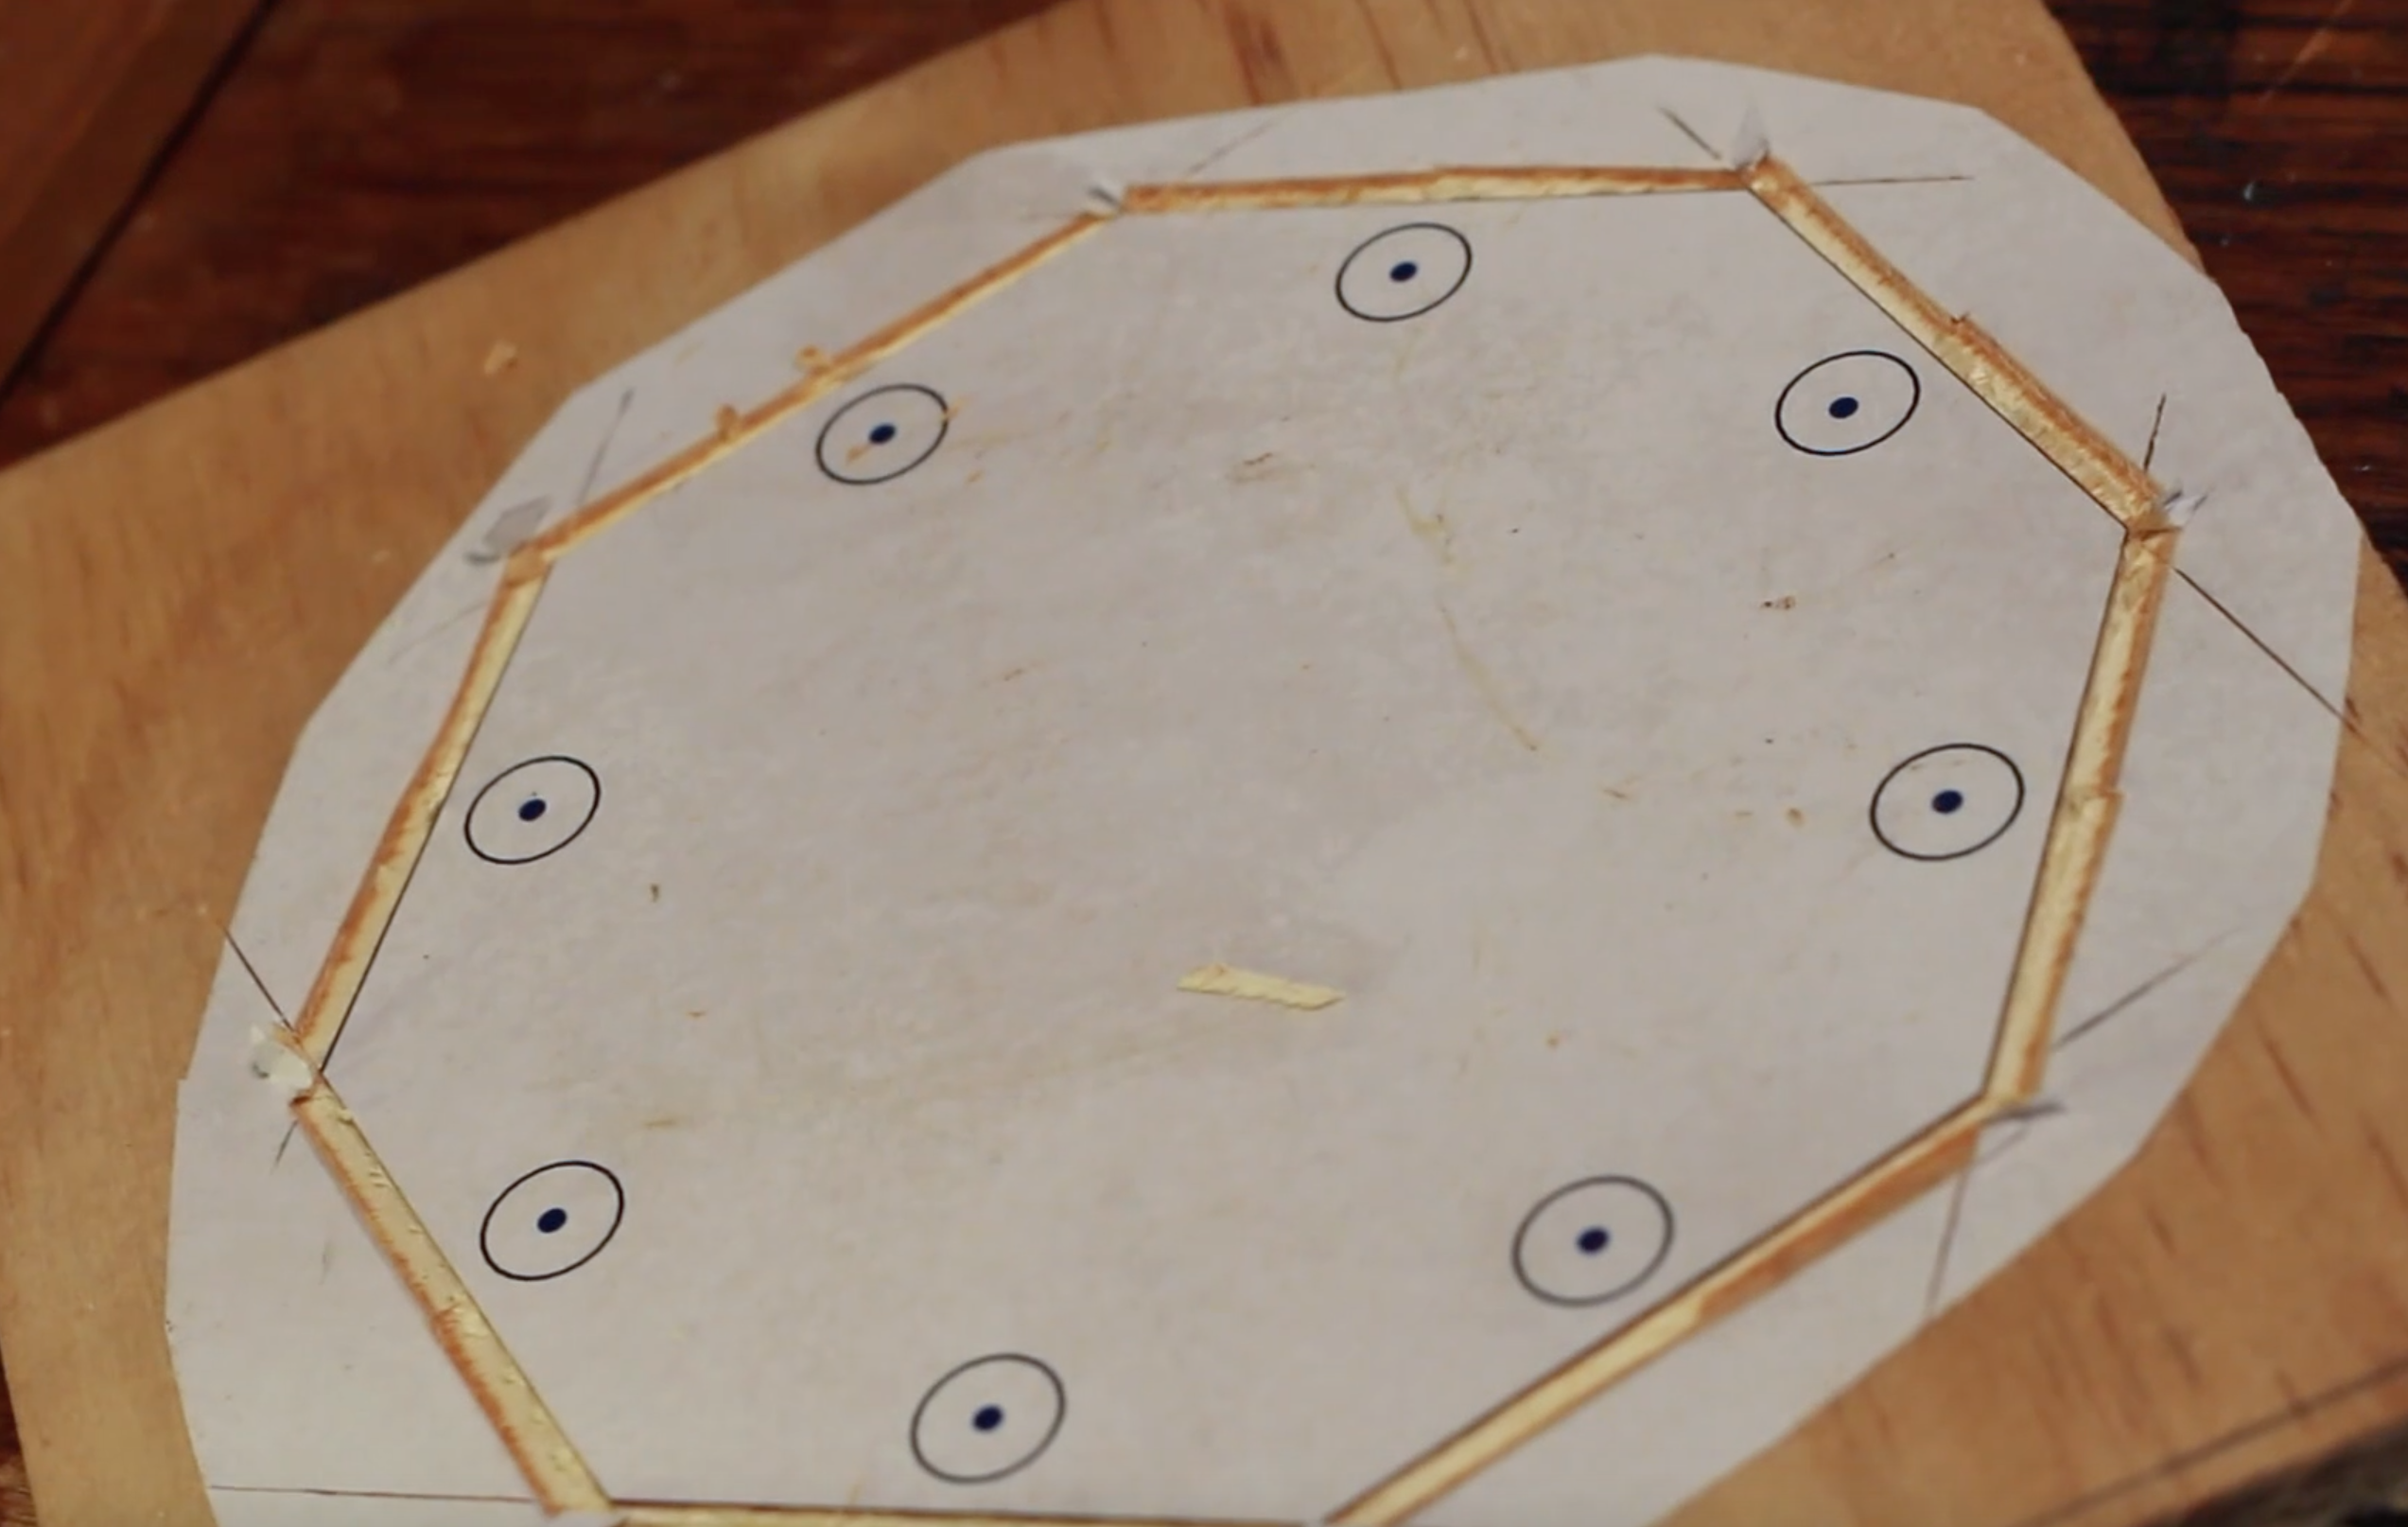
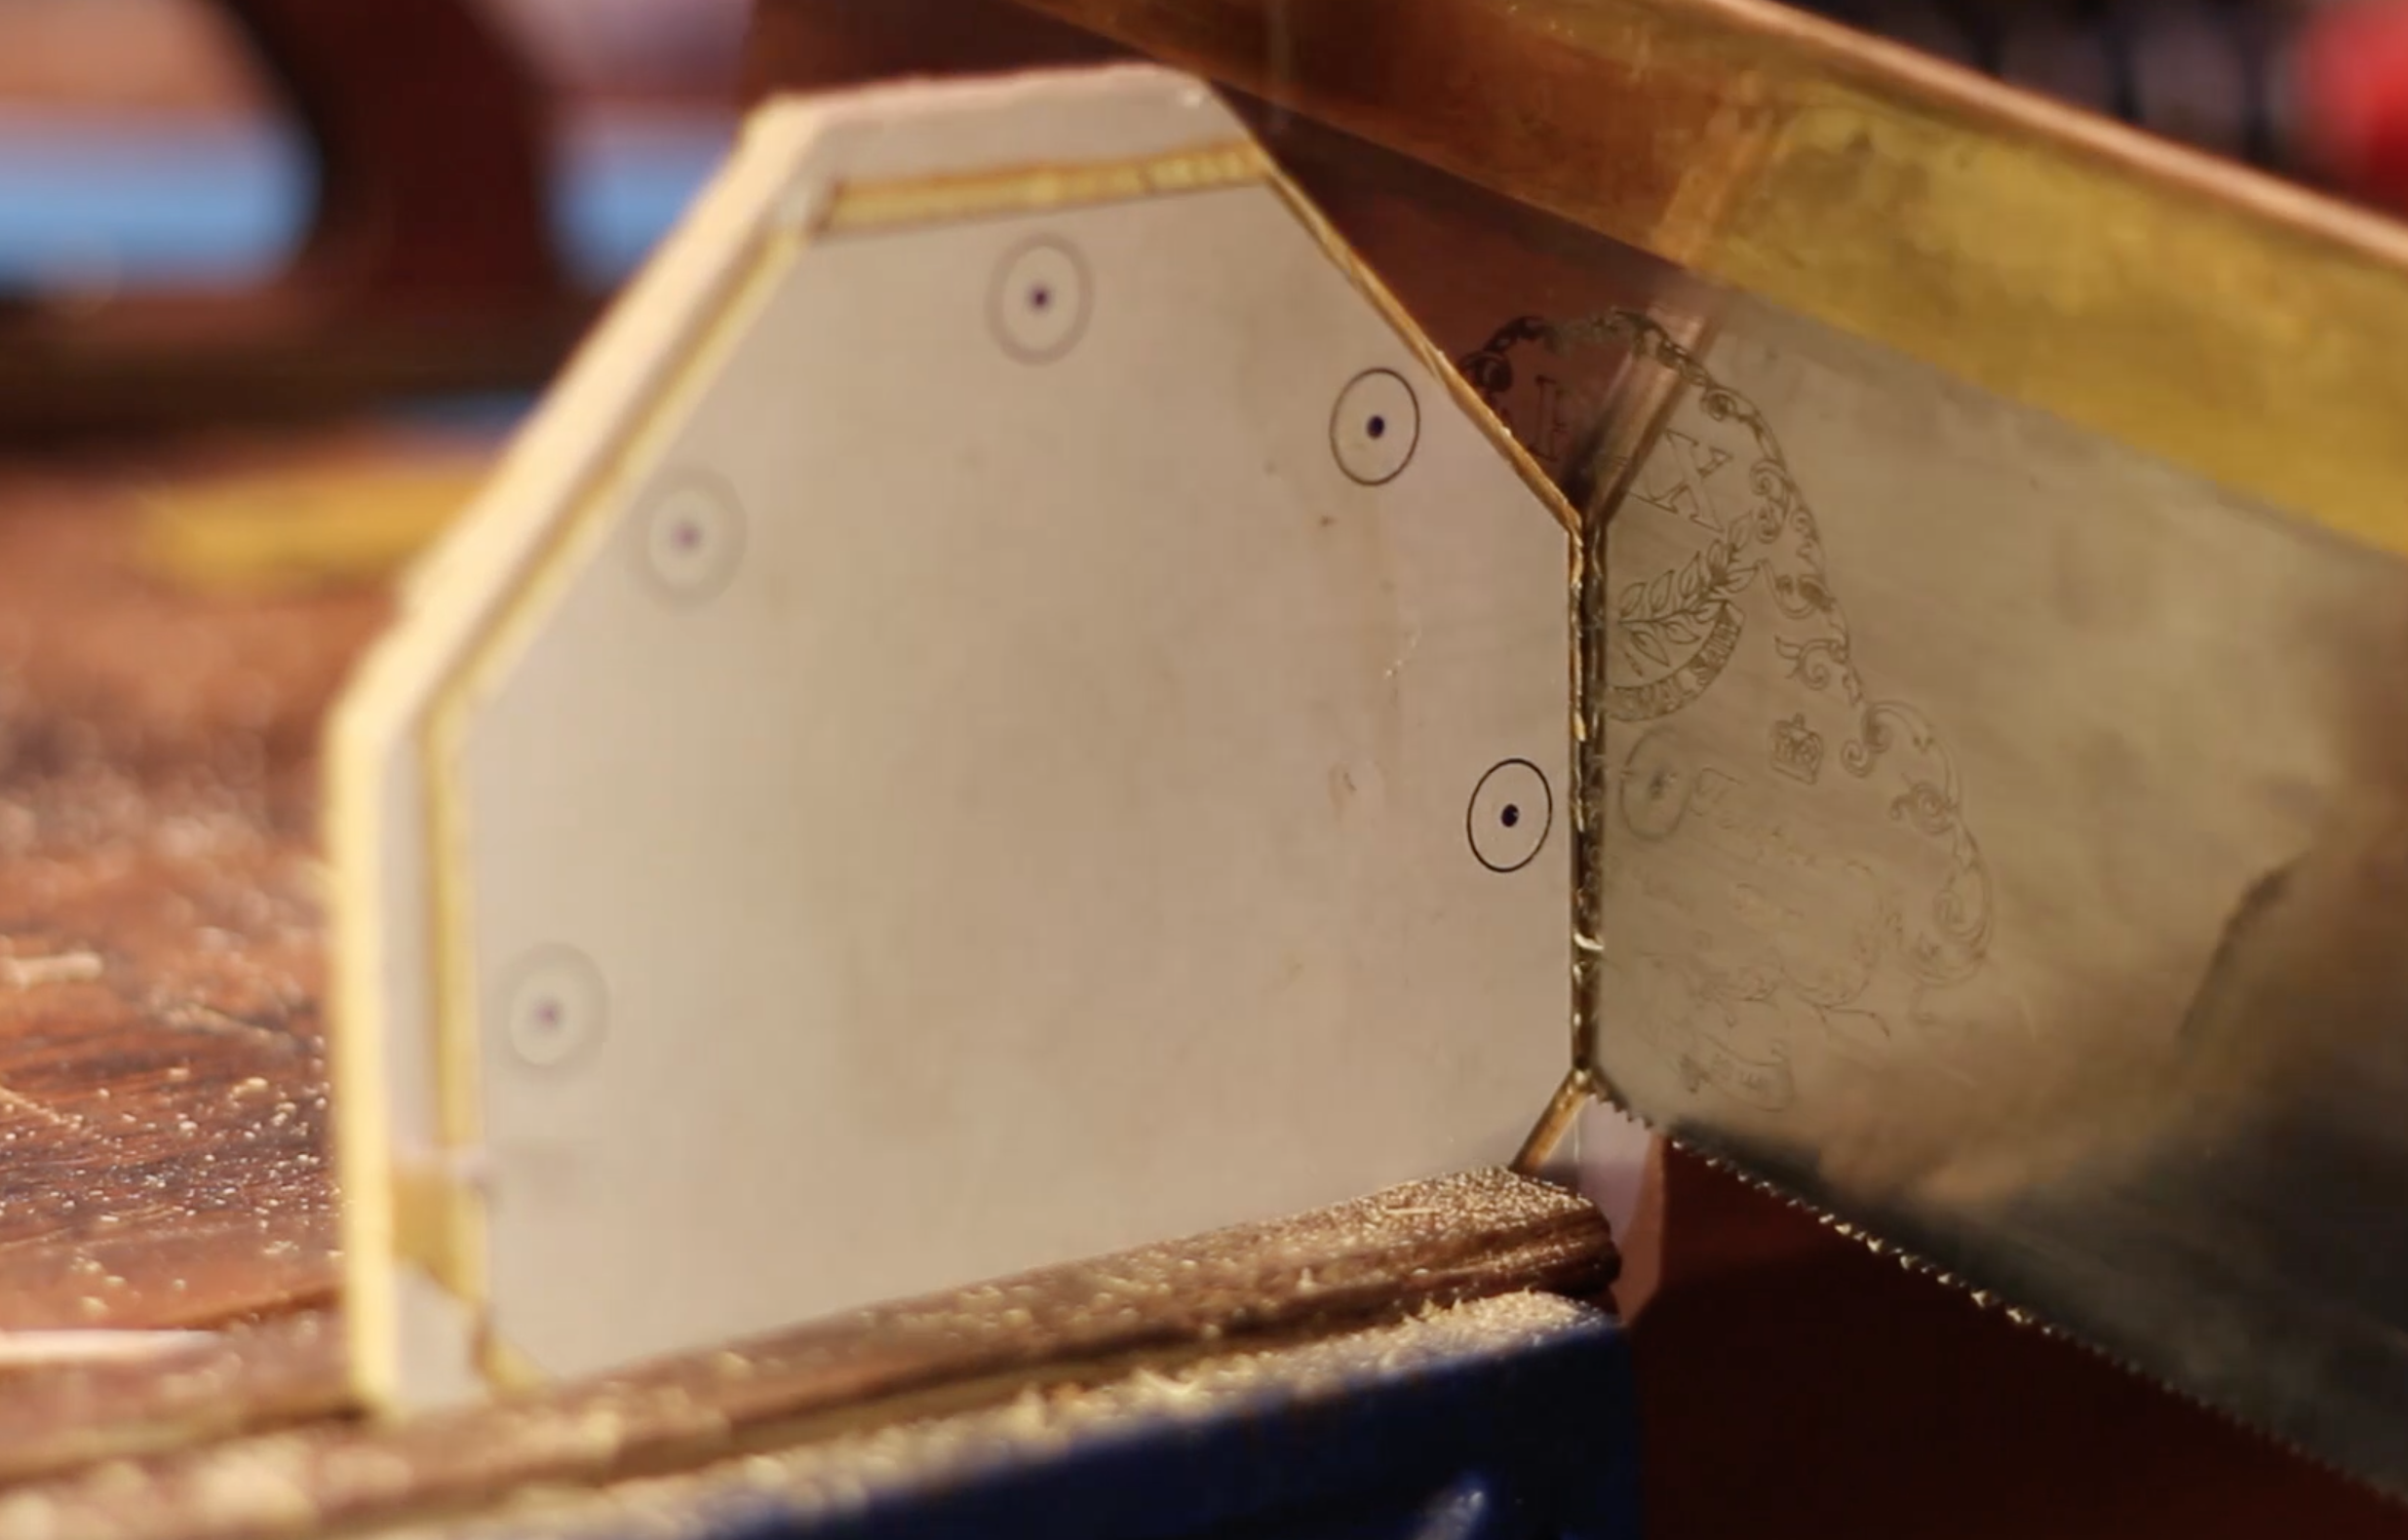
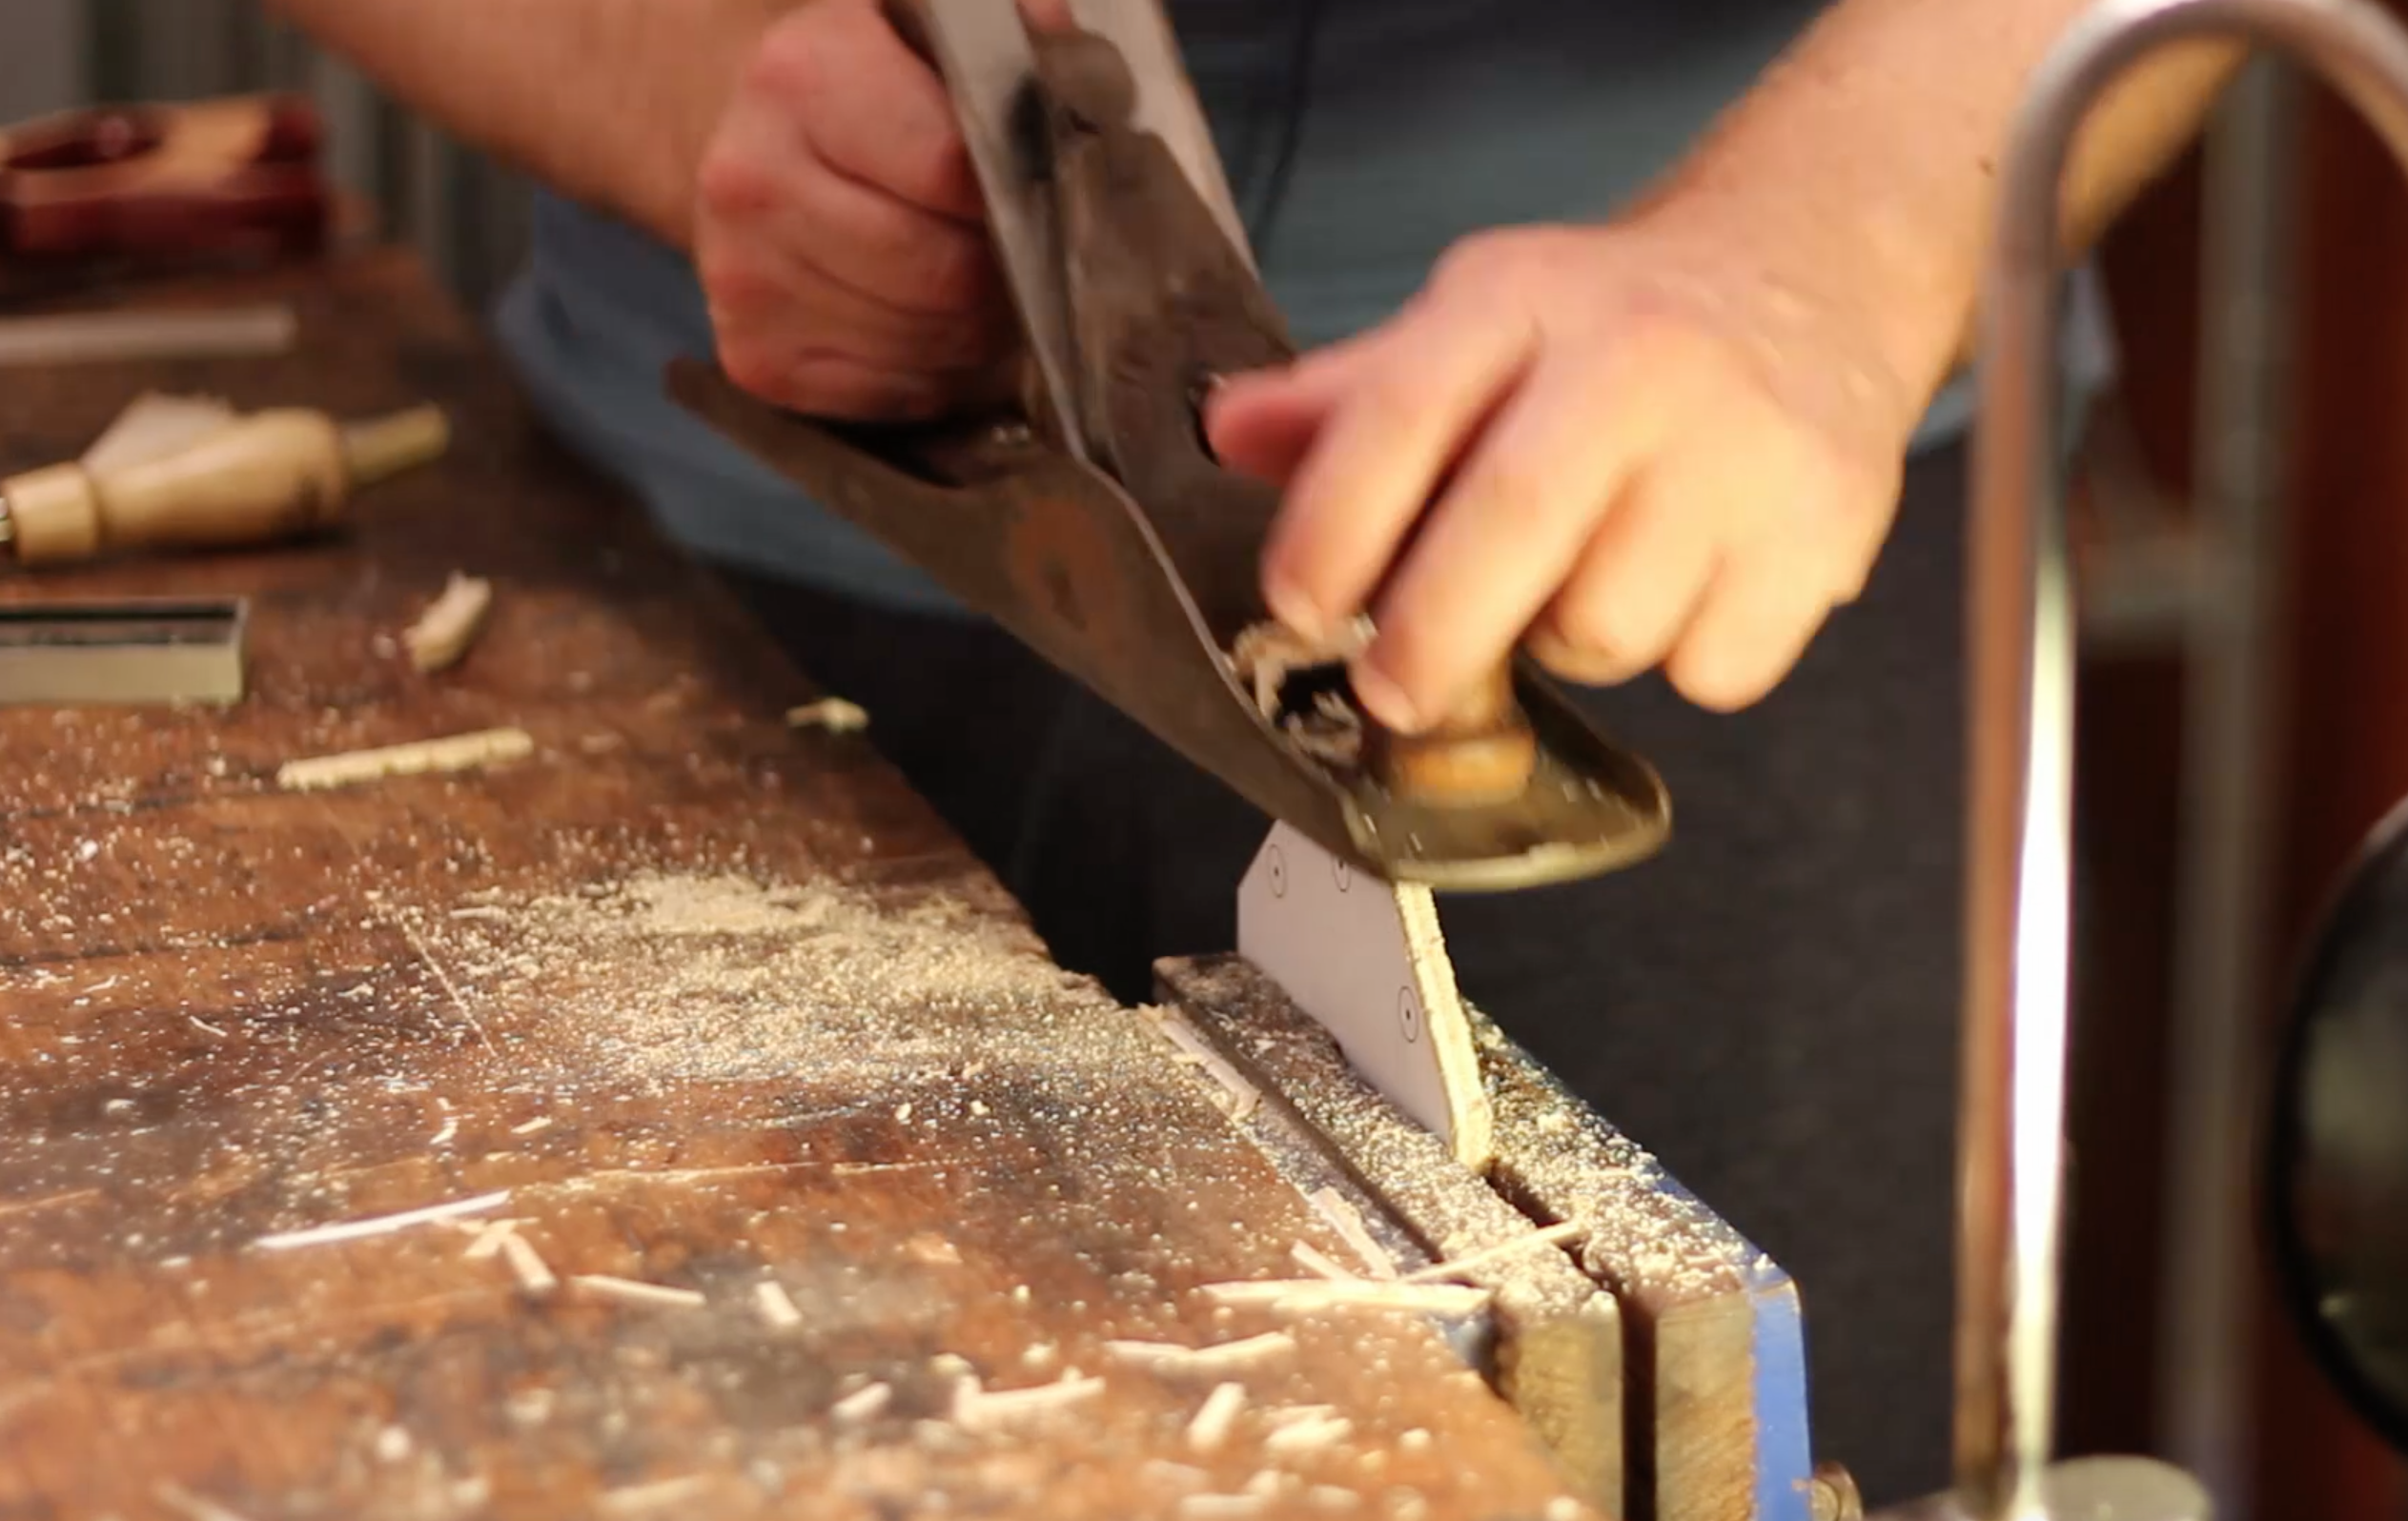
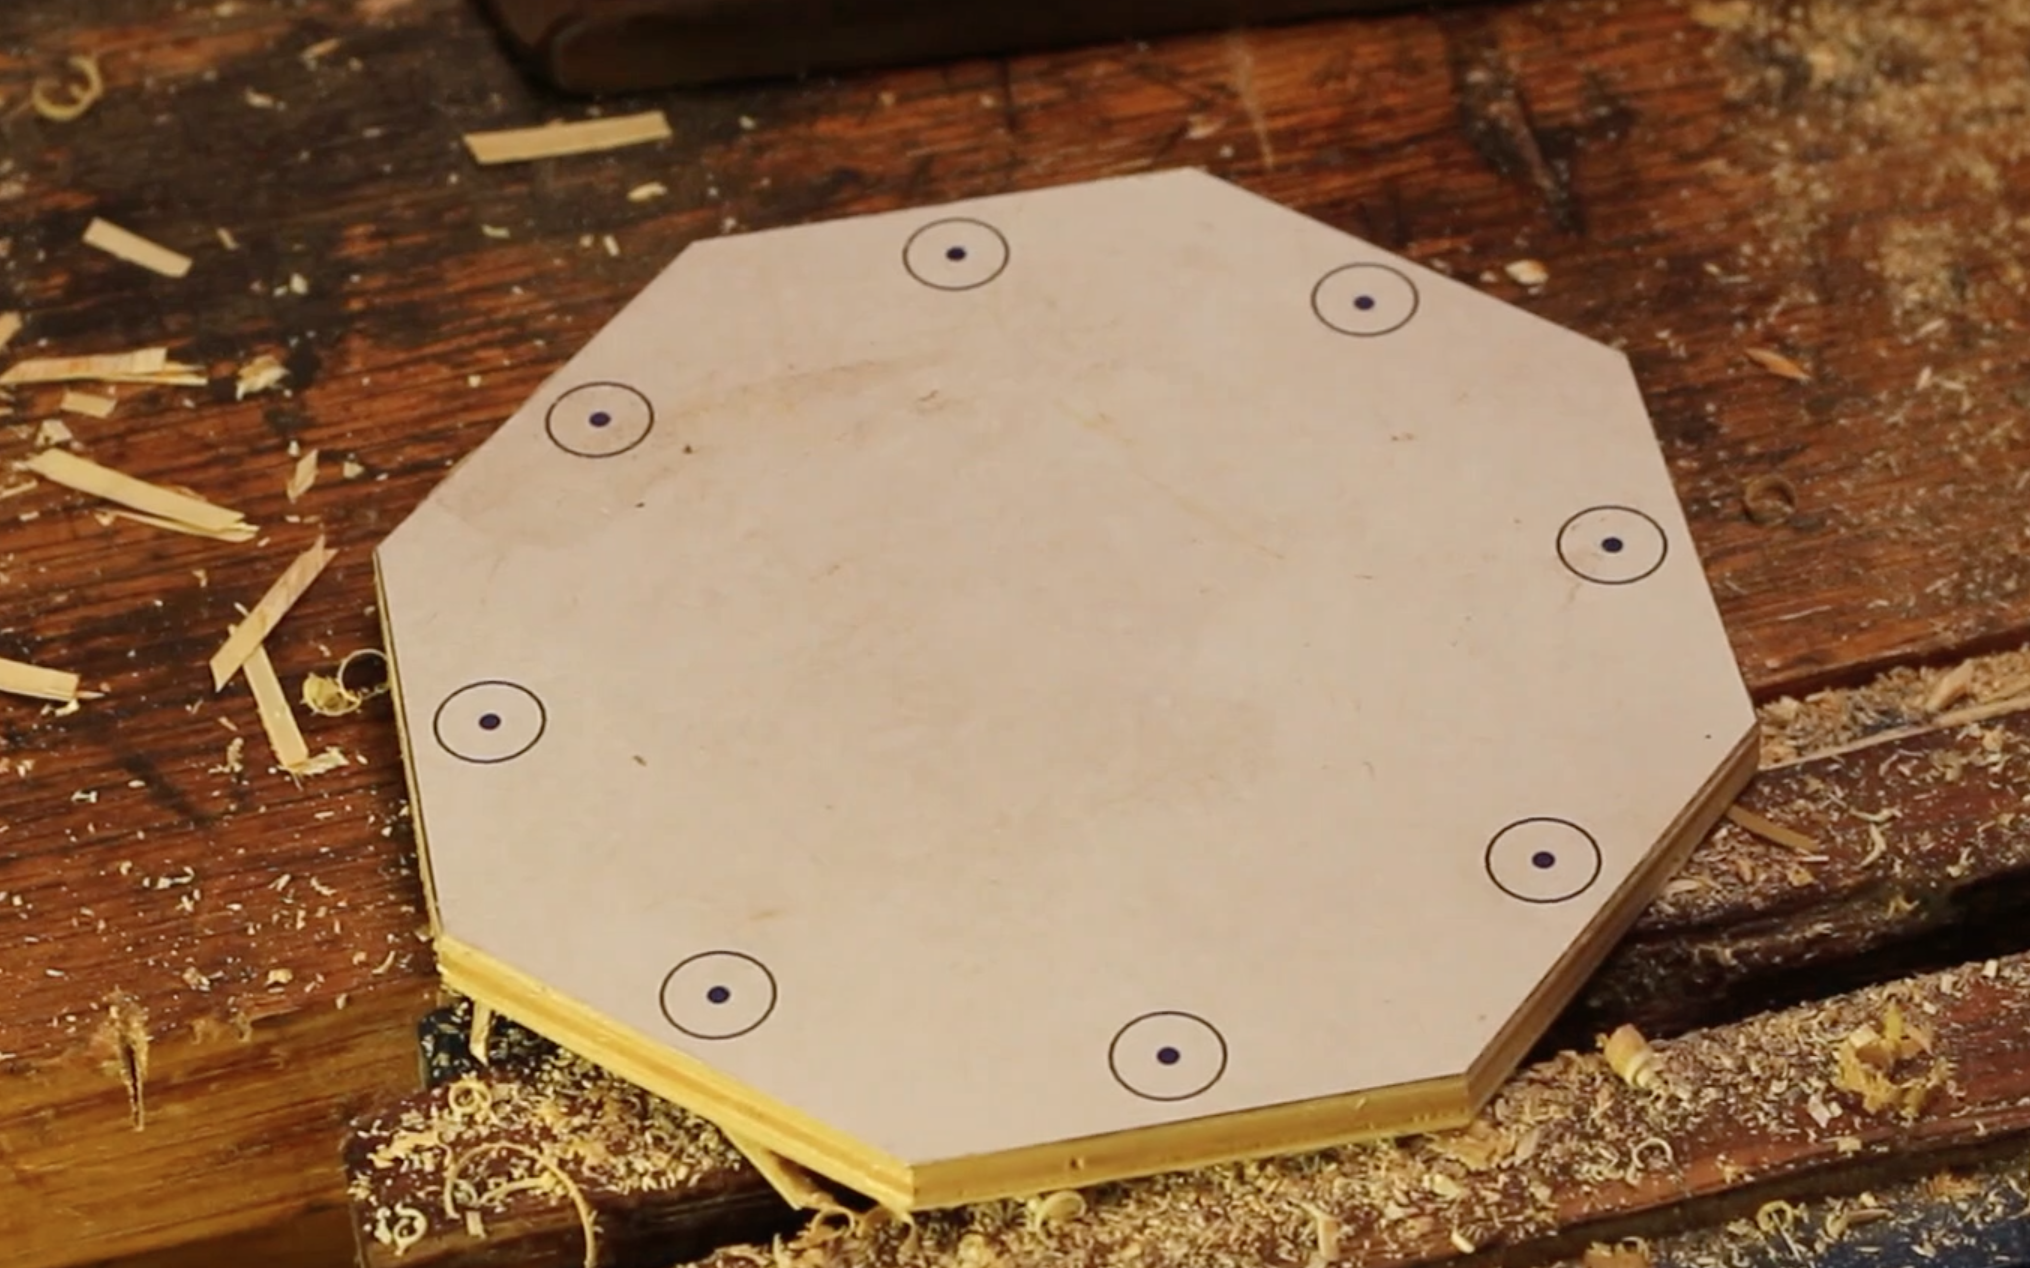
It's time to cutout the octagon shaped part.
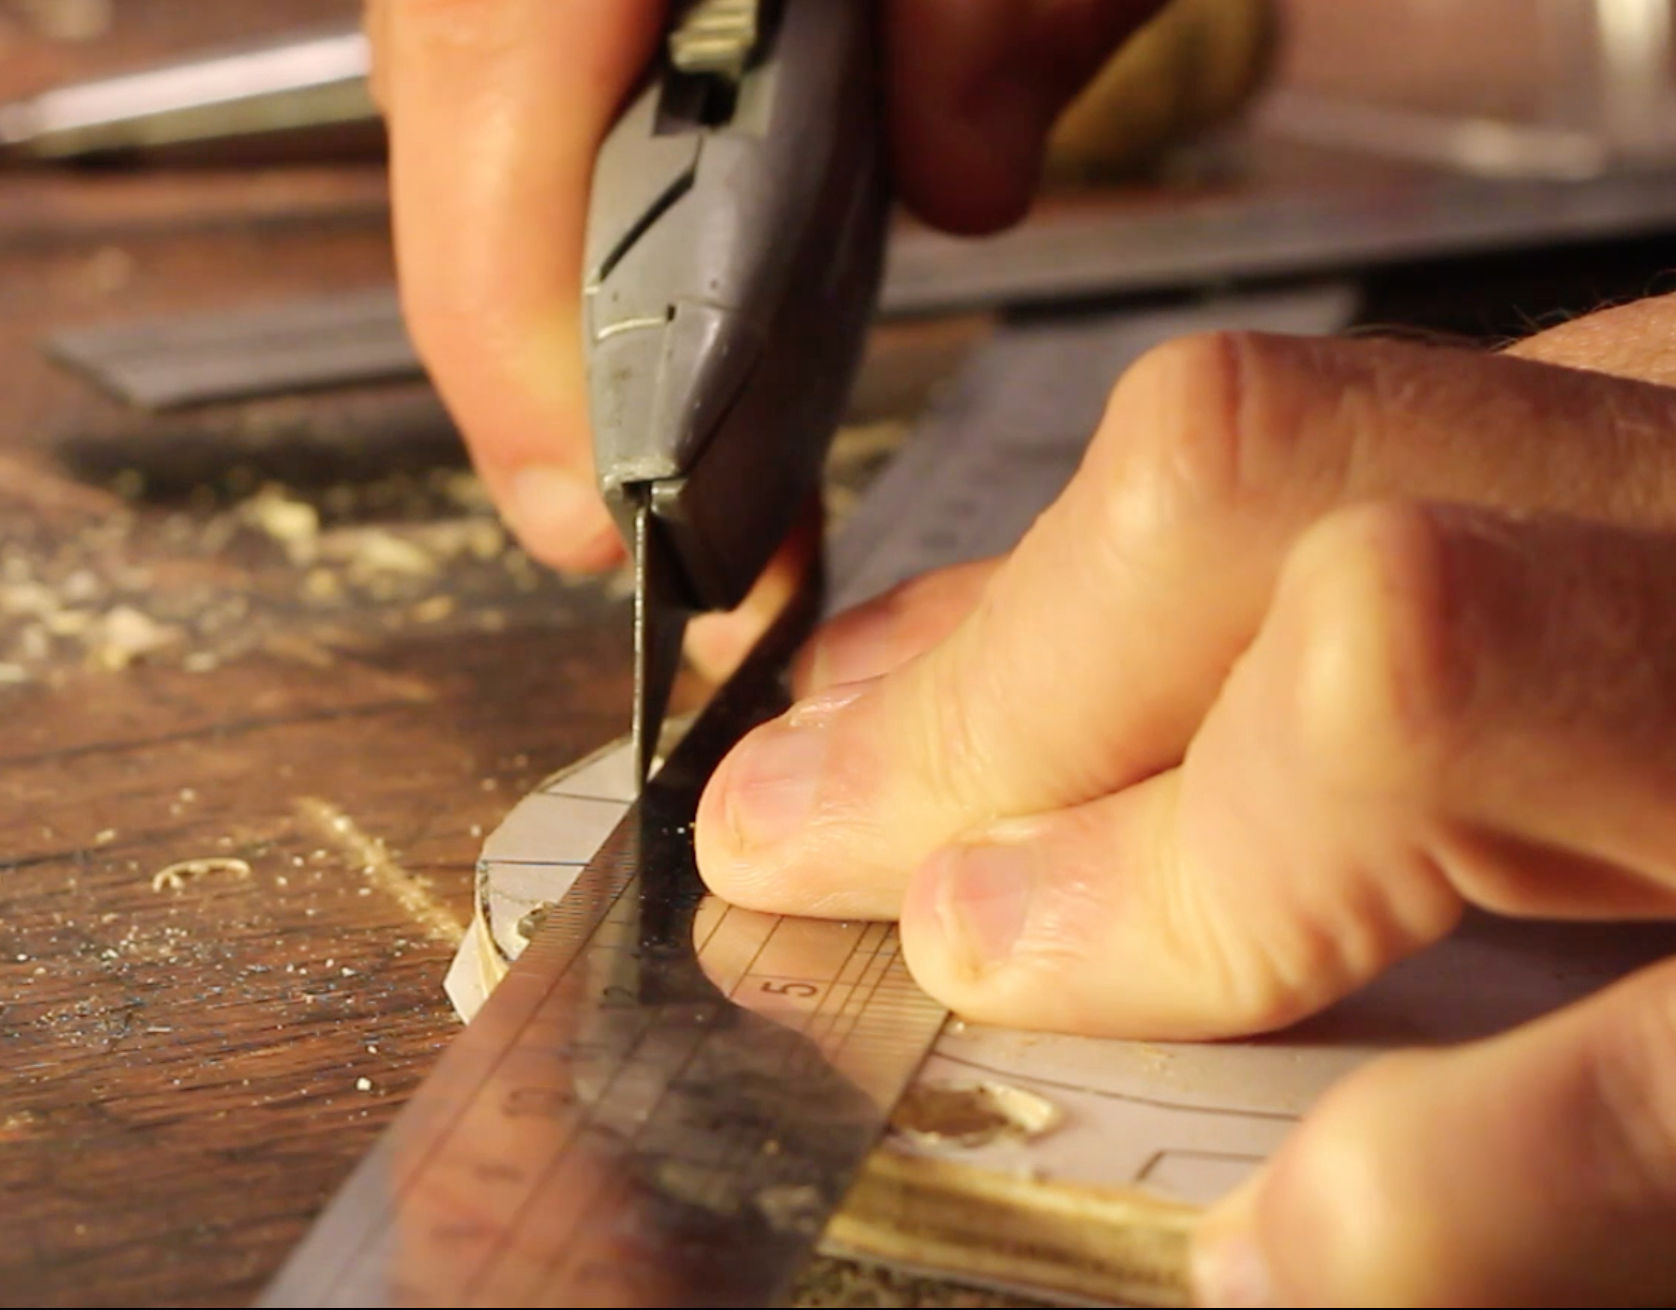
Using a sharp utility knife and metal ruler, cut a deep line around the perimeter of the template. Use several light passes with the knife rather than one heavy pass. This is safer and will help prevent the ruler moving with the knife strokes. After this is done use a sharp bench chisel to chisel out a shallow groove around the perimeter. This groove technique is called a knife-wall and was pioneered by Paul Sellers.
Using a tenon saw or any saw with fine teeth. Saw out the part. Always make sure you are about 1mm proud of the knife line. Do not saw directly on the knife line as it is easy to make a mistake with the angles and/or cause tear out with the saw blade. Well refine the cut with a hand plane.
Using a sharp hand plane with low set, careful plane the plywood edges down to the knife line. Go slow and constantly review your progress. When you've finished all sides you should have a clean looking part, that hopefully could have come out of a CNC (:
About chisel safety
You could shave with a sharp chisel, hence safety is important. In fact, shaving the back of your hand is a chisel sharpness test! My rule is to always keep your hands behind the blade, never in front.
Drill the Holes
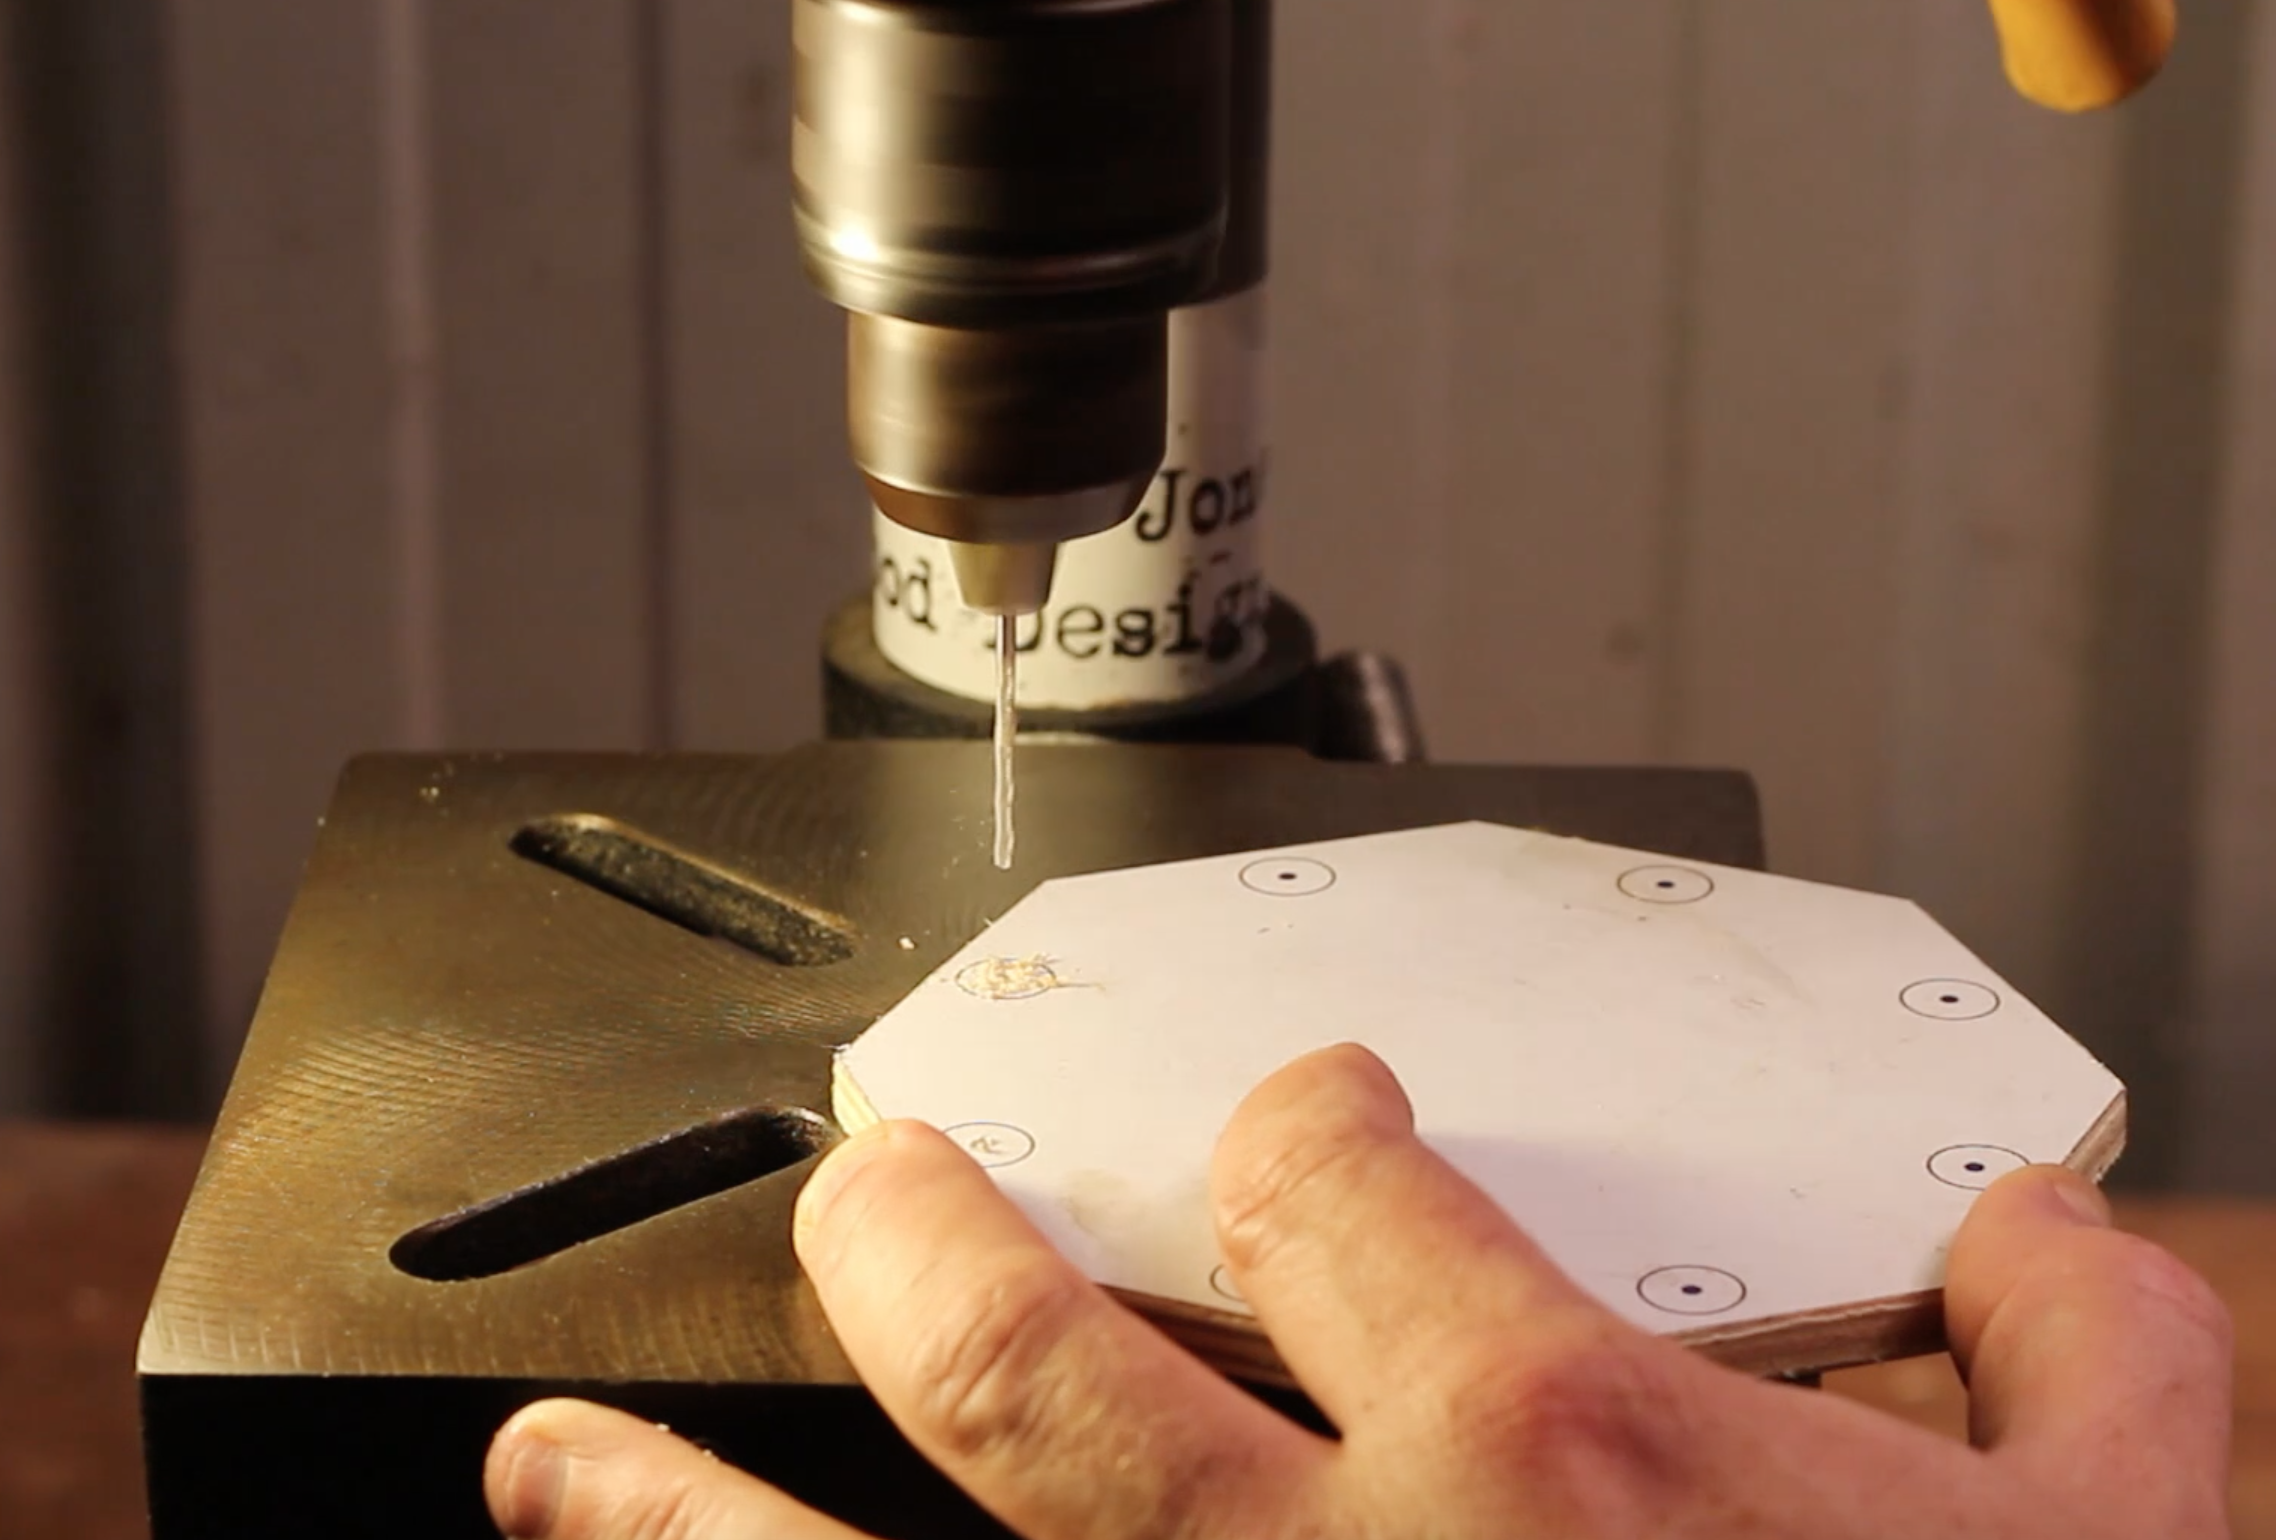
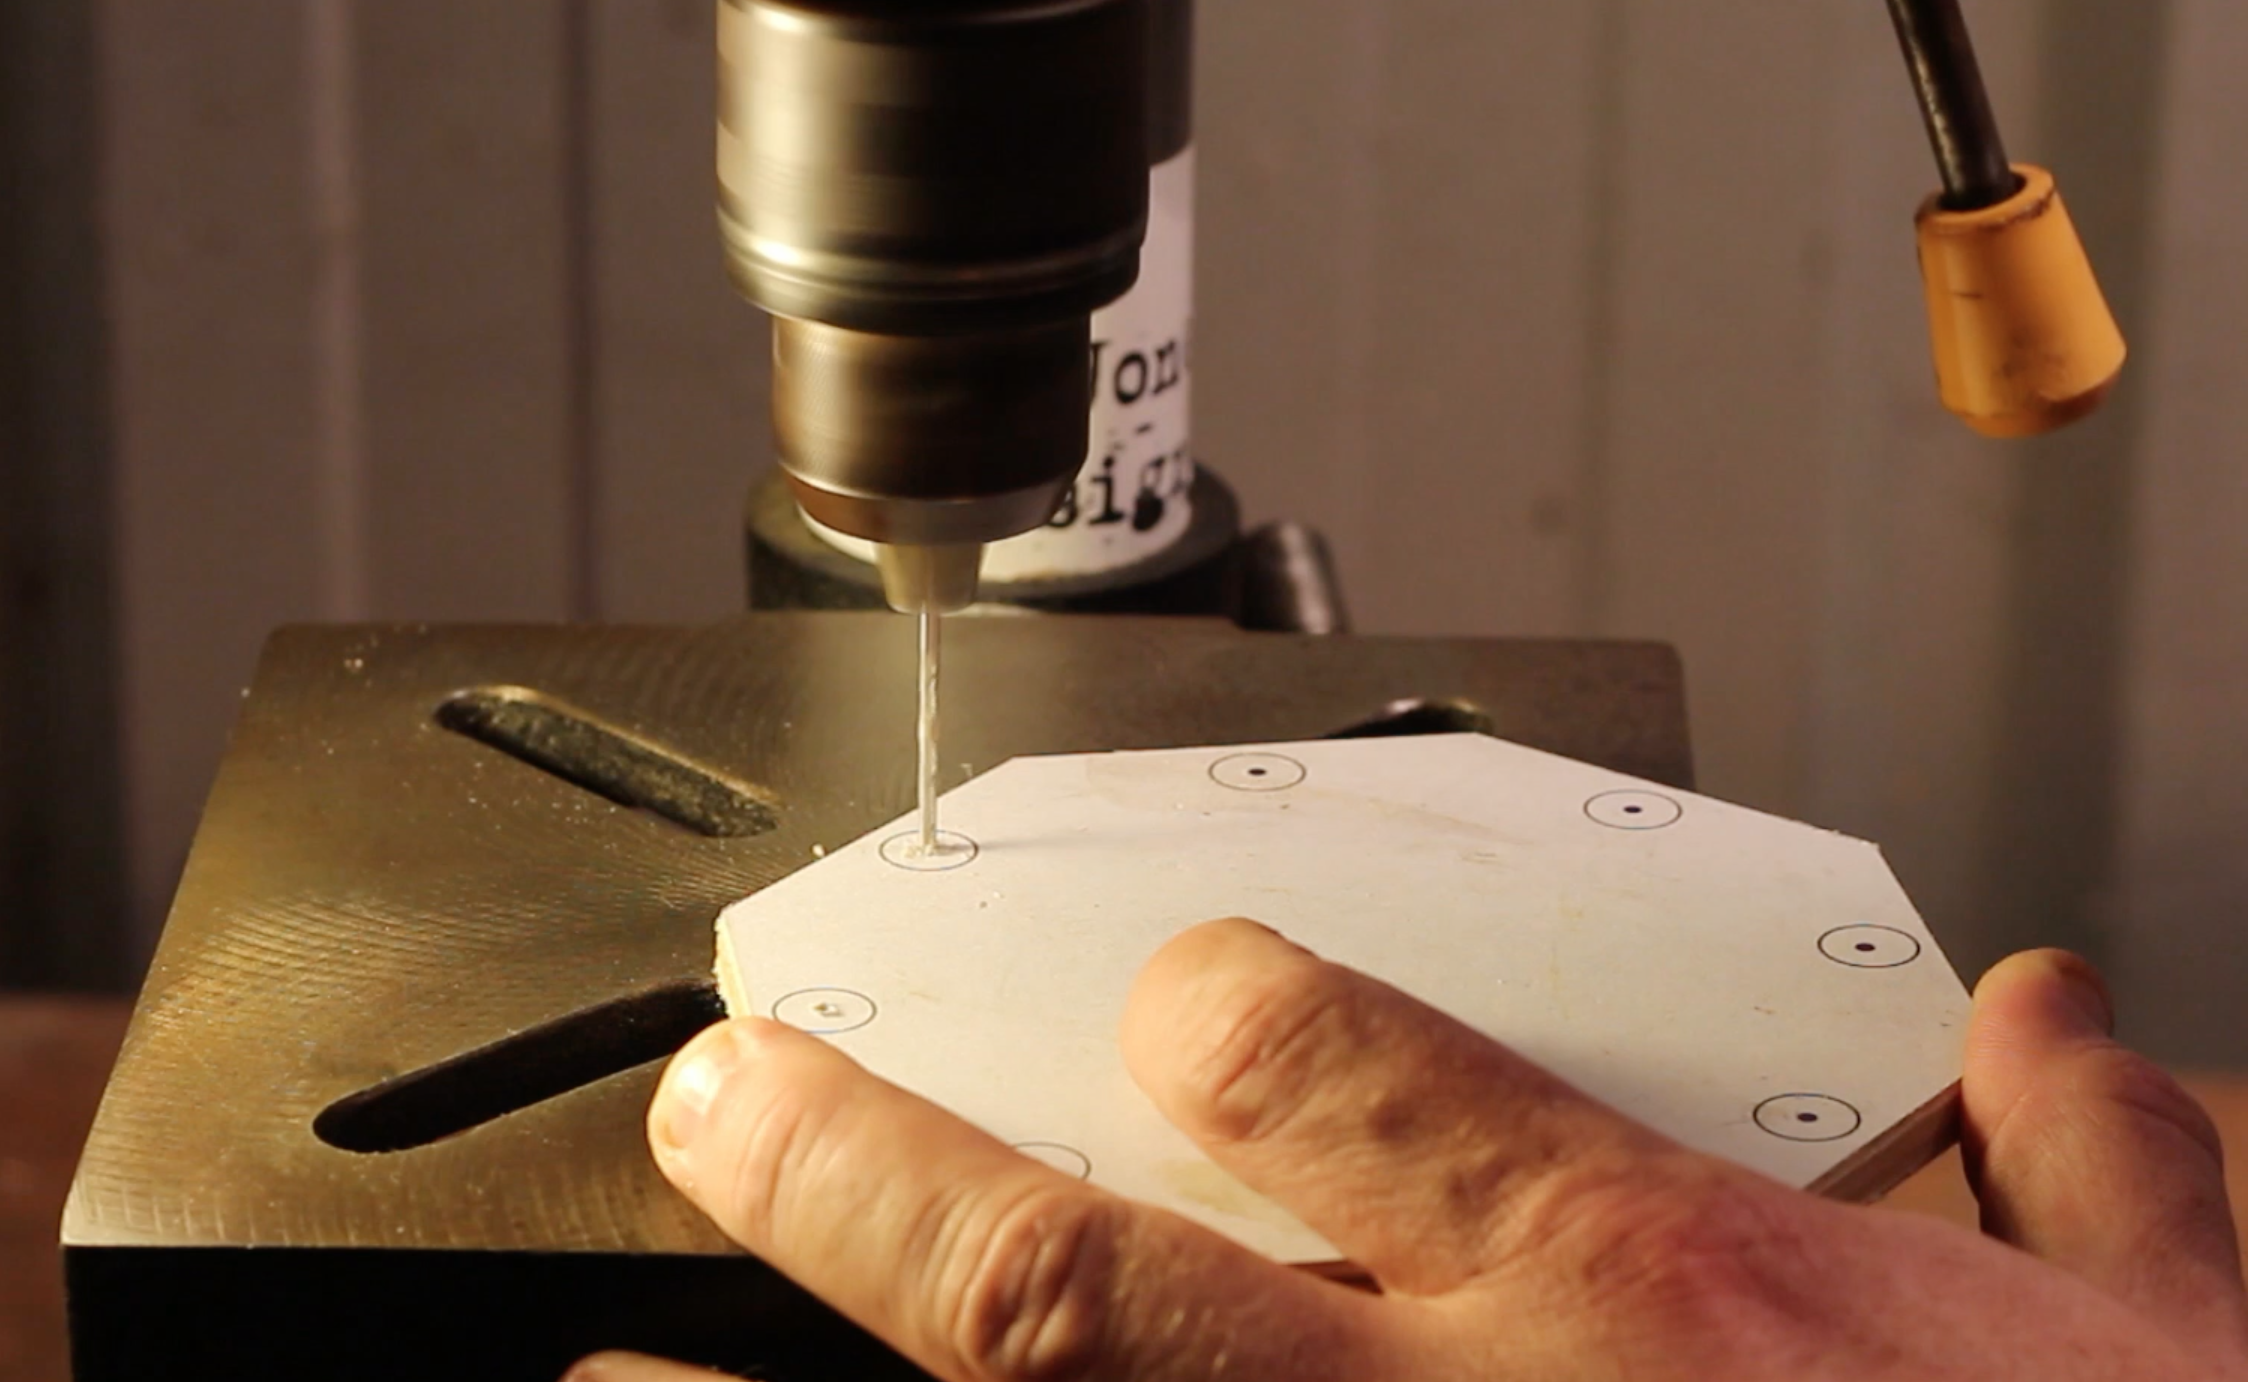
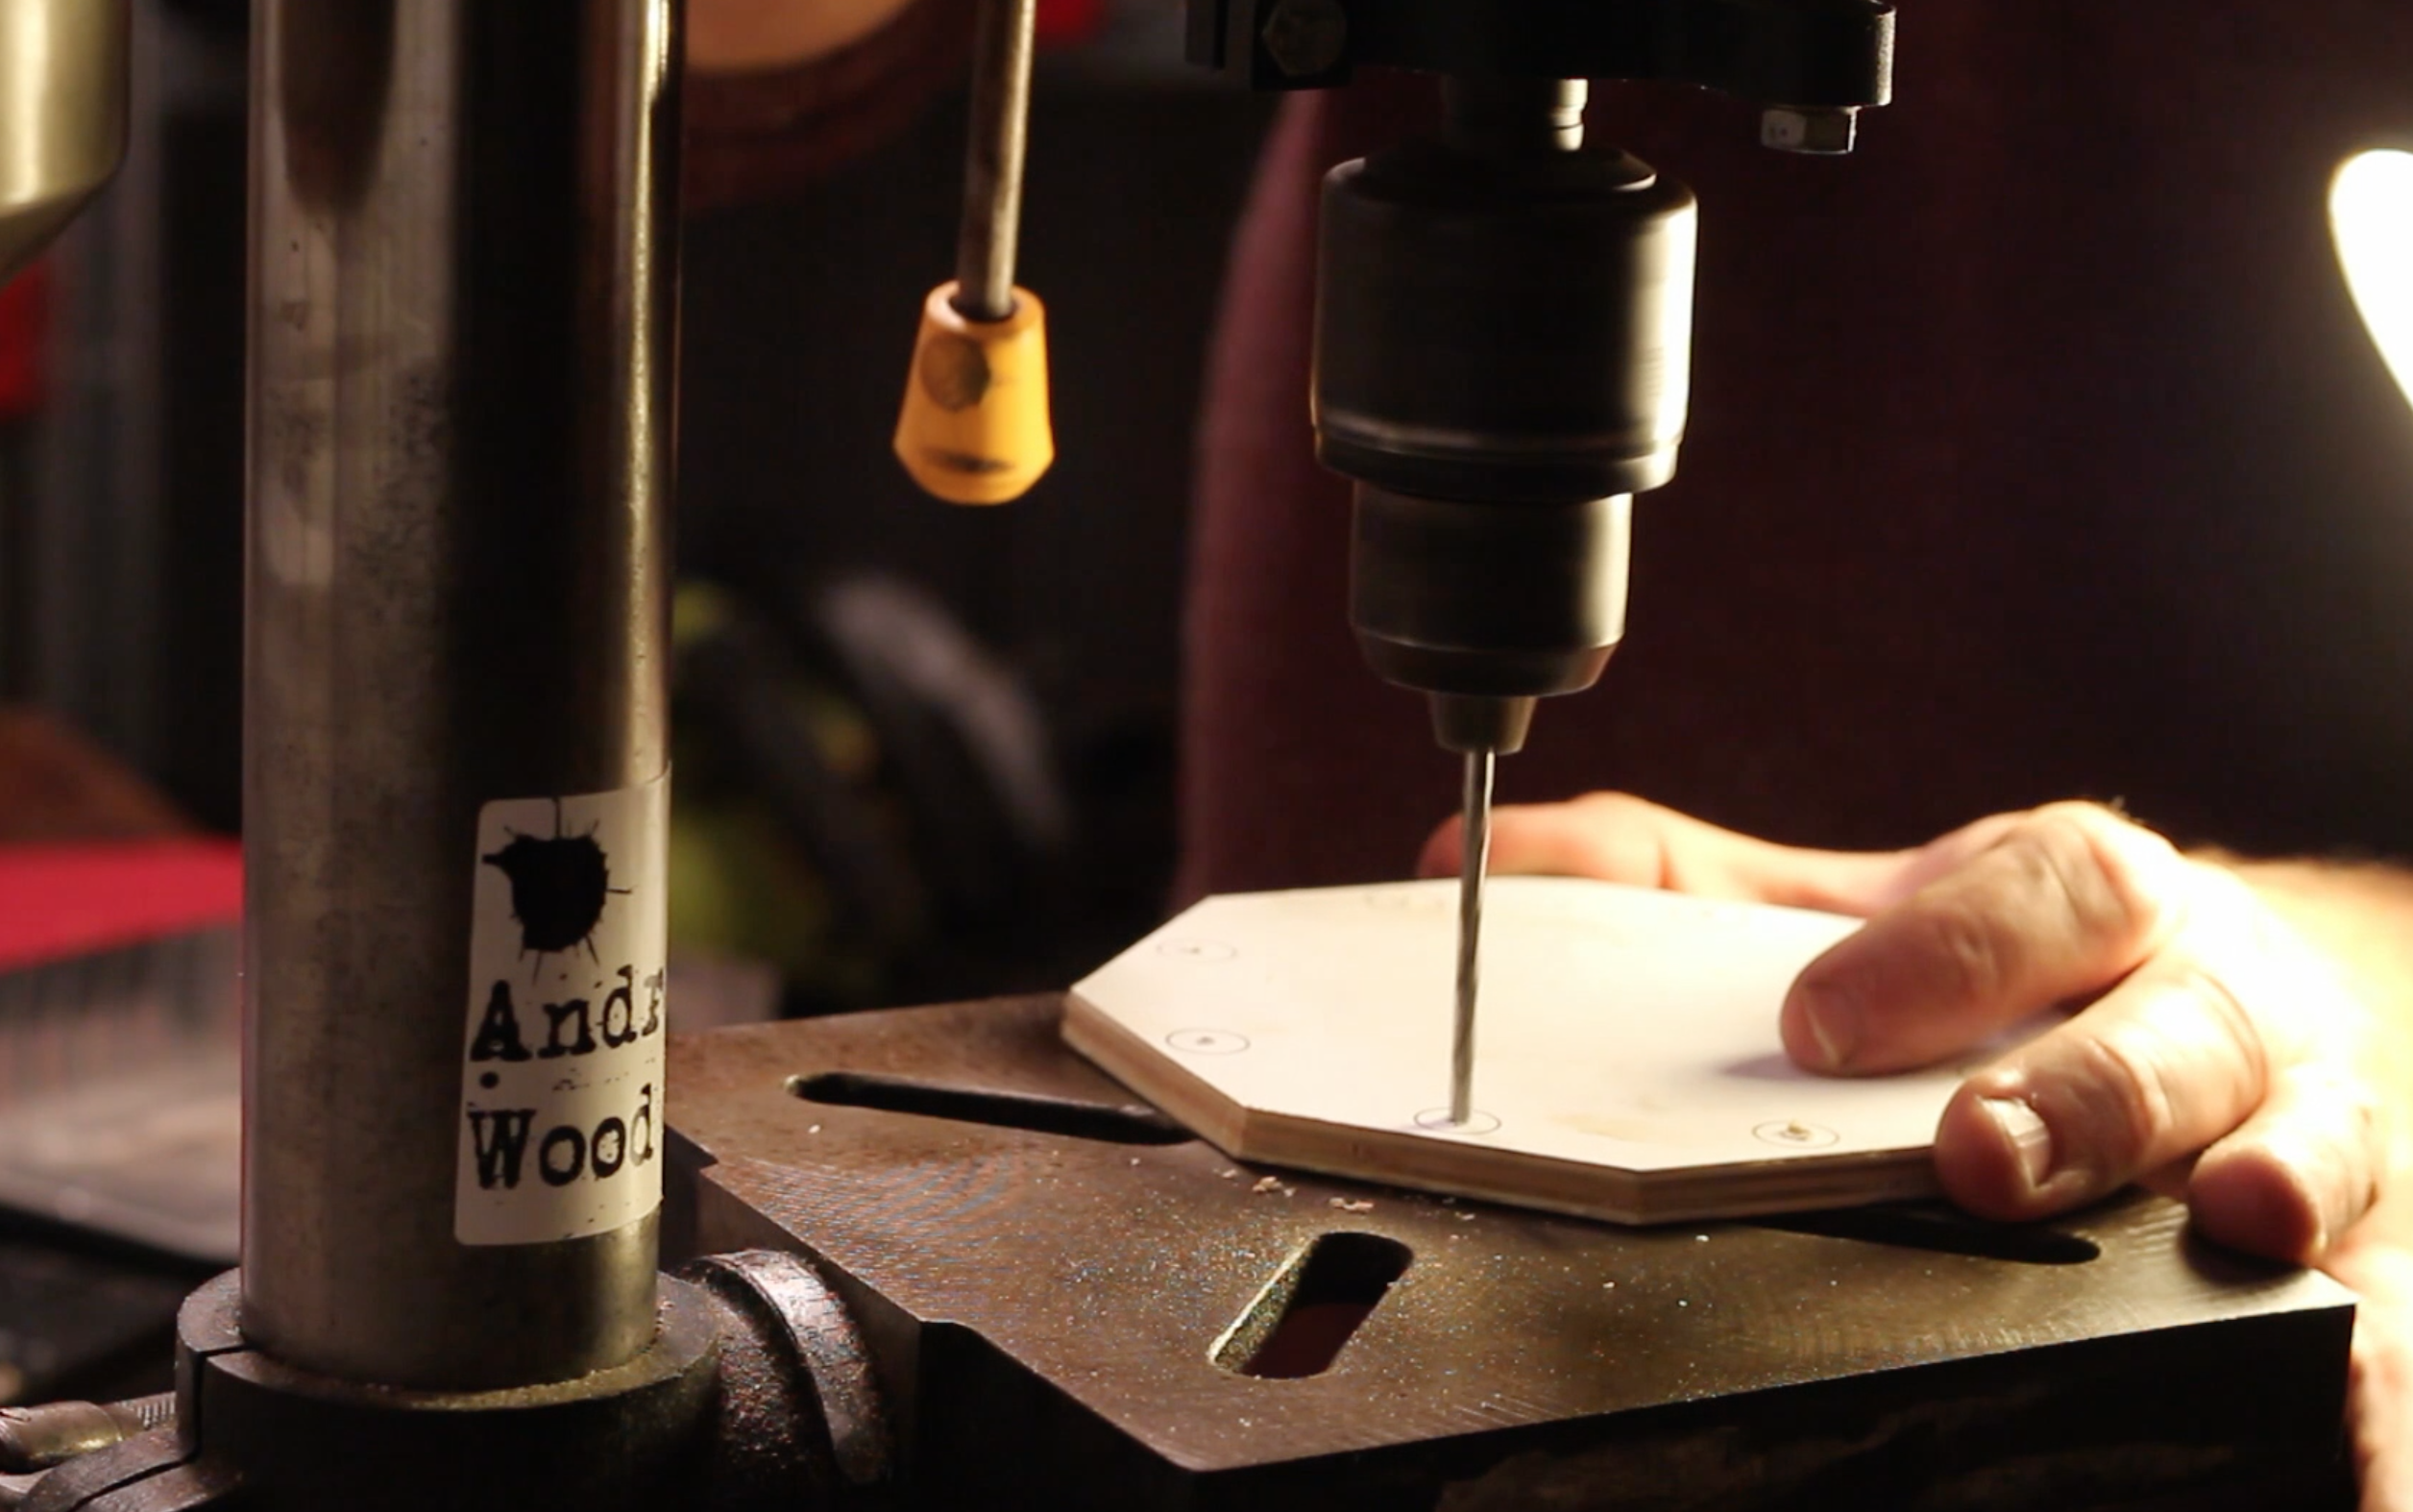
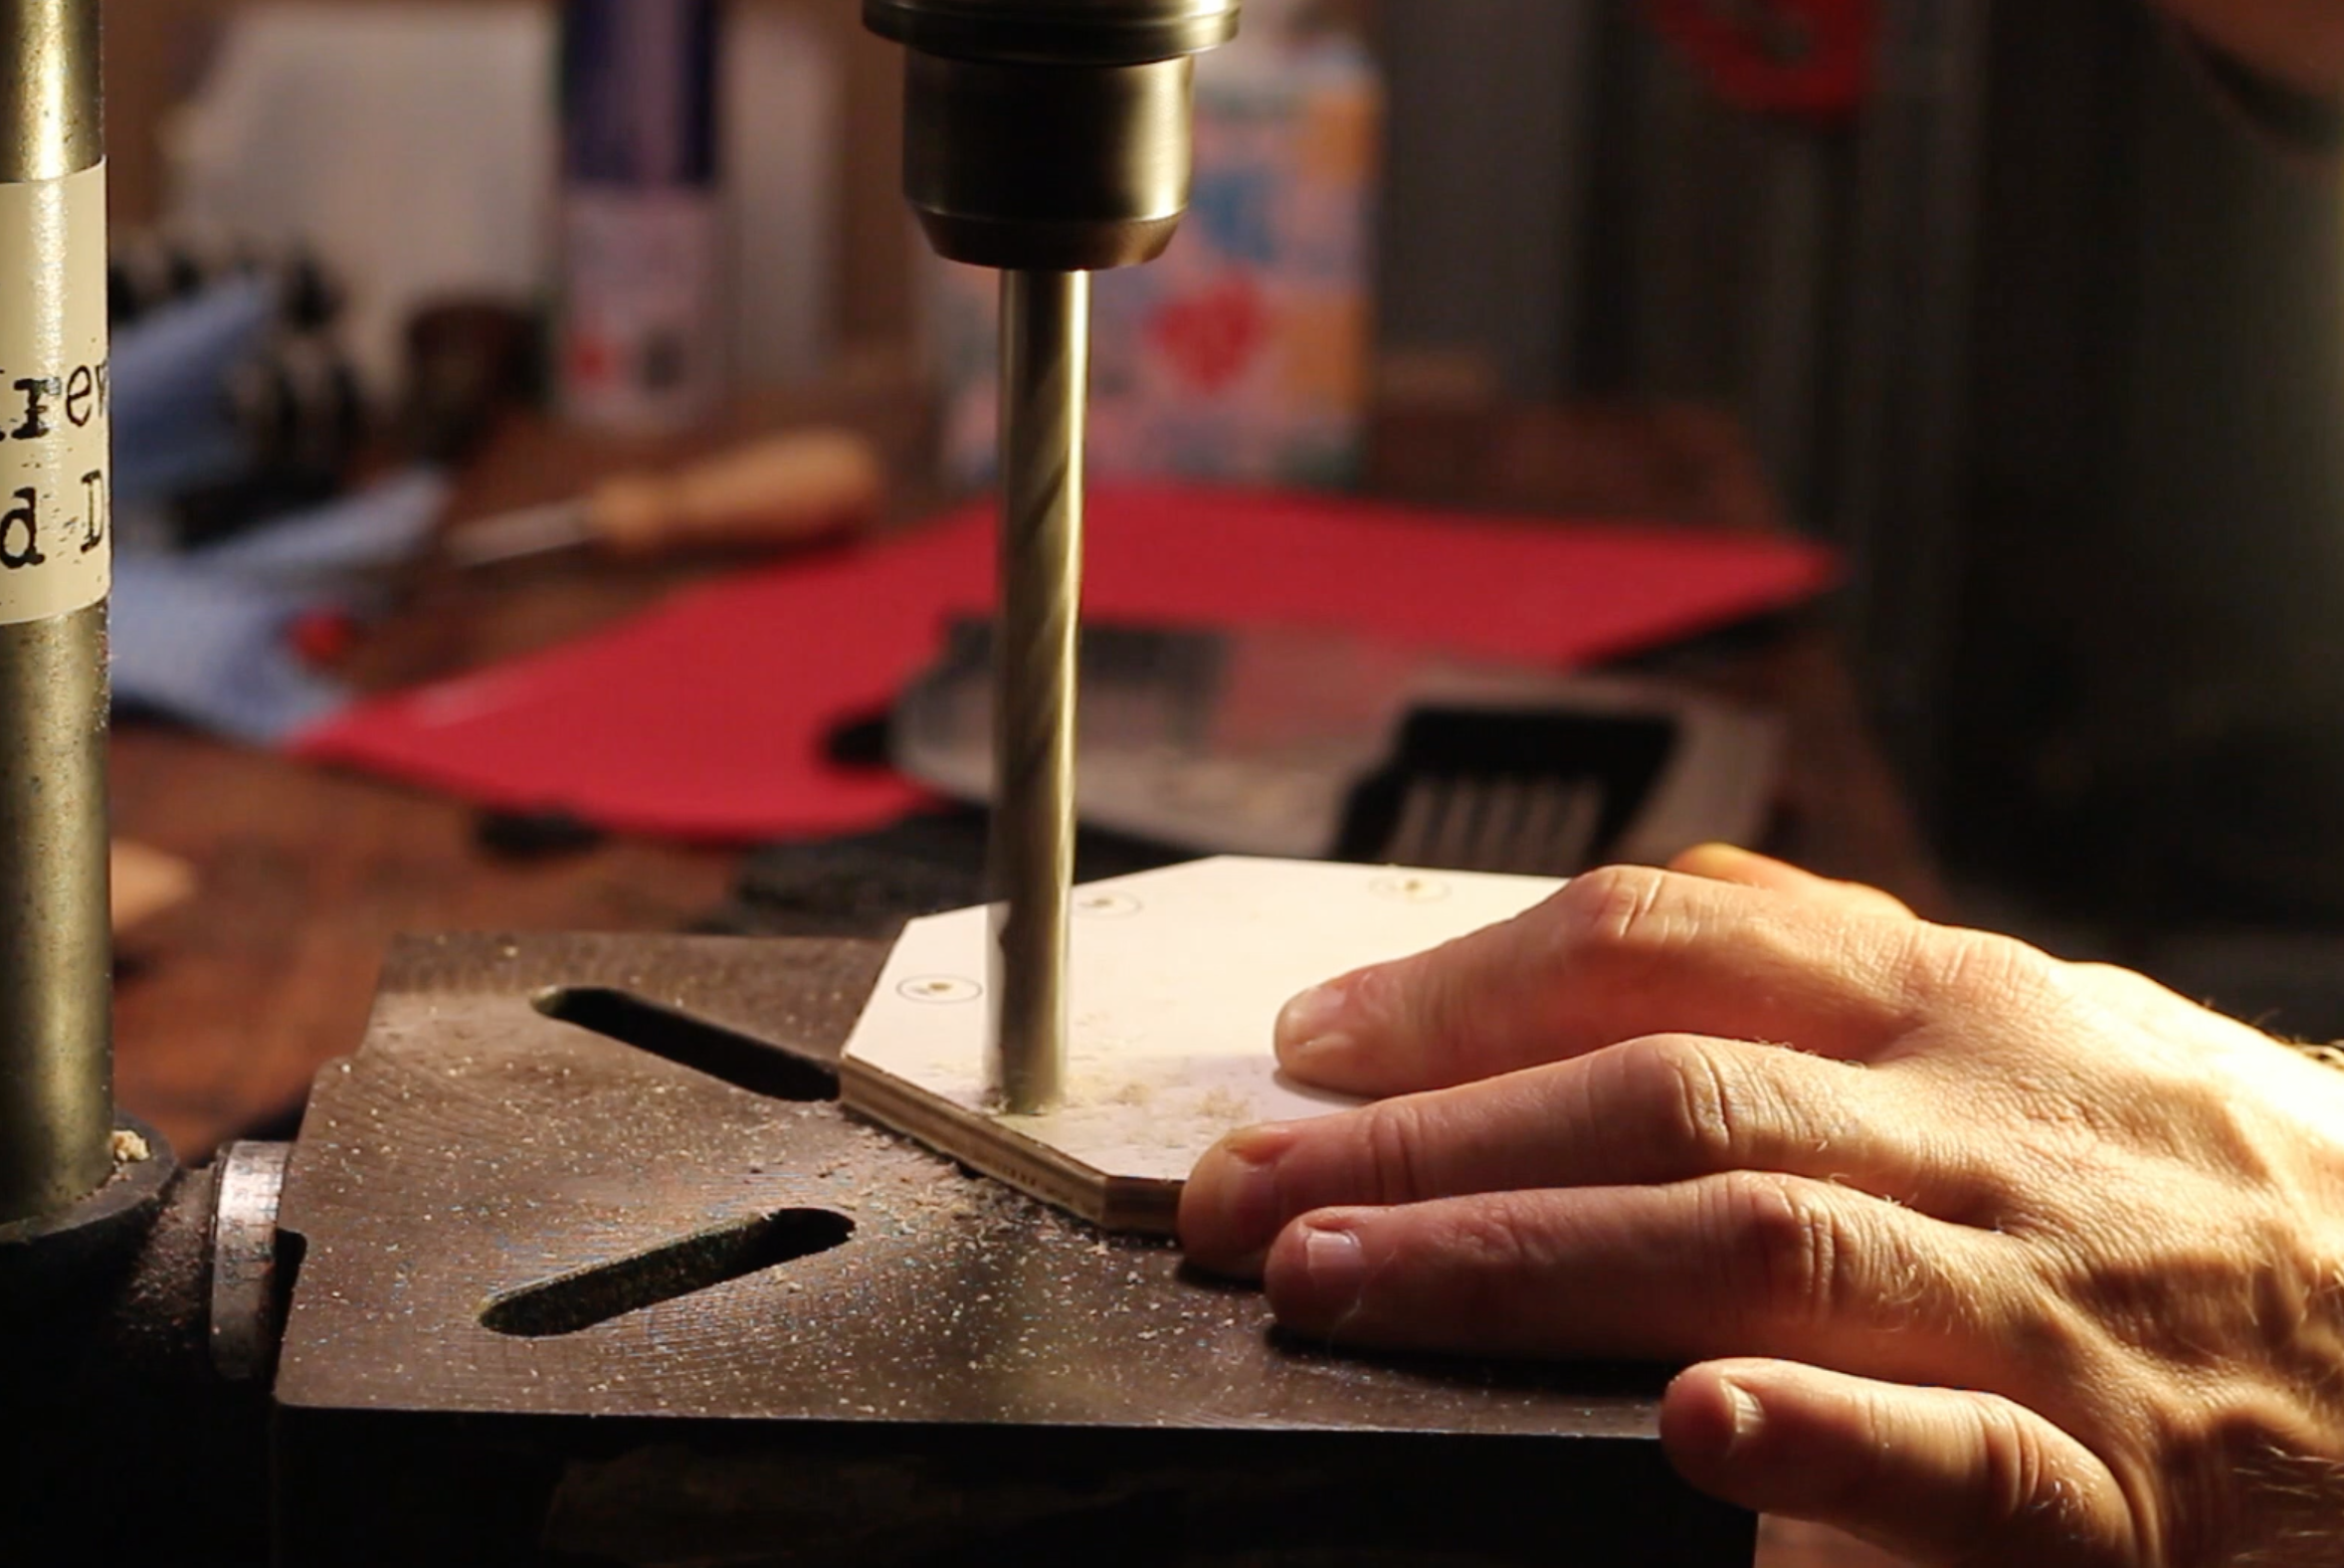
Be sure to wear safety glasses when using electric drills. Using a 2mm drill bit, drill each pilot hole using the center disks on the paper template as a guide. Be careful and make sure the bit is in the correct place. If you don't have a drill press ask a friend to help you keep the drill vertical. Now expand the pilot holes to 4mm.
Drilling the 10mm holes
When drilling the 10mm holes, only drill half way then flip the part and drill through from the other side. This reduces tear out caused by the drill bit punching through the plywood. I also lightly hold the piece when the drill first makes contact with the material. This allows the drill to naturally find the center of the pilot hole because this is the path of least resistance.
Cutting the Perimeter of the "cog" Part
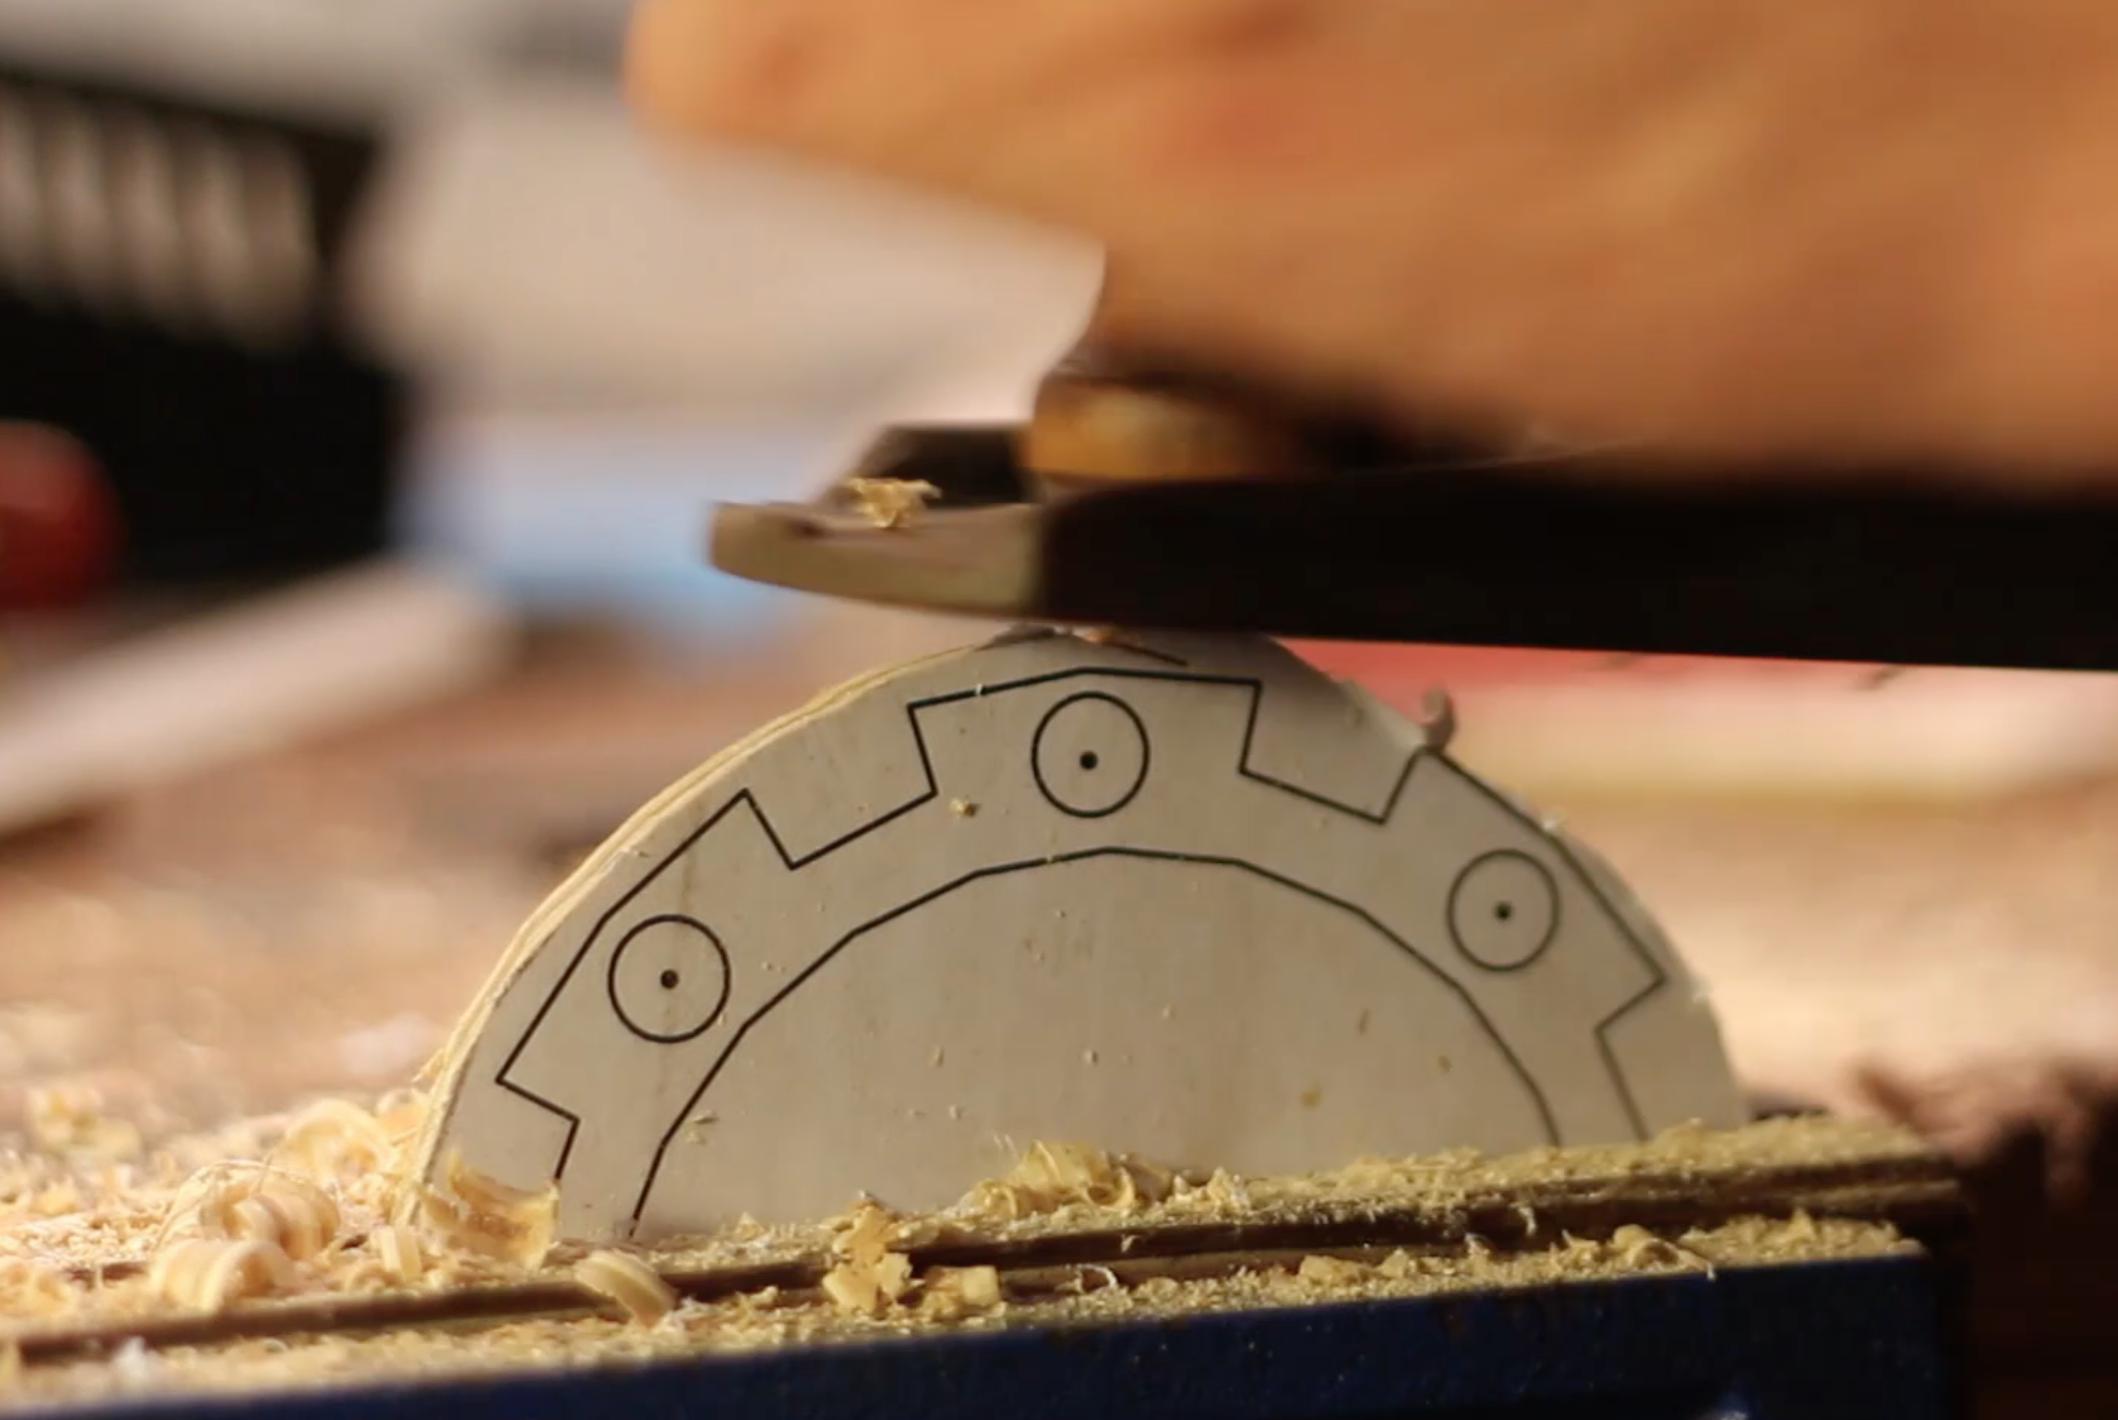
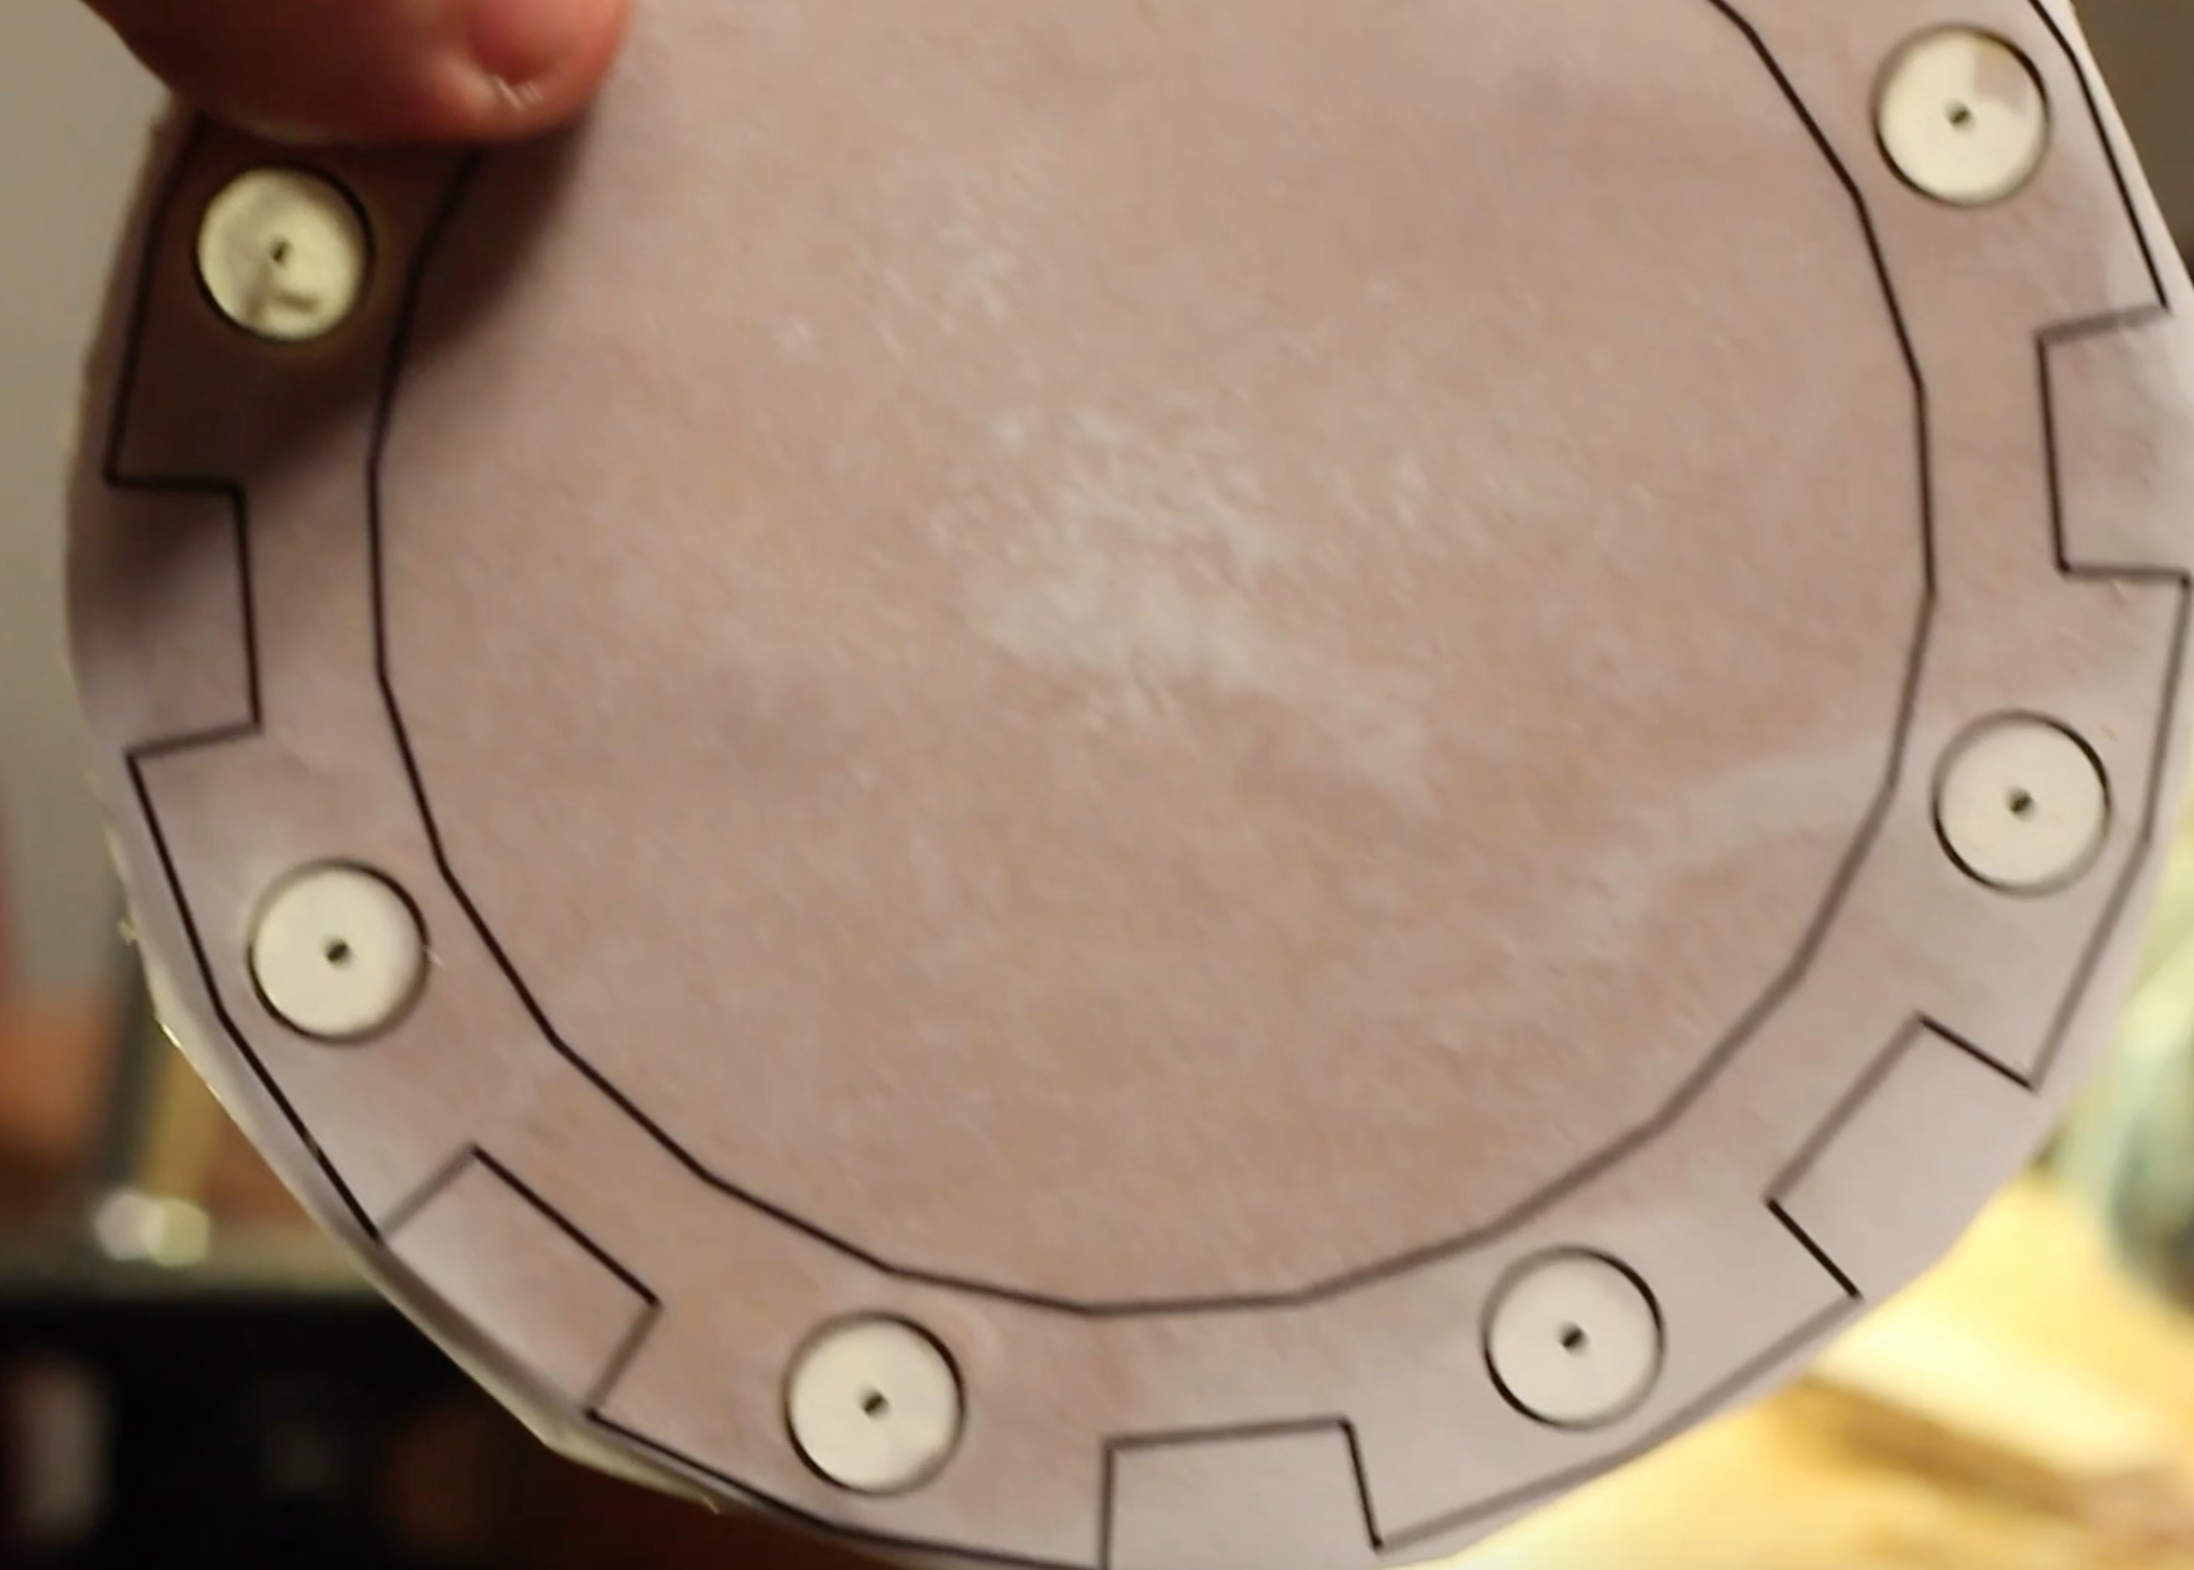
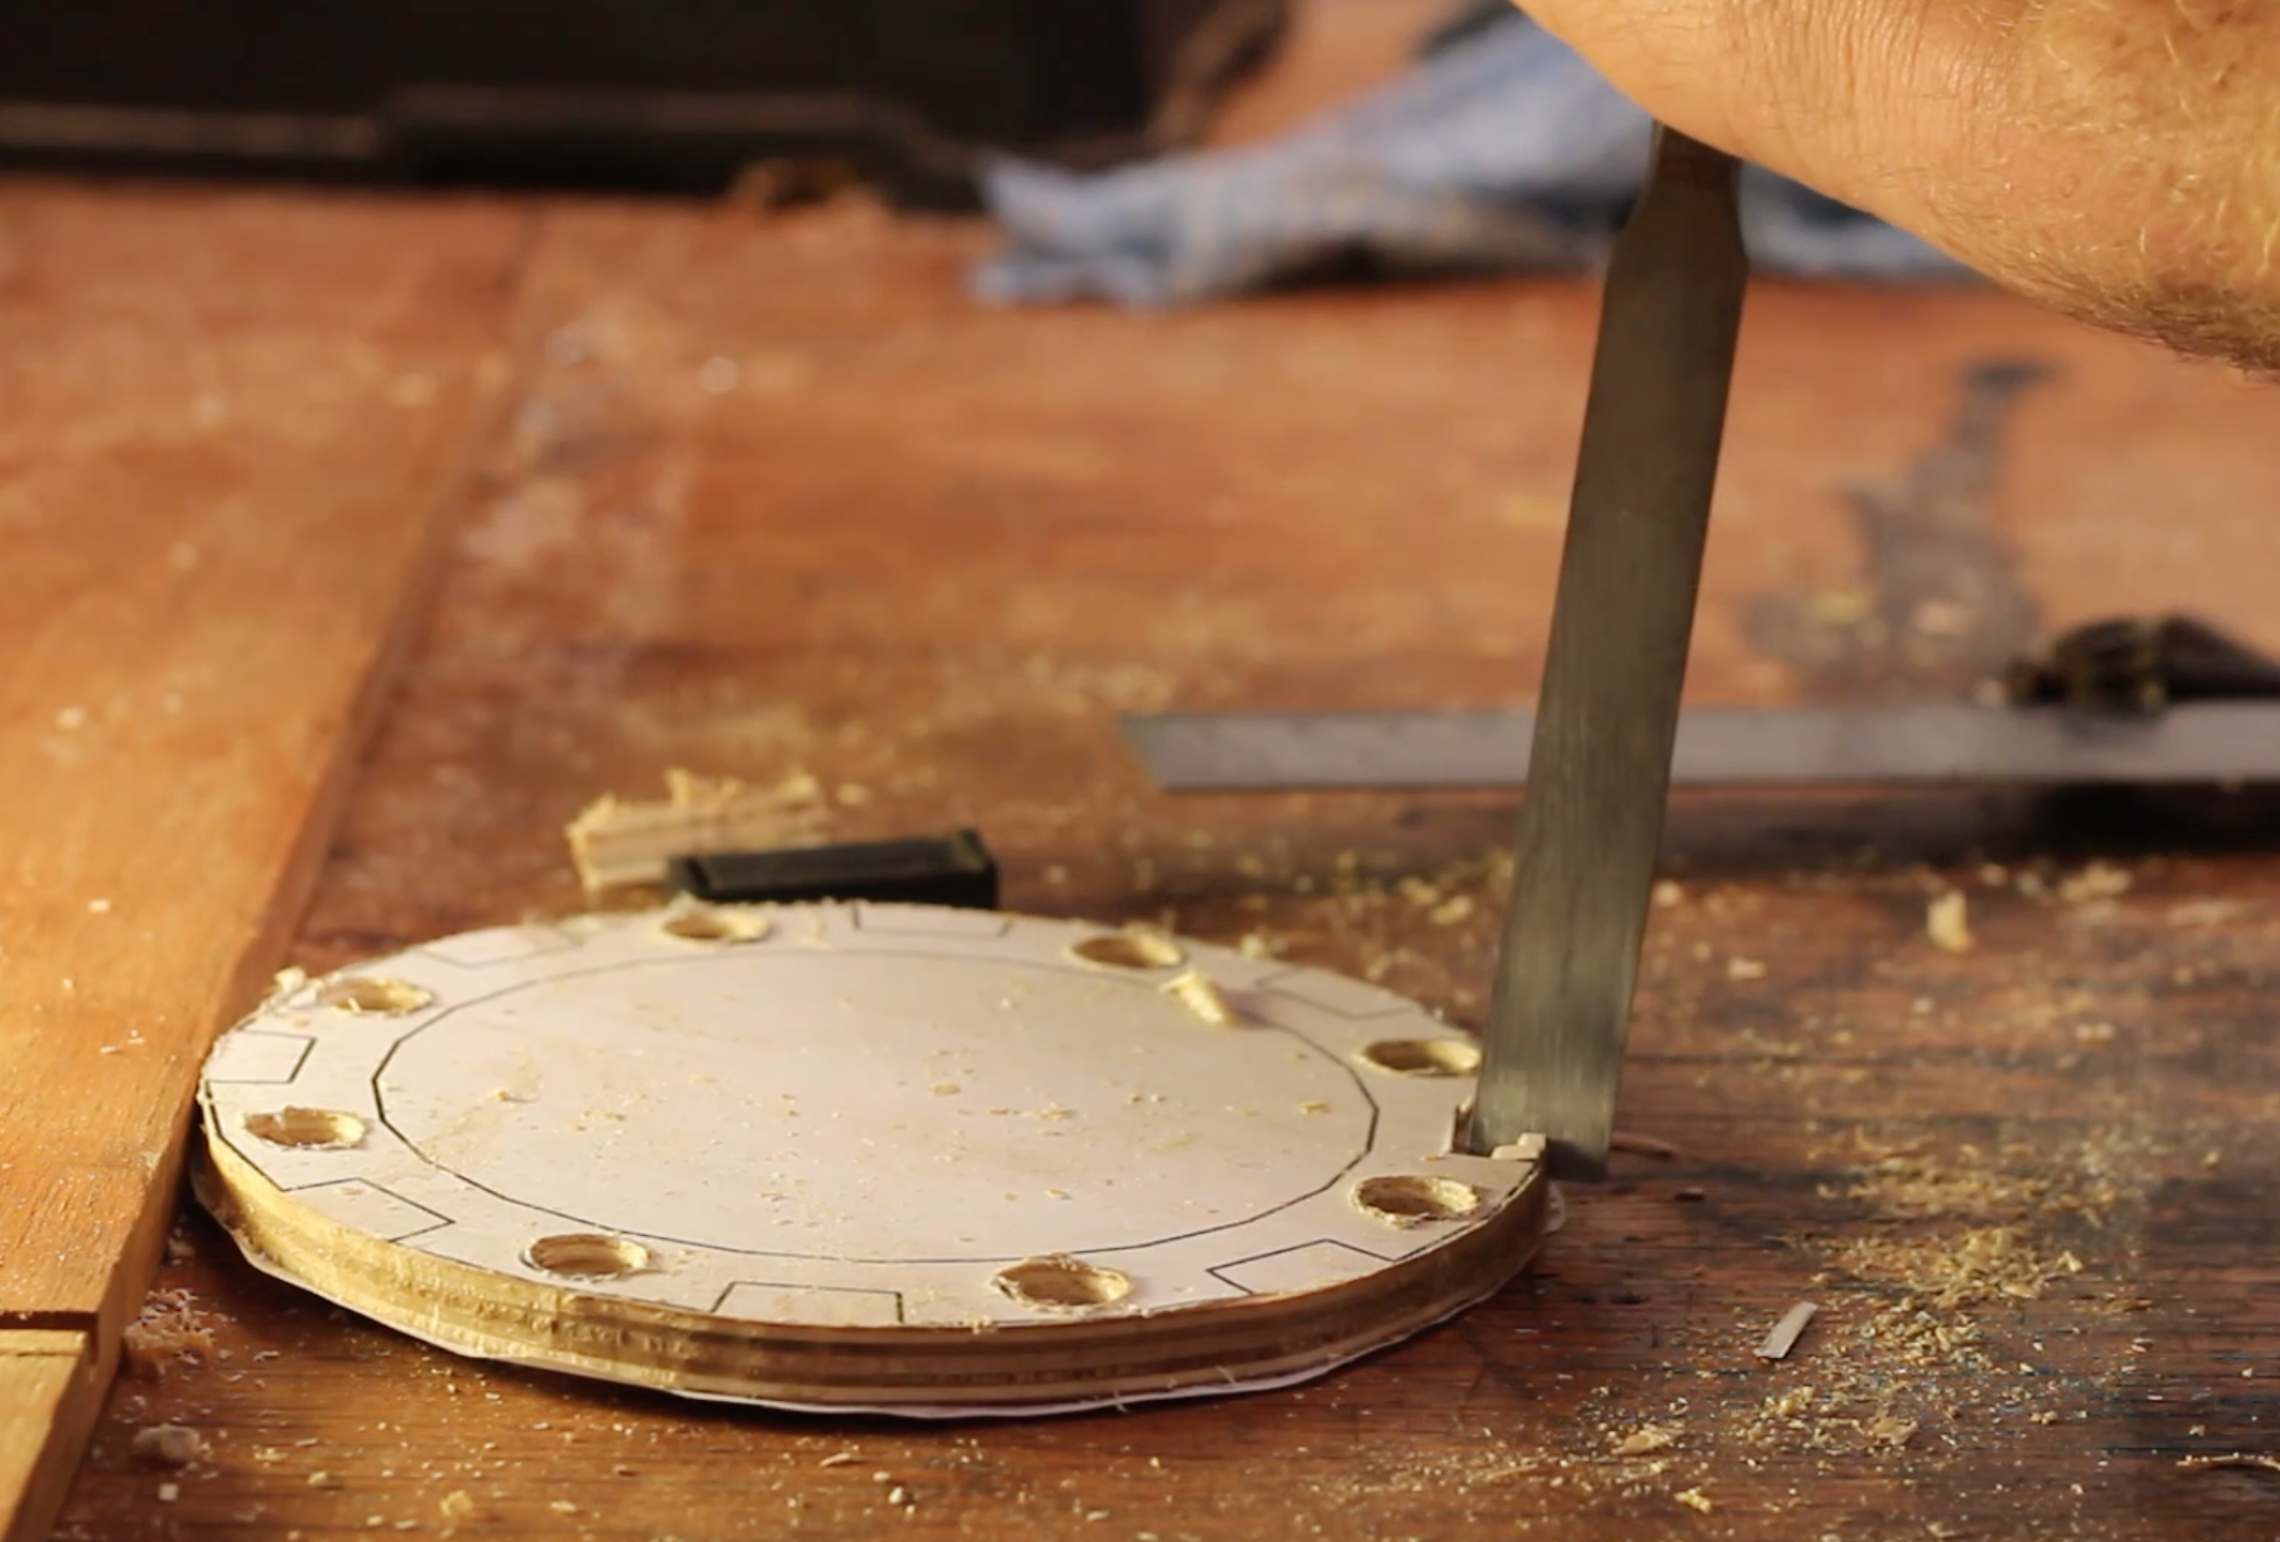
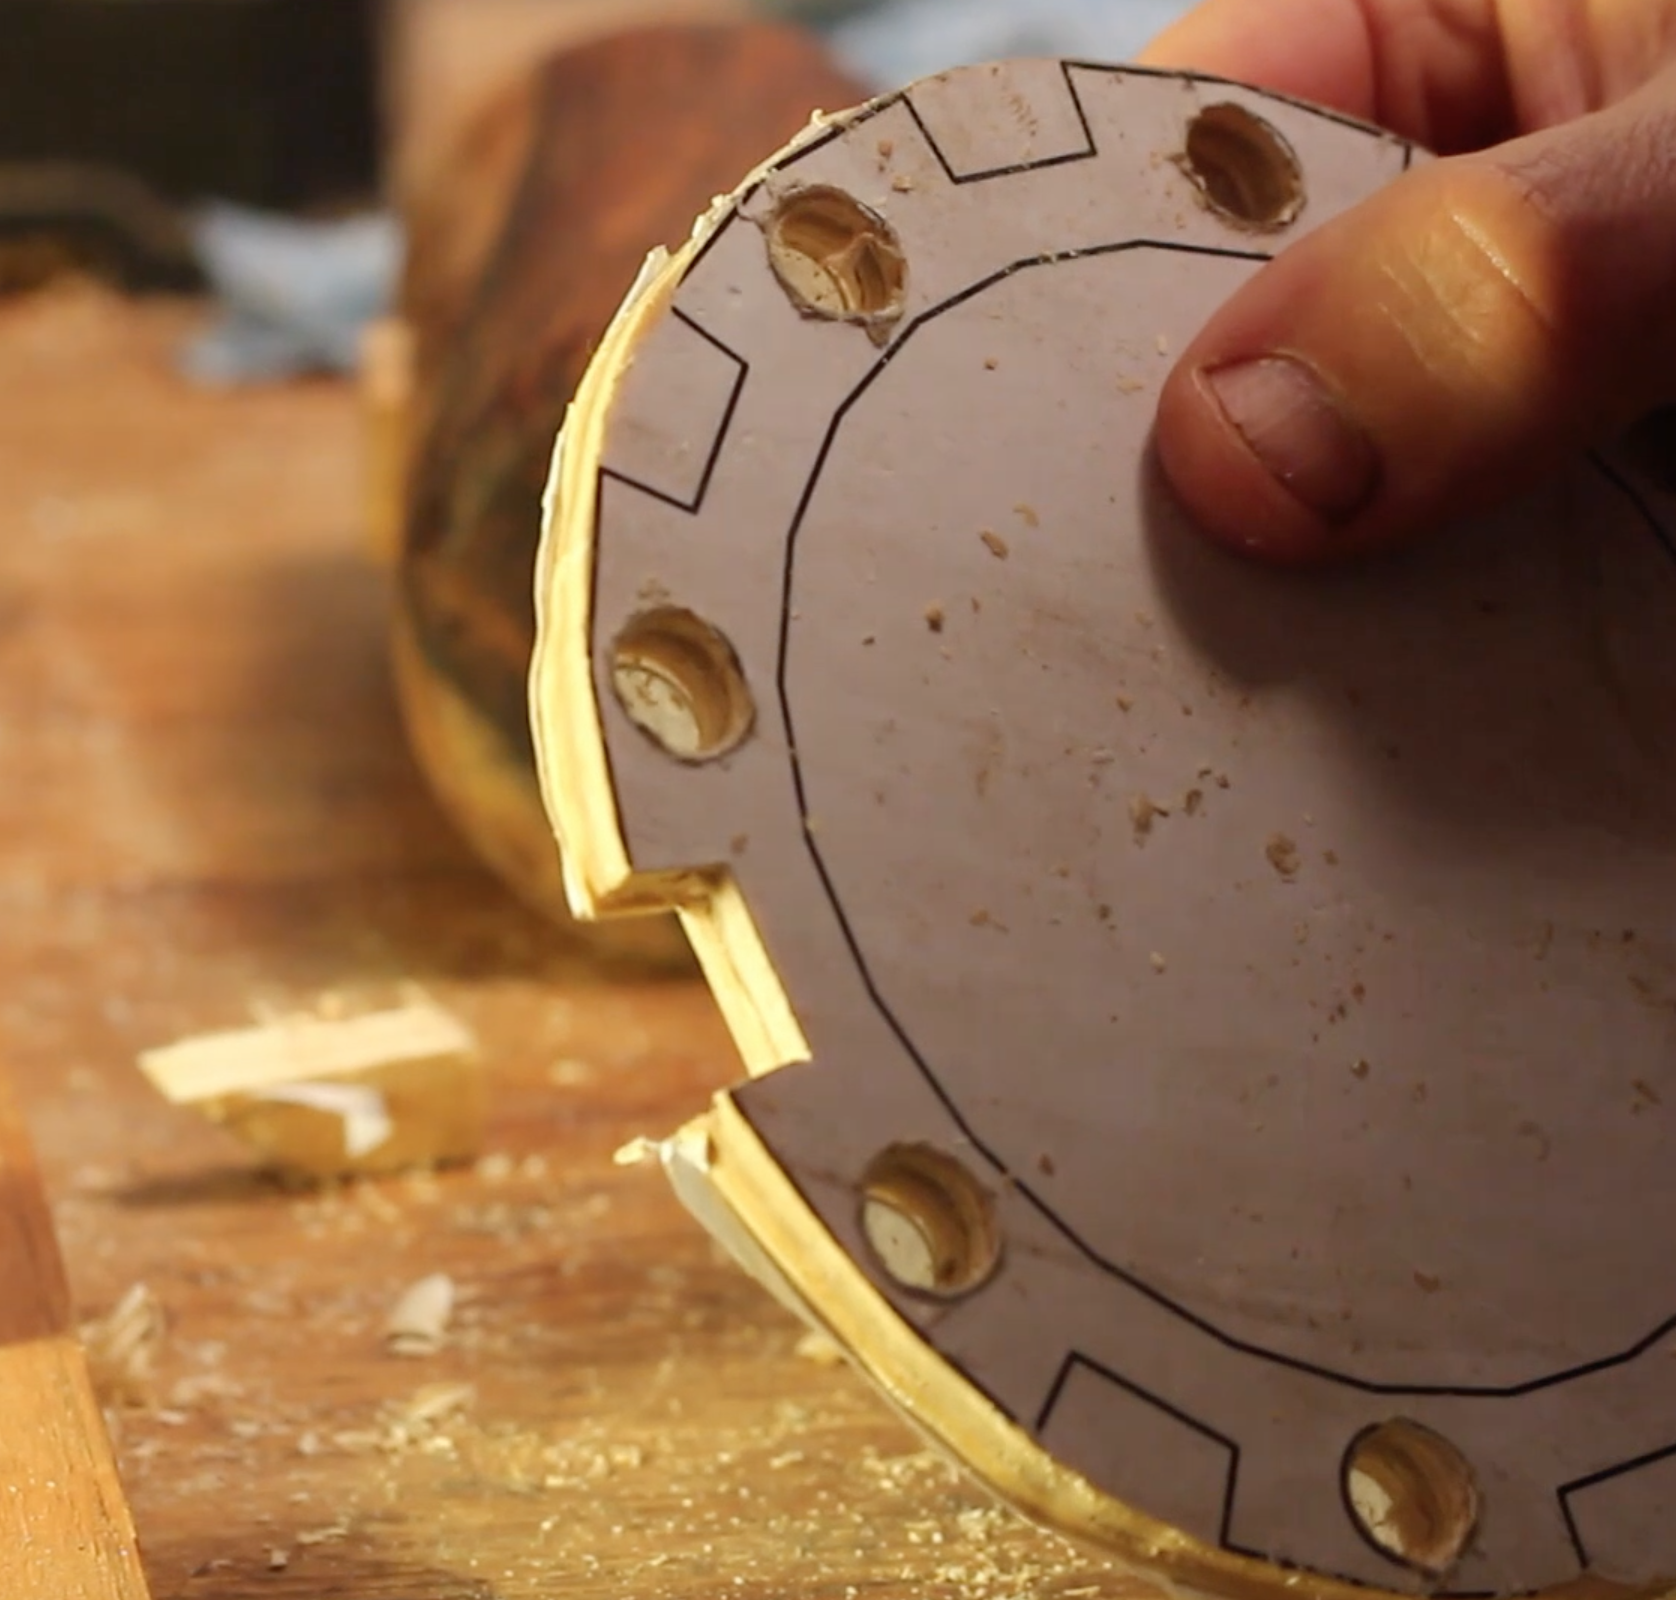
Using a saw remove waste material around the outer circle. Making sure you stay away from the template line. Now with the hand plane carefully plane down to the outer circle line. Use small strokes and continually rotate the part in the vice. Review your progress and be careful not to plane below the line. After a little while you will have a nice round disk.
(I was actually quite surprised how well this worked. I was expecting to need to sand down to the line but the plane worked well).
Next drill out the holes using the same technique as the previous step.
Chiseling out the notches.
It's time to chisel out the notches. For this step, you need to work from both sides of the part. So I spray glued a 2nd template to the back of the part using the holes as a reference. I then scored a knife mark around the perimeter of the notches and chiseled out a groove using the same technique as making the octagon part. Do this on both sides of the part for all the notches.
This groove provides a reference edge for the chisel and you can confidently chisel out each notch. Work from both sides until your chisel cuts meet in the middle. The waste wood should become loose and fall out. Clean up the notch with the chisel and file if needed. Repeat for the rest of the notches.
This is probably the most time consuming part of this build and took me a couple of hours. So put on a good podcast and the time will fly.
Next we'll cut out the inner circle.
Cutting Out the Inner Circle
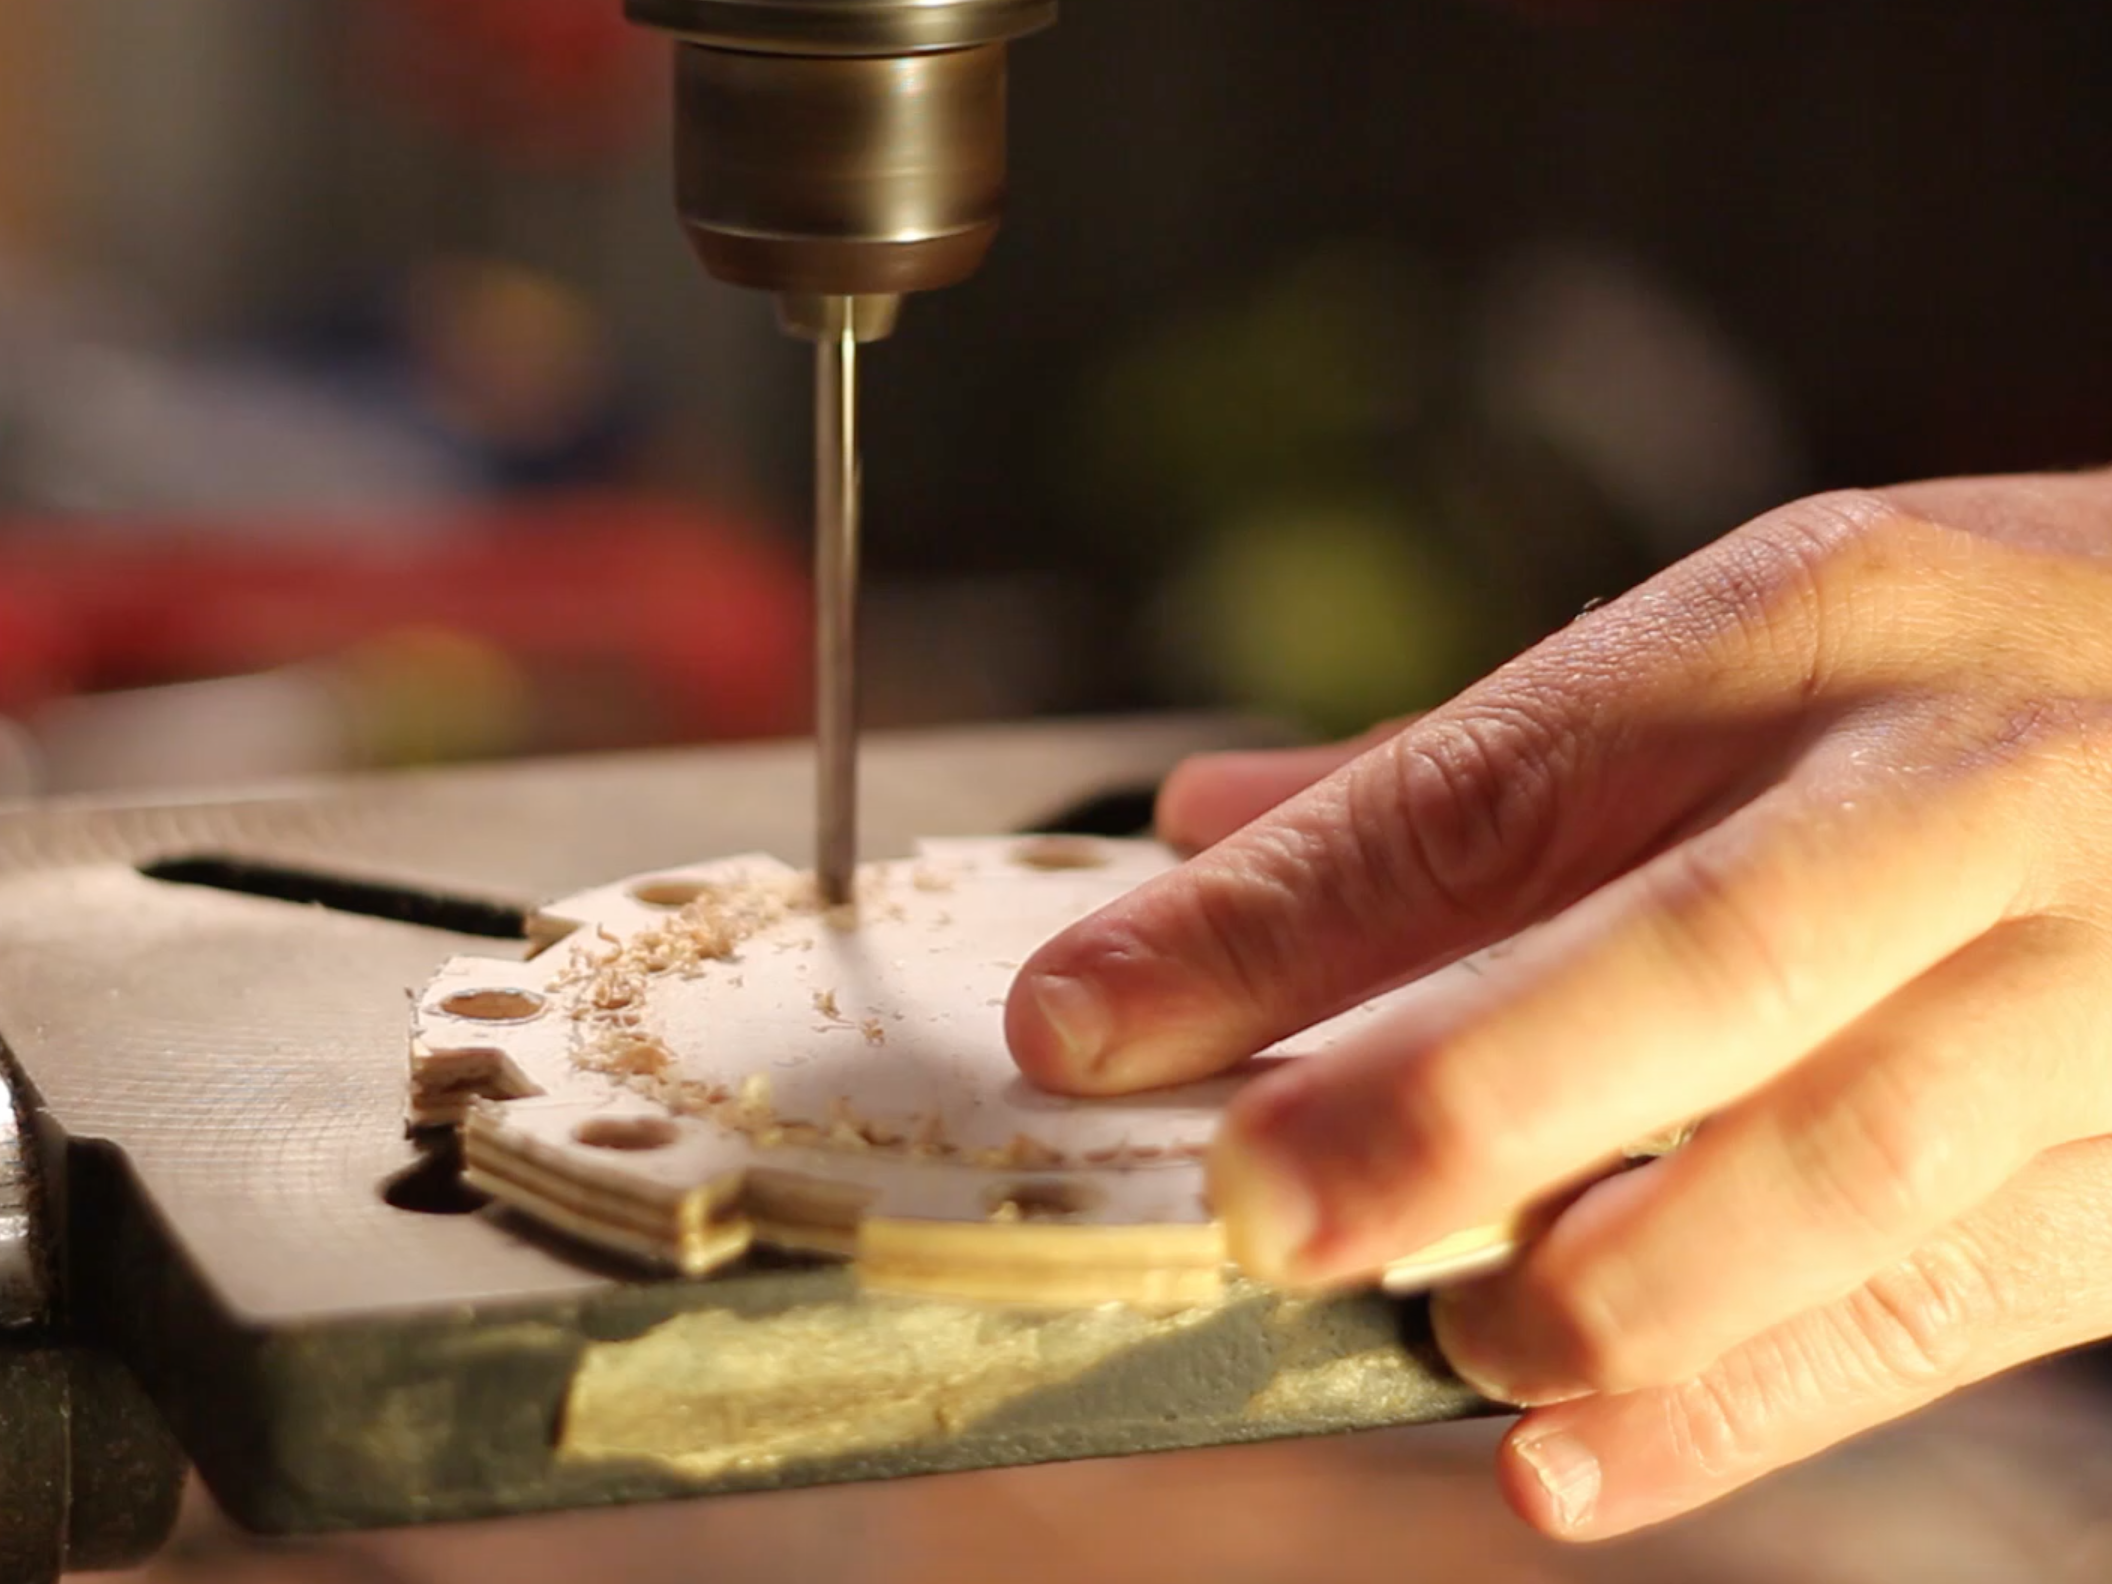
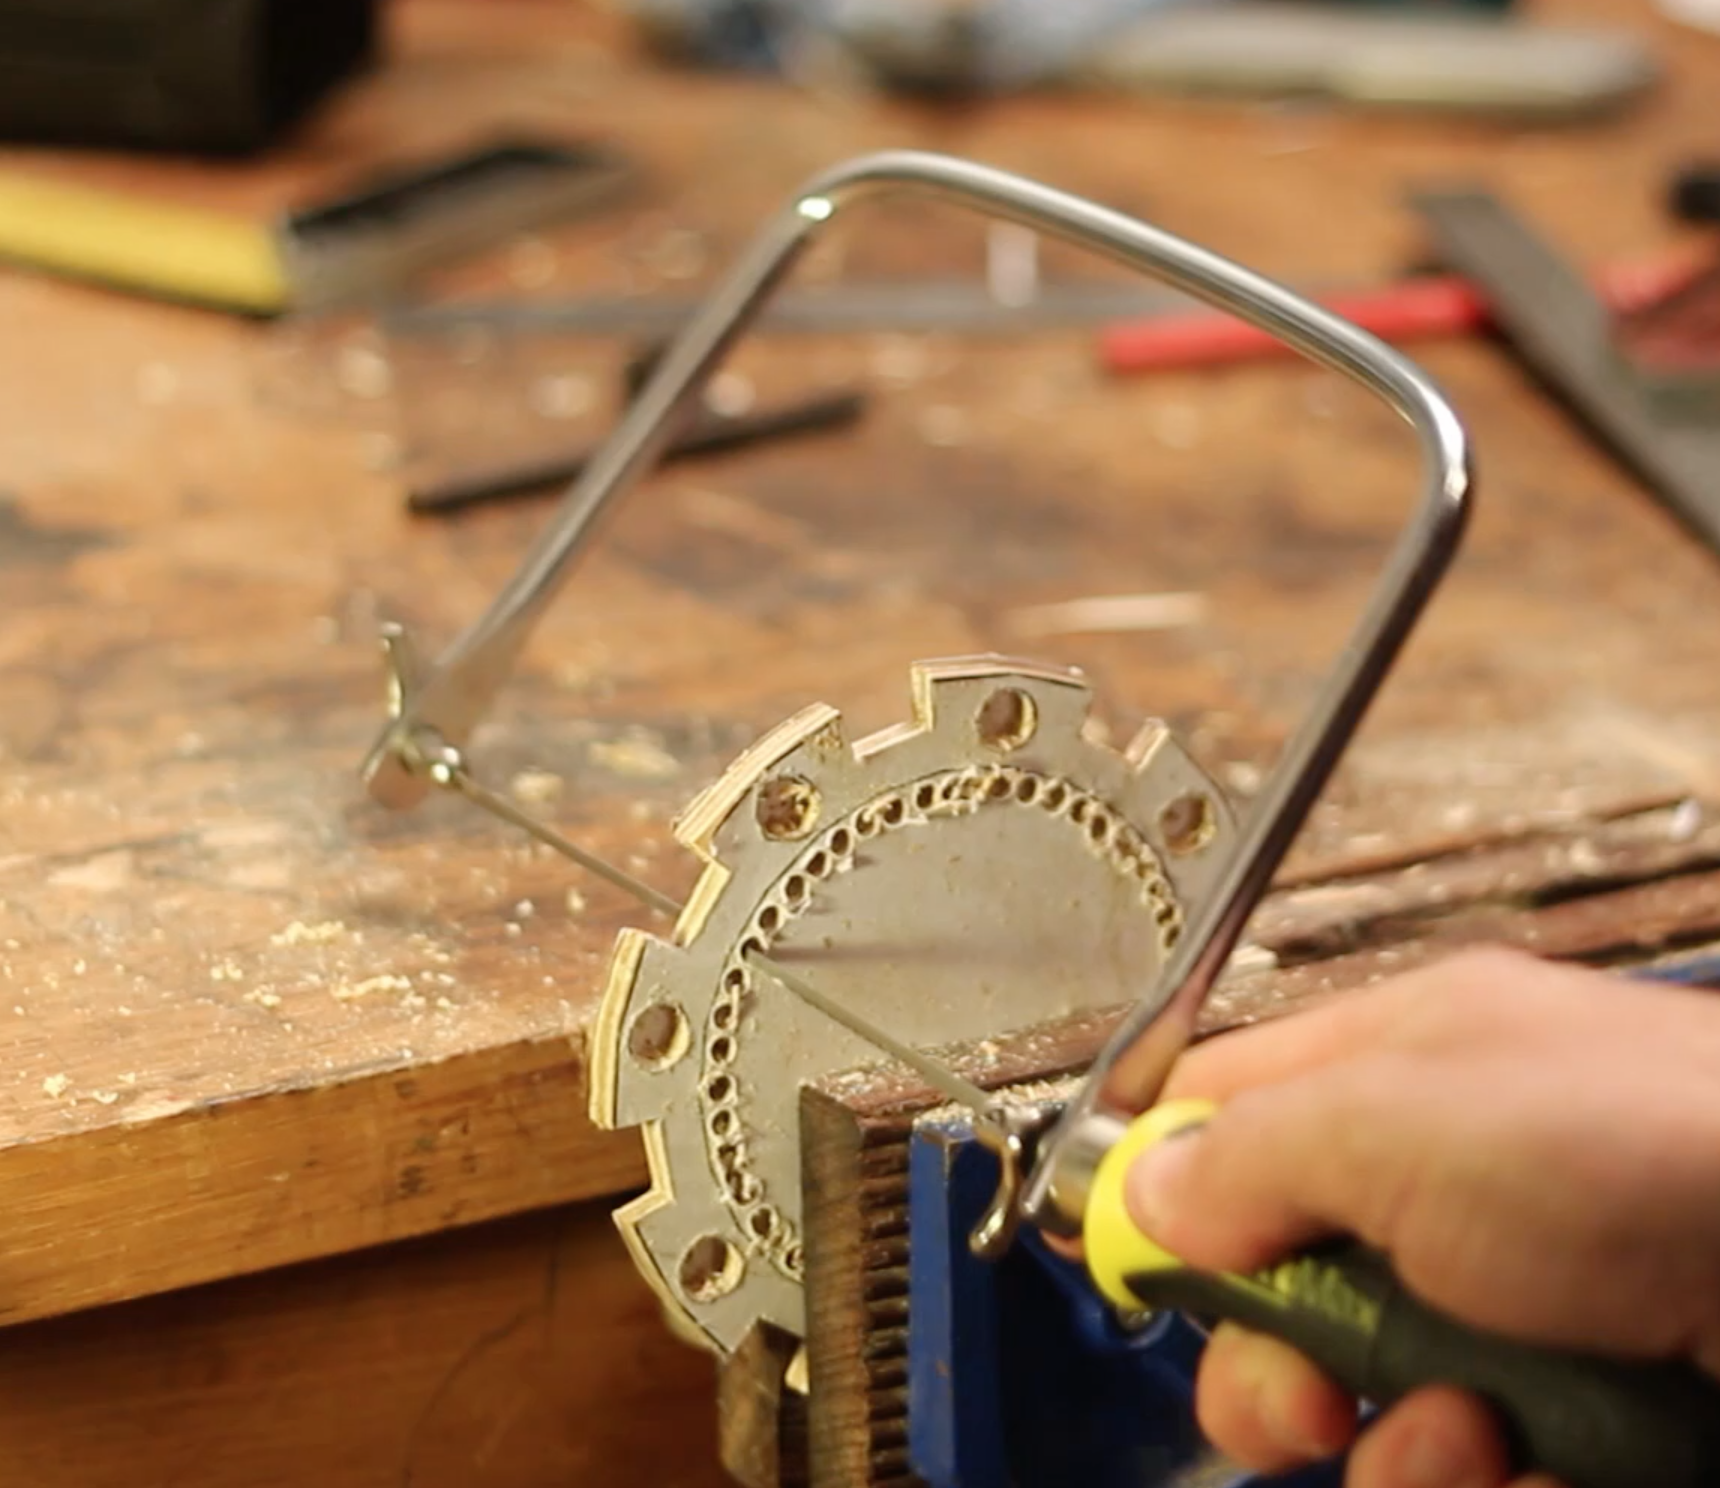
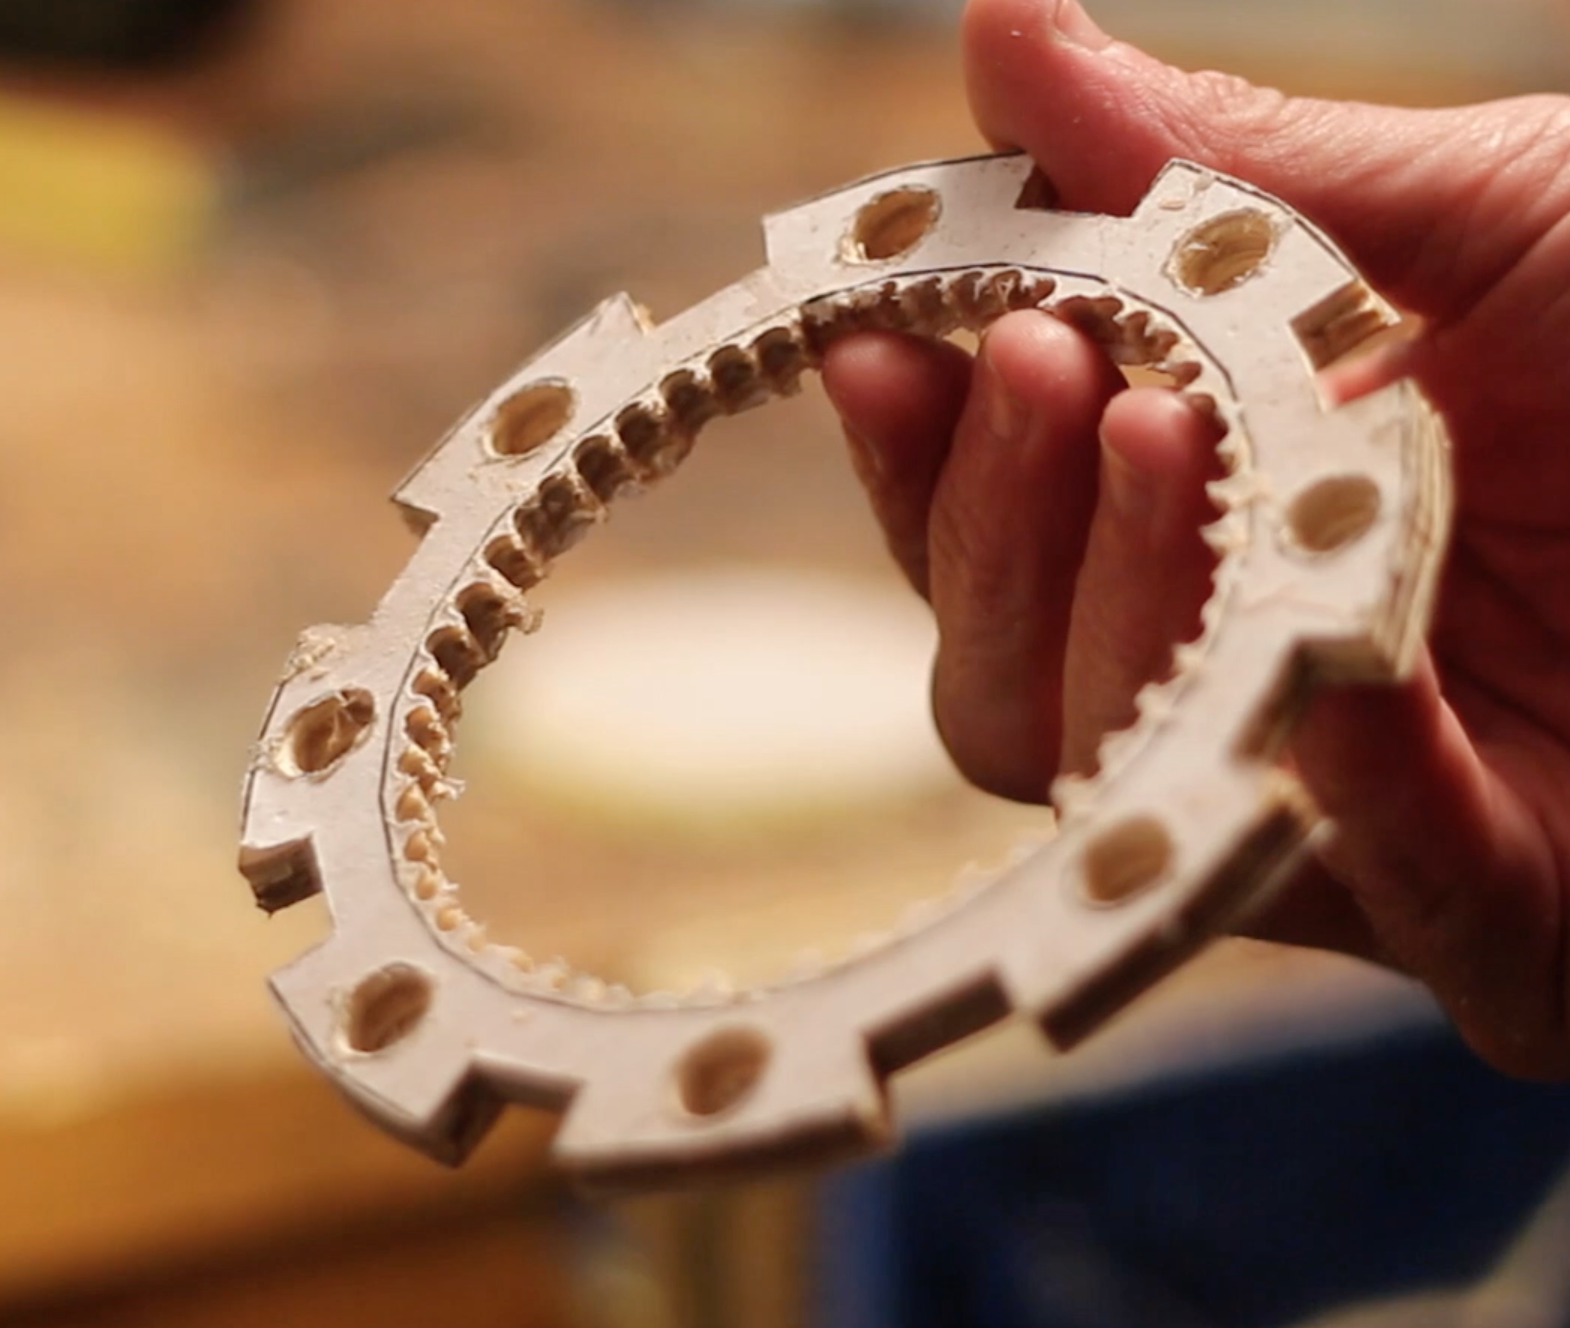
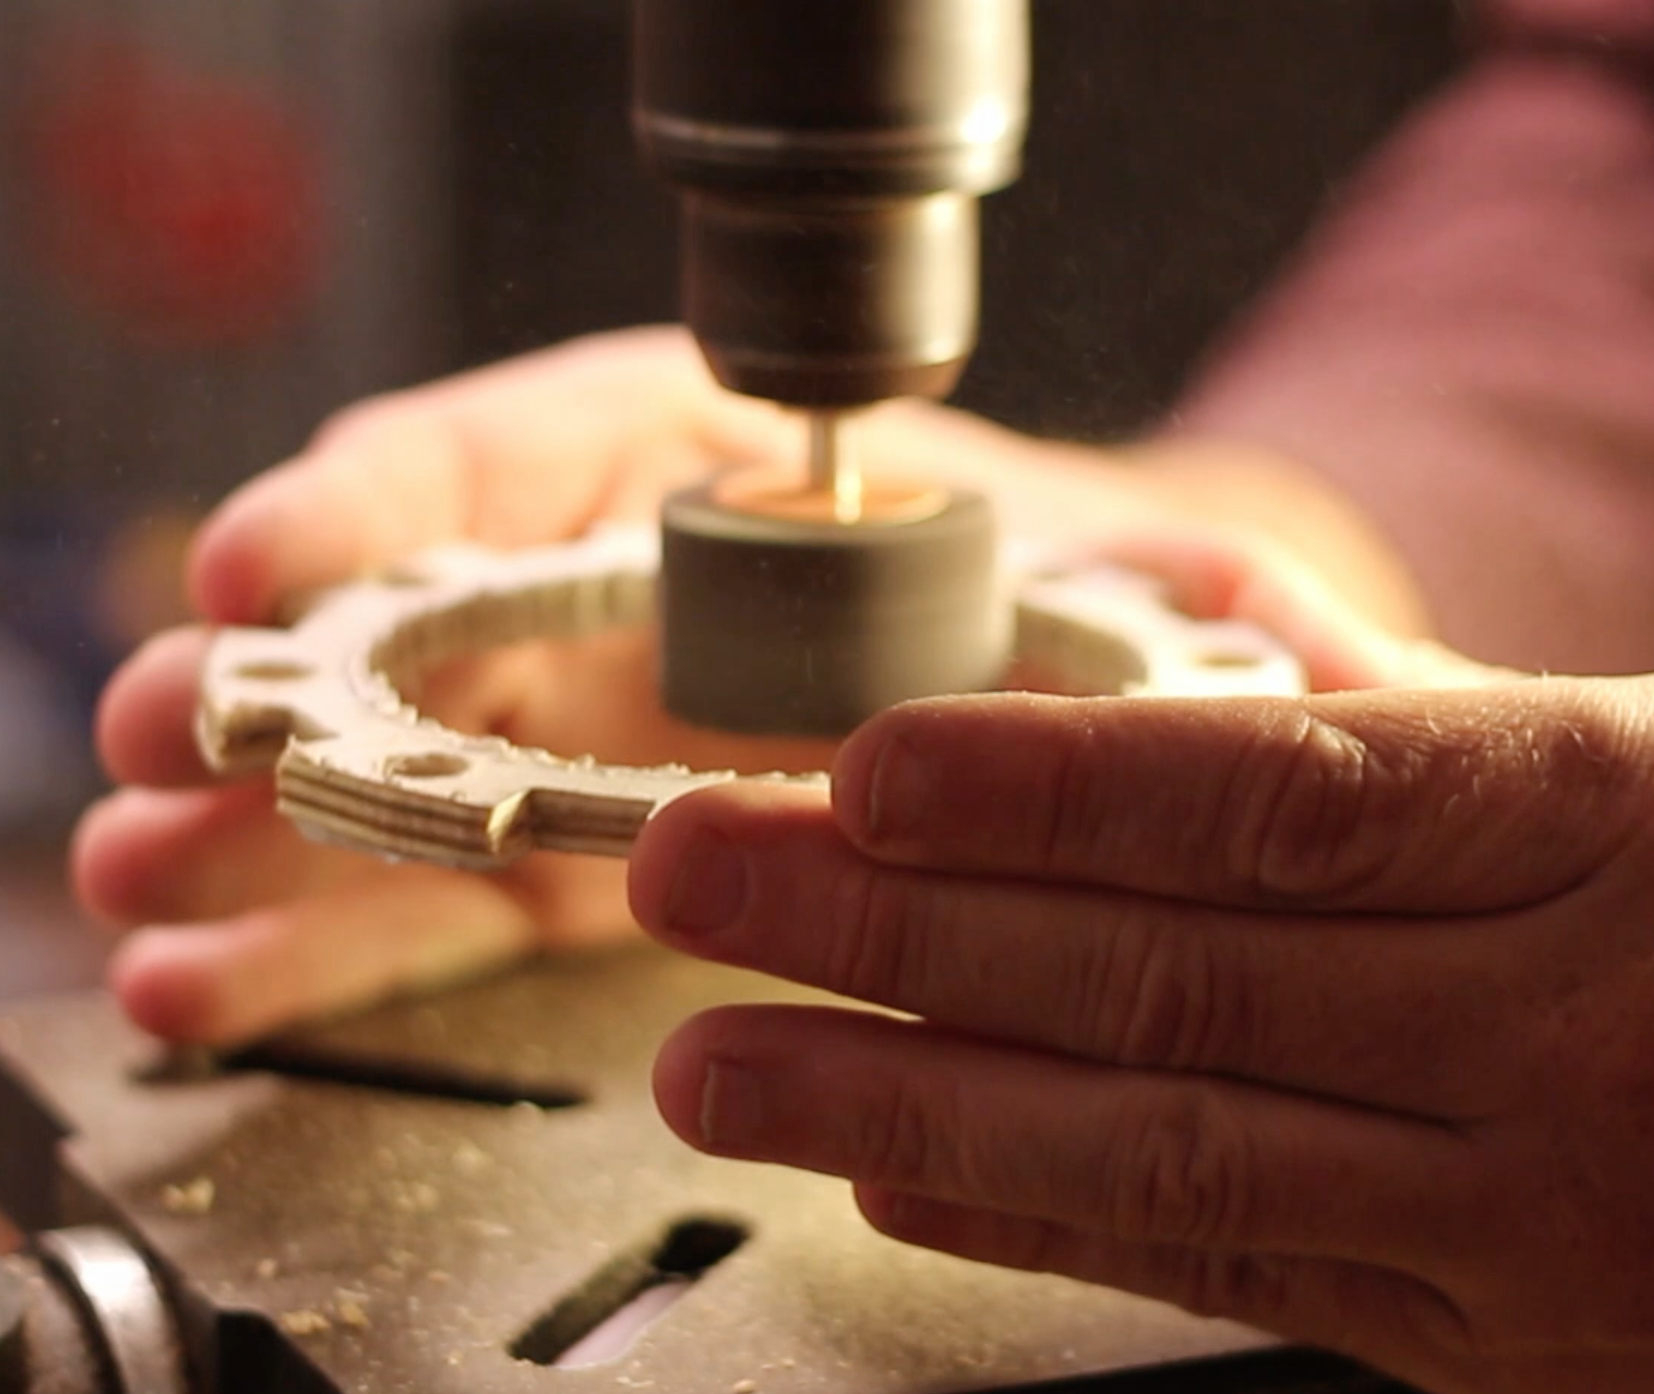
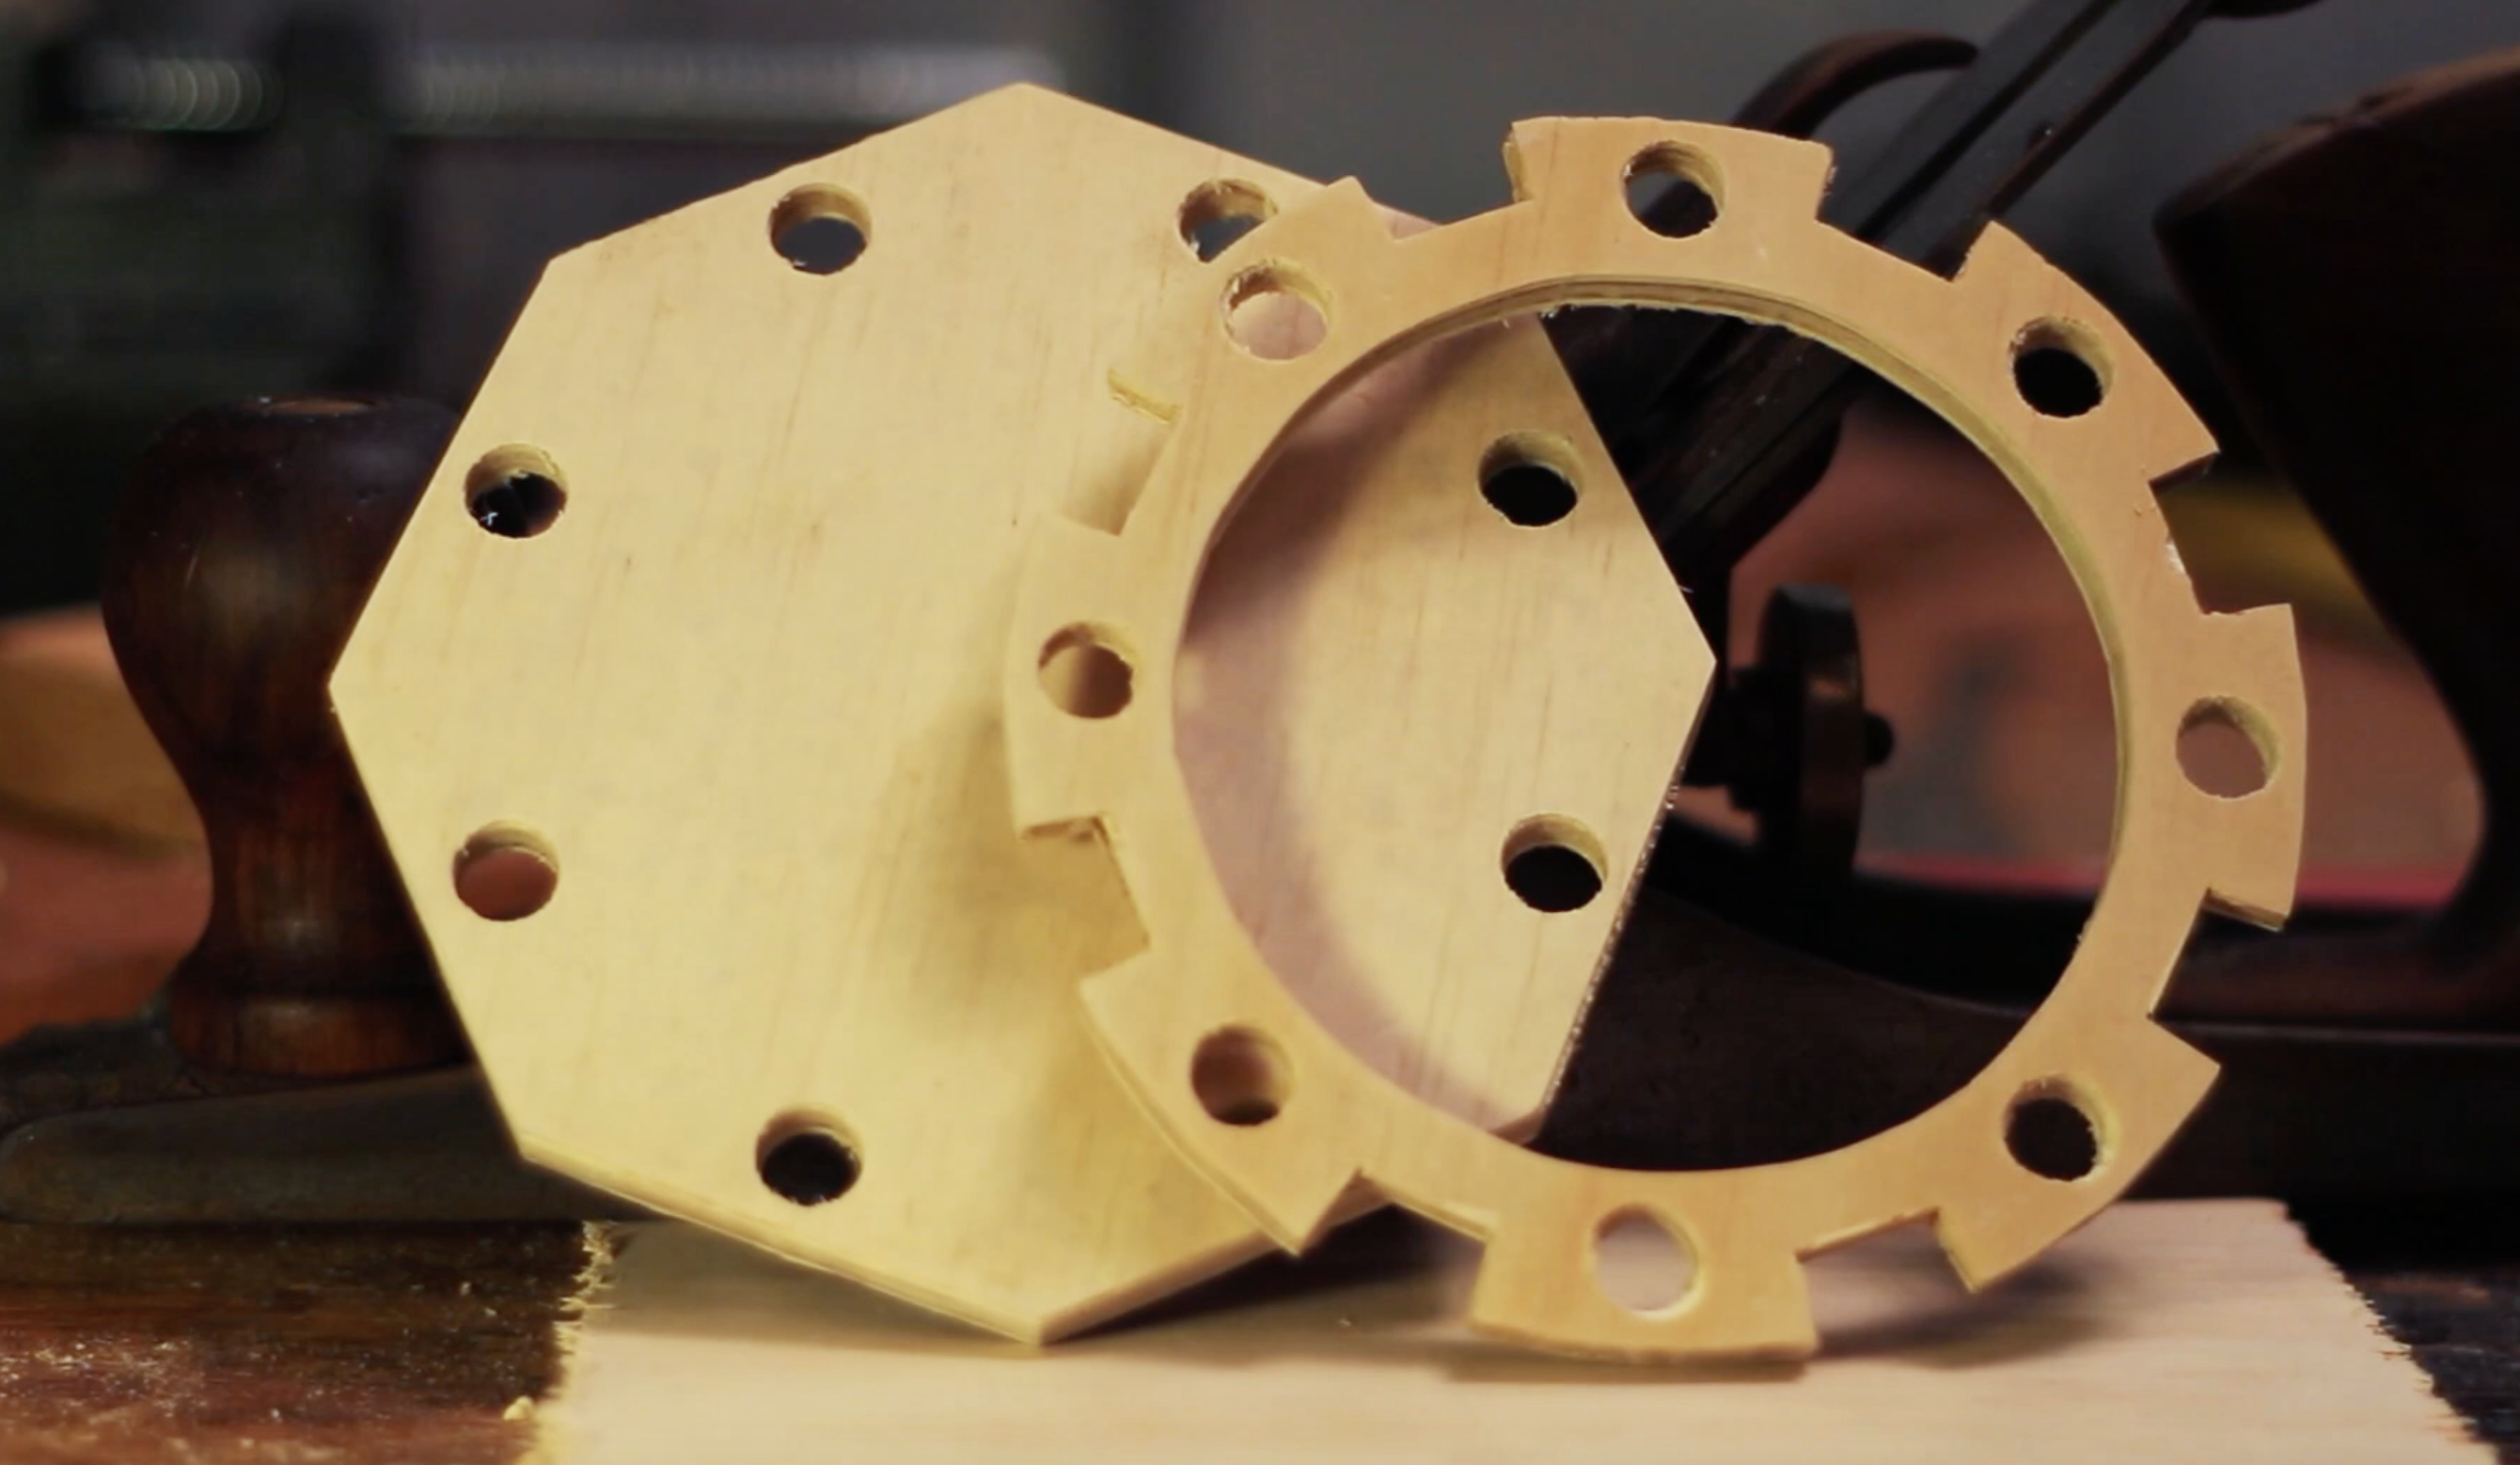
I was concerned that this part would be quite fragile and I wanted to put as little sawing shearing force on the part as possible. I used the drill press to drill out a series of holes close to the inner circle. Then using a coping saw cut out the inner circle.
I then carefully sanded down to the template line with a 60 grit drum sander drill attachment. This resulted in a nice clean inner circle.
Finishing Off
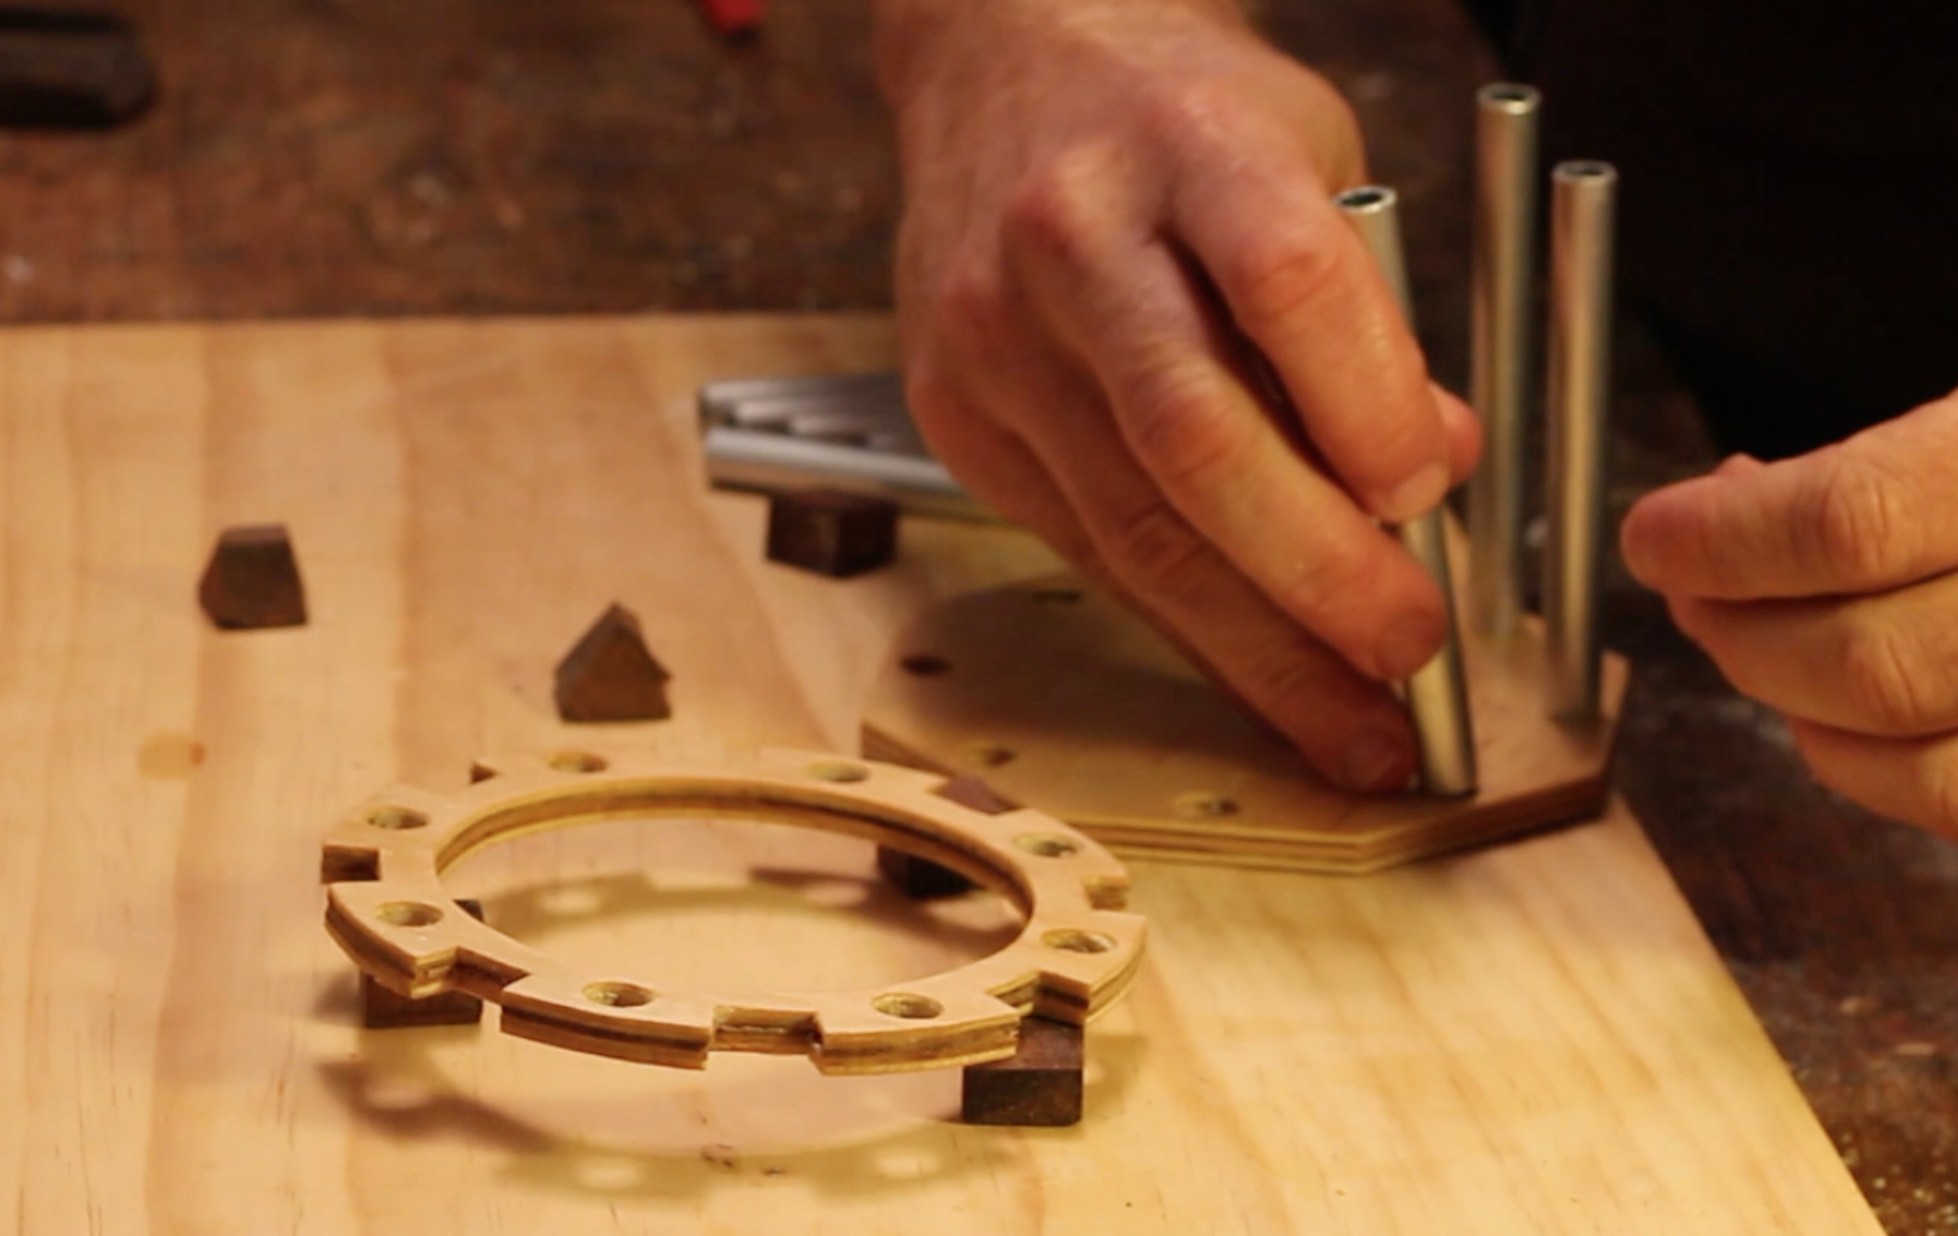
Finish the plywood with a wood finish of your choice. I used boiled linseed oil.
Cut 8 10.5cm lengths of 10mm diameter aluminum tube. I used a hacksaw and saw box with a stop block to ensure all tubes were the same length. Clean up the saw marks on the tubes with a file.
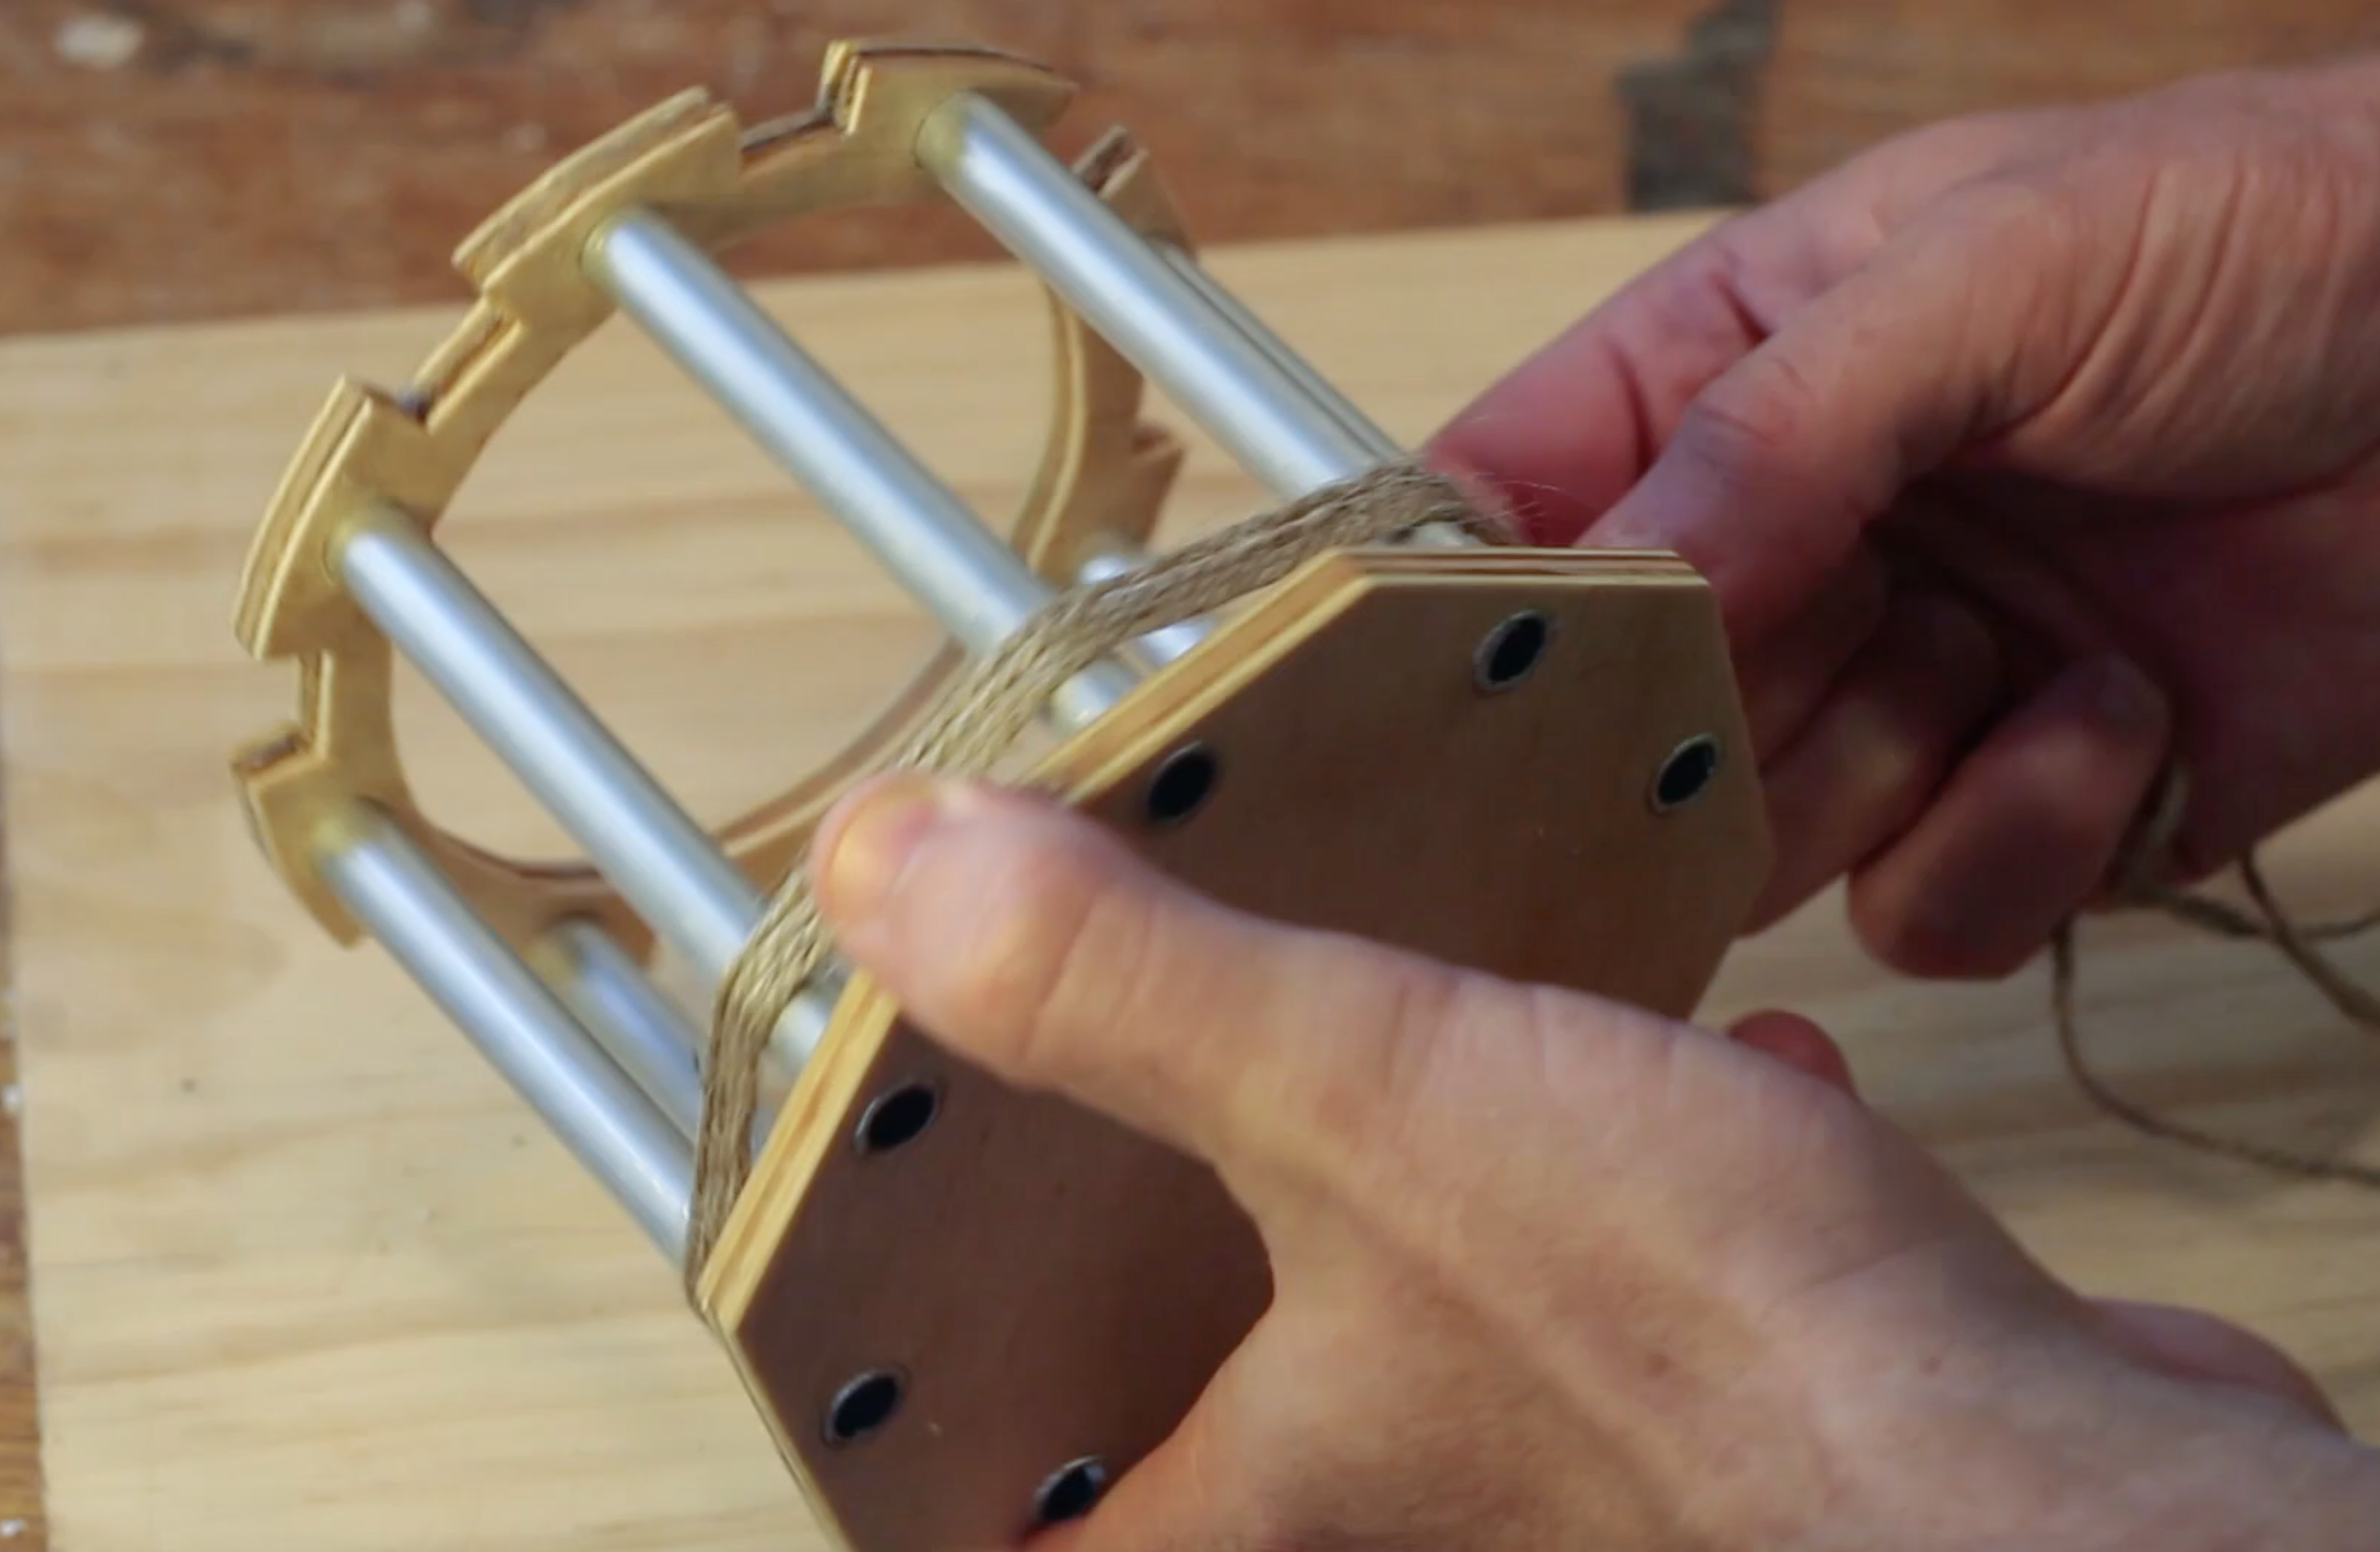
Carefully assemble the aluminum and plywood structure. The fit should be tight enough not to need glue. Some light mallet taps were needed to seat the top cog. Wrap the bottom part with twine so the pens to not fall out. I used clove hitch knots to tie the twine to the tube.
Congratulations you are finished!
Conclusion
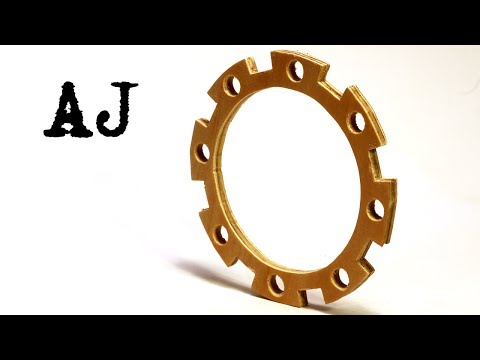
Hope you enjoyed this instructable. This instructable was more about the making technique then it was about the end product. So If you need CNC'd parts but don't have a CNC, paper templates and these techniques could be used. I work with a fairly limited toolset and I enjoy figuring out how to work around the problem of not having the correct tool.
If you have not yet watched the build video please do and consider subscribing to my youtube channel. (:
Thanks for reading my instructable!
Andrew
Me:
Instagram: @andrew_r_jones
Youtube: @andii1701
Twitter: @andii1701