How to Building Your Portfolio Website Using WIX
by jakerobertwhite in Design > Digital Graphics
278 Views, 0 Favorites, 0 Comments
How to Building Your Portfolio Website Using WIX

This Instructable will be about creating your own portfolio website that you can use to display your work to possible future employers. This is especially help to those of you who are developing your careers in a design heavy field where you create projects you are able to showcase.
Supplies
Computer or mobile device with internet access
The Base Idea
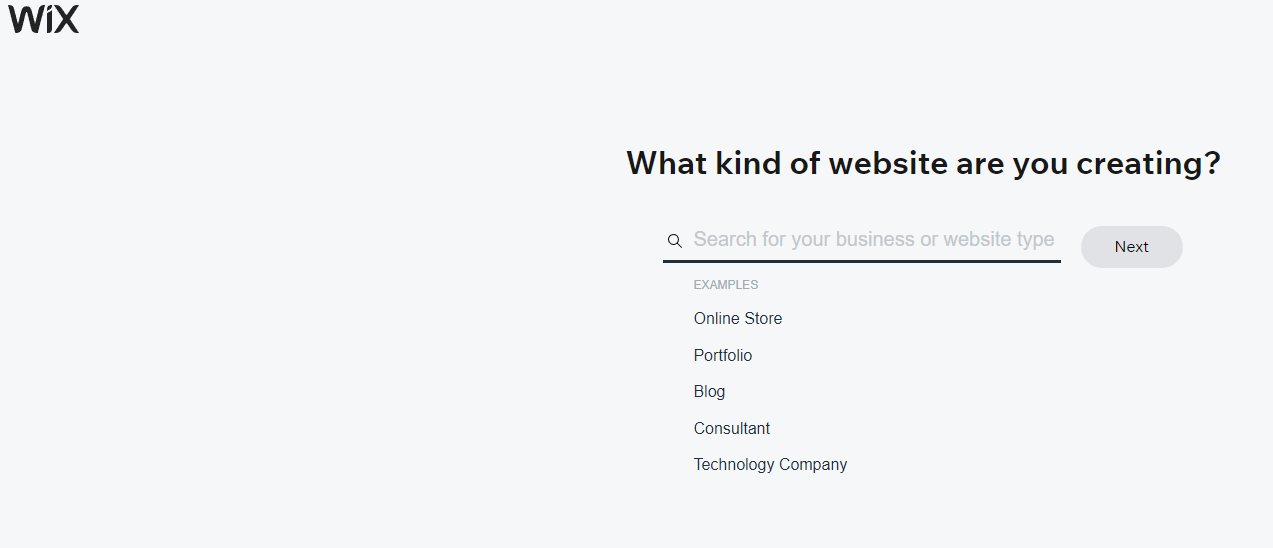
After you’ve created your free account the first step is deciding what you want your website to be about, in this case we’re discussing building a portfolio website and there are prebuilt options for that however realistically you could do this with any template should you have other ambitions. However, for the sake of this project I am going to ask you to choose the portfolio option and start from there.
Choosing Potential Features
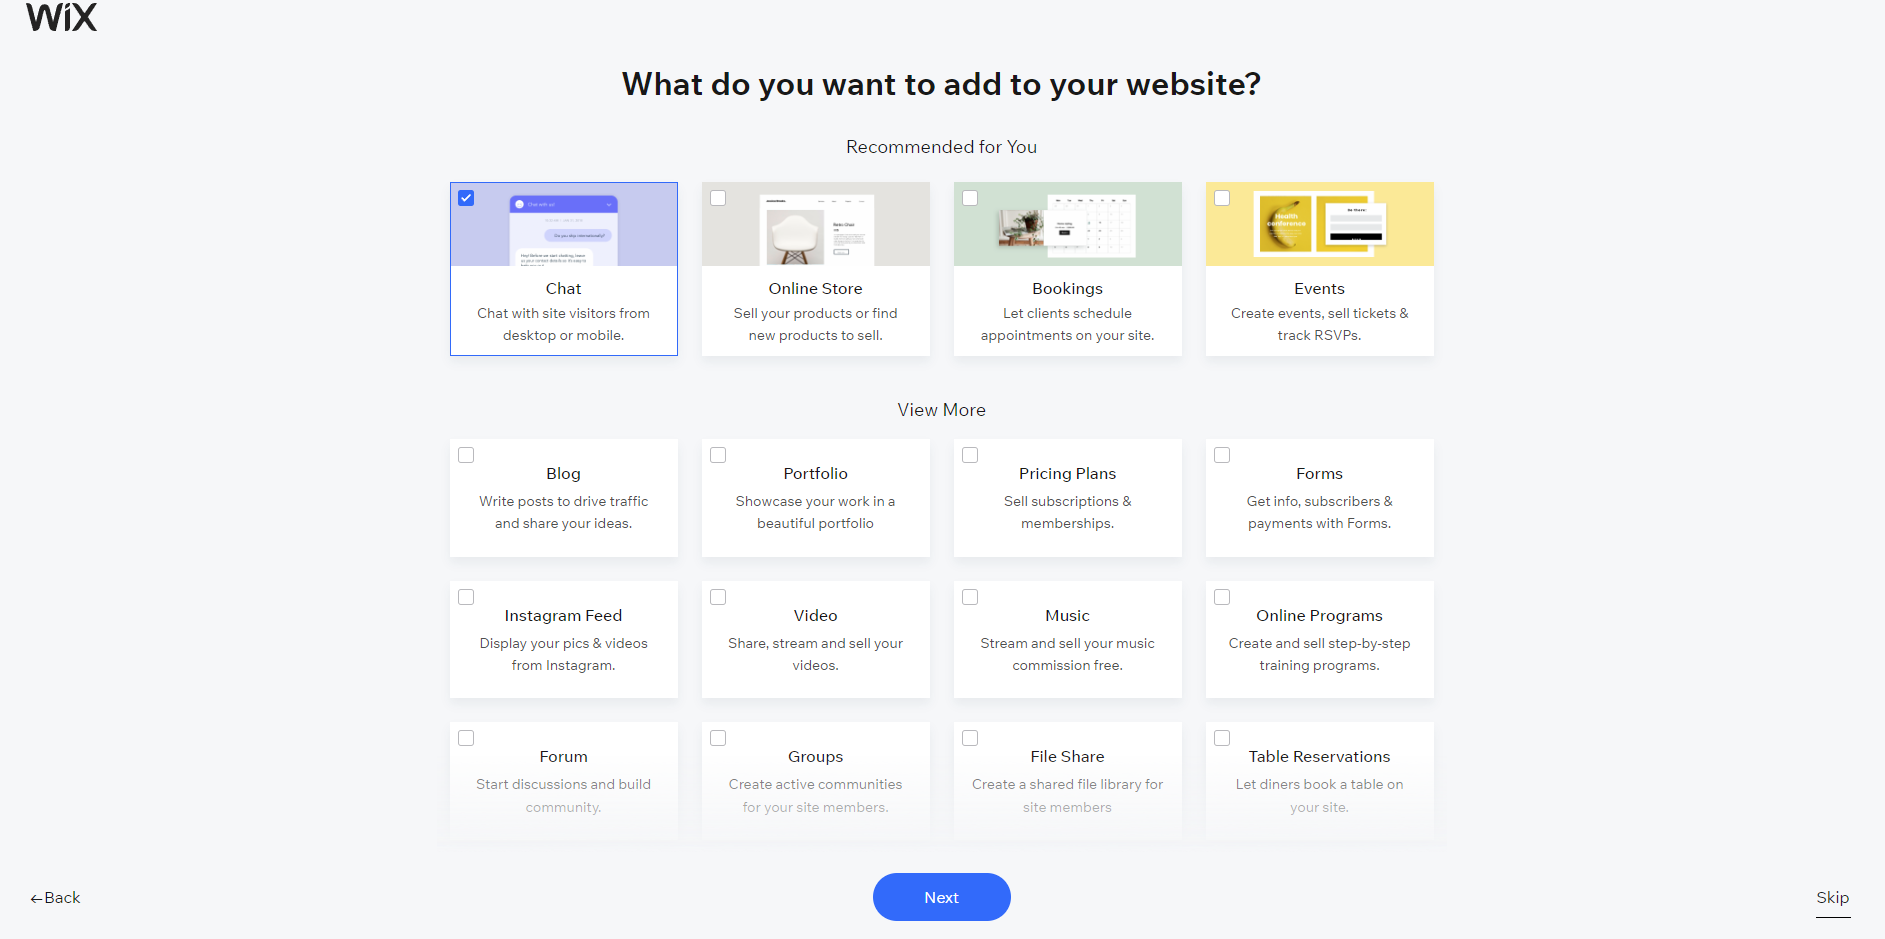
This part isn’t something you have to do but will help you filter your templates better and make it easier to add more features on templates that may not already have these features prior to choosing them. These are specific to you and what you’re looking to showcase. Maybe you’re working in film or music and have published work to showcase, you can narrow templates that are more focused on those areas. Maybe you are very proficient in your field and offer some kind of services already, you could show price plans for the services you offer. While none of this is required, take a moment to think about what you may be looking to showcase.
Choosing a Template

While doing the initial set-up for your portfolio website there is an option for Wix.com to use their own AI that builds a website for you, however if you’re like us and you’re very picky we don’t recommend using it. It’s easier to pick a template and rebuild it when you know what you’re picking. At the time of writing these instructions (February 2023) the 3 main filters are portfolios, resumes and personal. These all accomplish the same goal but have moderately different ways of representing YOU. We chose the Resumes & CVs option for our example however feel free to choose whichever you would like.
Initializing the Template
After you’ve found a template that is organized in a way you like before fully choosing the template, there will be an option that comes up about selecting your theme or more accurately a color scheme for the same template, you can choose to stick with the standard one which is what we chose to do however take a moment to click through them and maybe you’ll find something you like. The benefit of these is that they often choose color combinations that compliment each other for a more appealing look. Some templates look good with multiple different color schemes, usually the ones where the base model is a lighter color look good with multiple options where as the ones where the base model is a darker color scheme don’t translate quite as well.
Wix.com does a good job with this part of the project because you can also flip between how the site looks on a computer as well as on a mobile platform. While it is unlikely that job recruiters are looking at your resume on their cell phone or mobile device and is of little concern here. Other website options may have a varying need for this.
One of our group members, Jake is a self-taught web developer and built his own website from scratch where how it looks on a mobile device can be a huge concern and is apparently rather difficult to accomplish in some cases so the ease provided here is a nice touch.
Exploring Your Design

The template you chose probably aligns with your goals well already. However, Wix.com allows you to customize freely. On the left of the page will be where you can look at other pre-built customizations to help you redesign your site to better fit your needs where possible. You can change existing sections to different styles or add sections that may not already be there.
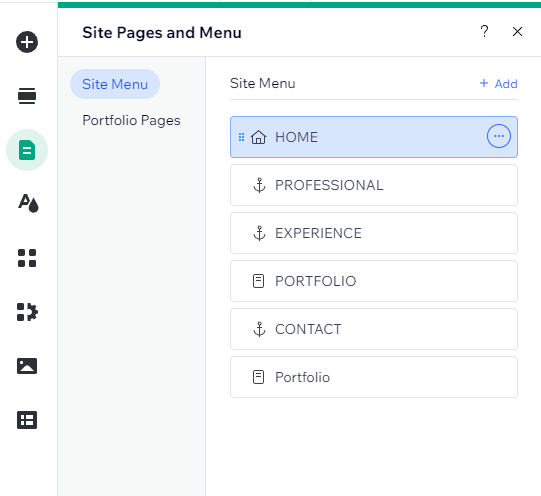
For example, our example contains a Home/Welcome, Professional (more closely related to a skills section), experience section, portfolio/project section and contact information section already. We could add a store, events section, promotional section, or services section if we wanted here. We currently don’t have any of these to offer but let it be known the options are there and to explore them for yourself.
At the top of all the templates we saw is a navigation or “menu” bar, you can actually customize this part and either remove or add more links to things that either on the page or off of it. For example, in the template we chose the experience and professional could realistically fall under the same section if we wanted it to however, we chose to leave this separate for now.
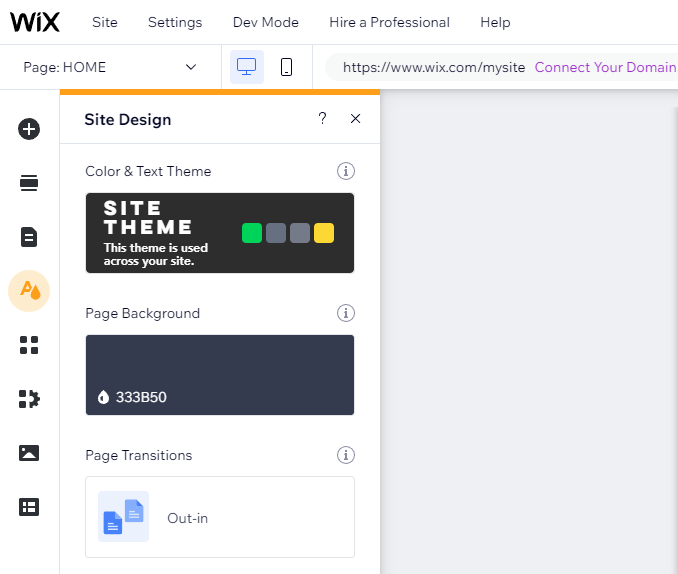
Like in the previous step there is also an option here to change the overall color and text them or change these individually and pick colors you like rather than having it choose for you. We prefer the darker colors, as honestly everything should have a dark mode (personal opinion) but these options are of course worth playing with. It’s your website, do your best to make it reflect you.
The Welcome Page
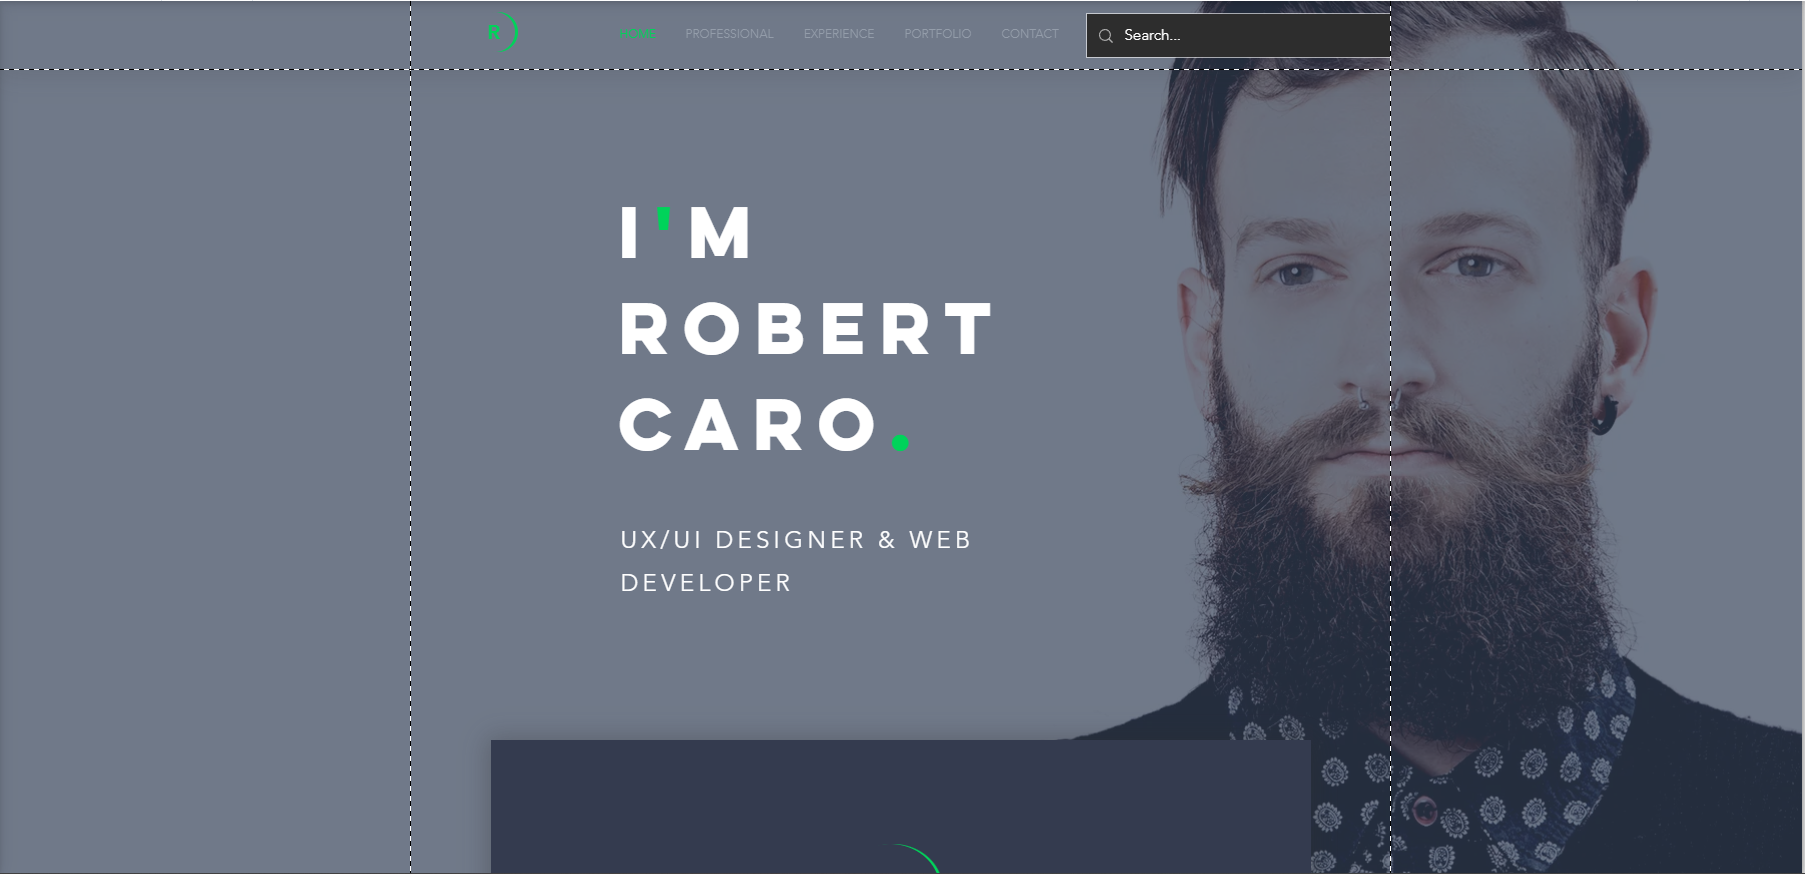
The welcome page is arguably the most important page, while it shouldn’t include any information that most might deem important, it’s their first impression of you. Kind of like walking into an interview poorly dressed or unkempt a bad welcome page would give off a poor impression. The best course of action here is to first introduce yourself! “I’m -firstName lastName-” or “Welcome! I’m -firstName lastName-, undergraduate student studying -major-” This is also an okay spot to have a small paragraph describing our career goals, for example in Jake’s portfolio he says “I’m a software engineer specializing in building exceptional digital experiences” make it sound catchy and appealing, this part is all about looks more so than quantitative or qualitative information. This is also a good spot to include a ~professional~ headshot. You can forego the headshot and include in a more “about you” style section should you choose to add one, but we all agree that the welcome page is the best place for this.
This image is the base template, we did not make any changes to them to give an accurate showcase of what’s available.
About You
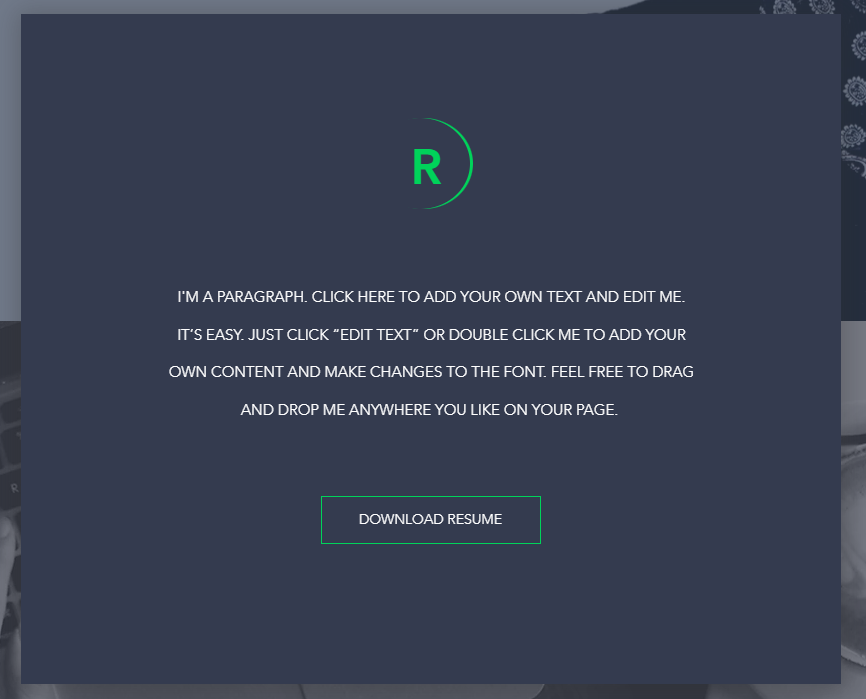
This next section is a good addition to have but not every portfolio website includes it. This is essentially a place to summarize the information you have decided to include in your portfolio website such as work history and career goals but a little more in depth, sometimes it’s good to talk about what you are currently doing here or maybe give a brief timeline description of how you got to where you currently or another good option is to describe why you chose the field the work in and what you’ve done to learn as much as possible within it. I’m sure you get the idea that section is ABOUT YOU!
Step 8
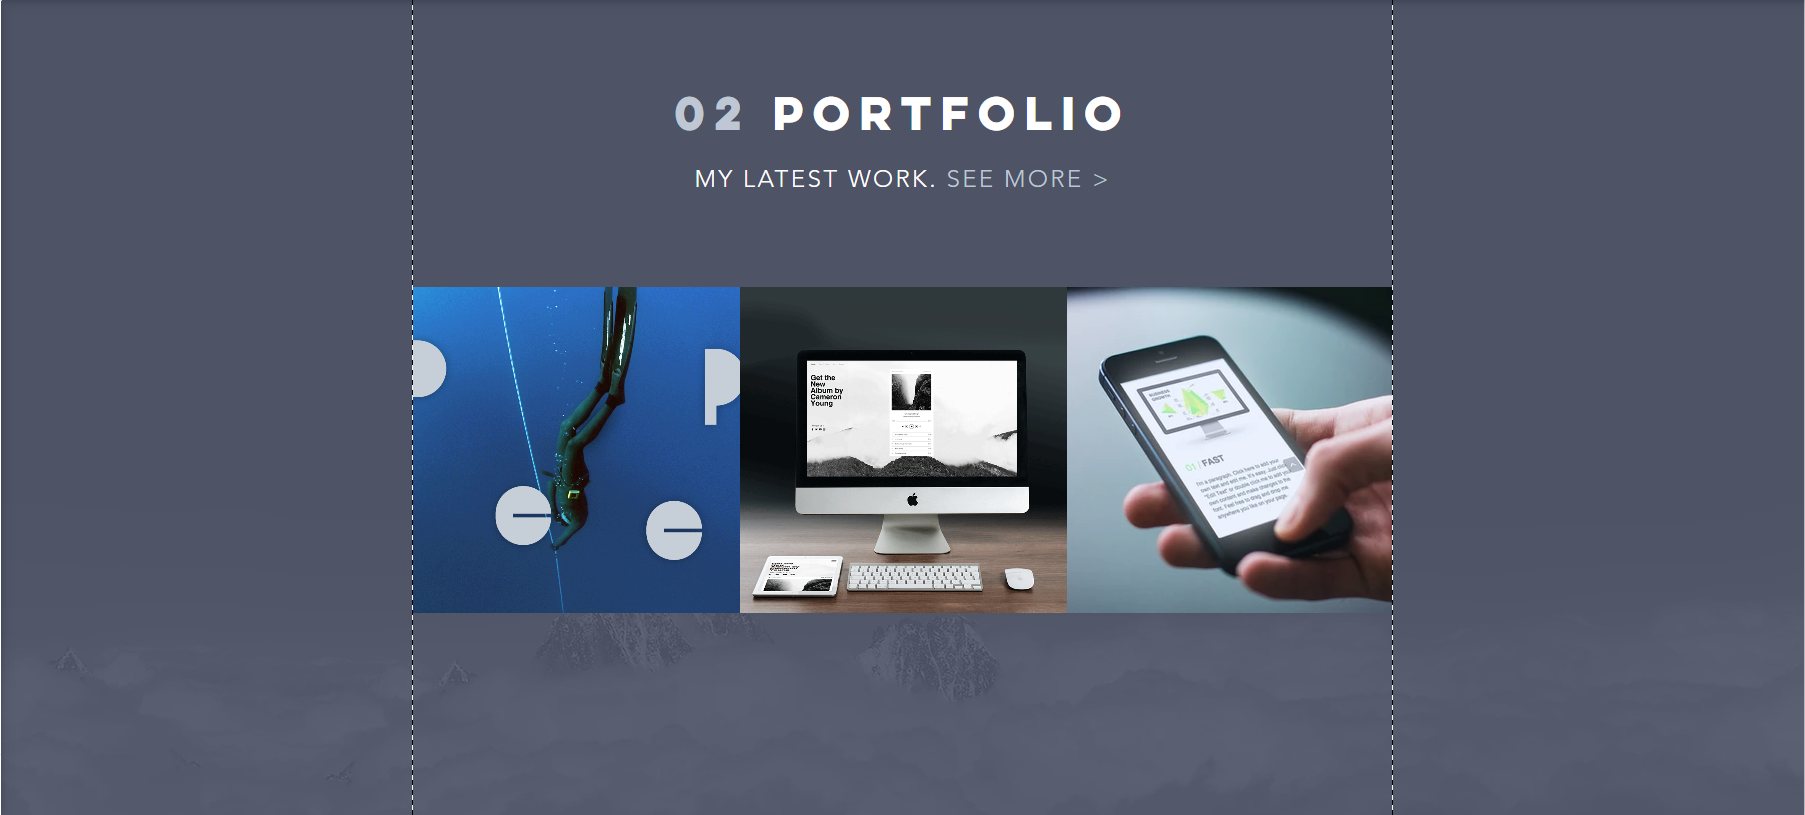
This step here is pretty much the whole reason behind building a portfolio website, to show the work you’ve ACTUALLY DONE rather than just list it with some bullet points.
The biggest downside of a resume is you can’t actually show the work you’ve done, among other downsides is that you can’t really show your work. That’s why it’s very common to link your portfolio website in your resume usually at the top near contact information so that if an employer has taken some interest in you then it will help give you that extra edge among other applicants. The projects section can be pictures of work you’ve done, or links to work you have done, articles you have written, a blog you’ve made, websites you’ve built. Earlier in the outline I talked about how you can choose to add special features in your template regardless of the template you choose. This is where that may be vital, for example there is an option to include a blog built into your portfolio website that creates it’s own page so as to not make your main portfolio become an endless scrolling nightmare.
This is your best and for many situations your only chance to show what you can do in a world where you otherwise would not have been able to.
Work Experience
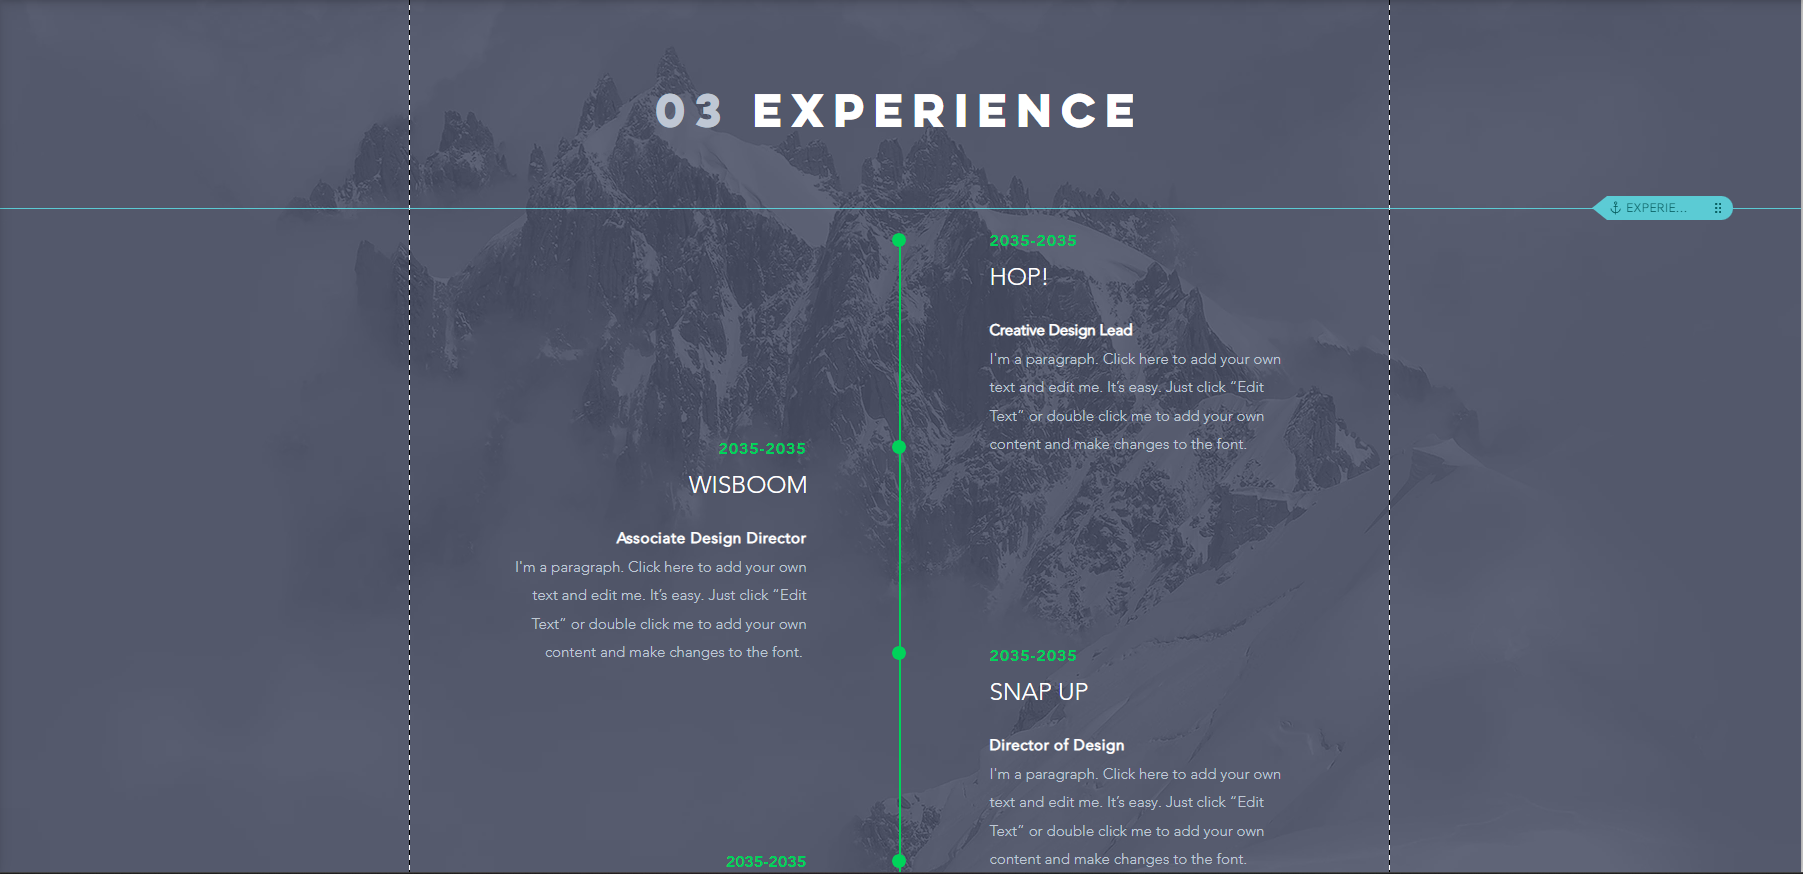
Of course, like a regular resume it doesn’t hurt to include your actual work experience, here however you have the chance to include all of it regardless of whether it’s relevant to any positions you’ve recently applied to. If you’re like some of us and have a very diverse work history you may want to include all of it, because even if the years your spent serving or working customer service while you were in college doesn’t feel like it matters to most employers, it certainly matters to you, it was your life and your time to spend so why not include it. Best practice however is to try and focus more on the skills you acquired from the jobs you did rather than what you actually did while you were at that job. Where as with a resume you focus on how the tasks you did at one job will make you a better fit for another job.
If you’re creative enough you can even have projects you’ve built related to the work history and have everything fall under one web, we however prefer to keep them separate to make it easier to get a quick overview of what you’re capable of and to avoid having the person overlooking your website spending too much time finding information they are looking for.
You also want to include your education like you would with a resume, this can be done before or after work experience, but they should be next to each other either way
Review
It’s important to review your work before you feel ready to call it completed, check your spelling, make sure you like your layout and use the option to view the published product before publishing. Once you have checked over your work and feel confident that you have done your best, you can decide to publish your new portfolio website. There are cost options to this so it’s completely up to you what you decide to use or if you even publish the website at all. For this project using the cheapest option will suffice as people are merely viewing your webpage, you aren’t providing access to any resources that would require the use of databases or anything else in terms of storage or memory.