How to Build the Two-Player Cookie Dash Game With Makey Makey and Scratch
by TwoMonocles in Circuits > Microcontrollers
2226 Views, 8 Favorites, 0 Comments
How to Build the Two-Player Cookie Dash Game With Makey Makey and Scratch
My children participated in an "Hour of Code" exercise in their classrooms this year. To reinforce those concepts, and to show students in their classrooms how accessible and enjoyable programming can be, I created a fun, two-player software game in Scratch called "Cookie Dash." Both of my kids had an excellent fourth grade teacher who also introduced them to circuits, and I wanted to reinforce those concepts as well, so I connected the Scratch game to real-world objects using a Makey Makey and items from around the house. This Instructable details the steps to replicate the game on your own.
There is no right or wrong way to construct the physical portions of this project. Documented below are two approaches: one is the approach I took building the project; the other is a simplified approach that will work for most everyone. Because I took this project into kids' classrooms, where dozens of kids were hands-on and the configuration had to be flexible, I reinforced many of the pieces more than would be necessary for simple home use. Choose whichever option is most suitable for you.
To construct the physical pieces, you will need:
- A cardboard box
- Strong scissors or a utility knife
- Aluminum foil
- Wire
- Wire cutters/strippers
- Plastic bottles (optional)
- Duct tape (optional)
- Copper foil tape (optional)
To connect the game components, you will need:
- Makey Makey
- Alligator clips (at least six)
To run the software, you will need:
- A computer with an internet connection
- A web browser that supports the Flash plugin
Gameplay
Cookie Dash is an interactive game where two players compete head-to-head to move their characters towards a plate of cookies. Players move their characters by alternately touching contact pads set up in a configuration of your choosing (details below). Whoever reaches the cookies first, wins. So you’ll need to construct four contact pads and ground the players with two handheld objects.
Construct the Contact Pads
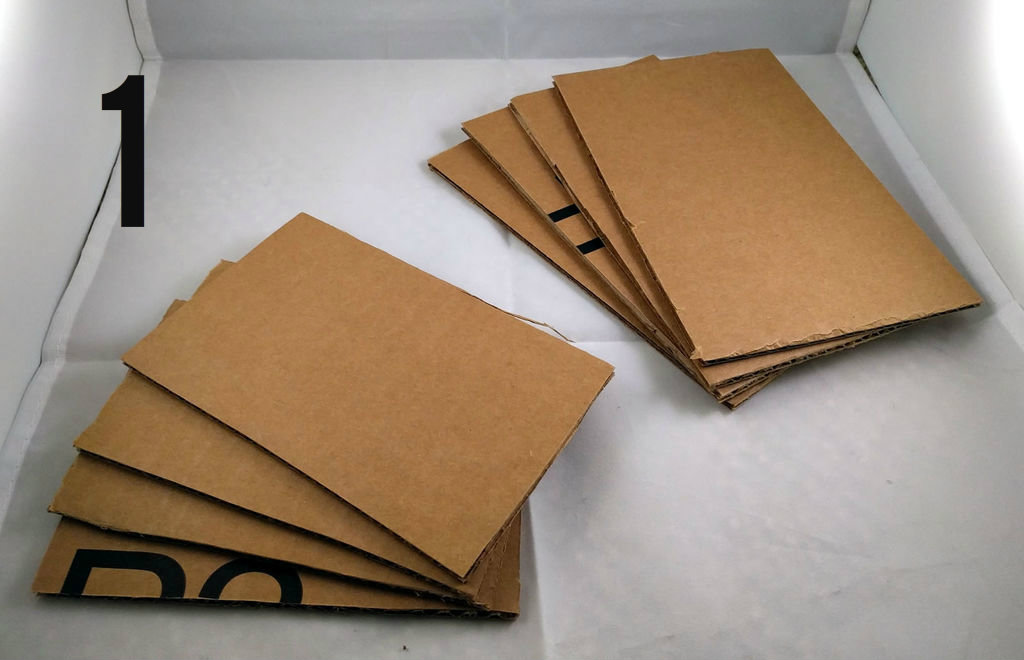
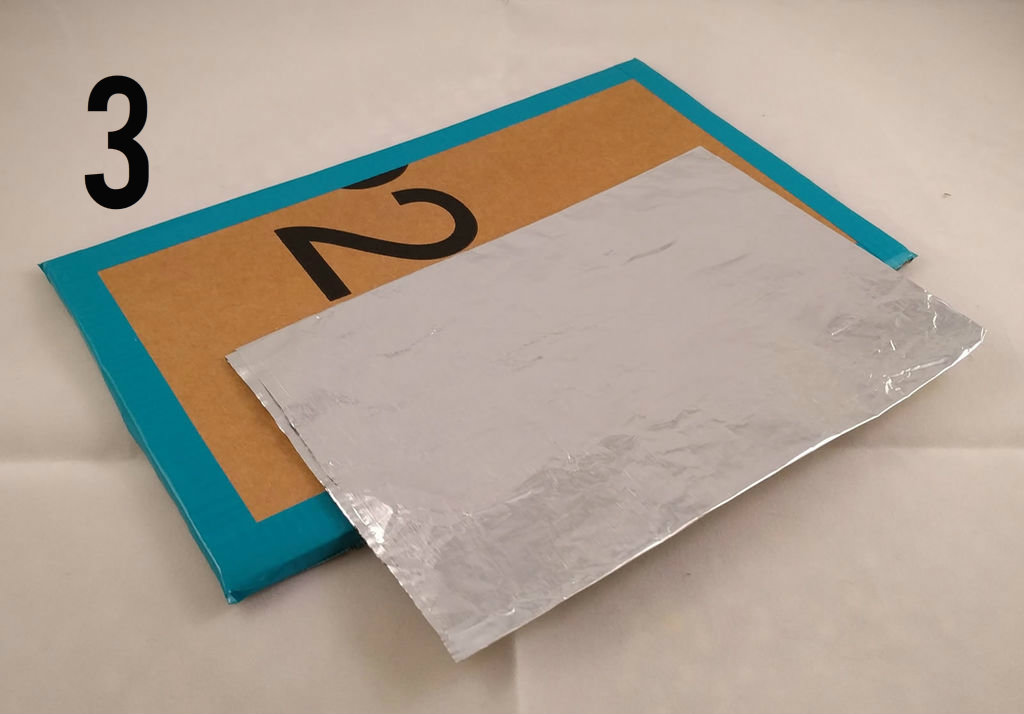
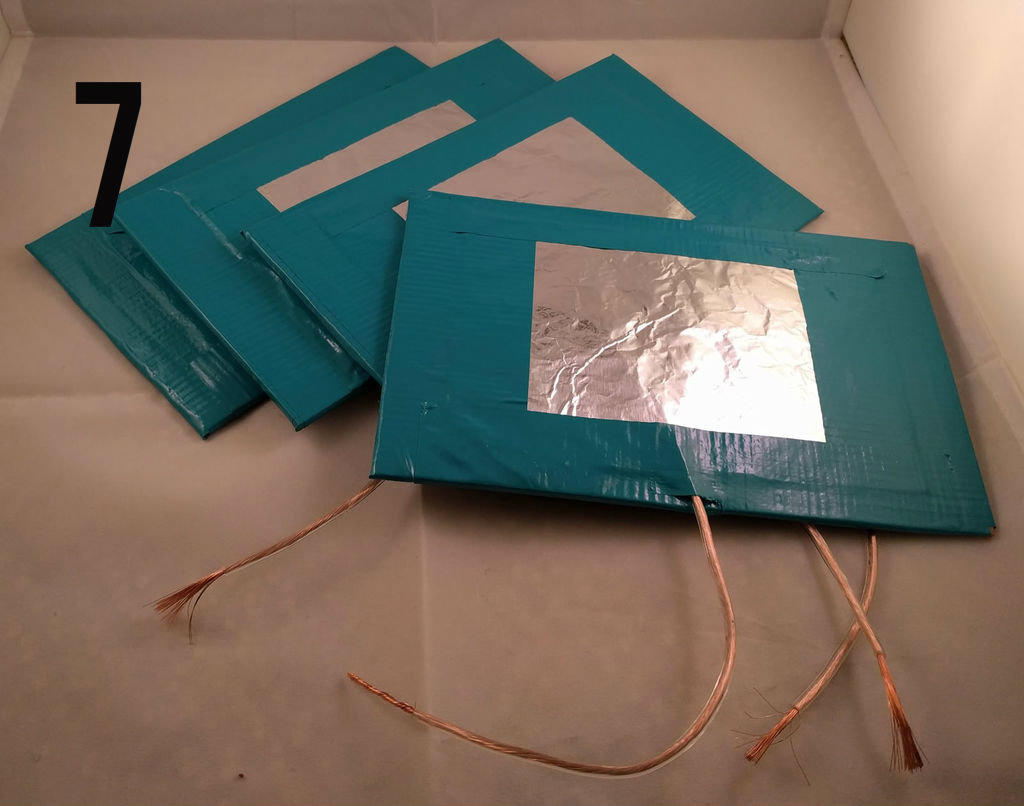
- Using scissors or a utility knife, cut four rectangles out of cardboard. These can be any size you like, but somewhere between 3"x5" and 5"x7" is a good place to start (around the size of an index card or photograph).
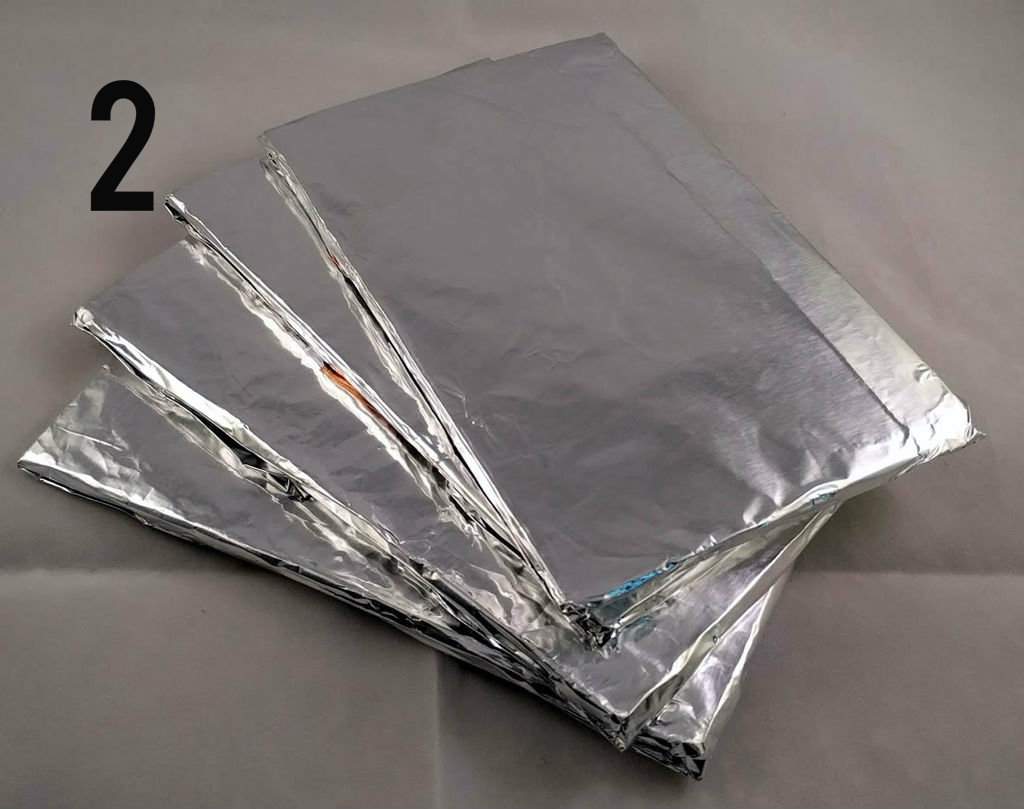
- For the simple build, wrap each cardboard rectangle with aluminum foil and then proceed to Step 2.
- For the sturdier build, create 8 rectangles of aluminum foil, folded so that each has four layers (fold in half twice). The aluminum foil rectangles should be slightly smaller than the cardboard rectangles you are using.
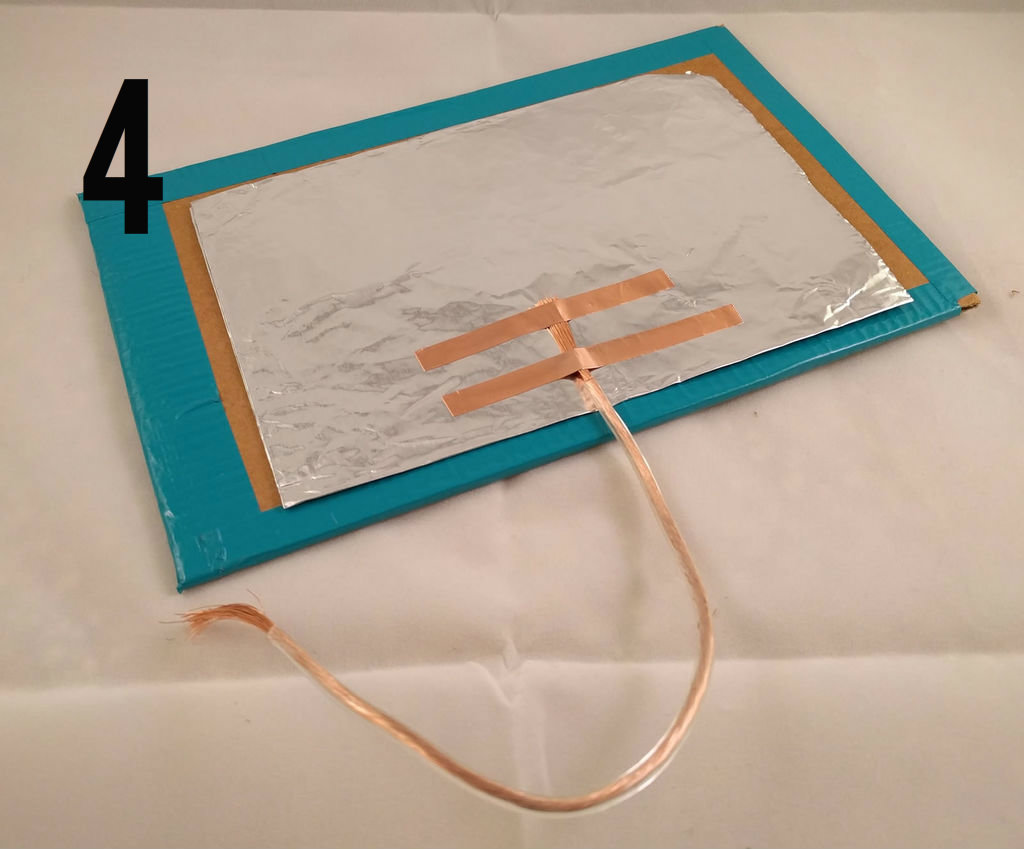
- Cut four 8" lengths of wire, and strip the ends to expose the bare wire. You can use any covered wire you like; USB only provides 5V of supply, so the wire needn’t be heavy. I had a spool of speaker wire left over from a home theater installation, so I used that. Connect one end of a length of wire to a foil rectangle with copper foil tape.
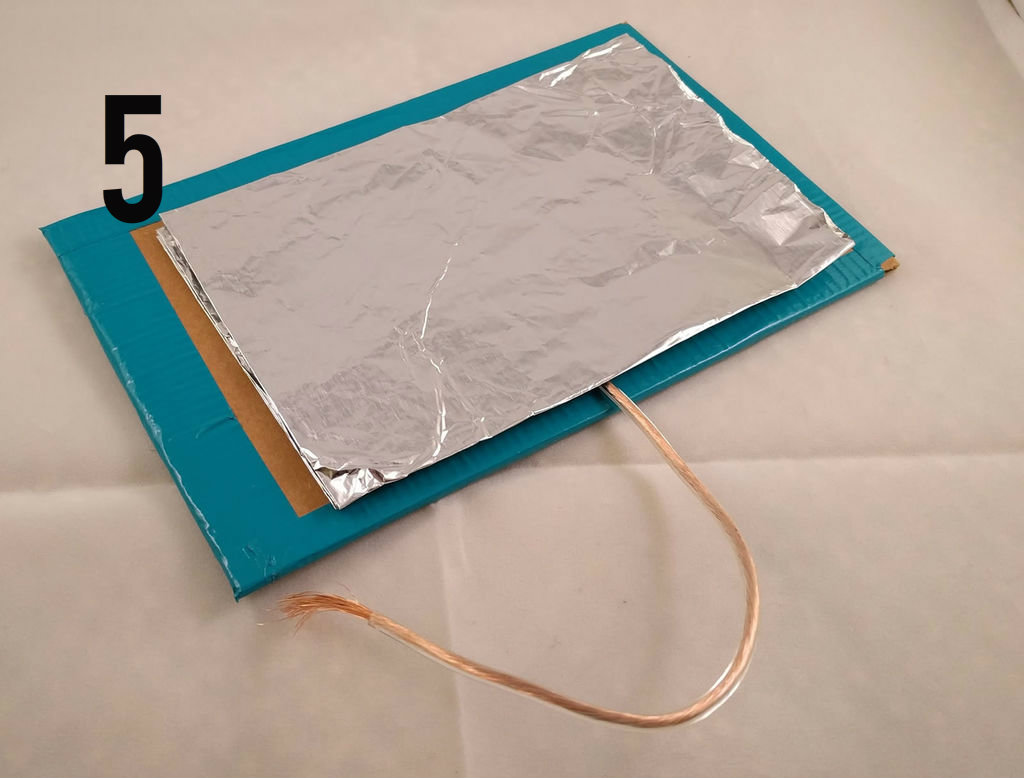
- Sandwich the wire with another layer of foil by adding another aluminum foil rectangle on top.
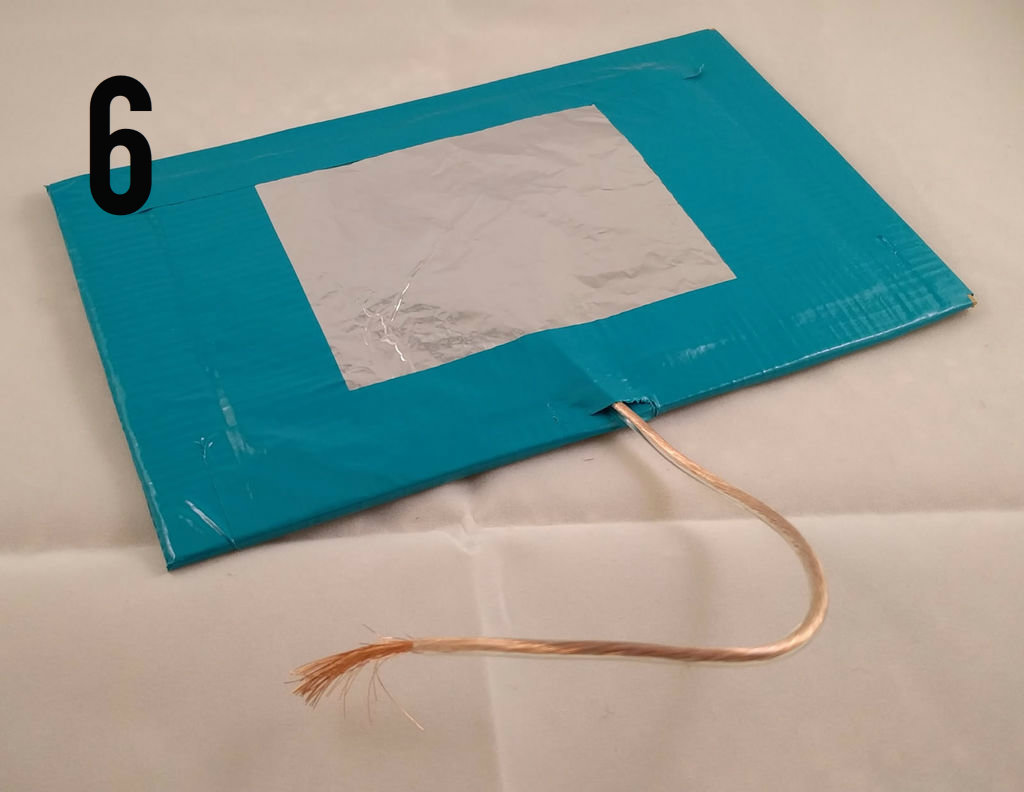
- Tape the foil sandwich to the cardboard rectangle with duct tape.
- Repeat four times to complete your four, aluminum-foil covered contact pads.
Yes, This is Overkill
This step is overkill for single use, home use, or where you know what wire lengths you will need. For my purposes, I knew that dozens of children would be using these pads, and I would need to move the pads from classroom to classroom, securing them in each location without damaging them. The duct tape is there solely so that I could affix the pads to various surfaces without damaging the cardboard or foil. I also needed to be able to adjust the length of the wires leading to the pads for different room sizes, which is why I created a feeder wire on each pad. If you are experimenting at home, the simple foil-covered build is likely all you need.
Construct the Handheld Items
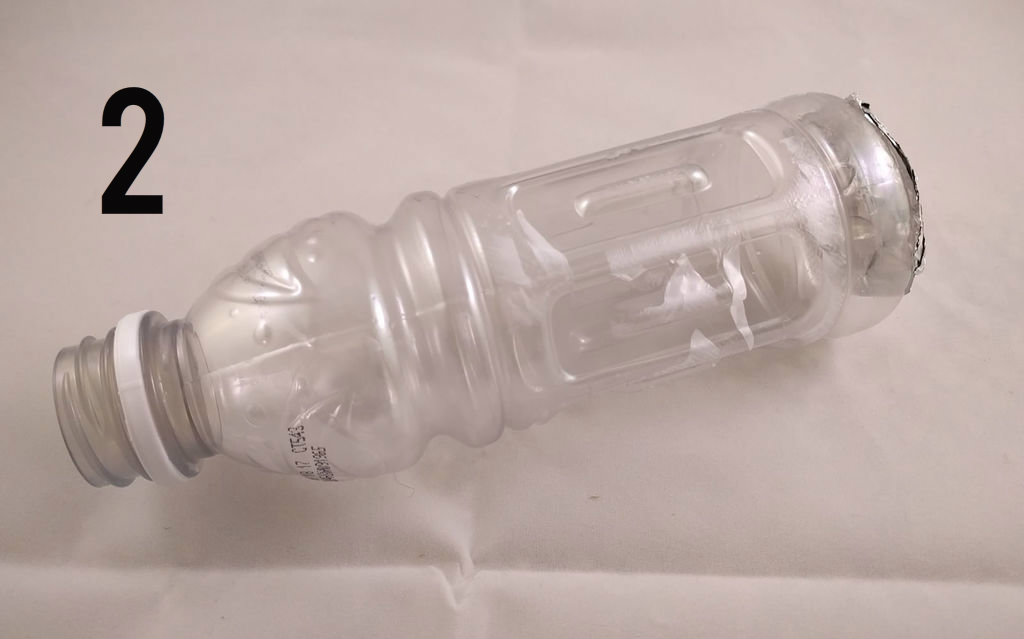
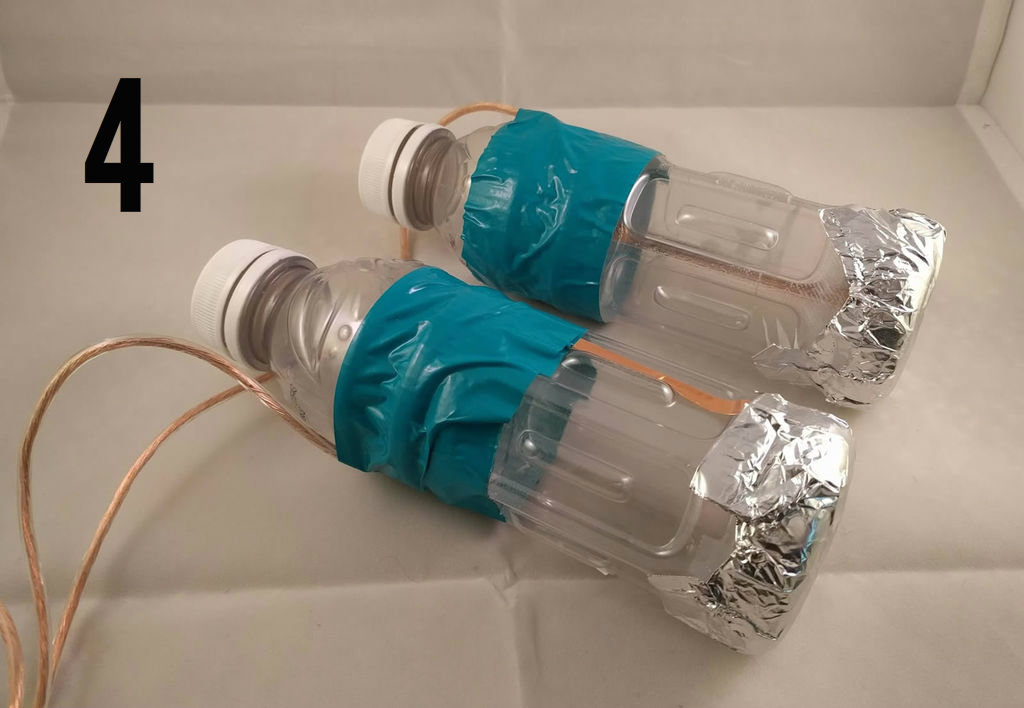
- For the simple build, create two wands by wrapping aluminum foil around any rigid object, e.g. pencils, popsicle sticks. Once created, proceed to Step 3. When playing the game, players will hold a magic wand in one hand, and complete the circuit by smacking the foil pads with the other hand.
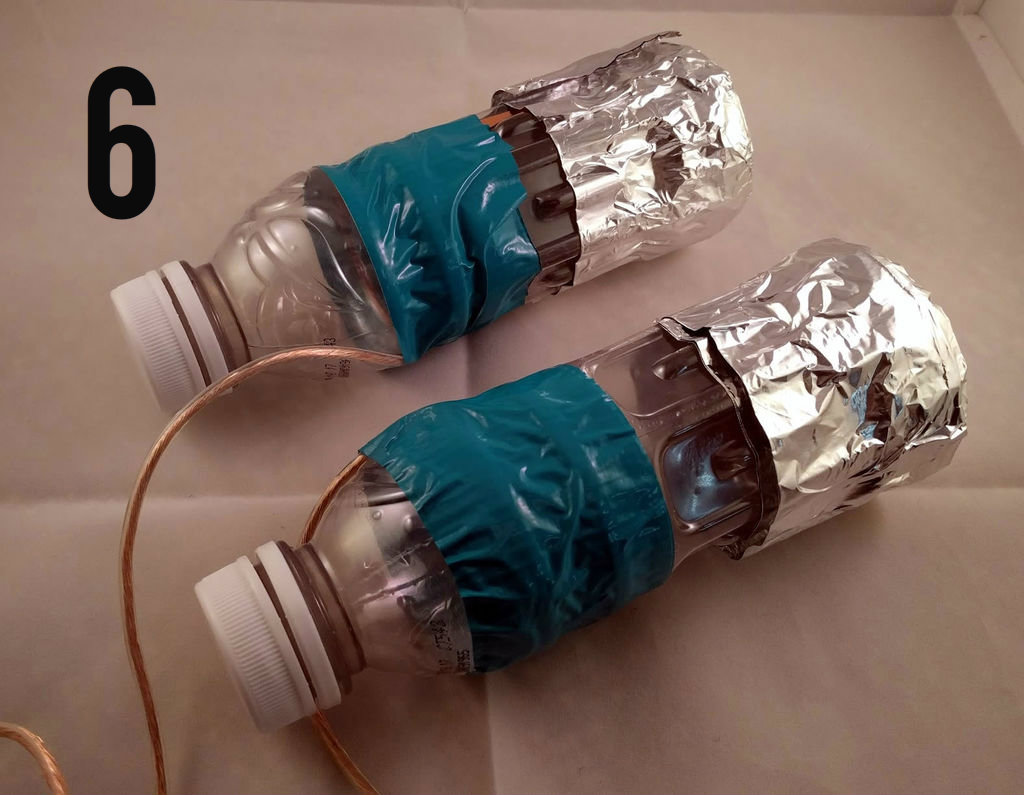
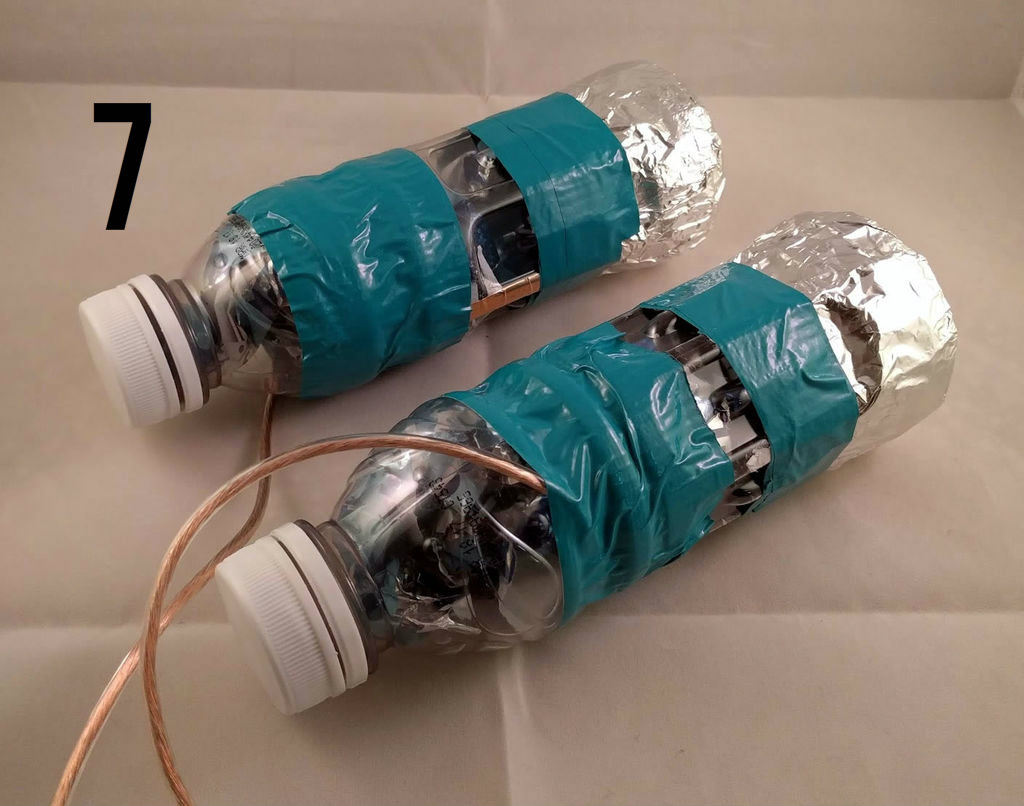
- For the sturdier build, cover the bottoms of two clean plastic bottles with aluminum foil. The bottoms of my bottles were concave, so I crumpled foil and pressed it into the cavity to level the bottom of the bottle.
- Cut two lengths of wire to the desired maximum length of your course, and strip the ends. These lengths will run from the Makey Makey to your players, so think ahead to how your course might be designed. If the Makey is at a mid-point of the course, and you cut your wire lengths to 6 feet, you can space the pads up to 12 feet apart. If you want to keep all your wiring at one end of your course, a wire cut to 6 feet will net you a maximum course length of 6 feet. Of course, you can always keep your wires short, and then connect additional lengths when you create your course.
- Using copper foil tape, run a line of copper foil from the bottom of the bottles up the sides, and connect the foil tape to the wire lengths. In the bottles I used, there was a trough near the top of the bottle; I connected the foil tape in that trough so that the wire wouldn’t protrude from the bottle, and so that I could wrap the wire around the bottle, further securing it.
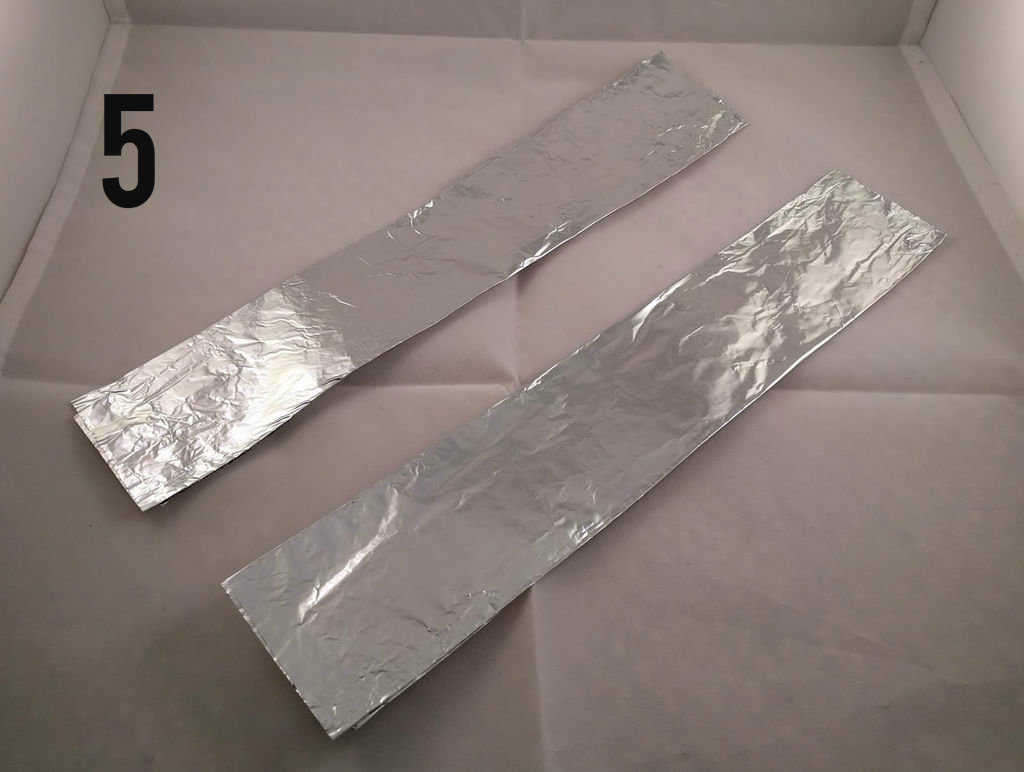
- Create 2 rectangles of aluminum foil, folded so that each has four layers (fold in half twice). The aluminum foil rectangles should be about 2" wide, and long enough to wrap completely around the bottoms of your bottles.
- Wrap the aluminum foil rectangles around the bottoms of the bottles to sandwich the copper foil tape between the layers of aluminum foil.
- Secure the foil and wire with duct tape.
More Overkill
Like the previous step, much of this step is overkill for home use. But because dozens of kids would be tugging at these wires, smashing the foil, and so on, I wanted to make sure that they stayed together, and that the contact points didn’t get smashed so far as to make an unreliable connection.
You might also be wondering, “Why bottles?" Yes, there are certainly many other household items that you can use to create these handheld objects. My initial plan was to create stampers that the kids would need to press down into plastic cups, instead of using the foil-covered contact plates. What I found during testing with my kids is that it required too much dexterity, and that was at odds with the fast-paced intention of the game. So while I tossed out the cup idea, I already had the stampers made, so I stuck with them.
Component Review
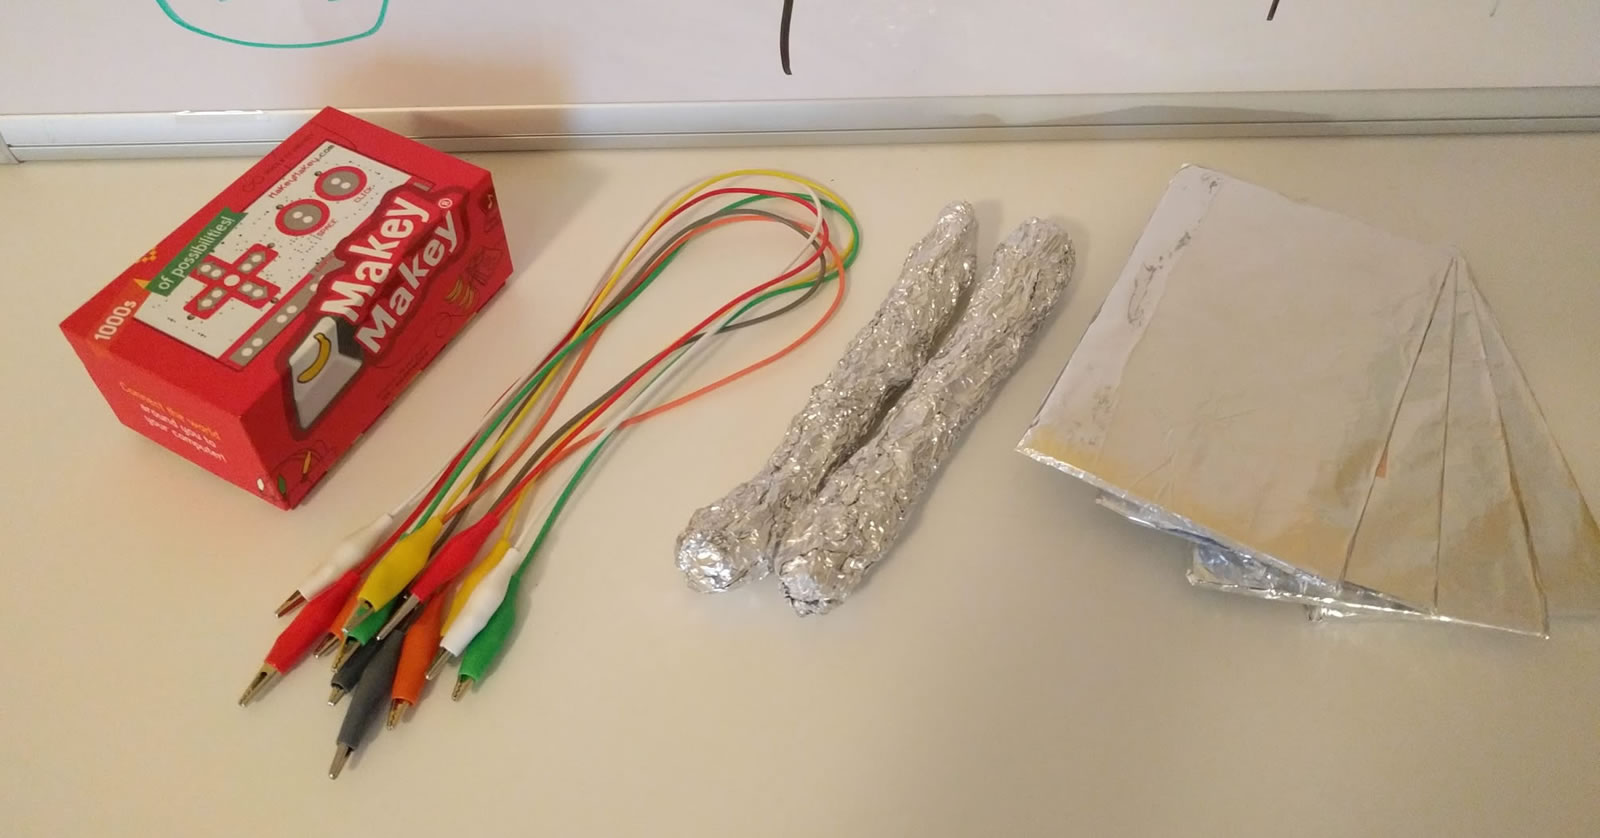
For the simple build, you should now have four foil-covered pads, and two foil-covered "magic wands."
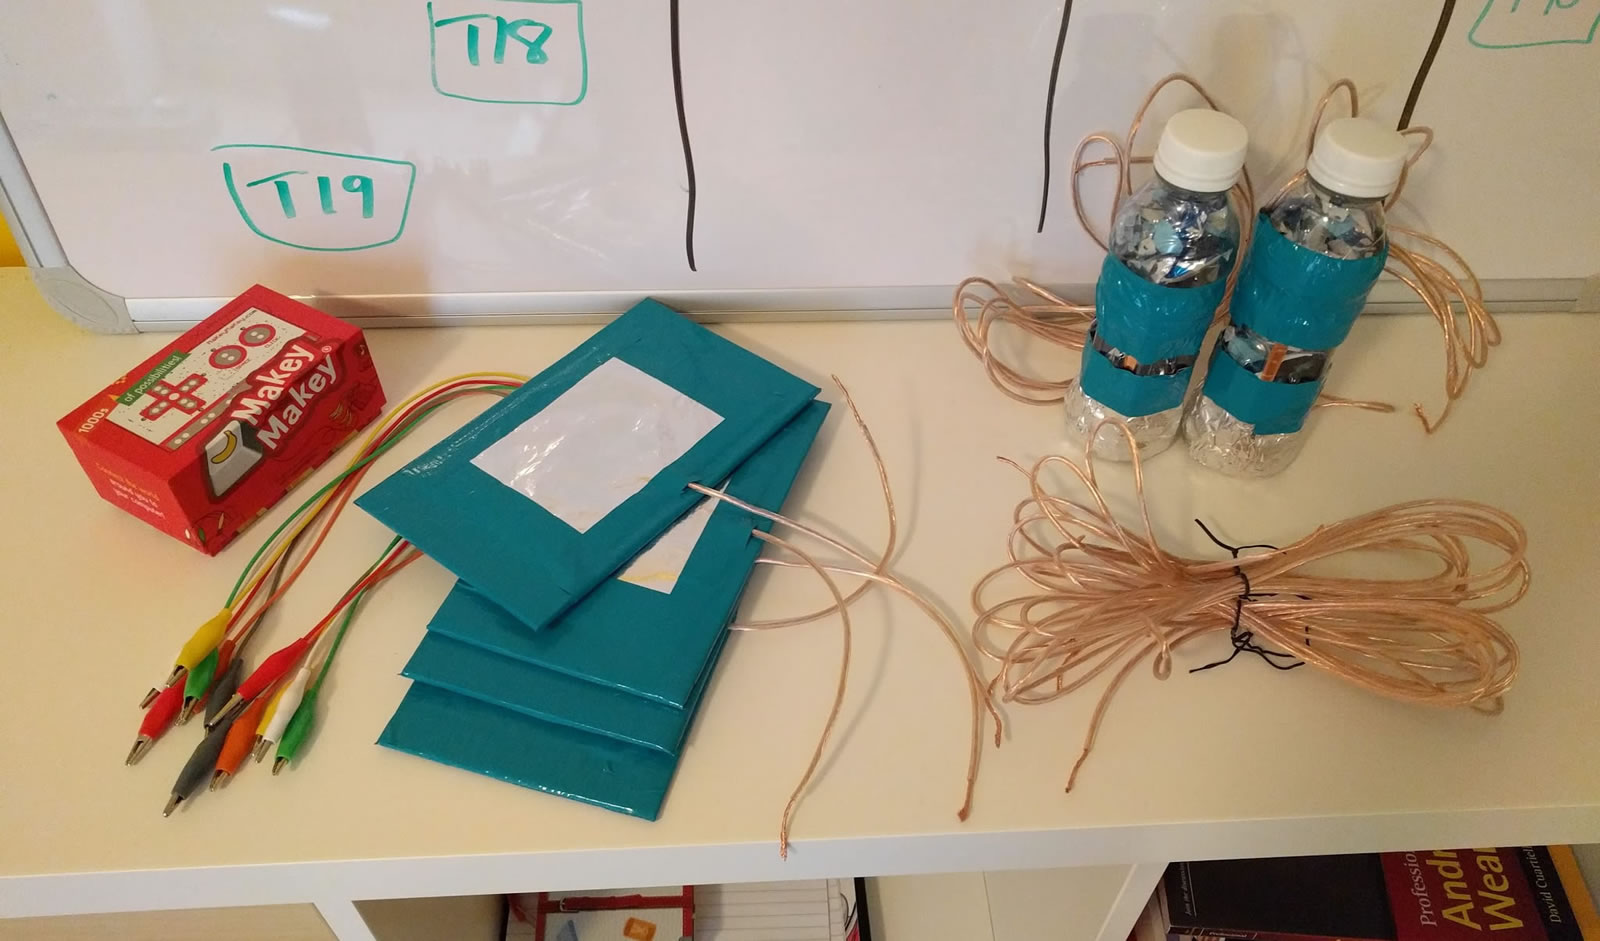
For the sturdier build, you should have four duct tape and foil-covered contact pads, two foiled and taped bottles, and optionally, four lengths of wire if you want to stretch your contact pads out over a greater distance.
Connect and Power the Makey Makey
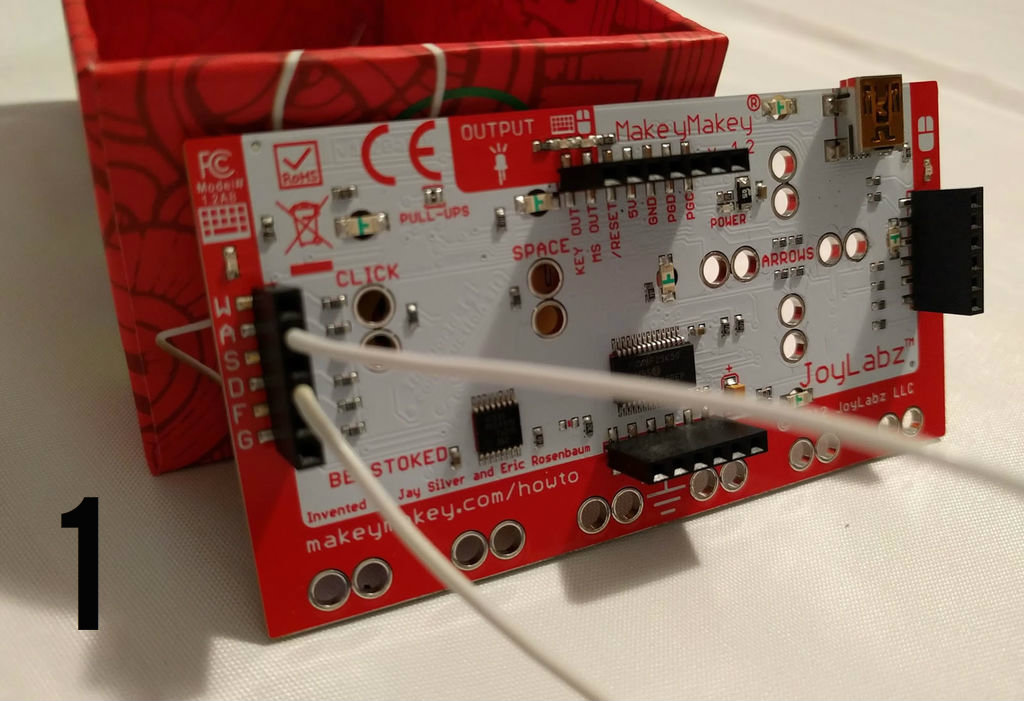
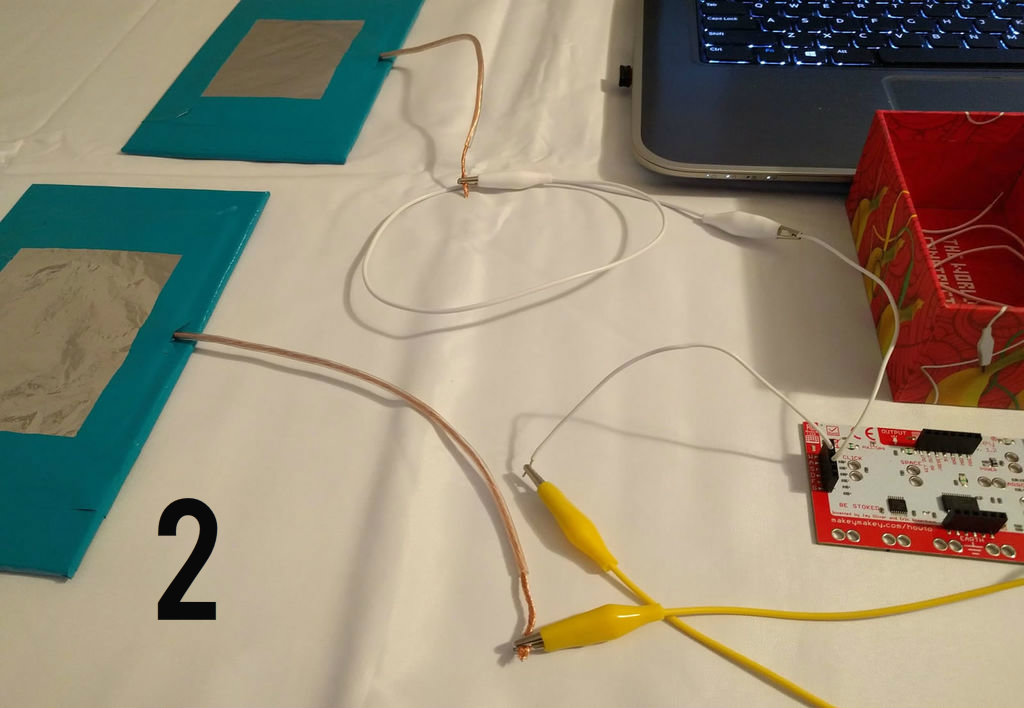
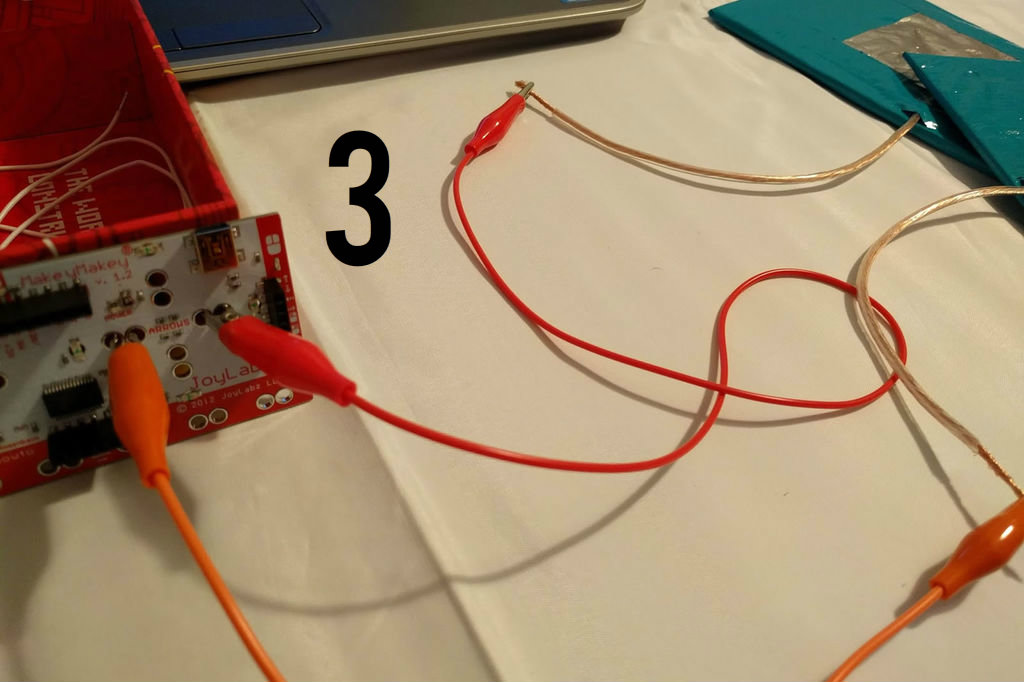
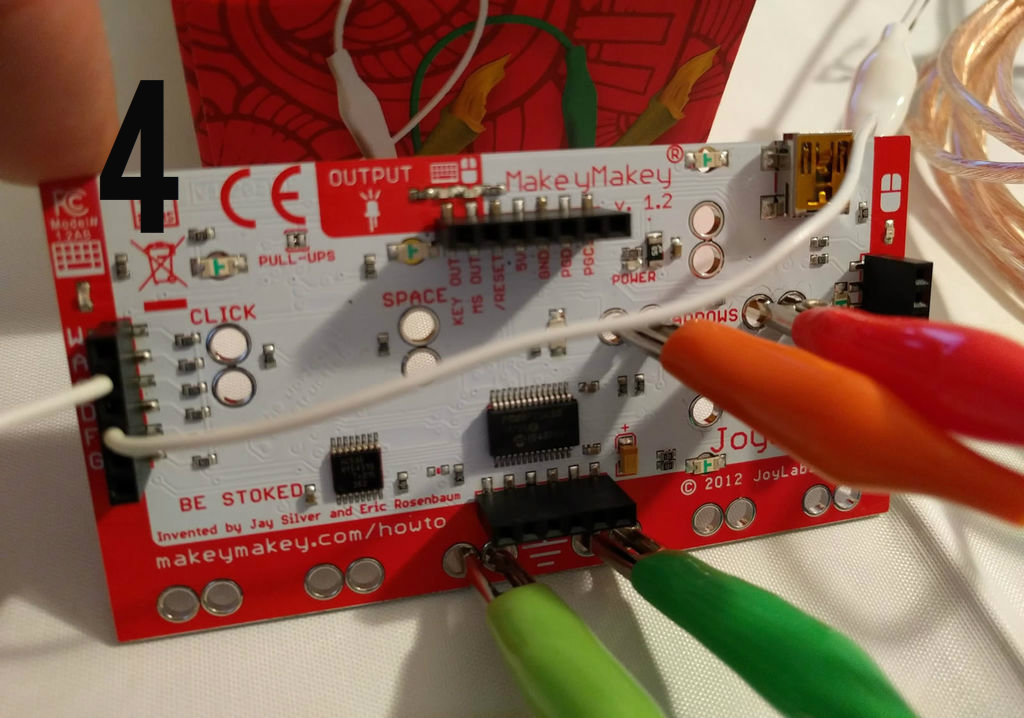
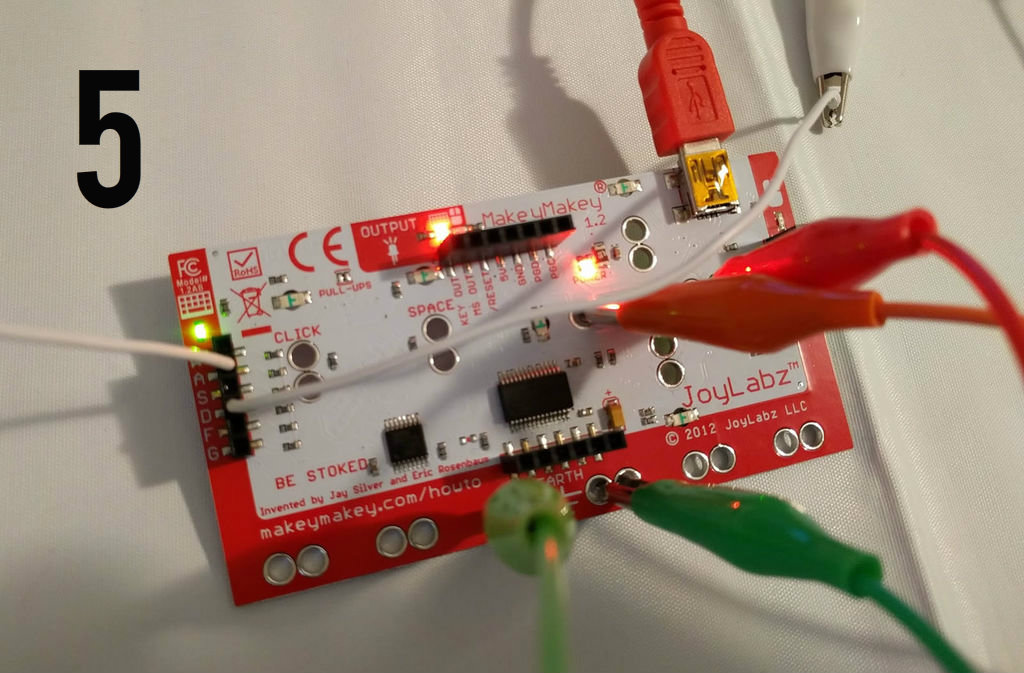
- Insert two connector wires into the "A" and "D" slots on the left-hand side of your Makey Makey.
- Using alligator clips, connect the "A" wire to one contact pad (either to the feeder wire of the contact pad, or directly to the pad if you wisely followed the simple build instructions); and connect the "D" wire to the other contact pad. These will be Player One's contact pads. It doesn't matter which letter is connected to either pad.
- Using alligator clips, connect the left arrow contact on the Makey to one contact pad (either to the feeder wire of the contact pad, or directly to the pad if you wisely followed the simple build); and connect the right arrow contact to the other contact pad. These will be Player Two's contact pads. It doesn't matter which arrow is connected to either pad.
- Using alligator clips, connect "Earth" on the Makey (this is the ground) to each handheld object. If you're using the bottle approach, connect Earth to your feeder wires; if you're using the wand approach, connect Earth directly to your wands.
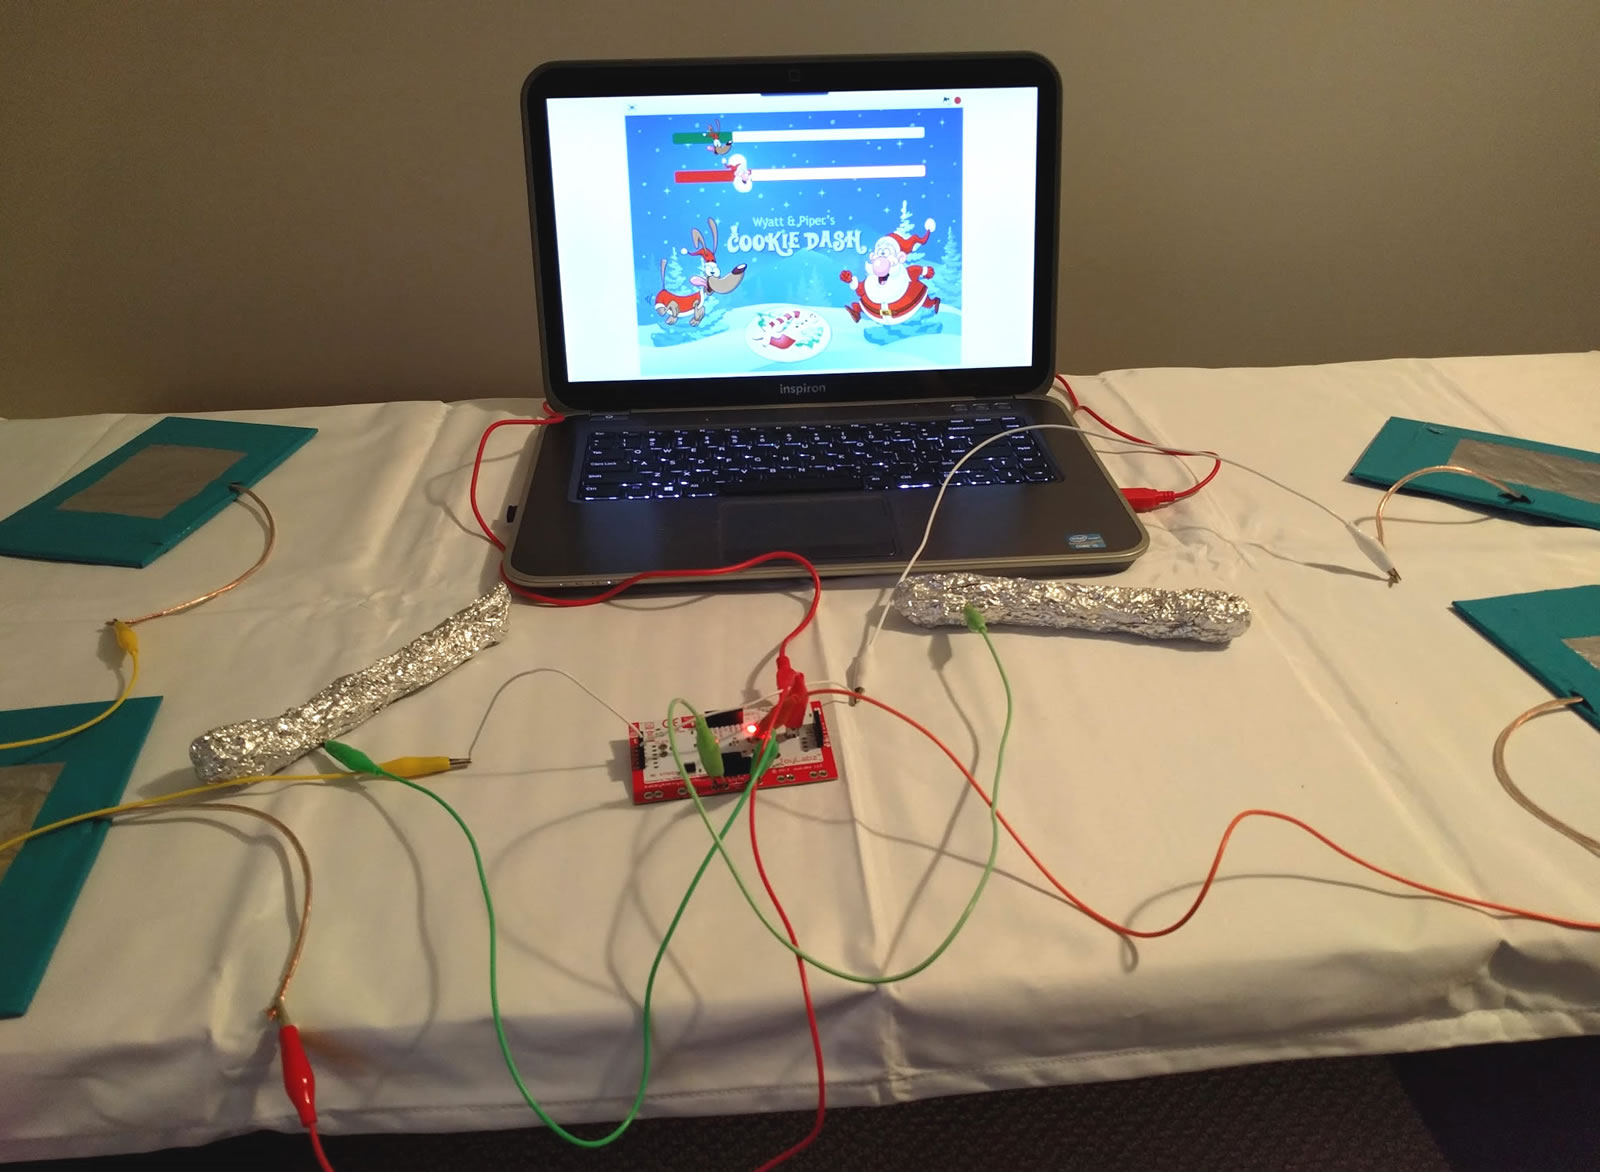
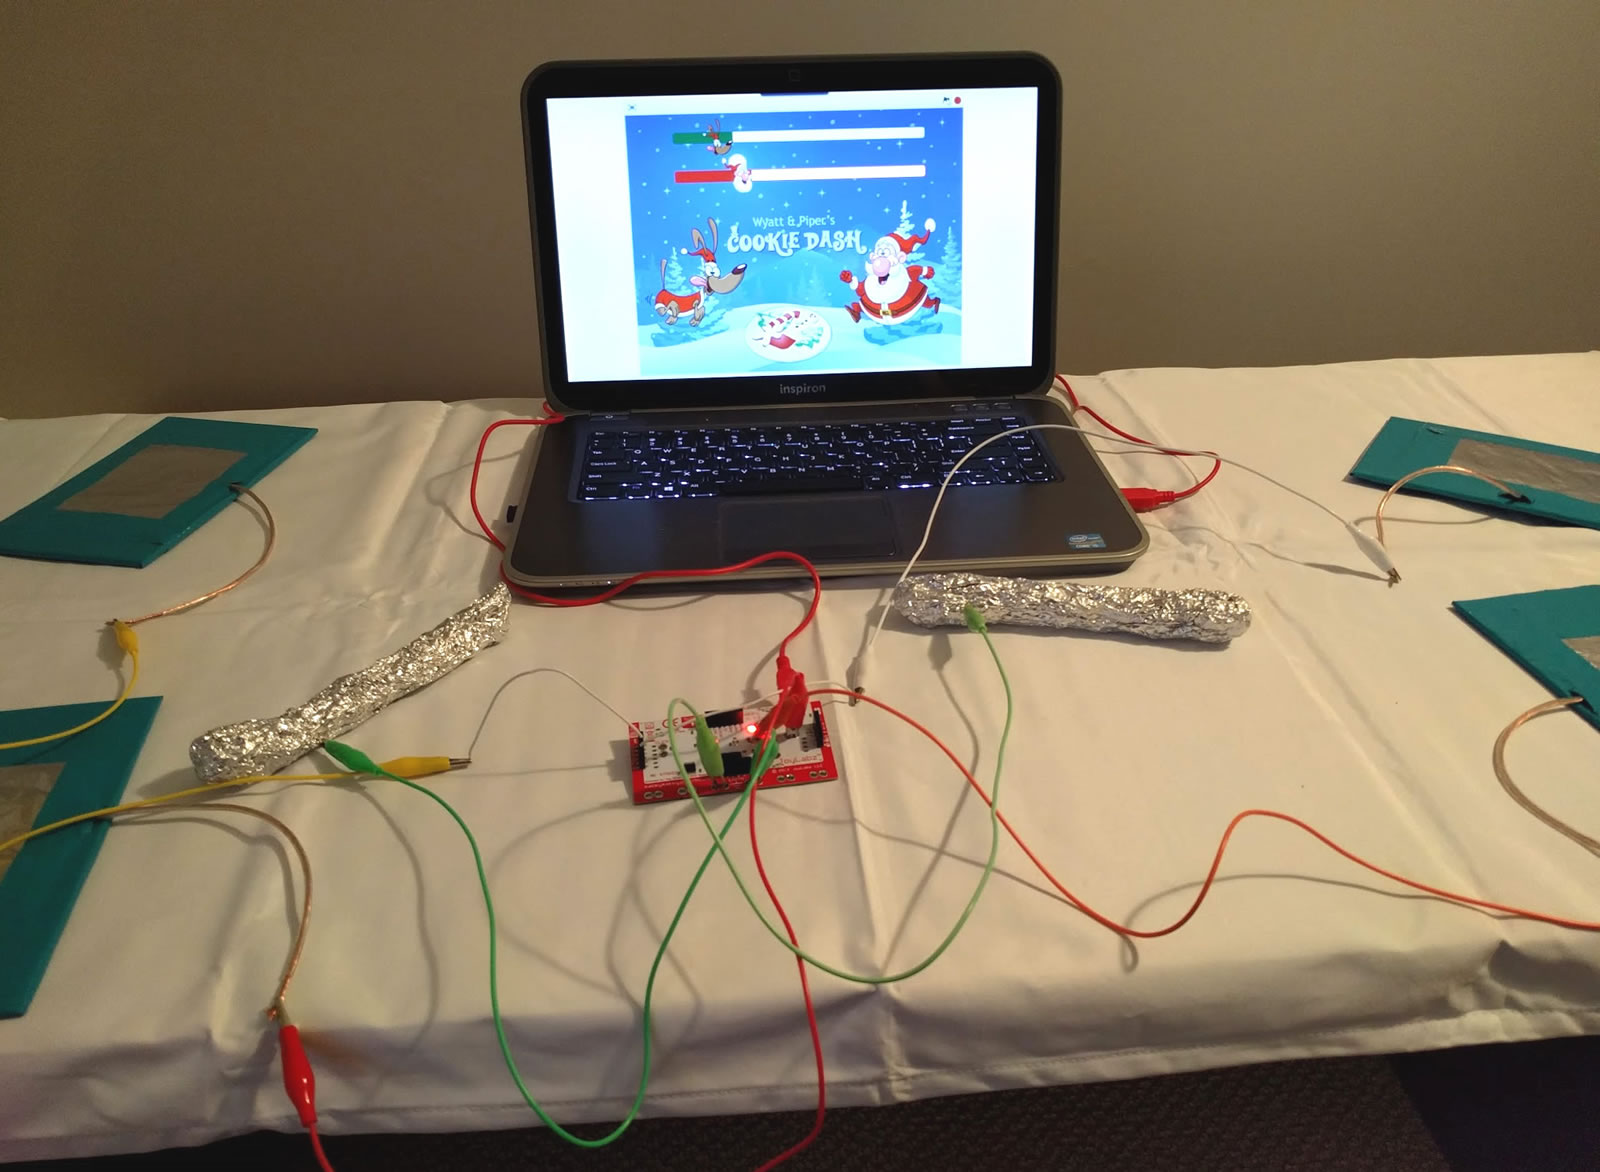
- Insert the power cord into your Makey Makey, and insert the other end into a USB port on your computer. If you see any prompts upon powering the Makey, you can just dismiss them. You'll notice a red light indicating that the Makey Makey is powered. If you contact one of your pads with one of your handheld objects (the bottle or wand), you'll notice that the Makey will light, indicating which input was triggered. If you see this, you're probably connected correctly.
Your final setup should include the four contact pads and two handheld objects connected to your Makey Makey; and the Makey connected to and powered by your computer (see photo).
Set Up Your Course
Set up your course in any configuration that makes sense for you. Here are some ideas we tried at home:
- Situate the contact pads on either side of a player, which will require them to quickly twist back and forth between the pads. Burn some energy for the kids, and a core workout for the adults. Try it yourself – it gets tiring fast!
- Set one contact pad on the floor, and tape another to the wall, about 6 inches out of a player's reach. This will require them to alternately squat and jump.
- Spread the contact points to opposite sides of the room, requiring players to compete in a shuttle run race to advance their characters.
I'm not the best with video editing, but I'll try to update this Instructable with footage of some of the configurations we tried.
Open the Scratch Software on Your Computer
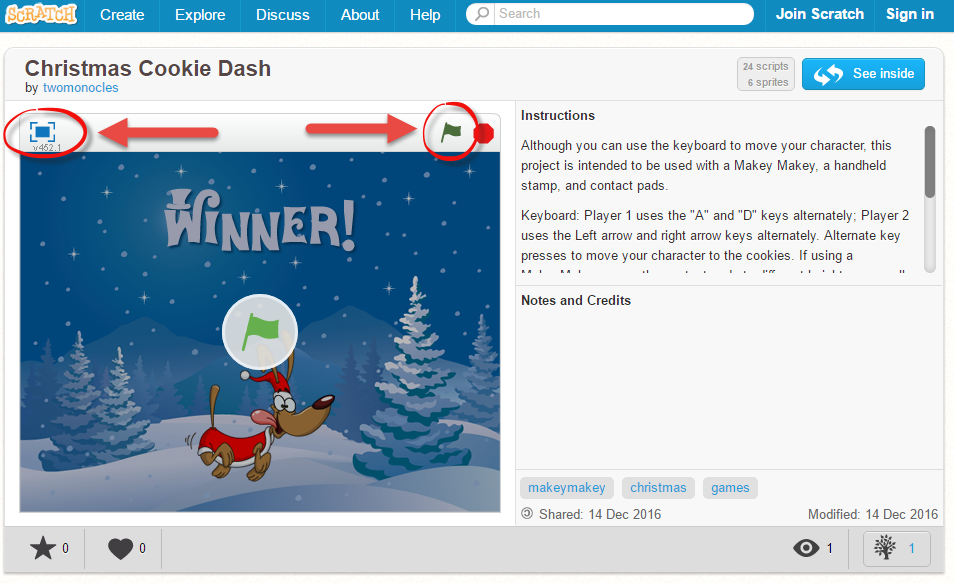

Point your browser to https://scratch.mit.edu/projects/135556100/ to view the Cookie Dash project. This game is created in Scratch, a very simple to use programming environment for children. It will help them learn the basics of programming and logic, and it eliminates many of the headaches they might experience in other environments. It is an excellent learning environment for kids, and it's fun for adults, too!
In the upper left hand corner of the game (directly below the title), press the "Fullscreen" button to switch to a larger view of the game. When you're ready to play, press the green flag in the upper right hand corner to begin the game.
When the game starts, players race against one another to see whose character can reach the cookies first. They move their characters by alternately hitting the foil pads assigned to them. If you're using the magic wands, players will hold the wand in one hand and smack the pads with the other hand. If you're using the bottles, players should press the bottles to the pads. If the same pad is hit twice in succession, the character will flash red and pause for one second as a penalty. The game ends when one character's progress meter fills completely.
Remix and Improve the Game
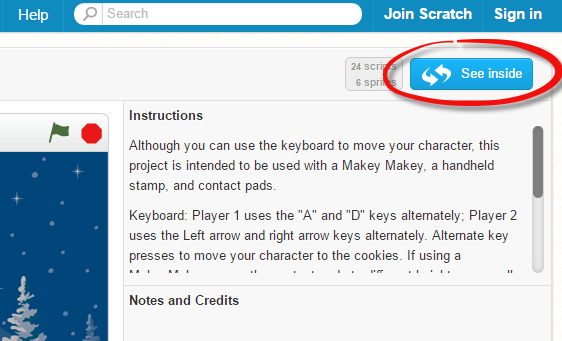
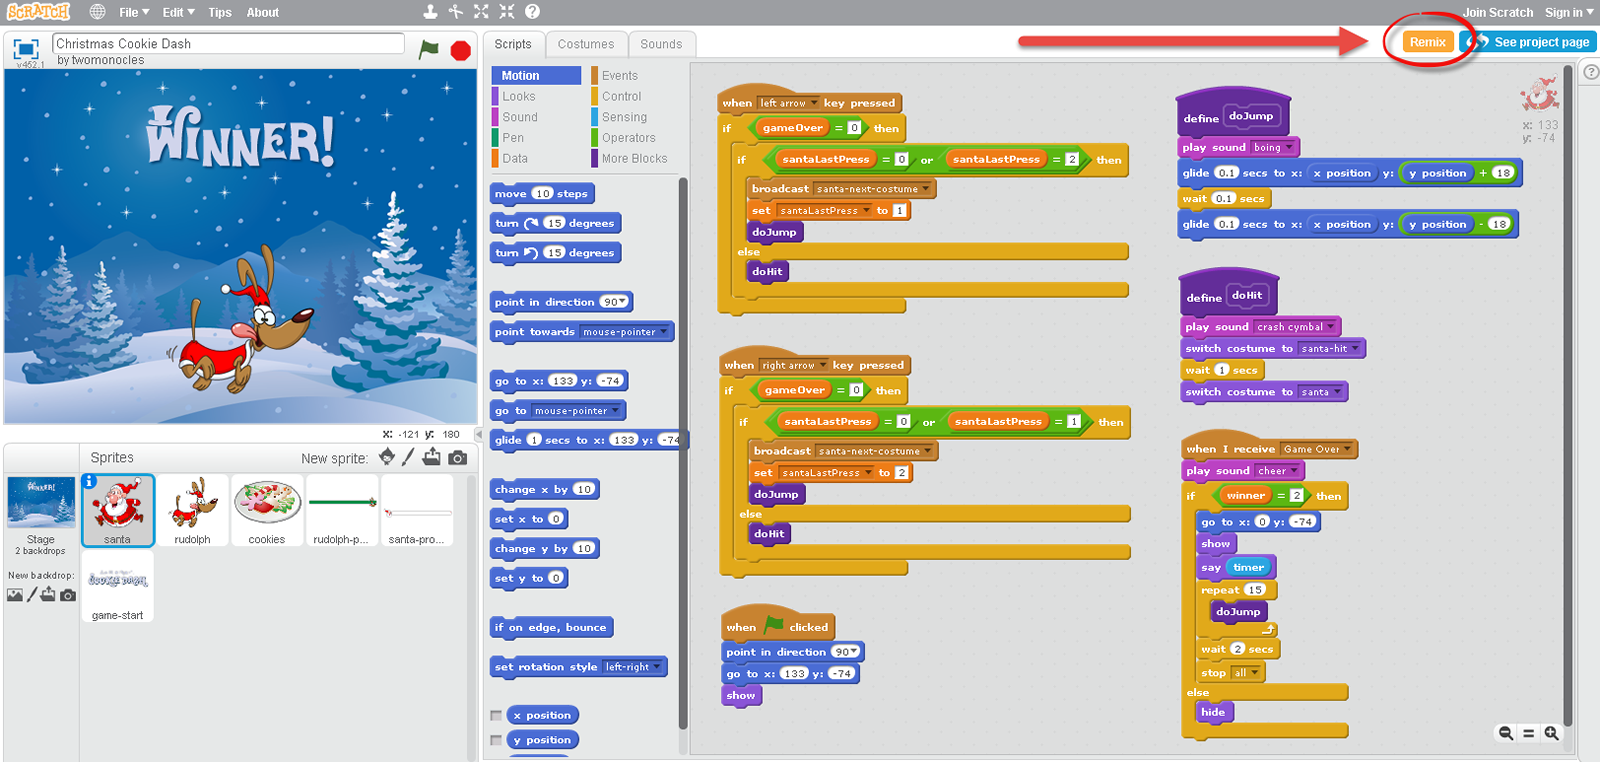
One of the nice features of Scratch is that you can make any of these games your own. Back on the project page (https://scratch.mit.edu/projects/135556100/), press the blue "See inside" button to take a peak under the hood of the game.
One of my teaching goals with this project was to introduce events, broadcasters, and receivers to students, and you can see that this game makes use of them by following along in the code. To create a copy of the game in your own Scratch workspace, click on the orange "Remix" button in the upper right hand corner of the screen.