How to Build a Straw Roller Coaster
by jessyratfink in Teachers > Engineering
36348 Views, 143 Favorites, 0 Comments
How to Build a Straw Roller Coaster
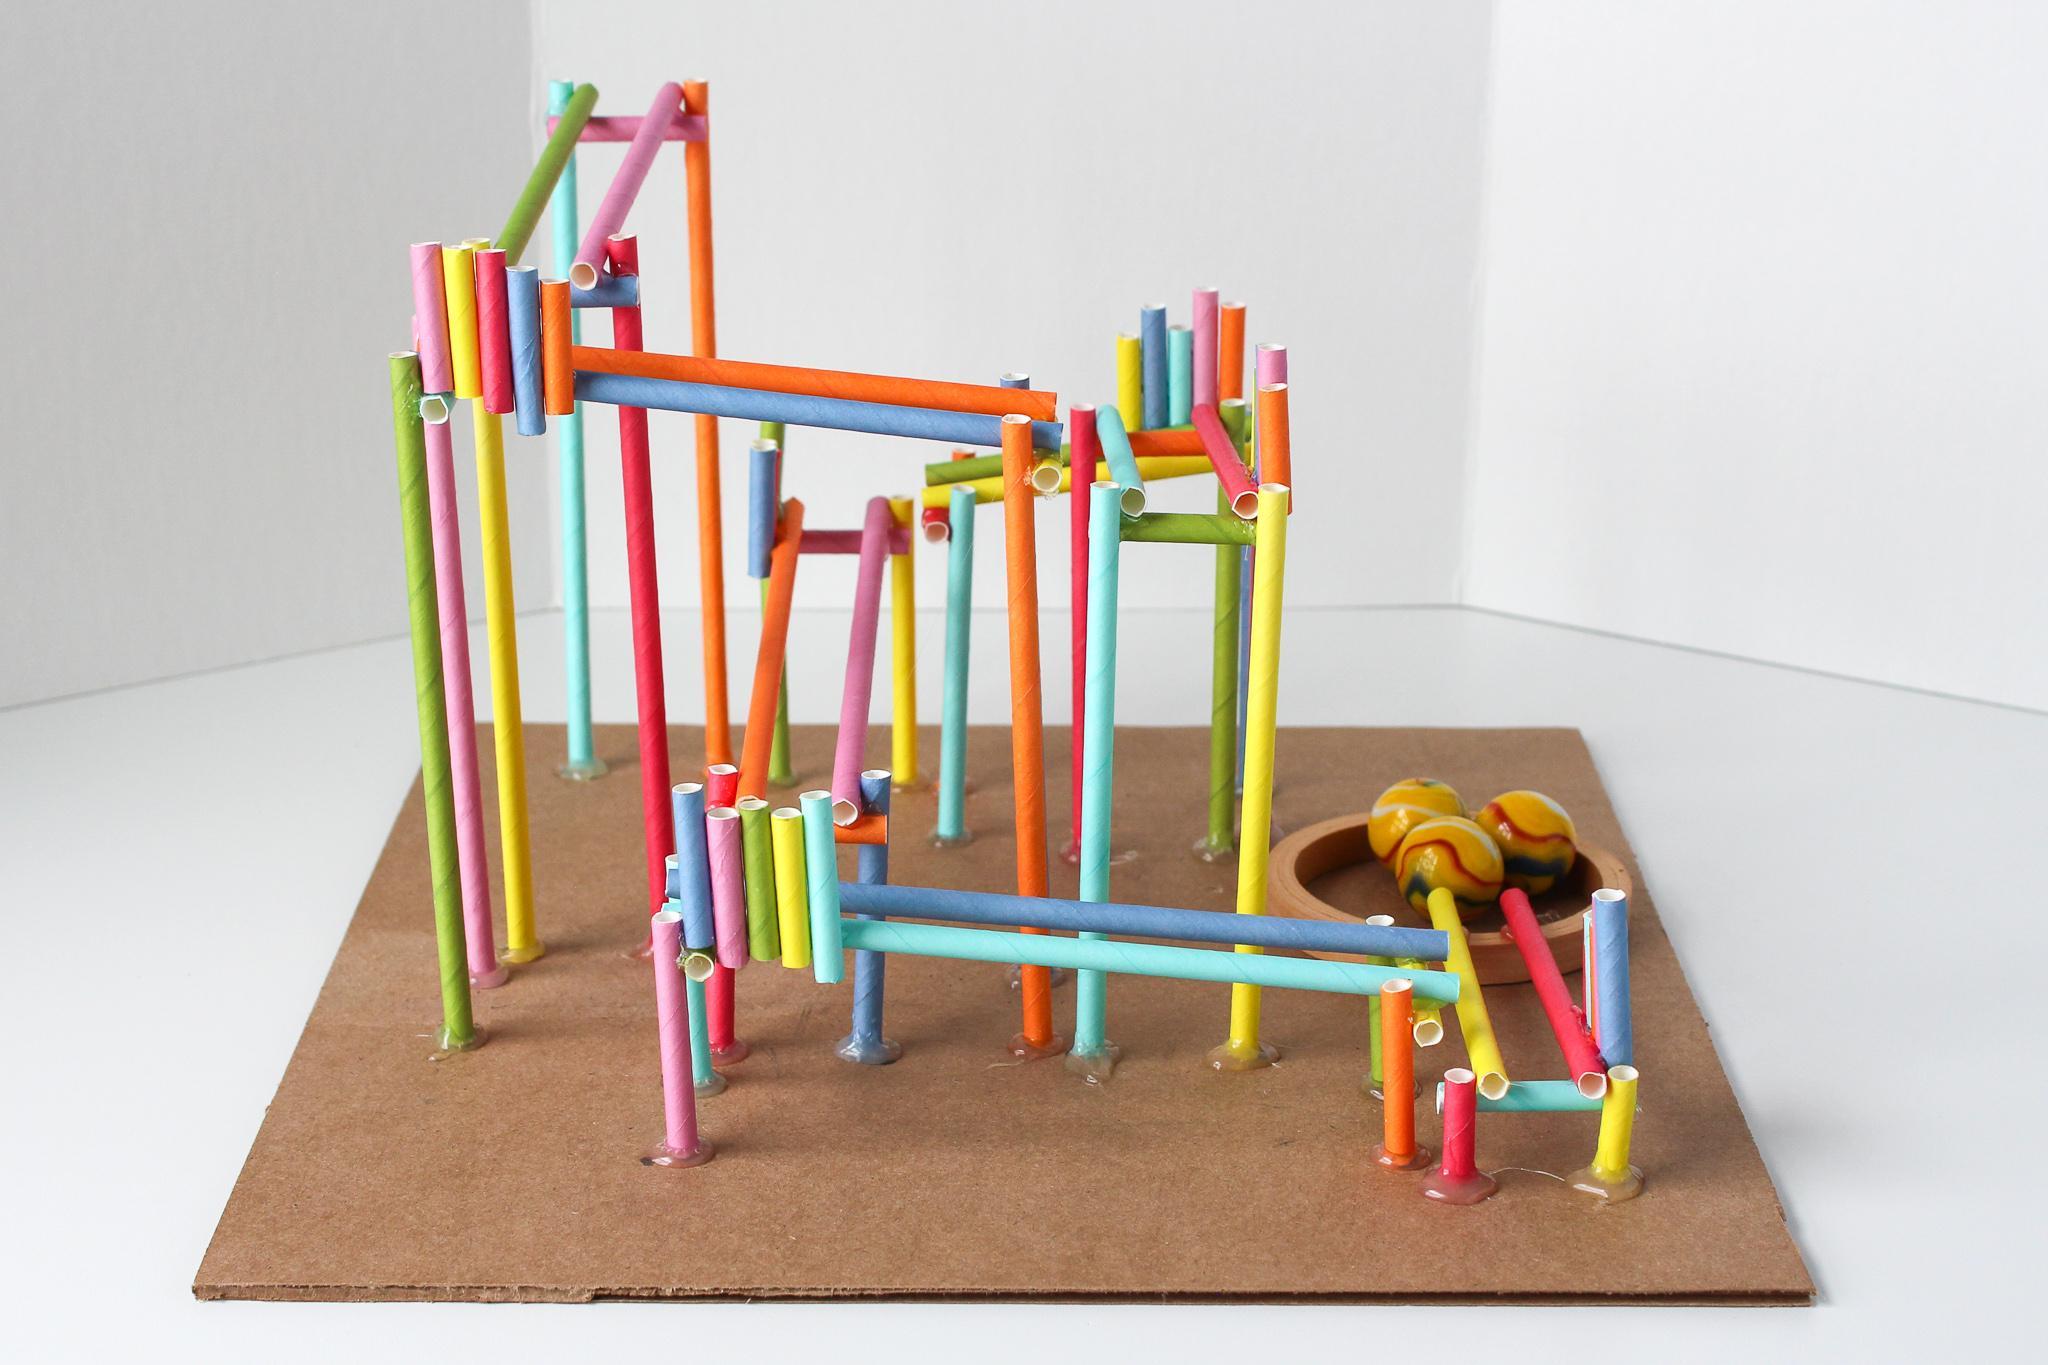
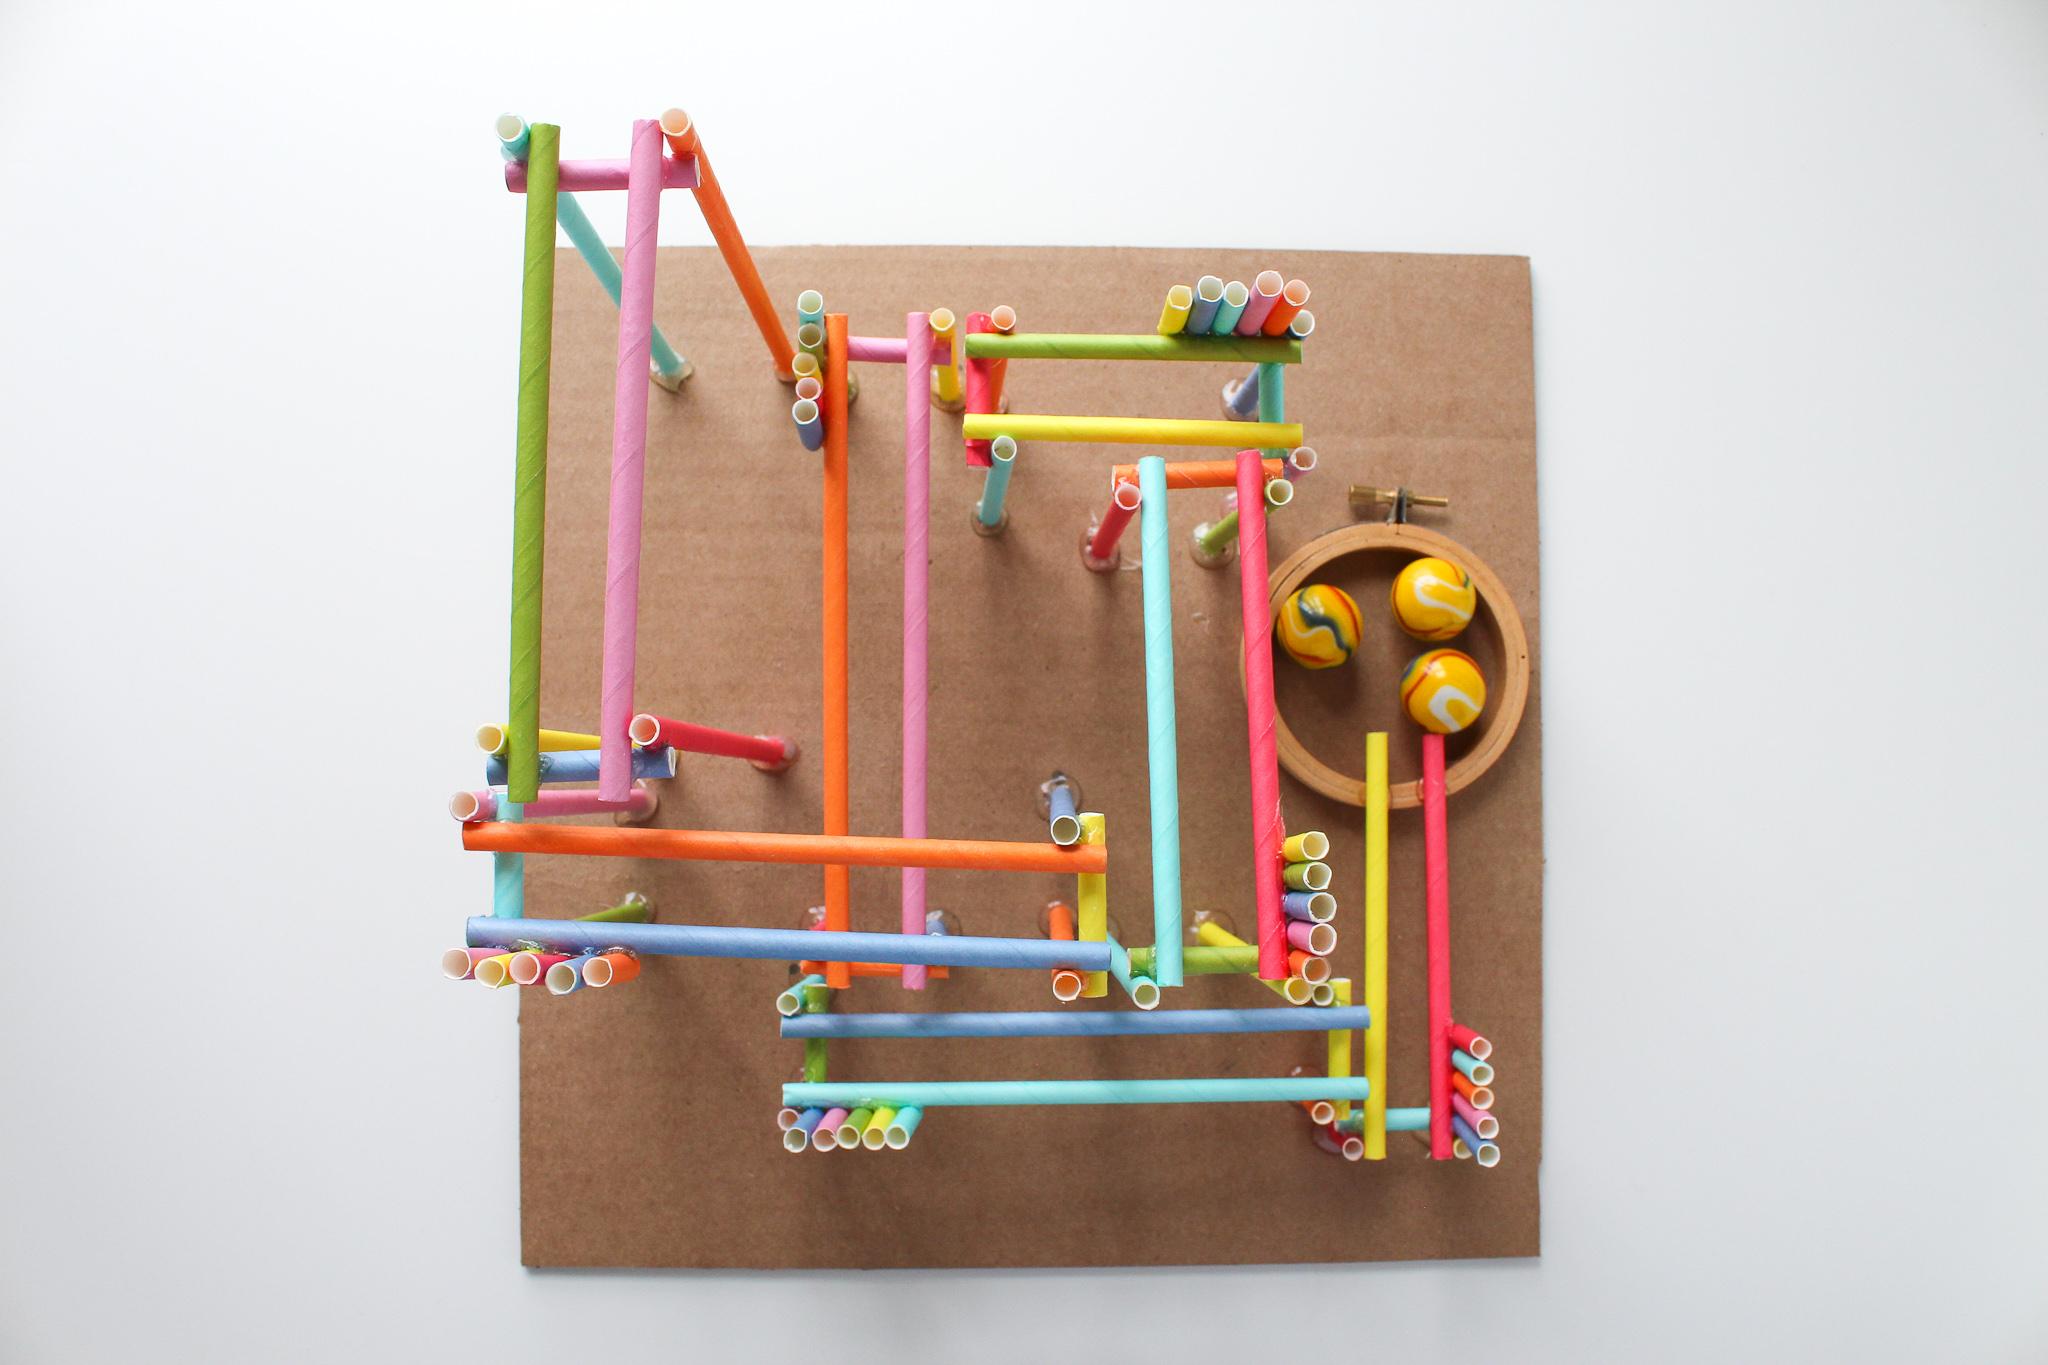
In this instructable, we're going to build a straw roller coaster for marbles! This is a great activity for learning how to construct complex structures and problem solve.
This is a follow-up to my instructable "Design a Straw Roller Coaster Using Tinkercad" - if you haven't seen that one yet, I'd recommend checking it out. I built this straw roller coaster in Tinkercad before making the physical version. 😄
Supplies
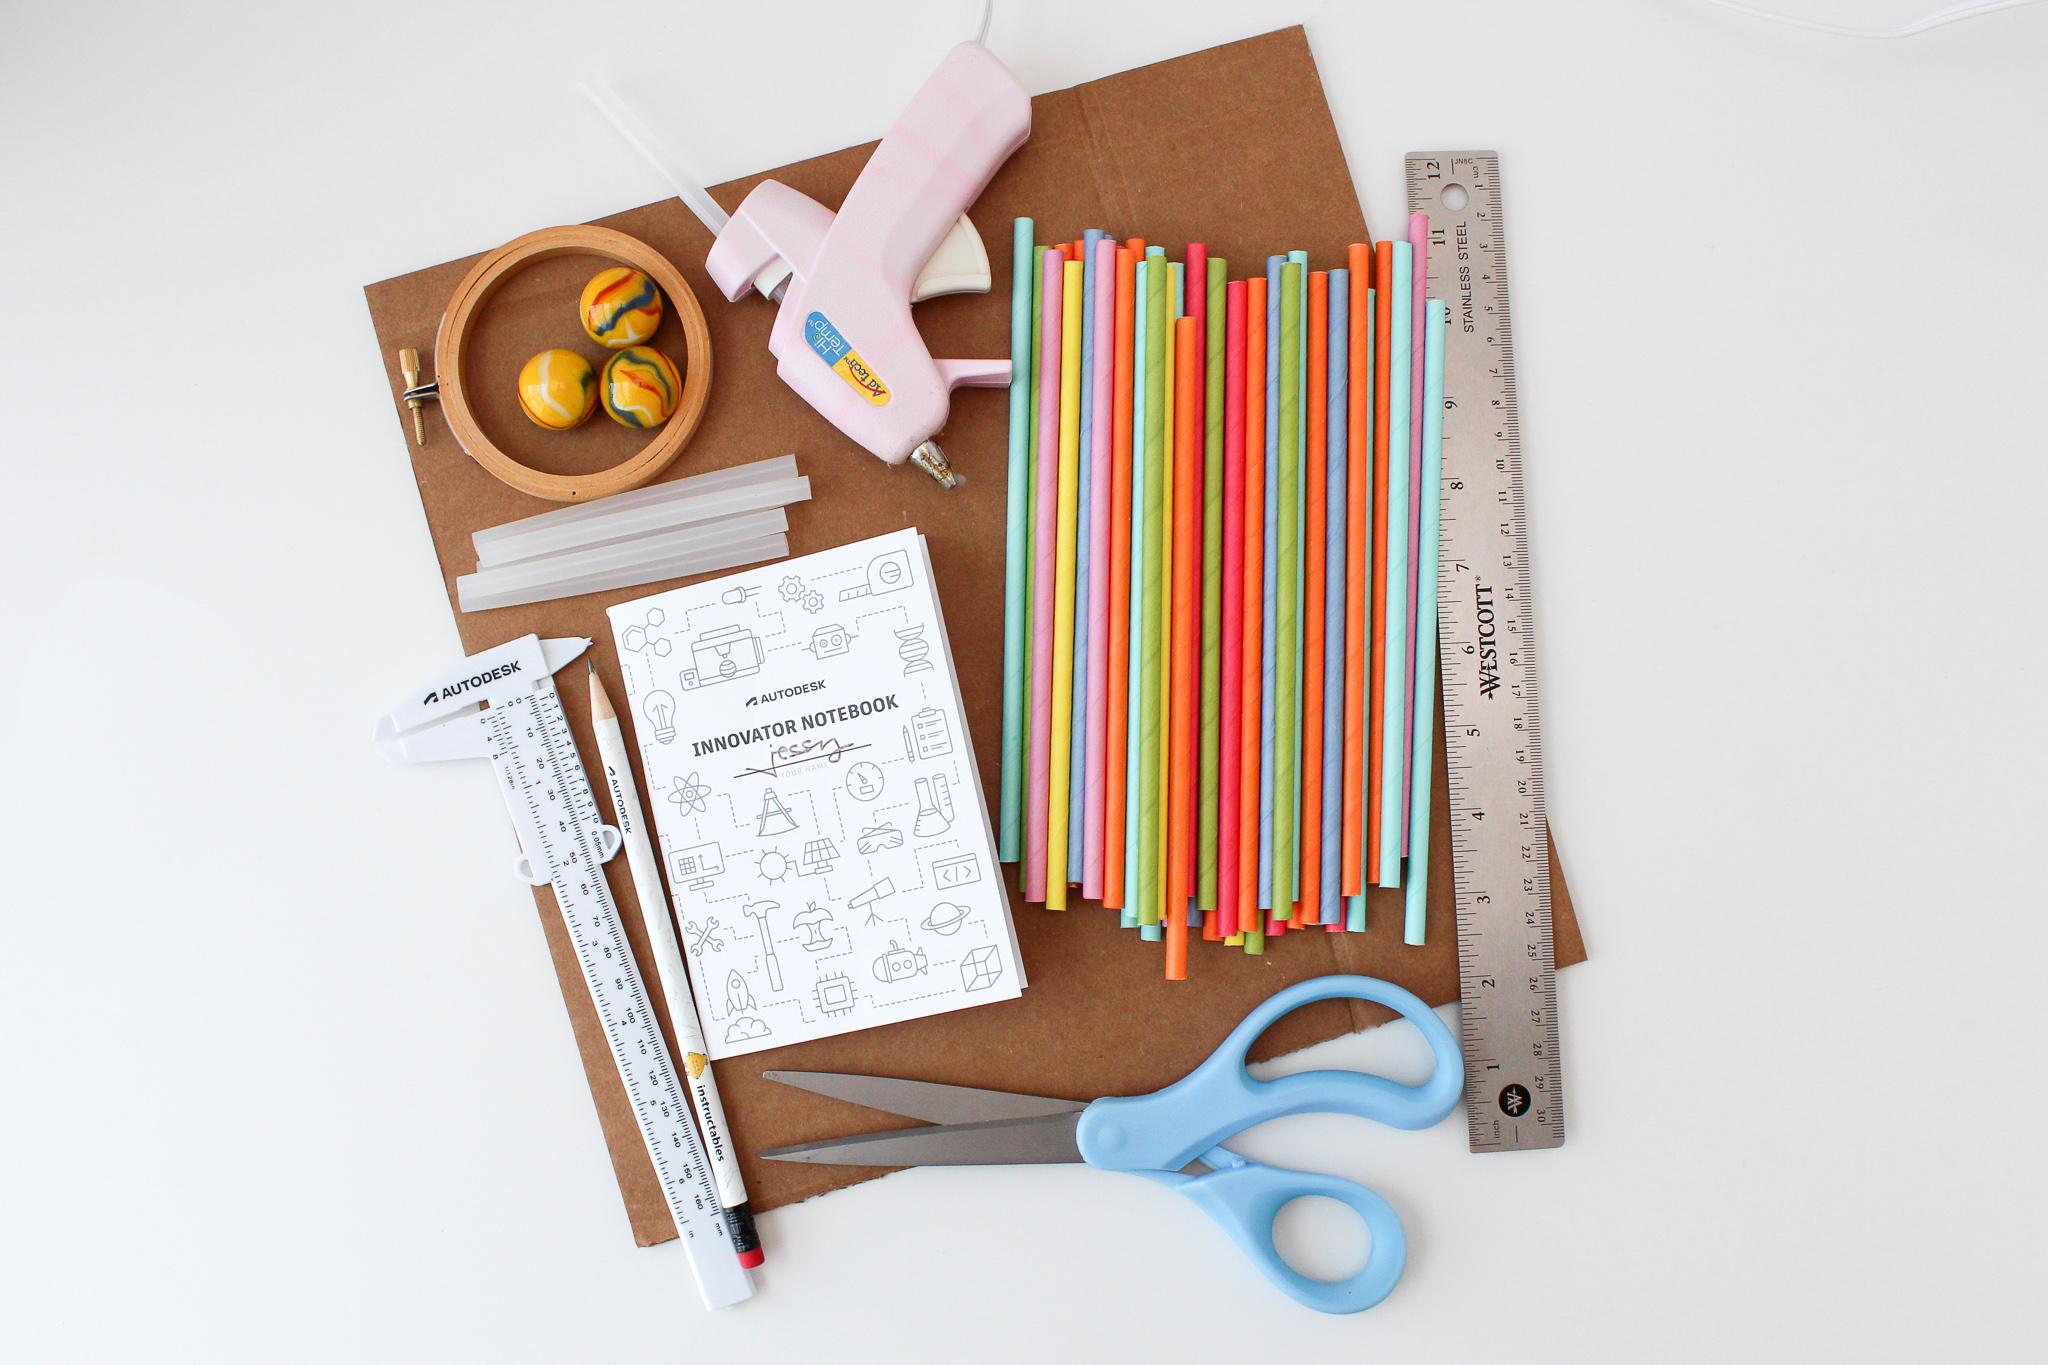

Tools:
- Scissors
- Calipers and/or ruler
- Pencil or pen for marking
- Your Tinkercad straw roller coaster model, if you've made one with me!
Materials:
- Paper or plastic straws
- Hot glue gun + glue sticks
- A marble, bouncy ball, ping pong ball - whatever small ball you have around!
- 12x12 inch piece of cardboard
Feel free to go larger than a square foot if you've built straw coasters before. I chose this size because it gives more than enough room to build, but also keeps the scale small enough it can be completed in 2-3 hours.
When I posted about this project on Twitter, someone also recommended Strawbees as a building material and I figured I should mention them here, too. They're awesome straw building sets with reuse-able pieces. If anyone has a set and creates a coaster, I'd love to see it.
Anatomy of a Straw Roller Coaster
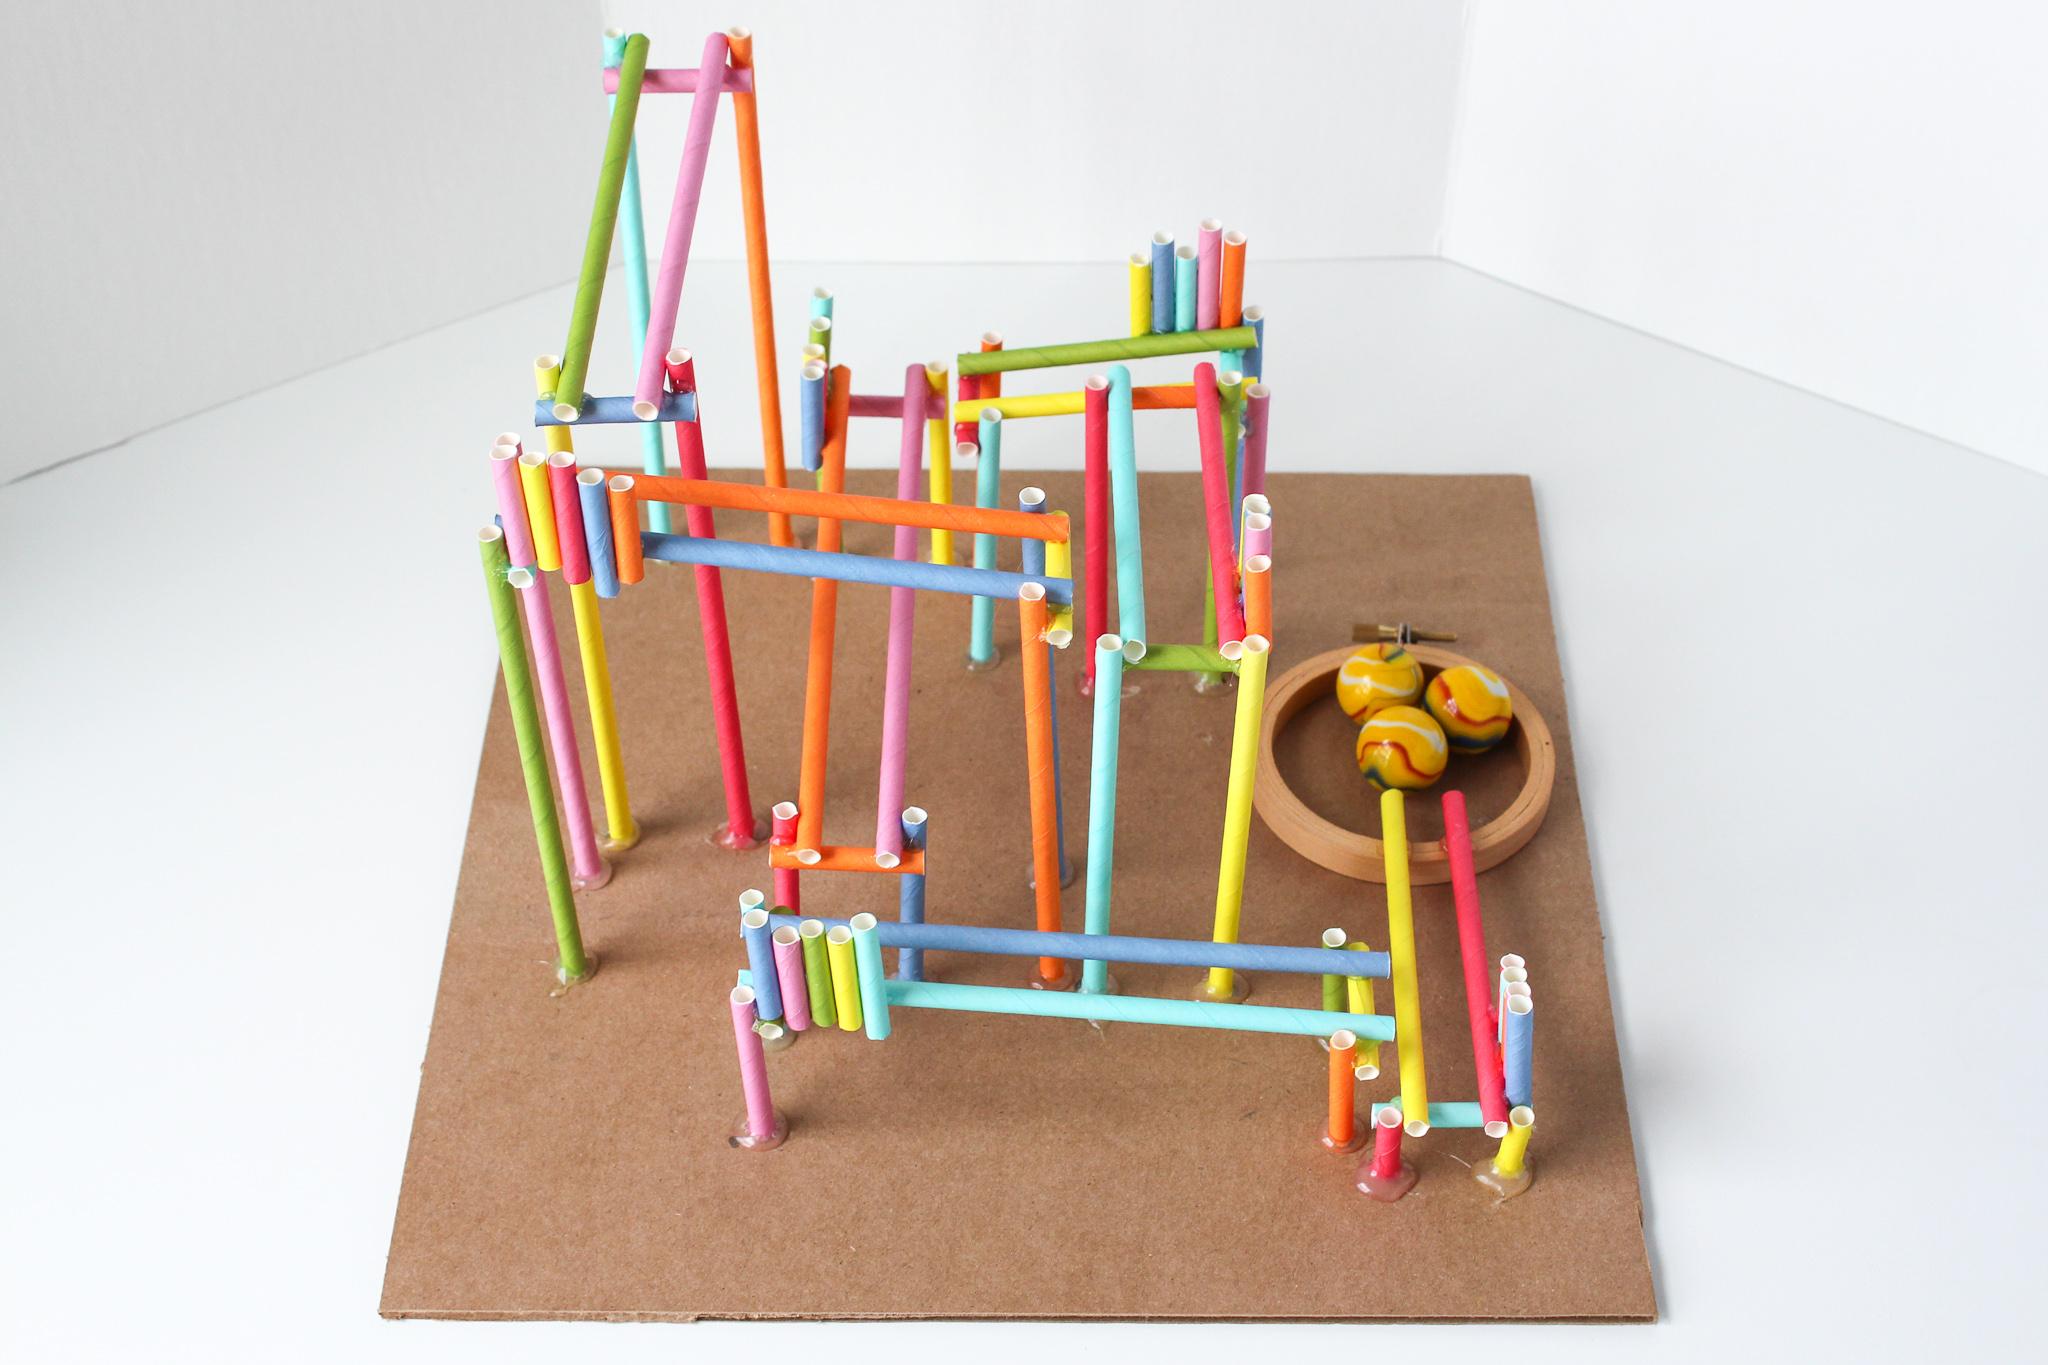
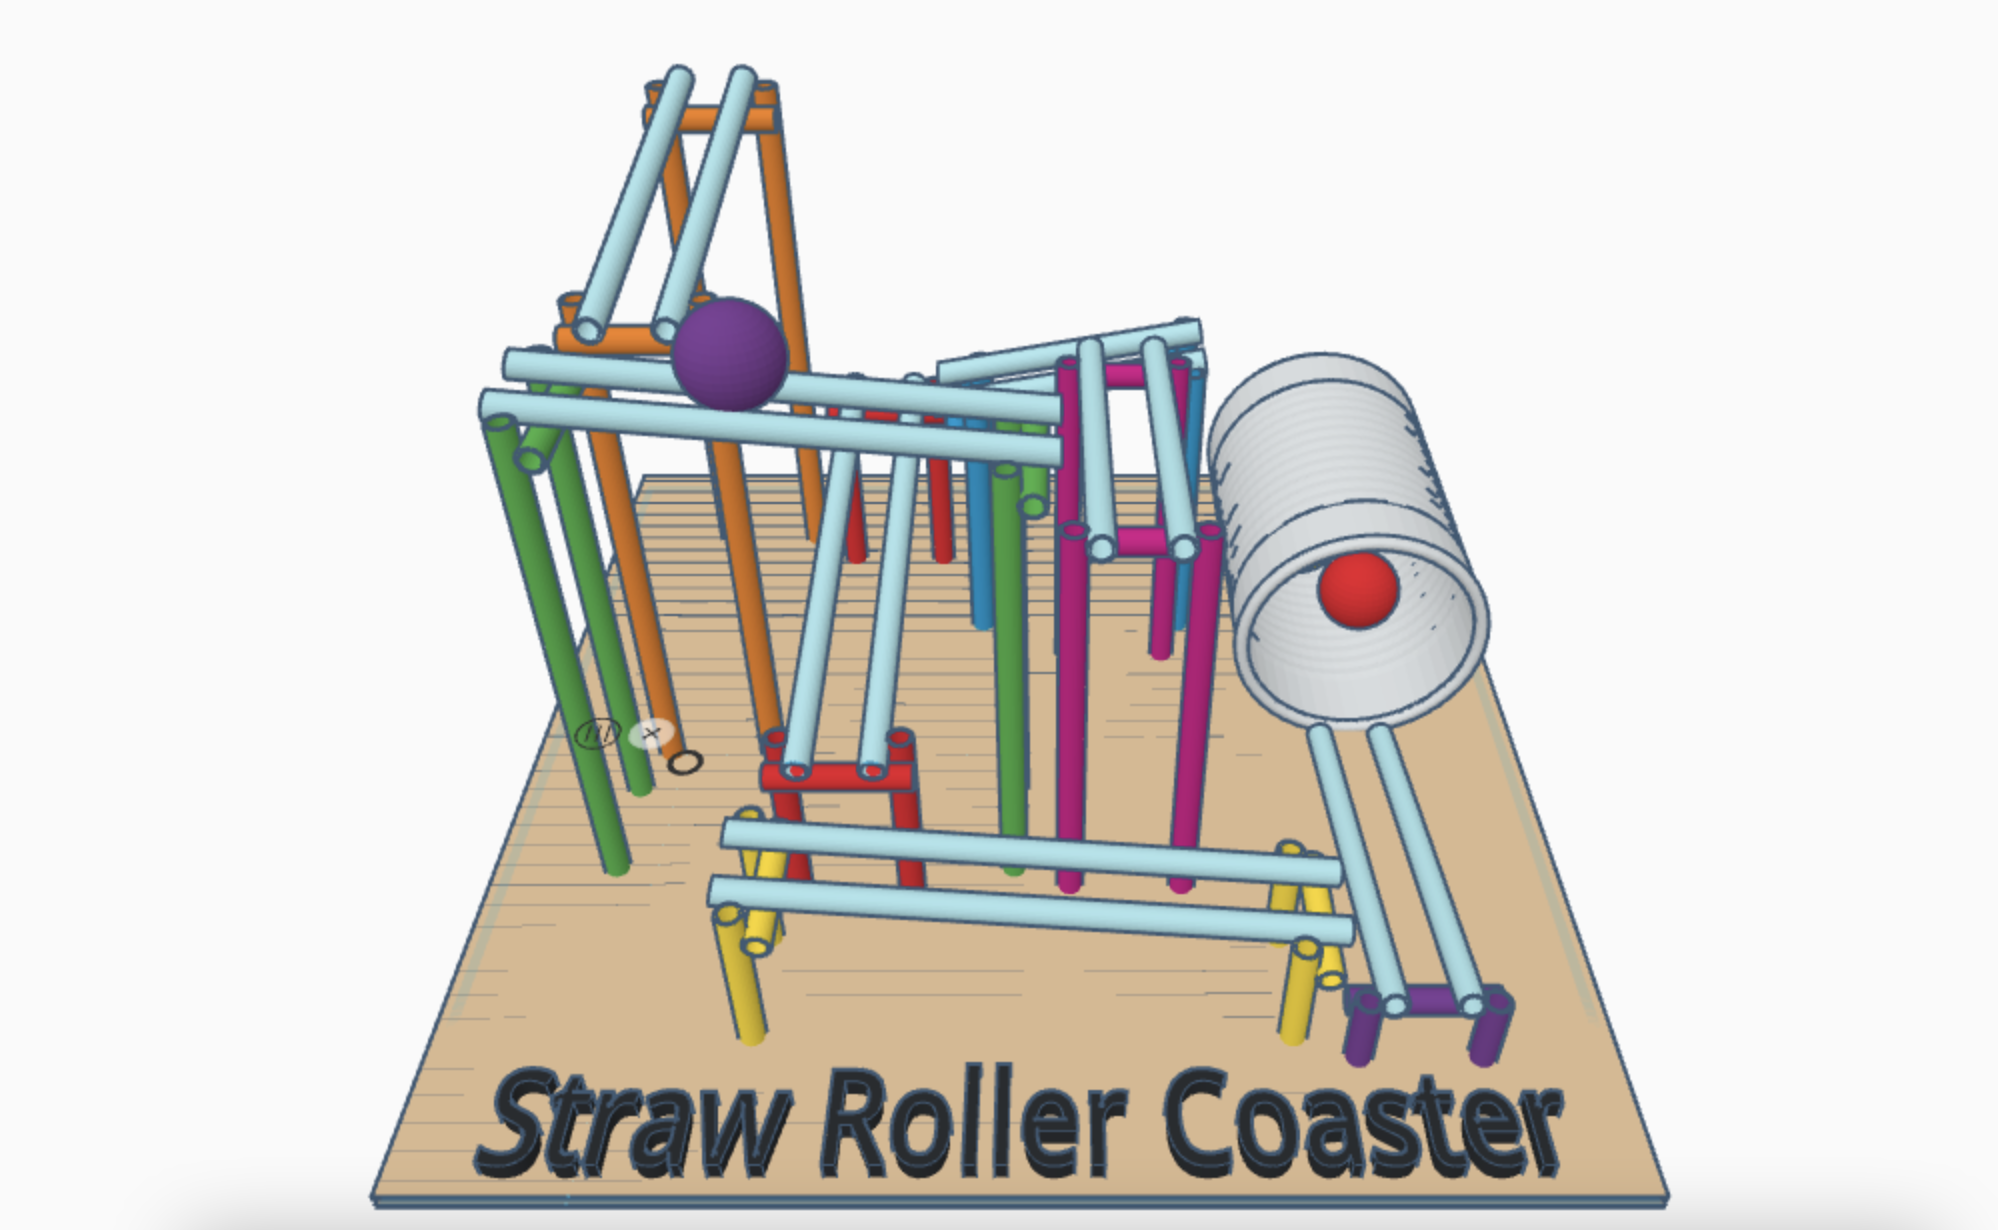
To help you envision your coaster, here's a breakdown of how we're making it. The physical coaster includes a new structure: bumpers! I didn't include these in the Tinkercad design, but they're needed for real life coaster building.
The coaster is made up of three structures:
- The "legs" of the coaster: these are the H shaped structures everything is built on. The height of these pieces determines the angle of the tracks.
- The roller coaster "tracks": these are parallel straws that the marble or ball ride along. They lay along the top of the legs.
- The corner "bumpers": pieces of straw, glued vertically onto the corner tracks to keep the marble or ball from flying off the tracks at turns.
To make things a little less chaotic, it's also a good idea to find a container to catch whatever balls or marbles you use. Otherwise they'll go shooting right off the edge of whatever surface you're building on. I'm using an embroidery hoop for this one. 😊
My First Roller Coaster Design + Coaster Basics
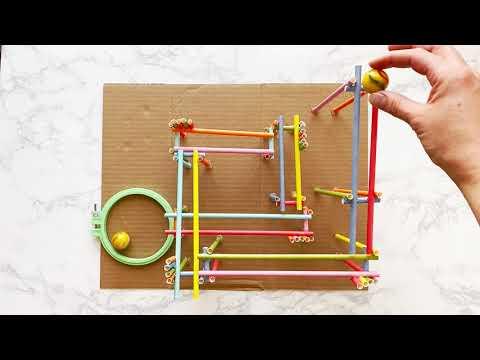
Here's a quick video to show how the prototype coaster worked. Aren't the sounds it makes awesome? 😄
I placed two limitations on myself while building. One, no taping straws together. The length they are is what I have to work with! Two, making sure the coaster can fit in a 12x12 inch square.
Coaster design tips & tricks:
- The more you angle a piece of track, the more speed you'll get! Slow the marble or ball down by using flatter pieces of track and creating turns.
- Keep glue off the tracks where the marble will run. Hot glue residue can easily put a stop to any rolling! If you're noticing that the marble or ball goes very slowly or stutters while moving along the tracks, check for glue residue and remove any you find.
- Let the hot glue cool completely before testing your coaster. It can be tempting to test out that new stretch of track as soon as you glue it into place! Always let glued pieces cool completely before you put any stress on them or you may end up with a tilting, wonky roller coaster.
Transferring or Taking Measurements

Transferring Measurements from Your Tinkercad Design
Did you happen to follow along with my previous instructable where we planned out our roller coaster in Tinkercad?
If so, you can grab dimensions from that model! Place a ruler on the workplane and click the object you're curious about: you'll be able to see the height of each set of legs so you know what length to cut the straws to. You can also check the length of the tracks for each set of legs the same way.
I jotted all my measurements down so I could cut the pieces all at once.

No Tinkercad Measurements? Take Some!
These straw roller coasters are also easy to build freestyle! You'll just need some quick measurements.
Measure the width and length of your straws. This will let you know the tallest your coaster legs can be, and also the longest the coaster tracks can be.

Now place two straws down on top of a ruler and place your ball of choice on top. The ball should rest on the straws without touching the surface the straws are on. Take note of the width - this is how wide your tracks need to be.
My measurements:
- Individual straws: 7.75 inches long, 0.25 inches wide
- Tracks: 1 inch wide
- Leg braces: 1.5 inches wide, to accommodate the tracks on top.
I've included a complete cut list for this roller coaster on Step 5.
Map Out the Coaster on the Cardboard
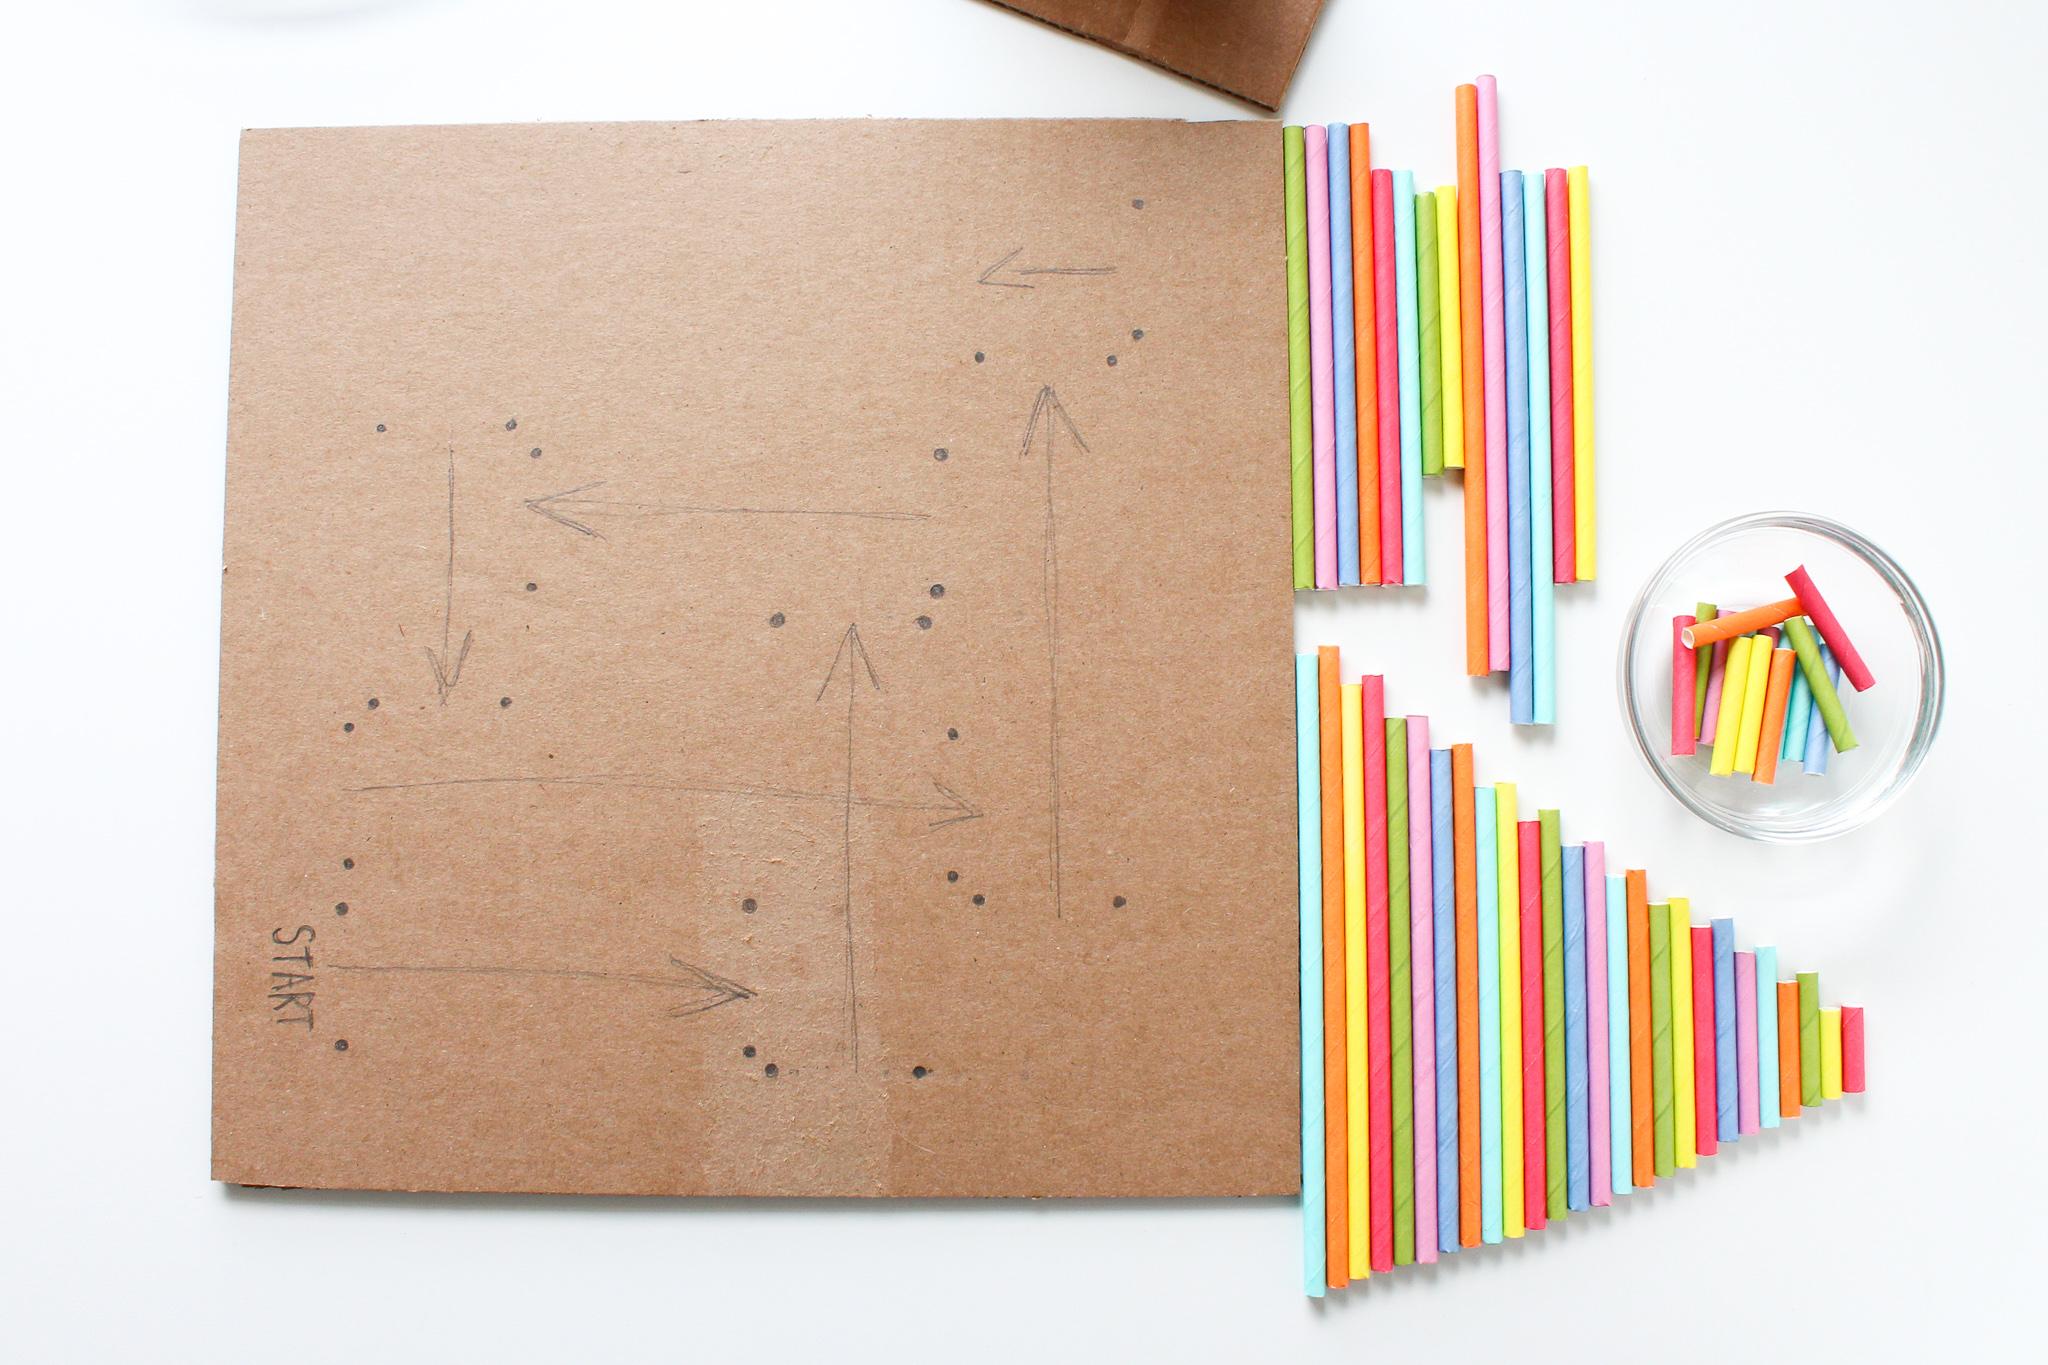
If you're working from a Tinkercad model, you can use the ruler tool in the Tinkercad editor to help you map everything out on the cardboard before you start.
I used a pencil and marked where the legs of the coaster would be placed. I also drew arrows to show the direction the tracks will be placed, so I don't try to put the legs down backwards. 😊
If you're free styling your coaster, you can draw it out on the cardboard before you build or you can build each piece as you go! Do whatever you feel most comfortable with.
Cutting Straws to Length
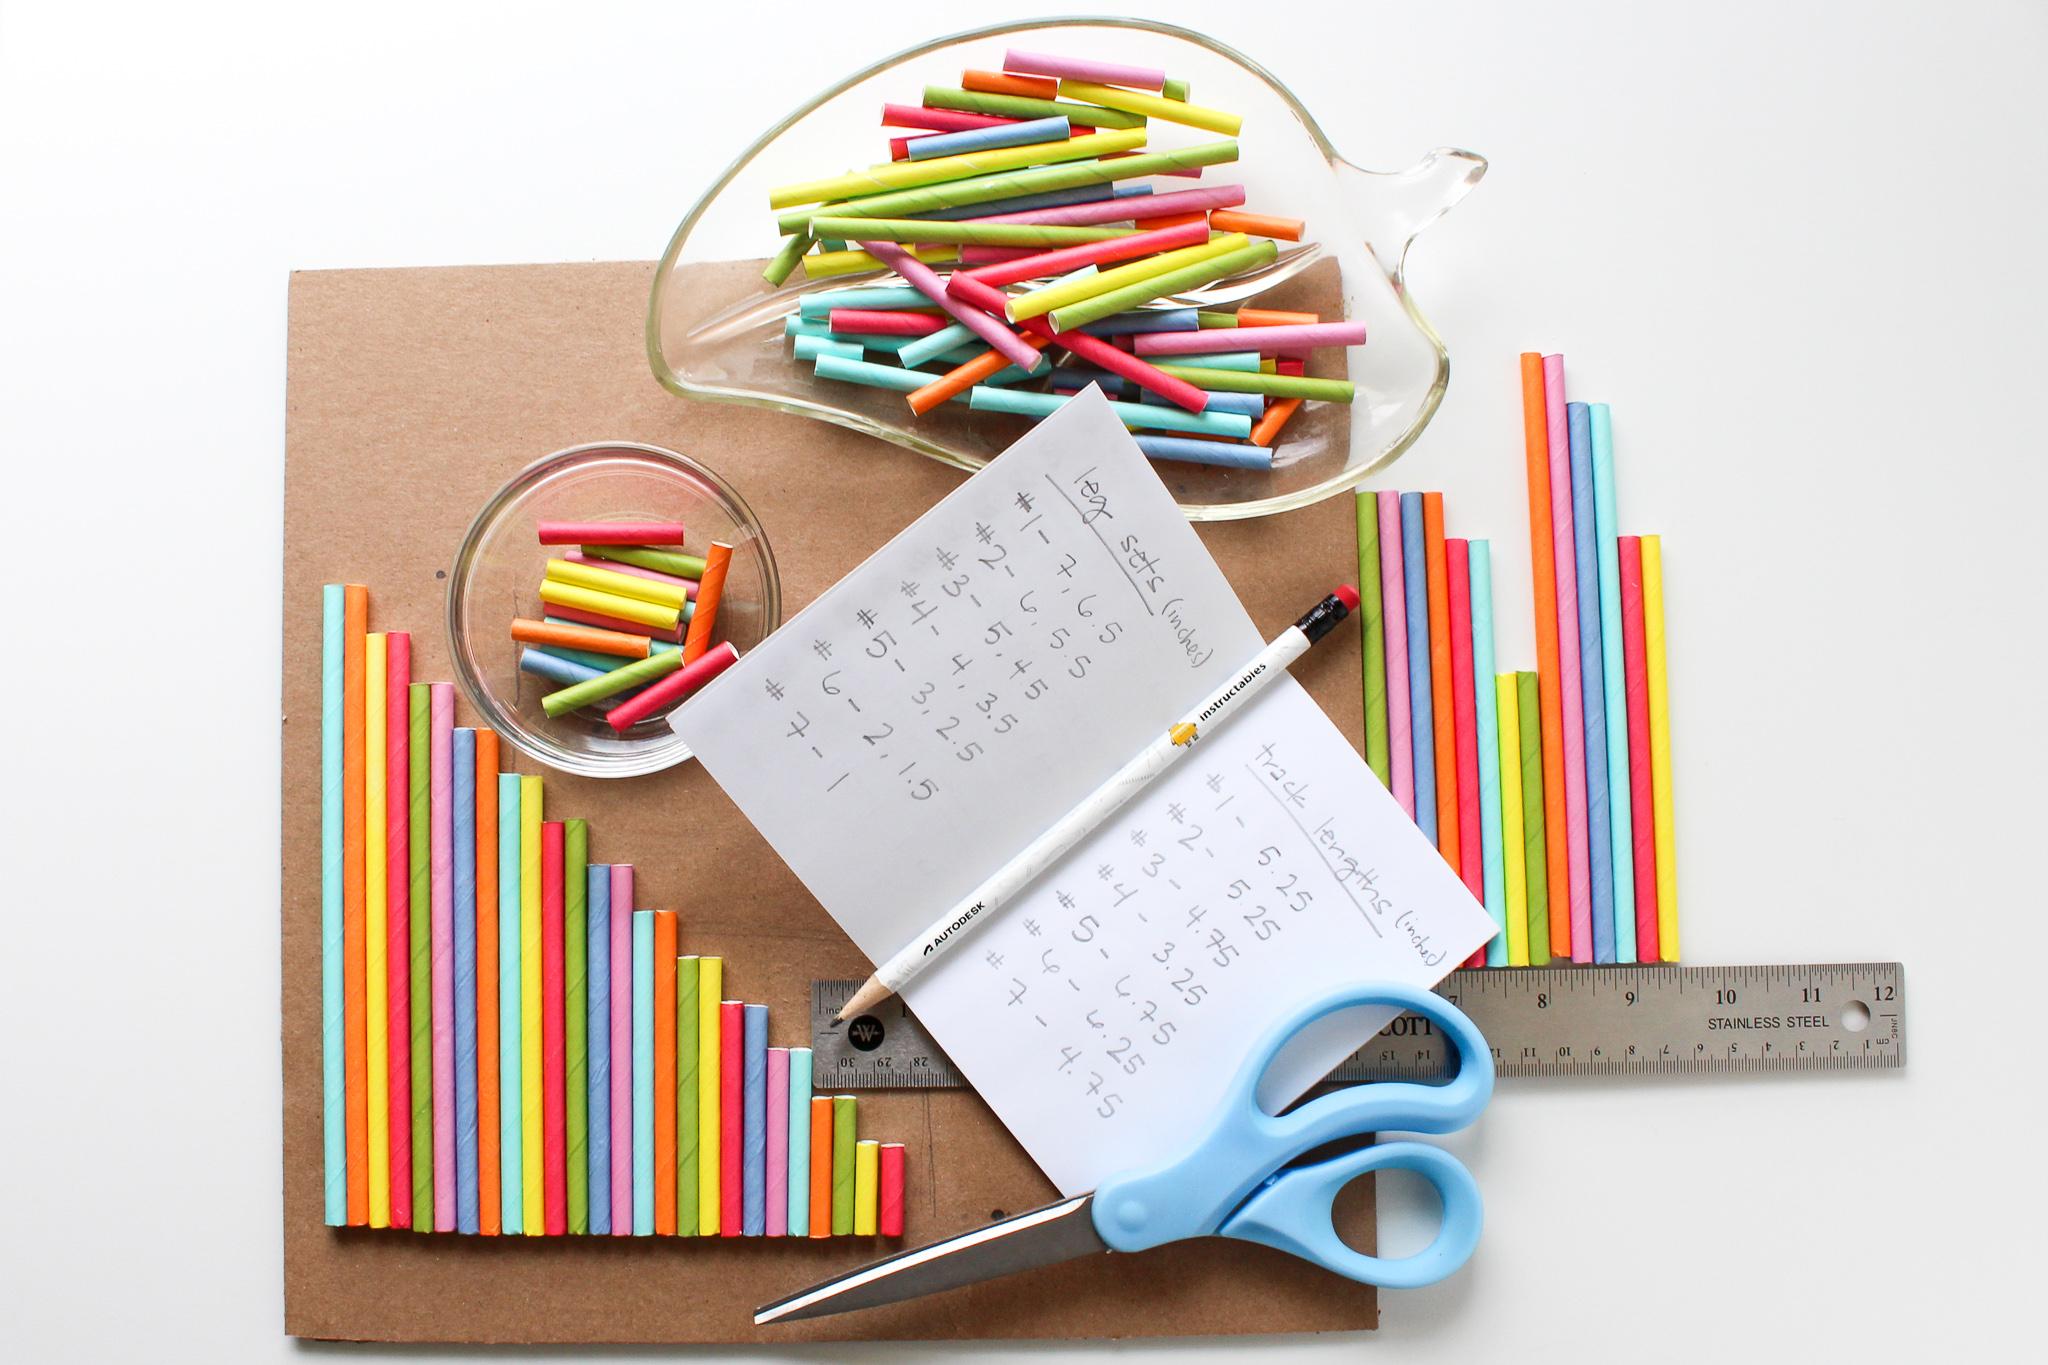
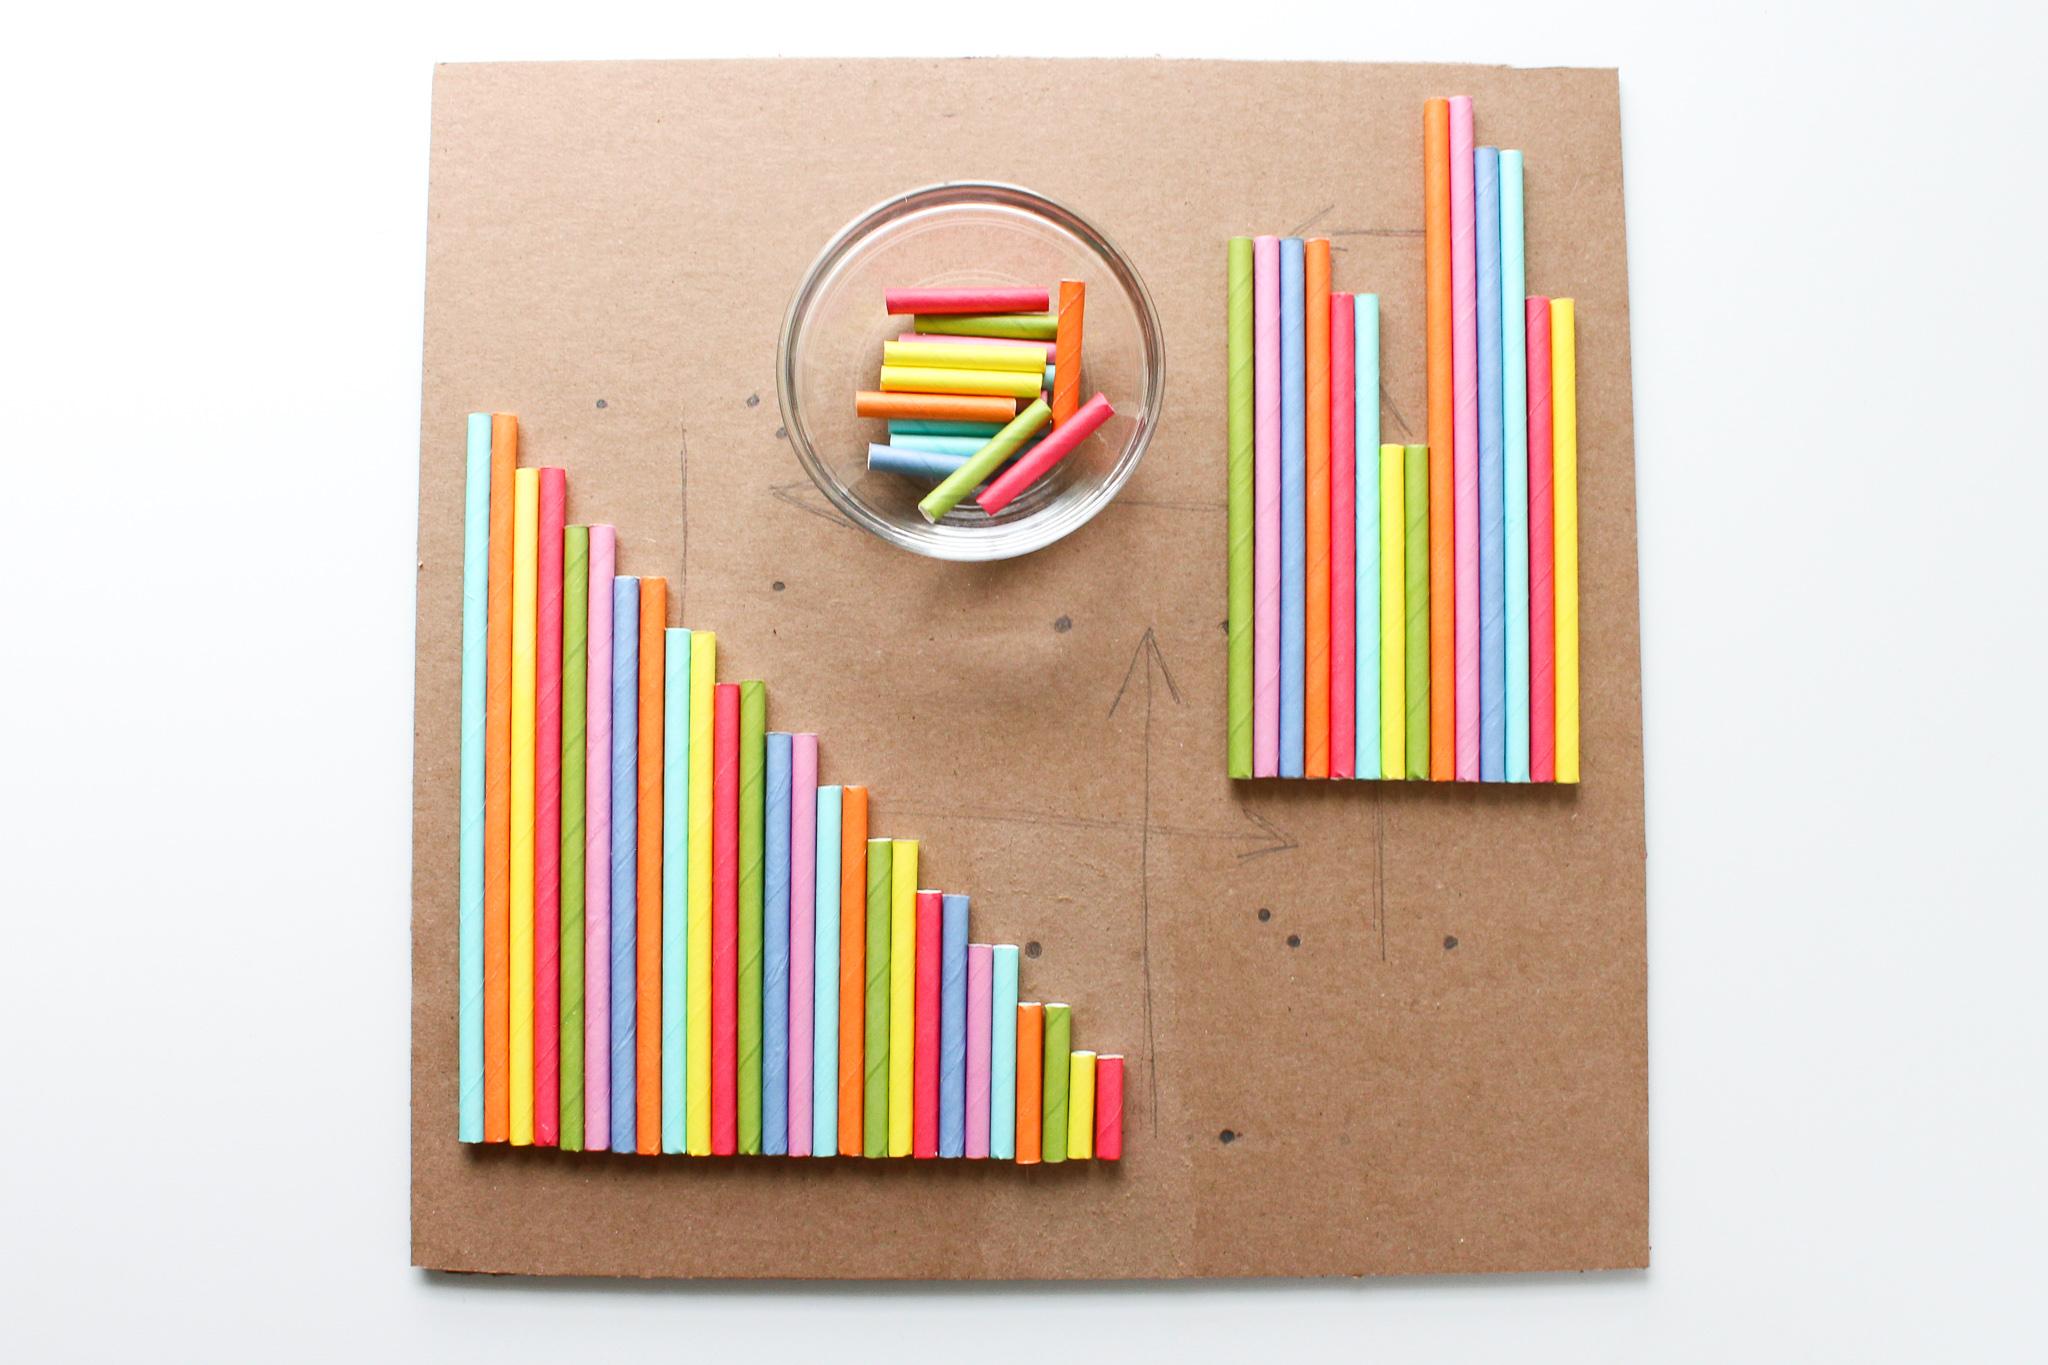
Shown in the images above: on the left are the lengths for the legs of the coaster, on the right I've placed the lengths for the tracks. The glass bowl holds the brace pieces. The leaf bowl holds all the straw scraps, I'll use this to make my bumpers!
Because I'm working from a model, I cut all my pieces at once.
Here's my complete cut list, in case you'd like to follow along:

Making the First Piece of the Coaster
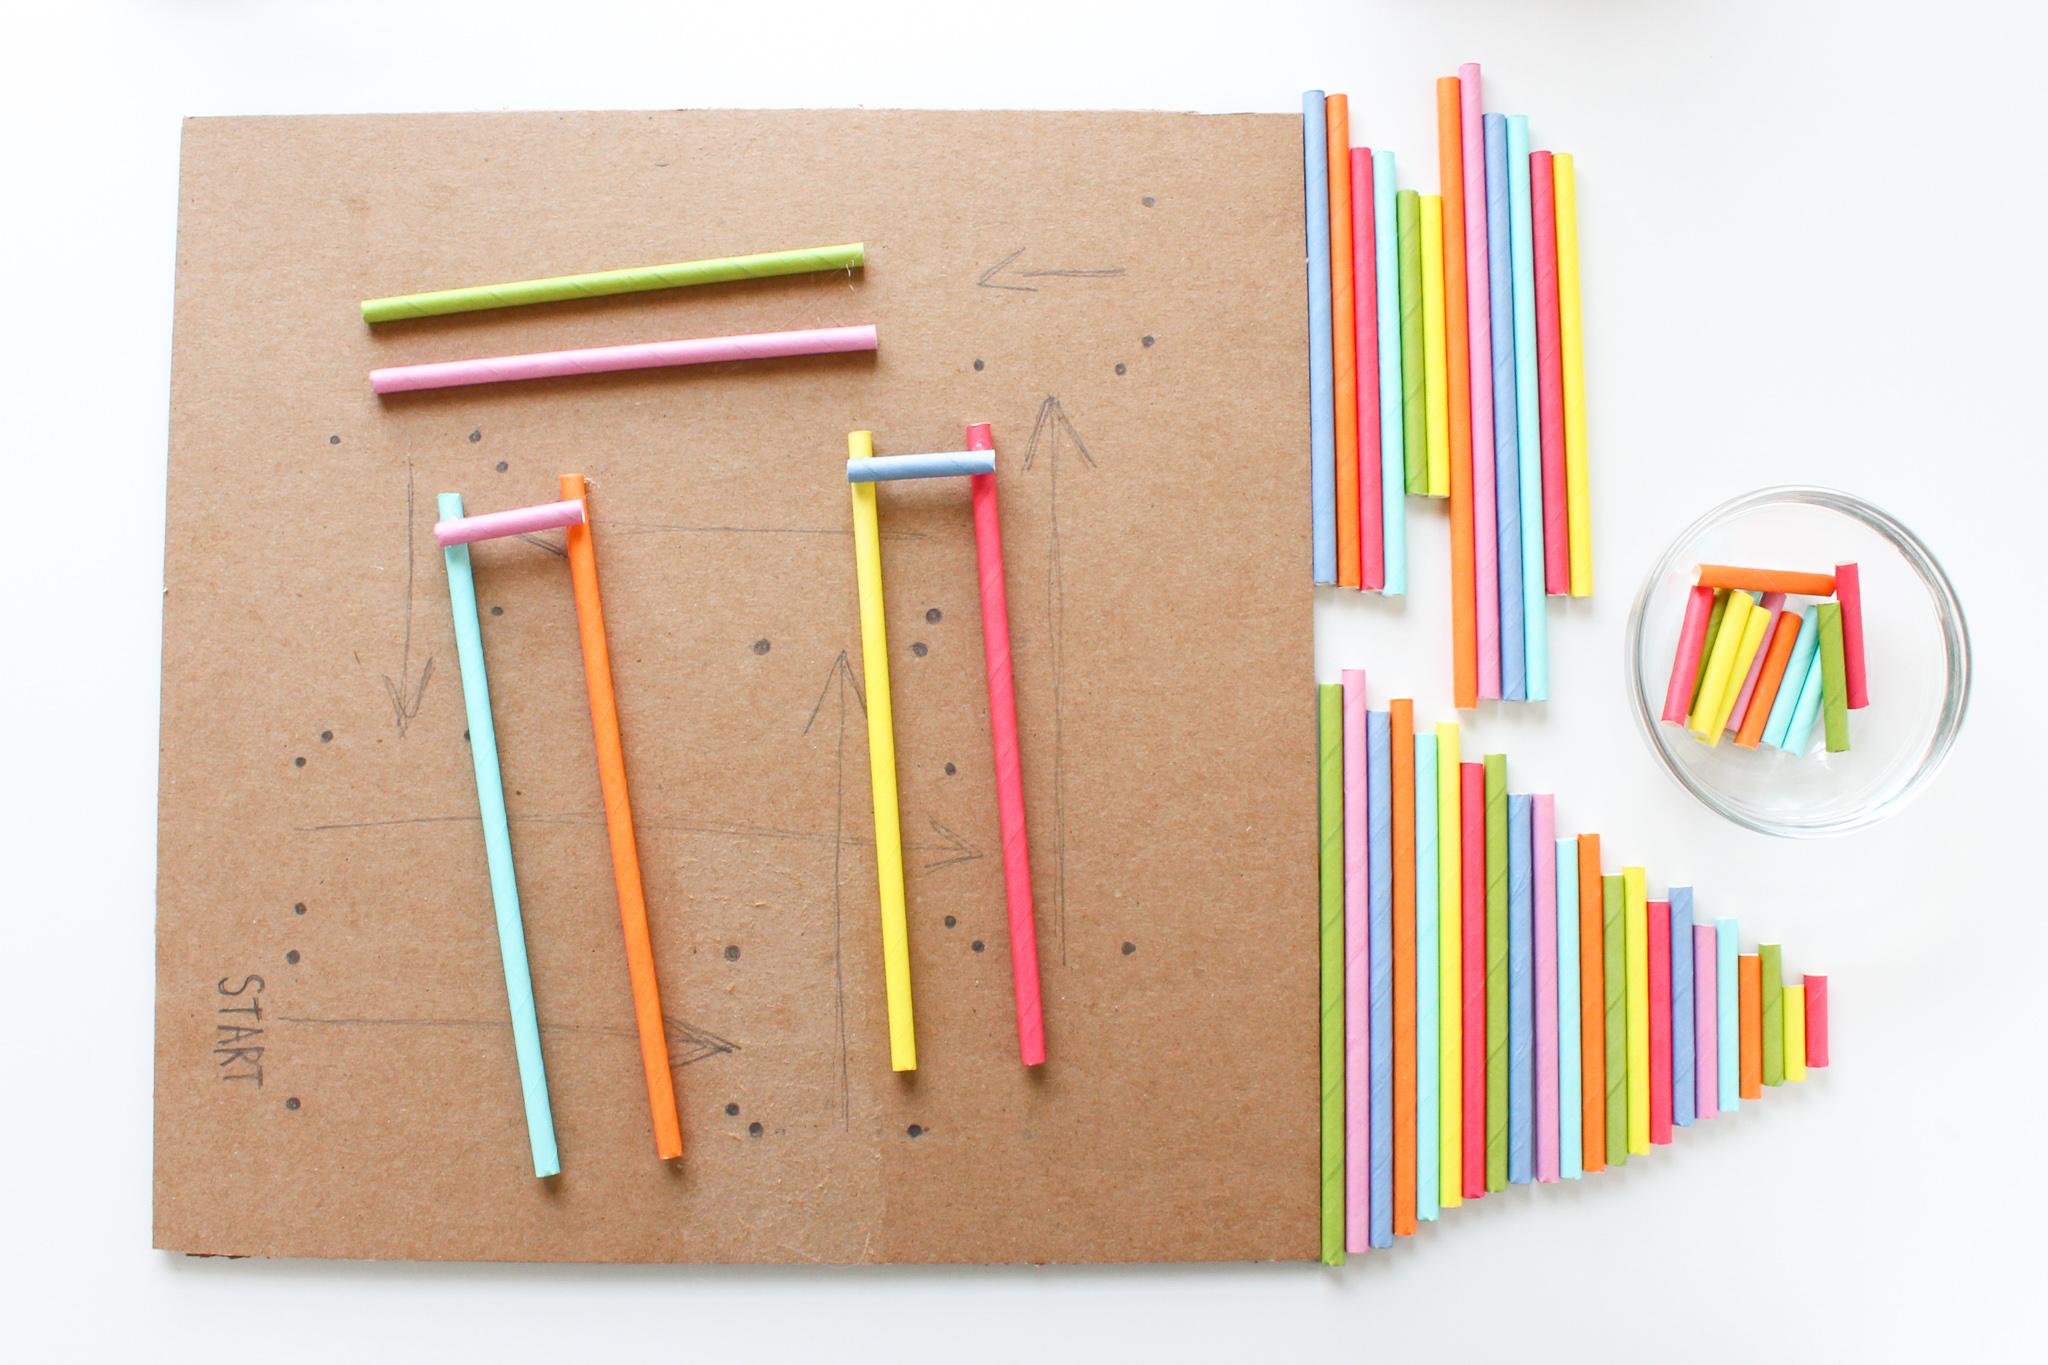
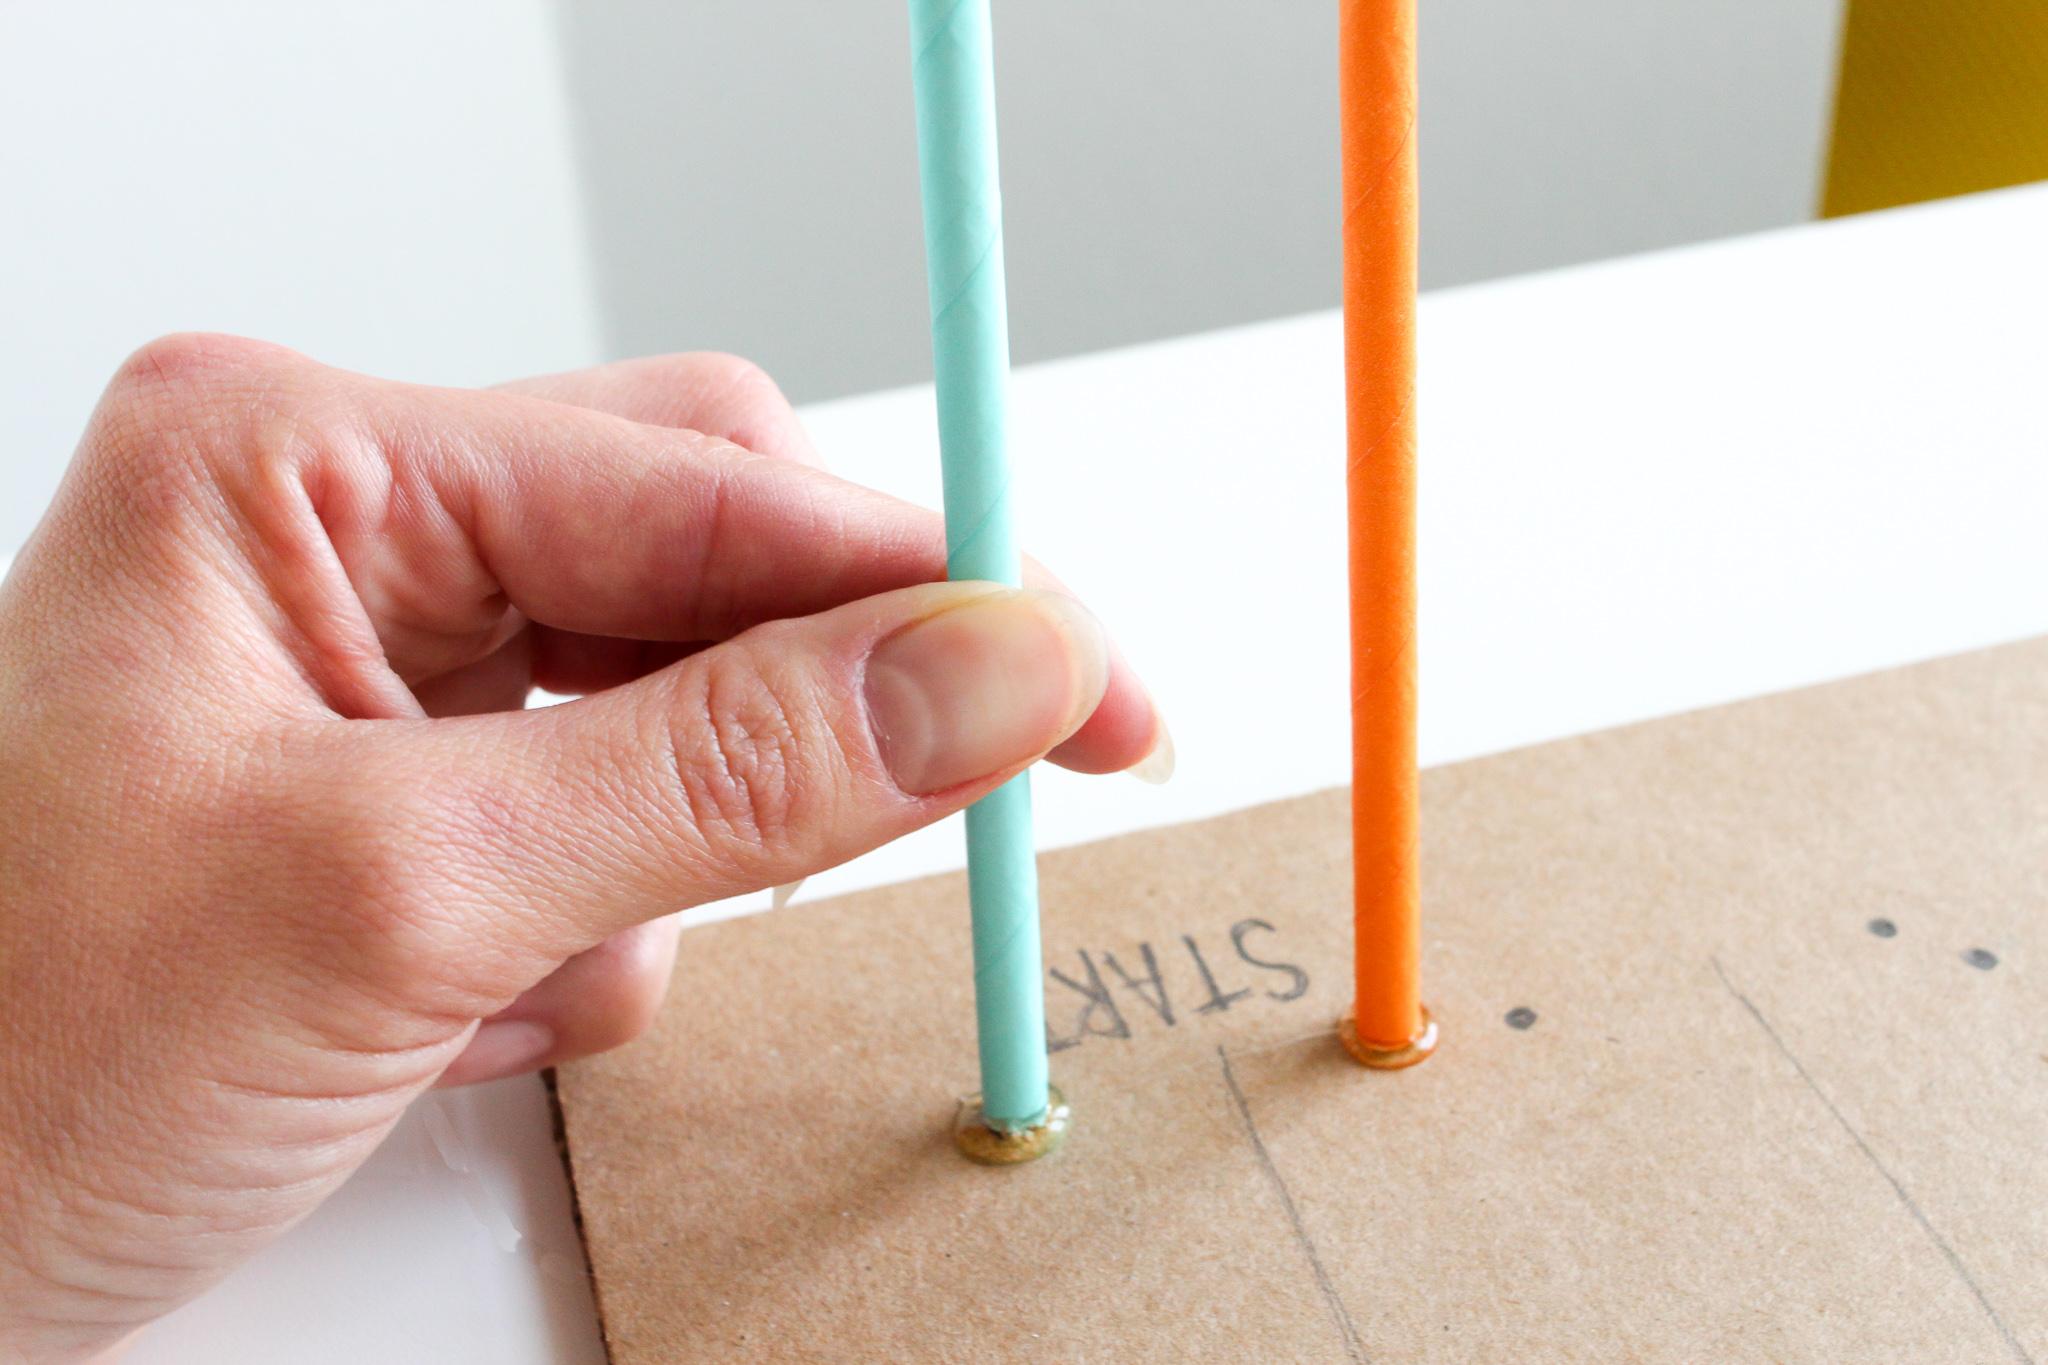
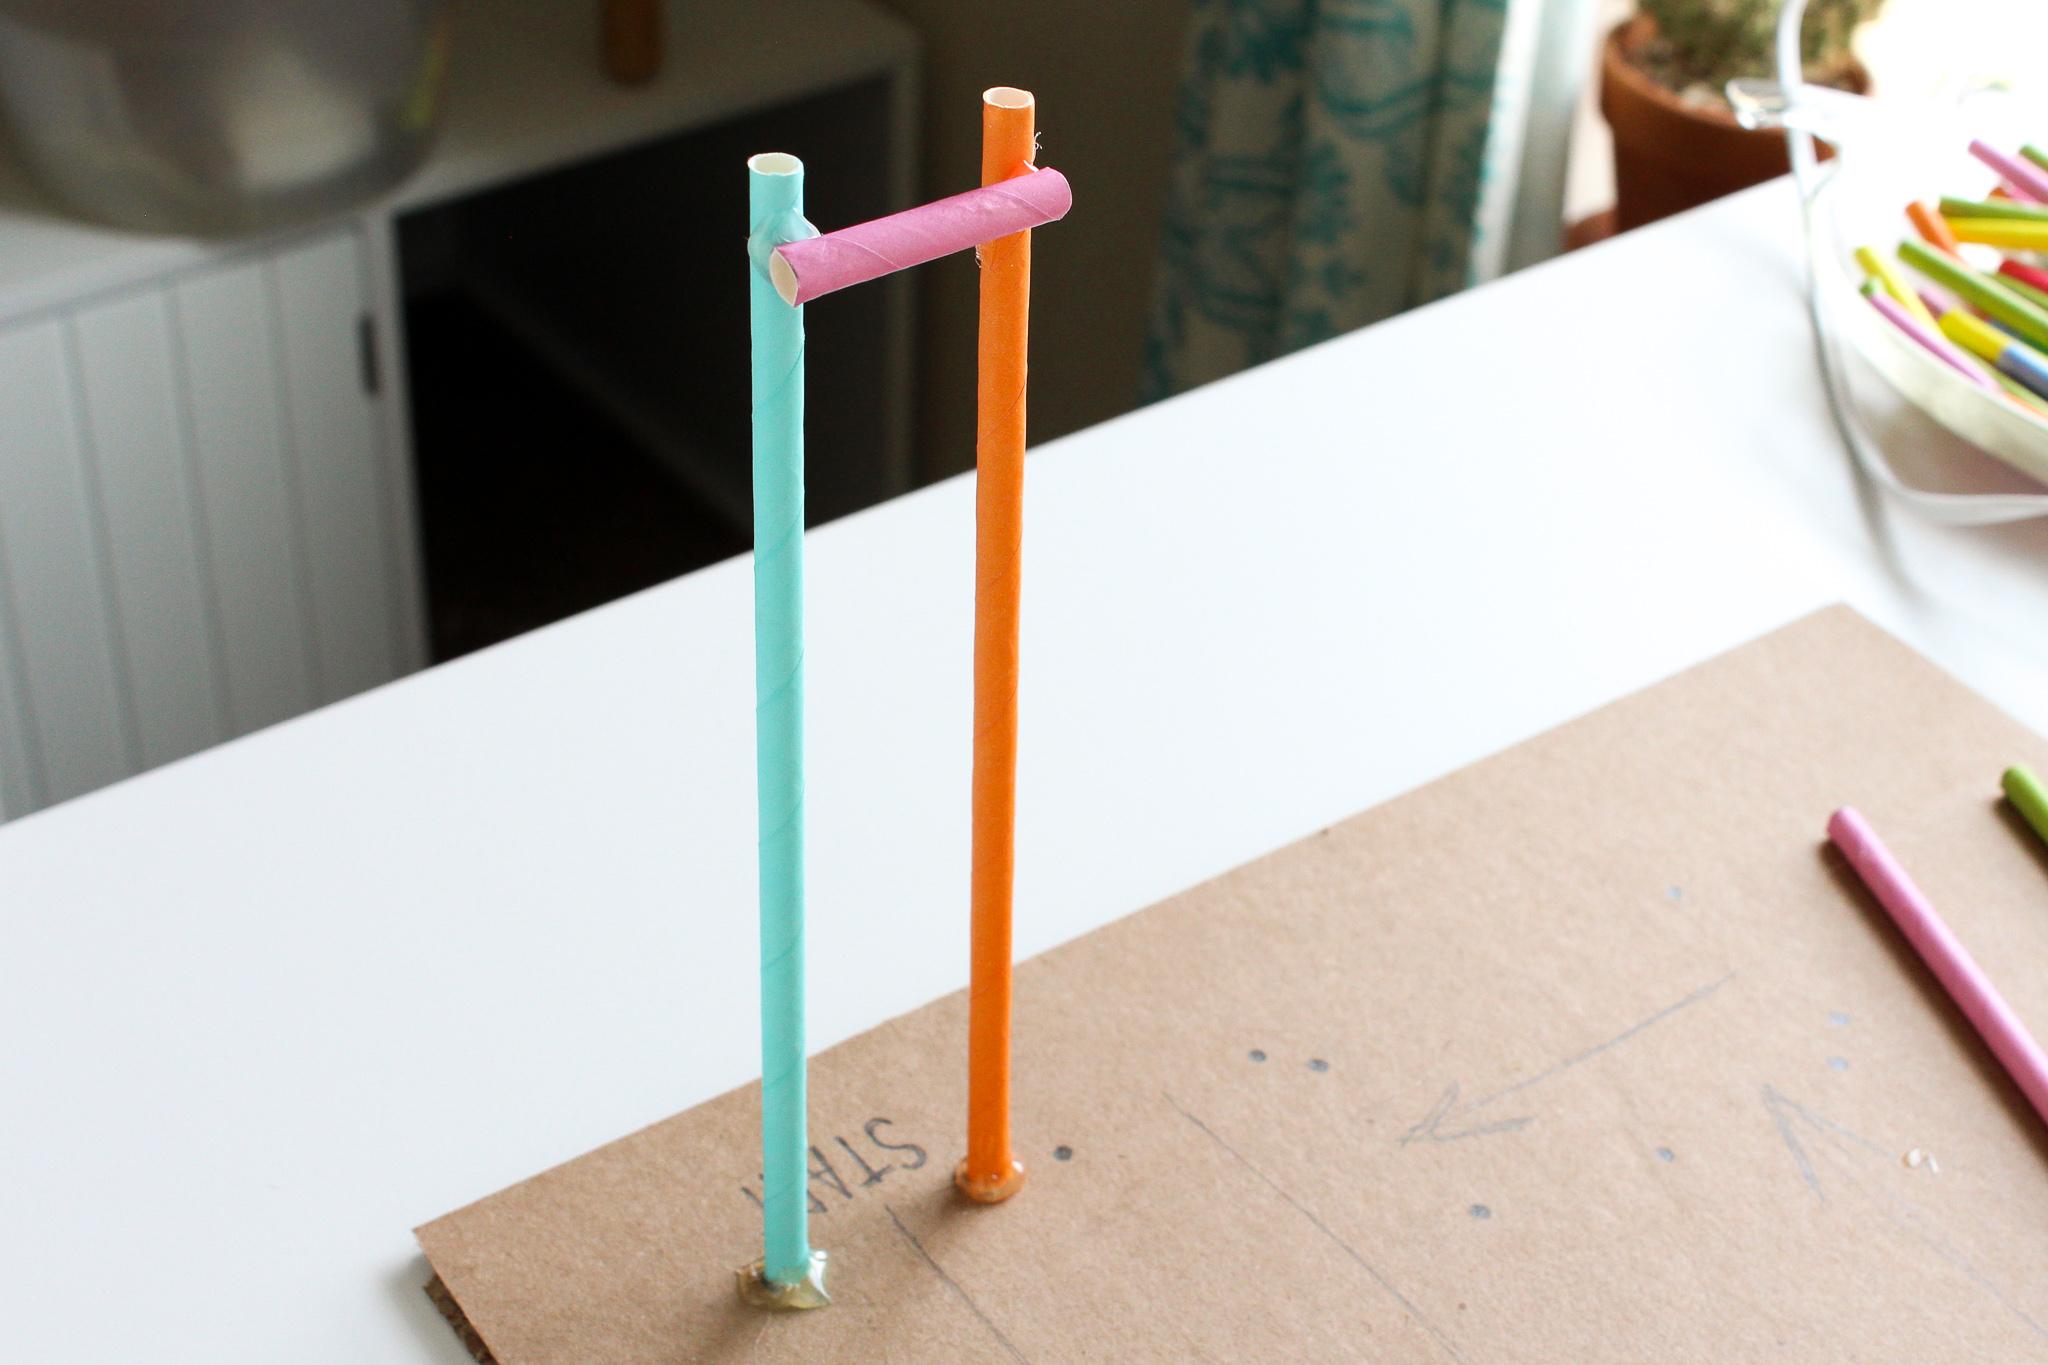

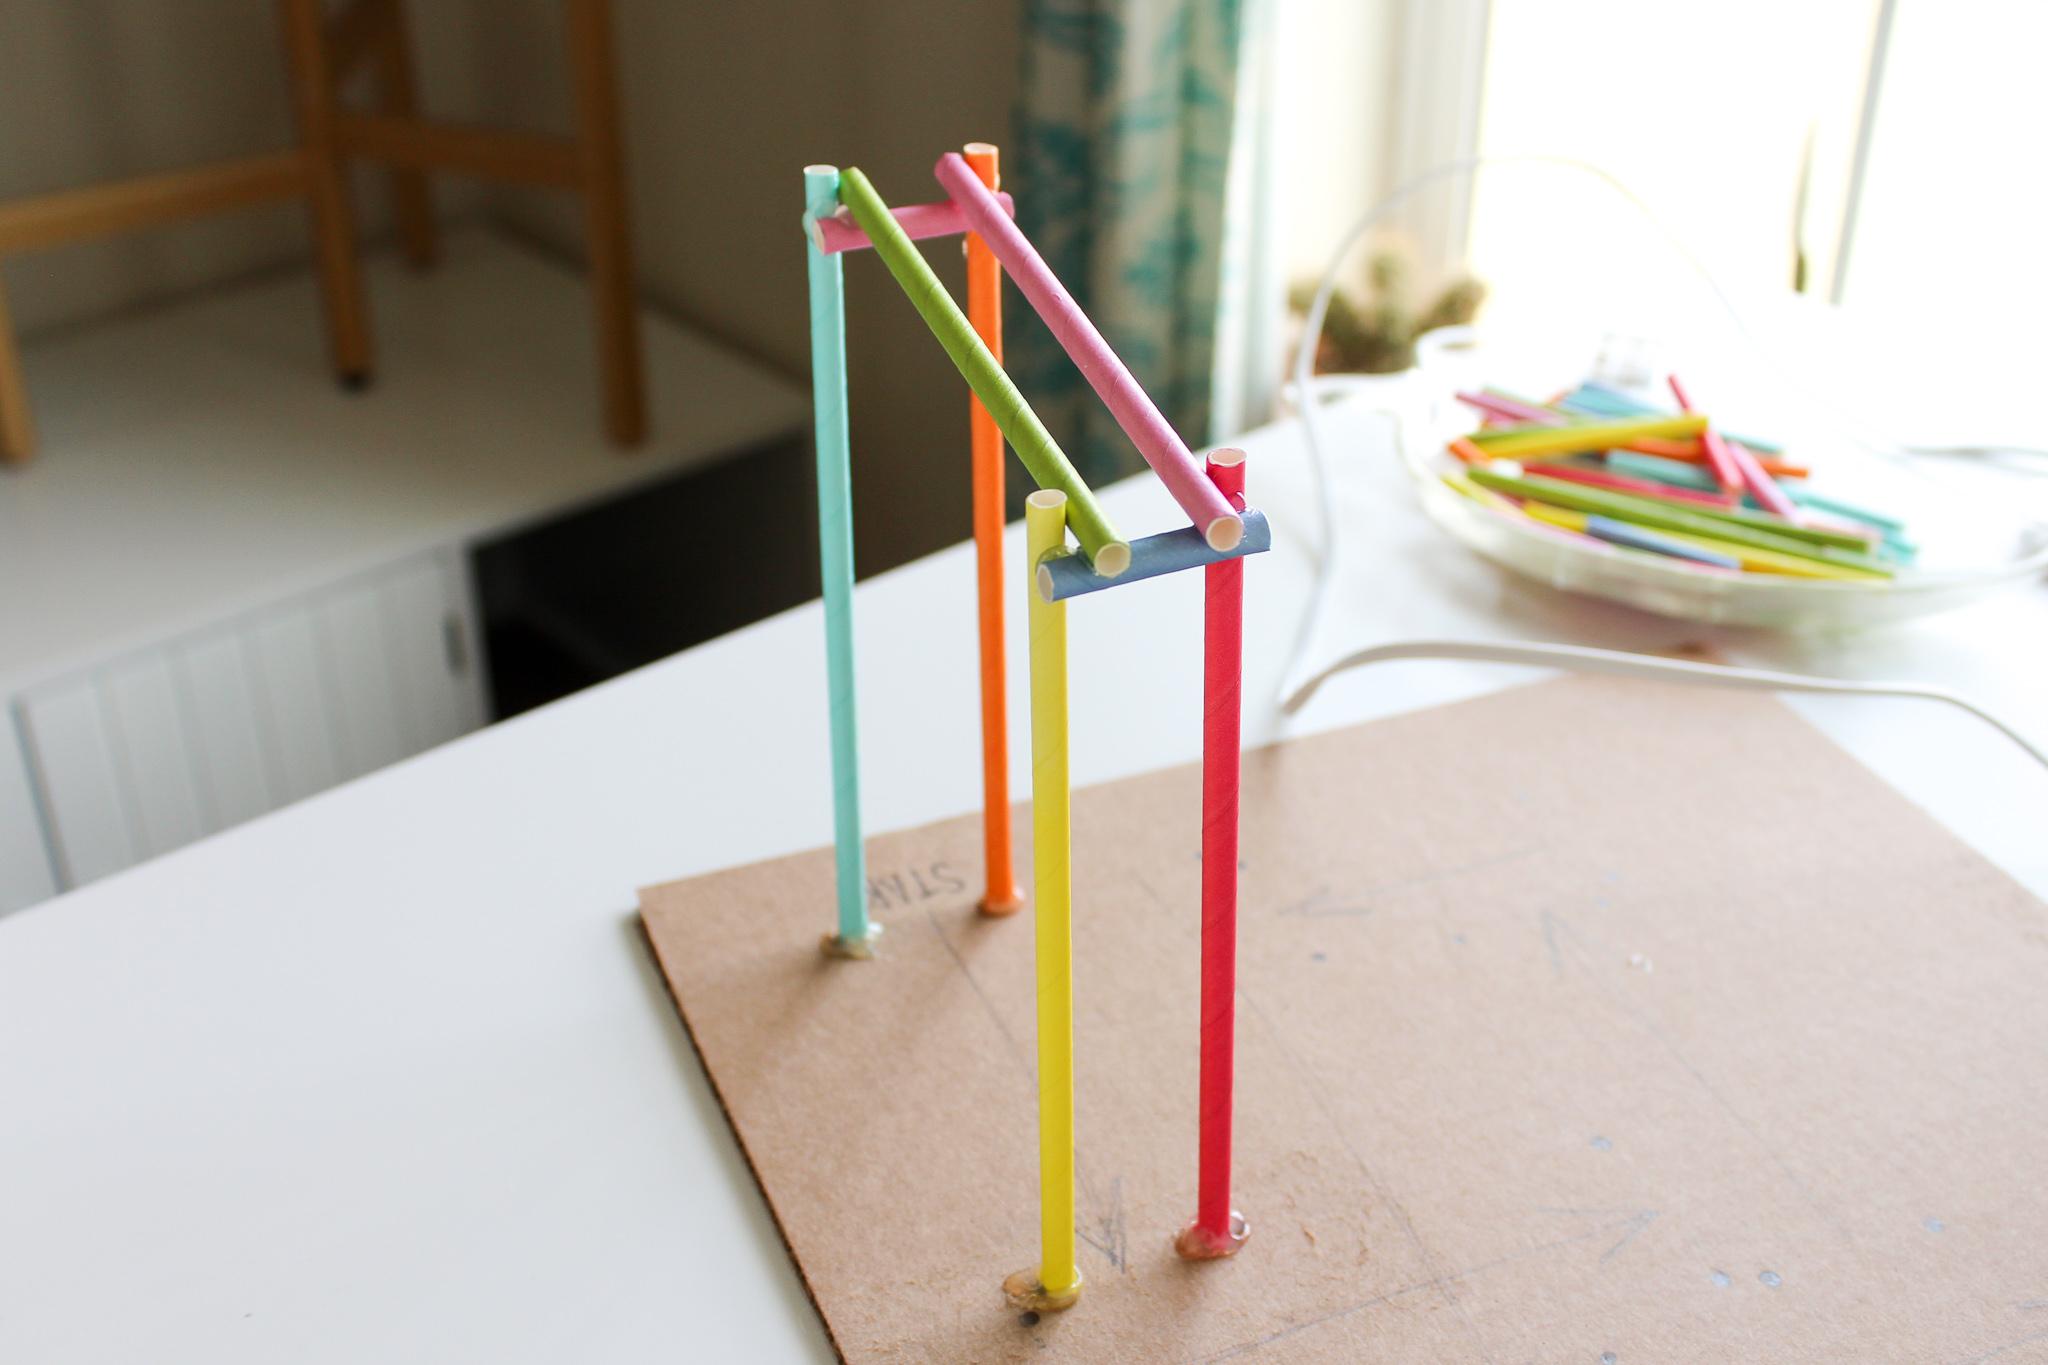
We're going to start with the tallest legs and work our way down to the shortest. Building the coaster this way lets us test it as we go and correct problems along the way.
Build two sets of legs
You'll need two legs and a middle brace for each set of legs. Apply a dot of glue to either end of the middle brace piece, and attach it to the tops of the leg straws. This middle brace should be as far down the legs as your straws are wide: for me this is 1/4 inch.
Glue the tallest set of legs down
Glue your set of legs in one corner of the piece of cardboard. Make little puddles of hot glue where you'd like the legs to go and press the legs into the hot glue. Hold the legs straight until the glue has cooled. Add more hot glue if they seem wobbly - you want these to be firmly held in place. 😊
Glue the second set of legs down
Hold a piece of track on top to make sure you're placing the second set of legs in the right spot. This way you'll know the legs aren't too far away. Use the same hot glue puddles to affix these legs to the cardboard.
Glue the tracks to the top of the braces
Apply some hot glue to the top ends of the leg braces and press the tracks into place. Hold everything in place until it's cooled.

Yay! We did it! This is the basic assembly you'll follow for each additional piece of track.
Placing the Second Piece of Track
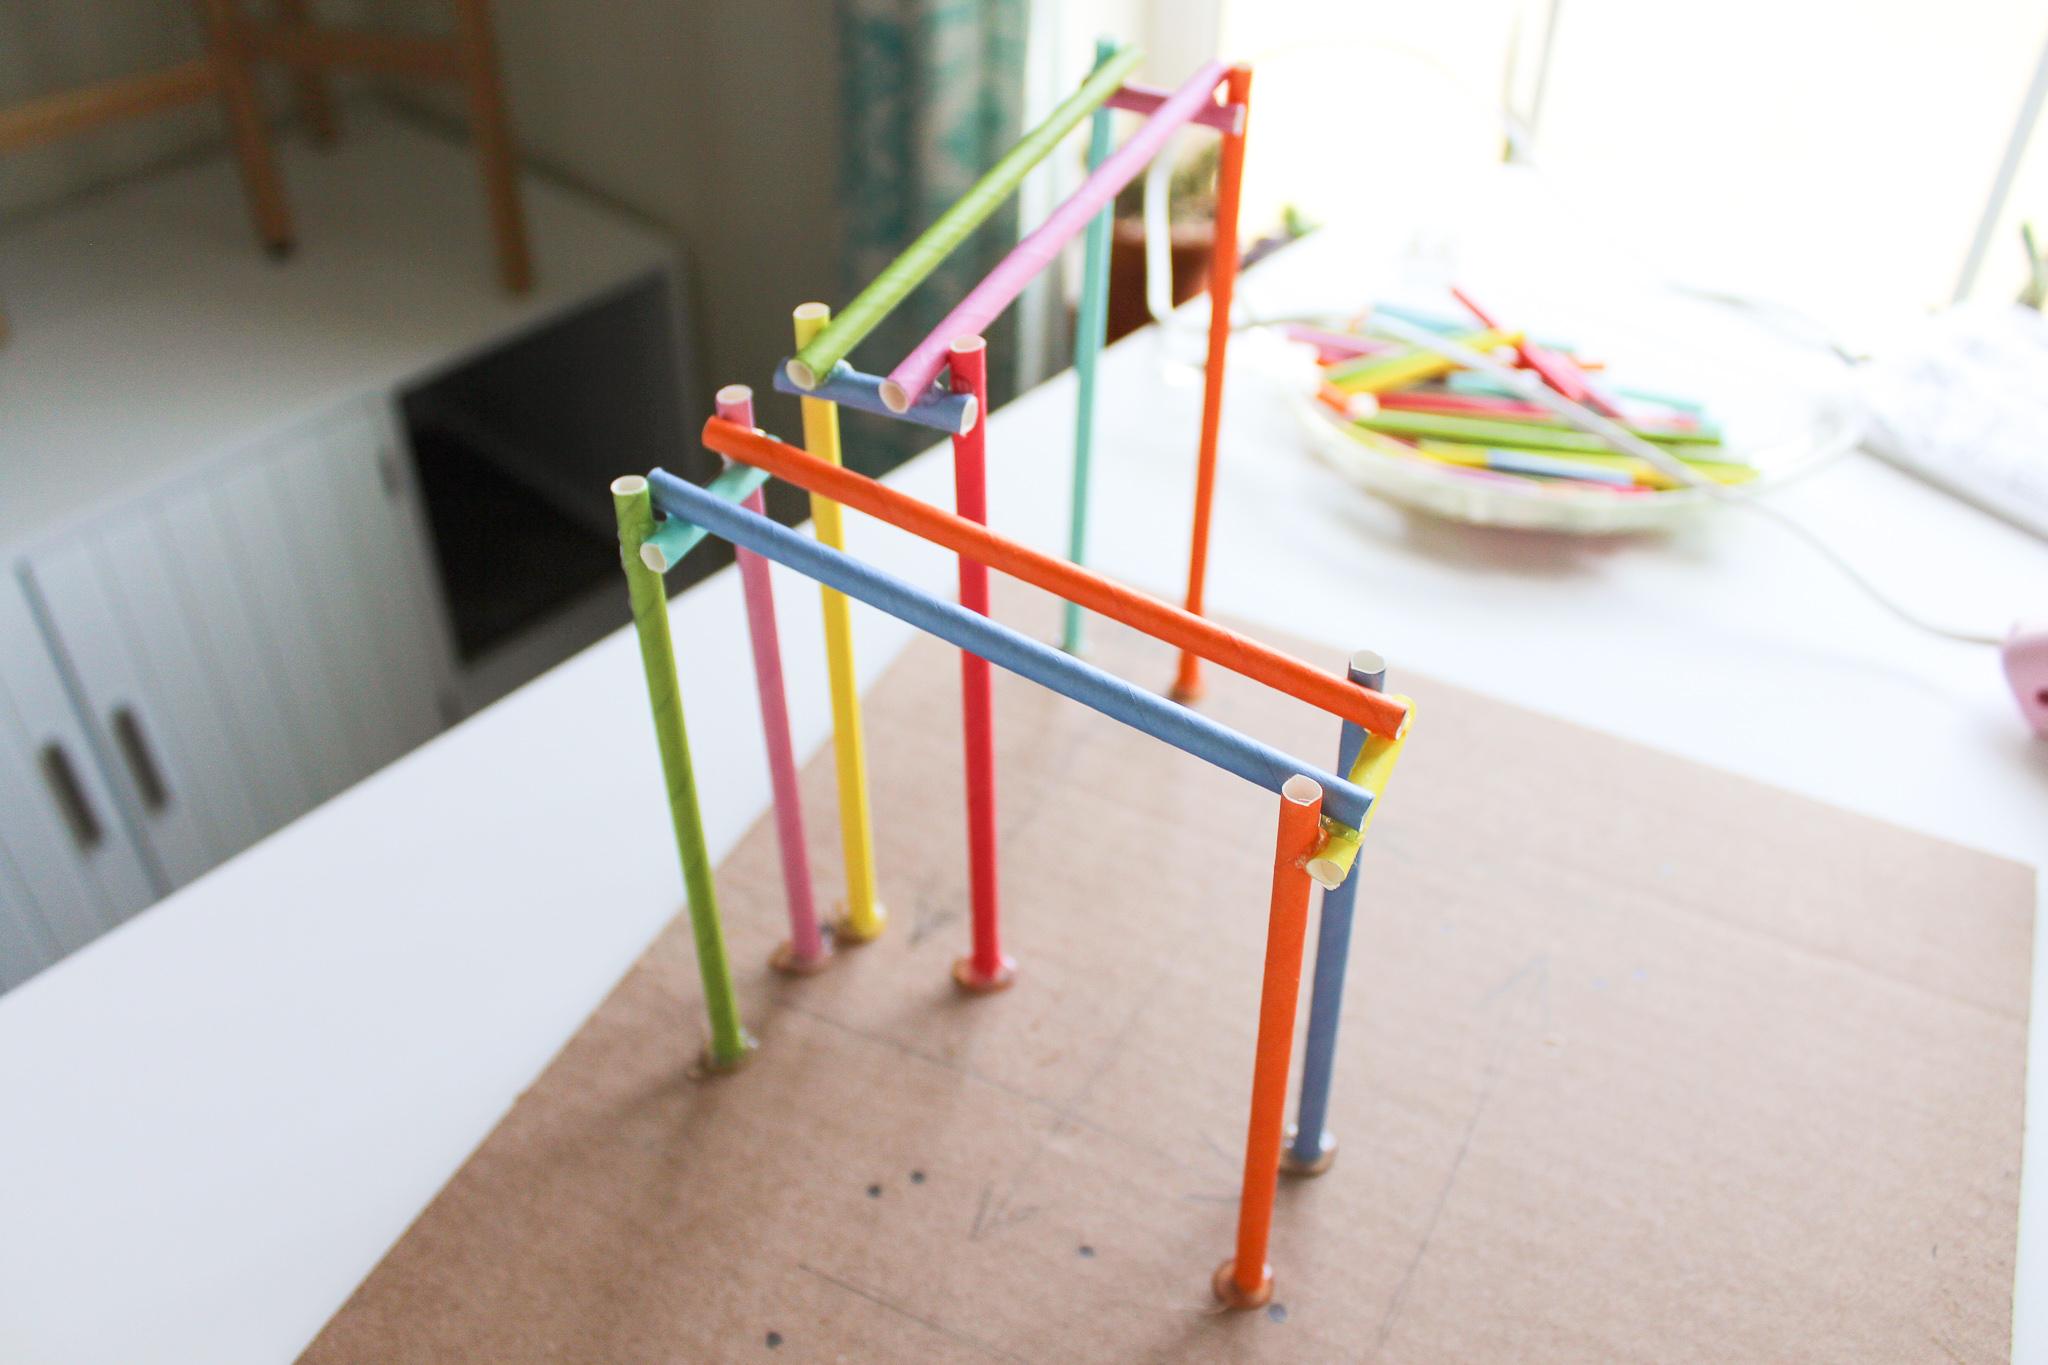
The second piece of track will be placed very close to the first.
Use the same method we used for assembling the first piece, making sure the glue has cooled on each piece before moving on to the next.
Now you should have two pieces of track that look like the picture above!
Adding a Bumper to the Corner
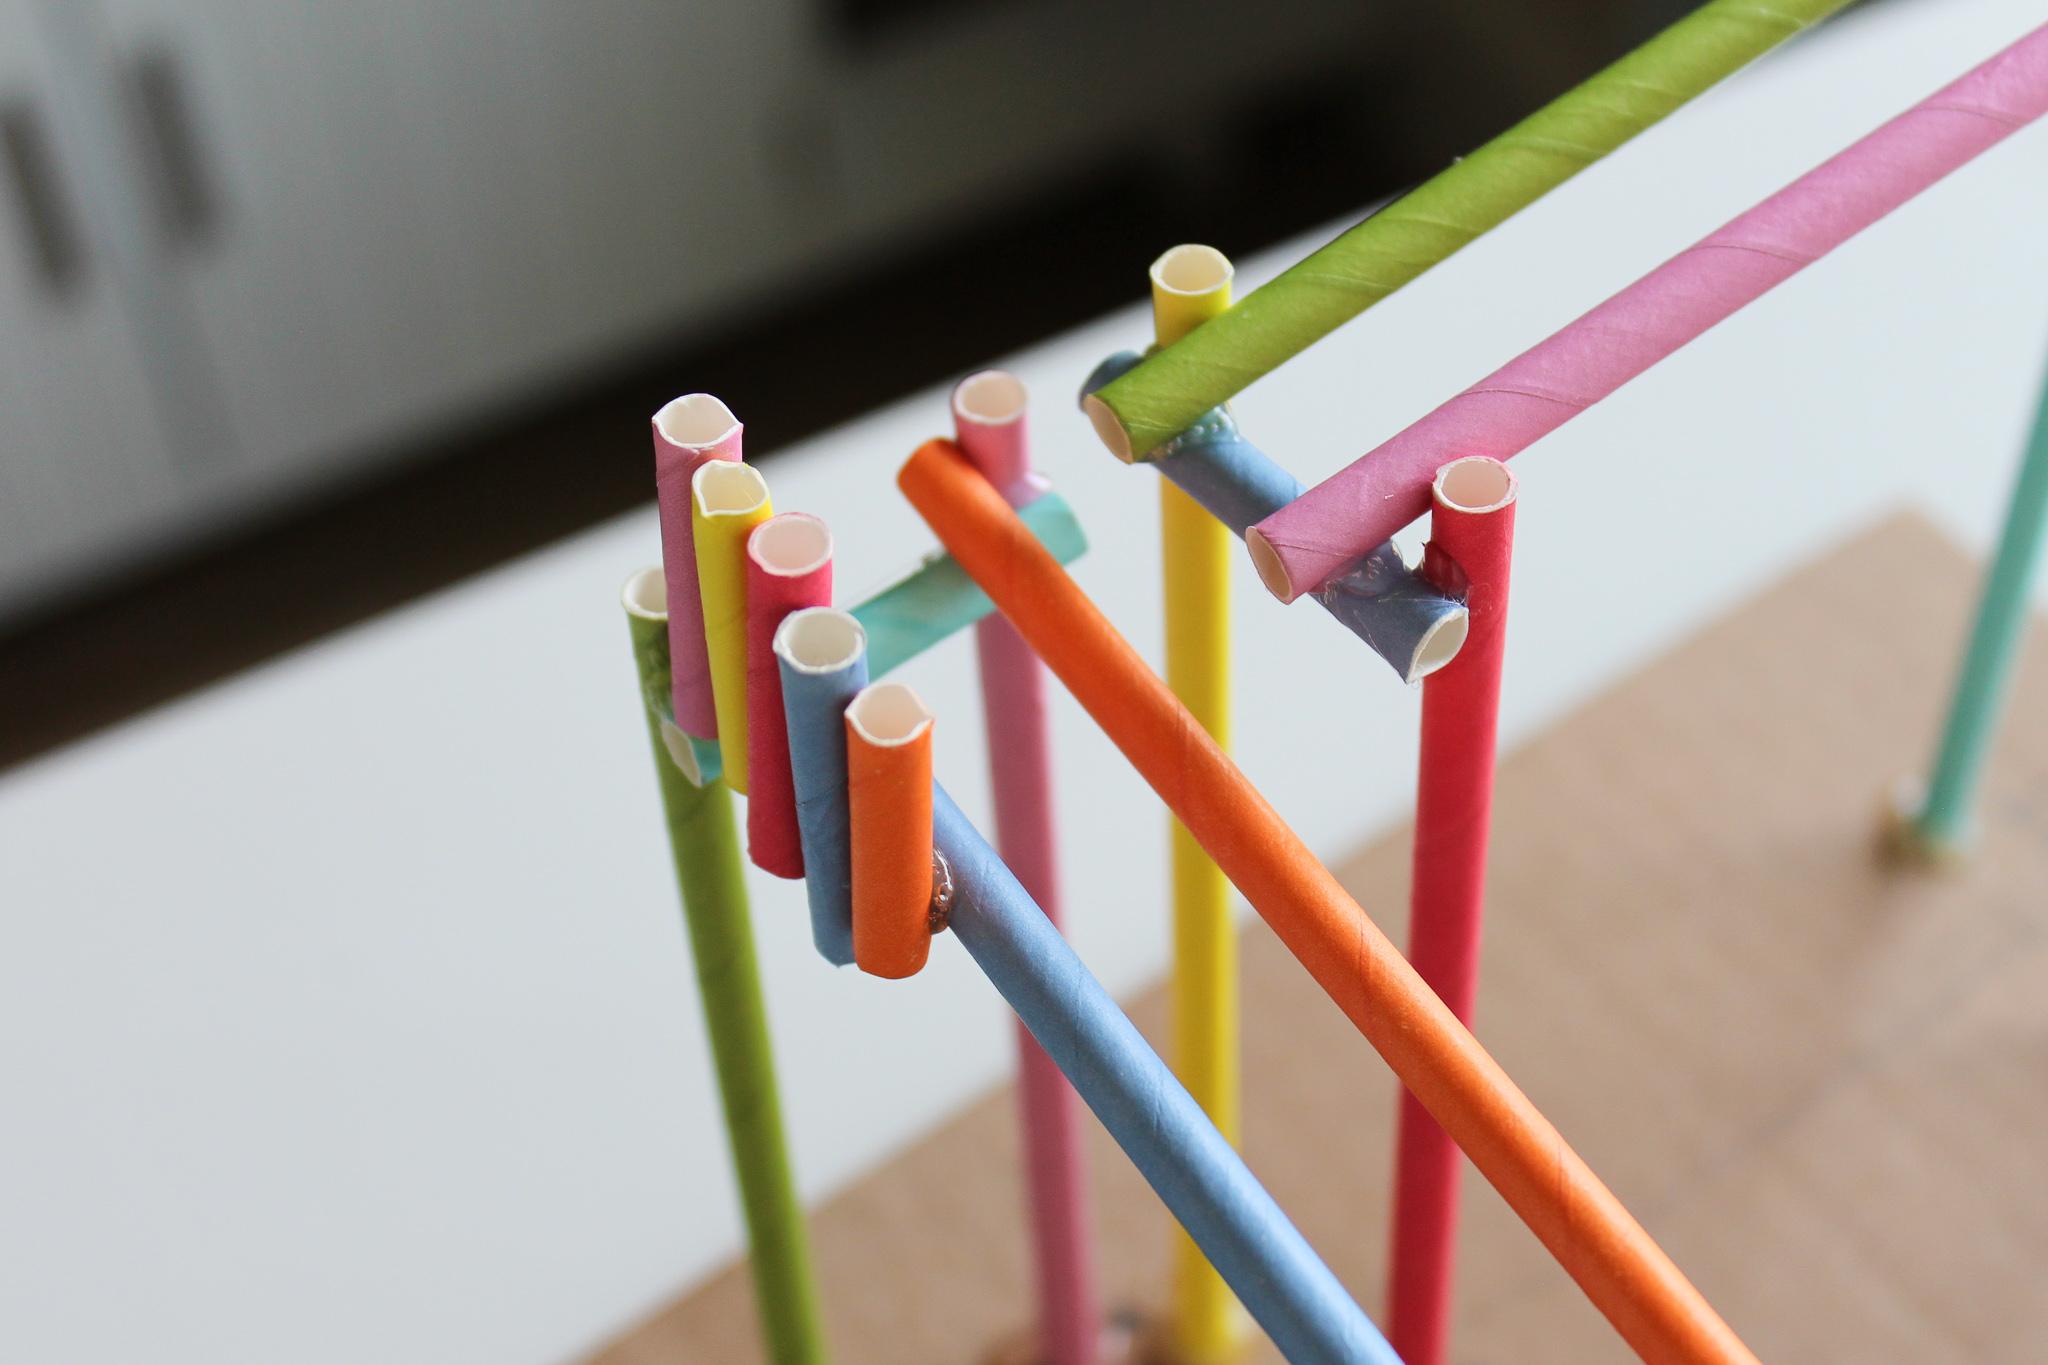
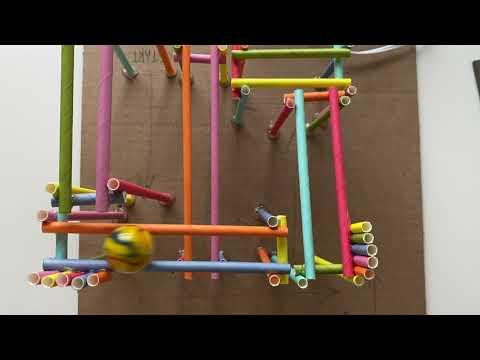
Now that we have two pieces of track, we can do a quick test!
Release your marble at the top of the coaster and see what happens. Chances are it will shoot right off the first piece of track, or fall onto the second piece of track and then bounce out.
Let's solve that problem by adding some bumpers!
Glue 4-5 short scraps (3/4 inch to about 1.5 inches) of straw to the outside edge of the track and voilà! We've got our first bumper. We're going to be adding these to every corner.
Keep Building and Testing!
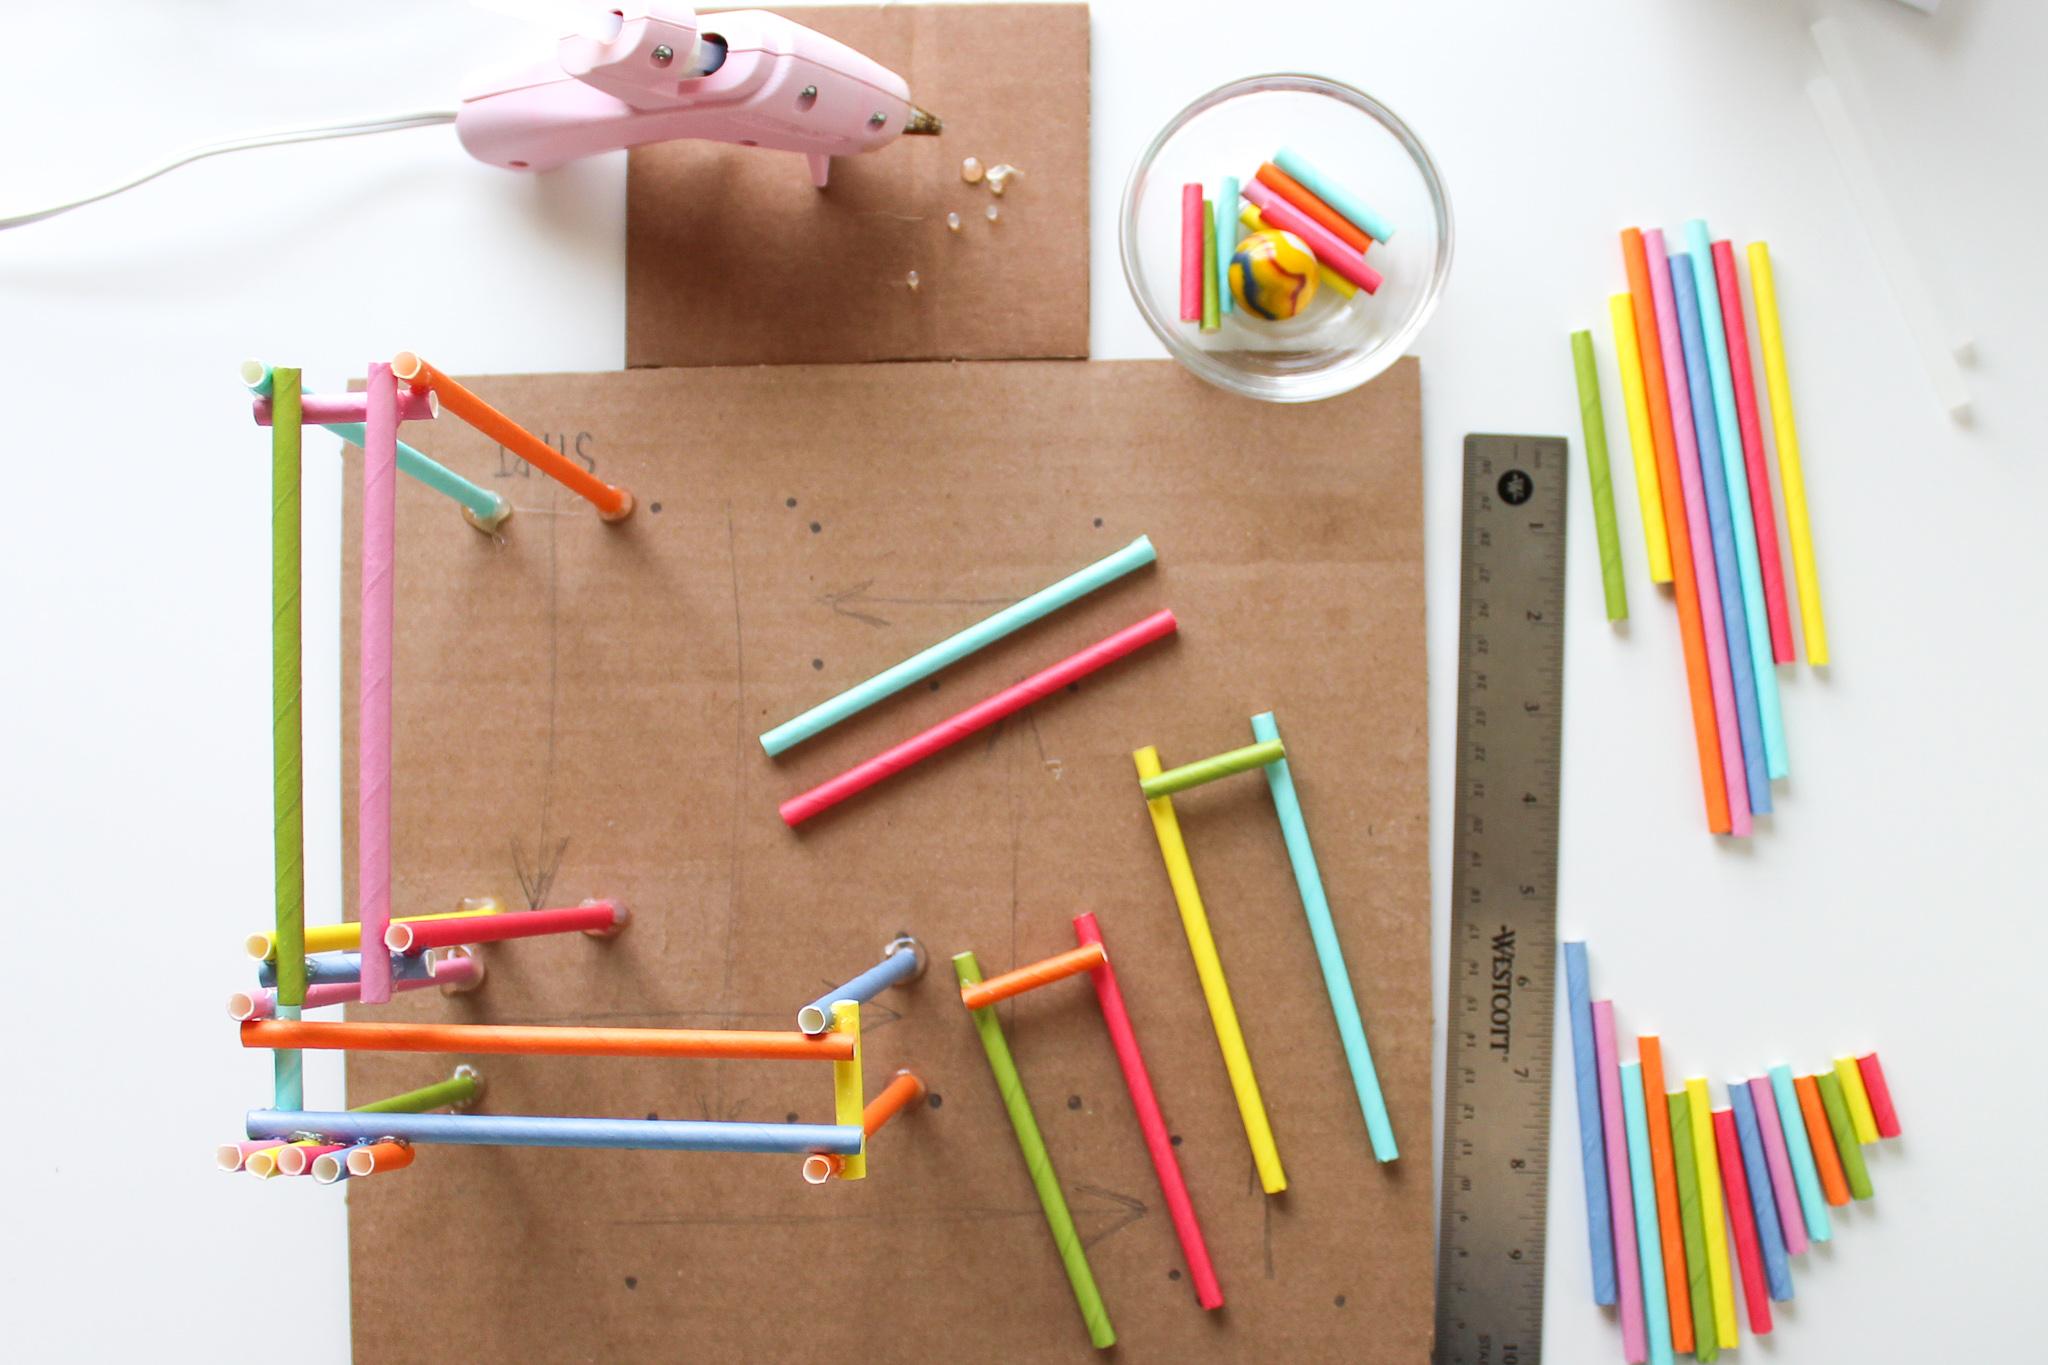
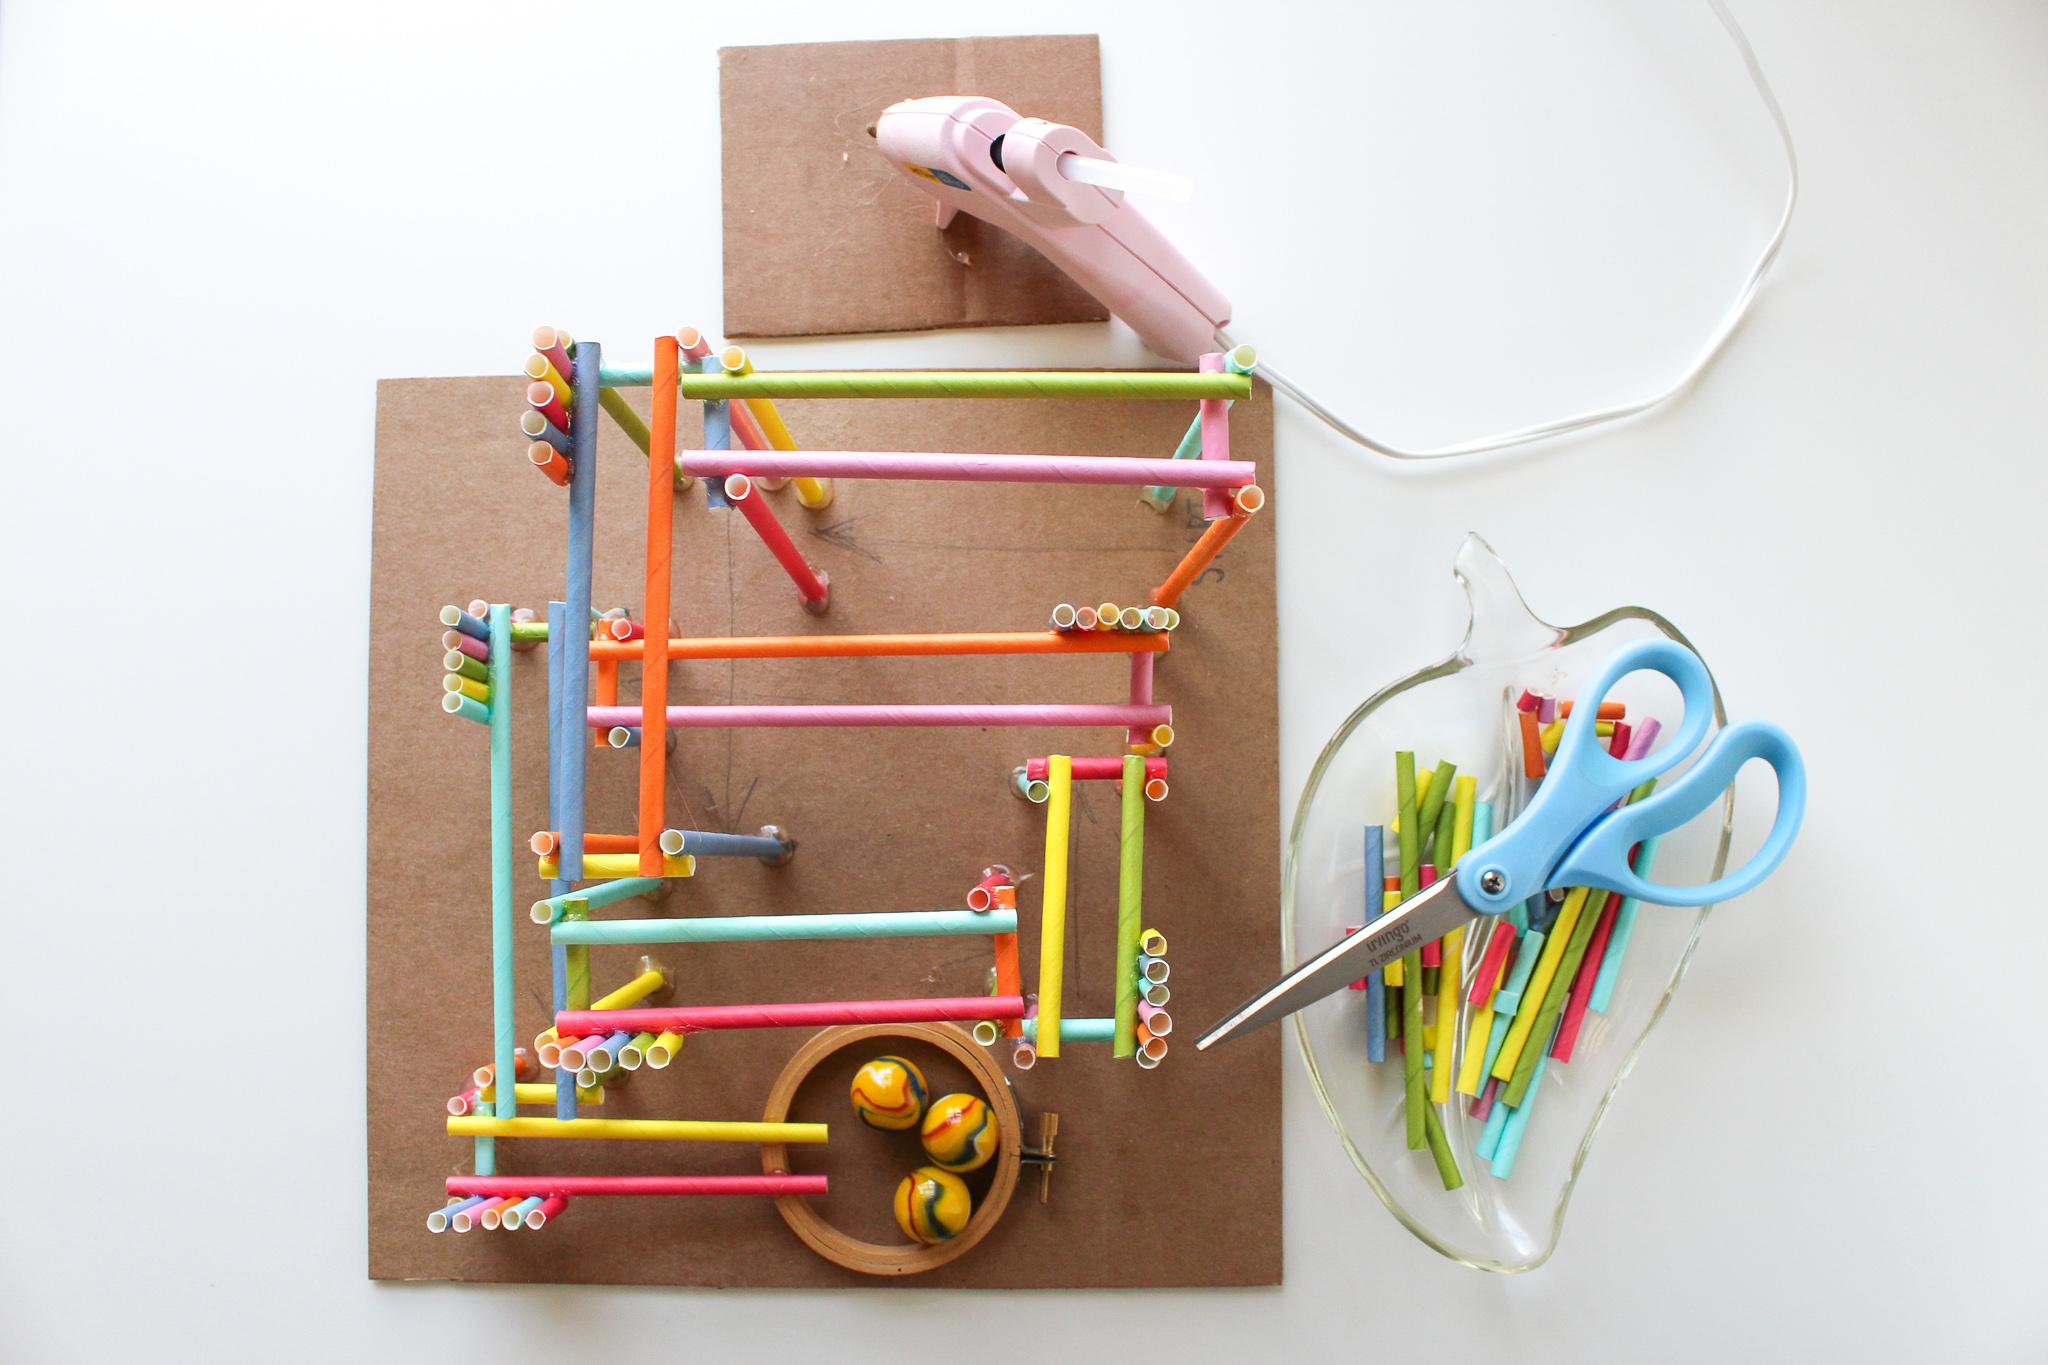
Now that you know how assembly goes, let's finish building this rollercoaster!
Remember to test after each additional piece of track and to always let the glue cool down before adding new pieces. Also make sure to glue down whatever you're using to catch your marbles/balls - otherwise it might fly right off the cardboard.
Enjoy your roller coaster! 😄
Share Your Roller Coaster!
If you made a straw roller coaster using this instructable, I'd love to see it! Share a photo or video using the I Made It! button below. 🙌