How to Build a Smart Mirror With Raspberry Pi 4
by MicheleMeattini in Circuits > Raspberry Pi
2445 Views, 6 Favorites, 0 Comments
How to Build a Smart Mirror With Raspberry Pi 4
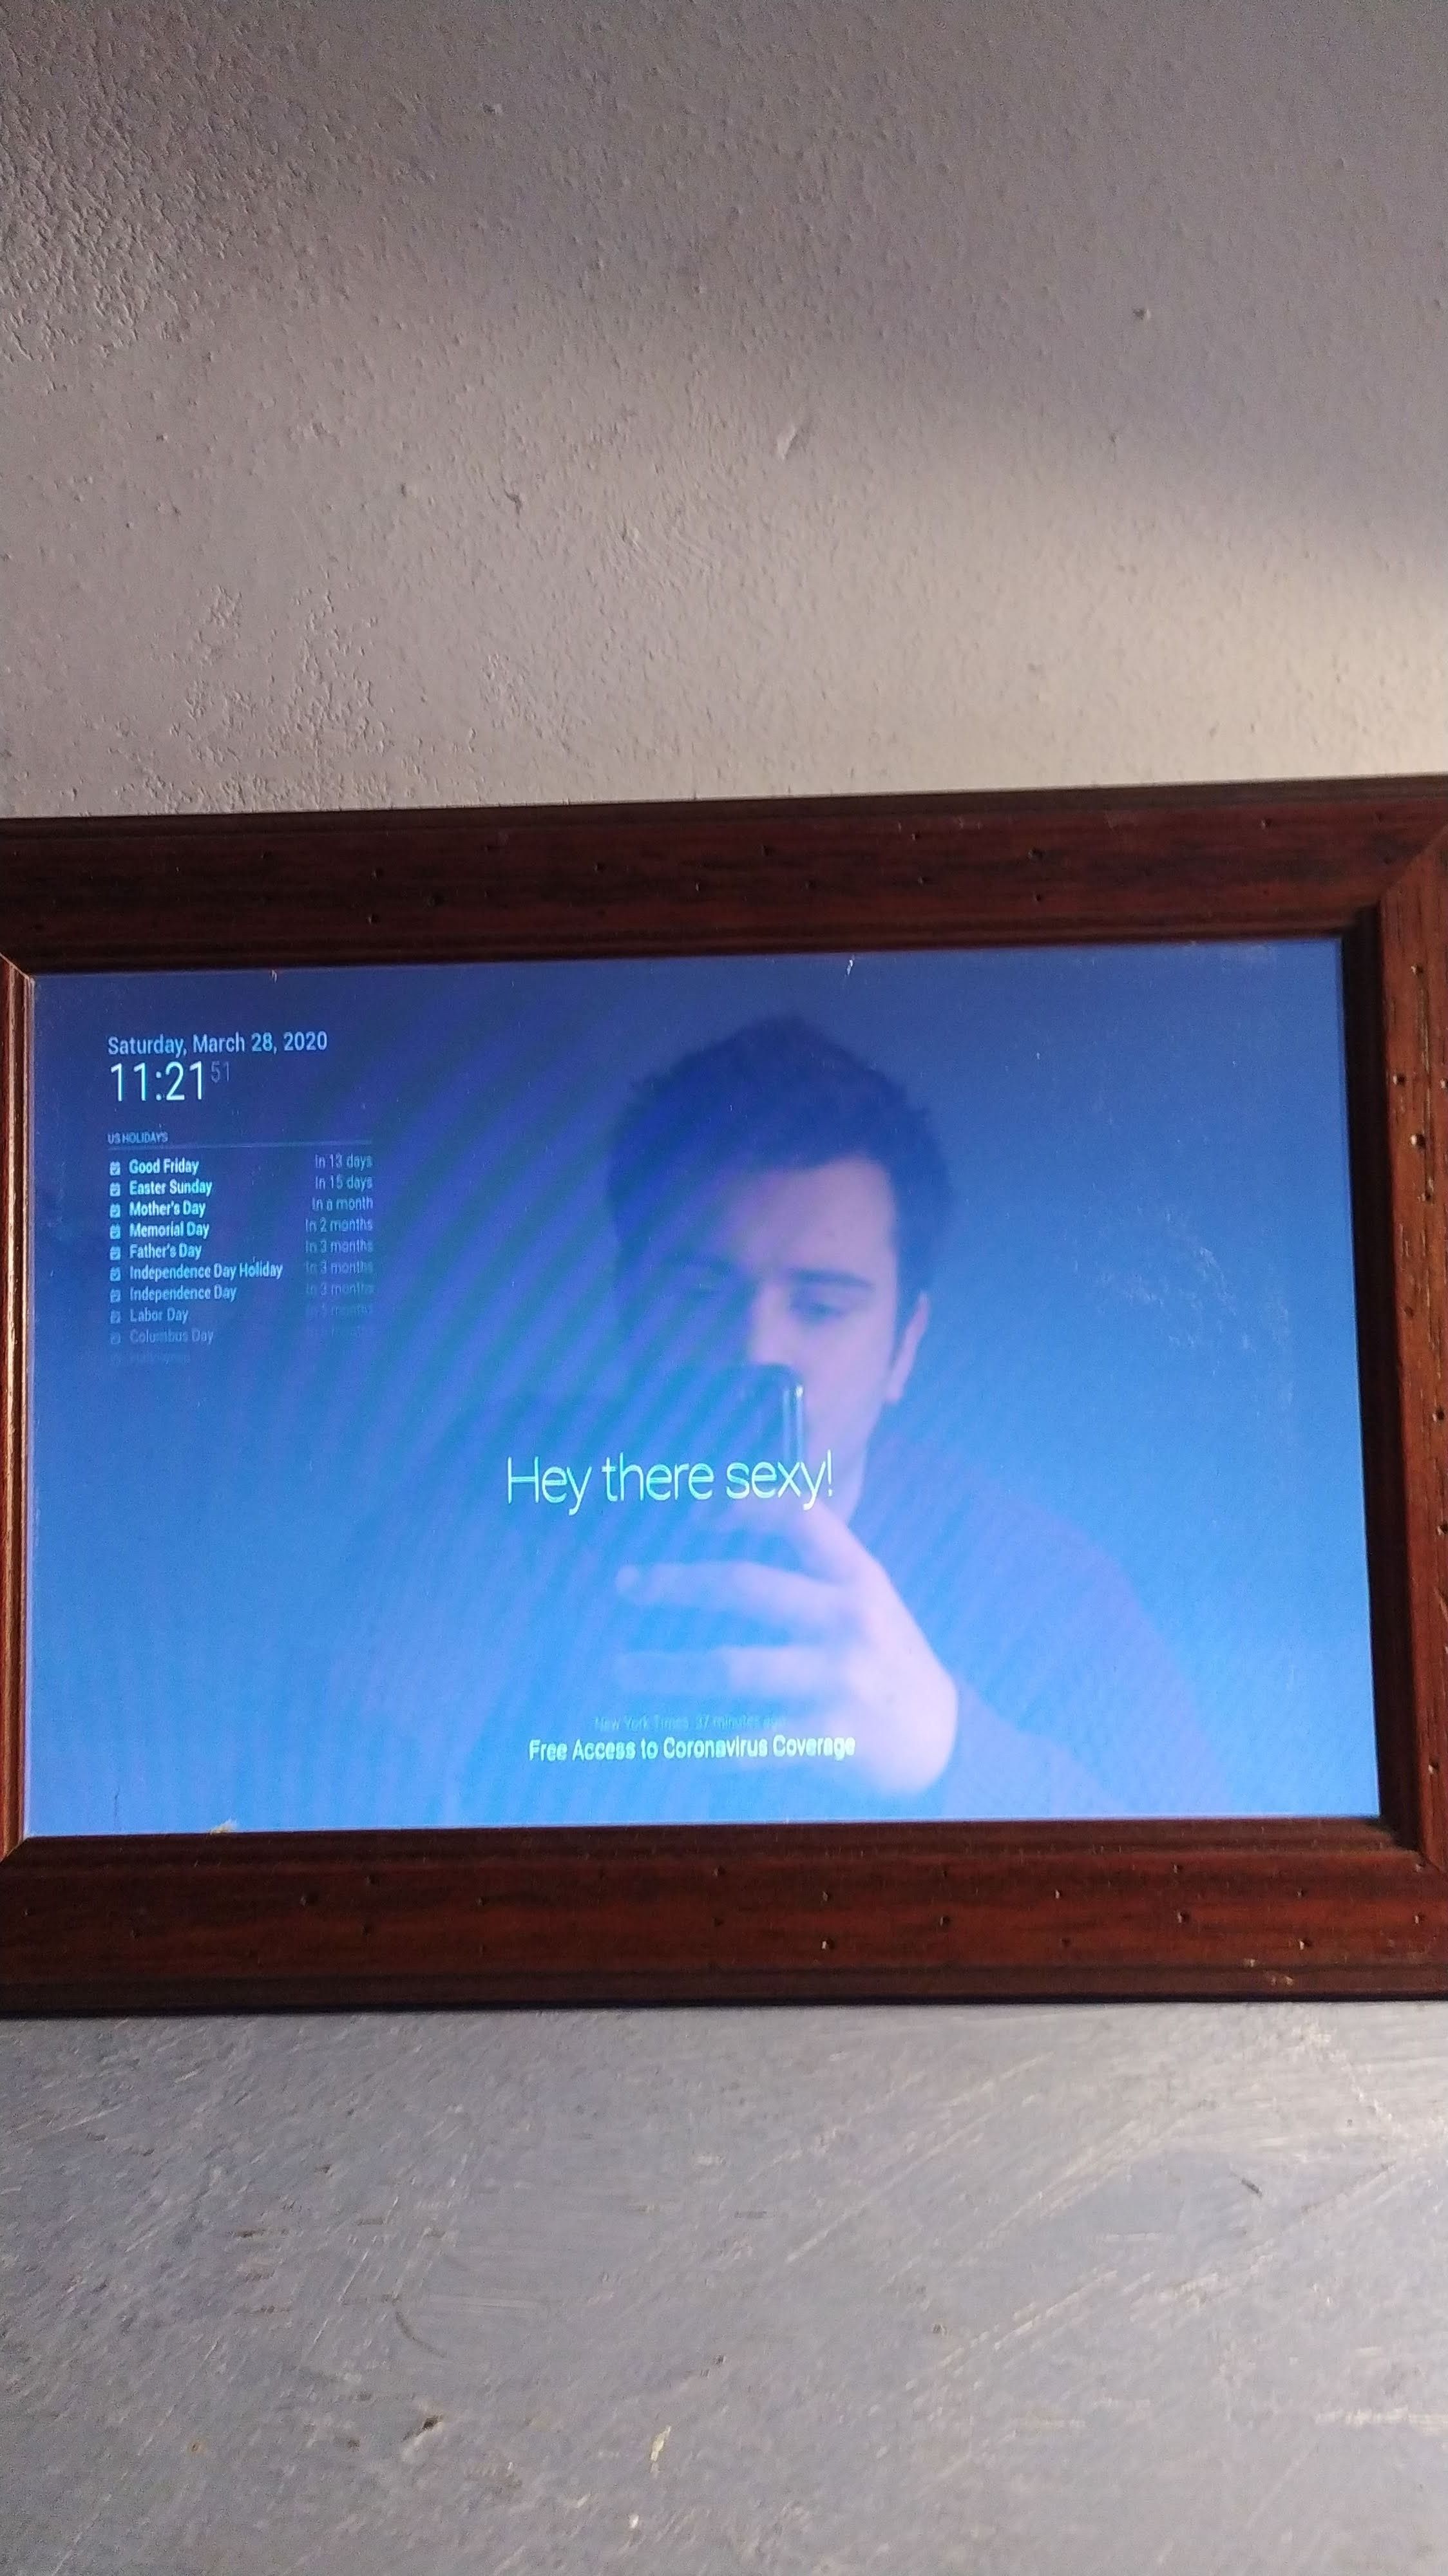

In this guide we will see how to build a smartmirror using recycled pieces such as a picture frame, an old monitor and a picture glass.
For the electronic components I purchased from here www.lcsc.com
Hardware: Raspberry Pi 4 (or 3)
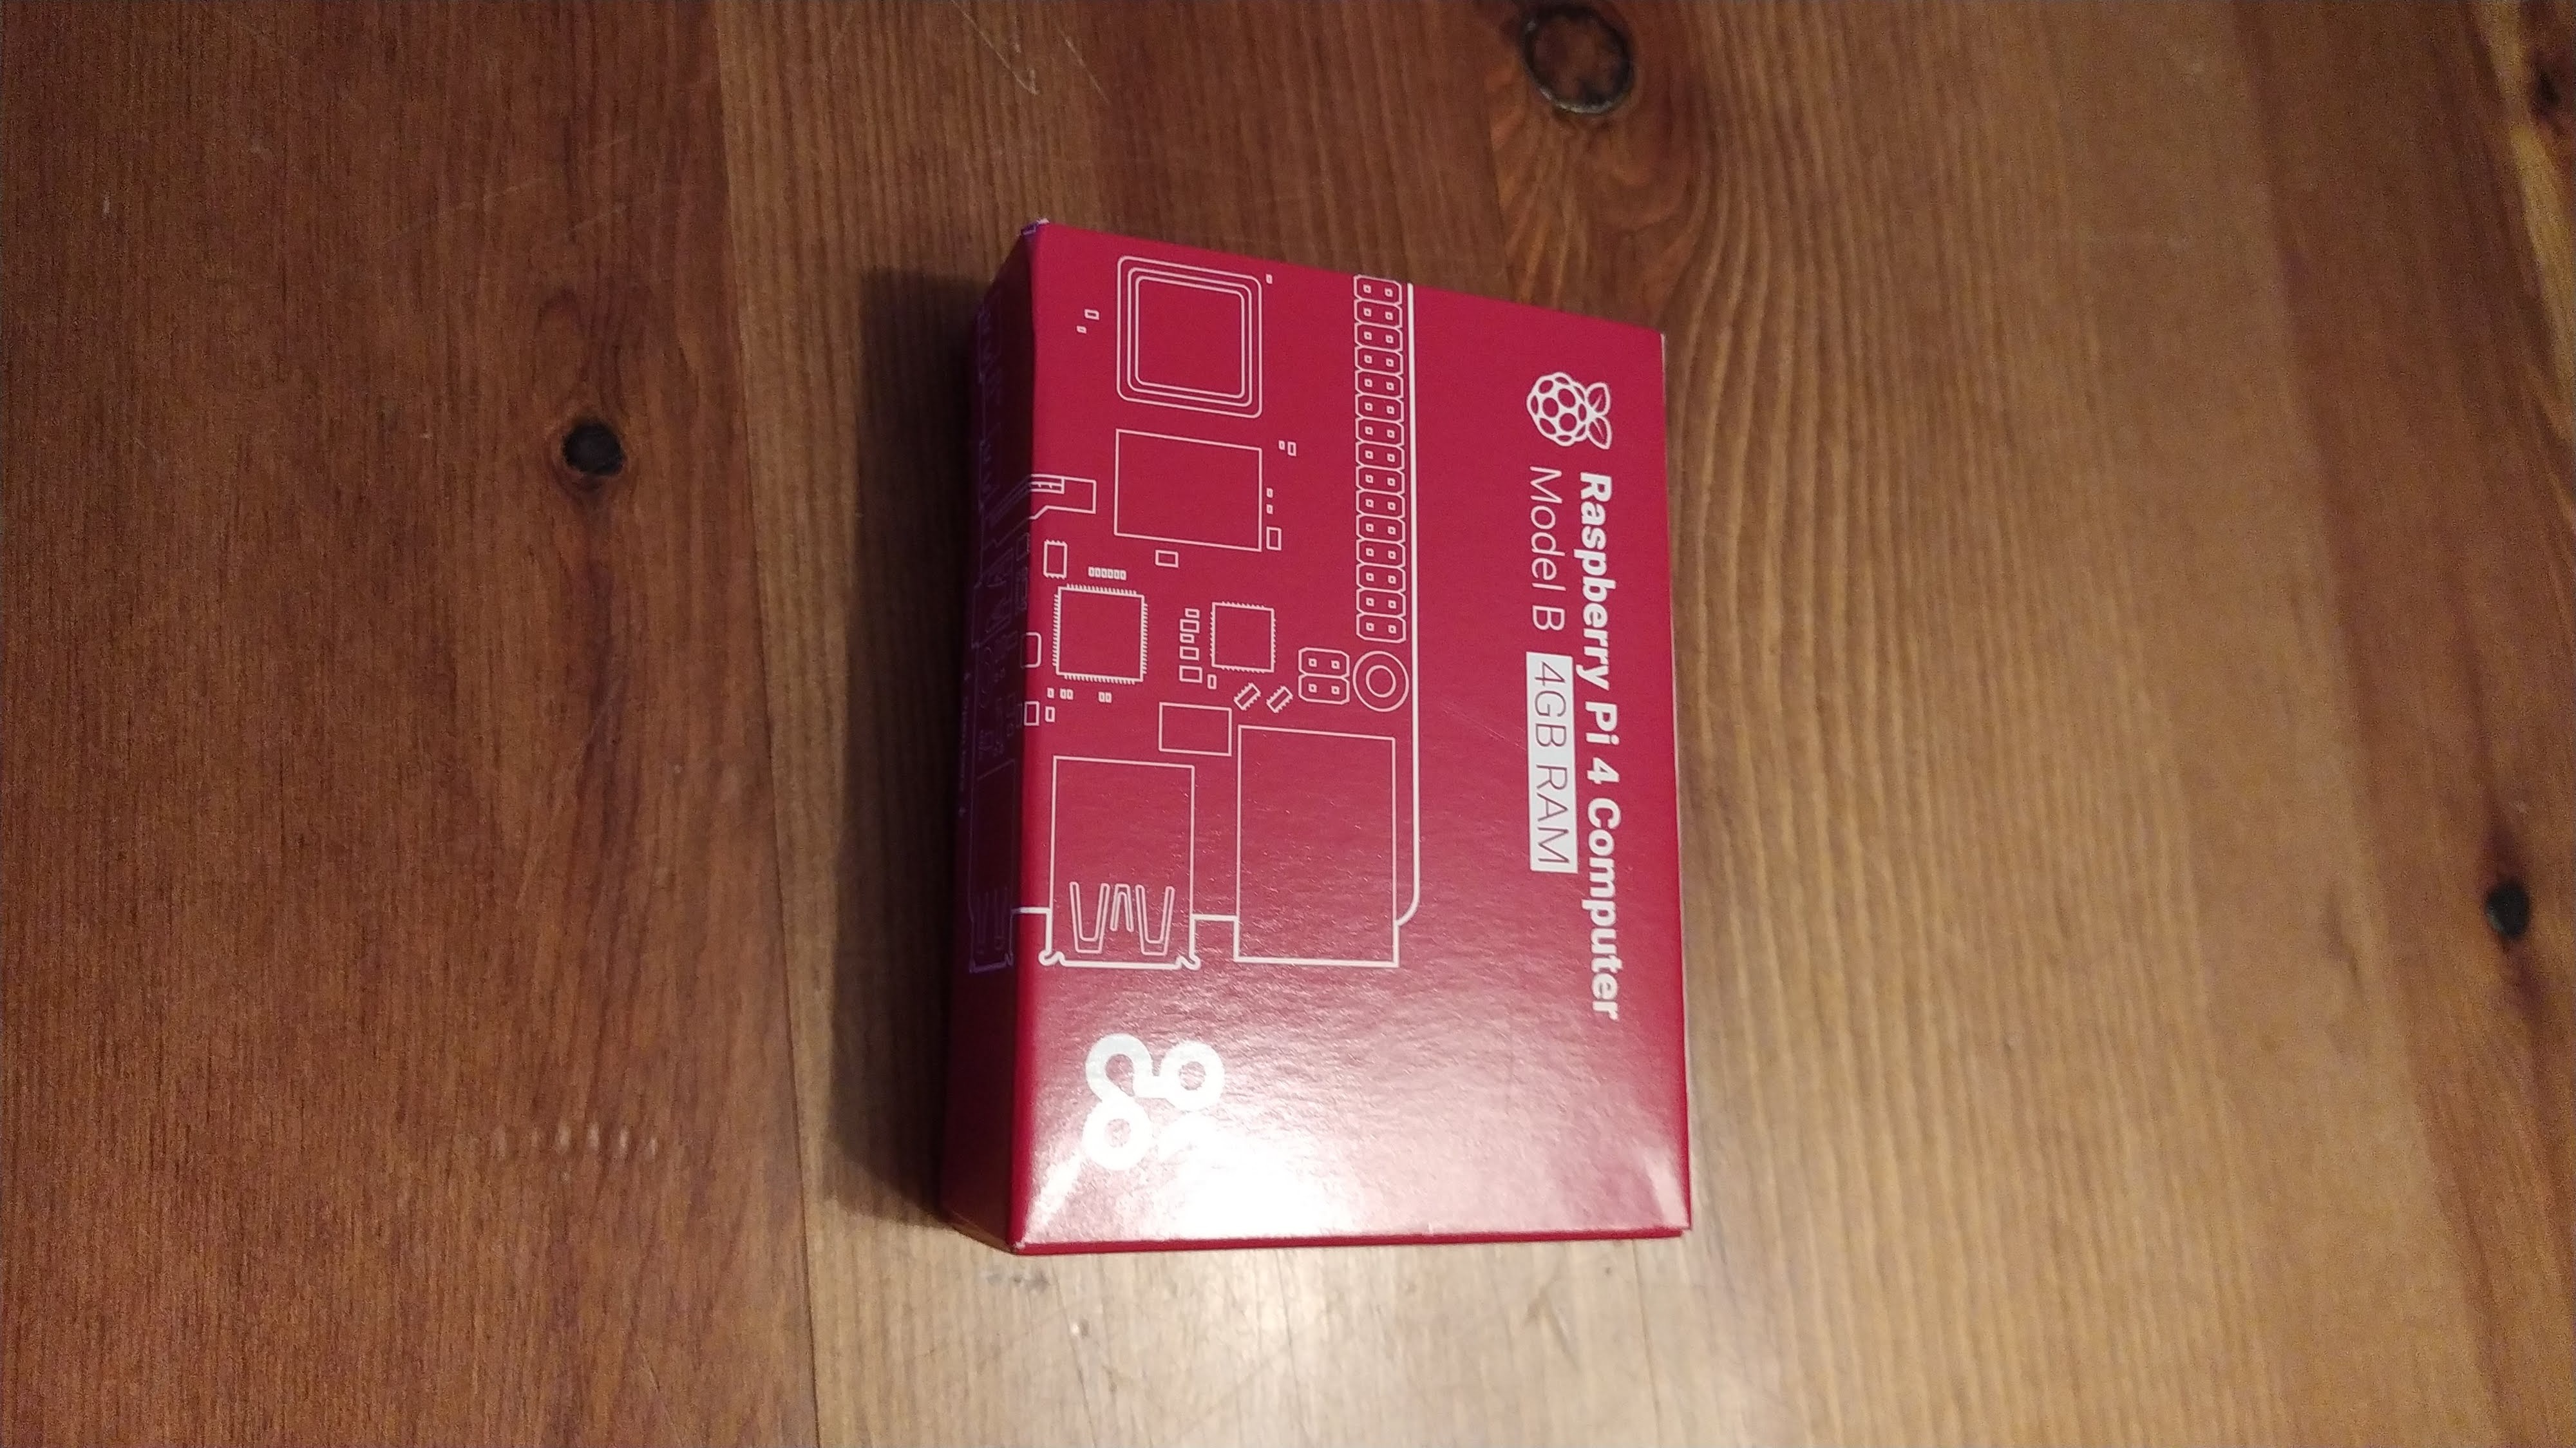
First you need to have a Raspberry Pi 4 (3 is also good). If you have not ordered it through this link: https://bit.ly/3aFcEwA
The Raspberry Pi 4 is a very powerful computer with a small size. This will allow us to load the software to be shown on the display.
Hardware: the Monitor
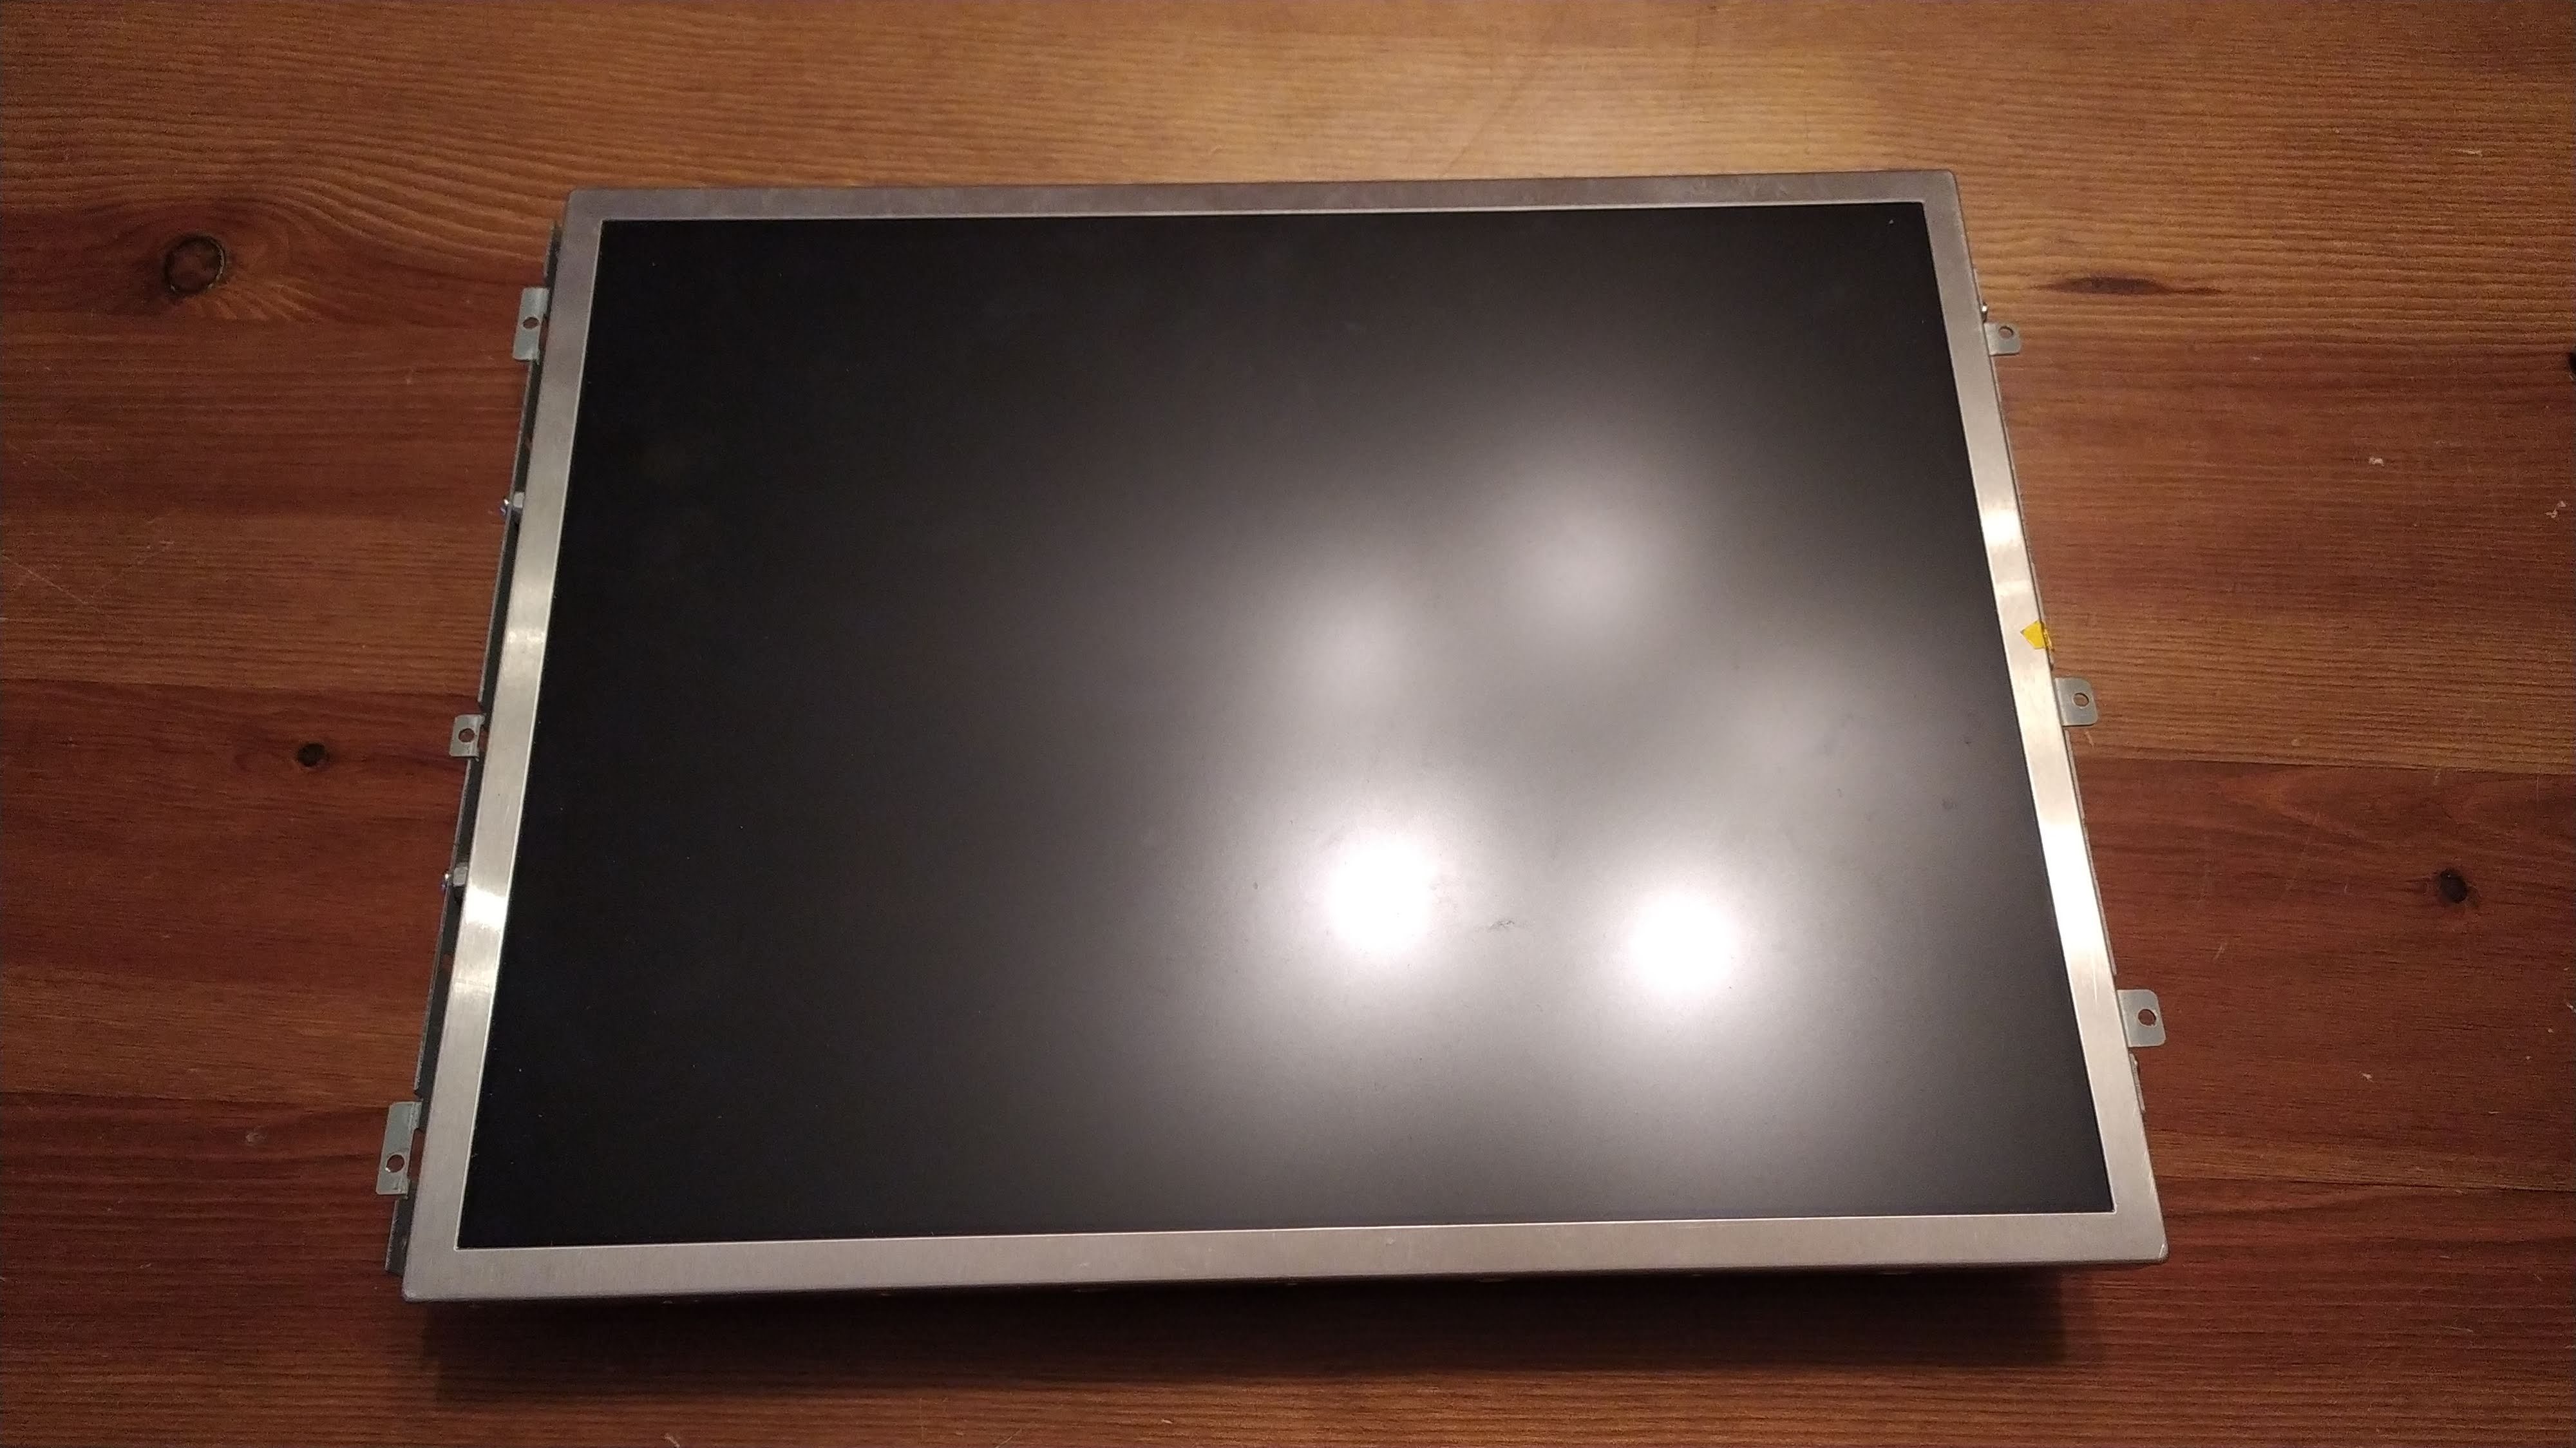
Next you need to use a monitor to show the information. You can do two queues:
Either dismantle an old monitor that you no longer use, or buy a display with its driver on ebay. I for my project I decided to reuse an old monitor. It is very important to reuse old objects to create new ones :)
Hardware: the Two-way Glass and the Frame
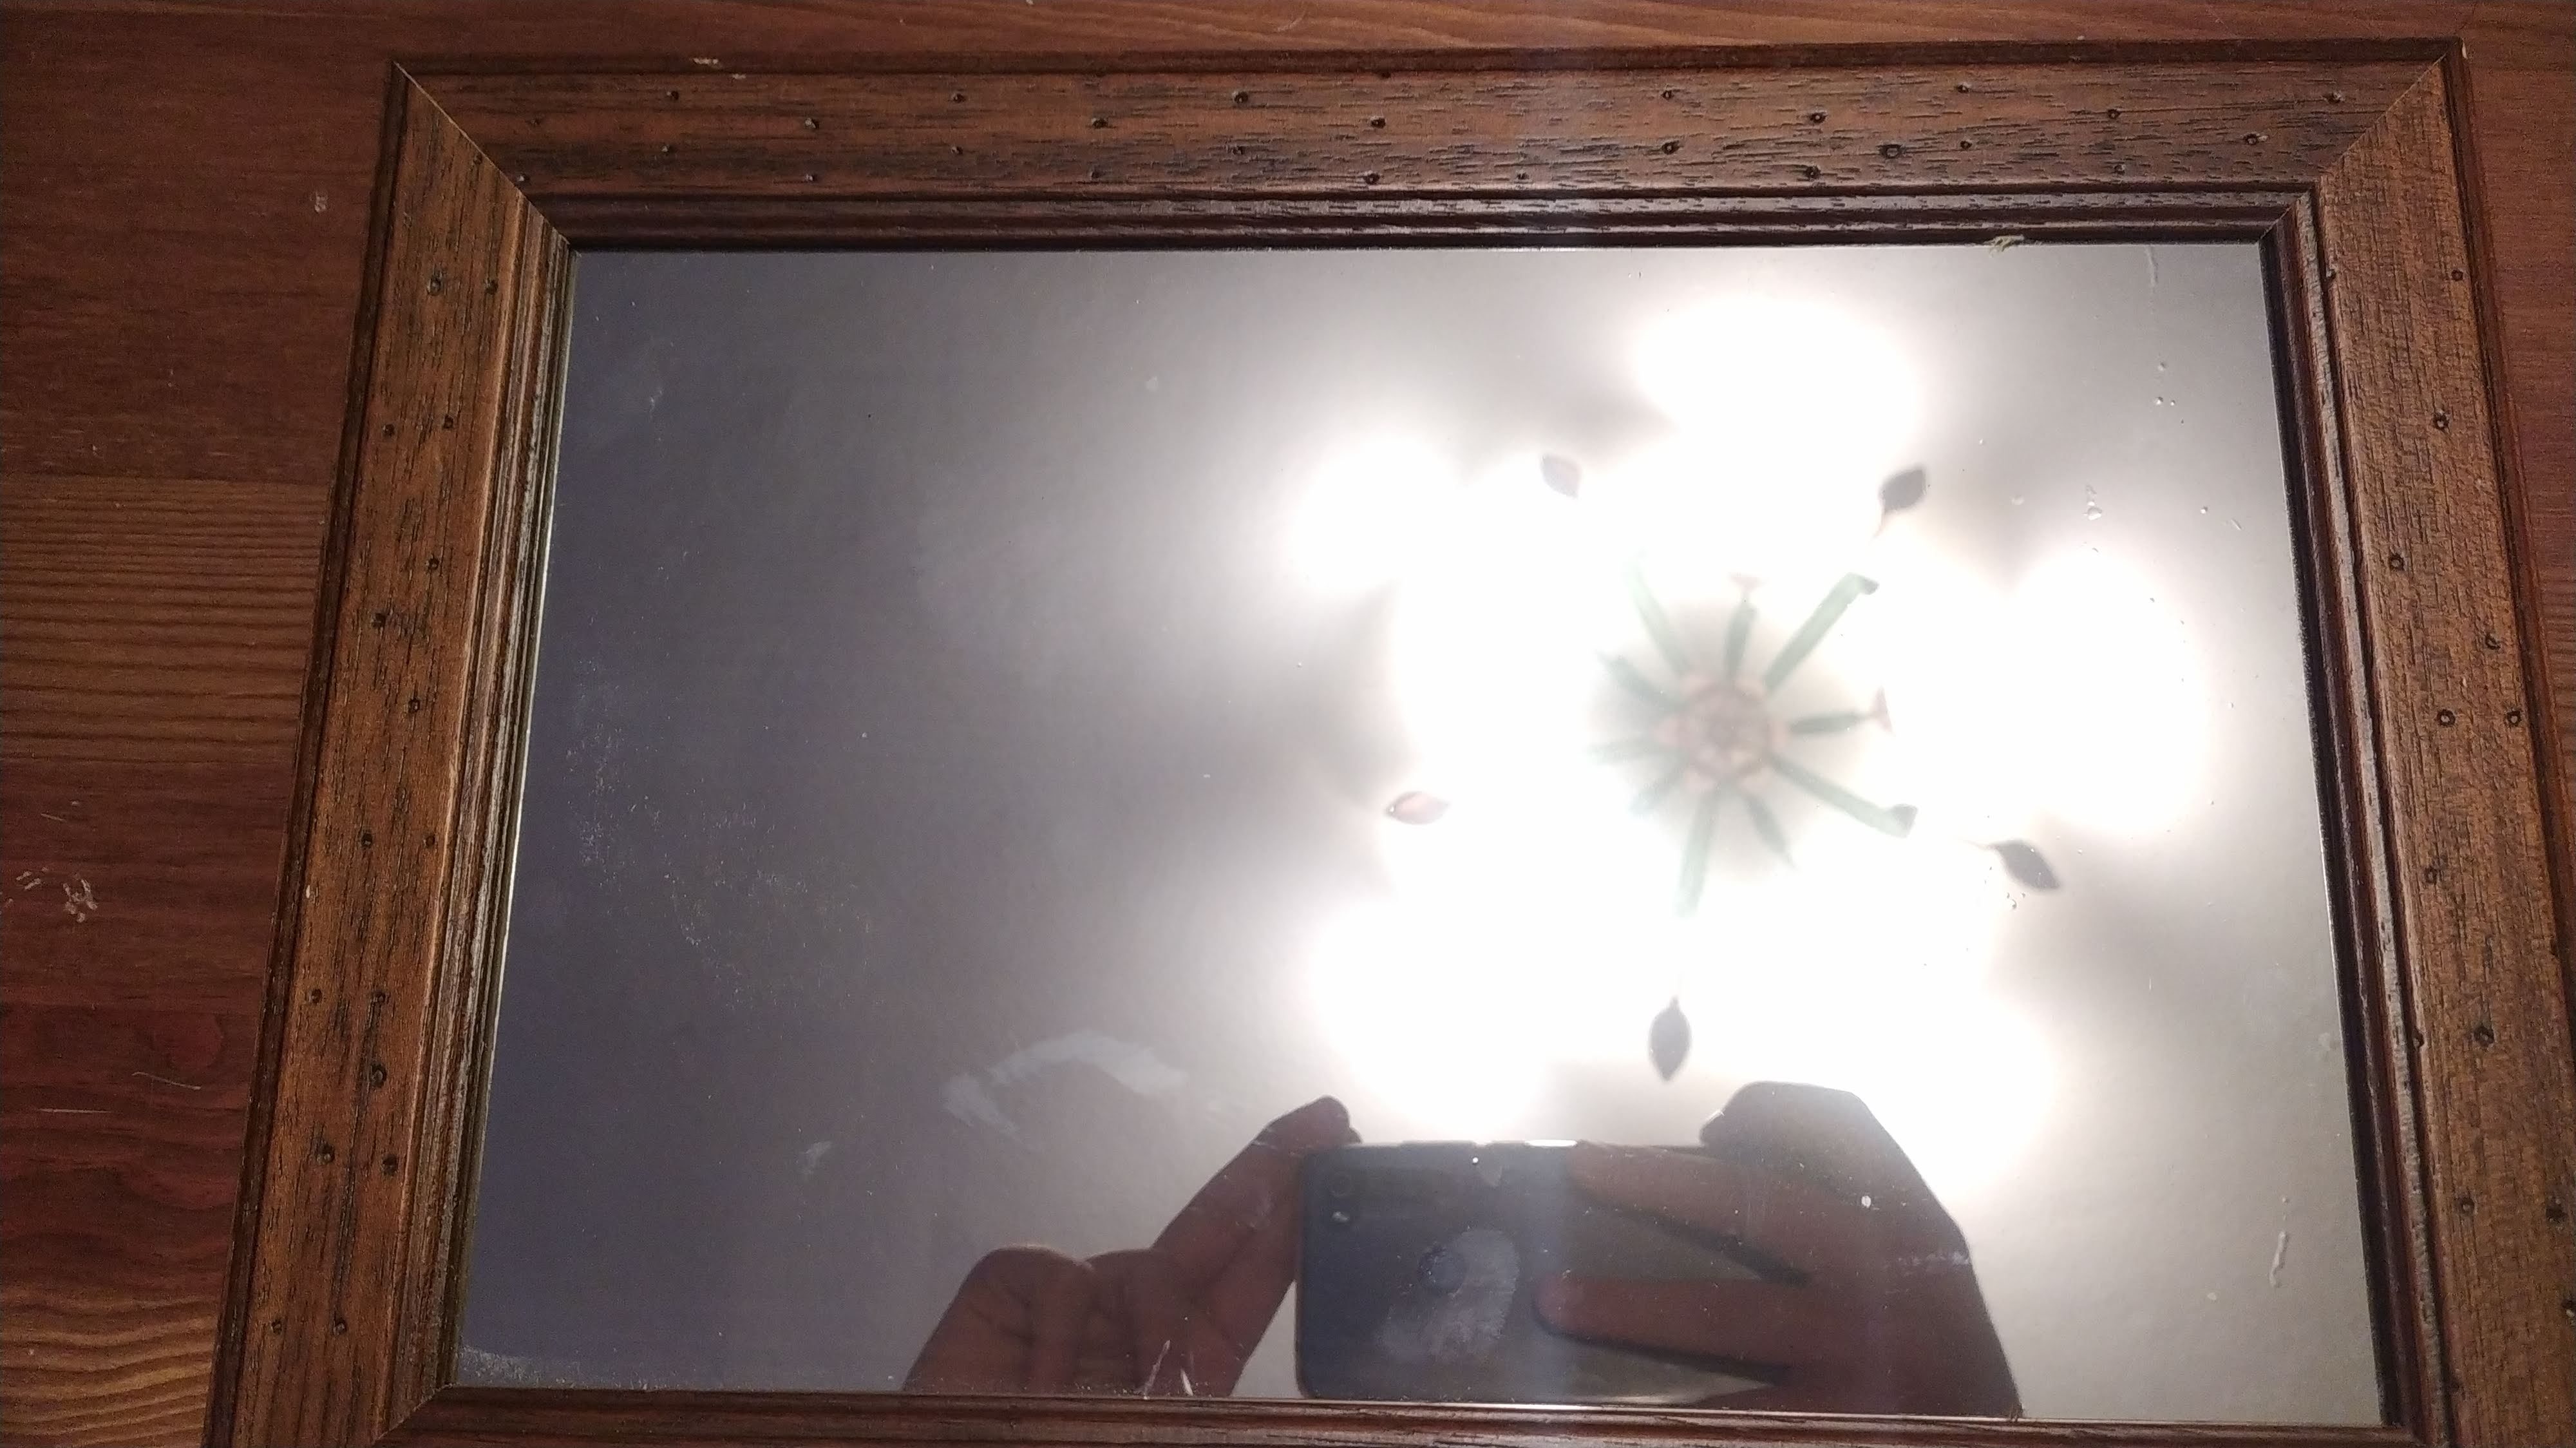
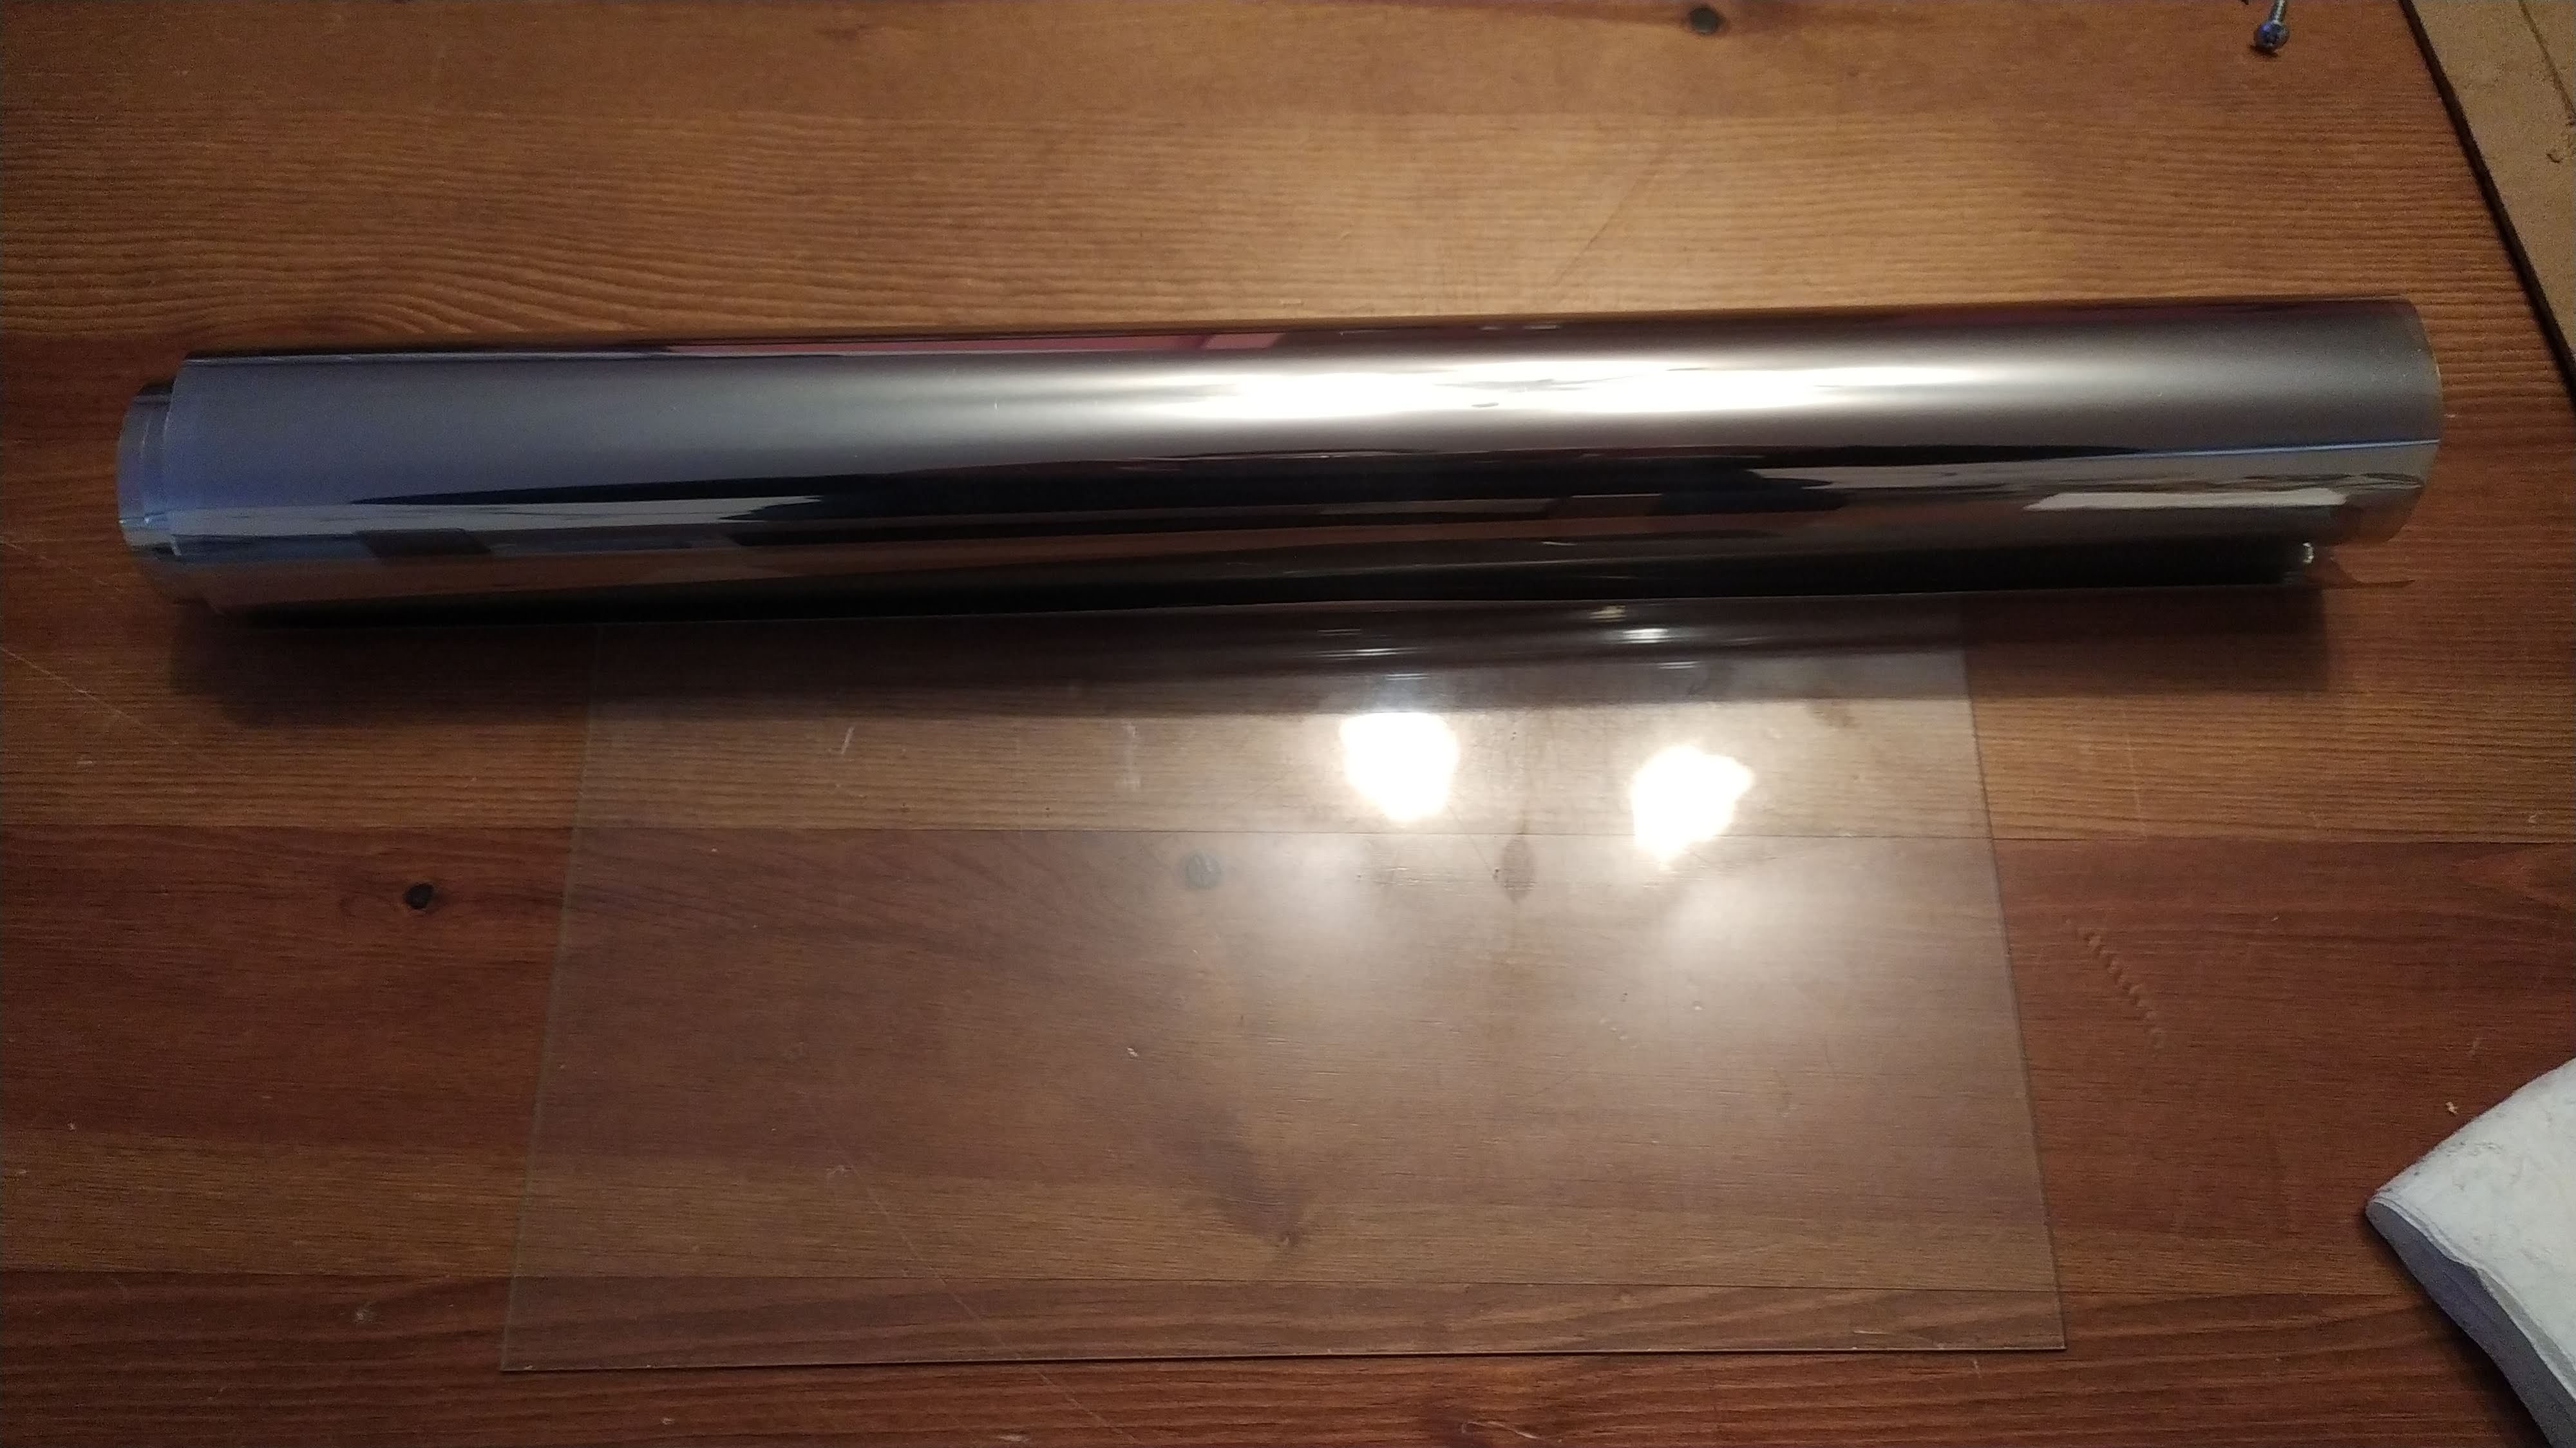
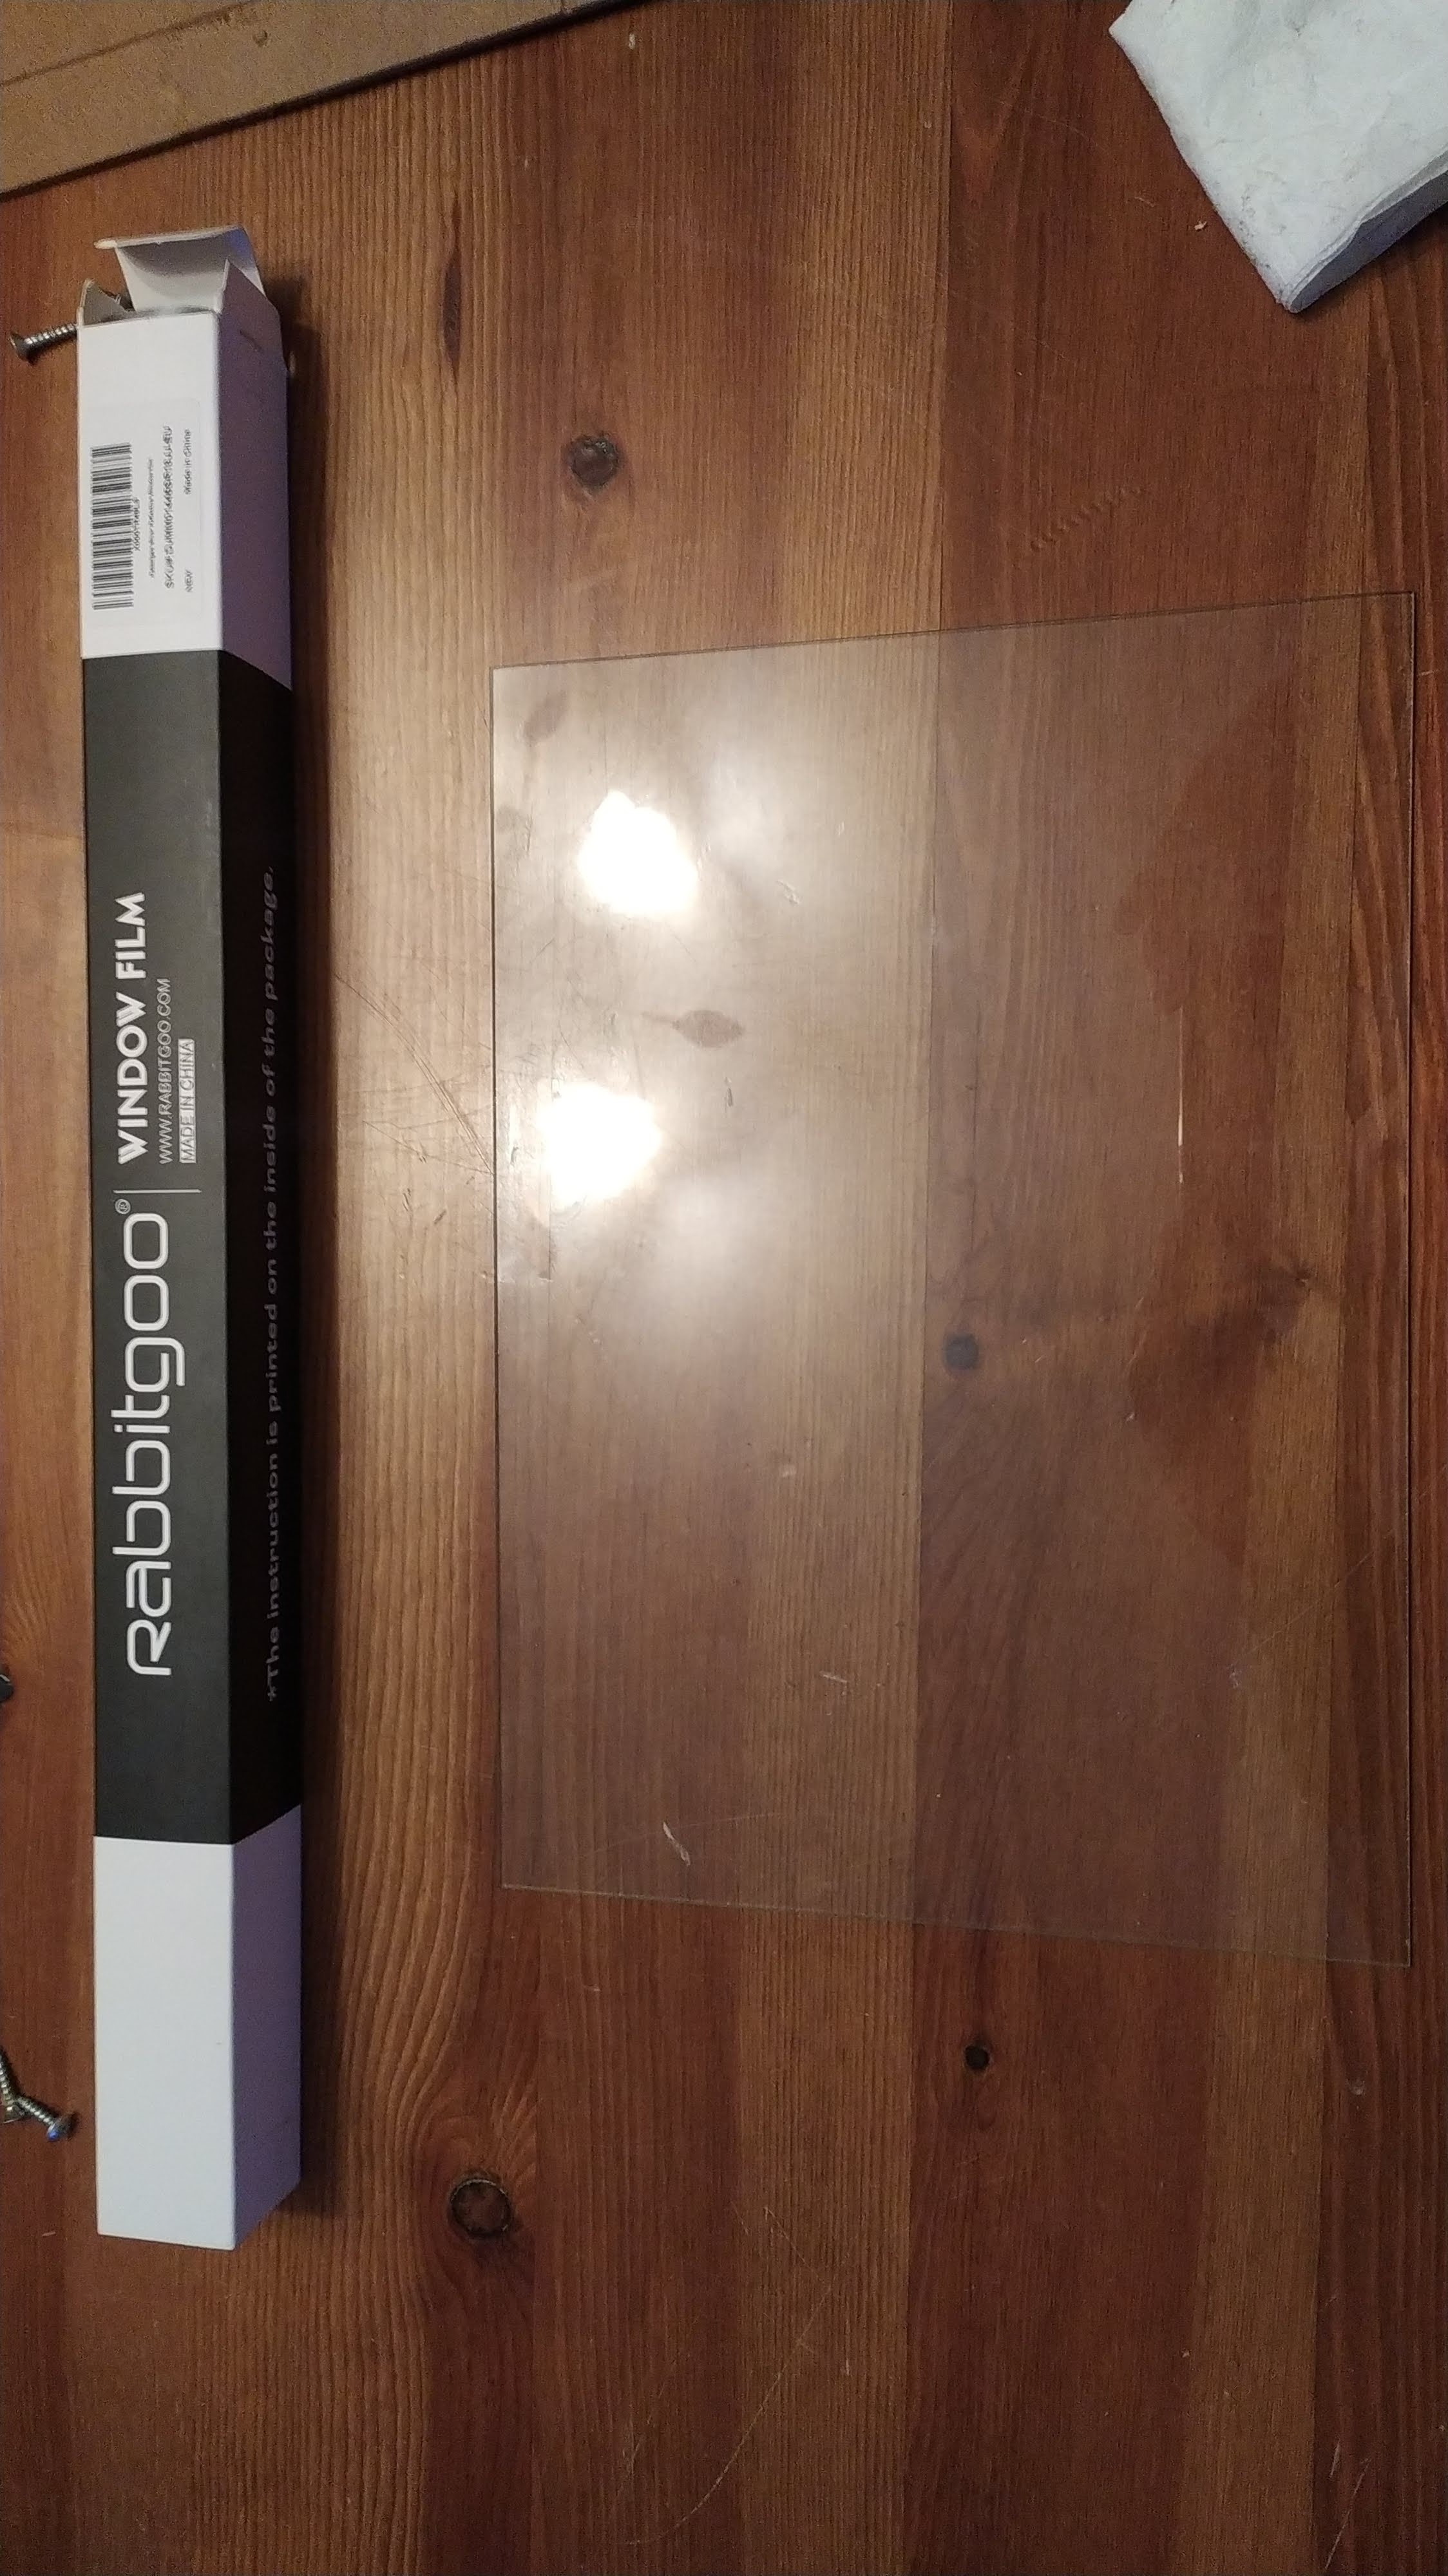
As far as two-way glass is concerned, here too you have two options, you can use a painting glass as I did and apply two-way skin, or you can buy a two-way glass directly.
The first method is cheaper, but you have to be careful because bubbles may occur during the application of the film. The second method is more effective but much more expensive, consider yourself. For the frame I used an old frame of a painting that I already had, but you can also build one yourself with wood!
Hardware: Test the Mirror With the Frame
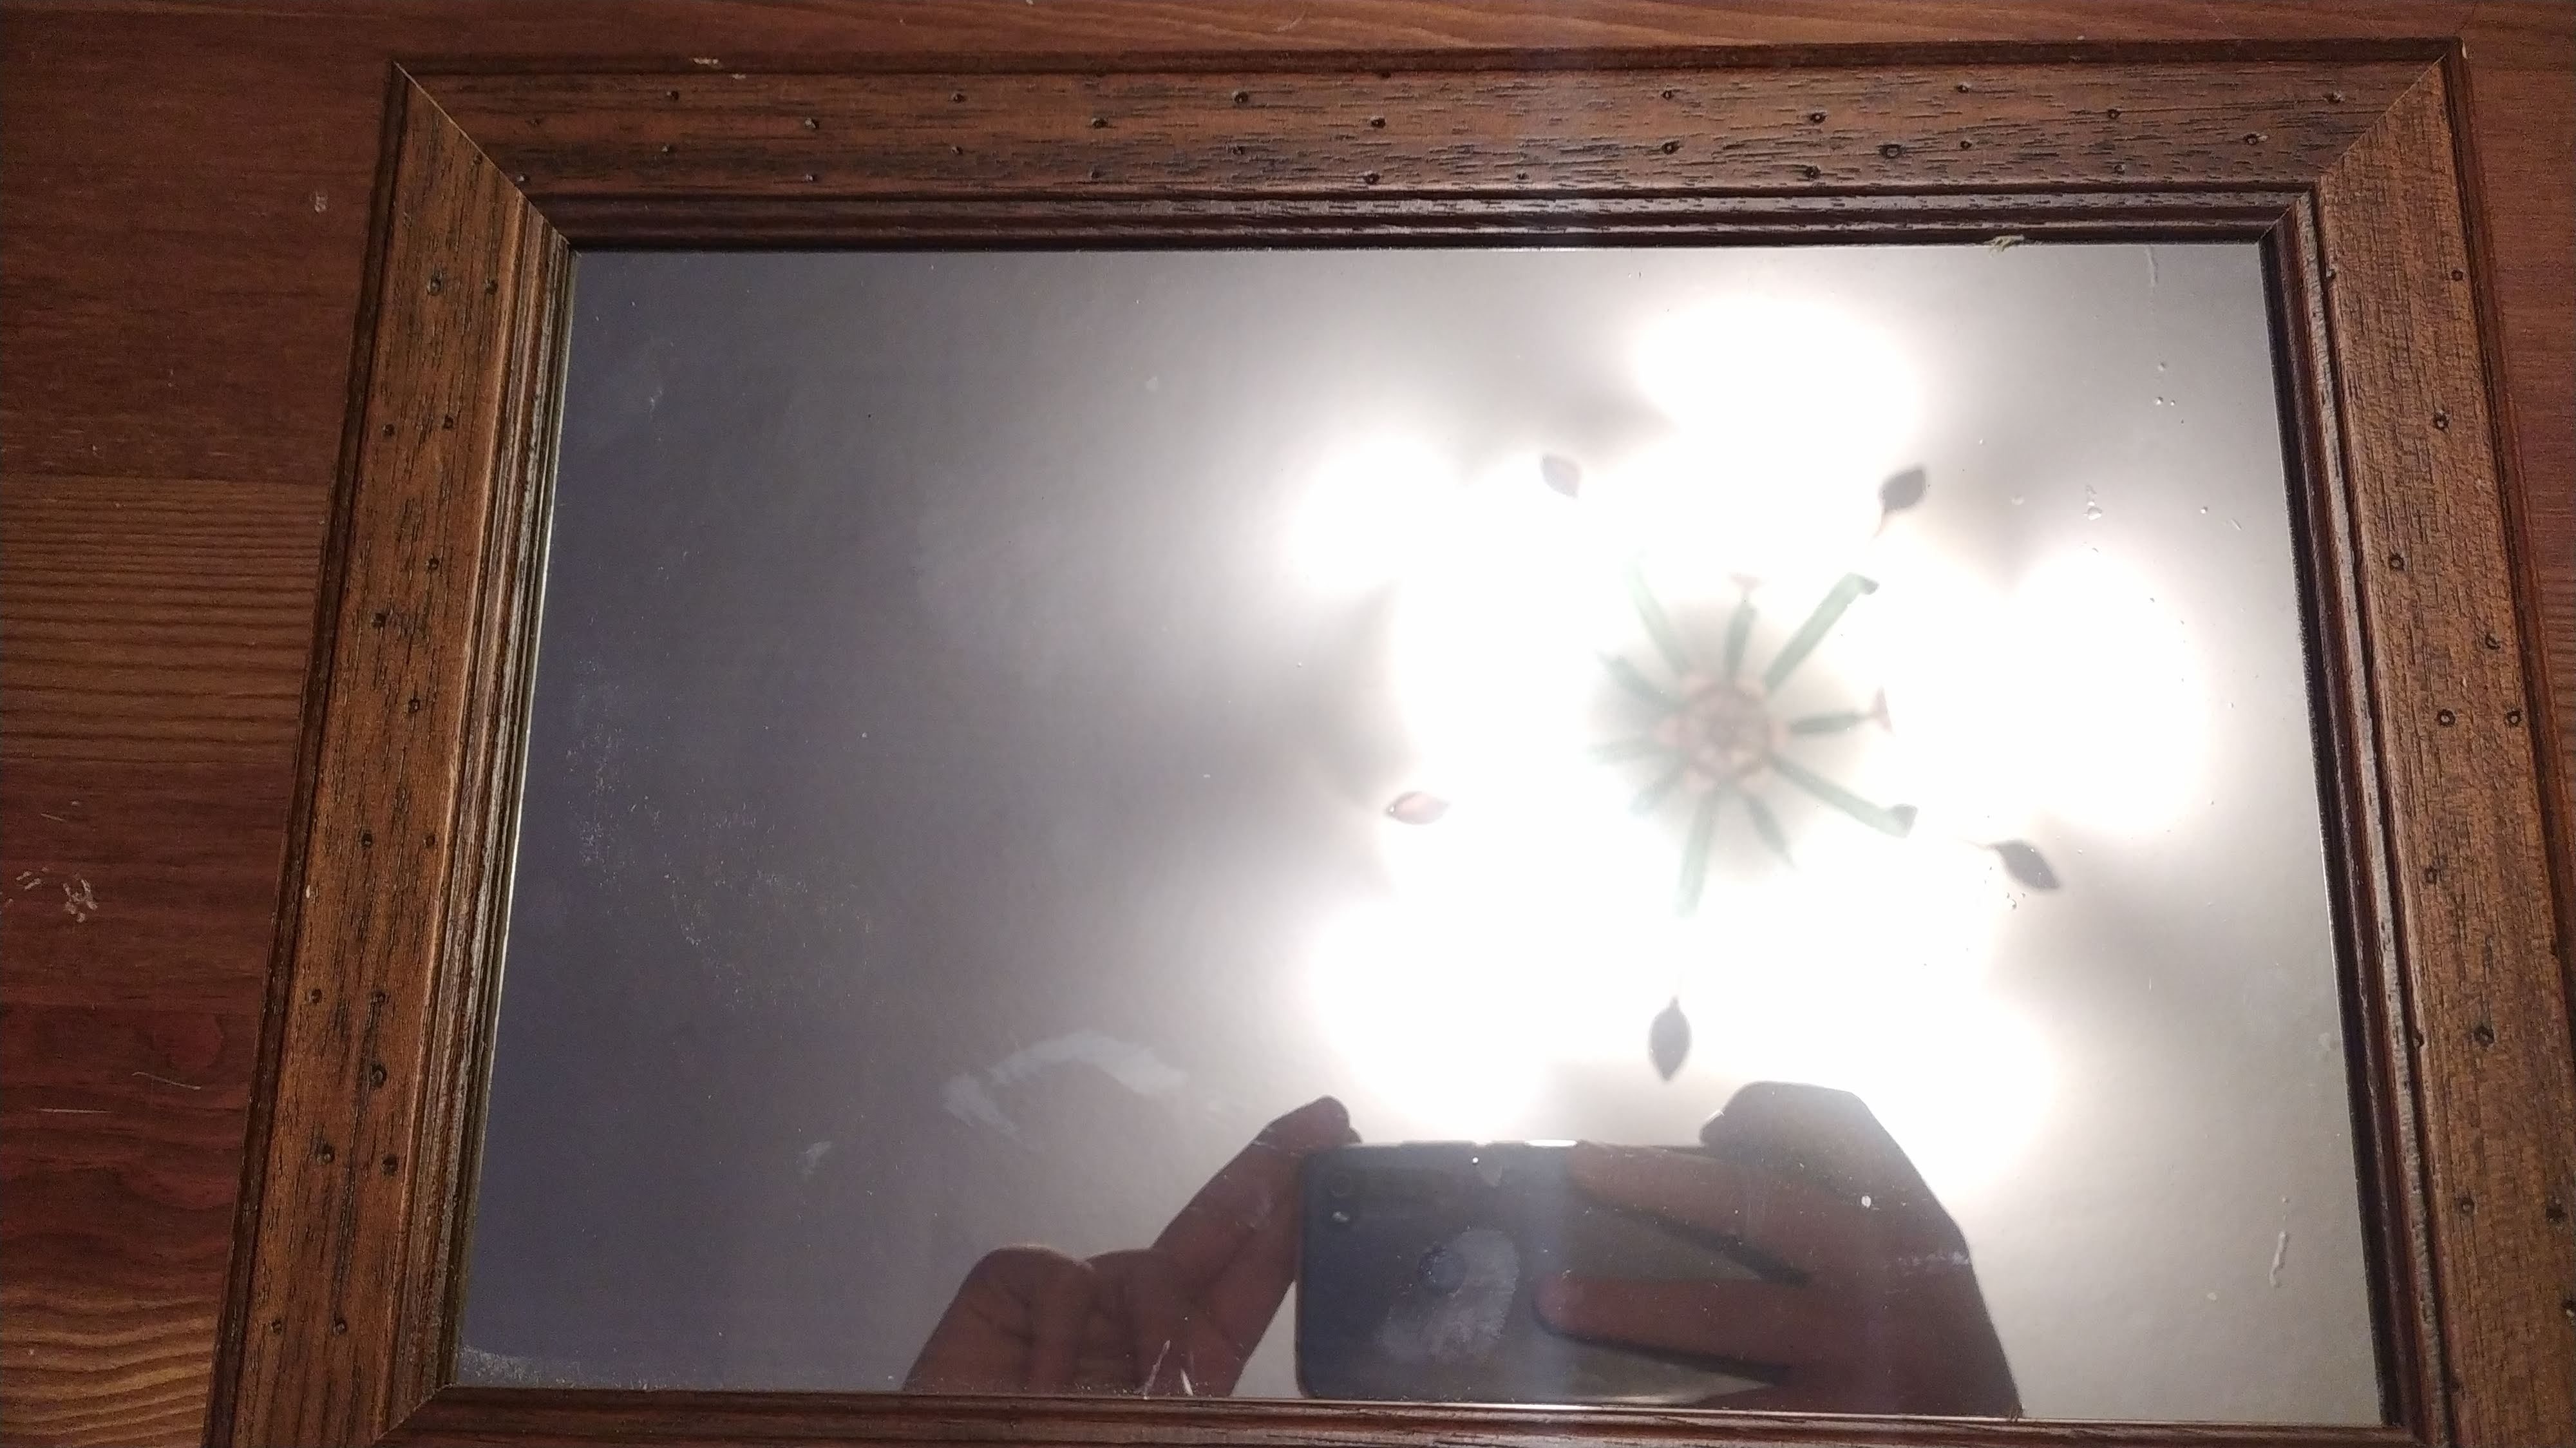
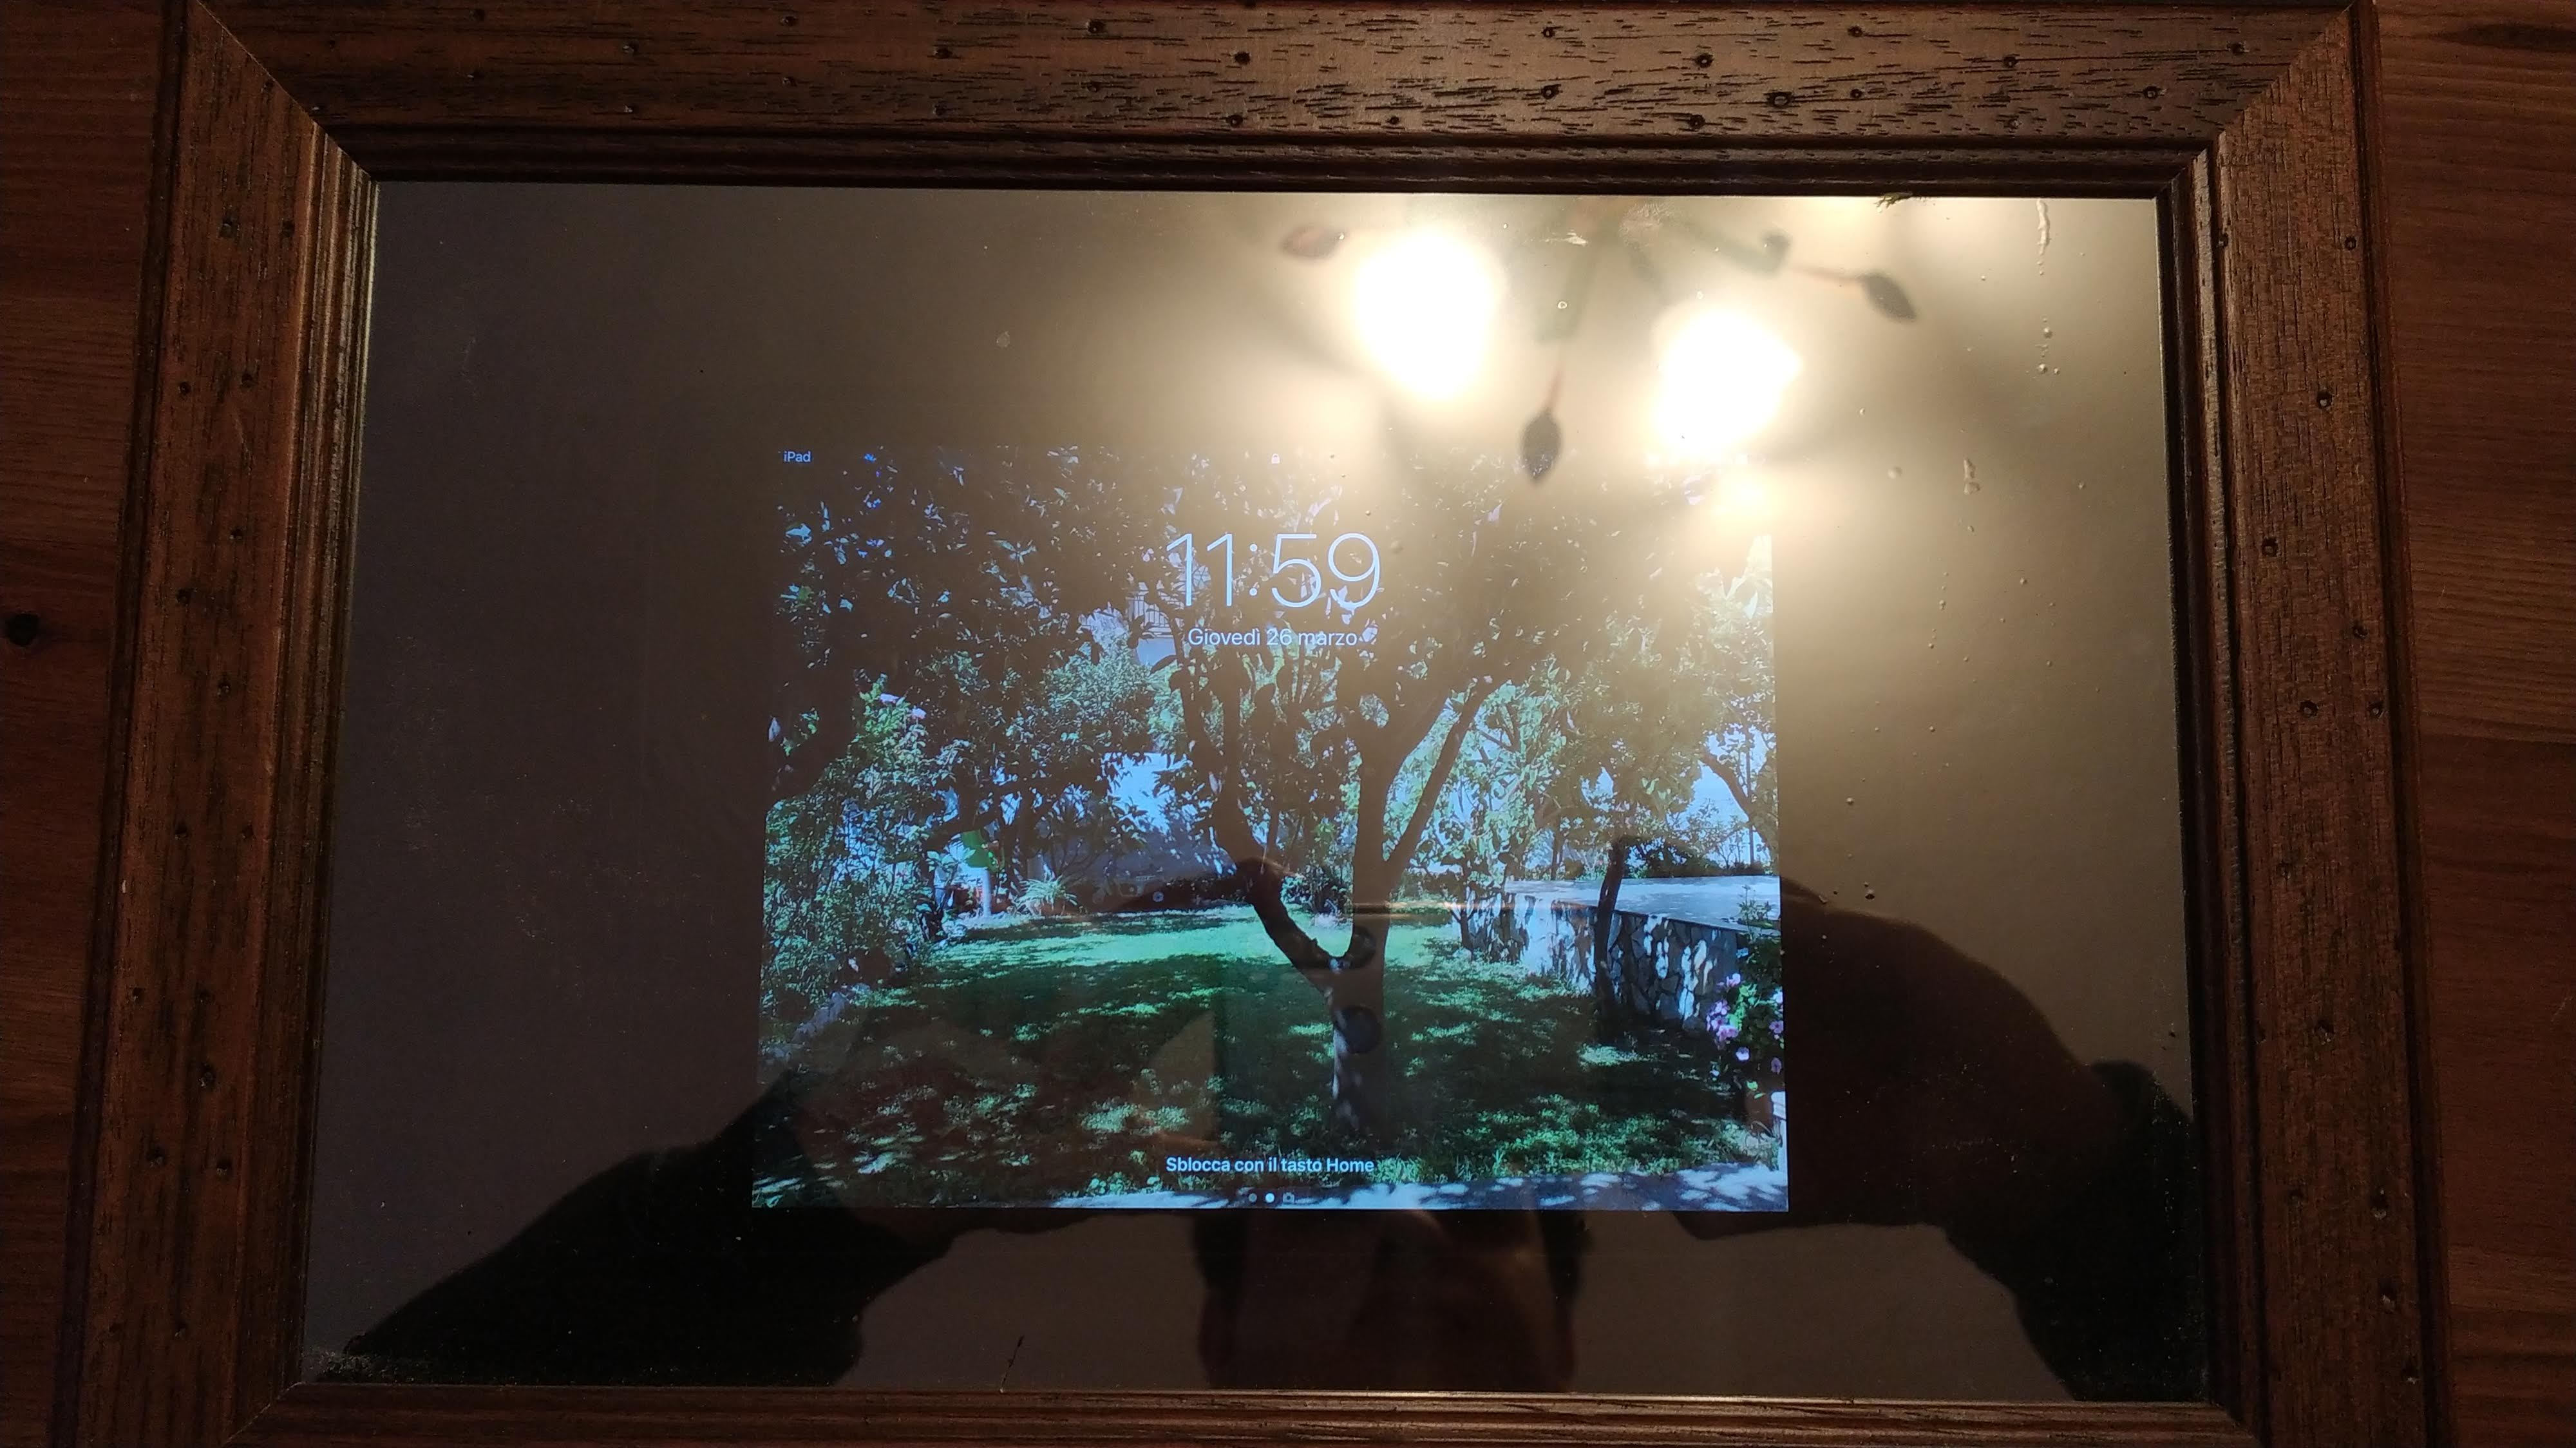
Once the glass is mounted to the frame, you can try the double way effect. To do this I used my iPad.
The double-way glass has the particular function of making the light shine from behind and at the same time reflect the image on the screen.
Software: Raspbian Installation

The operating system for the raspberry is raspbian, a linux distro made especially for raspberries.
Installation is very simple: just go to the official website https://www.raspberrypi.org/downloads/raspbian/ Then download the raspbian image suitable for your raspberry and follow the guide https://www.raspberrypi.org/documentation/installation/installing-images/README.md
Software: MagicMirror2 Installation
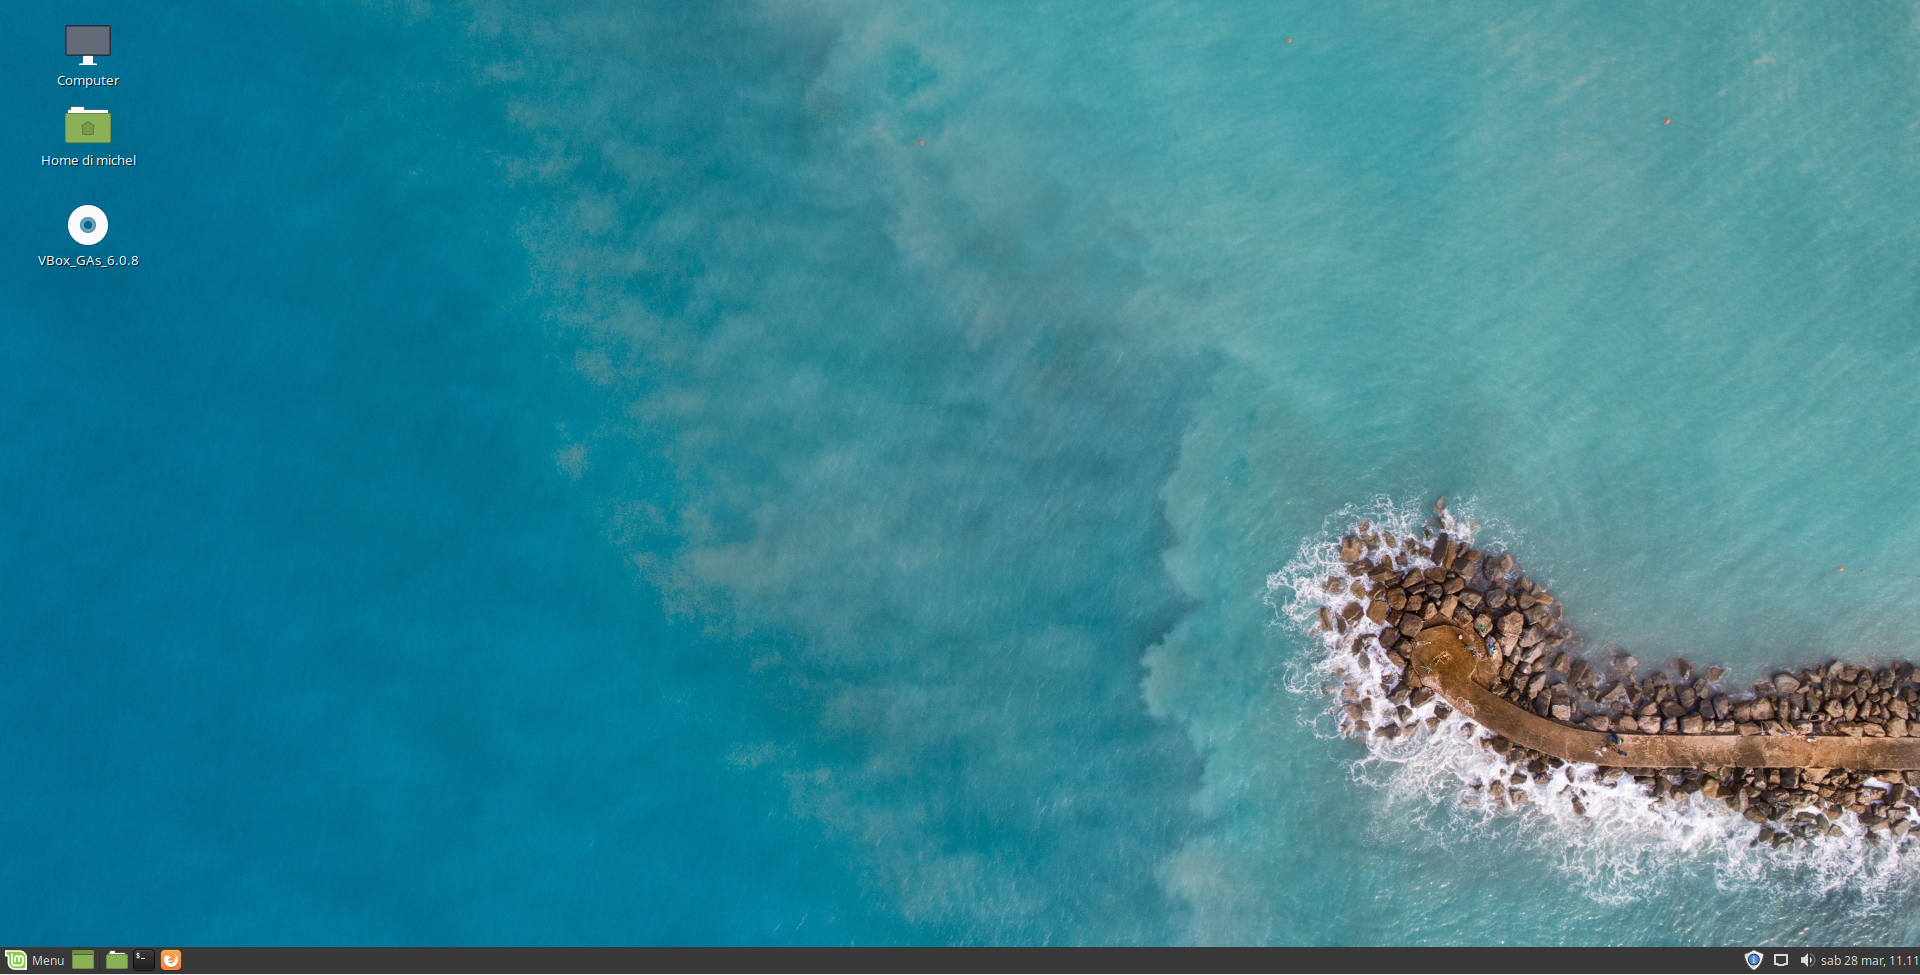
The software to make the mirror go is called MagicMirror2, I'm not the author.
The official website is this here: https://magicmirror.builders/
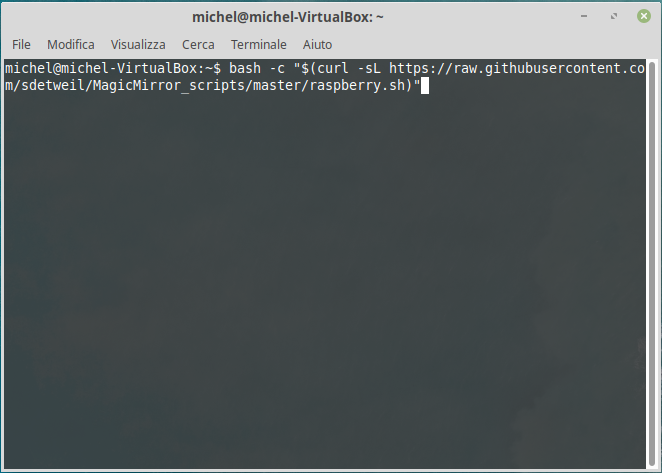
The software is very easy to install, just open a terminal session and type the command:
bash -c "$(curl -sL https://raw.githubusercontent.com/sdetweil/MagicM...
This command automatically installs the magic mirror software and all its dependencies in the home directory.
During the installation phase you will be asked if you want to automatically start MagicMirror at startup, you select yes, otherwise you will have to open it manually.
Software: Starting MagicMirror Manually
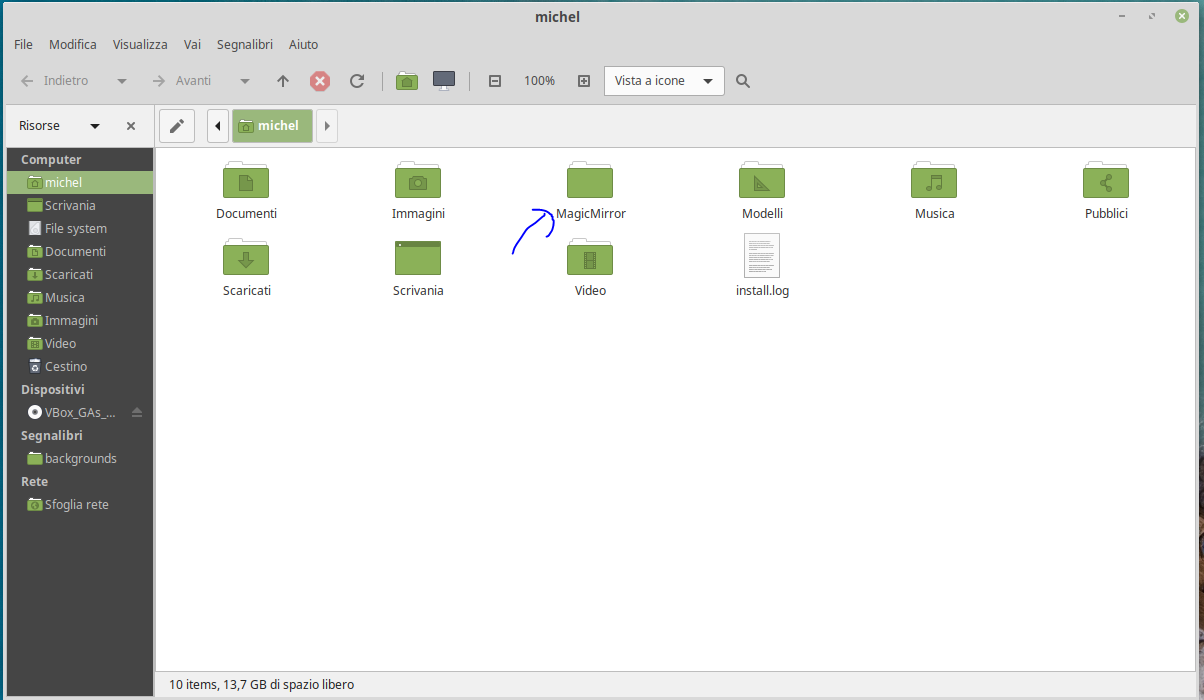
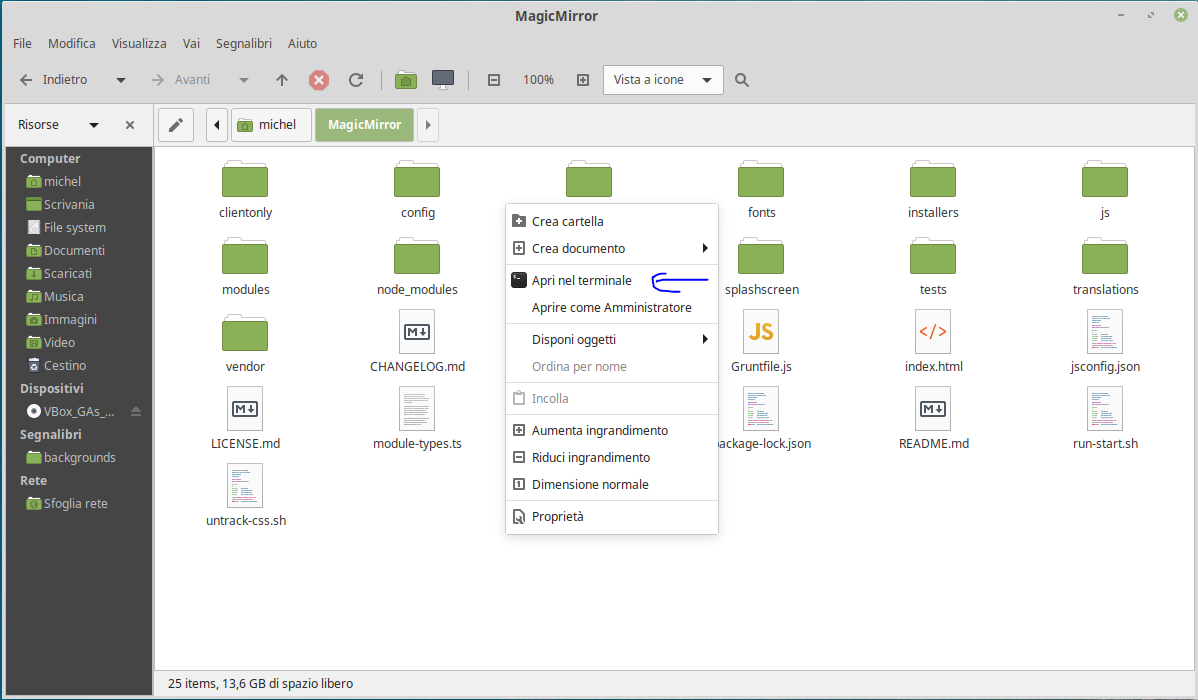
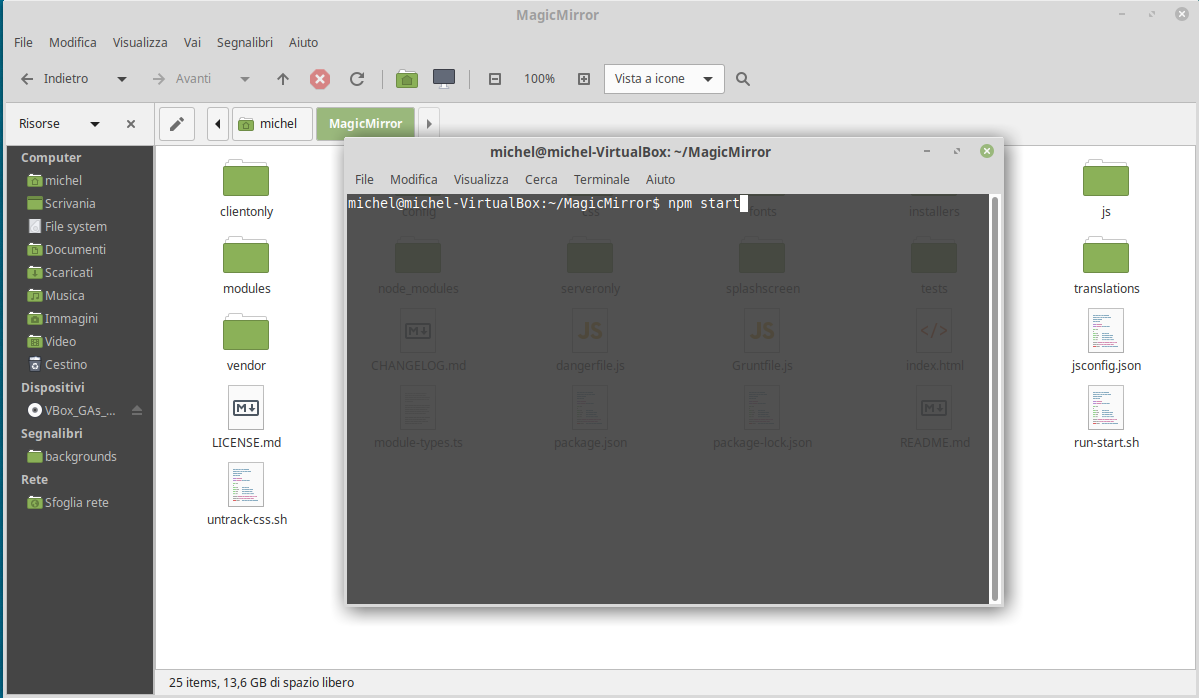
If you want to start magic mirror manually, simply go to the home directory of your raspberry, open the magicmirror folder, right click and press the open button on the terminal.
At that point you will need to type the npm start command to start the program
Testing the Software

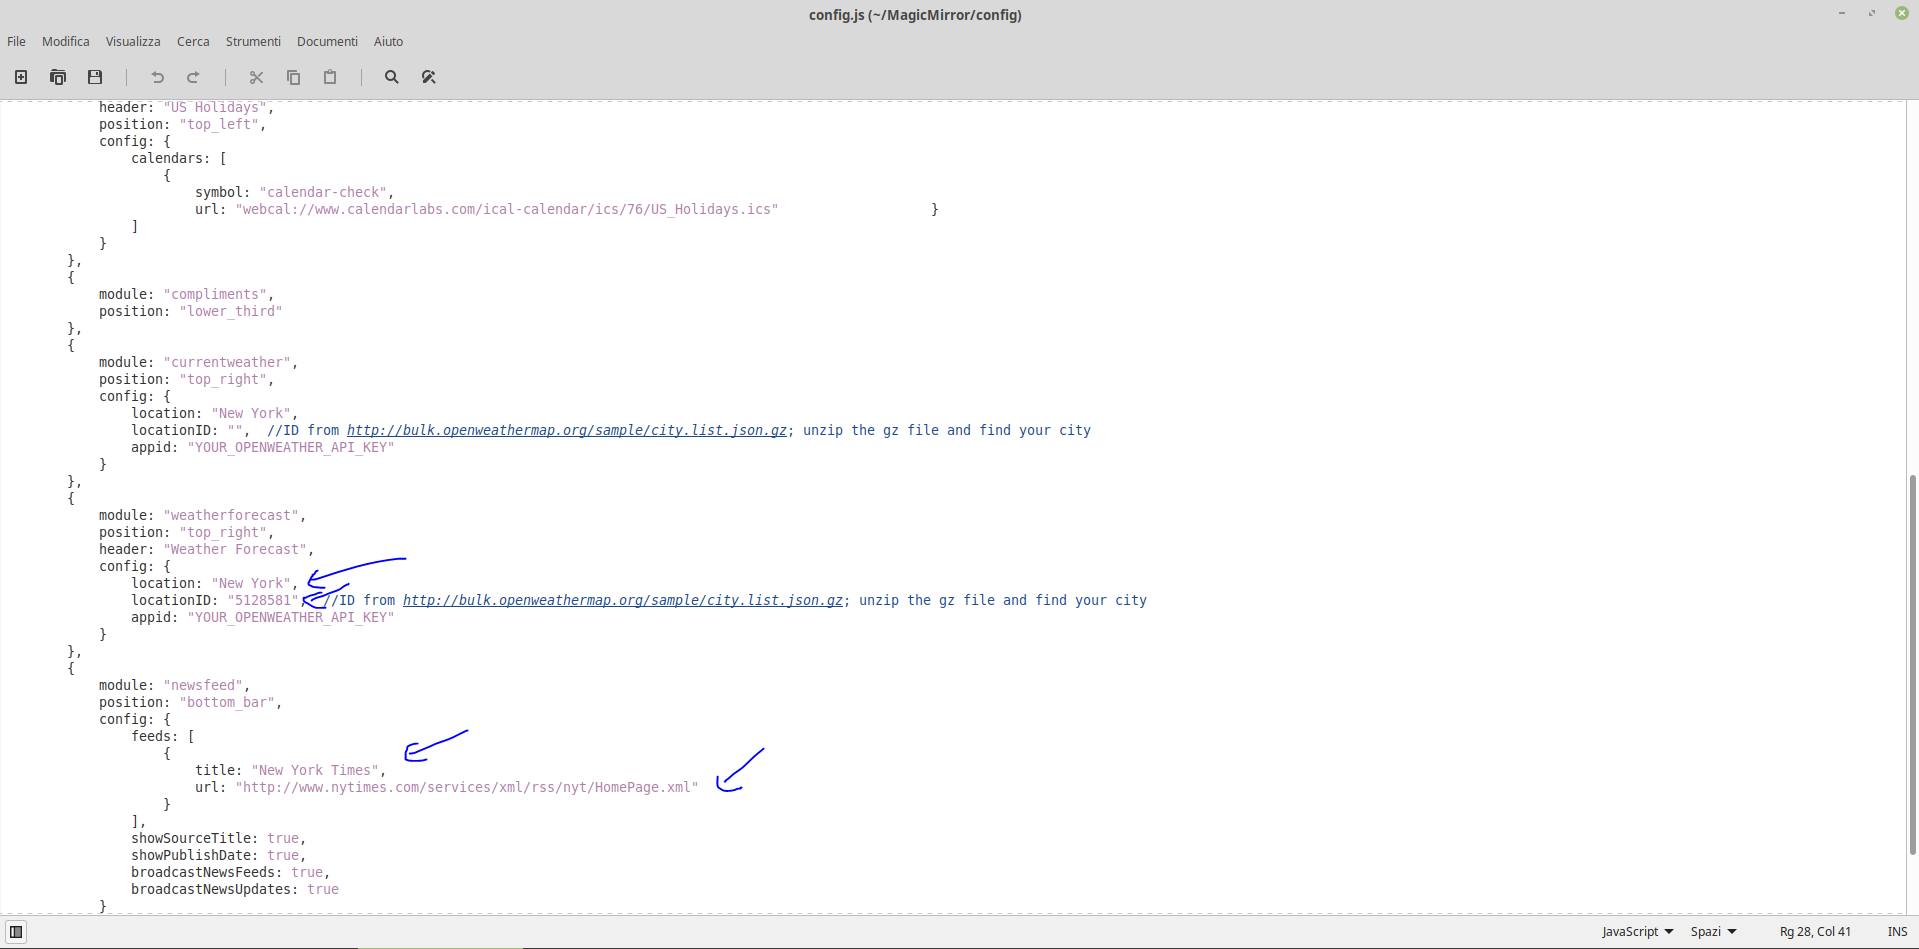
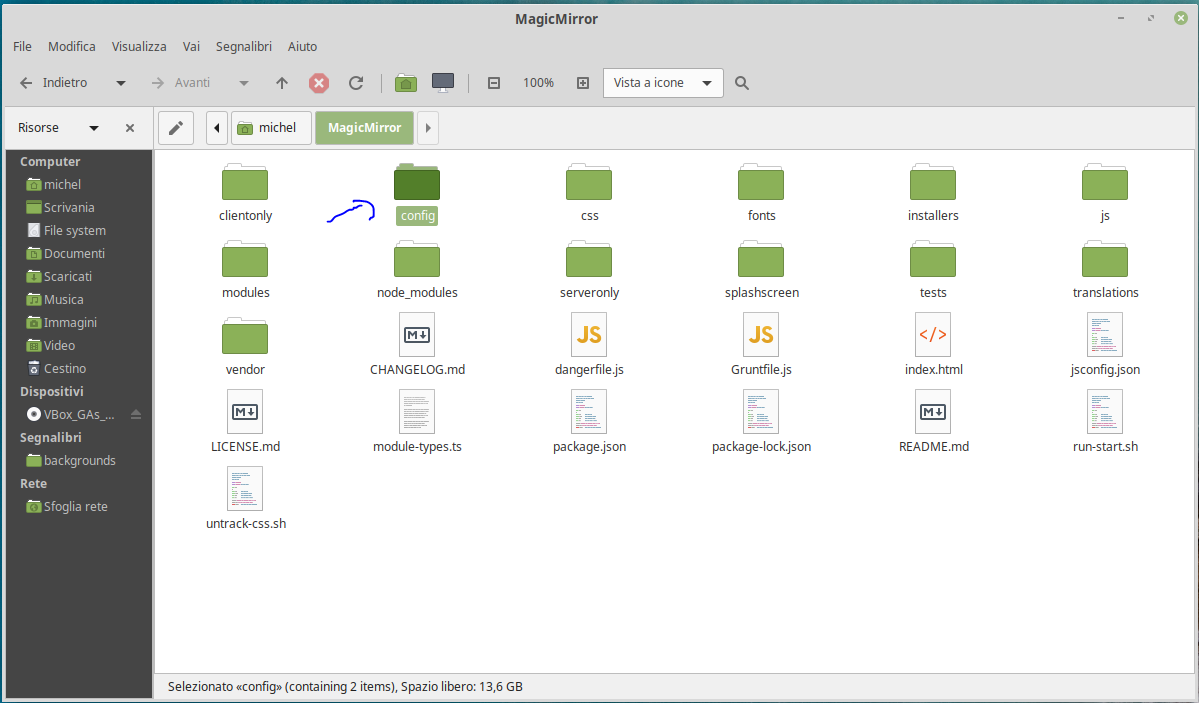
Perform the procedure to open the program if it has not started on its own. So you can see the software to be started as it is.
To modify the configuration it will be necessary to modify the config file, through which it is possible to enable or disable modules, modify them and many other graphic things.
Test the Smart Mirror
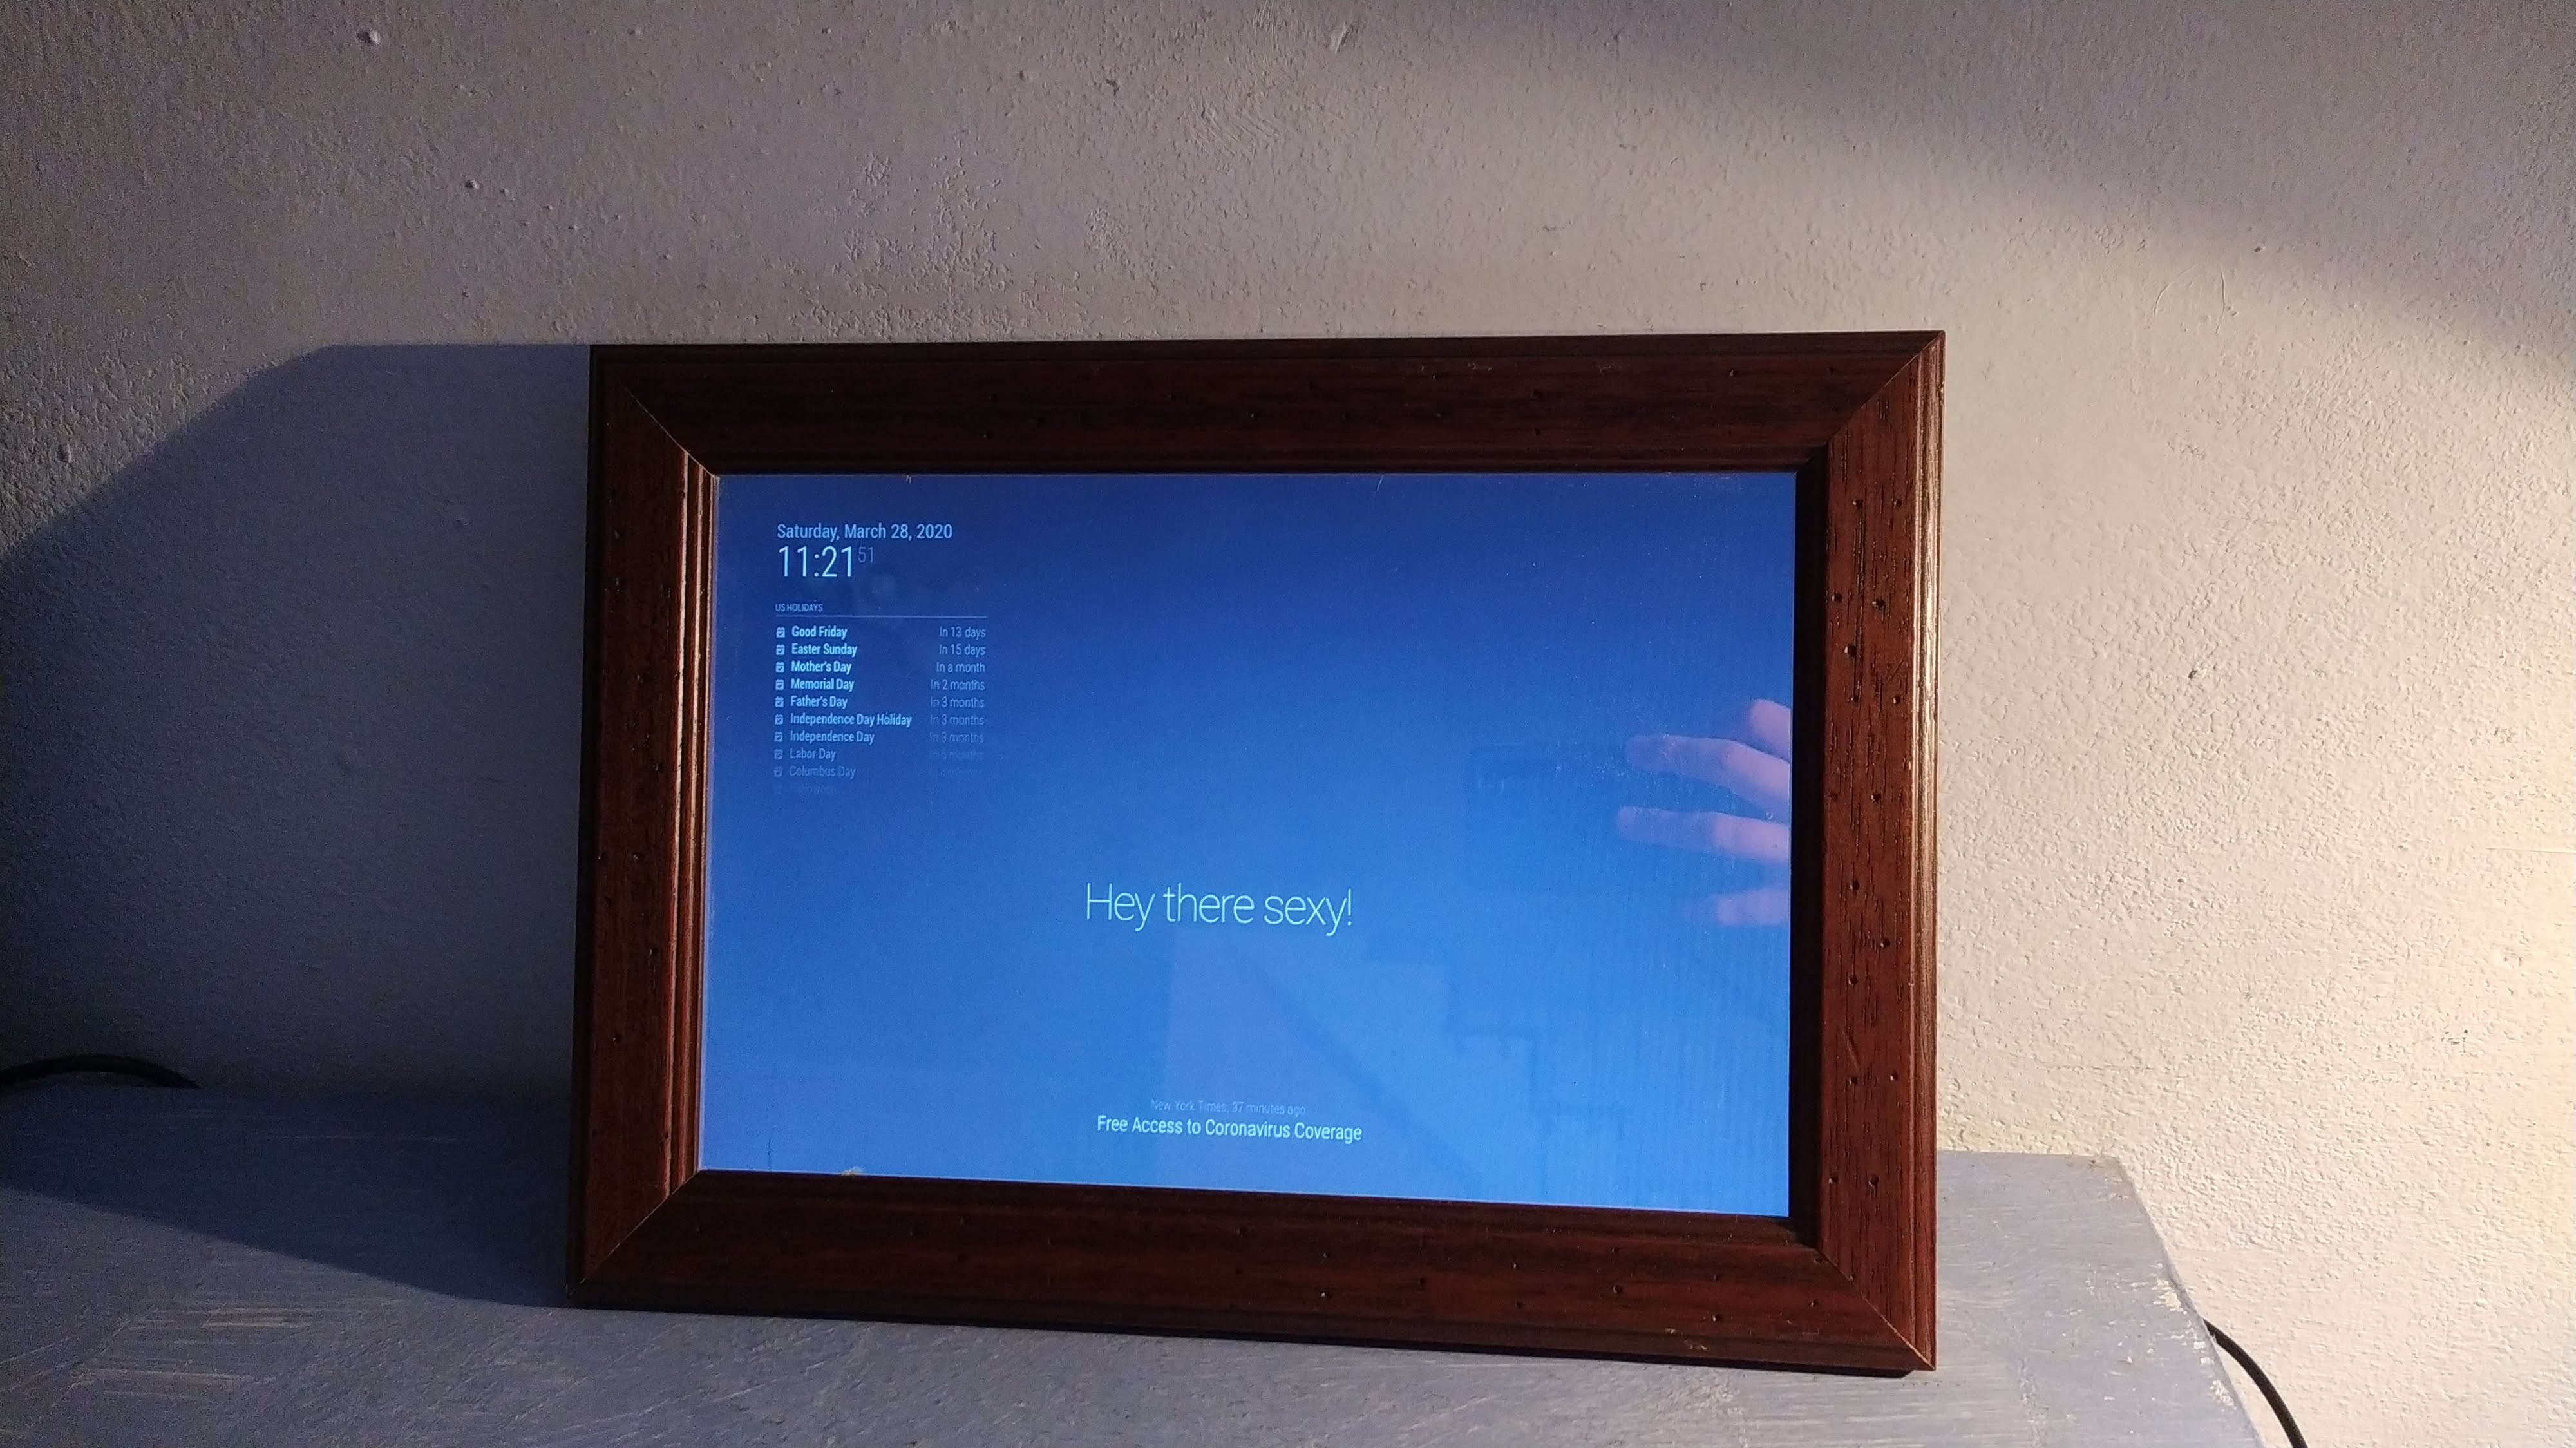

Finally, to test everything, simply attach the raspberry to the monitor that we previously attached to the mirror.
So we can see the project working. For all other information, the official website of the project is this: https://magicmirror.builders/
Also remember to buy the raspberry at a great price and also buy electronic components of all kinds you can do it from LCSC, world leader in electronic components
http://lcsc.com/