How to Build a PC
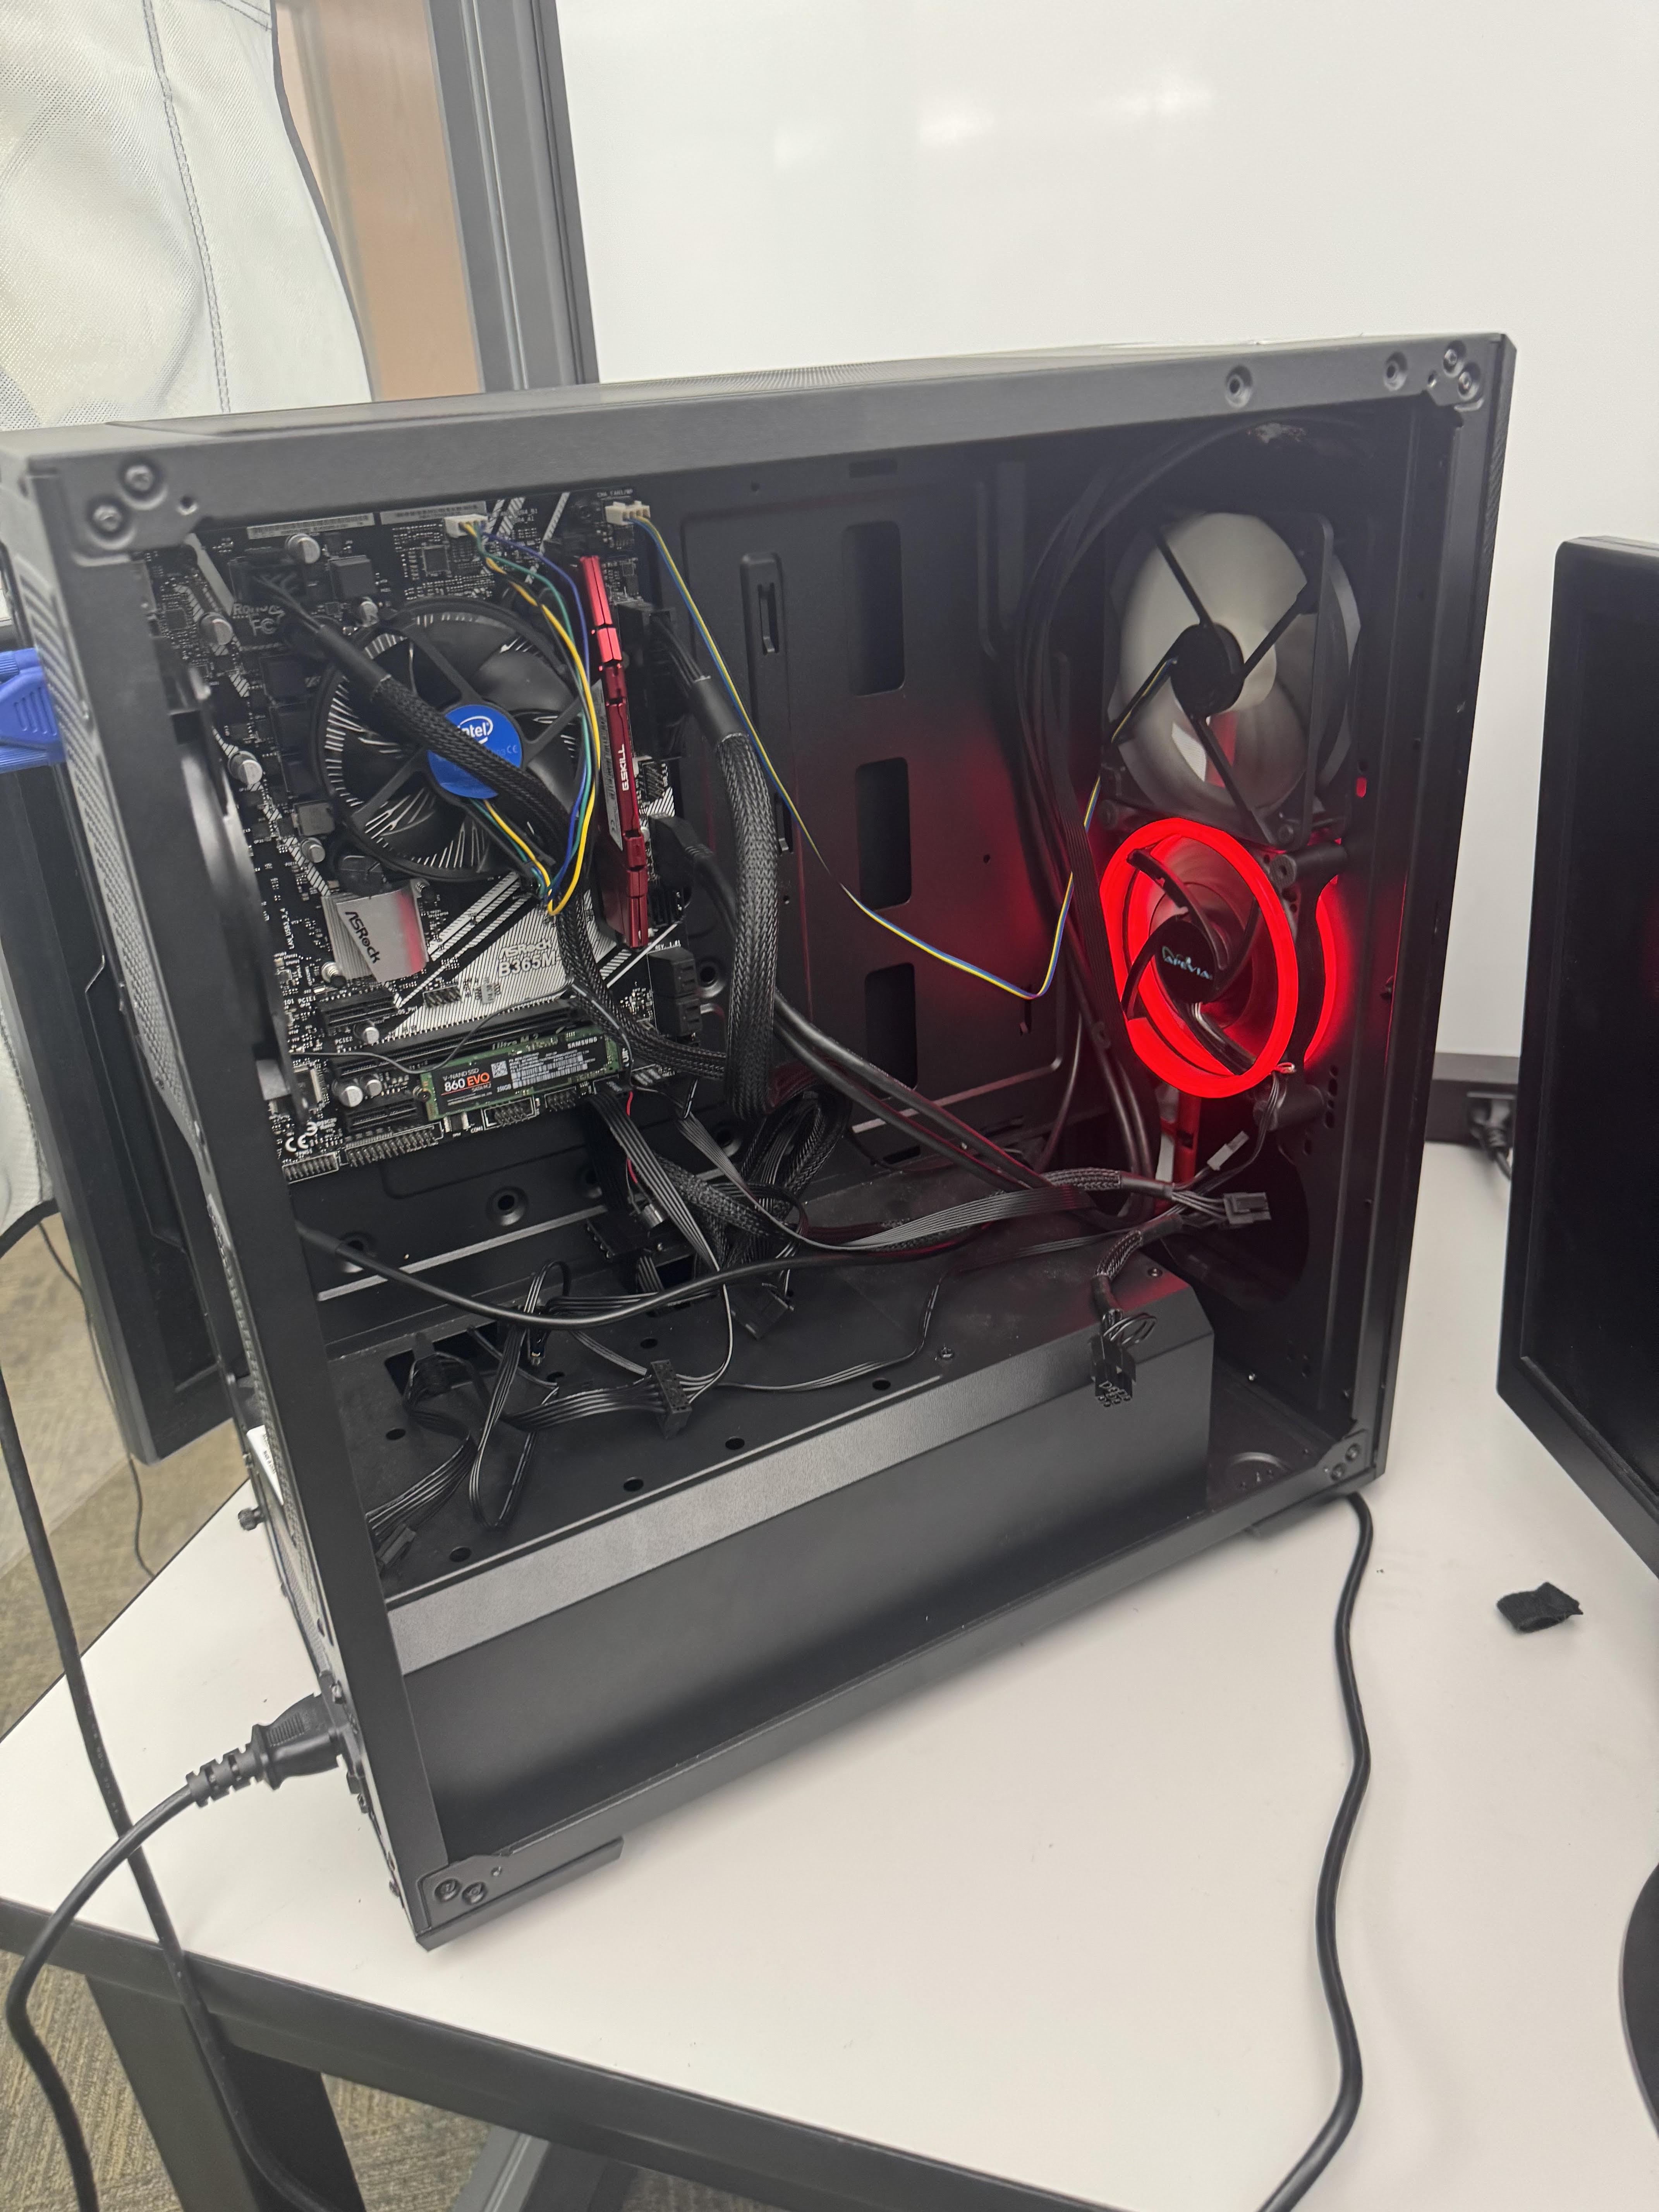
This set of instructions is for building a PC
Supplies
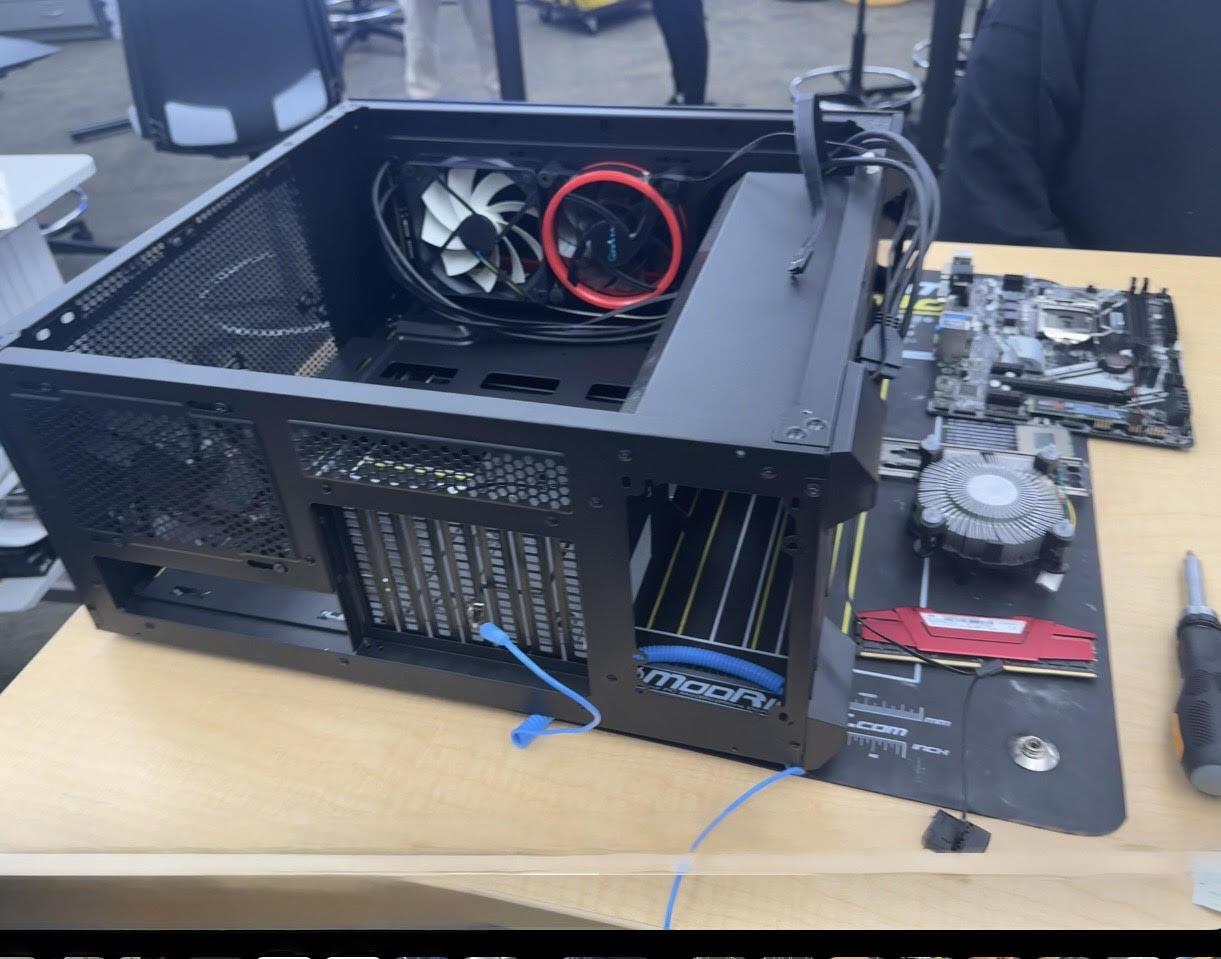
- Motherboard with integrated graphics
- Intel CPU with integrated graphics
- Intel Cooling fan/heat sink
- power supply with the correct voltage
- The case that will fit all components
- Philips Head Screwdriver(Medium Size)
- Small Plastic Screw Case
- Anti-static mat and/or Wristband
- Thermal Paste
Set Up Workspace
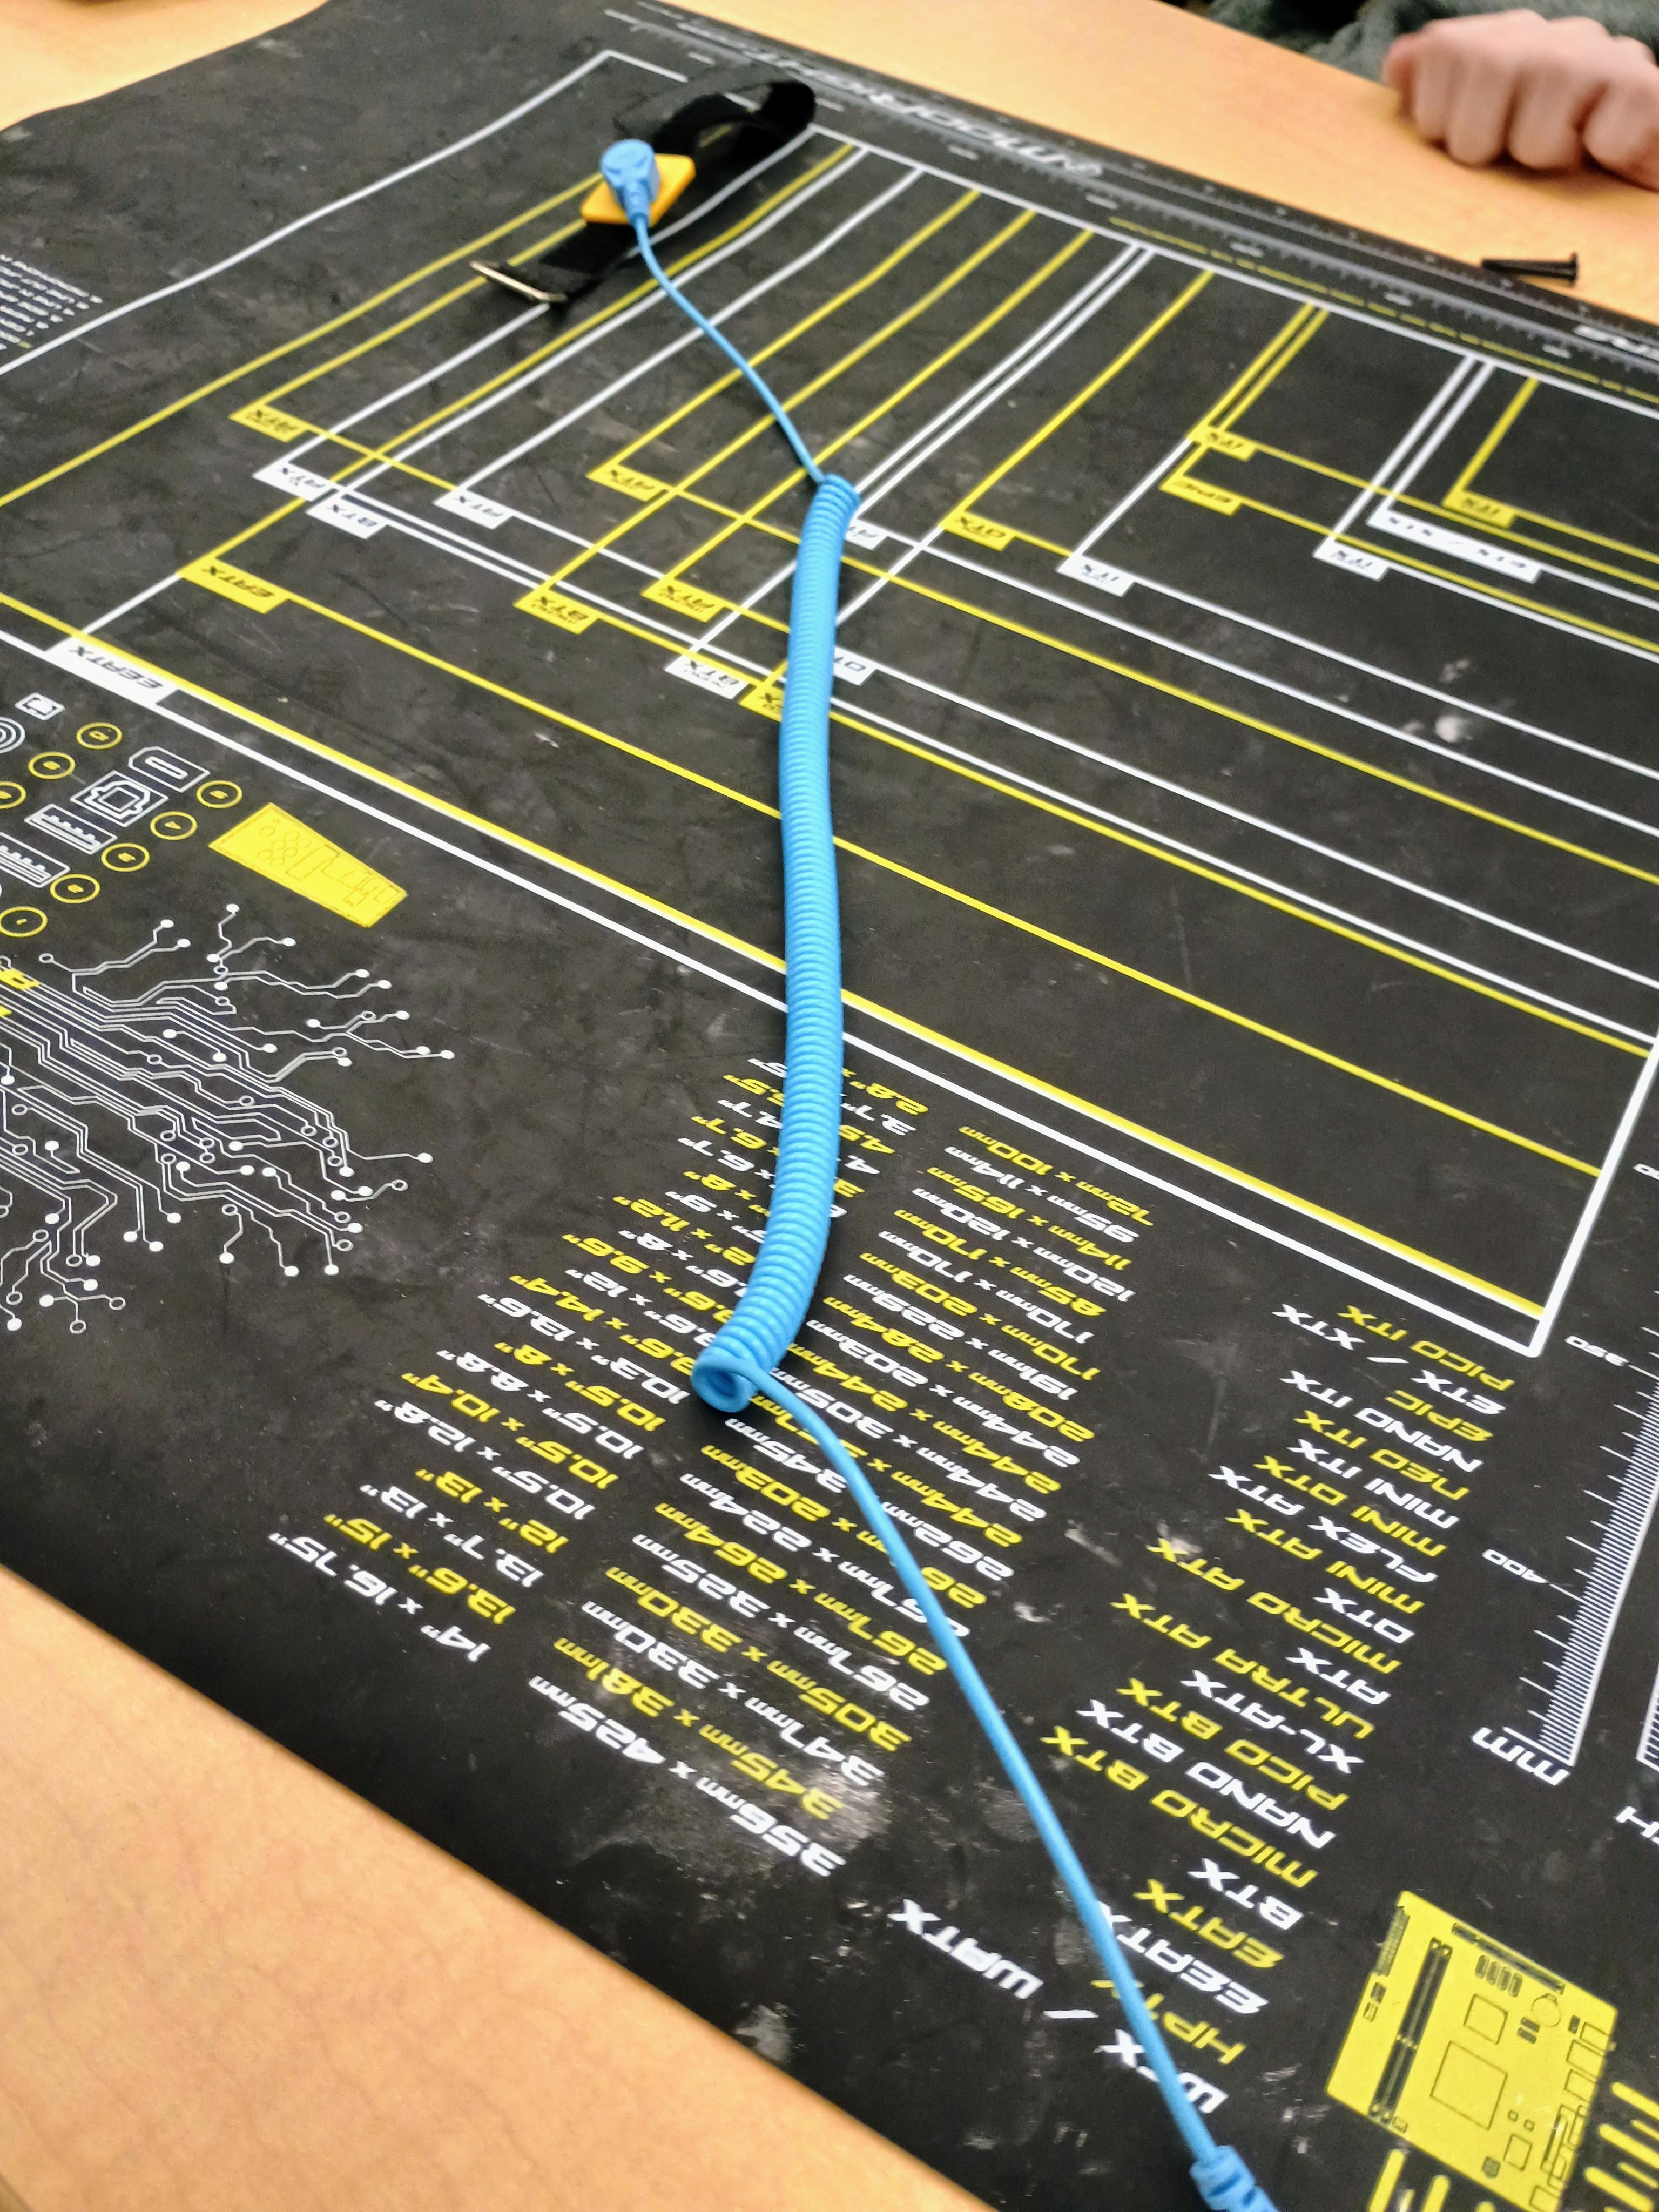
Find a clean flat surface get an anti-static mat and/or wristband and ground yourself.
Make sure to set the mat on the table and put all components on the mat, also put the band on and attach the metal clamp to the case.
Install CPU (Part 1)
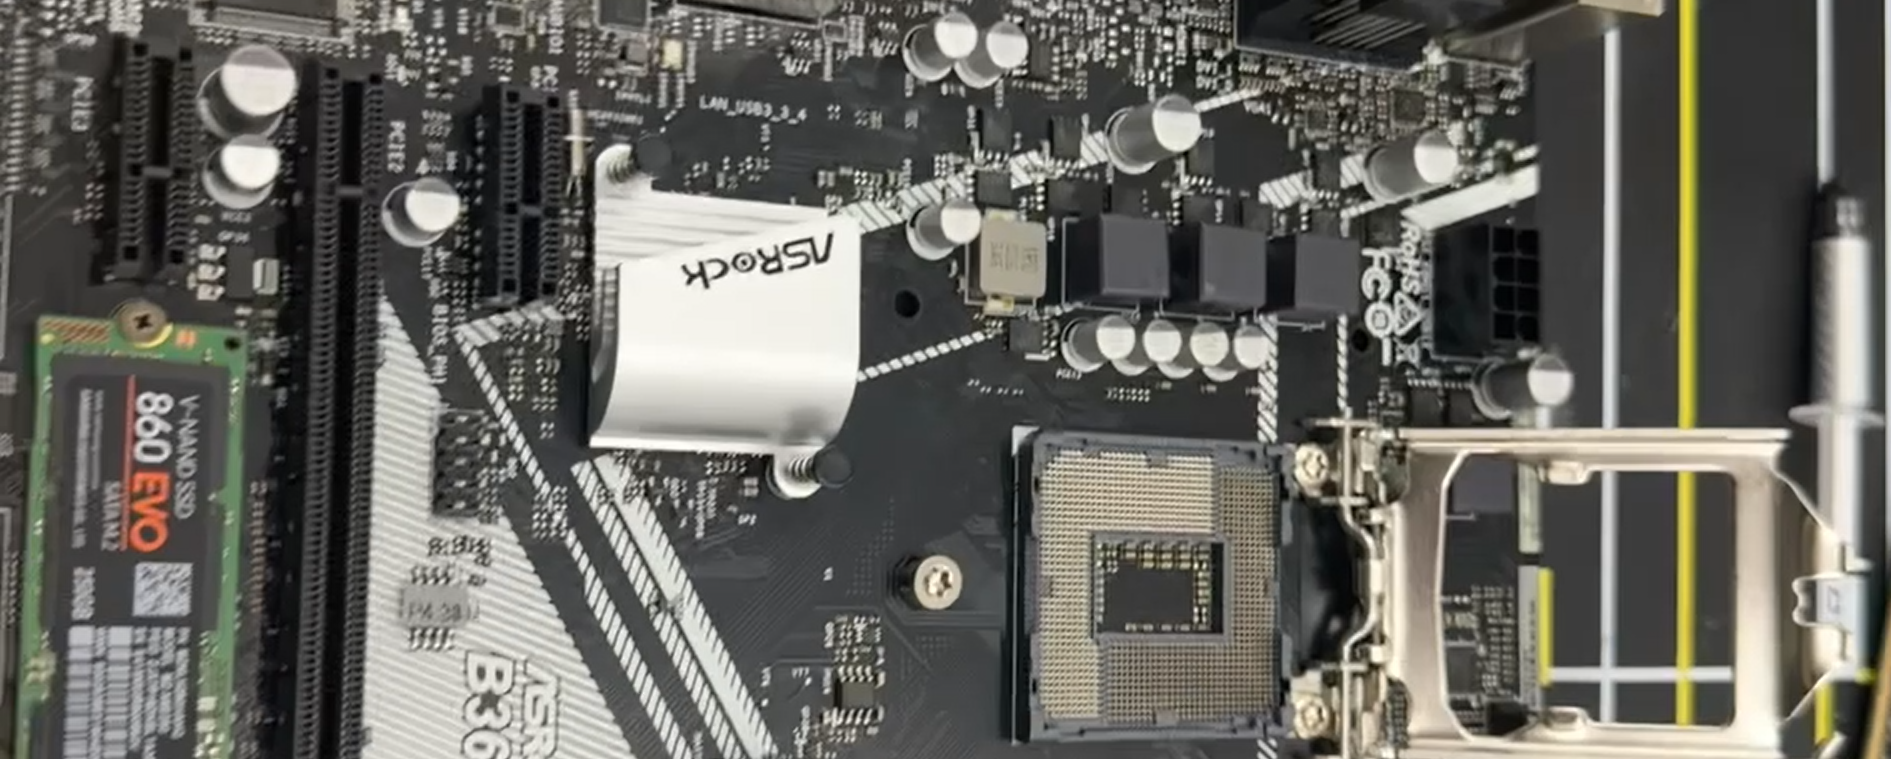
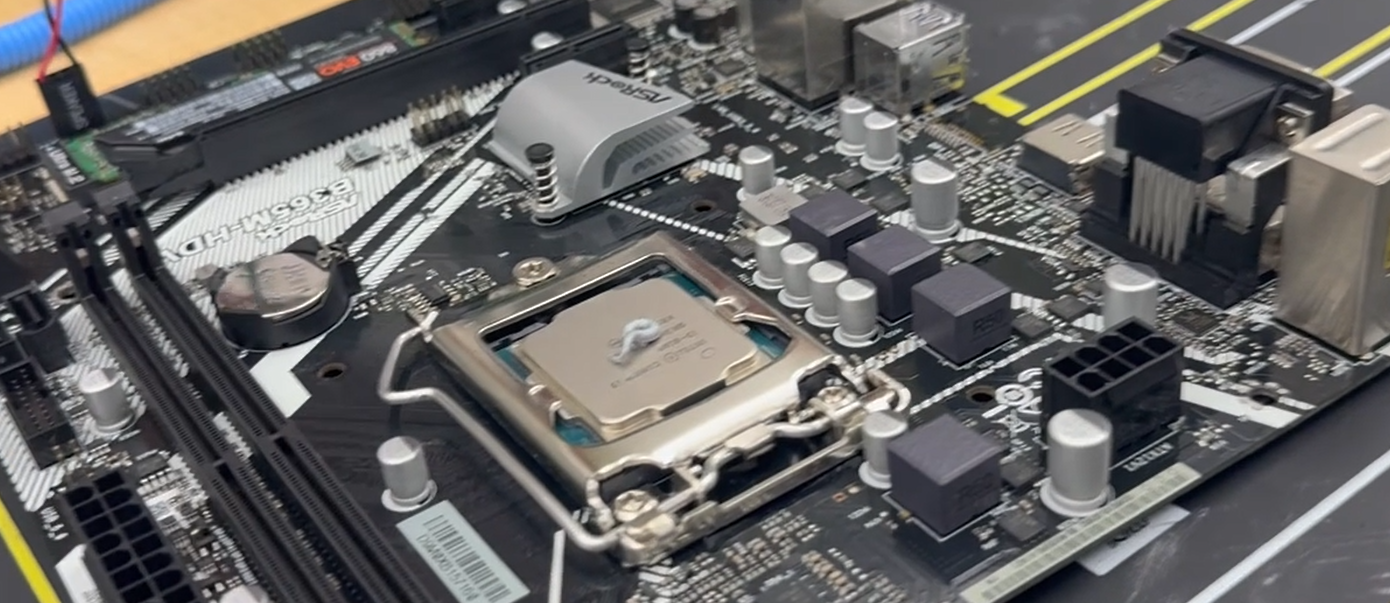
- Grab your motherboard and CPU, find the CPU clamp, and if it's closed open it.
- Take your CPU find the gold triangle on the CPU and line it with the triangle next to the CPU slot on the motherboard's PCB.
- Carefully set the CPU into the socket, if it fits move on to the next step, if it doesn't don't force it in and realign. (Don't press down on the CPU!)
Install CPU (part 2)
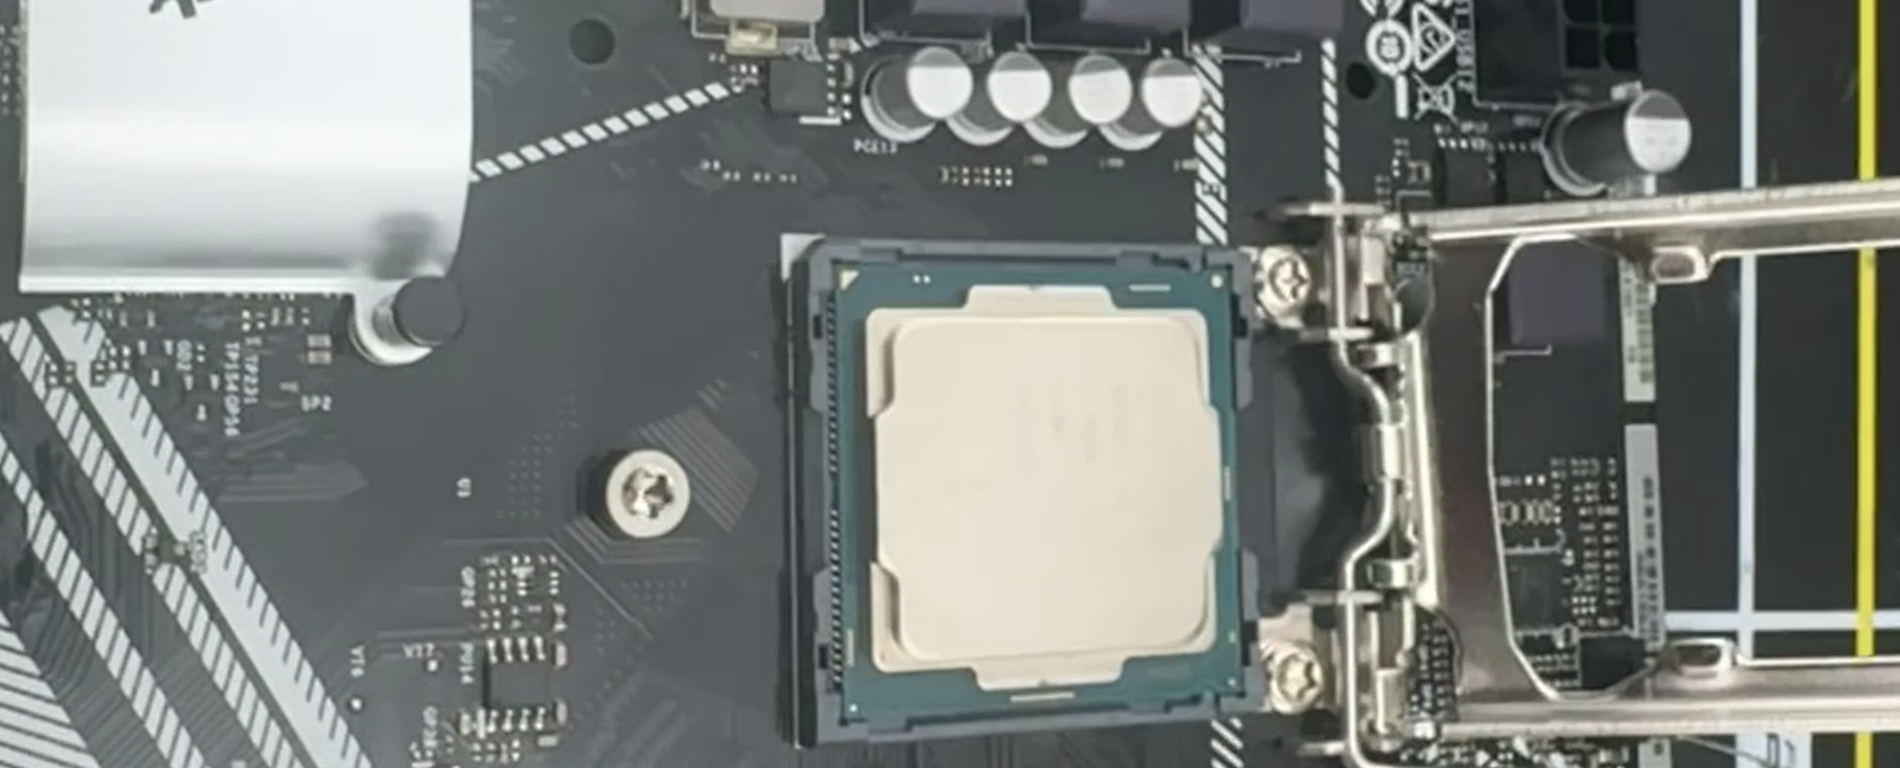
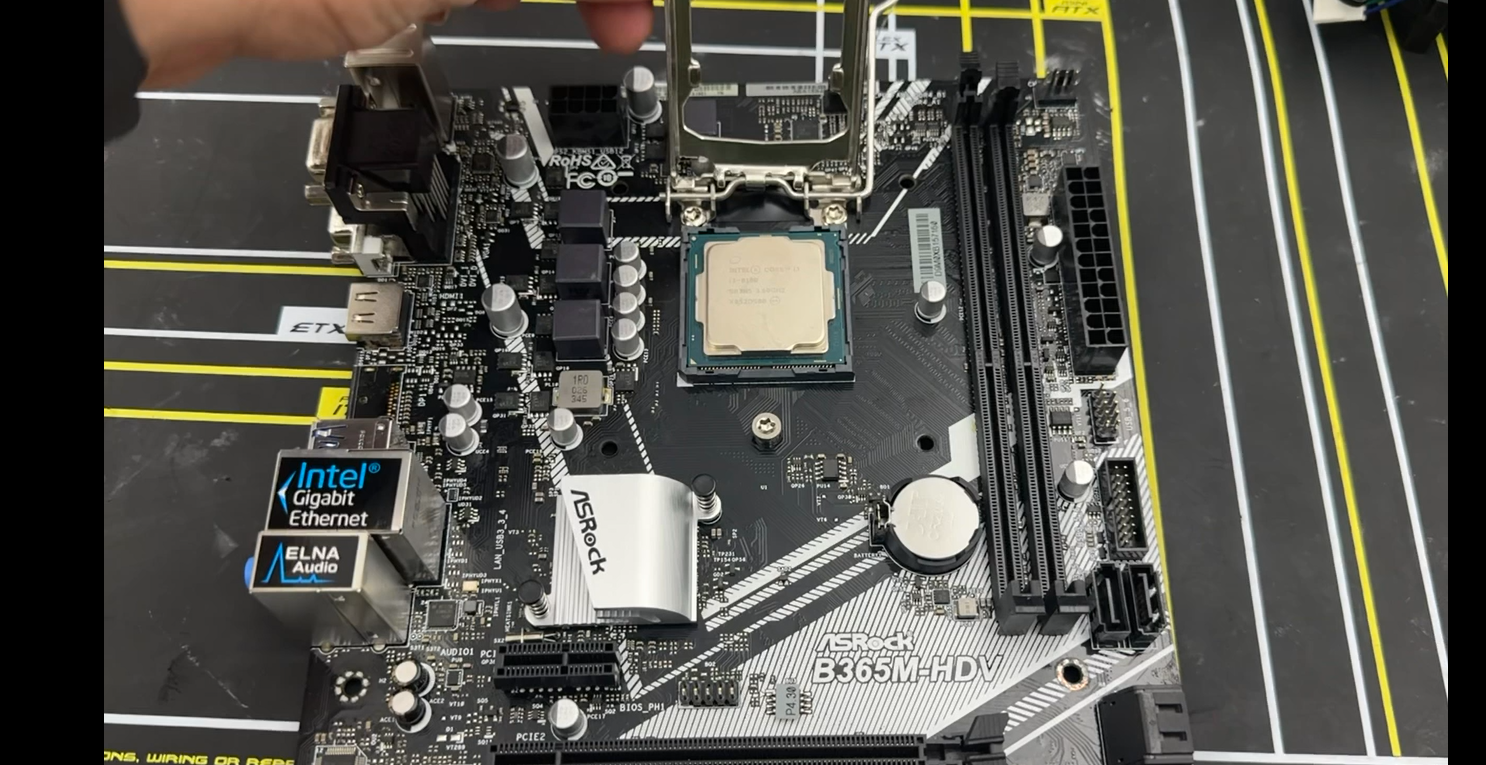
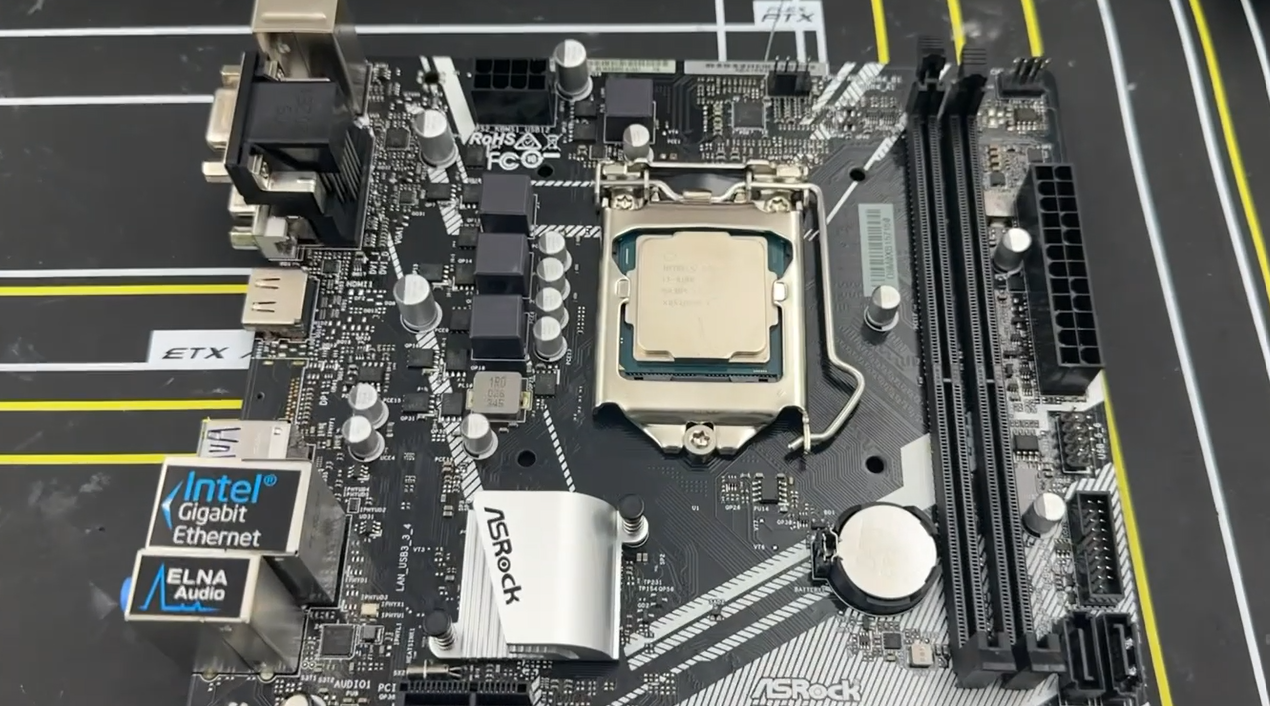
After you have aligned the CPU and put it in its socket move the CPU clamp down and secure it with the lever.
Install CPU Cooler
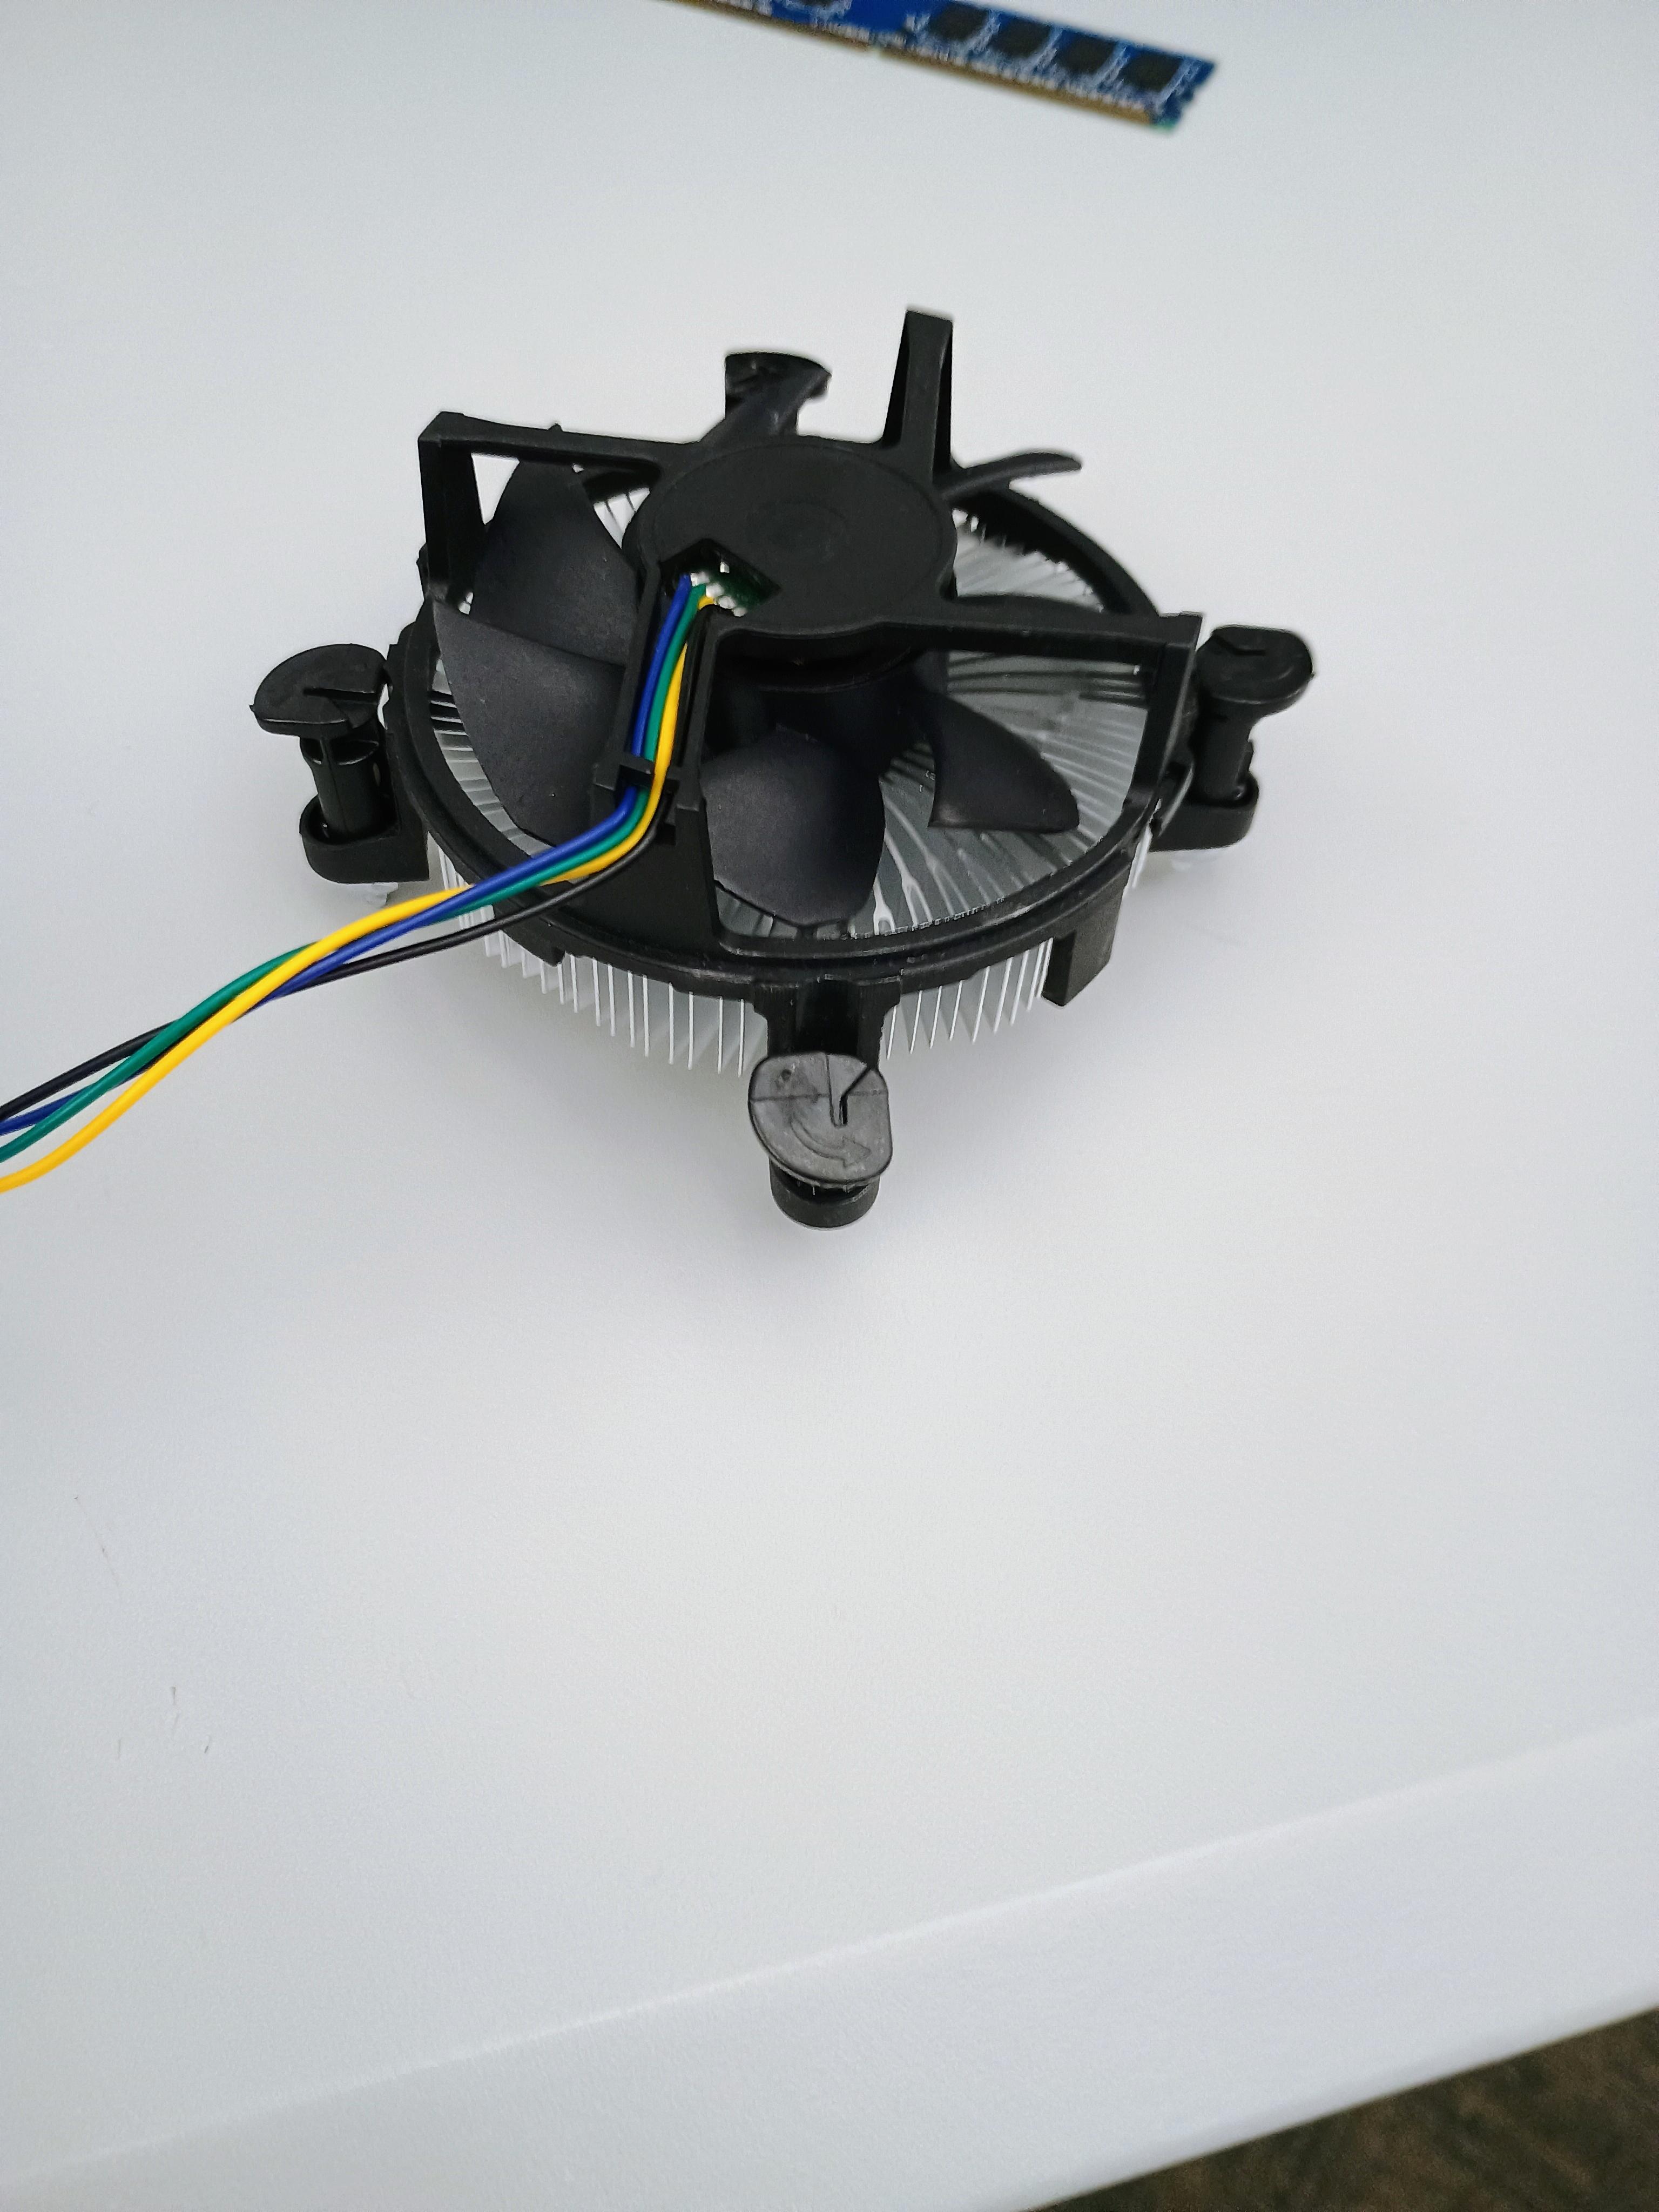
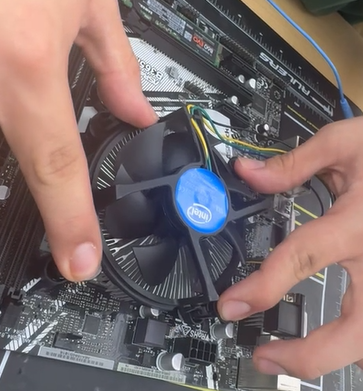
- Grab your CPU cooler and thermal paste, put a pea-sized dot on the CPU, and align the CPU cooler.
- Once ready put the CPU cooler down push down the 4 plastic pins at the 4 corners of the cooler and then twist the point of the arrow to lock.
- Check the bottom of the motherboard to make sure it is pushed through and locked.
Install Motherboard (Part 1)
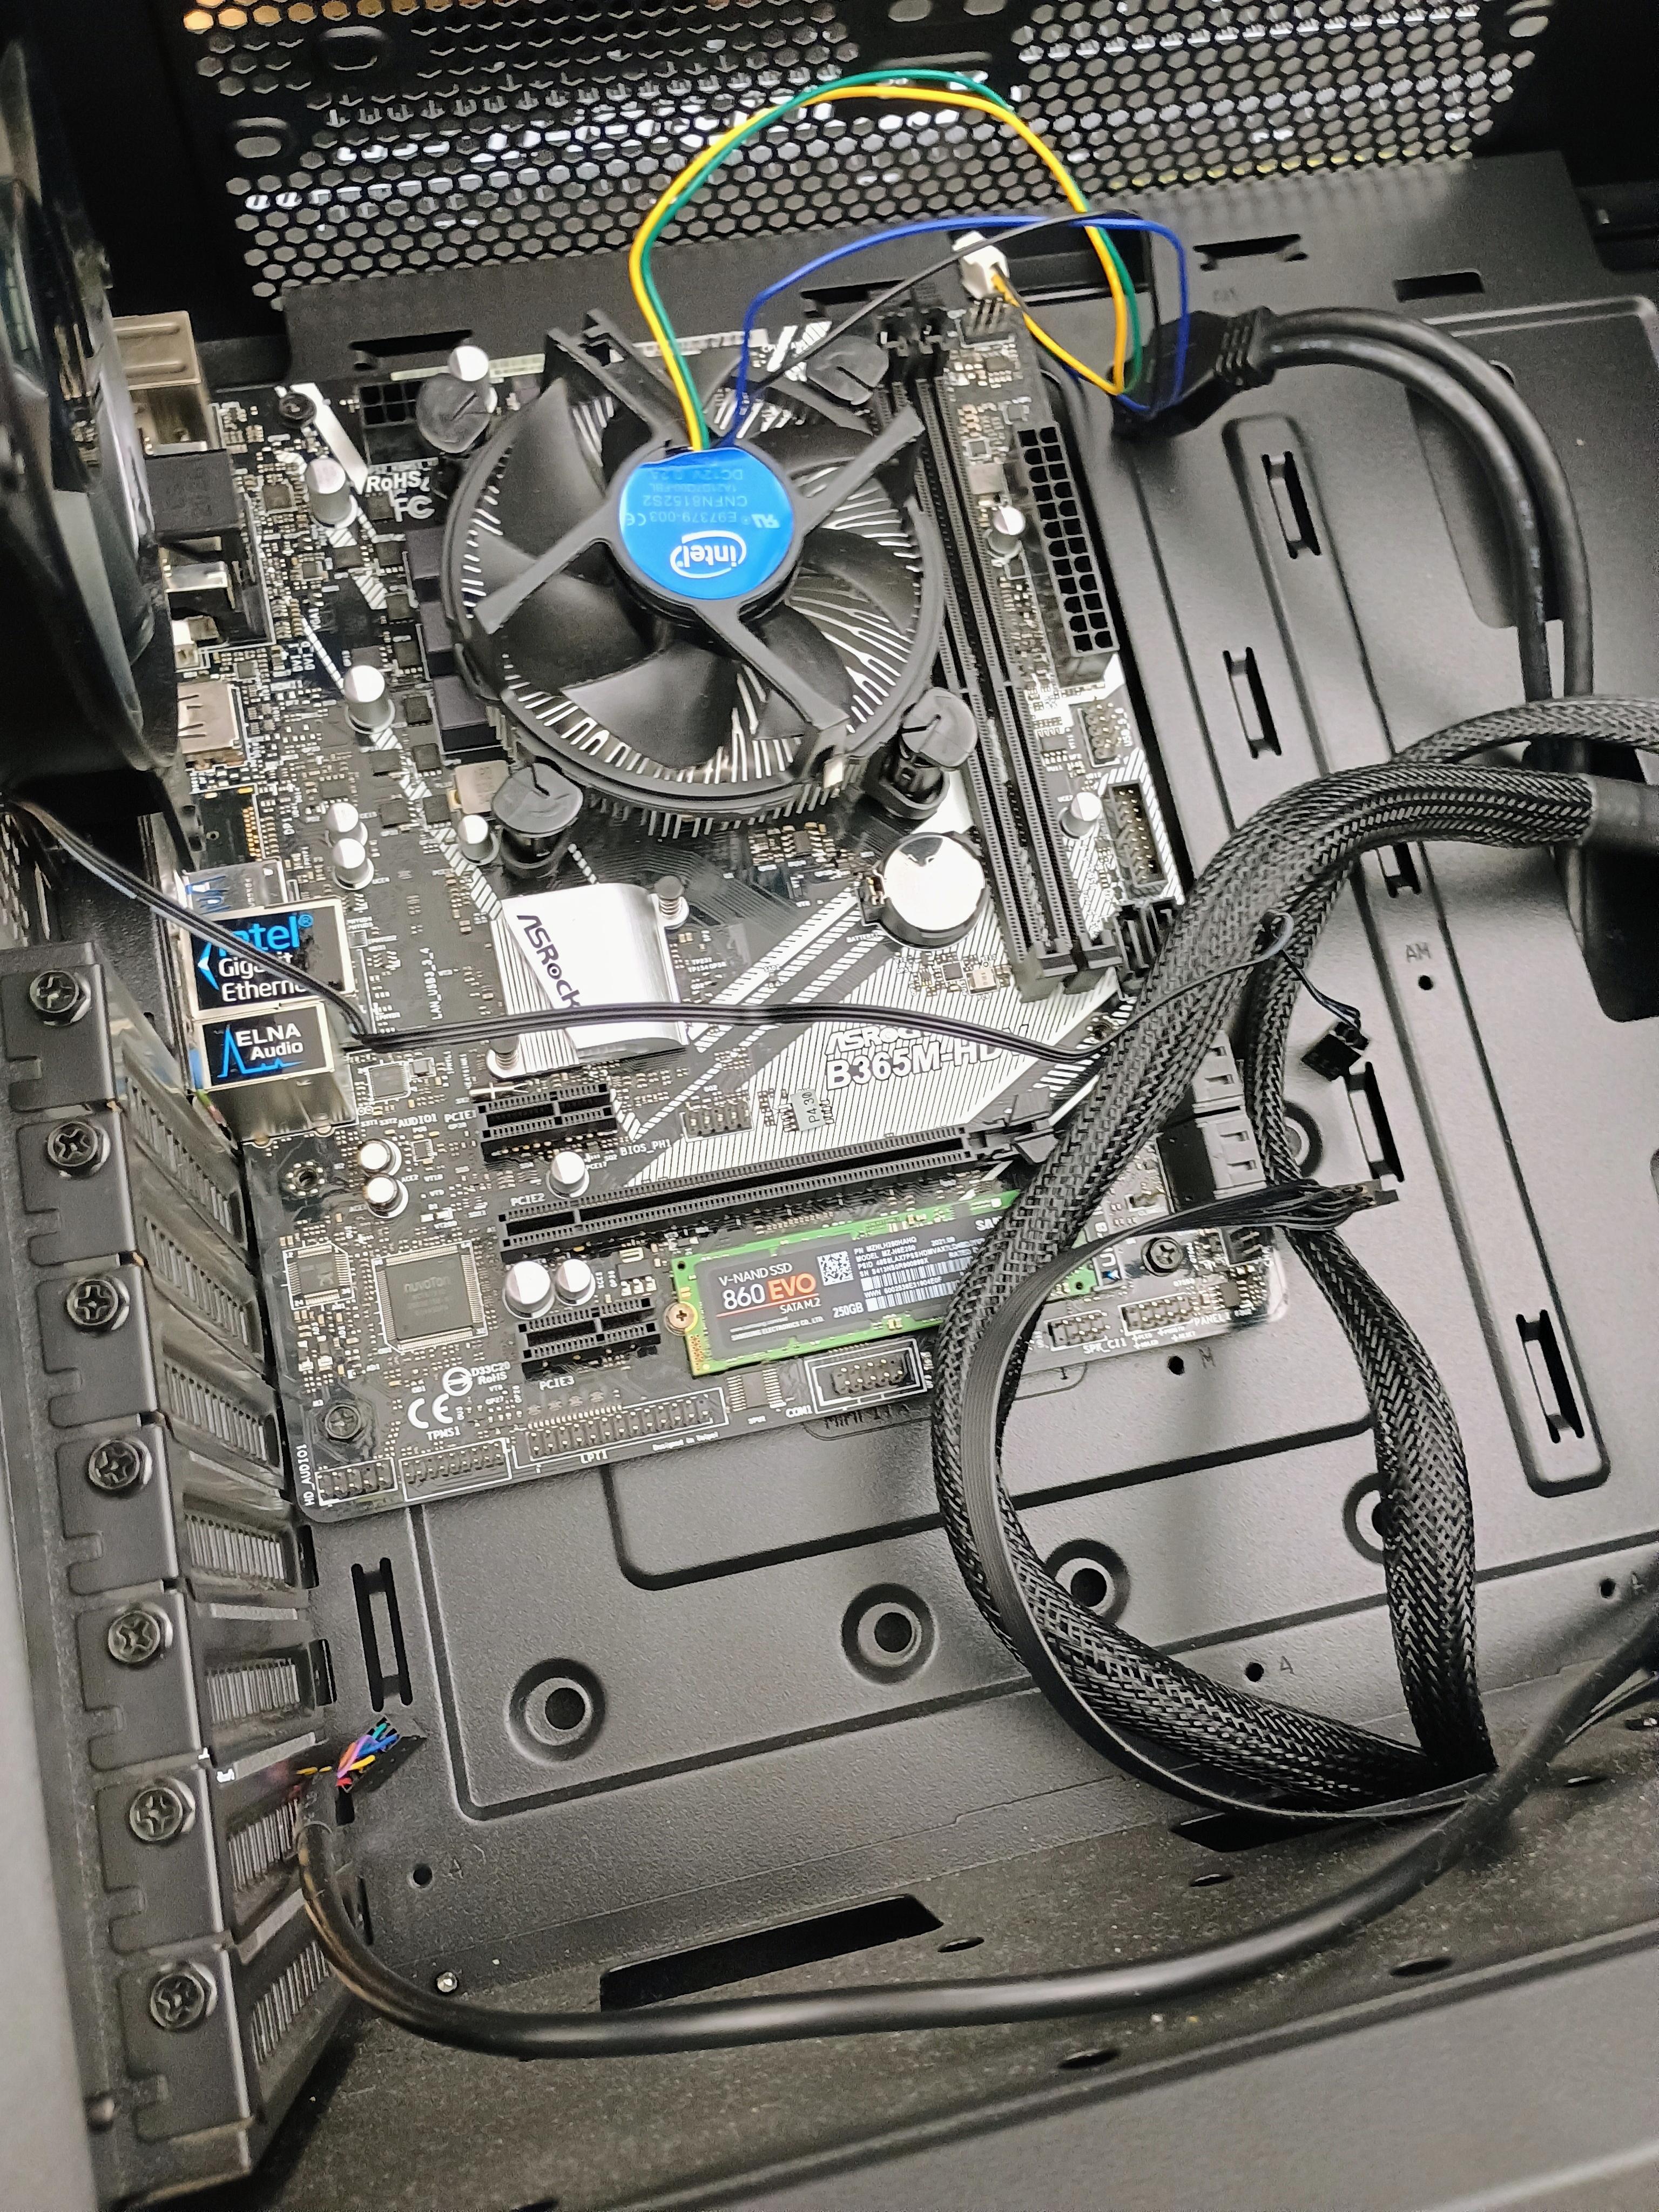
- Take off both side panels of the PC, then take the required screws and standoffs then put the case on its side.
- Set the motherboard in the case and line up with screws.
- Put all screws in and tighten, make sure all screws are secured.
Put RAM in Motherboard
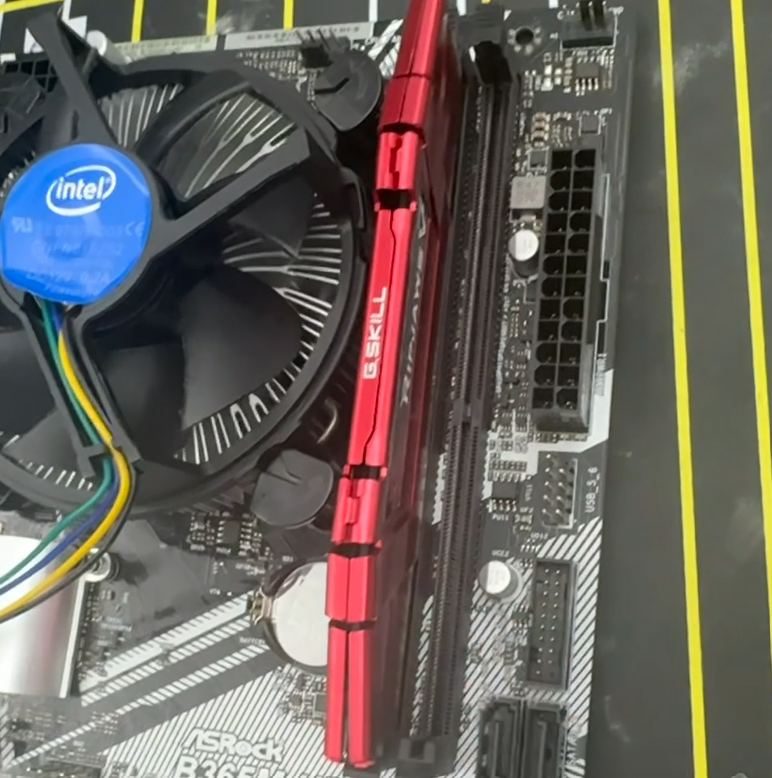
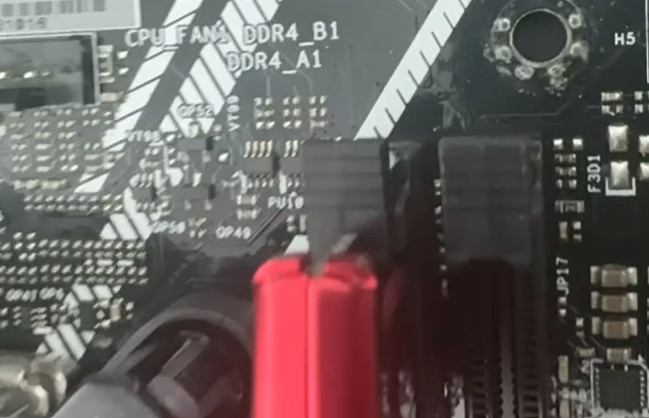
keep the case to the side then take RAM and find RAM slots, unclip slots and push ram in until you hear a click.
Install PSU (Power Supply)
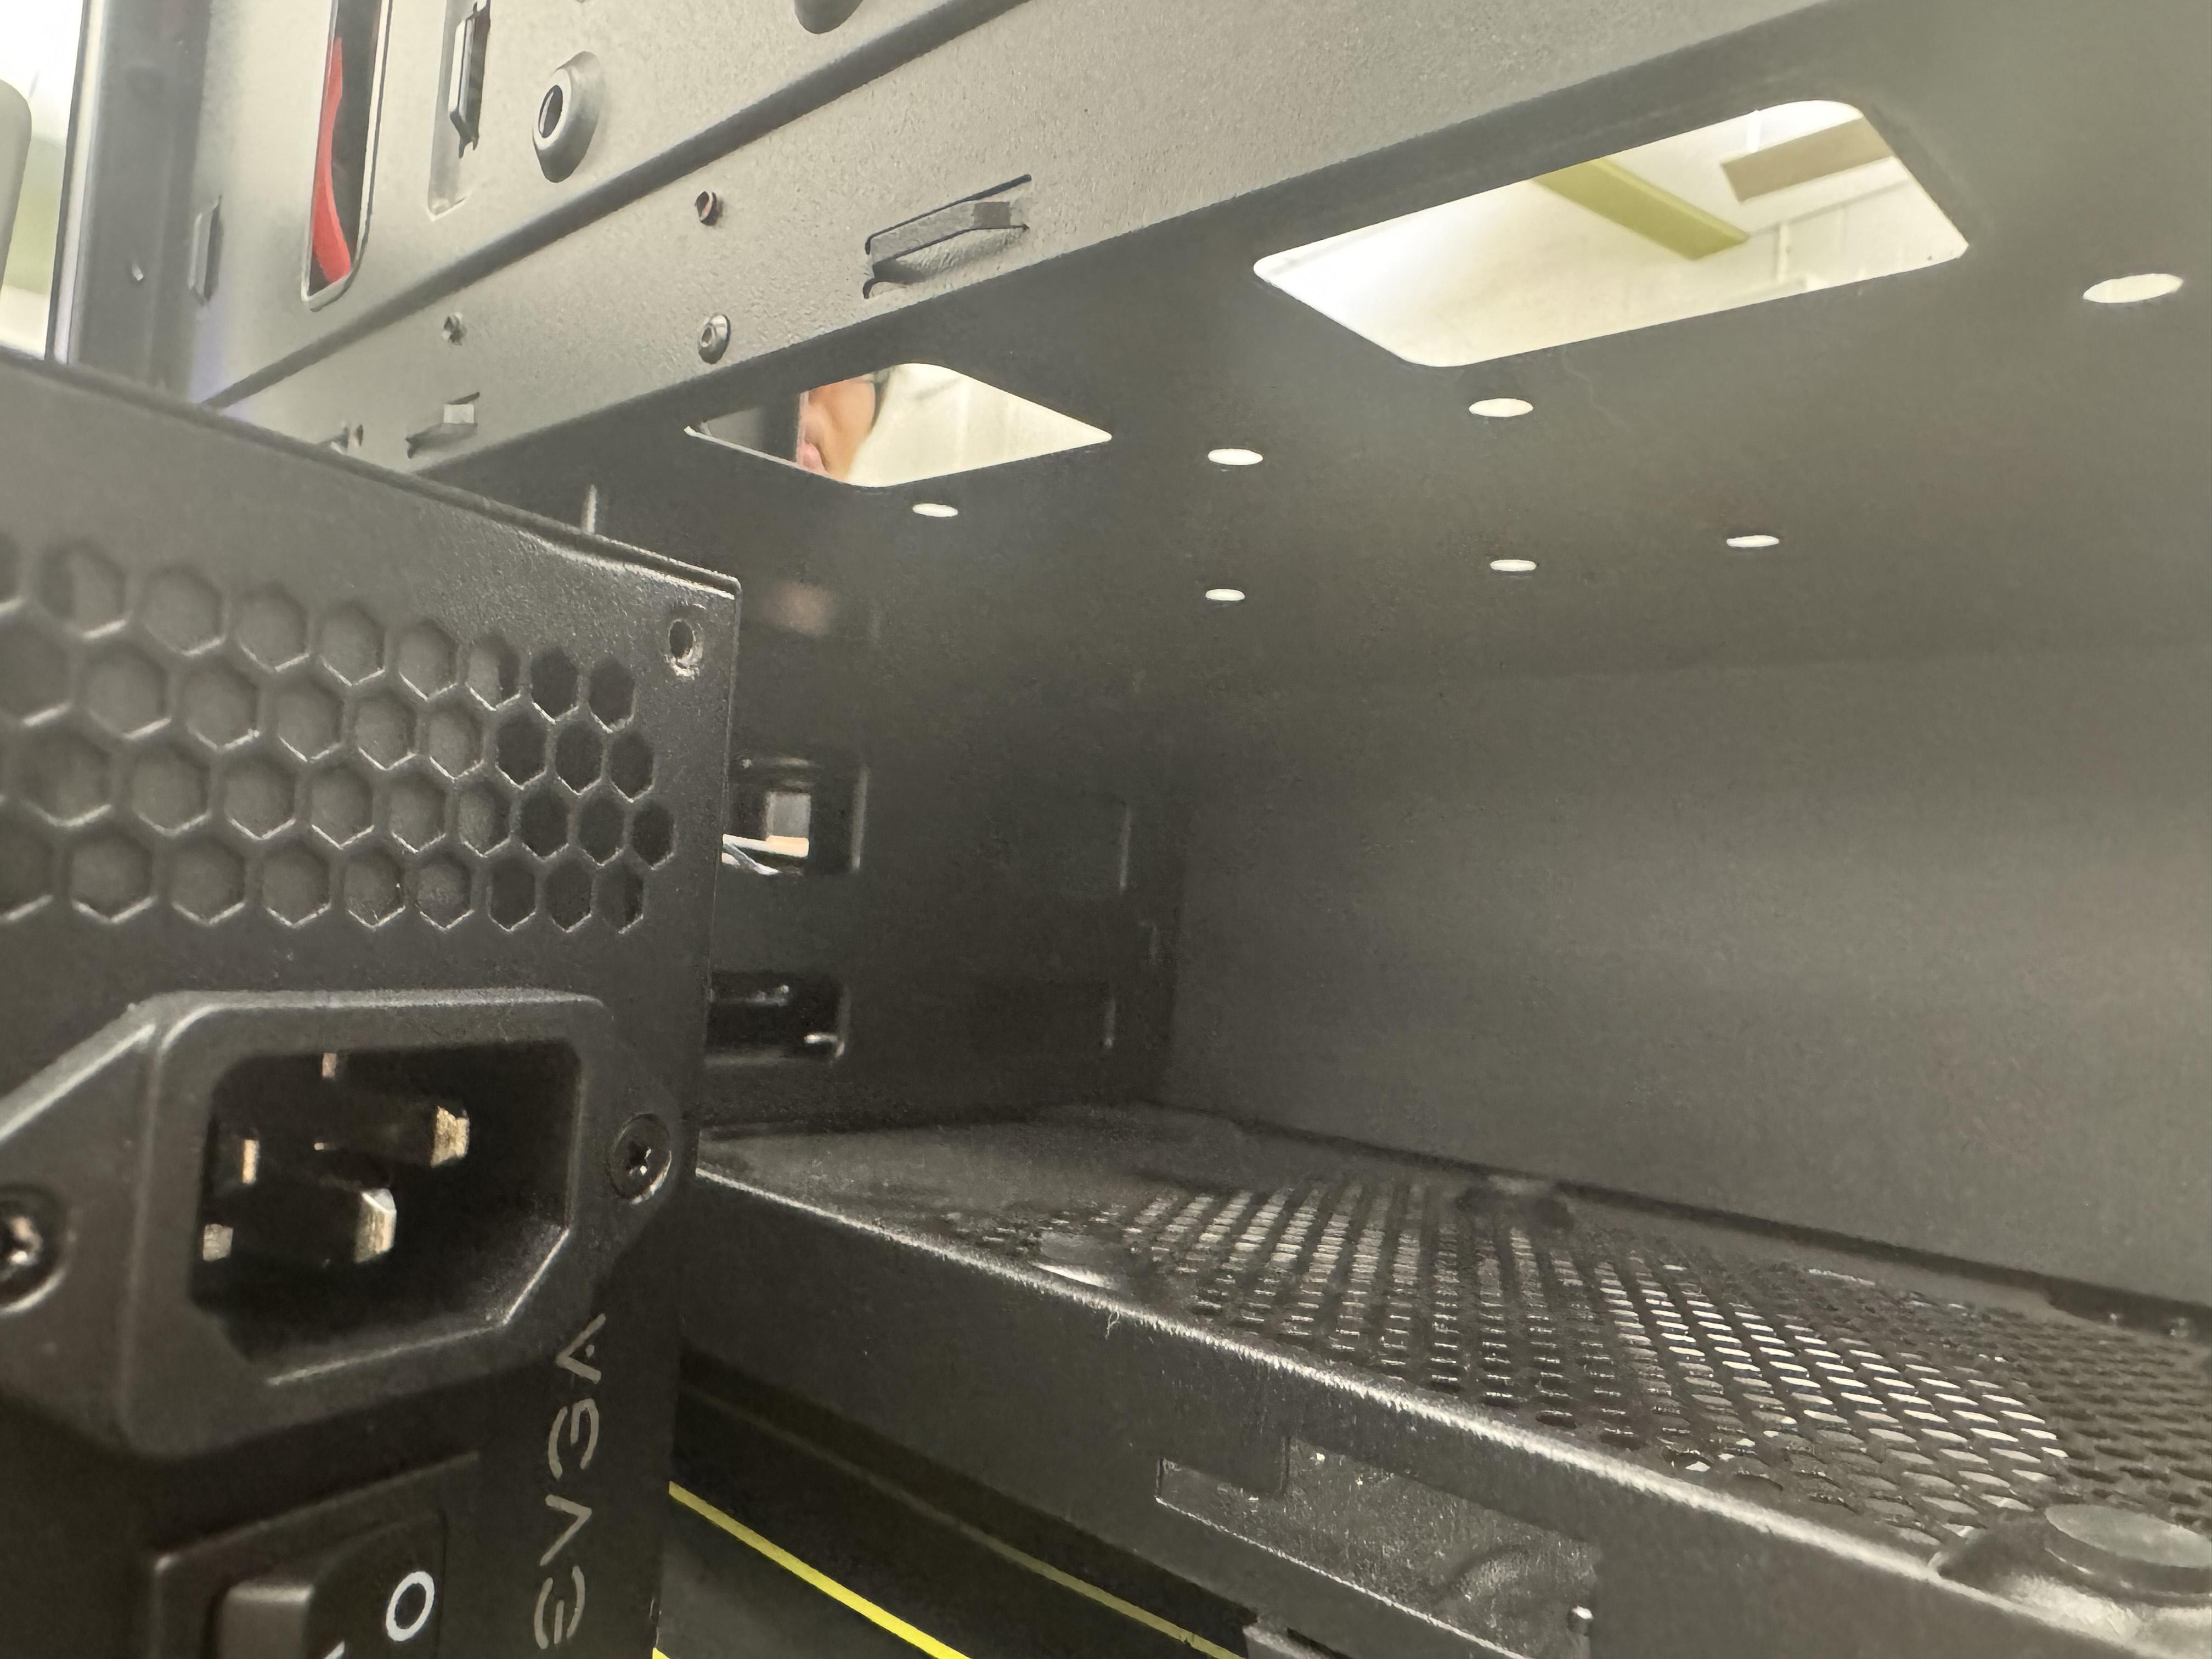
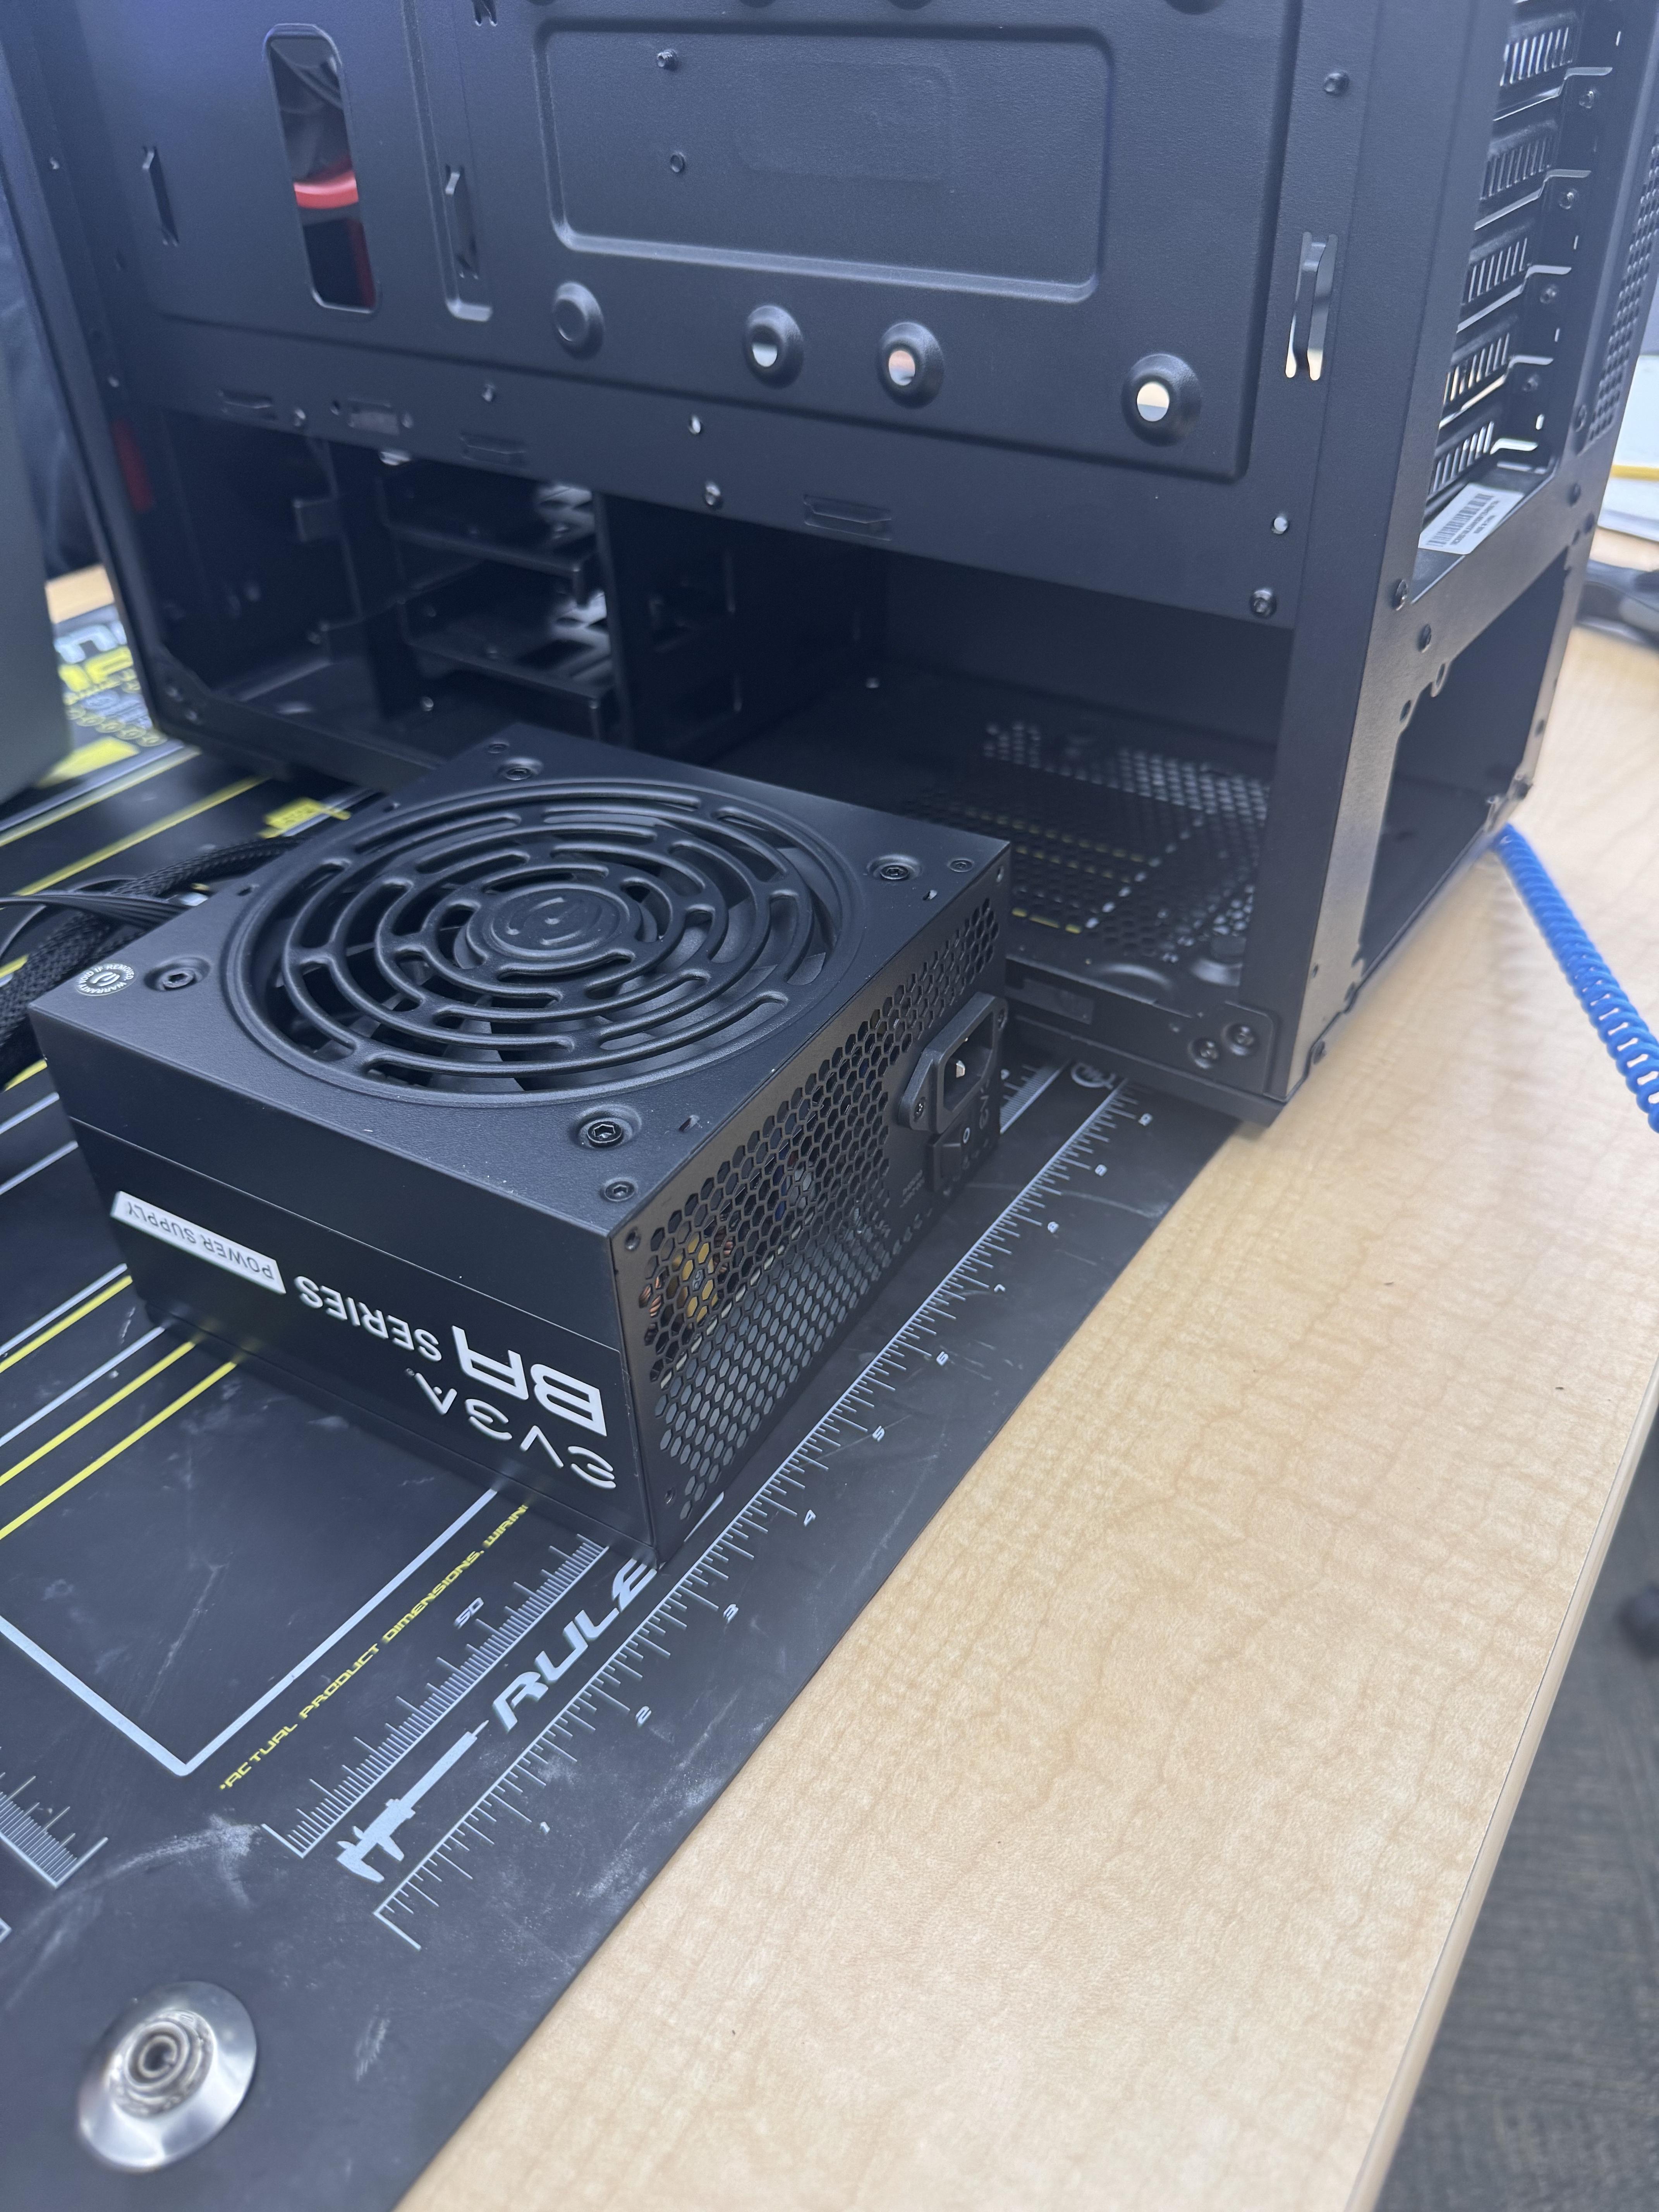
Push the case back up and place the power supply in its designated spot, making sure its connections on the back of the supply are aligned with the back of the case.
Use provided screws to secure the PSU to the case.
Connect All Required Cables
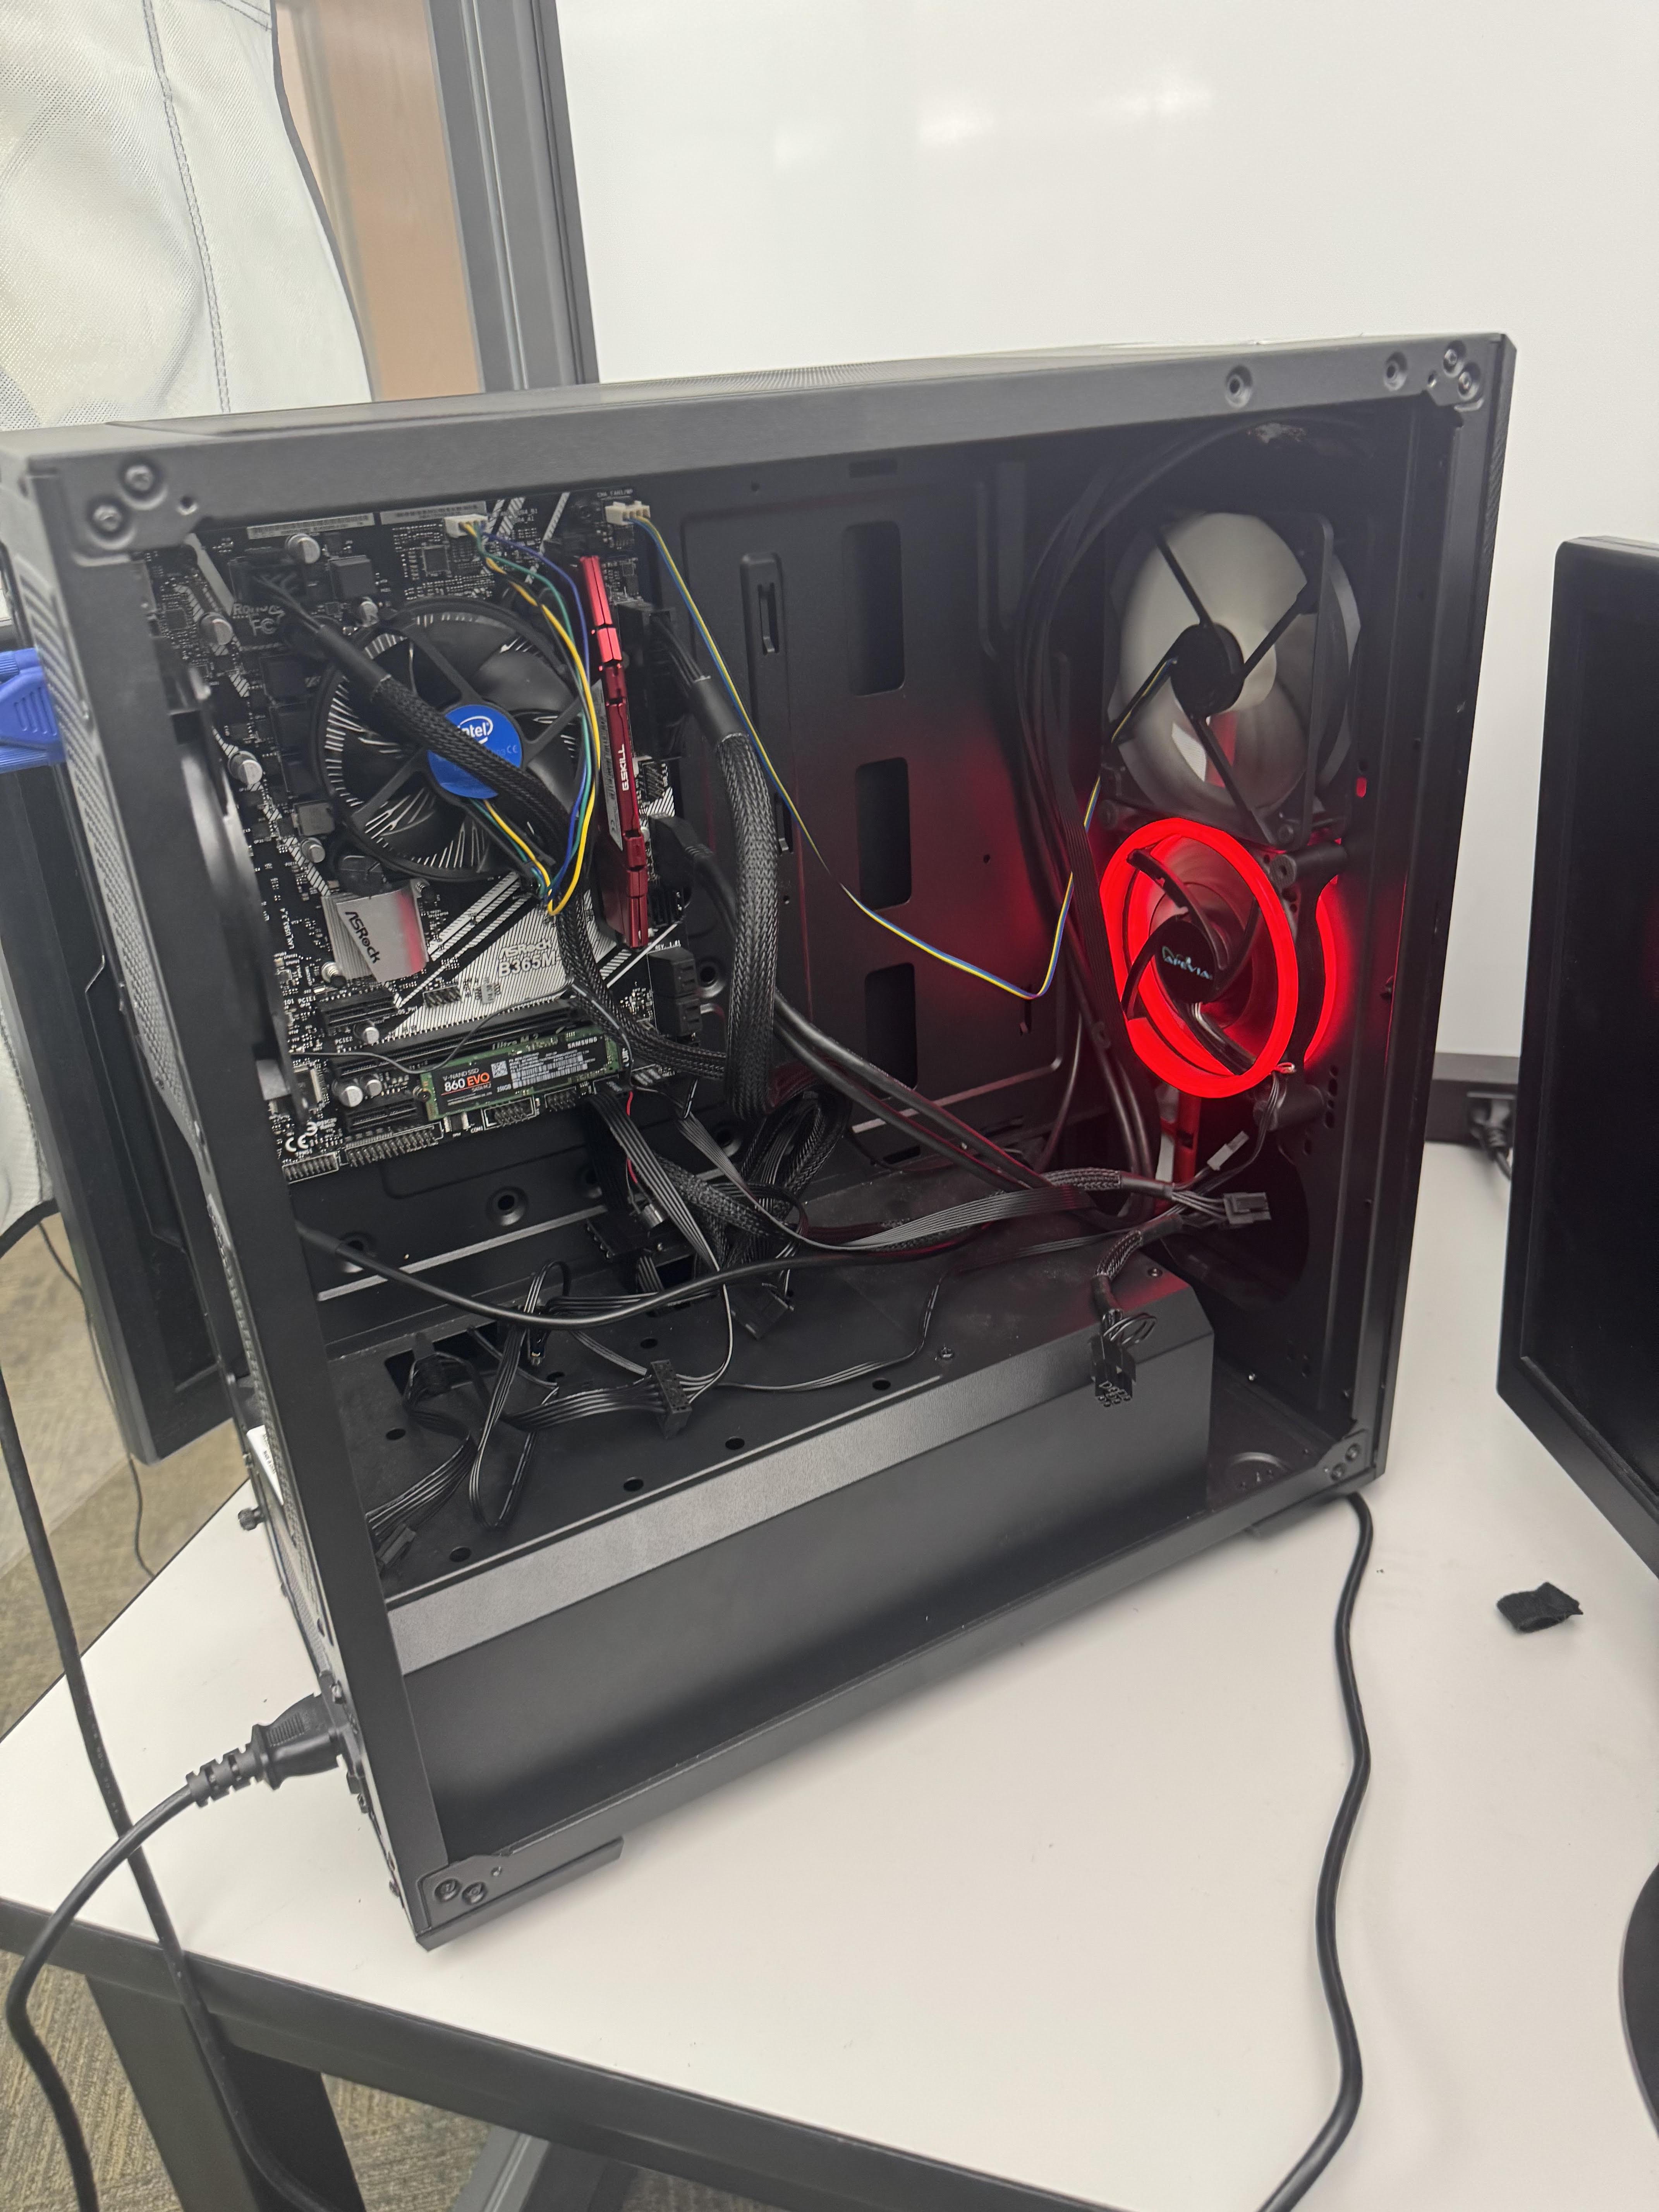
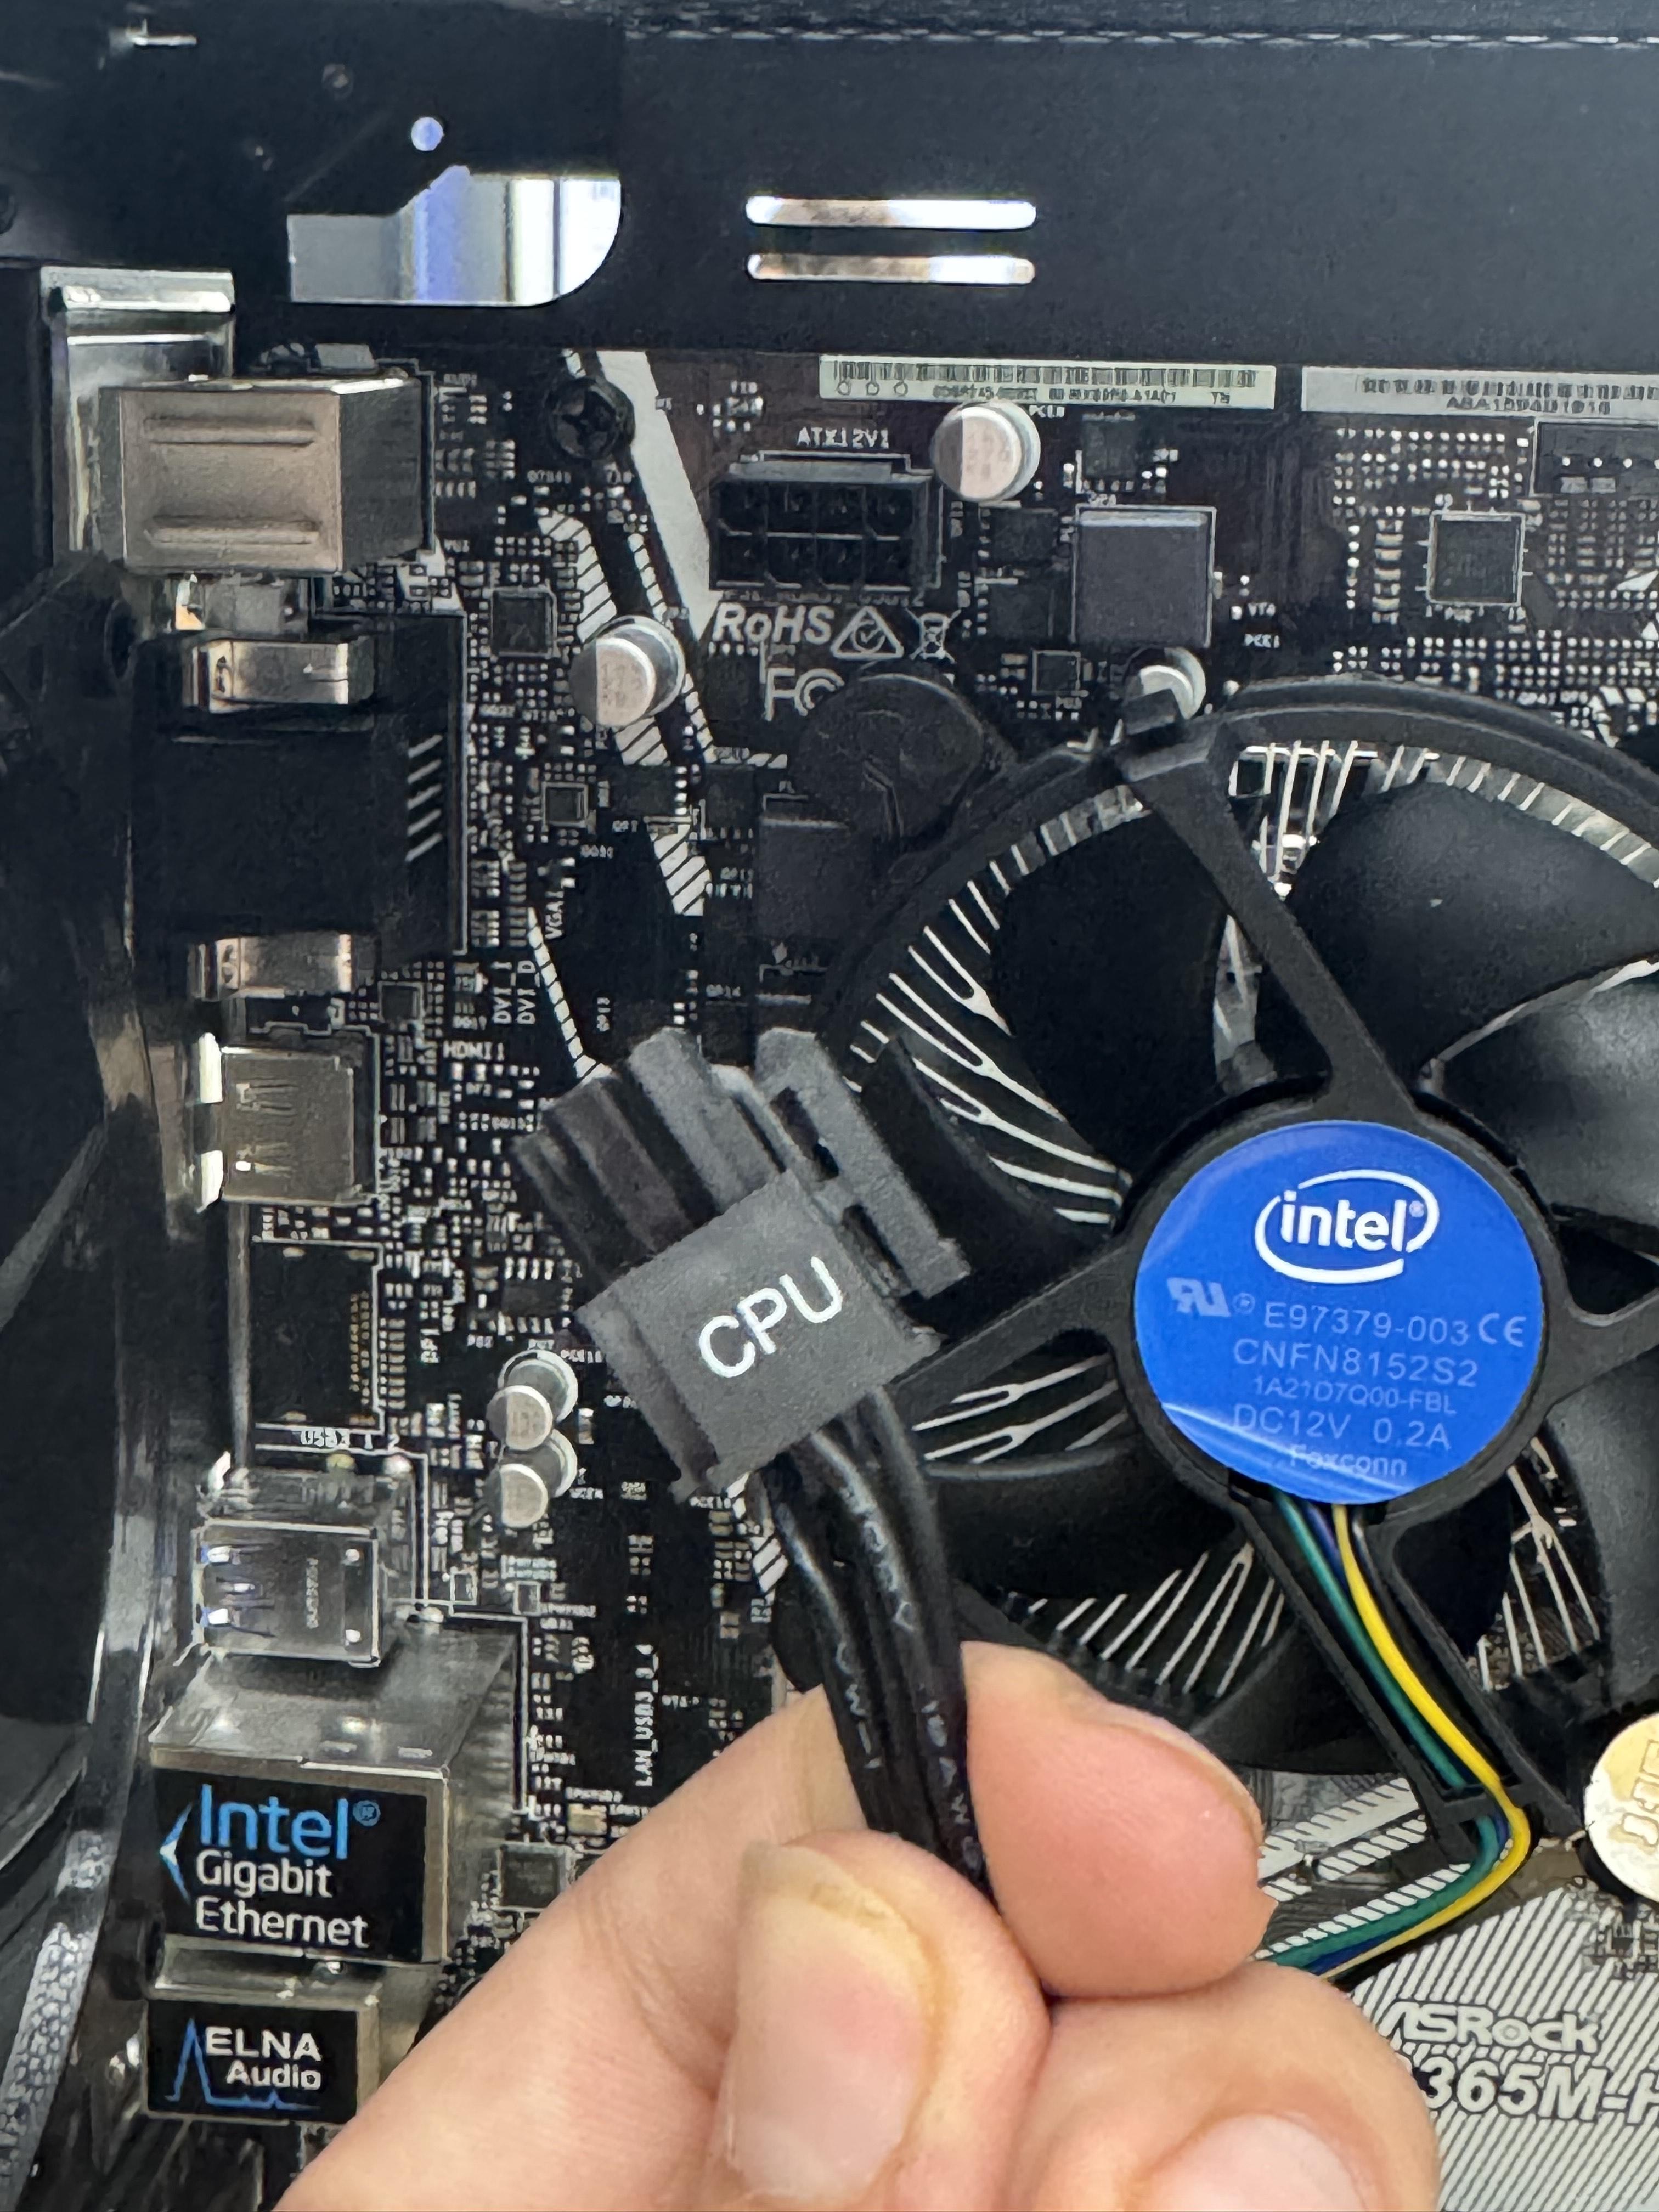
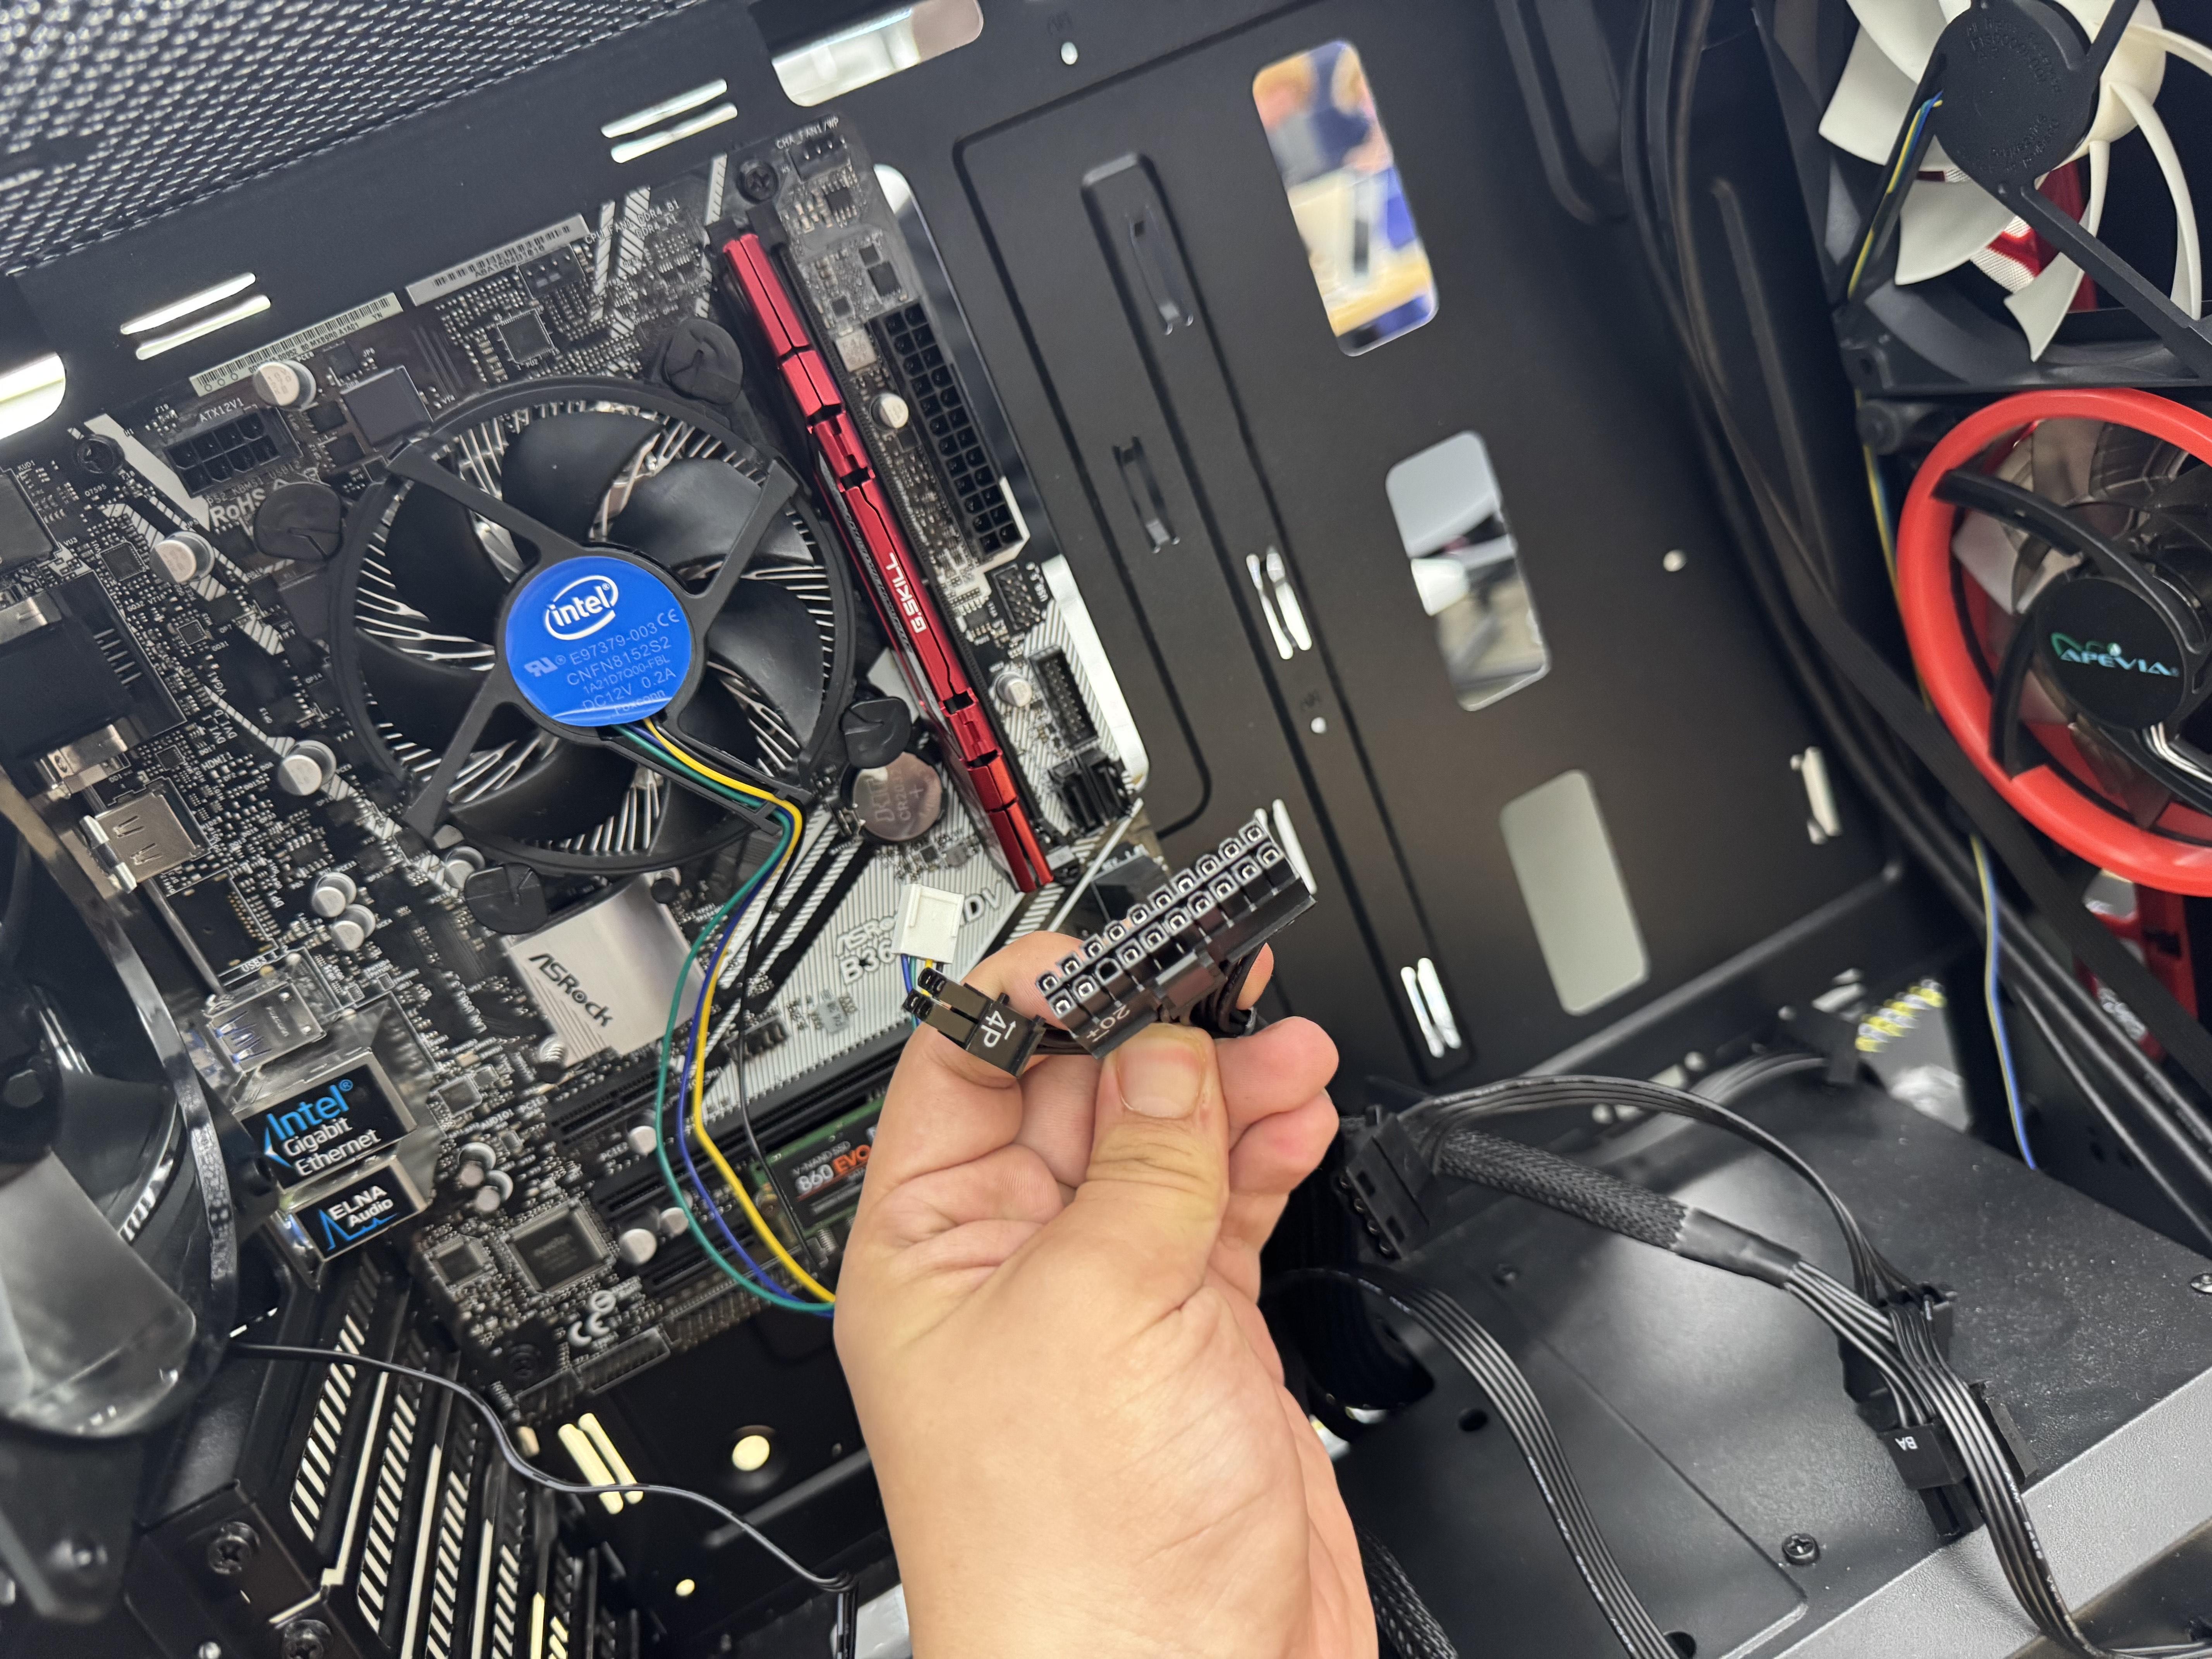
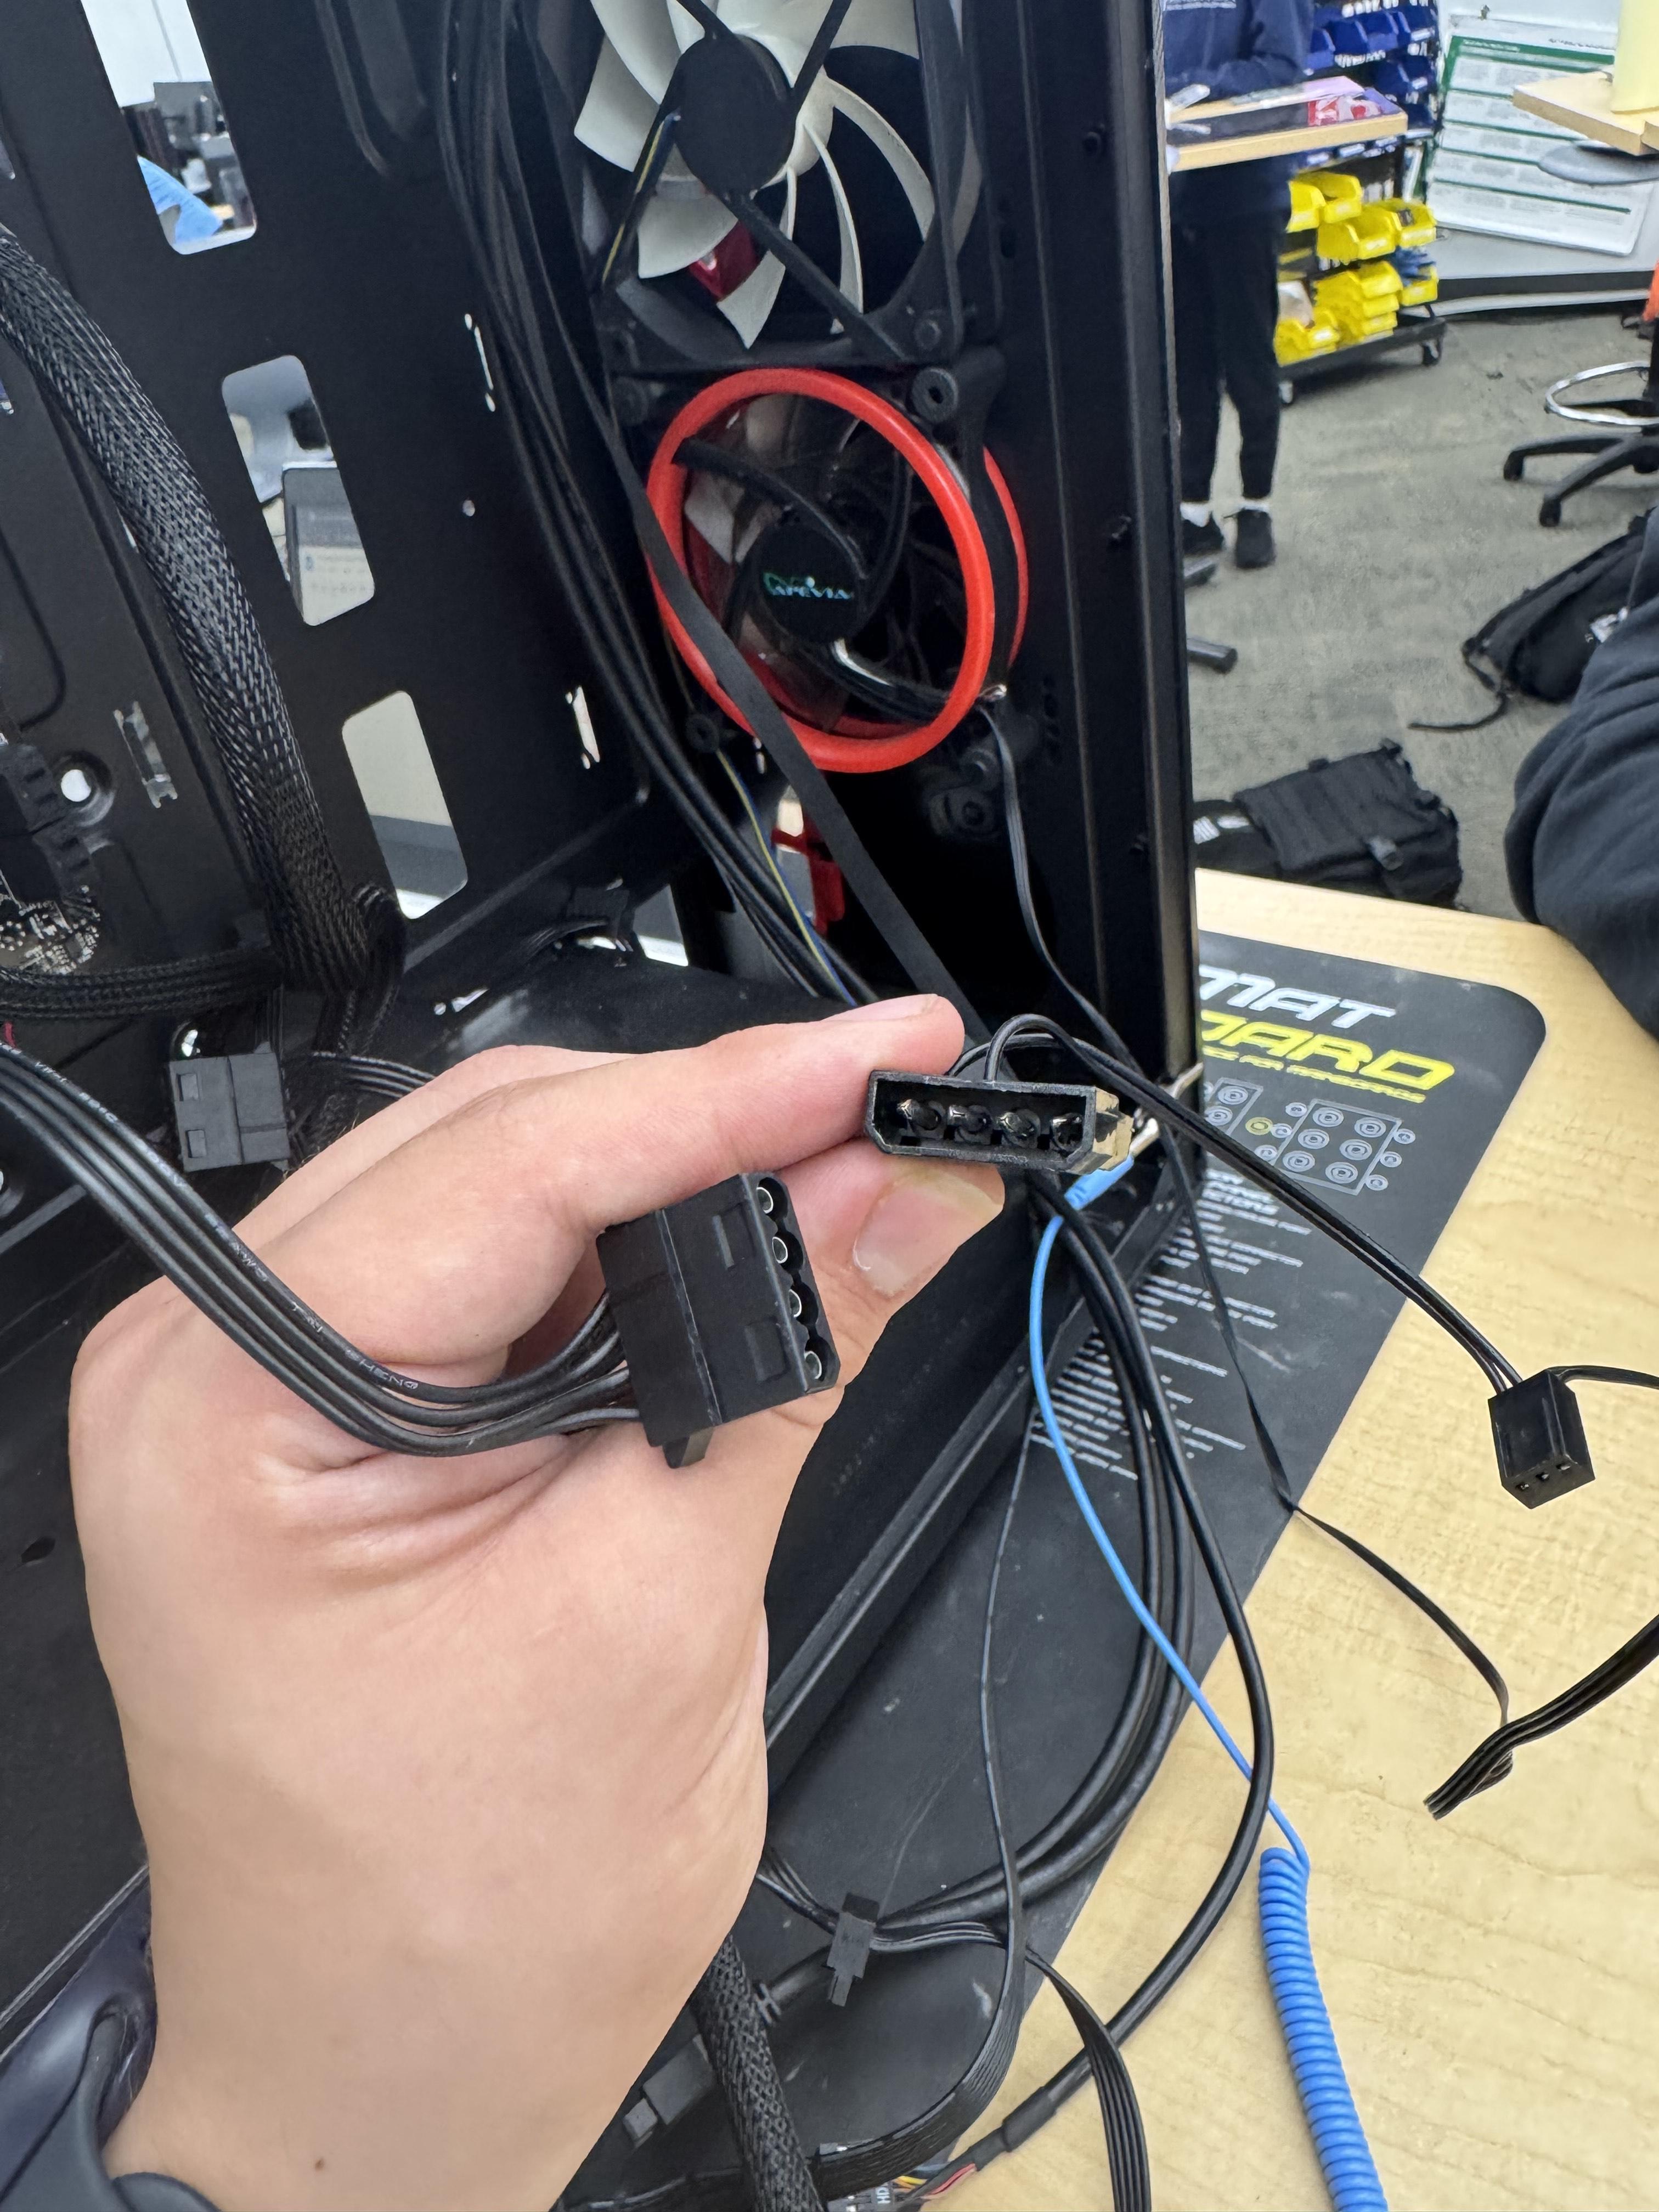
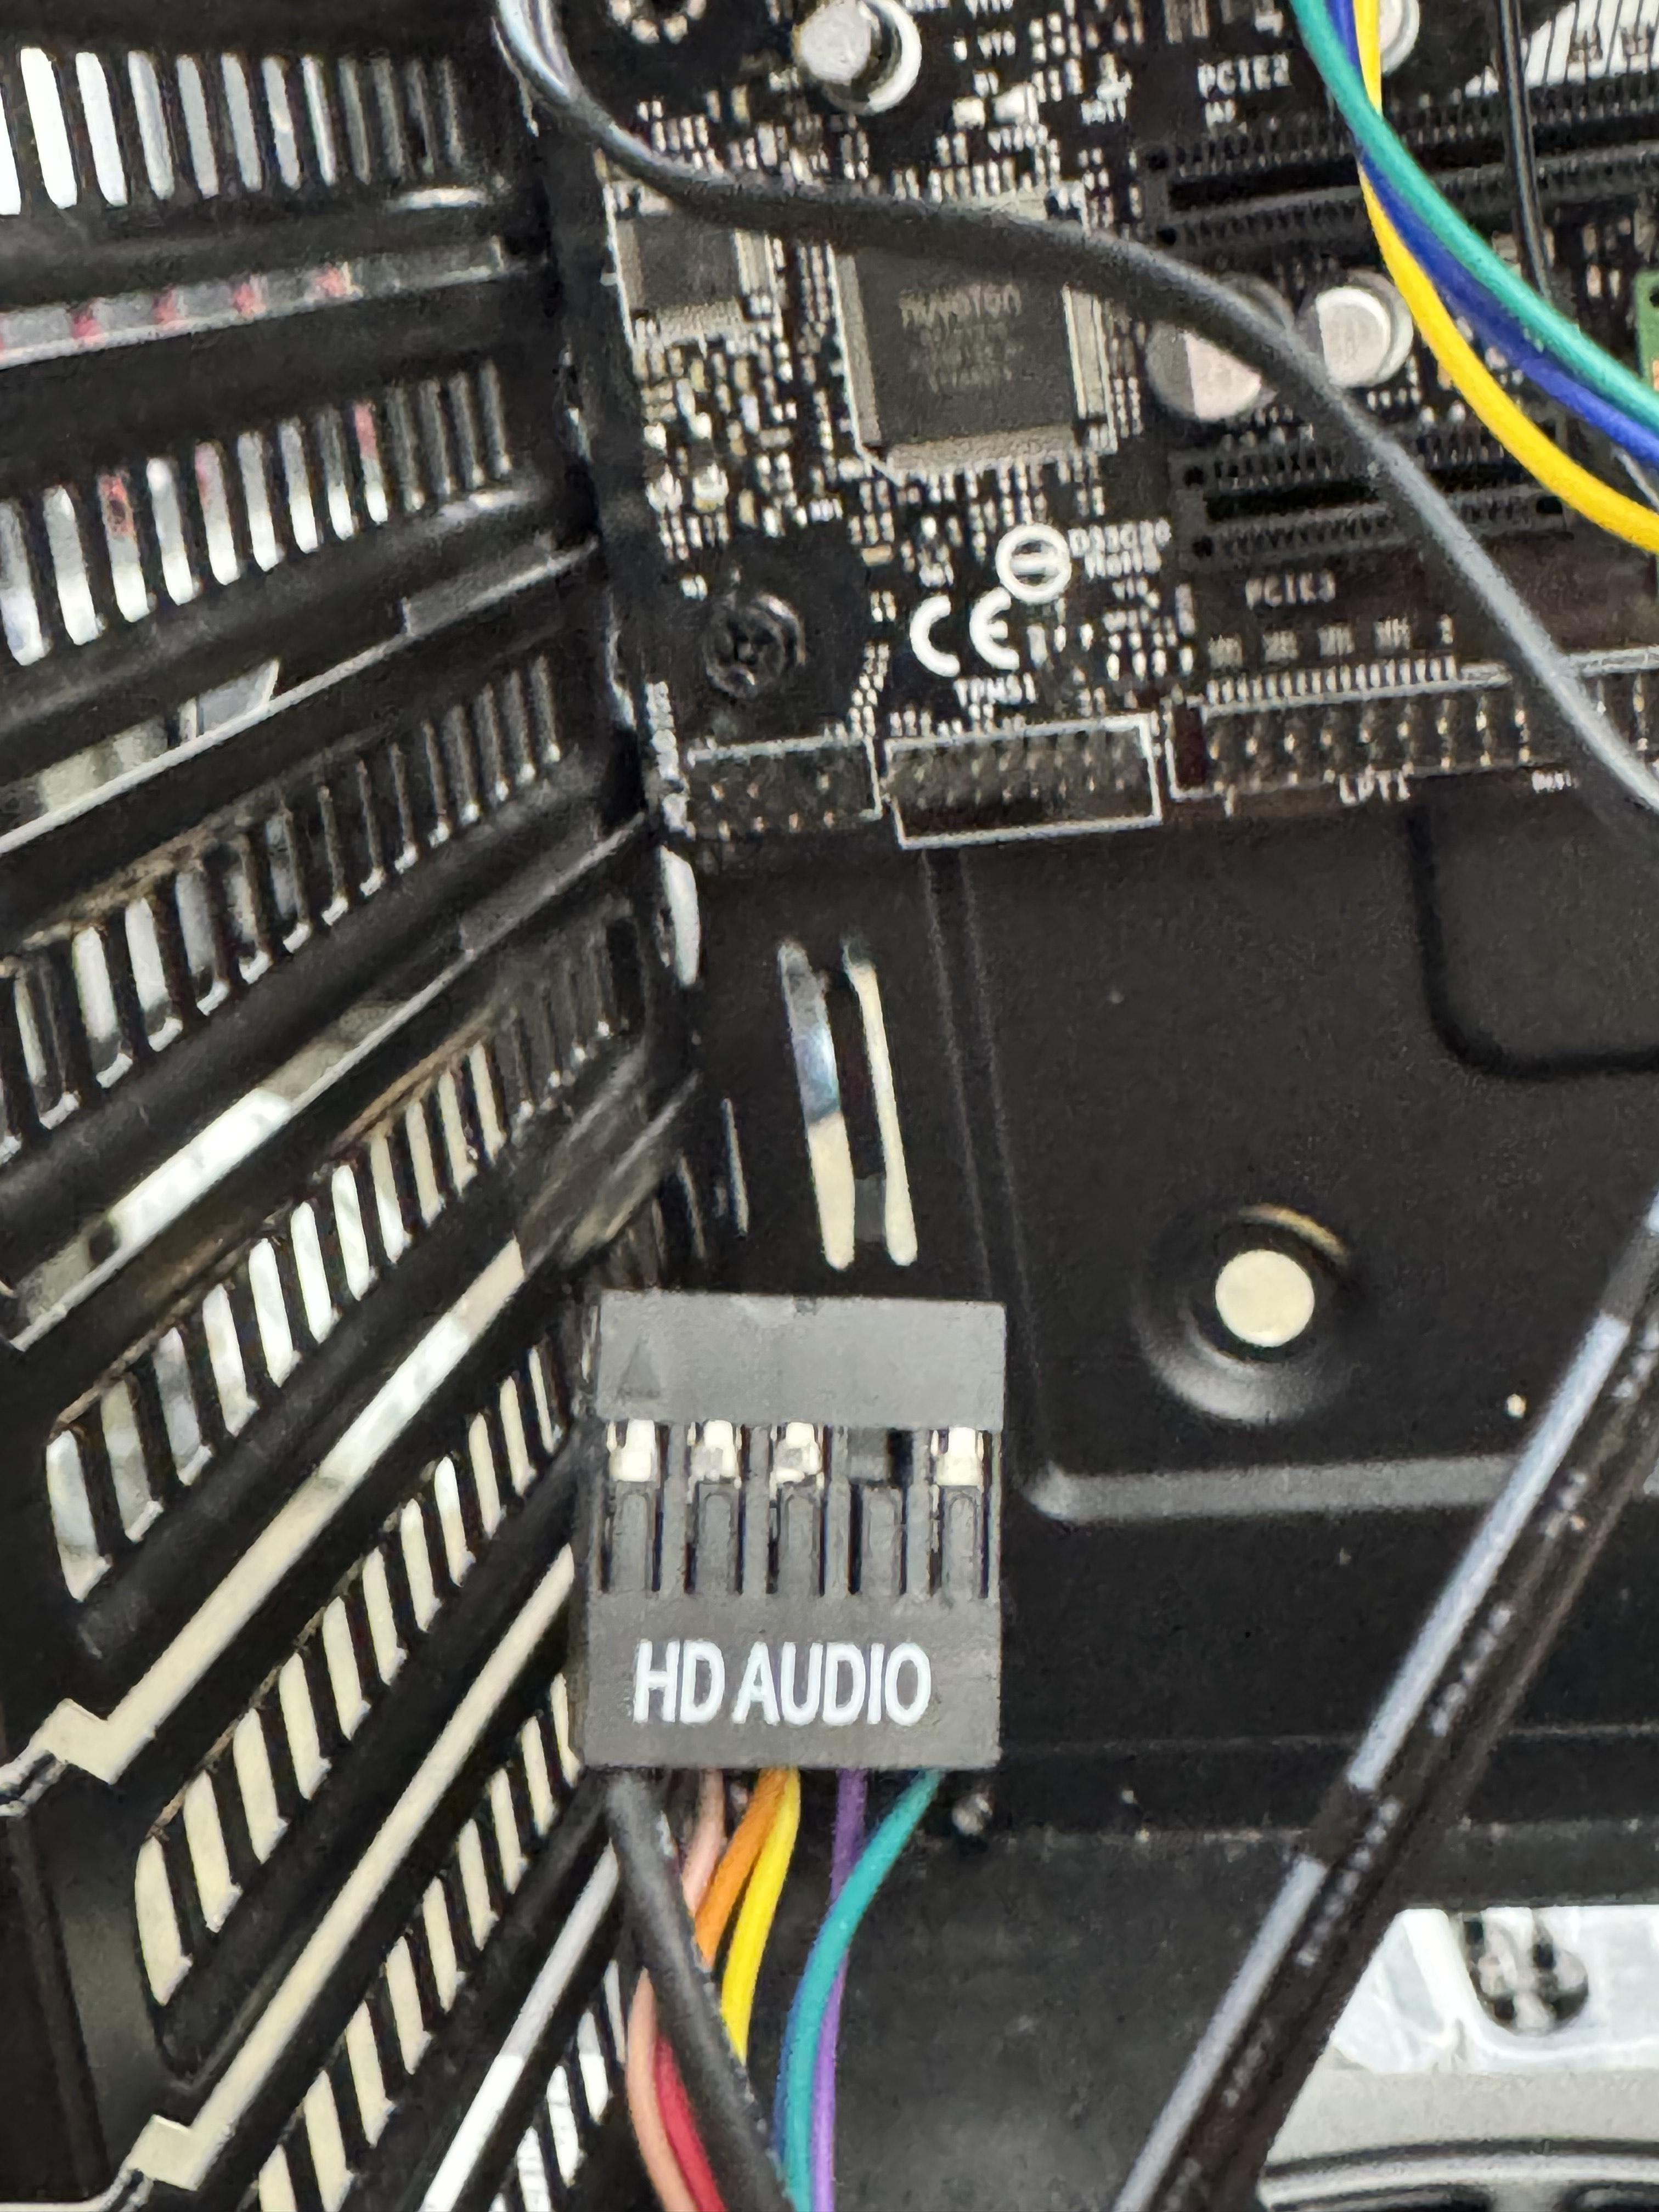
Pull the cables from your power supply through holes in the case and attach them to matching connections, if a connection doesn't go in well, don't force it, that might break a pin. Make sure you read the labels.
Double Check Everything
Once everything is attached and plugged in, go through the steps and make sure everything is connected correctly, if everything is good move on to the next step, if not, fix any issues using troubleshooting.
Power on PC
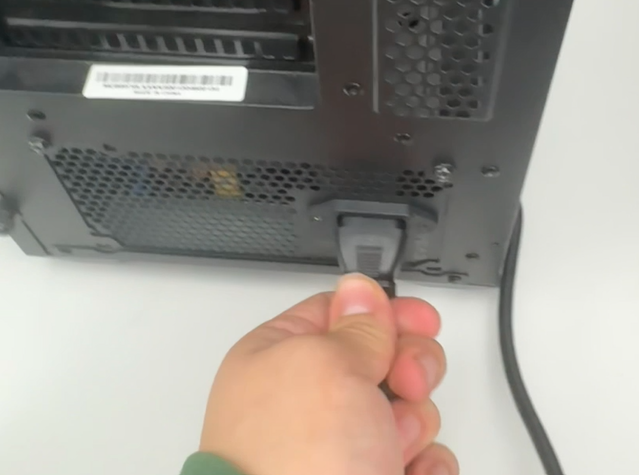
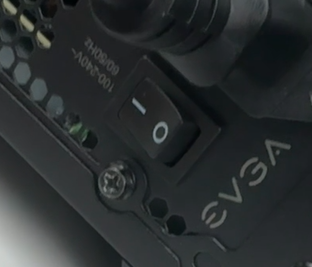
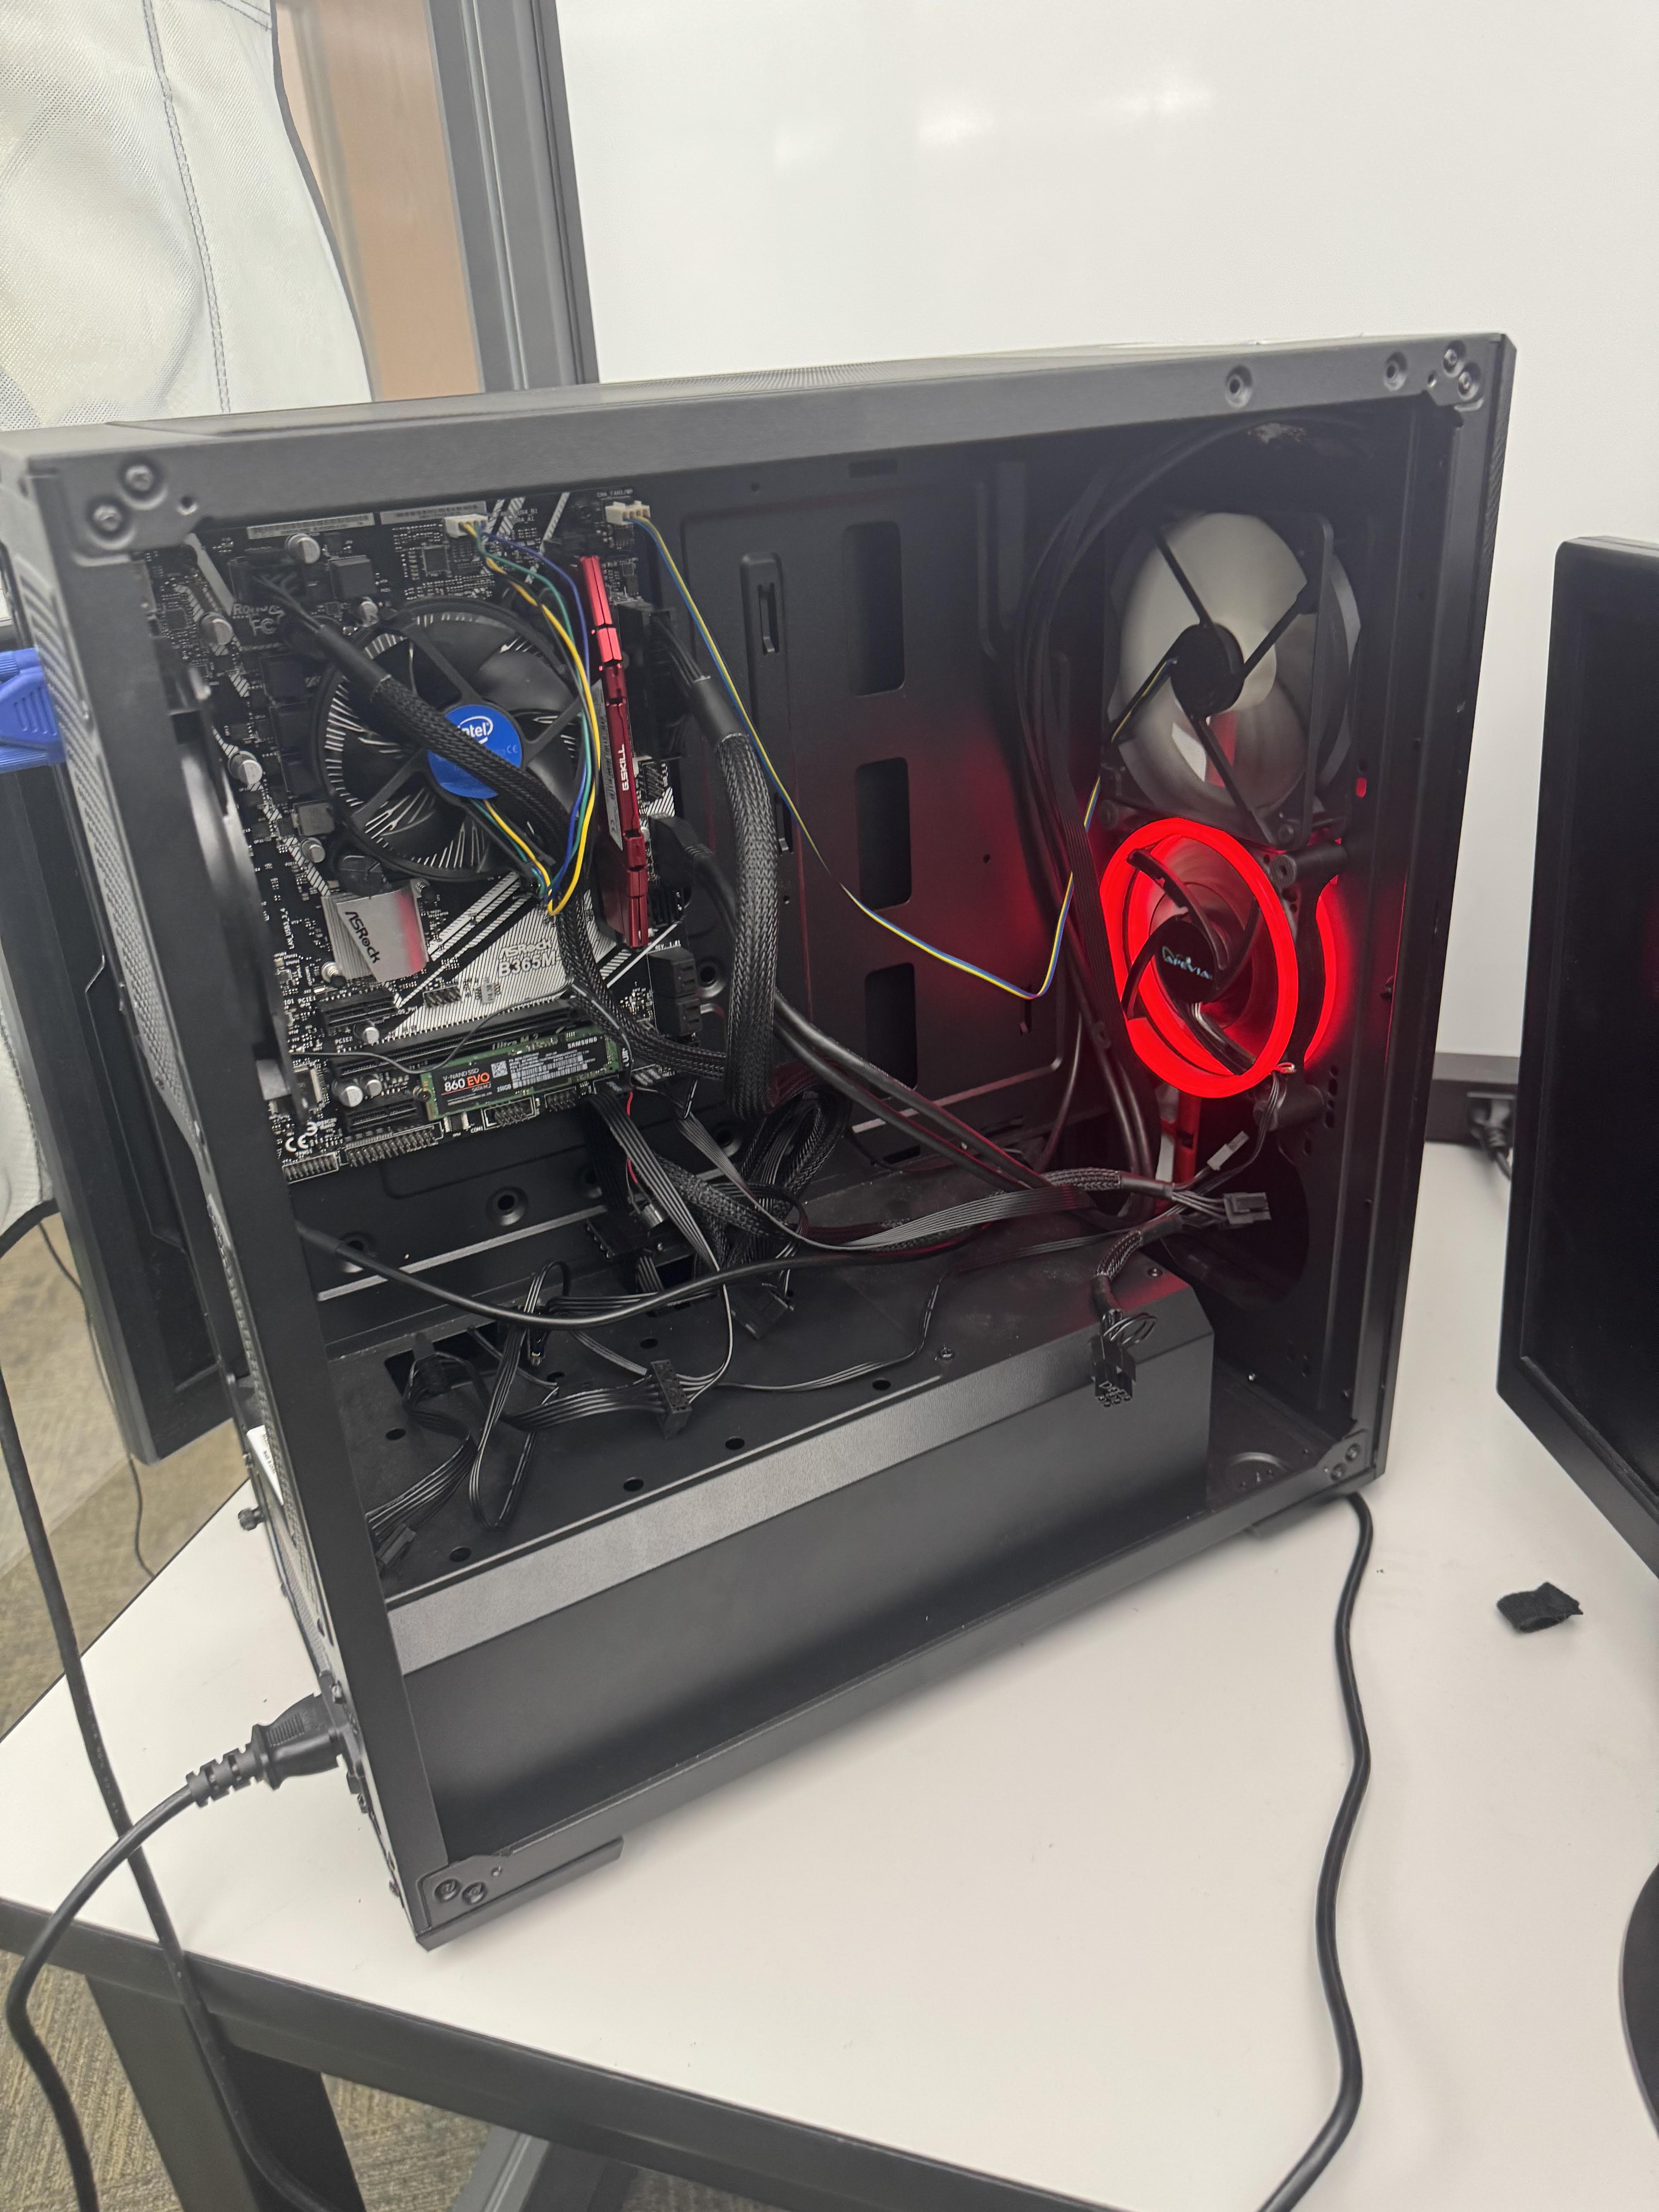
Grab a power cable for the PC and monitor, and a display cable (VGA, DVI, HDMI, DisplayPort) that works with your monitor, hook everything up and turn on the PC. (Make sure the power supply is on).
If everything works, congrats! You built your first PC!
Common Issues and Their Fixes
- The PC doesn't turn on with the power button. Grab a screwdriver and remove the connection for the power button, place the screwdriver to connect the two pins labeled for the power button, try and turn it on again, and if it turns on, that means your power button is good and the connection to it wasn't put in the right order. reorder and keep trying until it works. If the screwdriver trick doesn't work, that could mean the connection is faulty or your power button is faulty.
- The POST test beeper does multiple beeps. This could mean that your RAM isn't put in all the way or not at all, a quick fix is to double-check your RAM, take it out, and put it back in, making sure you put it in well.
- Fans don't power on. Double-check connections and make sure they are put in the right spots