How to Build a Gaming Computer
by sconcann4 in Circuits > Computers
458 Views, 1 Favorites, 0 Comments
How to Build a Gaming Computer
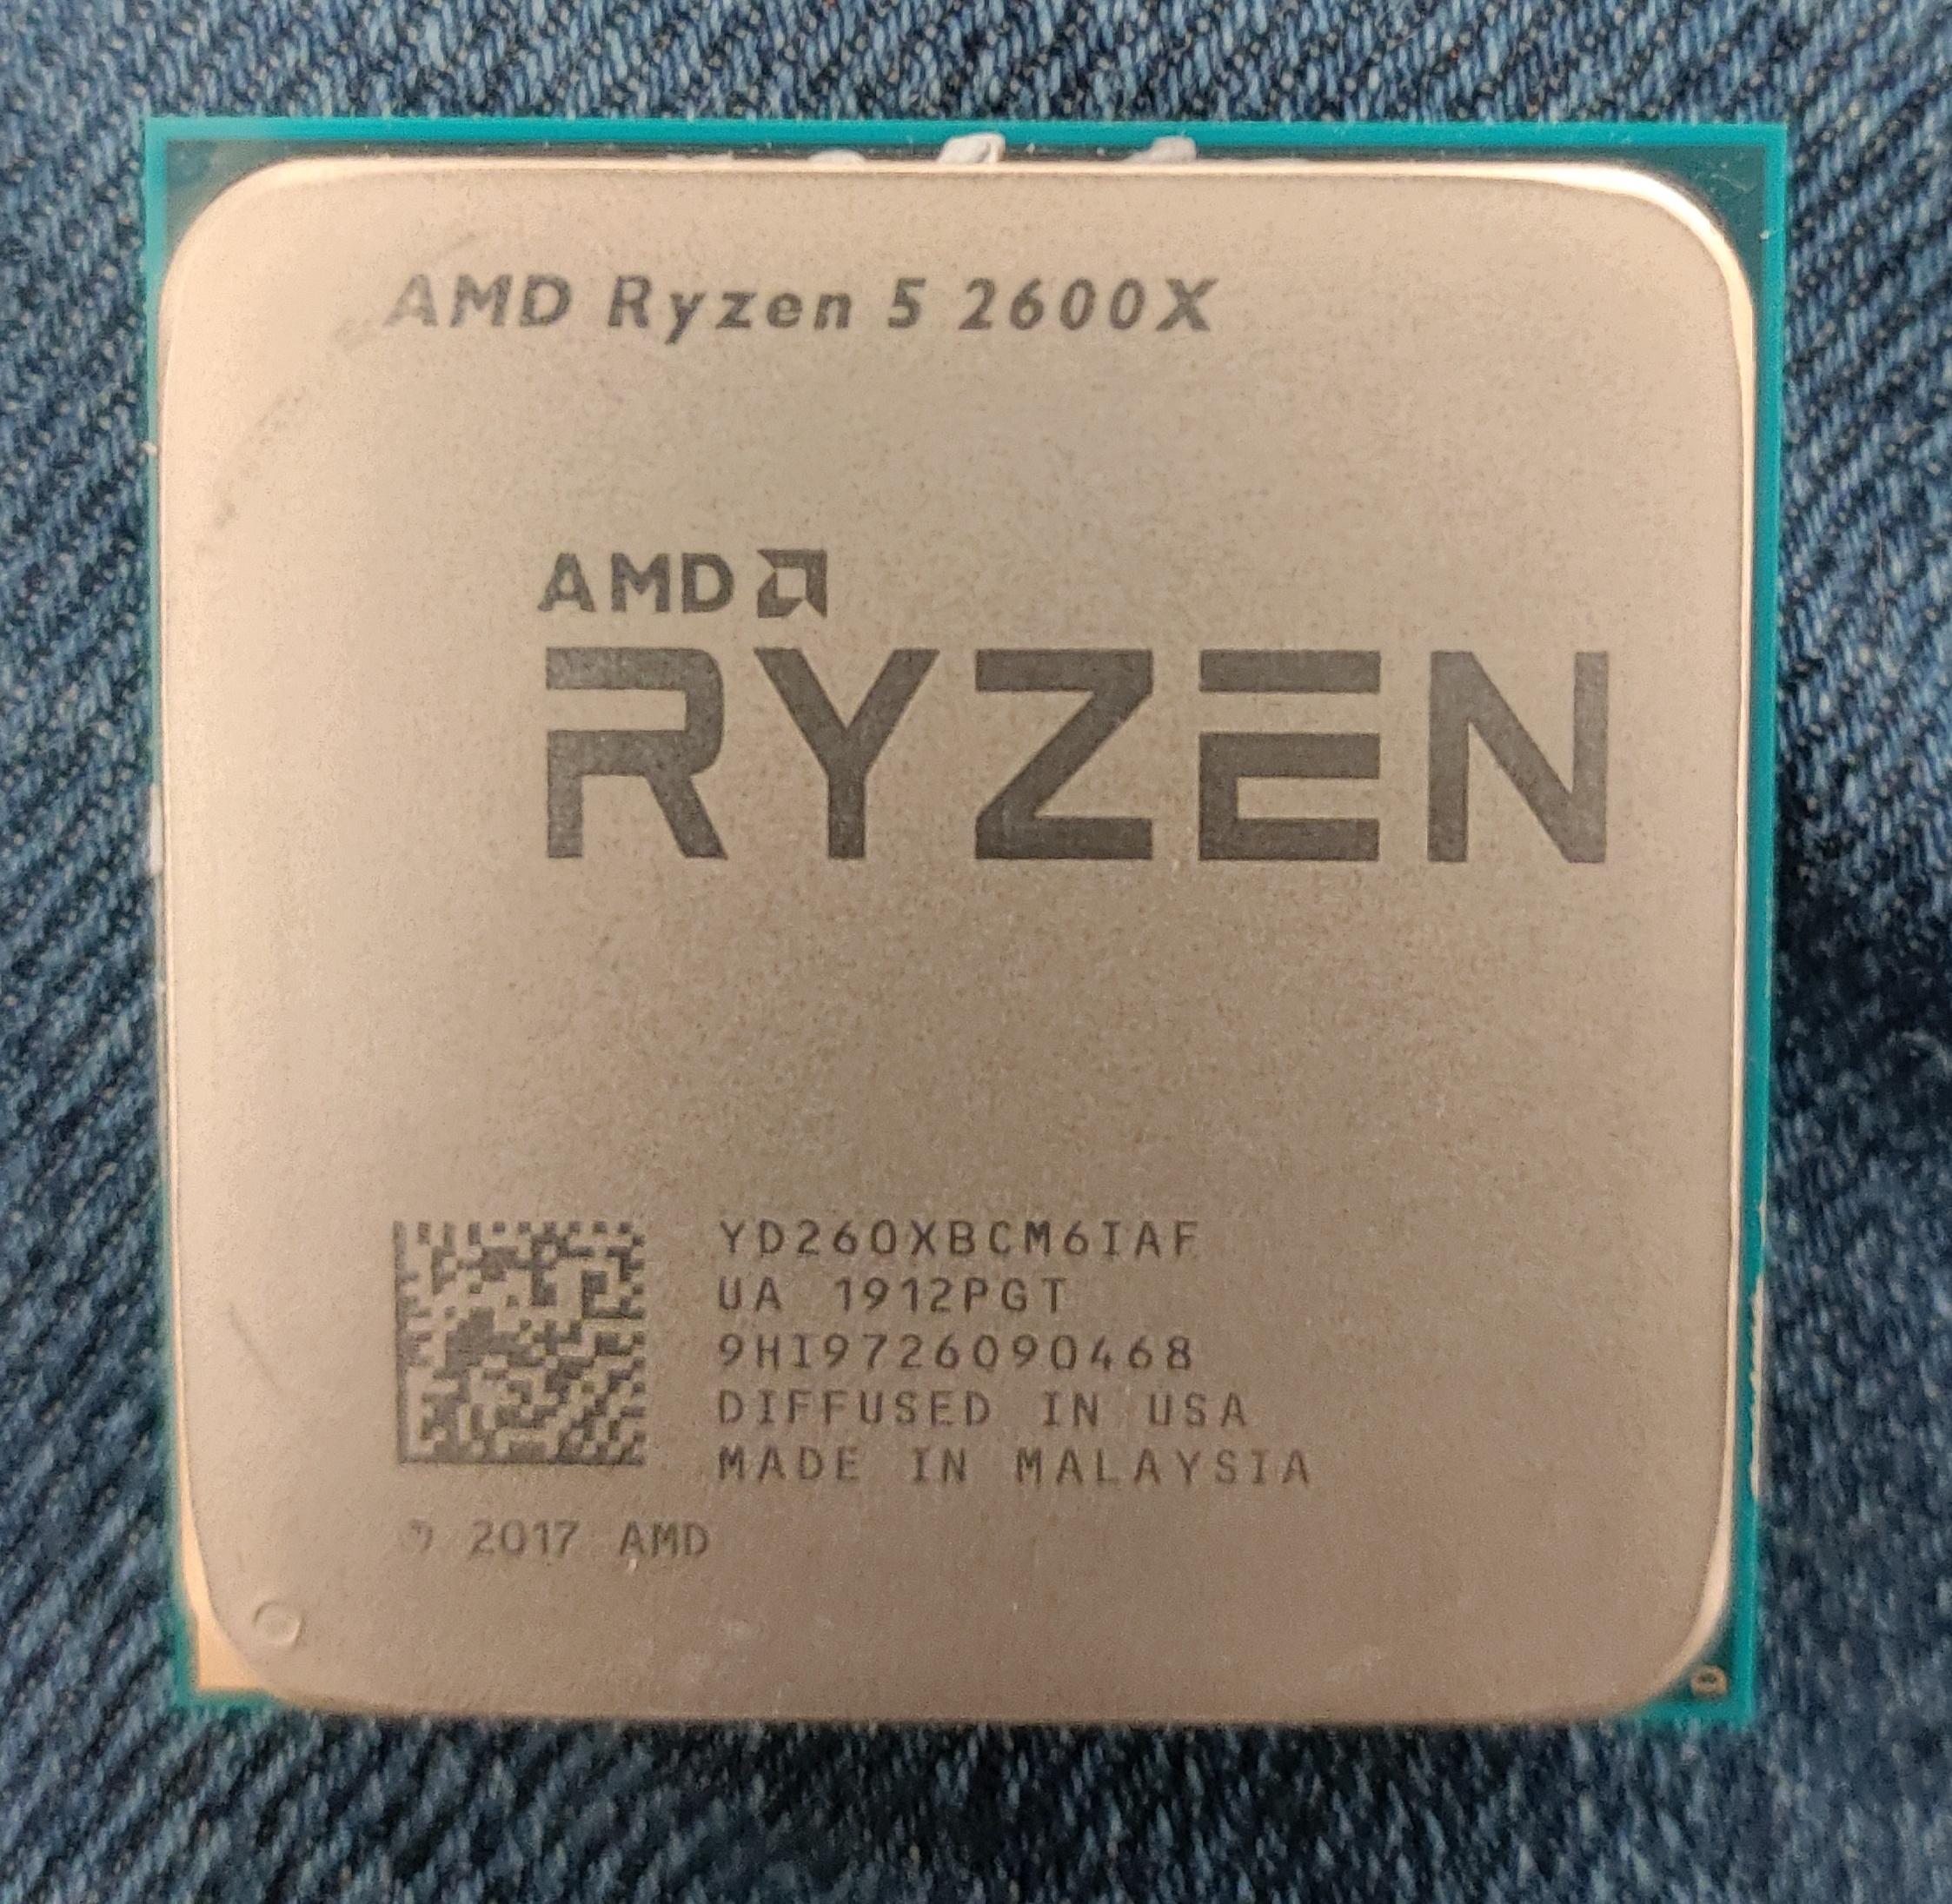
This is an instructional guide on how to build a gaming computer. The particular system that is used for demonstration is an AMD-based machine. It consists of a Ryzen 5 2600X, RX 580, 16GB of ram, and 1 Terabyte of storage.
Purchase the Parts

The first thing you need to do is buy the computer parts that you will need to put together. You will need a CPU, power supply, graphics card, motherboard, RAM sticks, storage, and a computer case. You will also need a screwdriver and a flashlight can be helpful. Make sure to check for compatibility between parts I recommend the website https://pcpartpicker.com/. Keep in mind the depending on the brand of CPU you might have to buy a CPU cooler as well.
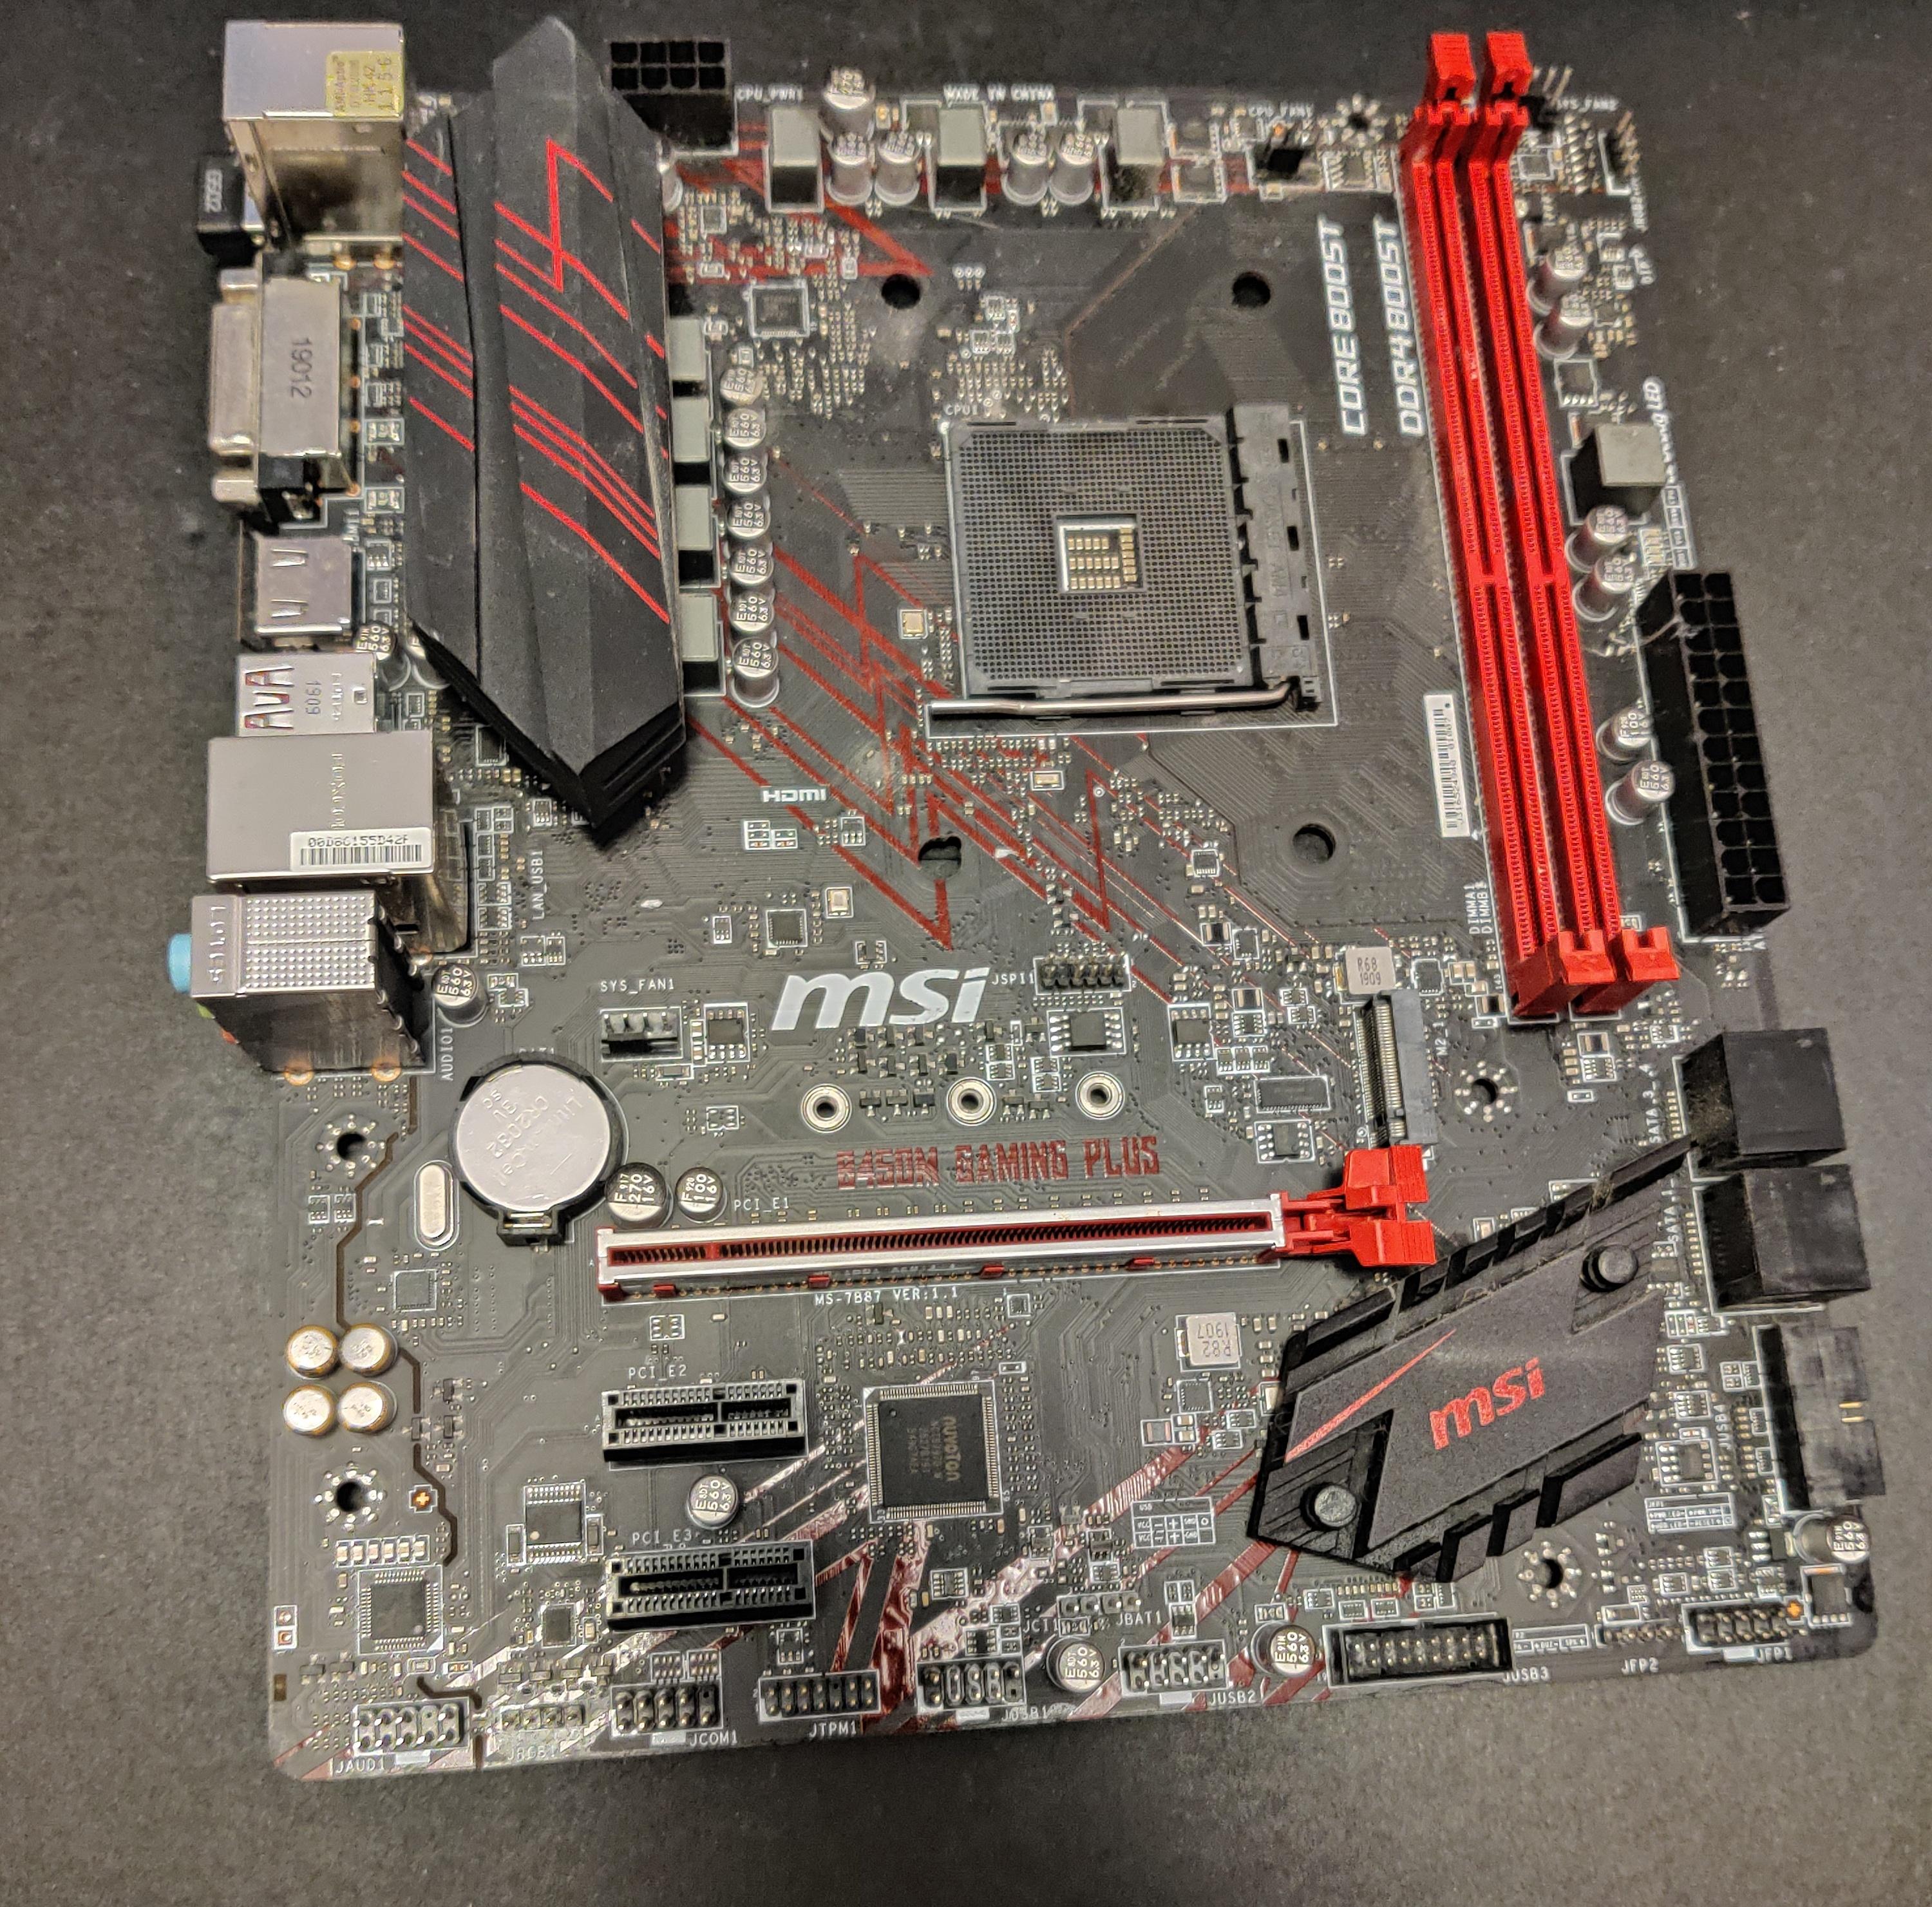
Install the CPU
a. Take the motherboard out of its box then take it out of its anti-static bag and place it on top of the box it came in.
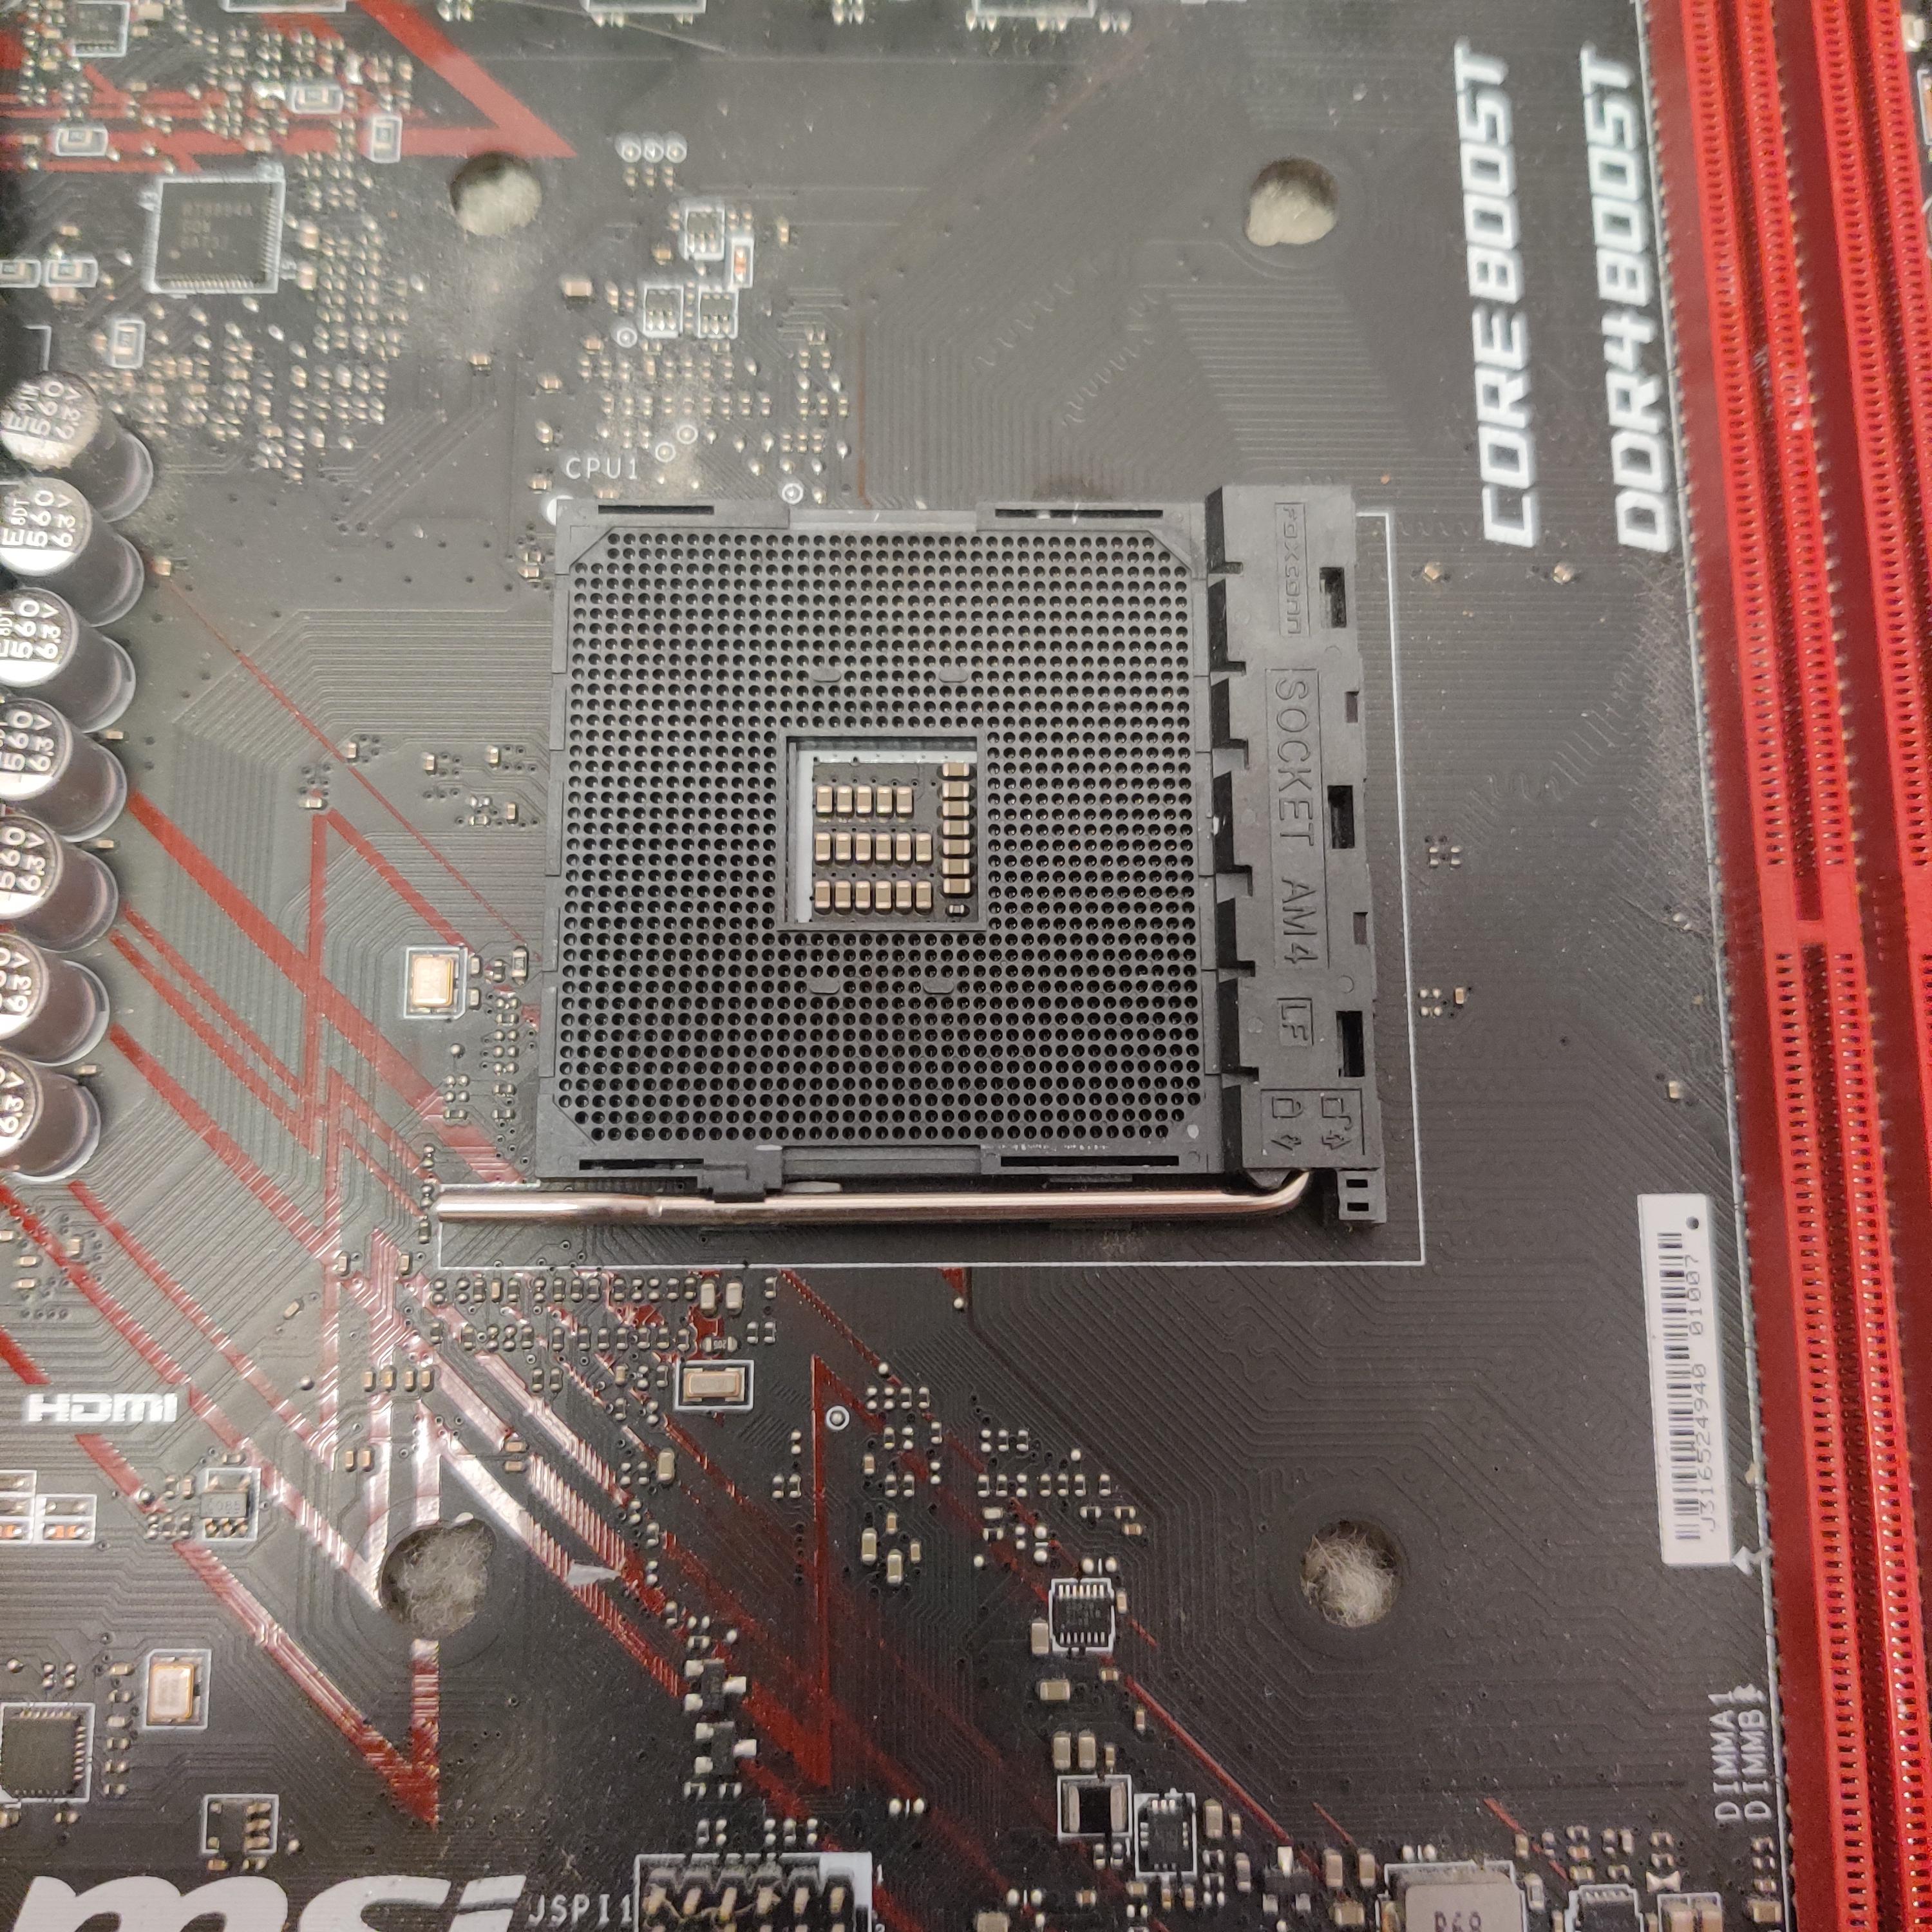
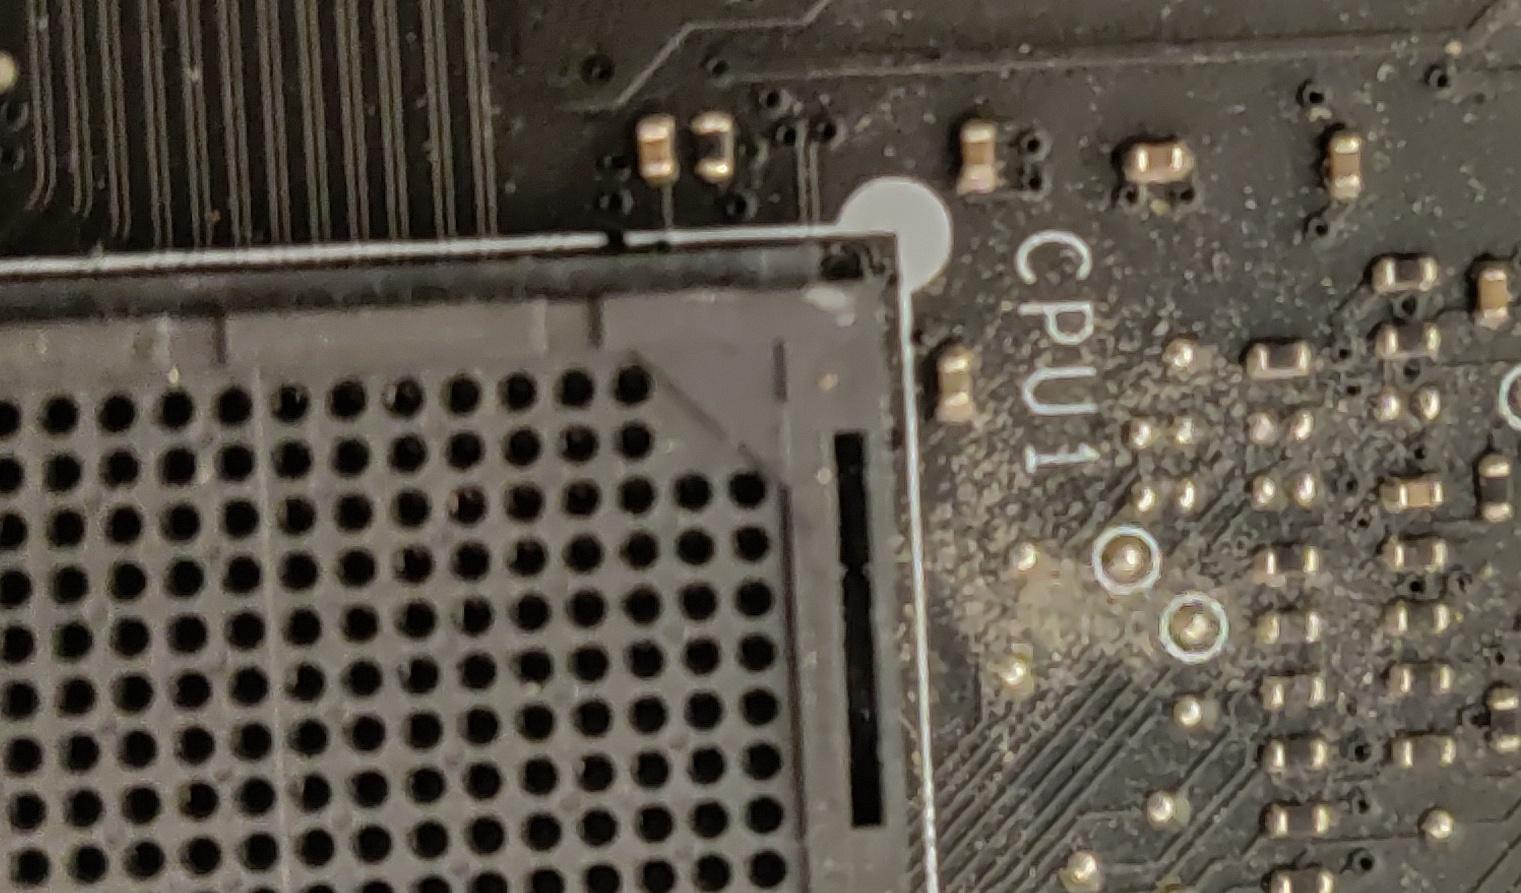
b. Locate the CPU slot.
c. Lift up the metal latch on the CPU slot.
d. Unbox CPU.
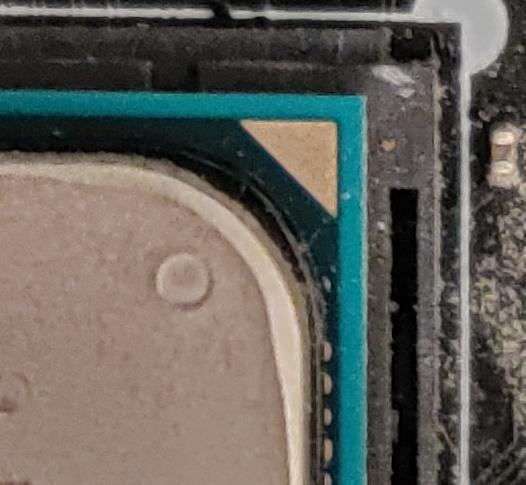
e. Find the small triangle on the CPU slot and on the CPU.
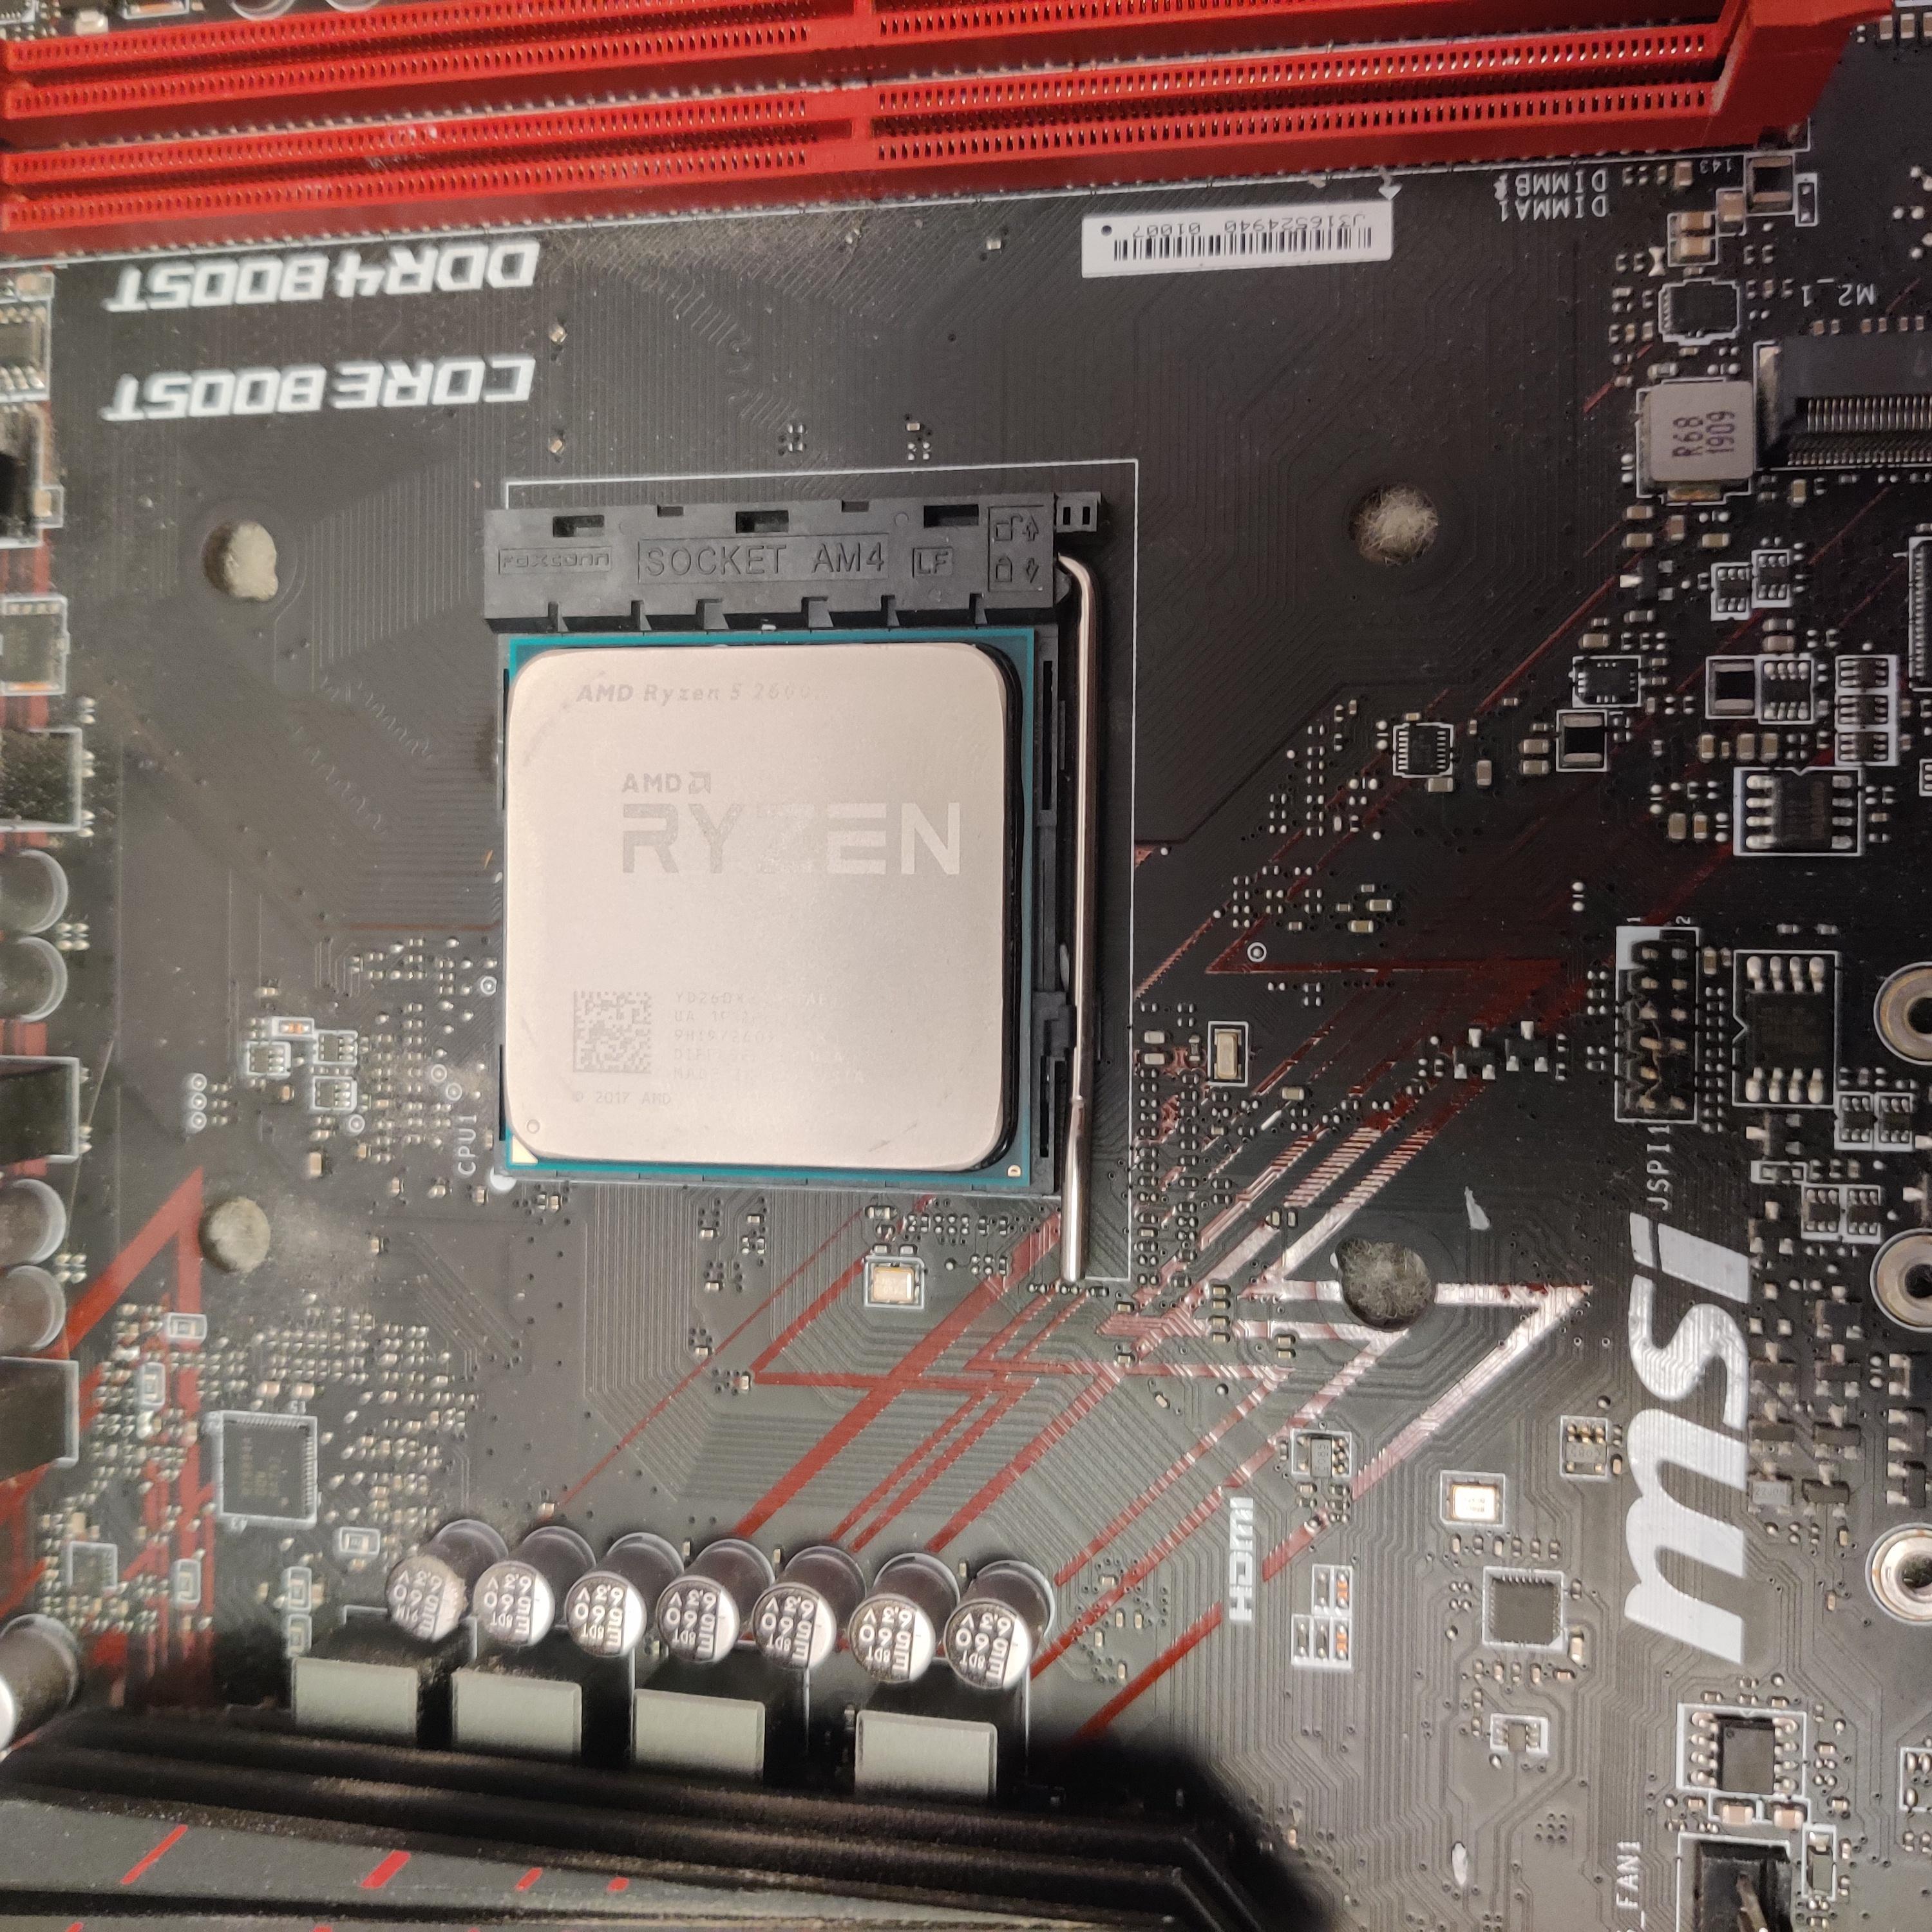
f. Line up the small triangles and gently place the CPU in its slot.
g. Lastly, push down on the metal latch and lock the CPU in place.
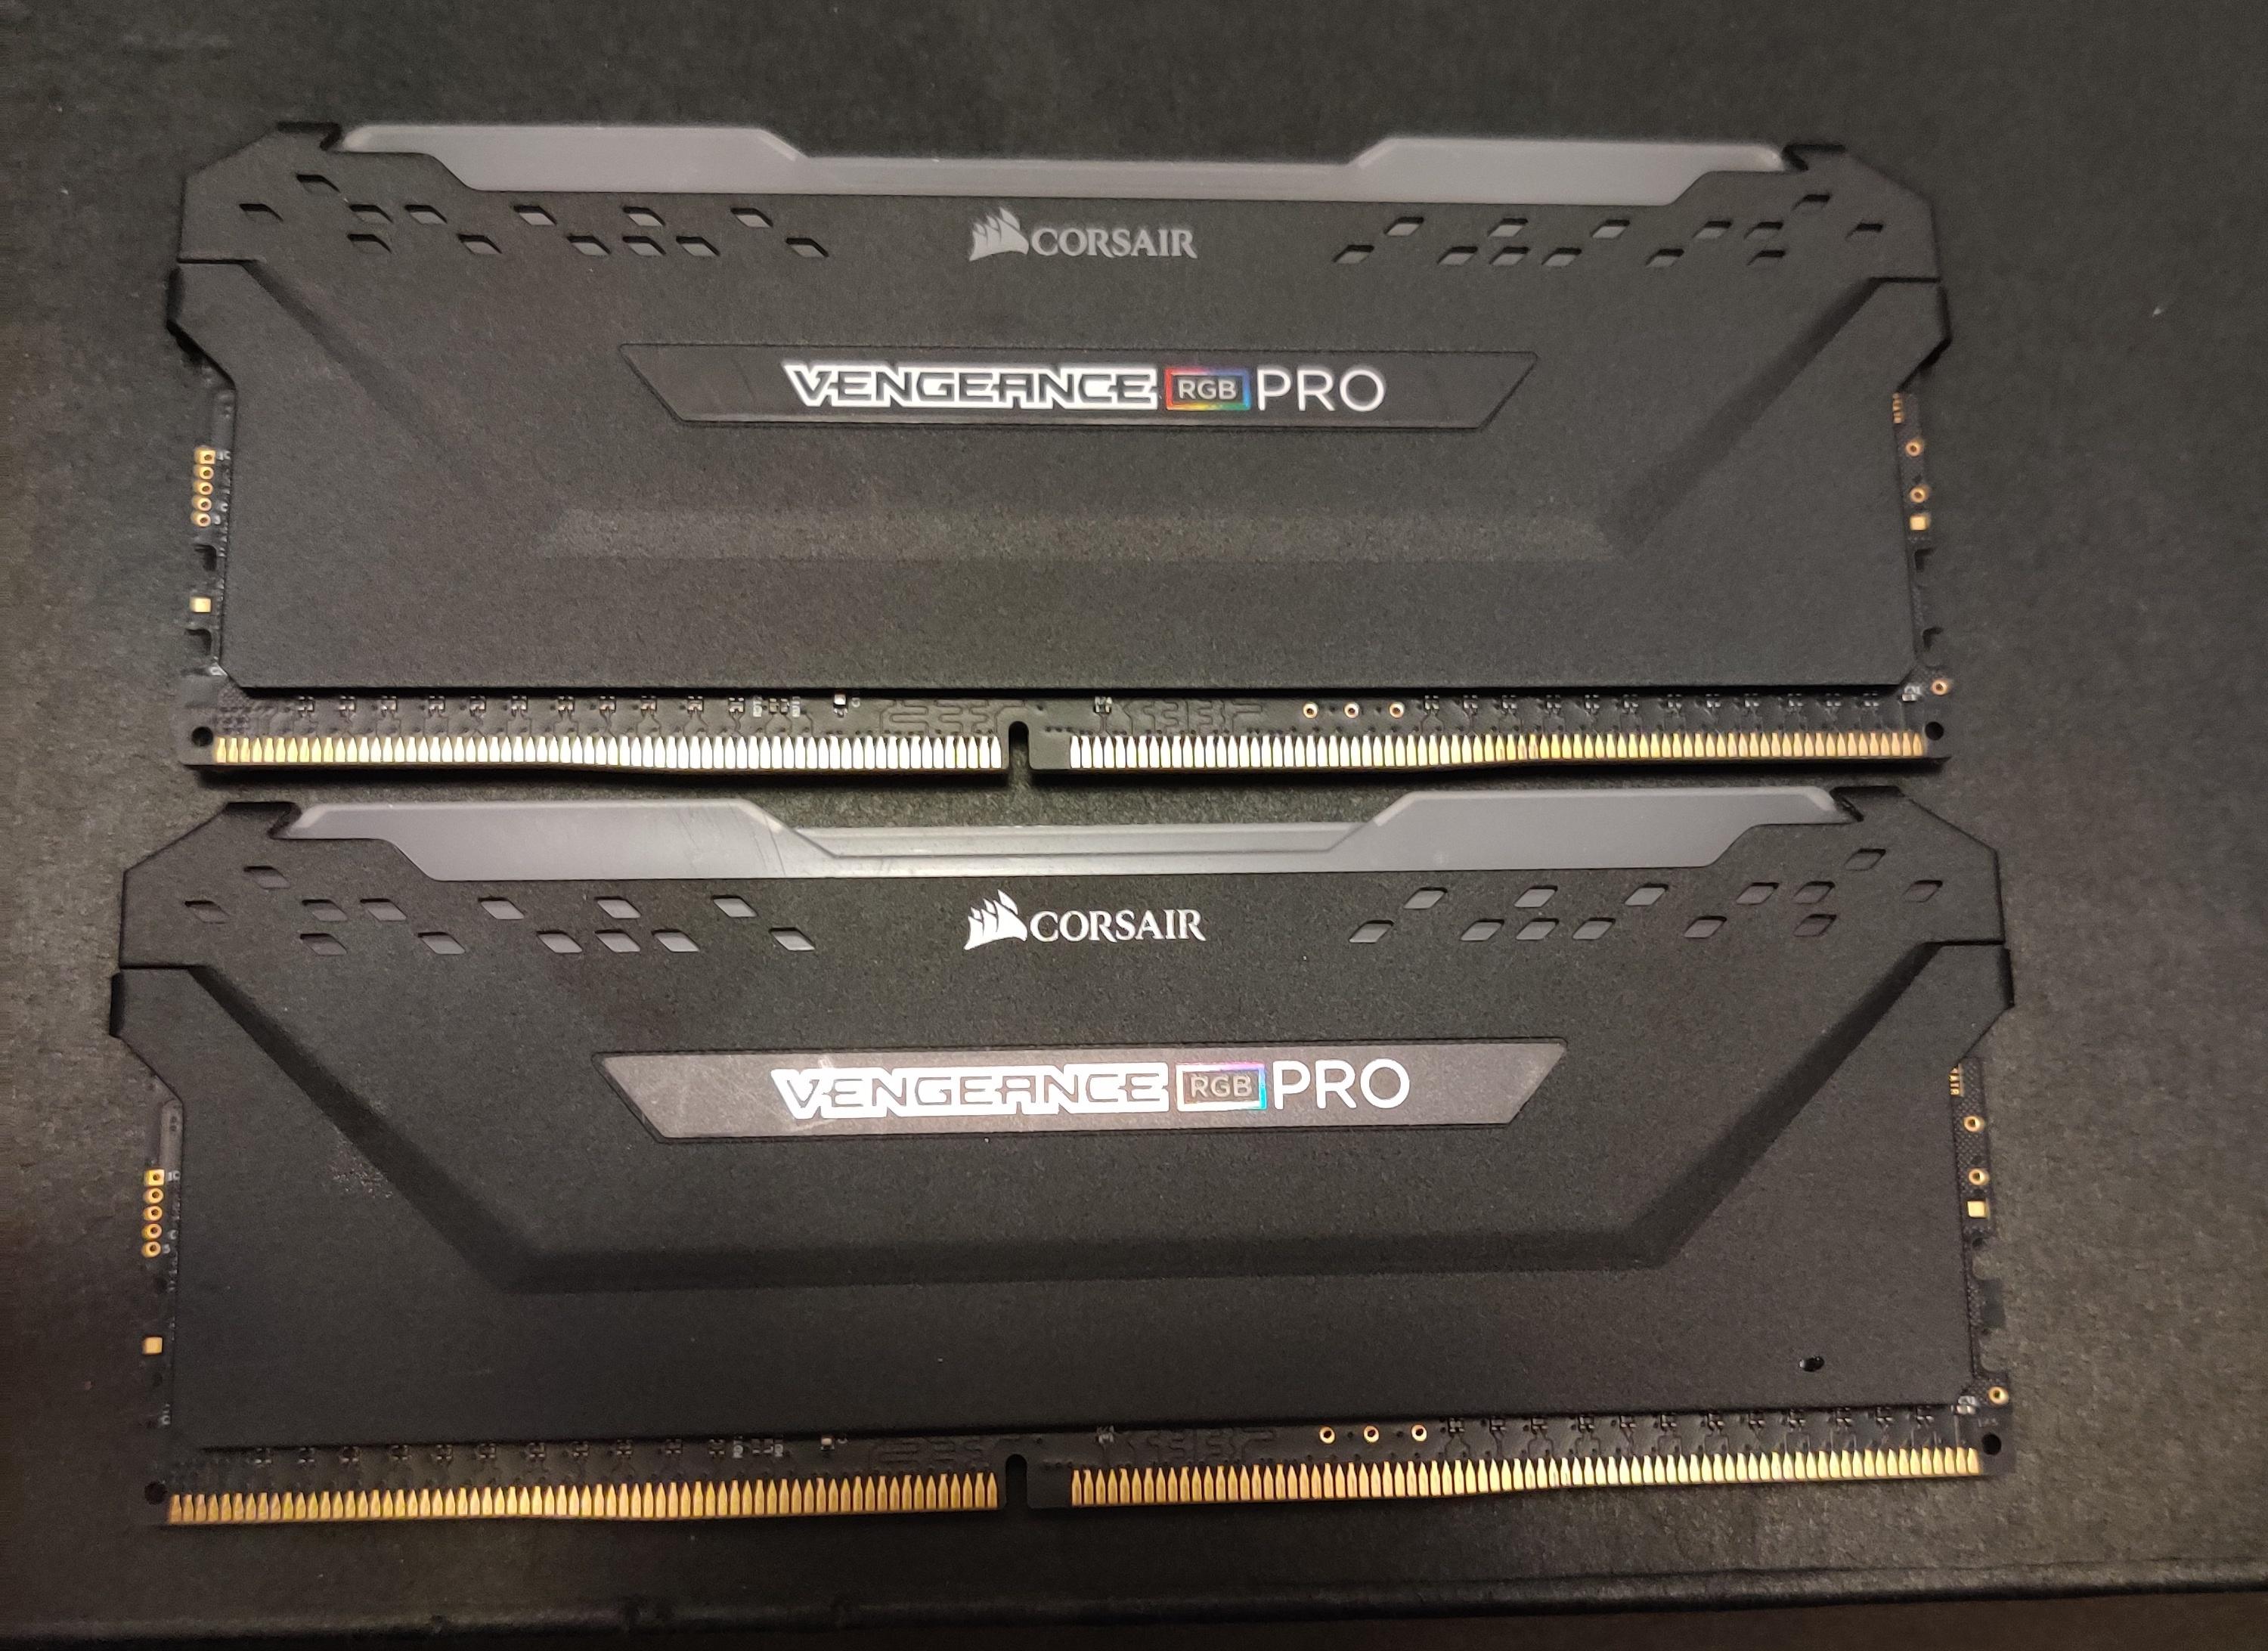
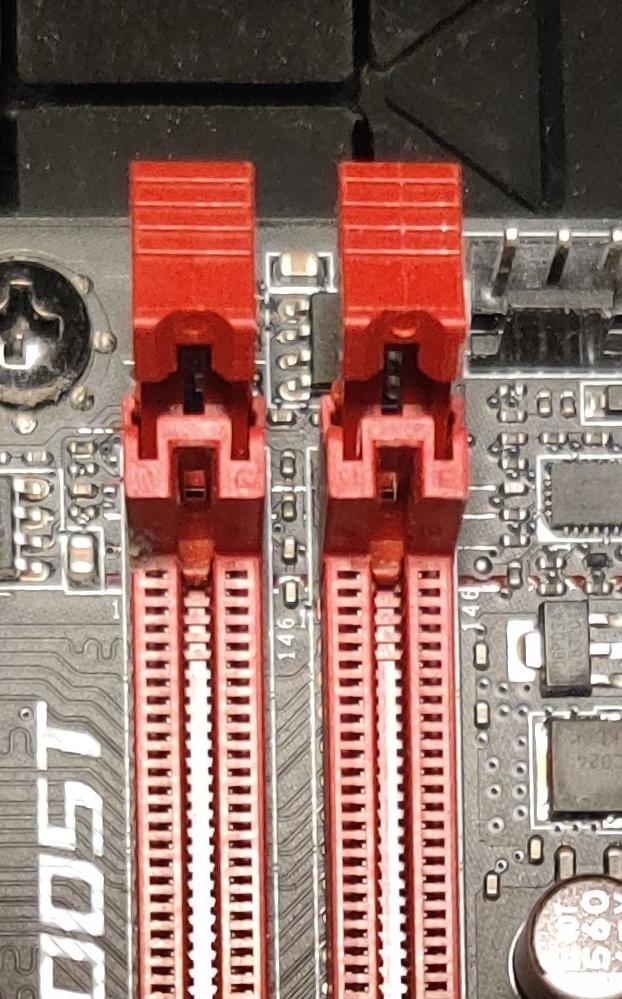
Install the Ram
a. Unbox RAM sticks.
b. Locate the RAM slots.
c. Unlatch the latches on RAM slots.
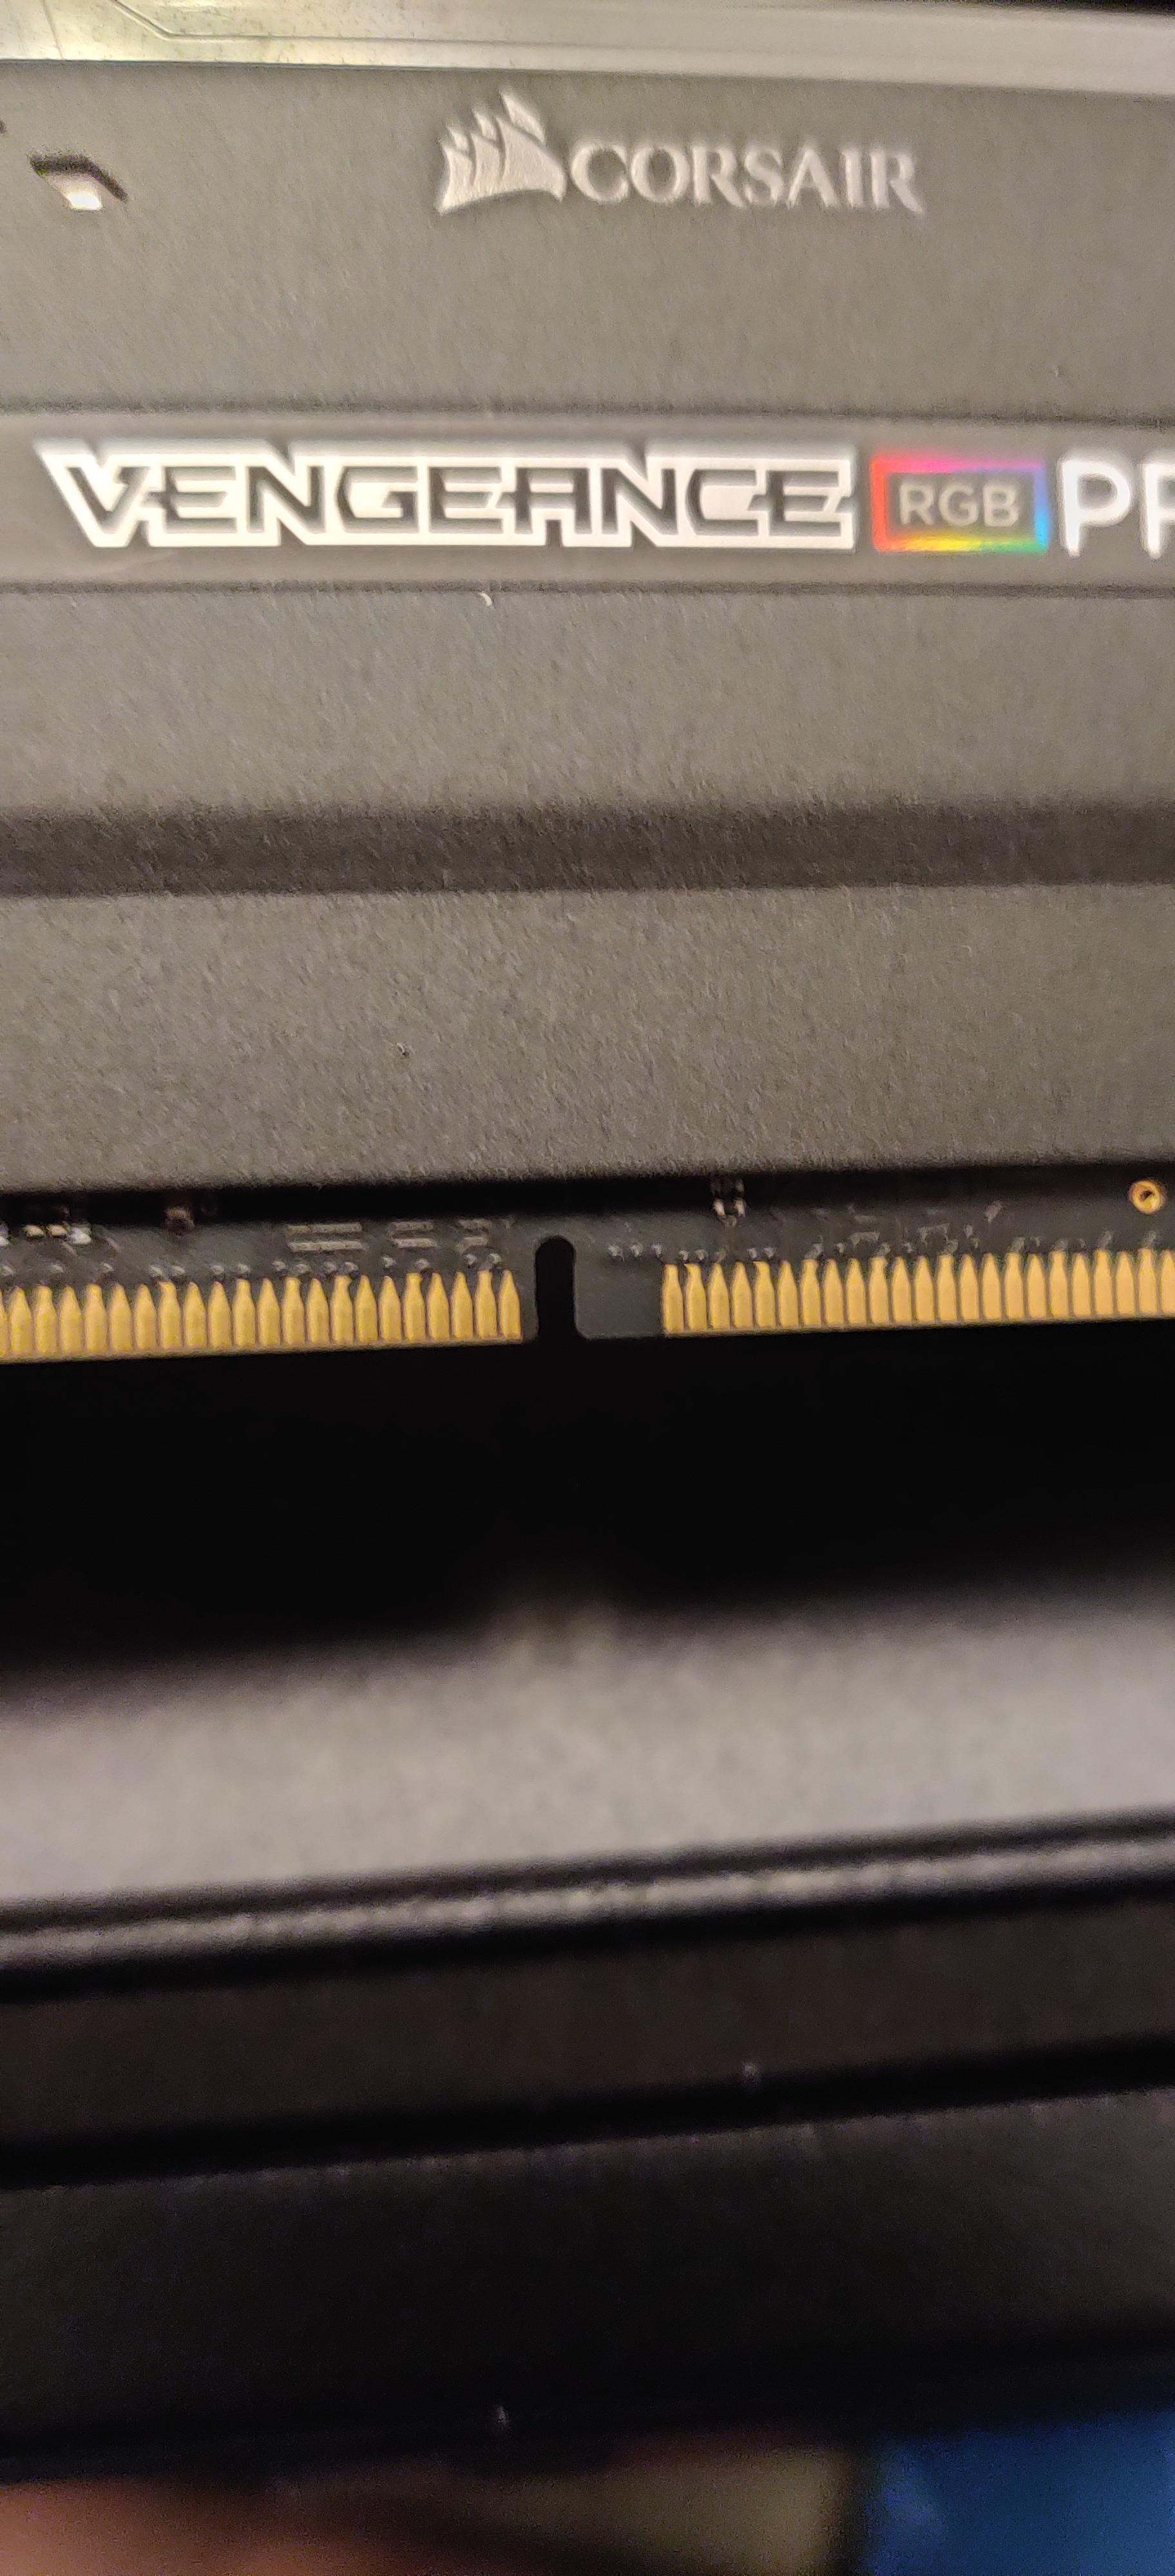
d. Line up the notch in the RAM stick with the notch on the RAM slot.
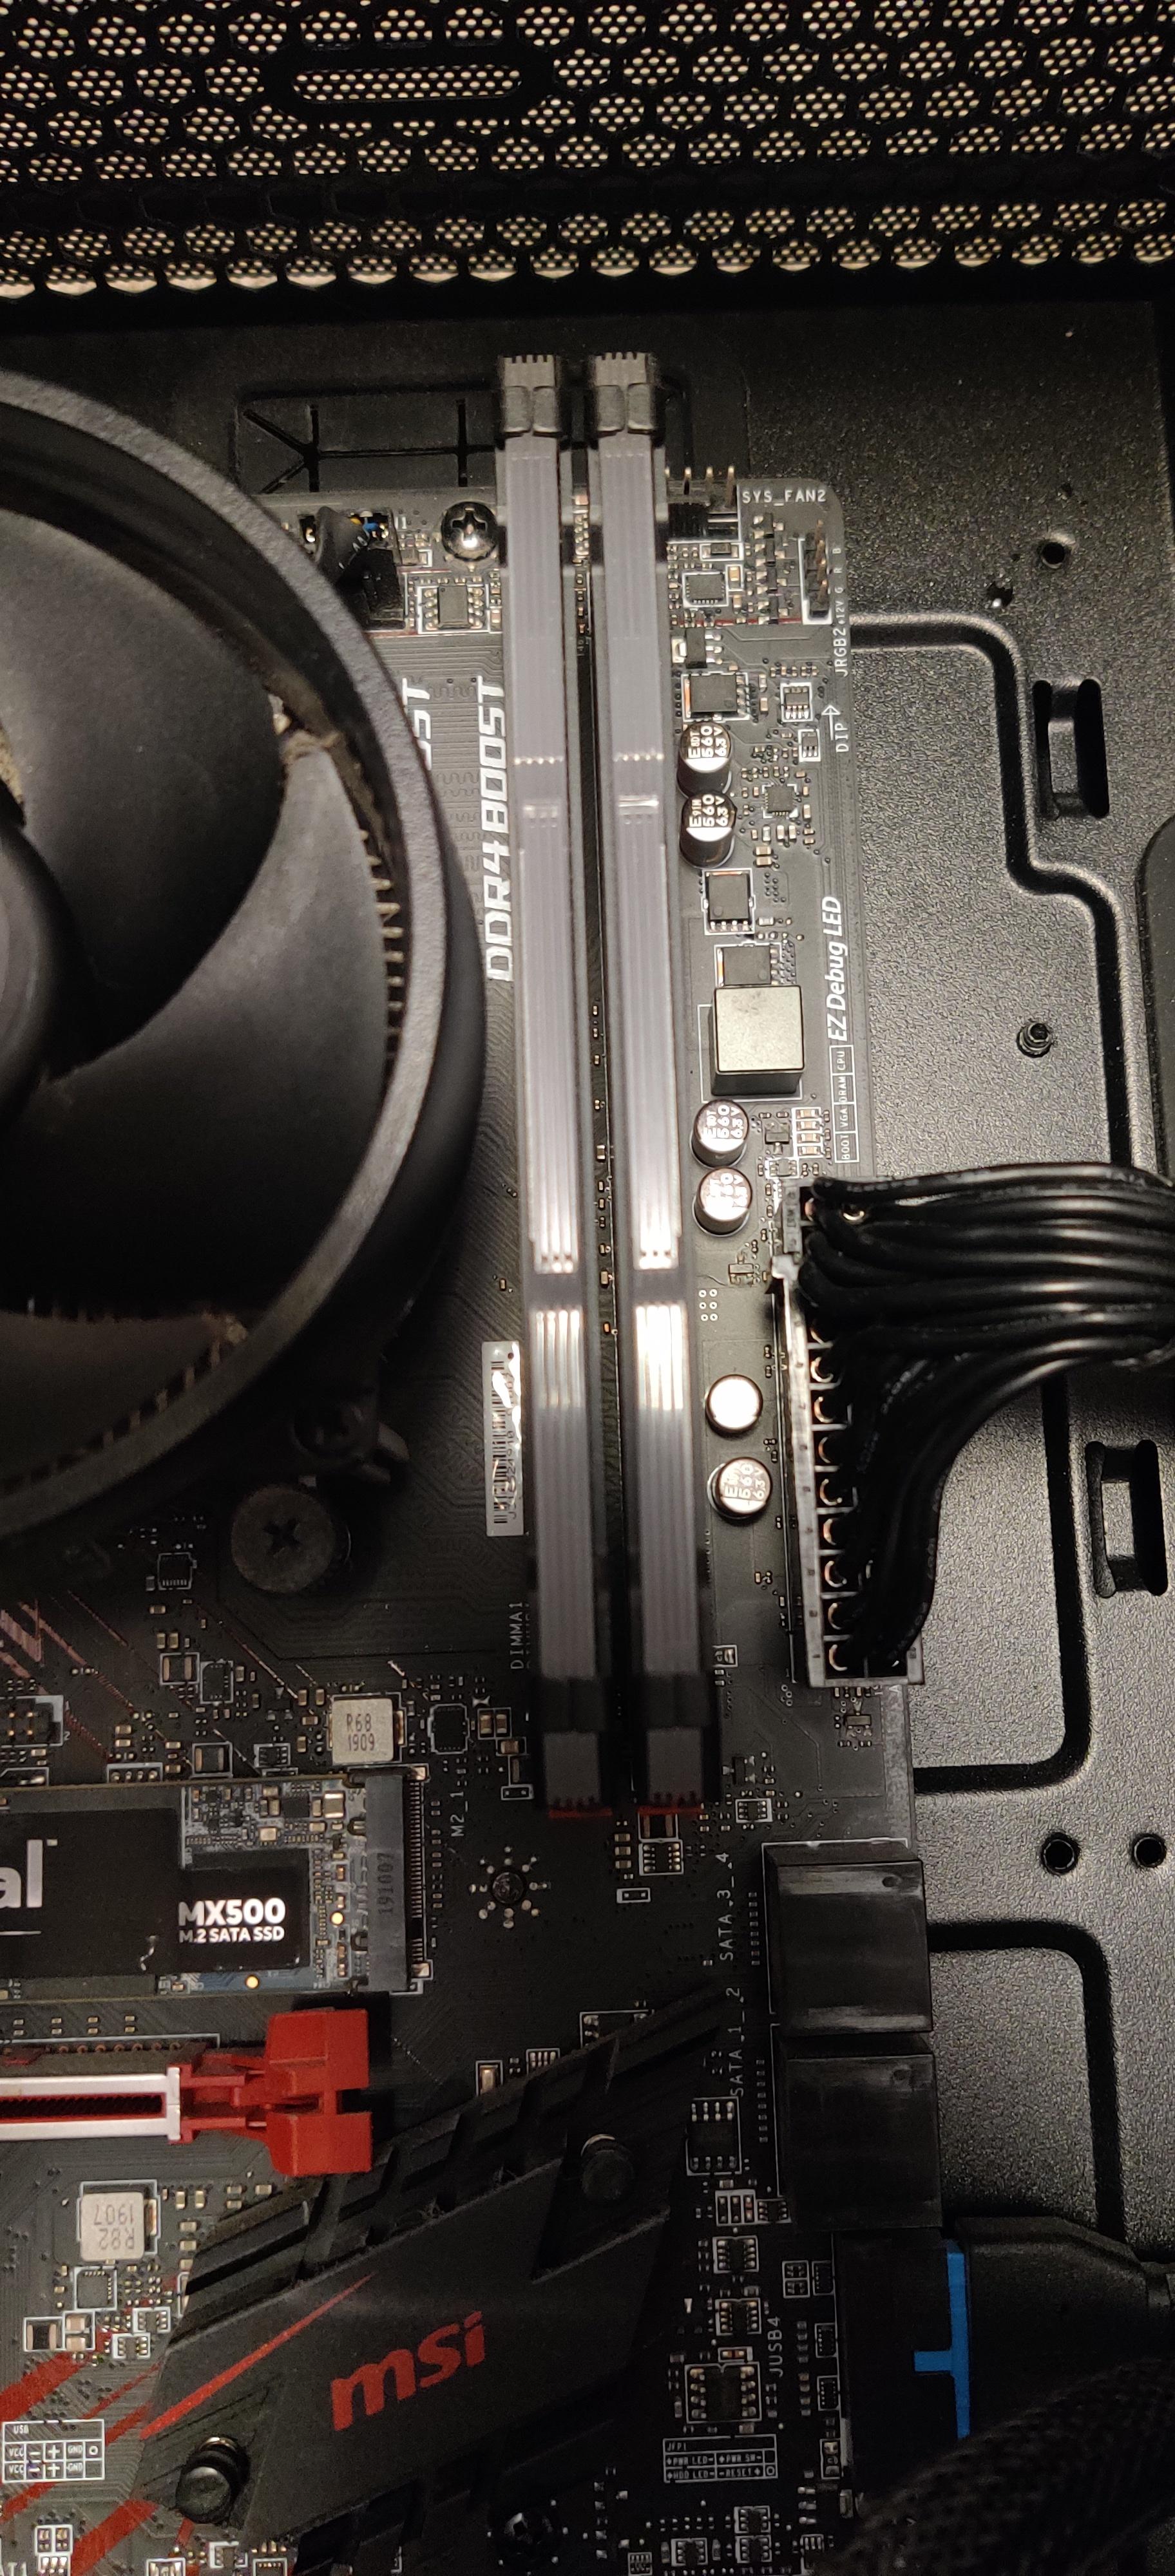
e. Firmly press RAM stick into place.
f. Repeat steps 3e and 3d for all RAM sticks.
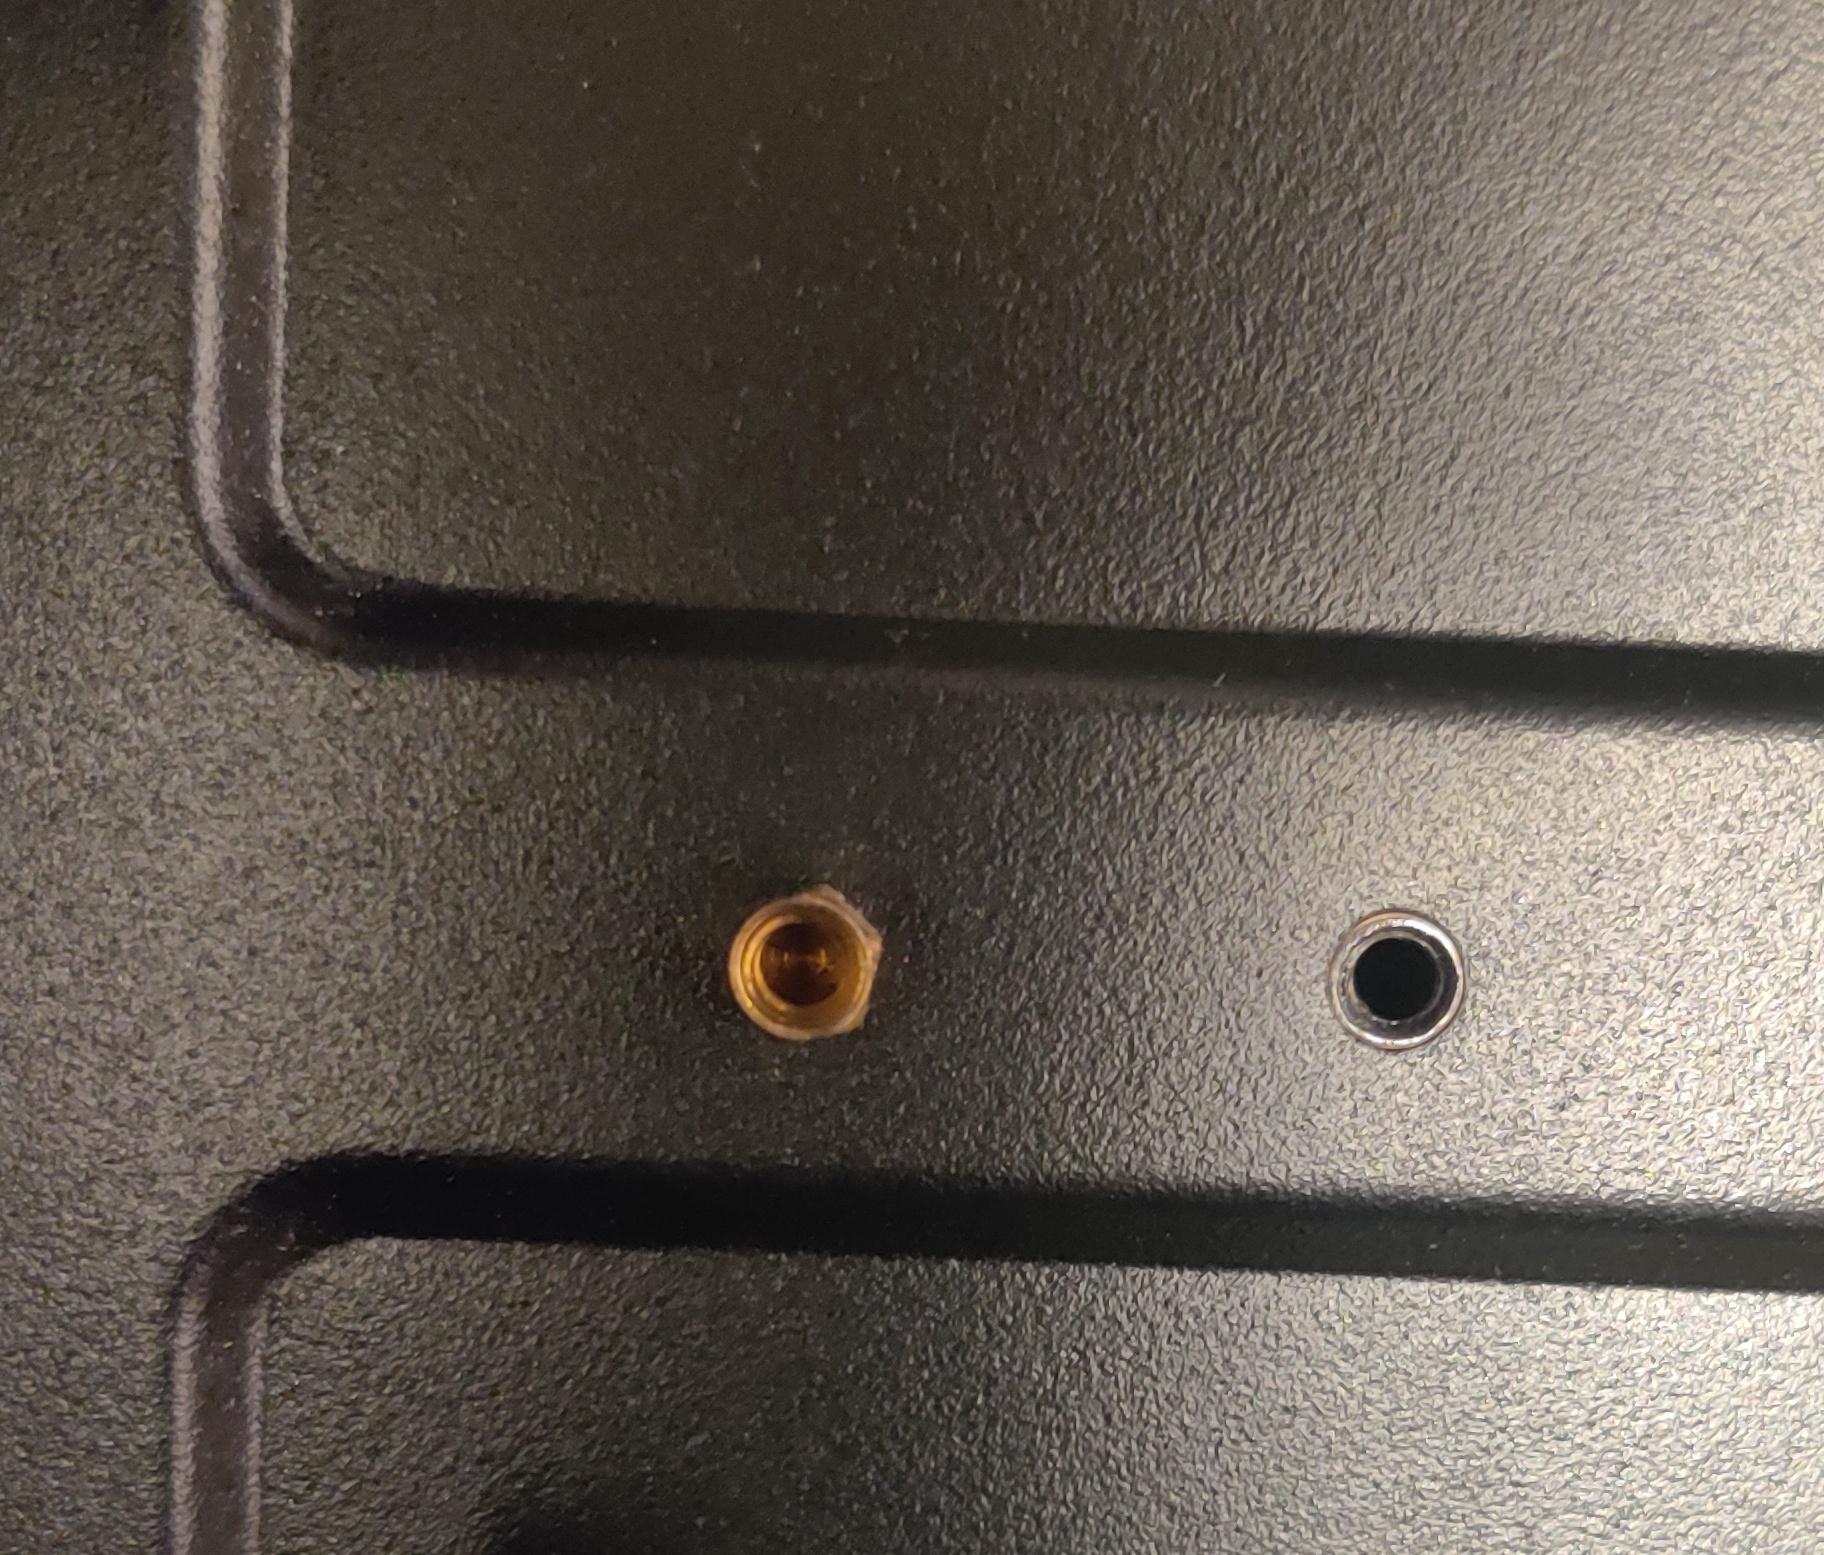
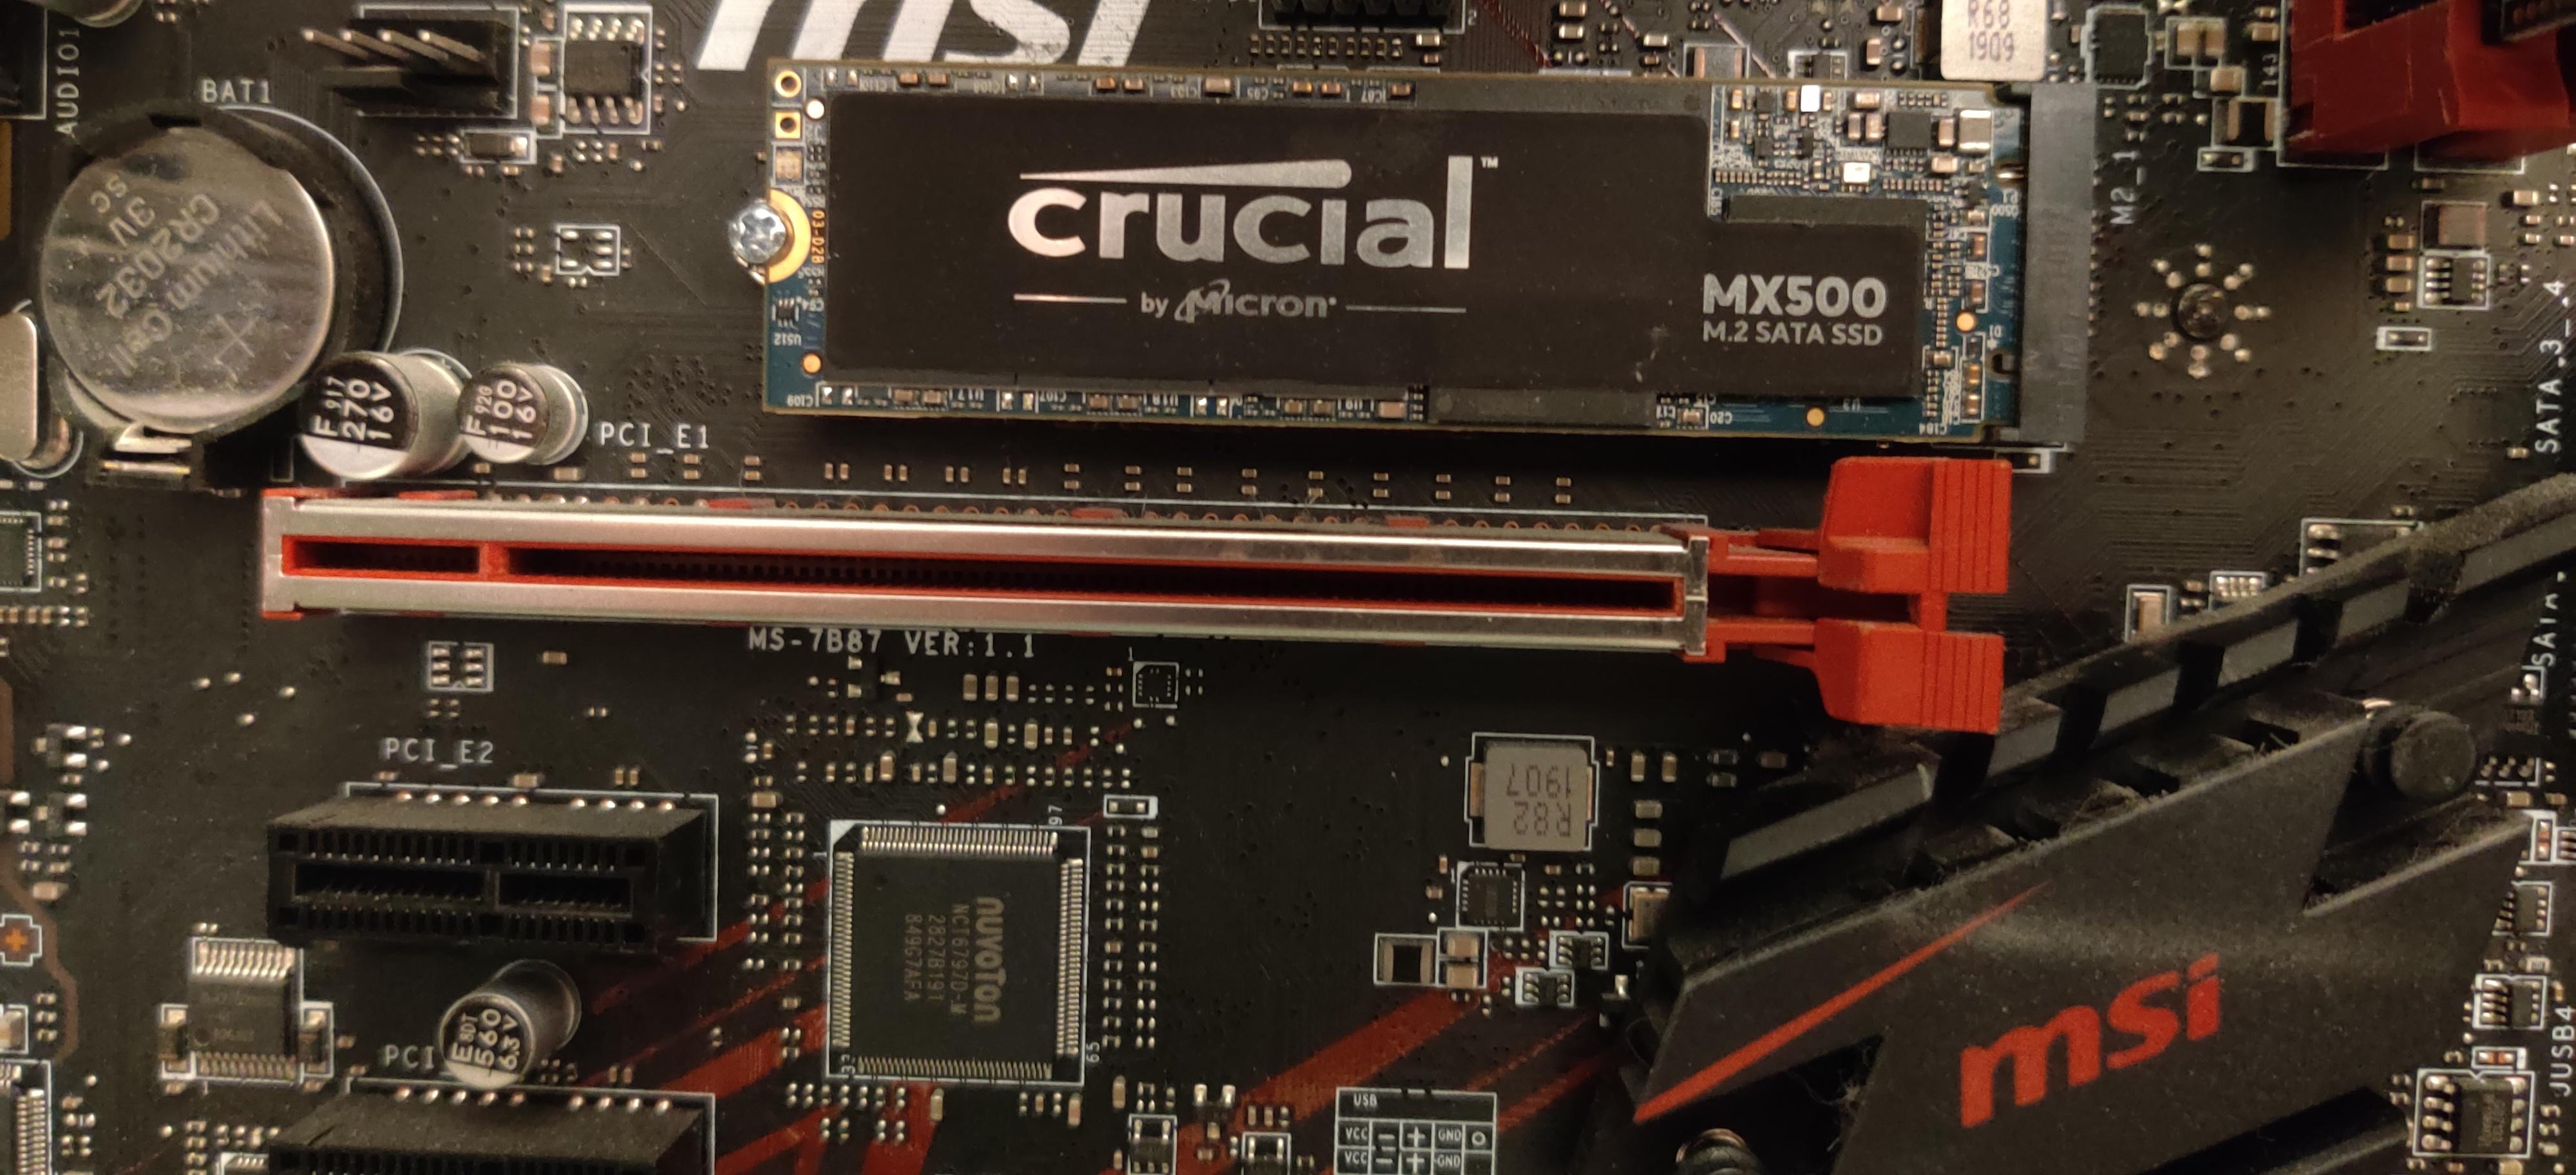
Install Storage(M.2)
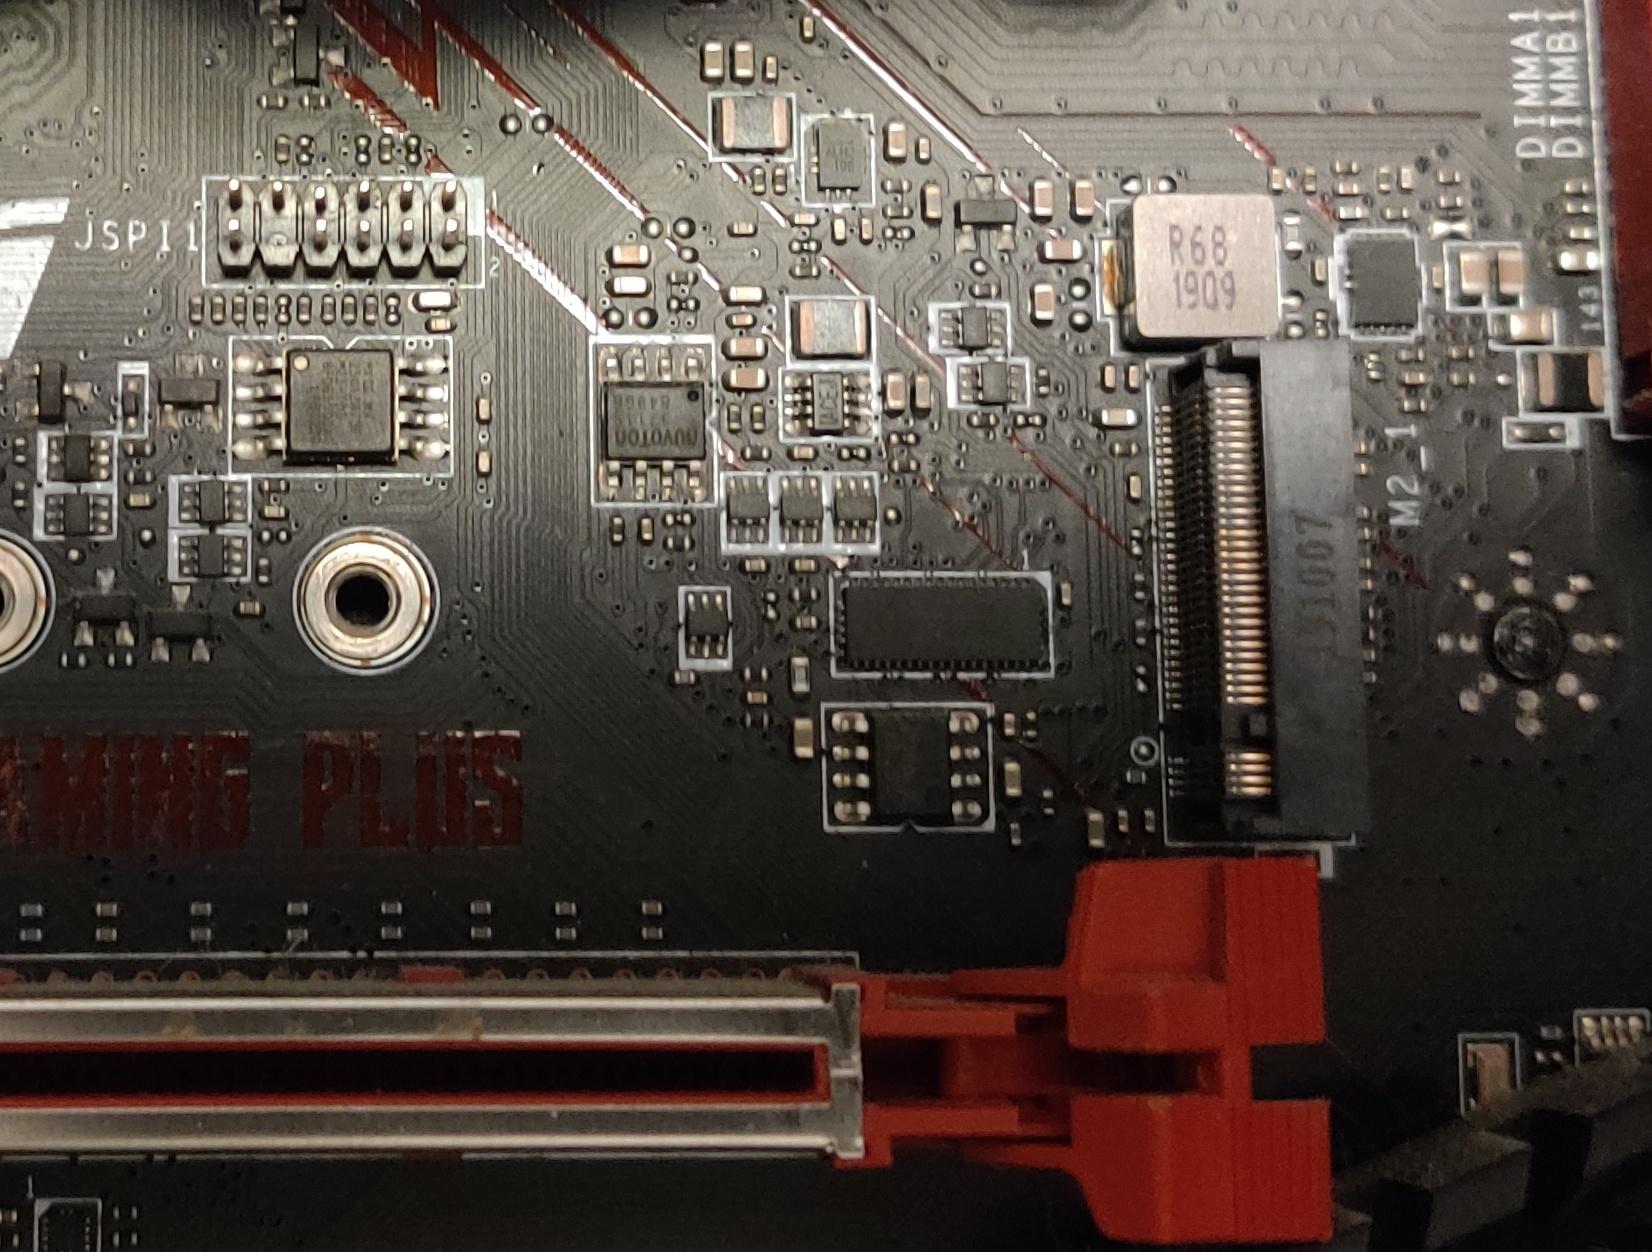
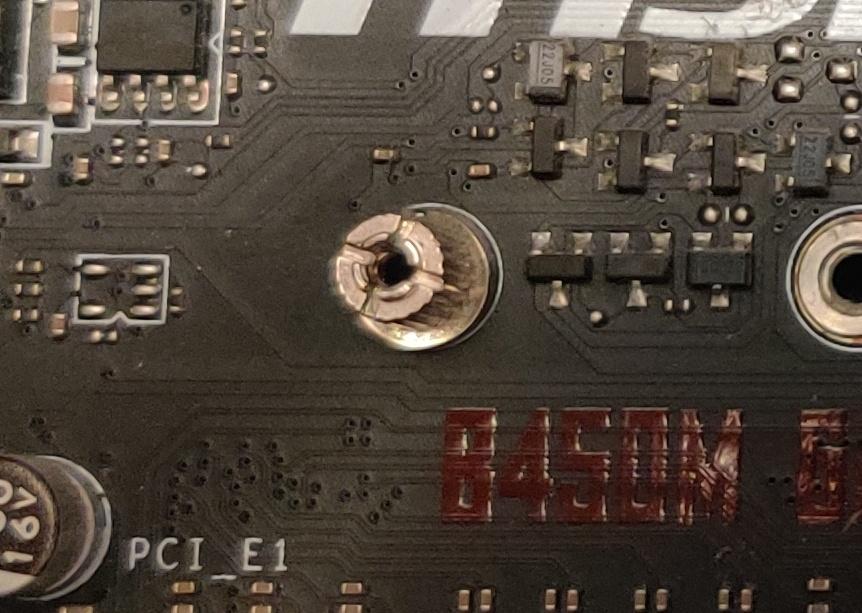

a. Locate M.2 slot on the motherboard.
b. Remove M.2 cover if needed.
c. Screw-in M.2 standoff.
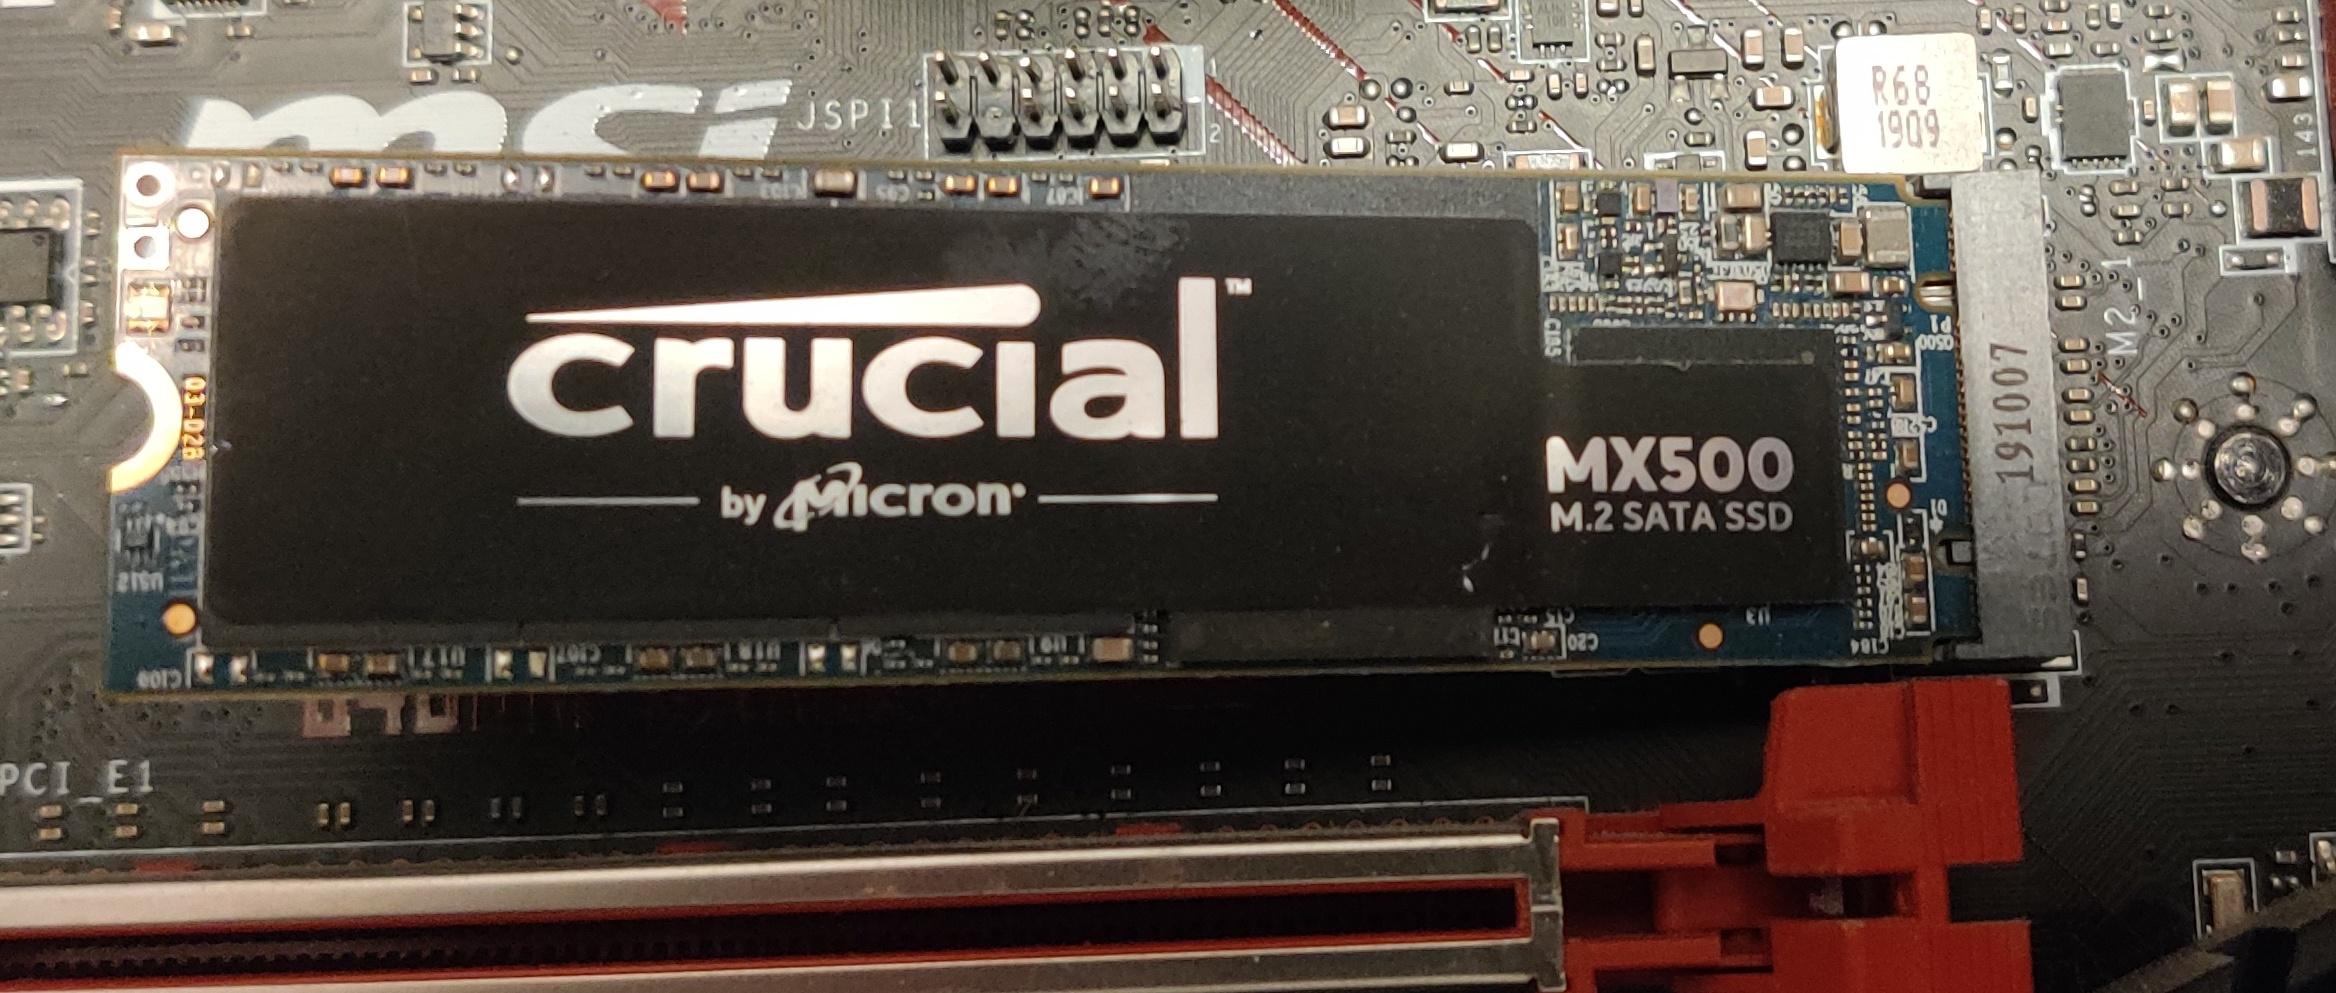
d. Unbox M.2.
e. Gently push M.2 into the slot.
f. Gently screw M.2 into place.
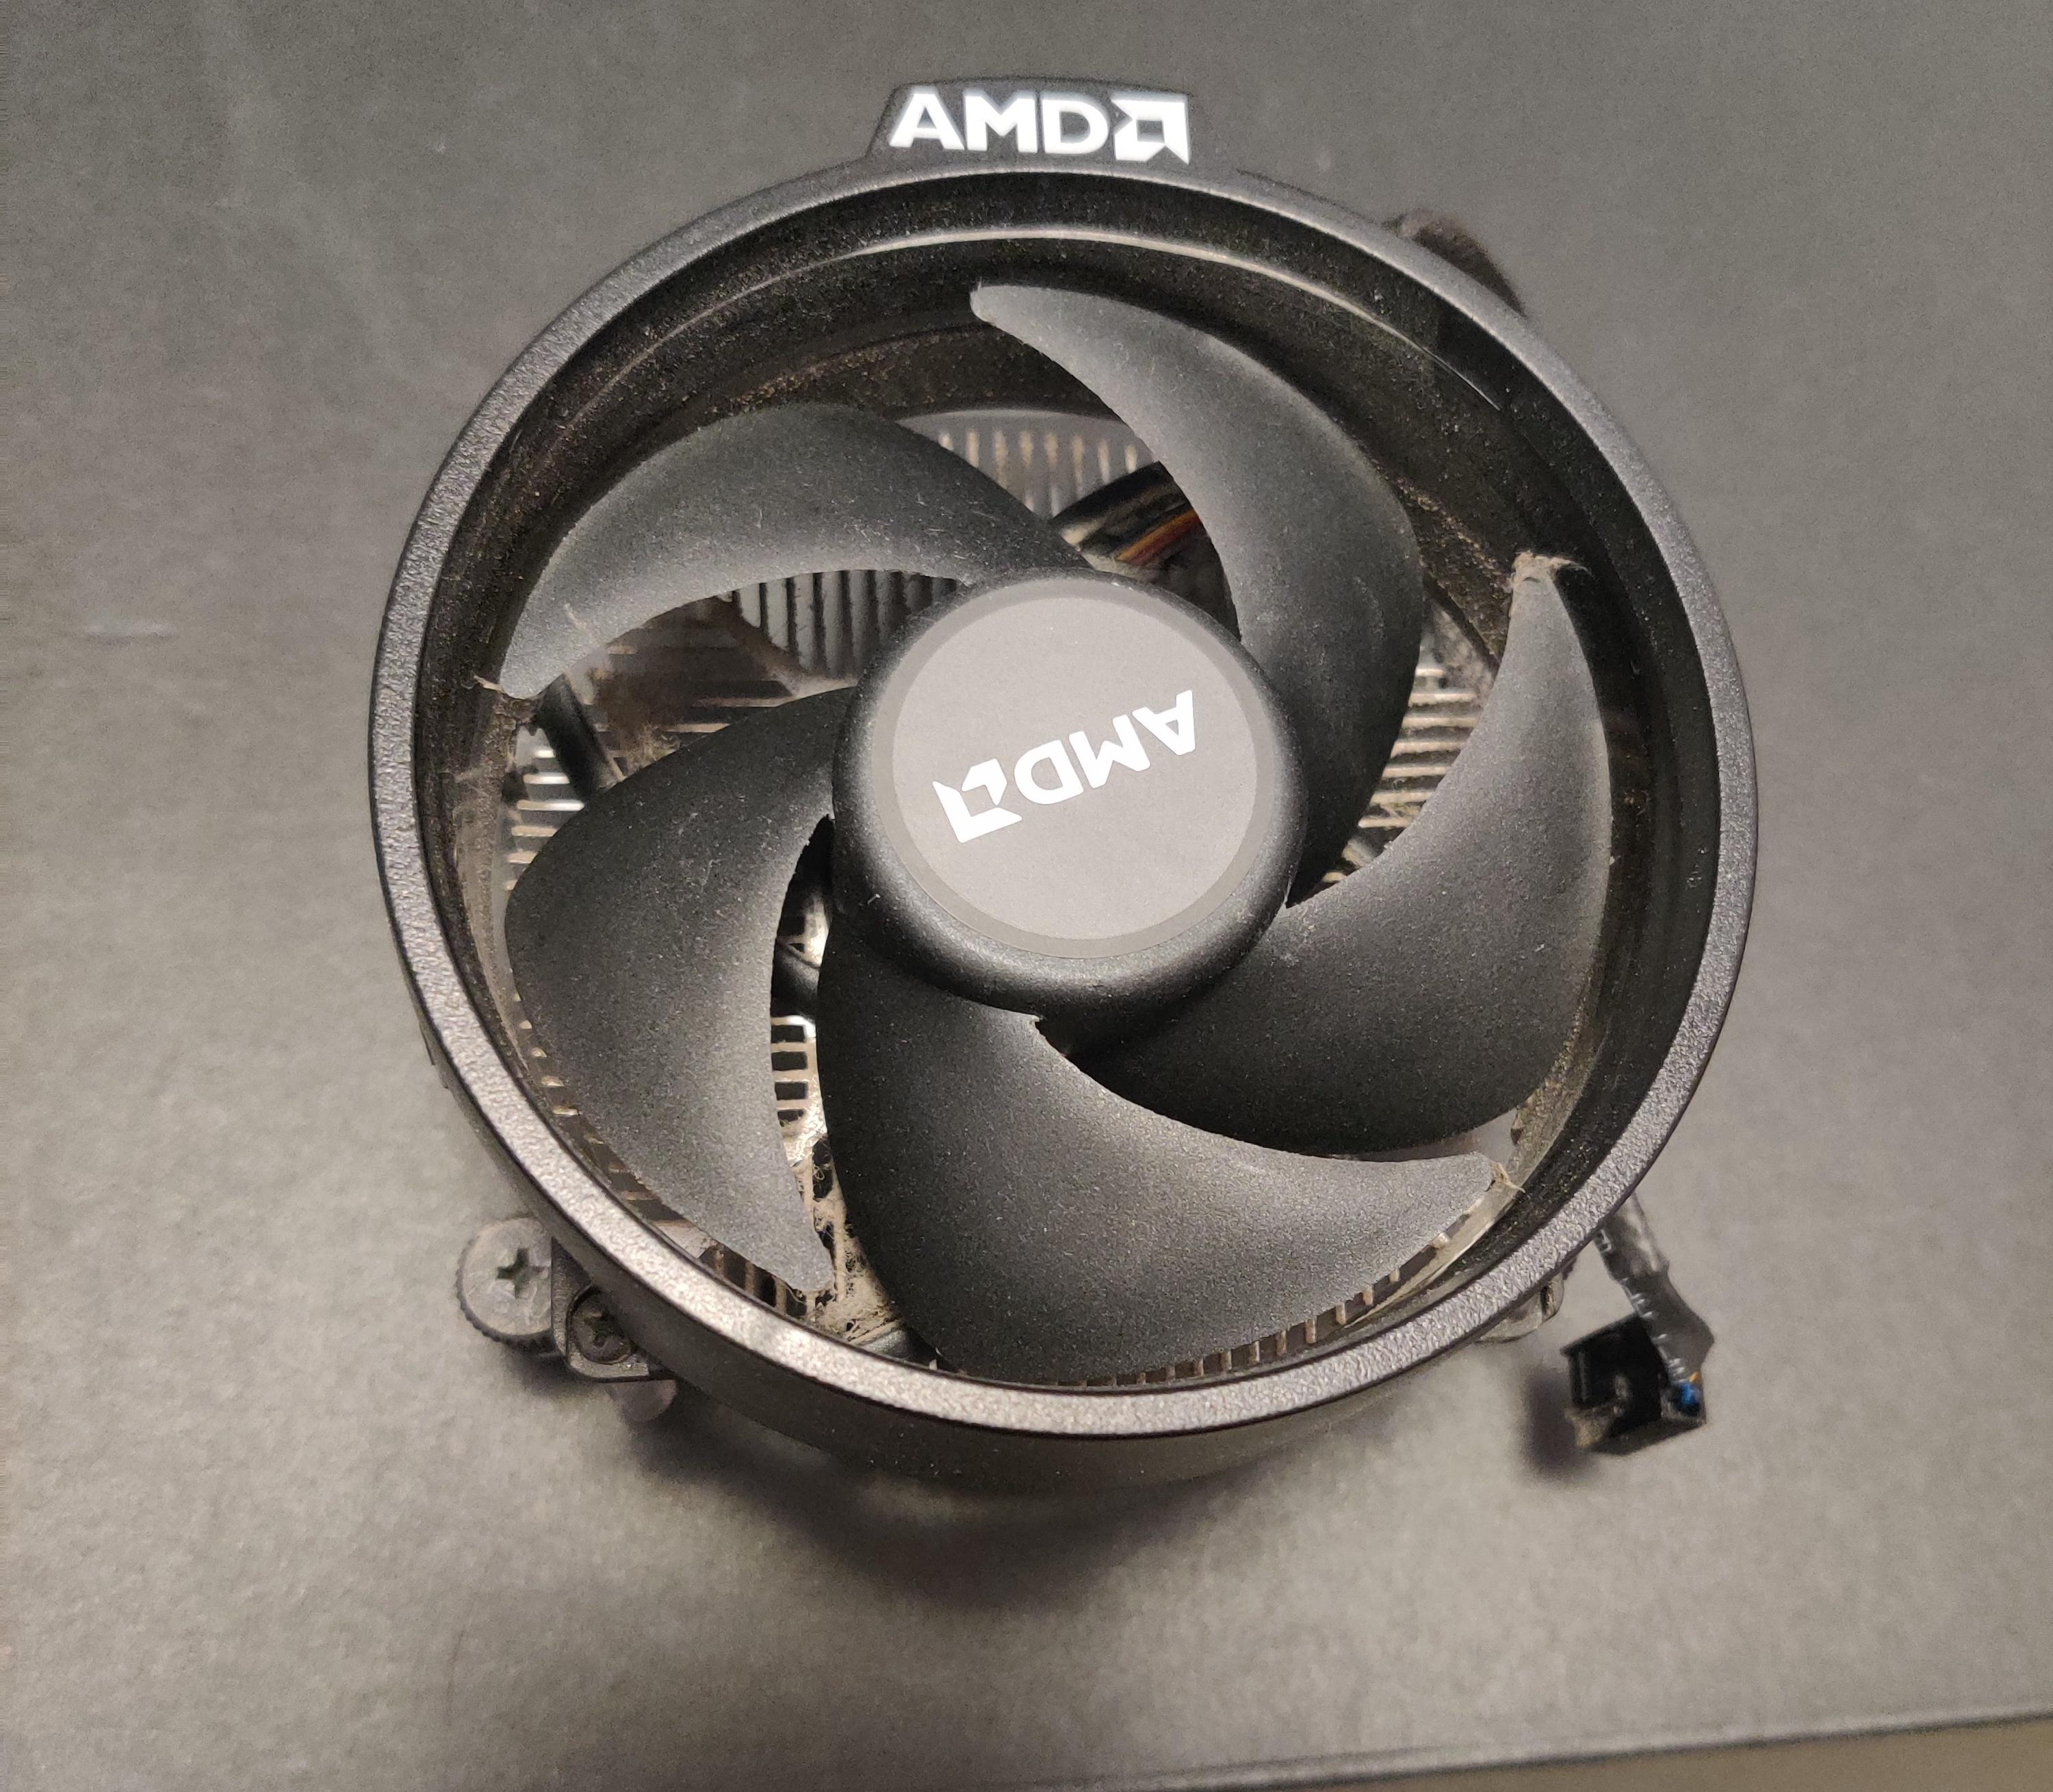
Attach CPU Cooler(Mounting Mechanism May Differ)
.jpg)
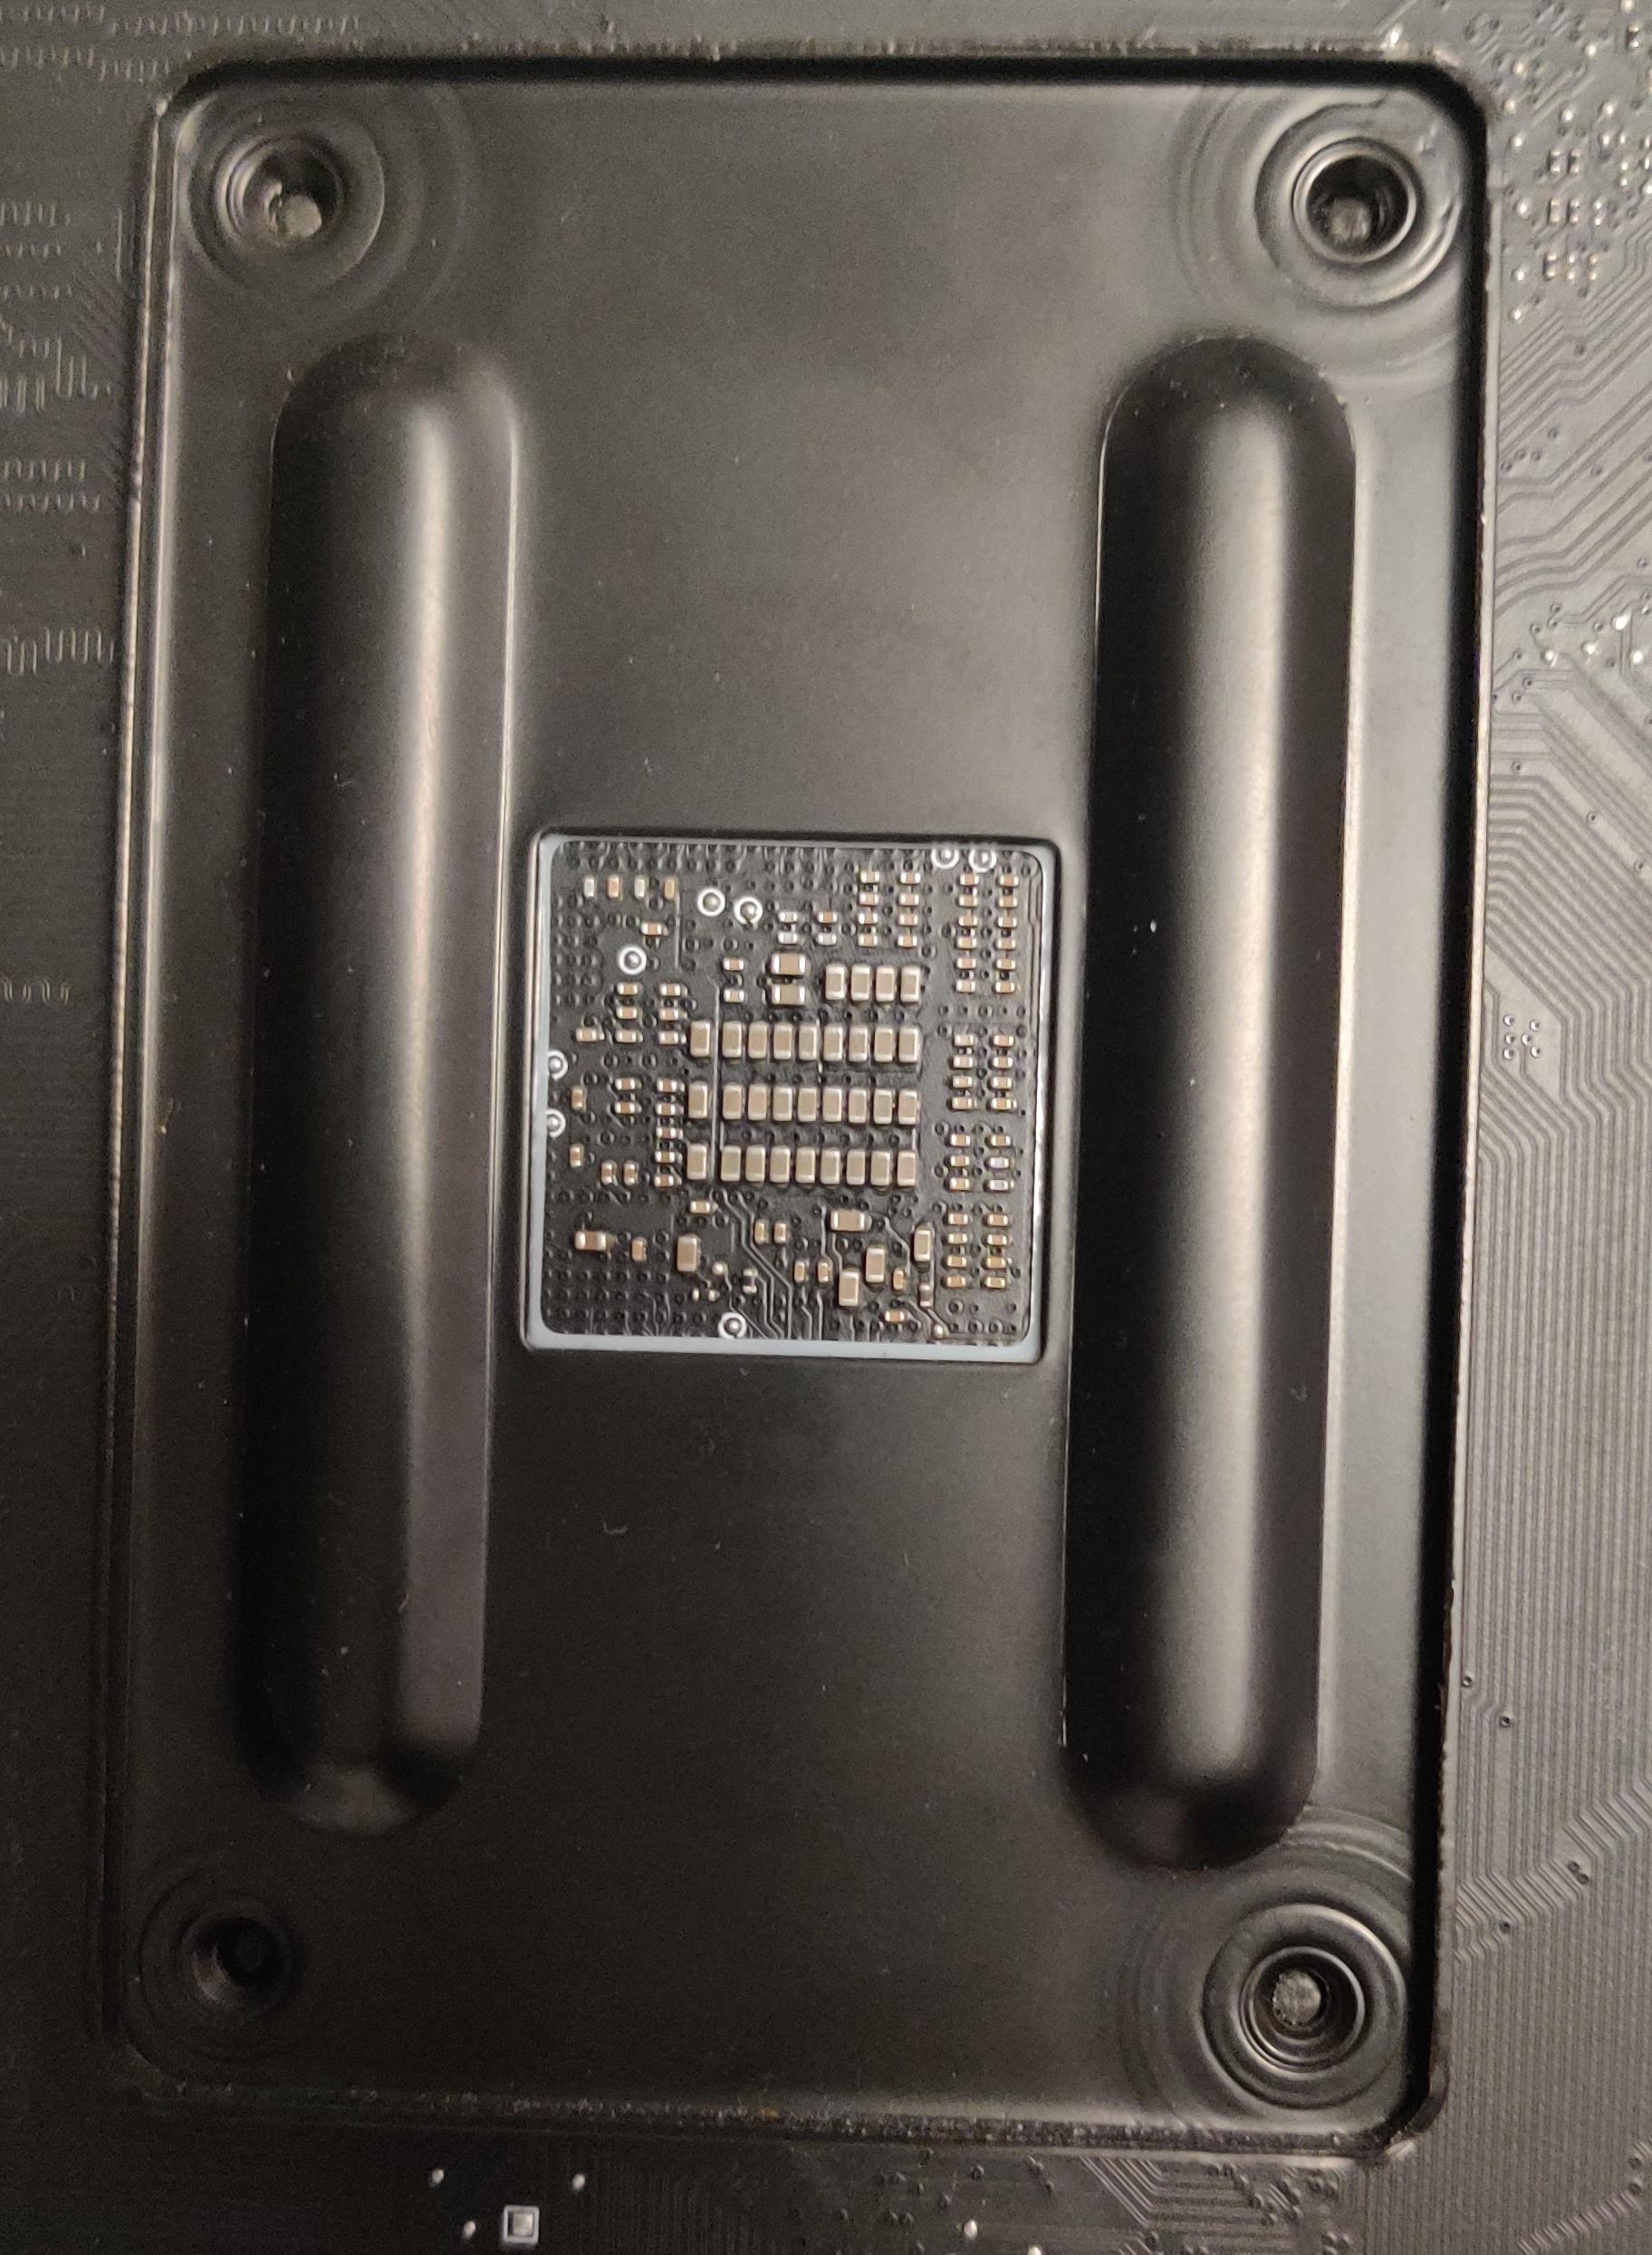
a. Un-screw plastic CPU cooler mounts.
b. Remove CPU cooler from CPU box.
c. Place CPU cooler backplate on the back of the motherboard.
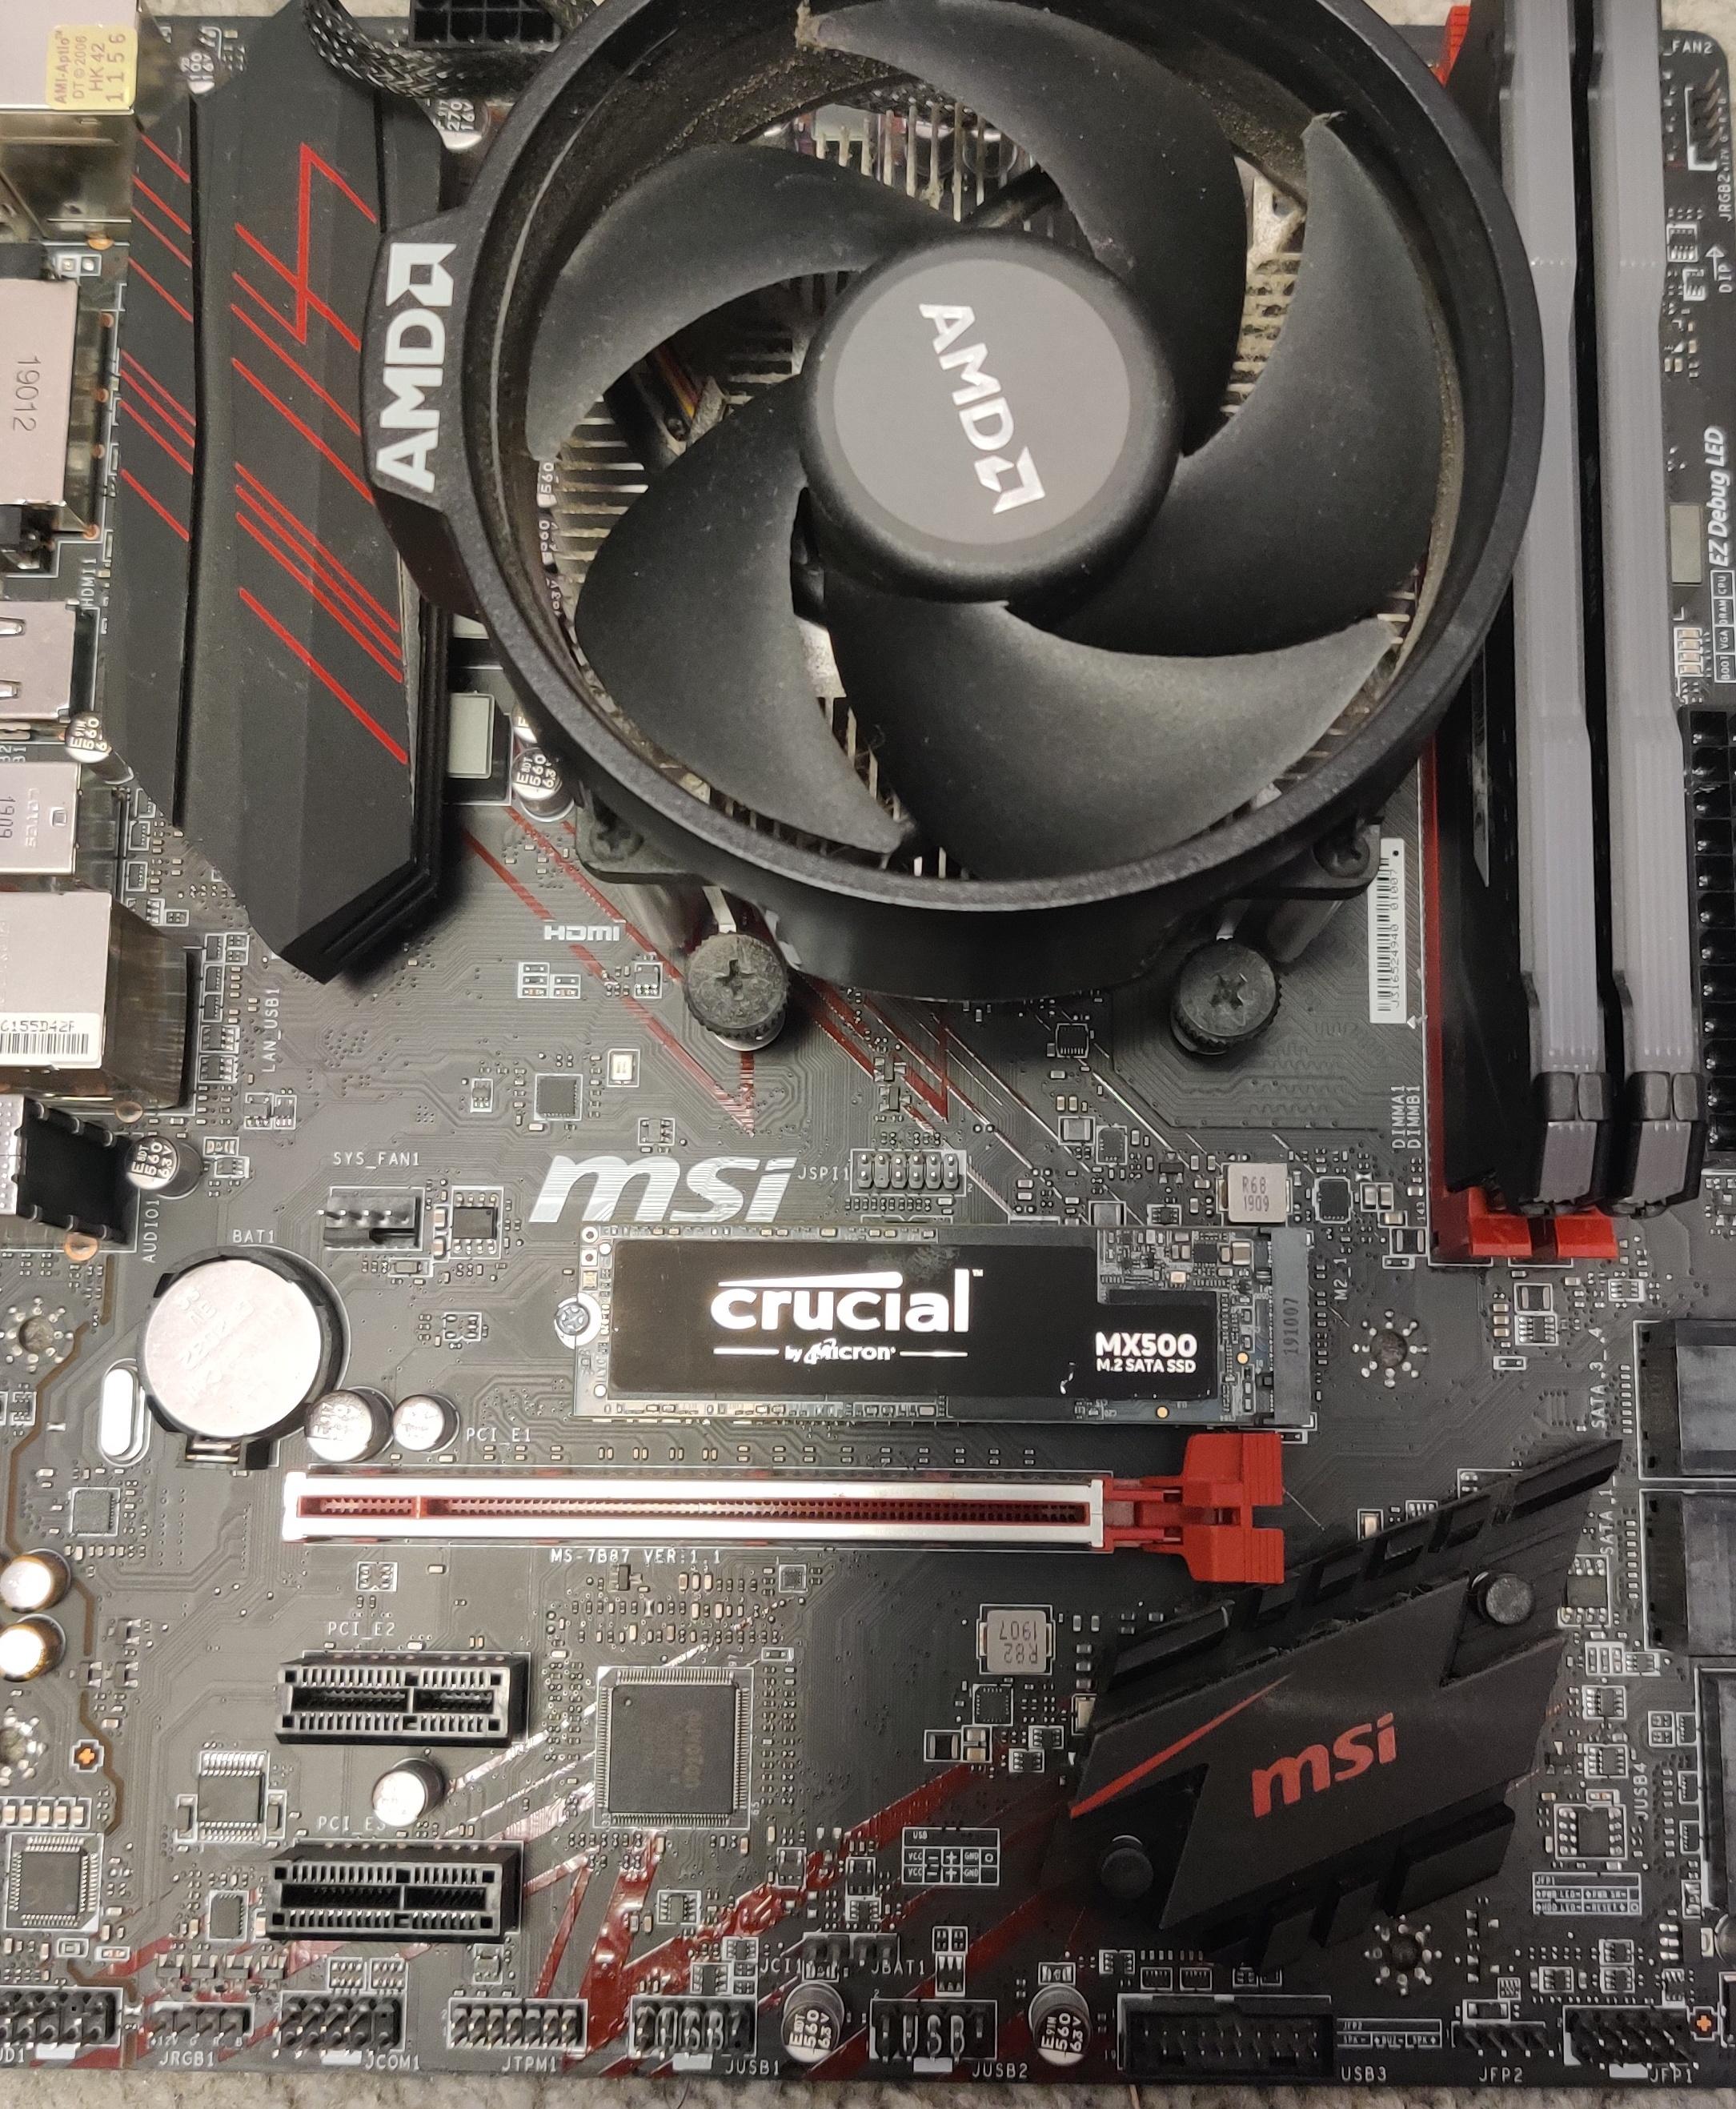
d. Place cooler on CPU.
e. Screw in the first screw partially then move on.
f. Repeat step e until the cooler is fully screwed in.
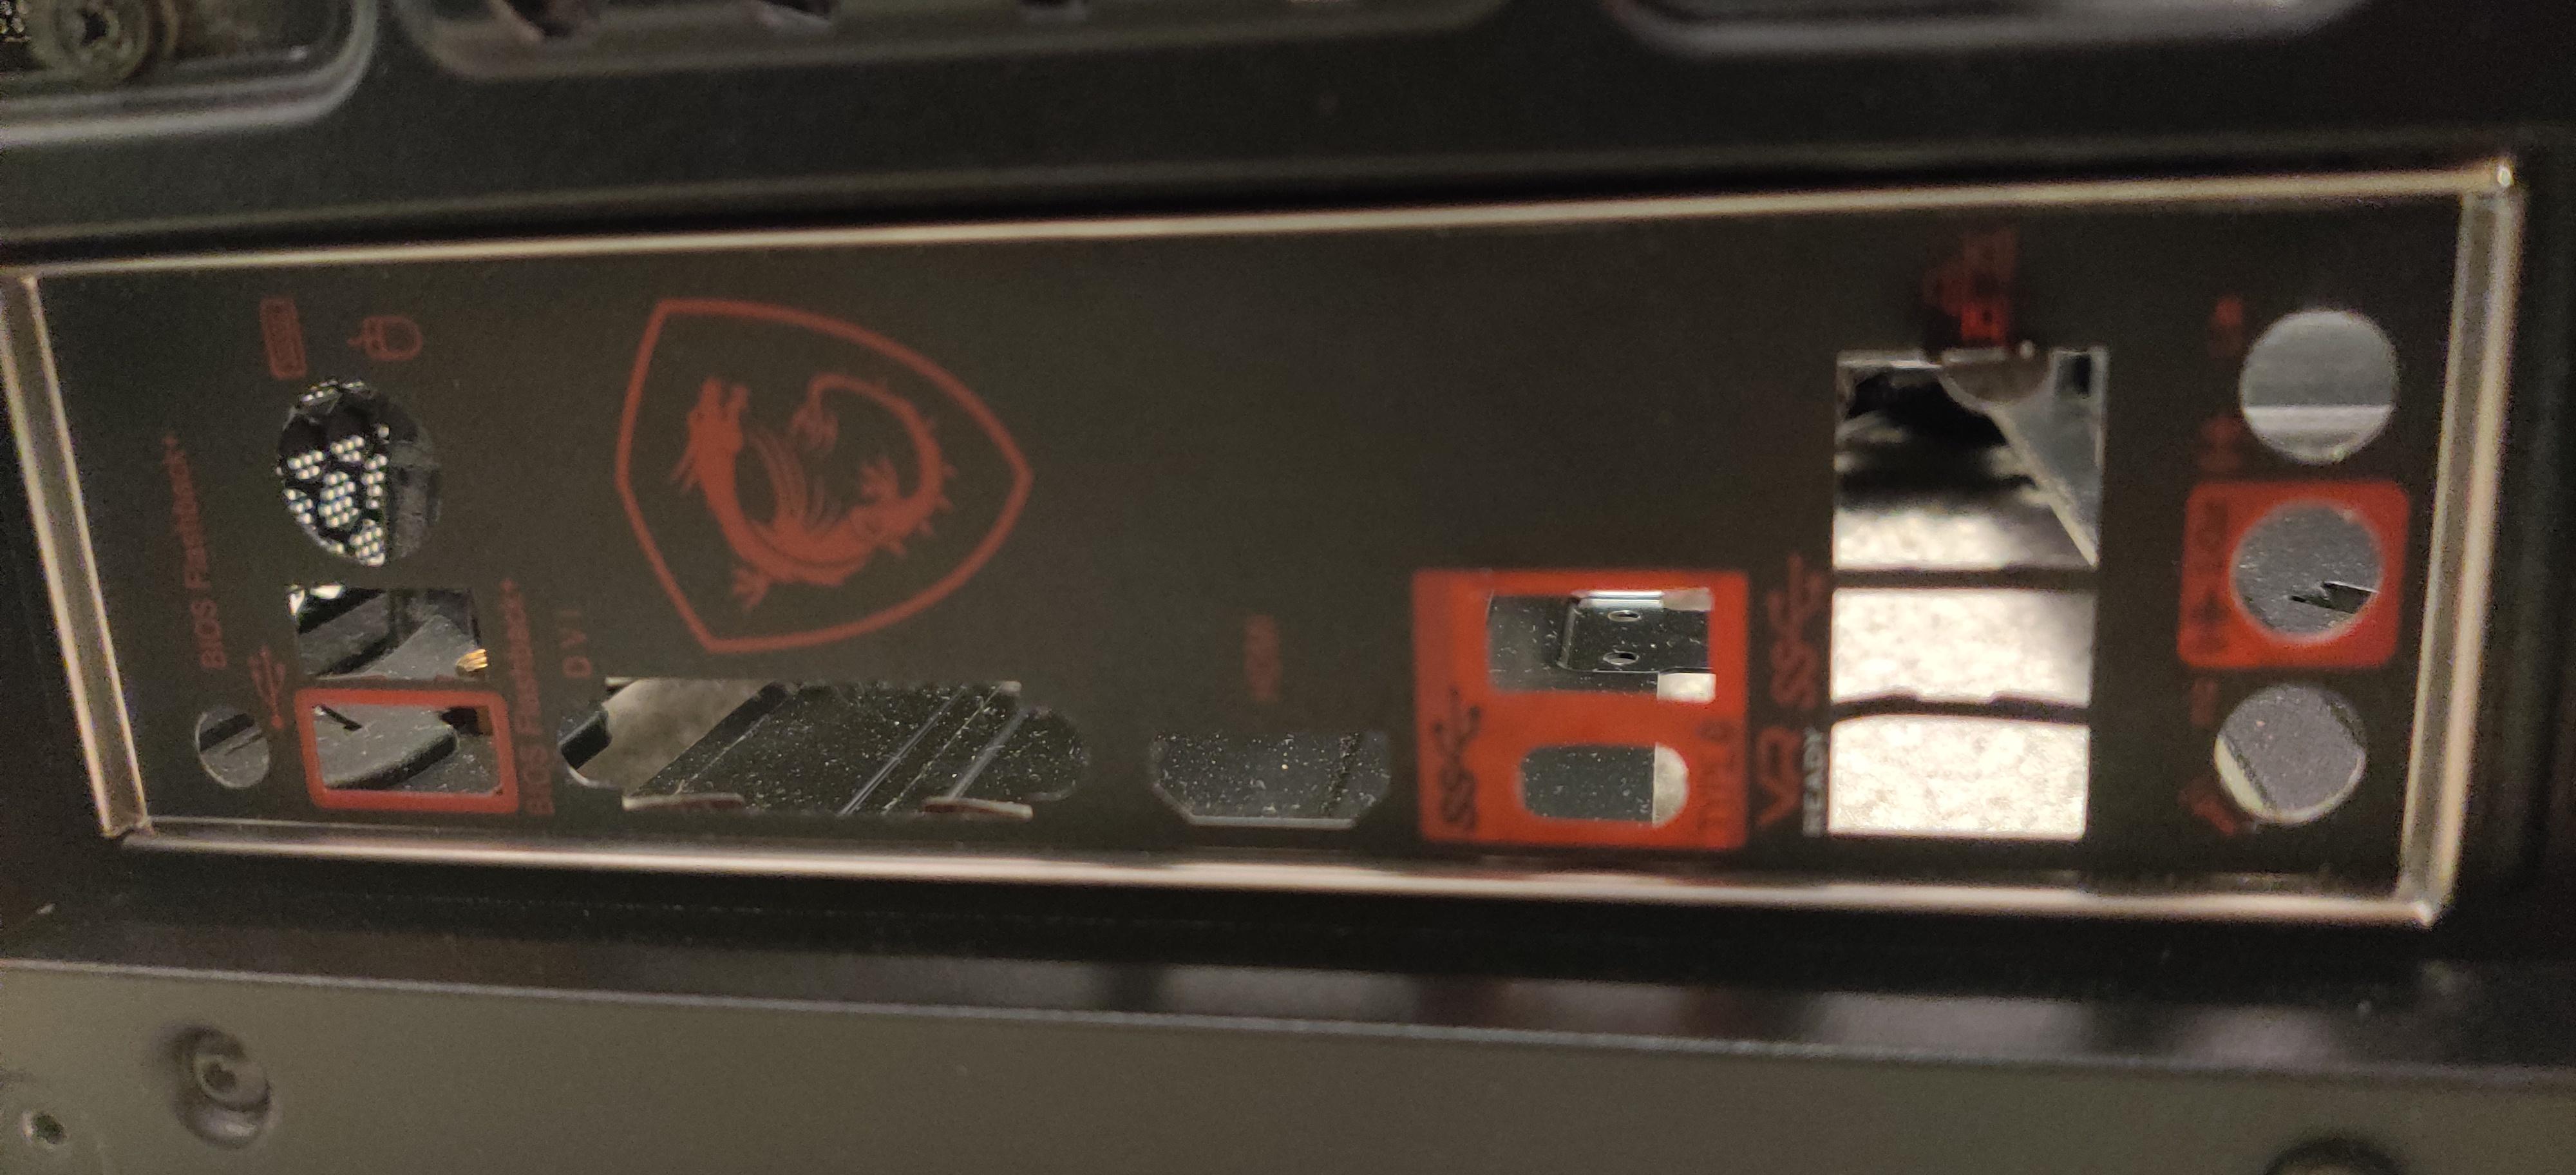
Prepare the Case
a. Unbox and unwrap case.
b. Remove front and back case windows/doors.
c. Screw-in motherboard standoffs depending on motherboard size.
d. Place motherboard IO shield in the case.
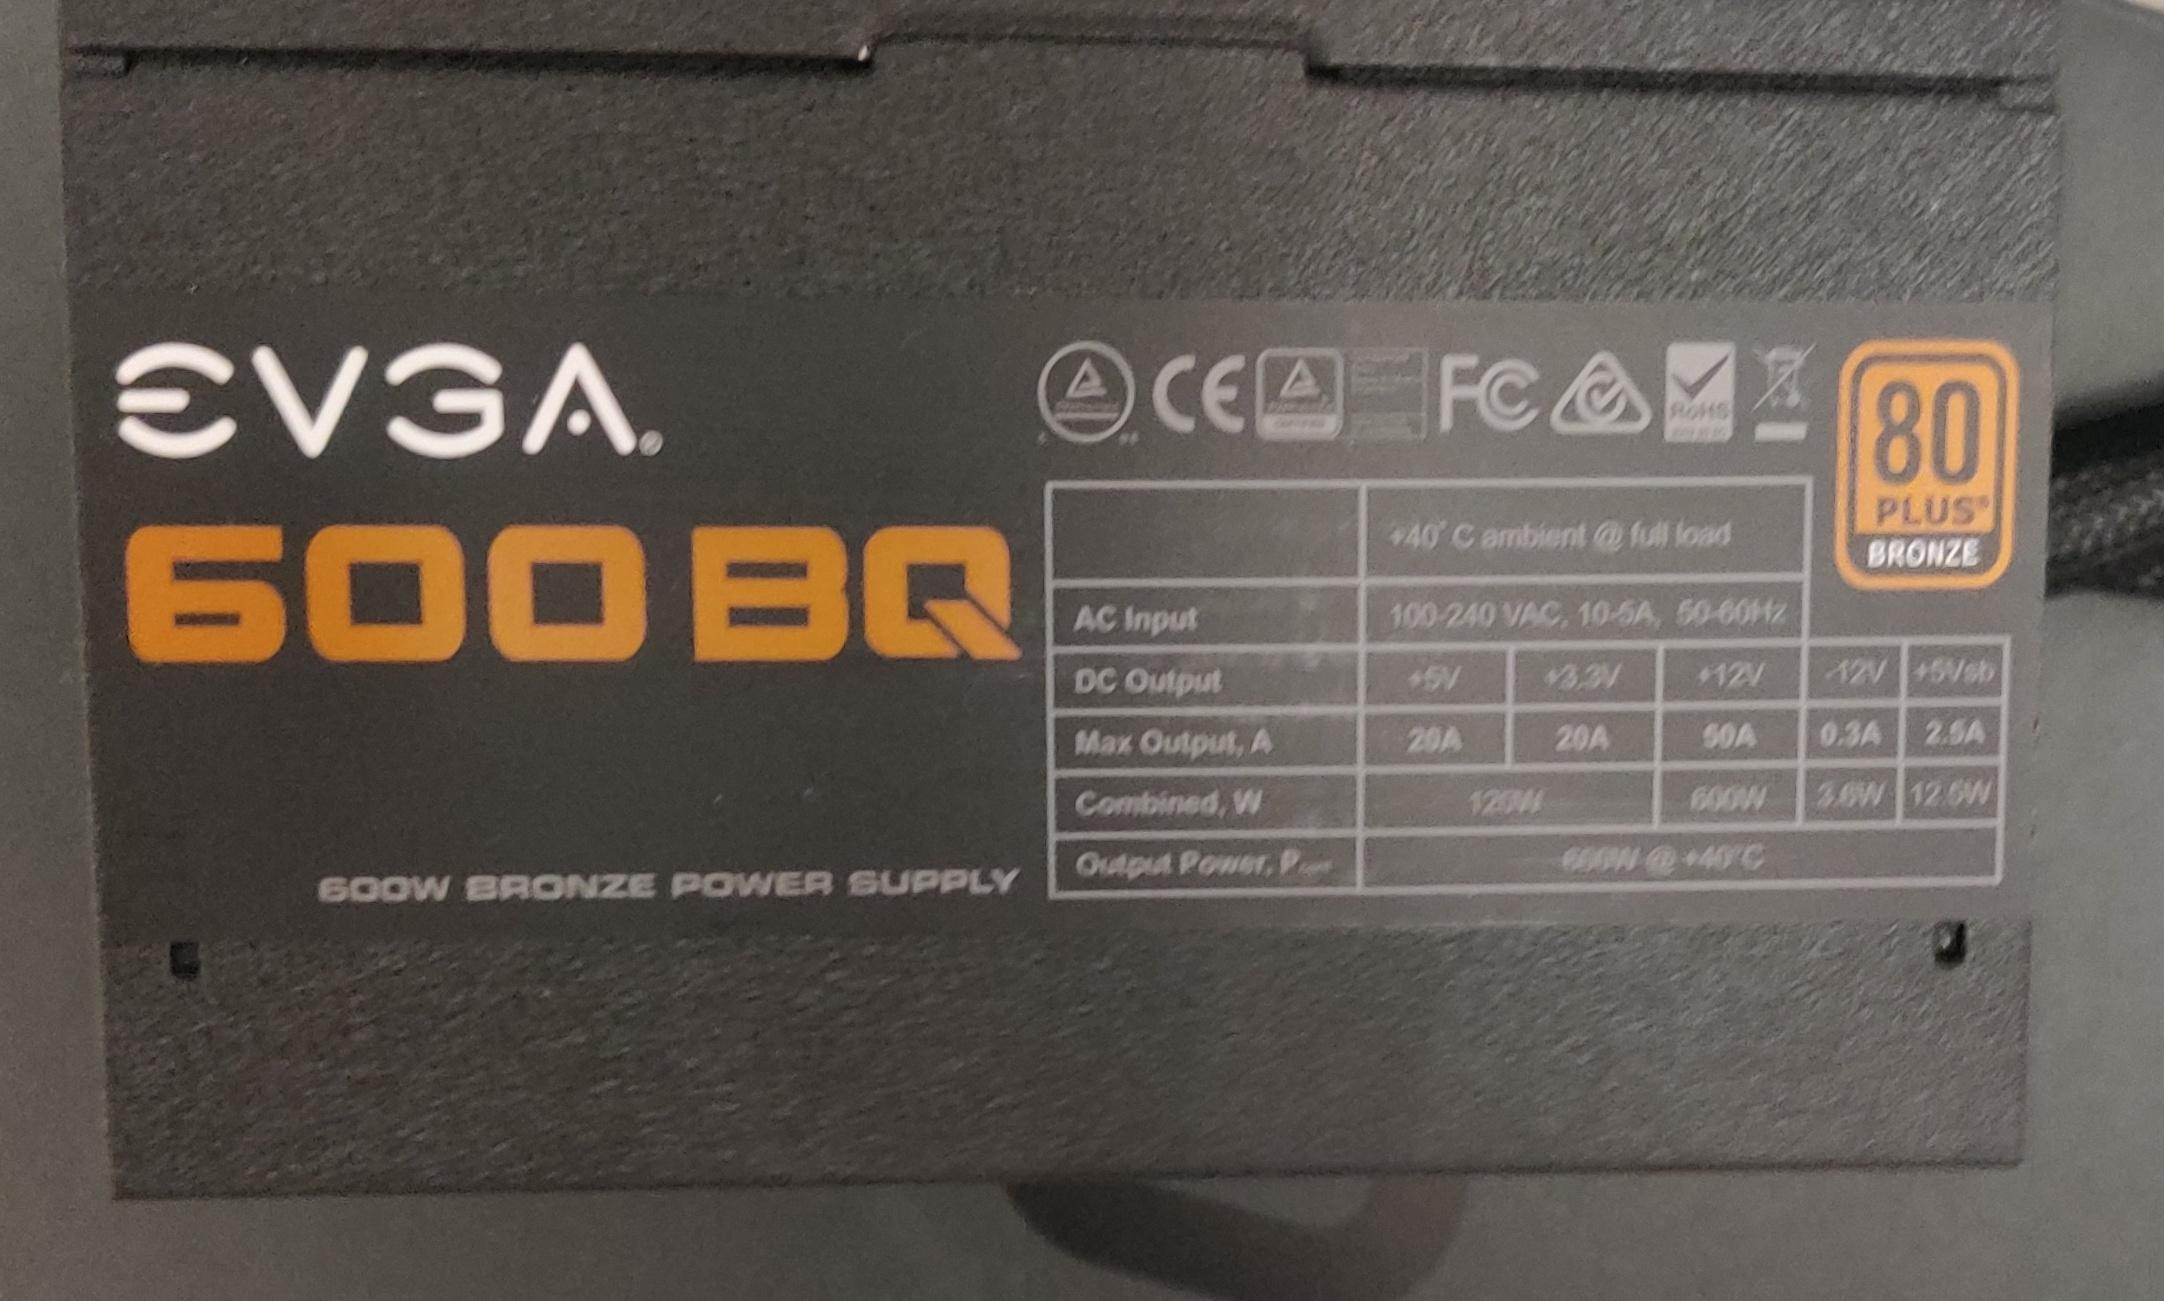
Install Power Supply

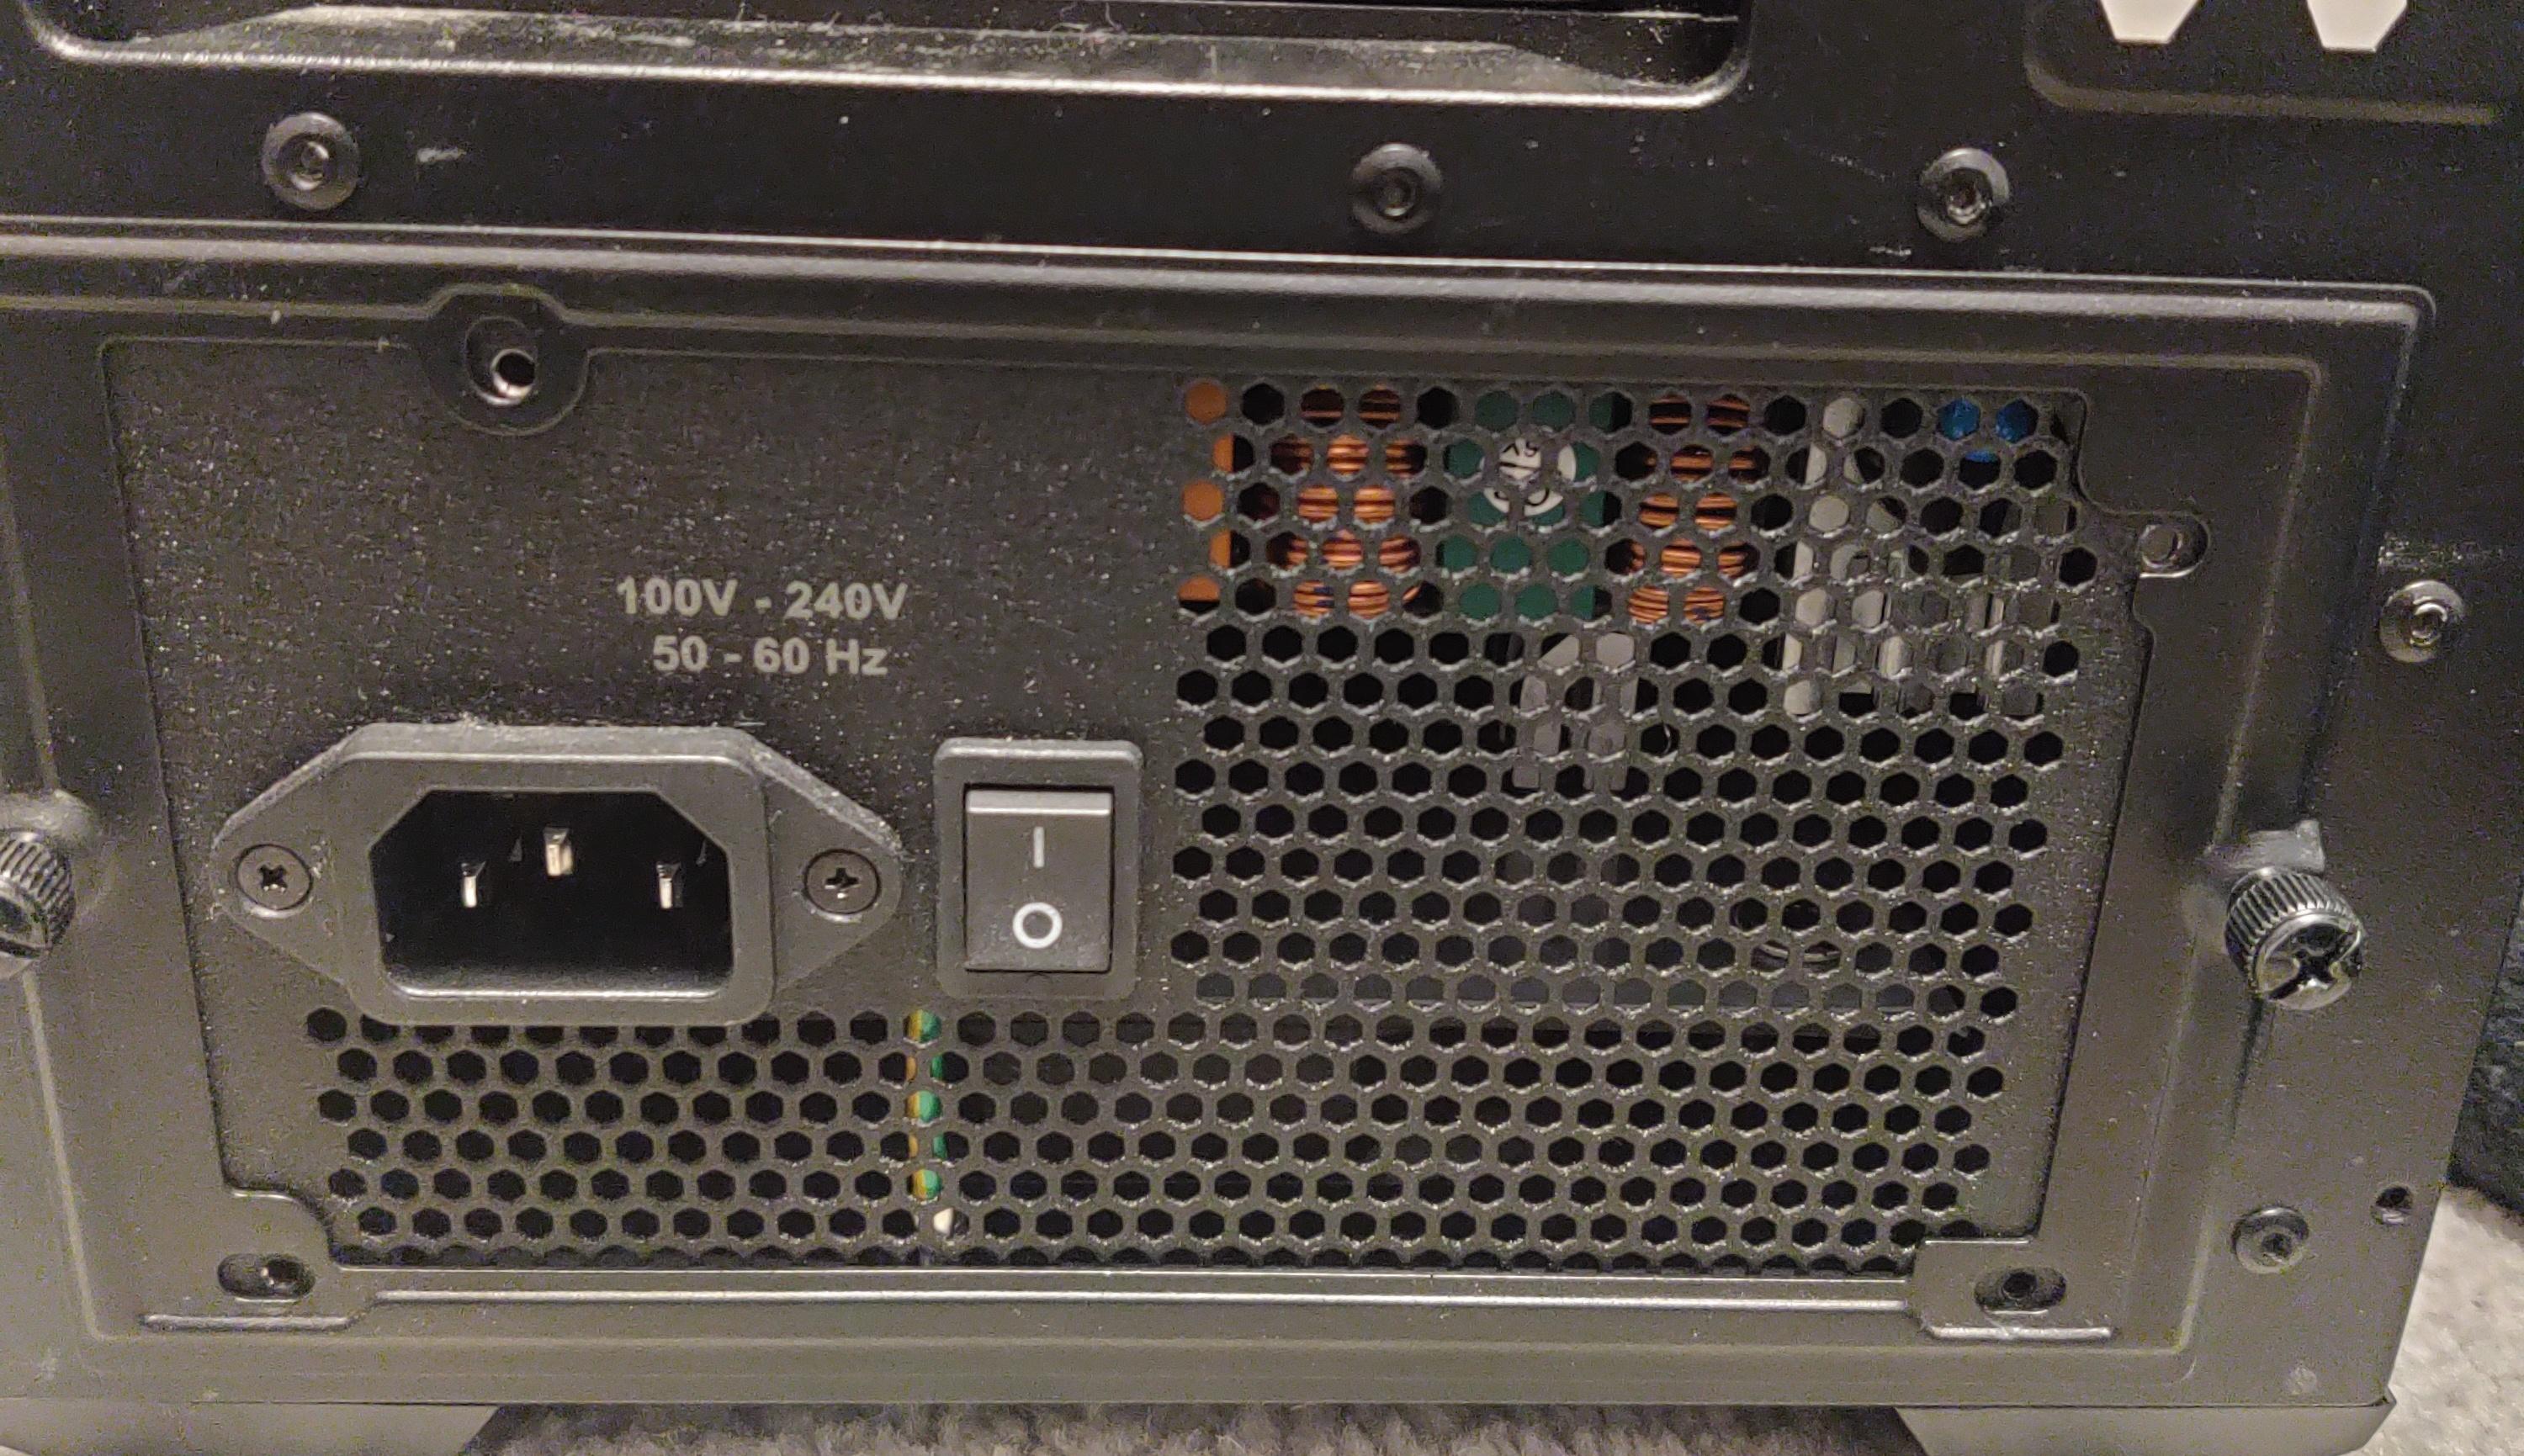
a. Unbox power supply.
b. Put power supply in the back of the case and line up screw holes.
c. Screw-in power supply.
Place Motherboard
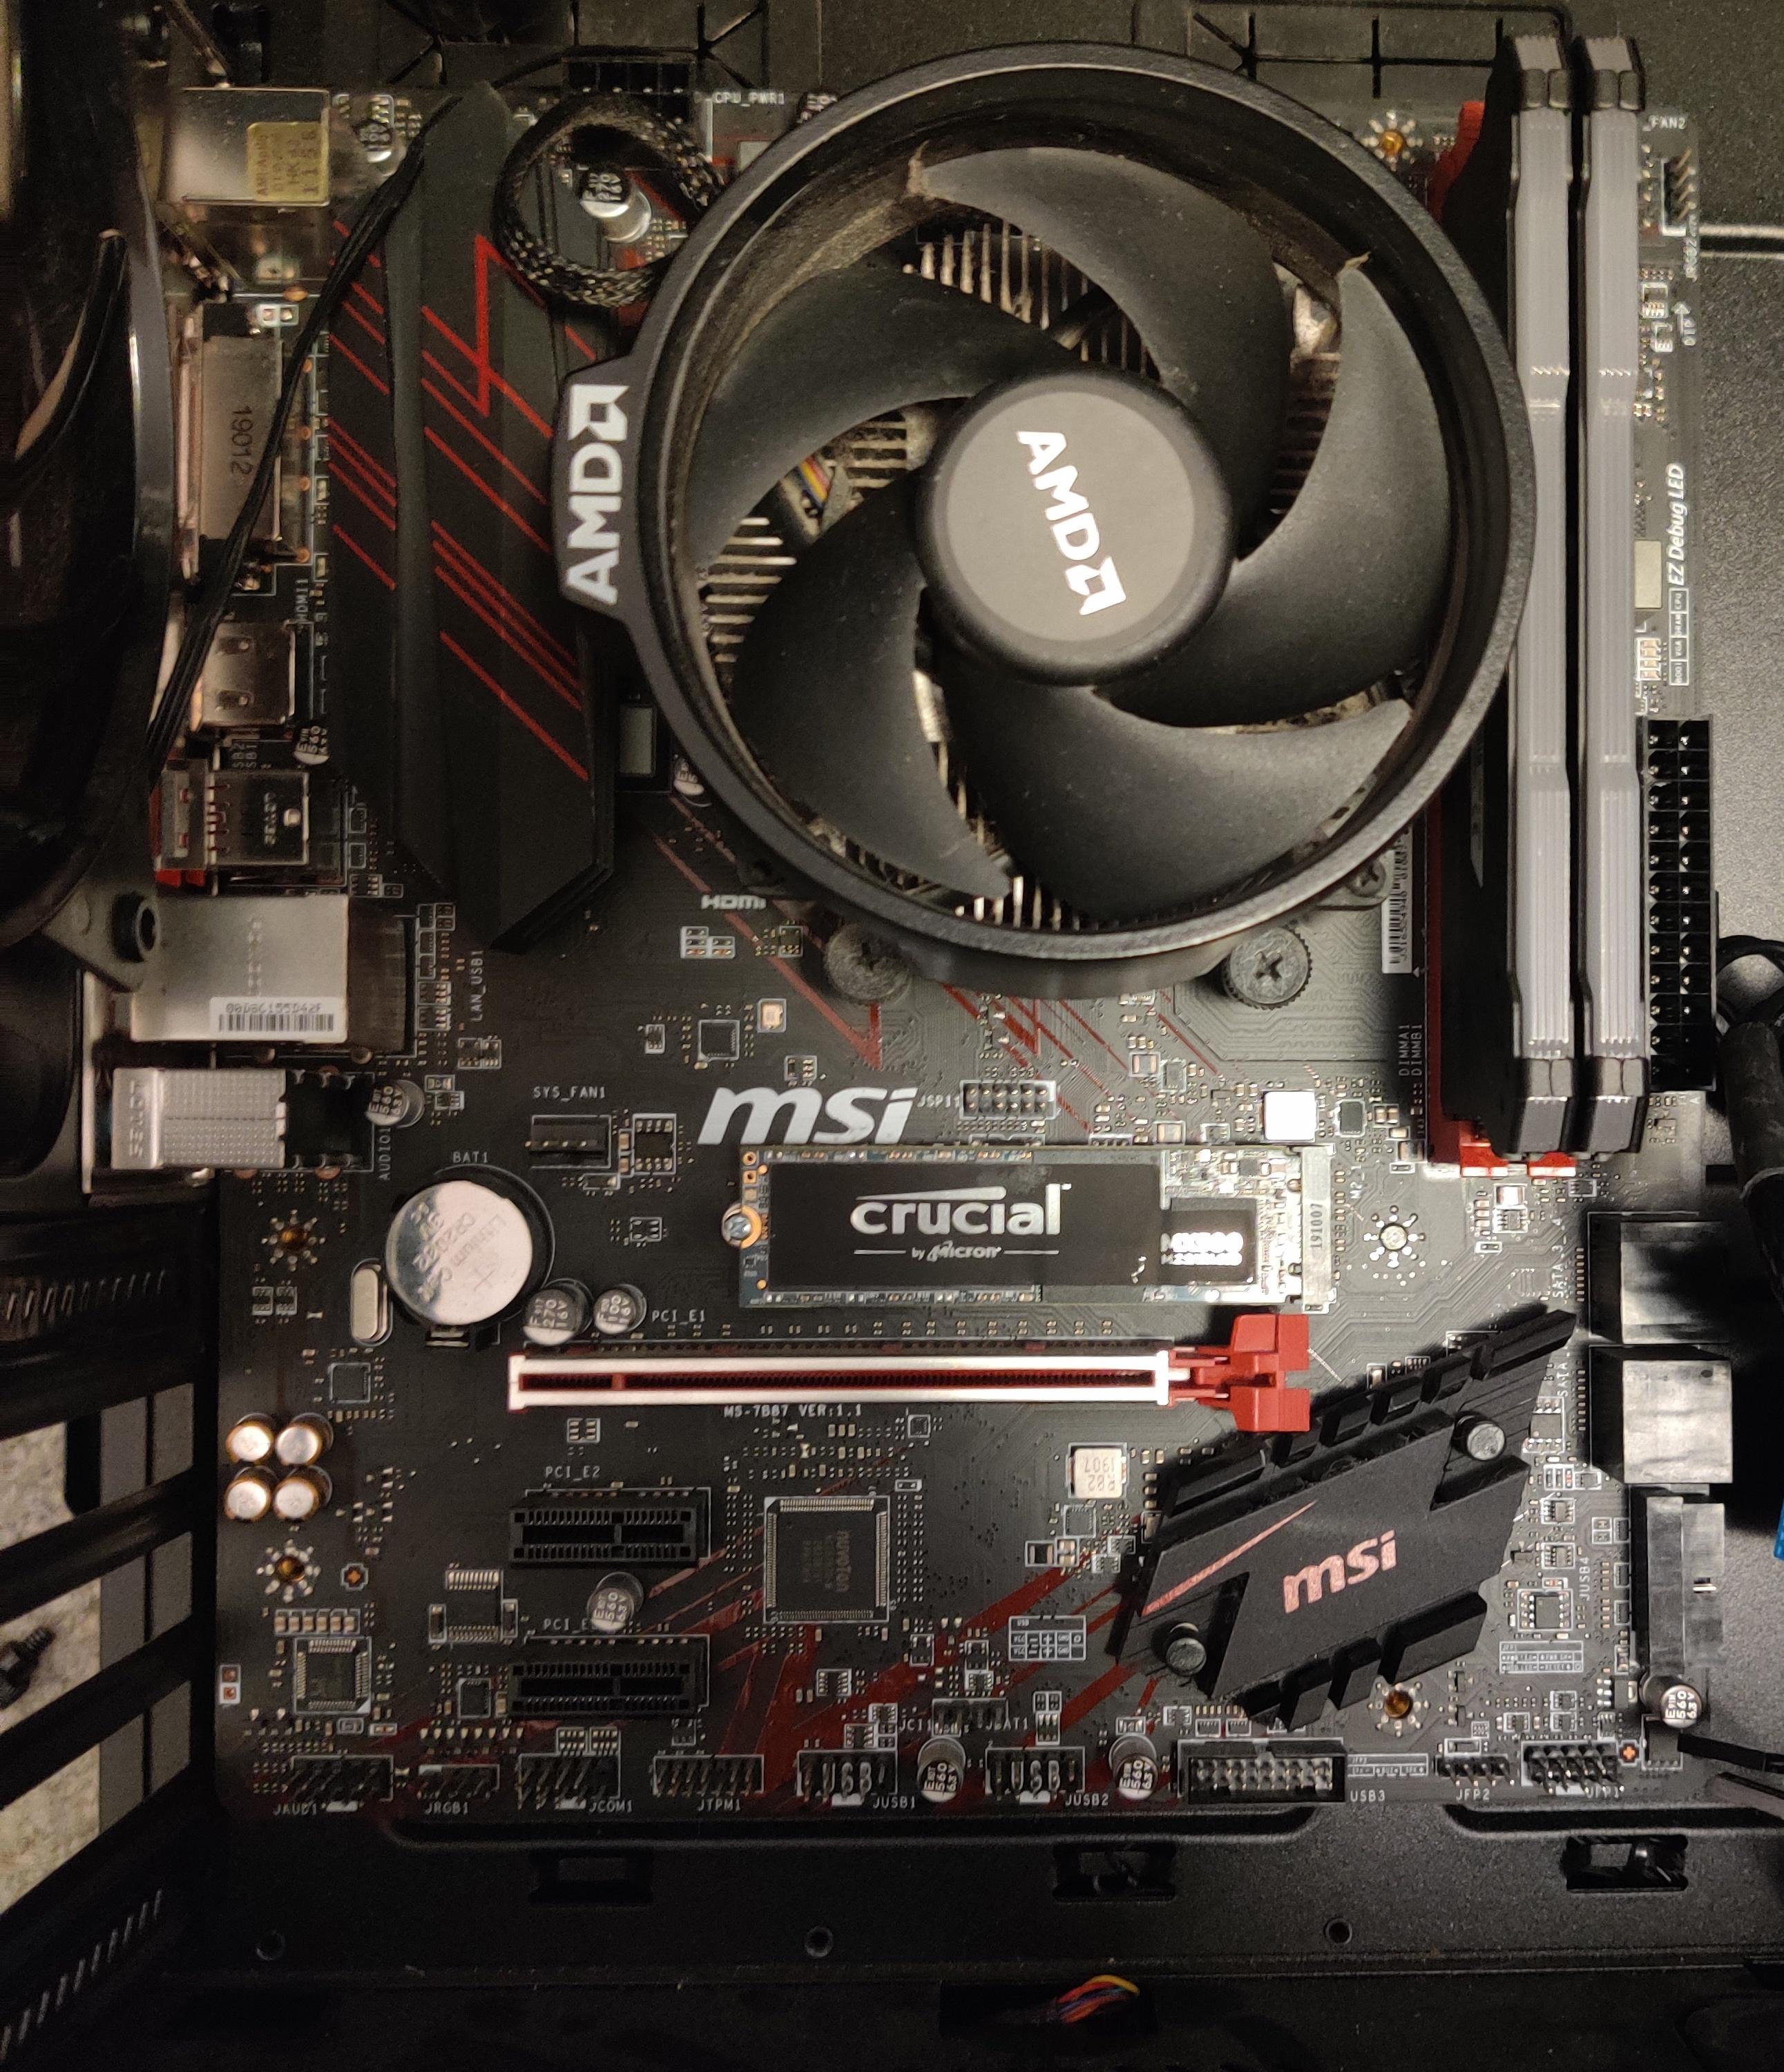
a. Place motherboard in the case and line up standoffs and IO shield.
b. Screw the motherboard into place.
Install Storage(2.5in SSD/Harddrive)
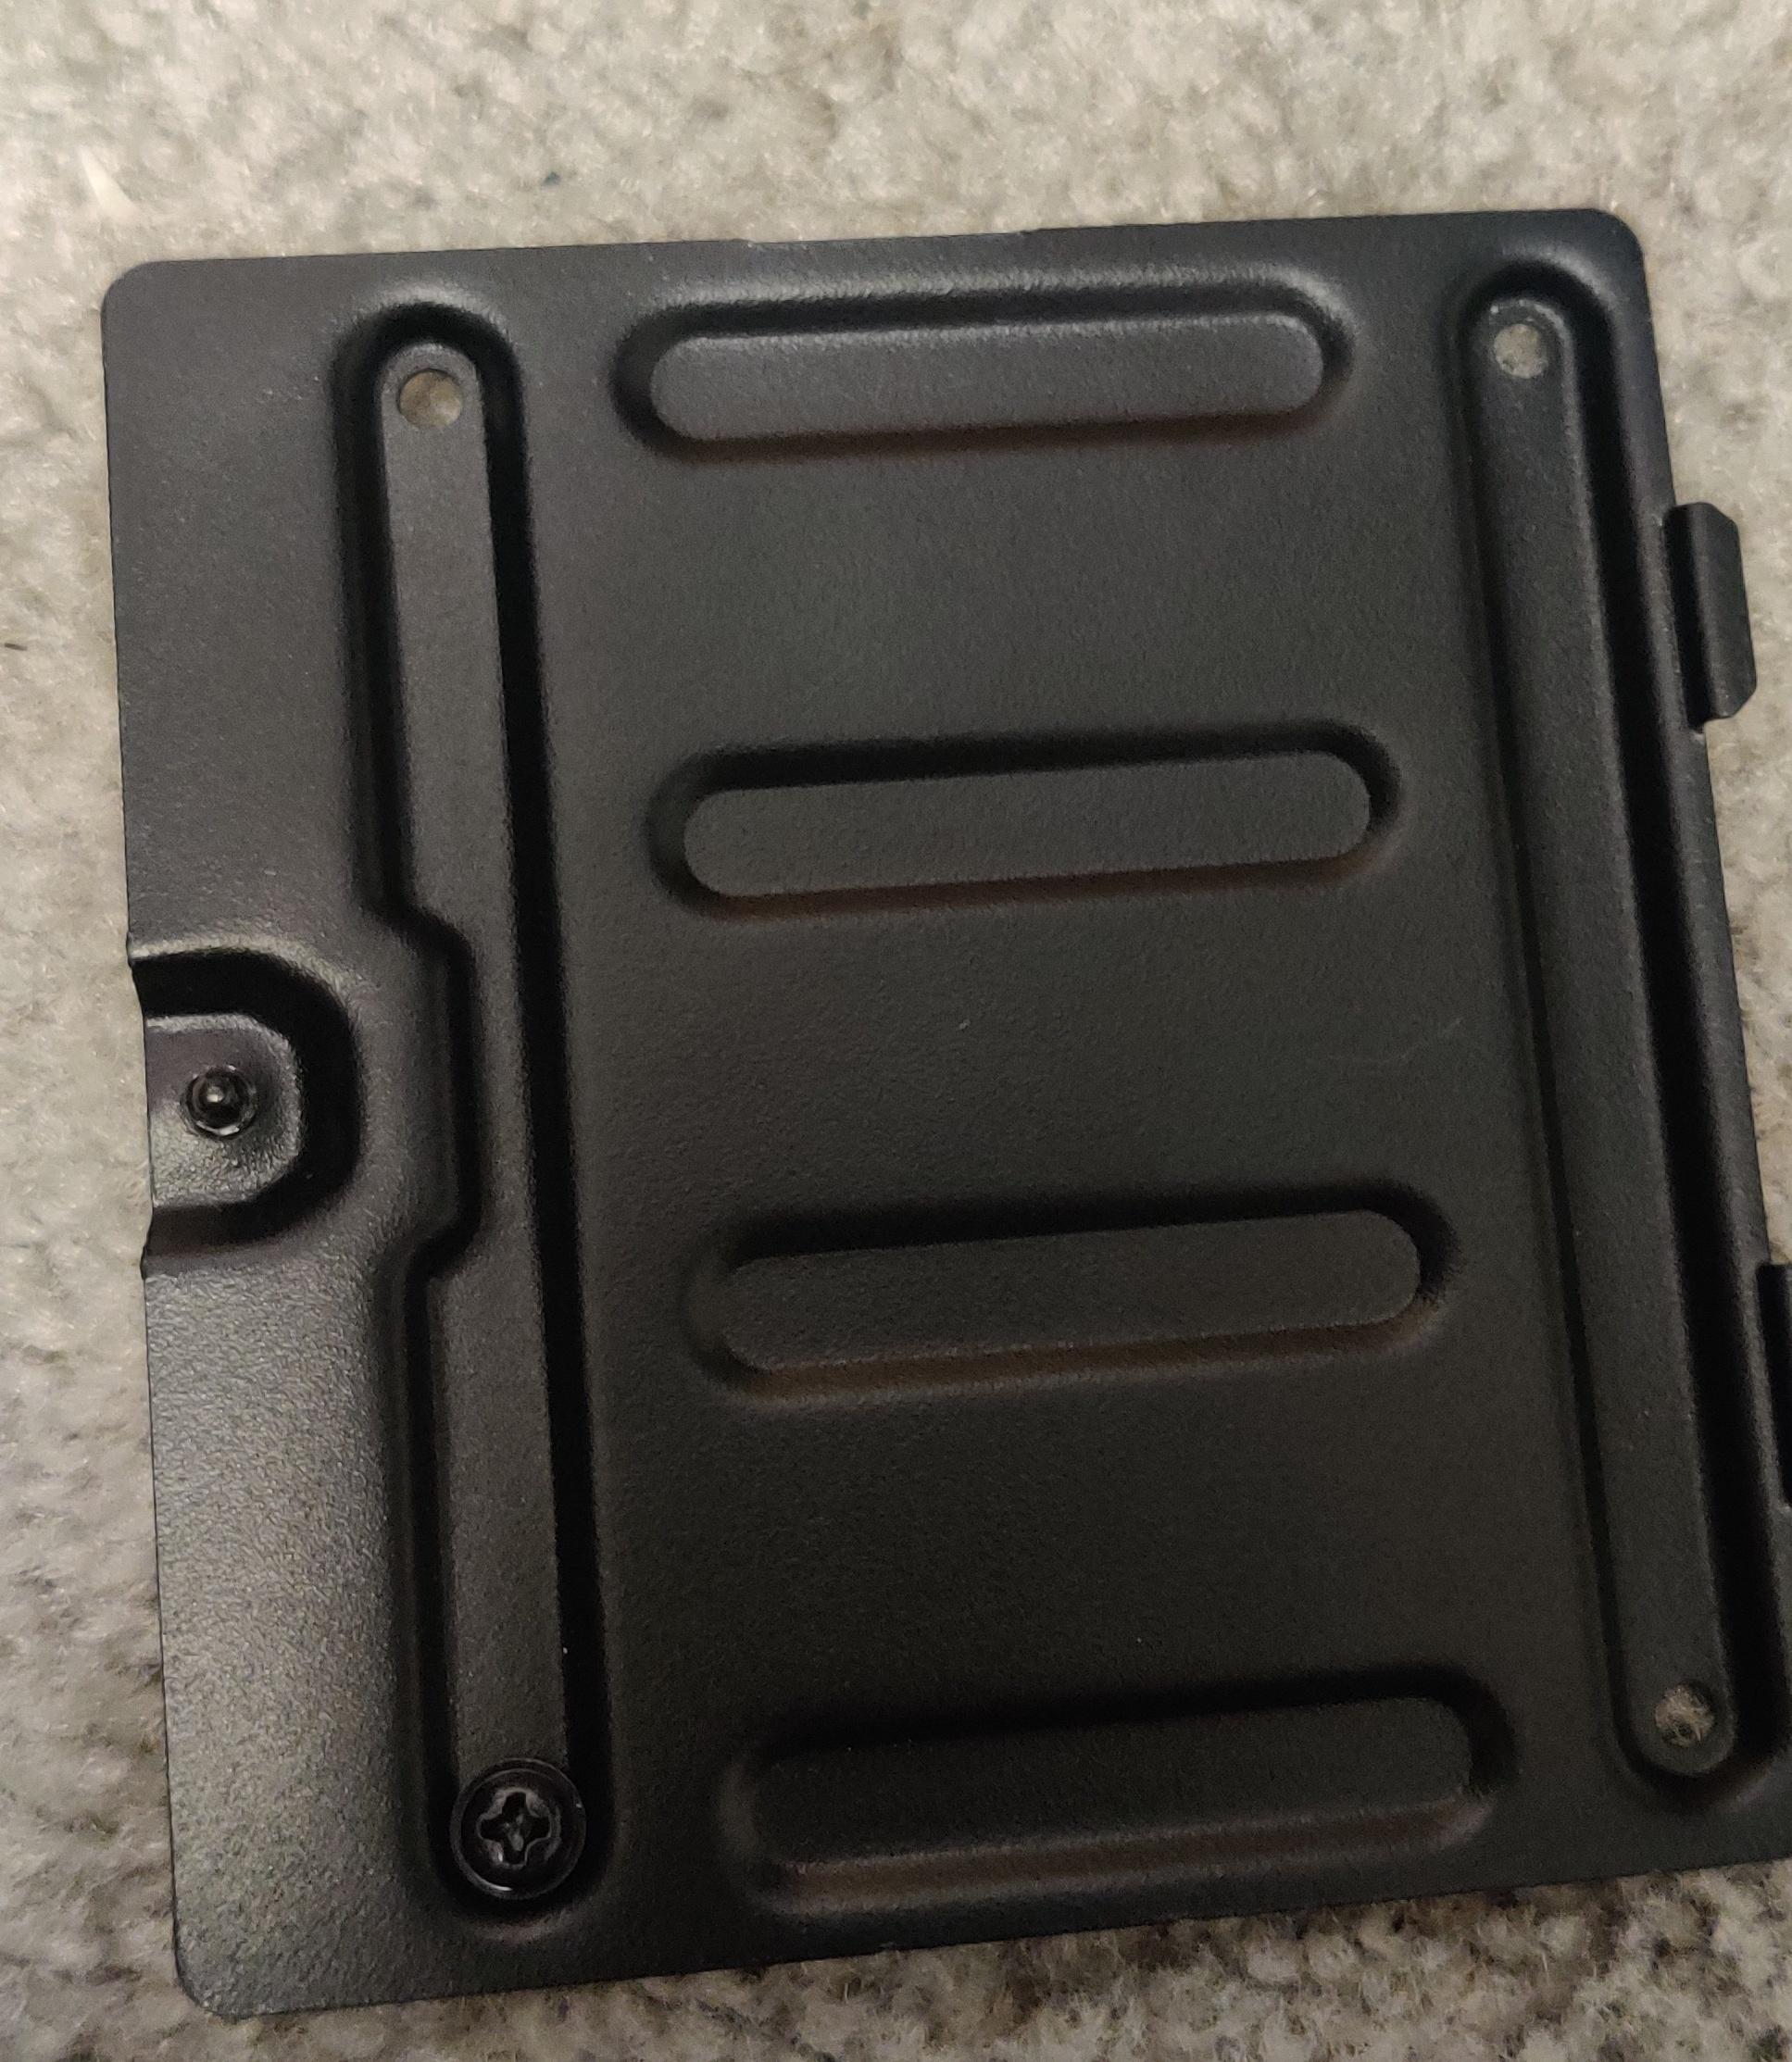
.jpg)
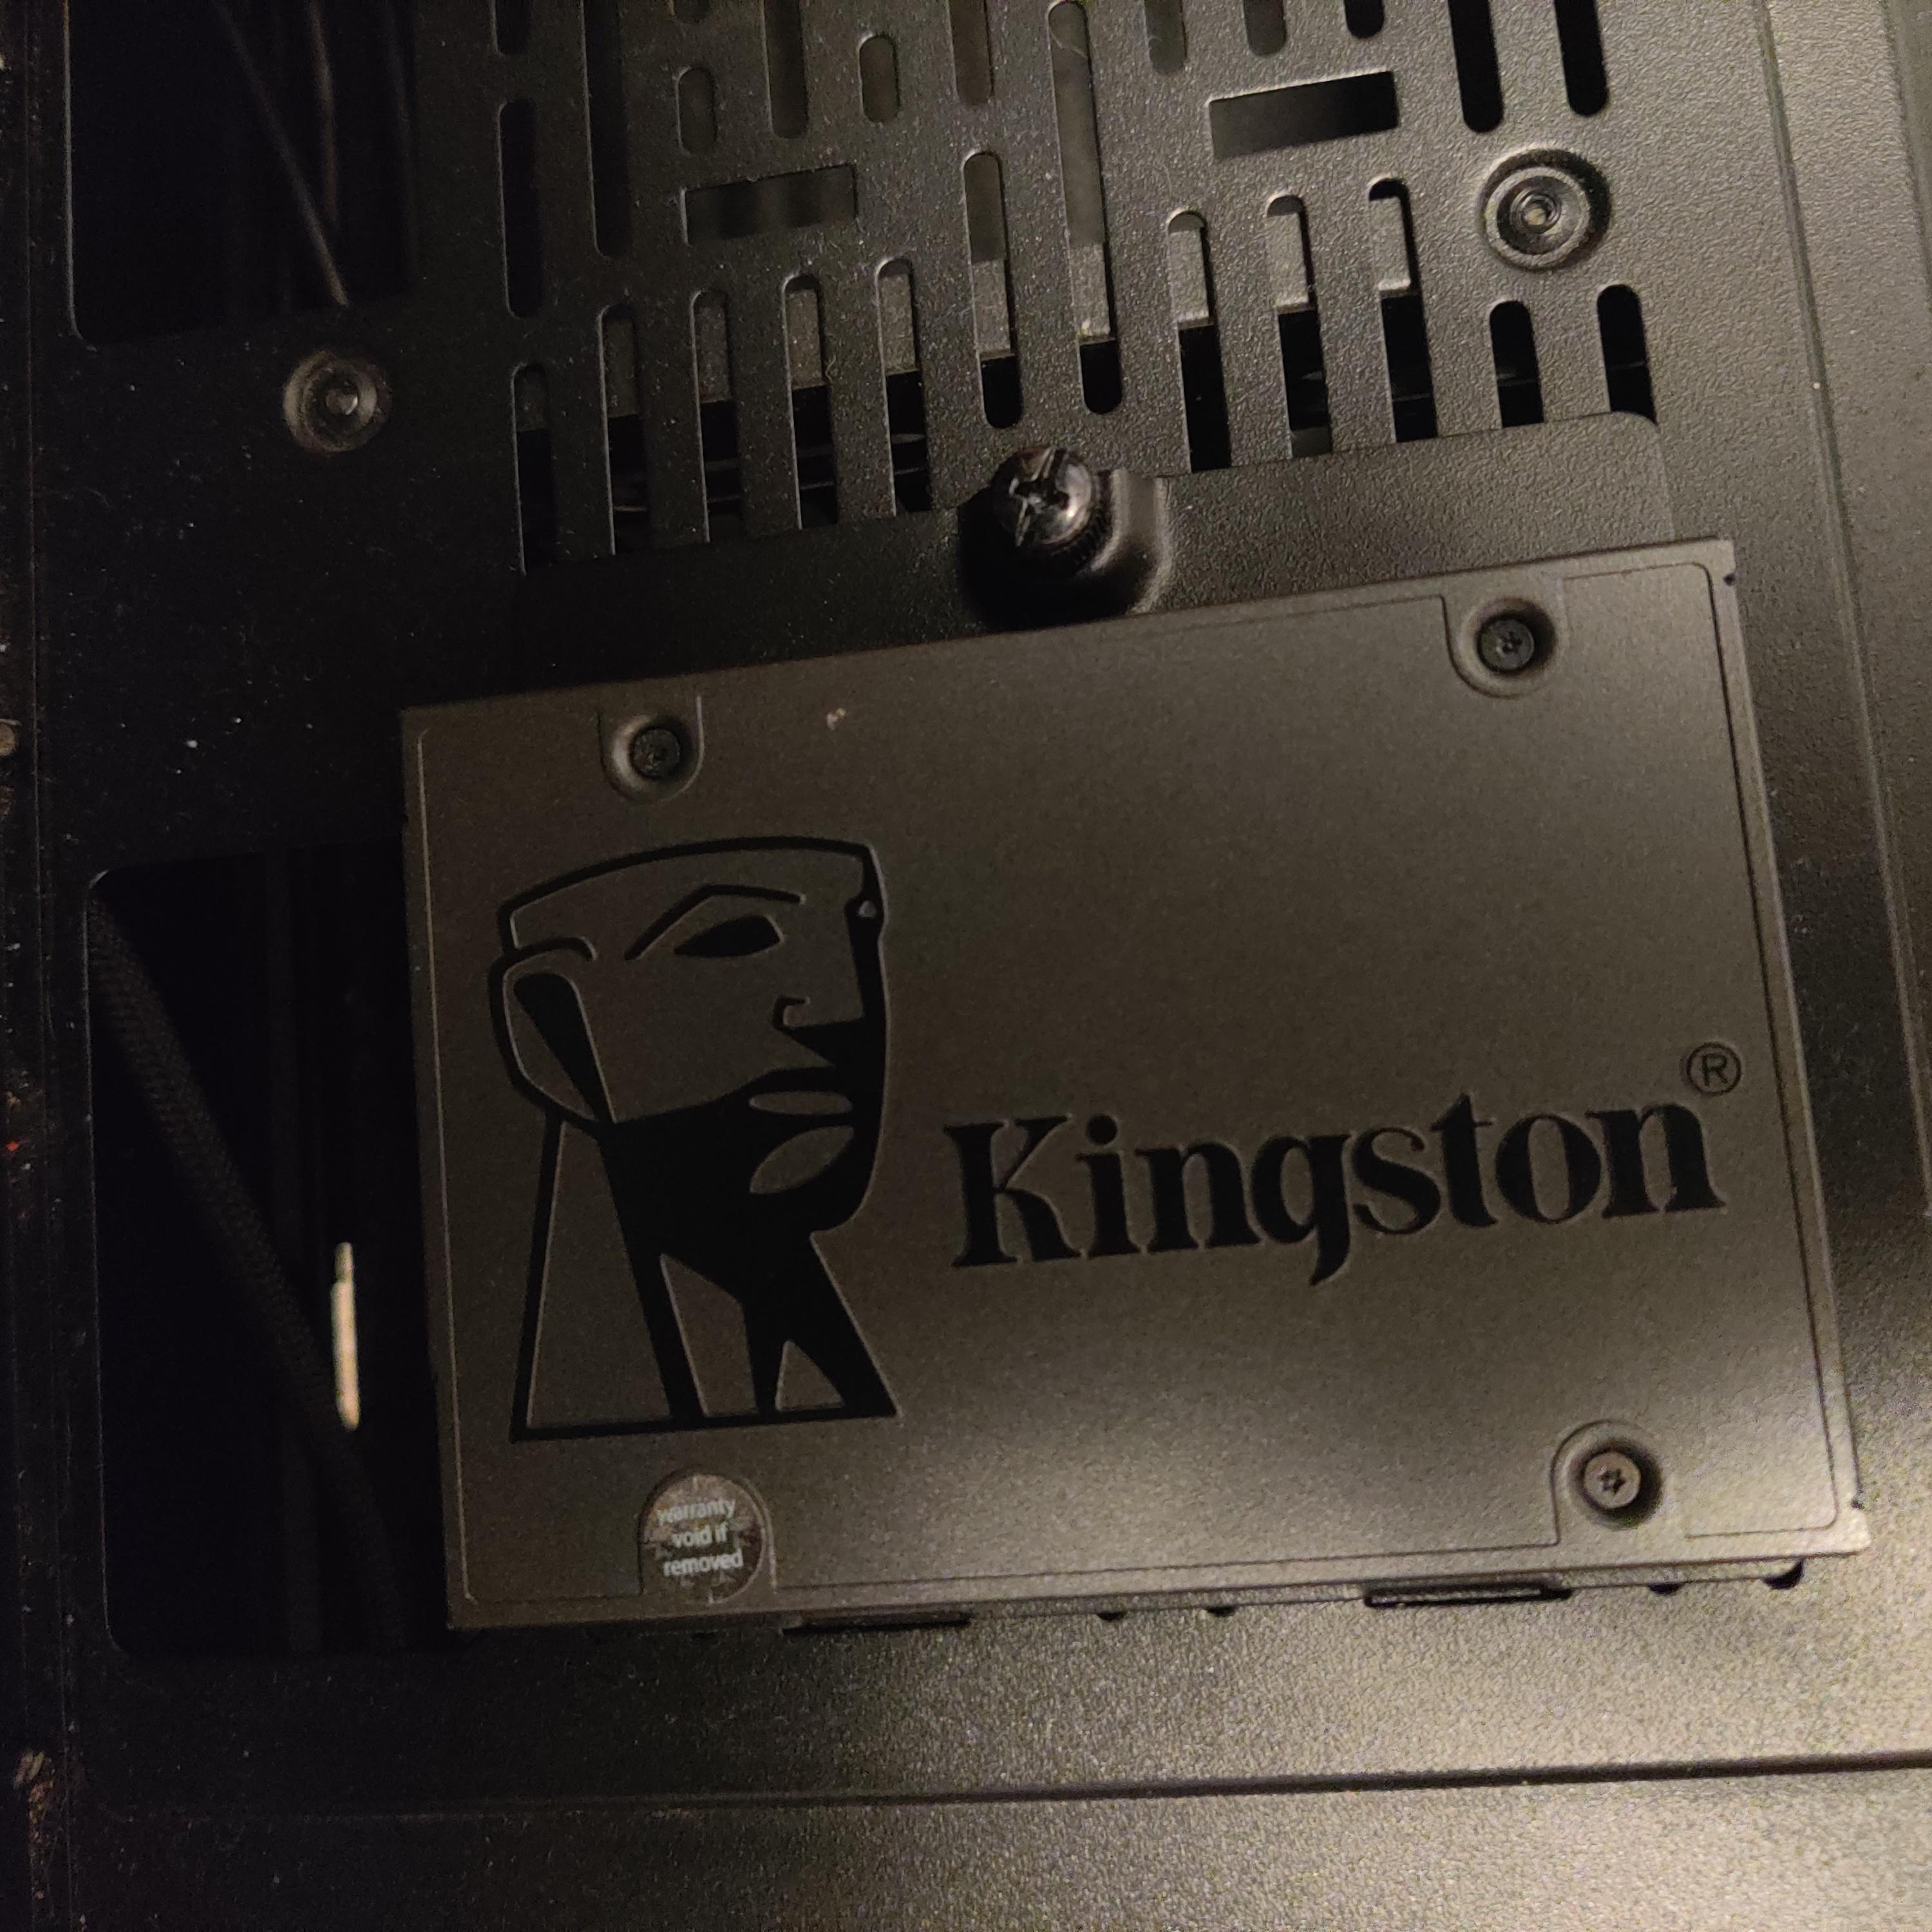
a. Unbox 2.5in SSD and/or Hard Drive.
b. Locate 2.5in SSD holder and/or Hard Drive cage.
c. Screw 2.5in SSD into place.
d. Place Hard Drive in Hard Drive cage.
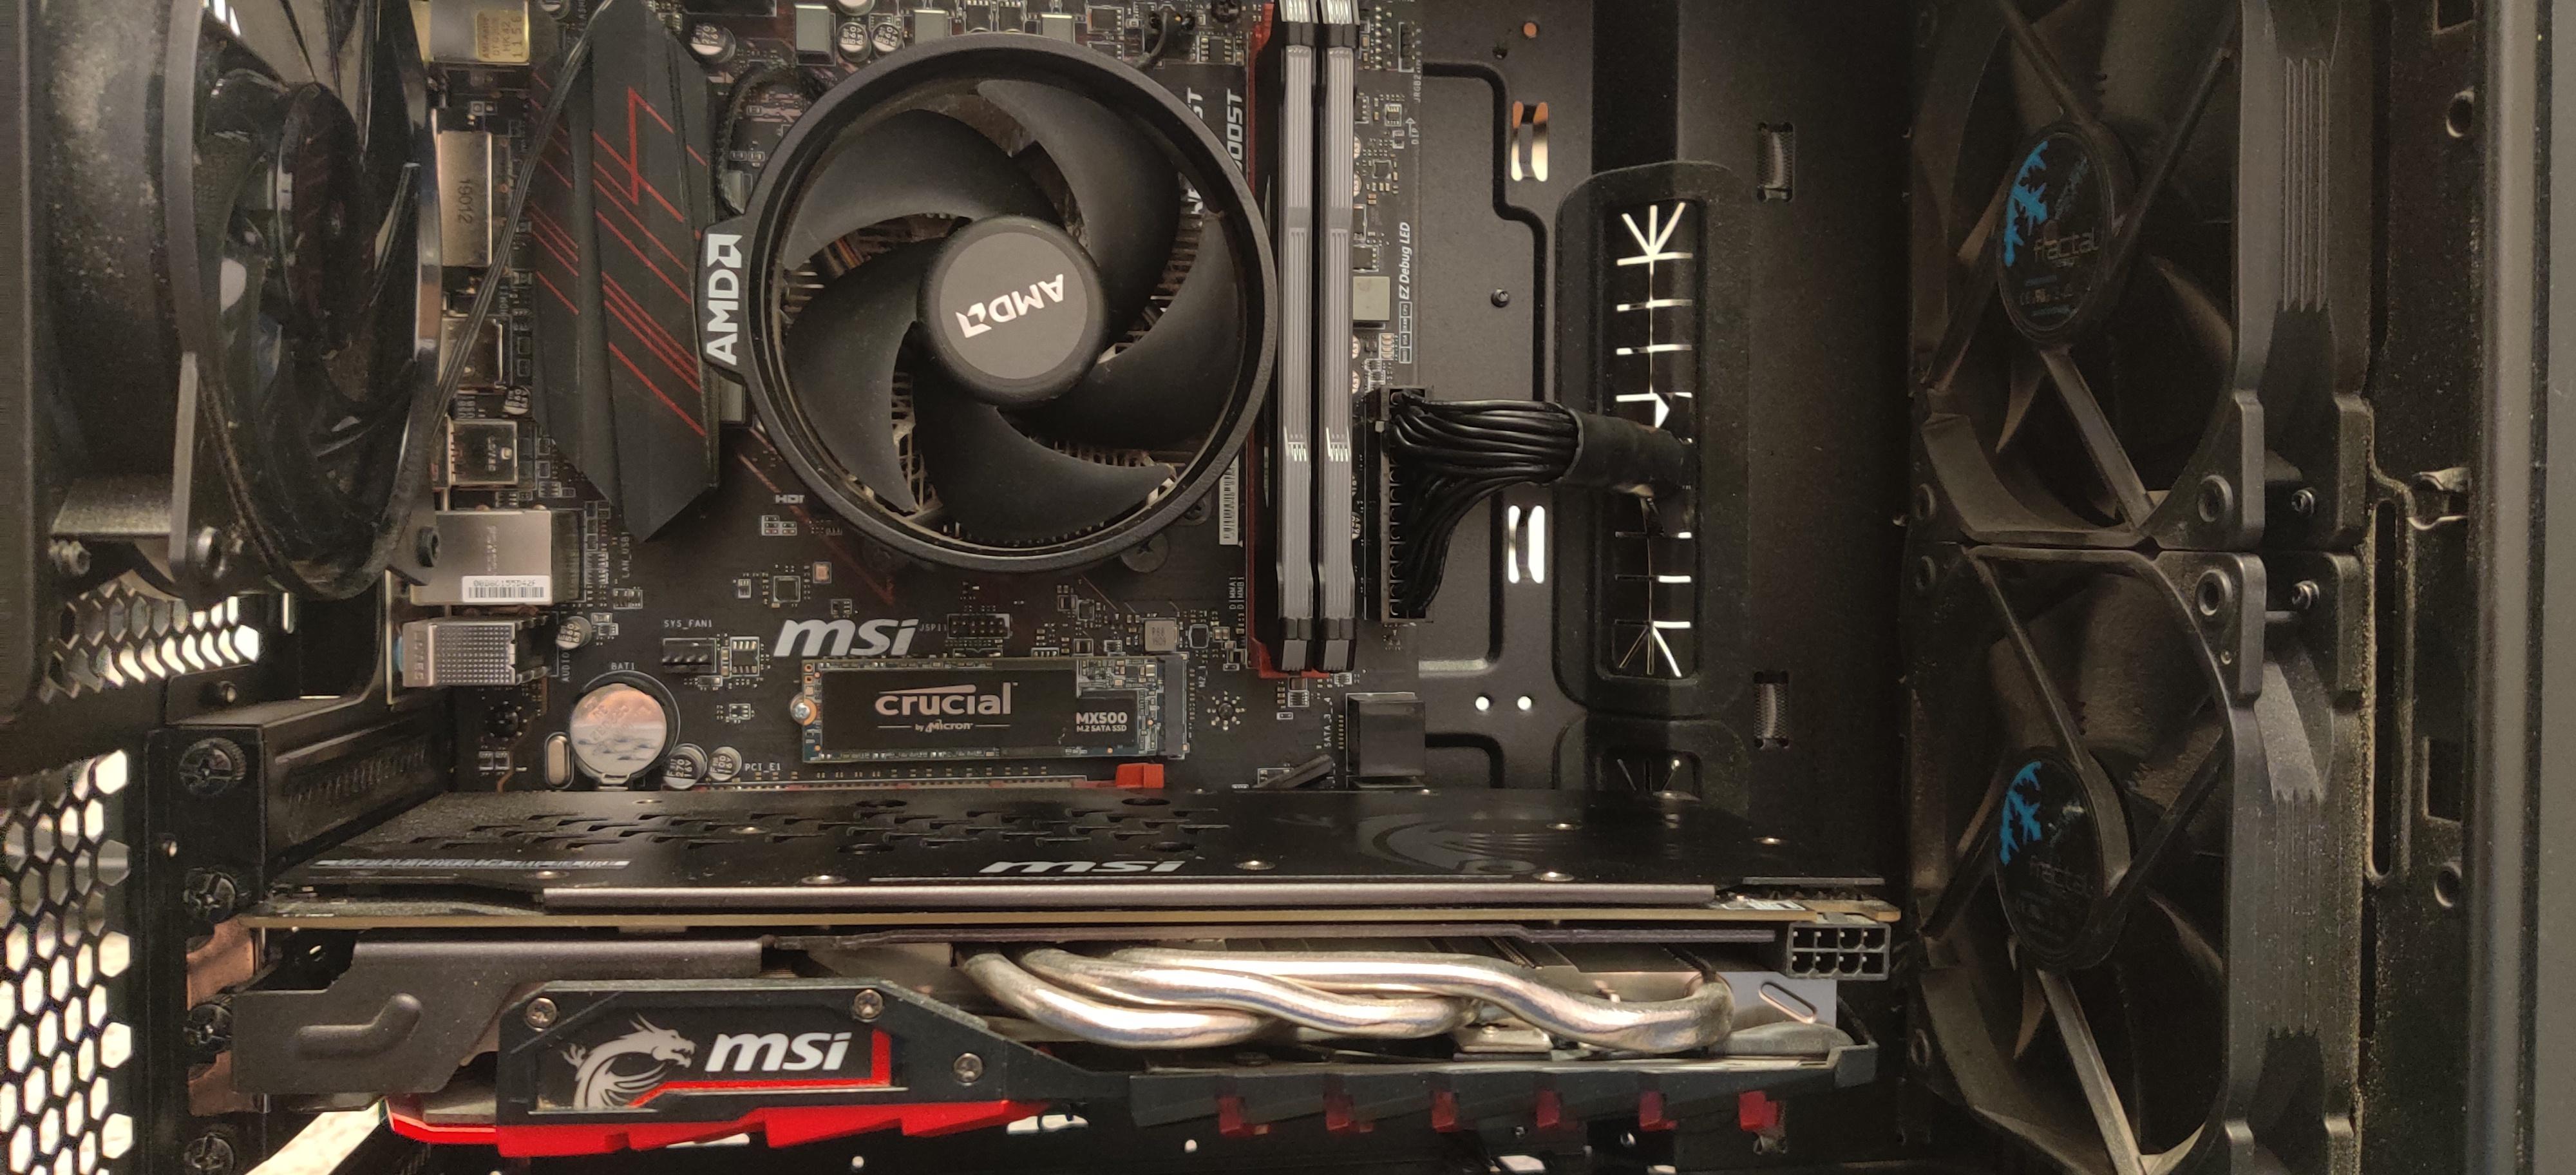
Connect All Cables
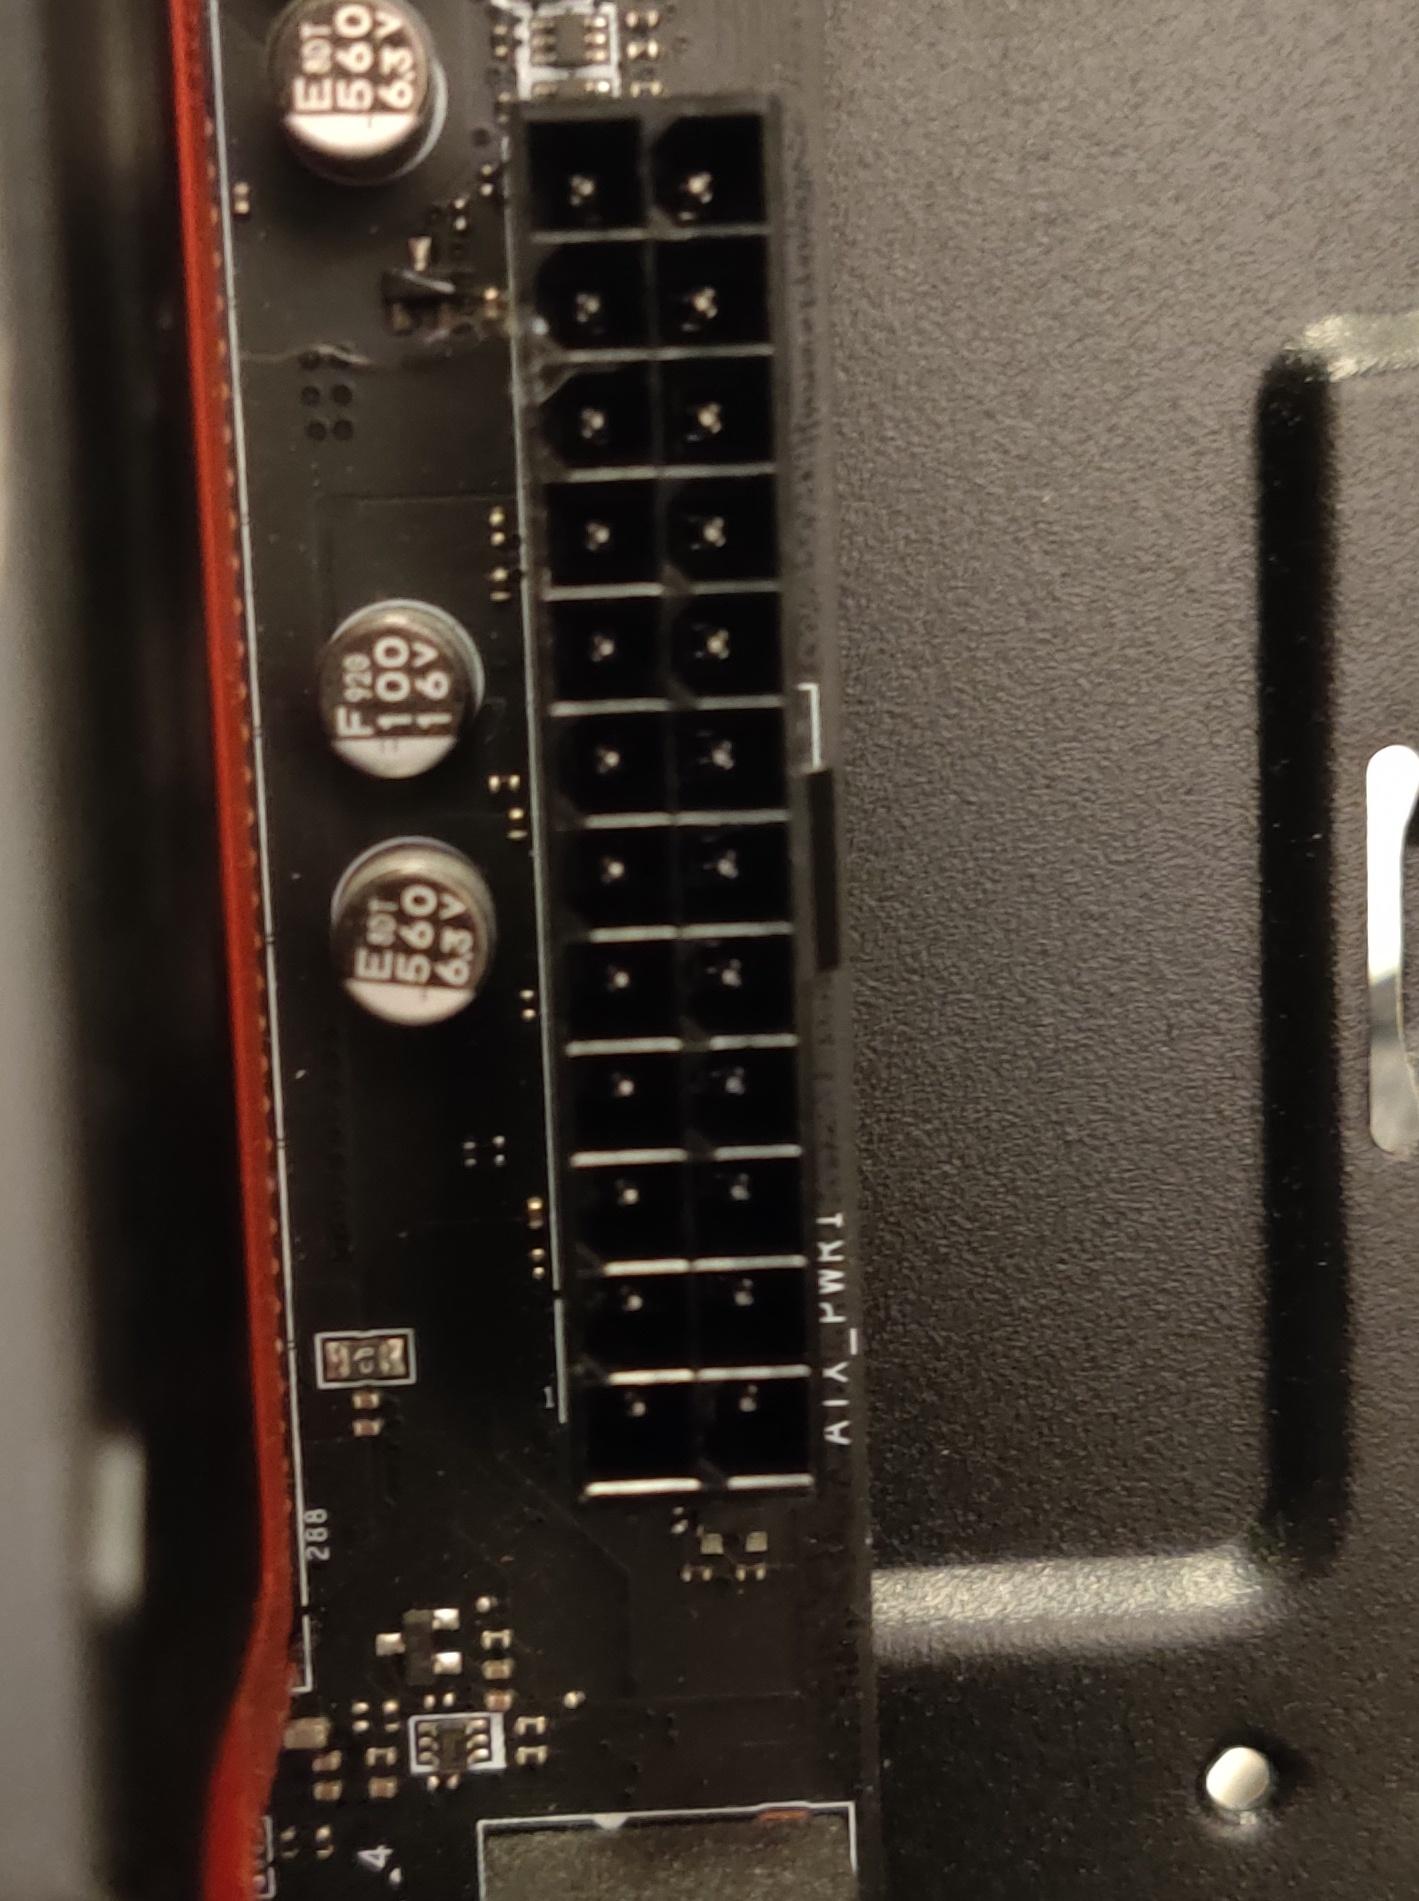
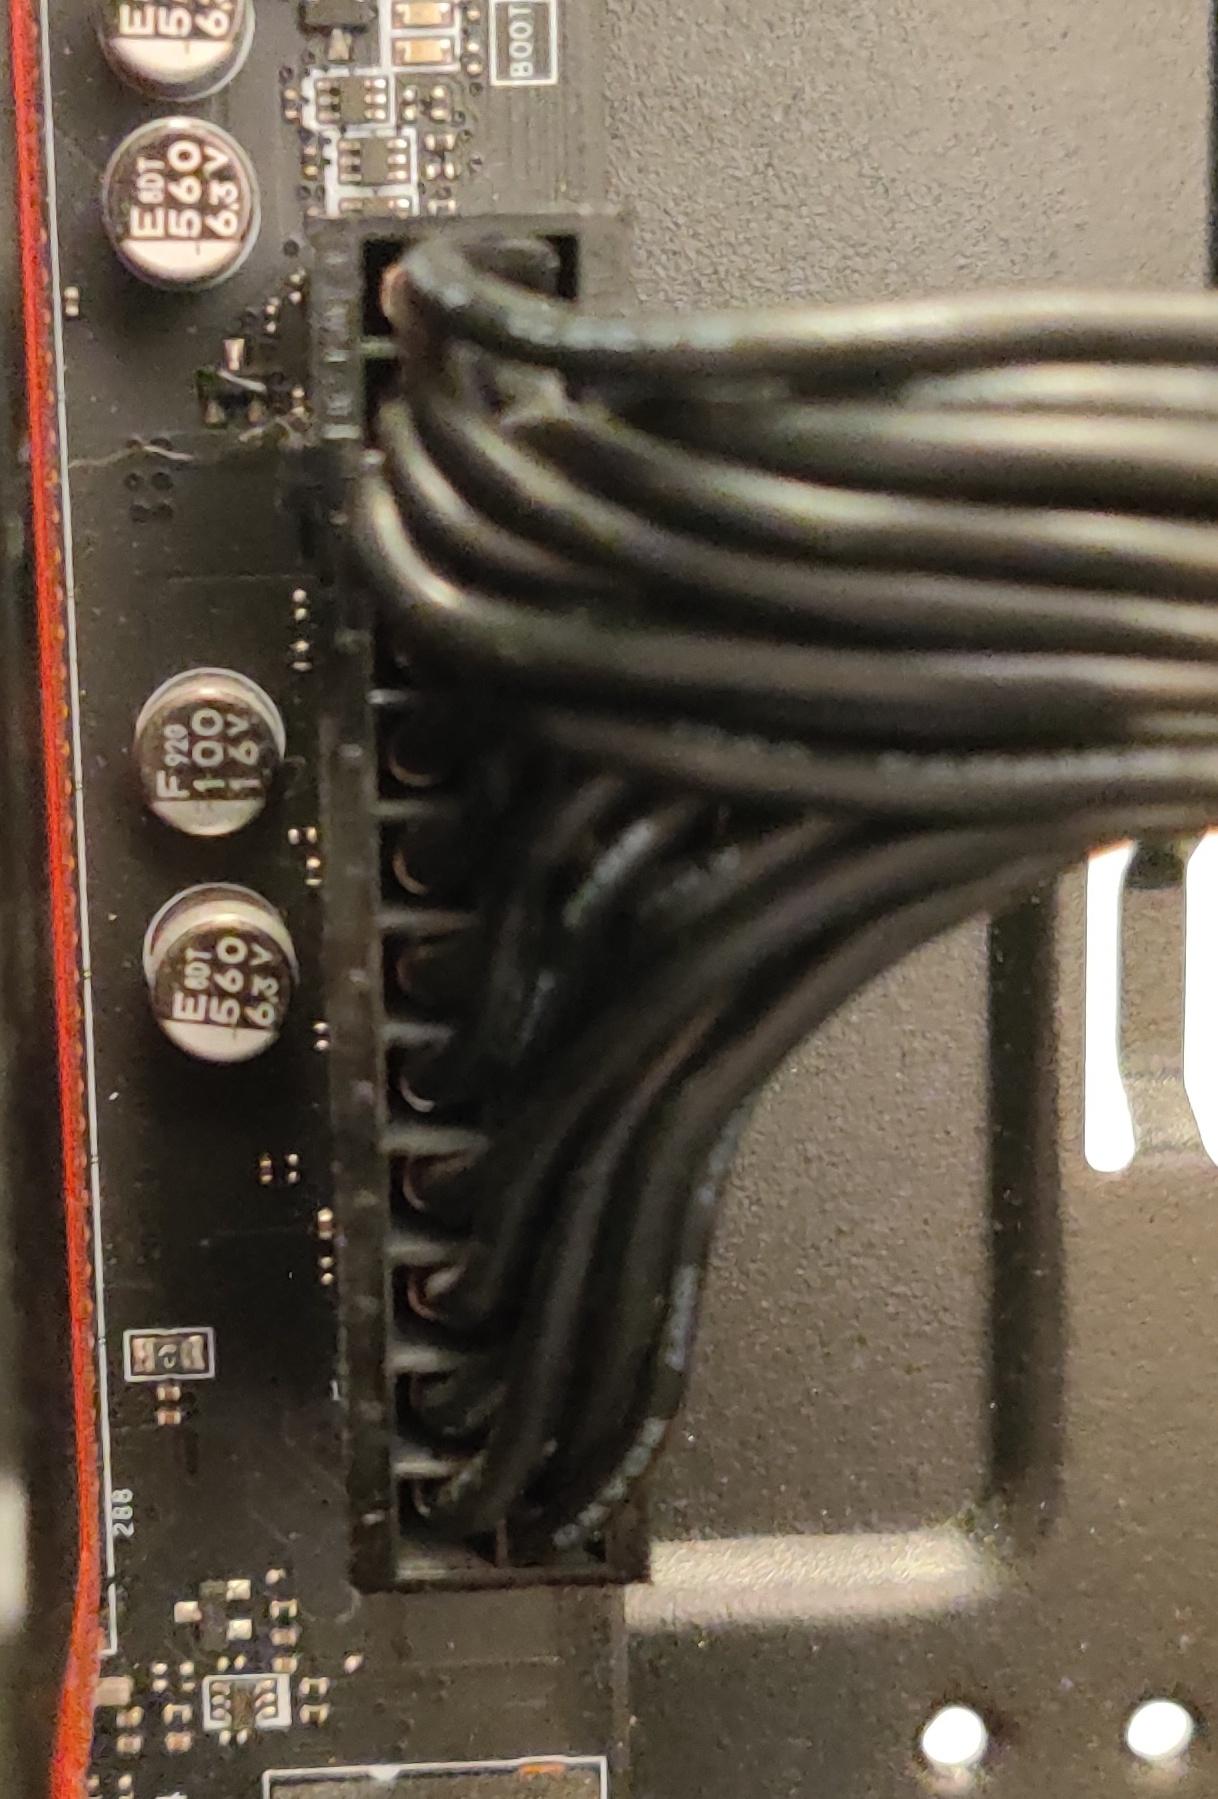
.jpg)
.jpg)
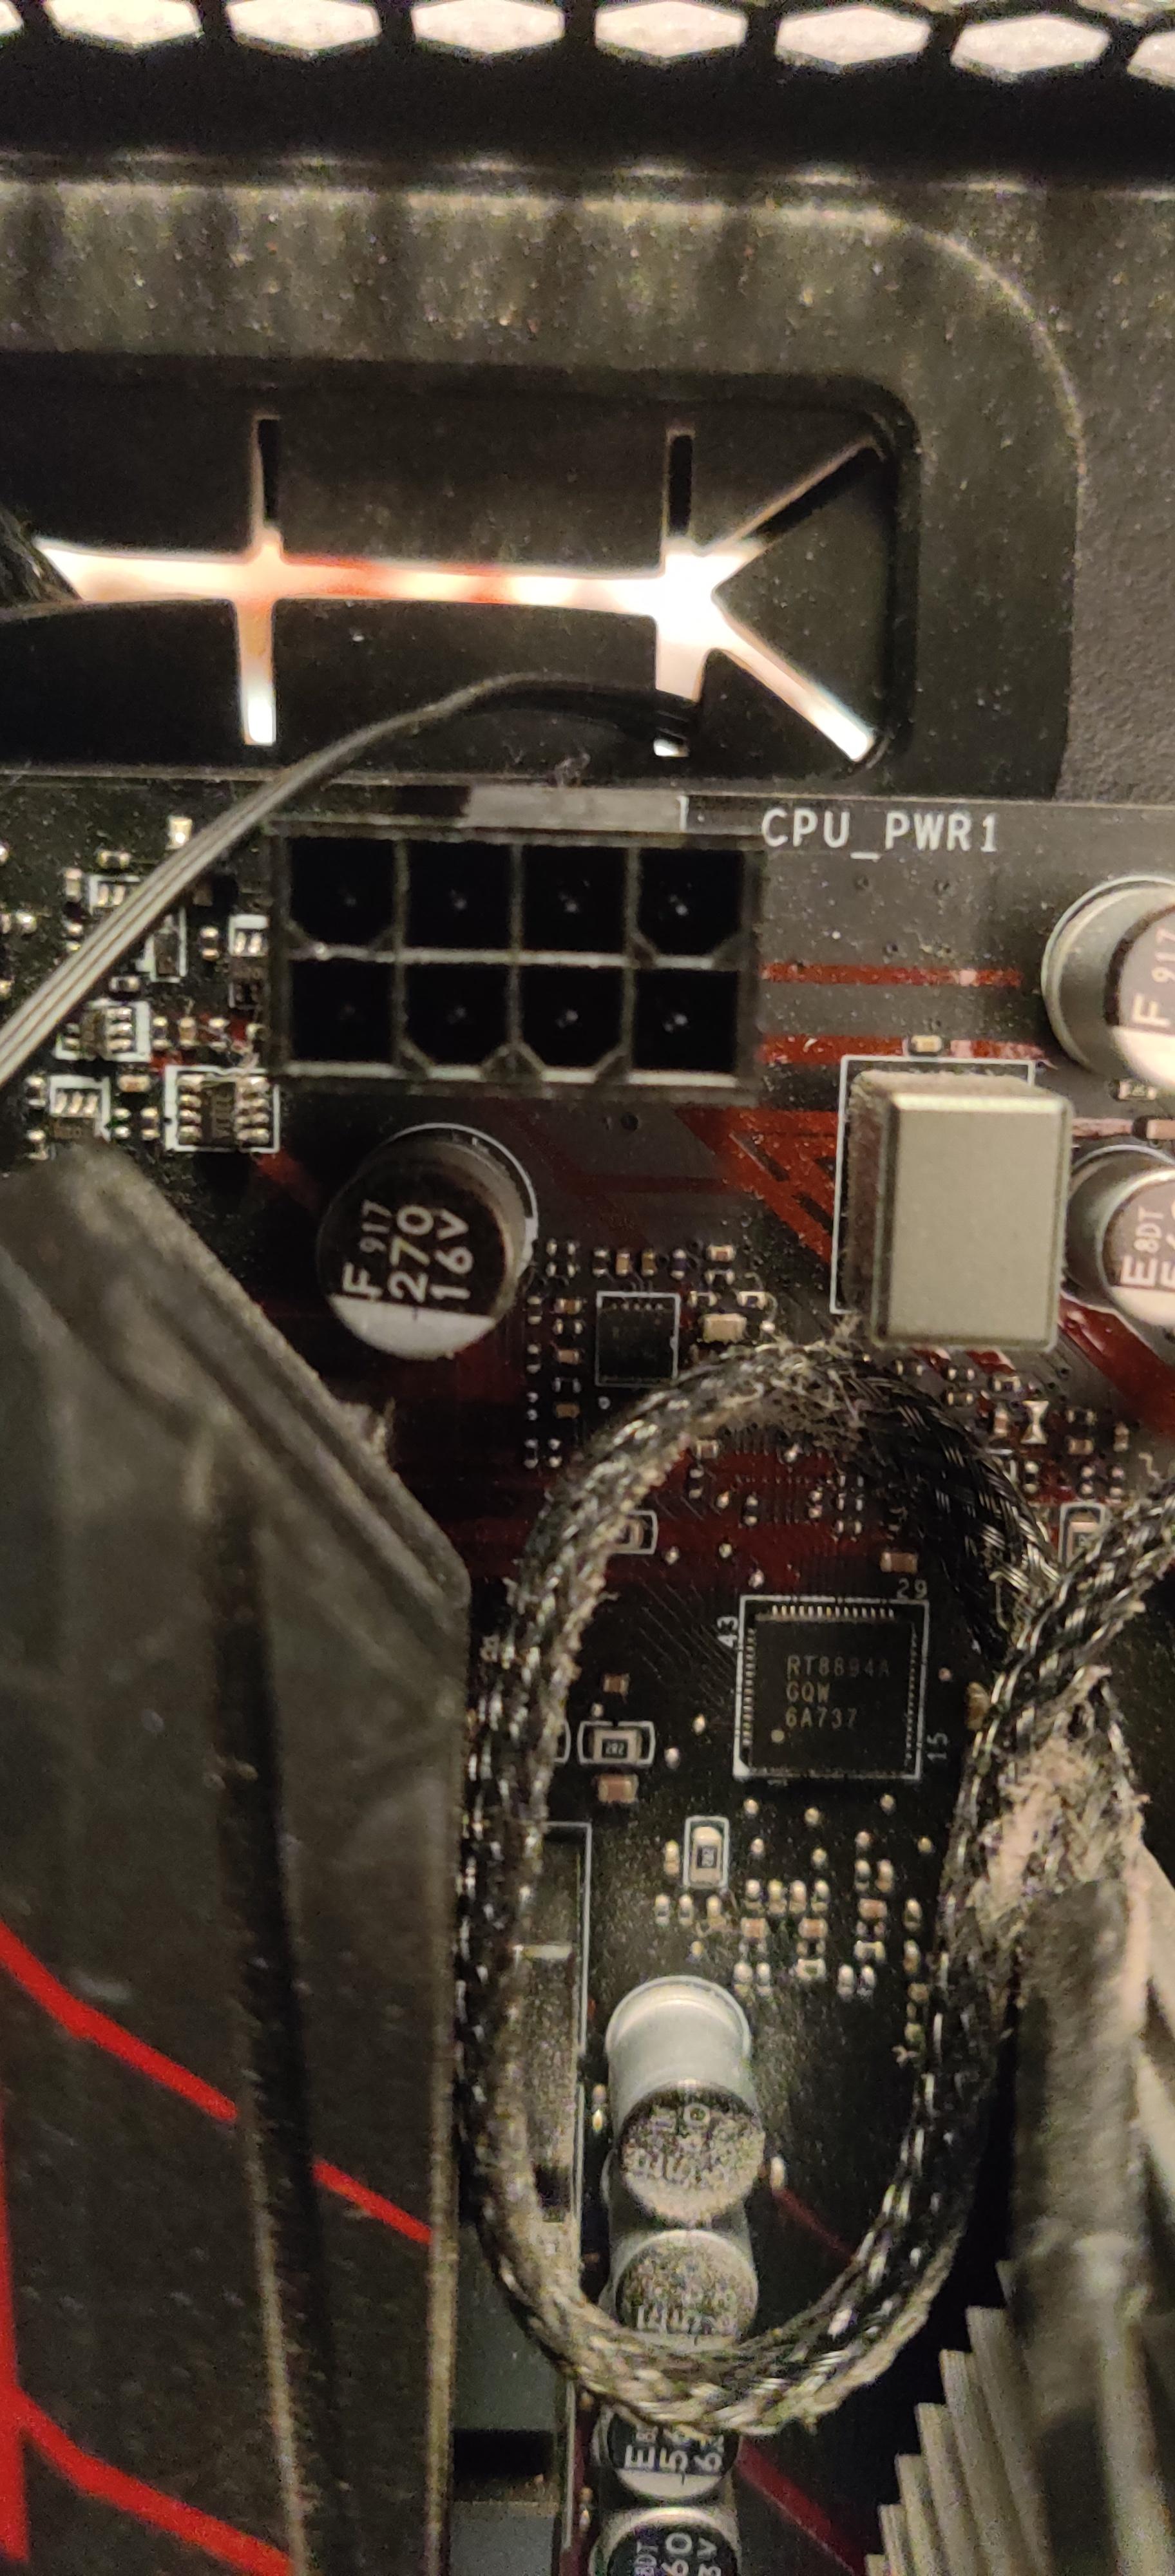
a. Connect the 24 pin cable from the power supply to the 24 pin slot on the motherboard(make sure to press until you hear a click).
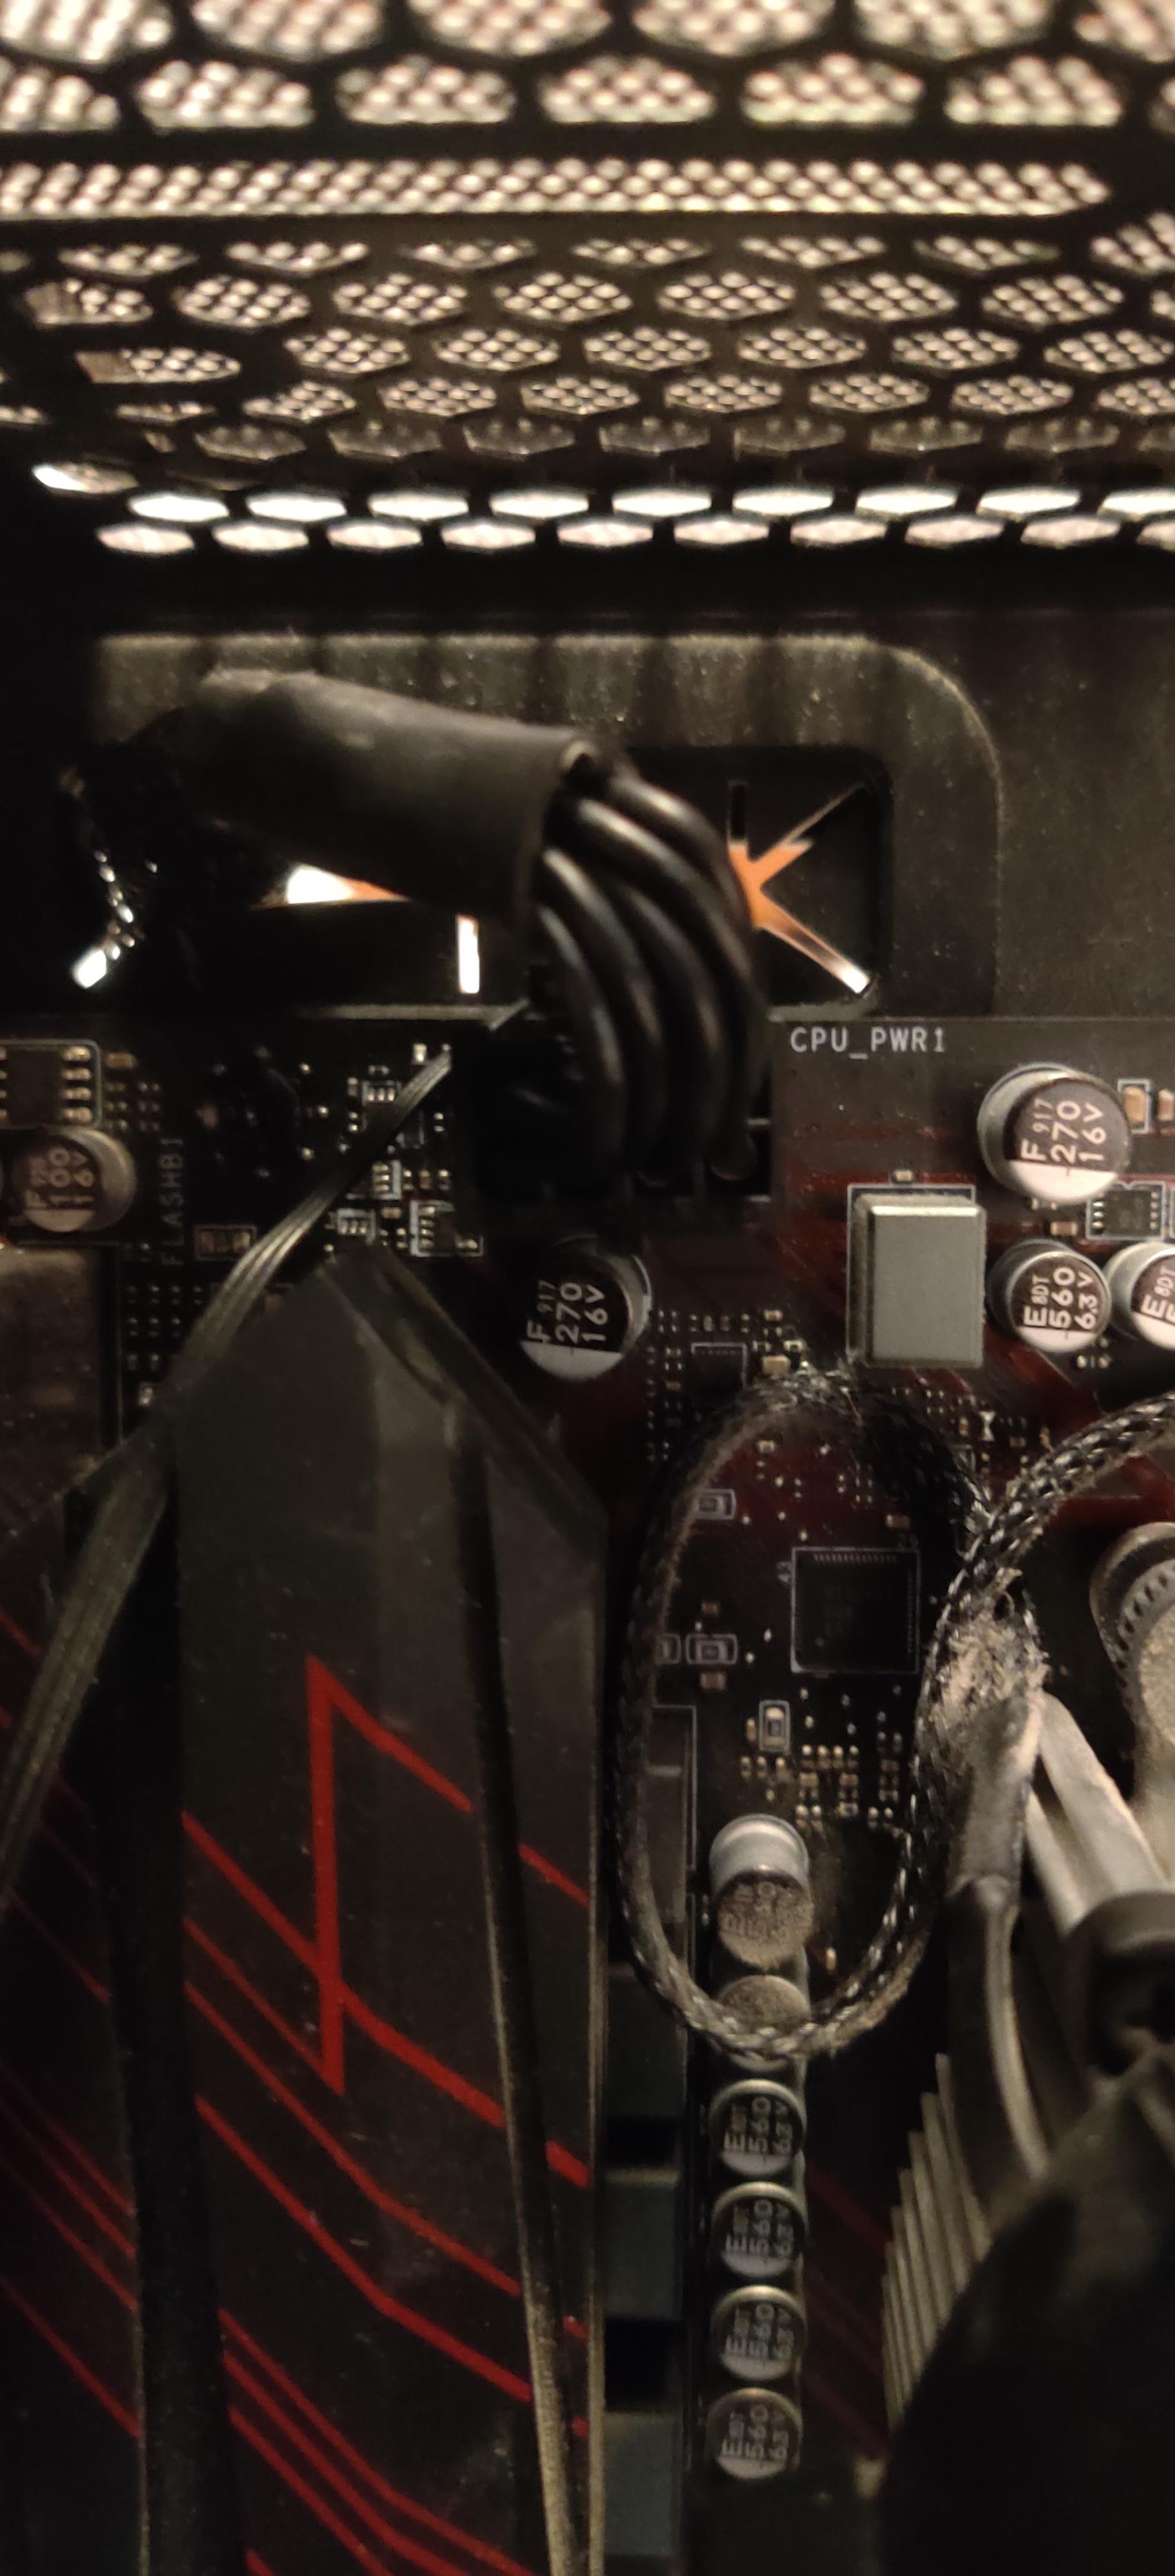
b. Connect the power supply cable labeled CPU into the CPU power slot on the motherboard.
c. Connect the SATA power cable from the power supply into 2.5in SSD and/or Harddrive.
d. Connect a SATA data cable from the motherboard to the 2.5in SSD and/or Harddrive.
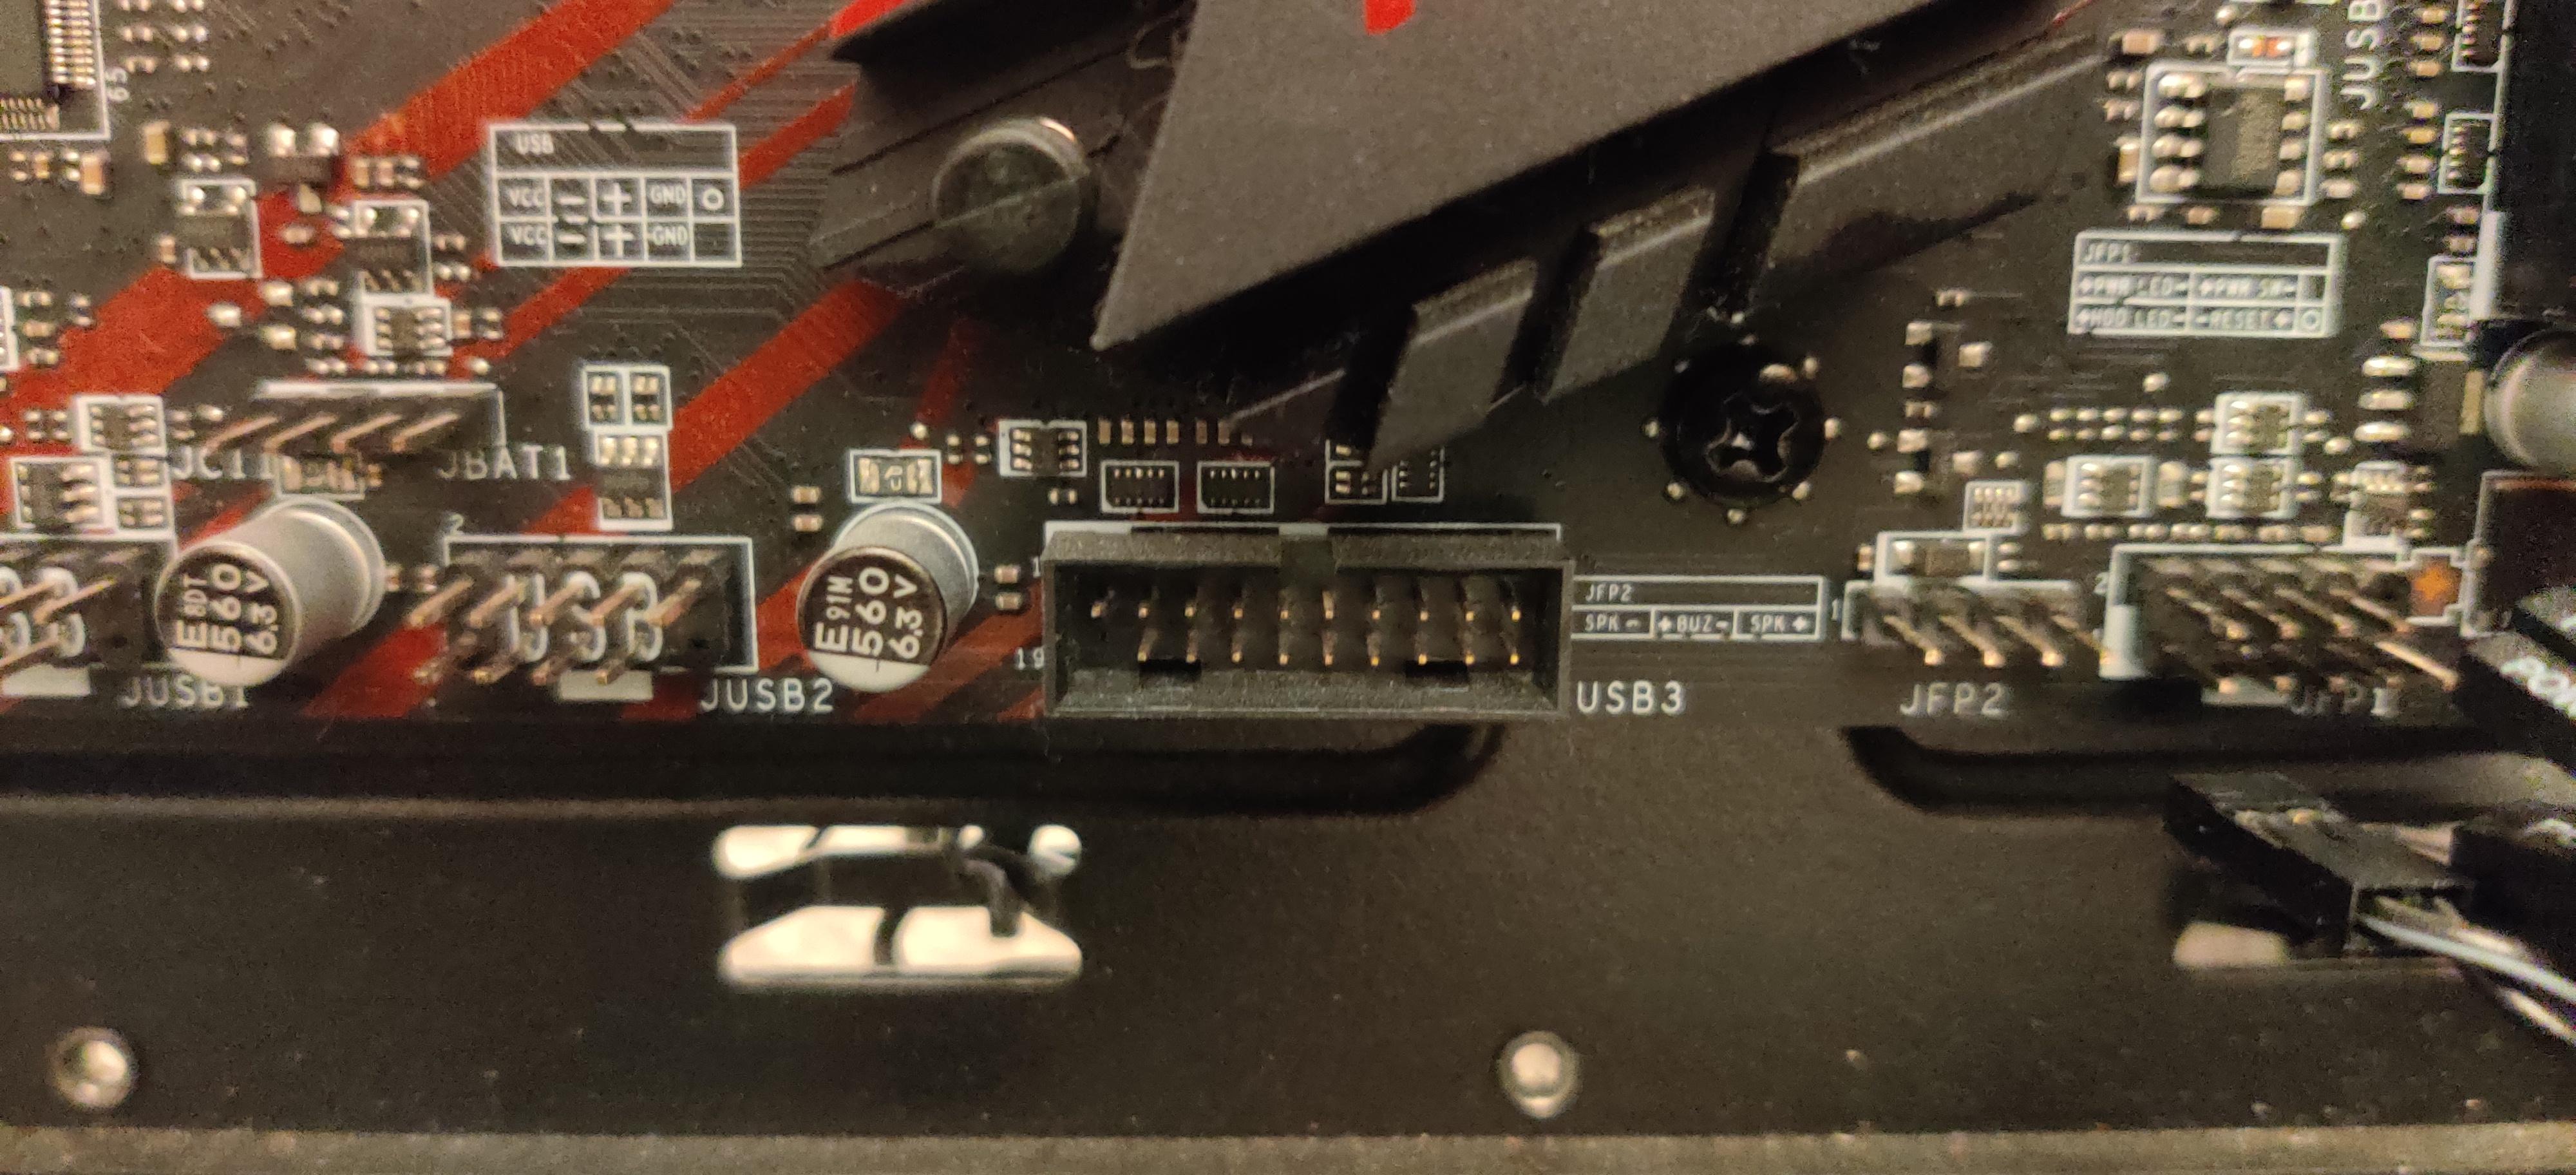
e. Plug all case wires into designated motherboard slots, this can include USB 2, USB 3, Audio, power switch, reset switch, and type C.
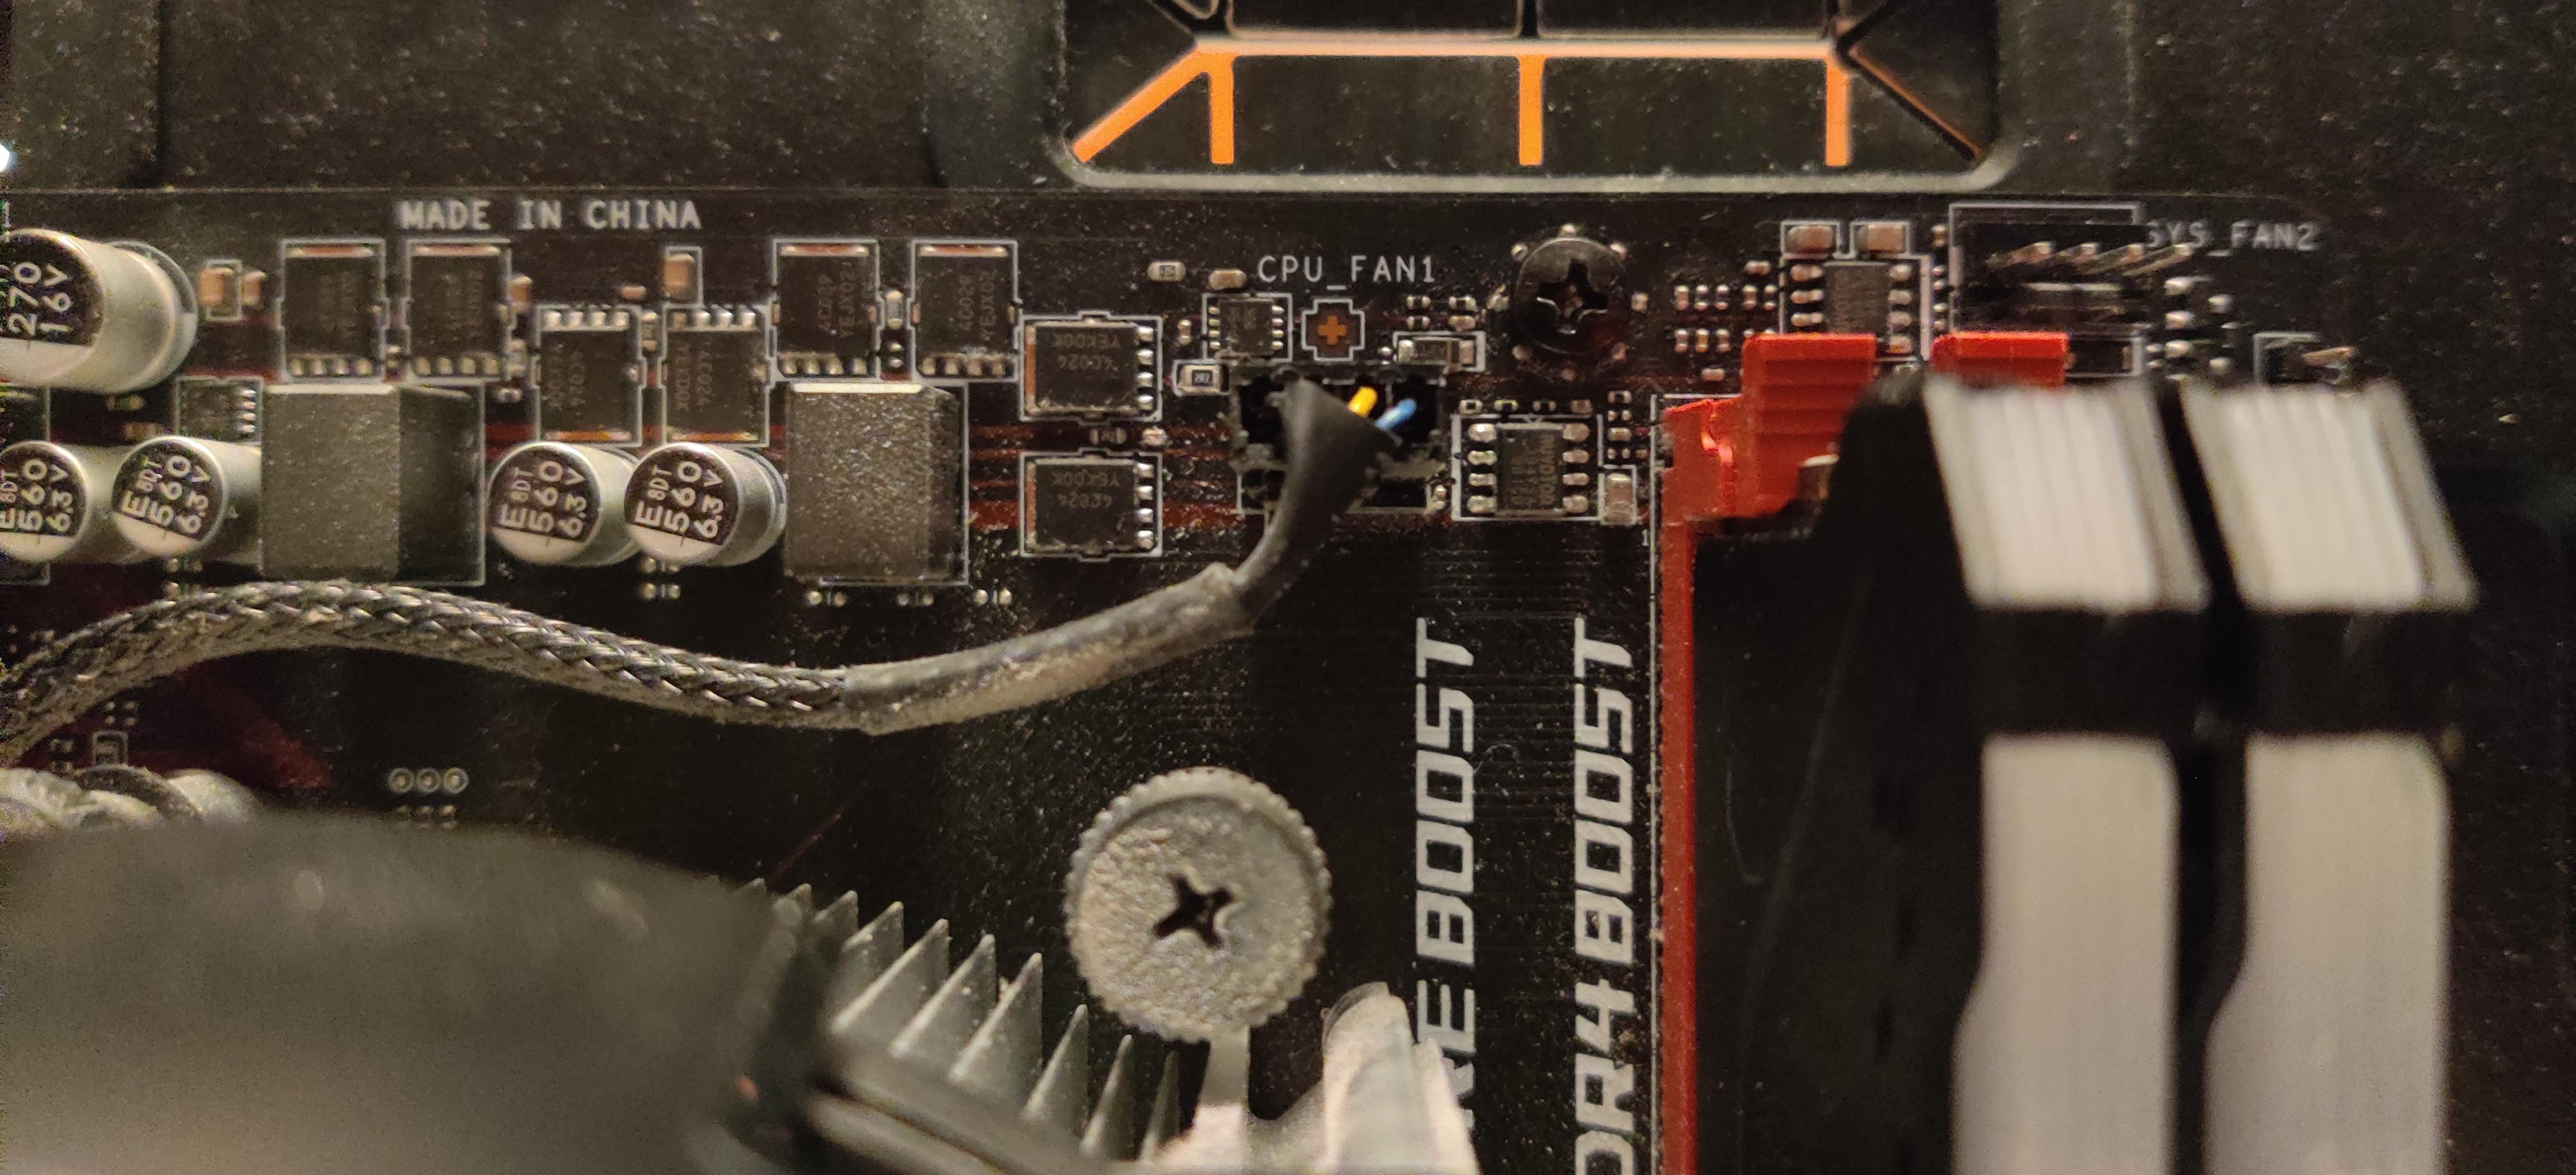
f. Pug fan wires in the fan headers on the motherboard.
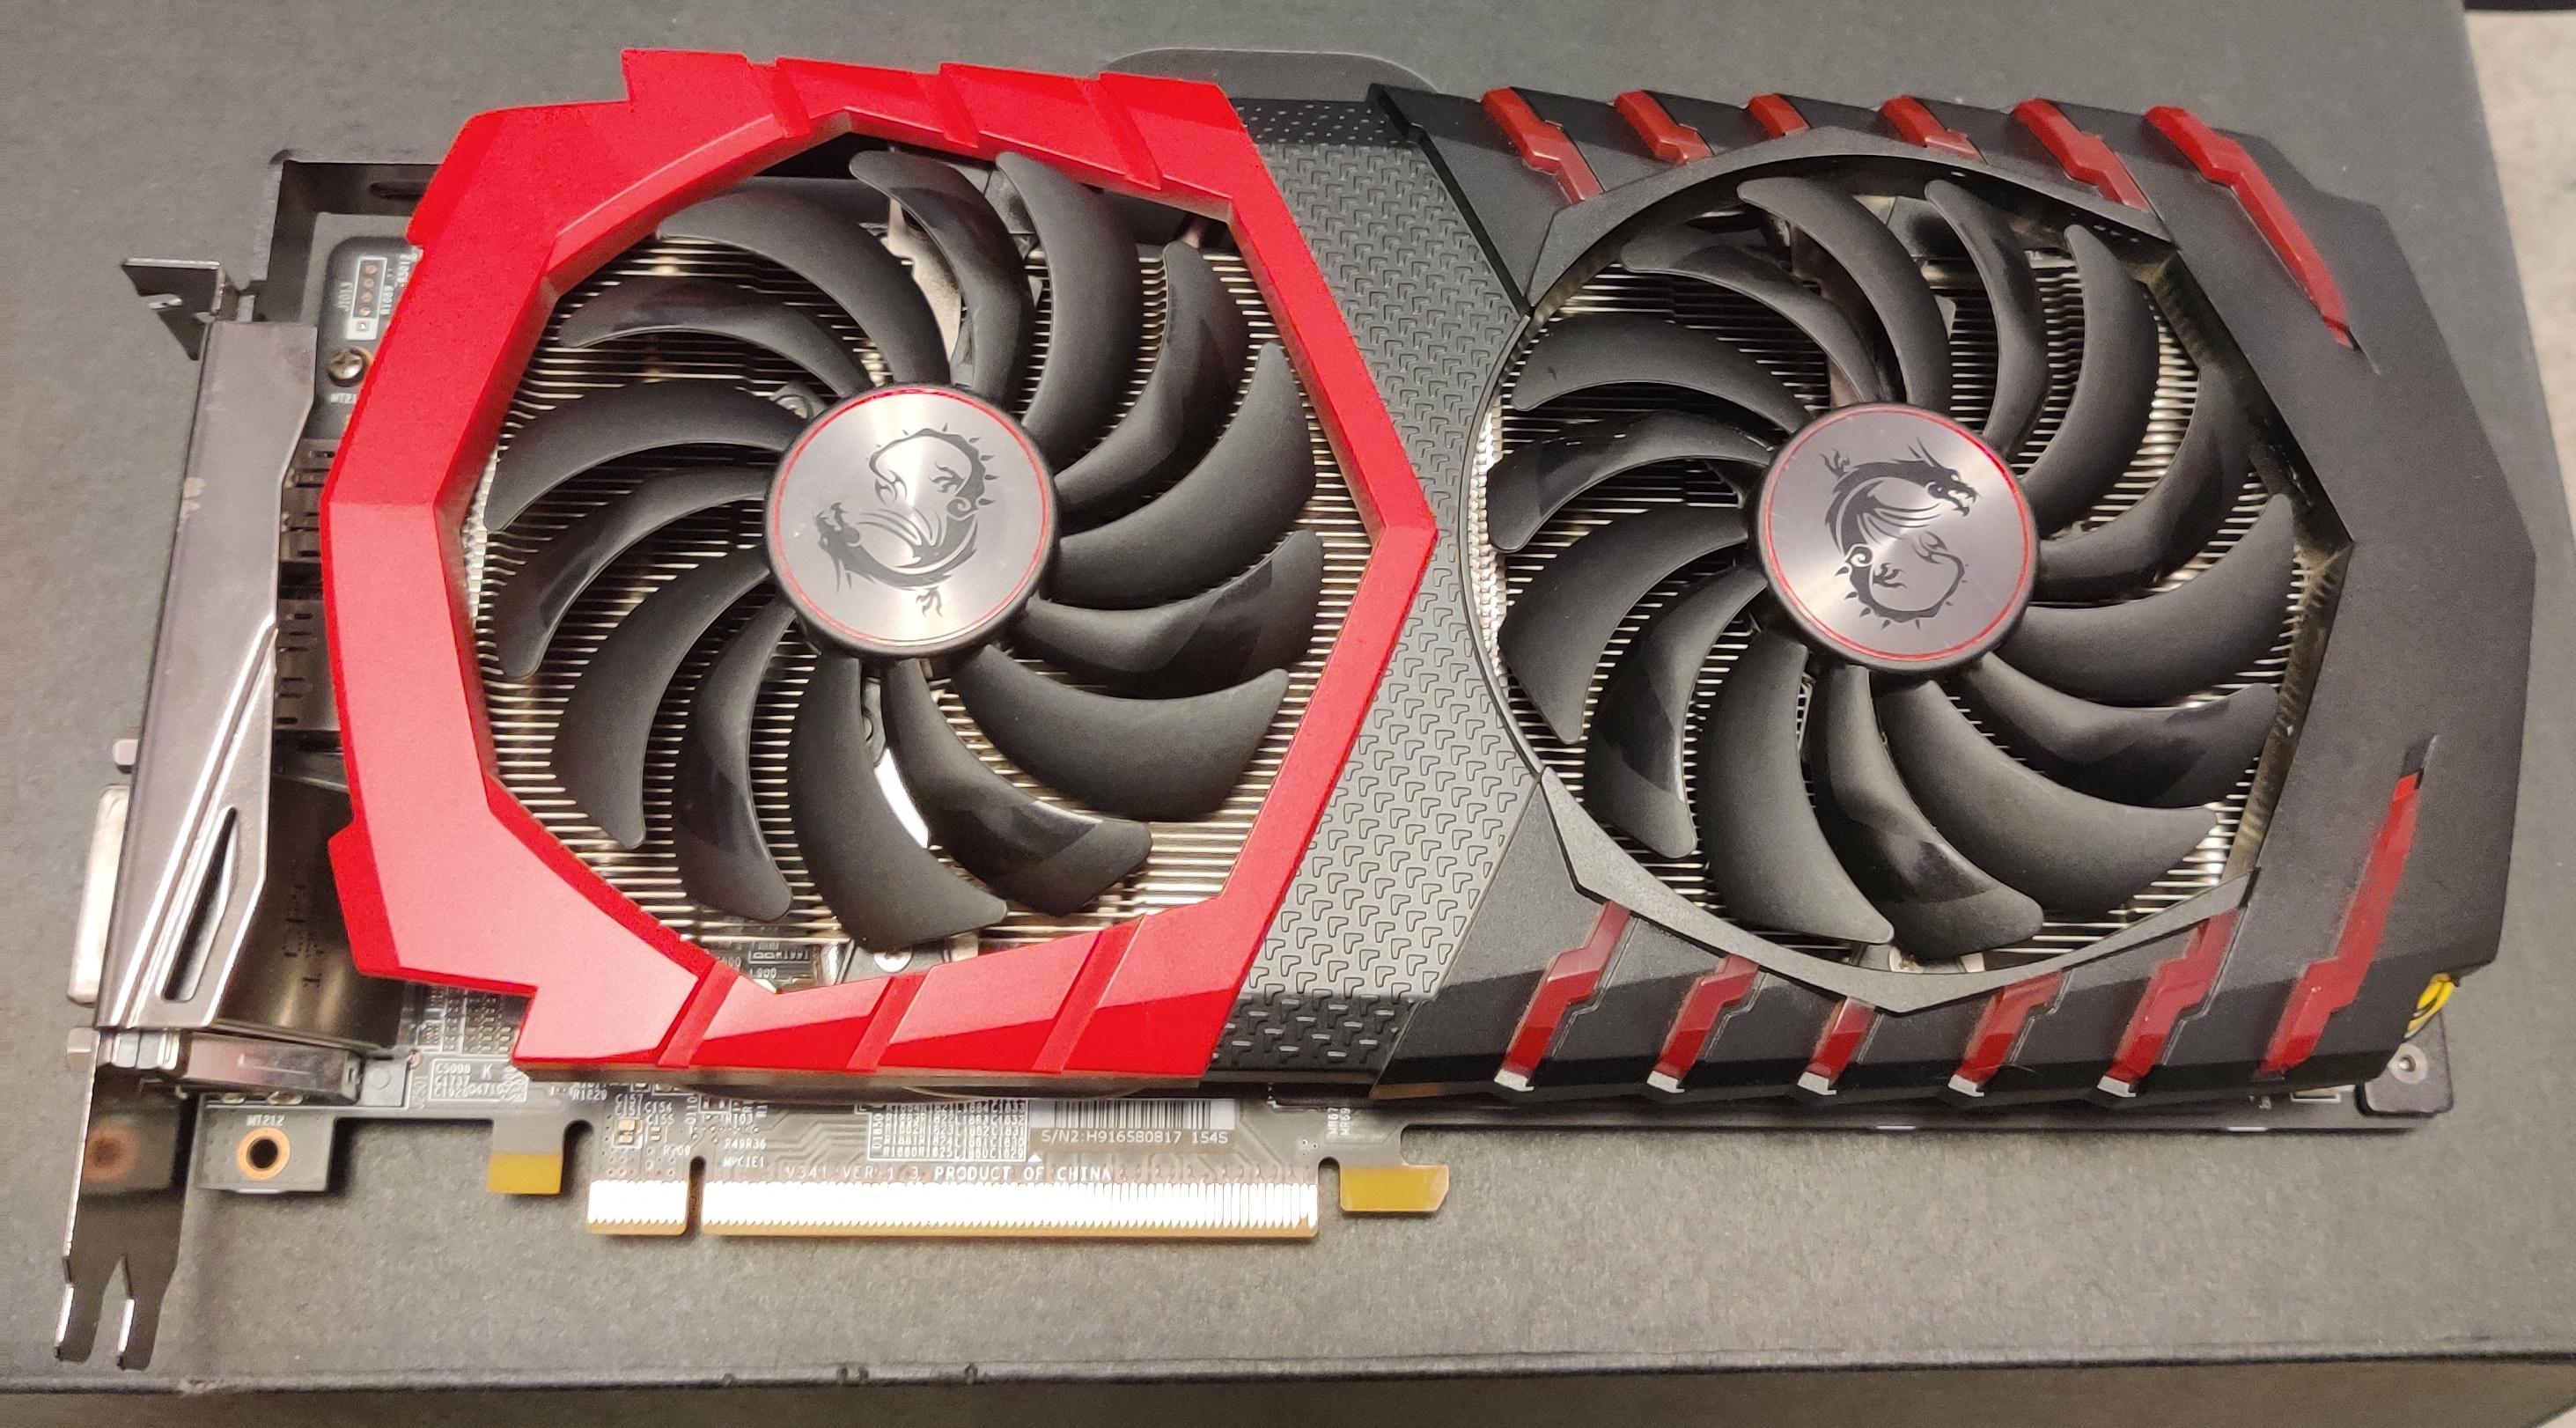
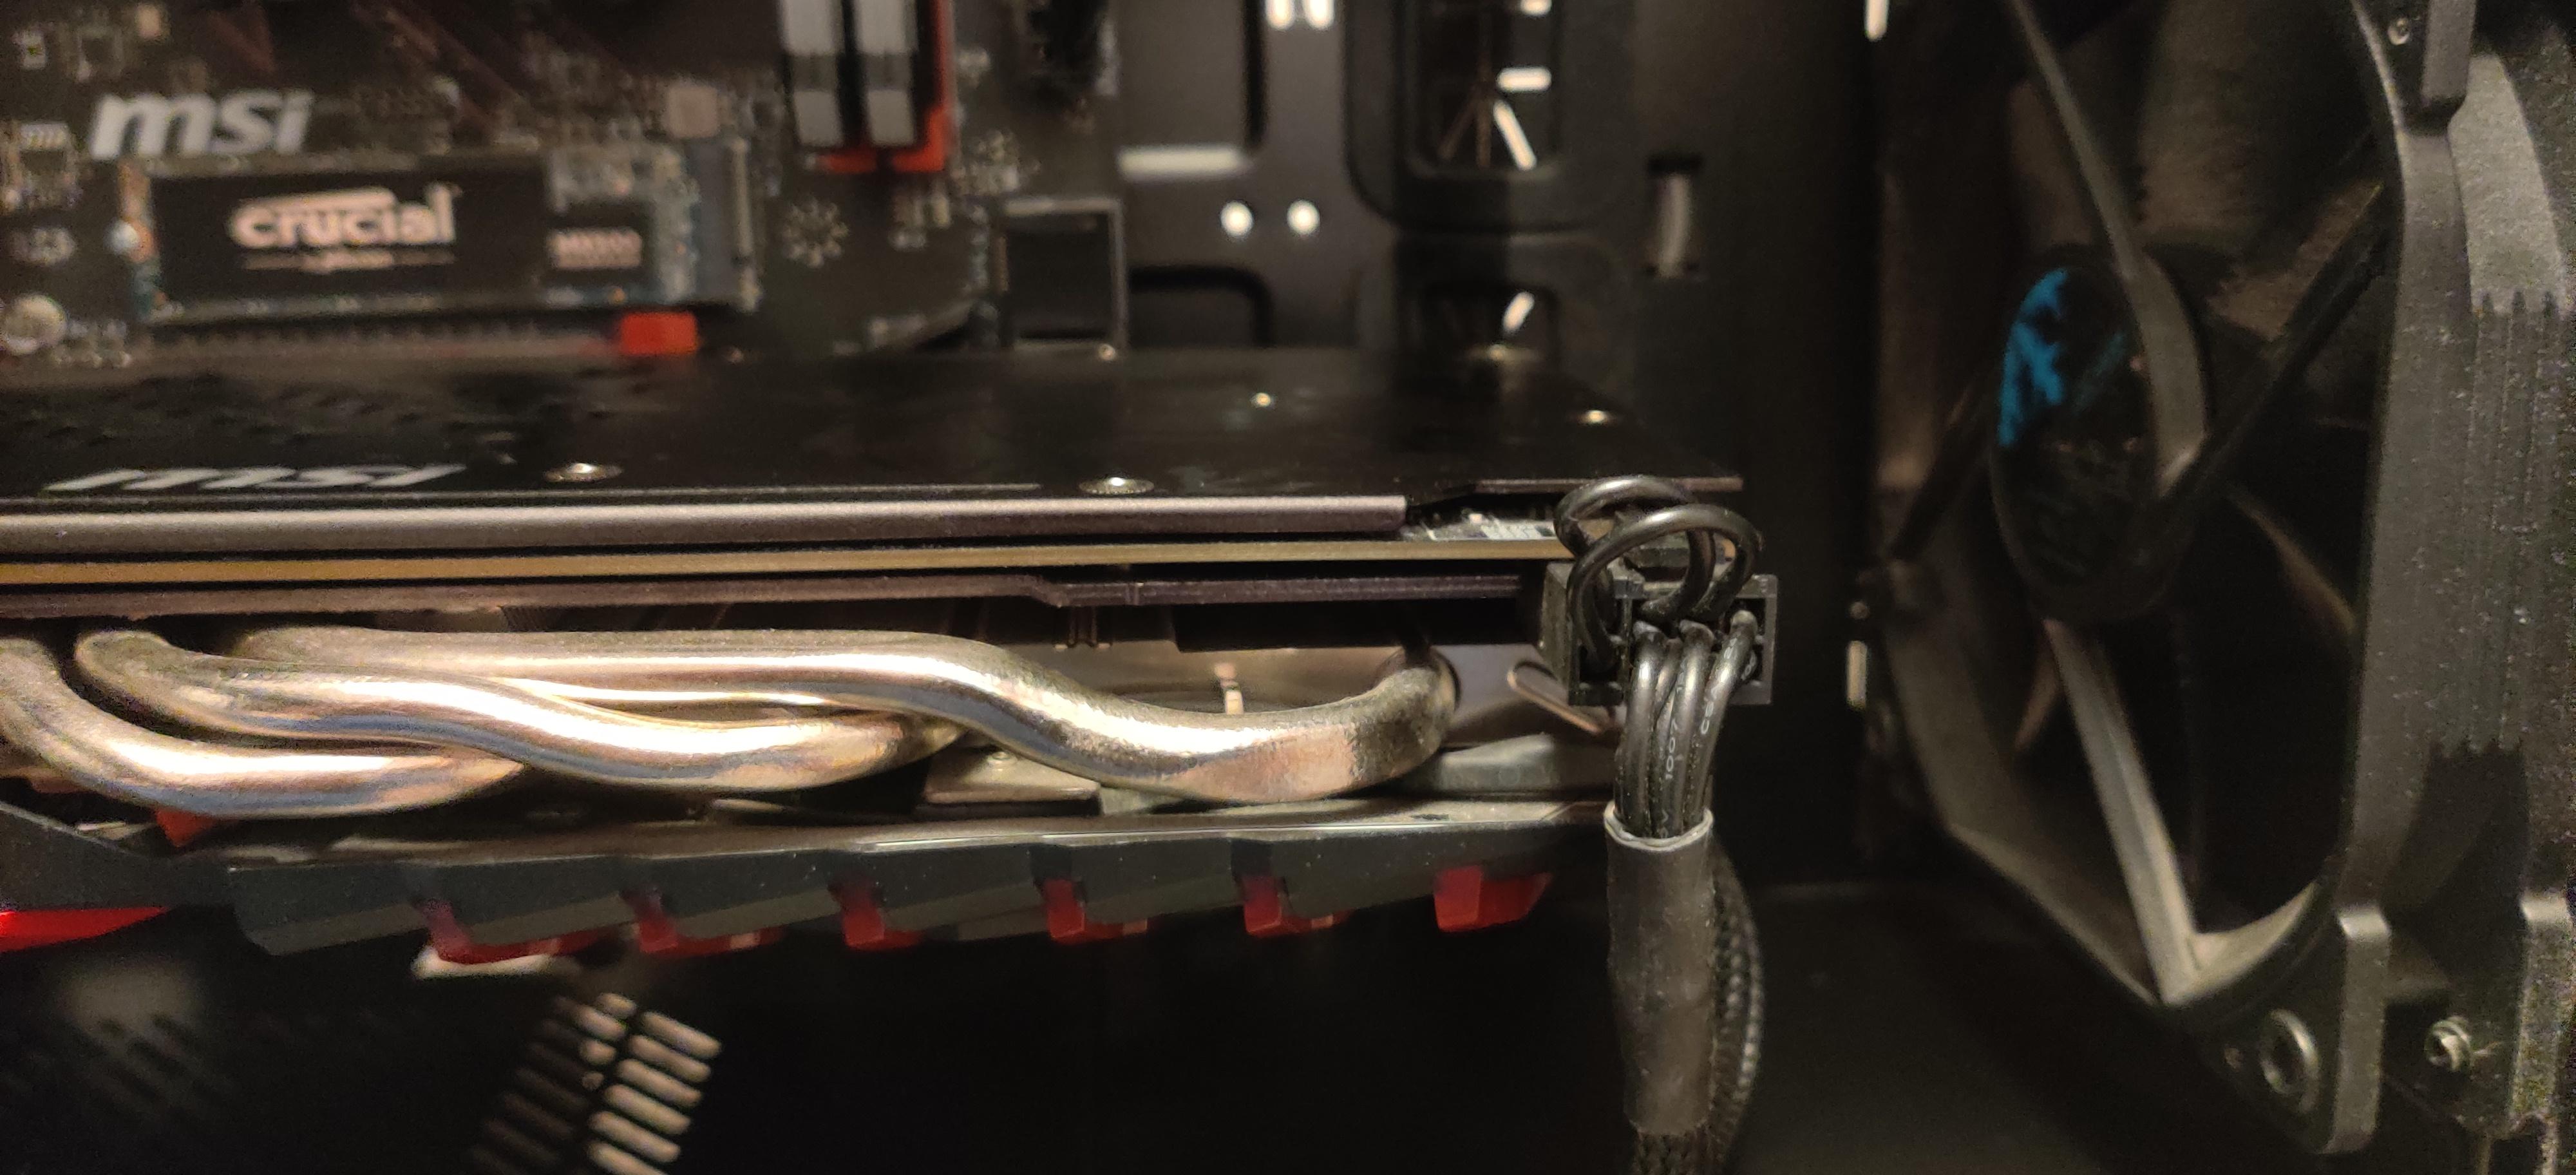
Install Graphics Card
.jpg)
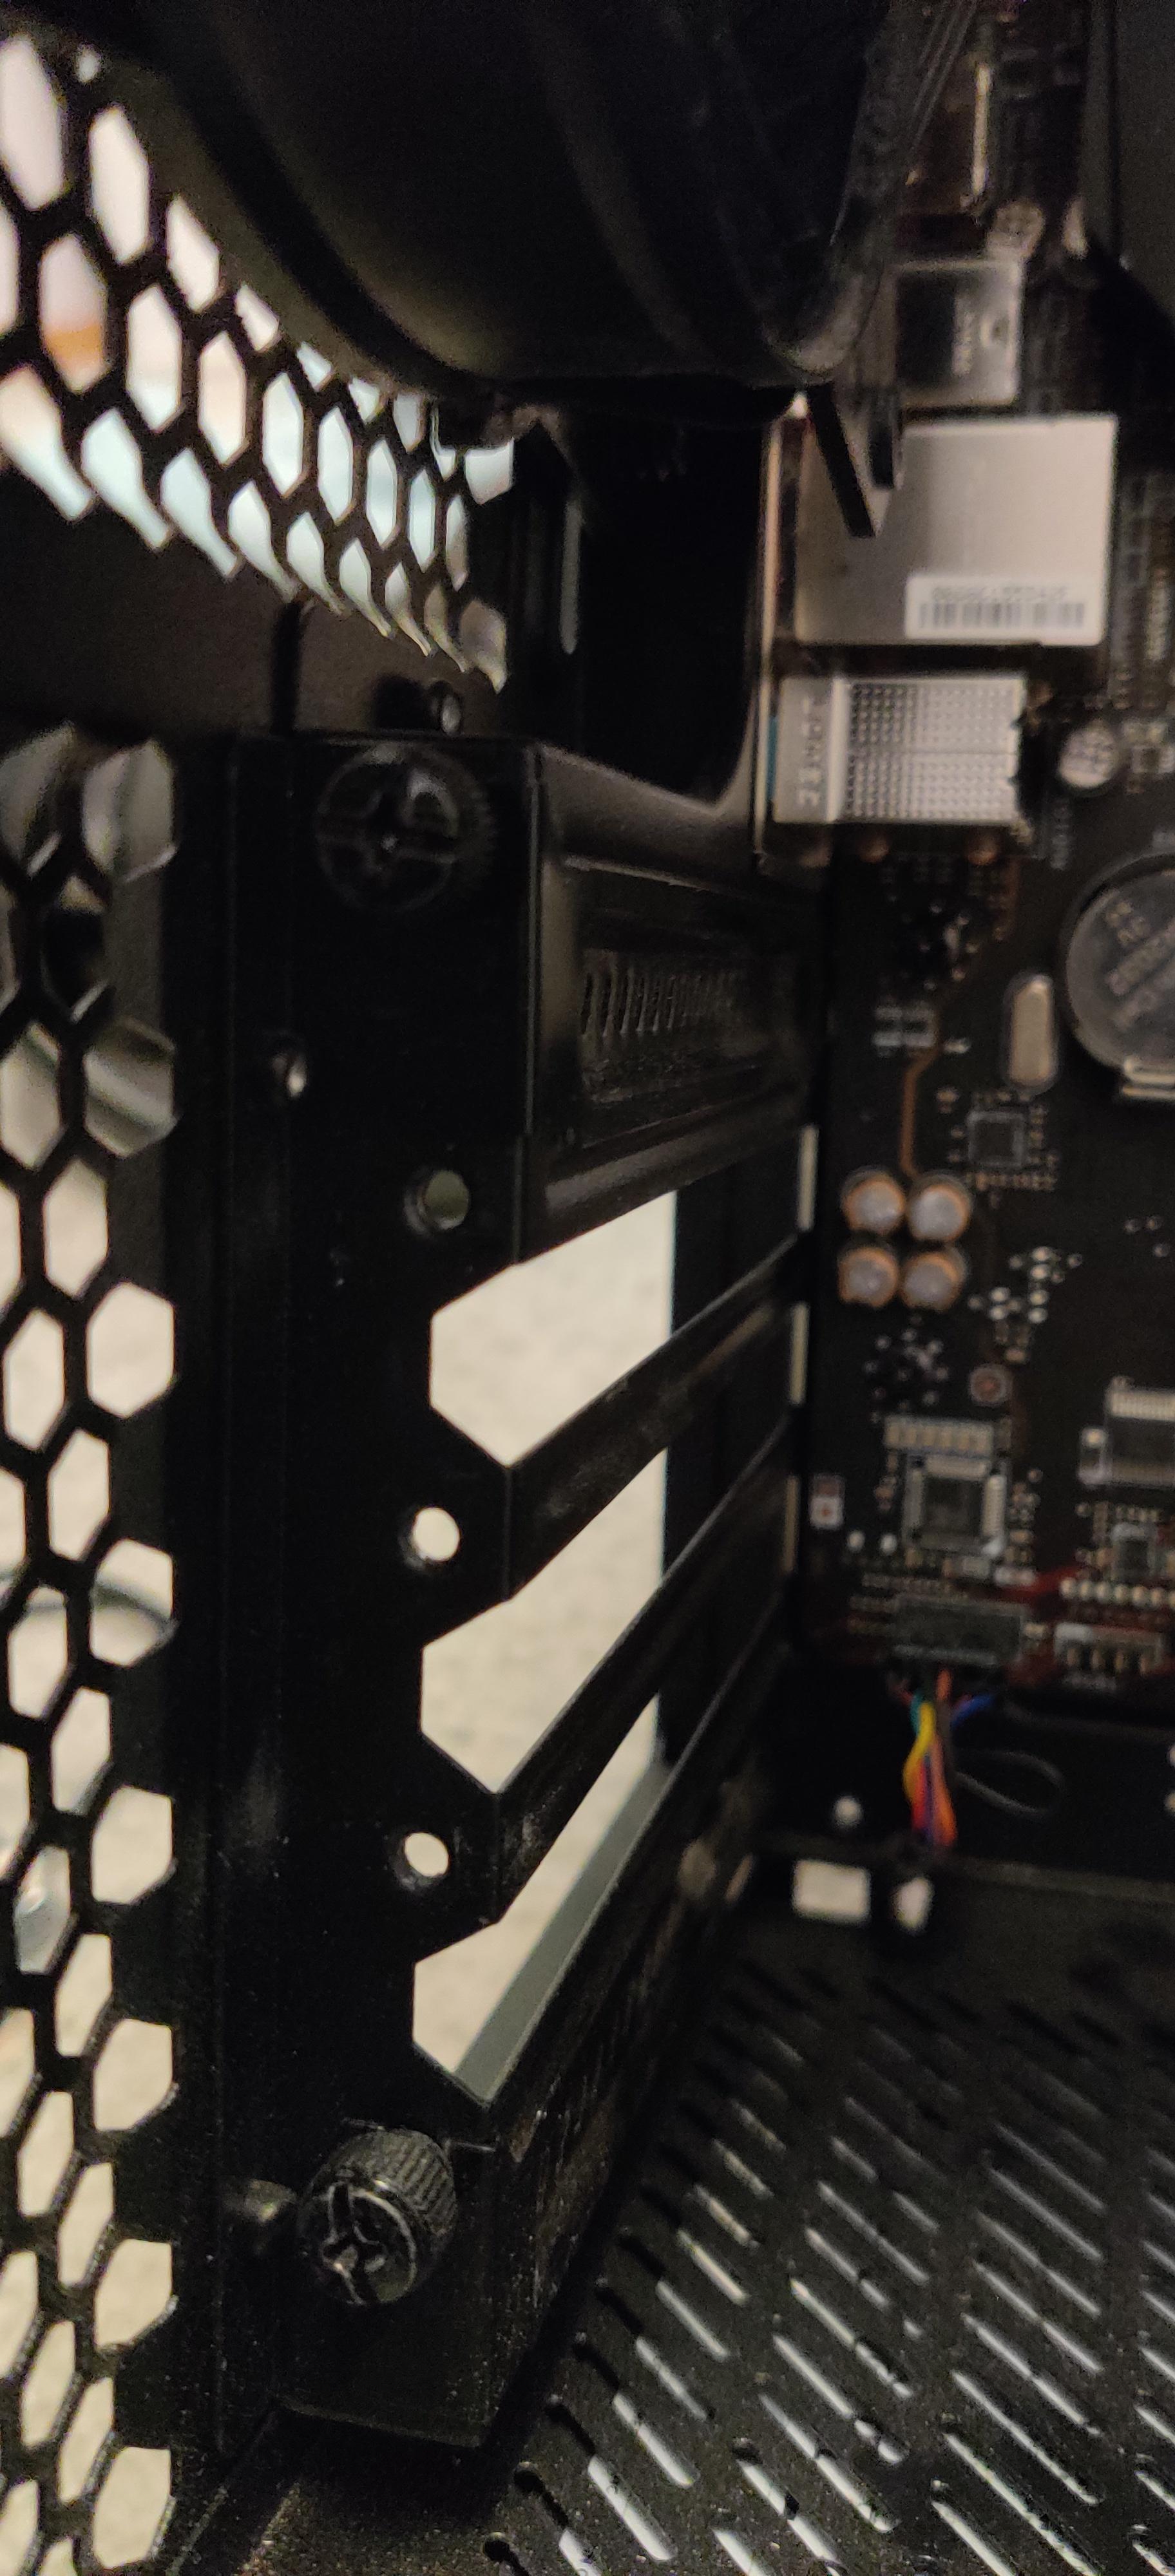
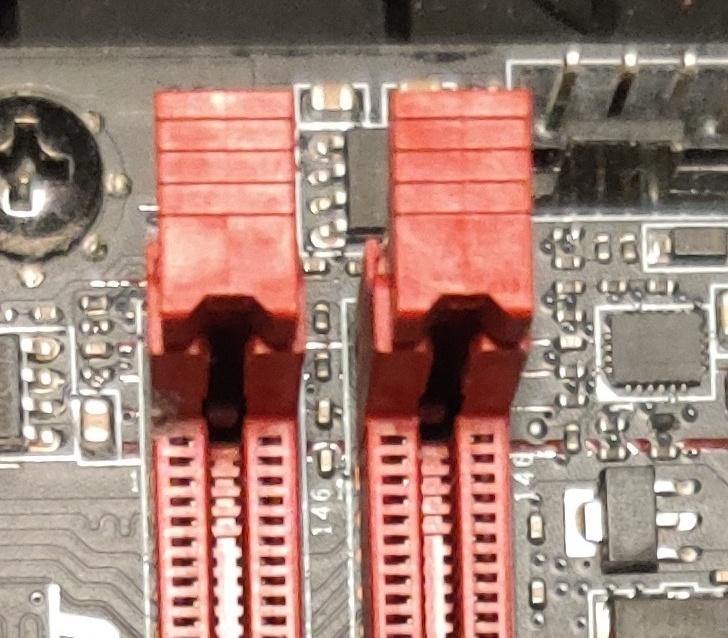
a. Locate the first 16x PCI-E Express slot on your motherboard and unlatch it.
b. Remove the metal slots on the back of your case.
c. Unbox graphics card.
d. Gently press GPU the 16x PCI-E Express slot.
e. Screw graphics card in.
f. Take the cable labeled GPU from the power supply and plug it into the graphics card.
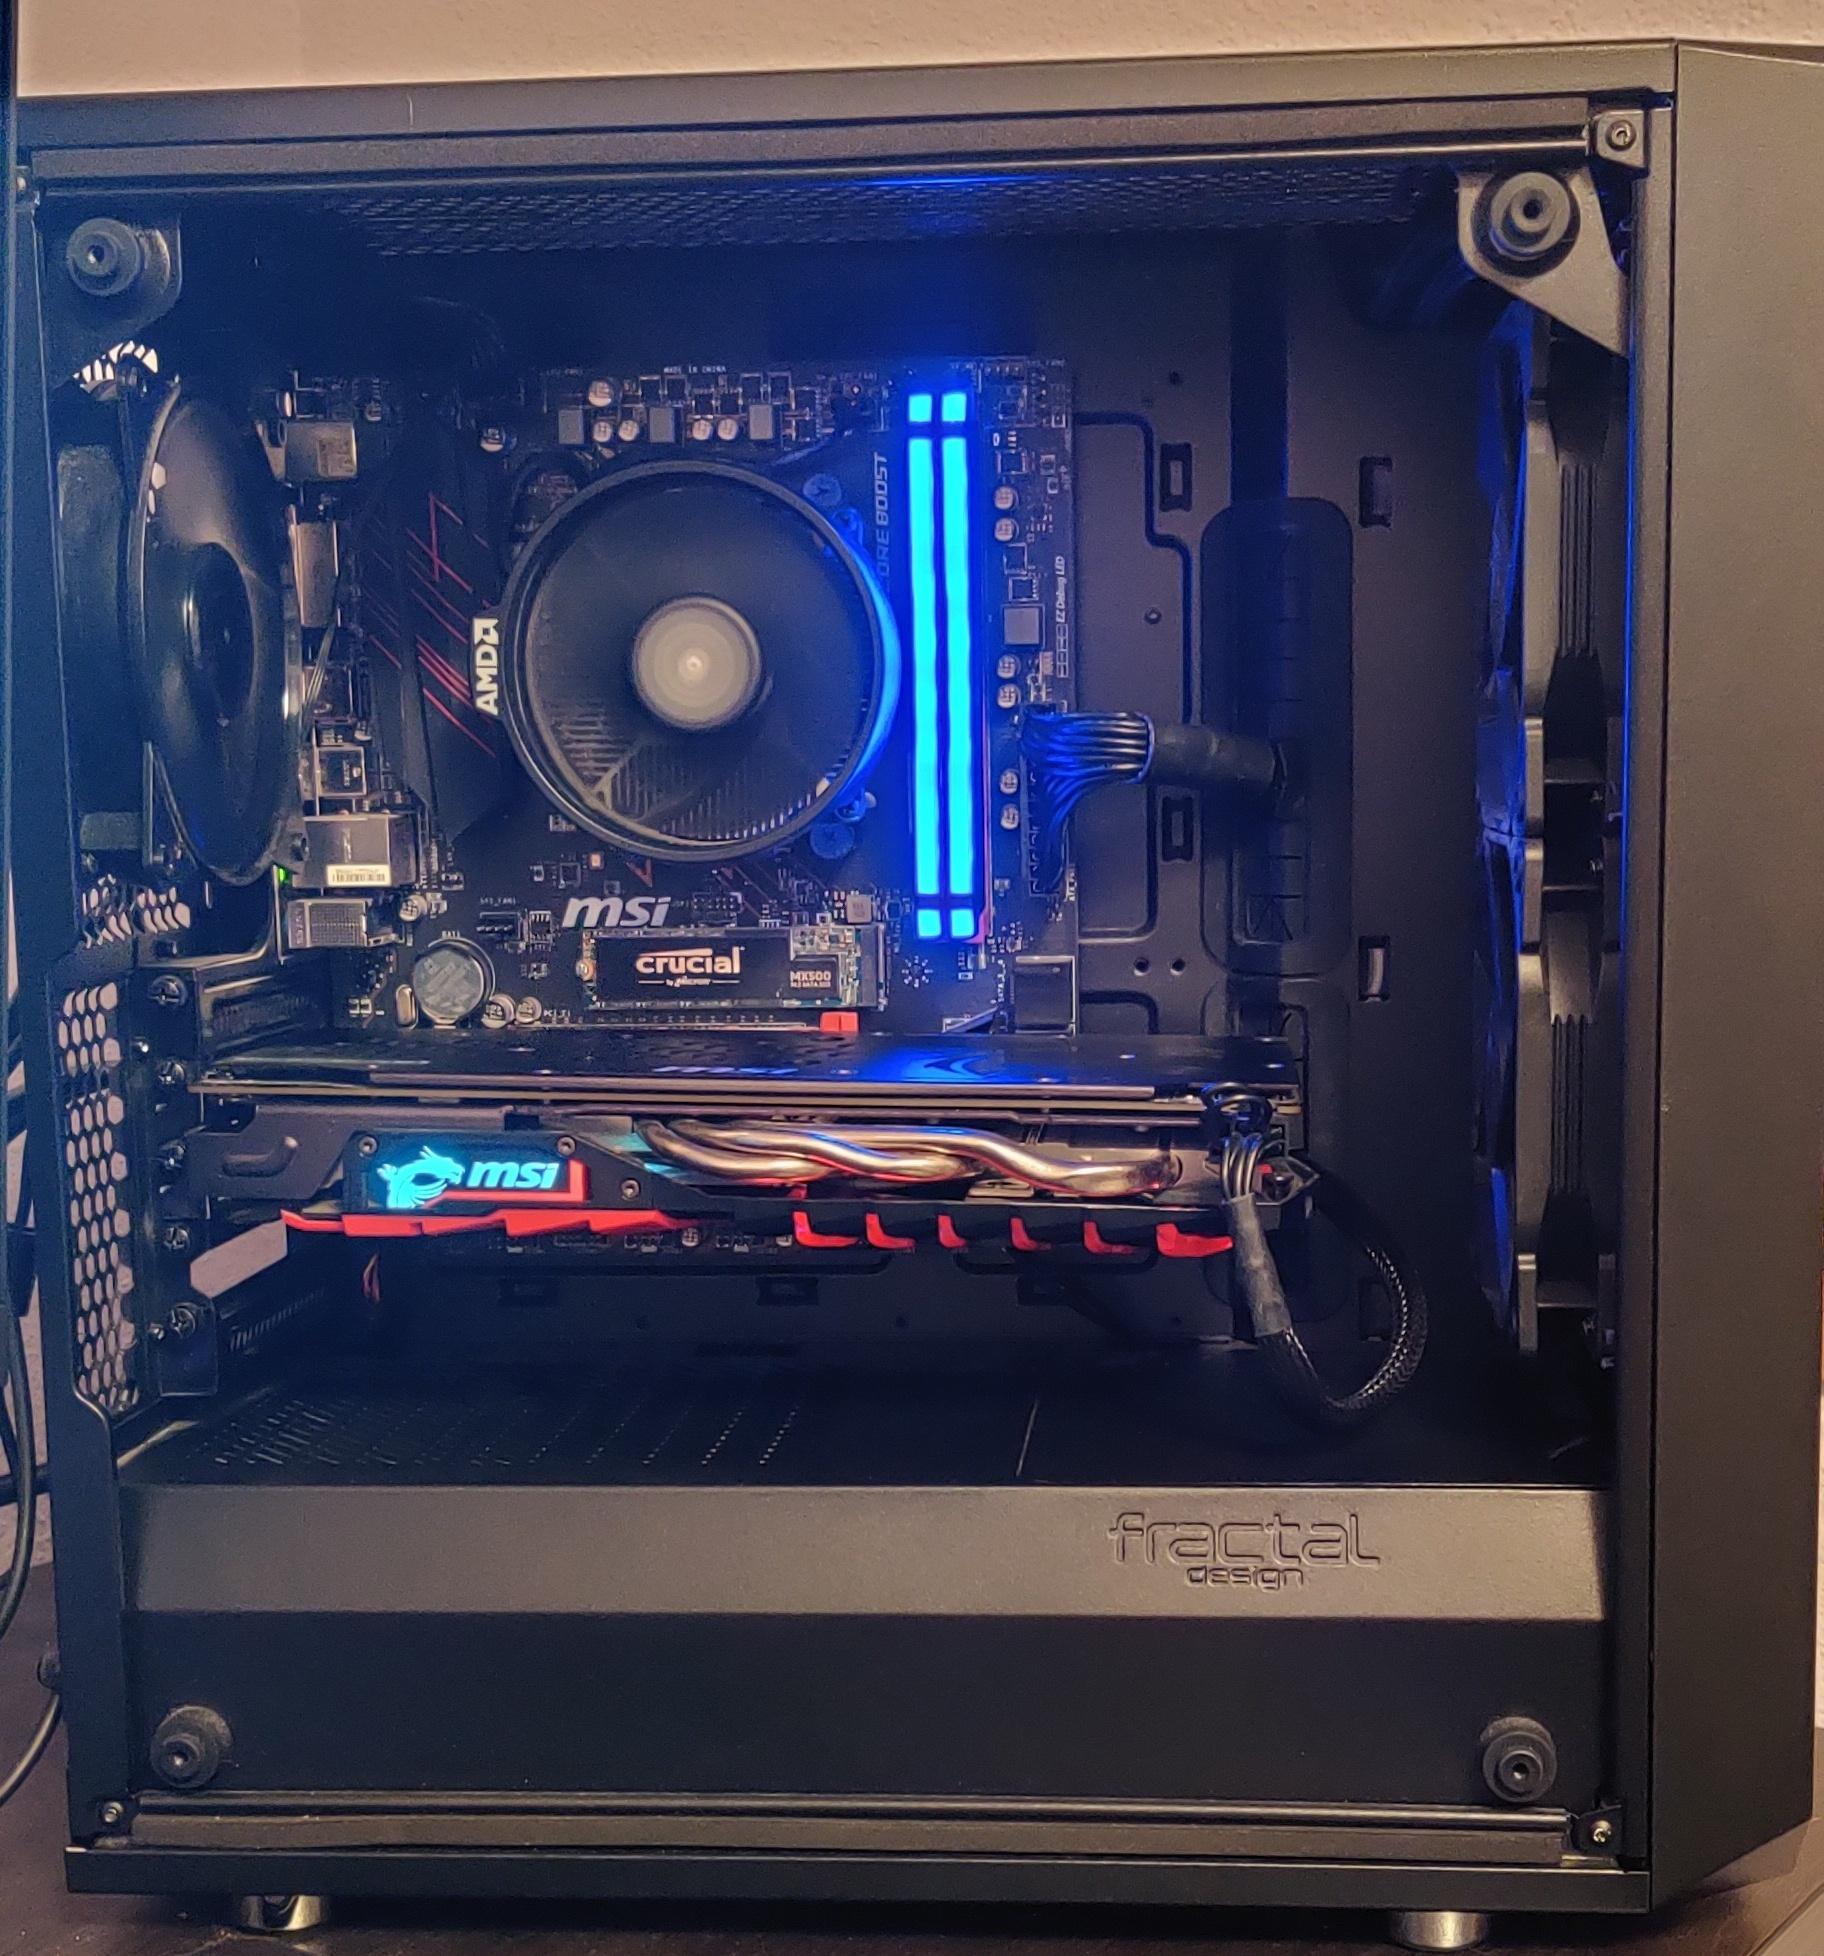
Clean Up
.jpg)
a. Try your best to tidy up the cables(zip ties are useful for this).
b. Reattach front and back case windows/doors.
c. Attach a mouse, keyboard, and monitor.
d. Press the power button.