How to Build a Cheap & Affordable Fingerprint Scanner for a School Building
by Syedqadir in Circuits > Arduino
407 Views, 4 Favorites, 0 Comments
How to Build a Cheap & Affordable Fingerprint Scanner for a School Building

Purpose: The purpose of this project design is so students do not fraudulent their attendance, keep unwanted visitors out of the building, and to keep a headcount of individuals in the building in case of emergencies. This affordable fingerprint scanner is intended for school administrators. This scanner will improve student safety. This affordable fingerprint scanner will run an individual roughy ~$100.
Step 1: Gather the Following Items for This Project
 * 1 Oled Display 128 X 32 Serial i2c Arduino 0,91 .jpg)
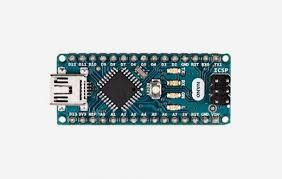
1 Arduino Nano
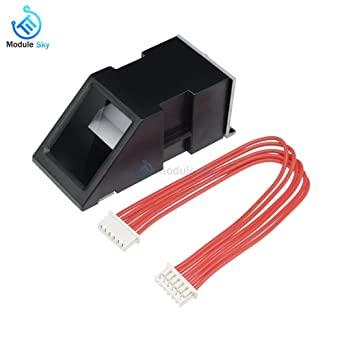
1 FPM10A Optical Fingerprint reader Sensor Modules
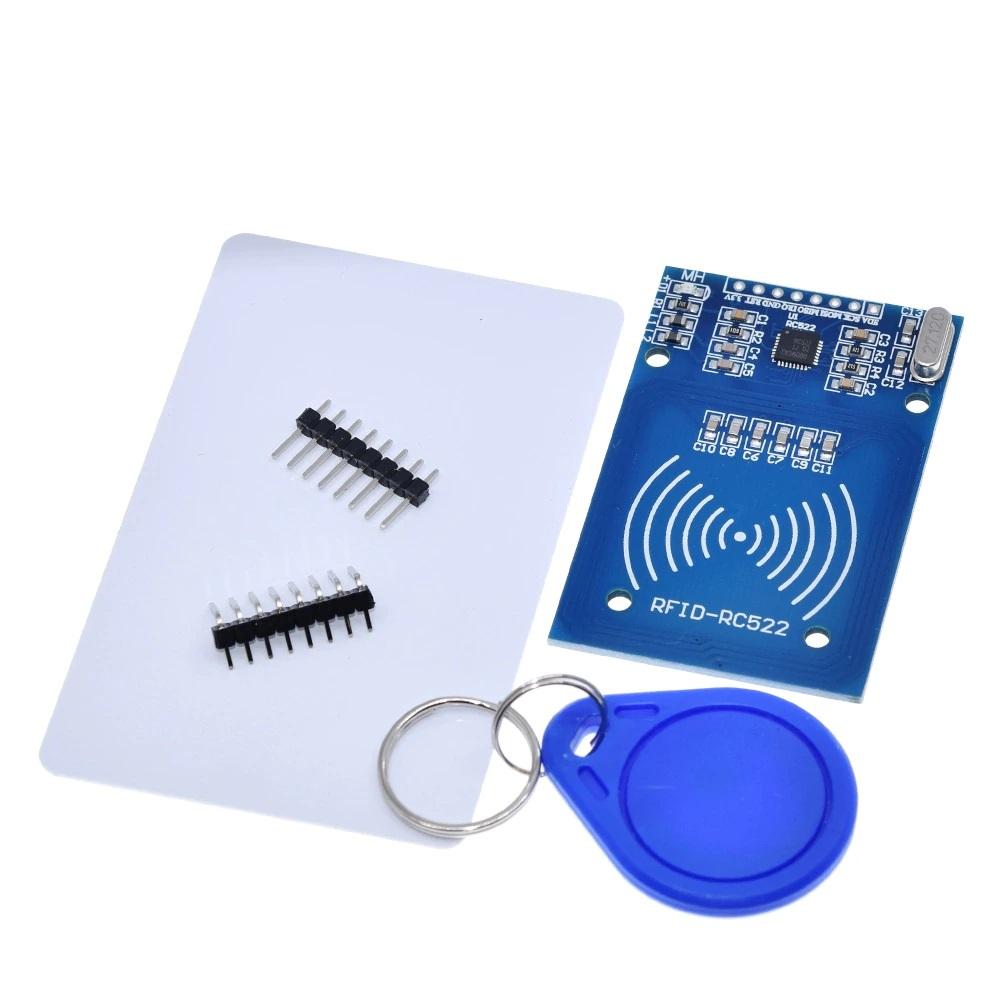
1 Leitor FRID Rc522 de 13.56 mhz
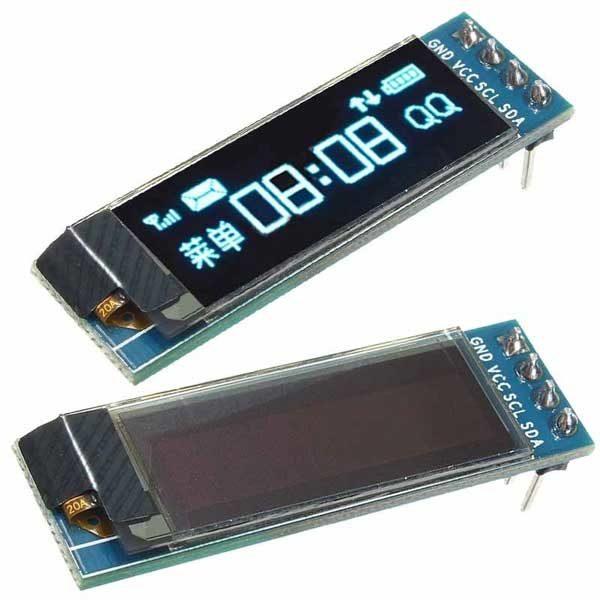
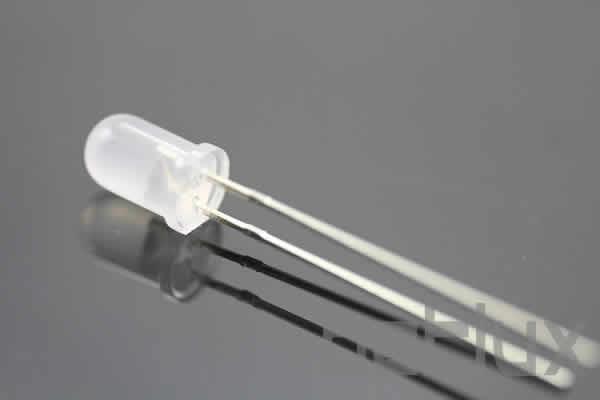
2 Leds (1 green & 1 red) * 1 Oled Display 128 X 32 Serial i2c Arduino 0,91
All of these items can be found at the local hardware store or on the internet. The average cost of this entire build up can run for about ~$100. The most easy and affordable option would be to purchase the items off of Ebay.
Step 2: Downloading the Code
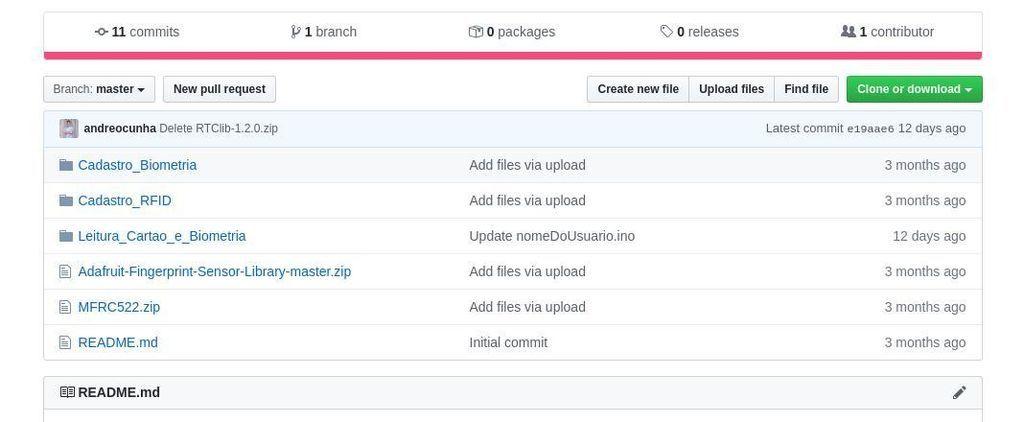
Download the code from https://github.com/andreocunha/PET_Tranca_EngComp
Due to the Arduino Nano being so limited in its memory, the code has been divided into 3 separate folders.
● The first folder is to read the fingerprint and card. The name that is shown is Leitura_Cartao_e_Biometria
● The second folder is to register the fingerprint. The name that is shown is Cadastro_Biometria
● The third folder is to read the code of the card. The name that is shown is Cadastro_RFID
Step 3 : Download Arduino IDE on Your Computer
Download PET_Tranca_EngComp.tar on your computer. This is the Arduino IDE.
Step 4: Open the File PET_Tranca_EngComp.tar
In this file there will be two zip files. These zip files are what hold all the information of the sensors. The sensors being the RFID & the biometric fingerprint scanner.
Step 5: Open the Folder https://github.com/andreocunha/PET_Tranca_EngComp
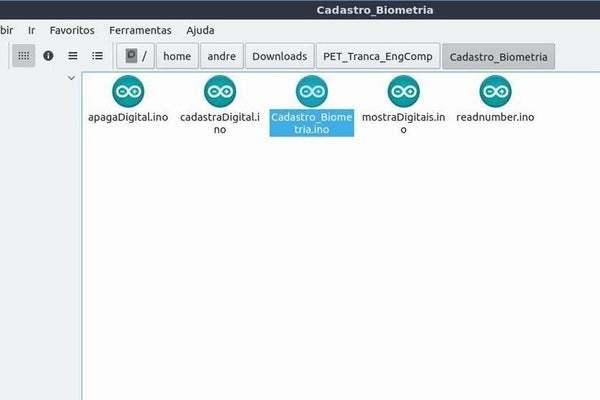
Open the file labeled as Cadastro_Biometria. From there open the file Cadastro_Biometria.ino. Once the file is open there are five tabs. Each tab is a representation of a function of the code. Load all those codes on the Arduino.
Step 6: Register Fingerprints
Once the codes are loaded on the Arduino, open the serial monitor in 9600. Follow instructions there on how to register a new fingerprint.
Step 7: Register RFID
Open https://github.com/andreocunha/PET_Tranca_EngComp
Open the folder Cadastro RFID and then click on Cadastro_RFID.ino Download the code on the Arduino. Open the serial monitor in 9600. Scan the fingerprint on the biometric scanner A code will pop up in which you have to input it later on your computer screen Save these codes because we need to use it later on
Step 8: Change the User ID Names
Open https://github.com/andreocunha/PET_Tranca_EngComp
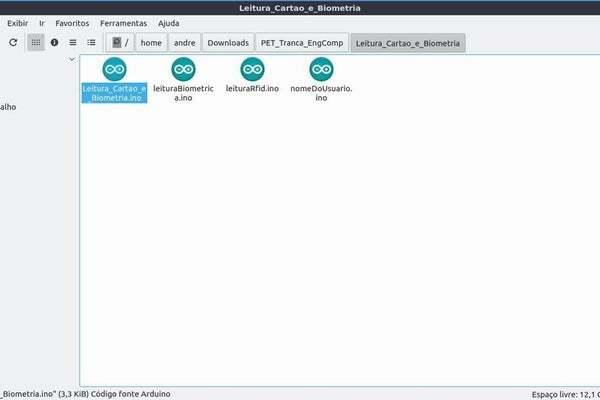
Open the folder labeled Leitura_Cartao_e_Biometria then open Leuitra_Cartao_e_Biometria.ino This will have 4 tabs. Each tab represents a function. Click on the tab leituraRfid and change each hexadecimal number inside of the if and else ID parentheses with the saved codes that popped up when you inputted peoples fingerprints in. Click on nomeDoUsuario and replace the stuff written in parentheses with the names of the individual's fingerprint. Once finished, load the code on the Arduino
Step 9: Make a Printed Circuit Board
Draw a layout for the PCB
Download the software EAGLE CAD In Eagle: File>Export>ImageBe
Make sure to set DPIG to 1200 for good quality
Insert the layout into EAGLE CAD
Step 10: Weld *Caution*
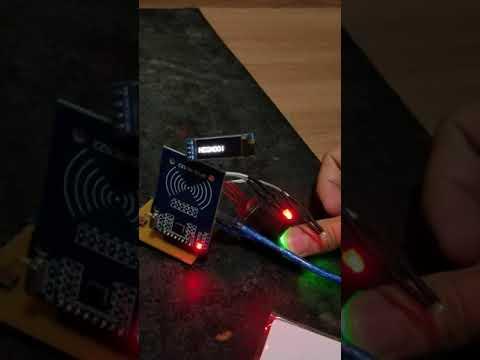
Once you have the PCB you can weld the components It will look like this in the attached video