How to Build a Character Structure in the Scouts
2098 Views, 23 Favorites, 0 Comments
How to Build a Character Structure in the Scouts
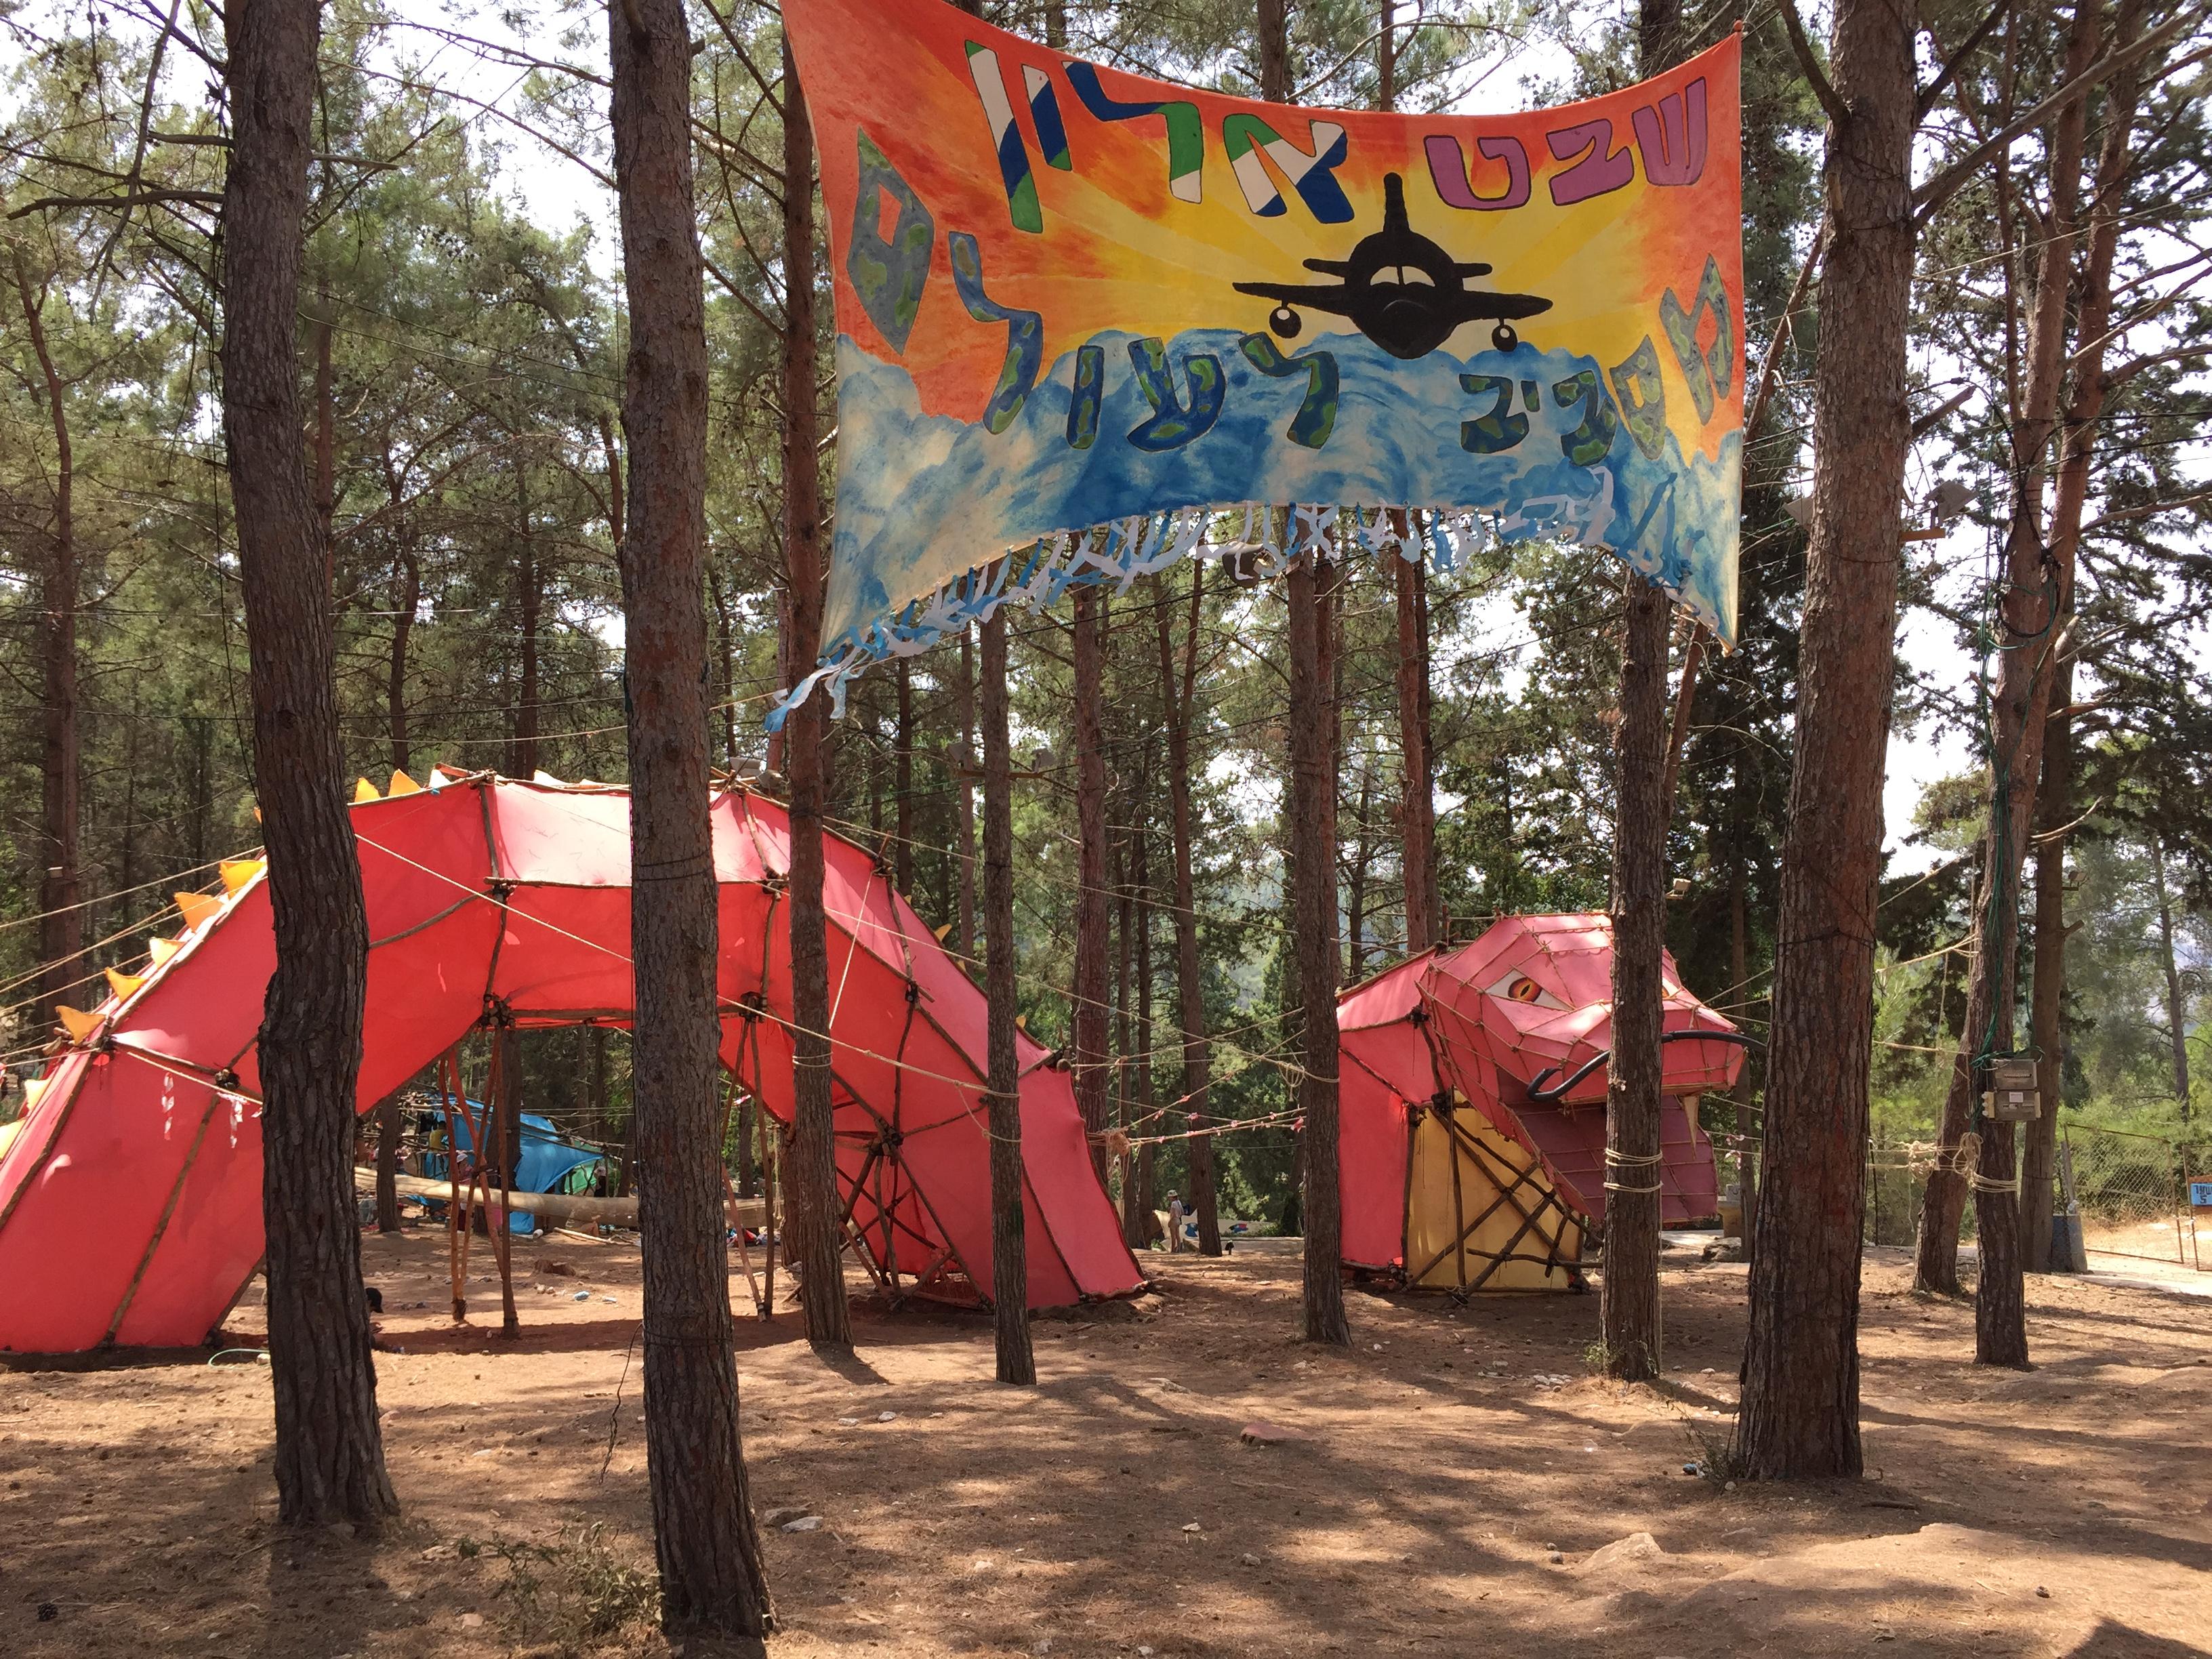
The scout's summer camp is the main event of the summer activities. Every year all campers go for 9 days camping in the forest. They set up everything themselves - kitchen, beds, showers and of course the characters structures that decorate the camping aria, and are used as a flag must, main storage or activity aria. Those structures are one of the most beautiful and impressive things in the camp. The children design and build them by themselves.
Growing up, I took part in this process and even led it at my senior year.
In this guide l will take you step by step and lead you throw the process of designing and building an impressive structure, just like in Scouts.
Before we begin, it is important to point out that in Scouts this process takes place for few months and is carried out in teams of at least 15-20 children. Therefore, I recommend recruiting an enthusiastic working team in order to create a comfortable, enjoyable and efficient process!
Supplies

For the sketch:
- The SketchUp program on your computer
For the model:
- Skewers
- Hot glue
- Scissors
- Cardboard surface
- Meter
For the final Structure:
- 4 mm rope
- 8 mm rope
- knife
- Spars (Senads)
- Bamboo sticks
- White cotton tying thread
- Bezants (Czech hedgehog)
- Spandex fabric
- Big plastic tub (~10L)
- Gouache paints
- Staple gun
- Staples
Essential Information Before You Begin
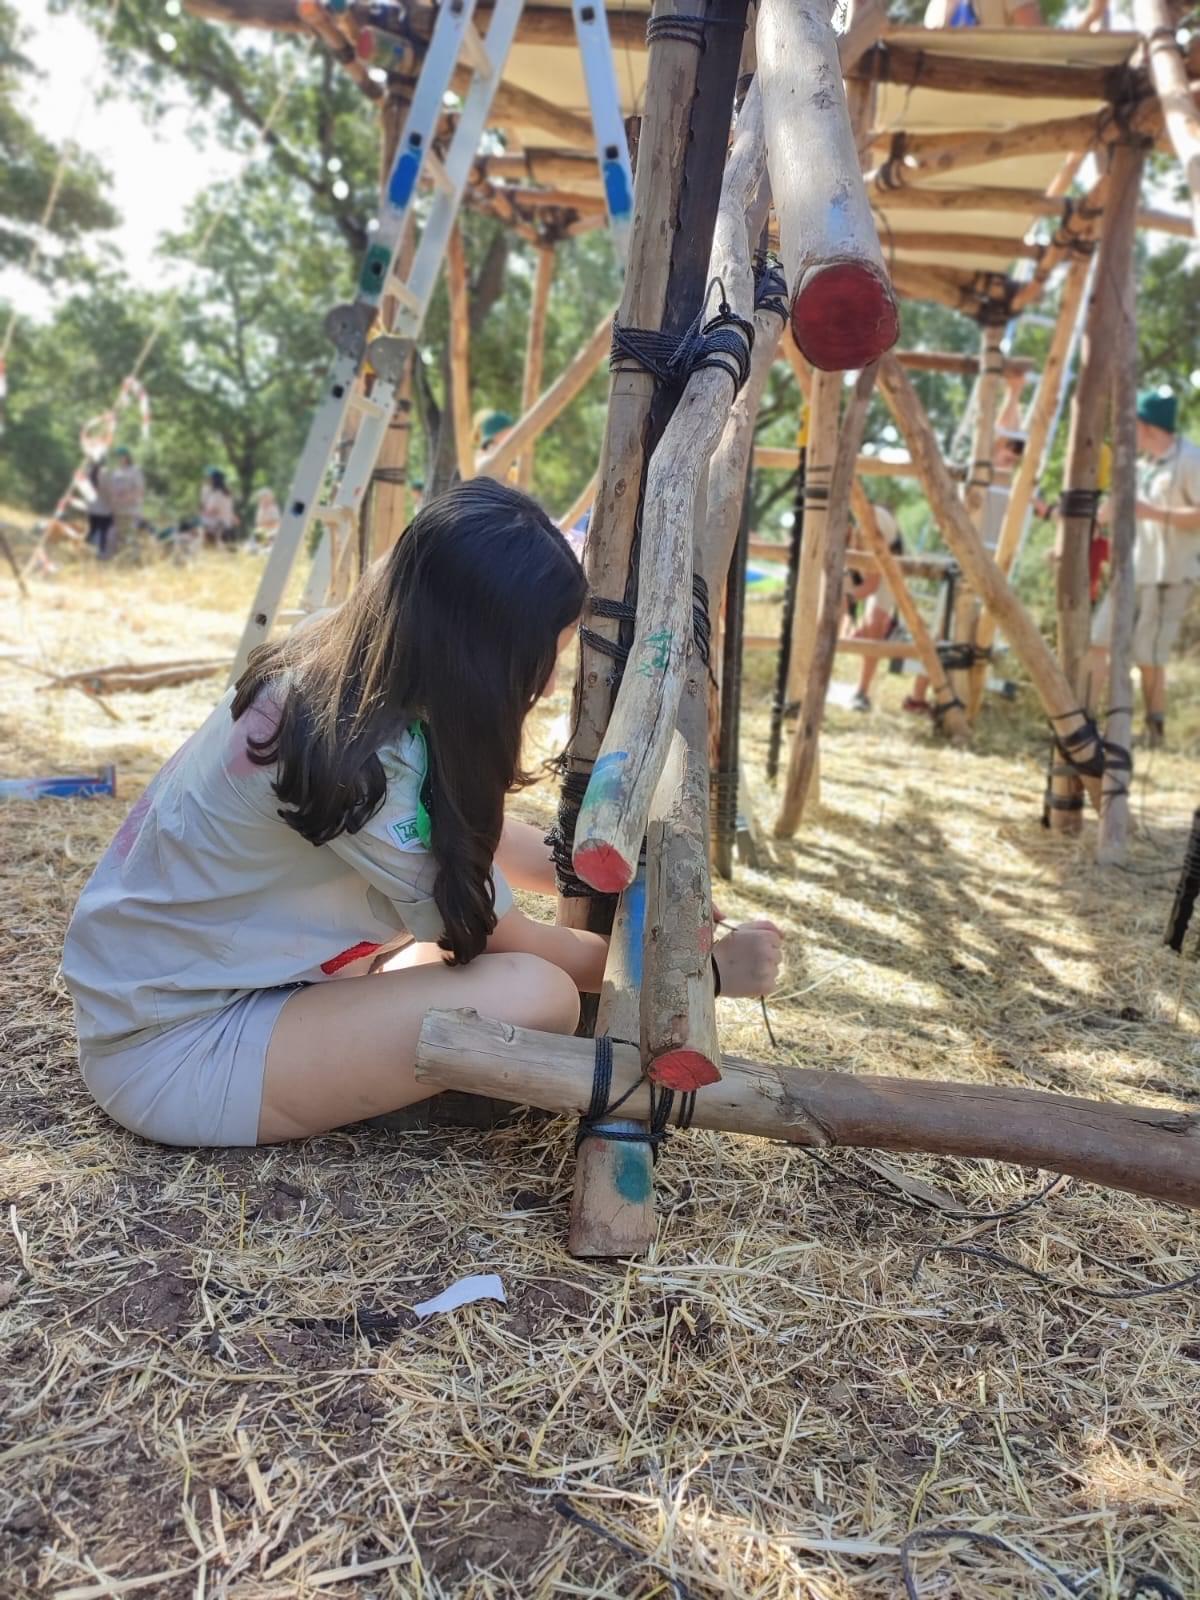

important terms:
Lashing: A guide on the subjects is attached.
- Square lashing is a type of lashing used to bind Senads together, at right angles to one another.
- Diagonal lashing is a type of lashing used to bind Senads together. It gets its name from the fact that the wrapping turns cross the poles diagonally.
- Sheer lashing is a type of lashing used to connect a senda to a Czech hedgehog
Cards: The conventional method of construction divides the complex camping structure into "cards" (faces). The cards are built separately on the ground and then the cards are picked up and connected.
Downloads
Find an Idea

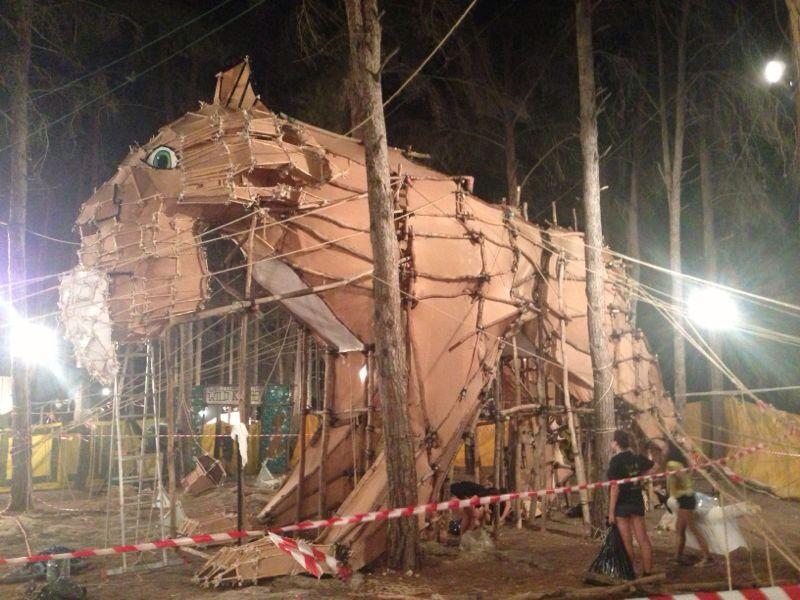

Think of a character or shape you would like to build.
When thinking about an idea for a structure, it is recommended to keep in mind several important points:
- The more human the character is, the more difficult it will be to build it in a precise way that adheres to reality, because it is difficult to be precise in very small details with Senads and even with Bamboo sticks.
- It is not necessary to build something big to be impressive. Sometimes it is better to invest the effort in precision and details, instead of a huge structure that is not detailed enough and therefore inaccurate.
- Don't be afraid to imagine and dream big. Changes can be made on the fly and a plan B can also be built, that will allow us to lower the level of the structure when necessary.
Sketch in Sketchup

Download Sketchup by clicking here.
After you have successfully installed everything, start by reading the official guide. You can also check this youtube tutorial that will help you to quickly get started!
Sit back and learn Skechup well before you start sketching. Learning the program and drawing your structure are actions that can take a long time. Once you've gained some confidence and experience, start sketching out your structure. You won't get a perfect result on the first try, but you will keep trying again and again until you are satisfied with your result.
You must create the following views:
- Face projection - a sketch of the building in the eyes of the person looking at it from the front.
- View on - a sketch of the building as if we photographed it from above.
- Side projection - just like looking at, only from the side. If the structure is symmetrical - one sketch will be enough, if not, both sides must be sketched.
- Cards - every card in the structure must be drawn.
Structure Portfolio
This step helps us to make sure we have everything we need before starting to build. If you discover during this step faults, go back to previous stages, make corrections and only then continue.
The portfolio must include:
- Identity card of the structure (name, height, width, depth, number of cards).
- Schematic description of the stages of construction according to the names of the cards.
- Construction order schedule.
- Schedule of working days. (Will be explained later, in step 6)
- Destruction order schedule.
- A detailed list of equipment that includes: Senads and Bamboo sticks, amount of ropes, fabrics, work tools, and other equipment.
- Sketchs (as described in step 2)
The purpose of the structure portfolio is to present your detailed idea to the structural engineer in order to get an approval. The engineer has knowledge that not all of us have, so sometimes he will have ideas for improving the structure - both in terms of safety and in terms of construction efficiency.
Attached is a sample structure portfolio (in Hebrew) written in 2015
Downloads
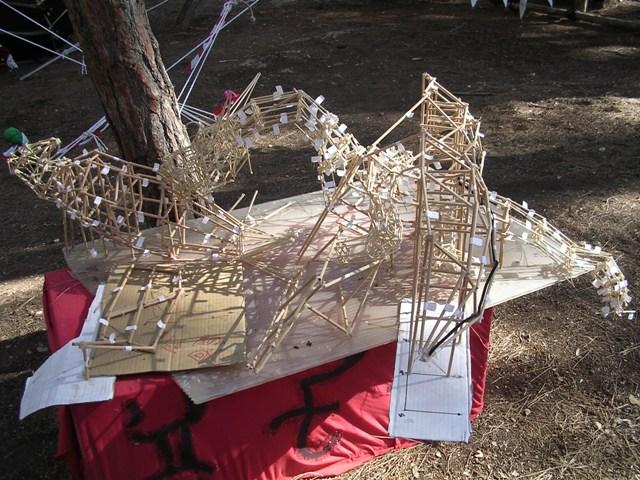
Skewers Model
.jpeg)

.jpeg)
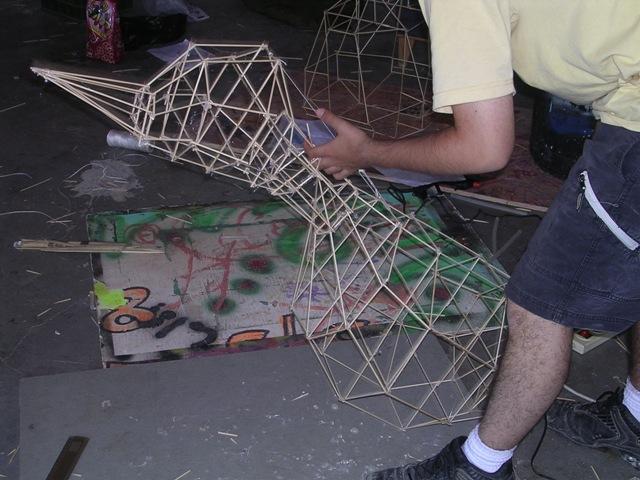
After the sketch is ready, choose a scale for the model. A ratio of 1:20 is usually chosen.
Then you will start building the cards. Cut the skewers according to the measurements that appear in the sketch. Each card will be built from skewers connected using hot glue.
Structural Engineer Approval
The structure must be approved by a structural engineer. You must attend the meeting with a ready and organized structure portfolio and an skewers accurate model.
The main purpose of this meeting is to approve the structure from a safety point of view: height, structure stability, buliding order, ect.
Preparation Days

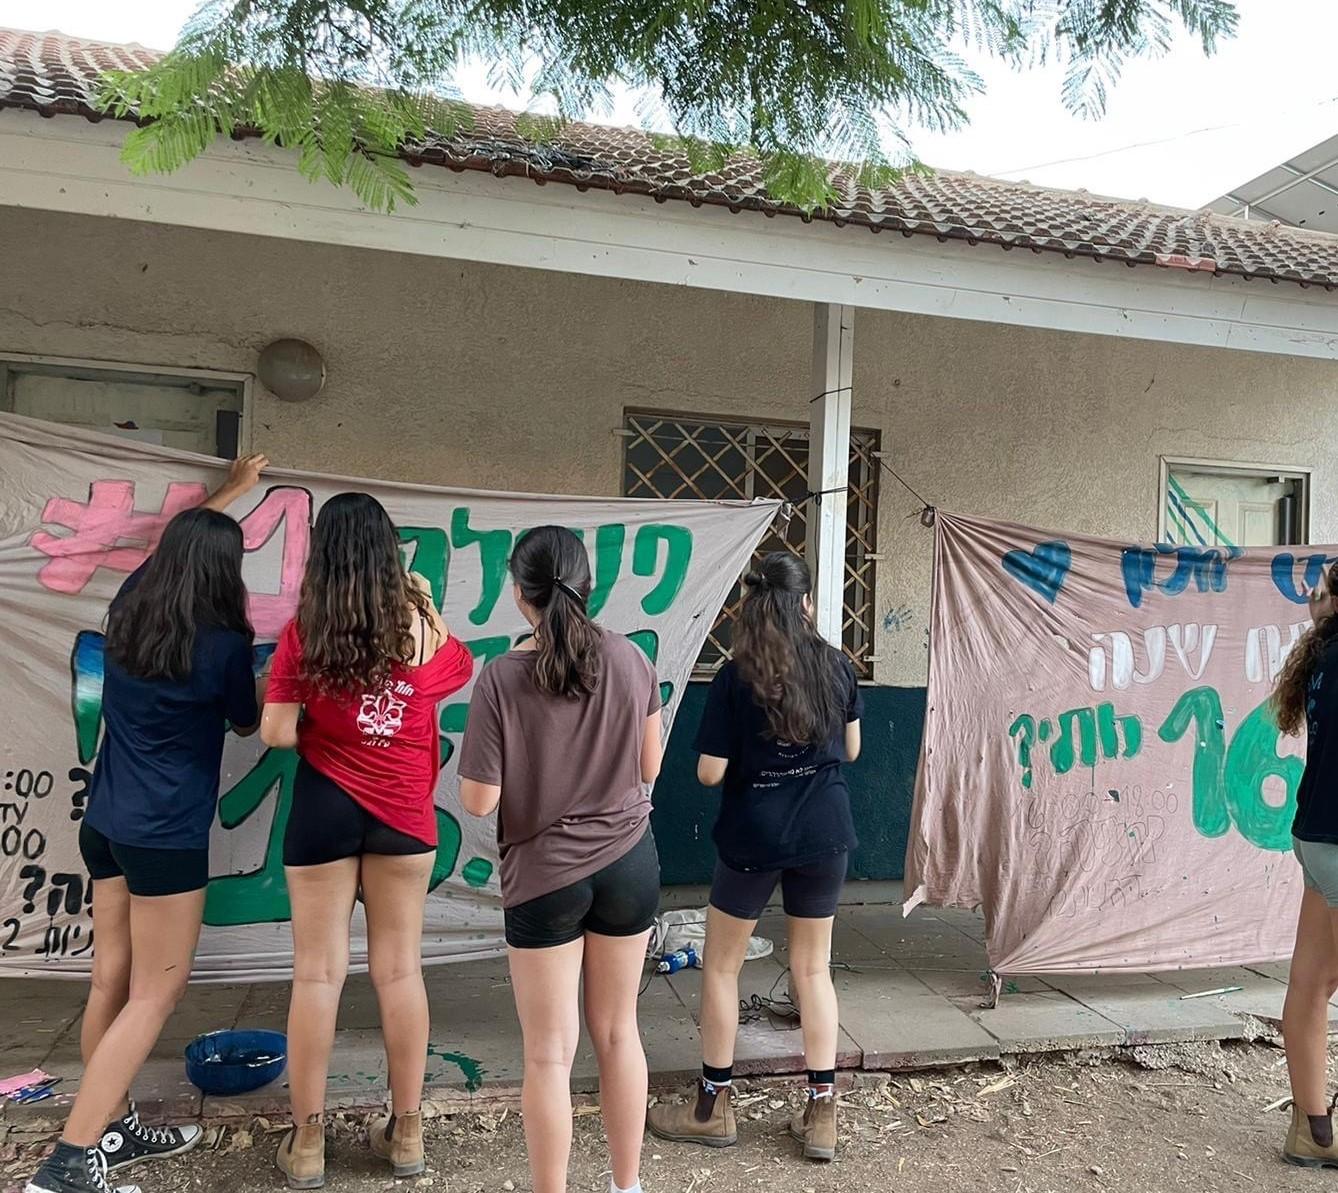

The purpose of those days is to arrive as ready as possible to the forest. The work that can be done in advance is the one creatung things that can be transferred to the forest. This preparation work can save a lot of time in the forest.
Things that can be prepped in advance: dye fabrics, embroider nets, cut ropes, build anything that is not too big to transport.
Fabric dyeing guide:
- Fill a tub with gouache paint and water.
- Mix well with a stick until there are no lumps of gouache.
- Cut a piece of fabric to size you need and start dyeing it in the tub with manual washing movements.
- Squeeze all the access water from the fabric and repeat once or twice (depending on the level of coverage we are interested in).
- Spread the fabric and go through thoroughly to make sure there are no white spots. (If there are, repeat the coloring steps once again).
- Hang the fabric to dry at least overnight.
- After it dries, take off the fabric and fold it so that the color does not fade.
The Final Structure


When arriving to the building aria in the forest, open the detailed work plan in the structure portfolio. Brief your team about the order and building steps. It is recommended to divide the team into smaller groups of 3 or 4 people (depending on the size of your total crew) and give each of them a specific task.
Each card must be built separately on the ground and lifted vertically using ropes. Then fix it by tying the ropes to a Czech hedgehog or to a tree using sheer lashing.
Repeat this step with every card in the correct order, from one side to the other. Each card must be located at the right position and distance from the others. When all cards are positioned connect them together.
When the entire base of the structure is connected, move on to connect all the Bamboo sticks parts (usually those are the detailed parts, like face or palms).
Finally, pad the structure with the painted fabric. It is very important to pad the structure from the inside! And not from the outside - for the Senads and your beautiful lashing to be visible.