How to Assemble a Pen Plotter/XY Plotter (hardware and Software)
by uunatek in Workshop > Tools
3396 Views, 7 Favorites, 0 Comments
How to Assemble a Pen Plotter/XY Plotter (hardware and Software)
Check the Packing List to Make Sure You Get Everything
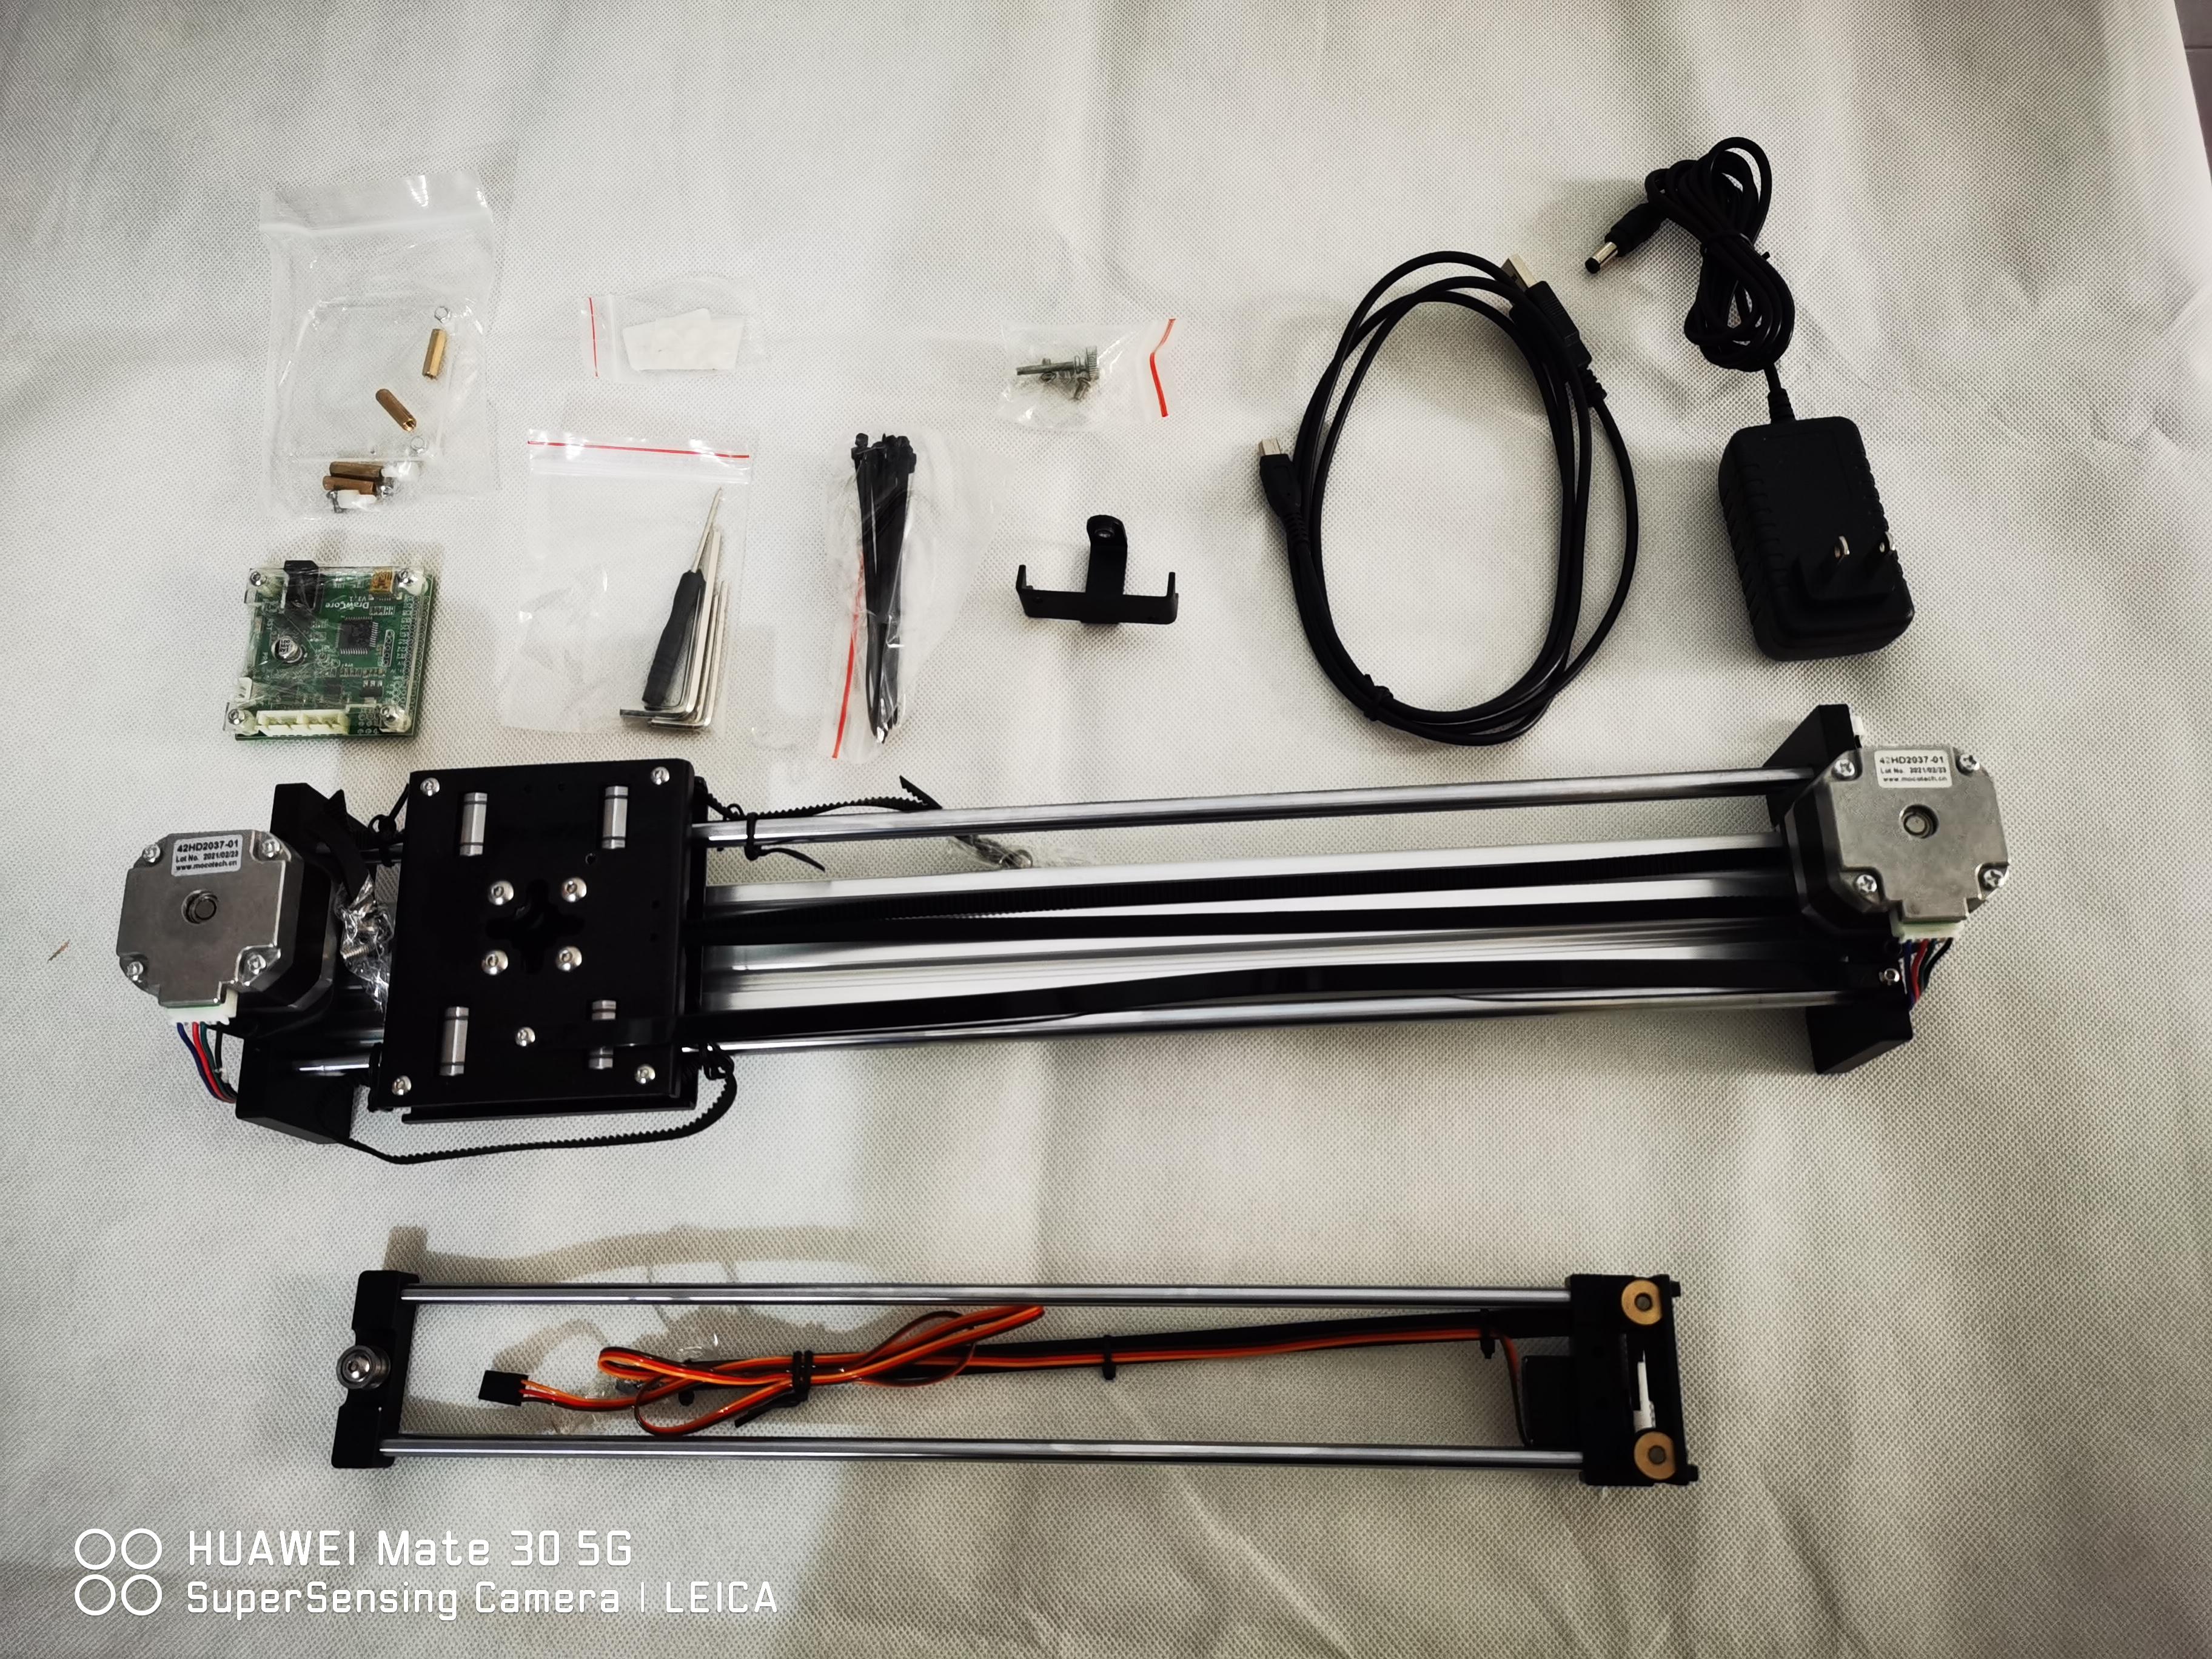
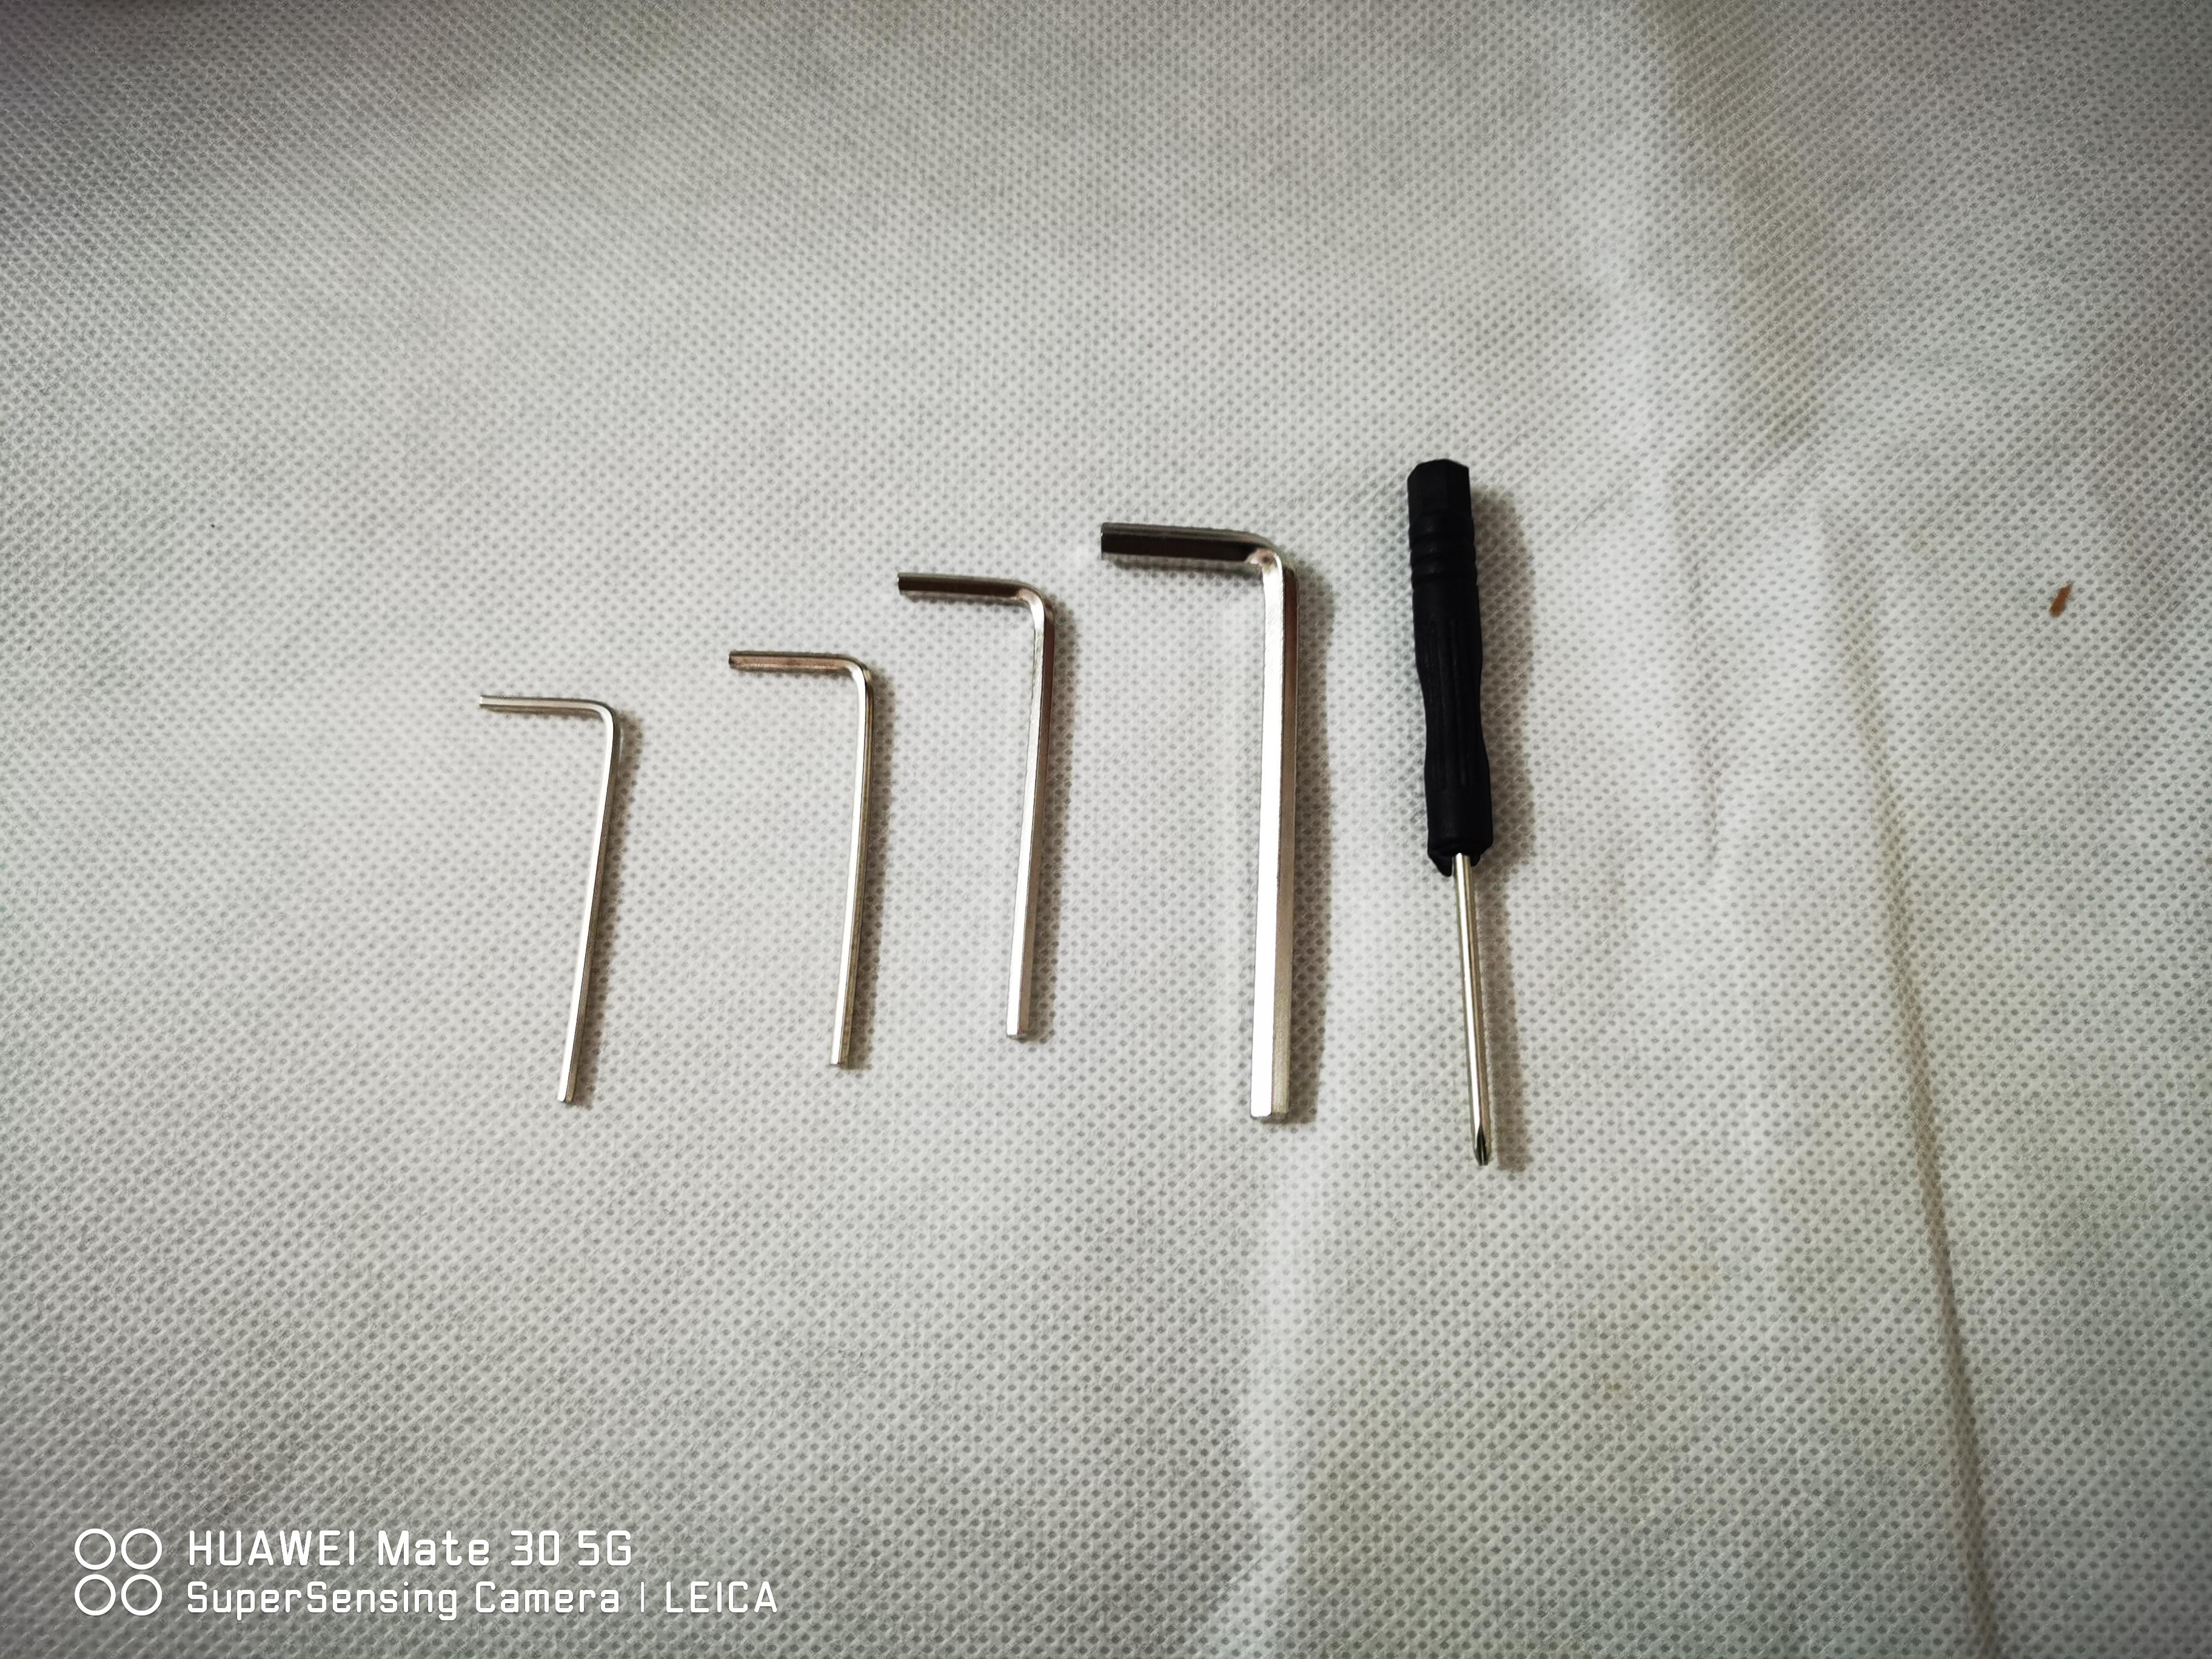
Here is the packing list and tool kit of idraw pen plotter - A4 metal version, make sure that you got everything, if not, check if there is any upgrade or update in the official site. Or you can ask for replacement for FREE.
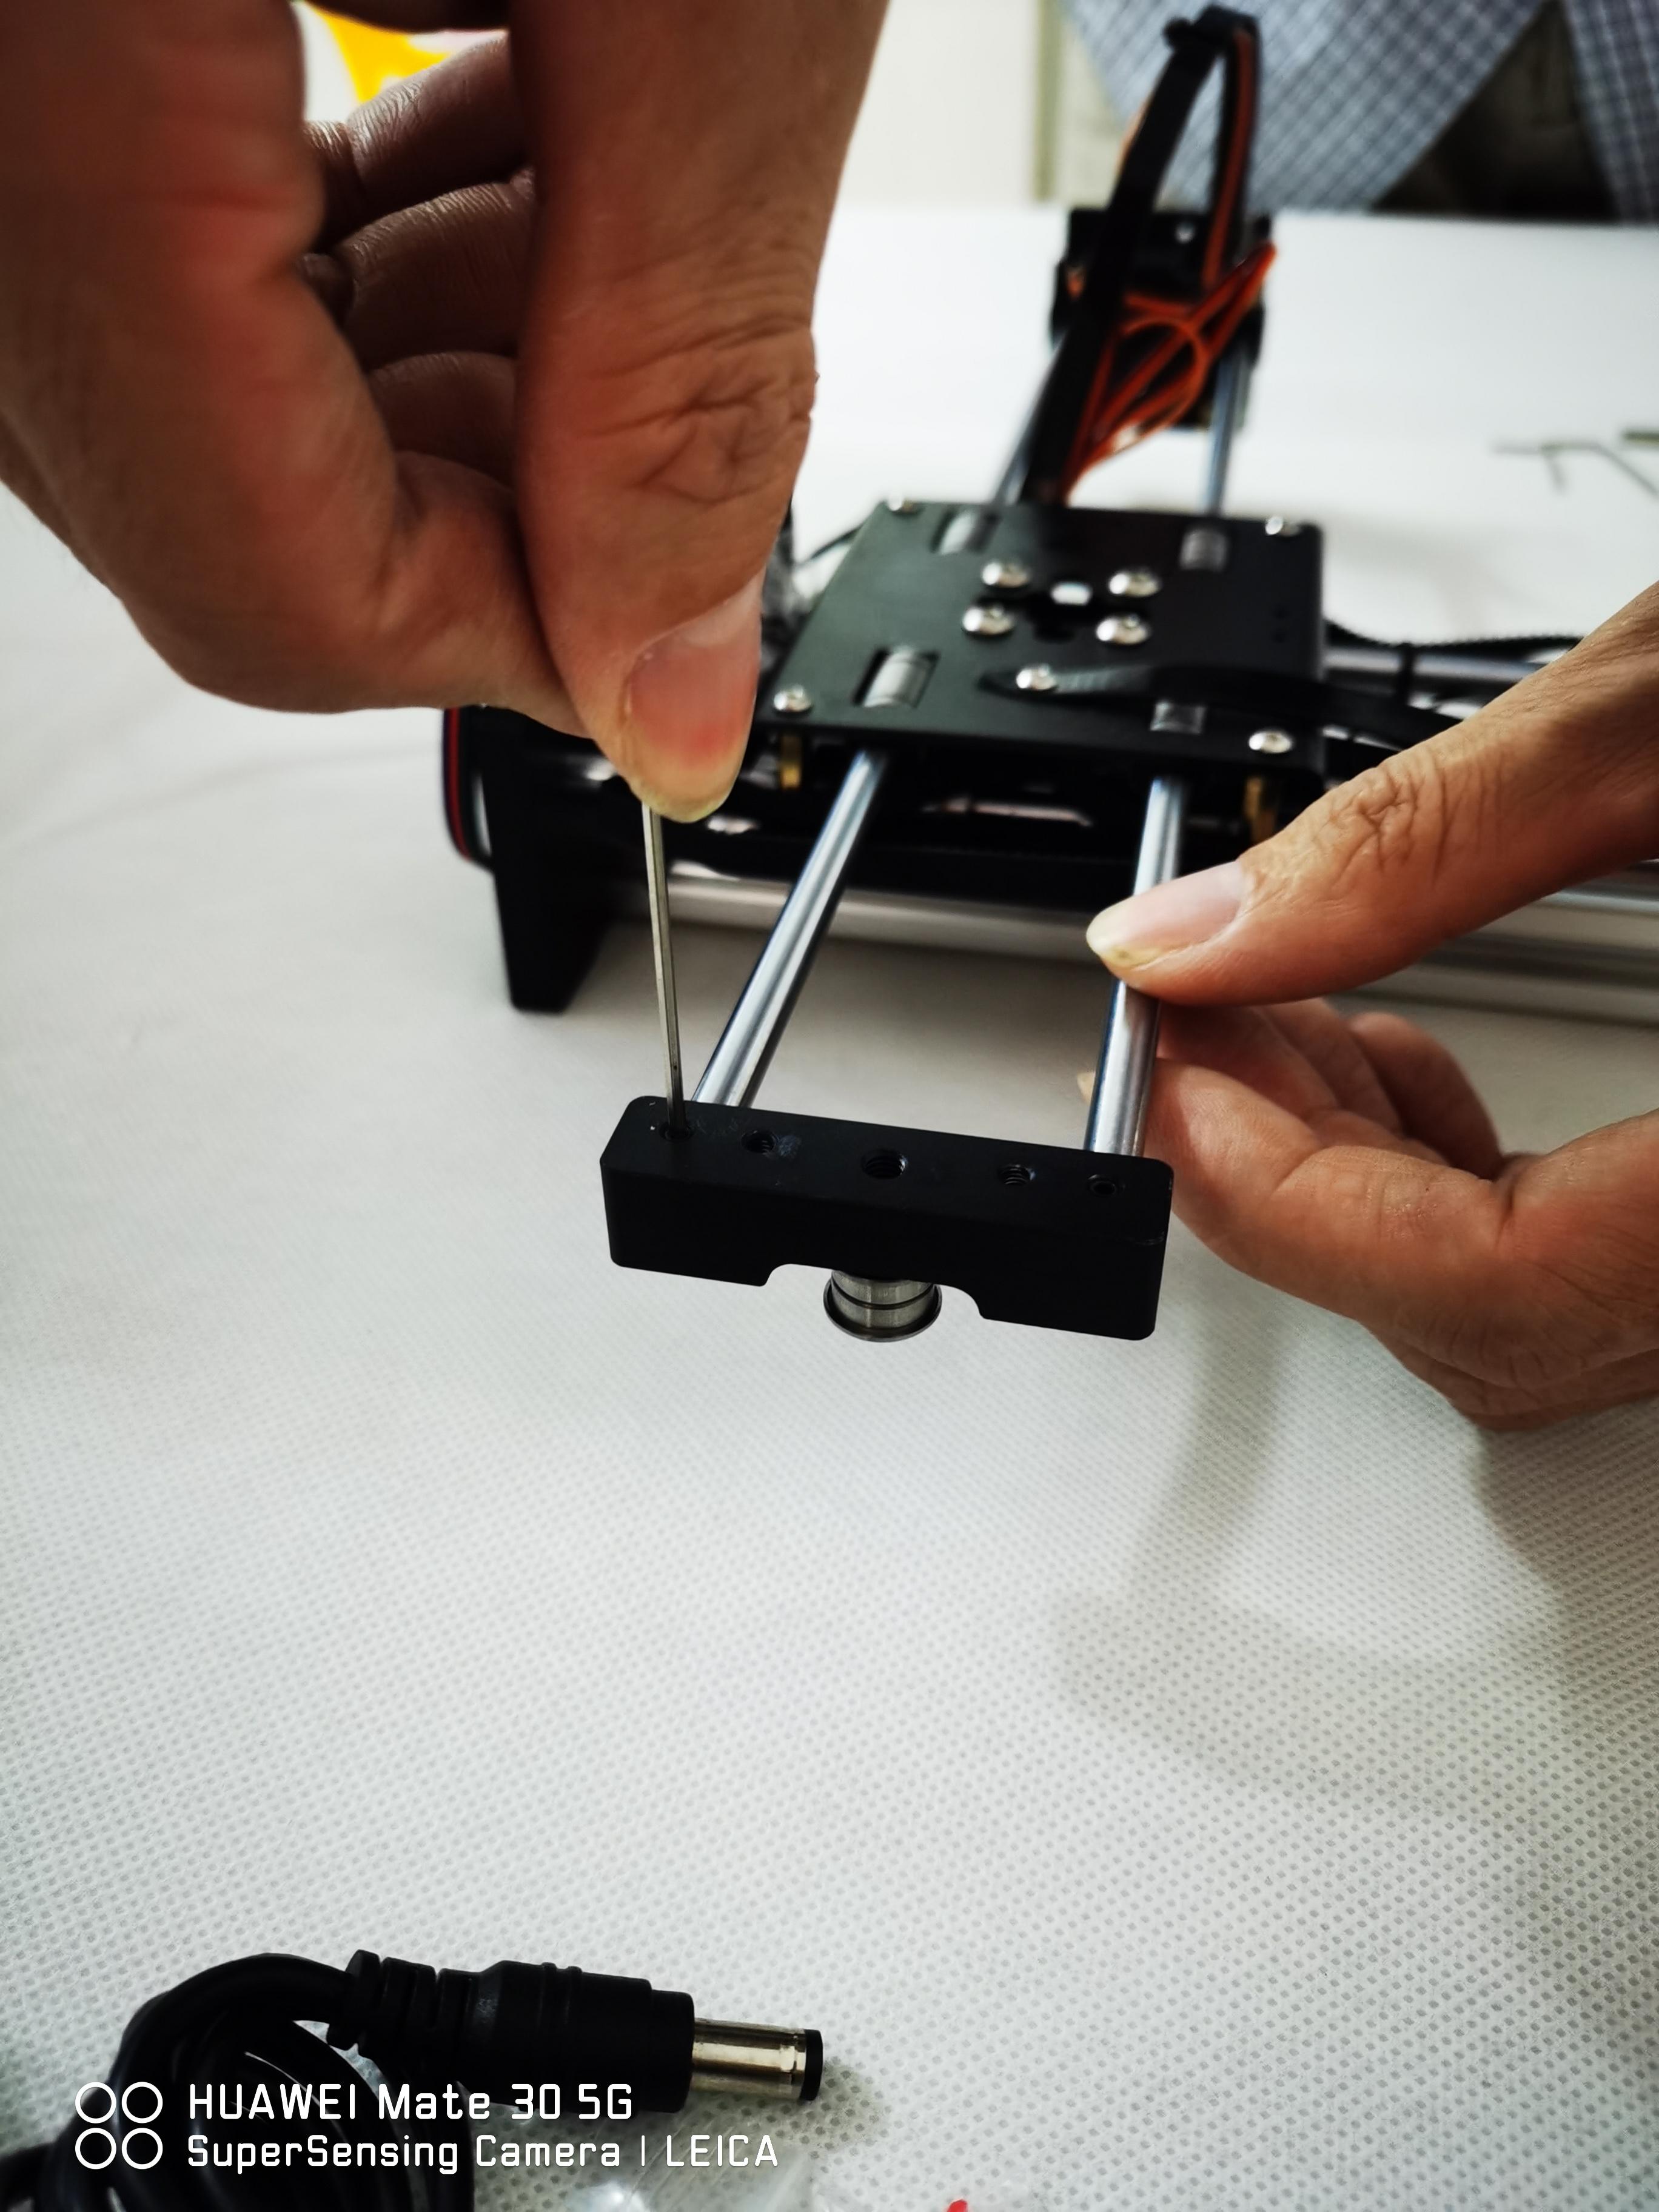
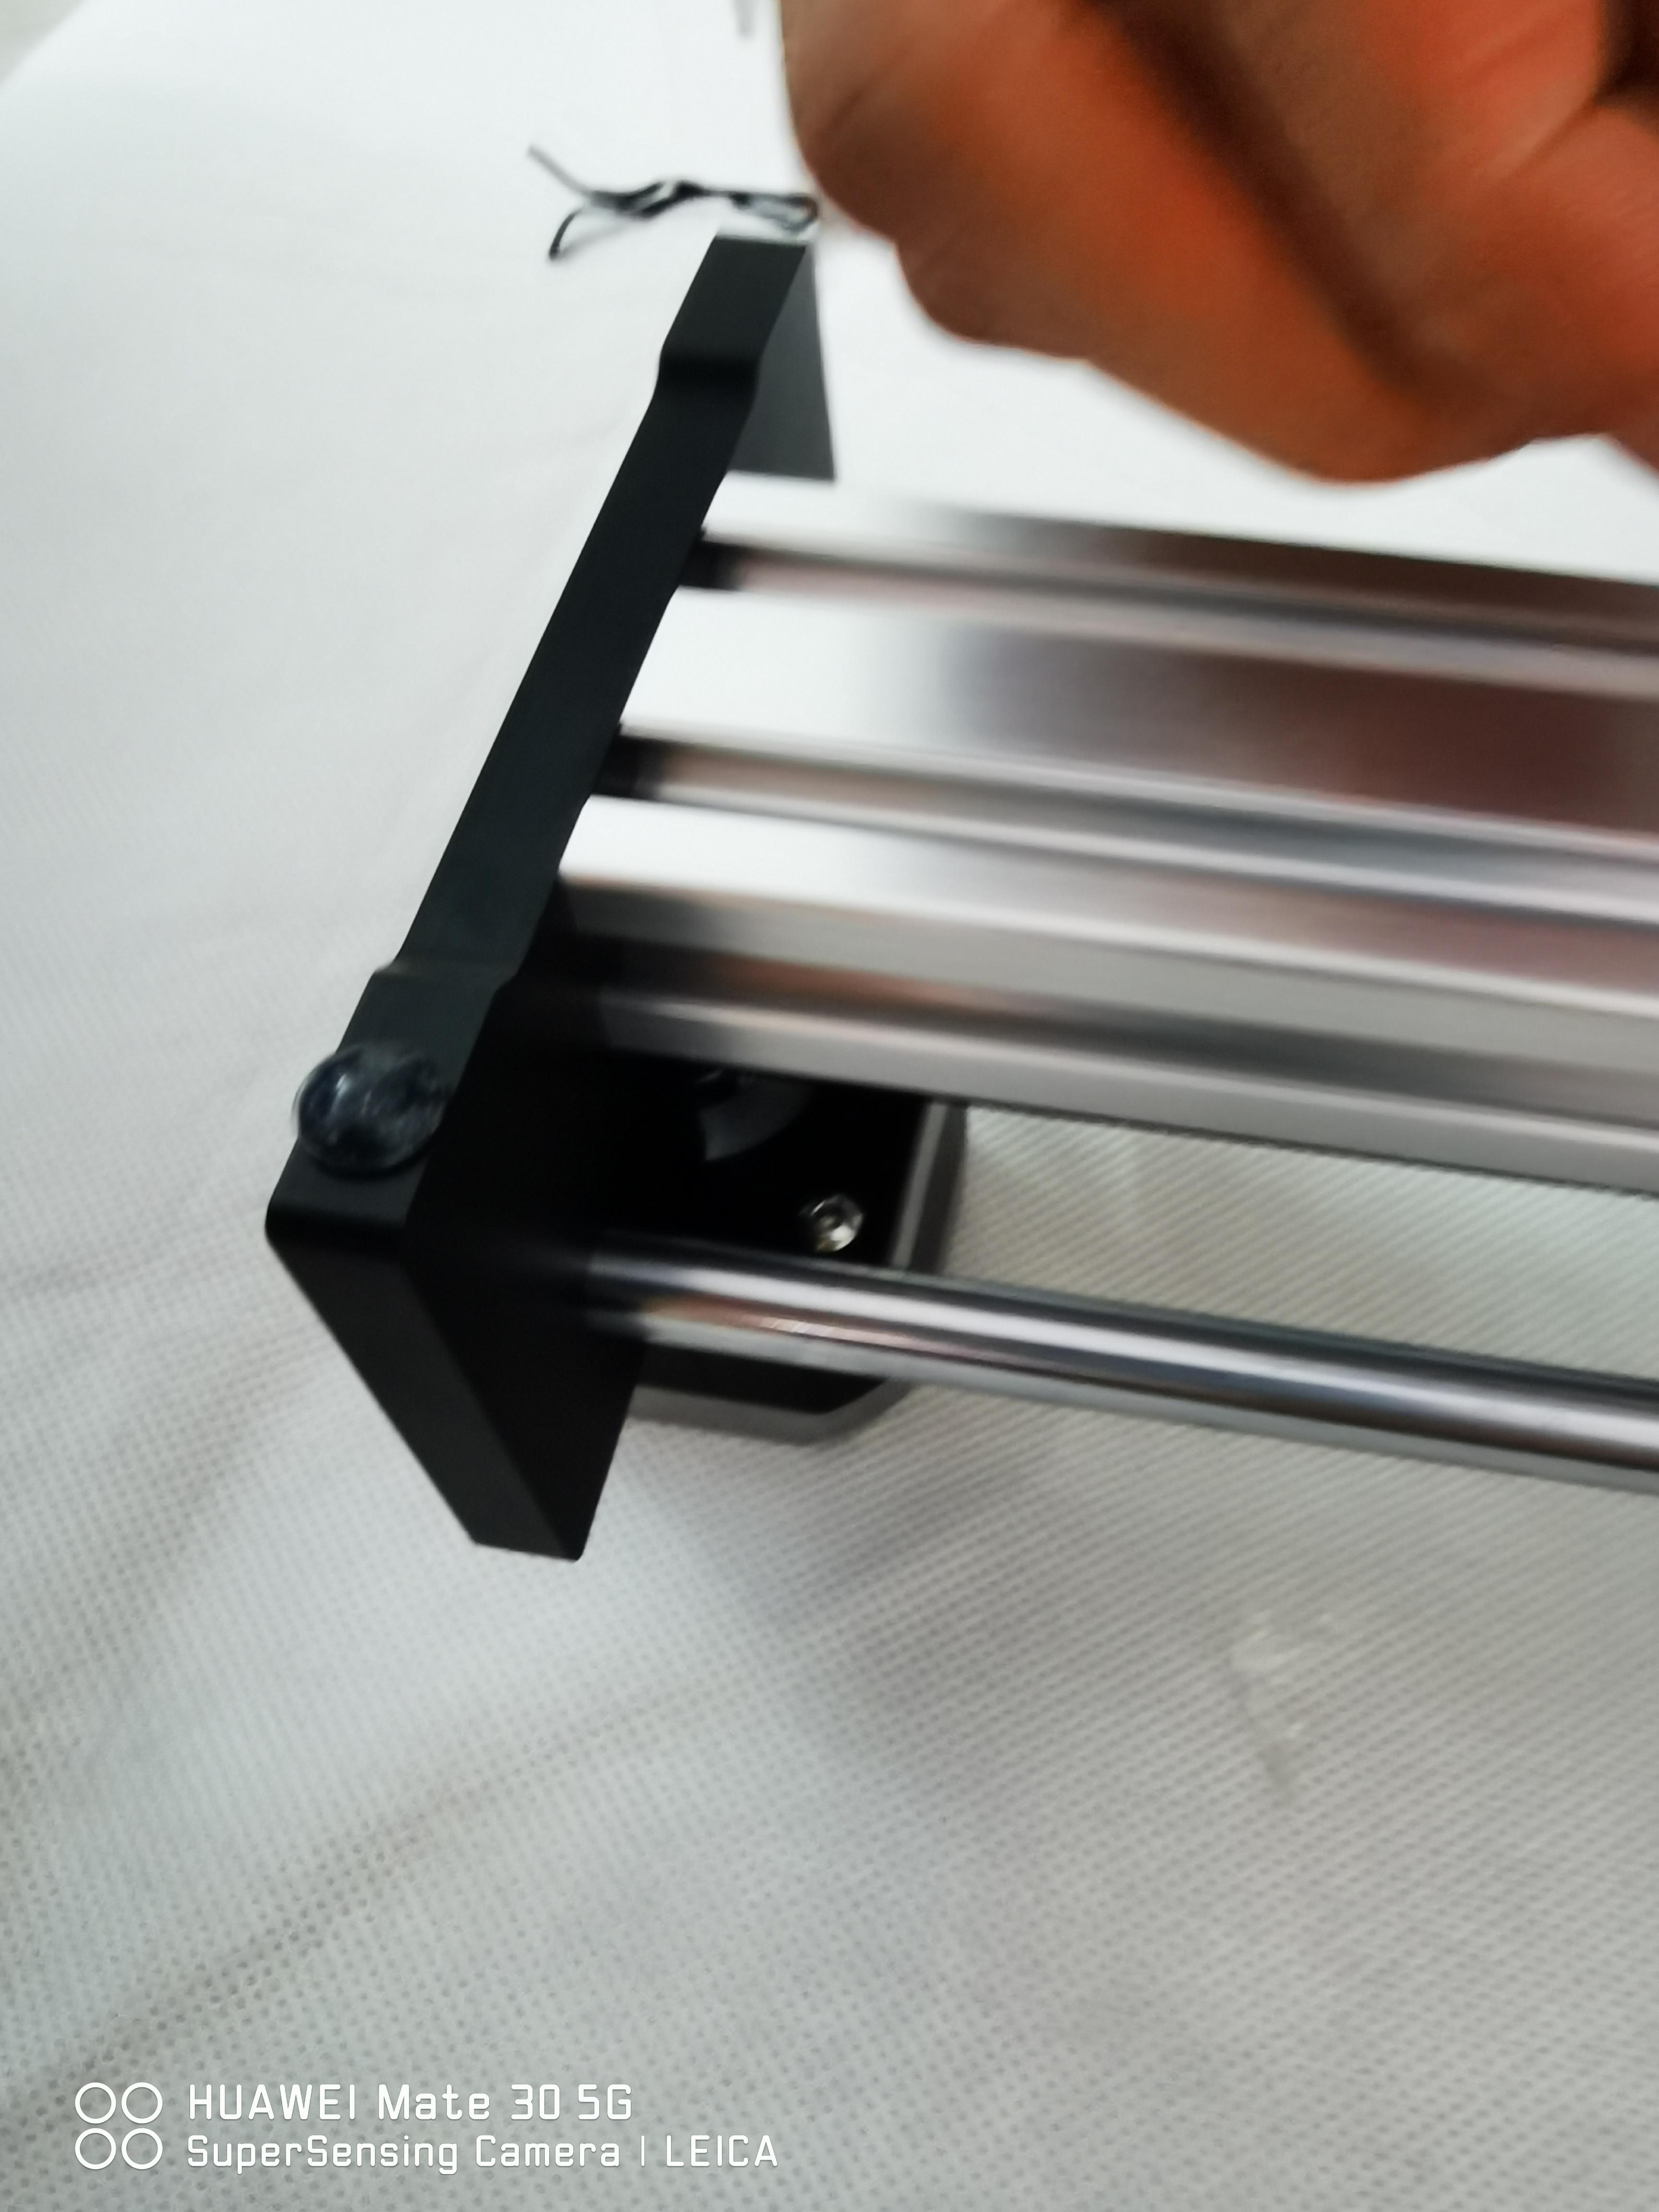
Untighten the End Block on the Small Axis by Using the Provided Allen Key
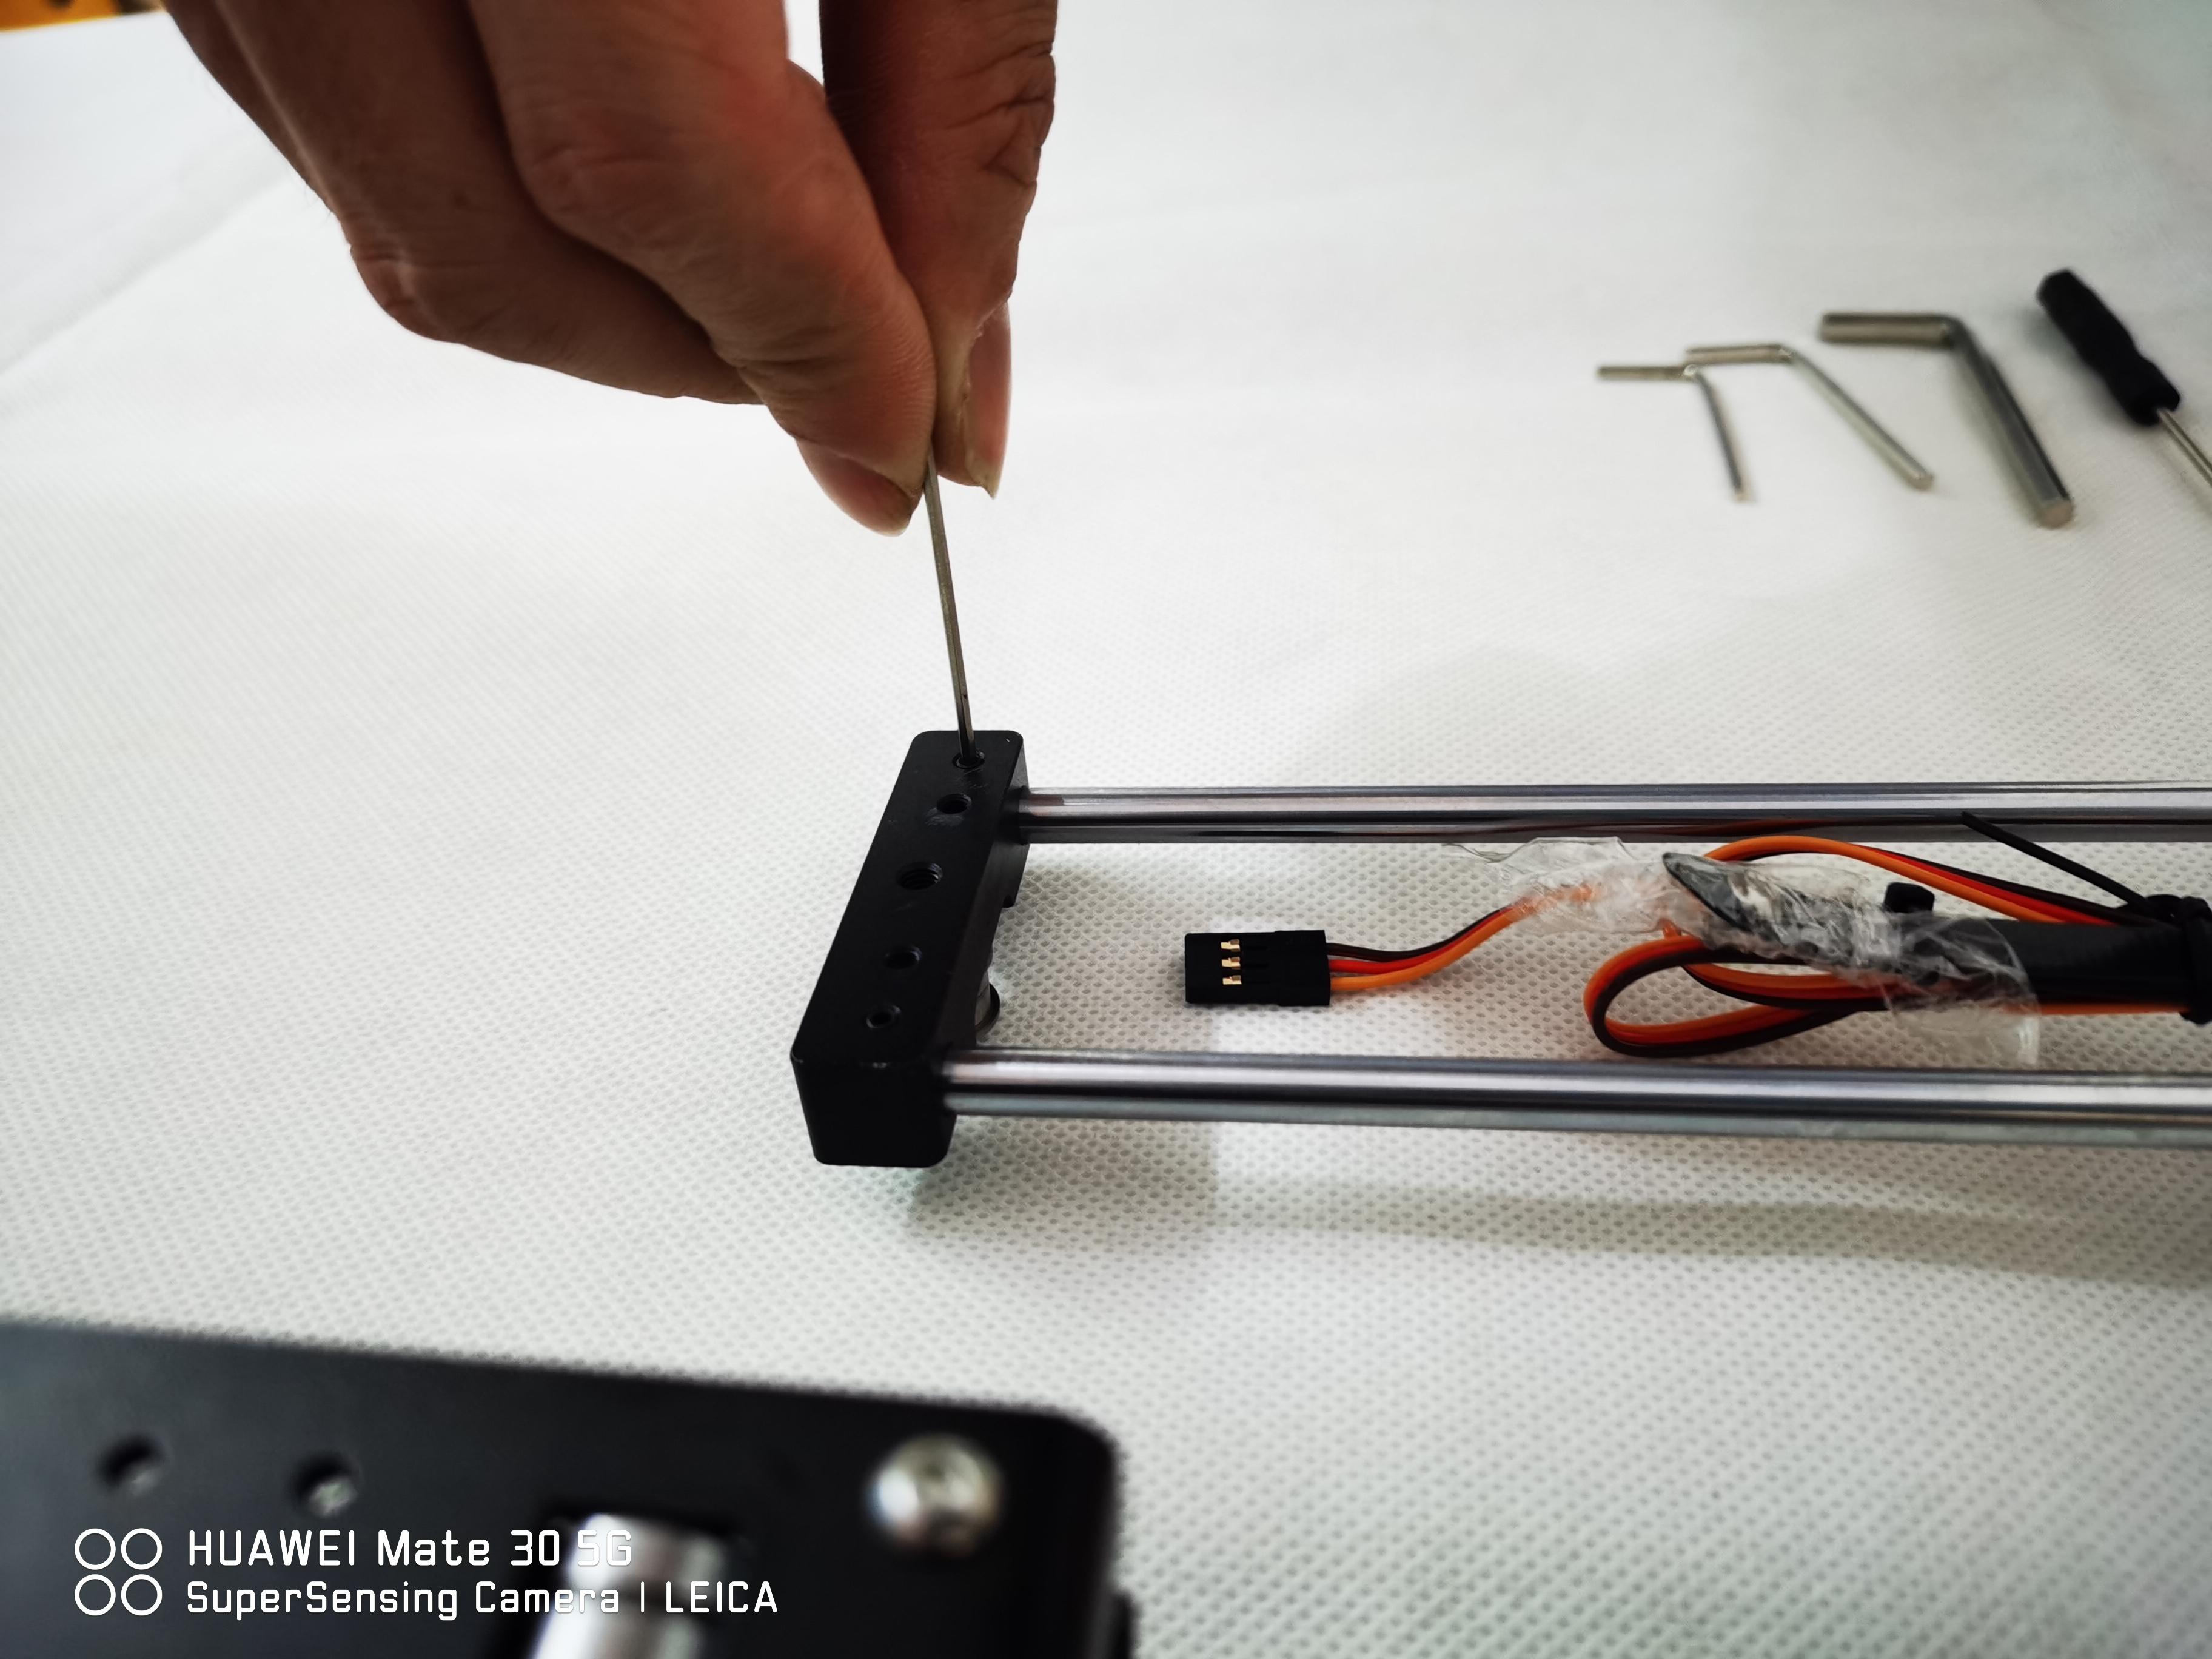
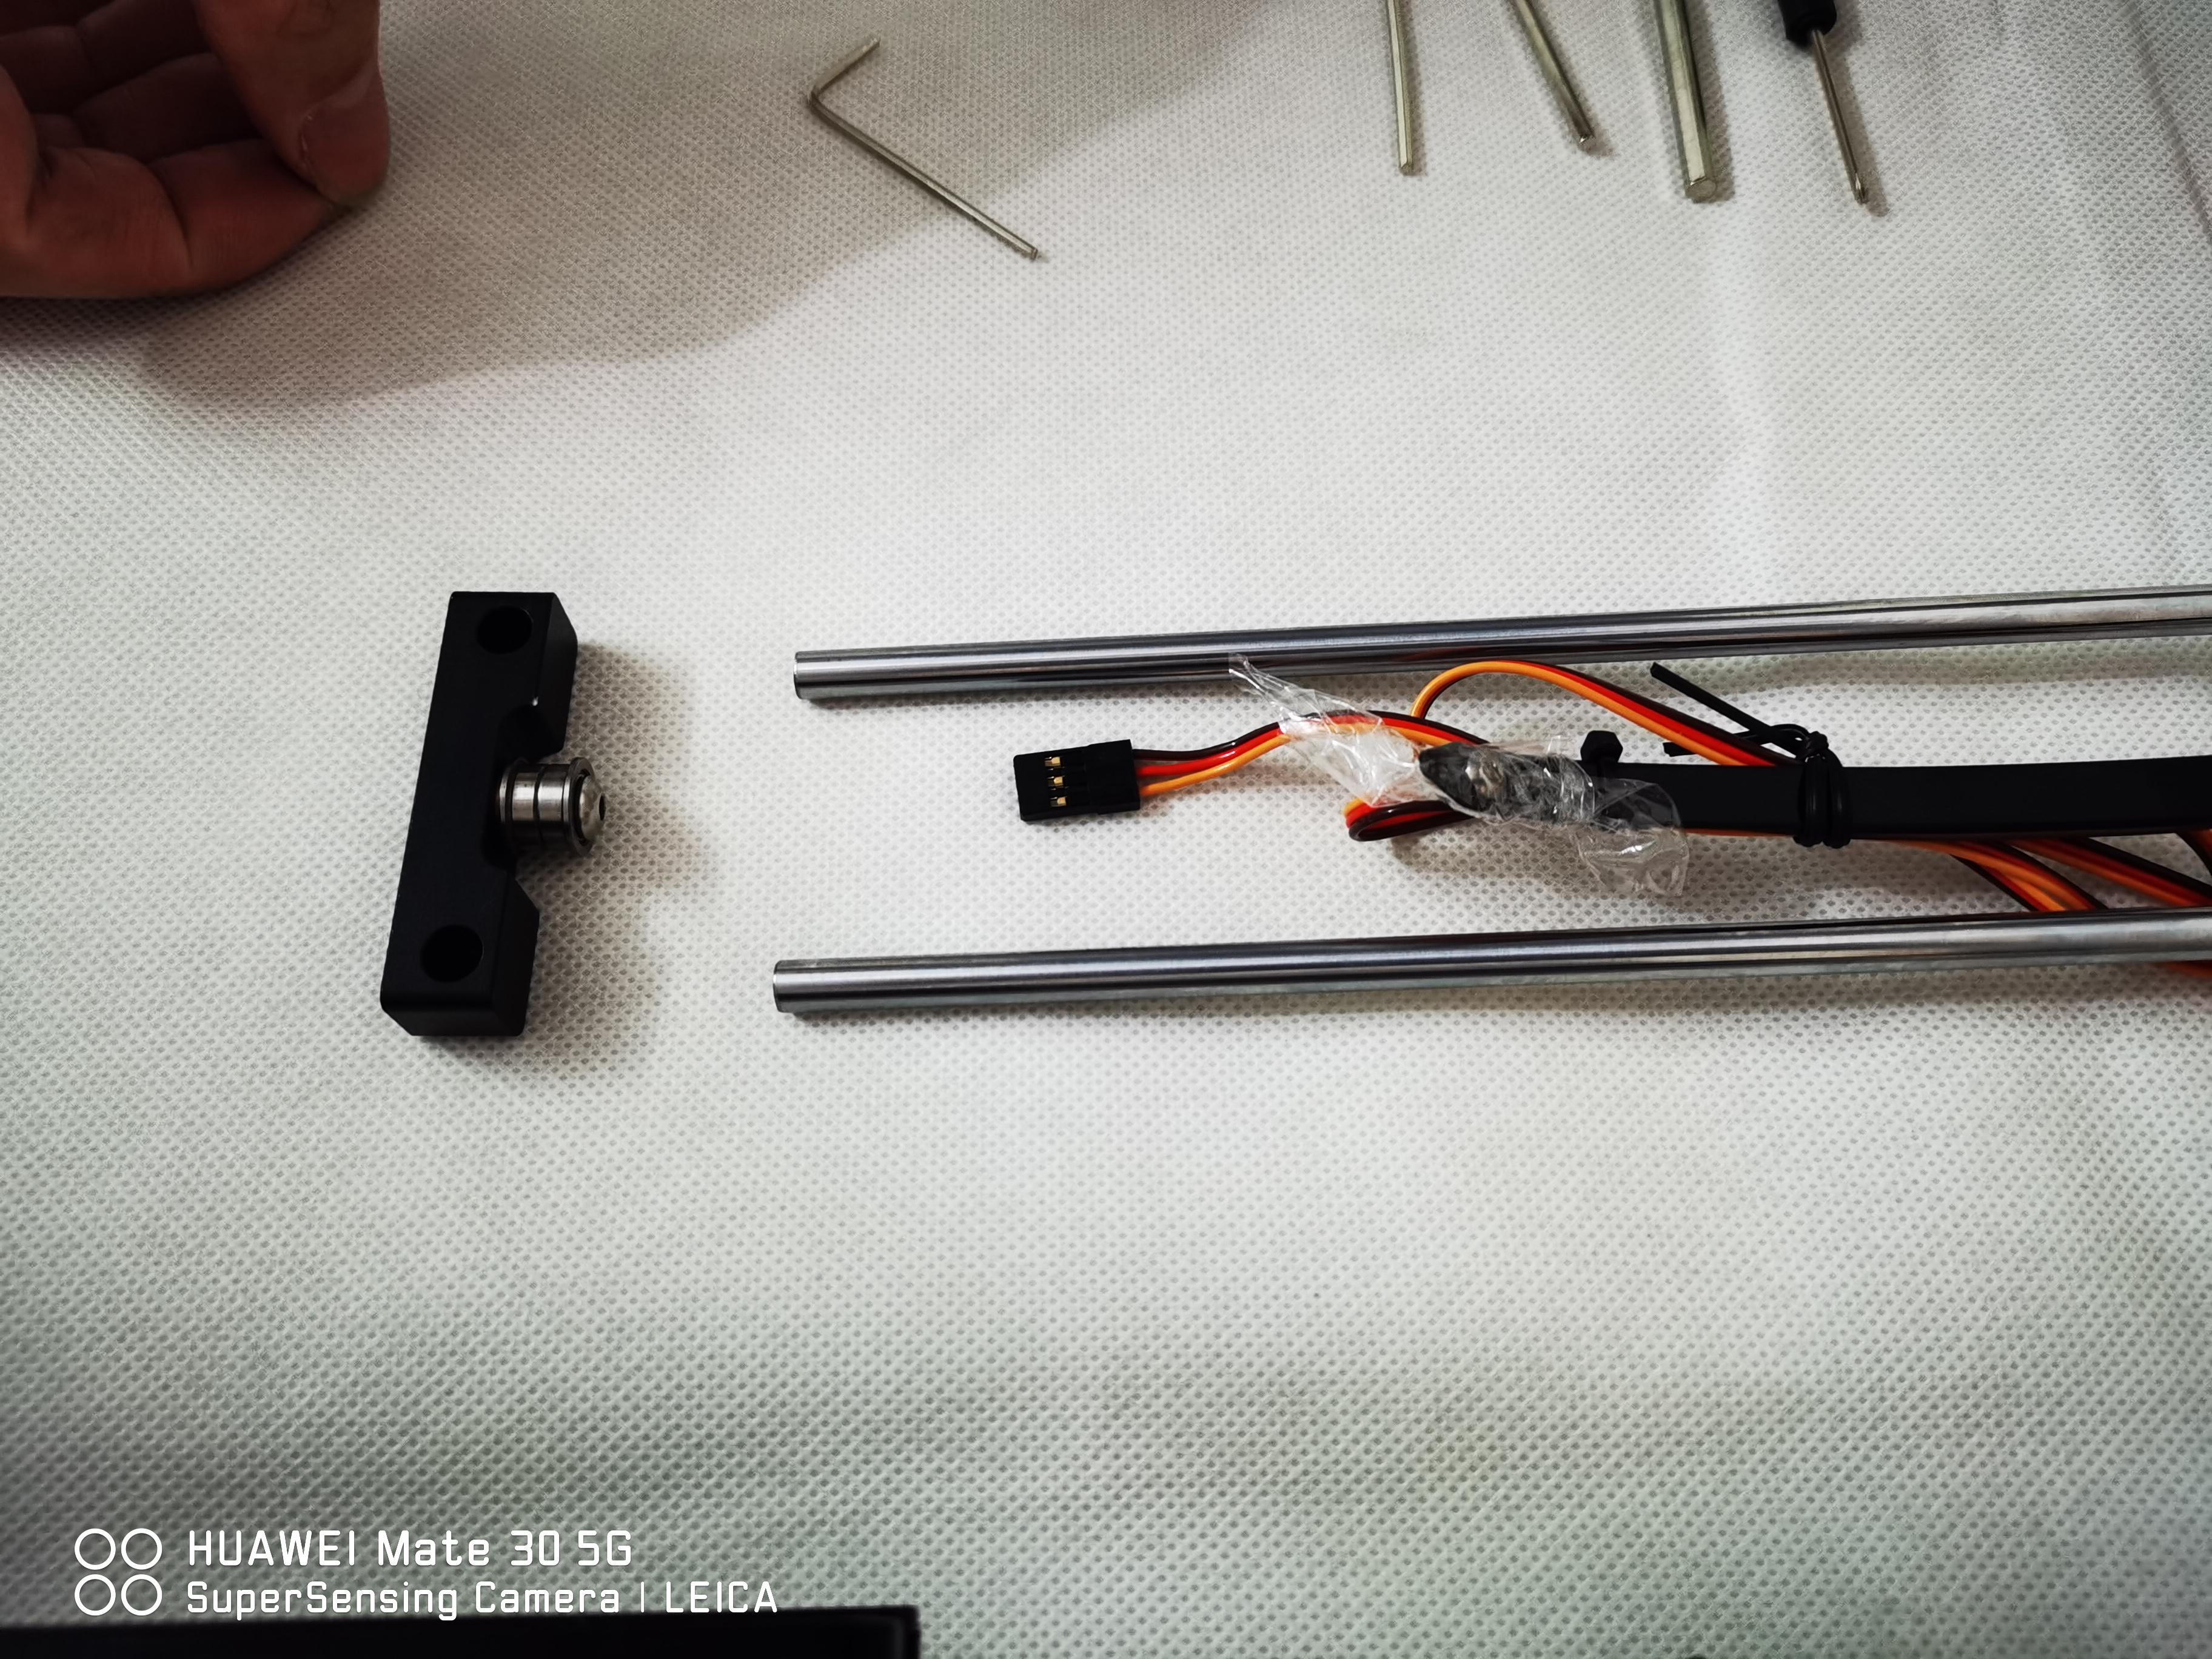
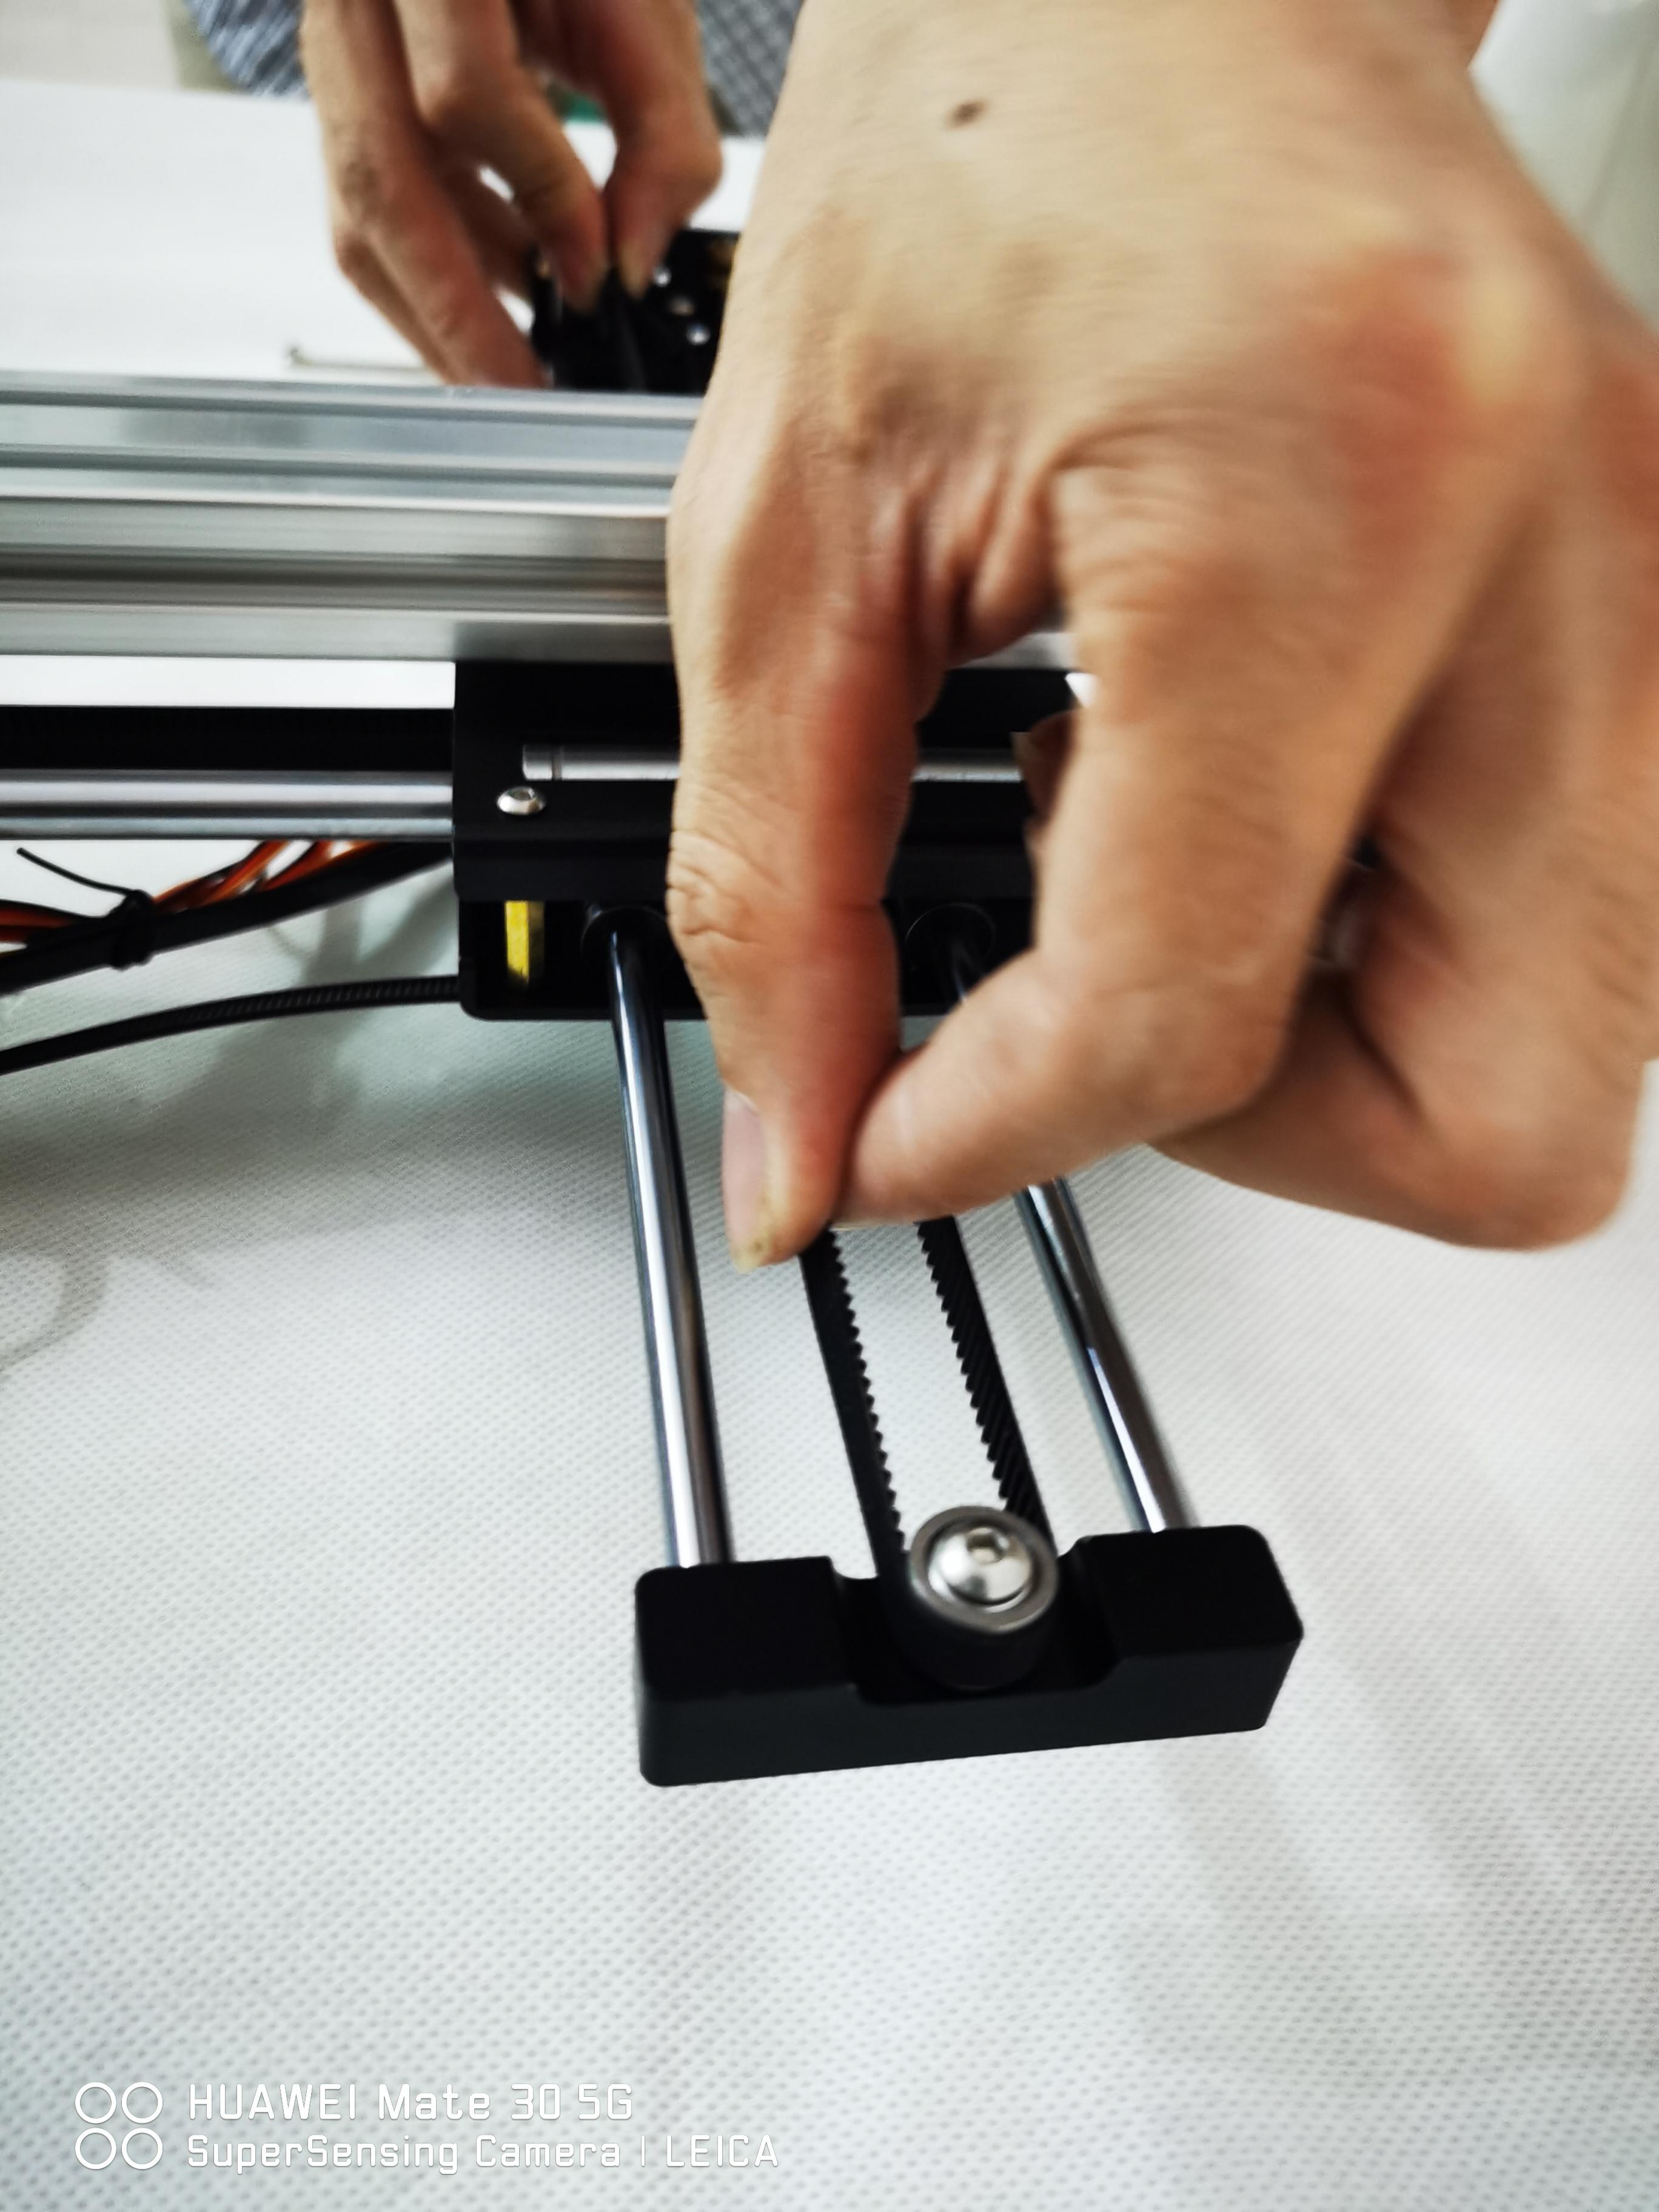
Insert the Rods Through the Linear Bearings. It's Normal If There Is a Bit of Resistance Until the Rods Are Well Aligned. Push Them Through Entirely.
Now It's Time to Set the Belt Through the Inner Bearings of the Central Block. This Is a Bit Fiddly, and I Found It Useful to Use a Flat Screwdriver to Guide the Belt Where I Wanted.
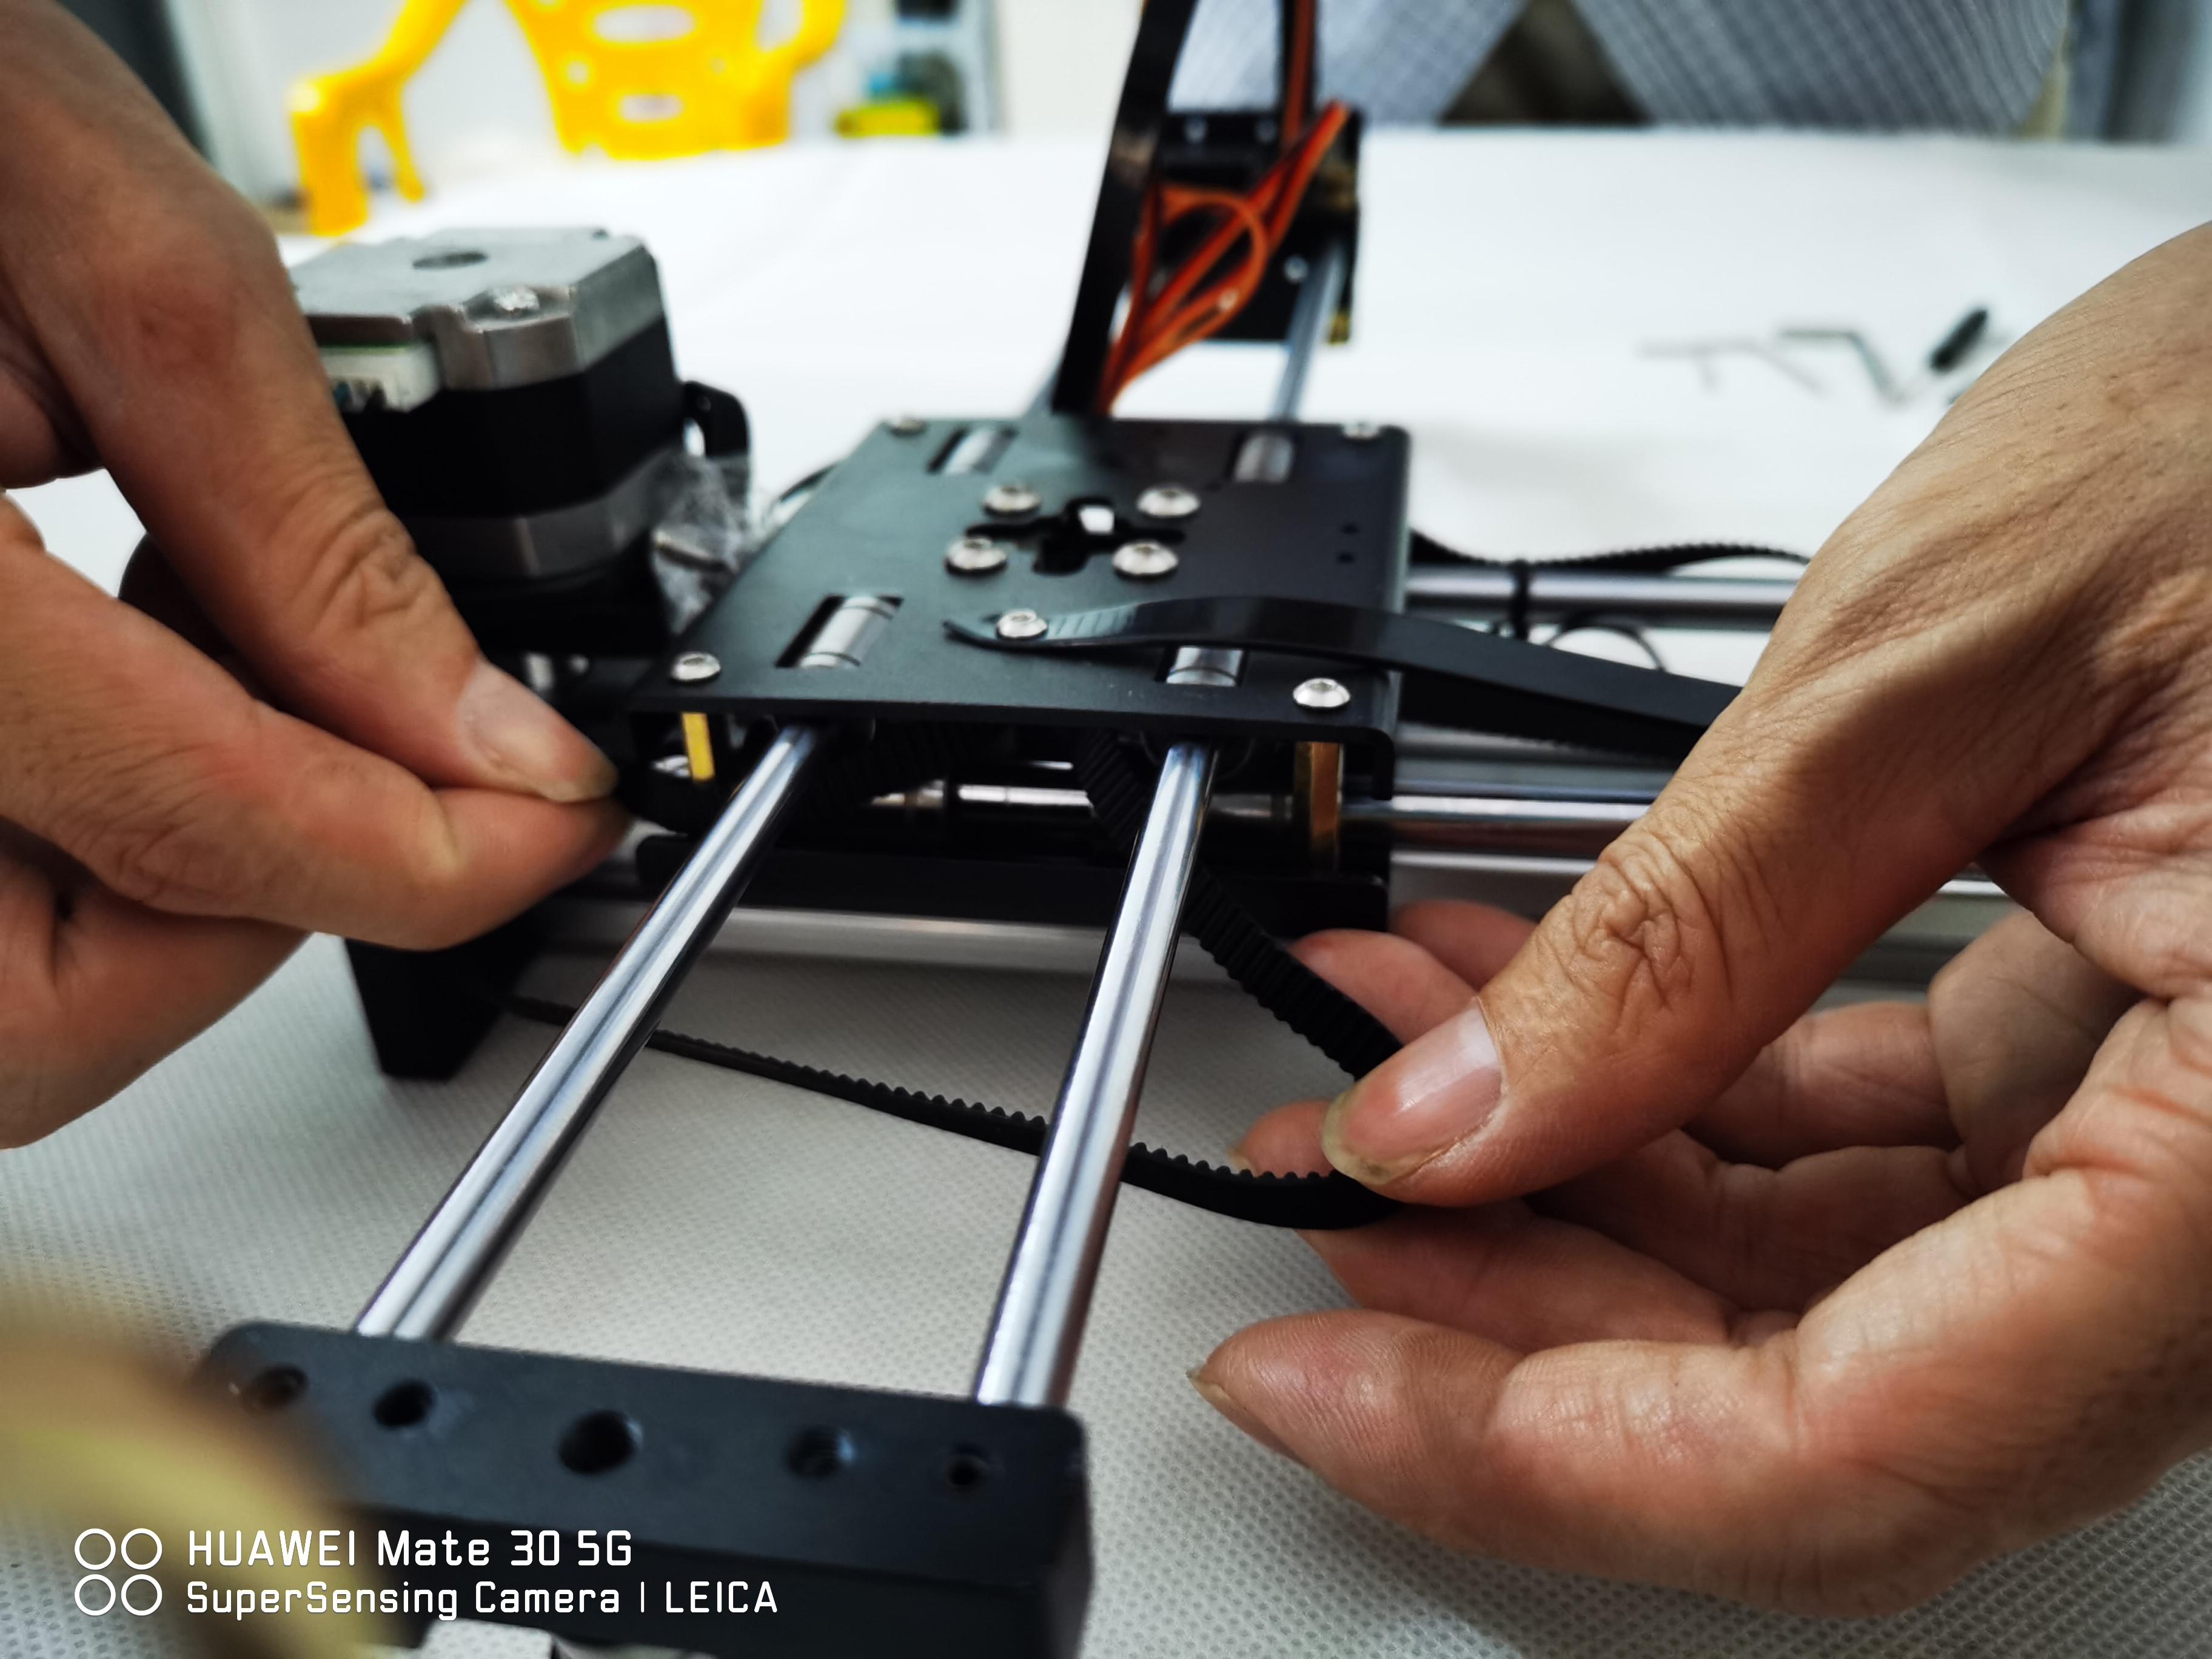

Pull the belt all the way and around the bearing of the end block on the small axis.
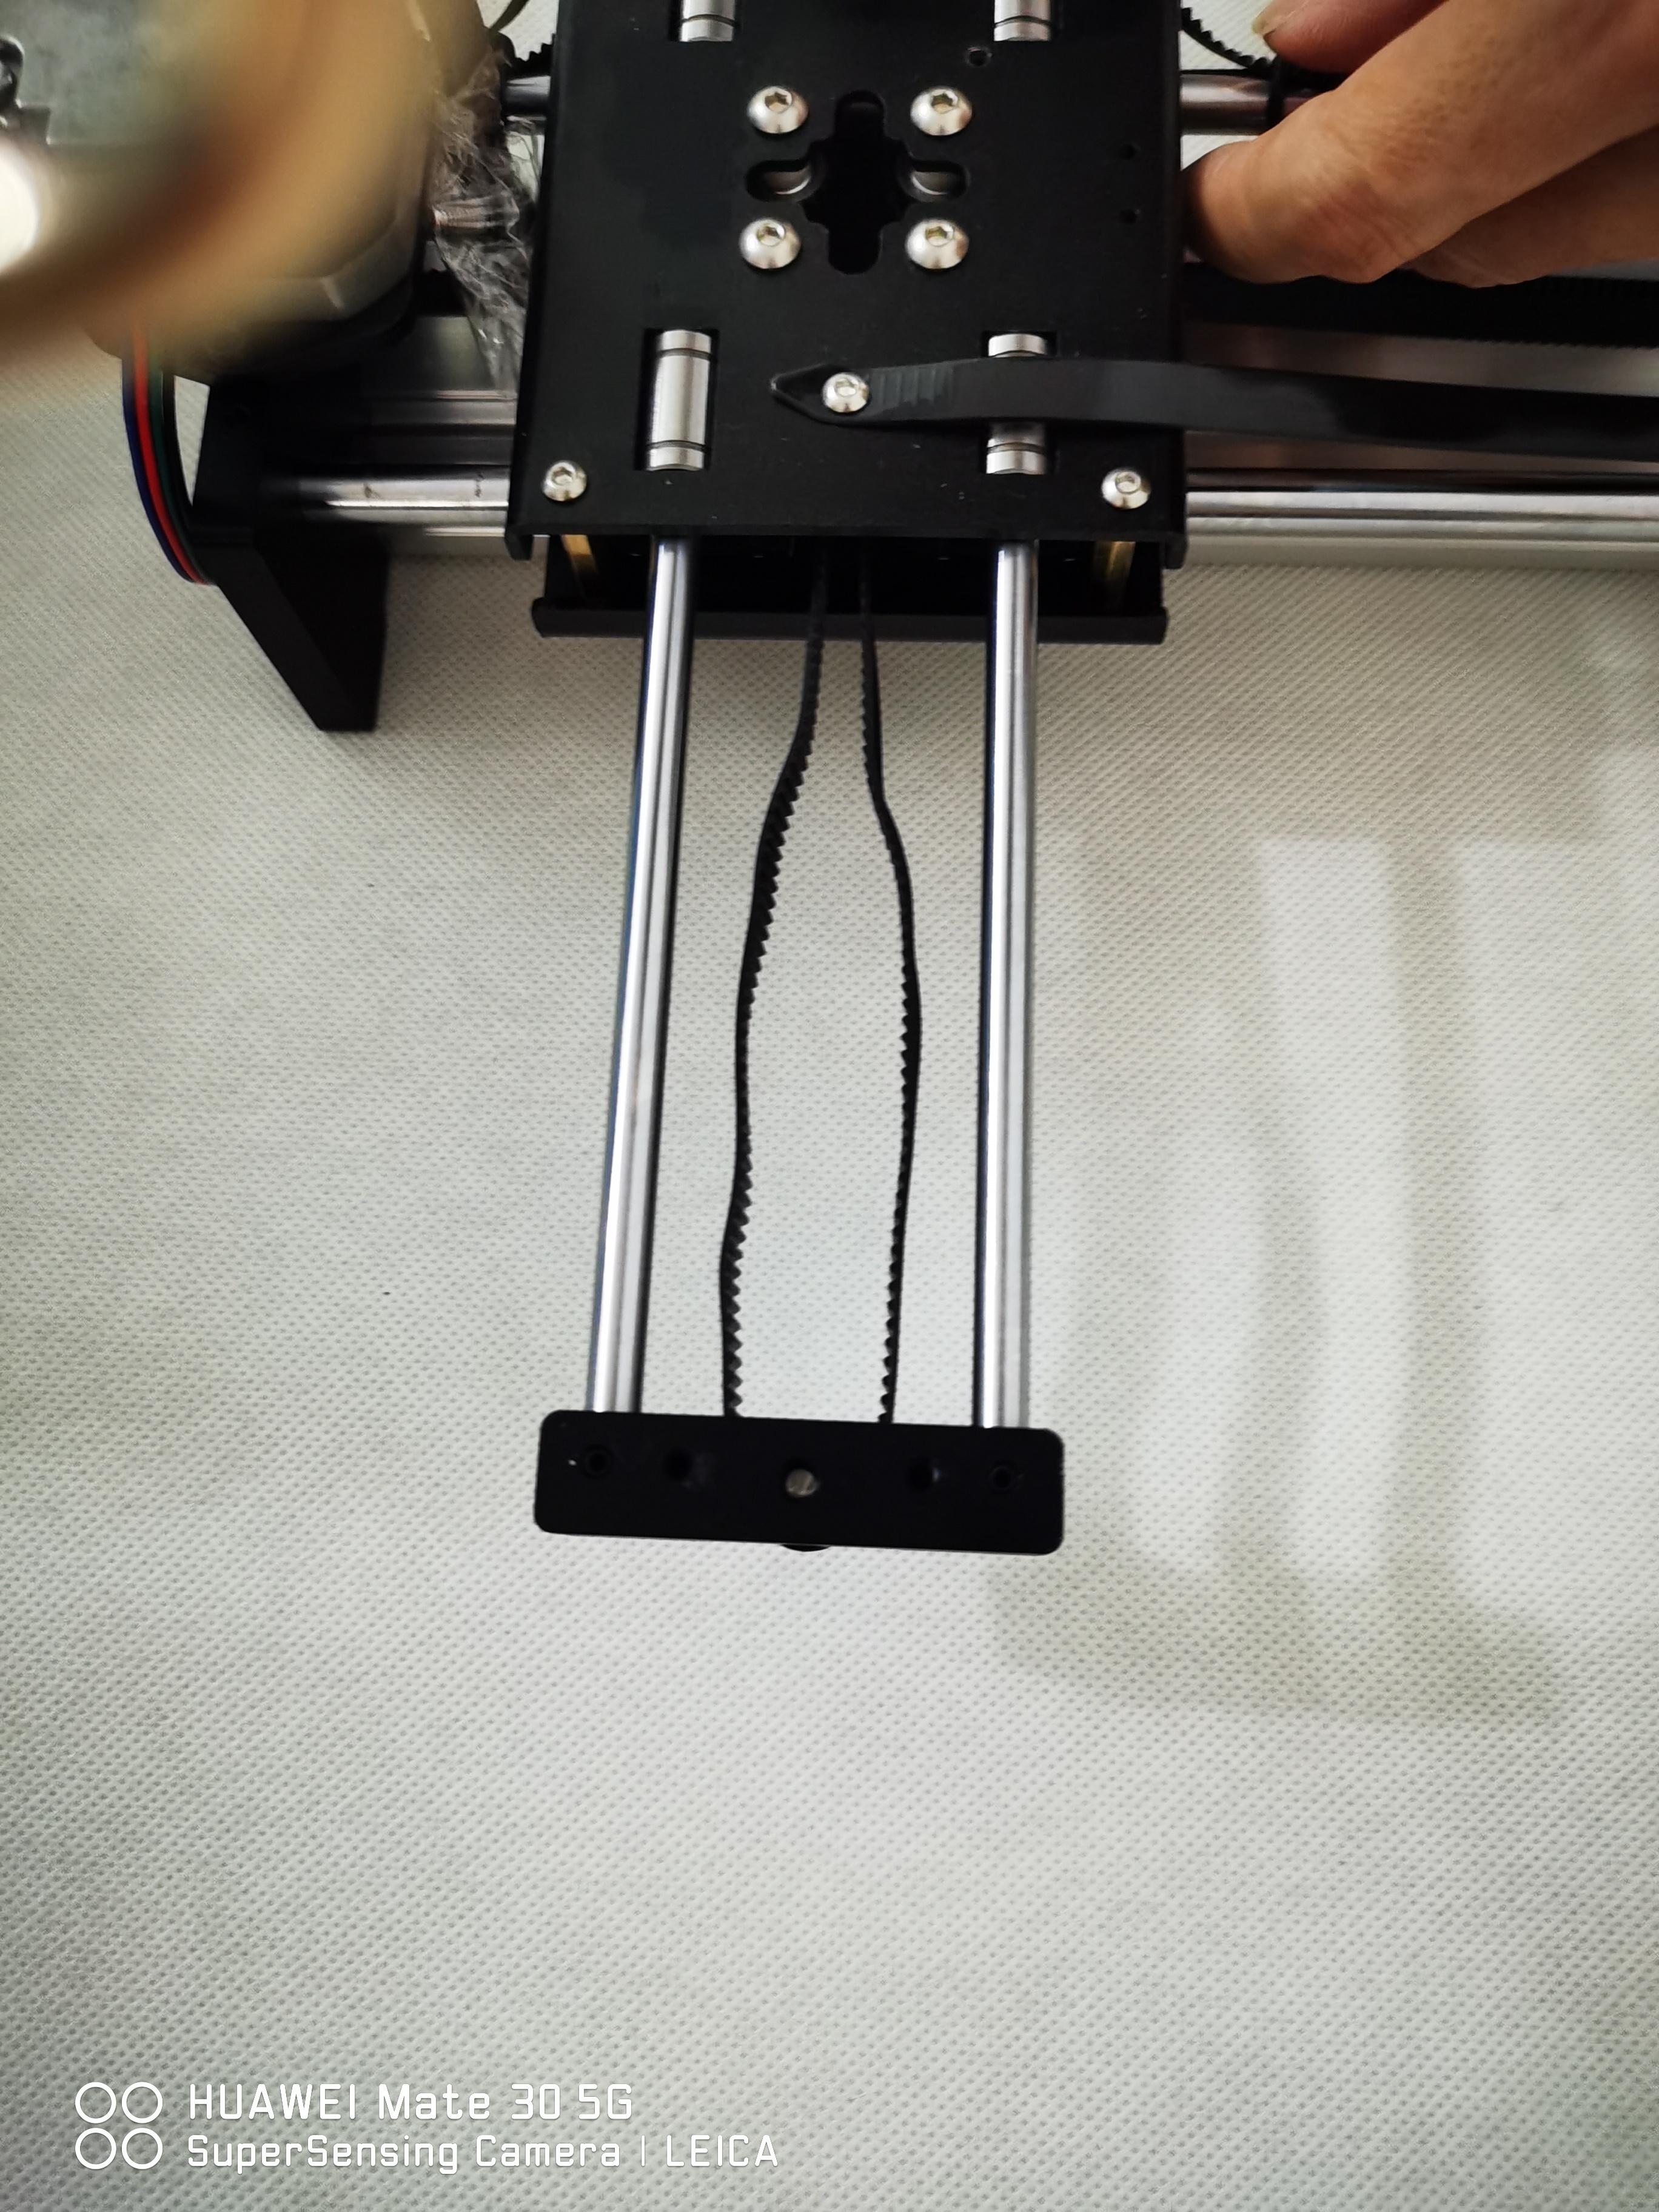
Now make sure that the belt is well positioned on the bearings of the central block. I overexposed the photo below to show where the belt is supposed to be.
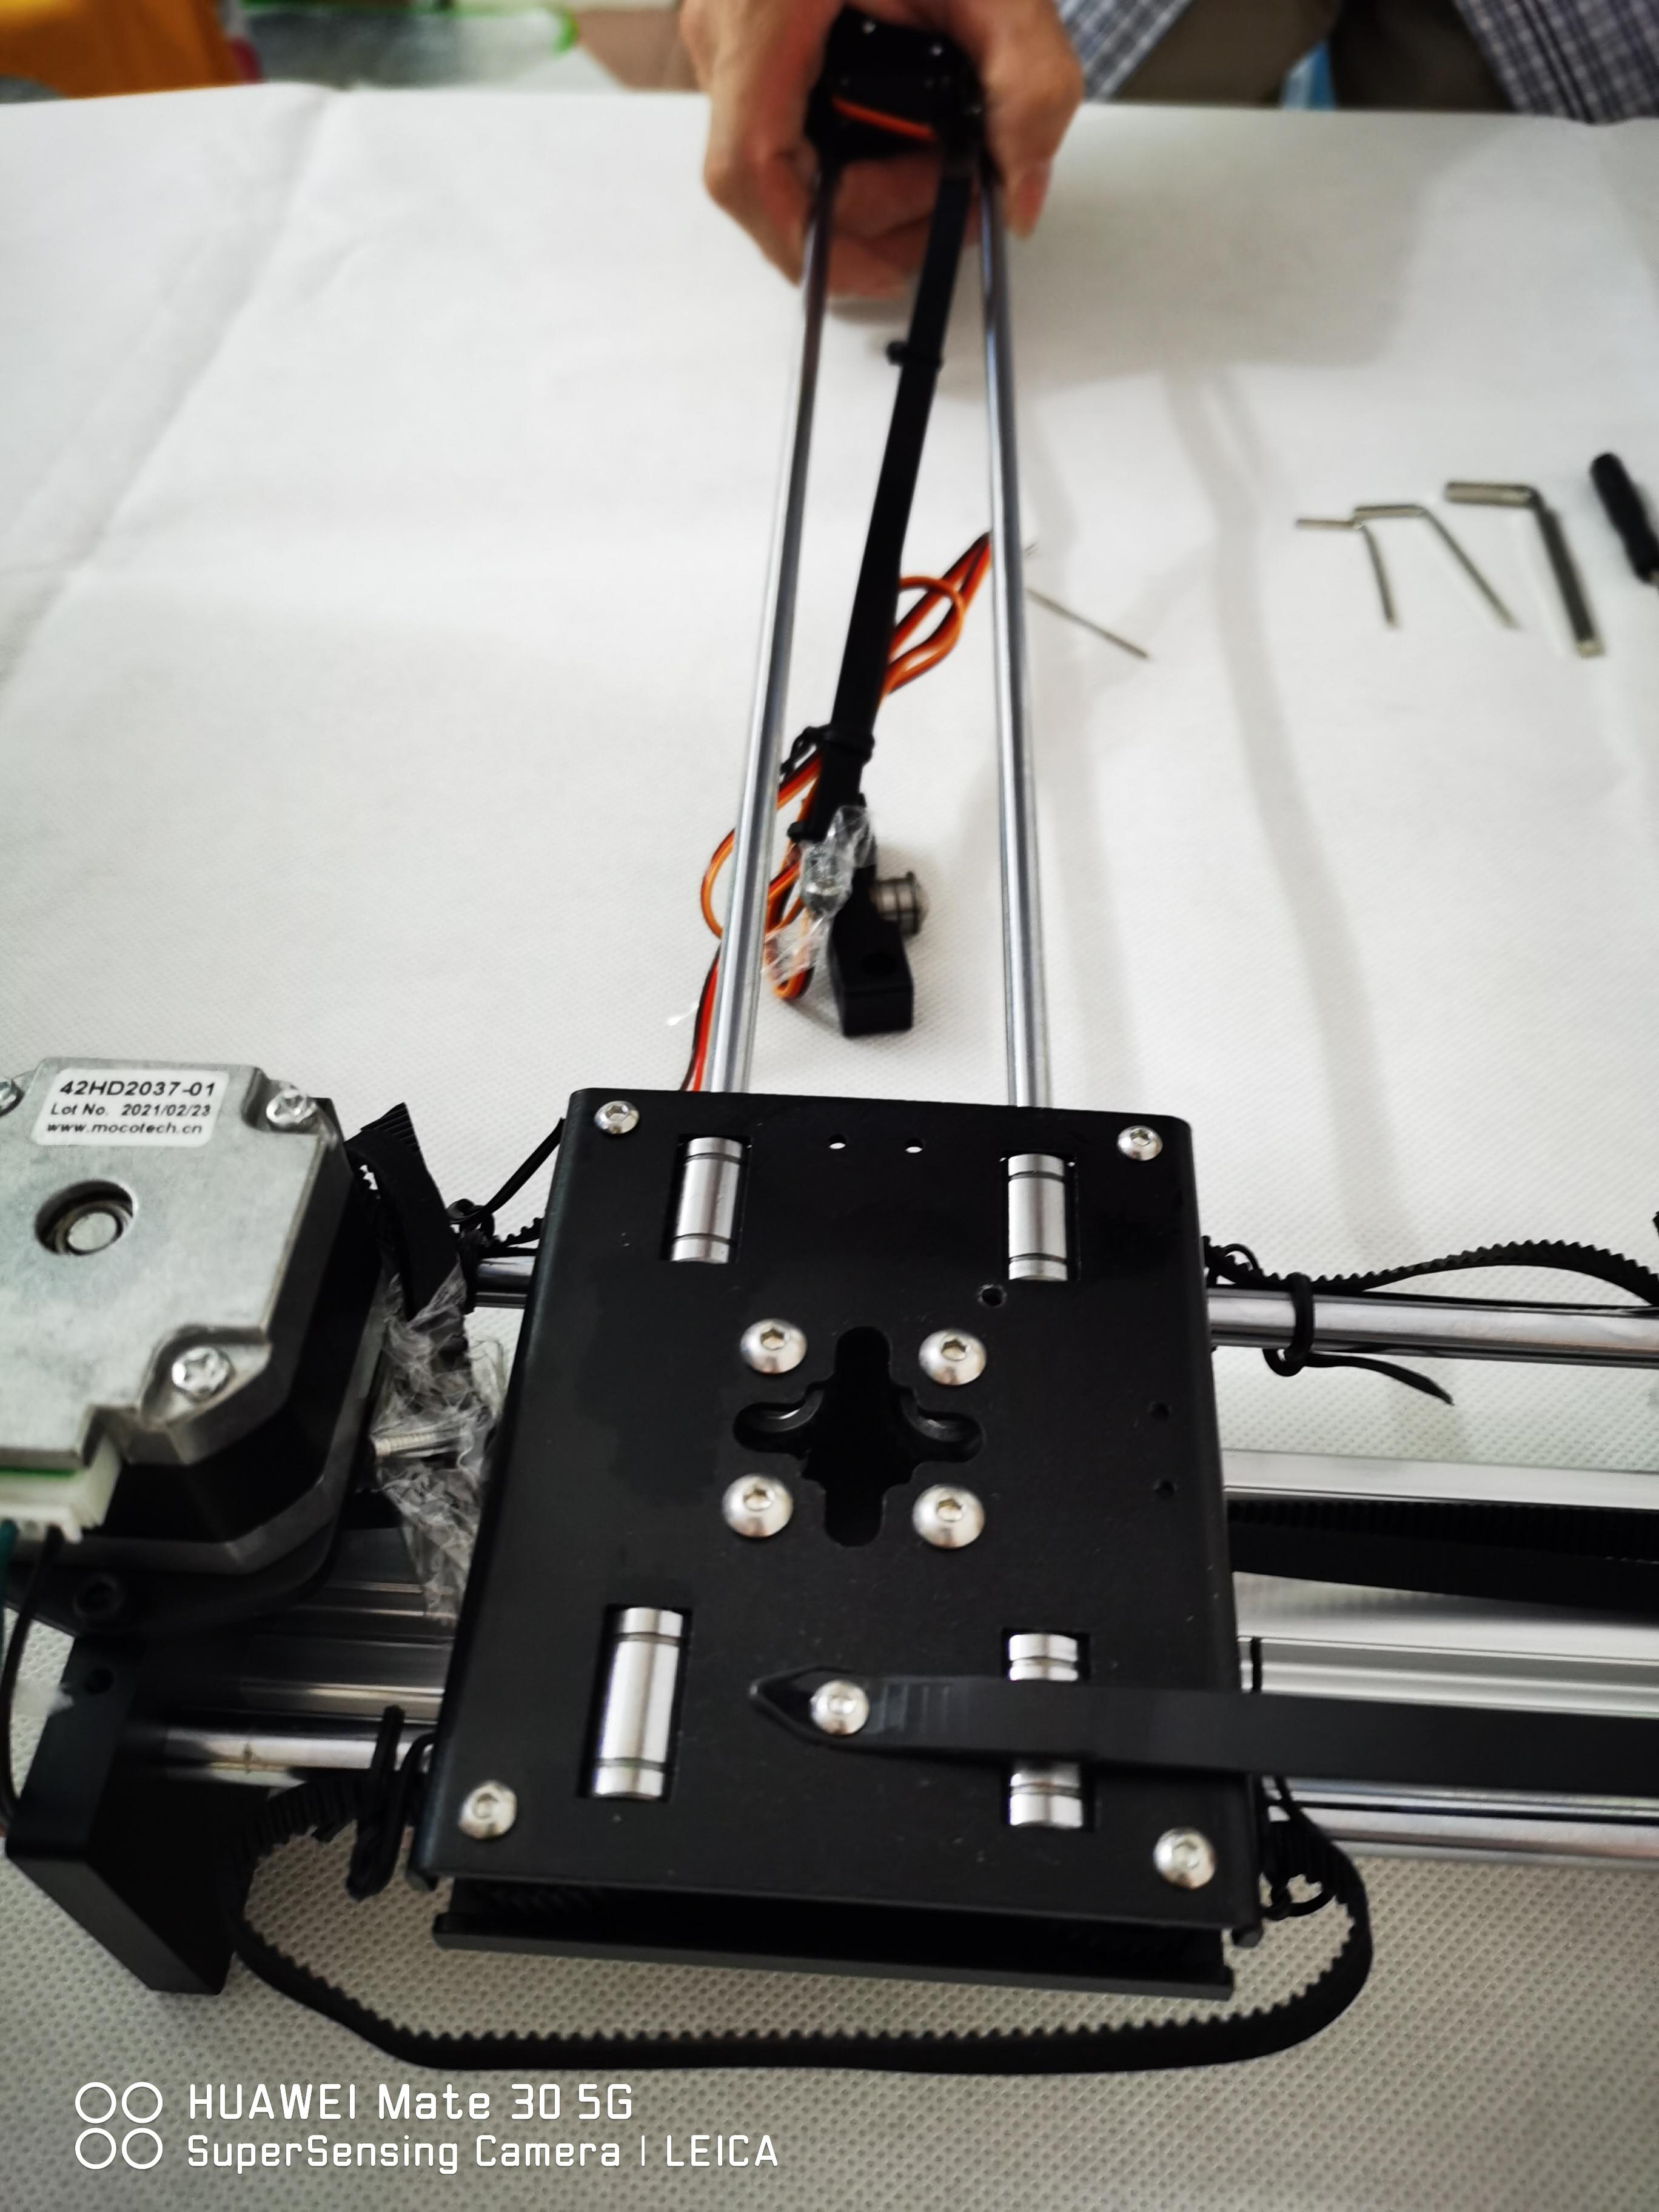
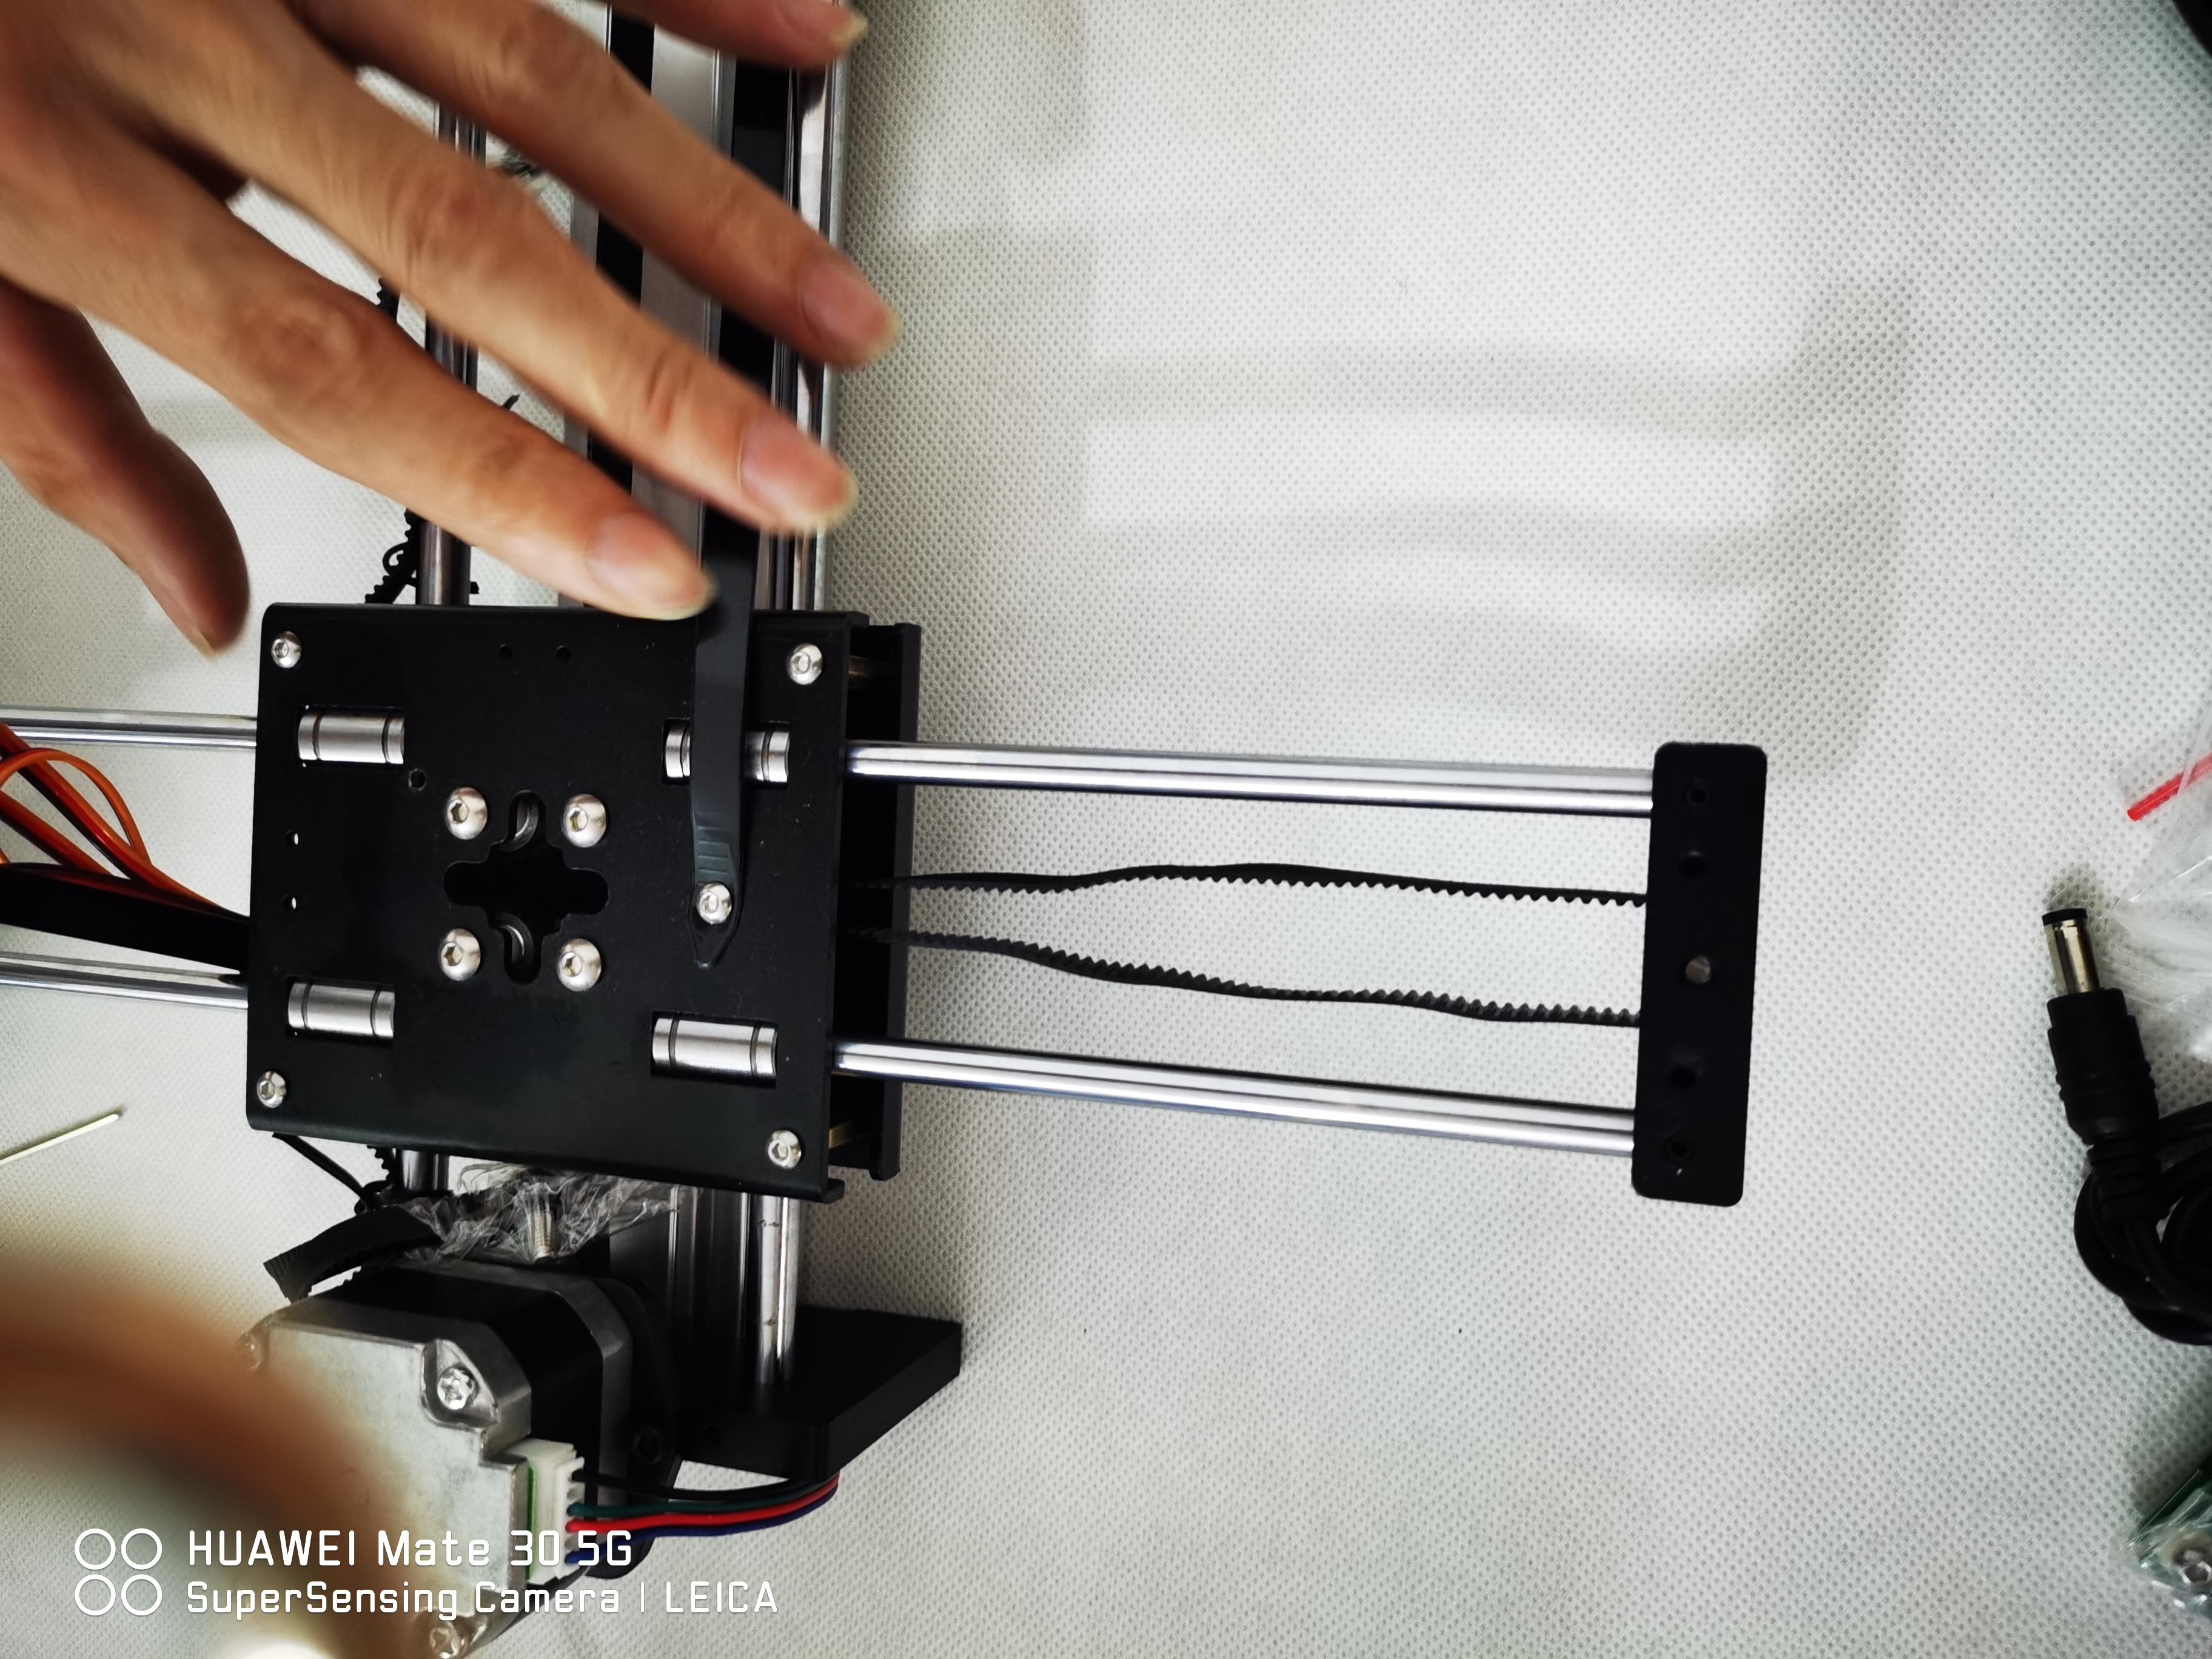
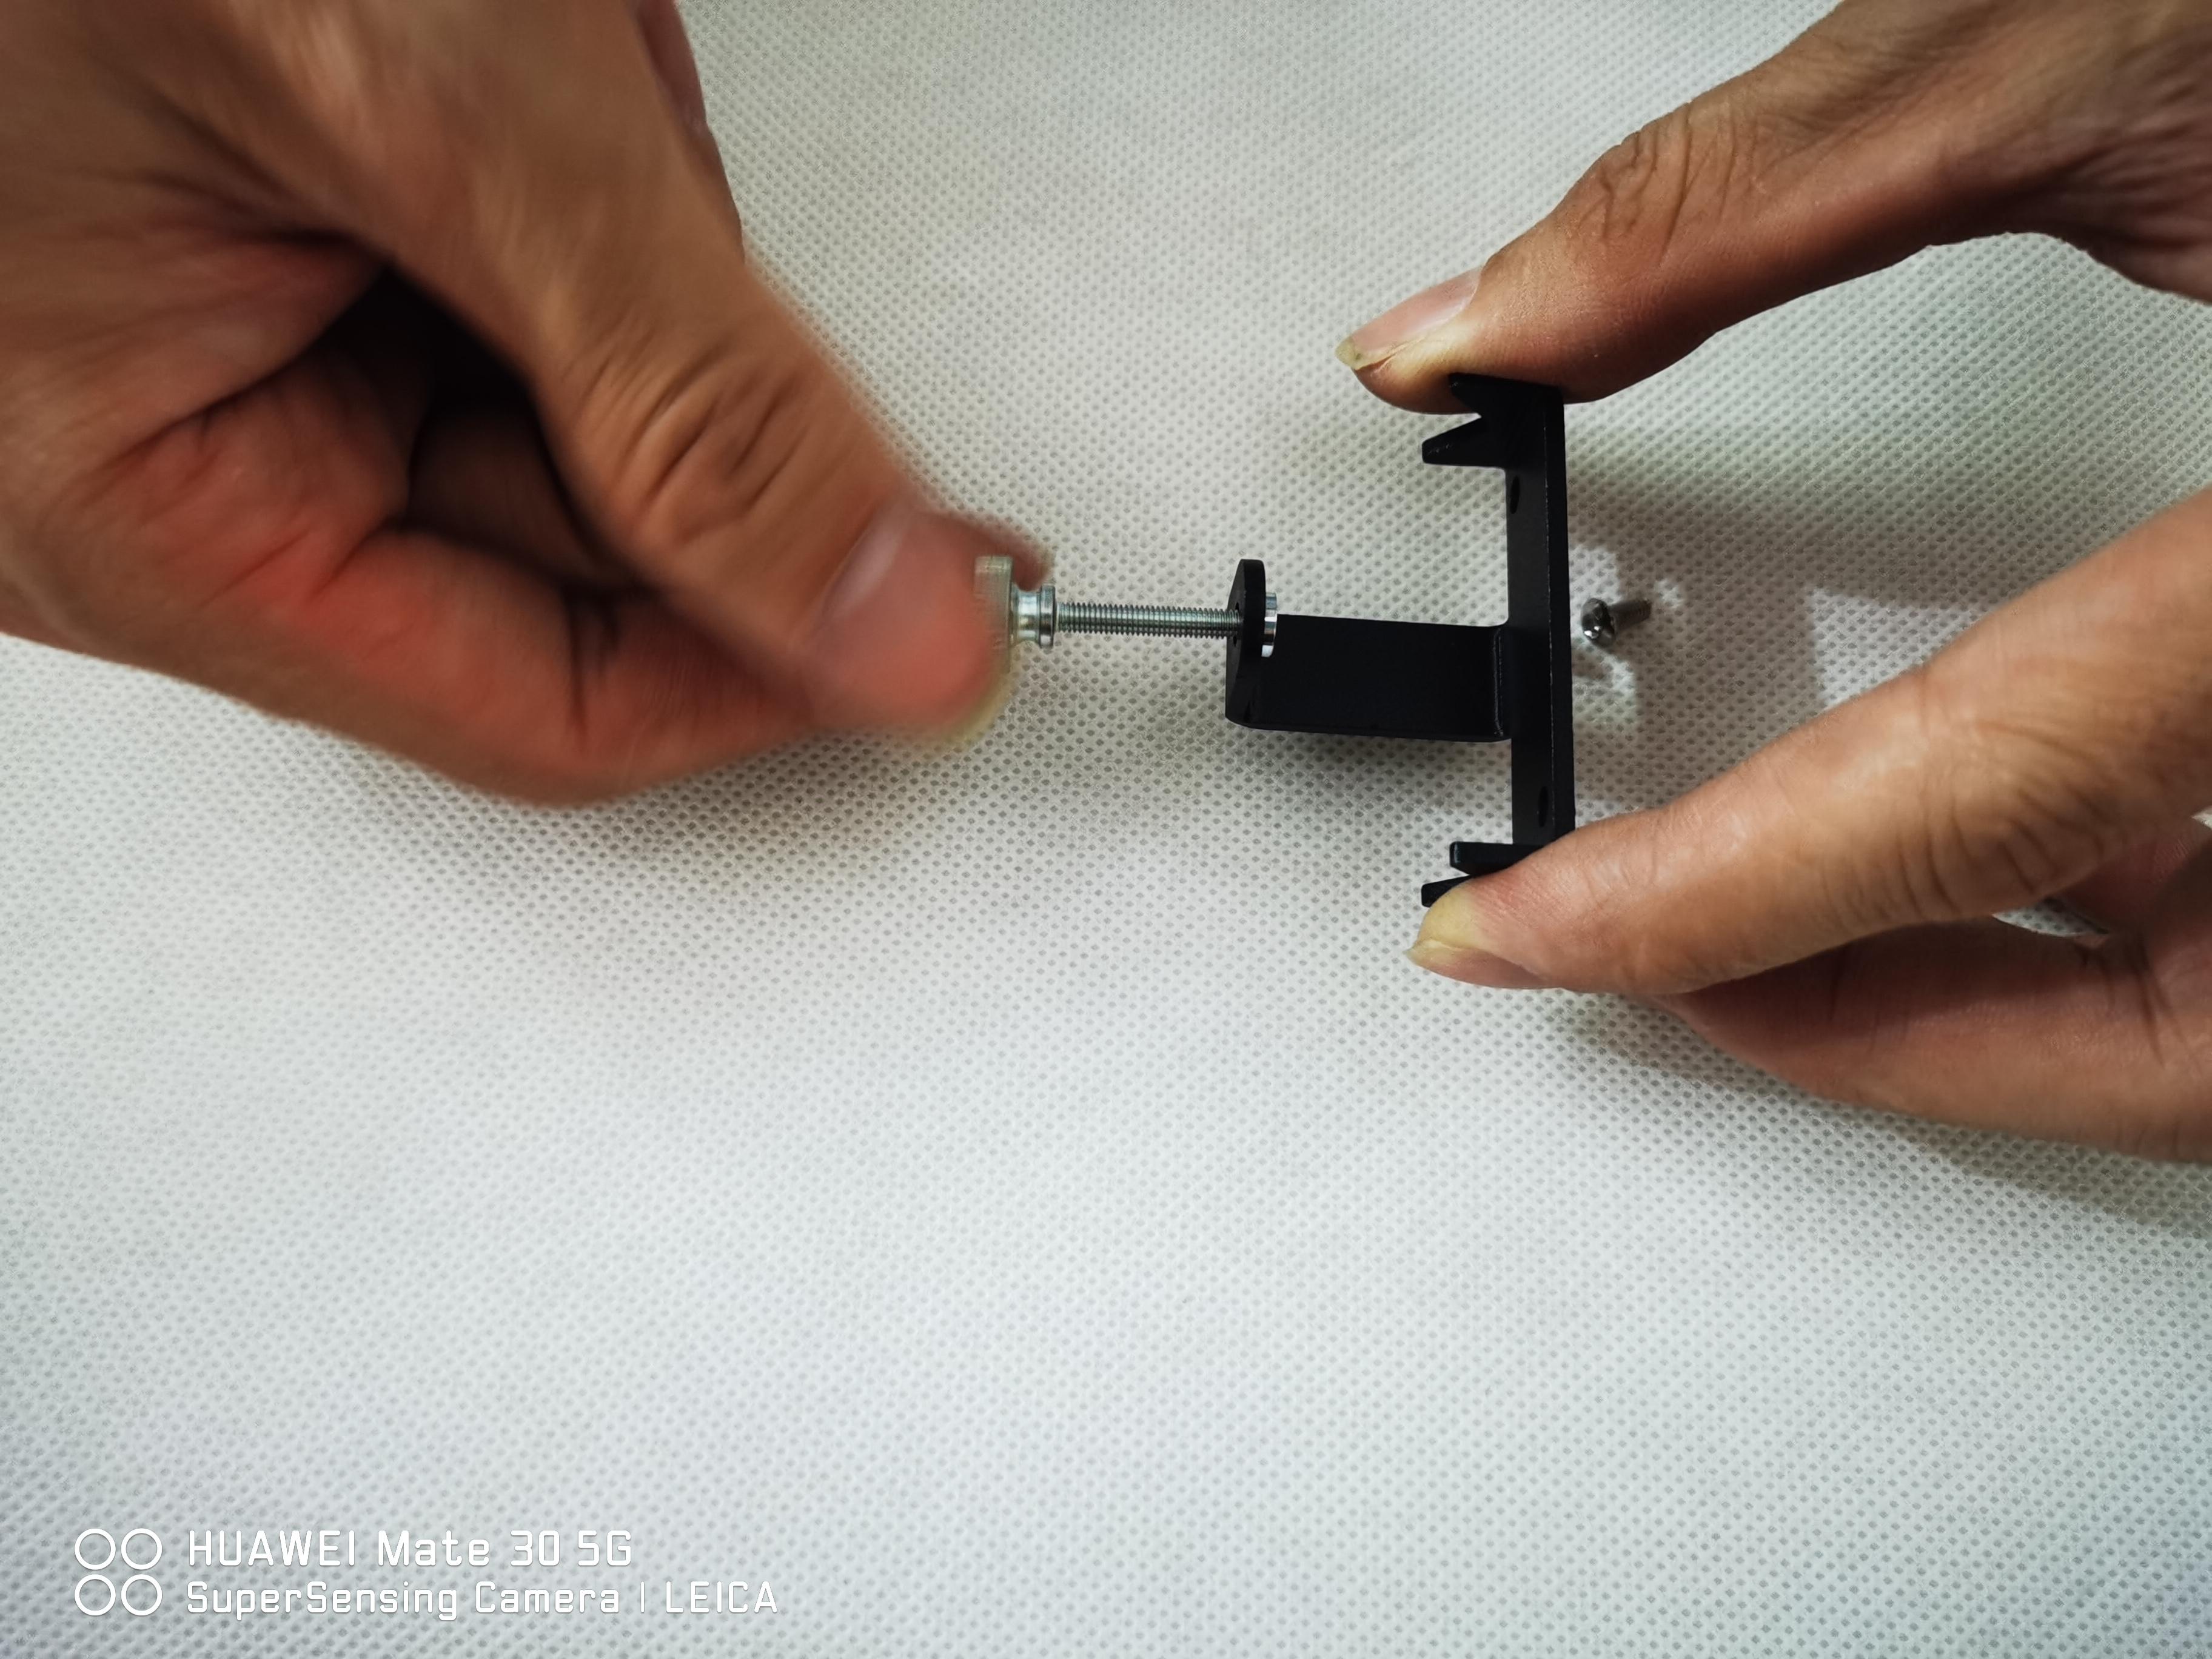
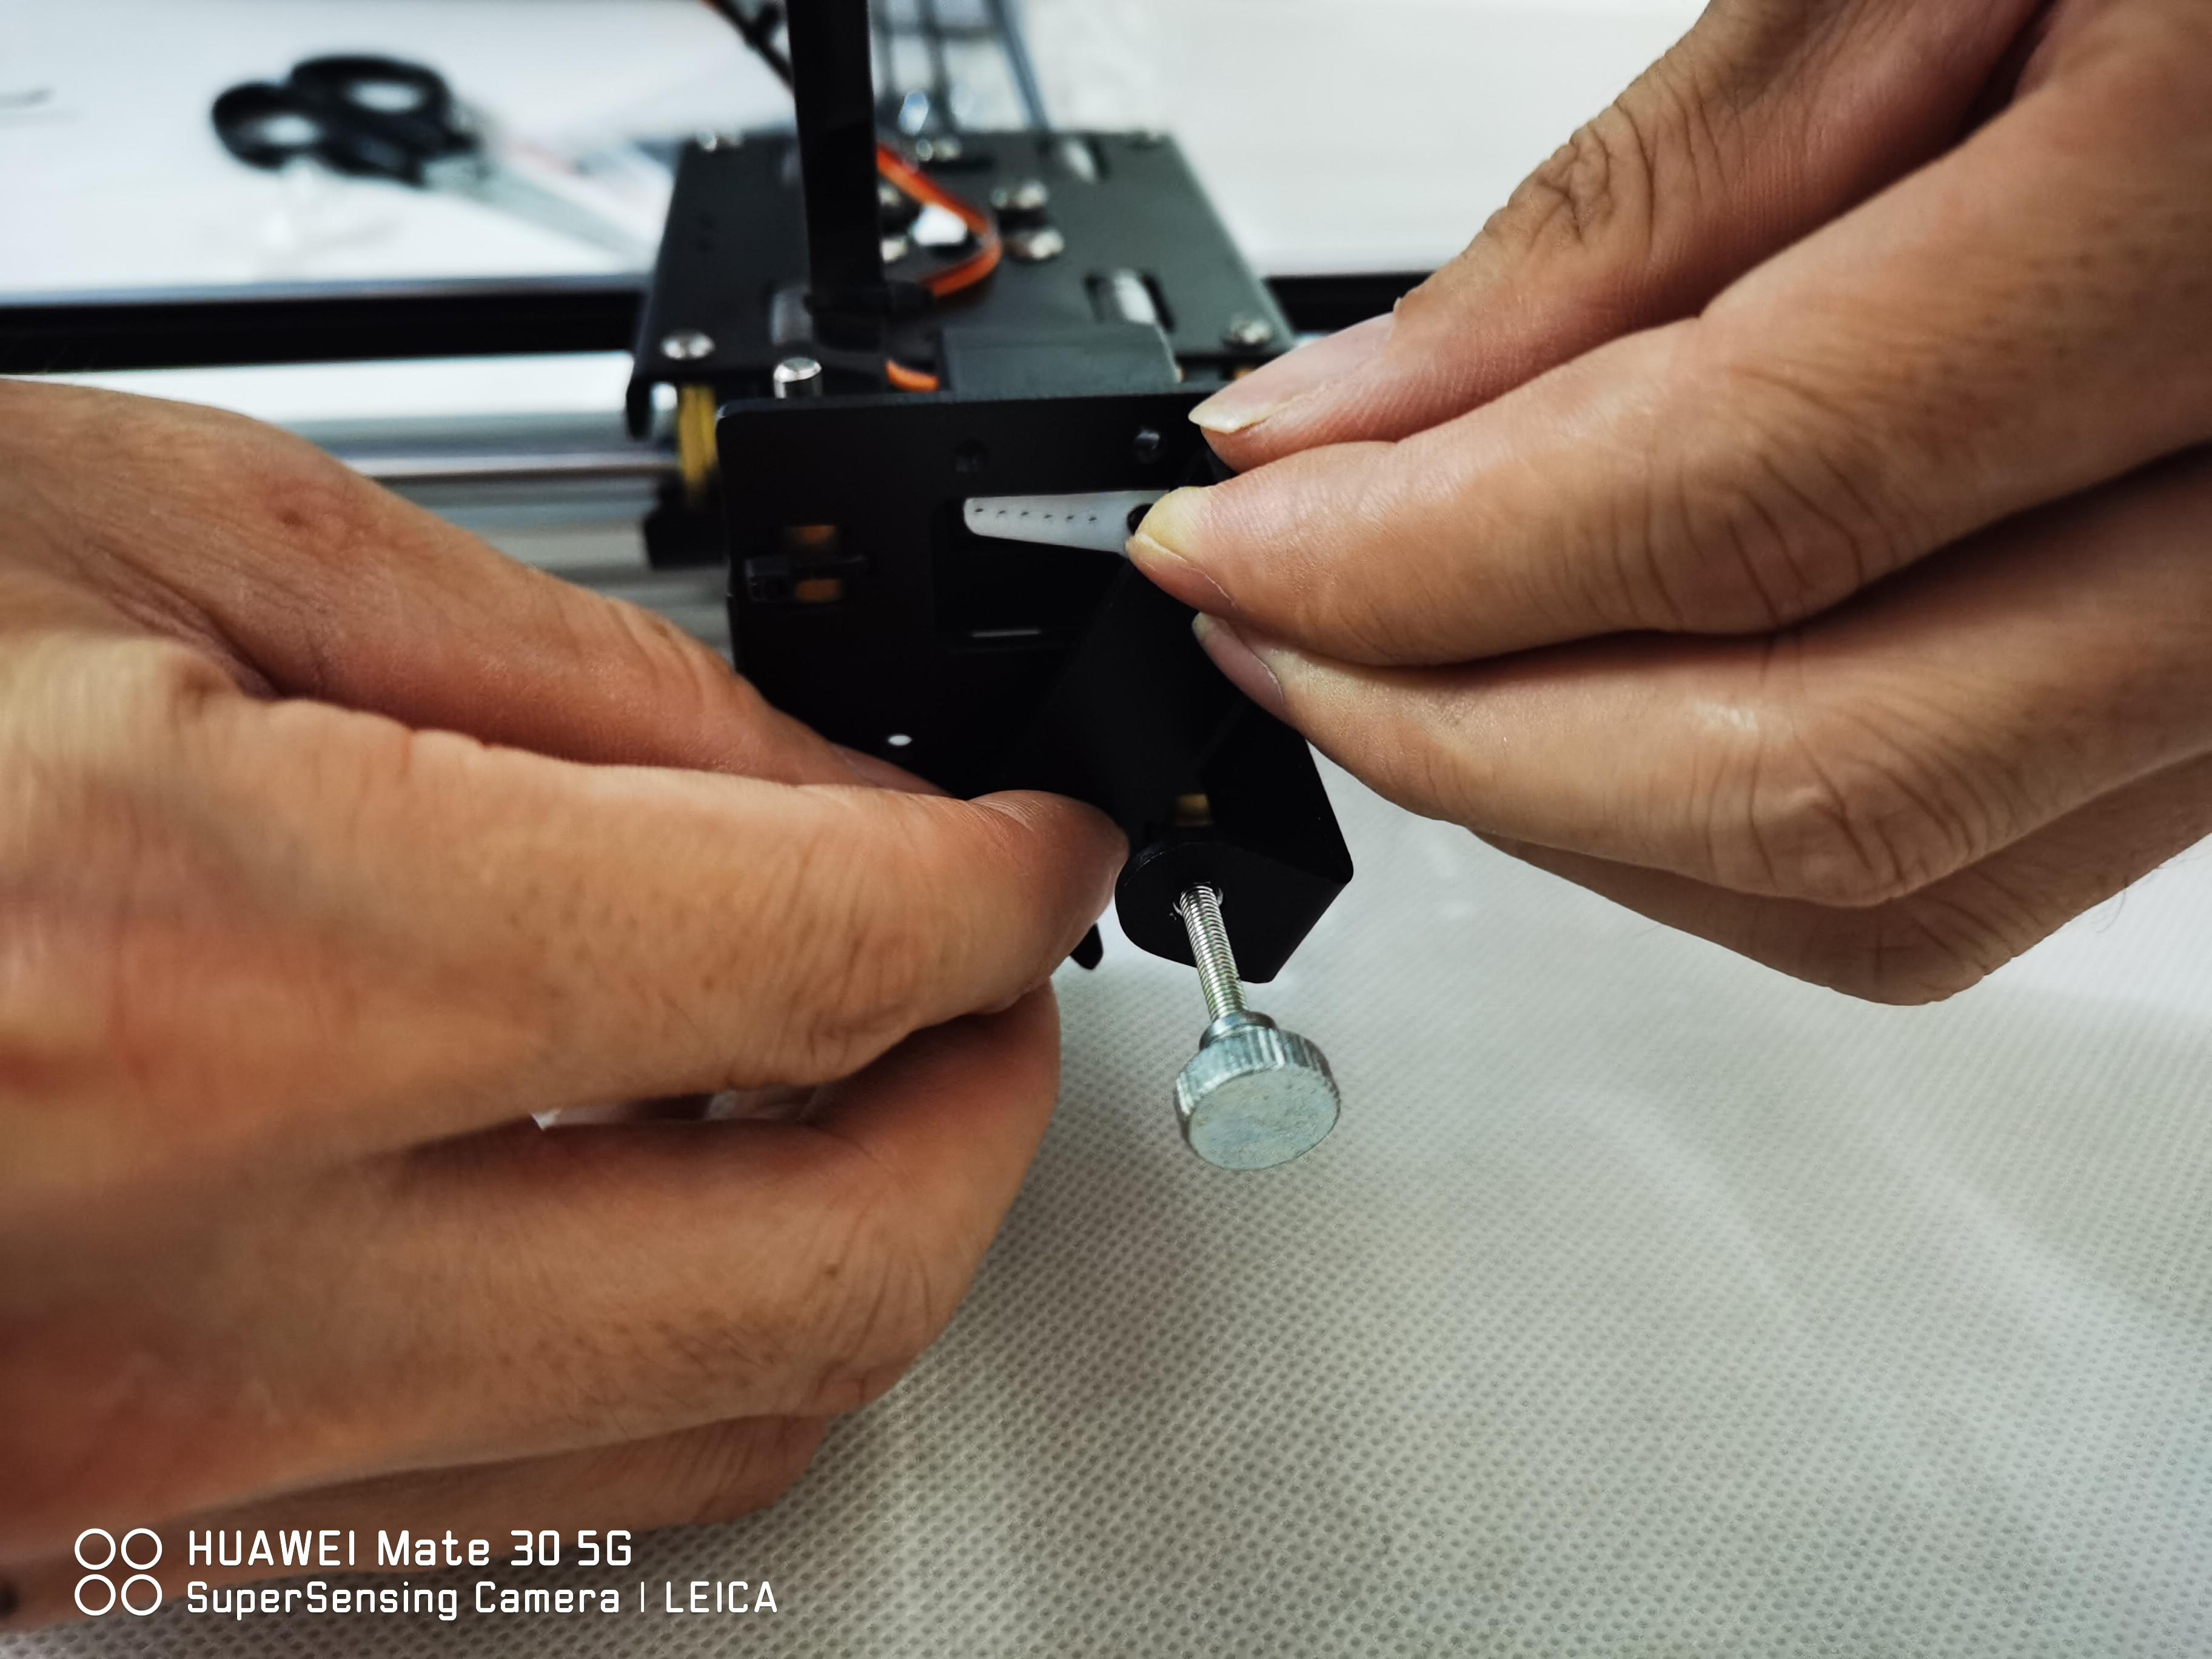
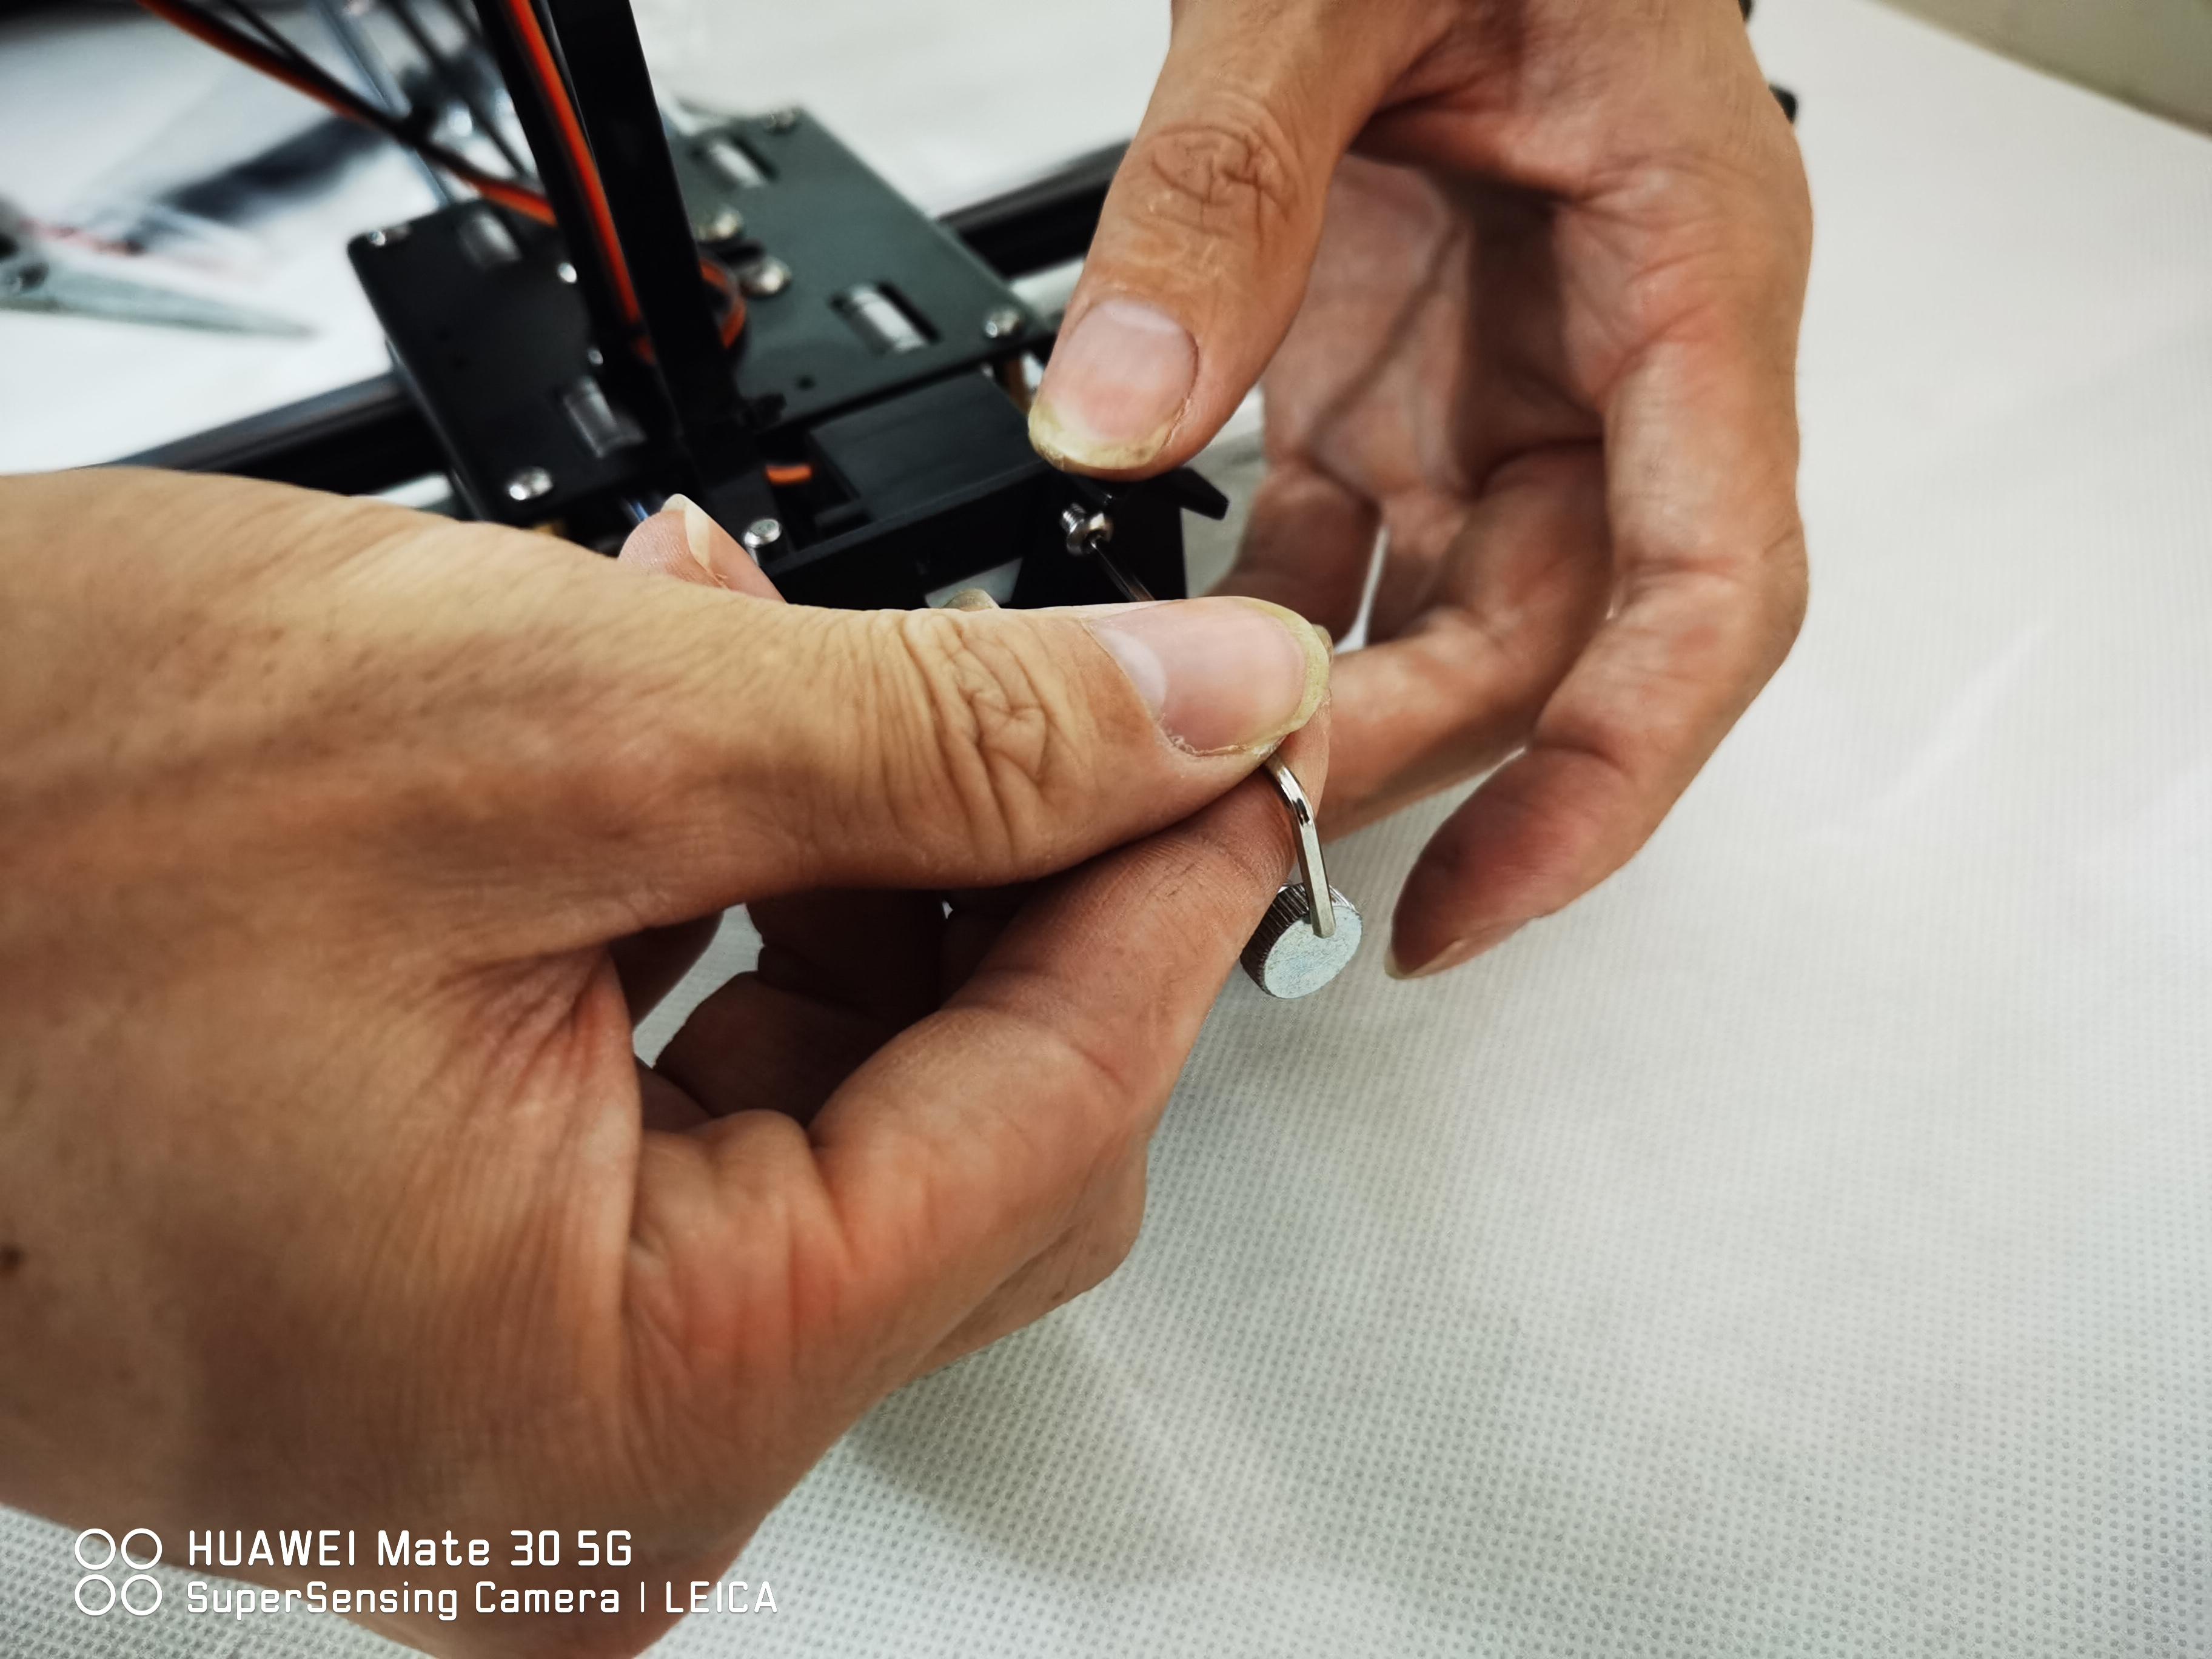
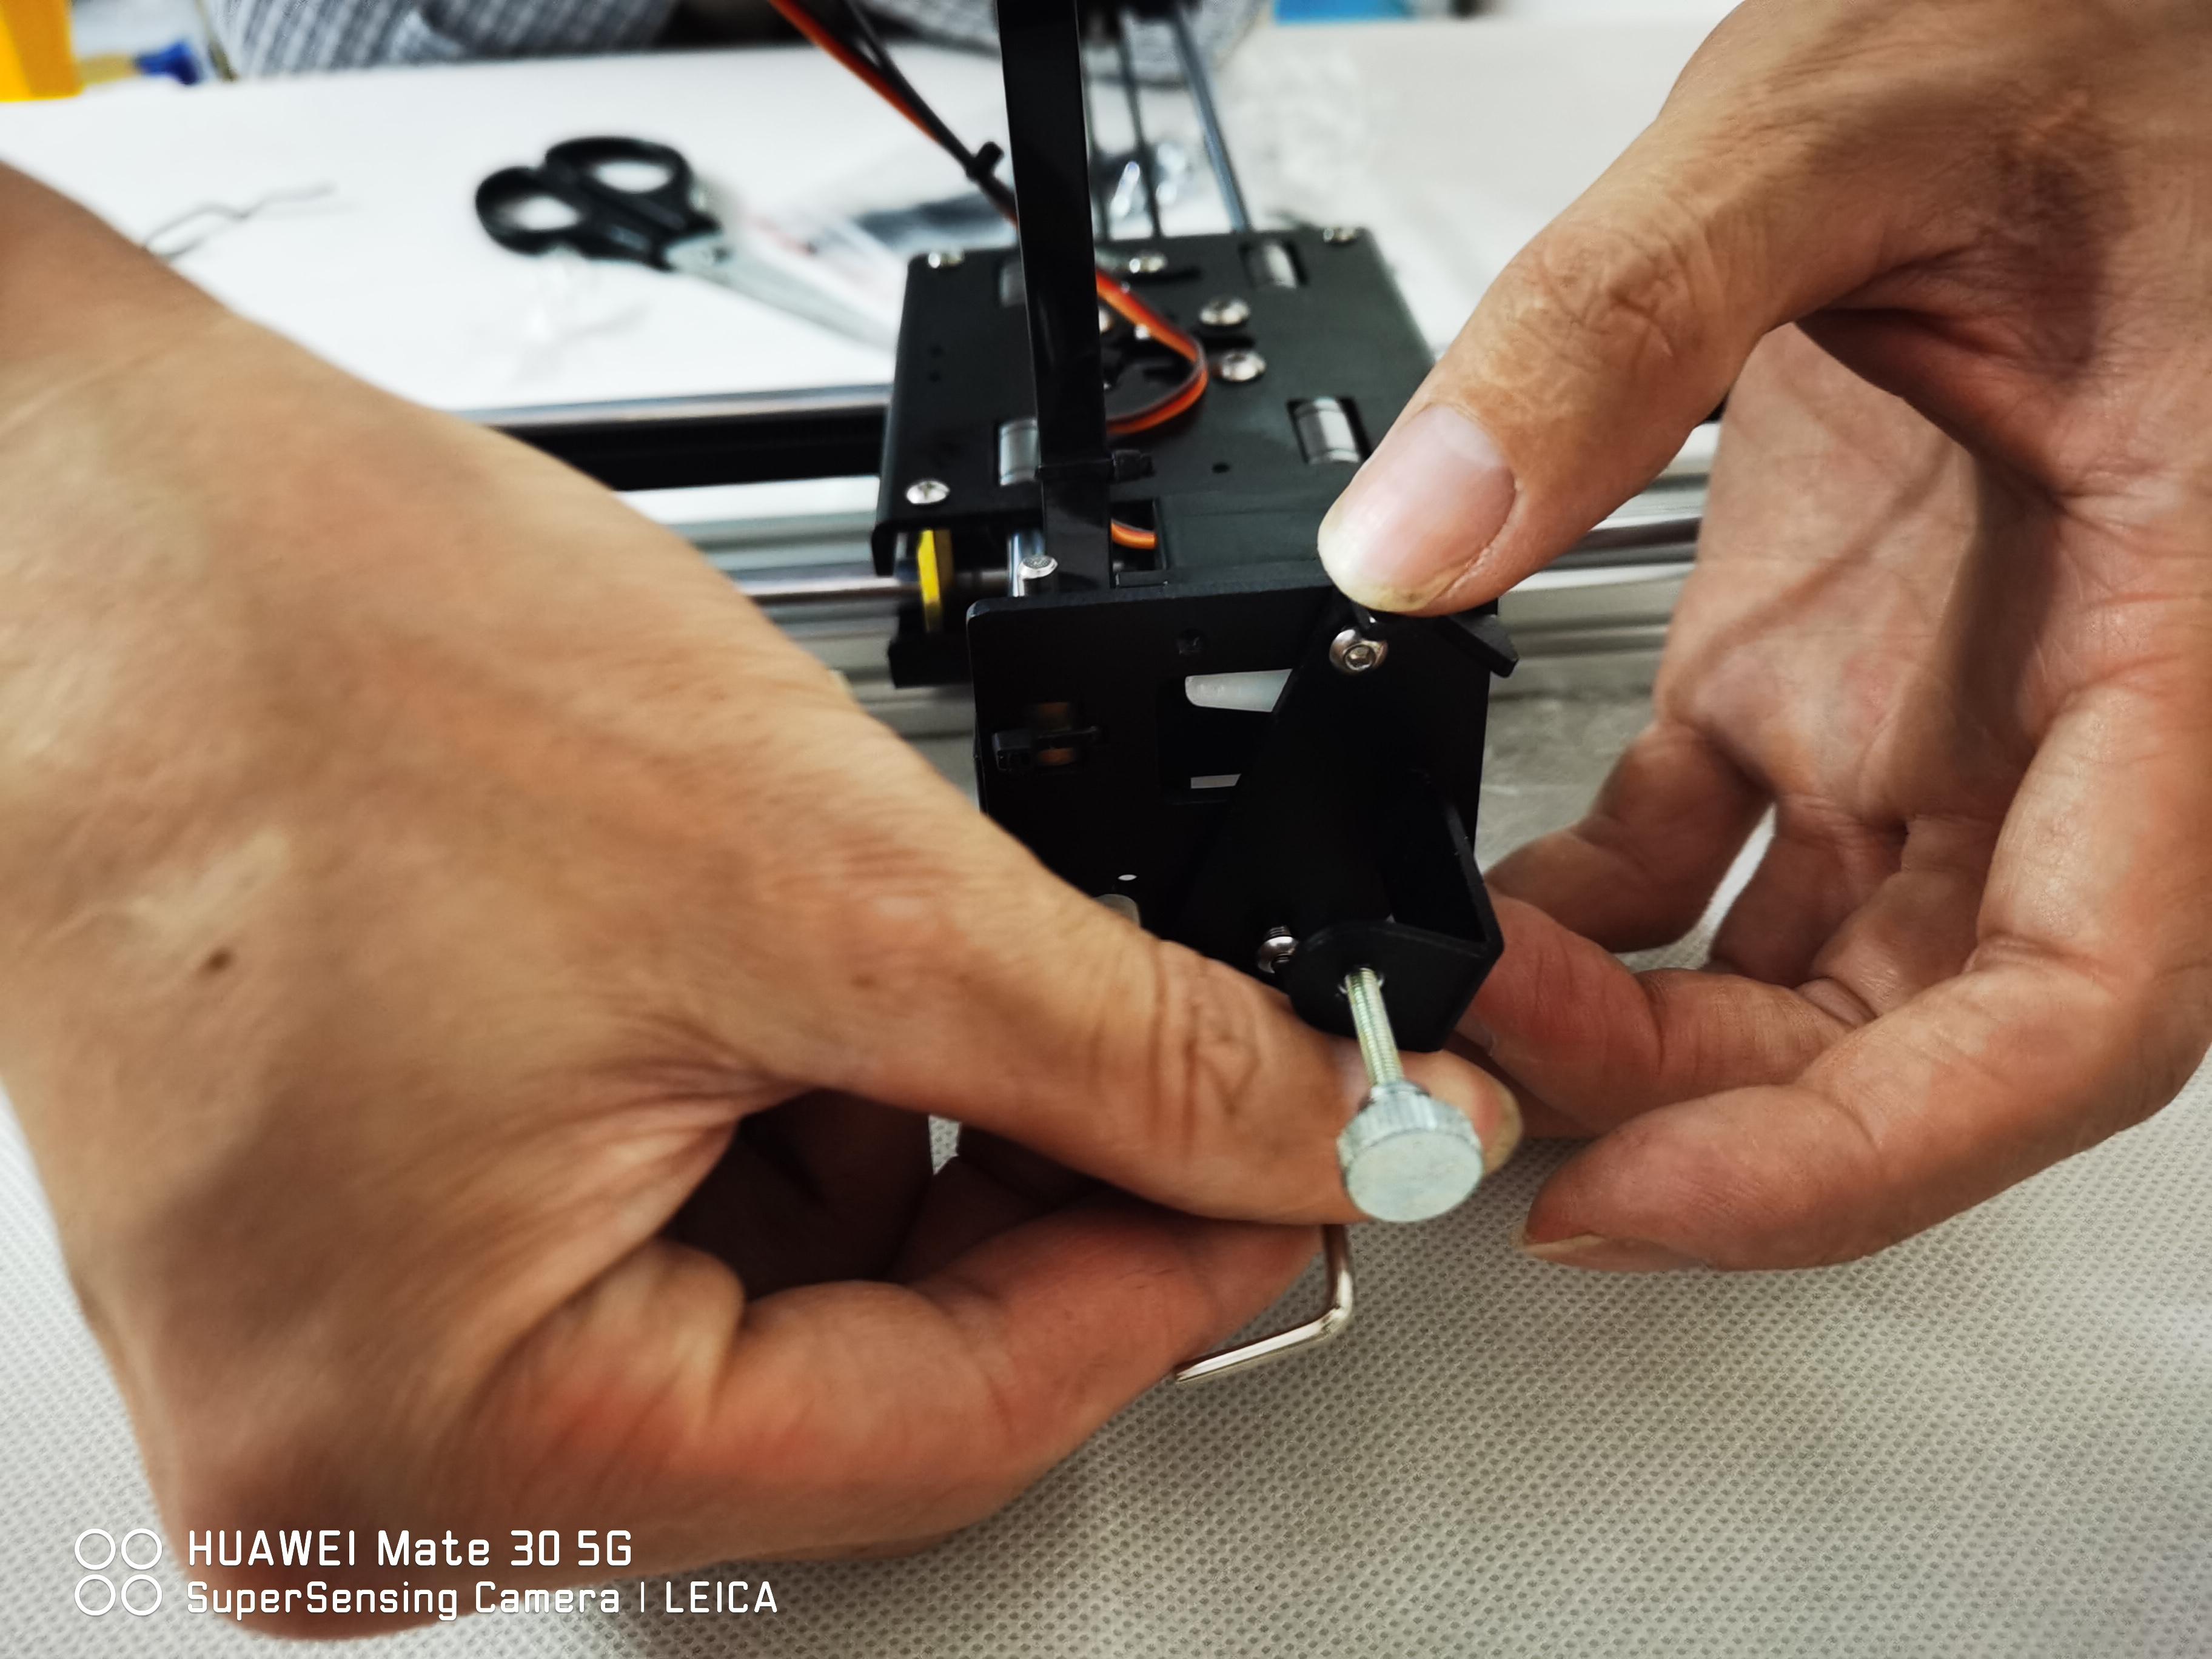
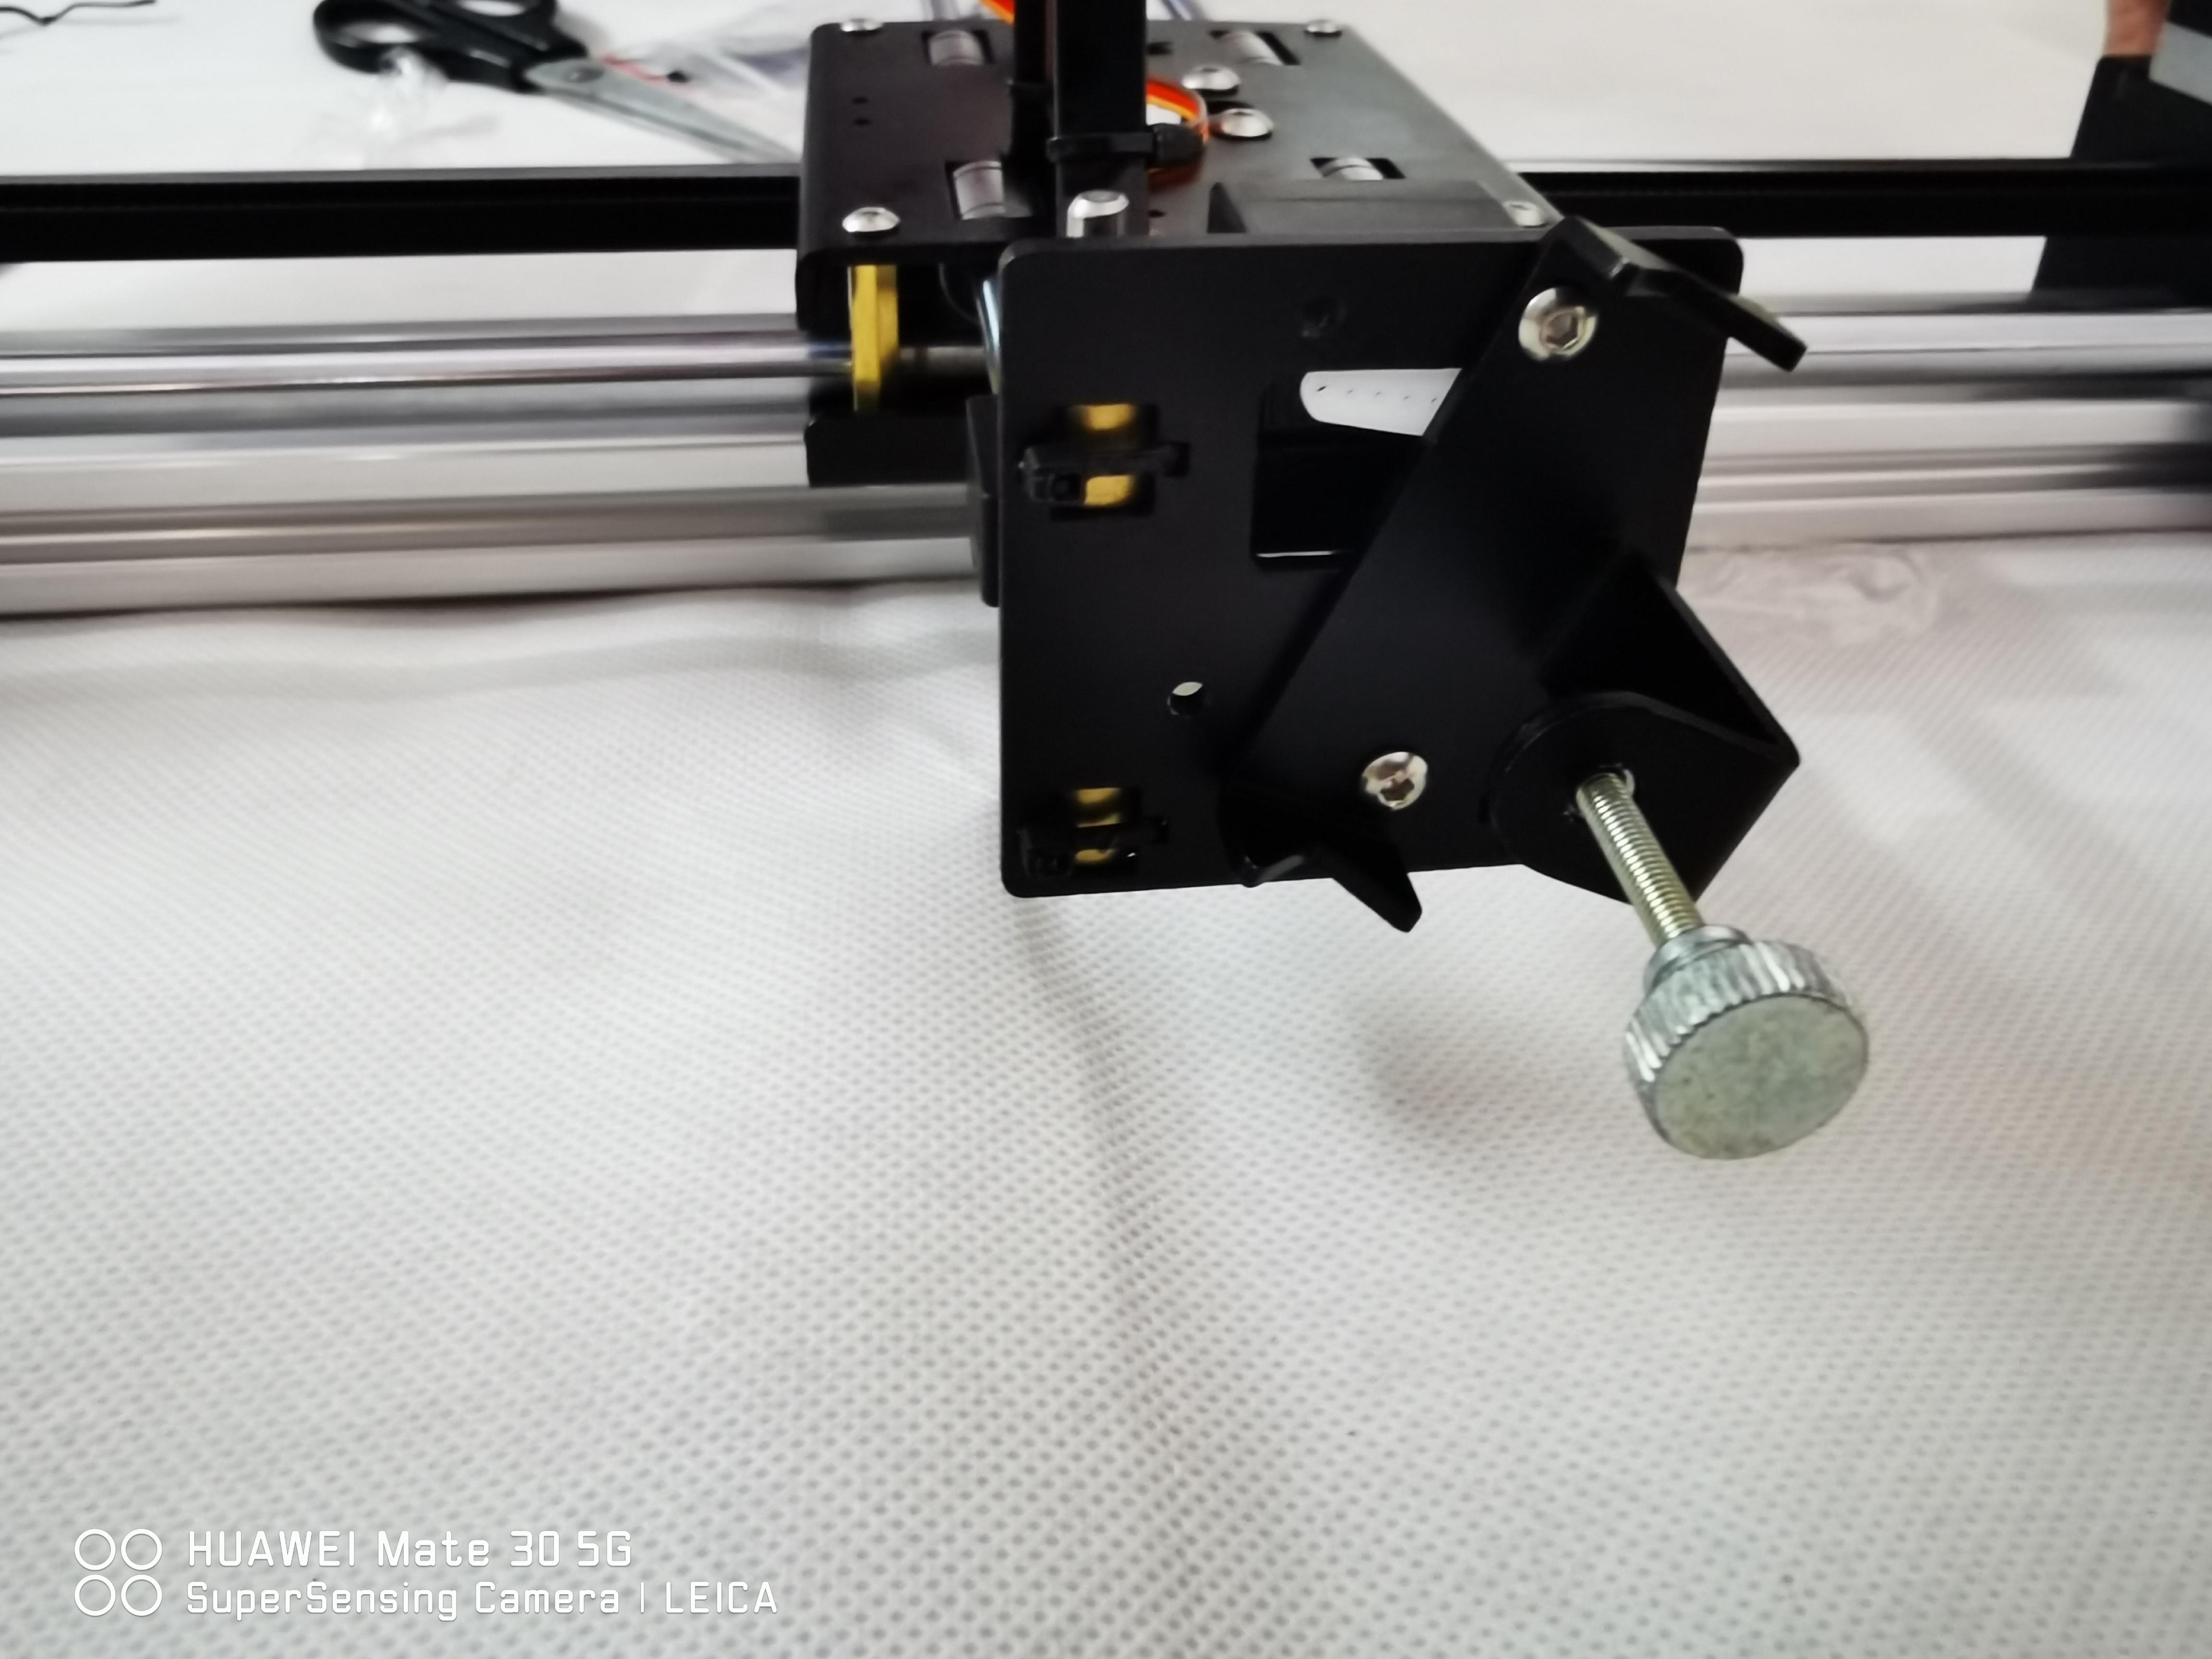
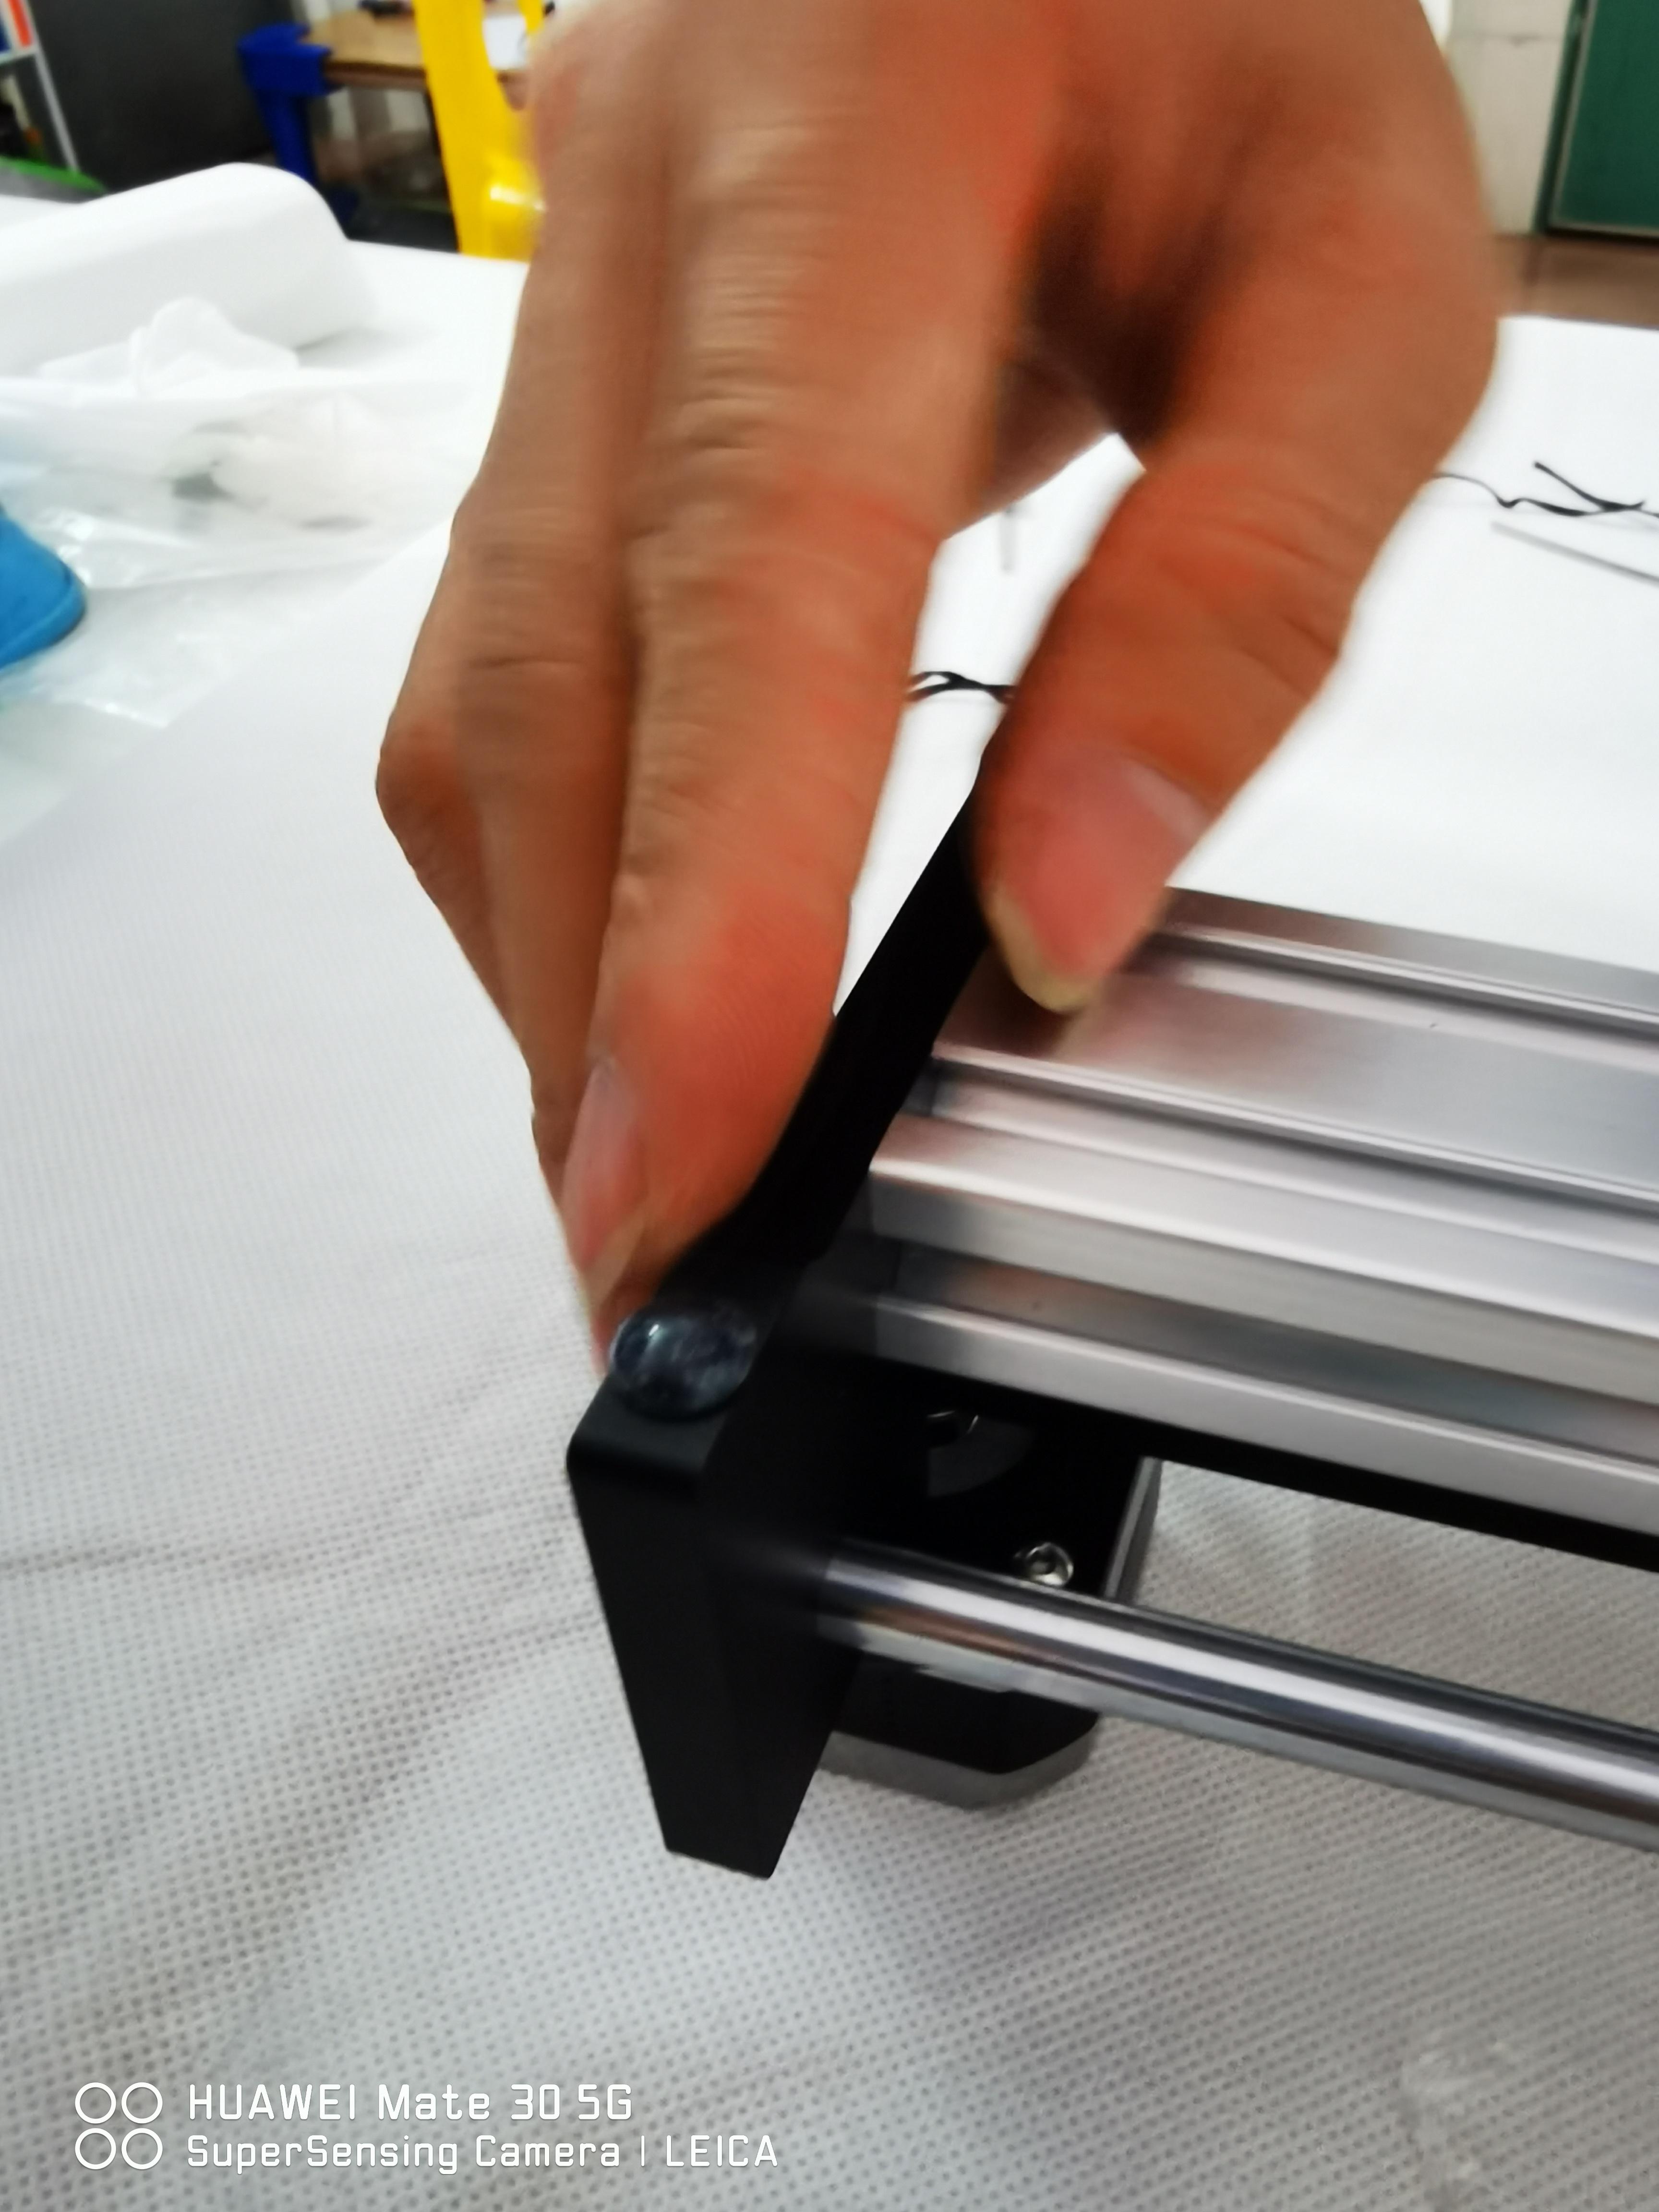
Now on the Pen Holding Block, We Are Going to Tension the Belt by Screwing in the Two Replaced Bolts Onto the Threaded Bore.
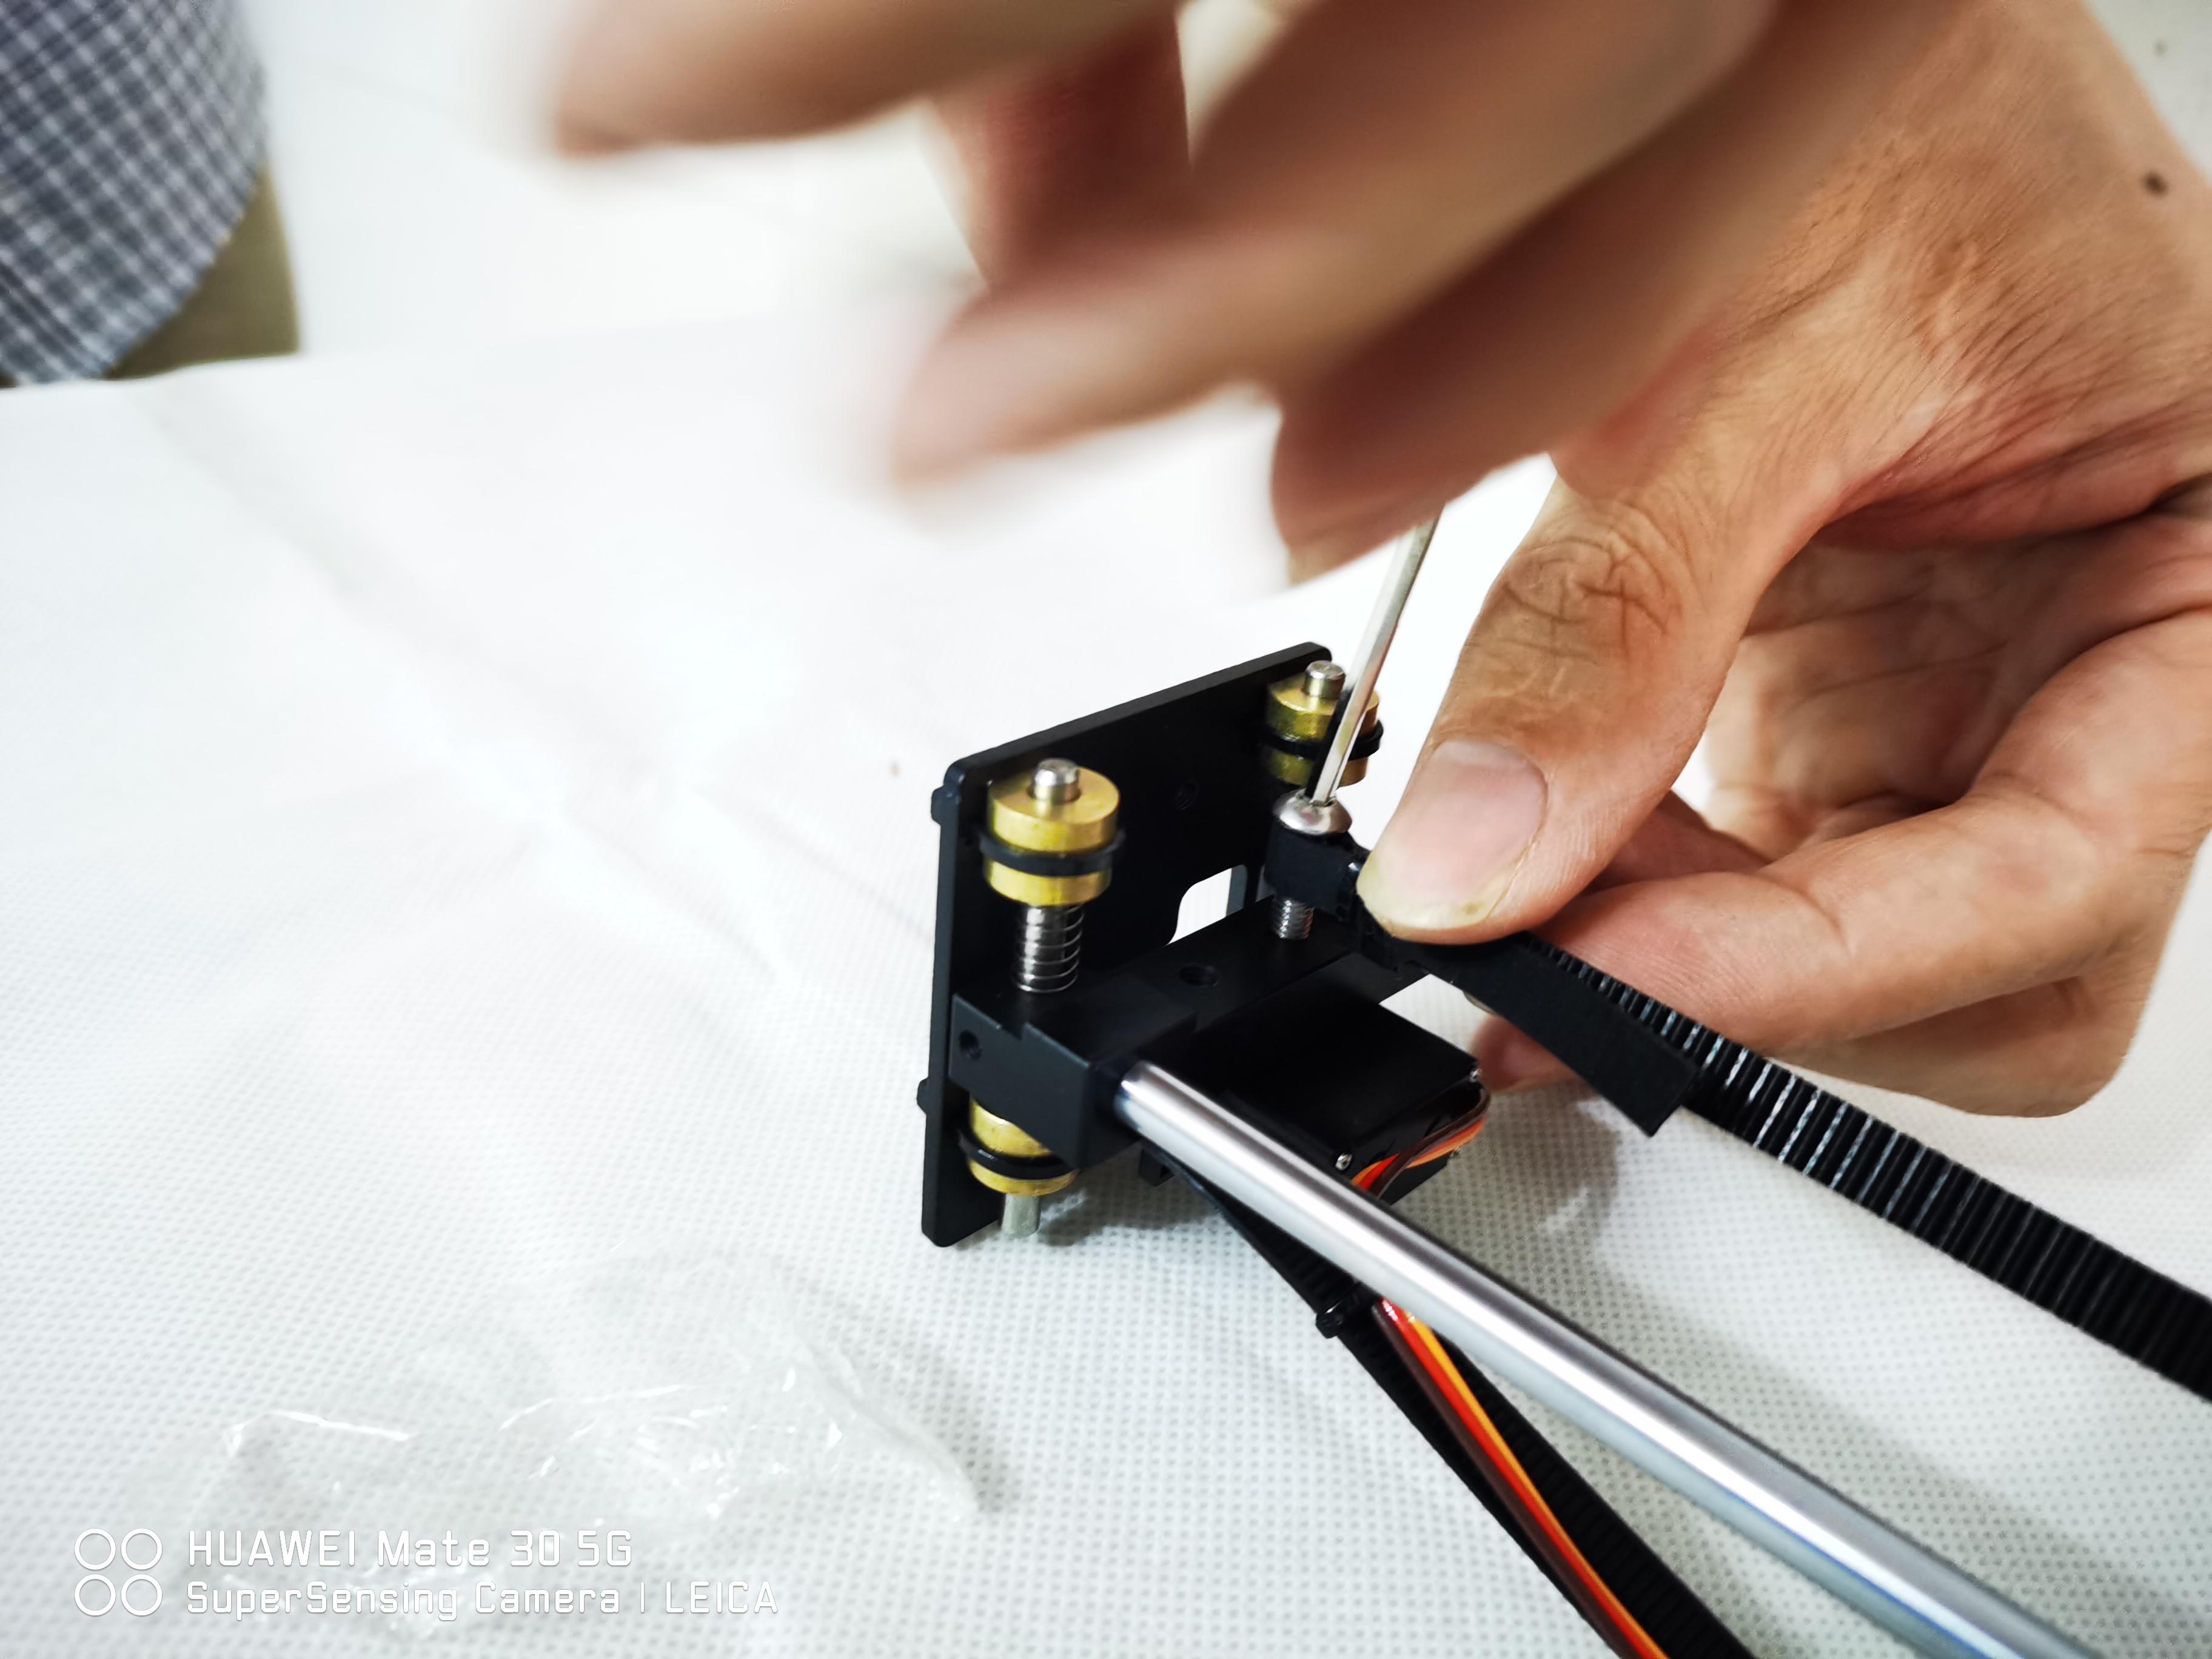

The belt has been pre-sized by the manufacturer so it should have a good amount of tension without having to redo the cable ties.
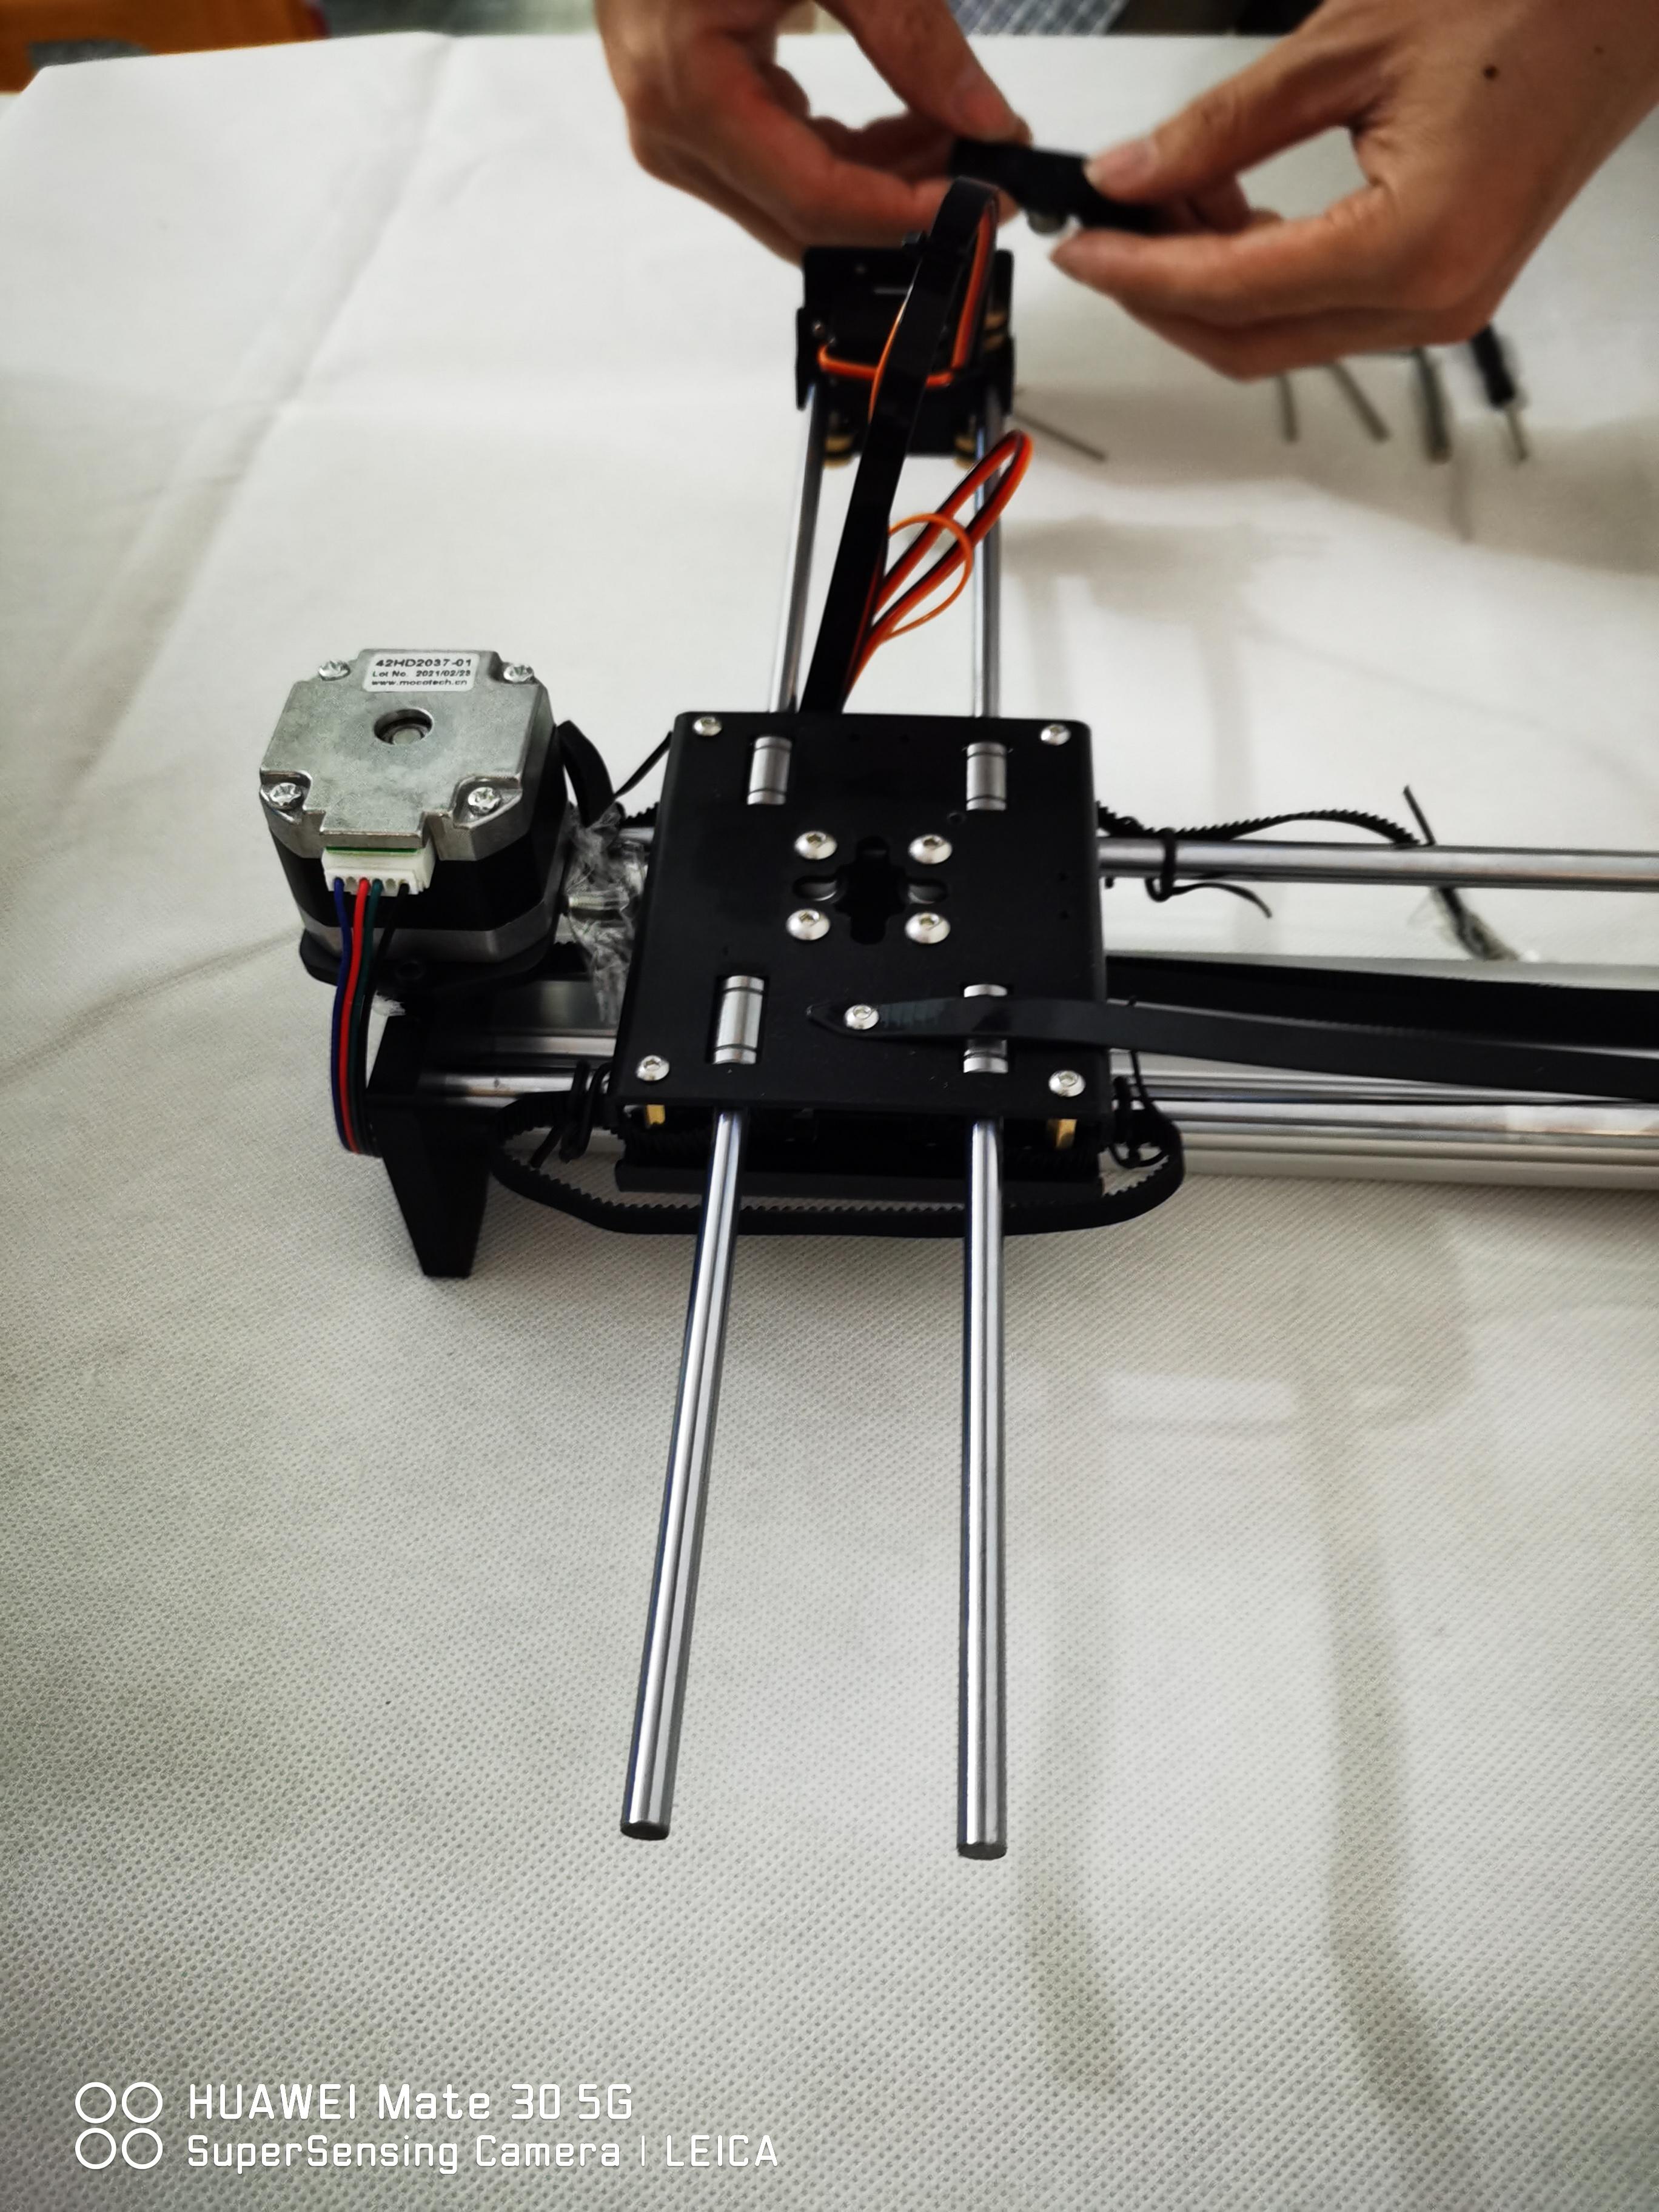
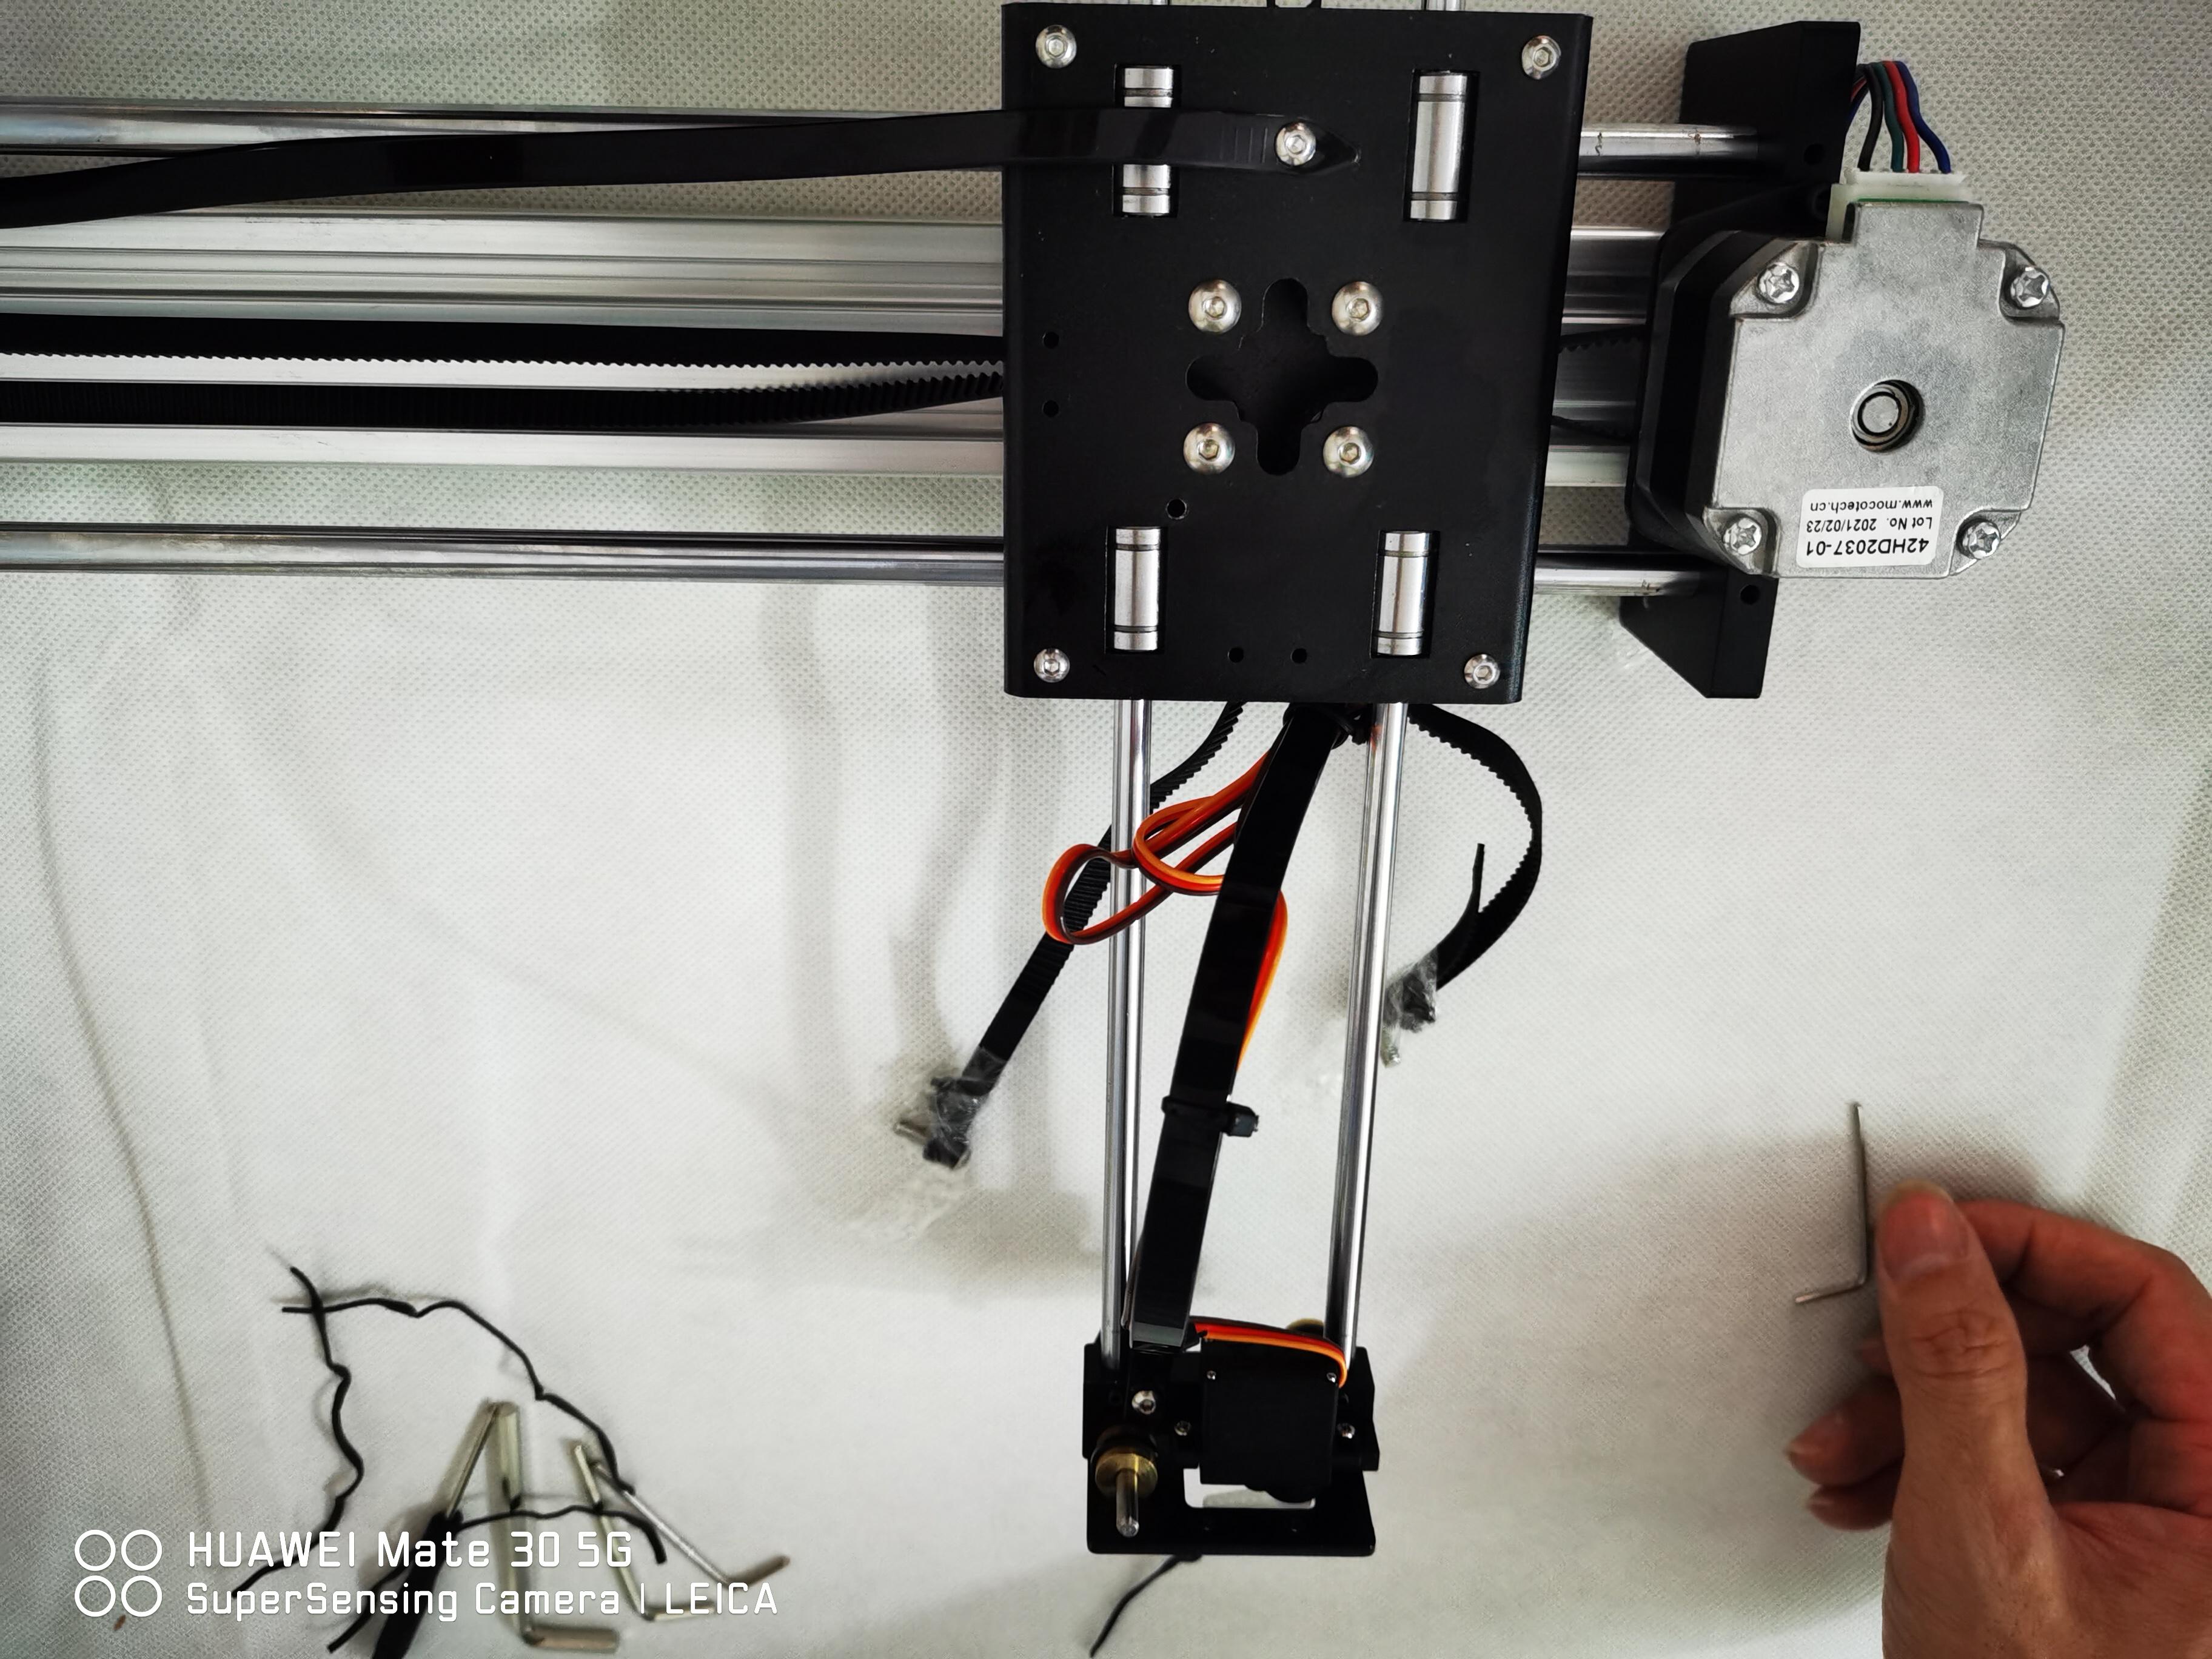
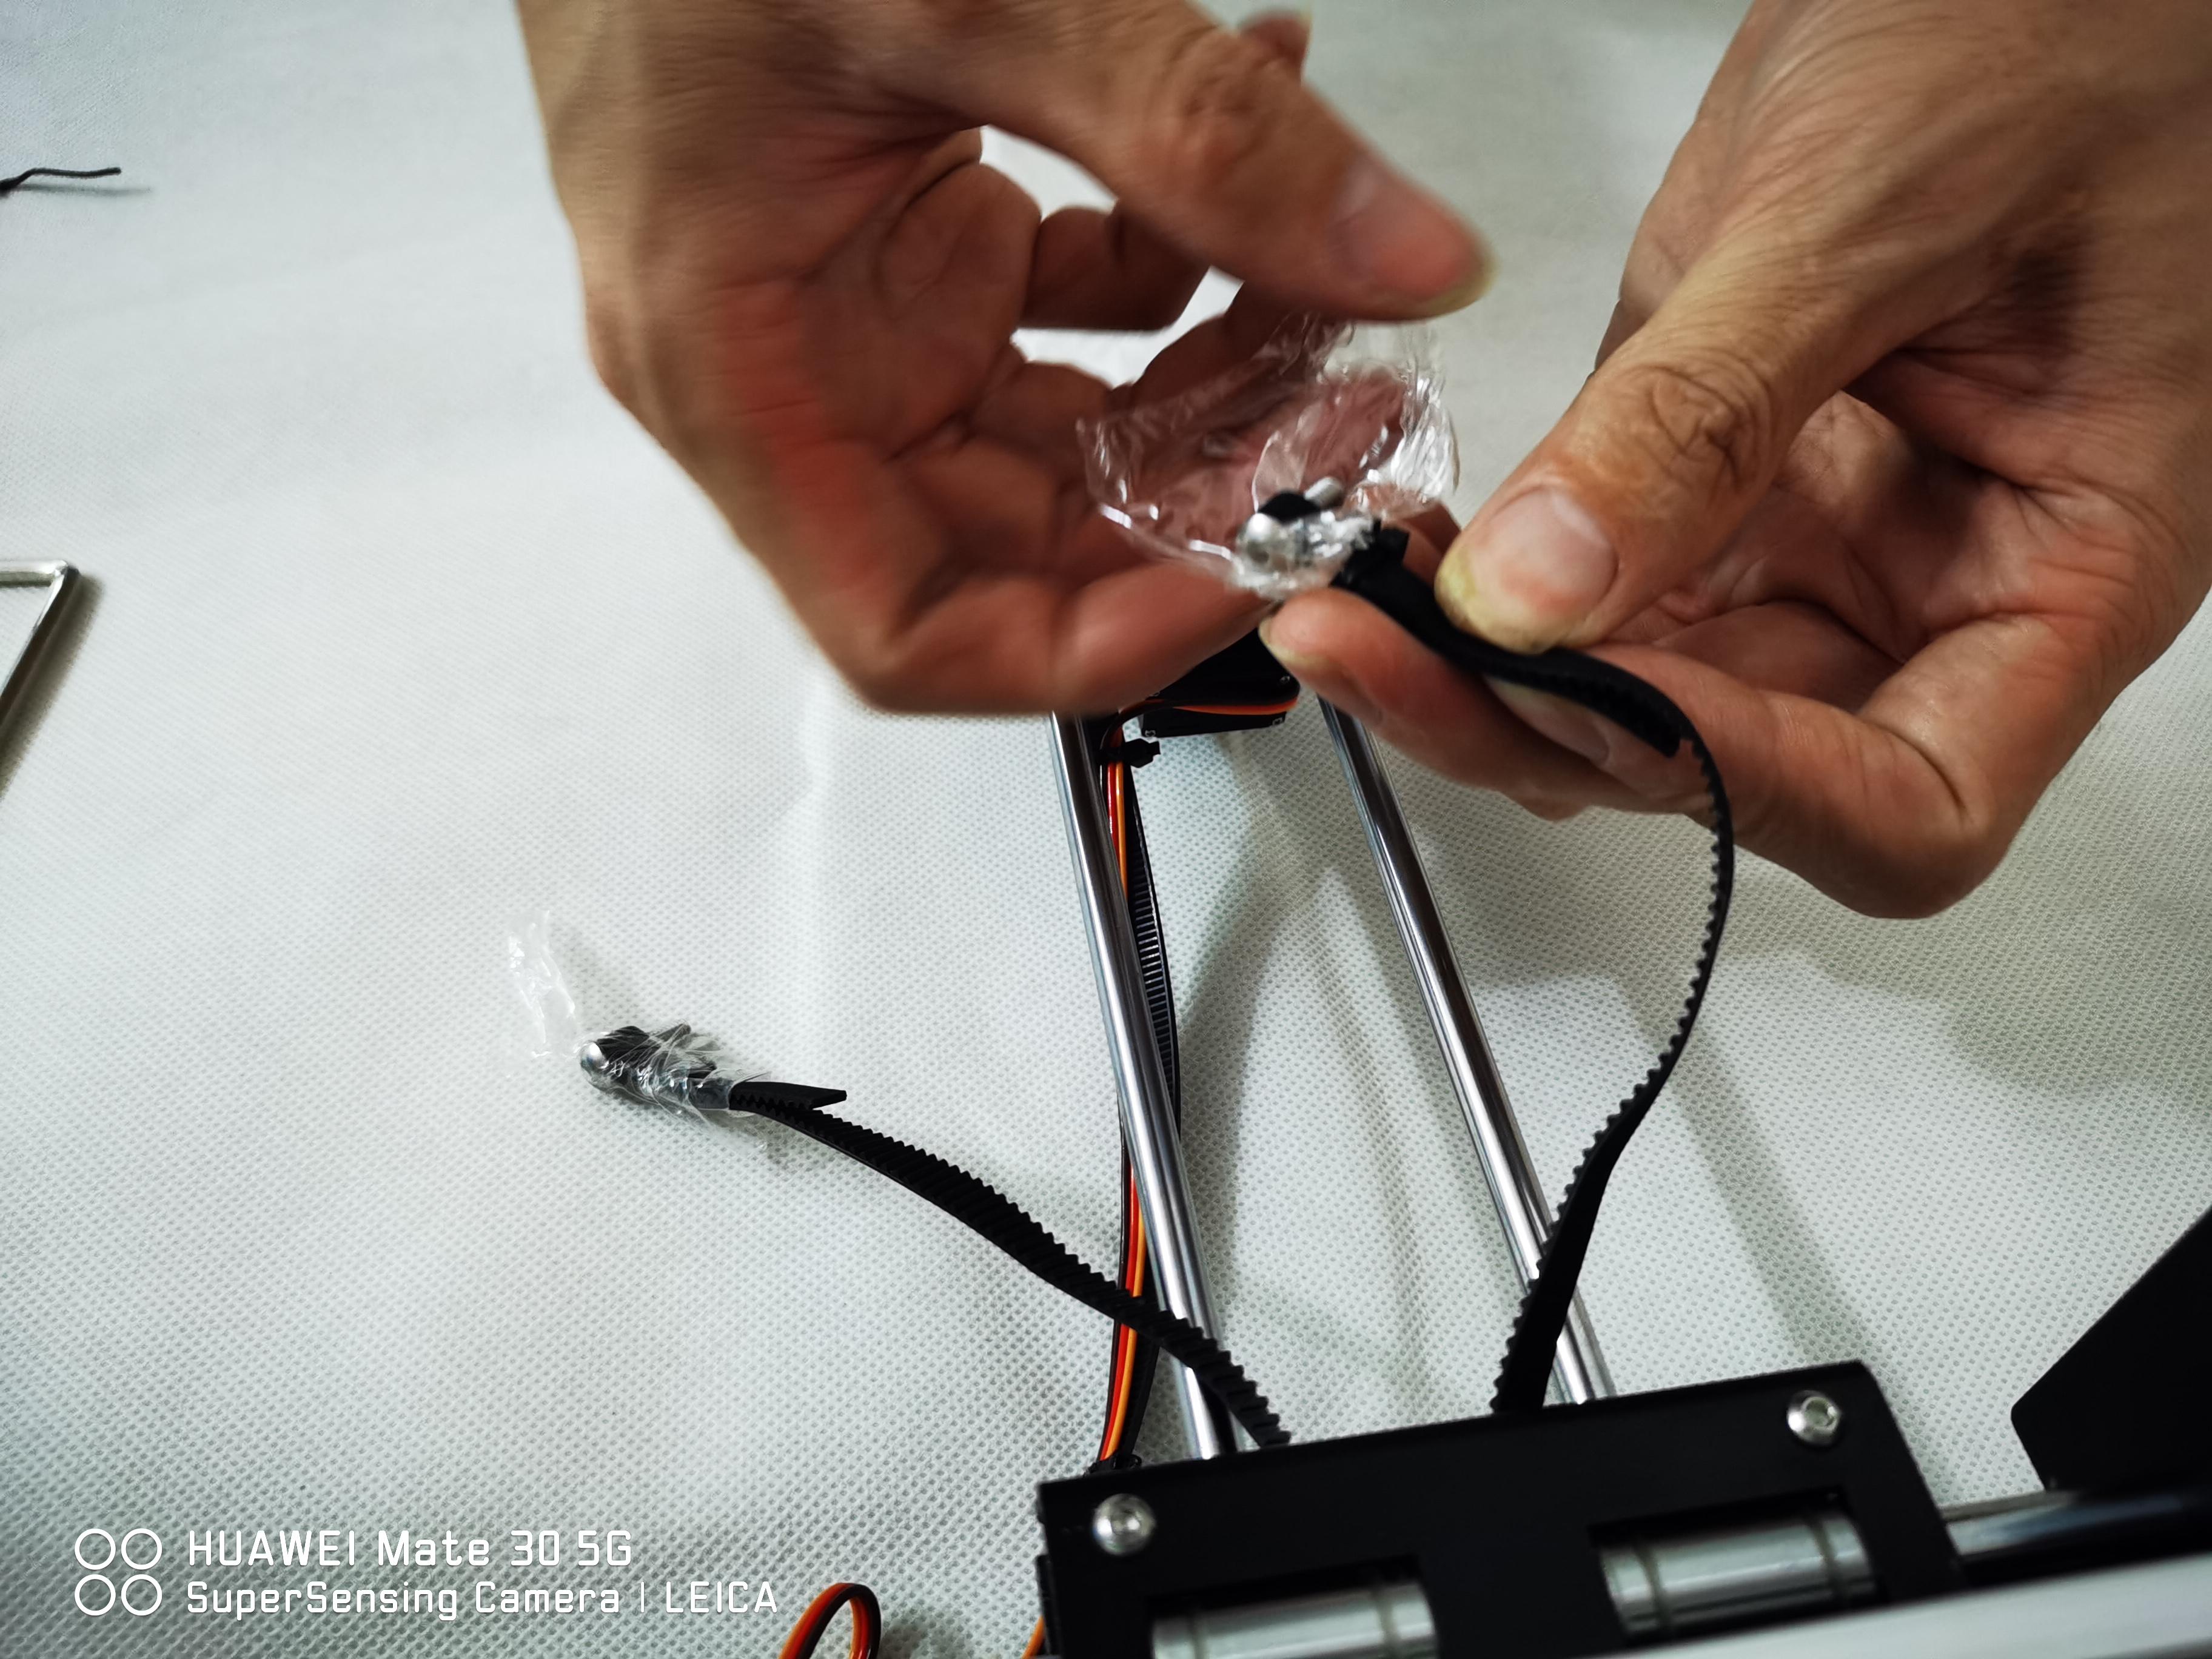
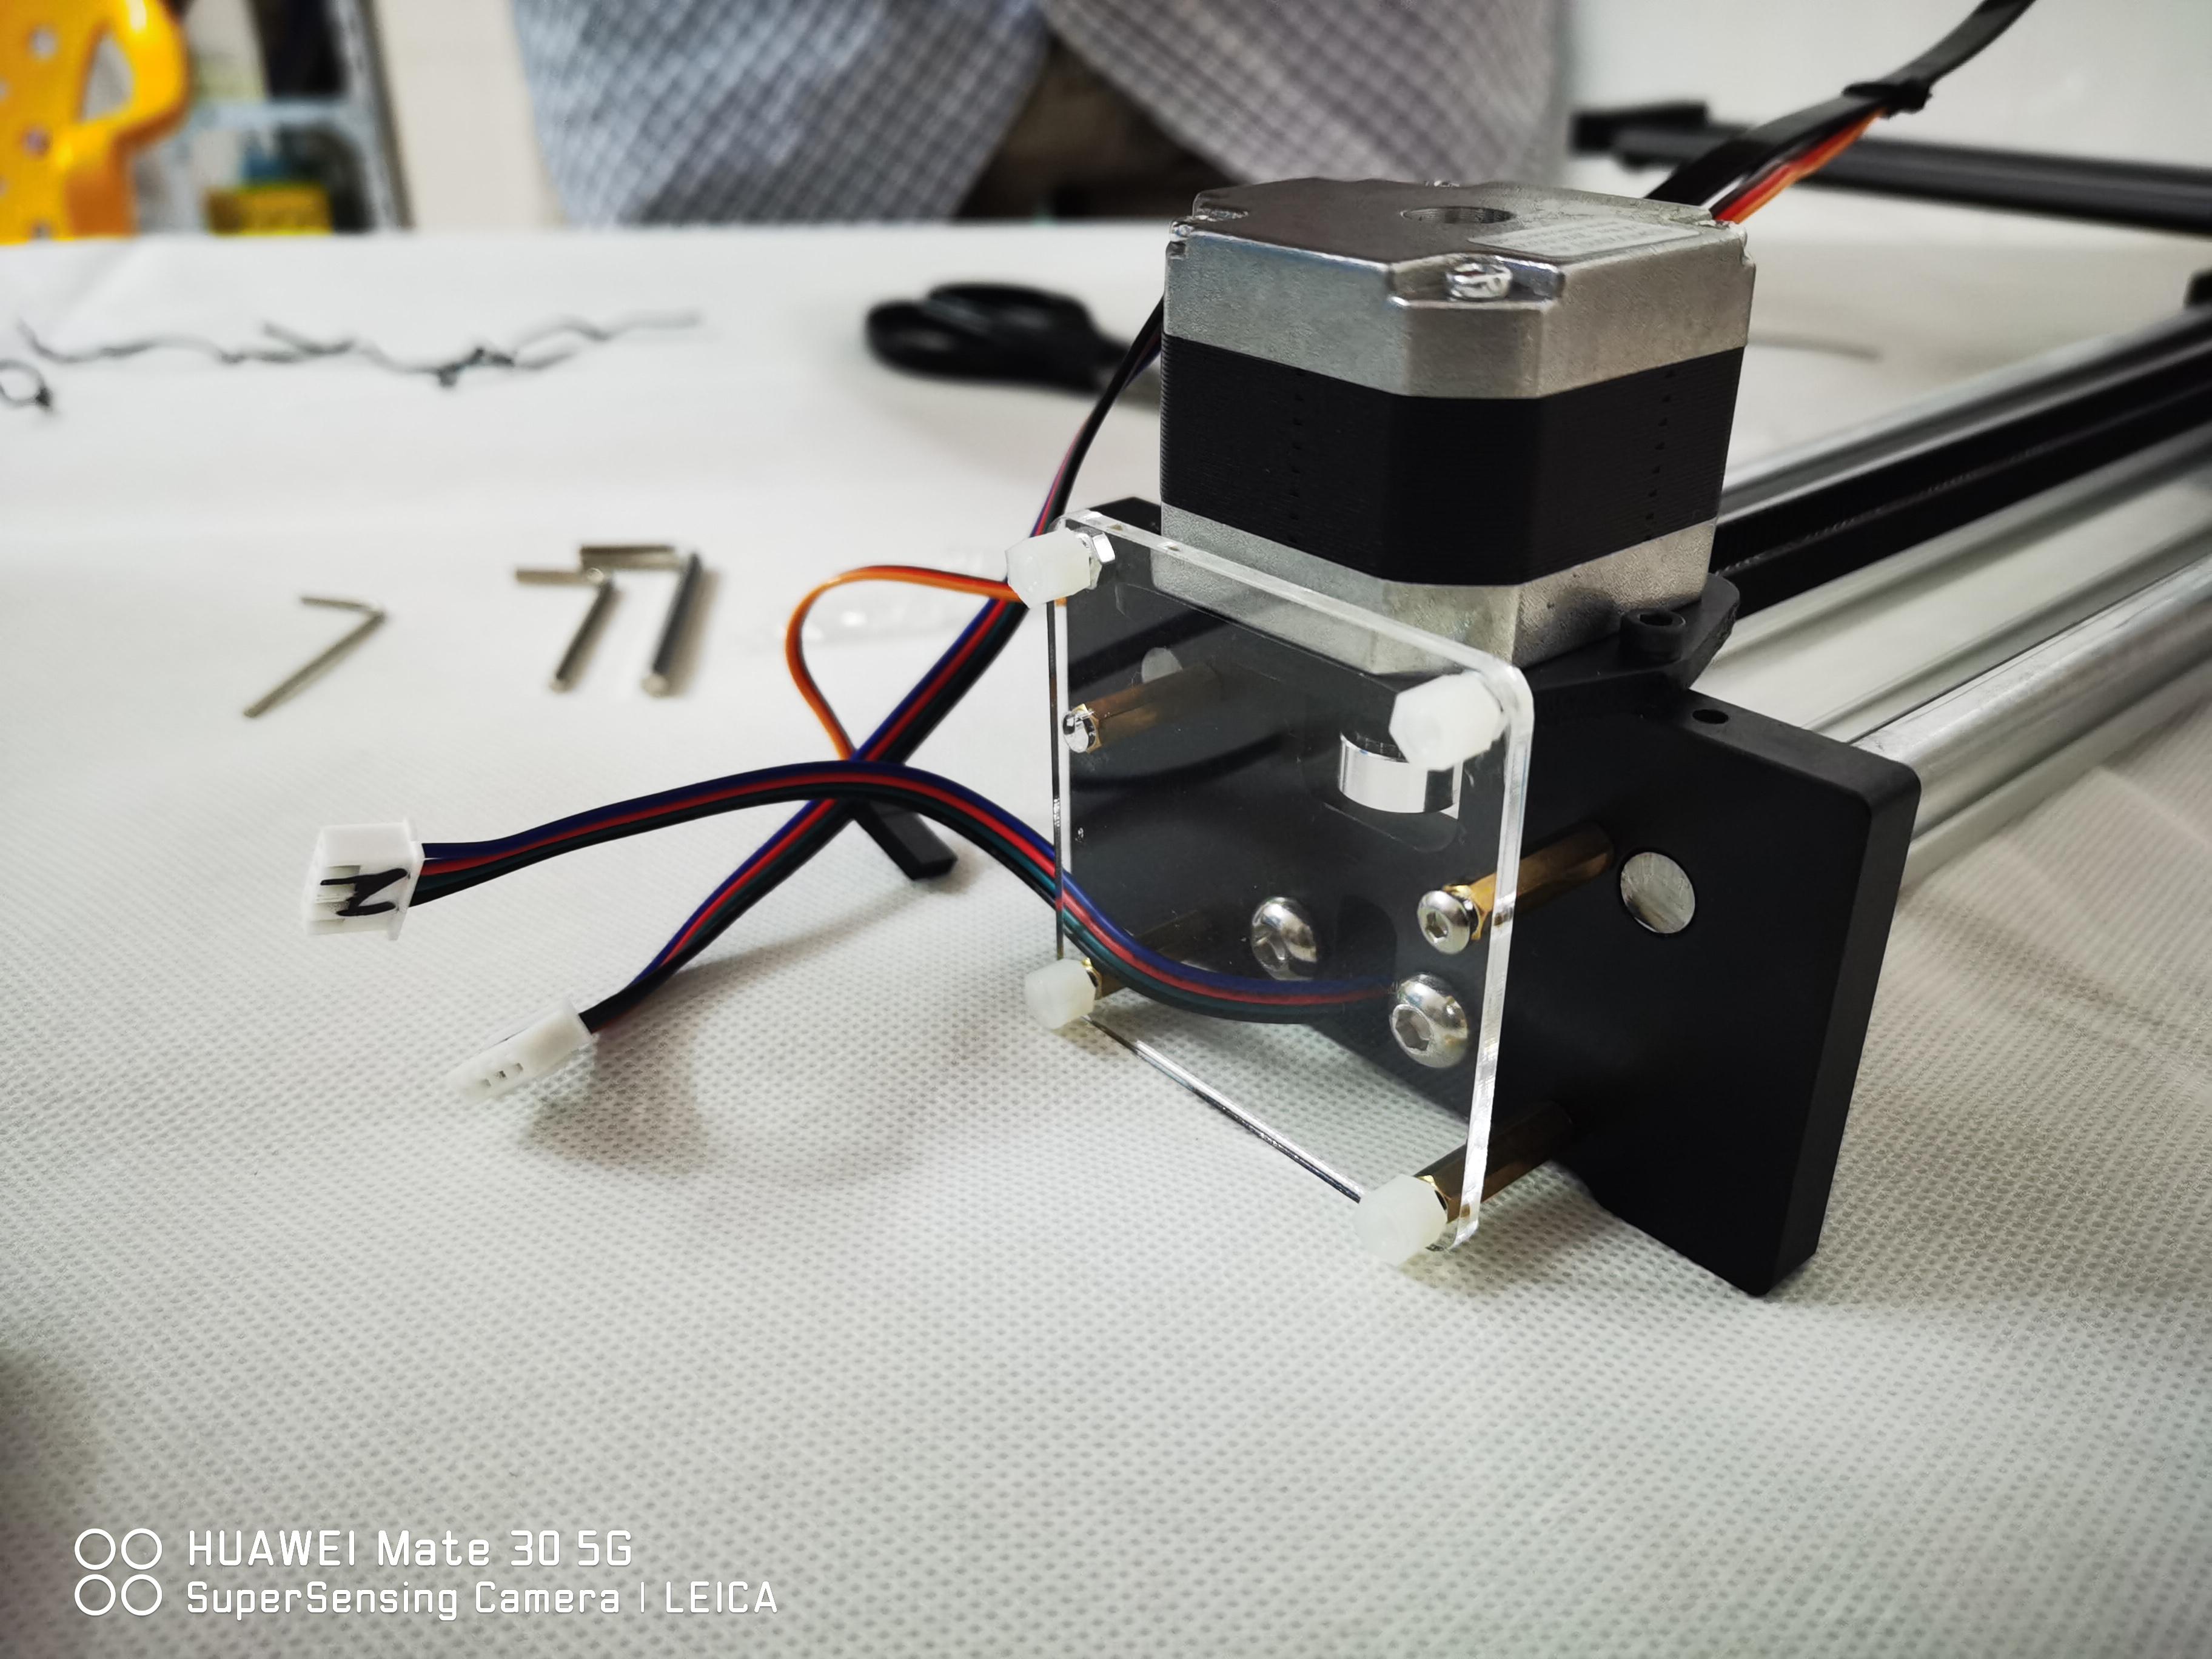
Next Step Is to Route the Cable by Fastening the End of the Black Plastic Ribbon on the Central Block. It Will Act As a Flexible Structure for the Servo Cable to Not Get in the Way When You Plot.
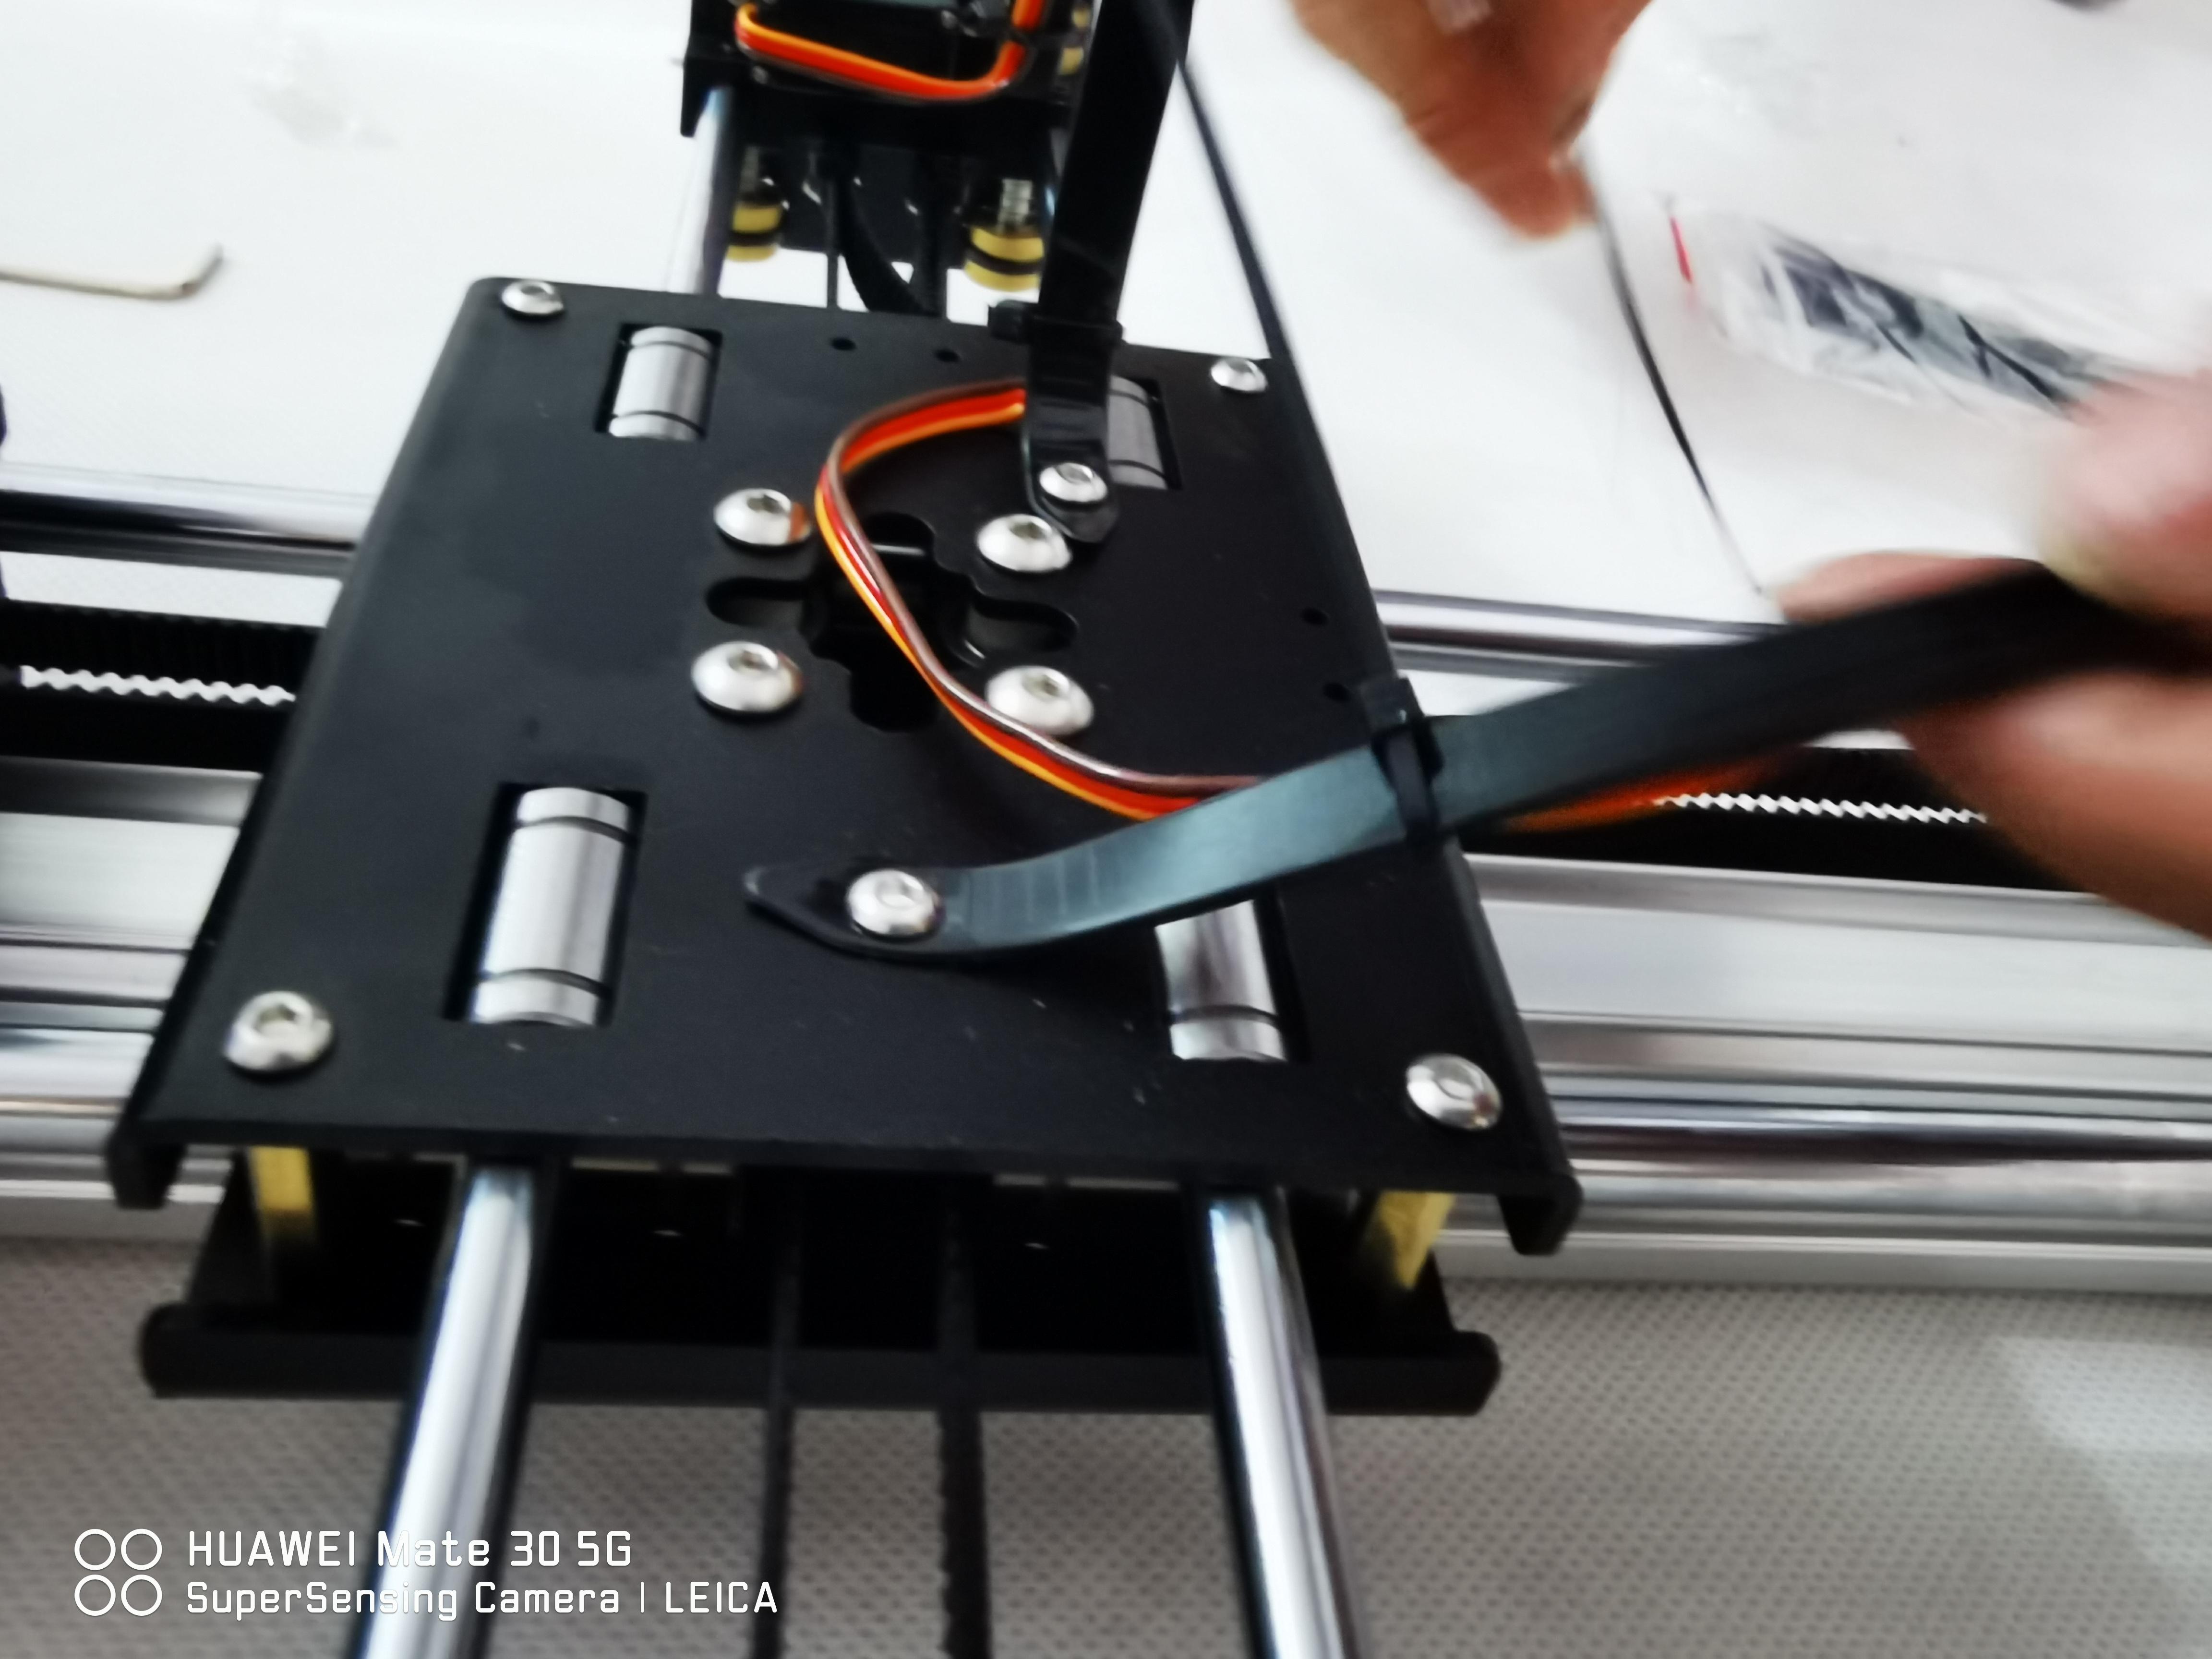

Once in place, undo the twist tie that holds the servo cable. We're going to keep it in place with a few cable ties.
I placed one at the base of the central block, one in the centre and one on the base of the motor block.
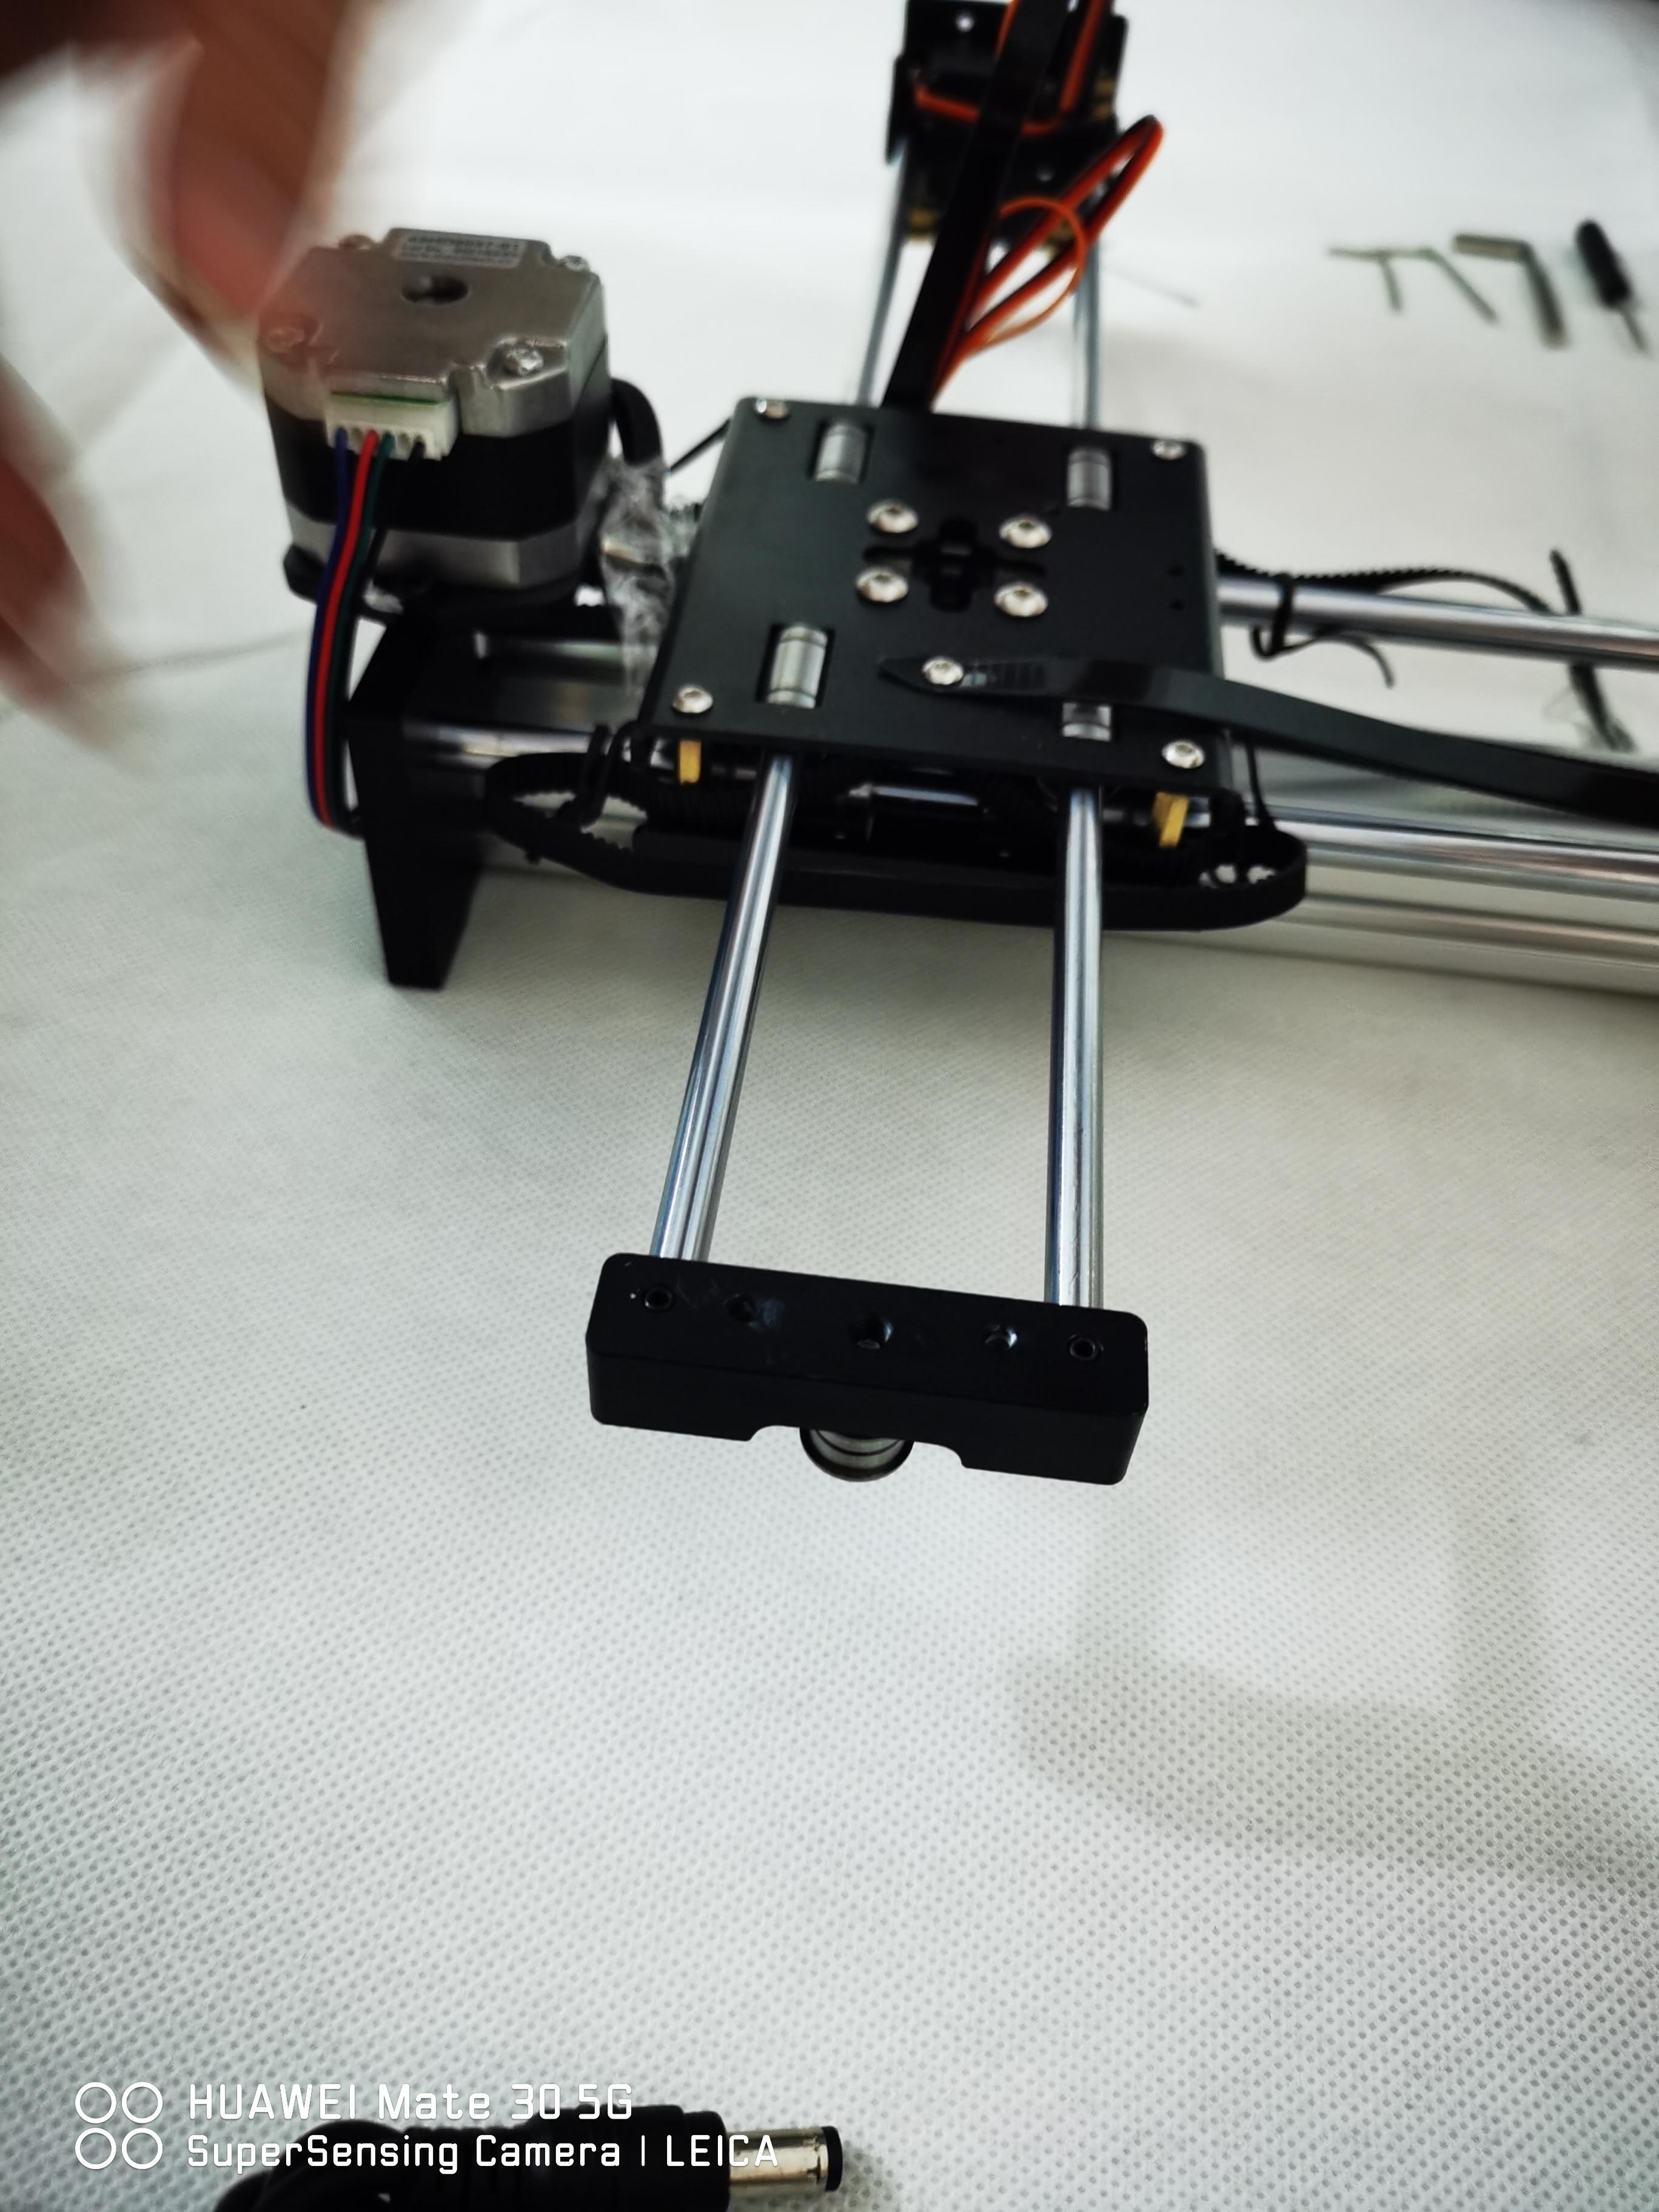
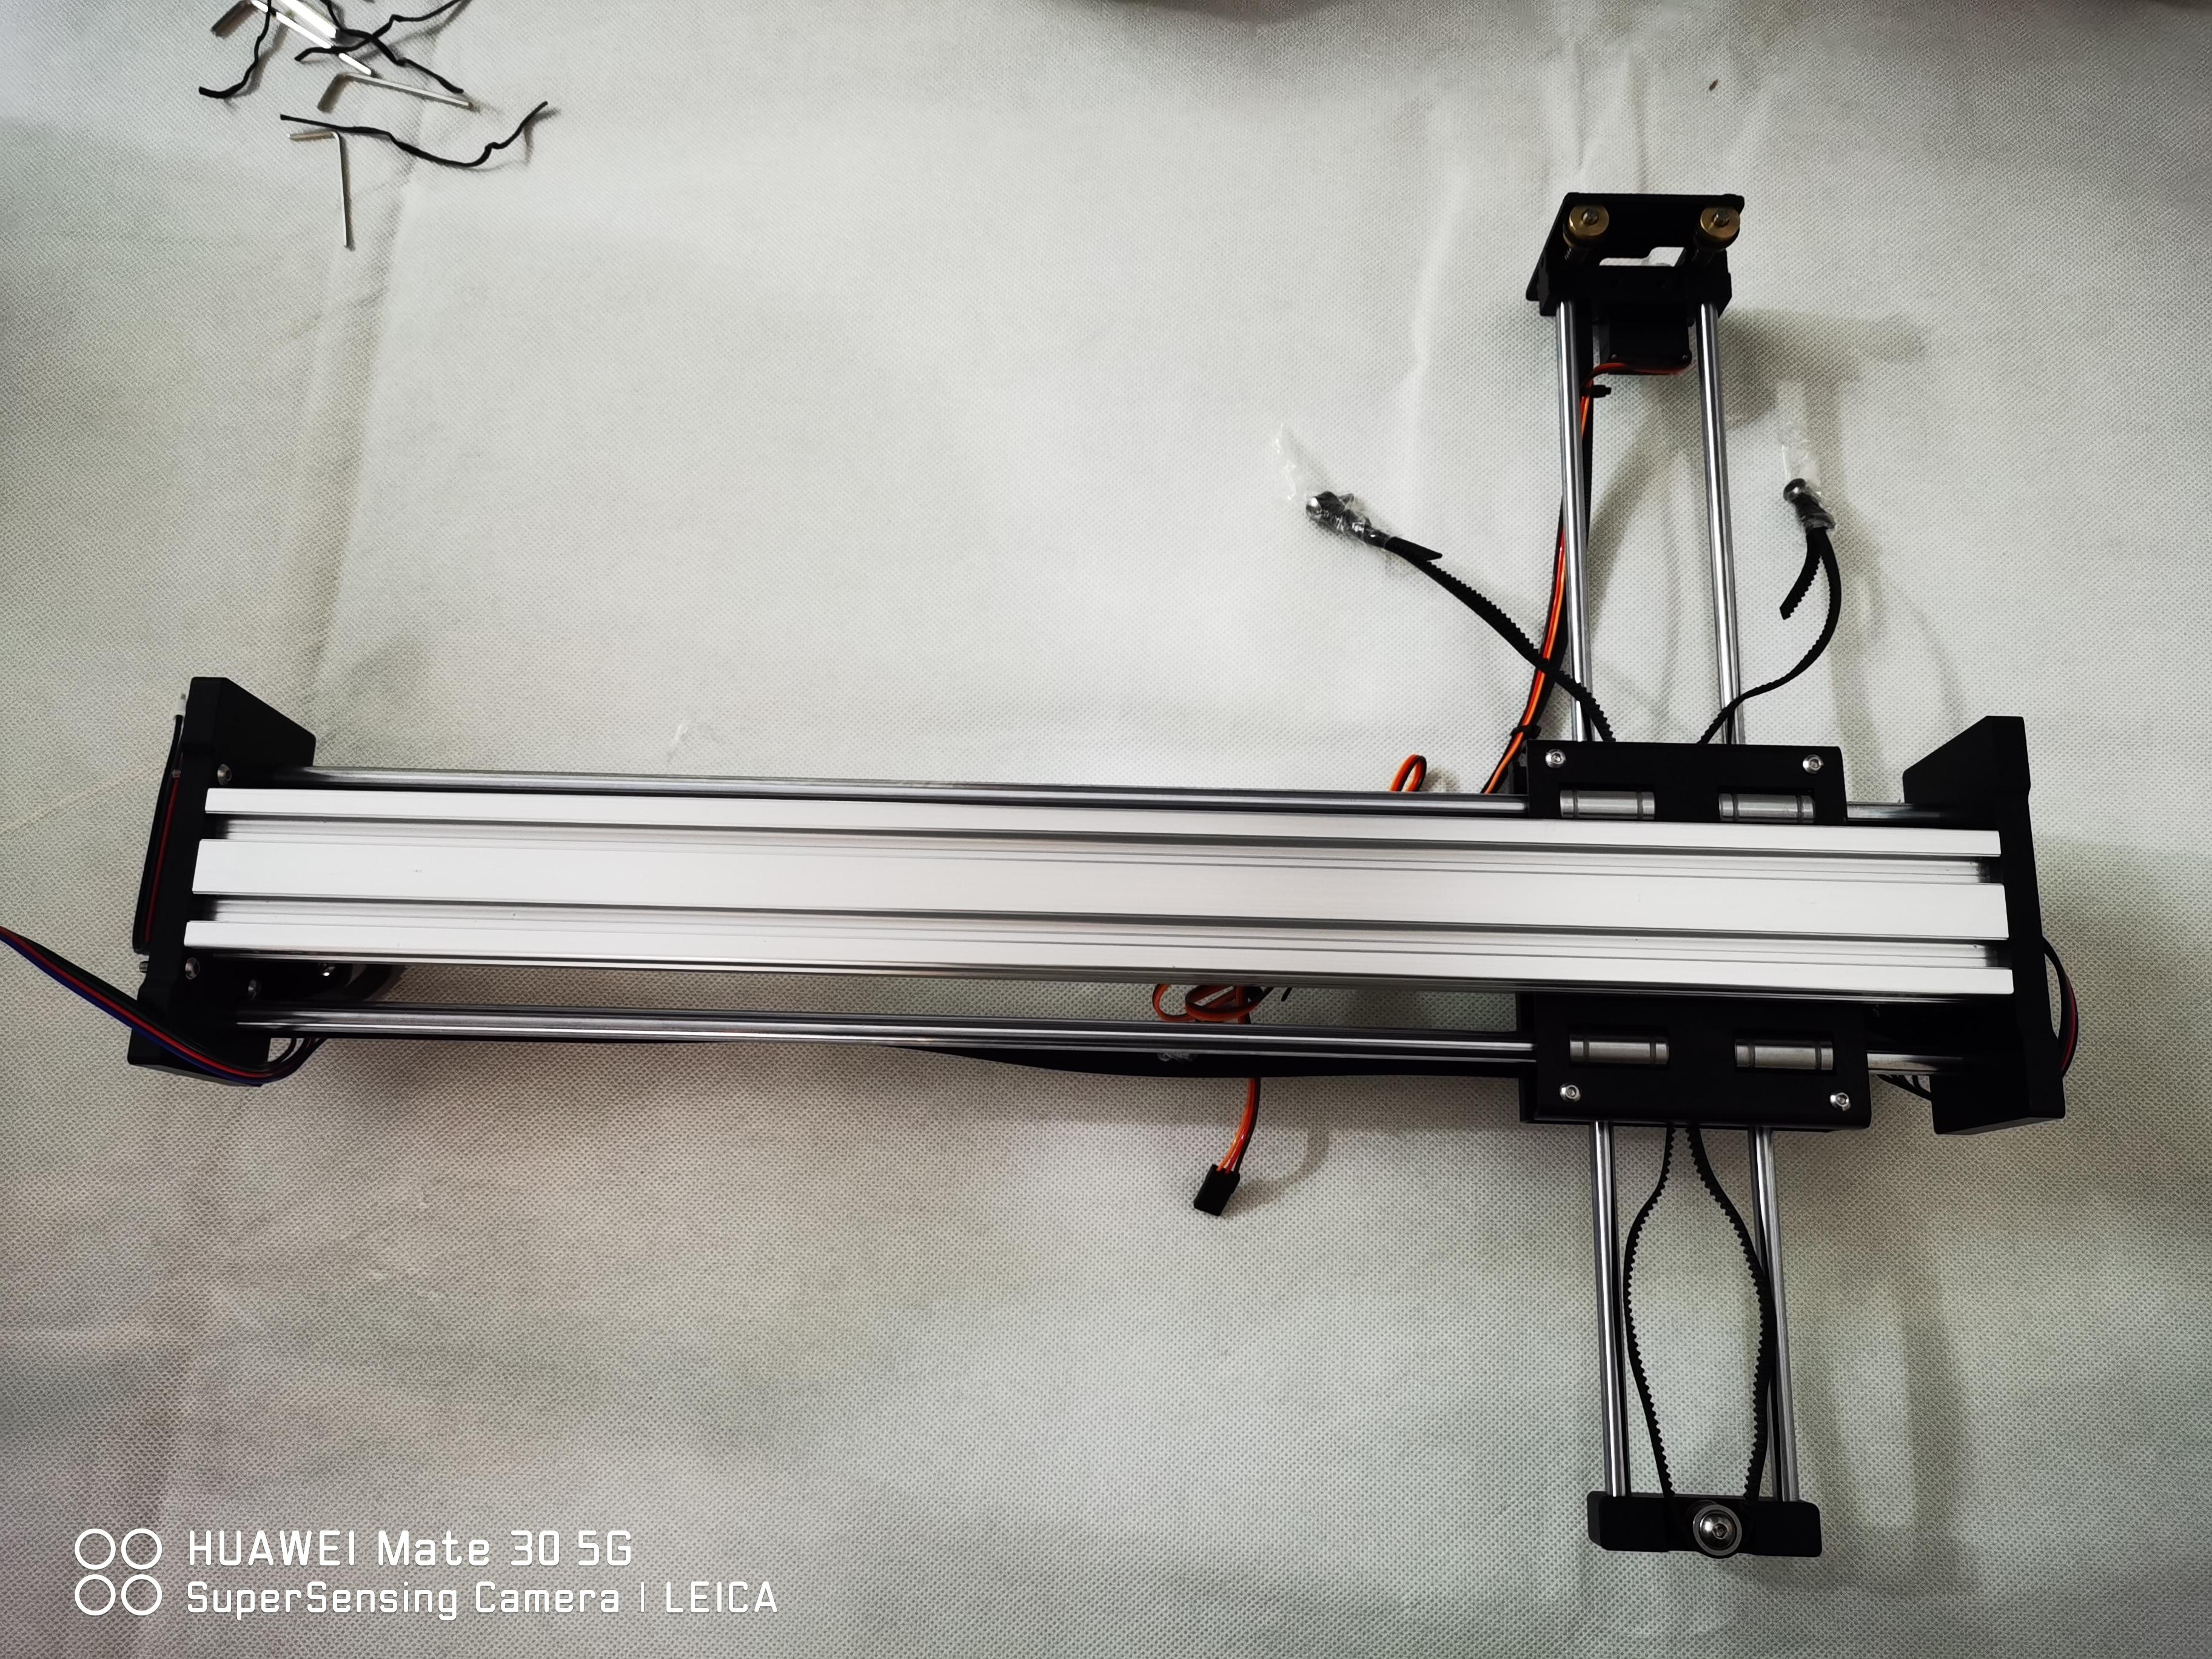
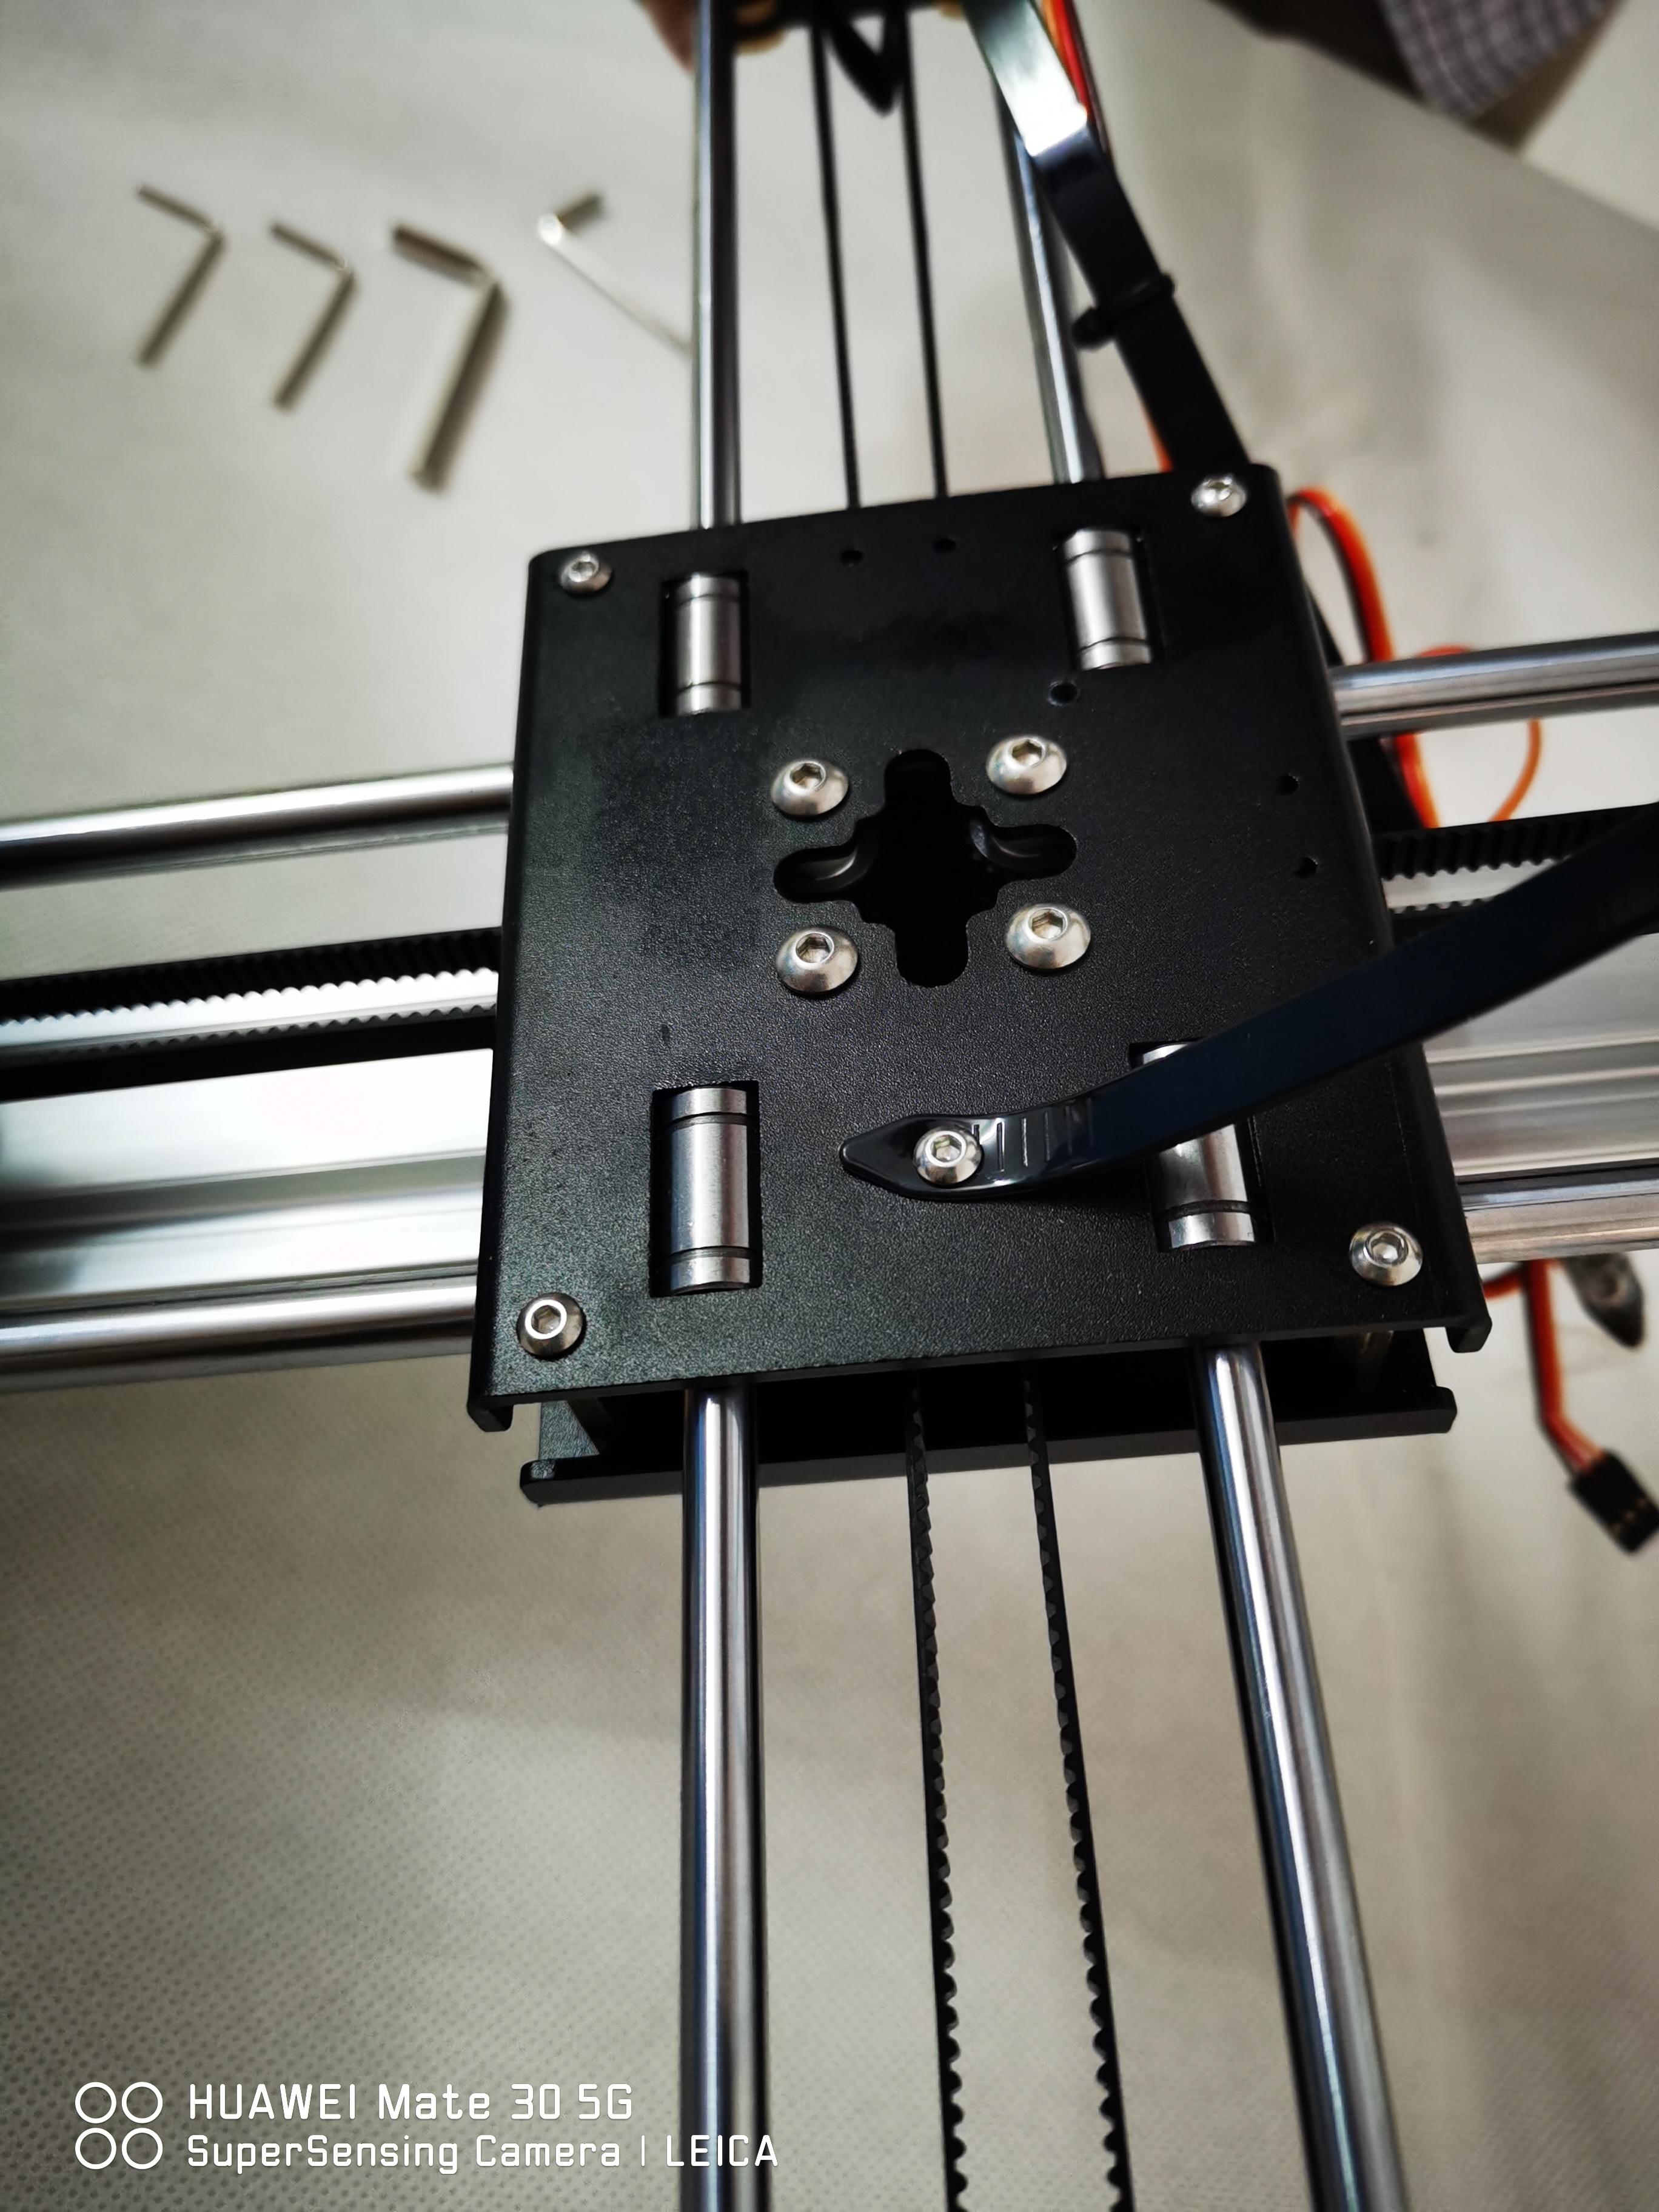
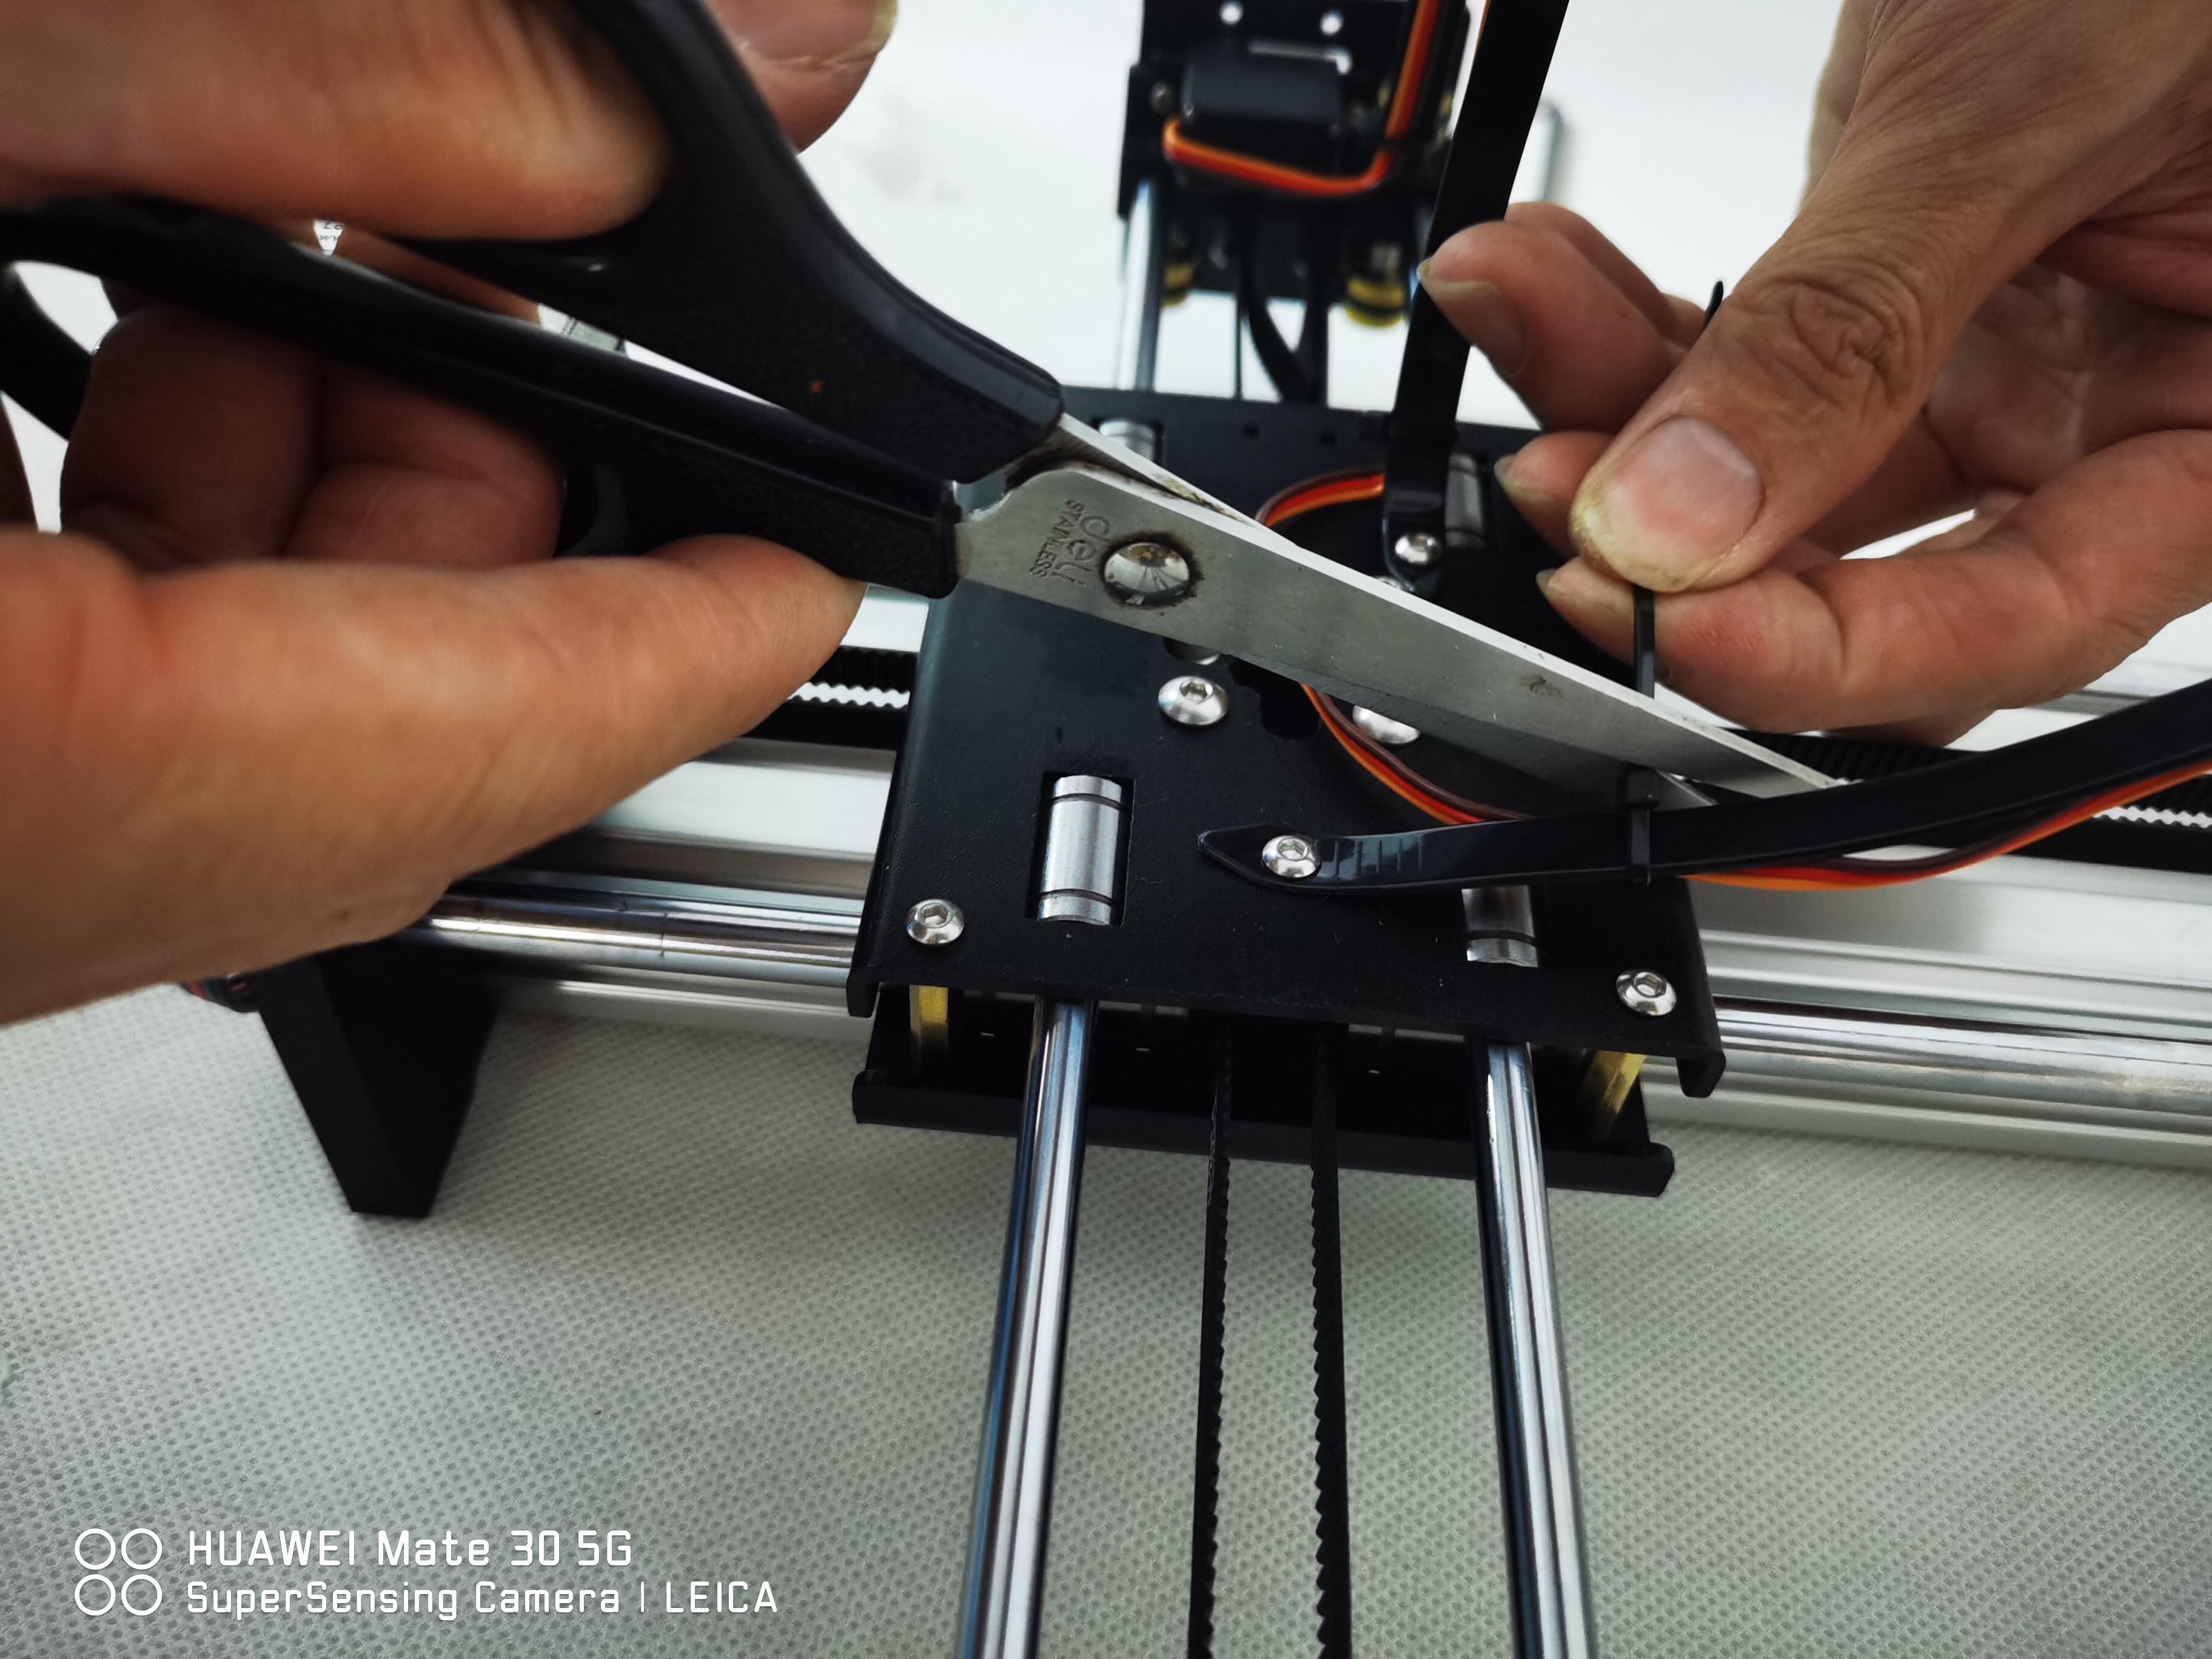
The cable is now secure and will stay close to its plastic structure for the full range of motion of the plotter. Your set up should look like this now.
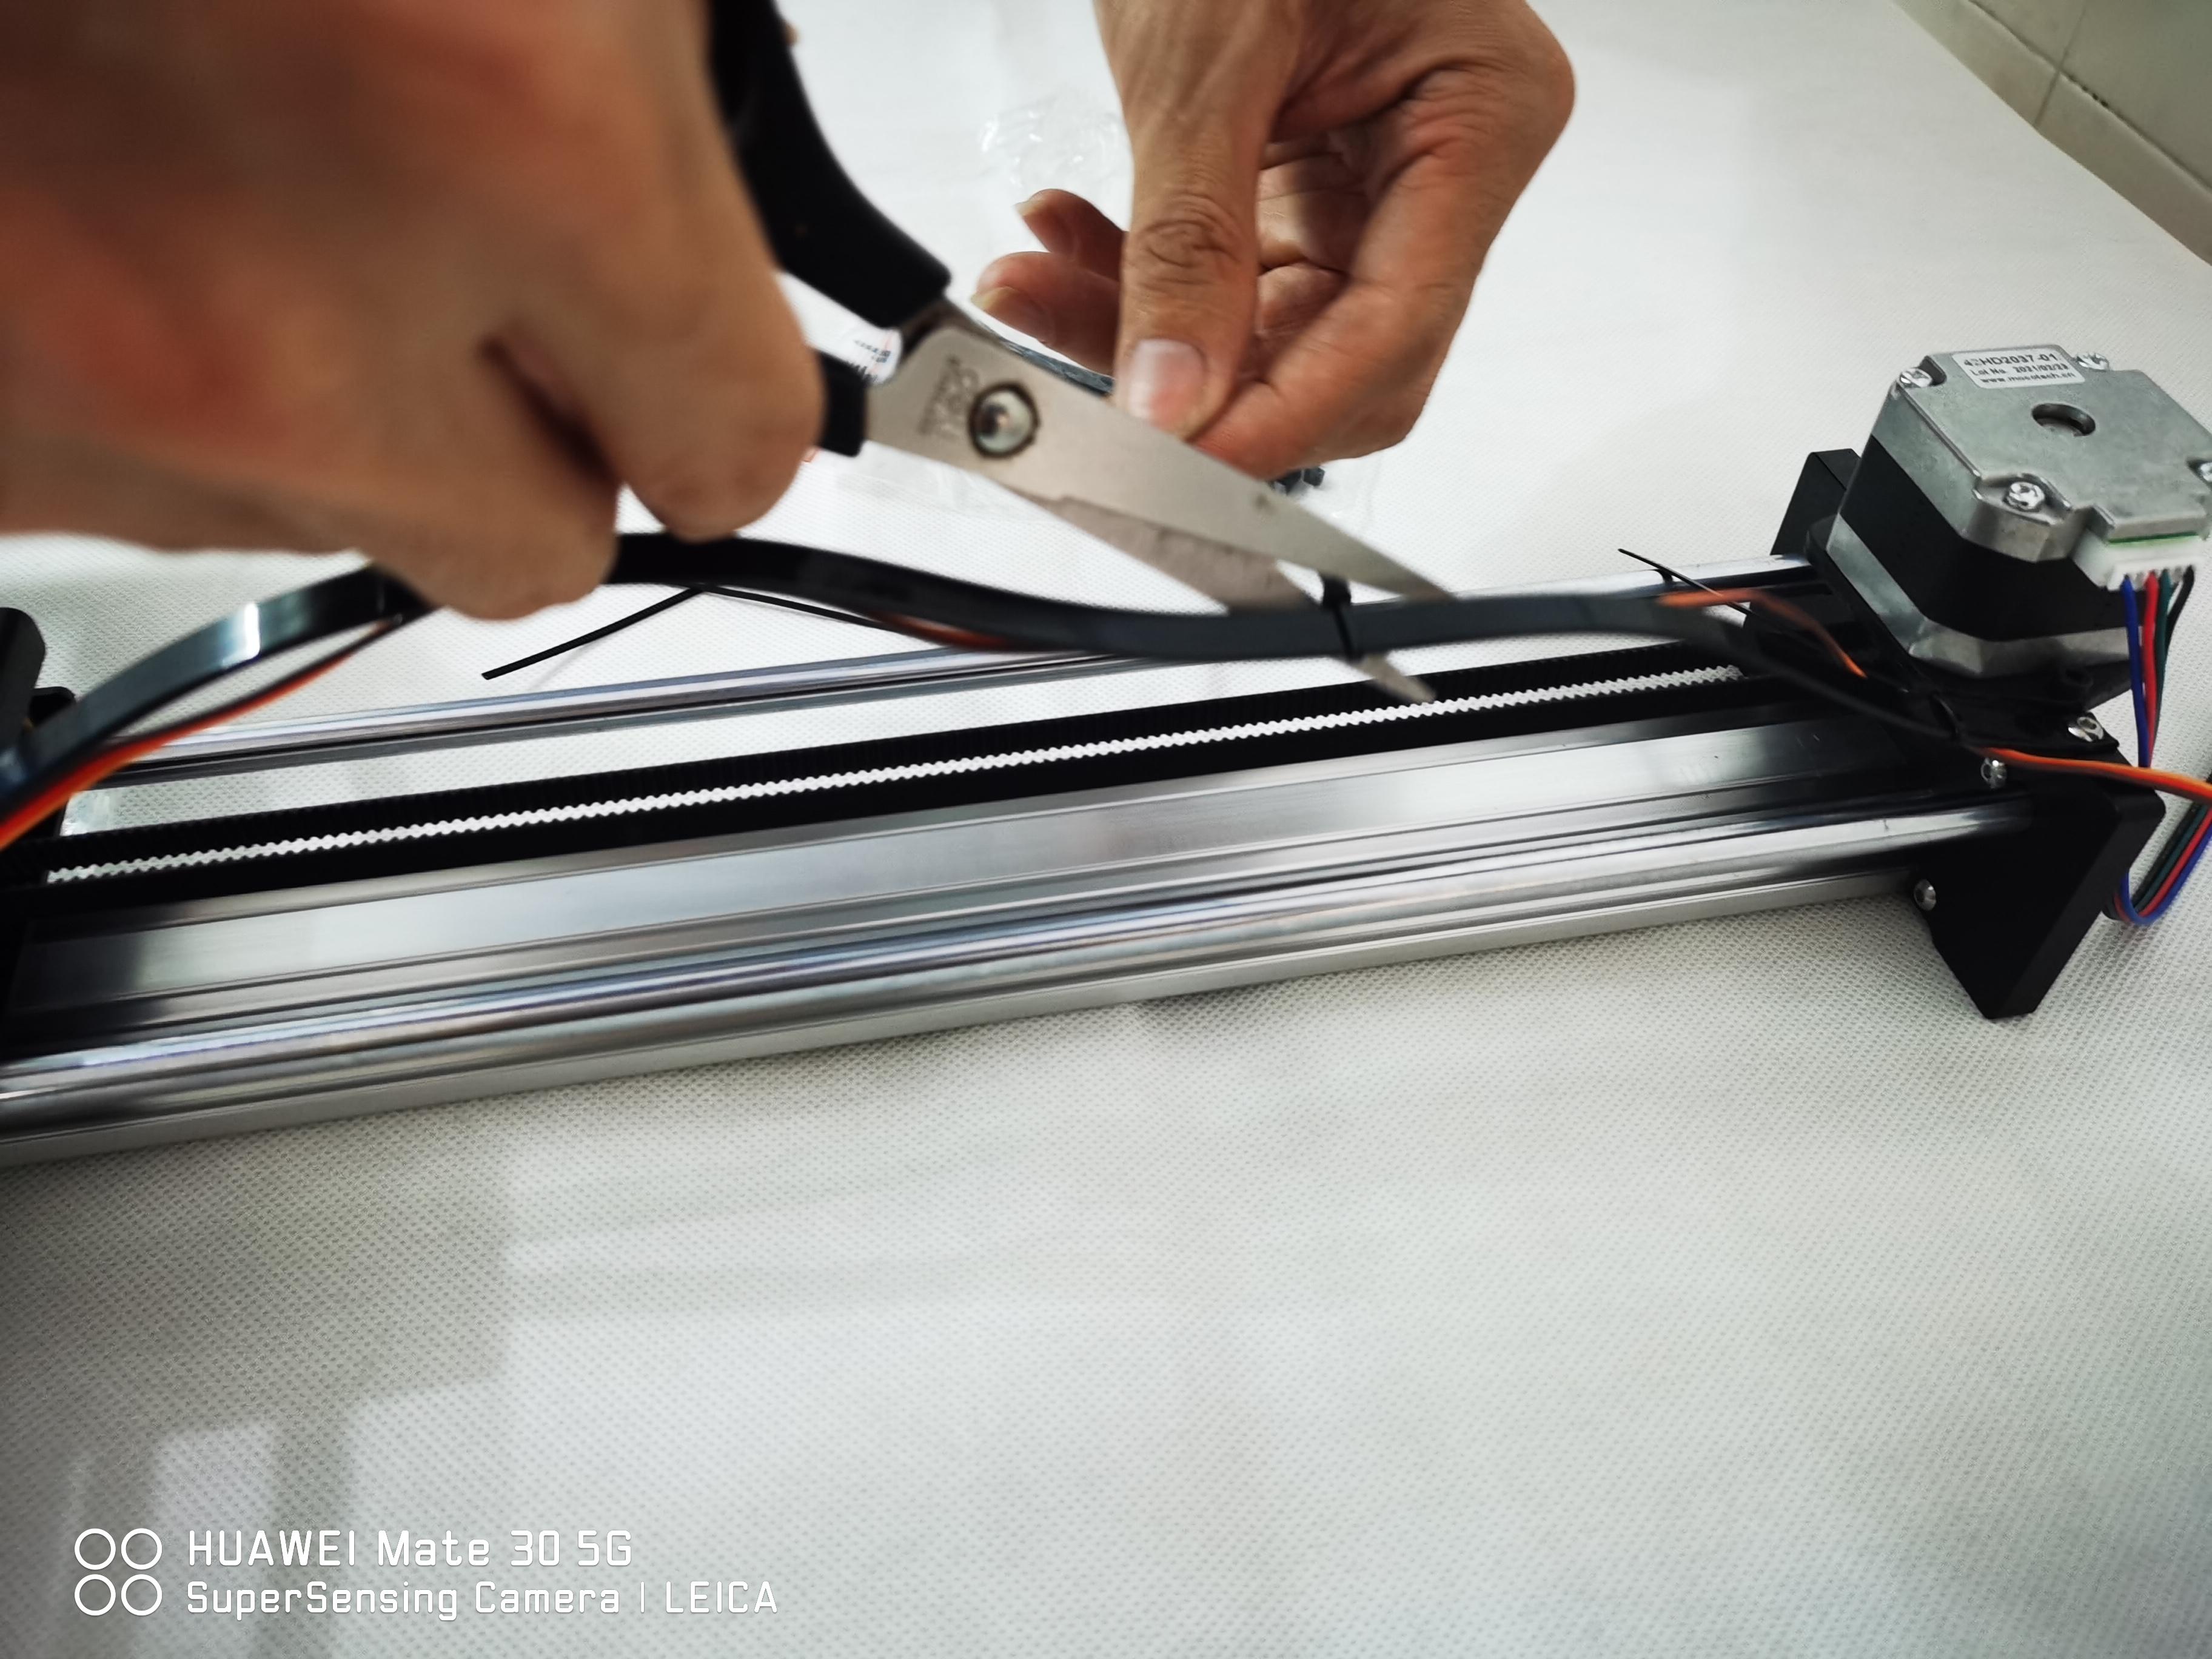
Make sure to clip them with pliers to get a clean look.
The Next Step Is to Install the Controller Board Onto the Motor Support. Remove the Protective Fil
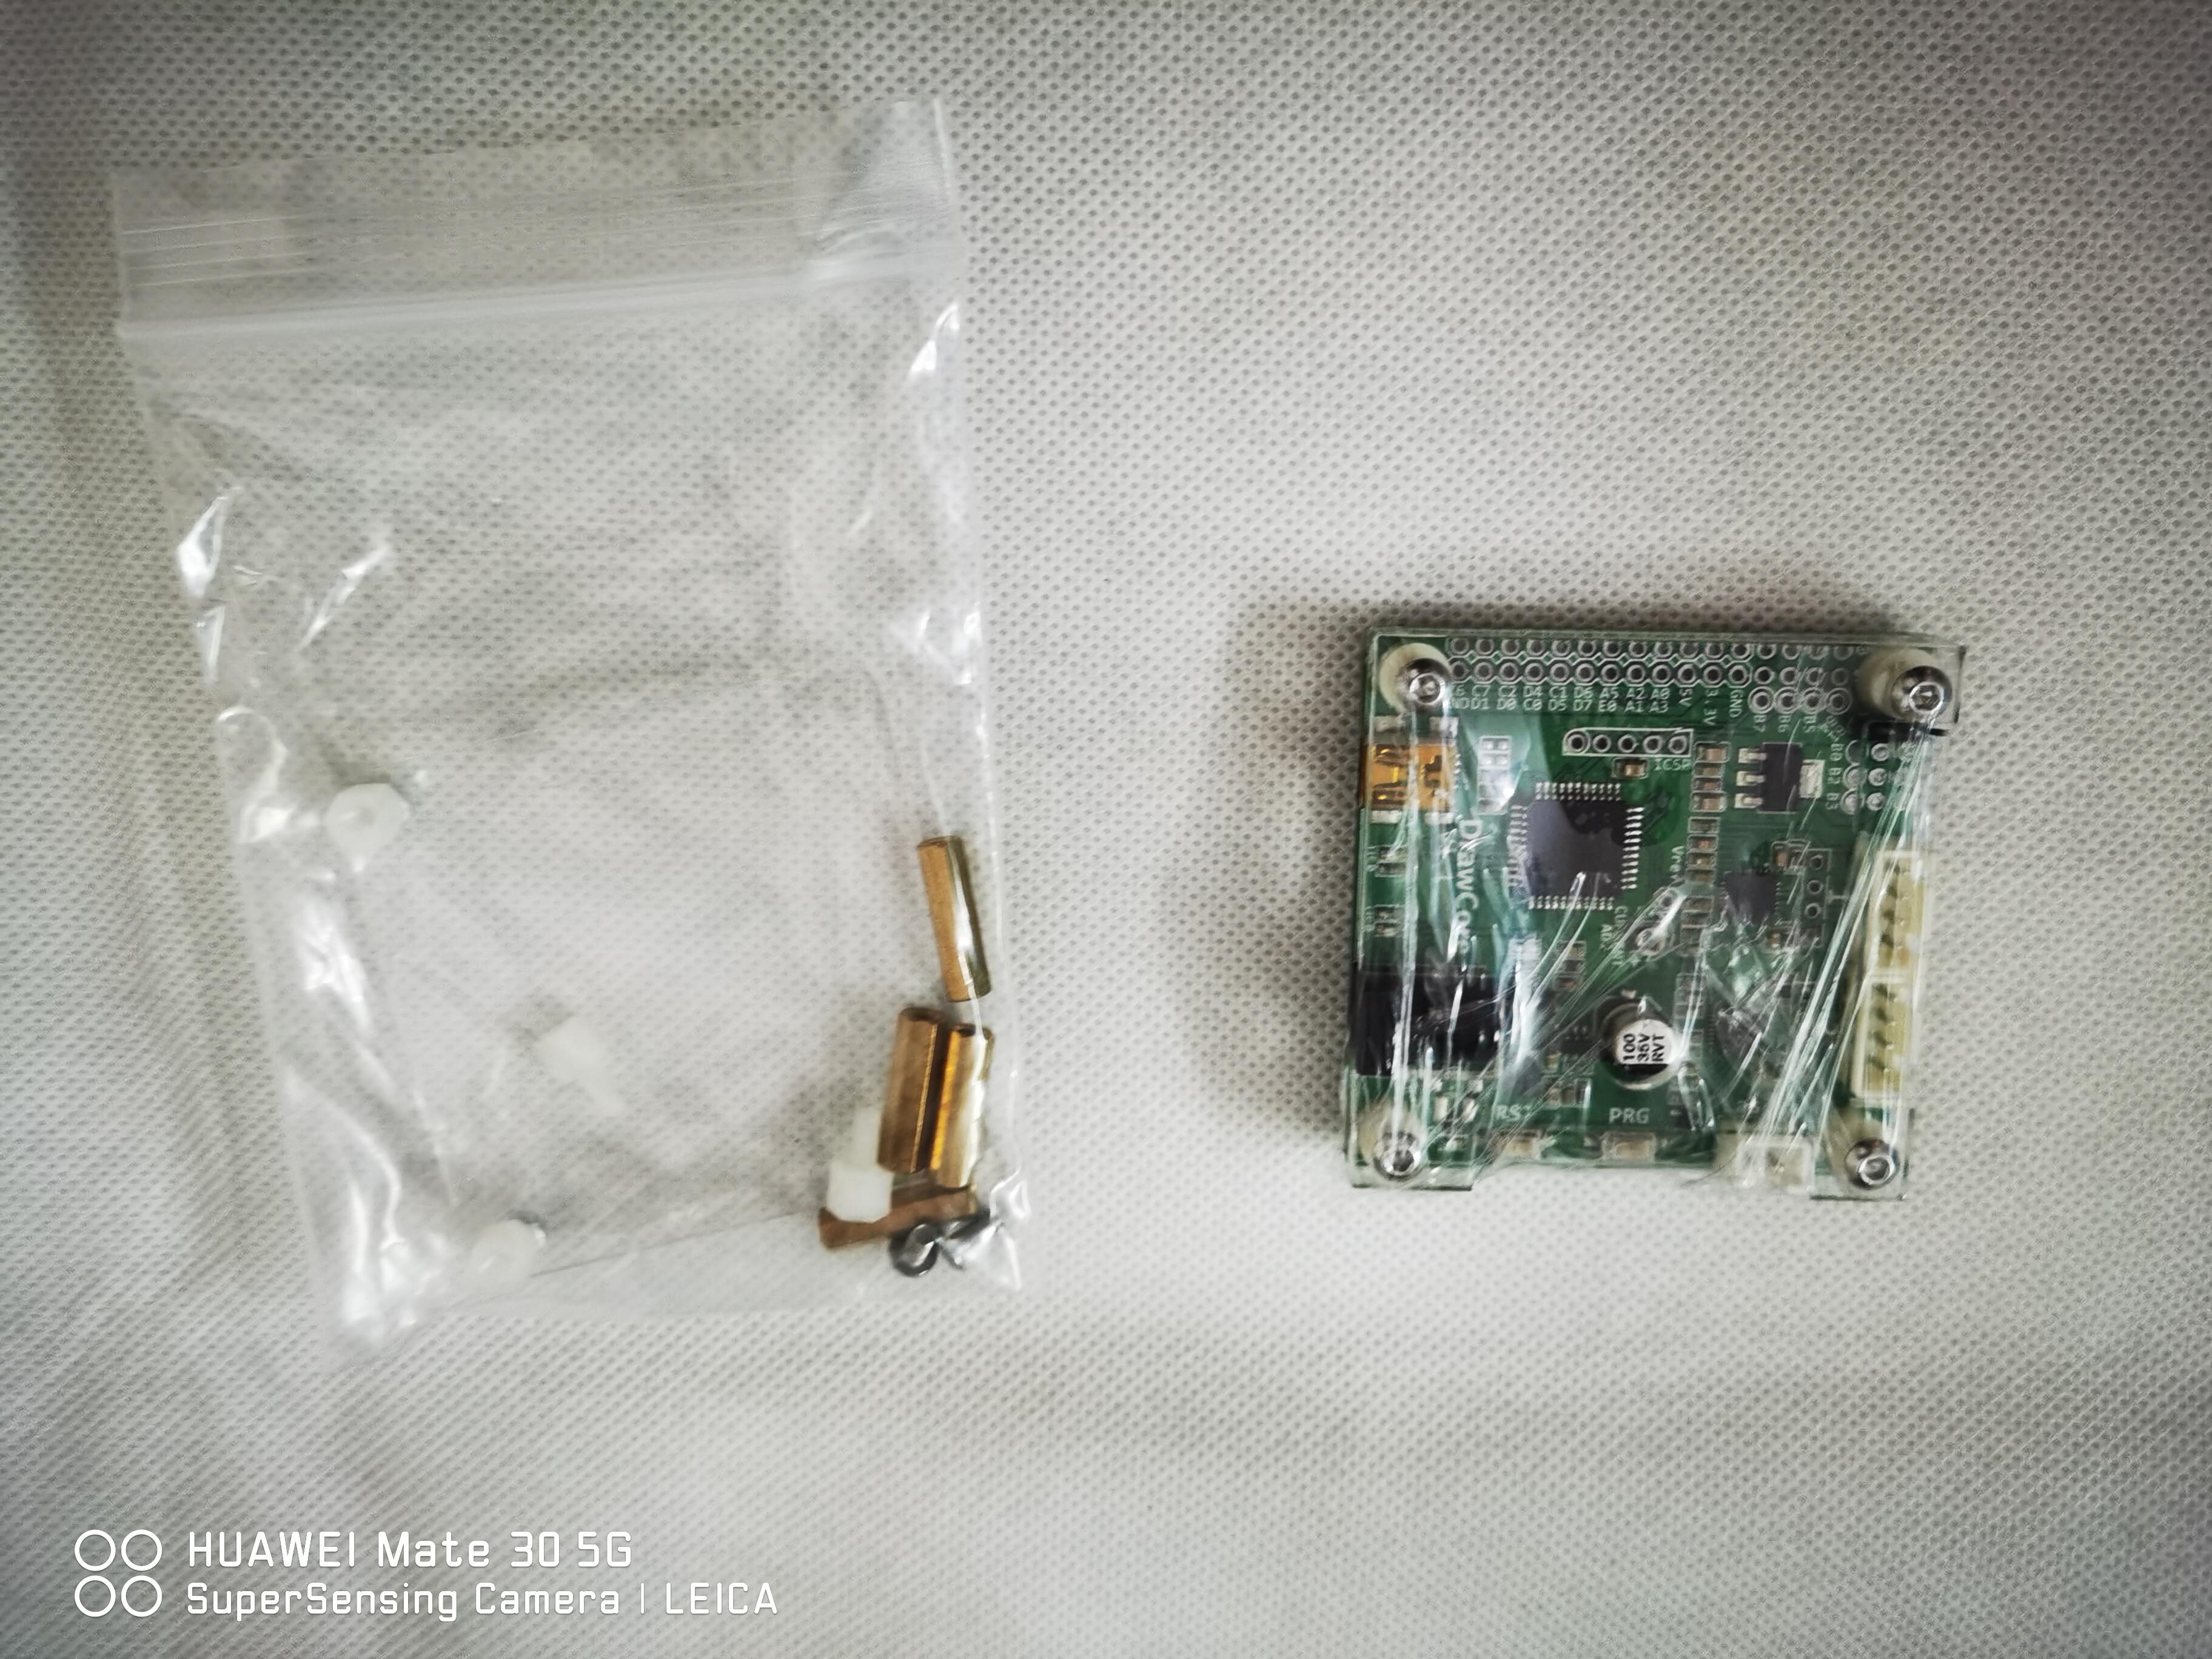
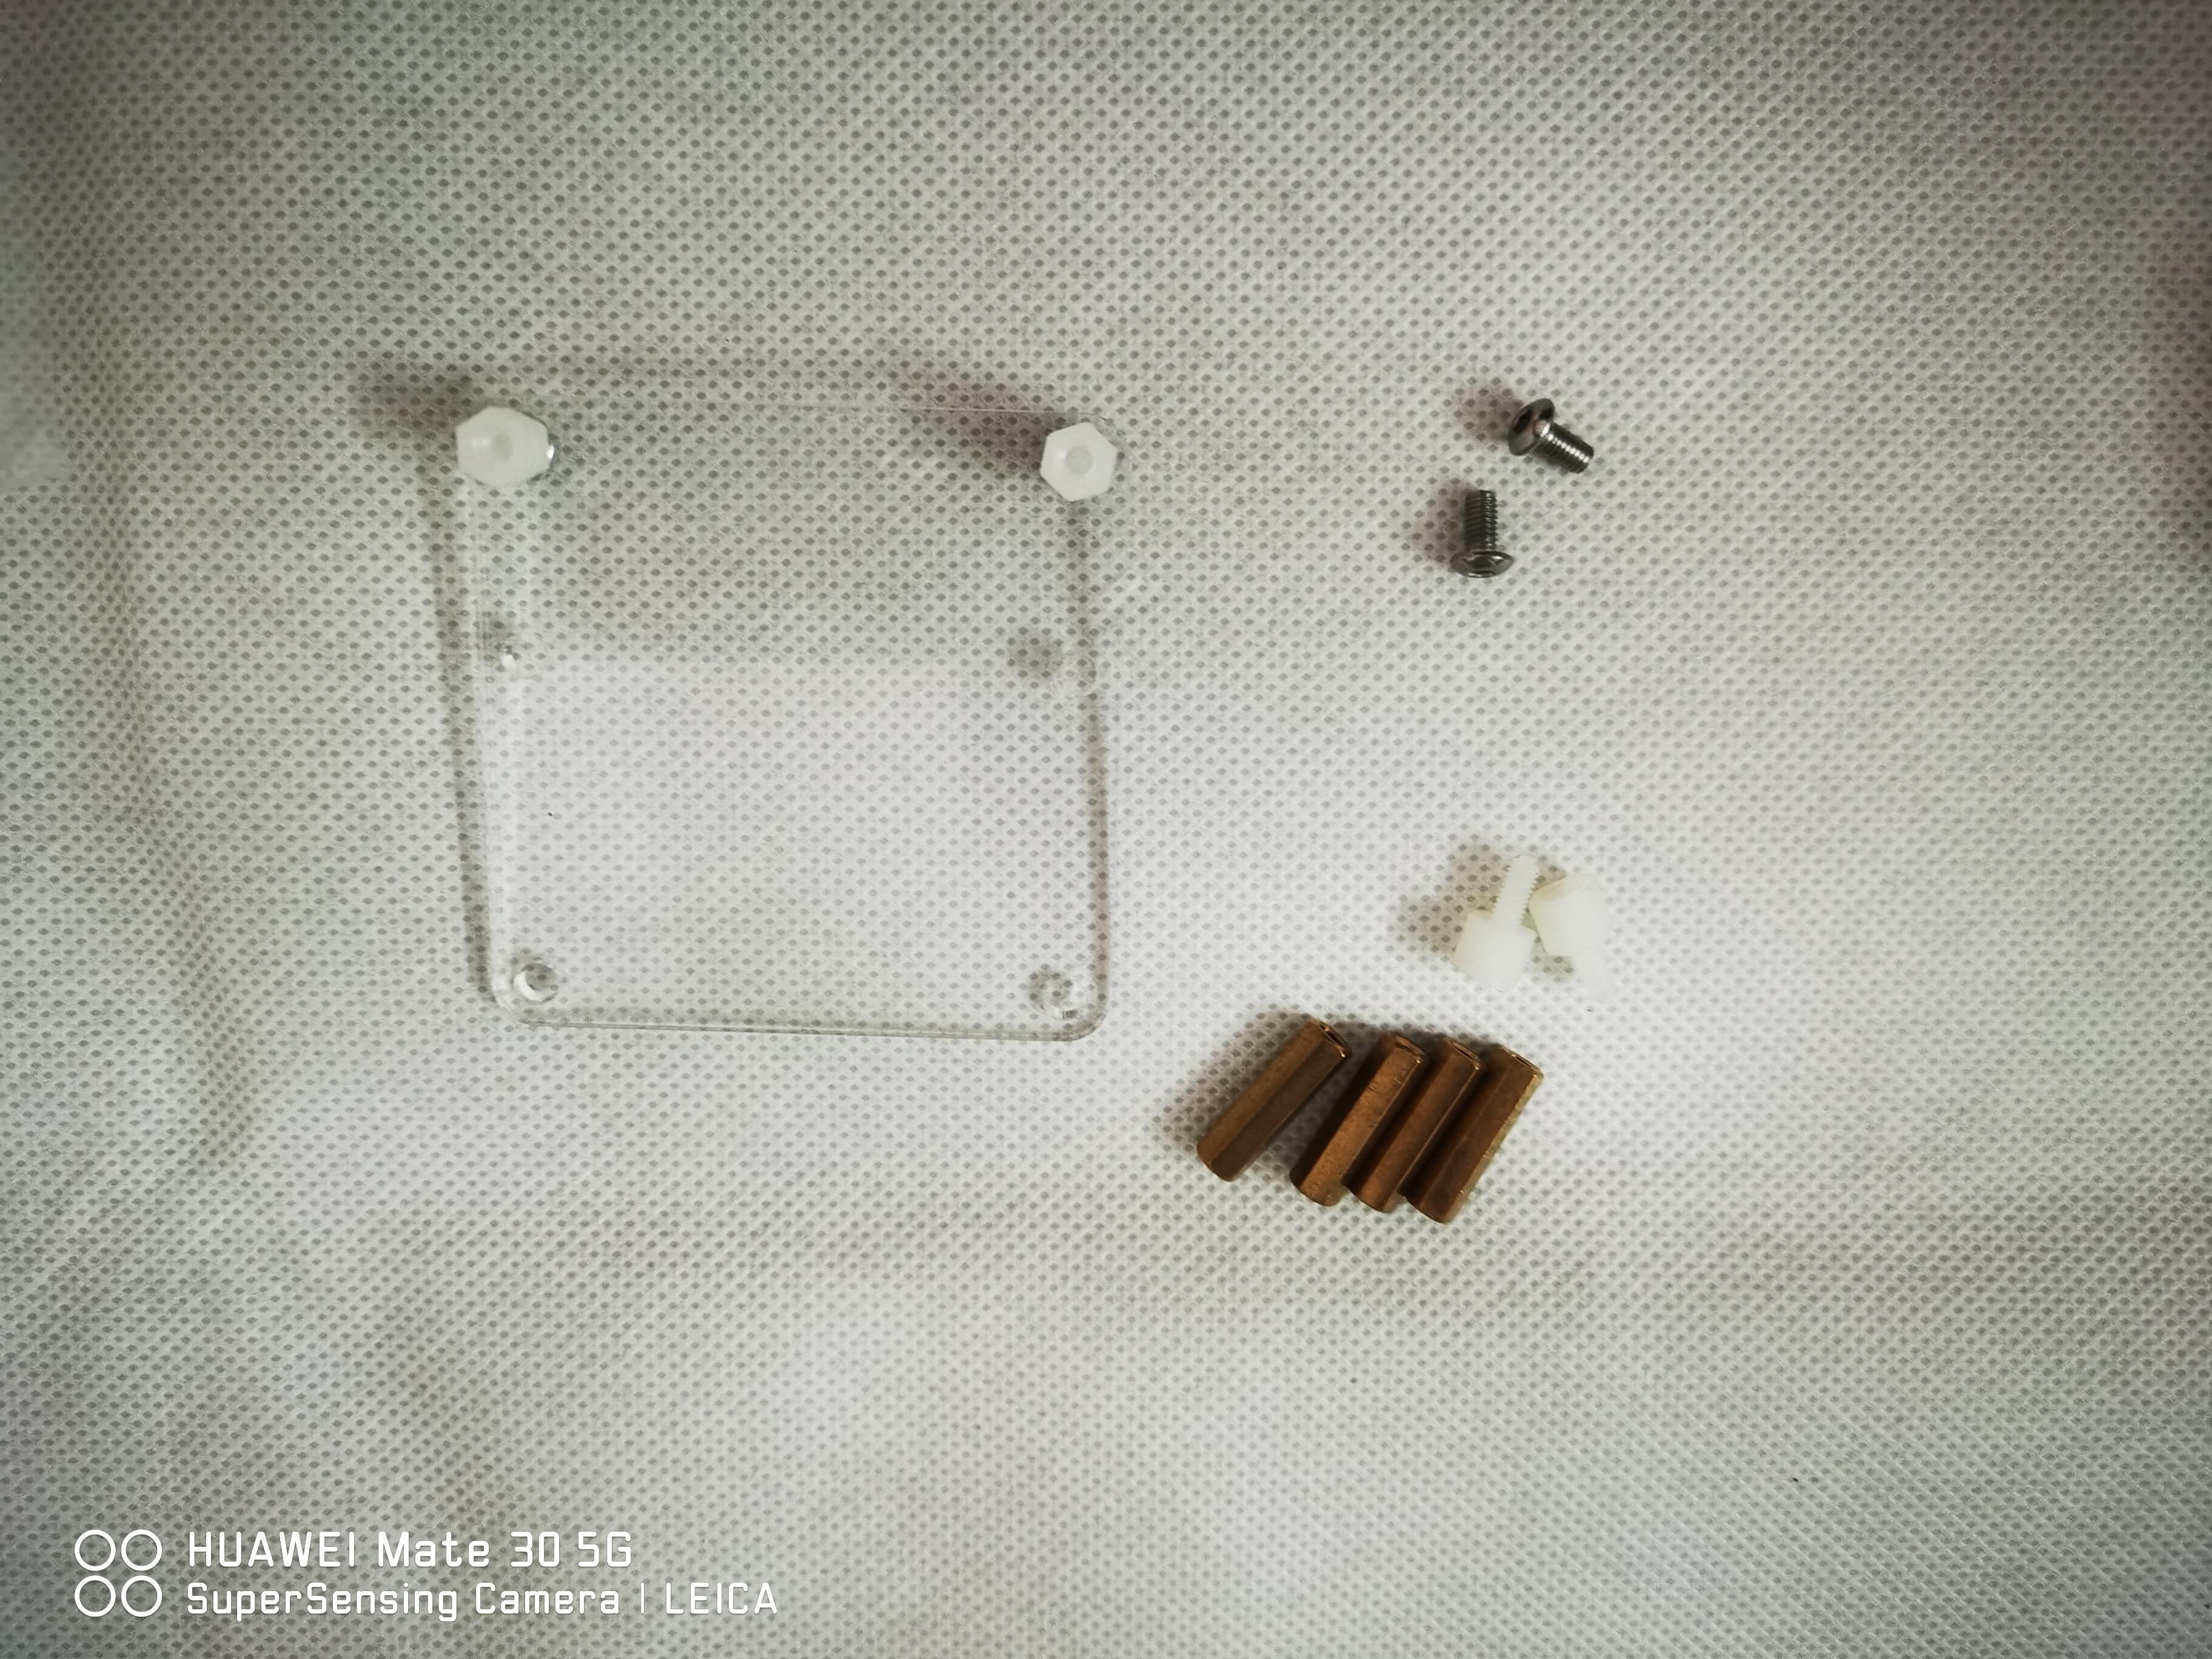


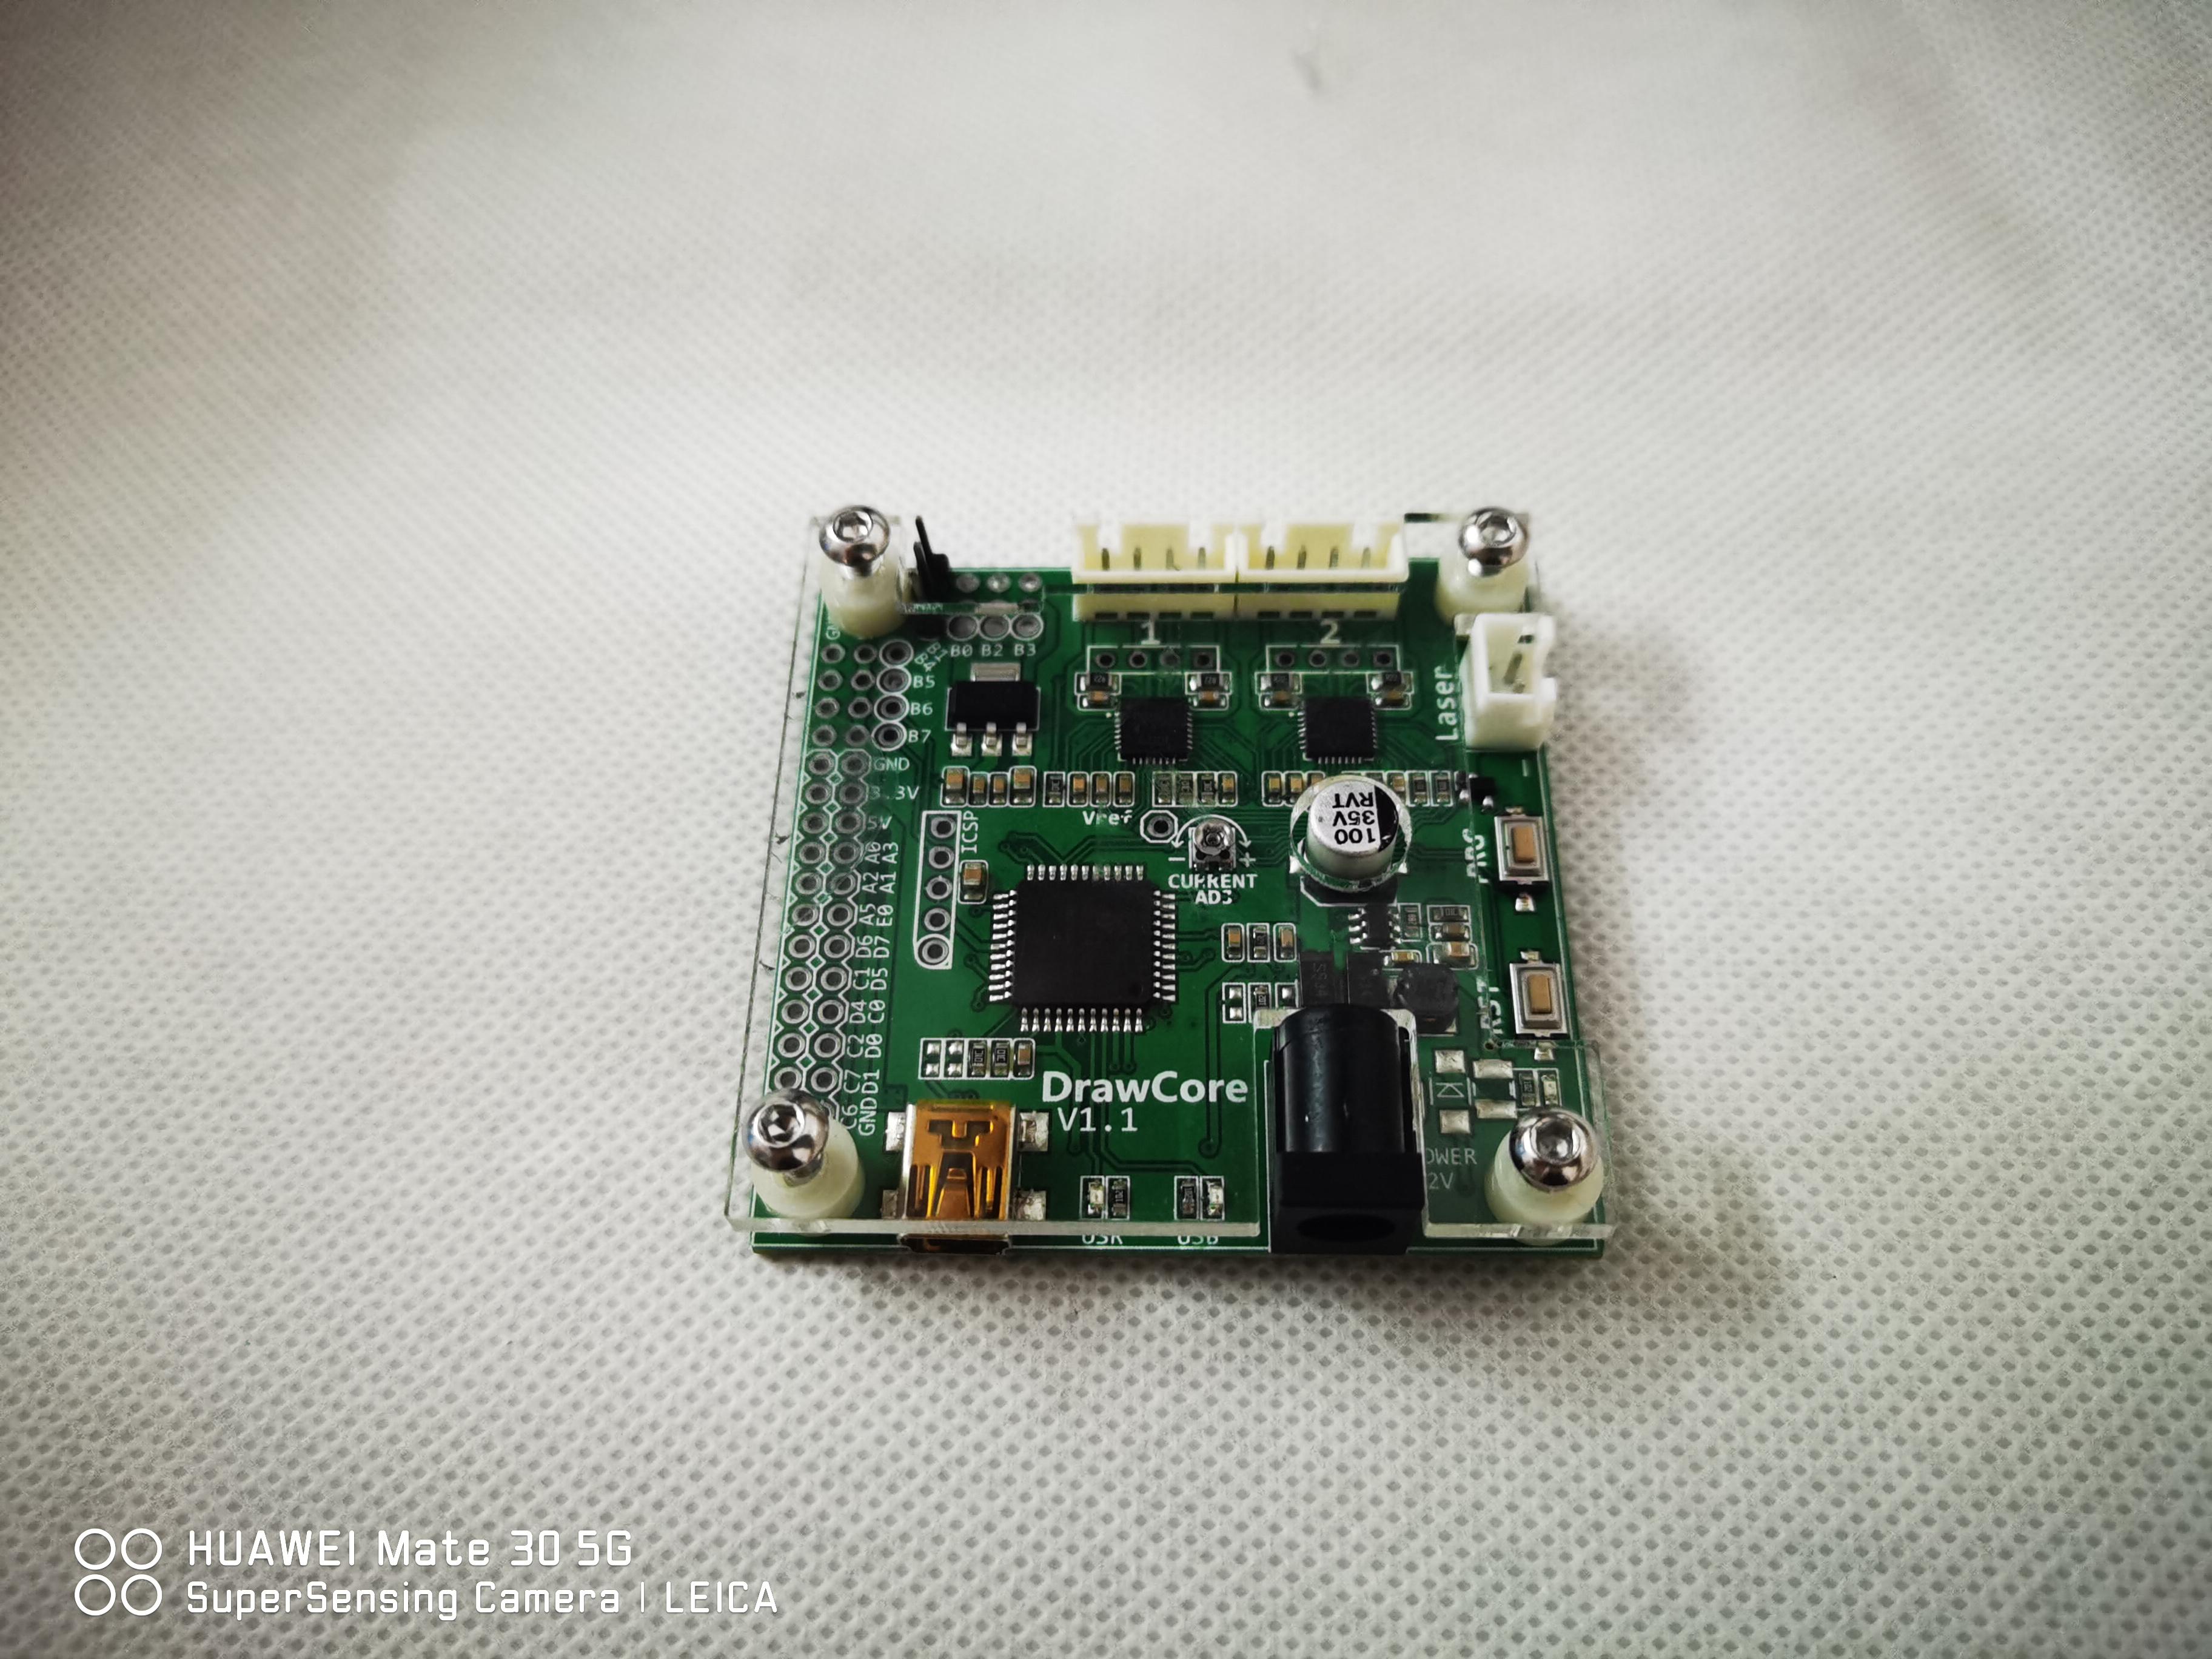
Install the brass standoff spacers onto the metal block.
Mount the acrylic plate on the standoff. There should be enough clearance with the moto bracket.
Now place the short nylon spacers in the corners of the acrylic plate.
Fasten the controller board onto the spacers. It should fit nicely.
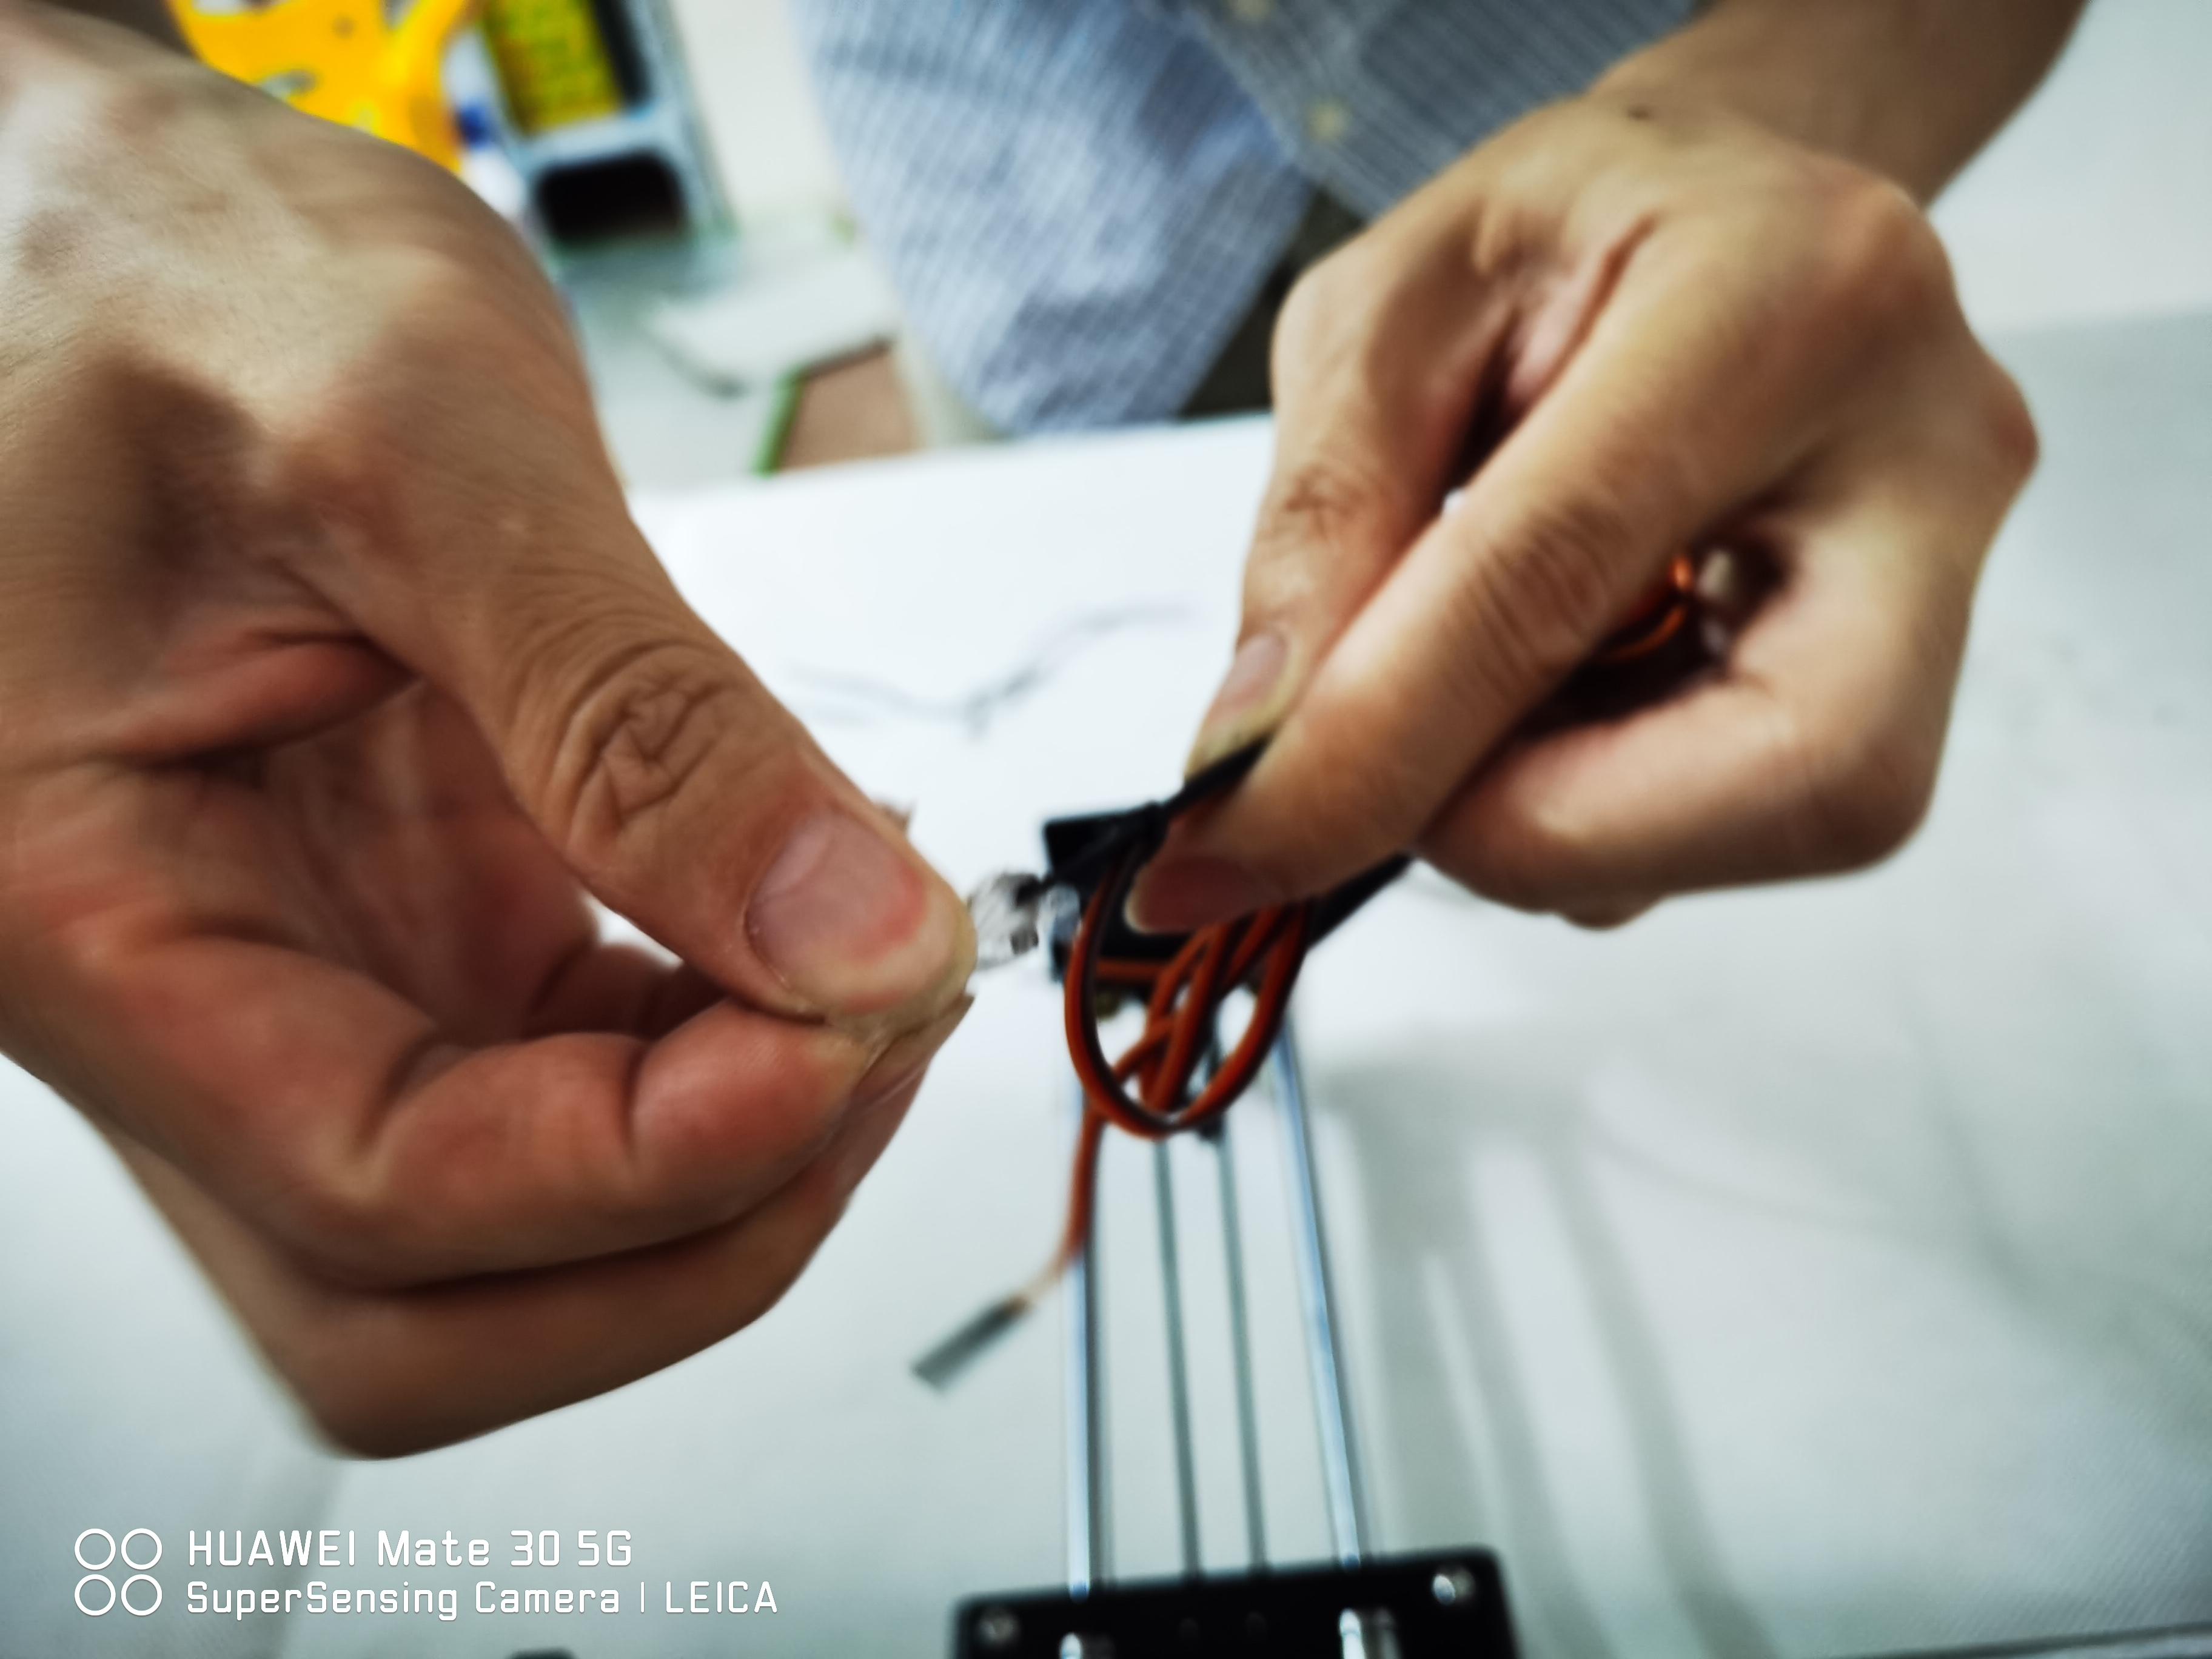
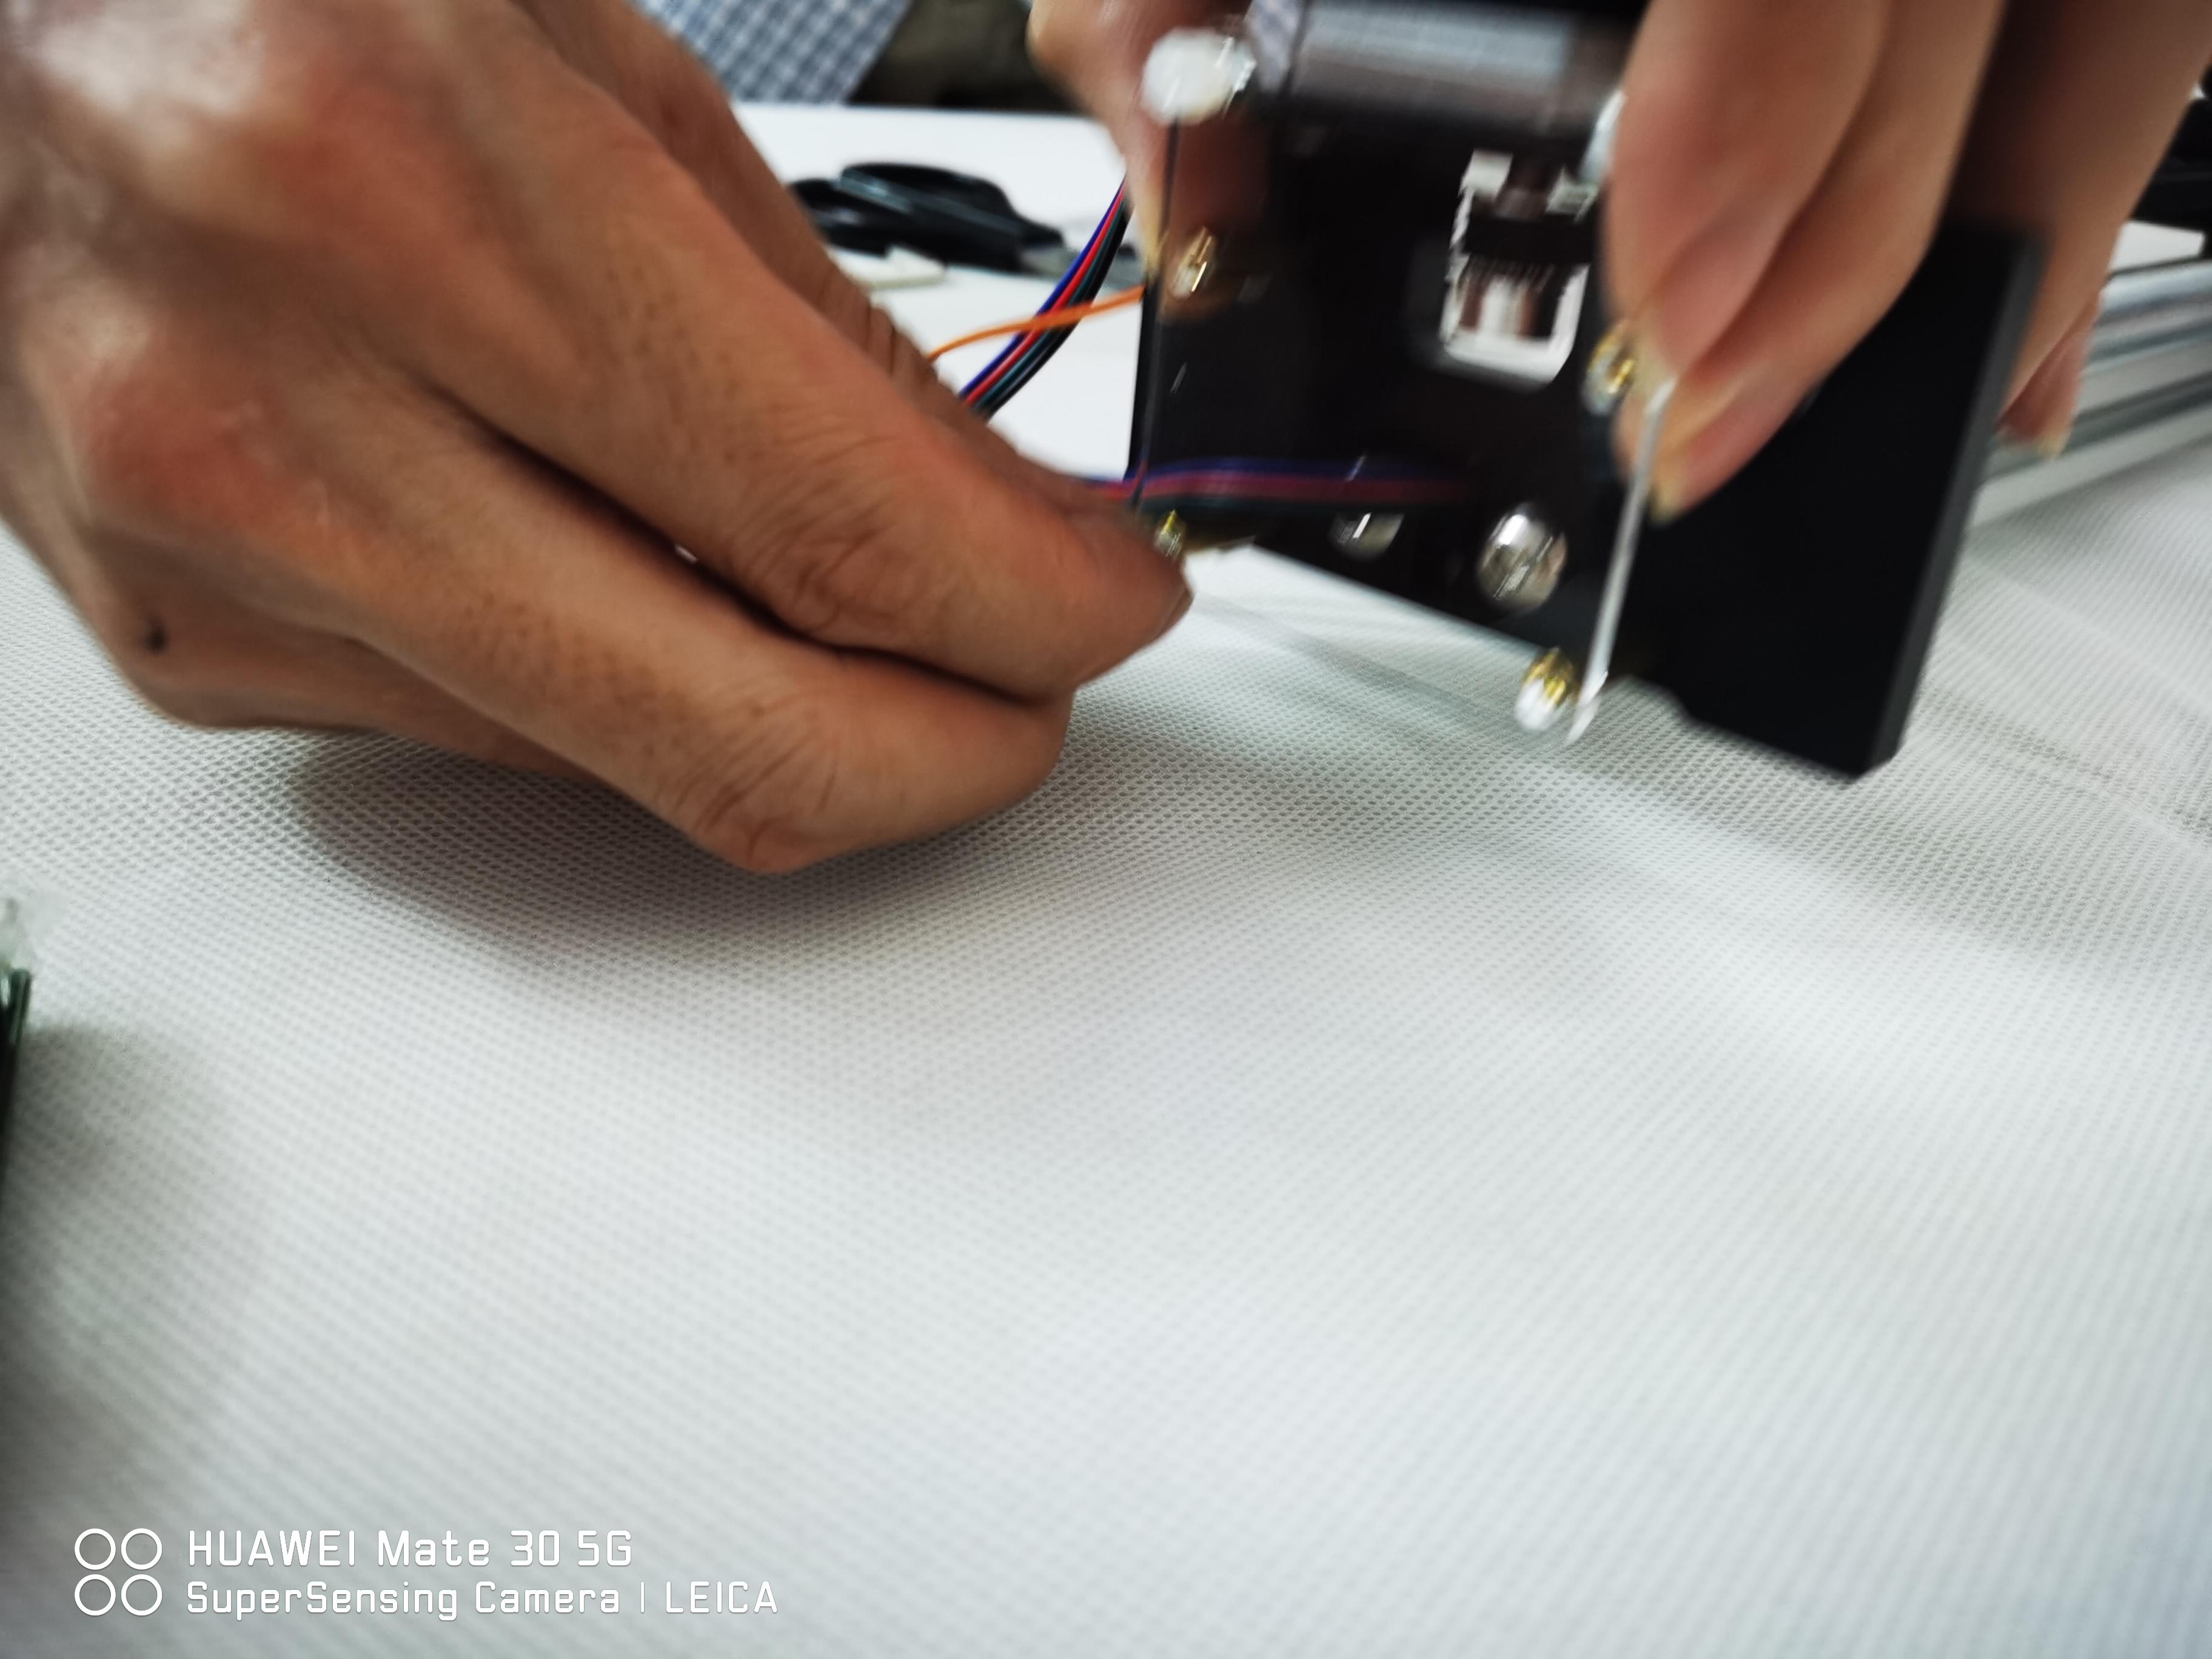
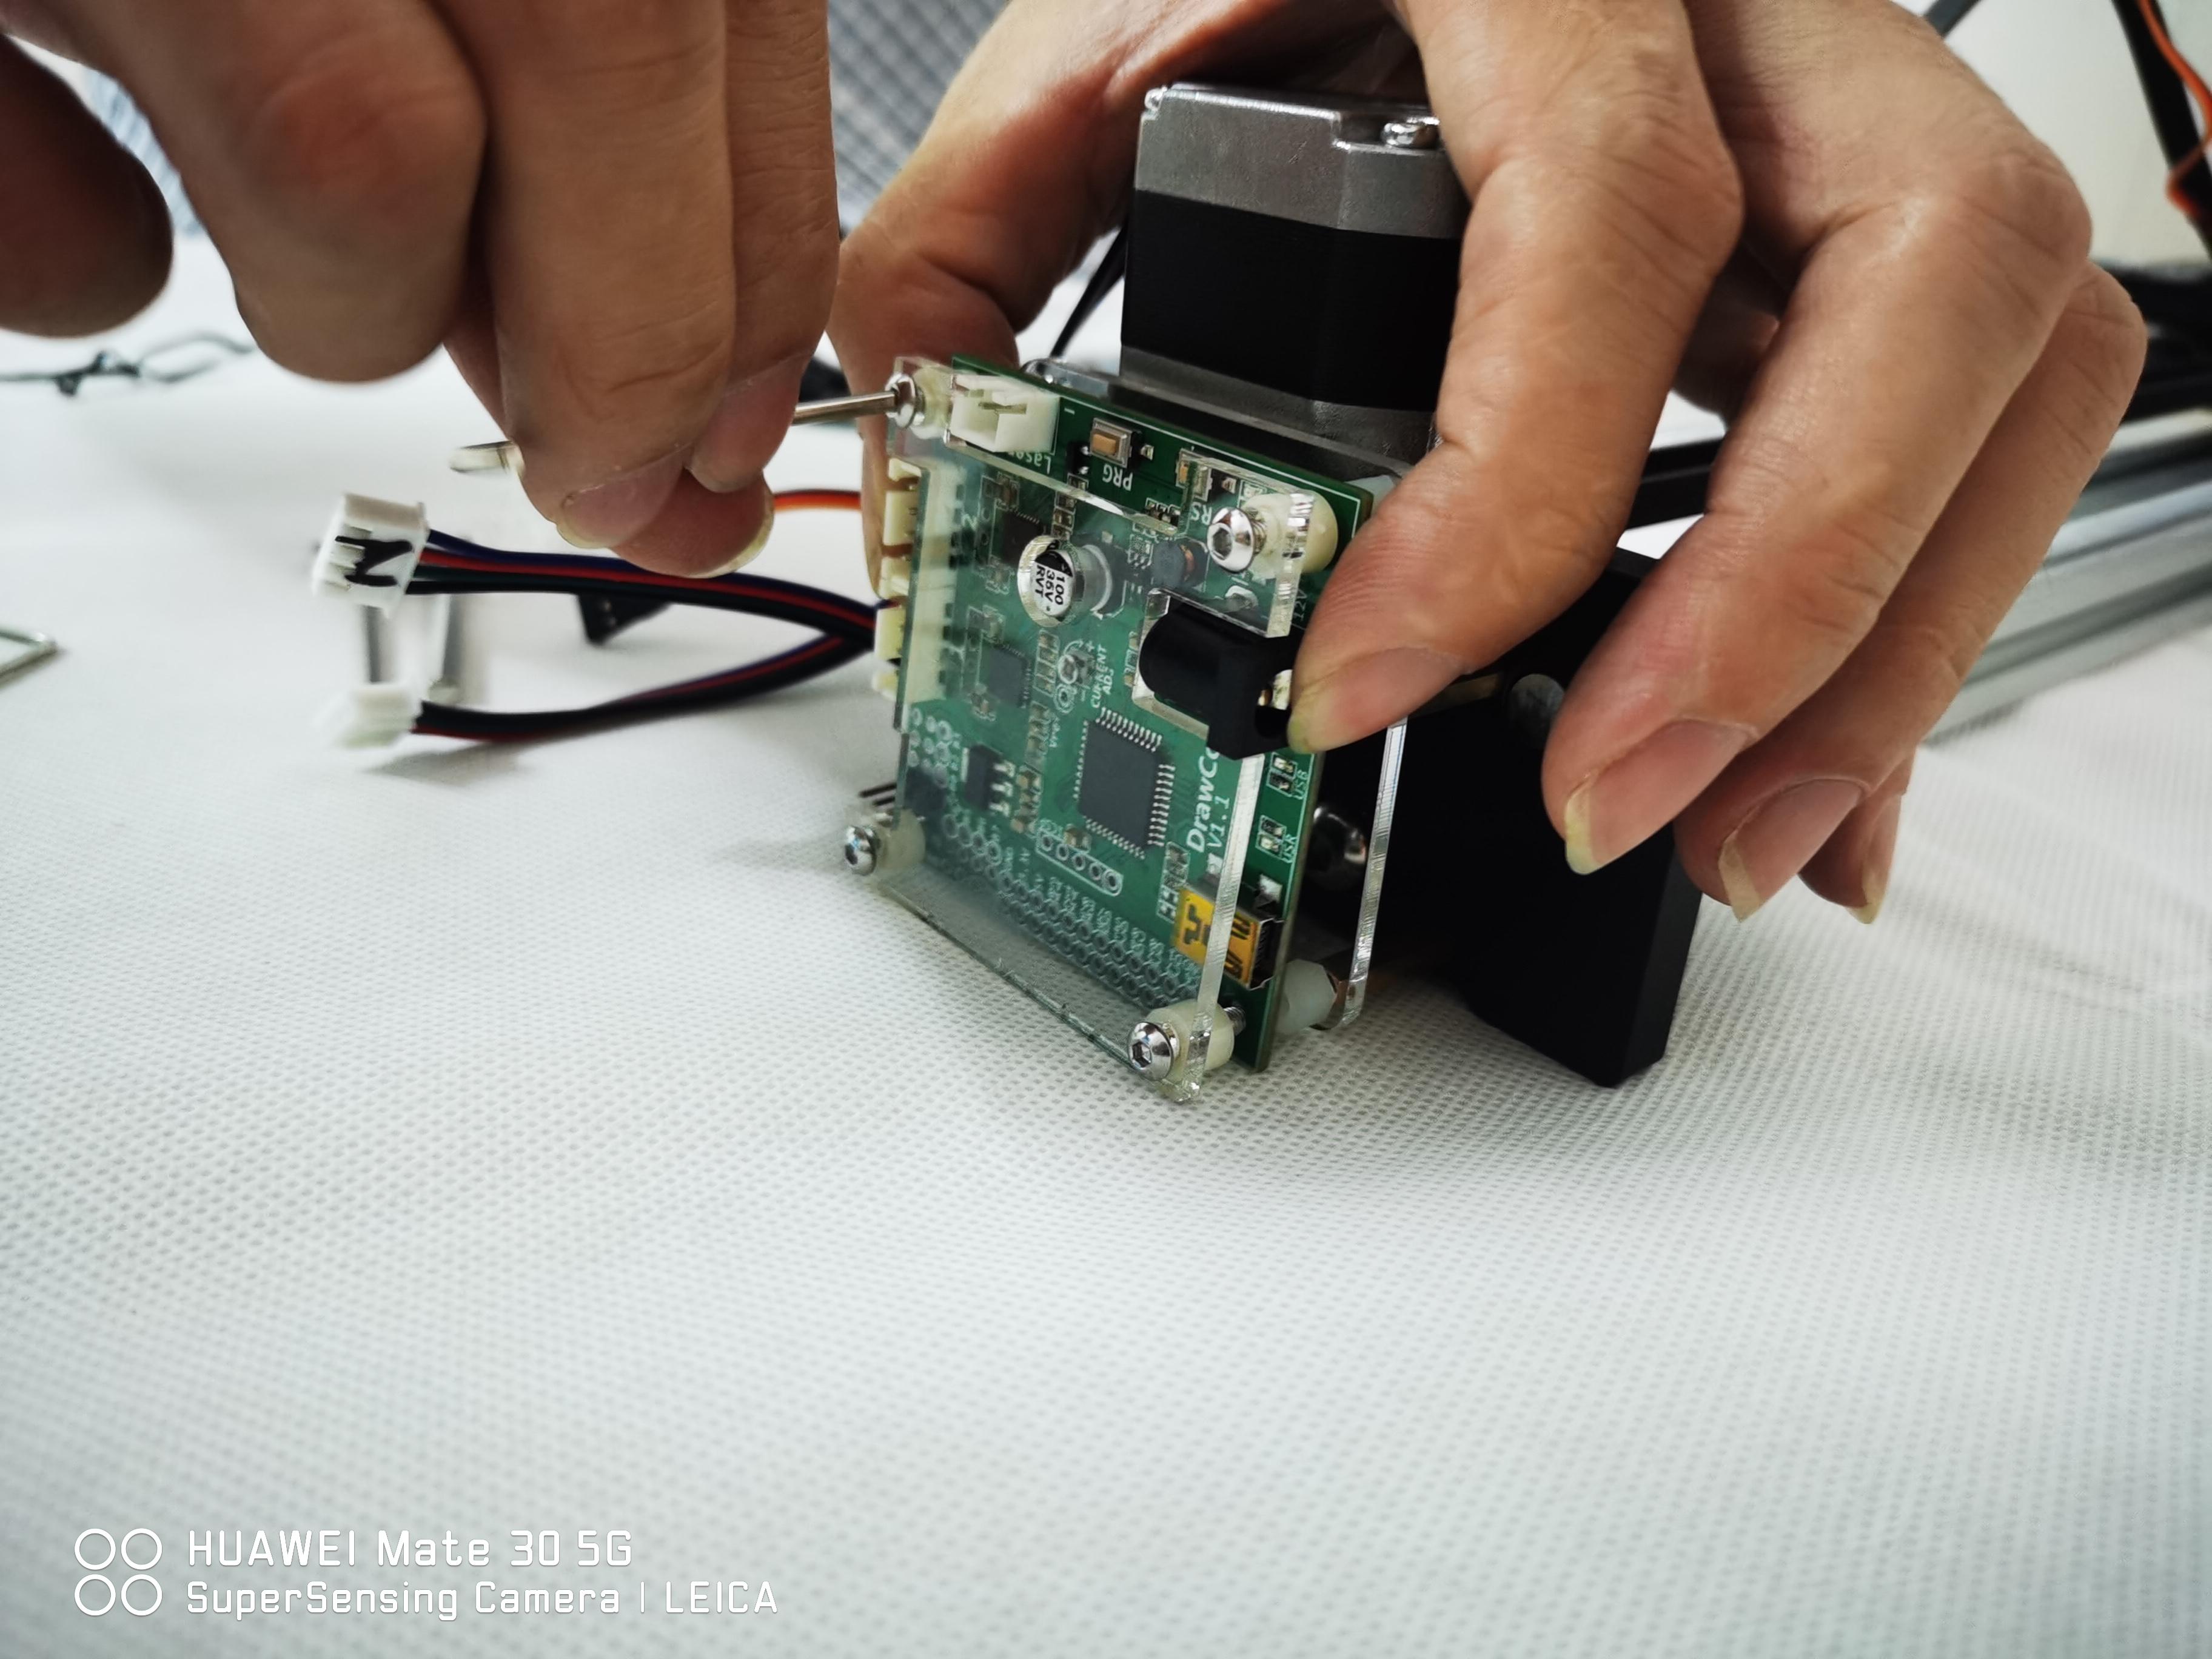
Let's Connect the Motors. the Servo Is Connecting on the Three Pins at the Bottom of the Board. Make Sure to Plug It the Right Way Around (brown Cable on the Outside)
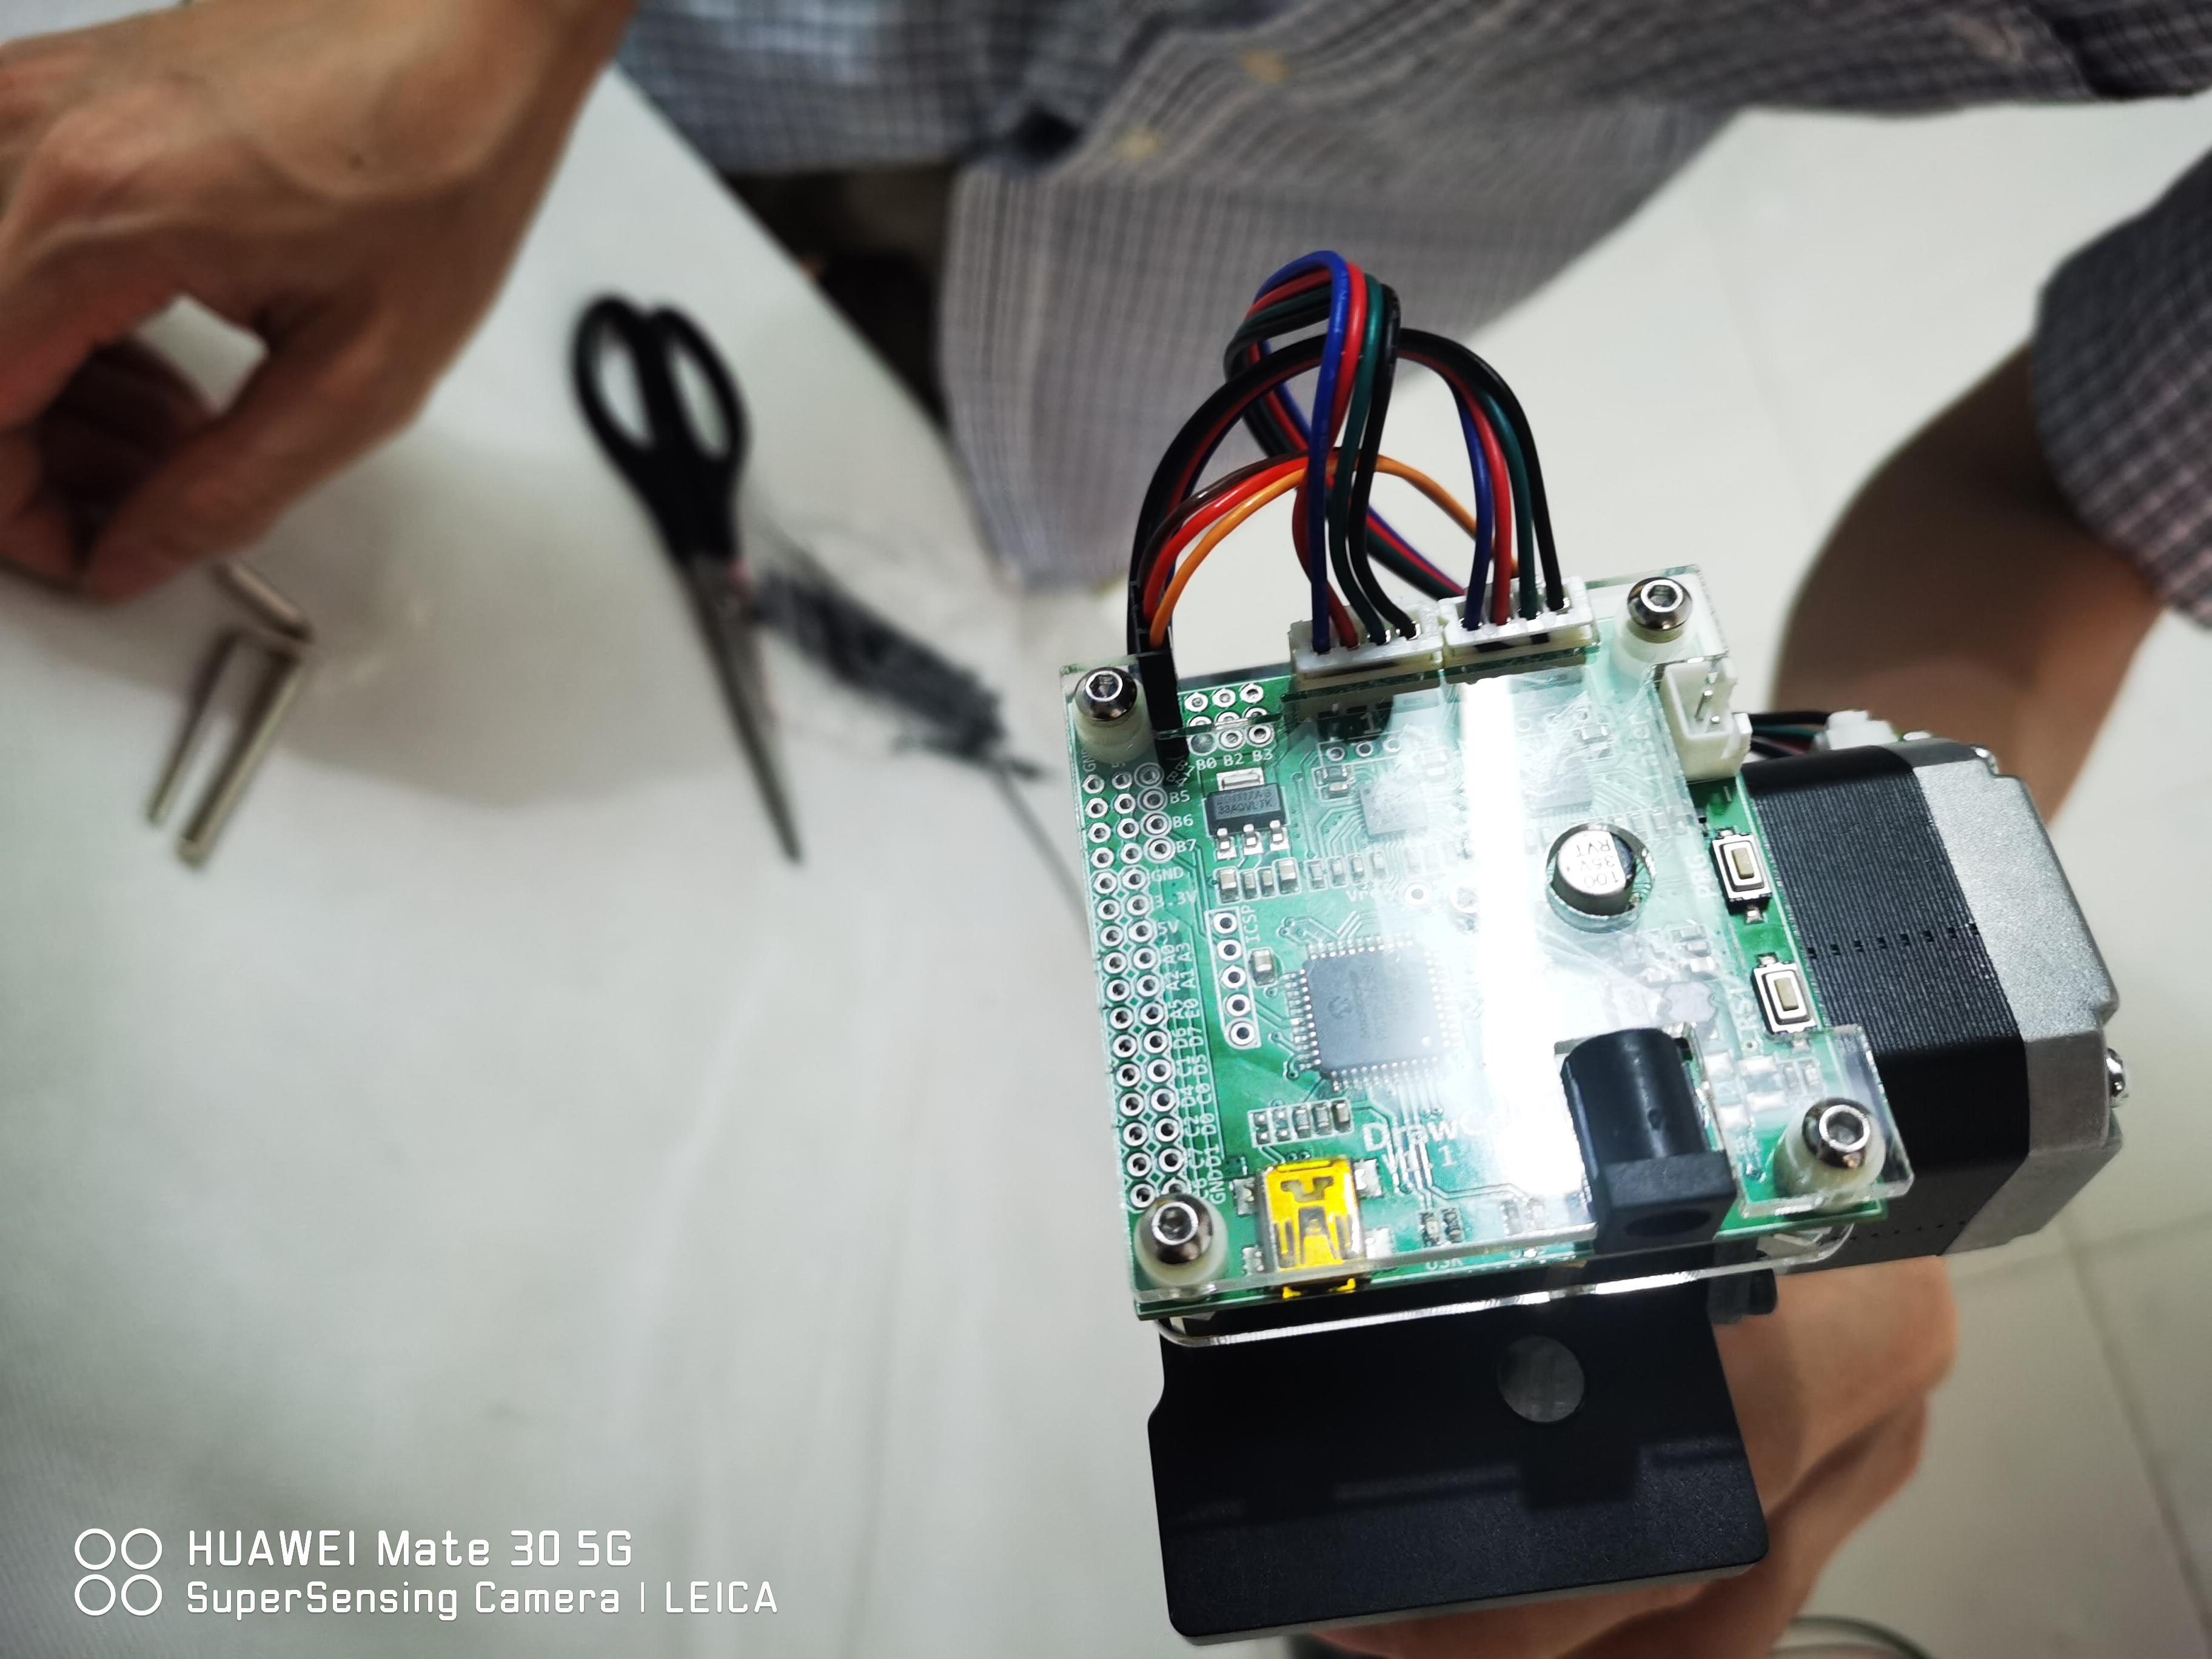
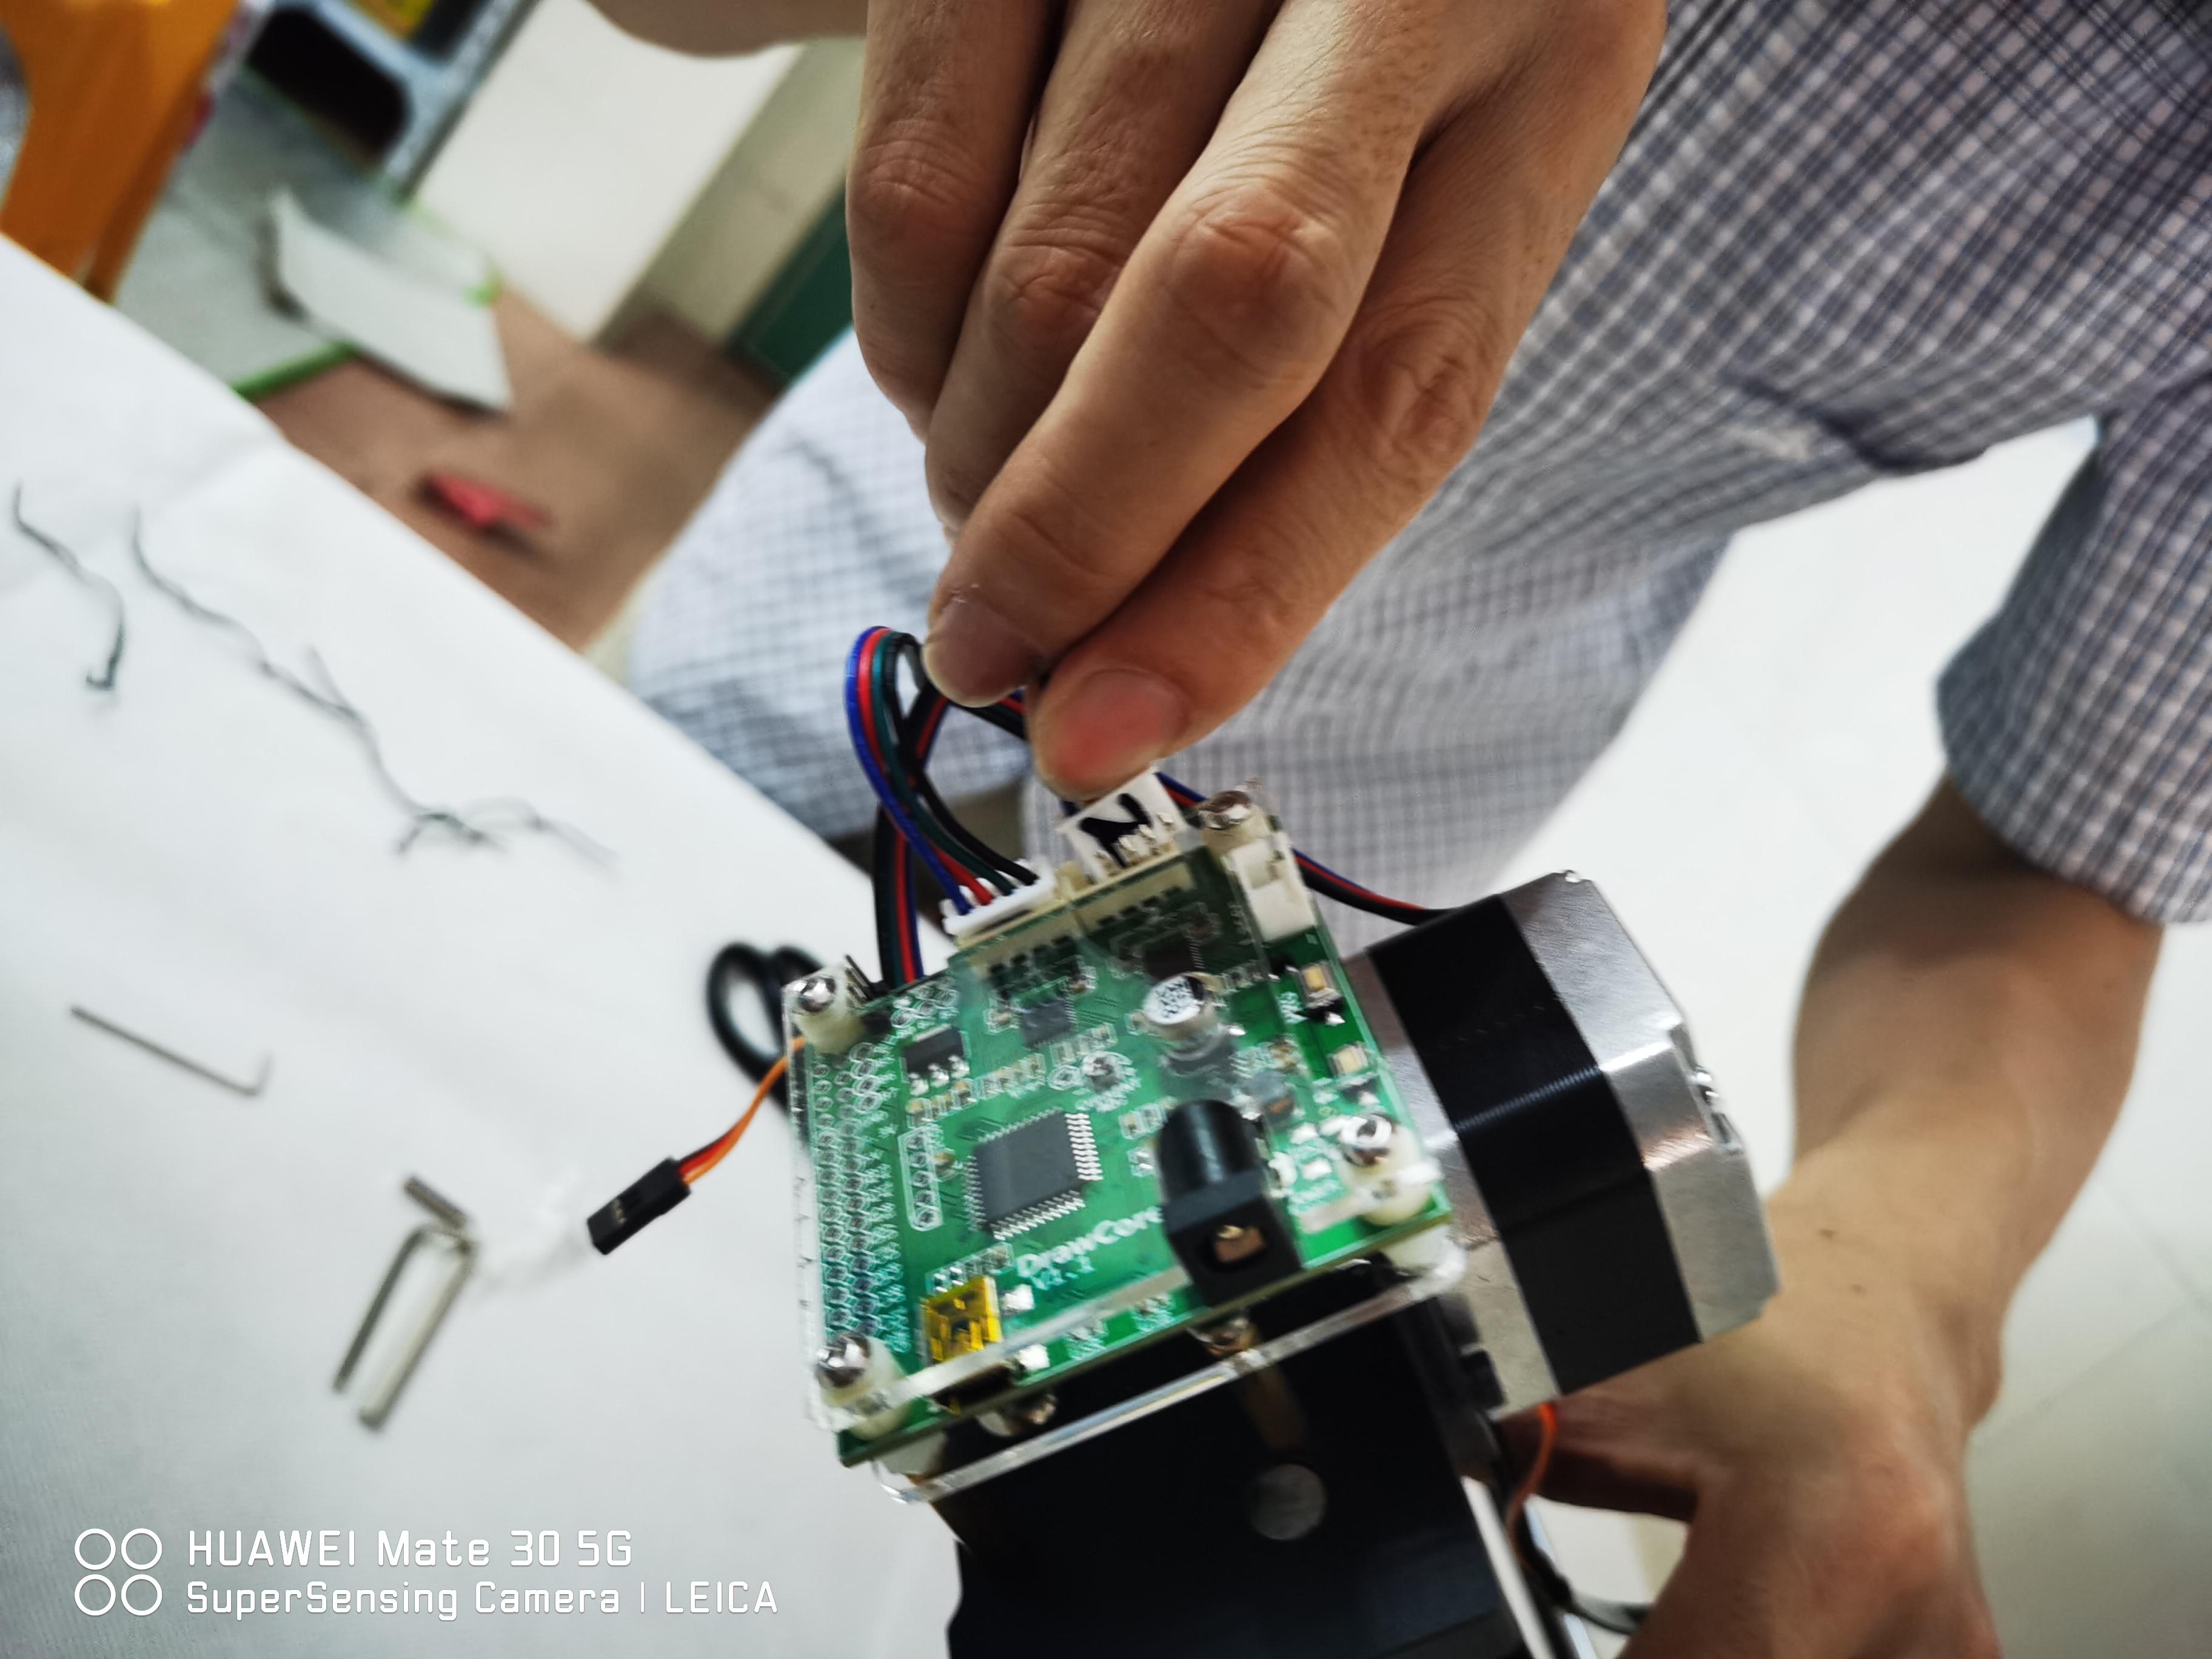
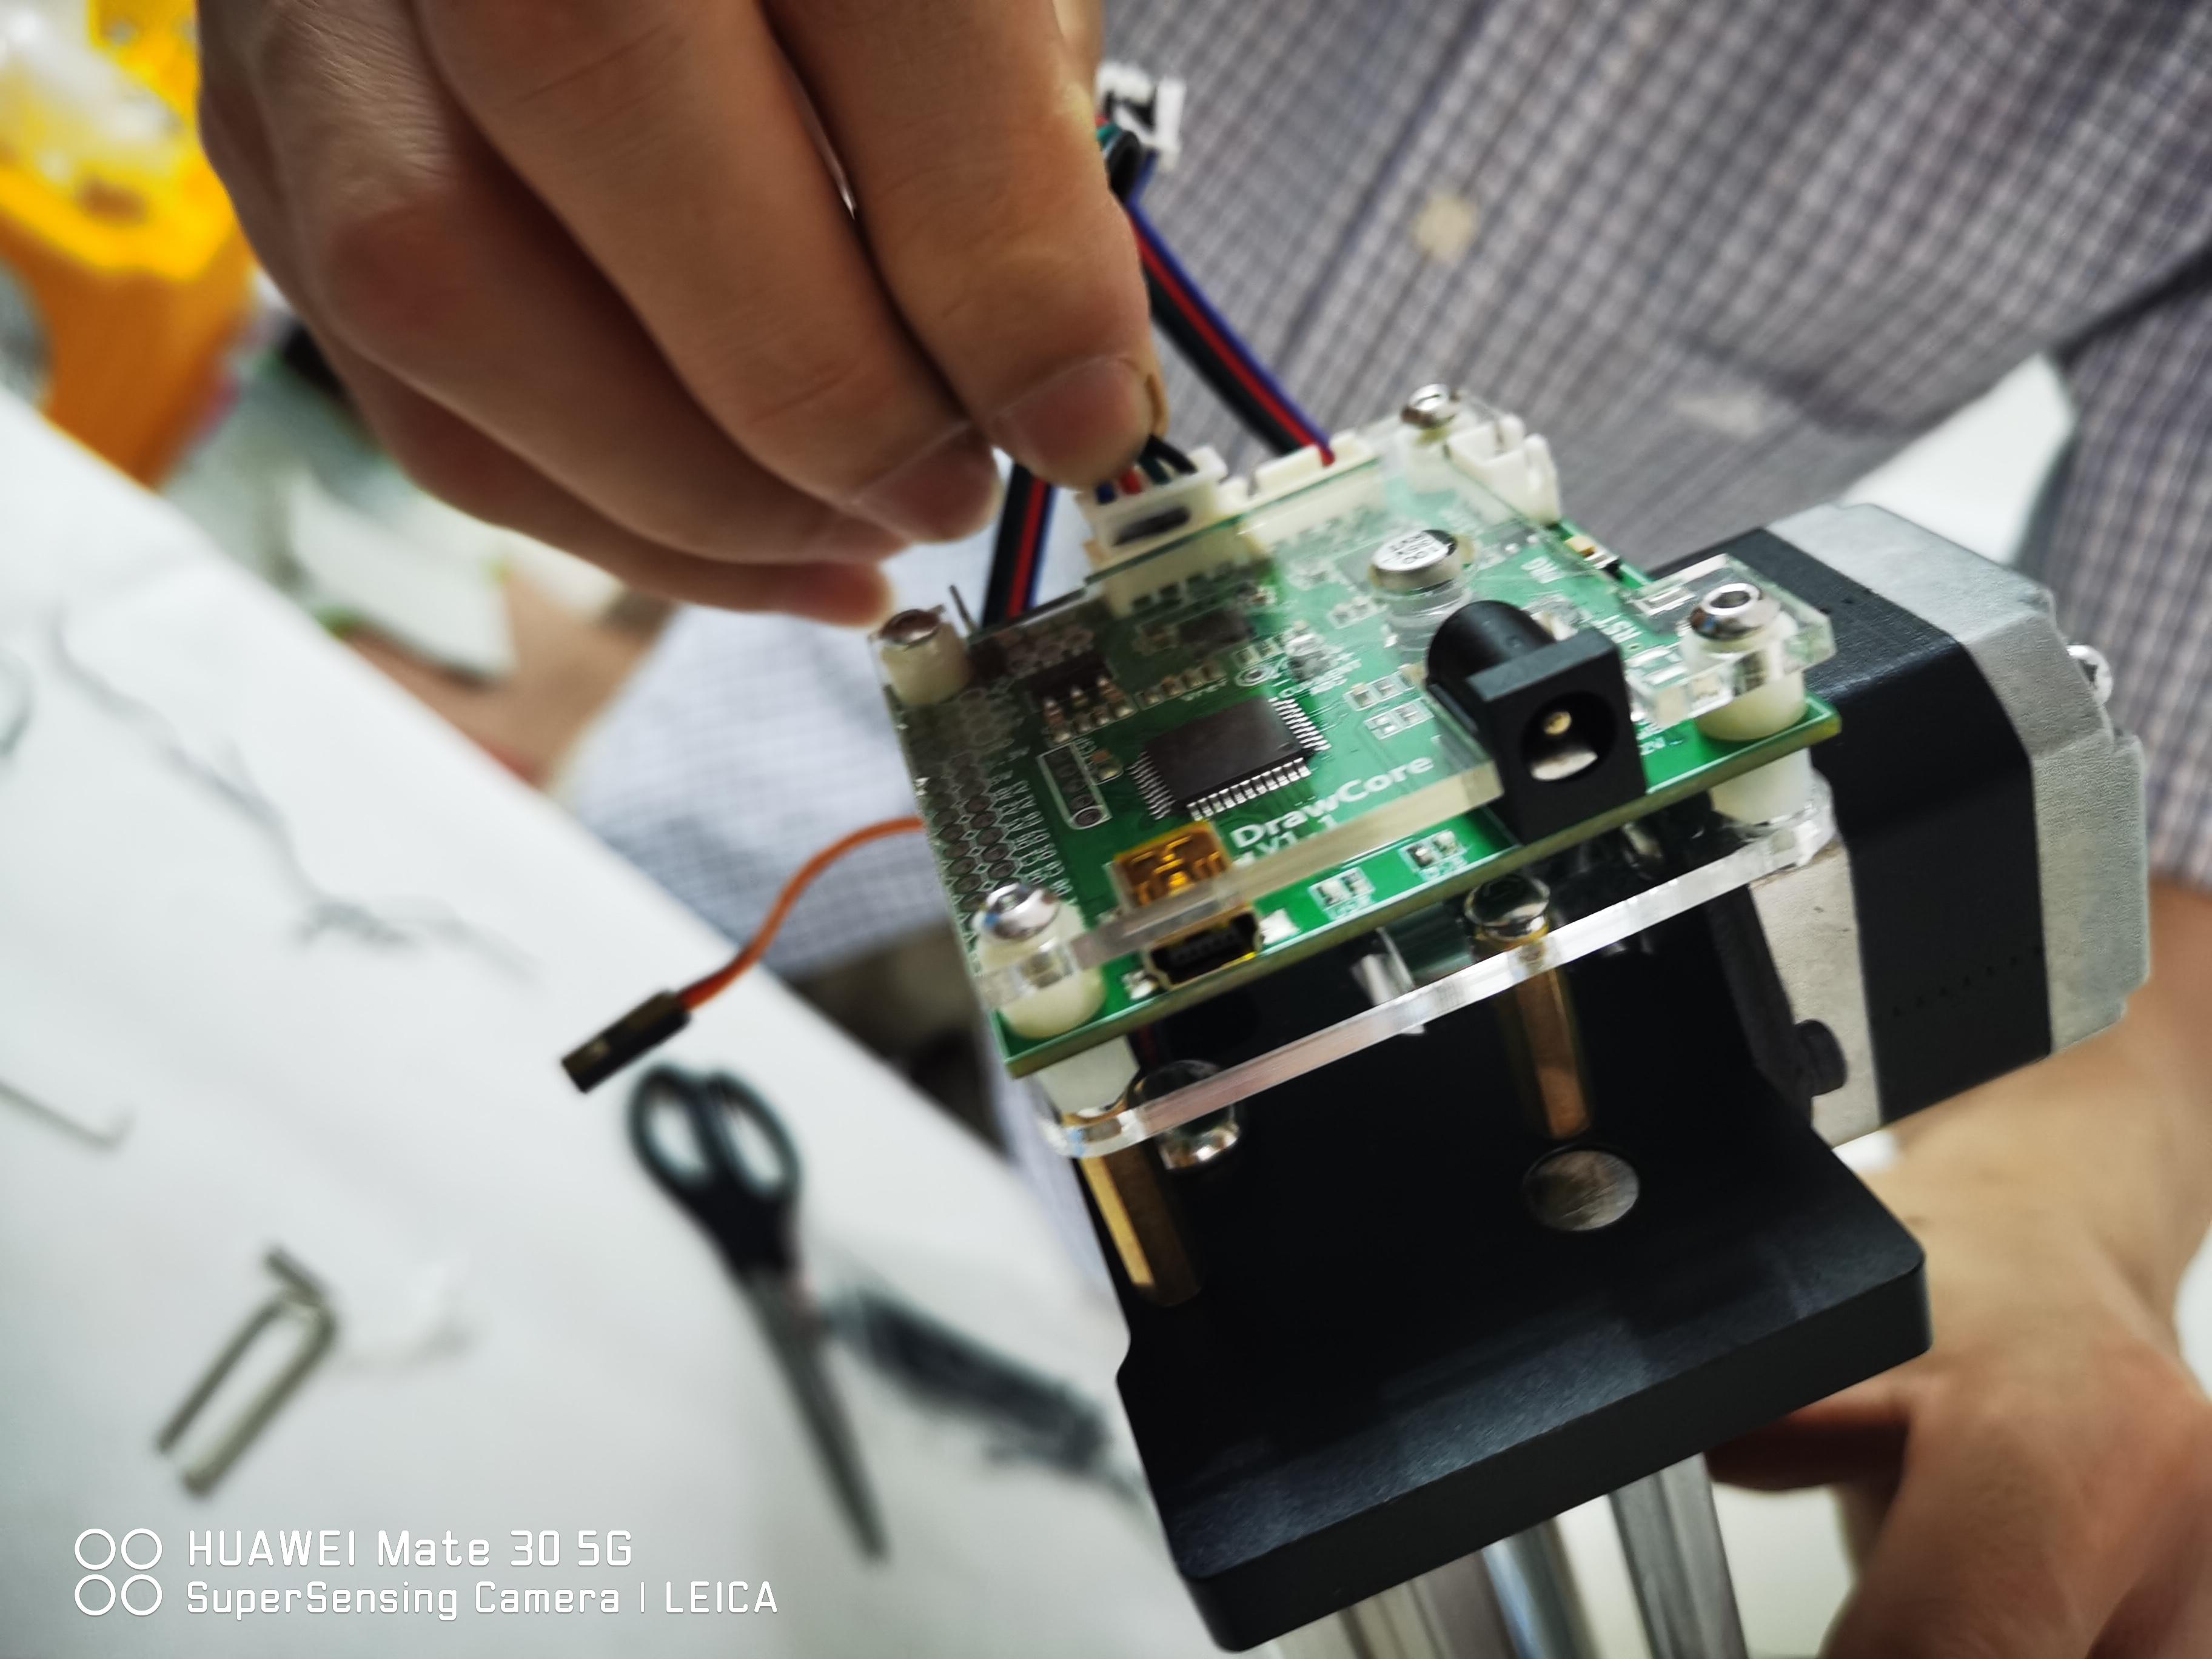
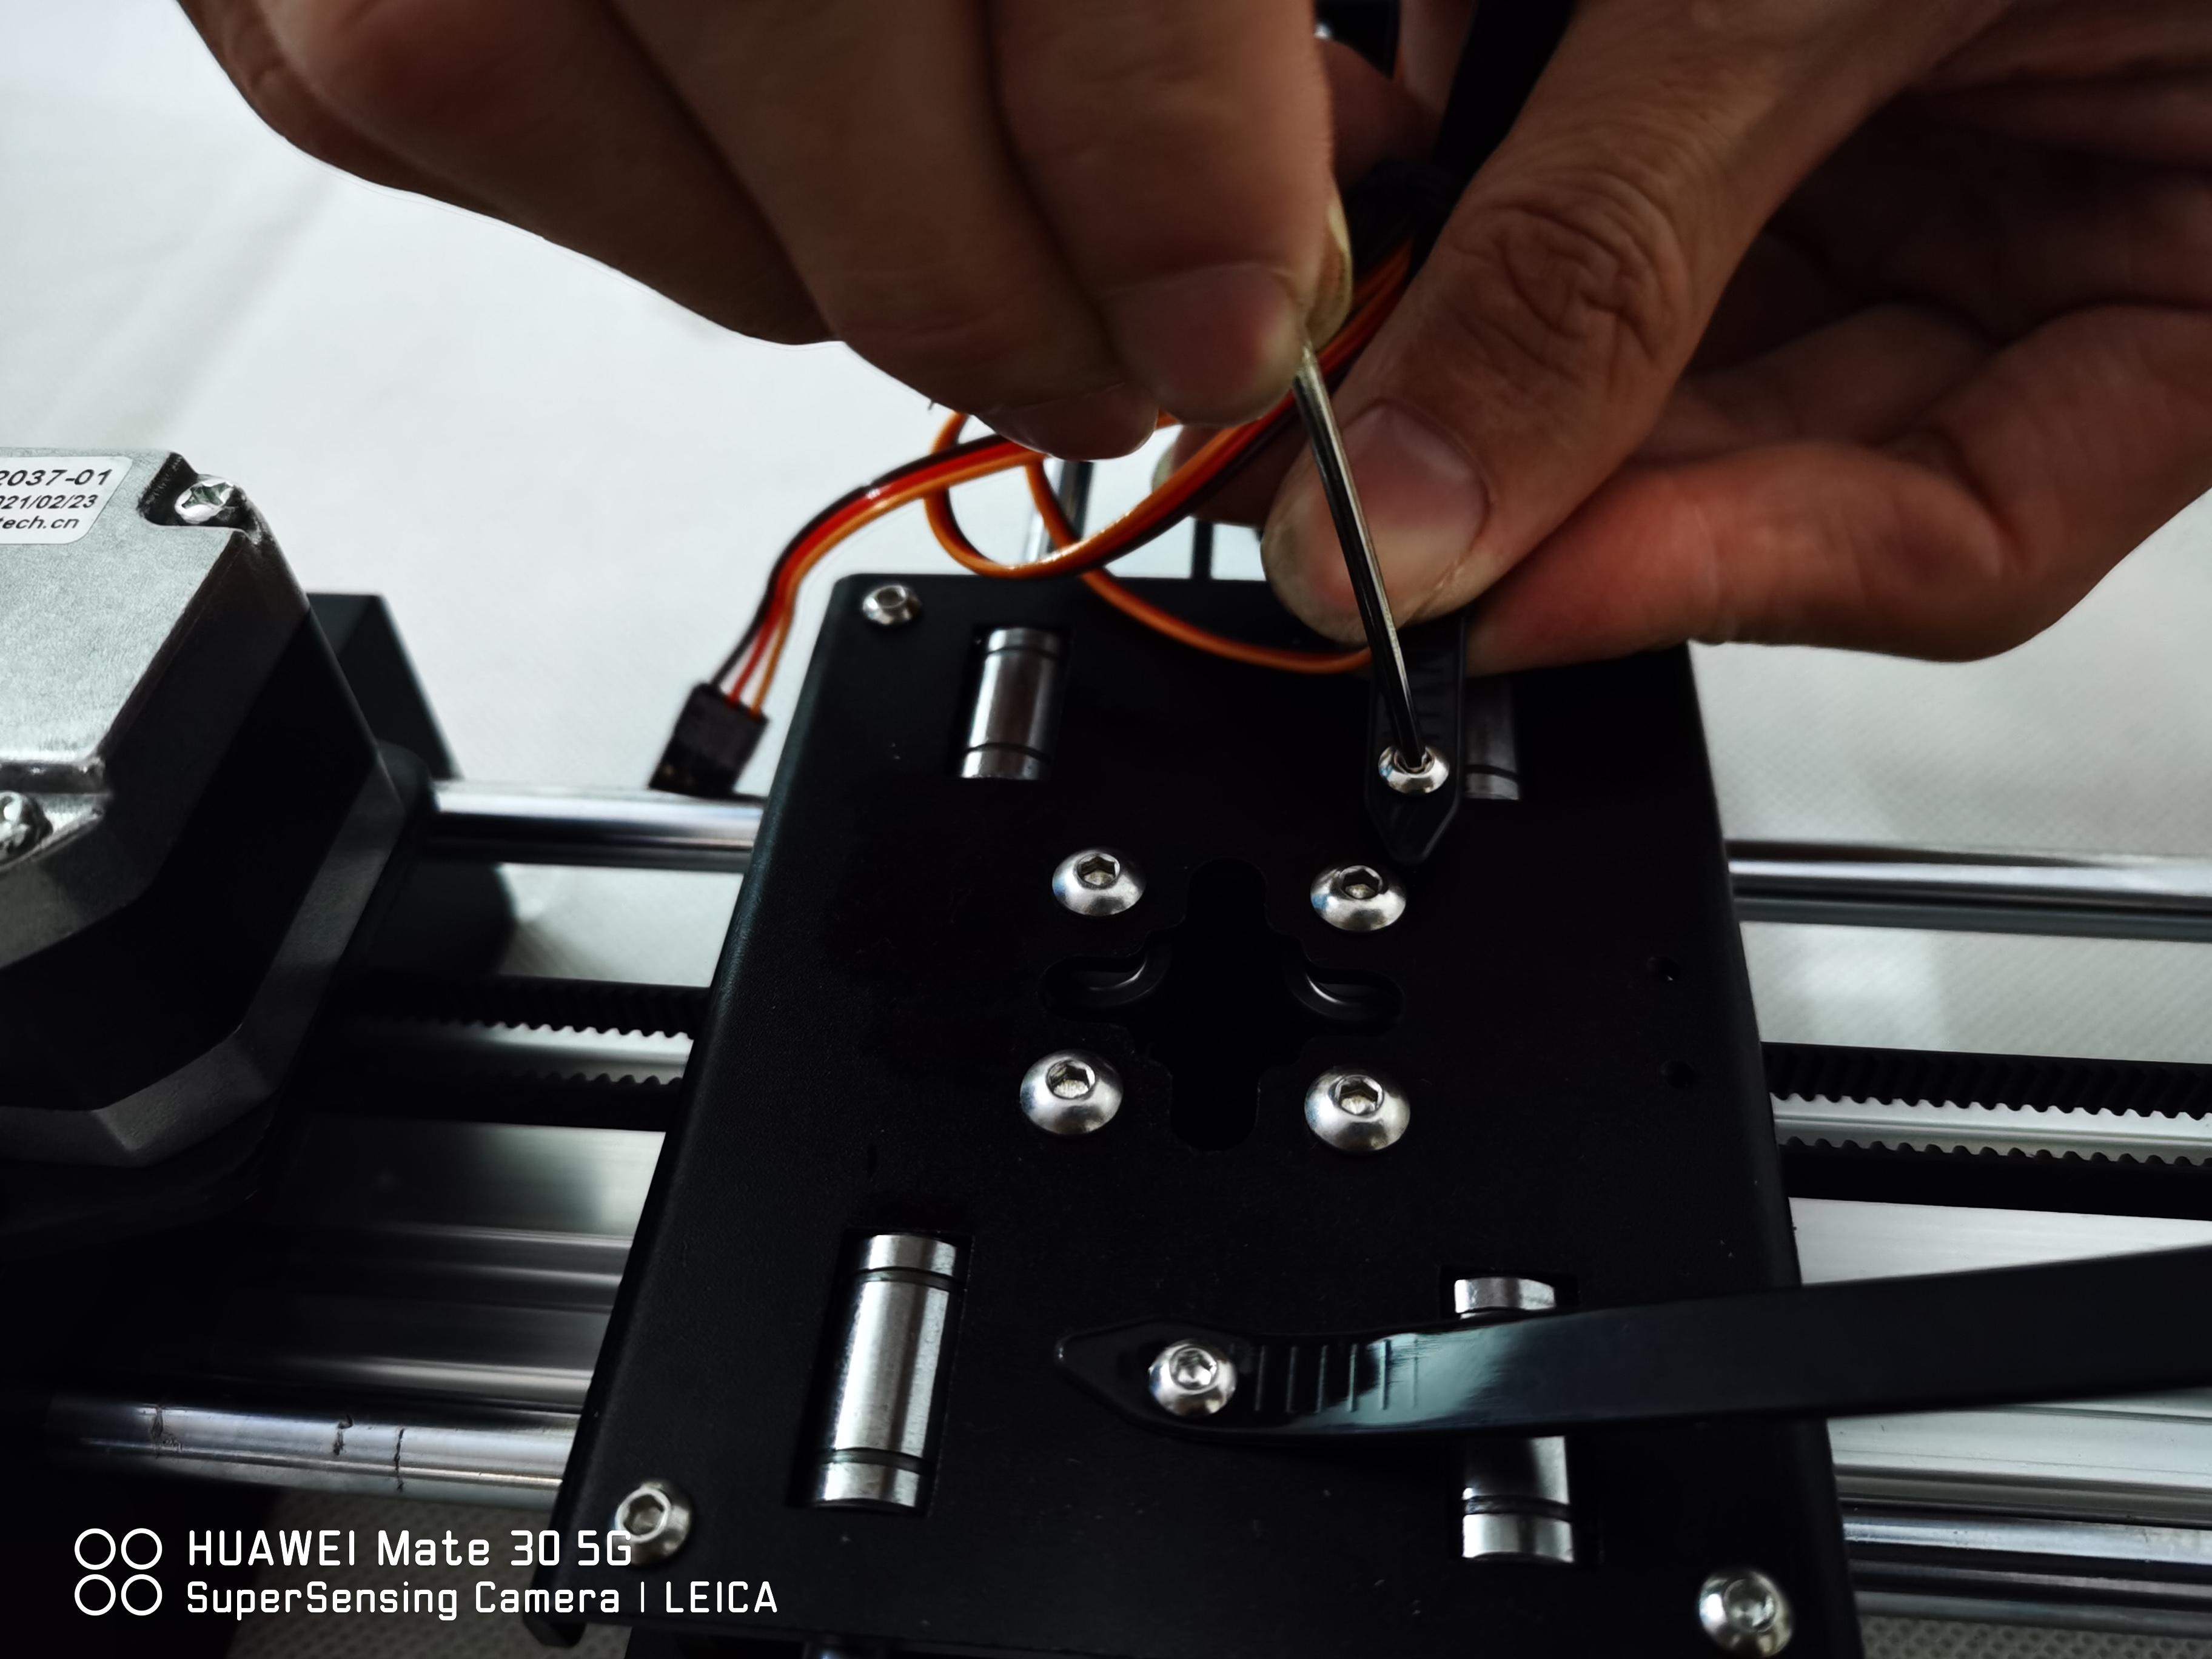
Now Stepper motor #1. Nice touch from the manufacturers, they have written which motor is which on the white connector so you don't have to research which is which.
And stepper motor #2 on the top socket.
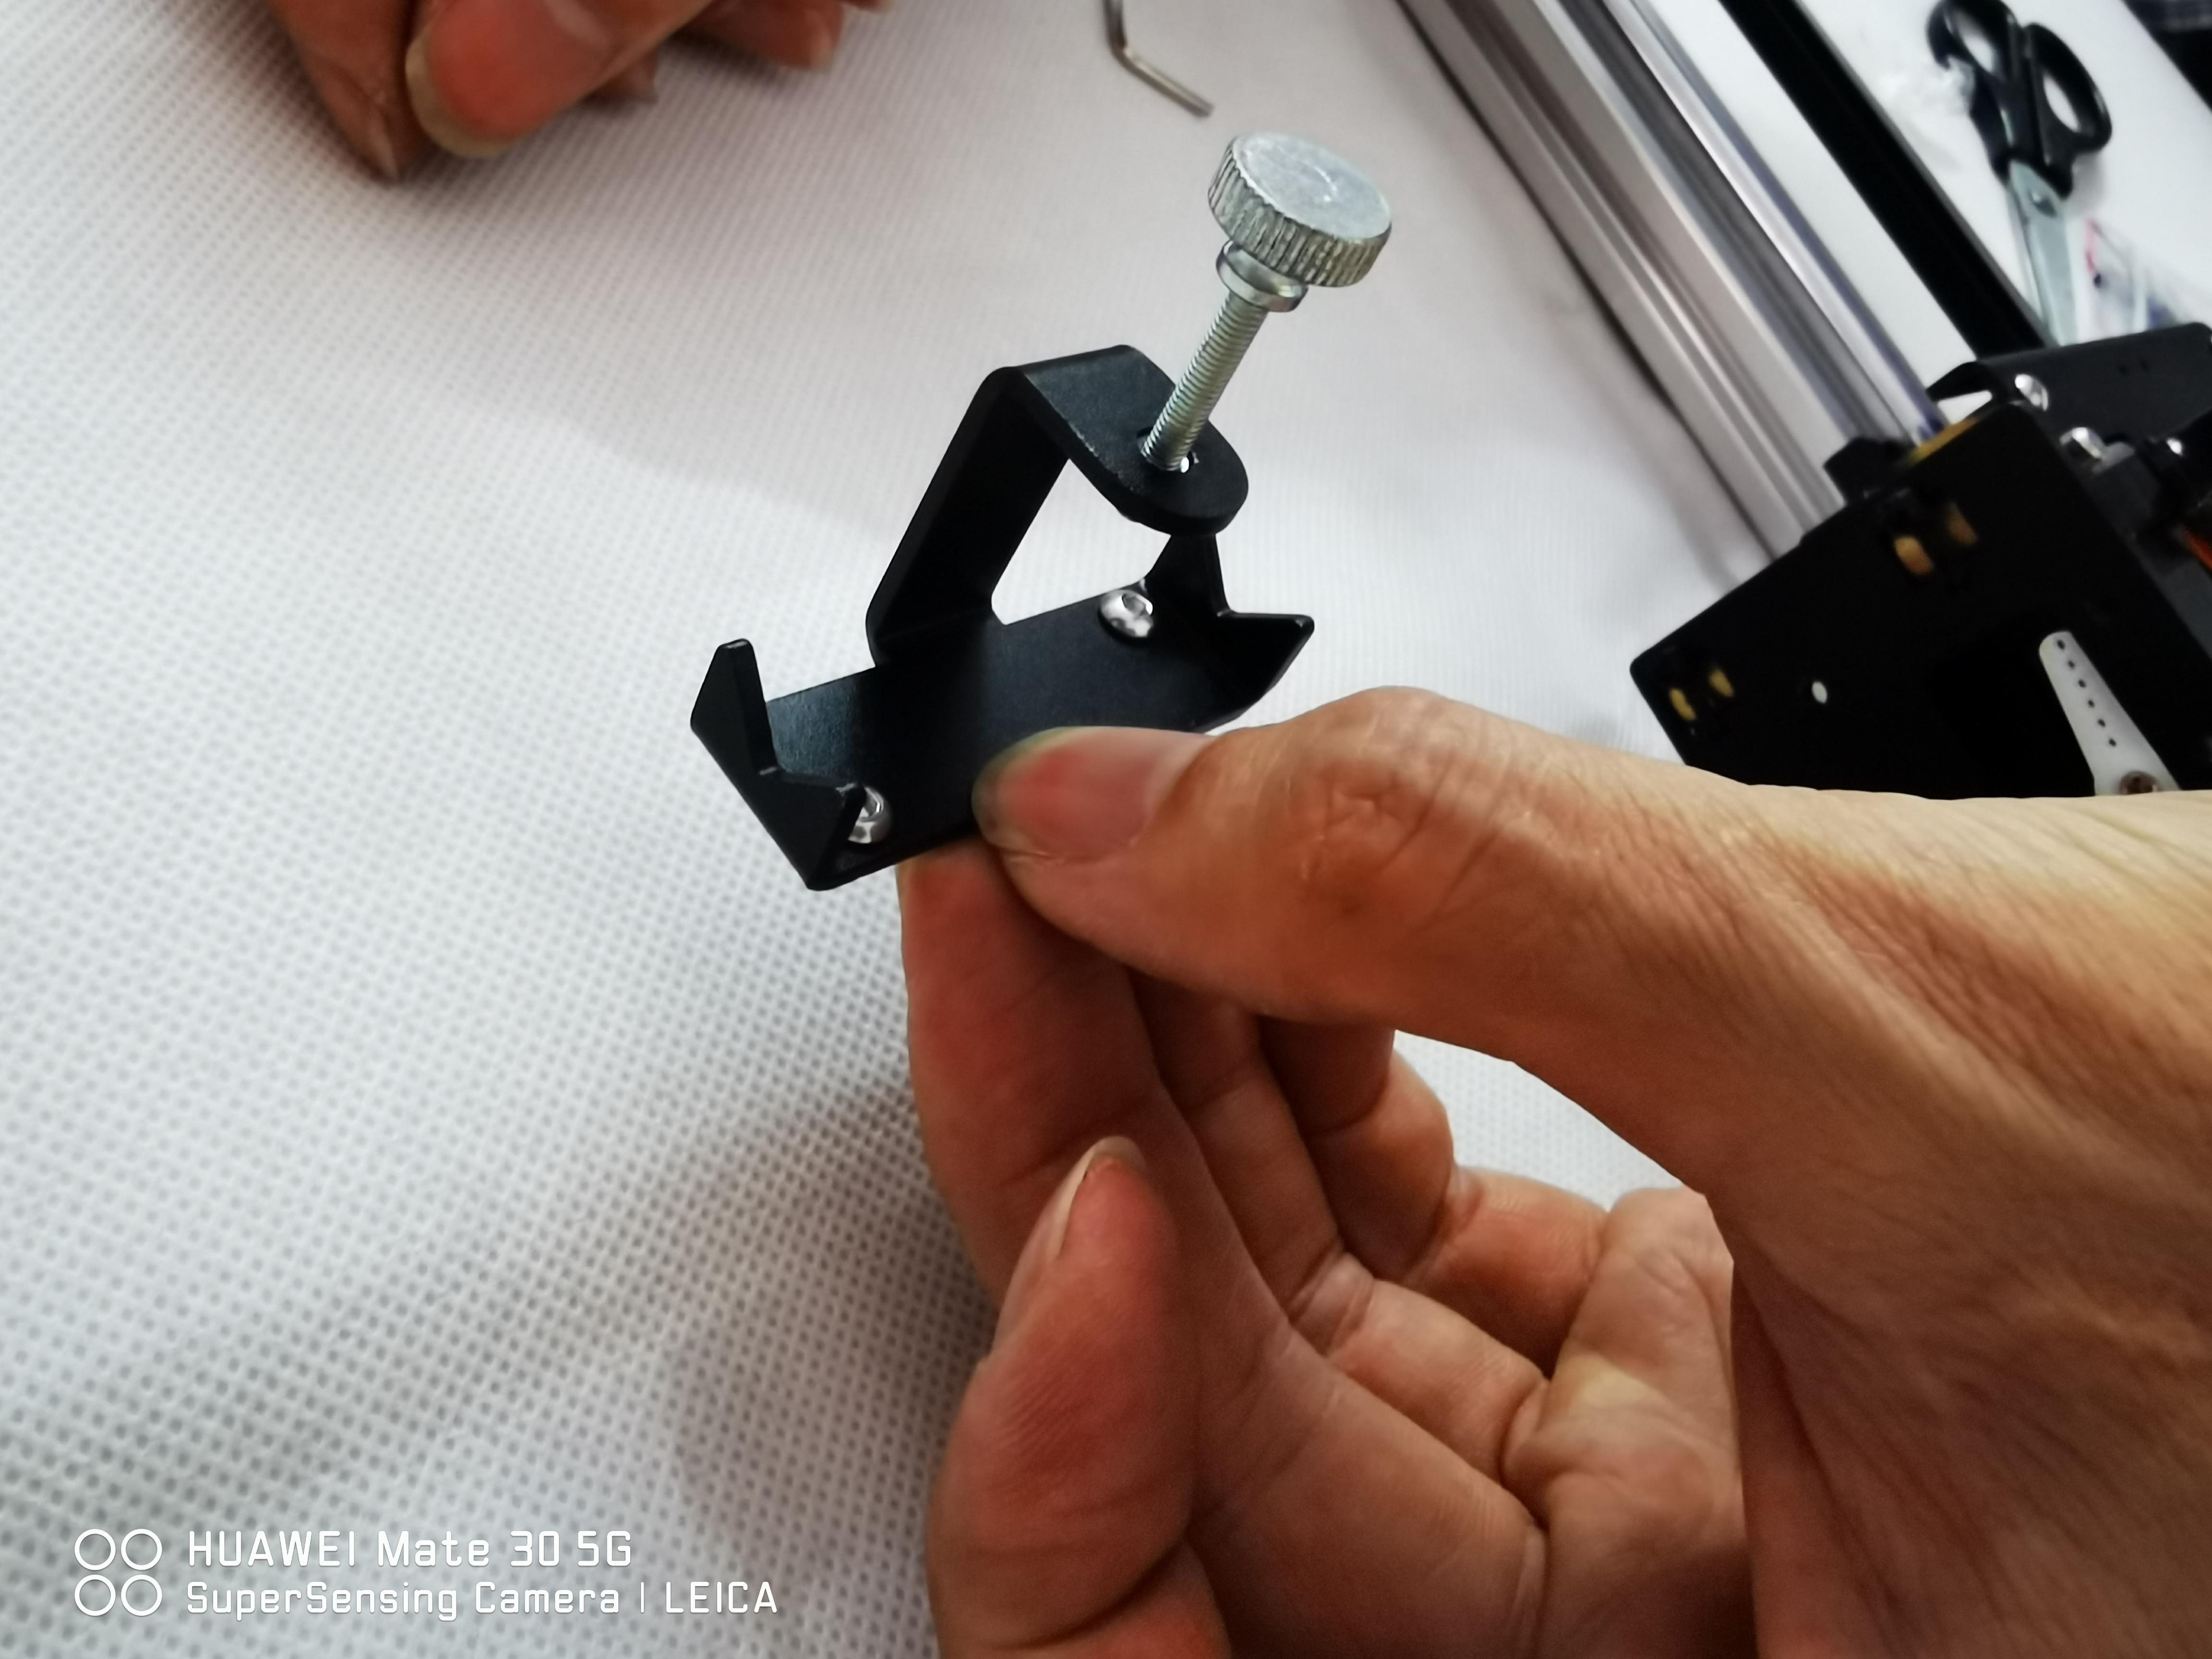
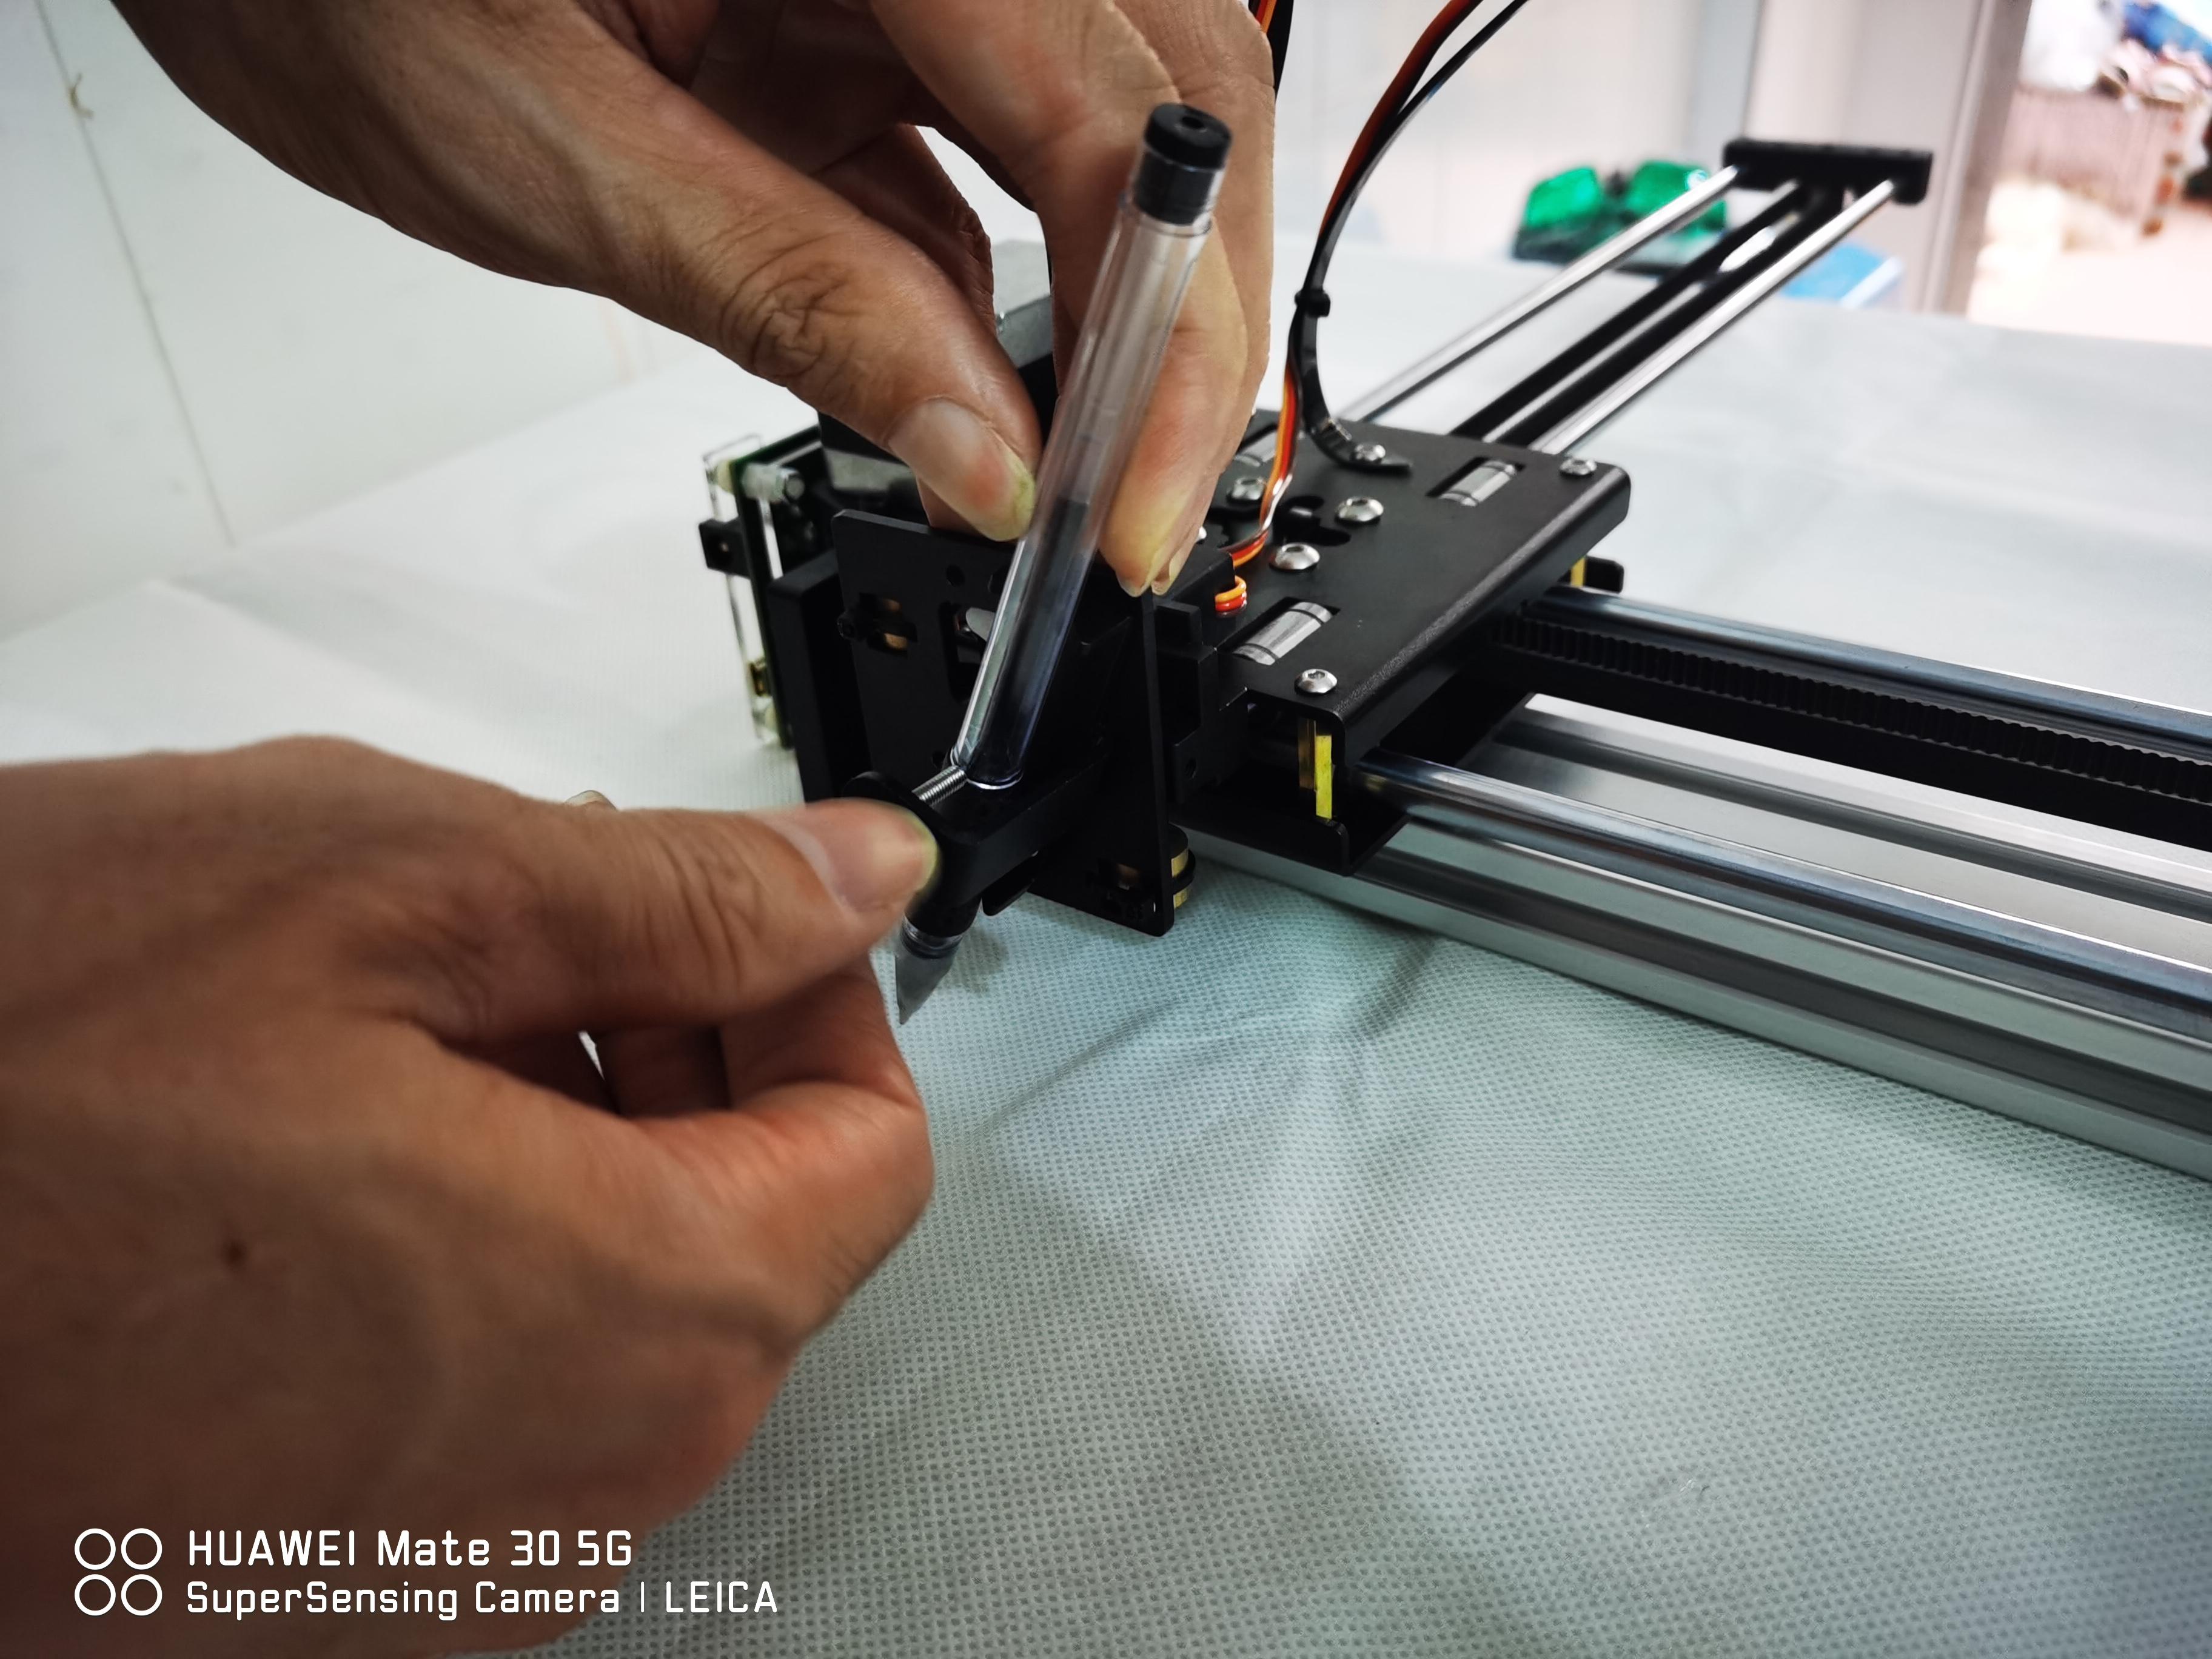
Let's Mount the Pen Holder Plate Onto the End Block of the Short Axis.
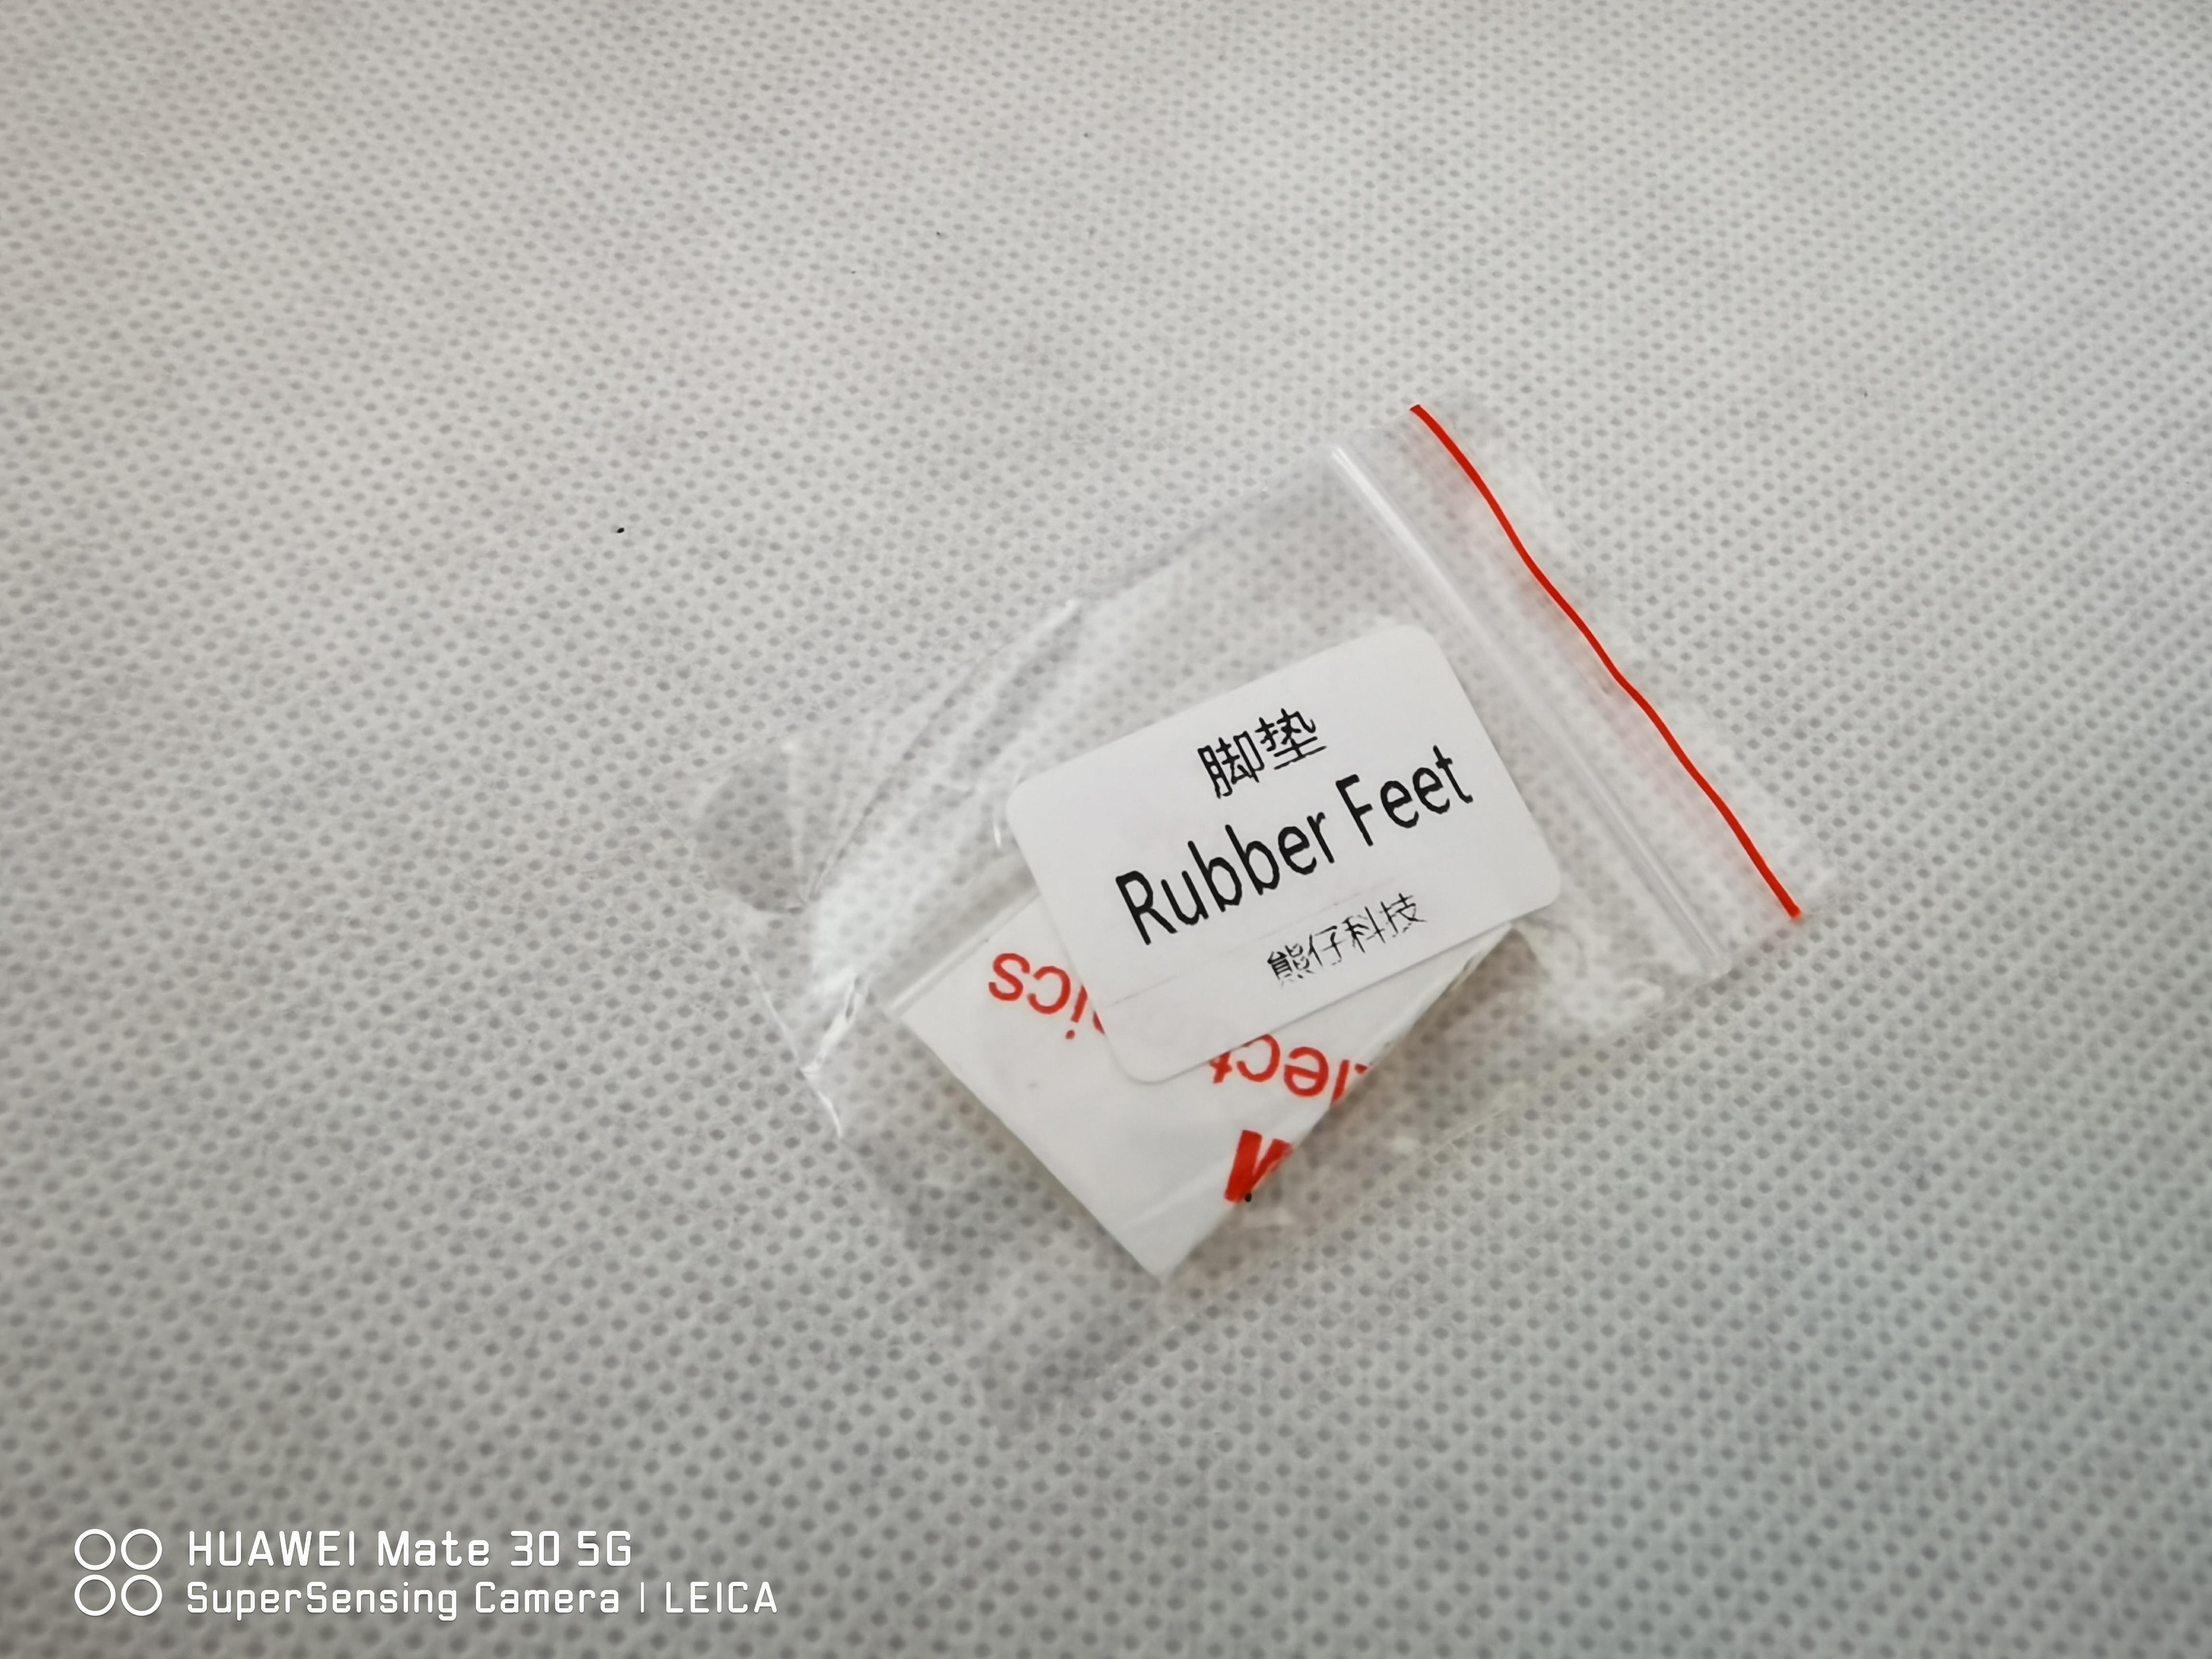
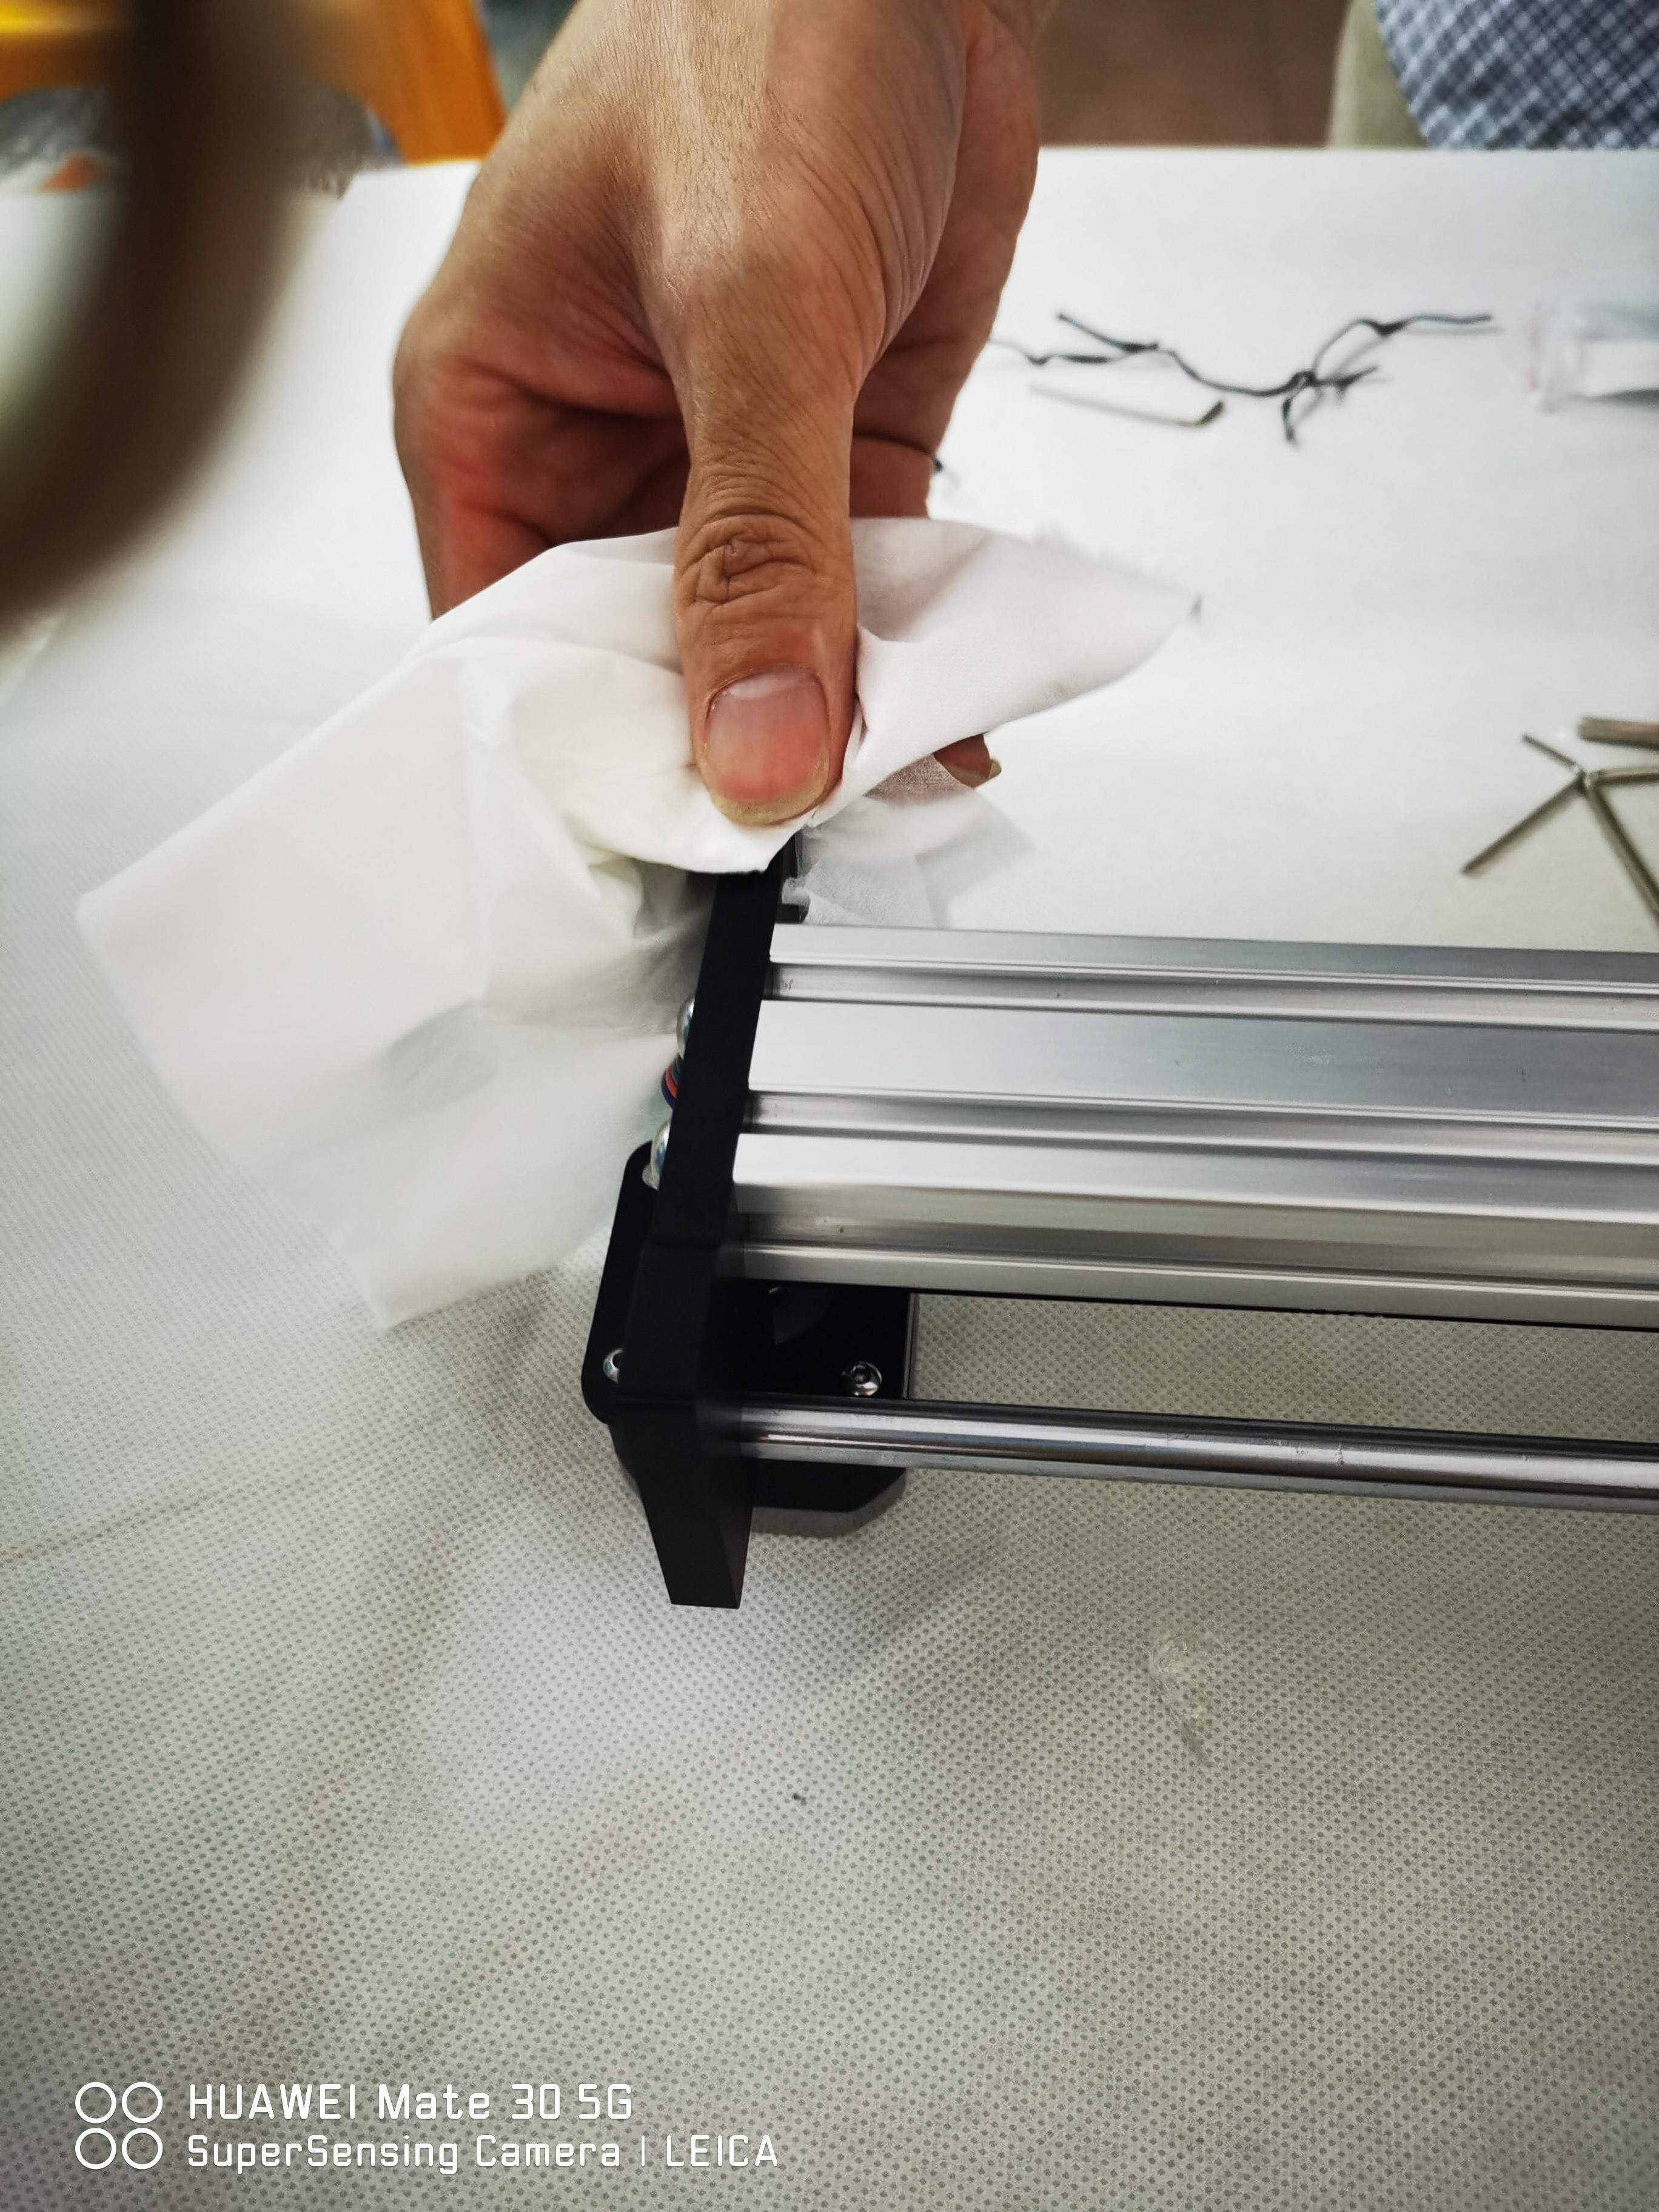
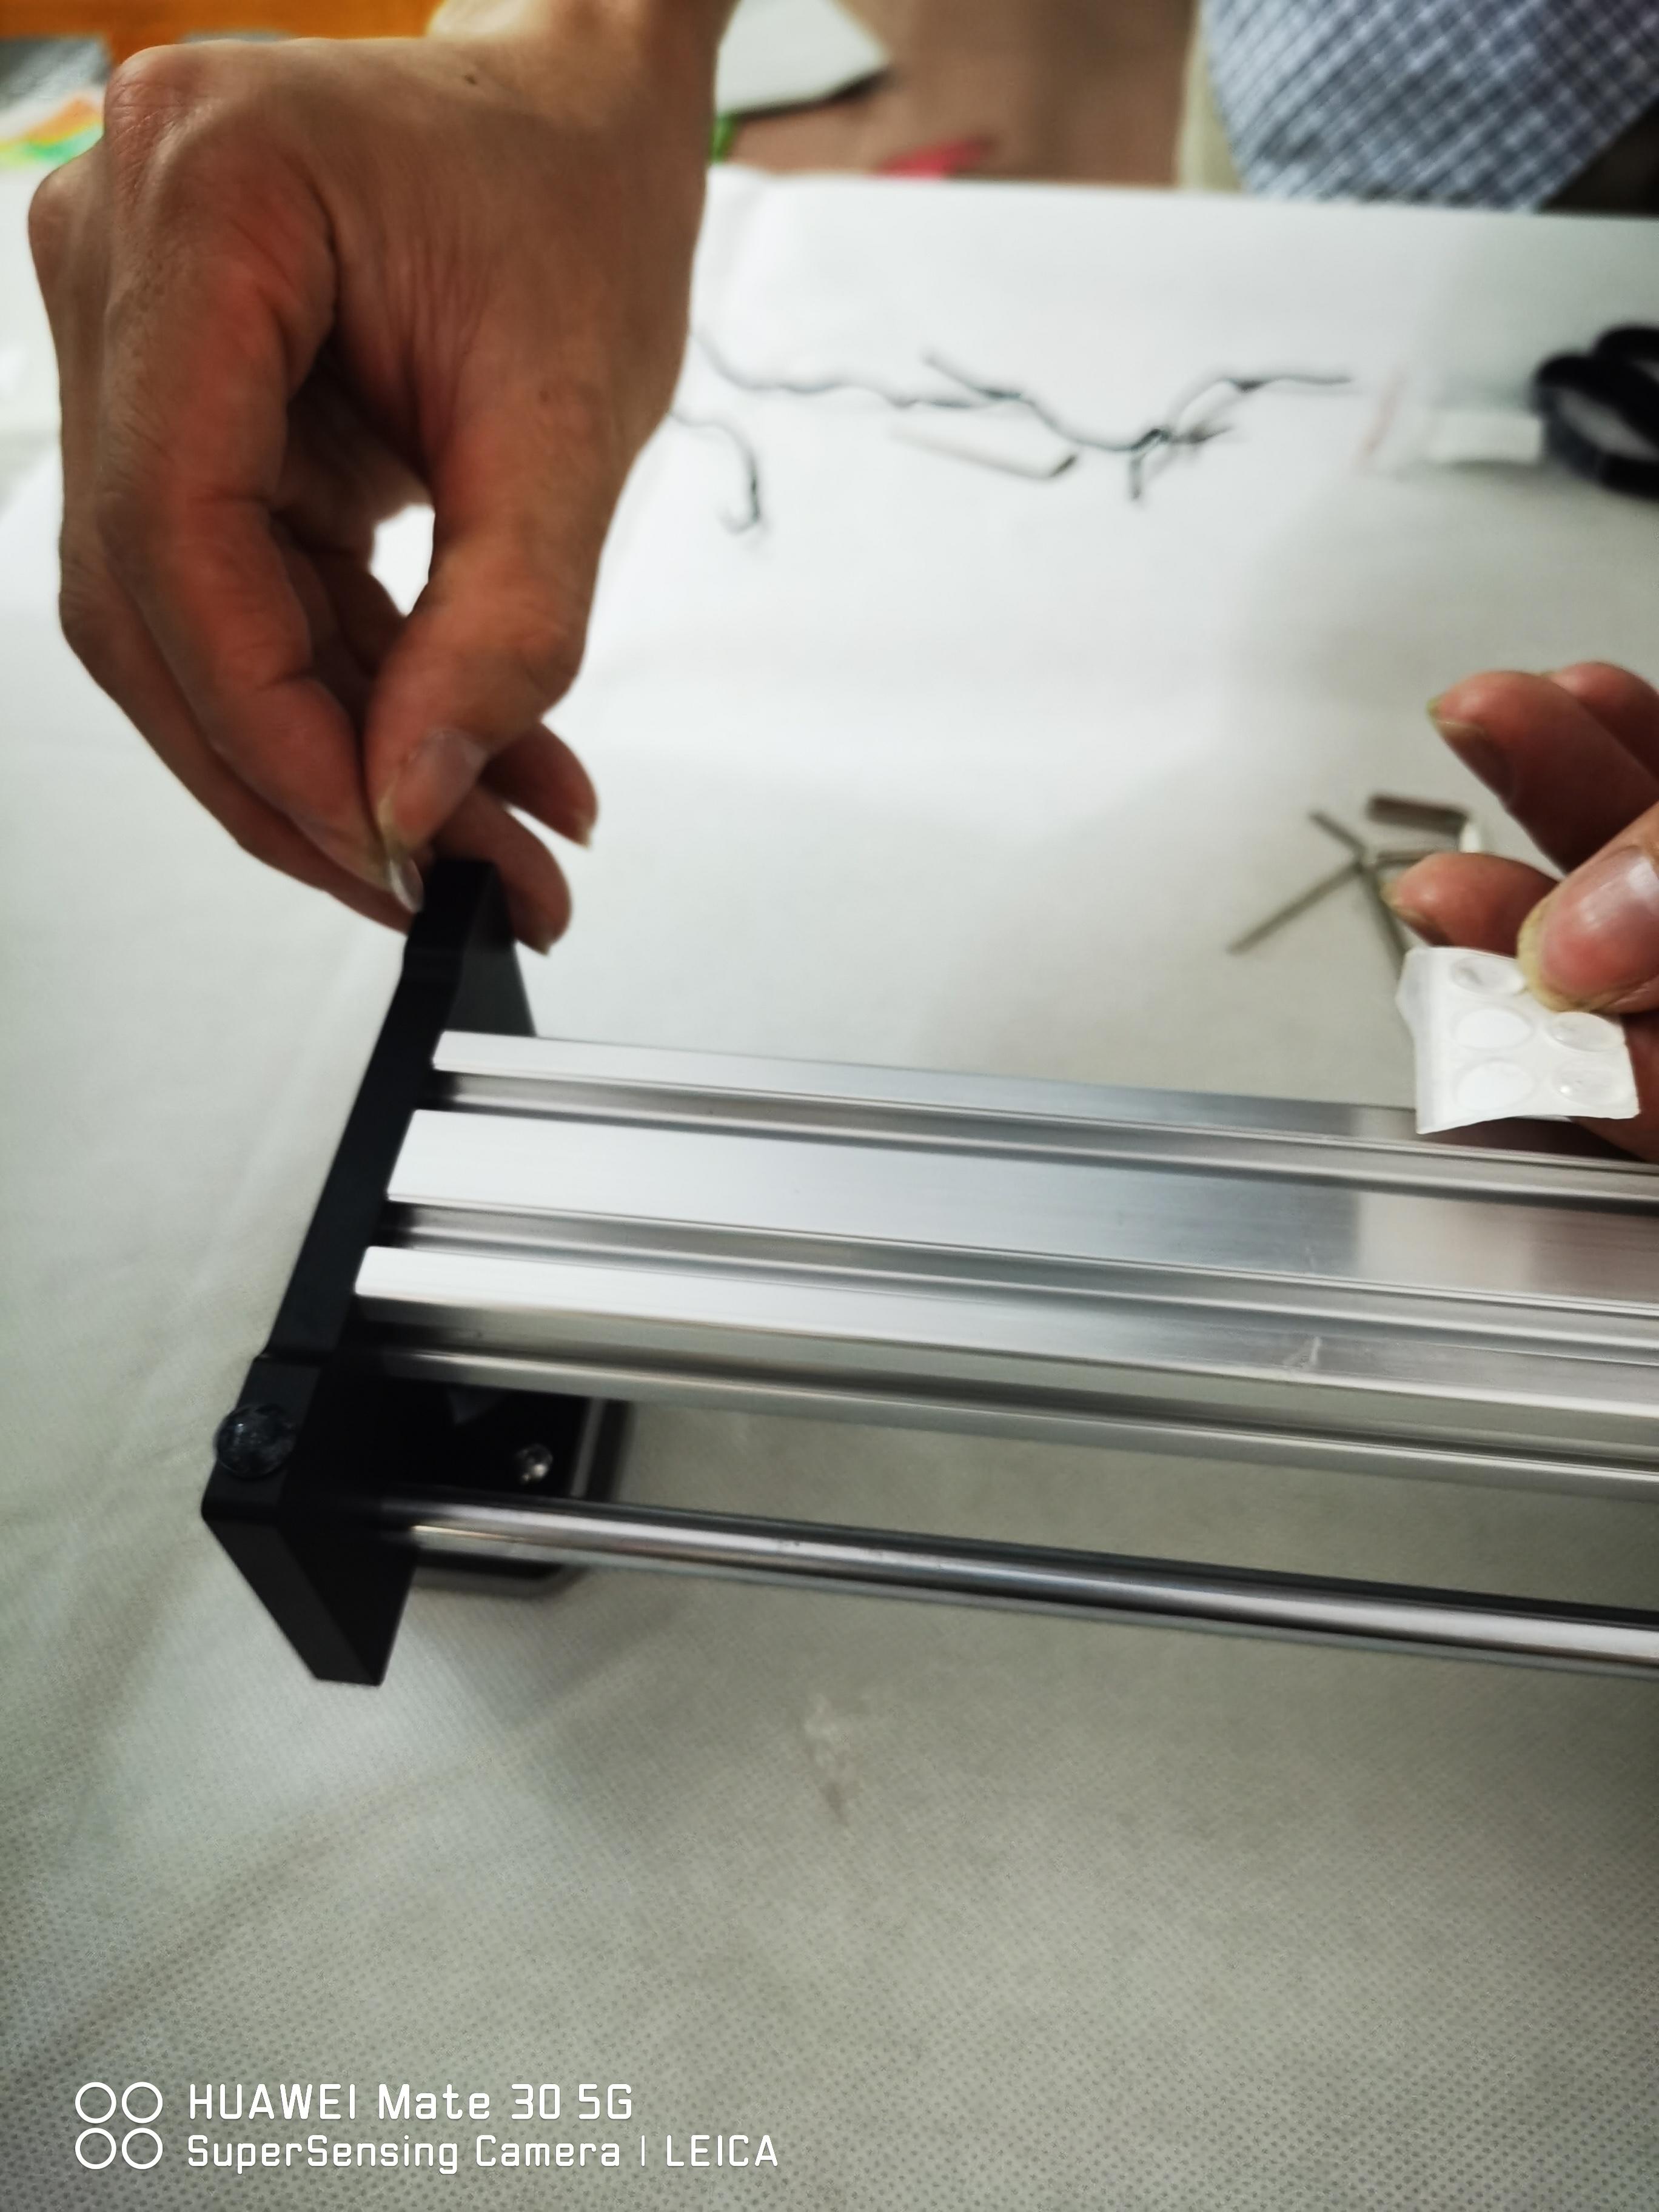
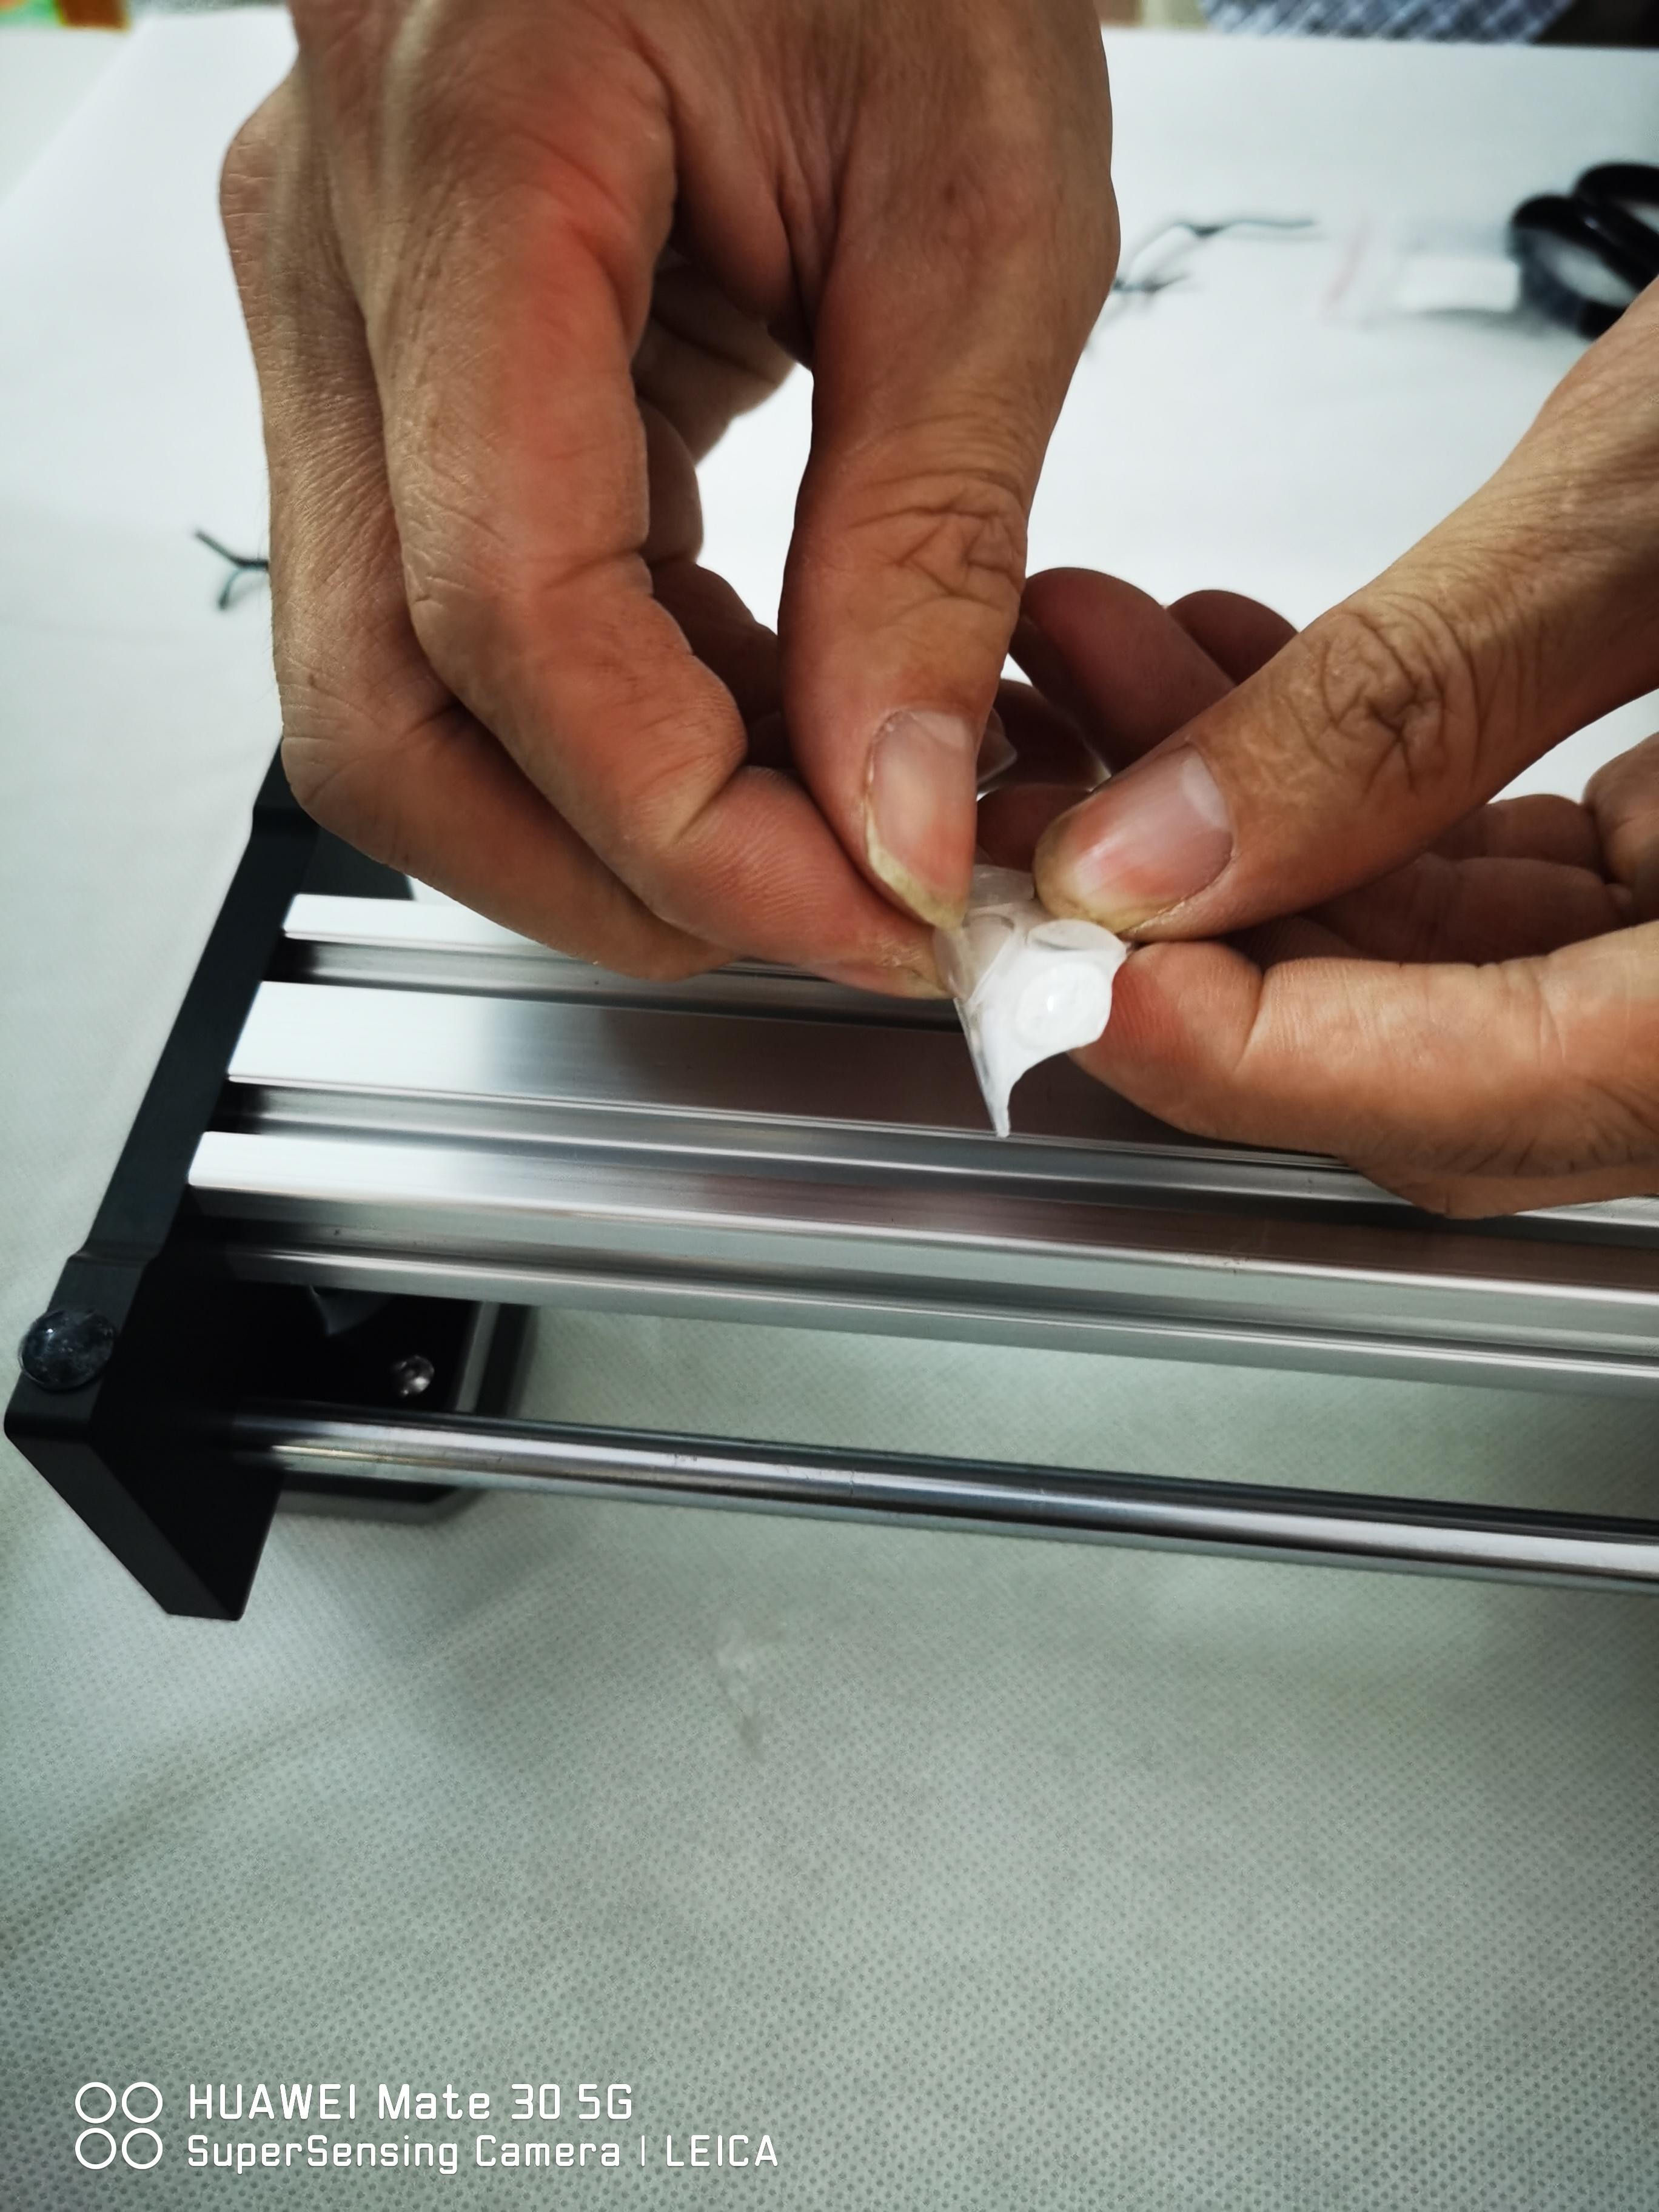
Stick the Silicone Pads to the Feet of the Plotter to Keep It Stable on Your Desk.
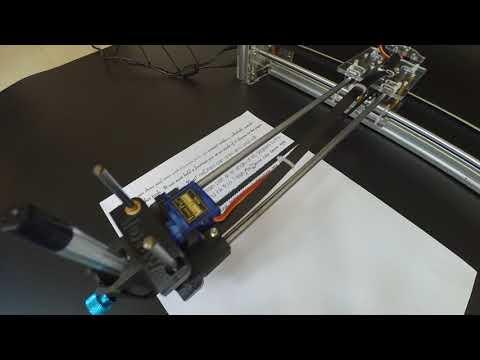
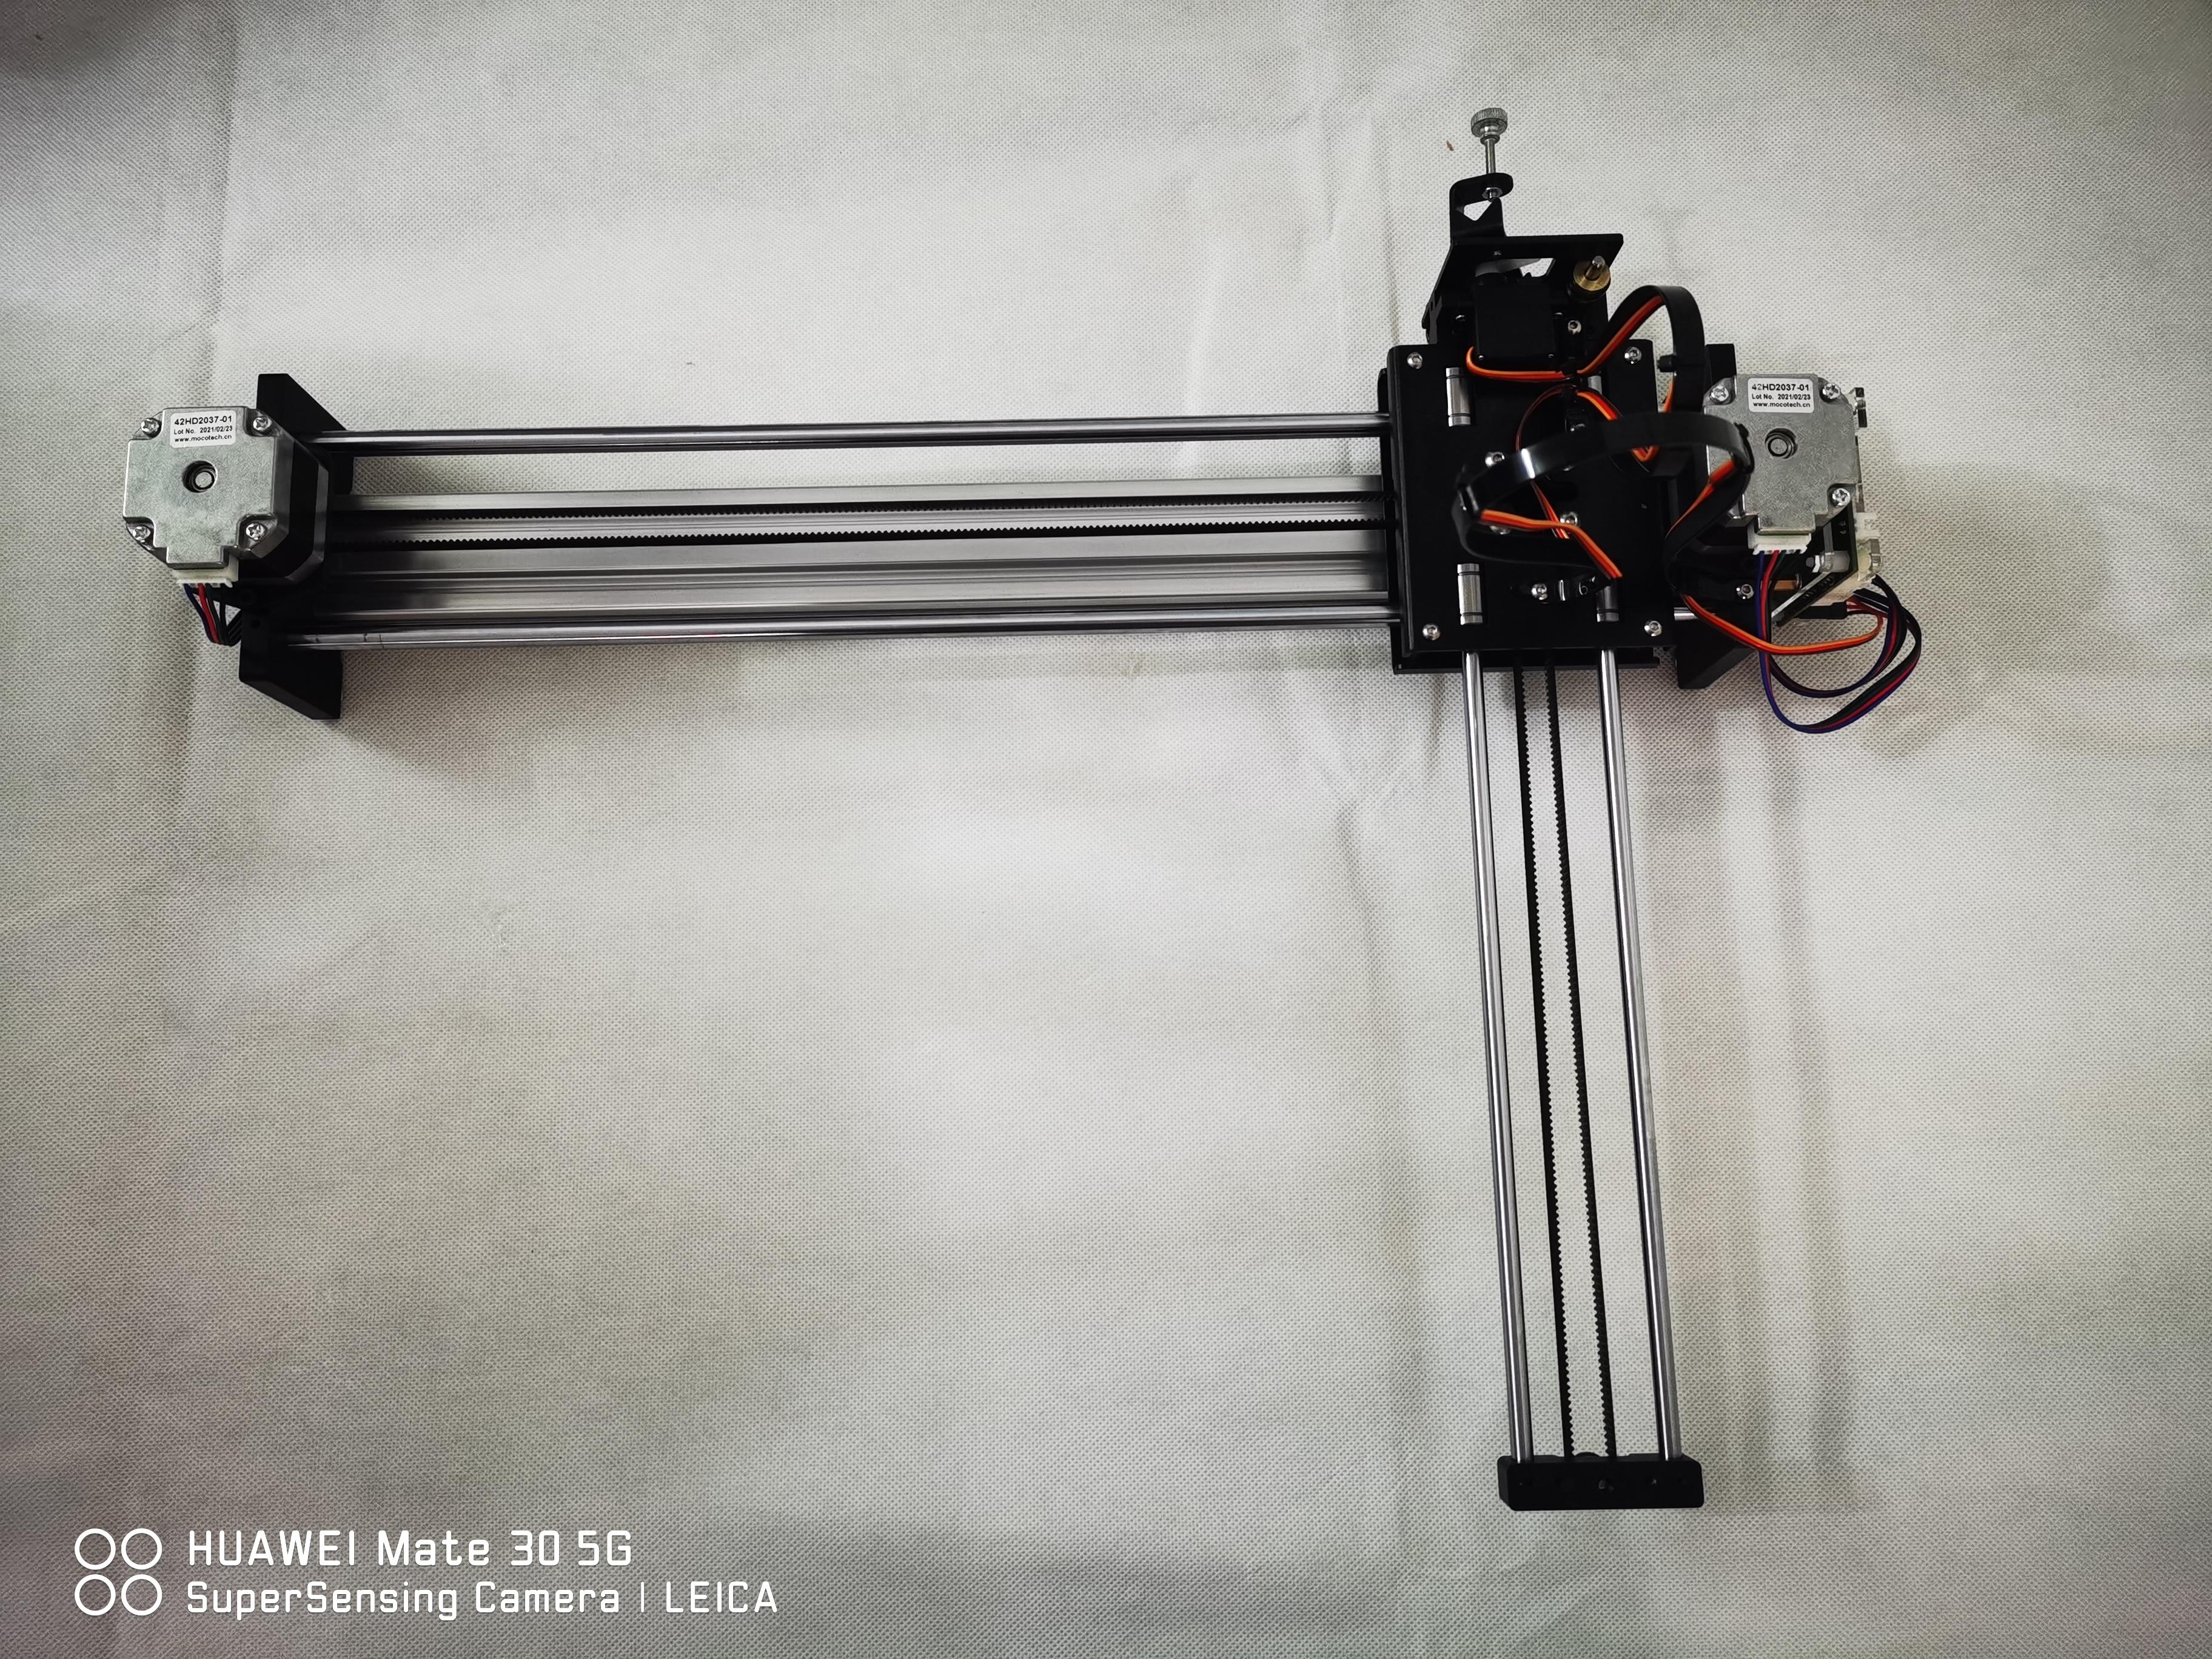
Voila, Your IDraw Is Assembled!
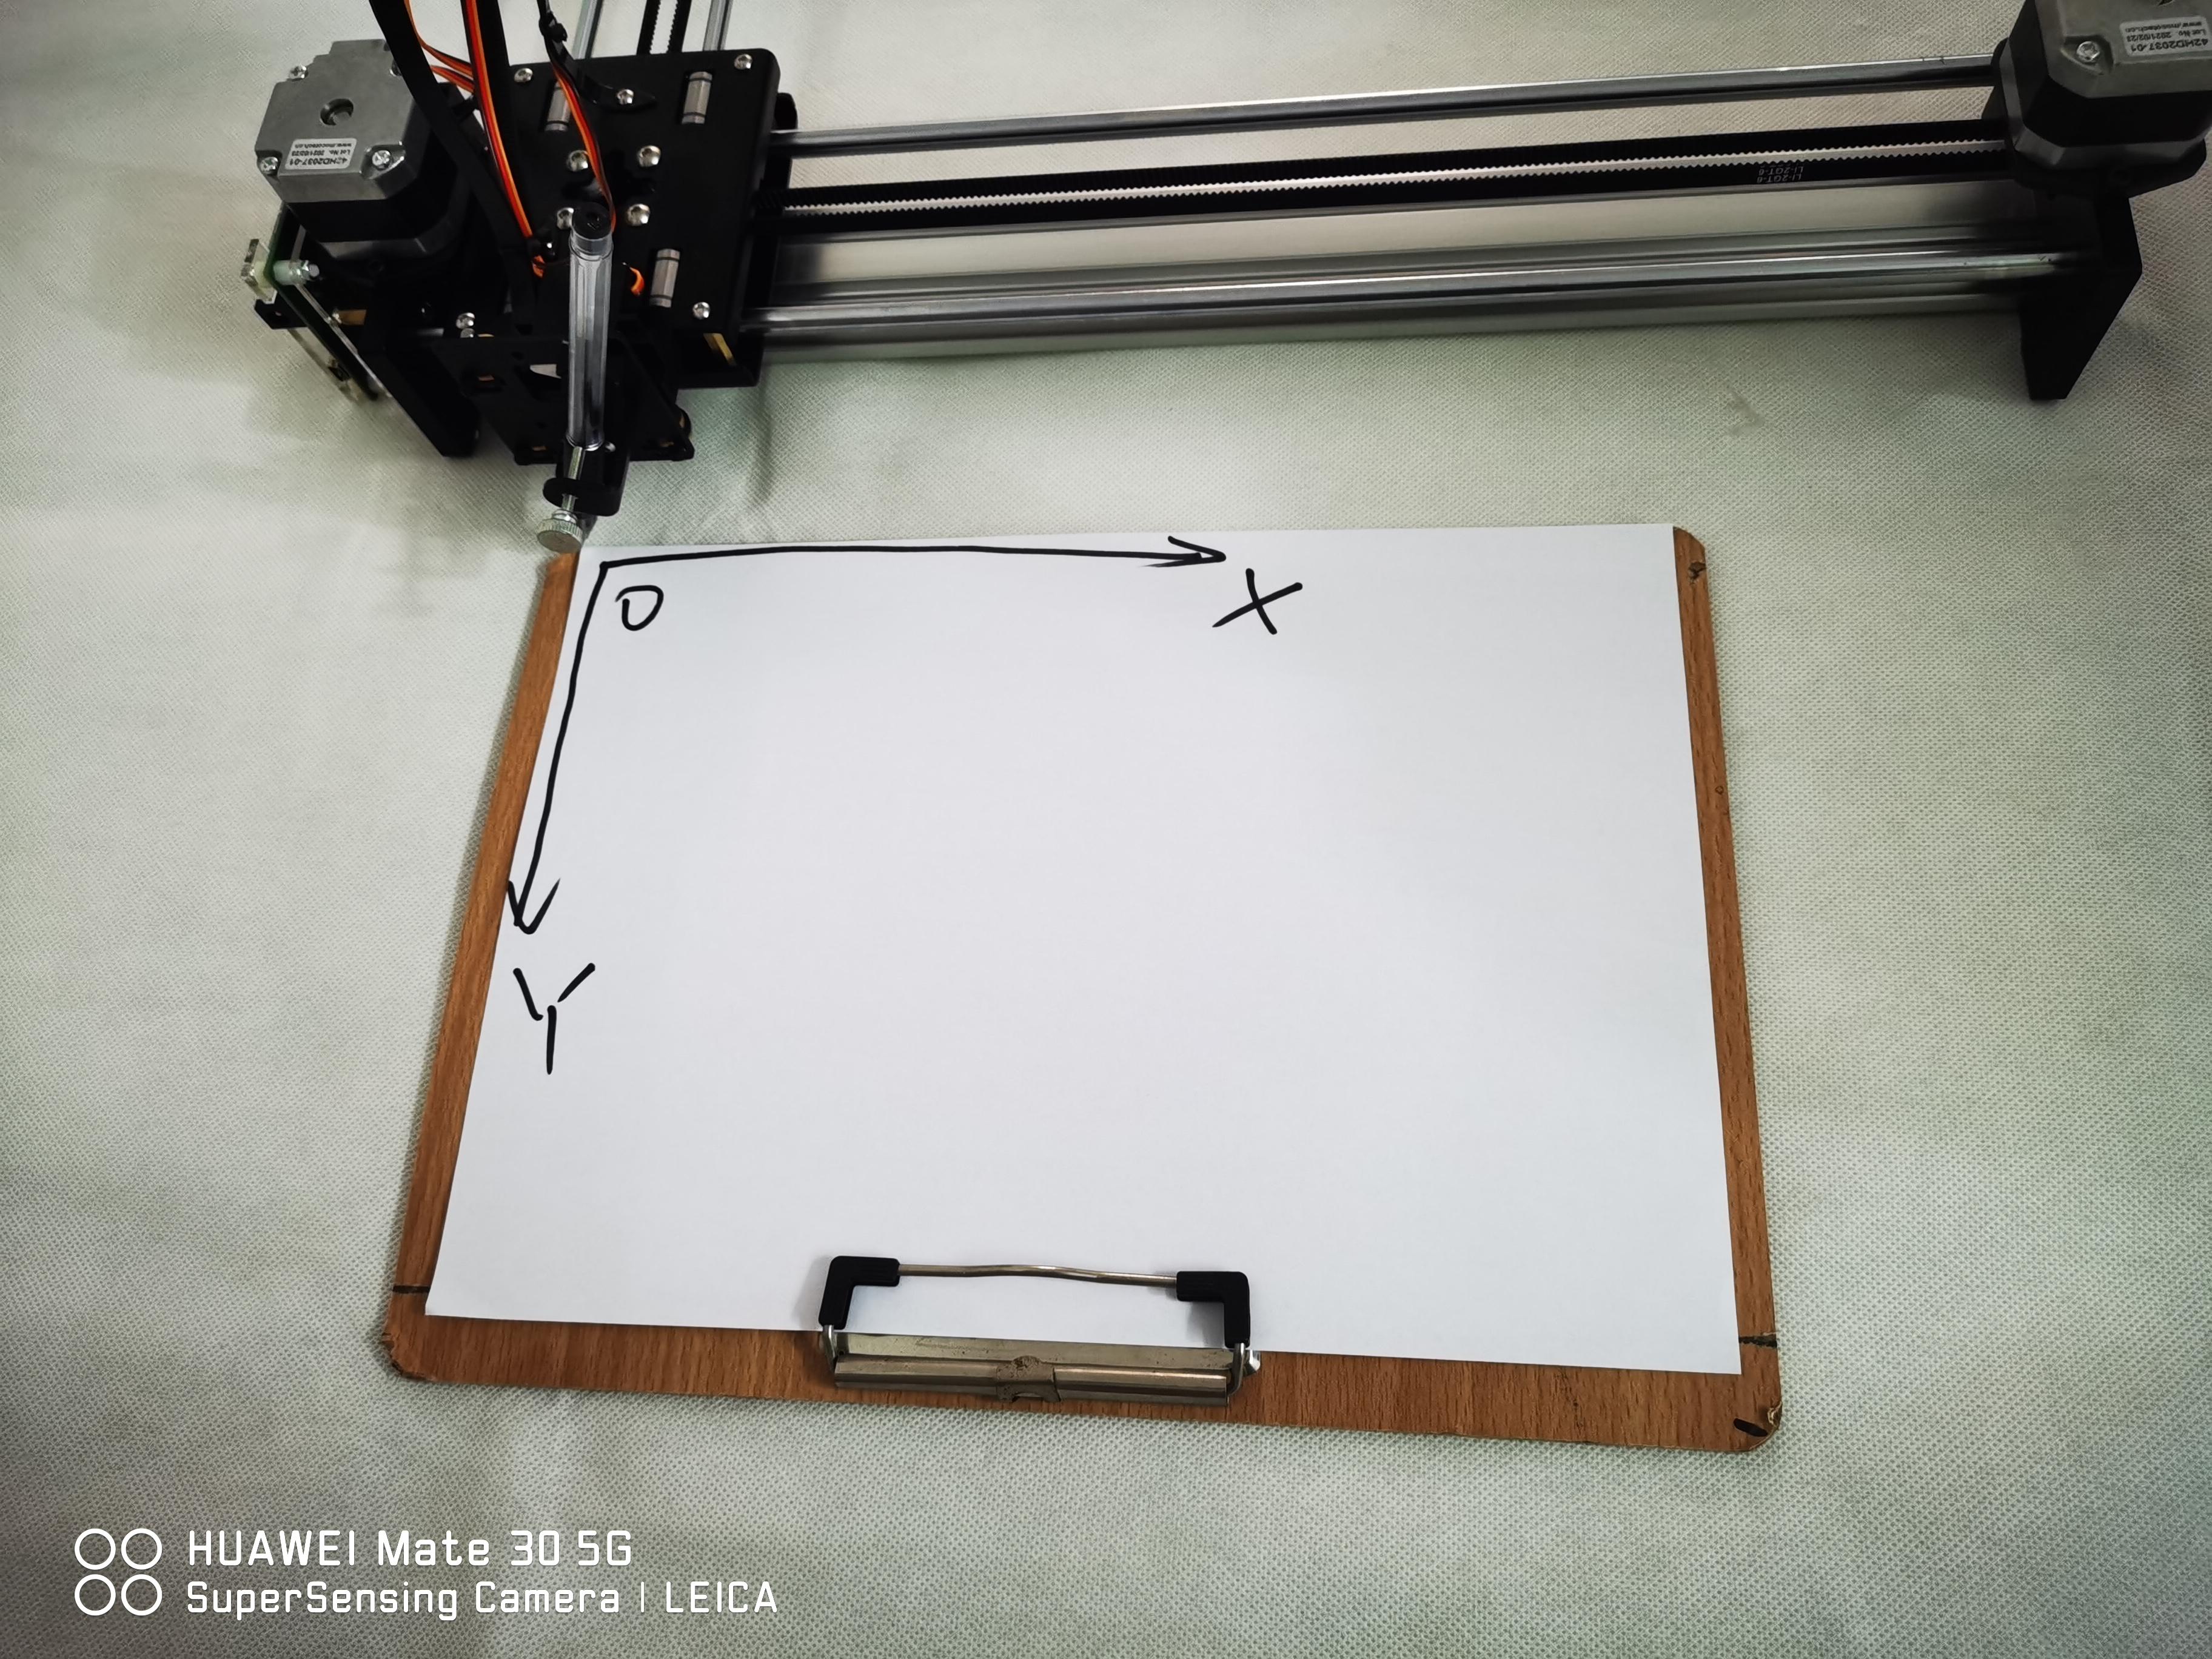
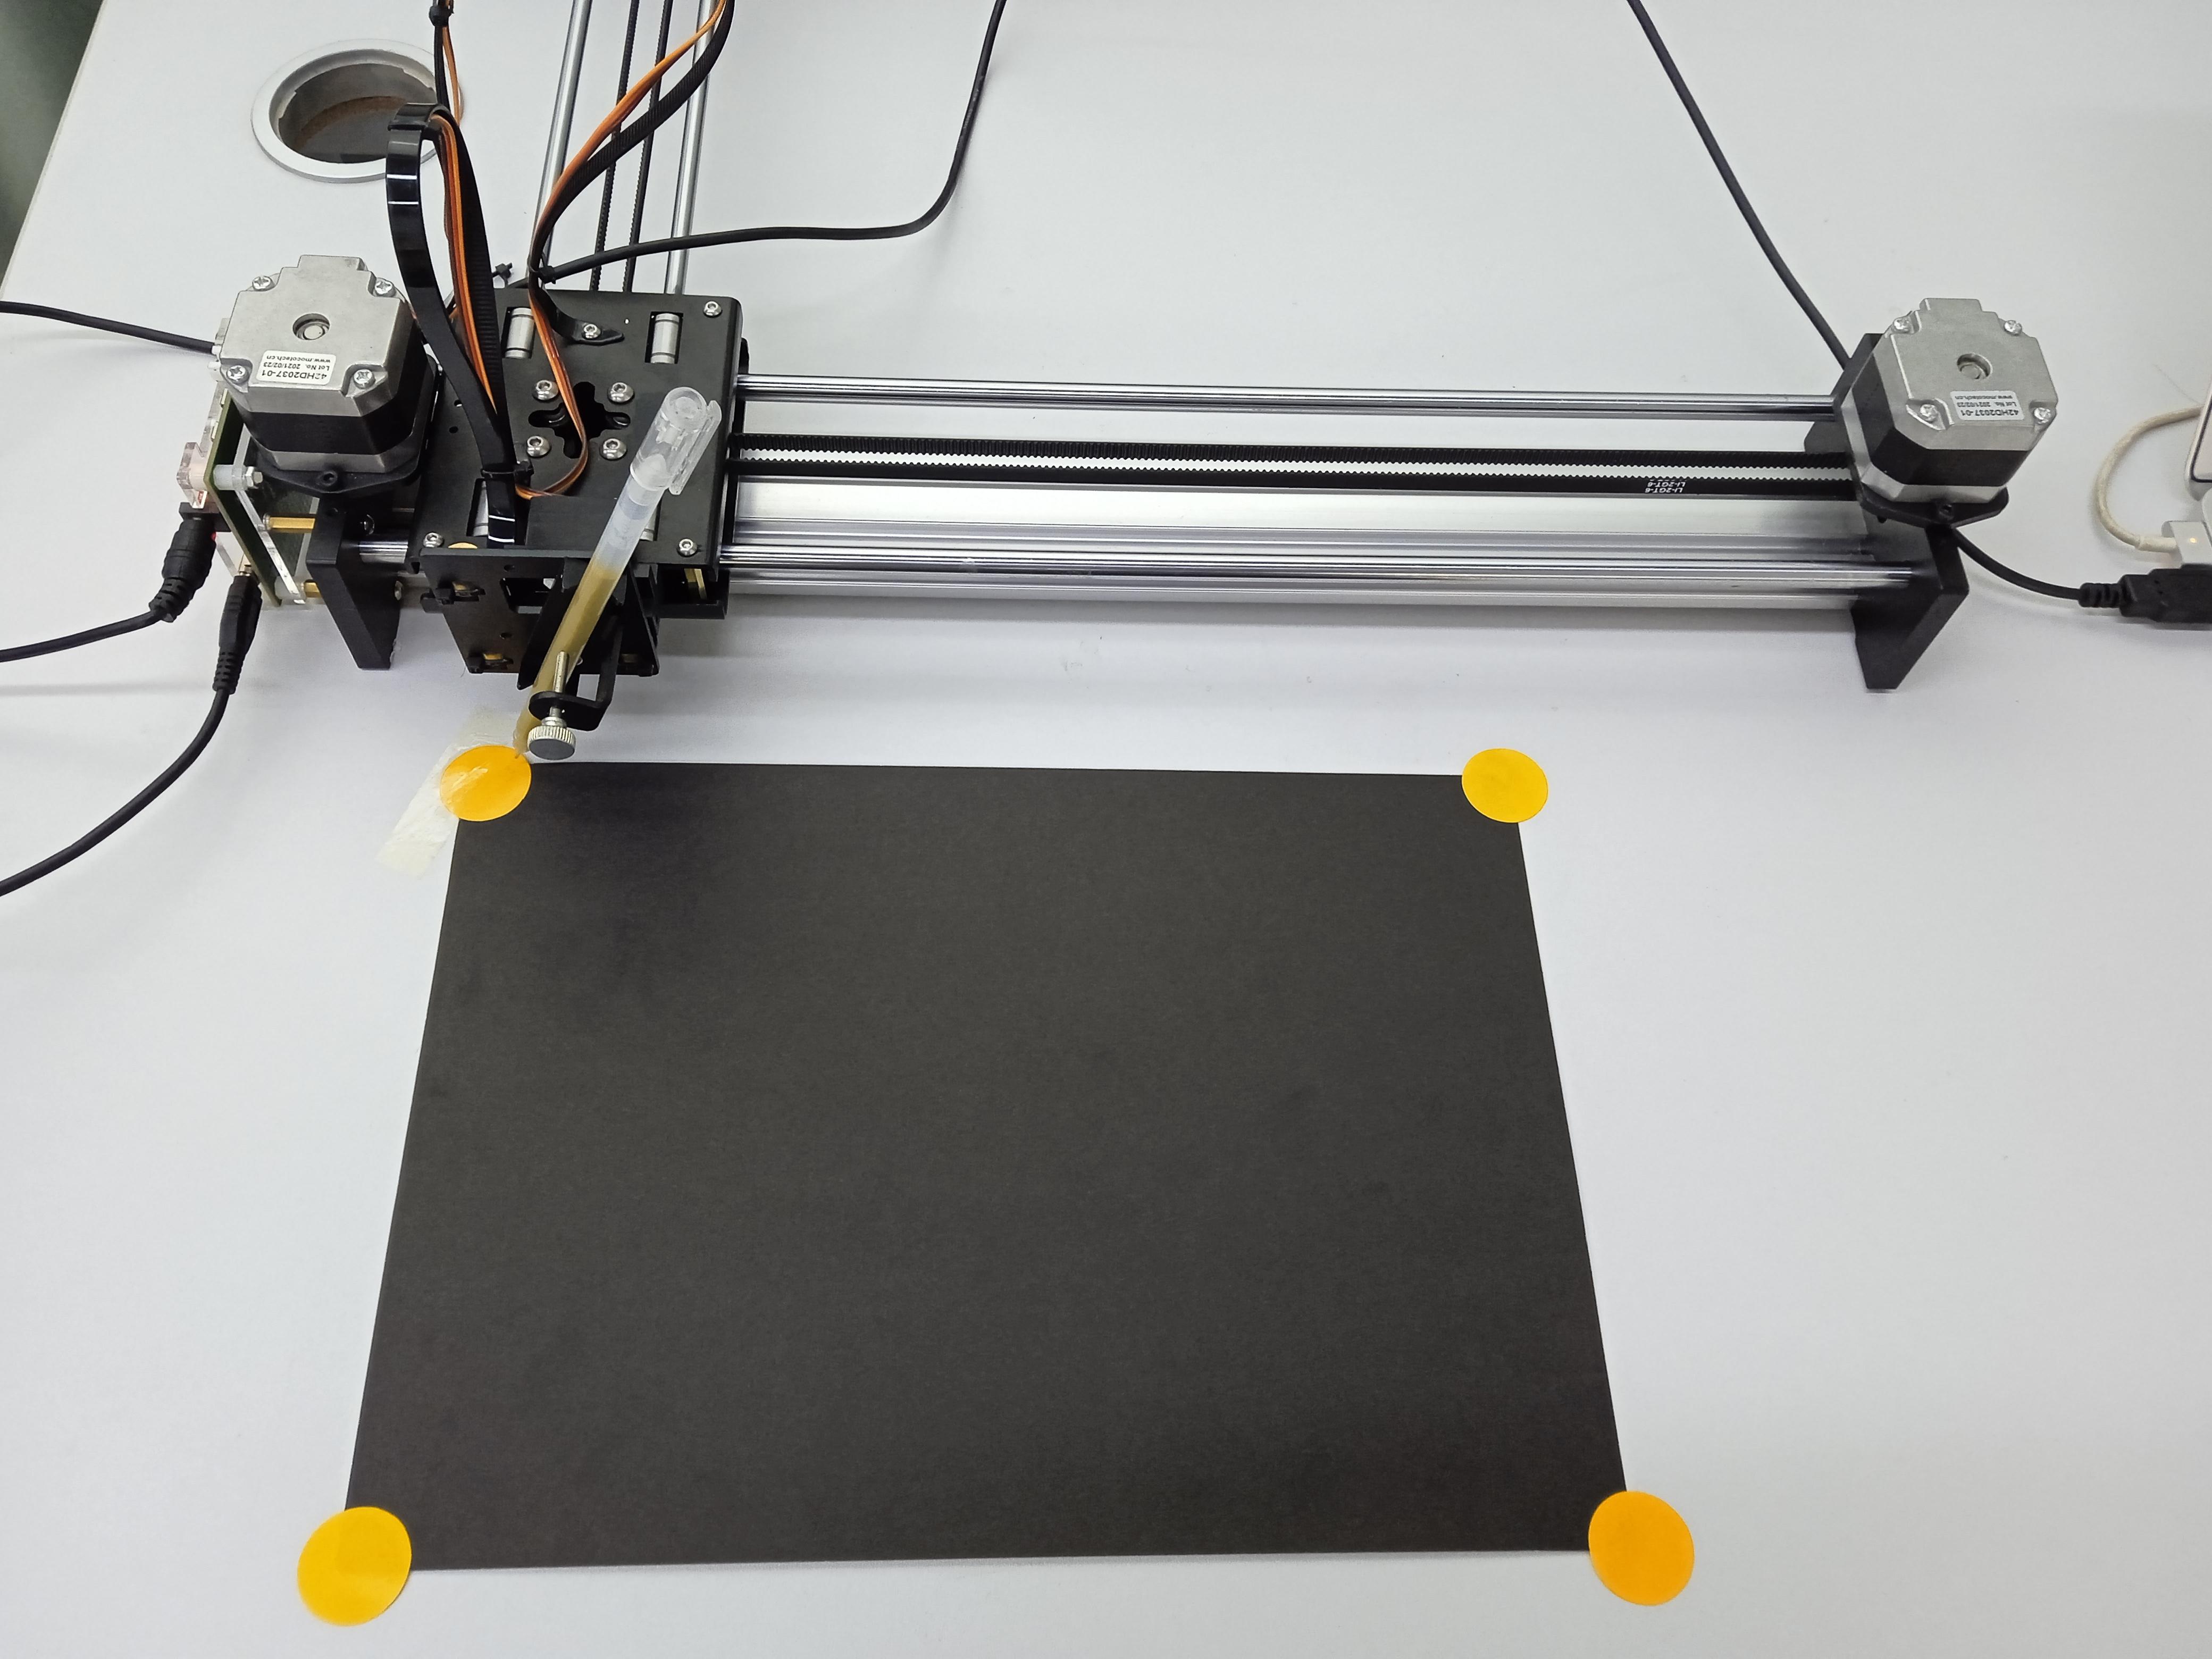
Now Fasten Your Pen, Set the Zero Point As Image
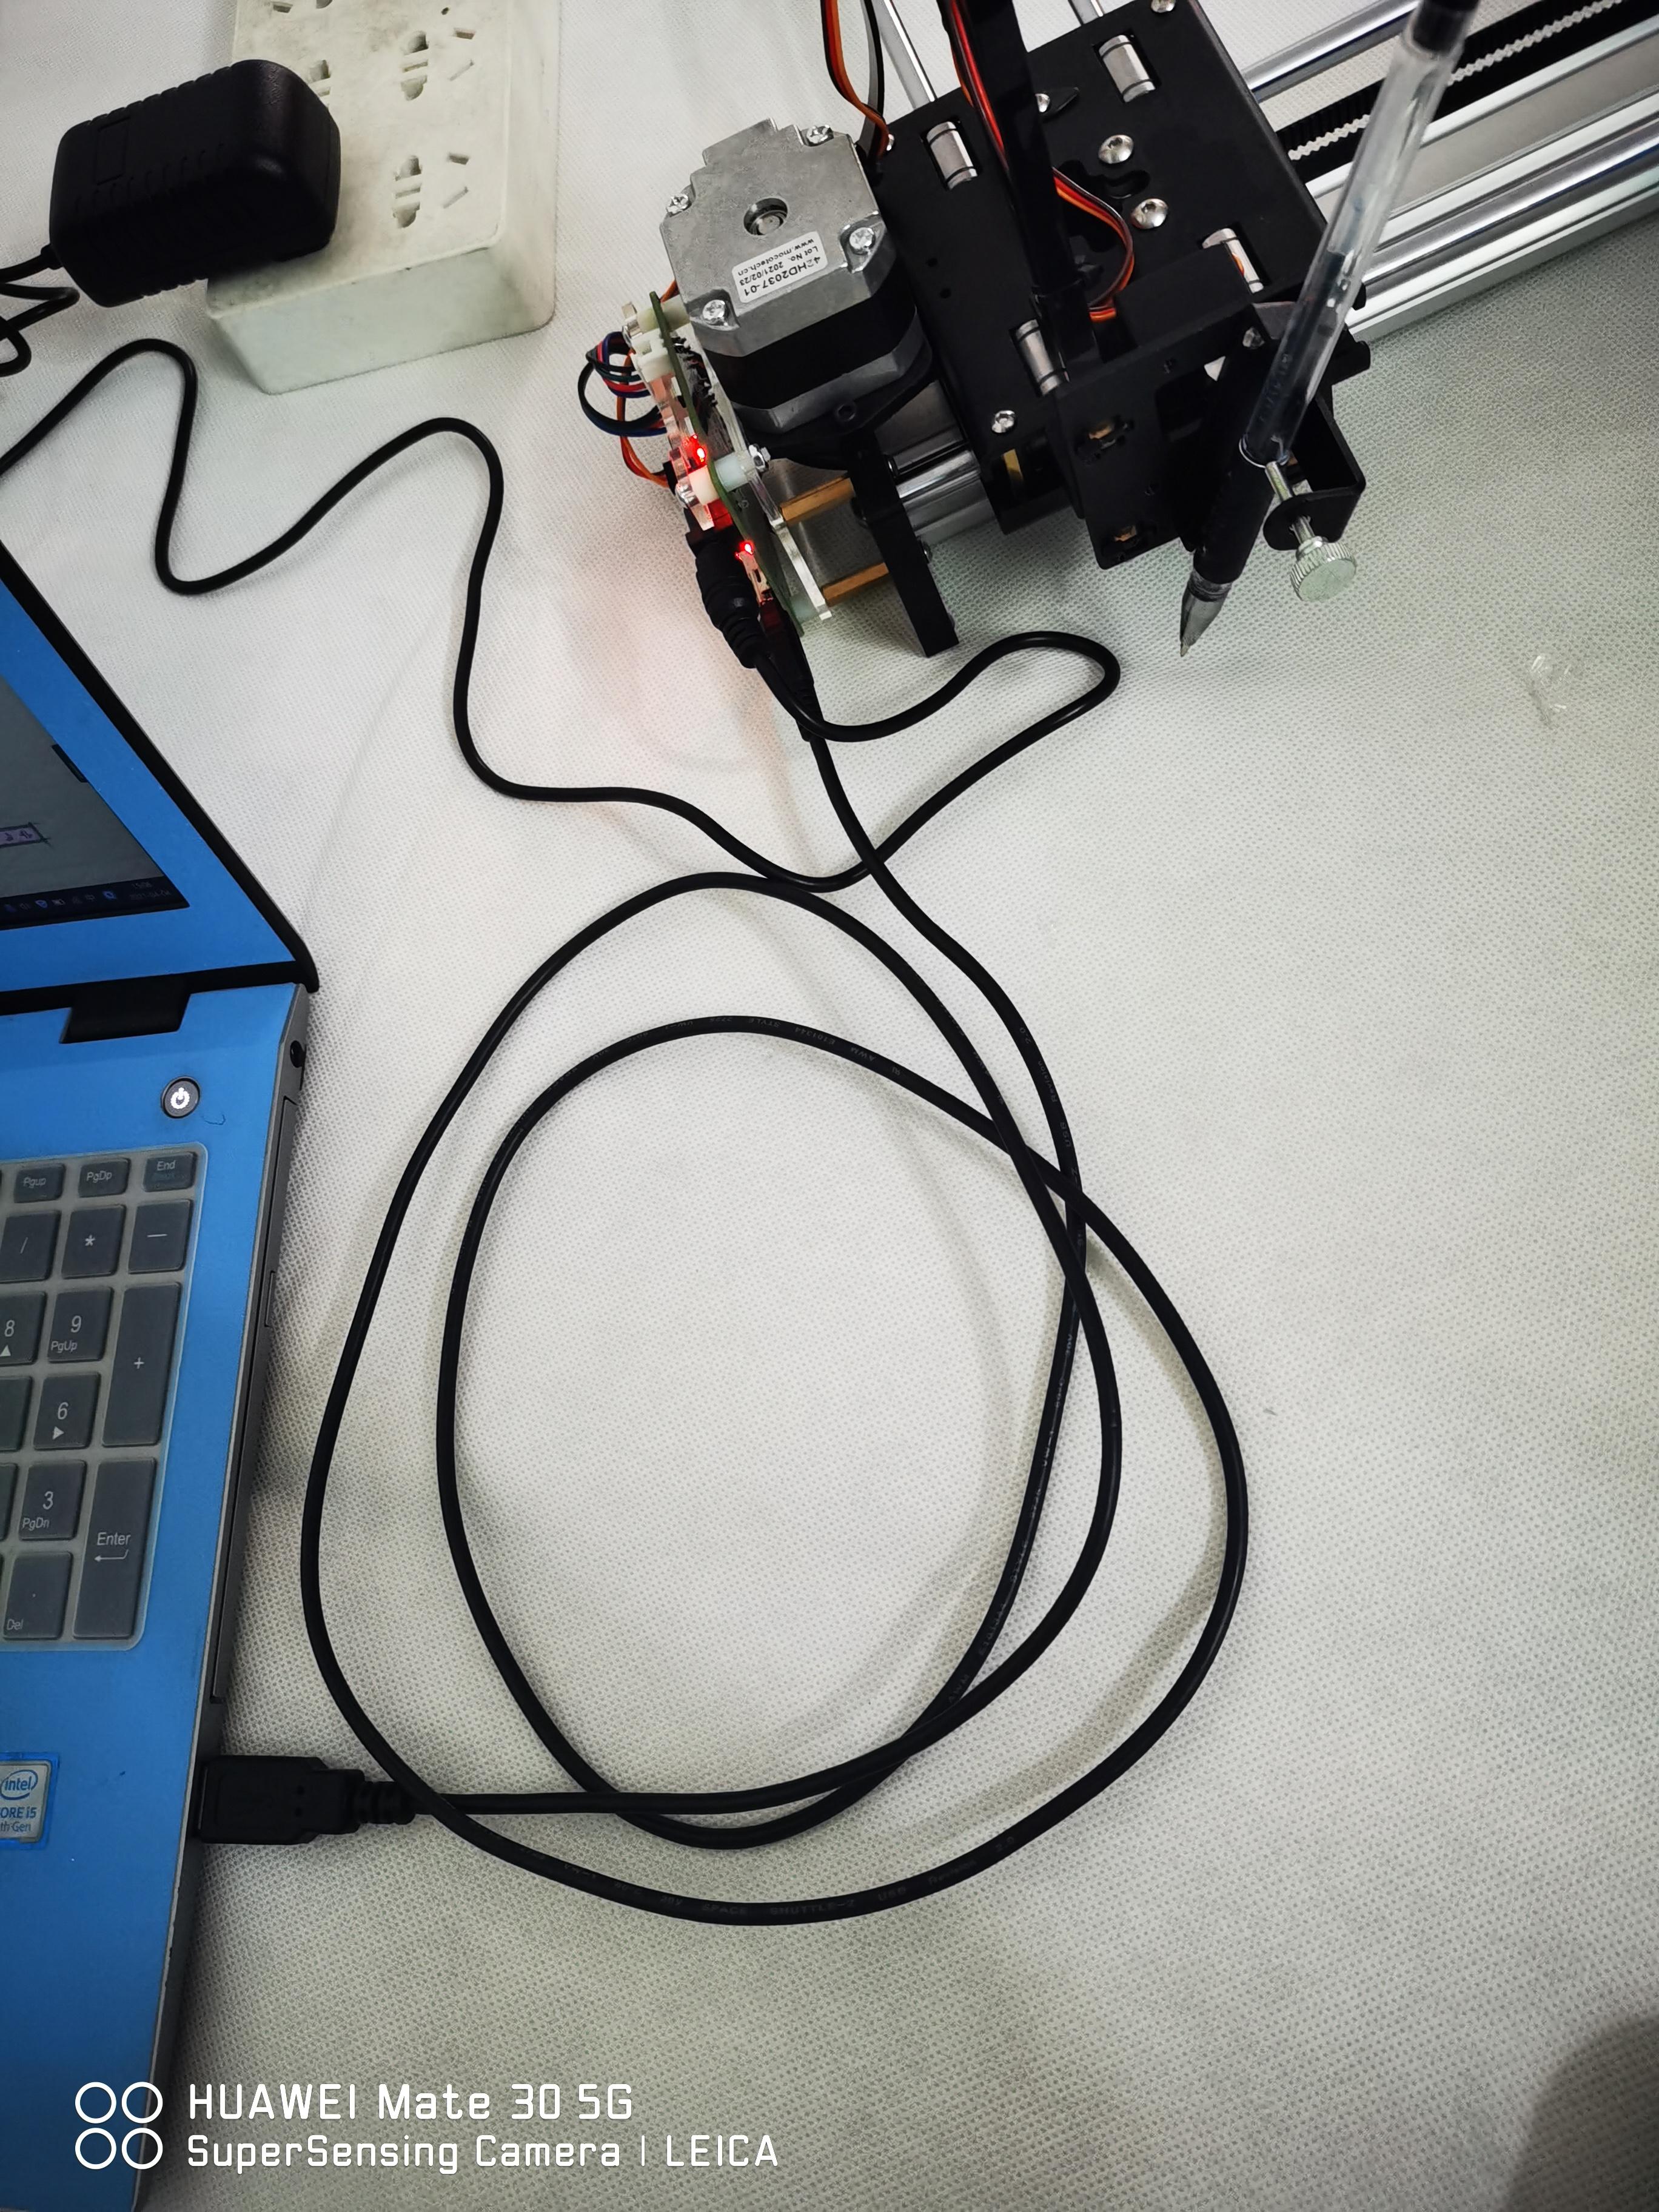
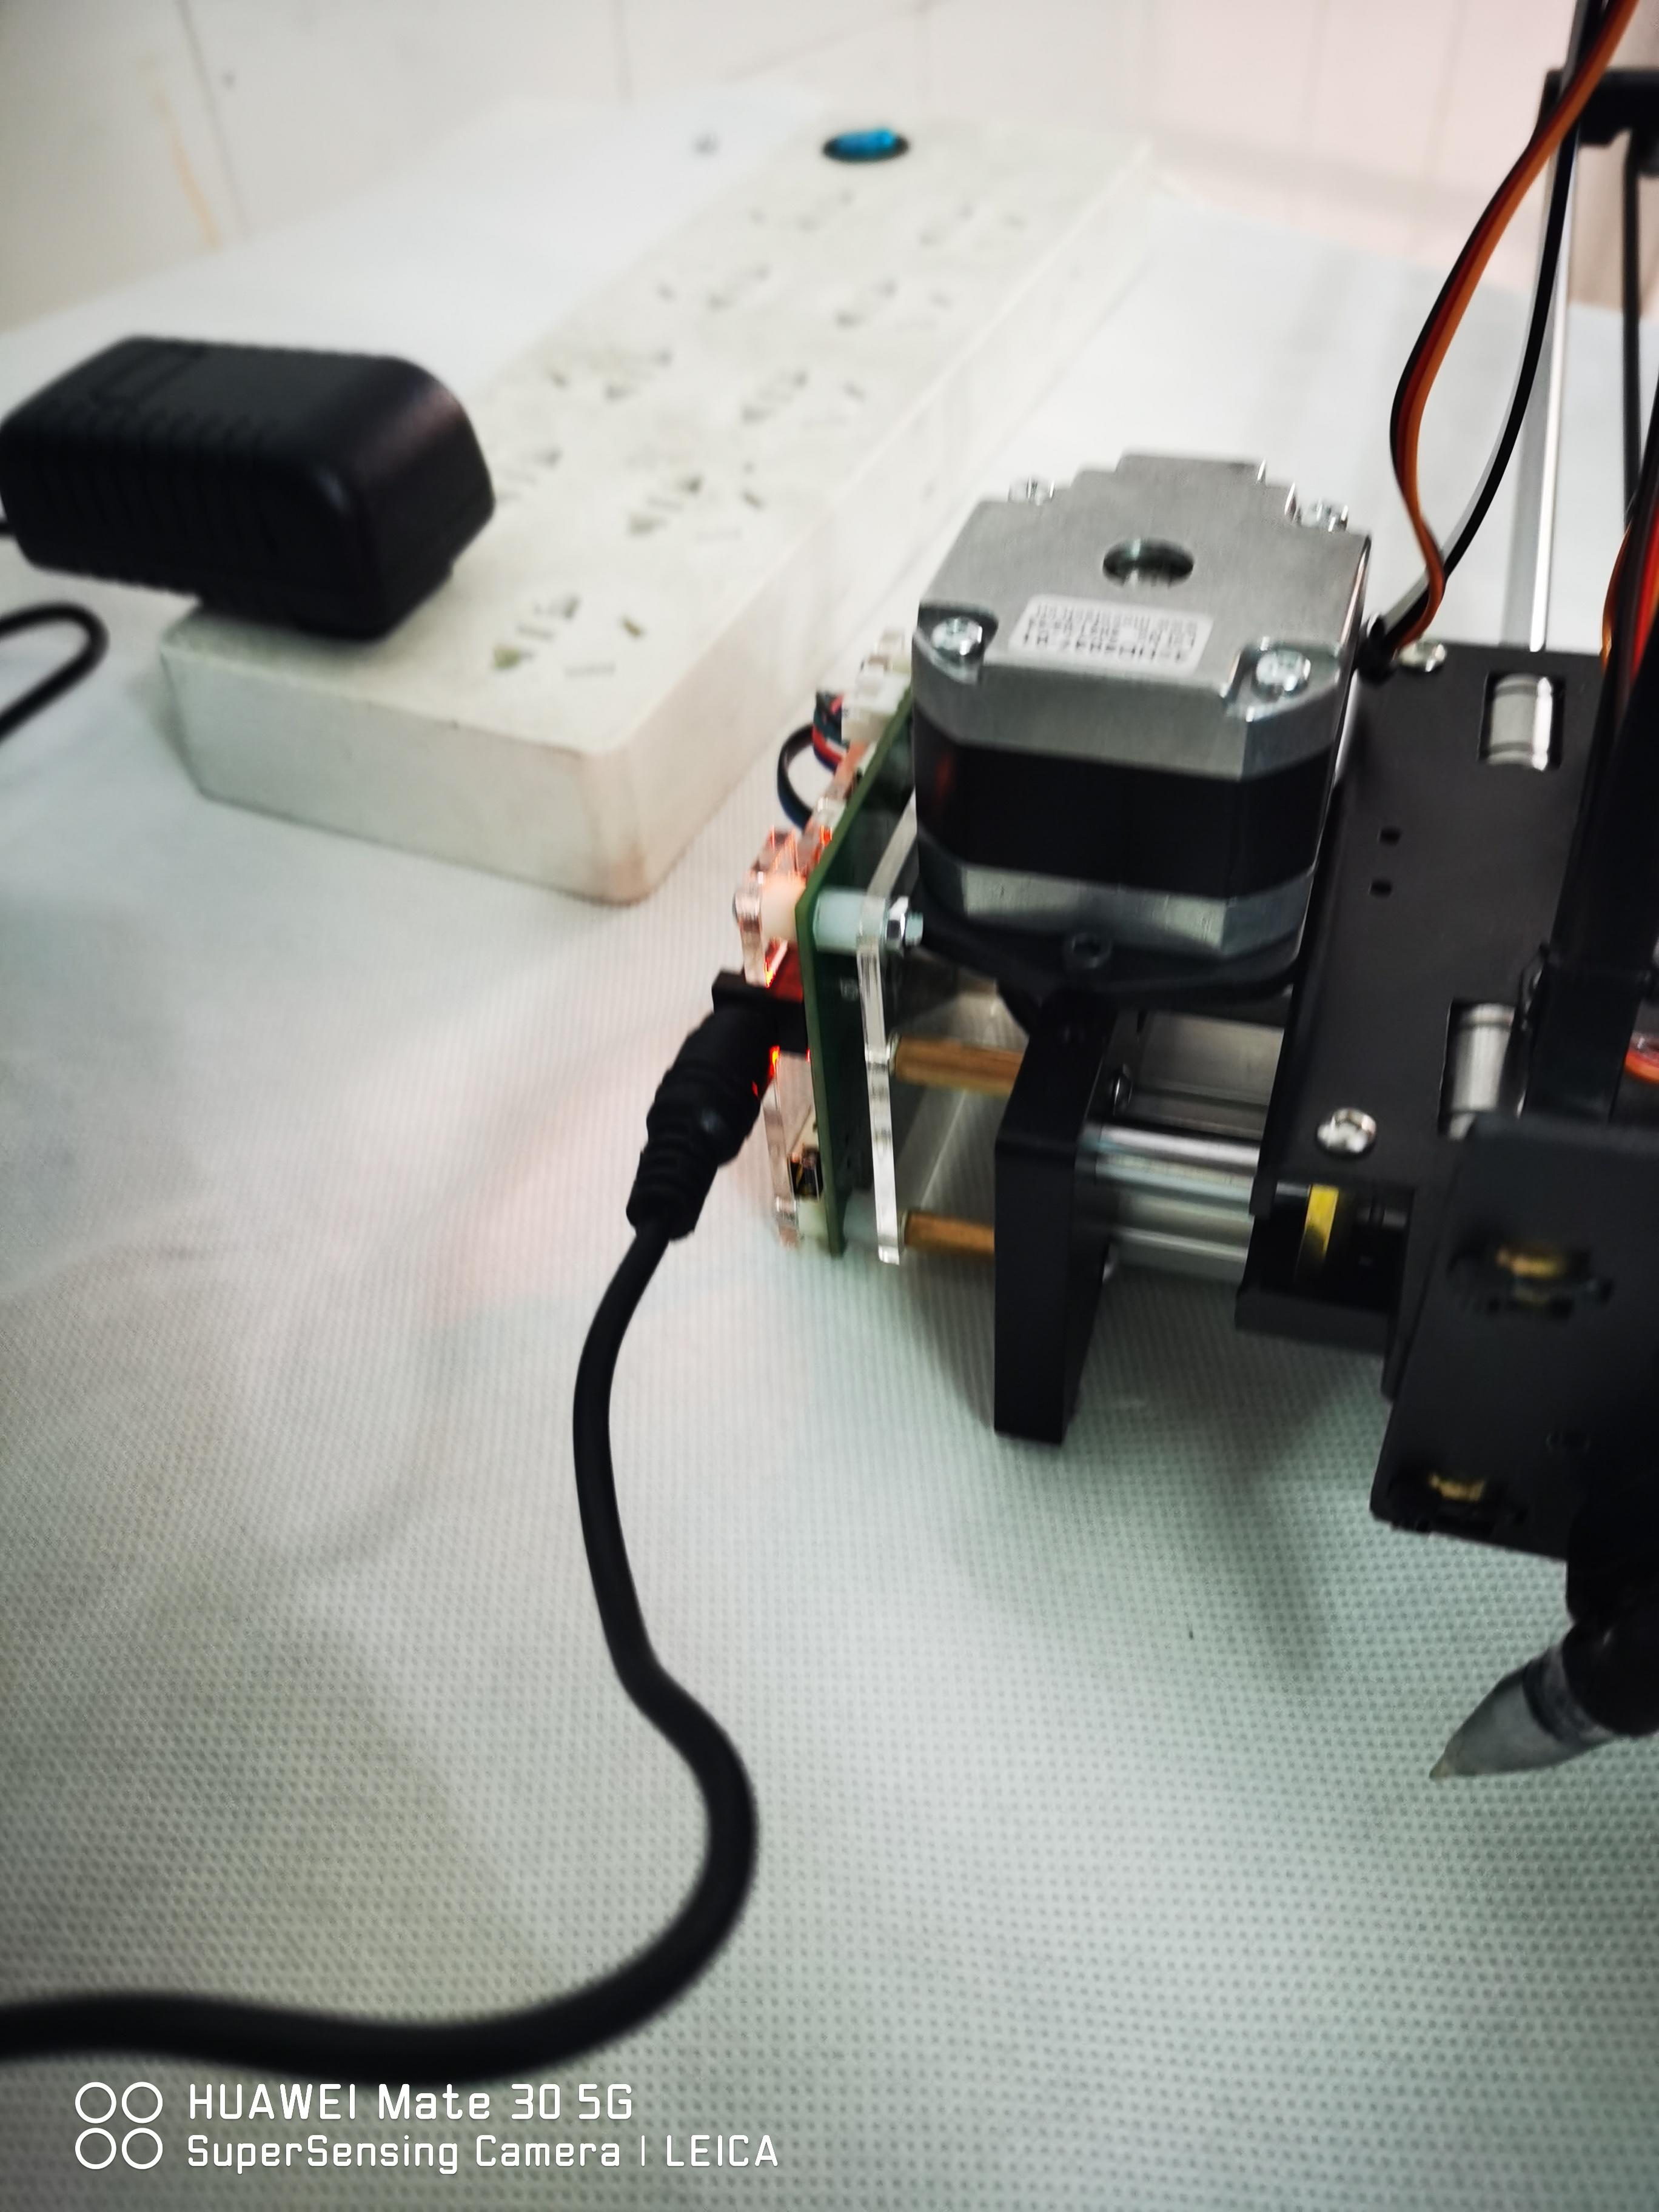
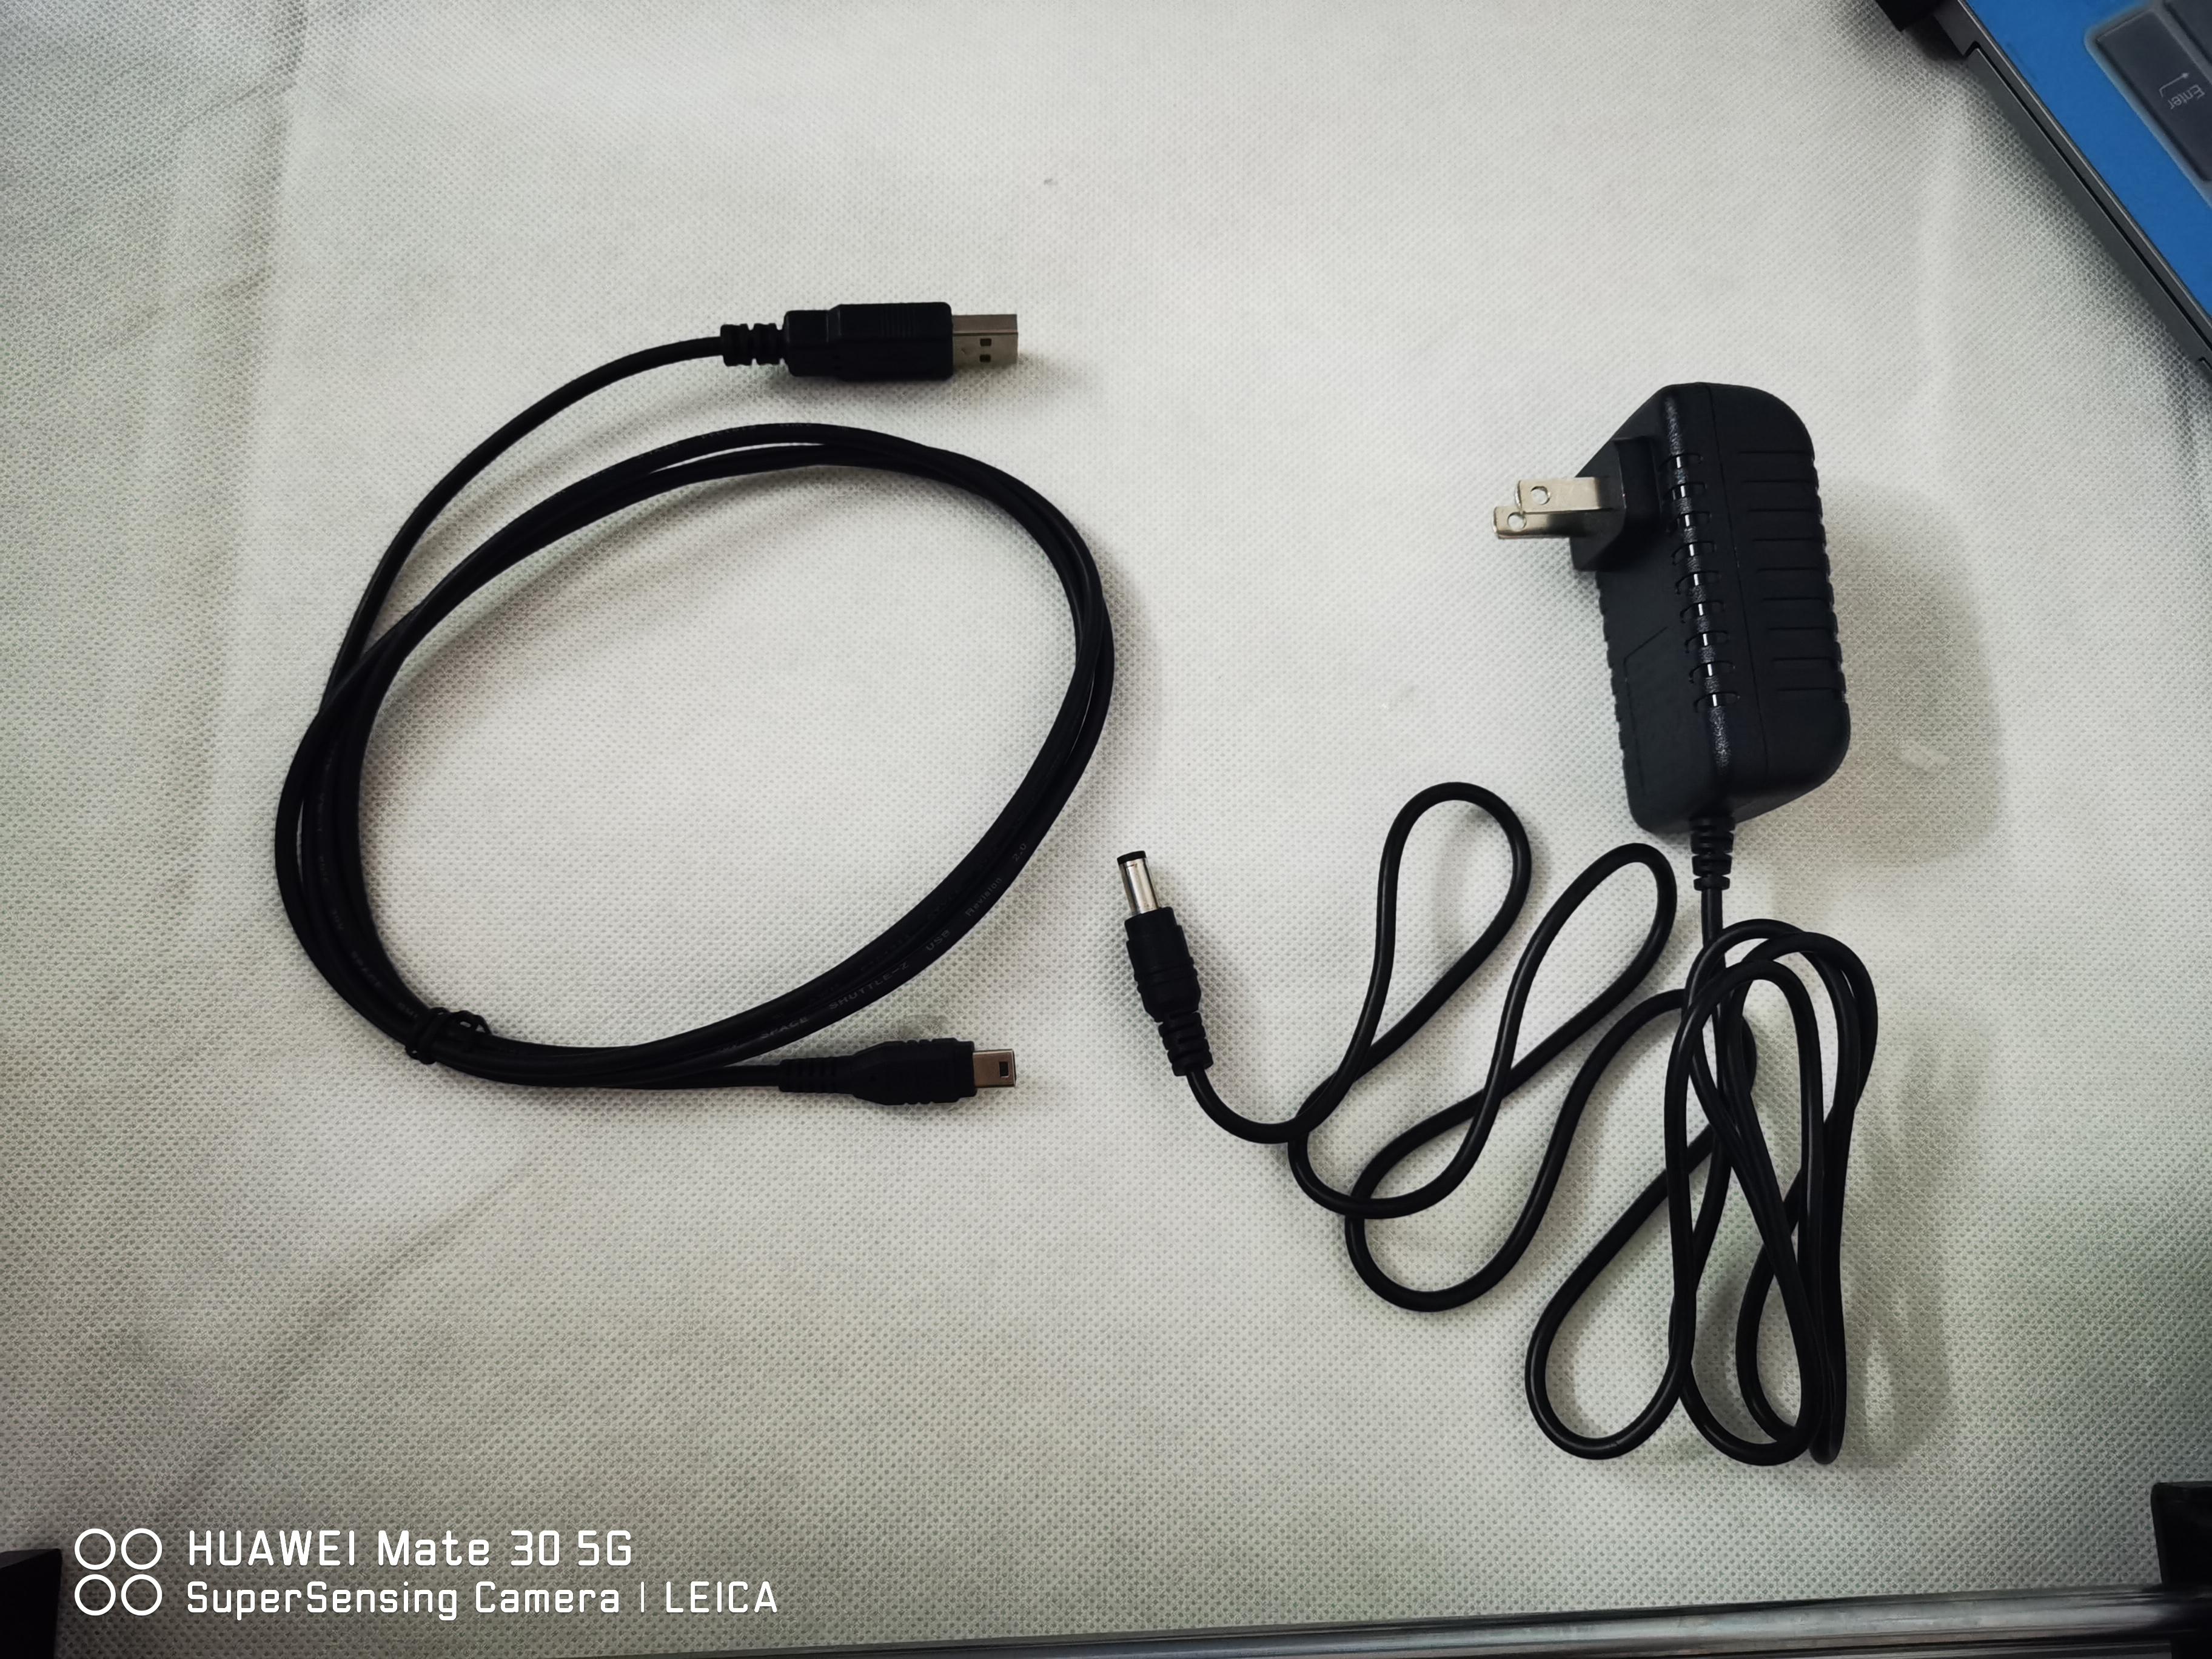
Connect the PC to Handwriting Machine With USB Cable and Also Be Charged With Charging Cable
Install the Software and Set Up the Default Parameter


Download the software here
Find extension->Axidraw Control and set up the default parameter as images
Test the Pen Holder by Click the Apply Button in Setup

You can test if the pen holder drive works well or not by click the APPLY button in setup as image. If it can move up and down, your machine is ready to draw now. About the pen height, you can leave around 5cm when it's up.