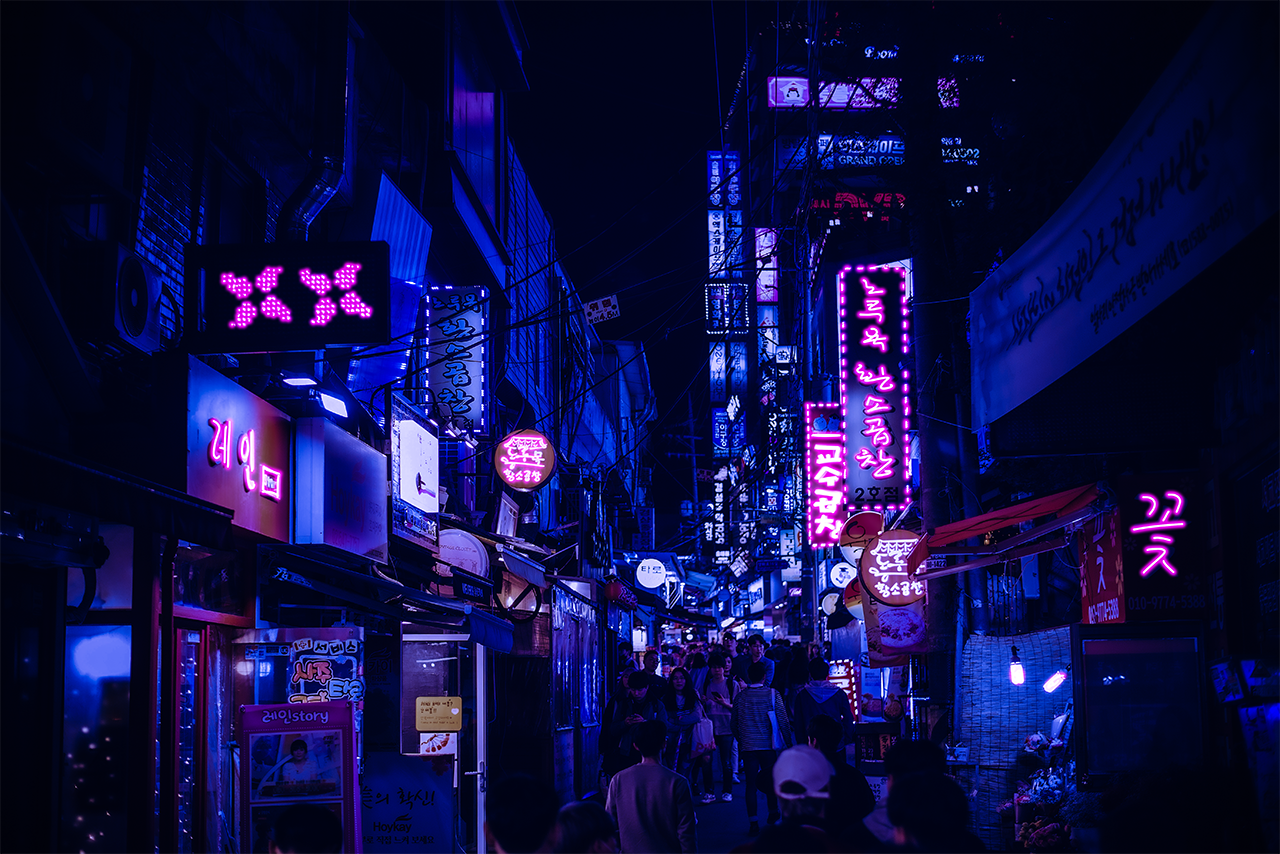
How to Apply Cyberpunk Style in Photoshop
by zelle_des in Design > Digital Graphics
2257 Views, 3 Favorites, 0 Comments
How to Apply Cyberpunk Style in Photoshop

We will need Photoshop and sample image. For the cyberpunk effect, I recommend using busy street images from South Korea, Hong Kong, China, or Japan.
We will apply heavy colour grading with bright blues and hot pinks, as well as neon sign effects to create a colourful cyberpunk style.
This design originated from the design of computer games and music videos, later developed into a new style titled Cyberpunk.
Duplicate Layer
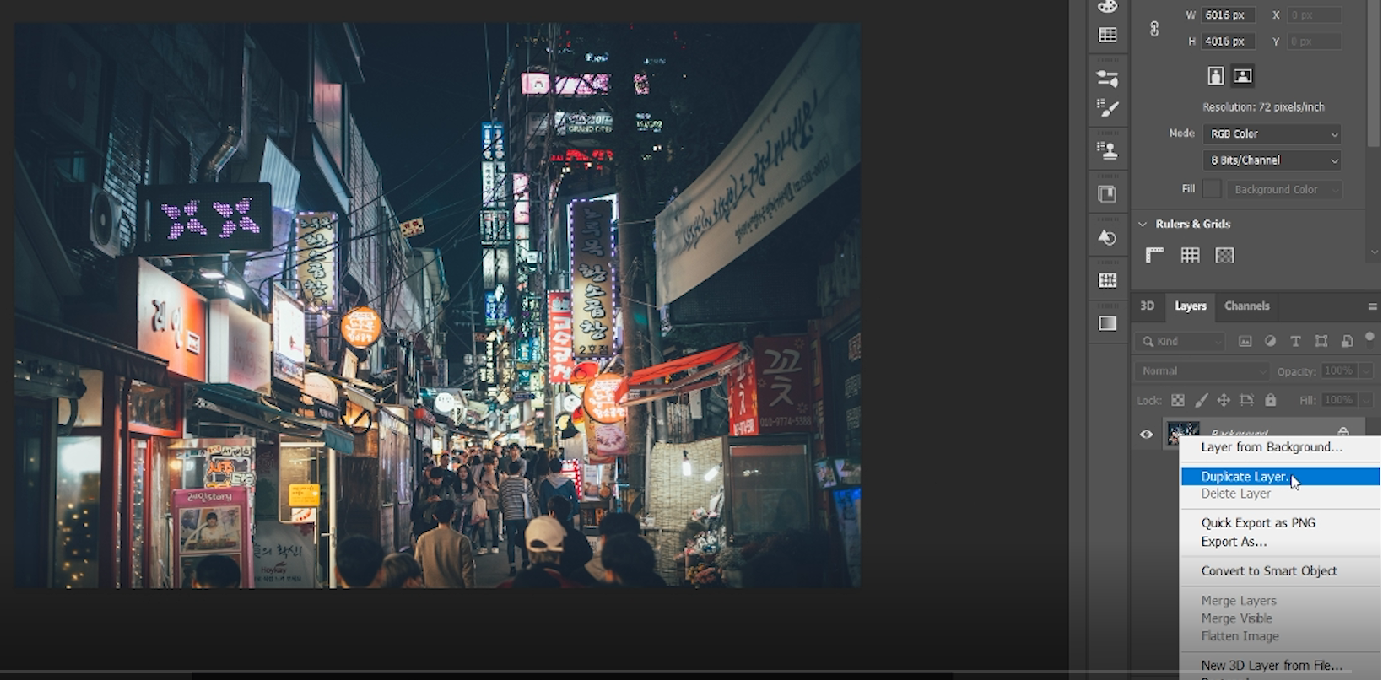
First, download the image from the resource section and open it in Photoshop. Go to the top menu, select File > Open, to open the sample image.
Duplicate the background layer (CTRL+J) to preserve a copy of the original. CMD + J for Mac.
Raw Camera Filter
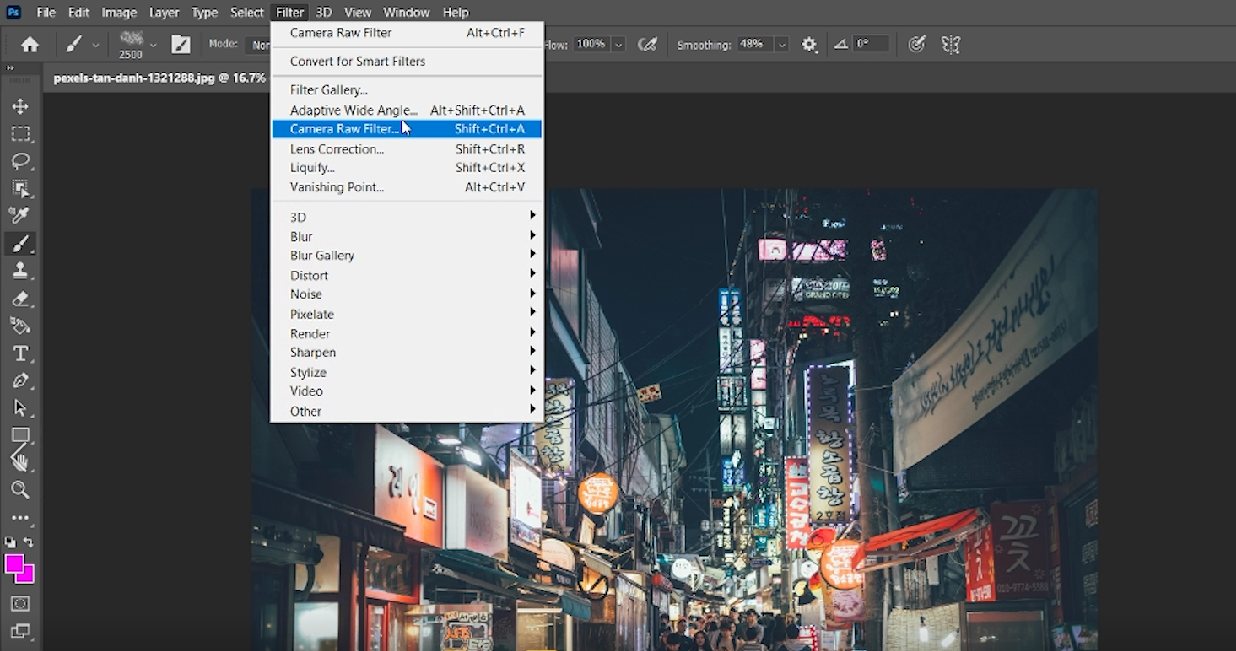
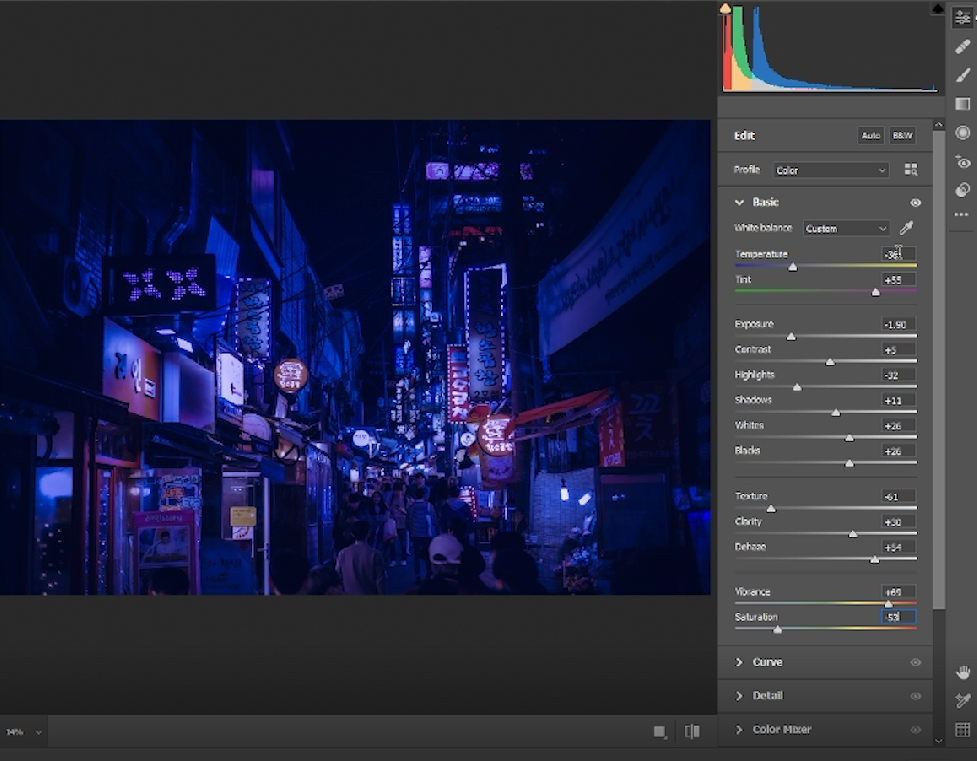
Go to Filter > Camera Raw Filter
Shift temperature slider to the left to add blue and tint slider to the right for the pink color. The rest of the settings depends on you and if you want the same results as shown in this tutorial just input the settings shown above.
Curves
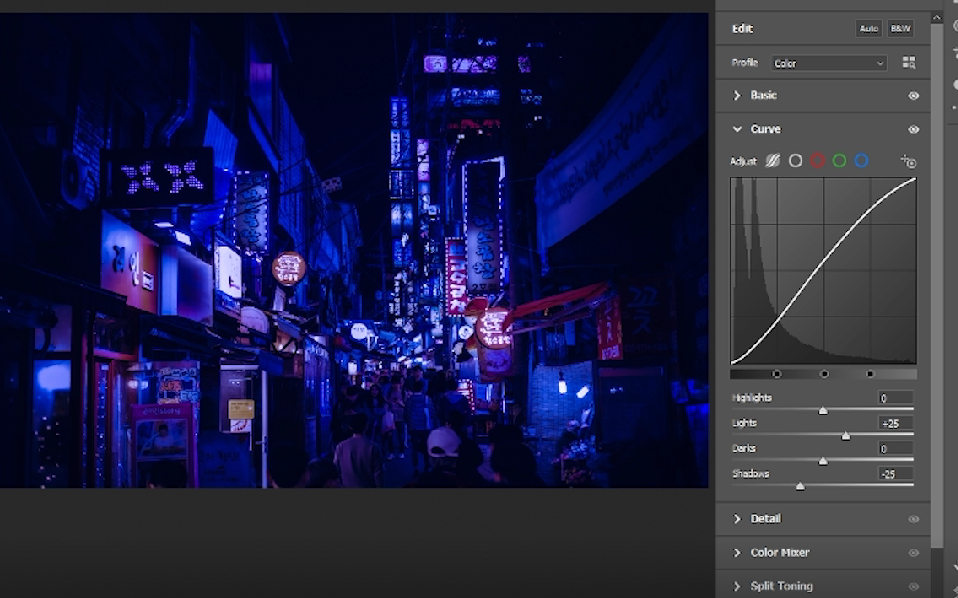
Select curves from the list. Click directly on the curve line and then drag the control point to adjust a tonal area.
Vignette (optional)
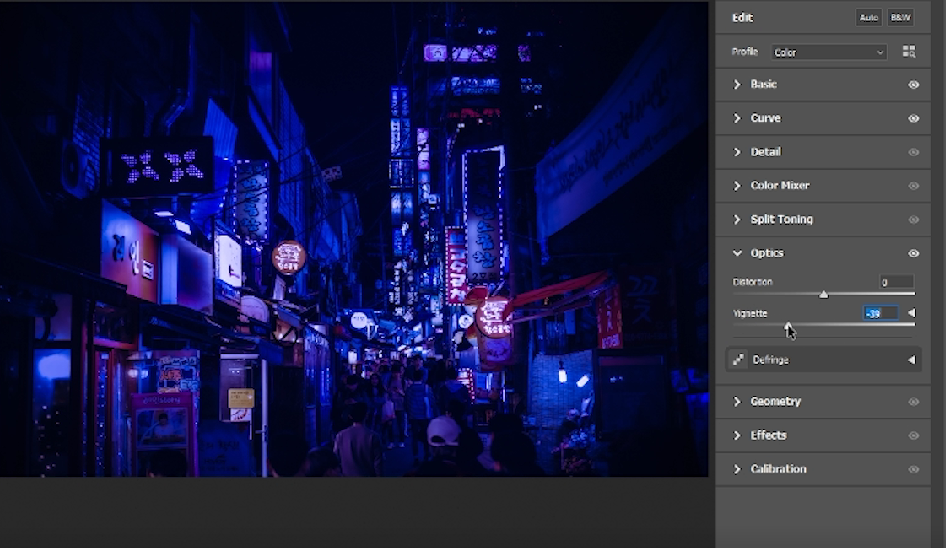
Add vignette to draw the eye to the center of the image.
Outer Glow Settings
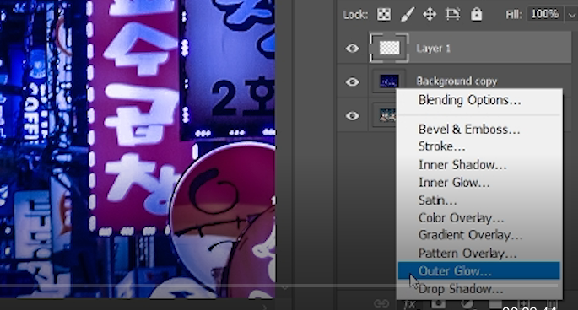
Add a new layer and select the brush tool with a small tip (4 - 9 px depending on the neon sign) and 100% hardness. Set smoothing value to around 50% in the top toolbar to make brush strokes smoother.
Select Outer Glow. An Outer Glow effect helps to illuminate the neon light.
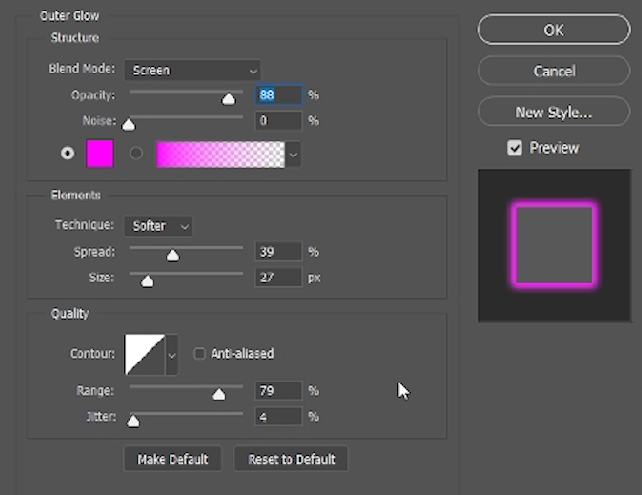
In the Outer Glow Dialog box select blend mode Screen. I have opacity 88%, noise 0, color pink, technique softer, spread 39, size 27, range 79.
The Opacity slider allows you to specify how transparent your Outer Glow will be. Softer gives us an Outer Glow that is more organic and natural looking.
Press OK to save settings.
Trace Neon Lights
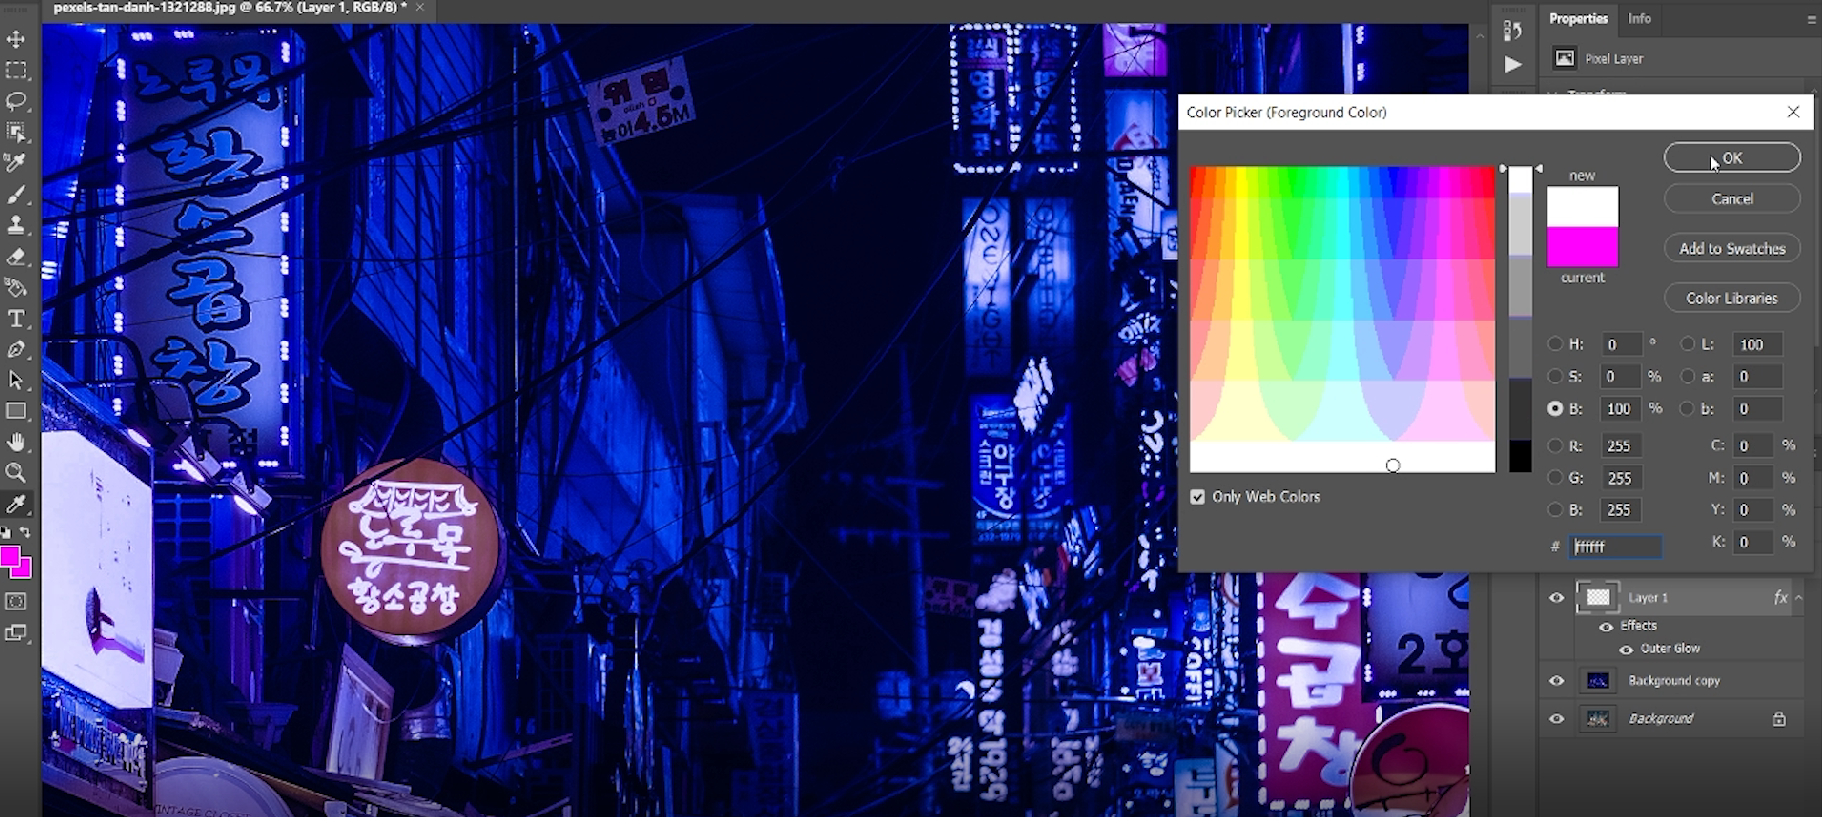
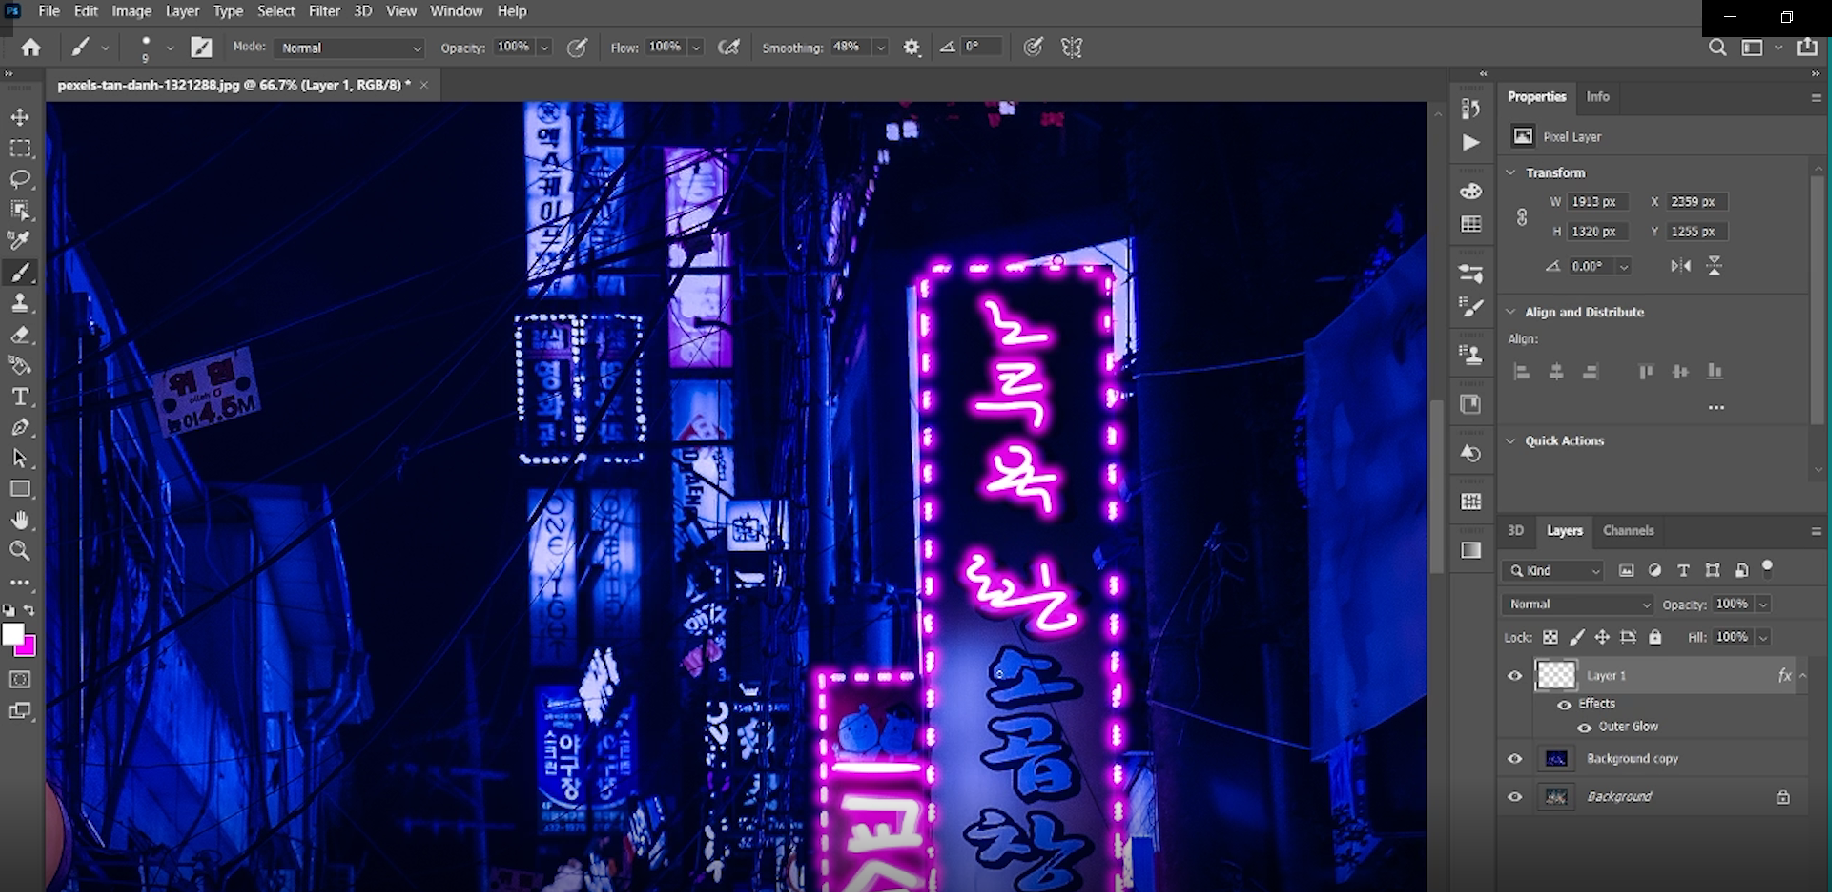
Select foreground color white. Trace the neon lights, you can also select other colors (it's not limited to pink and blue).
Overlay
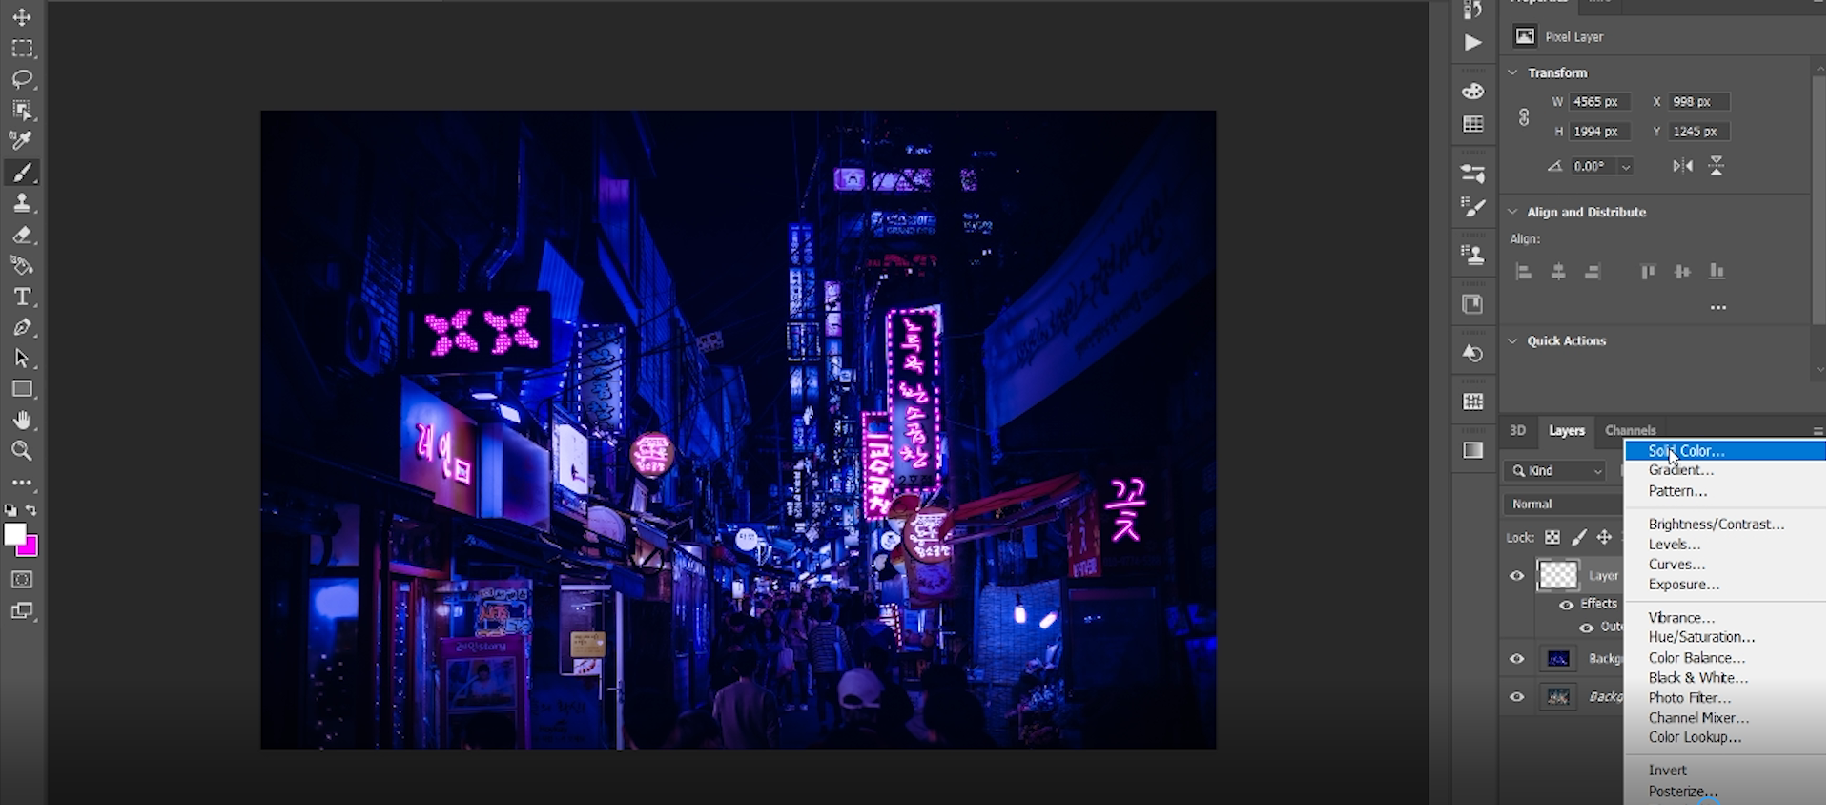

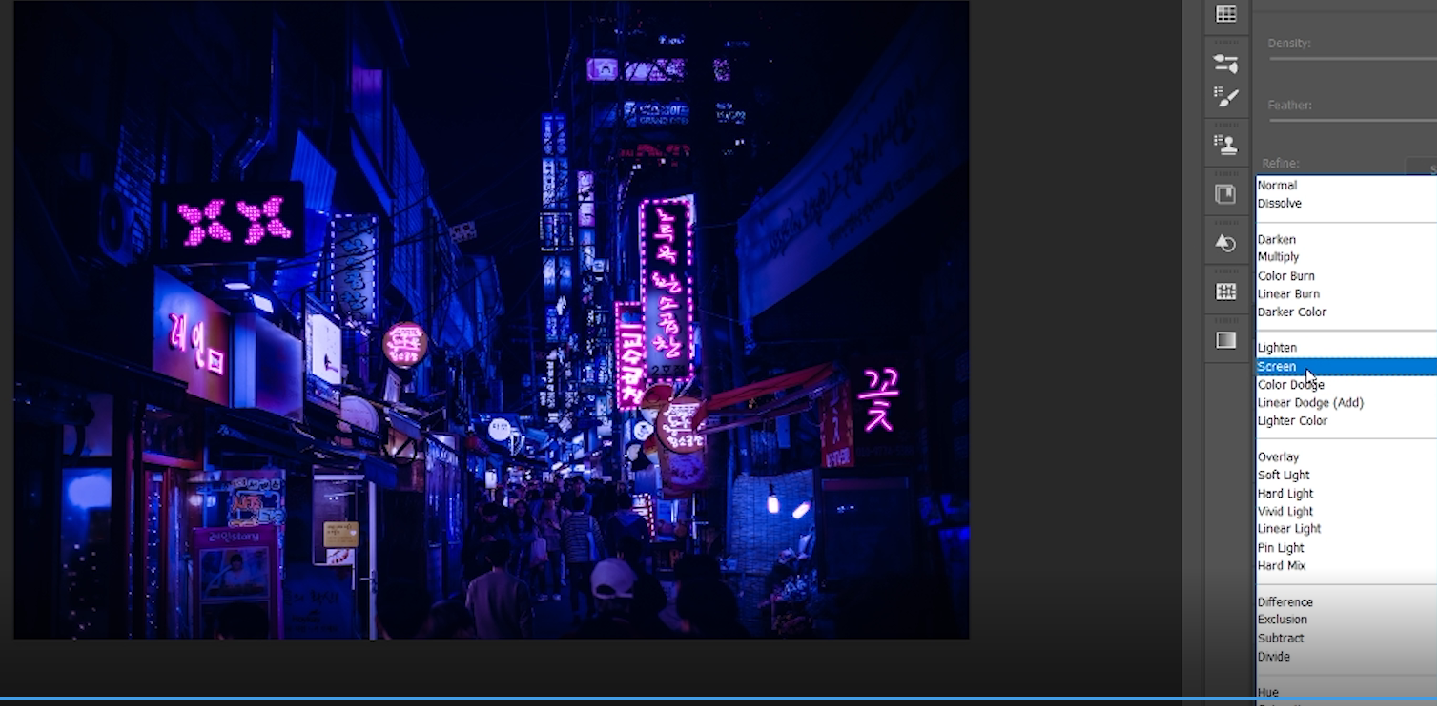
Select Solid Color from the layers panel and pick color black, click OK. Next select blend mode Screen.
Results
