How to Adjust for Wood Thickness and Kerf on a Laser Cutter at Techshop
by Adam ANT in Workshop > Tools
42413 Views, 214 Favorites, 0 Comments
How to Adjust for Wood Thickness and Kerf on a Laser Cutter at Techshop
In this Instructable I will show you my method to adjust your patterns to the correct thickness on a laser cutter. I went through this to make my wood box slot together with a tight fit and I made this at Techshop San Jose using their Epilog 60W Helix.
You will need:
1. My test pattern (Laser Kerf Test Slots.ai)
2. My laser kerf meter pattern (Laser Kerf Test.ai)
3. Some test pieces of the wood you plan to use for your next project.
4. Calipers
You will need:
1. My test pattern (Laser Kerf Test Slots.ai)
2. My laser kerf meter pattern (Laser Kerf Test.ai)
3. Some test pieces of the wood you plan to use for your next project.
4. Calipers
Don't Believe Labelled Thickness
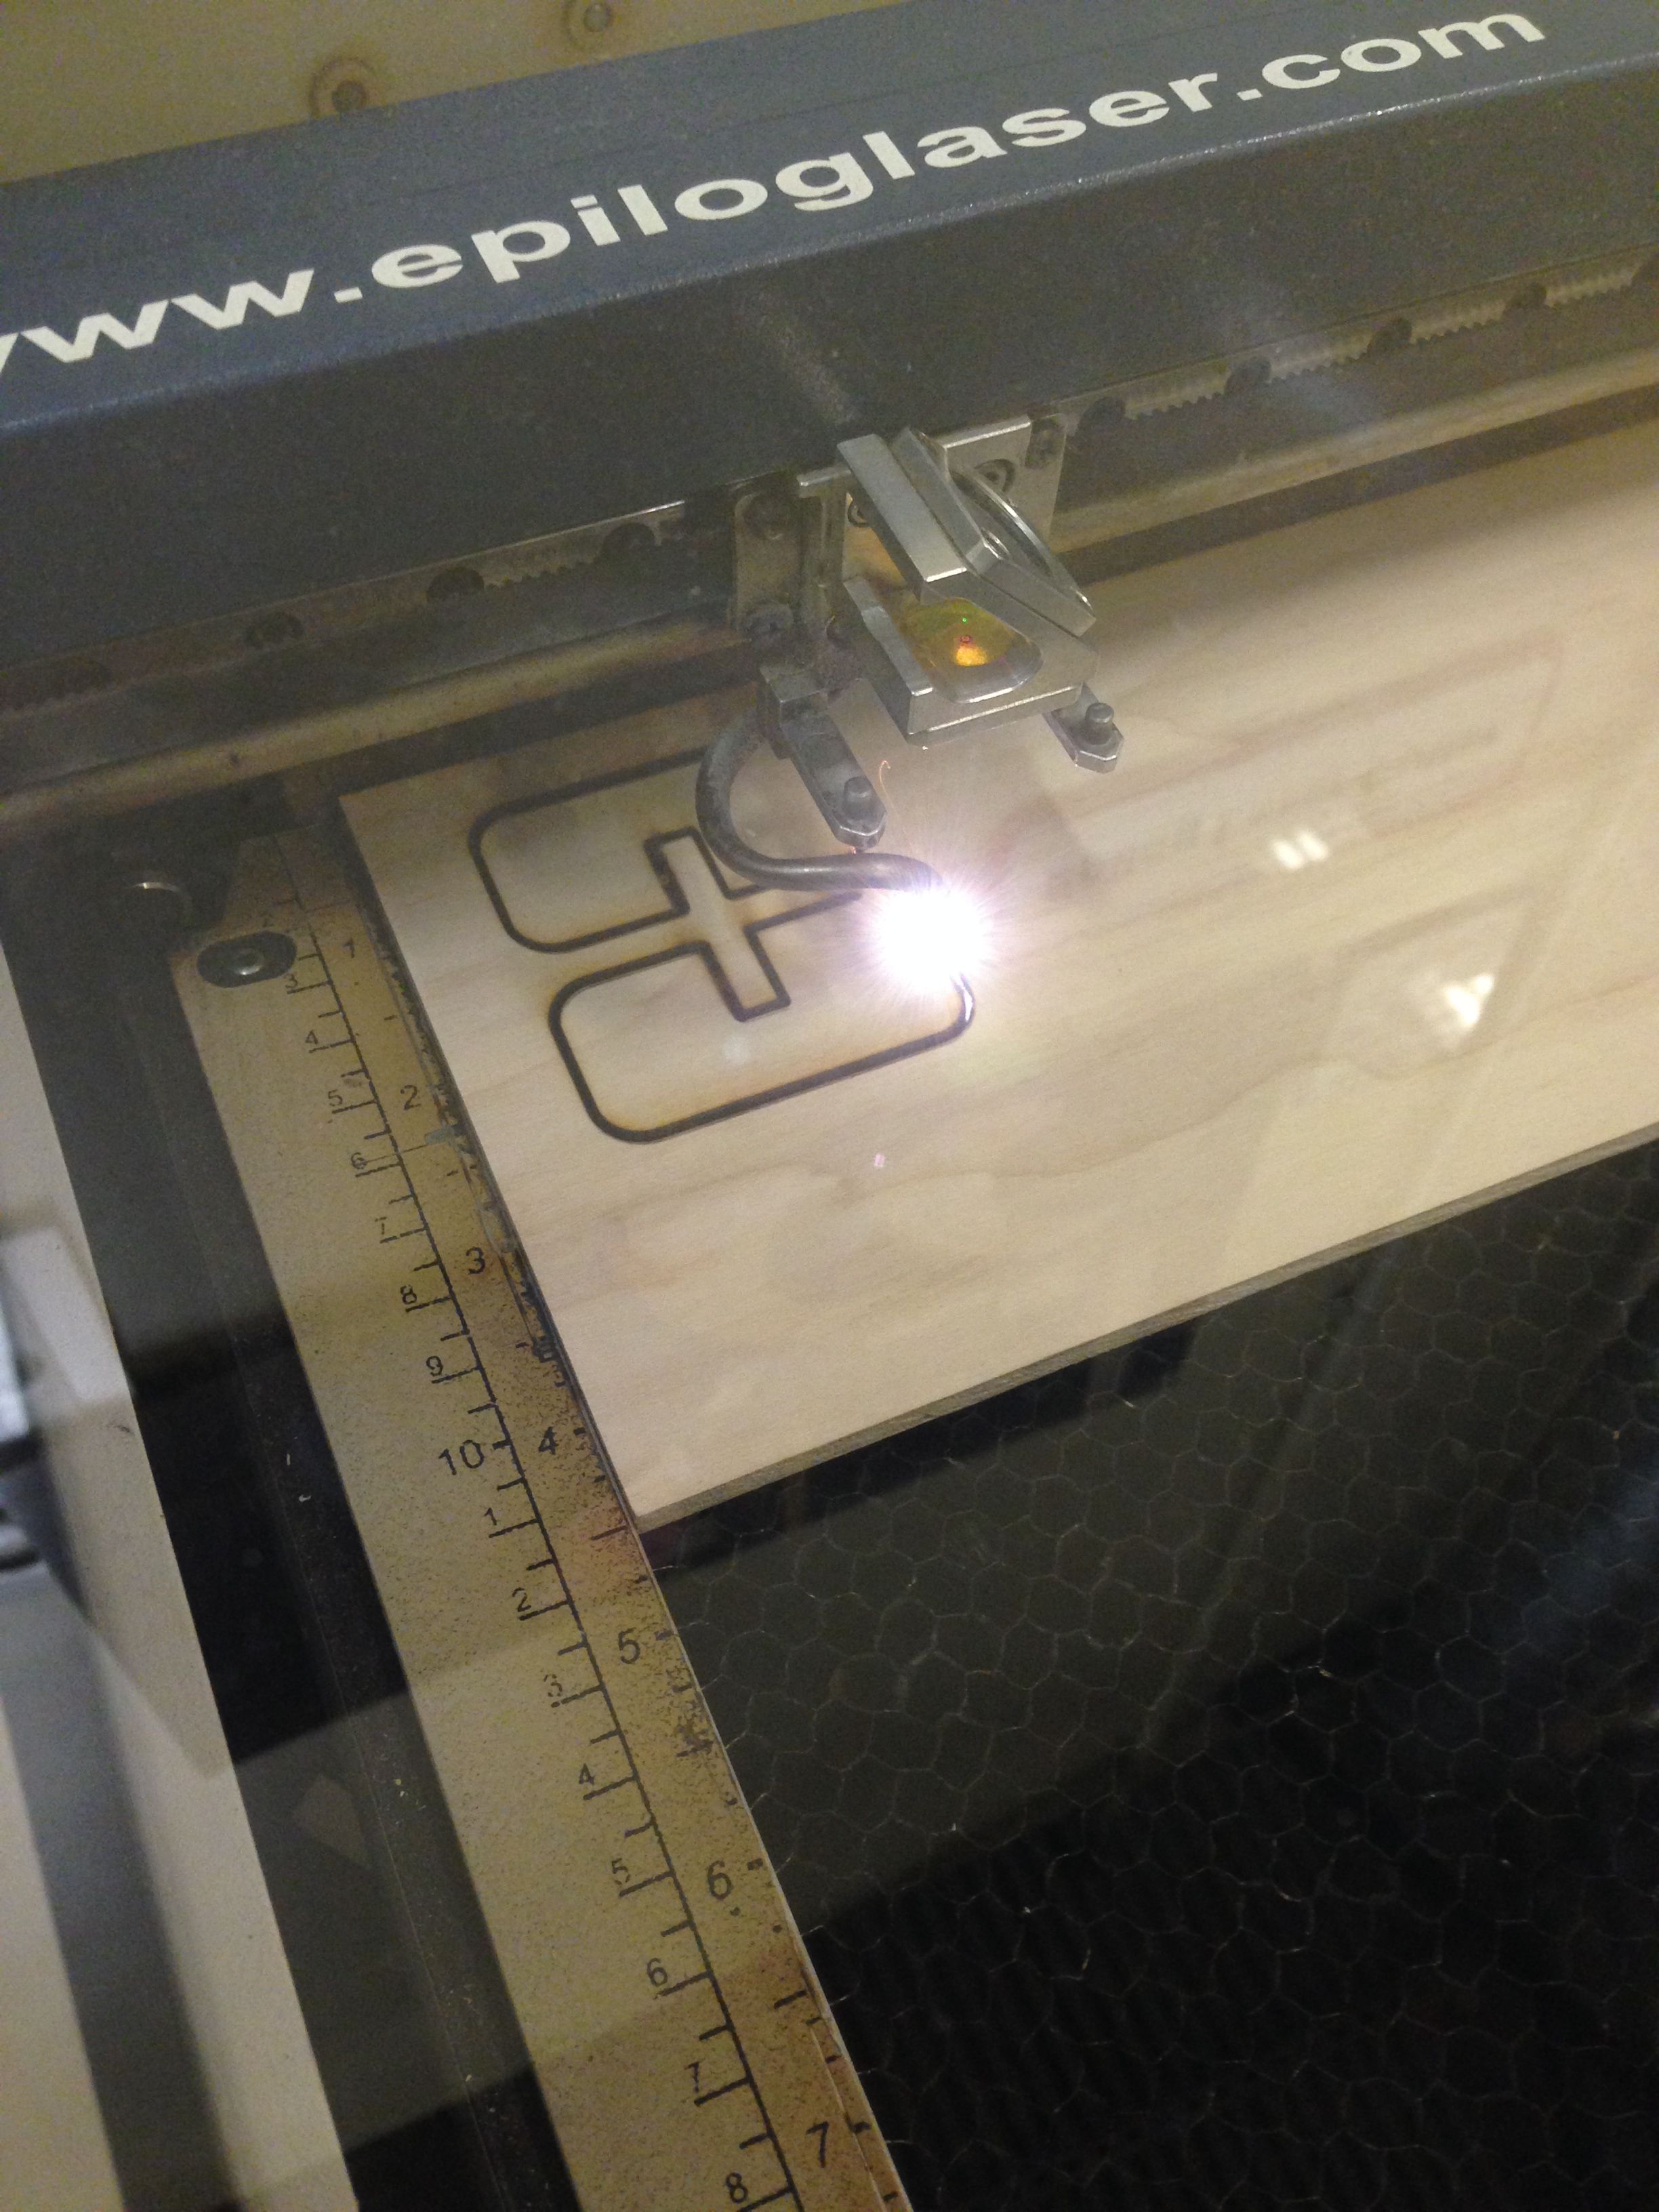
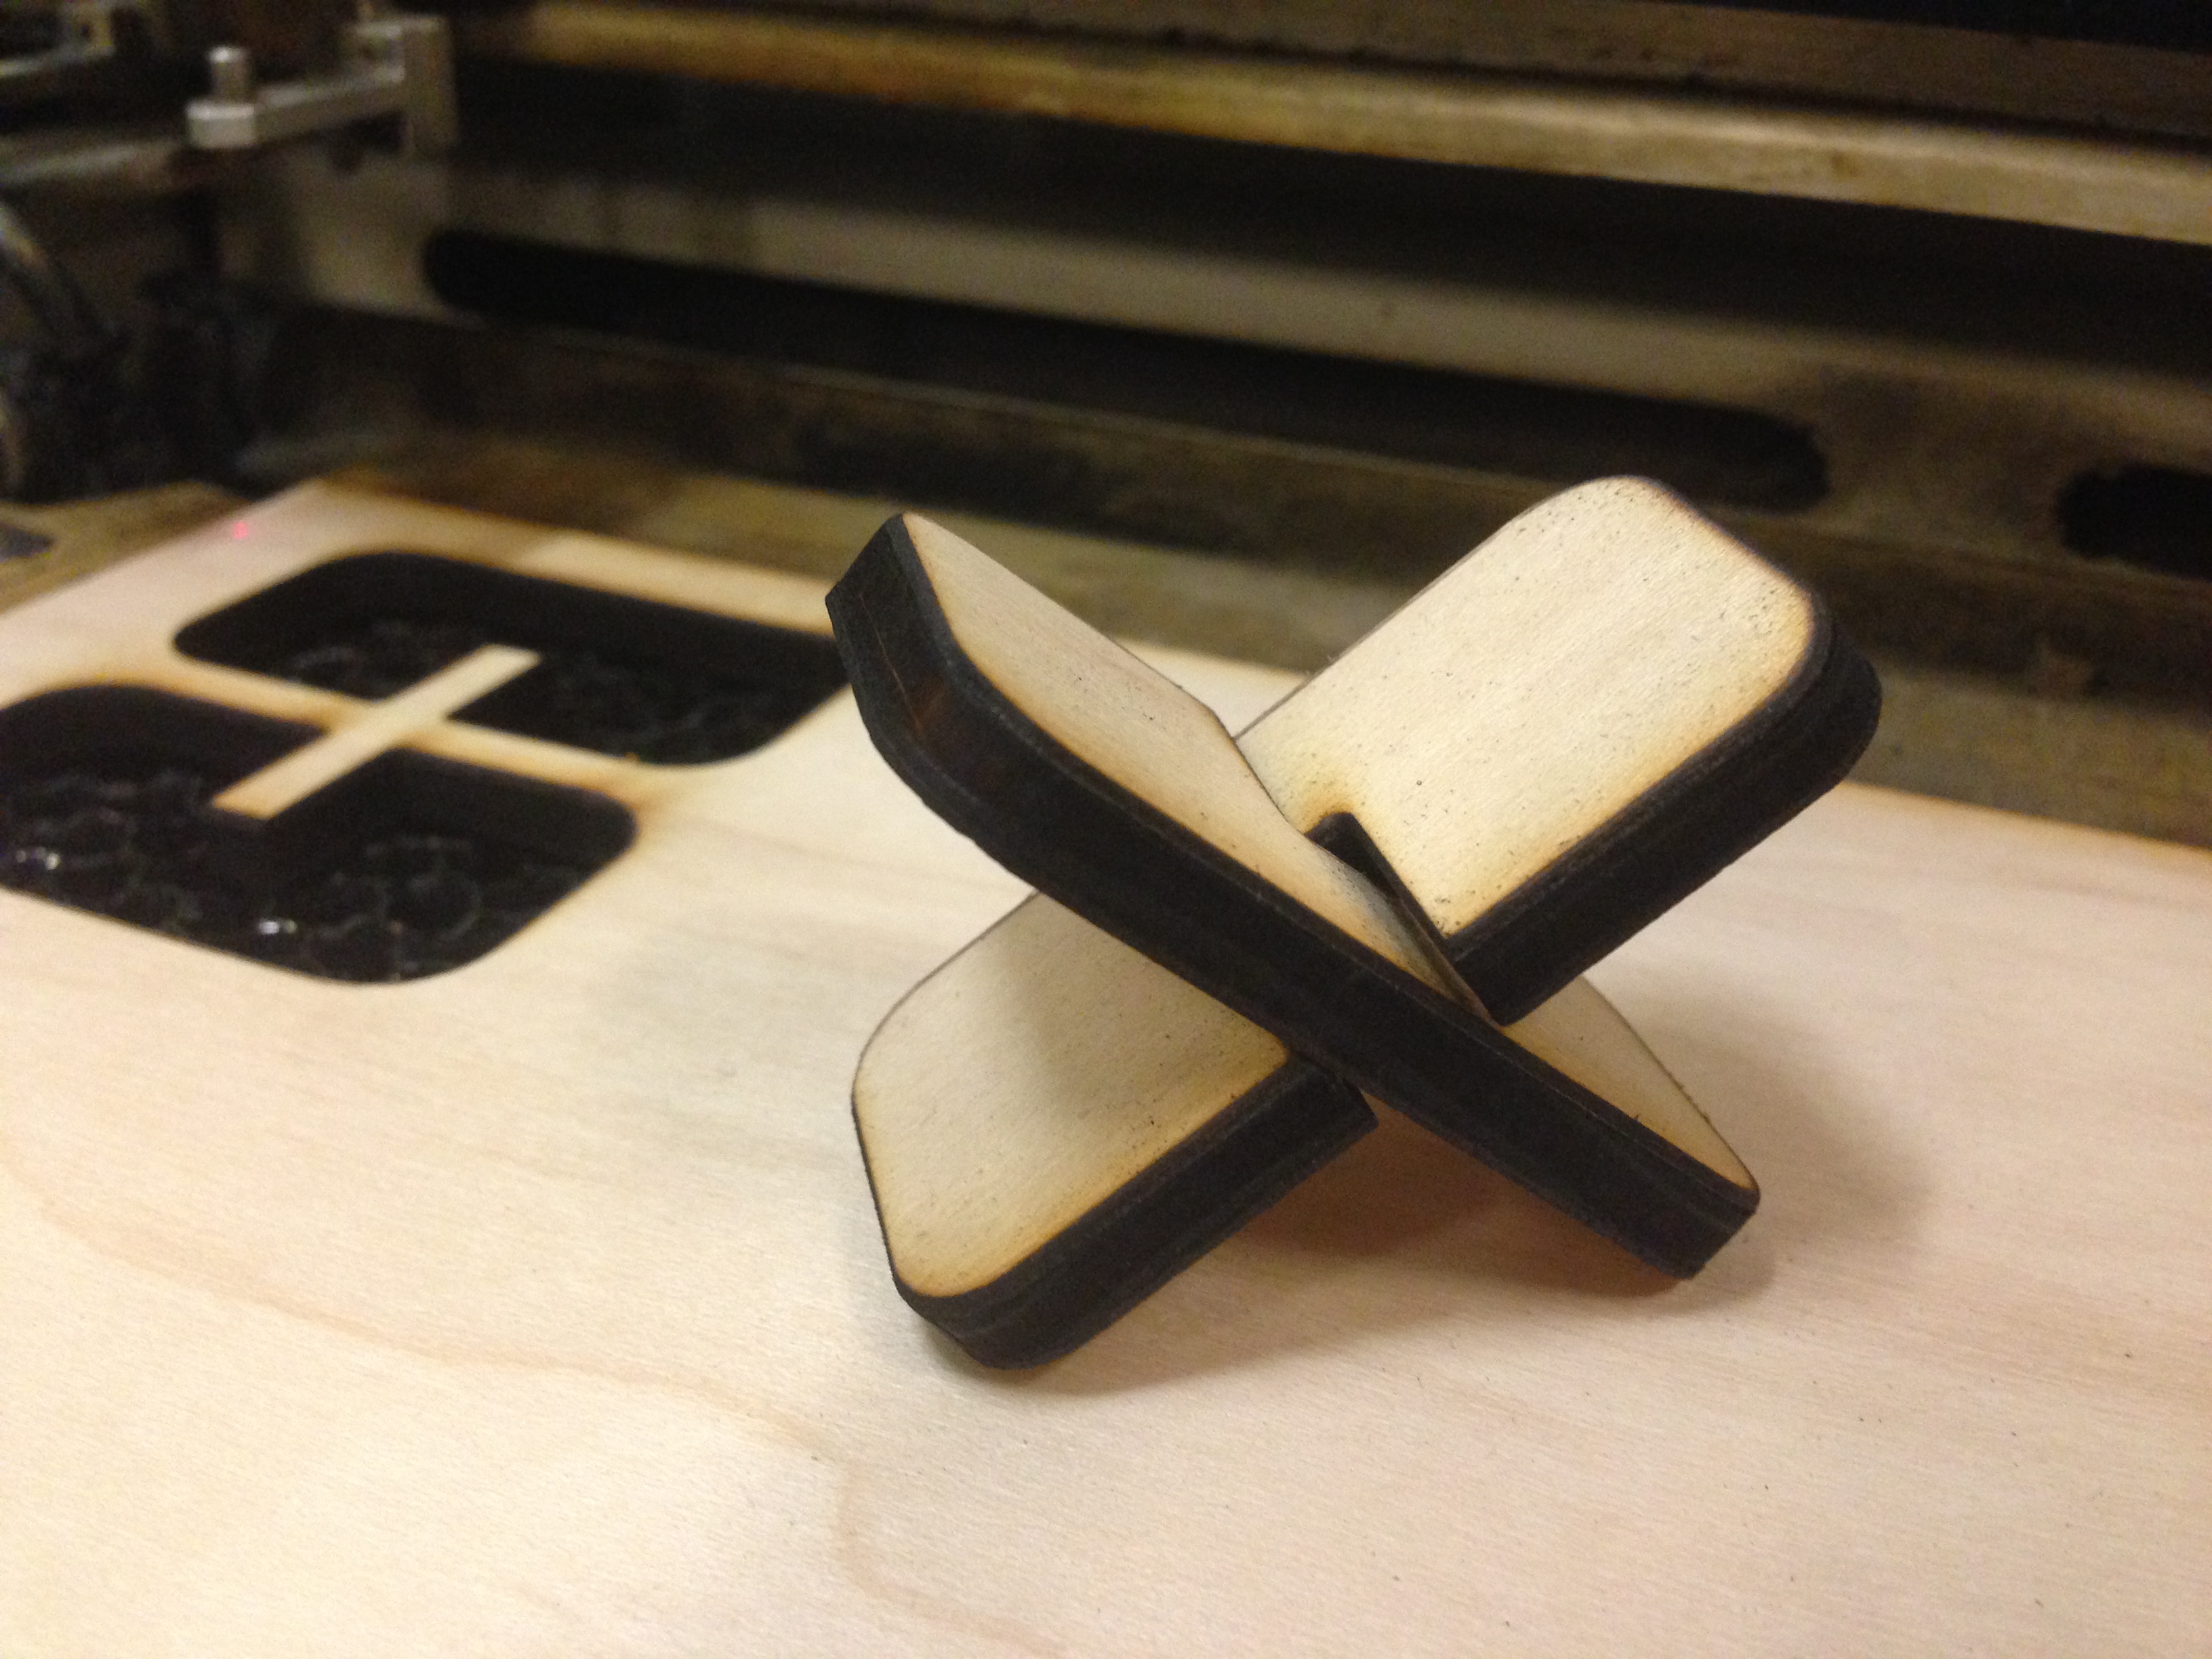
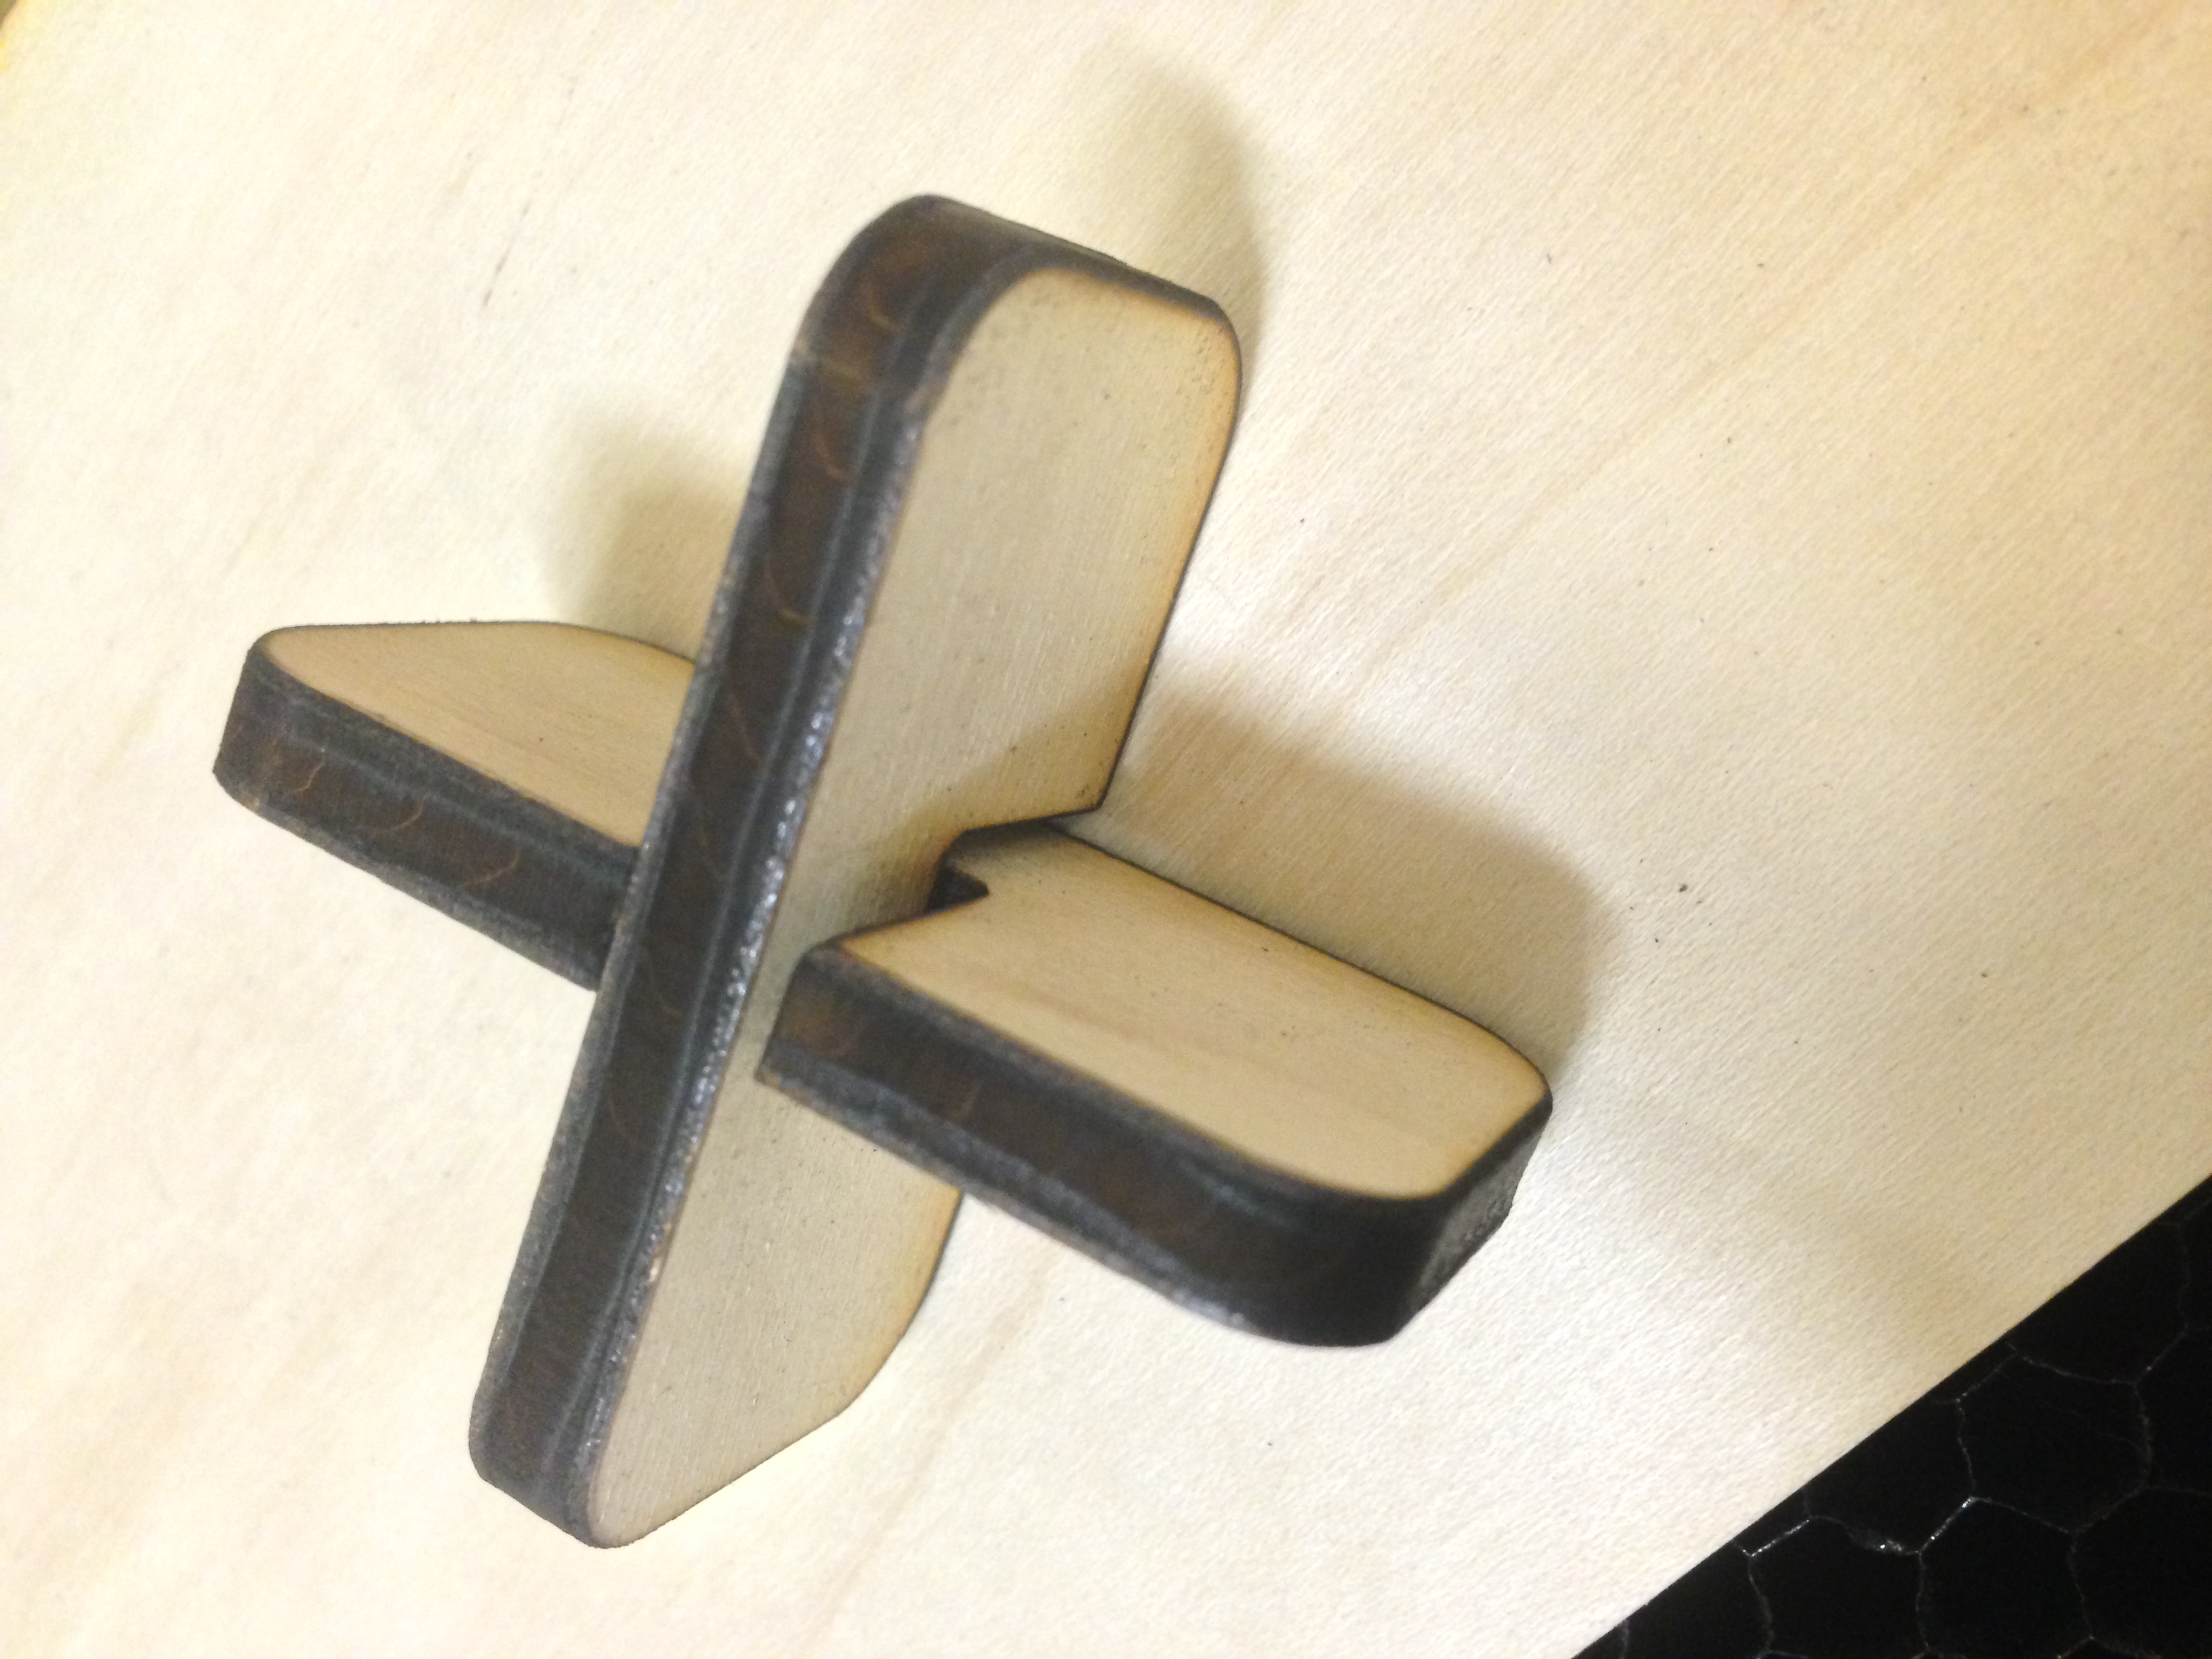
Most wood you buy is not the labelled thickness. This maple plywood I am using for demonstration is labelled 1/4 inch, but you can use whatever thickness you need. This first test I did without adjusting my pattern from its 1/4 inch stock form. As you can see the wood slots do not fit together well at all and you can see a noticeable gap. The file I provided starts with 1/4 thickness which you will have to adjust later. Steps 1 and 2 will use material you don't need to use to successfully yield results. However, if you have not used your chosen material before, these tests offer the chance to find laser cutter settings that will cut through cleanly. On an Epilog 60 Watt Helix I used Speed 10%, Power 90%, Frequency ~500 for my 1/4 inch maple plywood.
Measure Wood and Adjust Pattern
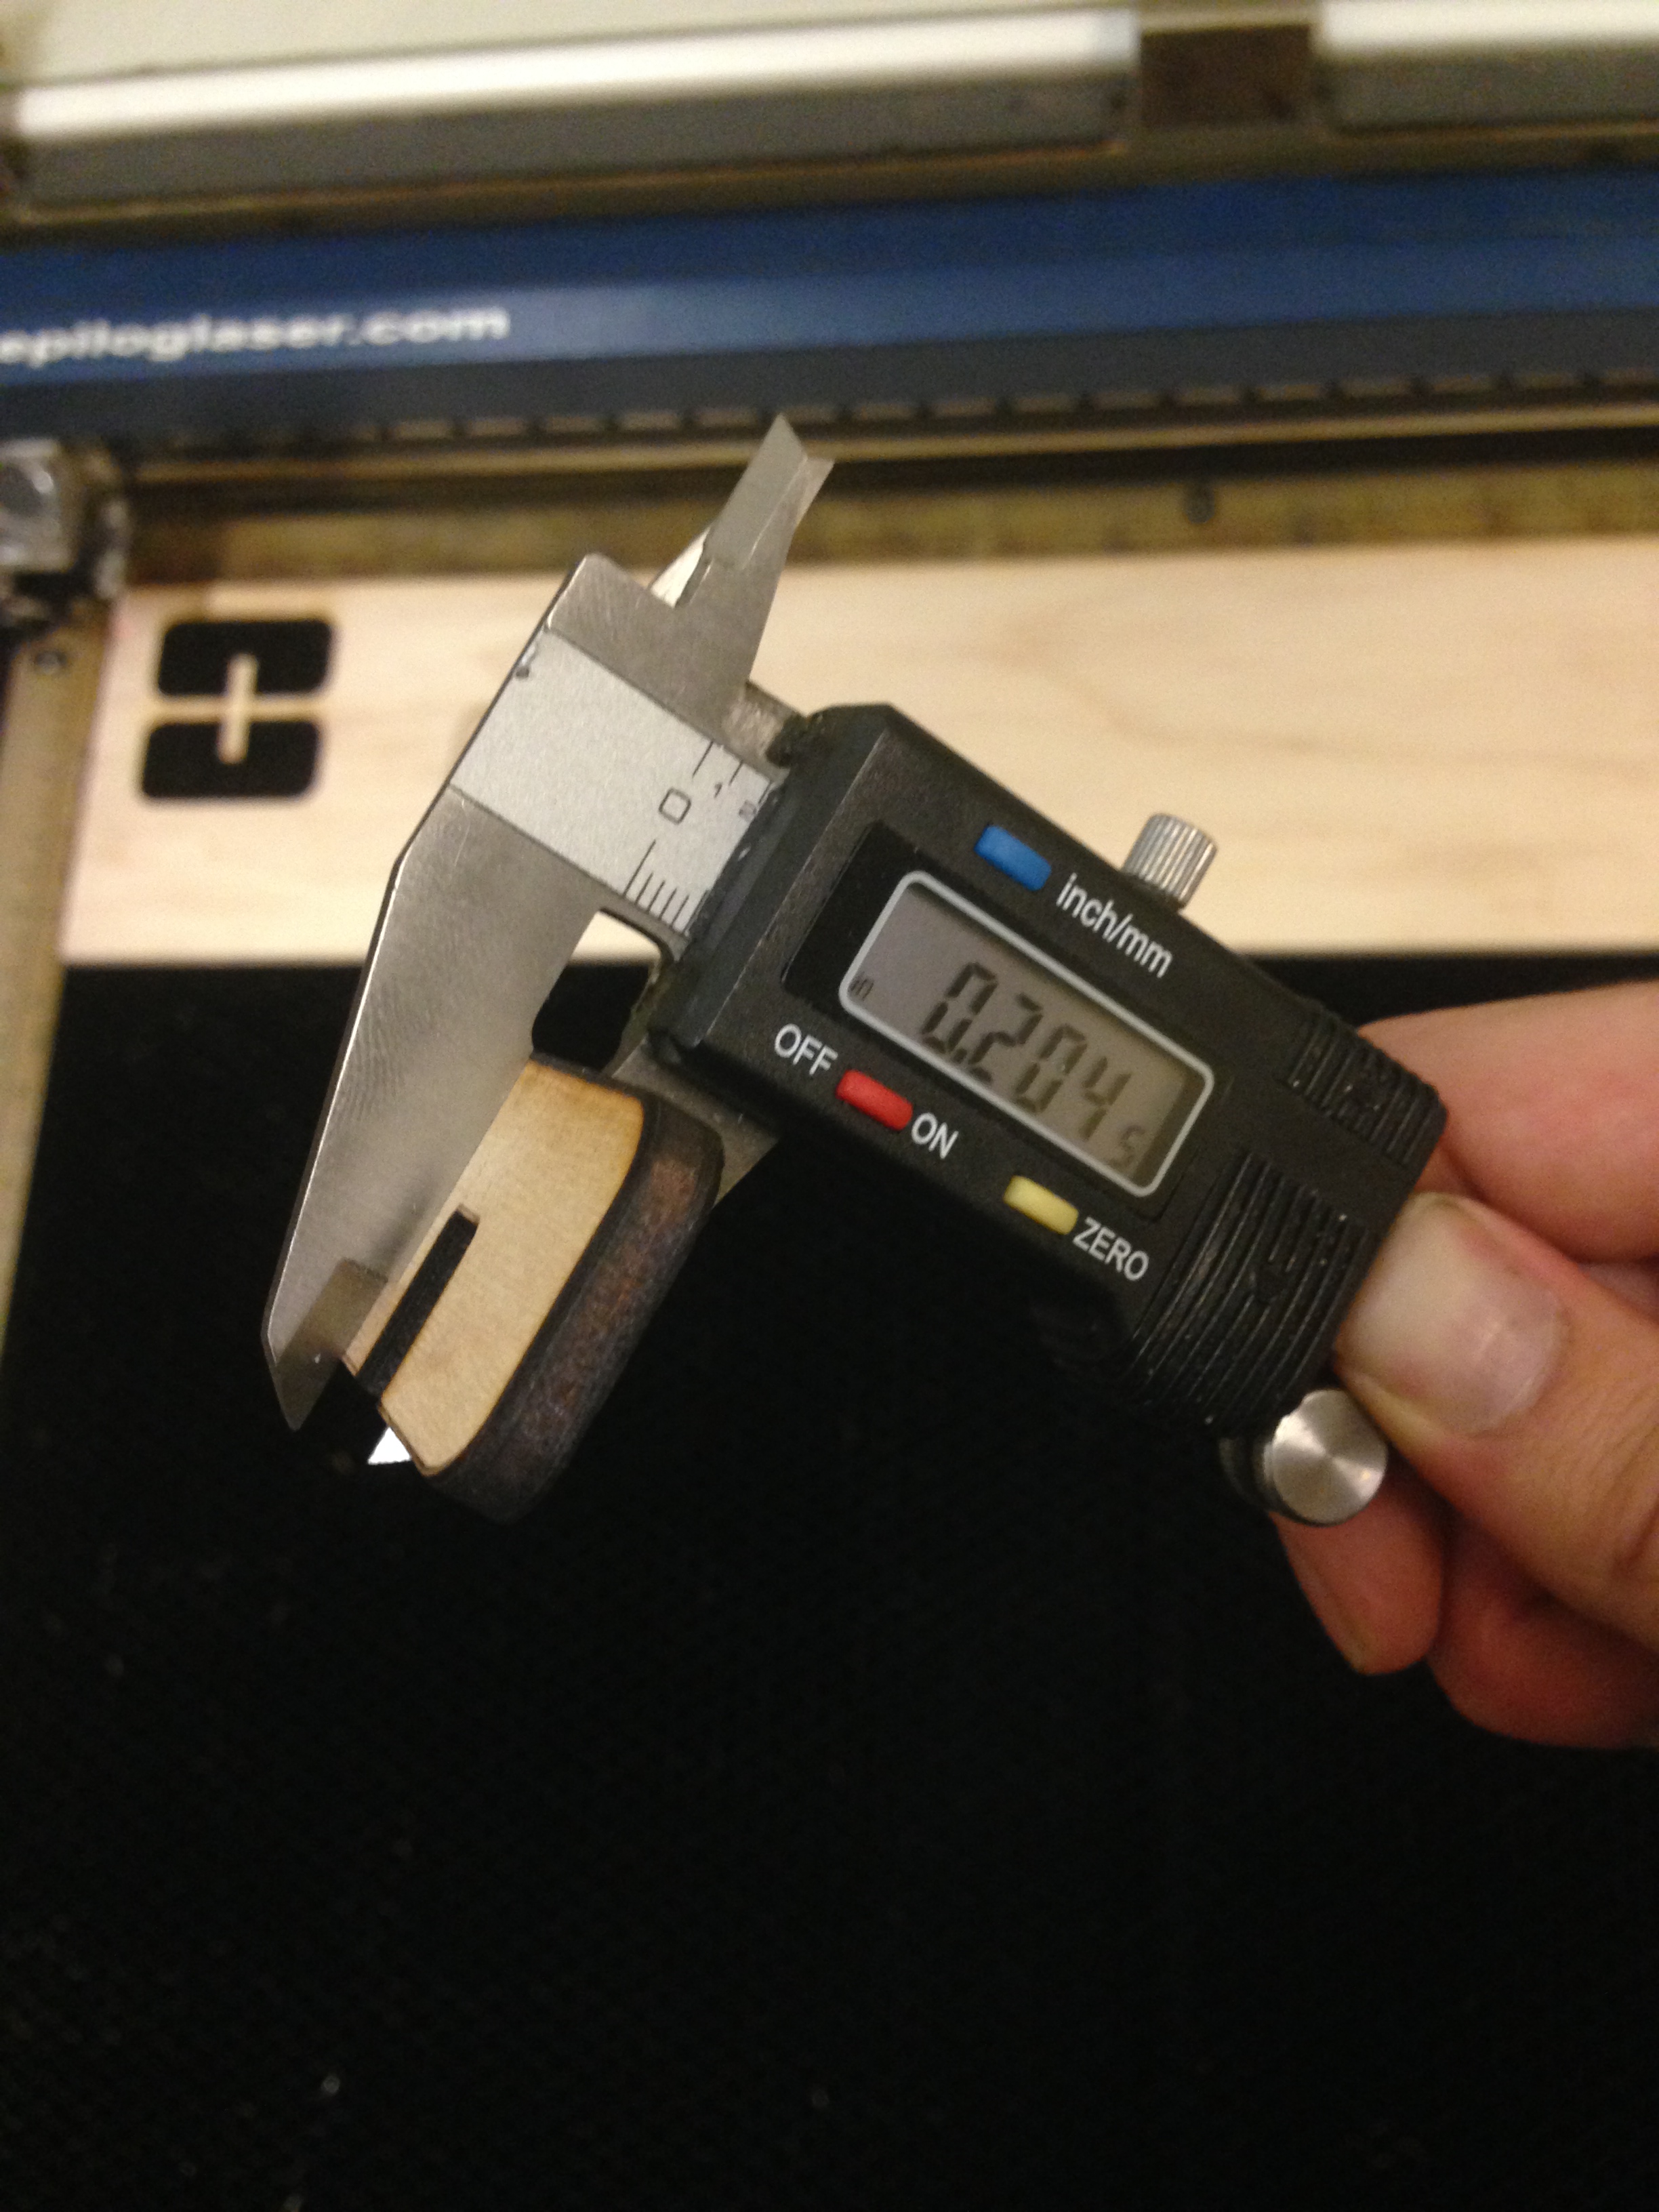
Use your calipers to measure the thickness of your wood. Be sure to zero your calipers closed first and use the imperial or metric corresponding to your pattern. I am using imperial for this measurement.
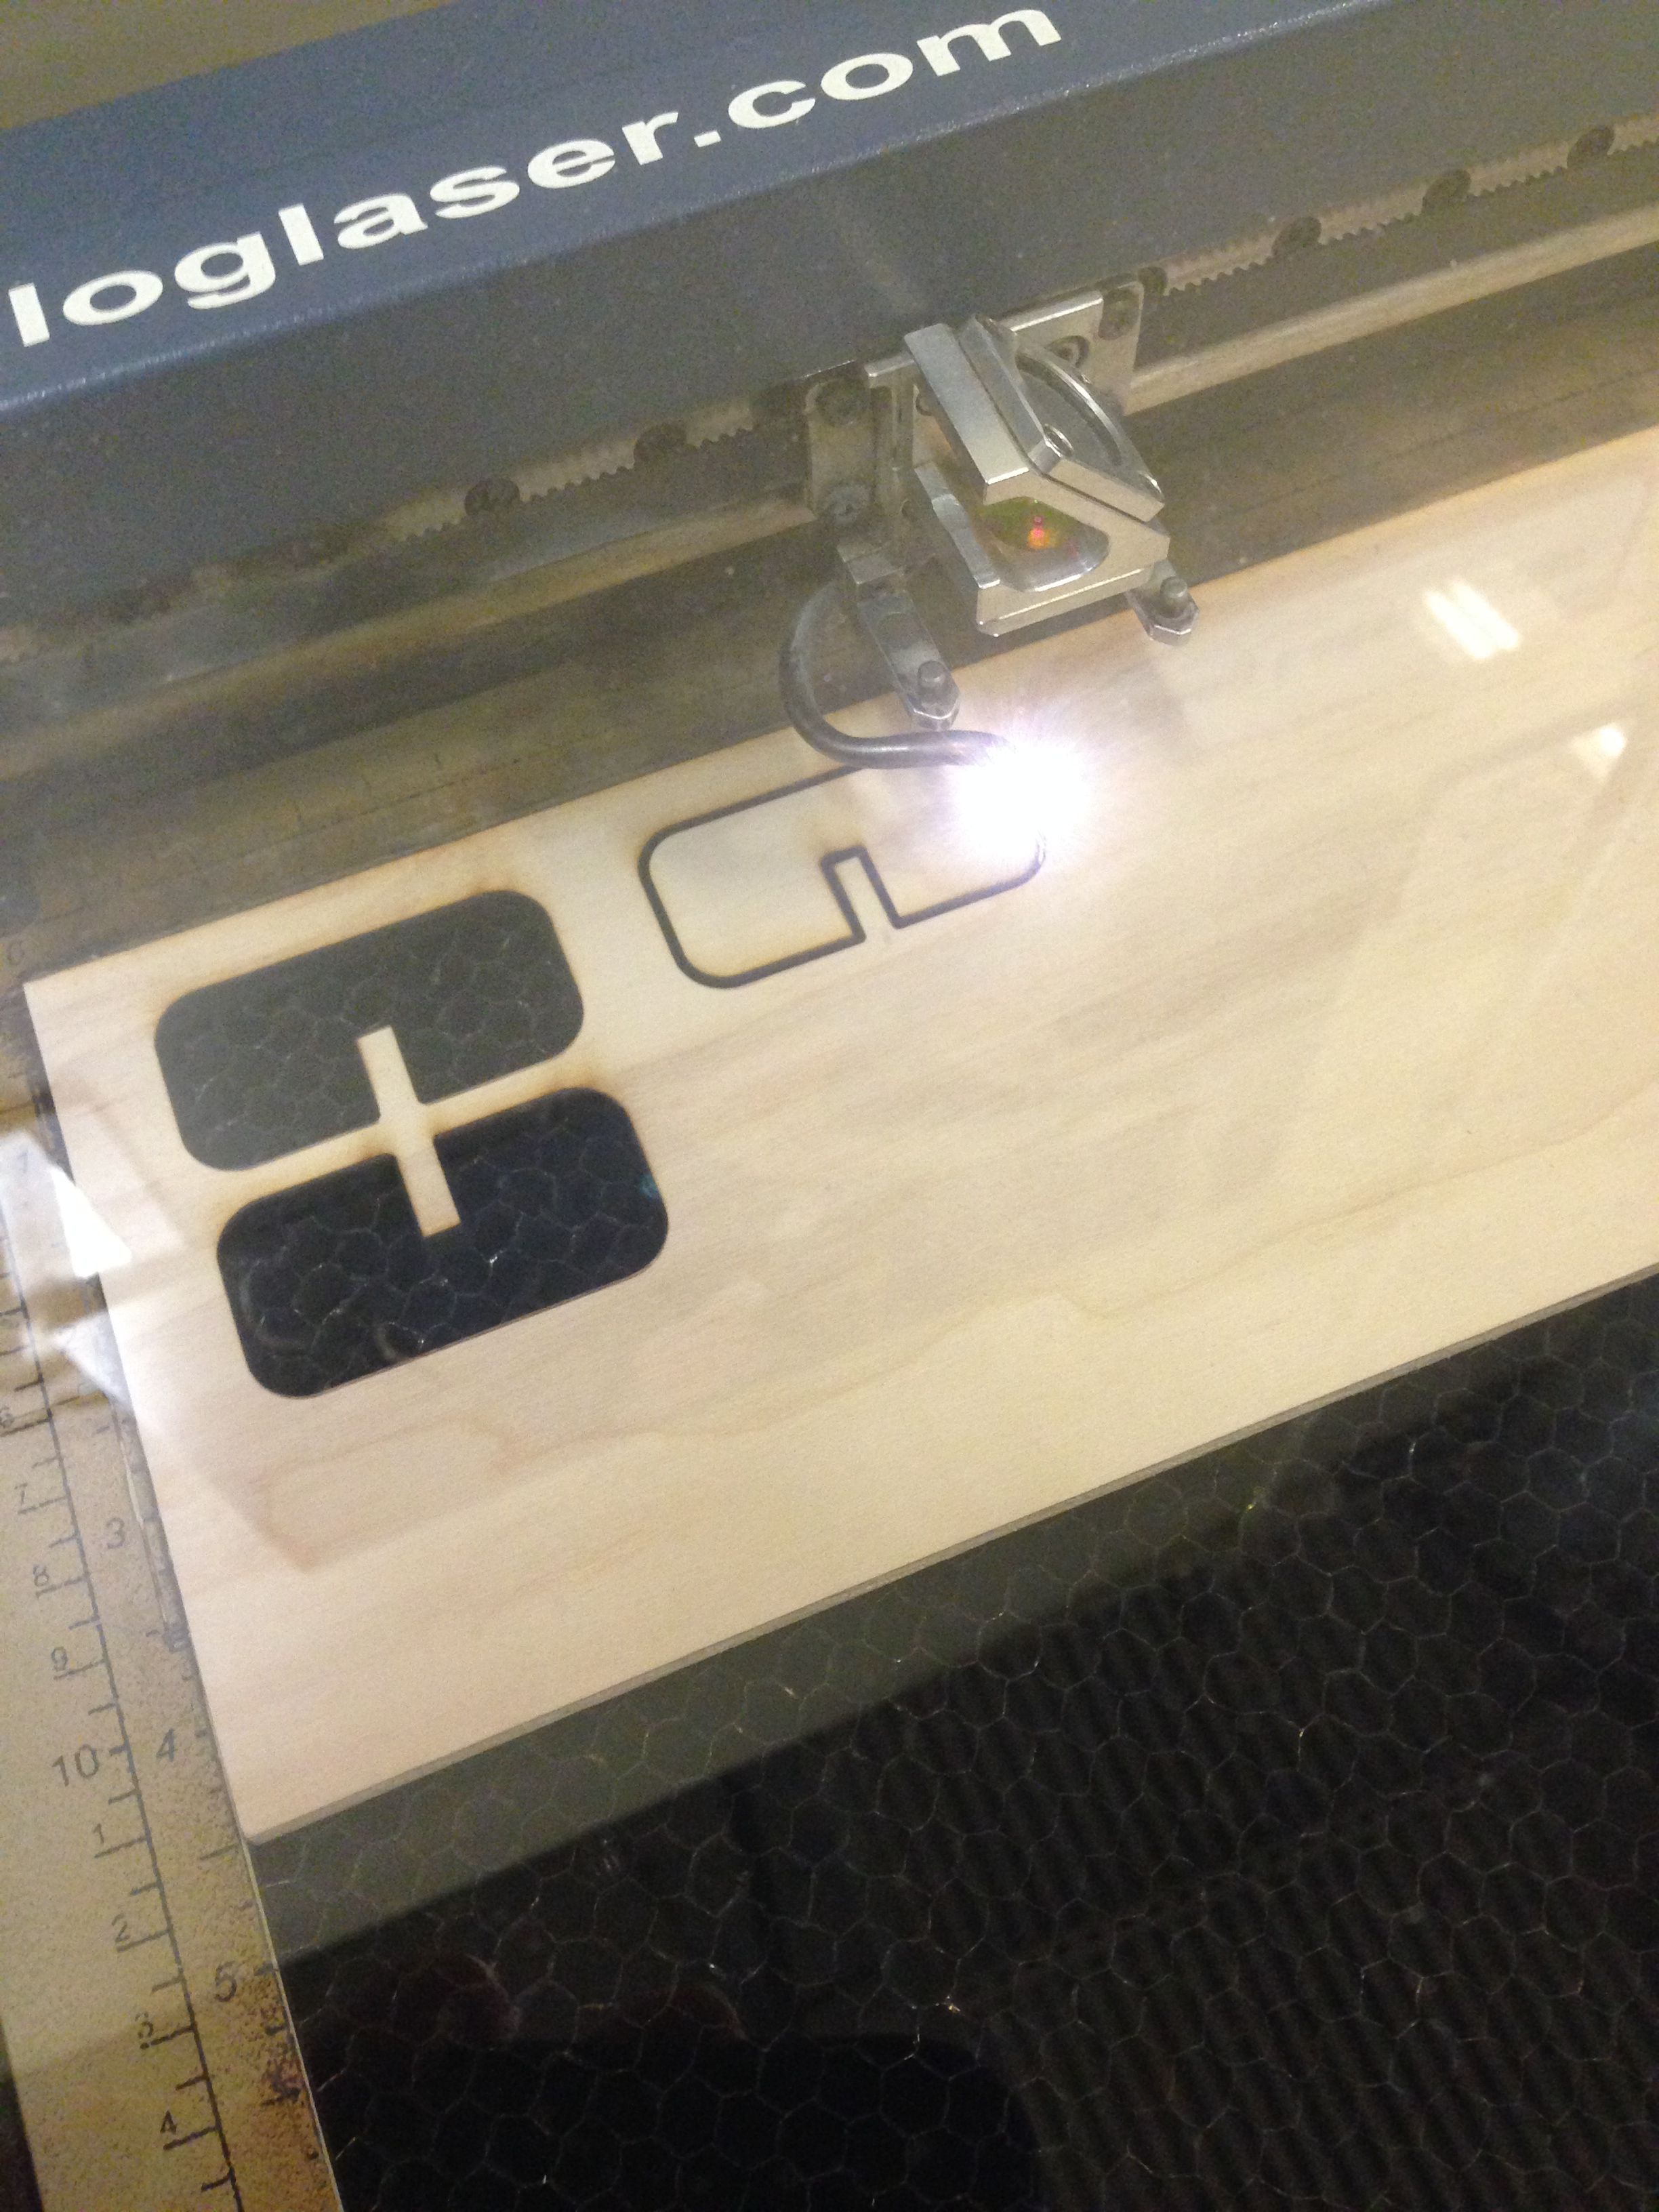
I then adjusted the lines in my pattern representing slots to a thickness I received from the calipers (in my case .204") and cut another test.
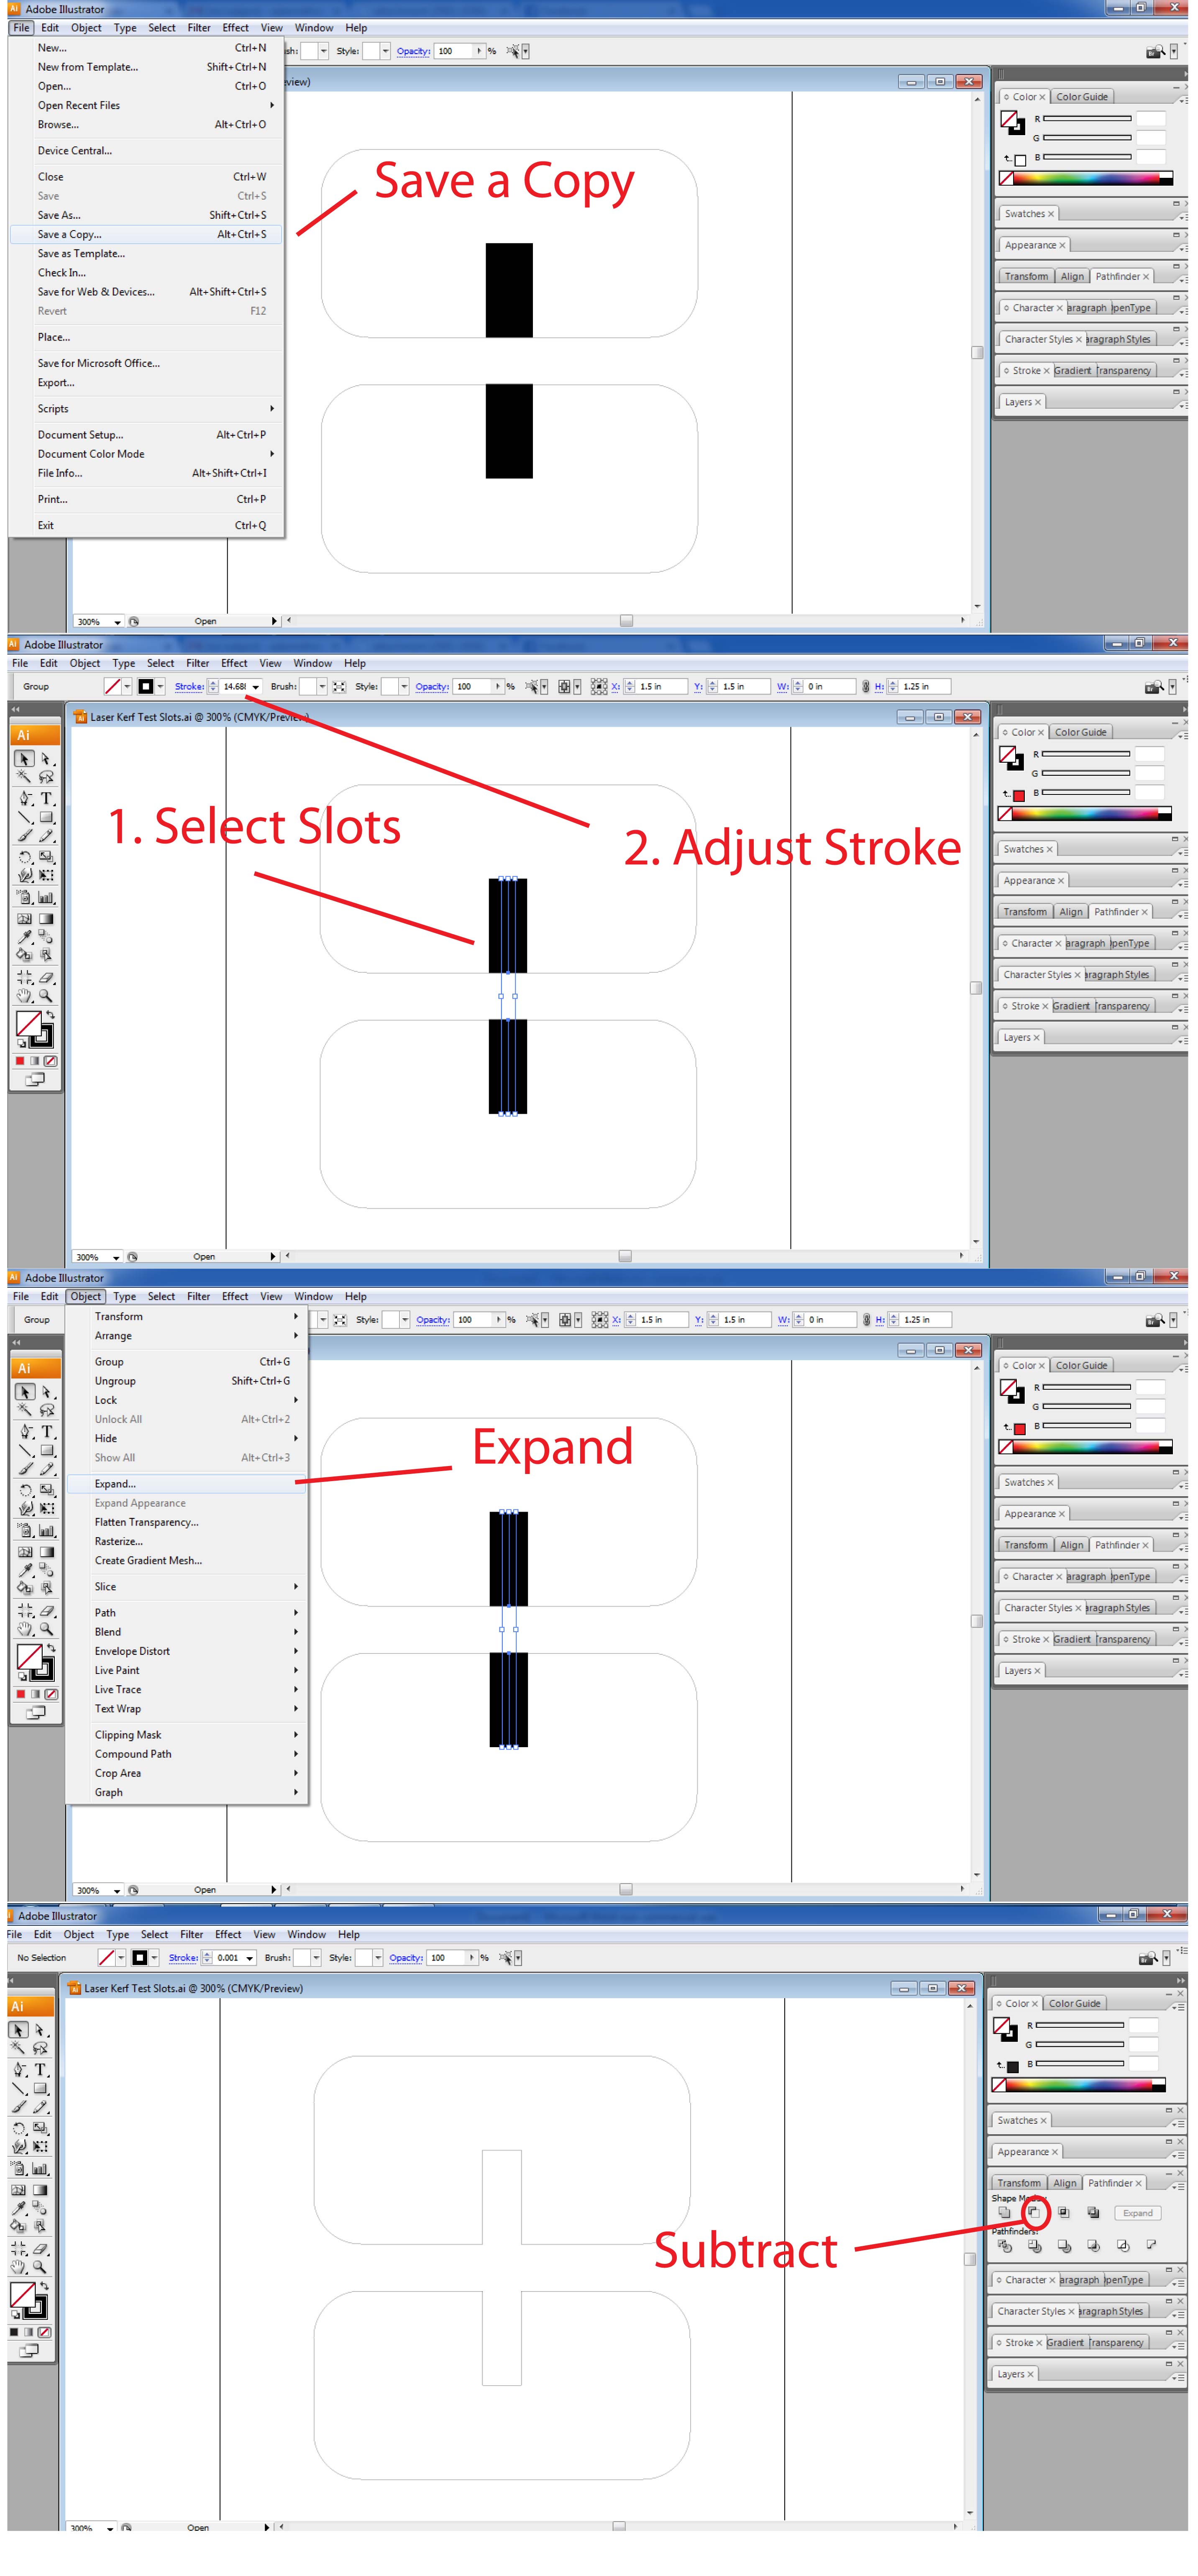
To do this in Illustrator:
1. Make a copy of the original file to use later.
2. Select the lines that represent slots set their stroke thickness to your caliper readings
3. Then go to Object>Expand. This turns your lines into blocks.
4. Select the blocks and the other pattern lines and use Pathfinder>Subtract from area shape.
5. Make sure all lines are still set to .001 and cut a new test.
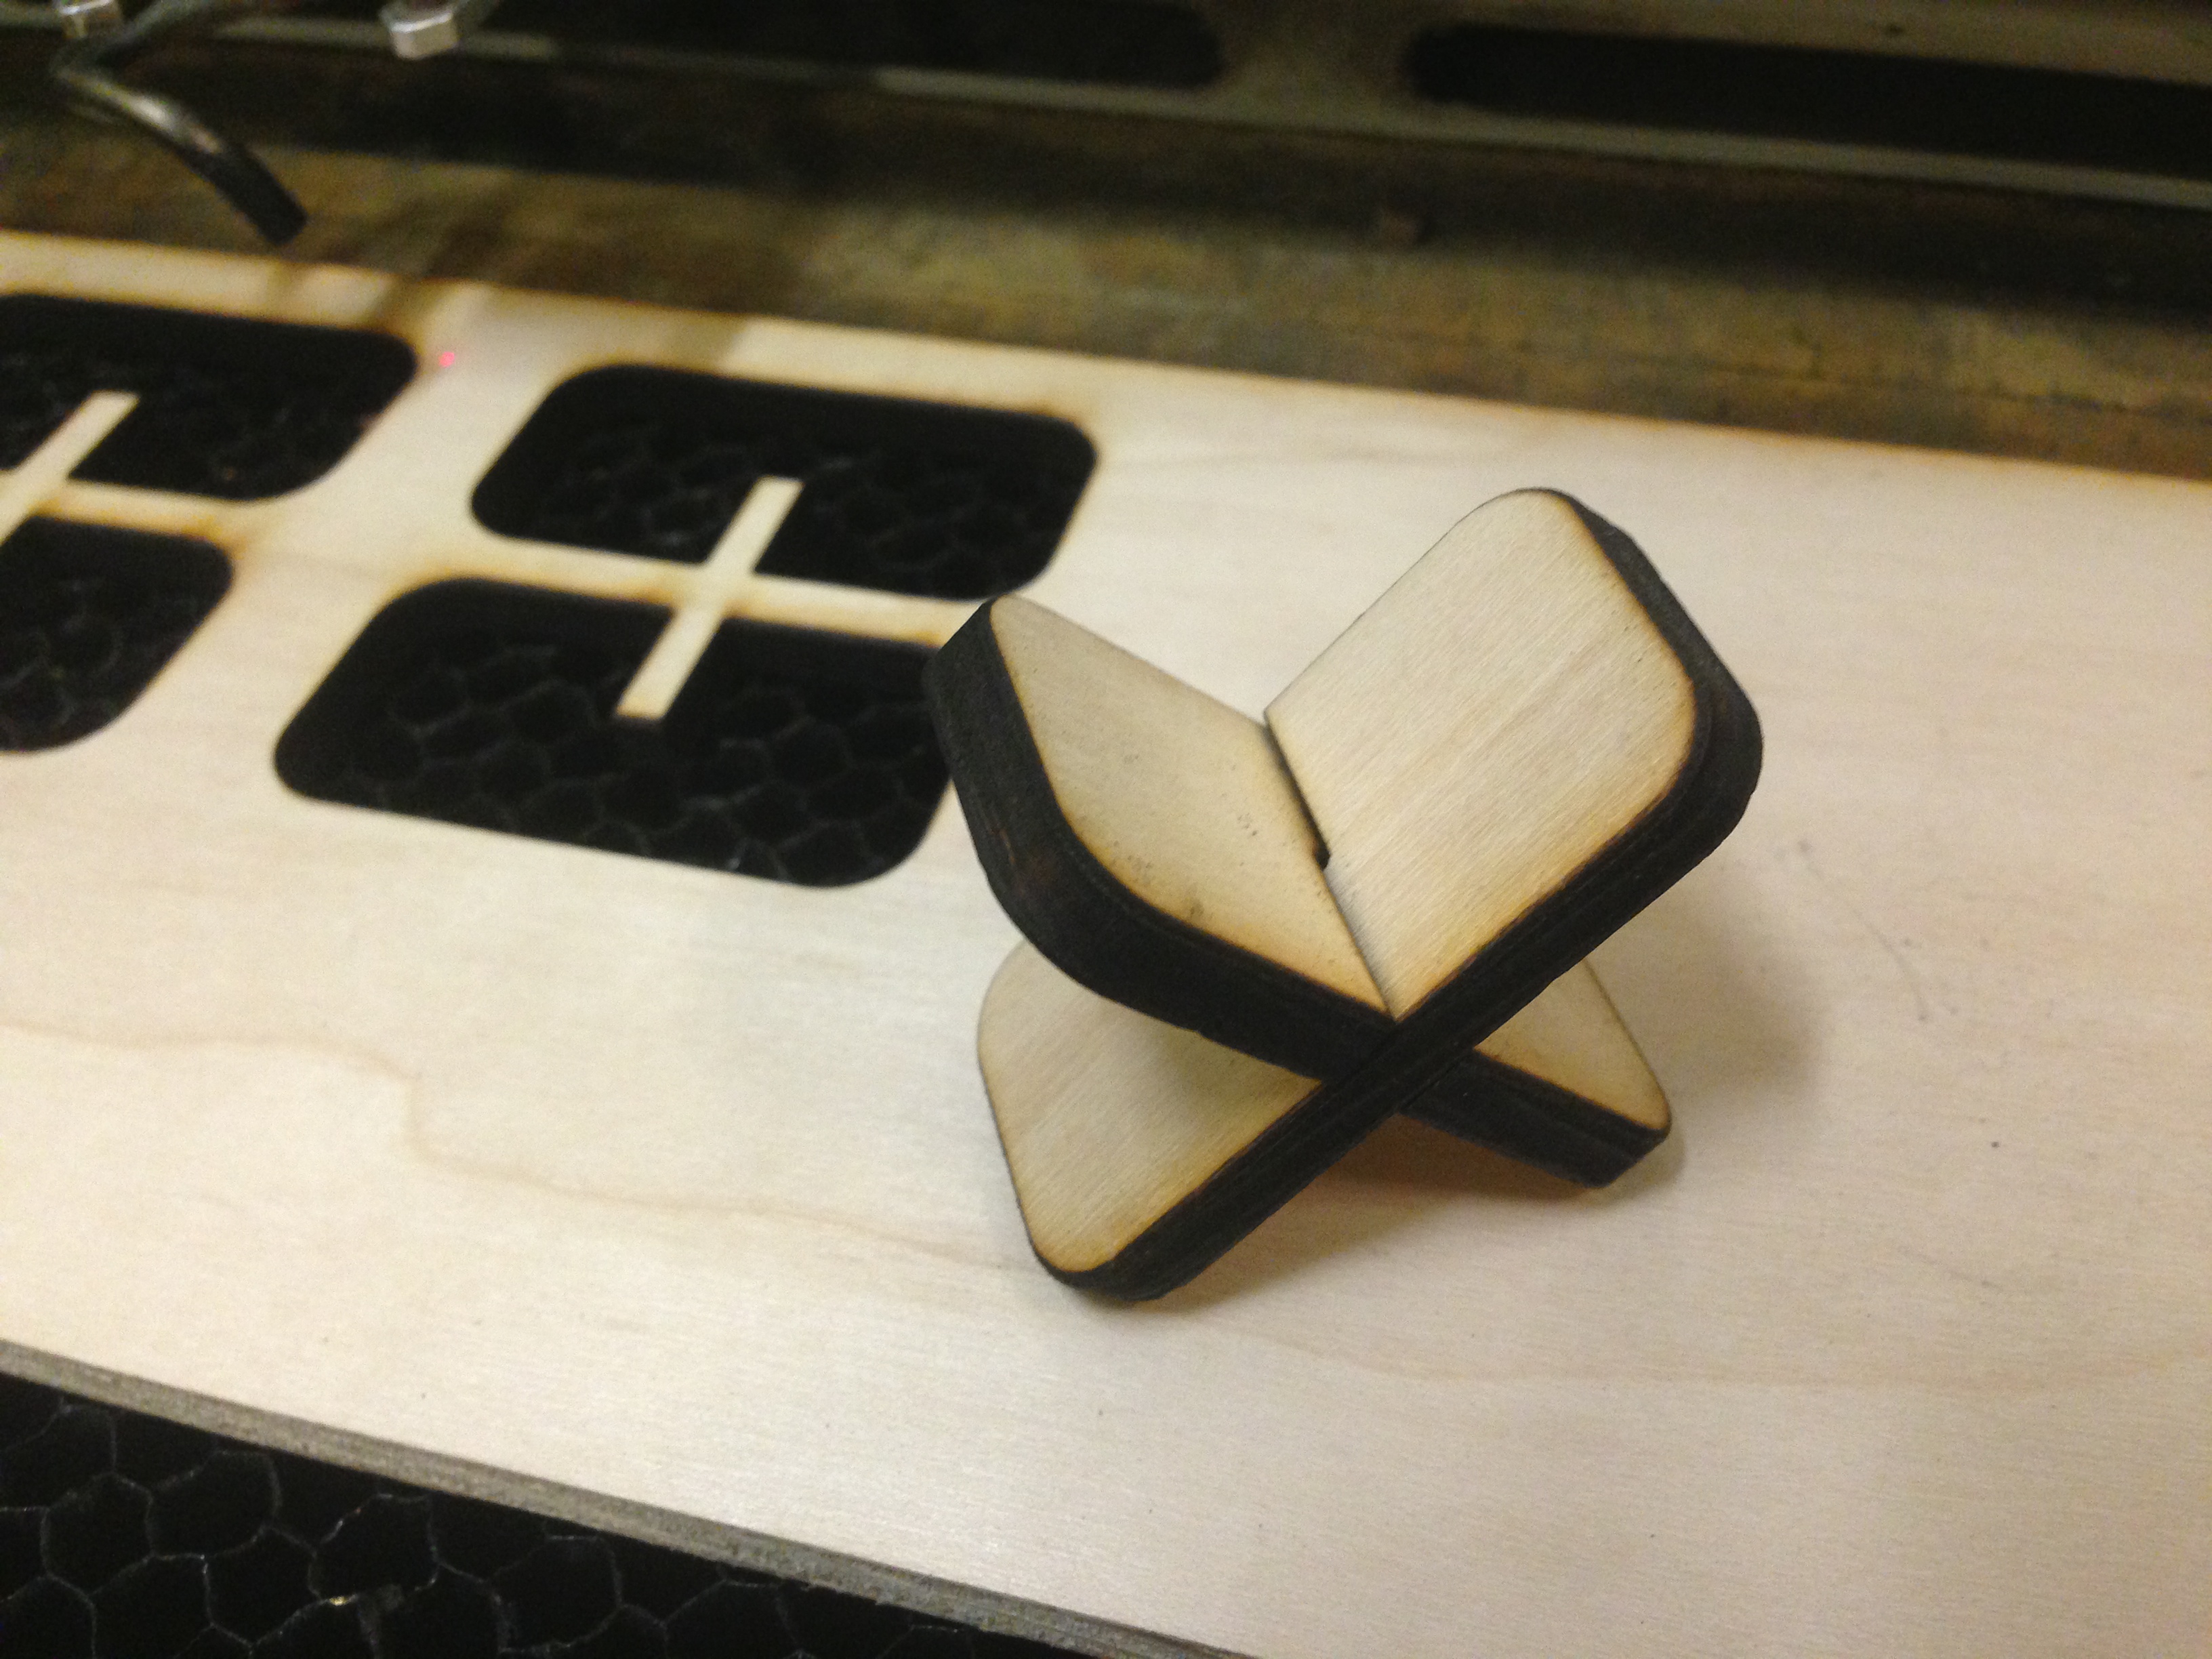
Now the pieces fit together well and held a 90 degree angle, but were still not tight and could be pulled apart easily.
Account for the Kerf
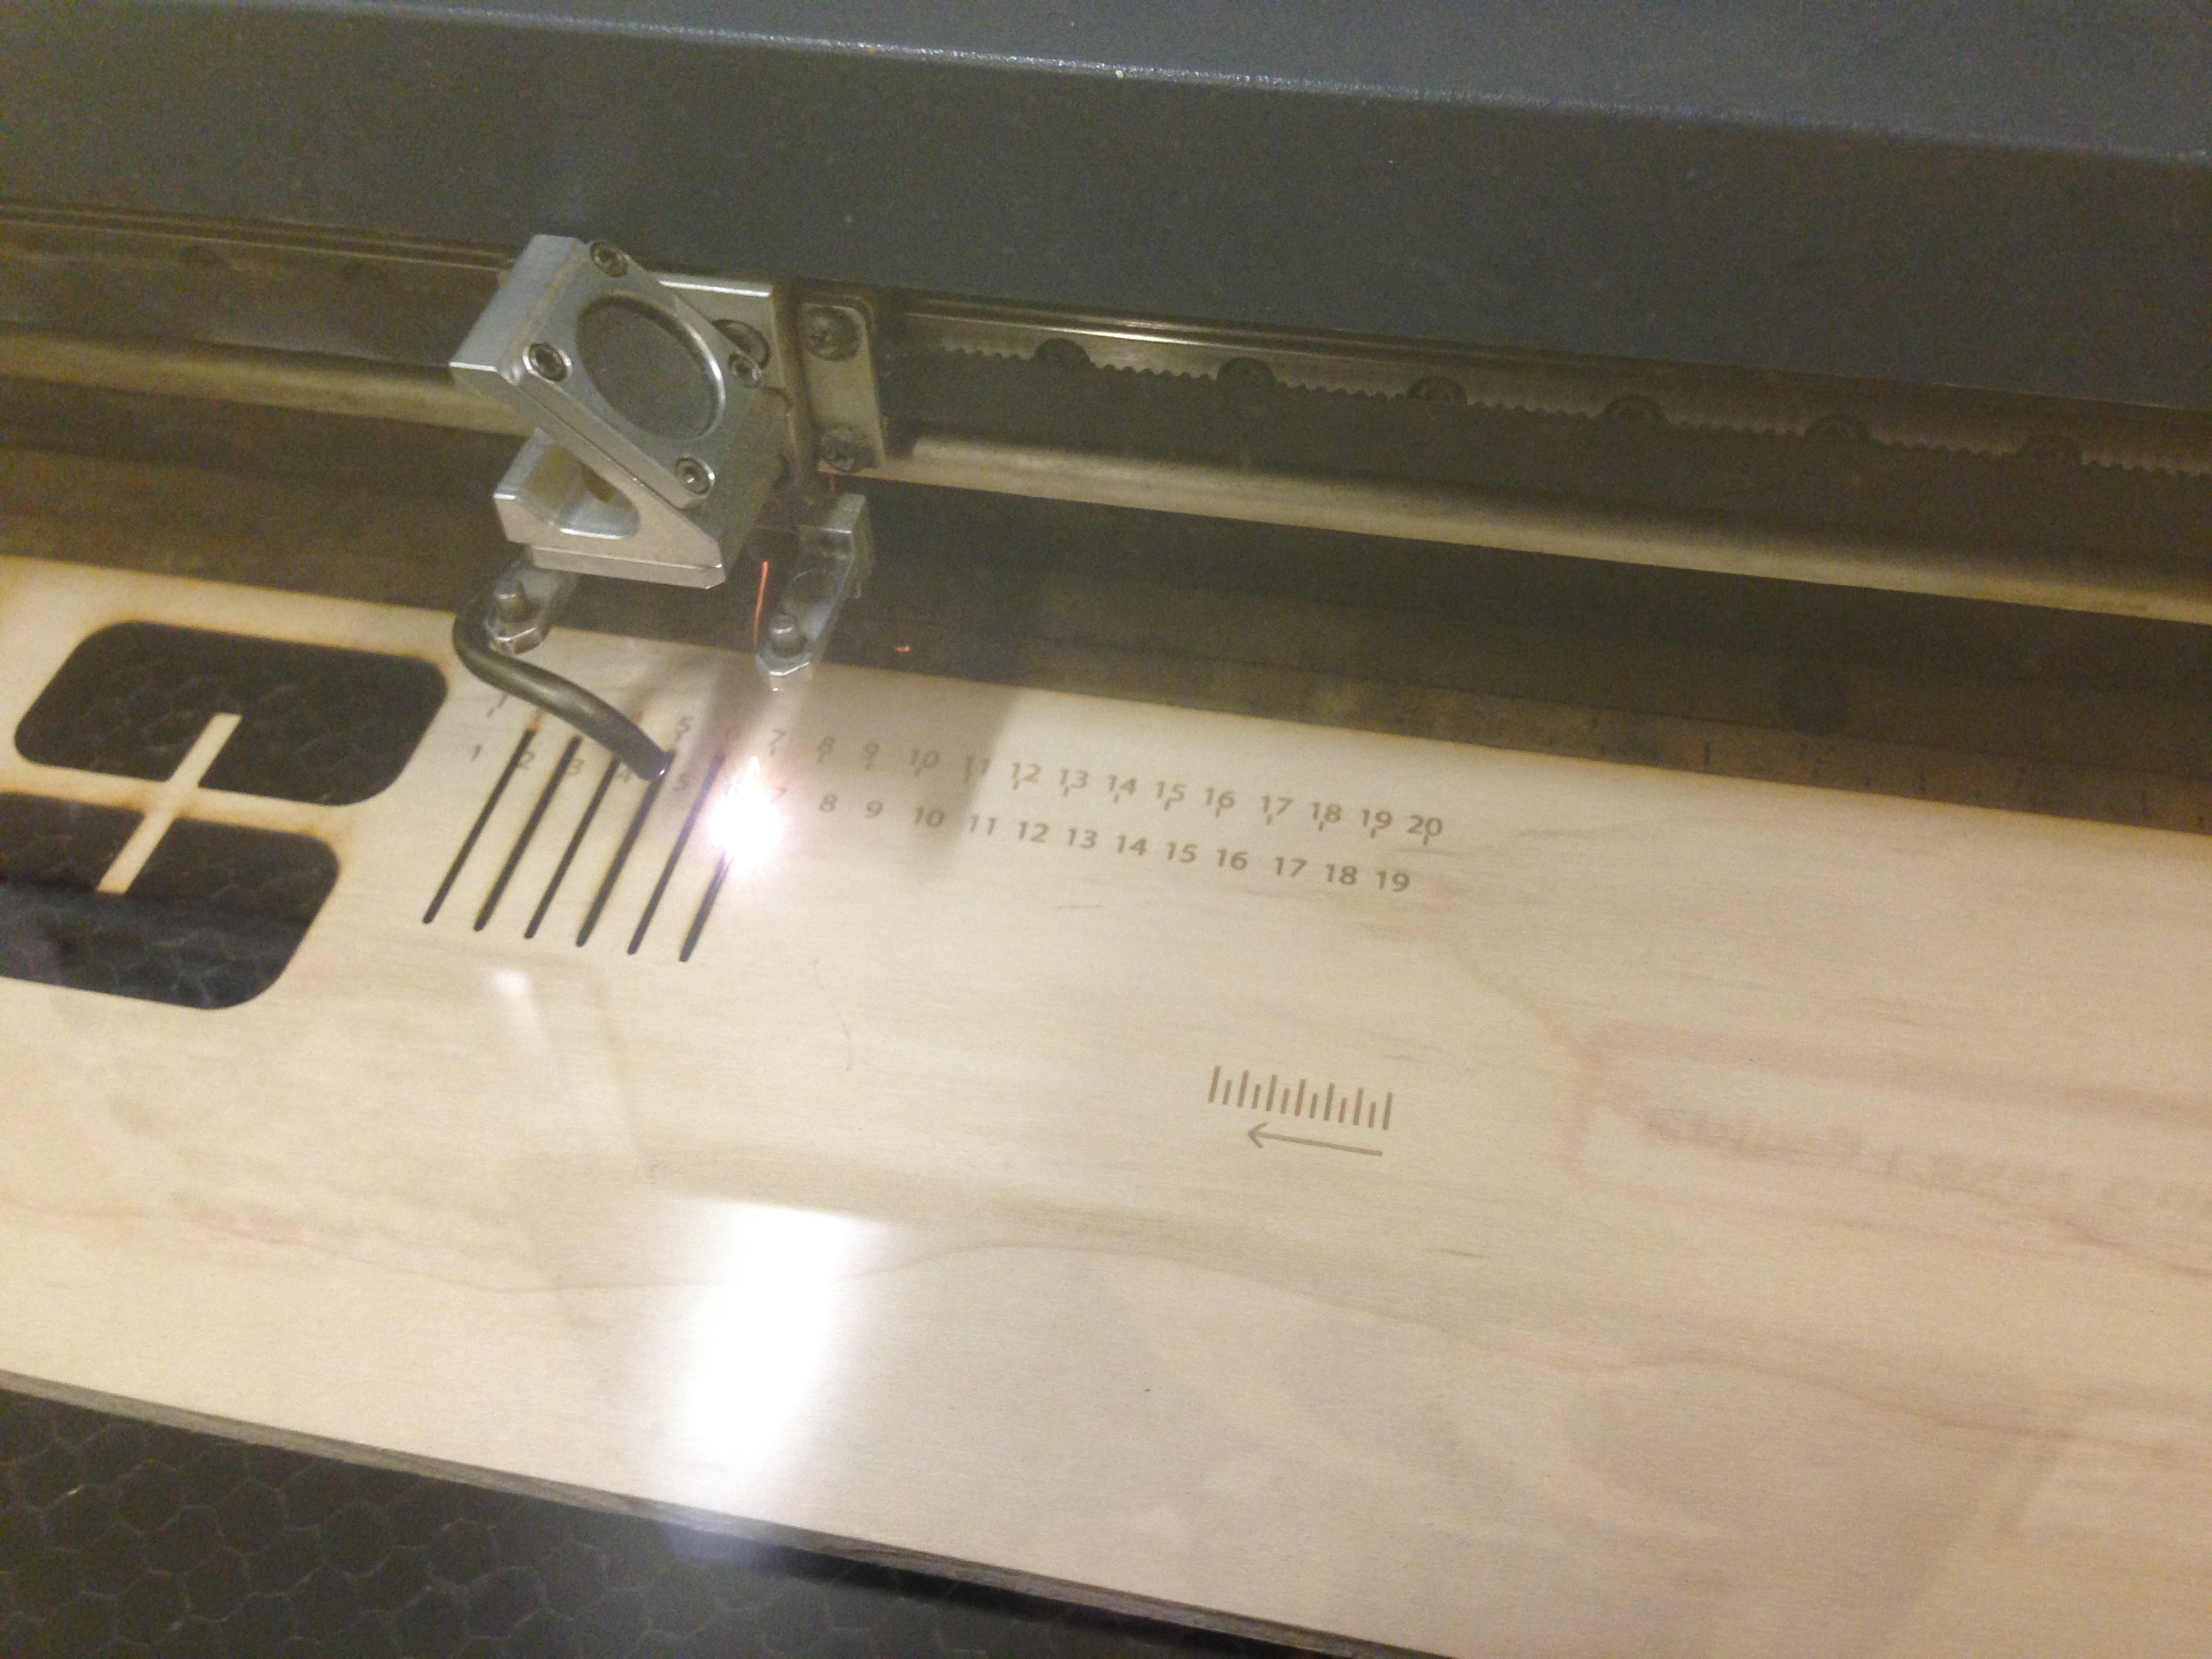
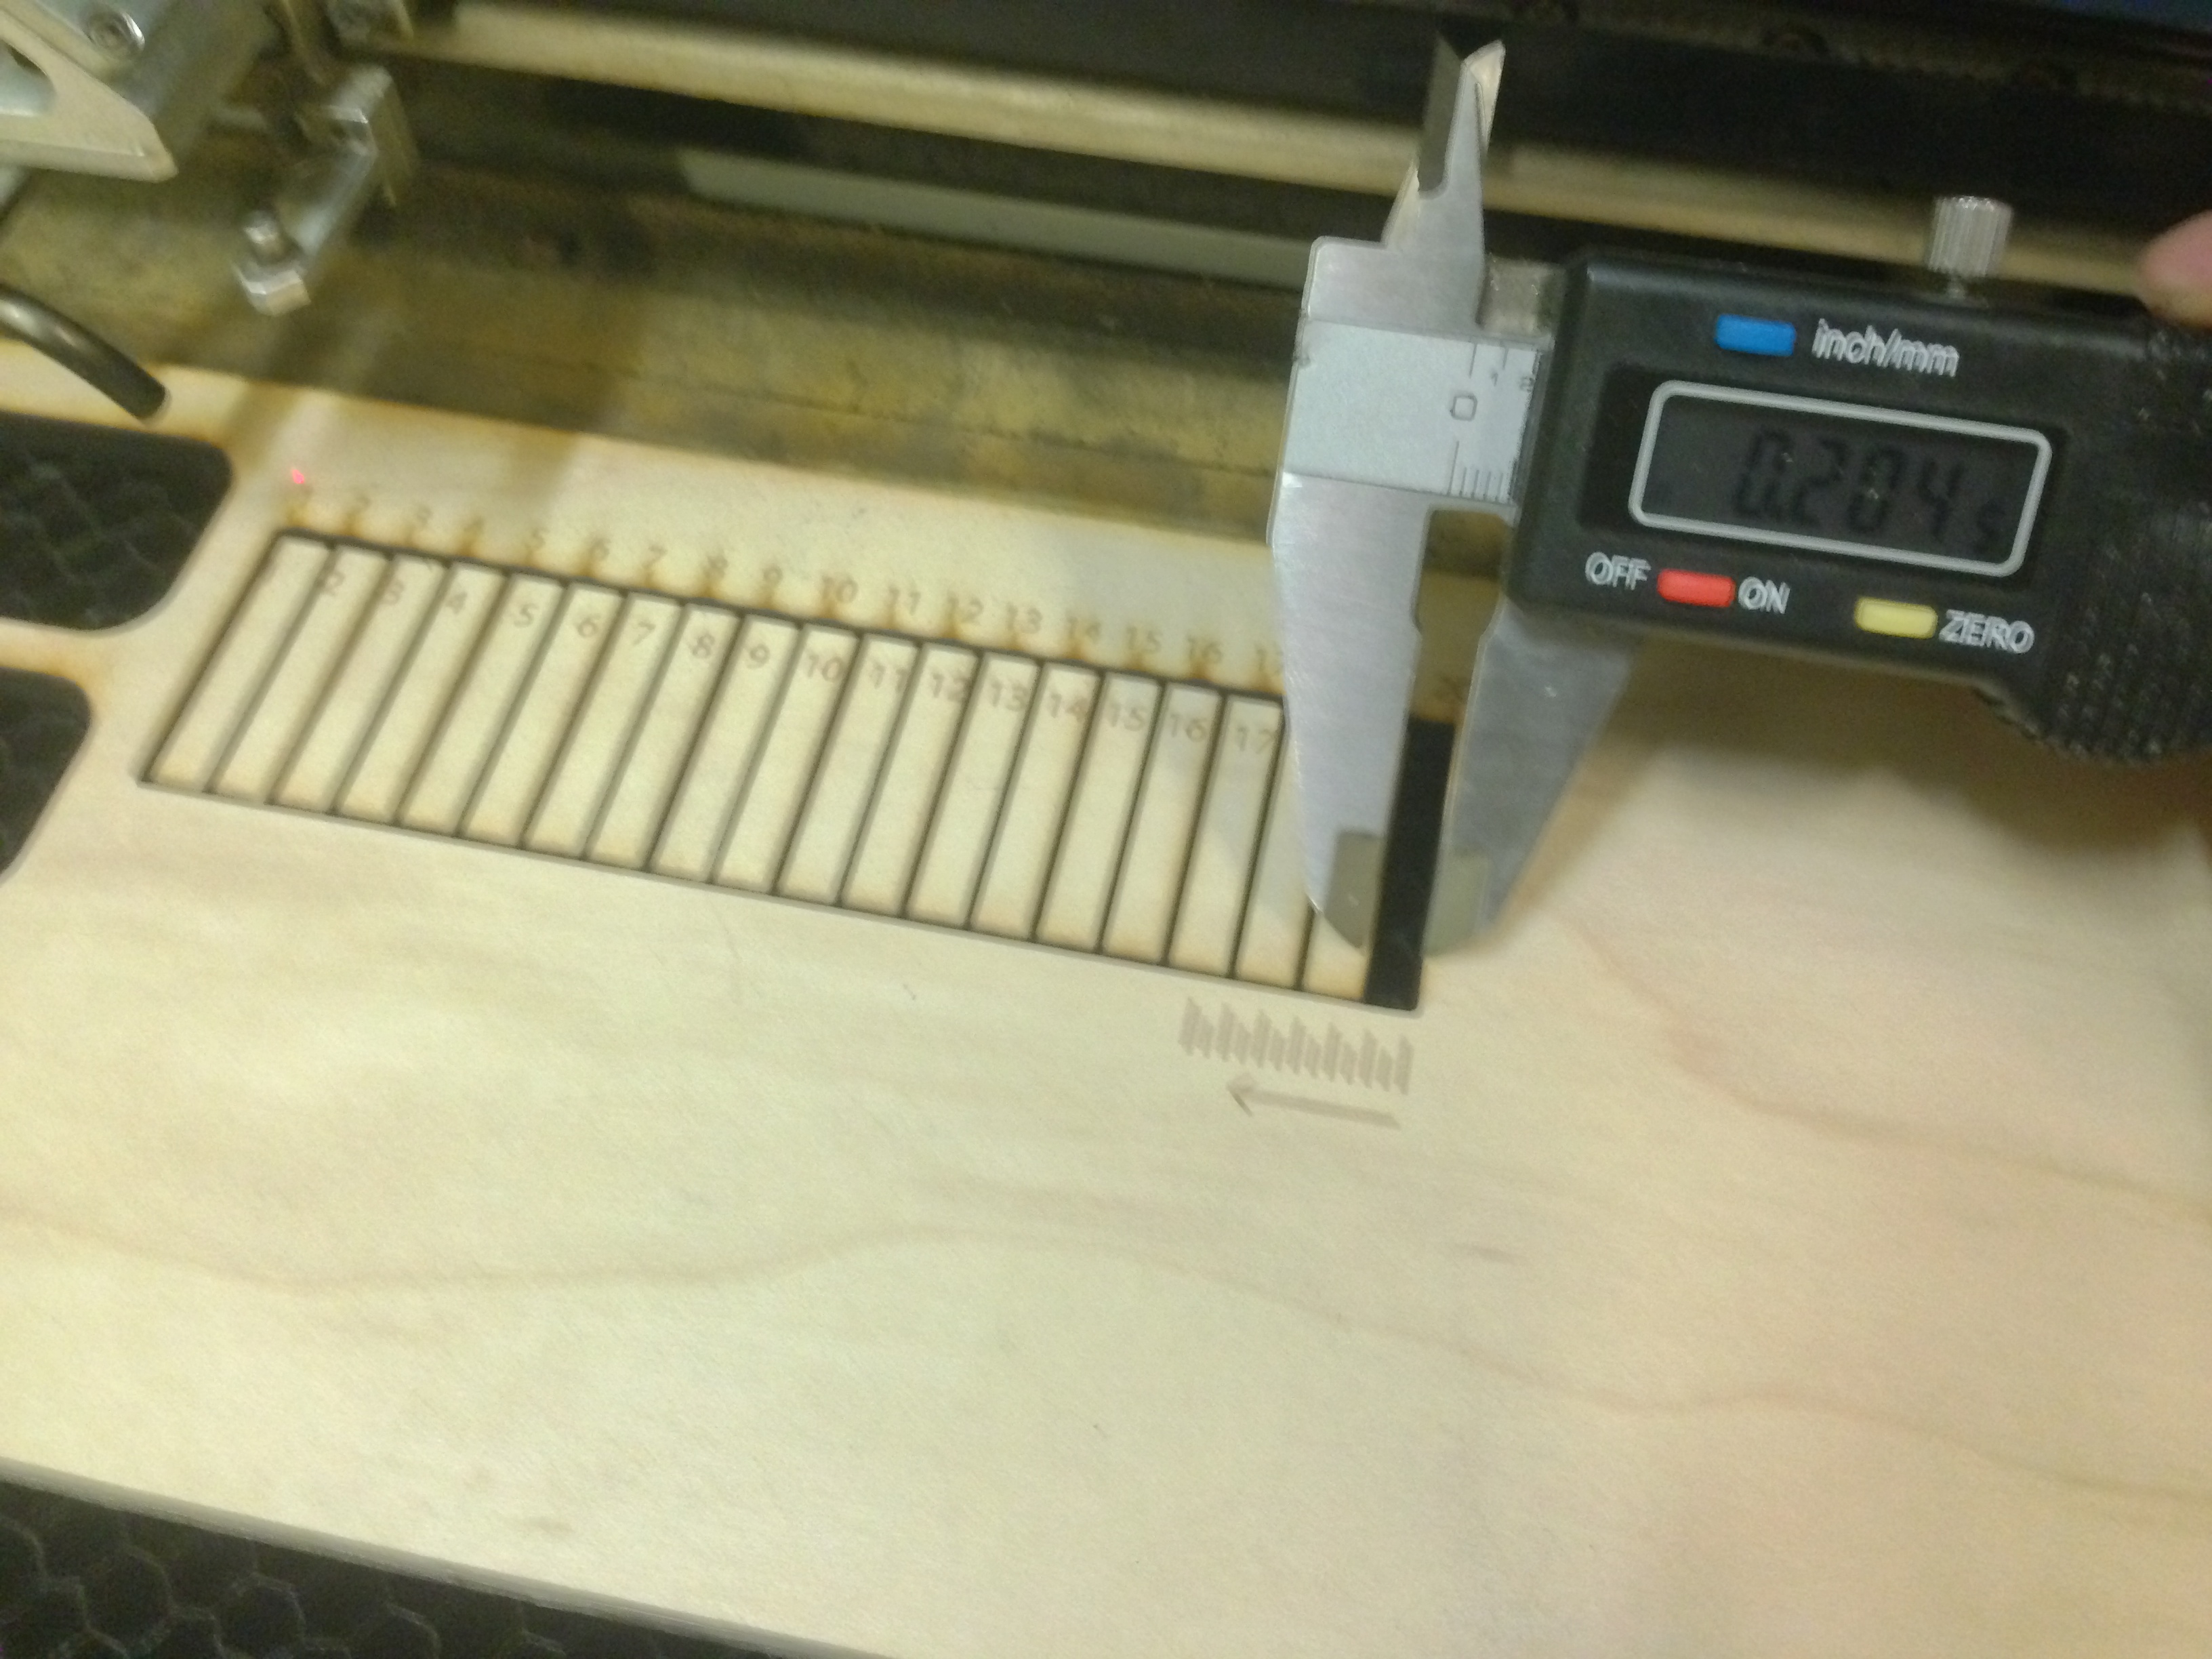
The kerf is the amount of
wood removed by the laser cutter as it burns through the wood. Thicker
pieces of wood or plywood which has glue require a slower laser cutter speed and higher
power will burn away more wood, making the kerf wider. This test should be done for every type of wood
and thickness you are going to use if you want very accurate results. Since the
laser cuts down the center of line given by the computer it will leave 1/2 kerf
on each side of the slot to account for or 1 total kerf per slot.
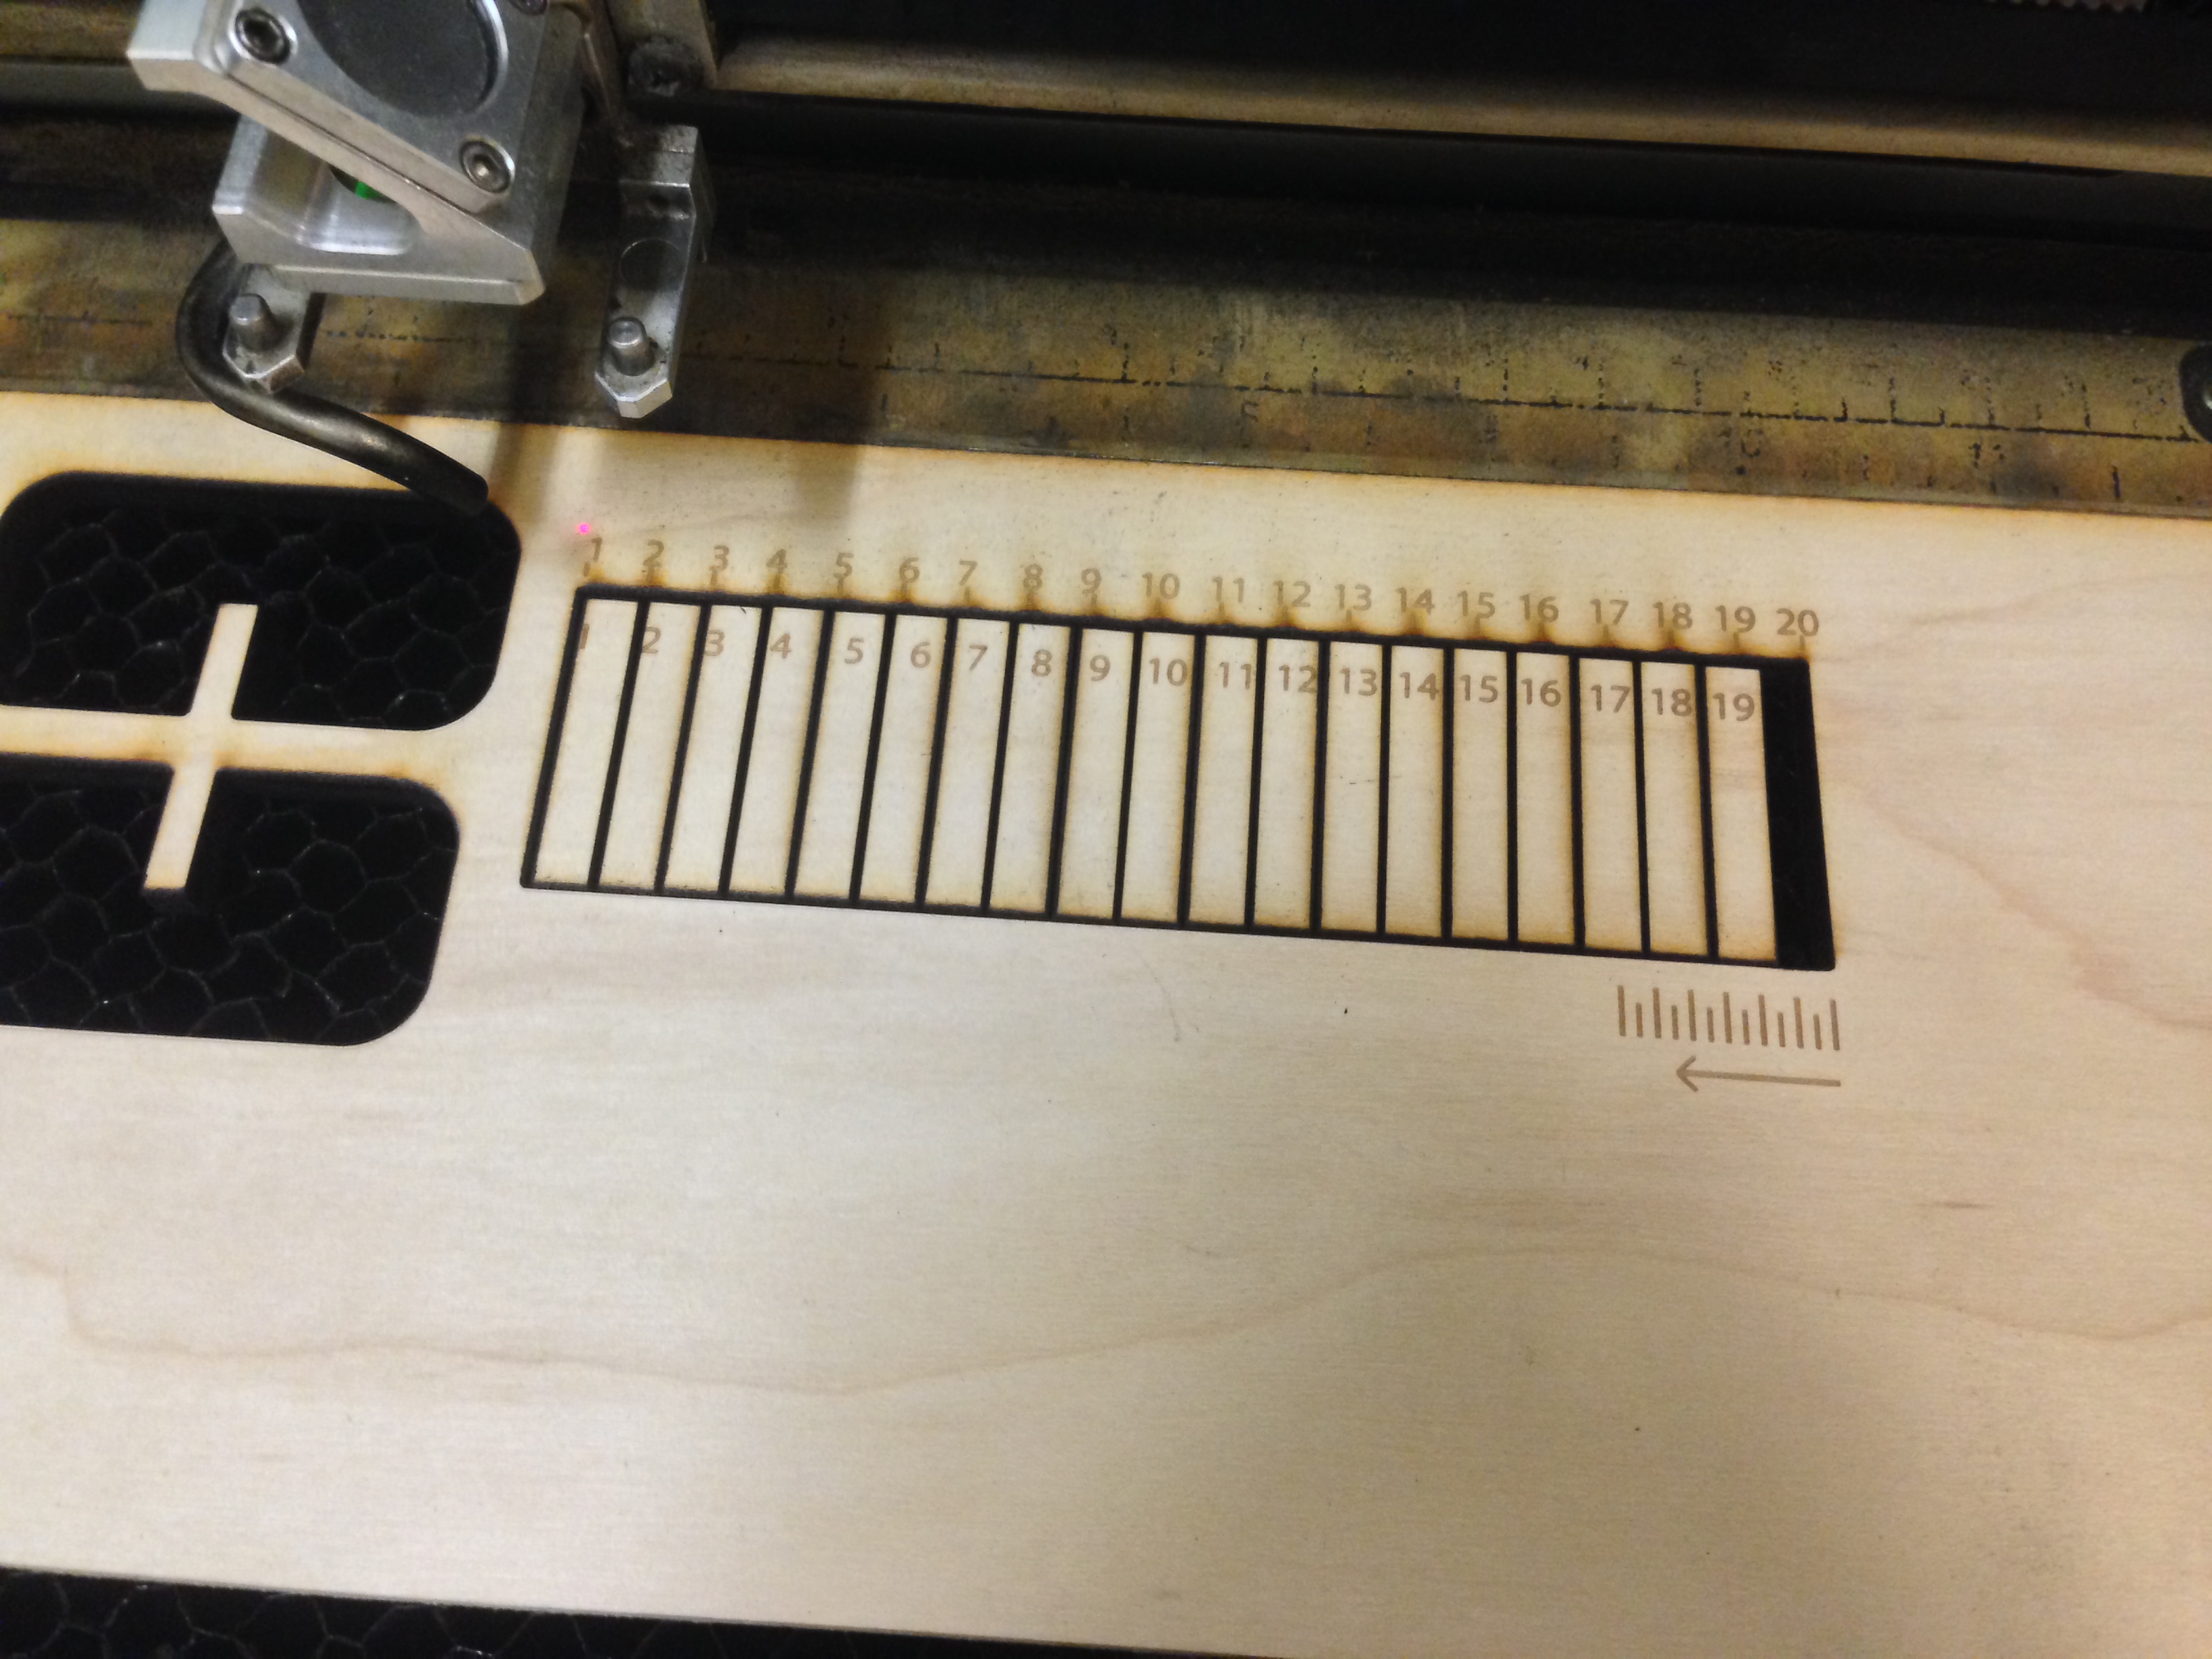
1. Open the meter (Laser Kerf Test.ai) file and cut it using the settings you've established cut through your wood.
2. Push all the blocks to the left and measure the gap created on the right with your calipers.
3. Then divide that by the 20 cuts you've made (gap measurement/20).
1. Open the meter (Laser Kerf Test.ai) file and cut it using the settings you've established cut through your wood.
2. Push all the blocks to the left and measure the gap created on the right with your calipers.
3. Then divide that by the 20 cuts you've made (gap measurement/20).
In
my case .204/20=.0102, about 1/100 of an inch is being cut away. Since my
measured wood thickness was also .204 (merely coincidence that its the same as 20 x kerf) I can
account for the kerf thickness by: (measured wood thickness - calculated kerf
=slot thickness in pattern). In my case: 0.204-0.0102=0.1938.
Cut Final Test
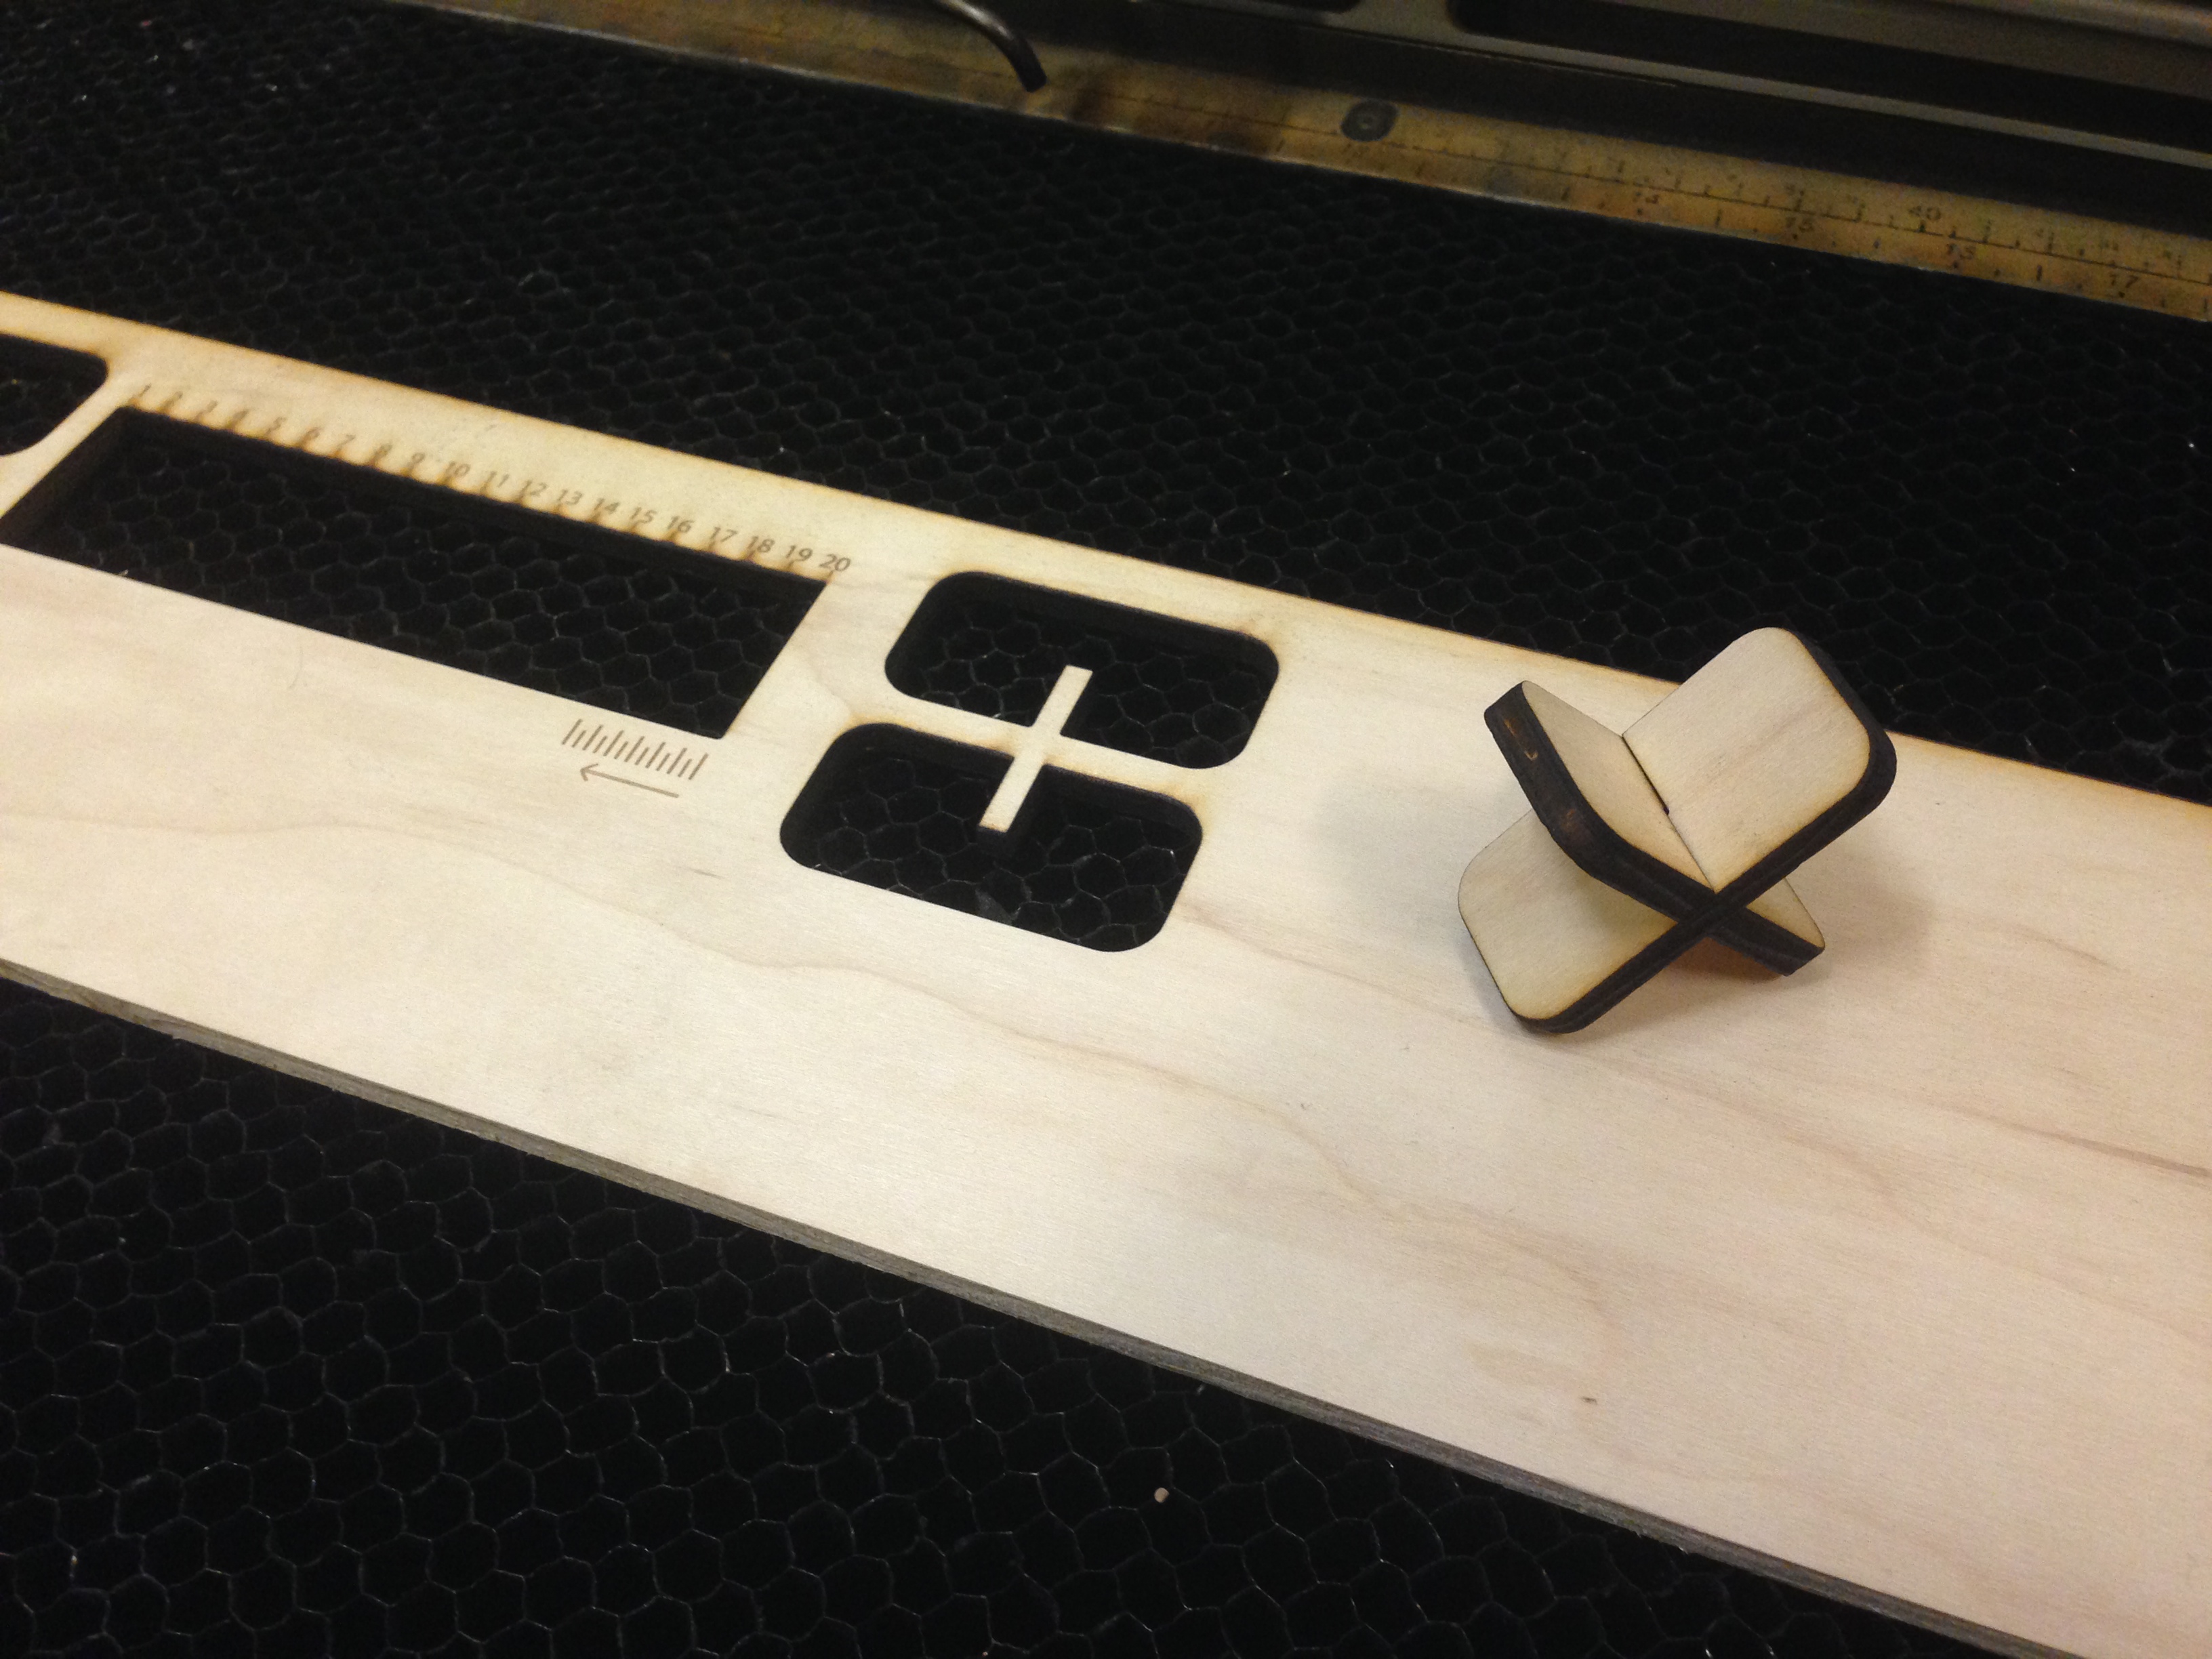
Open the copy of the file you made in step 2 and using the same procedure as in step 2 adjust your slots to the thickness you calculated in step 4. Cut a new test. Now they will fit together very tightly together. Using or improving these methods may help switch between materials with the same pattern easily and with less lost material.