How to Add IOT Features to Your Projects
by Arpan Mondal in Circuits > Electronics
654 Views, 15 Favorites, 0 Comments
How to Add IOT Features to Your Projects

Nothing’s better than making a DIY project which replaces a commercial product that you find useful. Well actually, there is something better than that. Adding IOT capability to your project.
When it comes to automation, beginners usually freak out thinking that they need to do complex programming and what not. But thanks to many free services and software available for this exact purpose these days, adding basic IOT features to your projects have become easier than ever.
In this instructable, I will show you how you can use two such software - Blynk and IFTTT, to automate your DIY projects. Lets get to it!
How Do These Work?
I will be using esp8266 for my project, but remember that this tutorial is applicable for almost any Wi-Fi enabled microcontroller (esp32 for example)
For this tutorial, let’s make a project that turns on an LED every time you get a new twitter follower. To make this project possible, we have to use Blynk and IFTTT together.
IFTTT :
IFTTT works like this: “If THIS happens then do THAT”. If you’re into coding, you can compare this to an ‘if statement’. In our case it is like this: “If I get a new twitter follower, then send a signal to Blynk”
Blynk :
Blynk simpy transfers the IFTTT trigger to esp8266. Say our LED is connected to GPIO pin 5. Blynk will receive data from IFTTT and trigger pin 5.
In fact, these two apps can do a lot more than just automating your DIY projects. You can play around with them to know more.
Setting Up Blynk


First, install Blynk.
Now create a new project. As soon as you do this, you’ll receive an Auth token in your email. This token is very important and we will use it in the coming steps. Tap on the "+" and add a Button from the widget box. Tap on the newly added button and the button setting will appear. Here select the pin you want to trigger (GPIO 5 in this case). You can set the mode to push or switch based on your application. If it is set to push, as soon as IFTTT triggers, the pin is turned ON and instantly turned OFF (like a generic push button) If it is set to switch, as soon as IFTTT triggers, the pin is turned ON and remains ON
Setting Up IFTTT


Install IFTTT:
On IFTTT, click on "get more". Now click on + and then click on "this". Then search for and select "twitter". Then click on "new follower".
Now click on "that" and search for "webhooks" on the search bar. Click on "make a web request" and enter the URL. The URL format is https://IP/Auth/update/pin
Since our pin is GPIO 5, replace “pin” in the URL to “D5” Replace Auth with the Auth token of the blynk project that you received in your email in previous step. Replace IP with blynk cloud IP of your country. To get the IP, open command prompt and type "ping blynk-cloud.com". For India, the IP is 188.166.206.43
Select "put" in the method section and select "application/json" in the content type. In the body, type ["1"].
It is to be noted that [“1”] represents trigger ON and [“0”] represents trigger OFF
Programming Your Hardware

Make sure you have the esp8266 and Blynk libraries installed on your Arduino IDE. If you’re not sure about how to do this, click here for a quick tutorial.
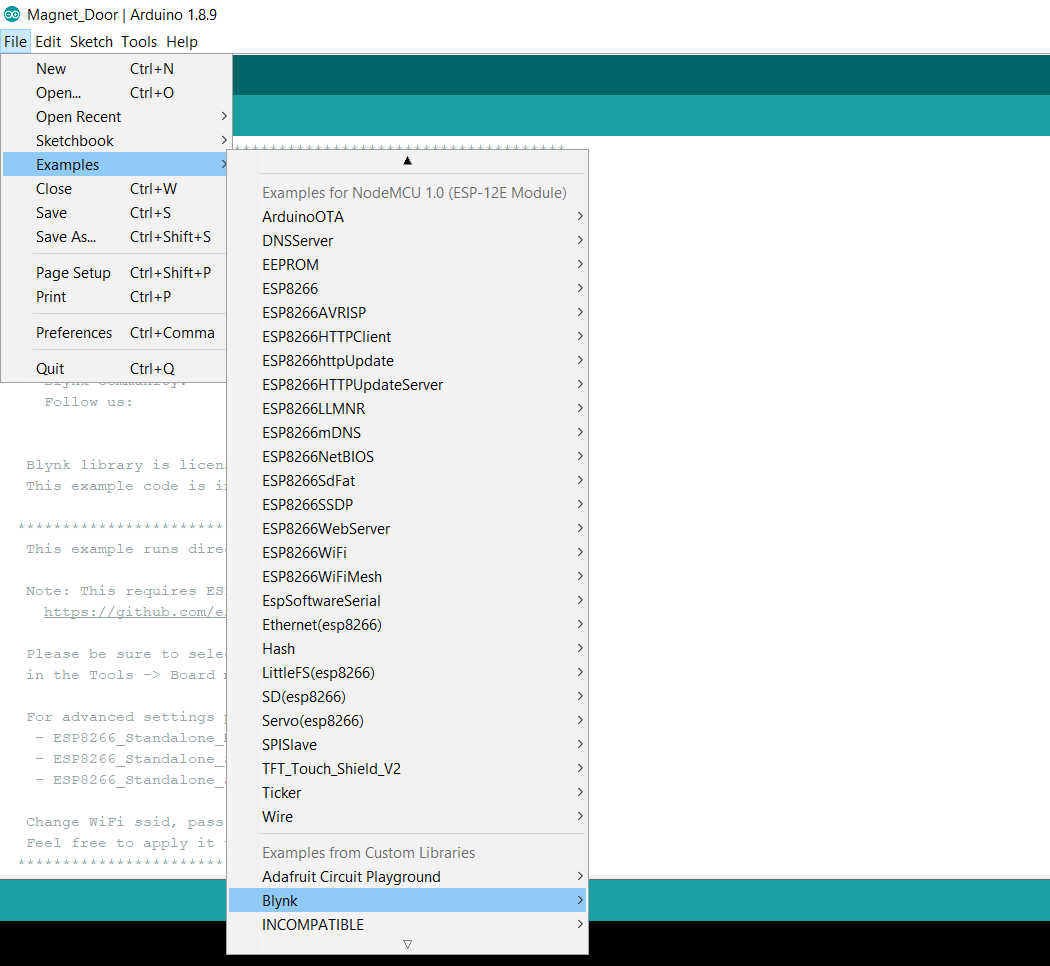
Now go to files>examples>Blynk>boards_wifi>esp8266. A sample program will appear.
Although you can edit this, I wouldn’t recommend modifying an example sketch. Just copy the code and paste into a new file. Now you can edit this file.
You have to add your wifi ssid and password in the program where it says 'YourNetworkName' and 'YourPassword'. Also 'YourAuthToken' should be replaced with the auth token you received from blynk. After doing these, you can add your project code in the loop() function after the line Blynk.run().
Since ours is a simple LED trigger, we don’t have to write any code. If we connect our LED to GPIO pin 5 (D1), we can get our project working.
Try It Out
This simple method can make your projects awesome. You can play around with more IFTTT triggers and Blynk functions to realize how much more you can do with these two apps.
Not sure which project to sart with? Here are some of my projects made using Blynk and IFTTT
A clock that changes color every time an astronaut enters space
A device that reminds you to drink water
A lamp that blinks every time the ISS passes overhead
Have fun automating your DIY projects :)