How to Add Flames to Anything in GIMP
9366 Views, 5 Favorites, 0 Comments
How to Add Flames to Anything in GIMP
This is how you make somewhat realistic fire in GIMP
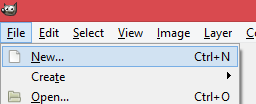
Click "New"
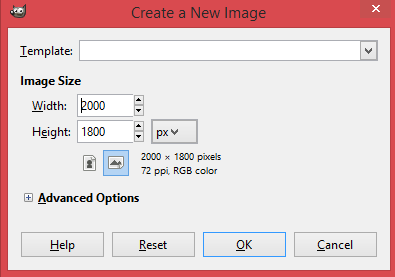
Set Width to 2000 and Height to 1800
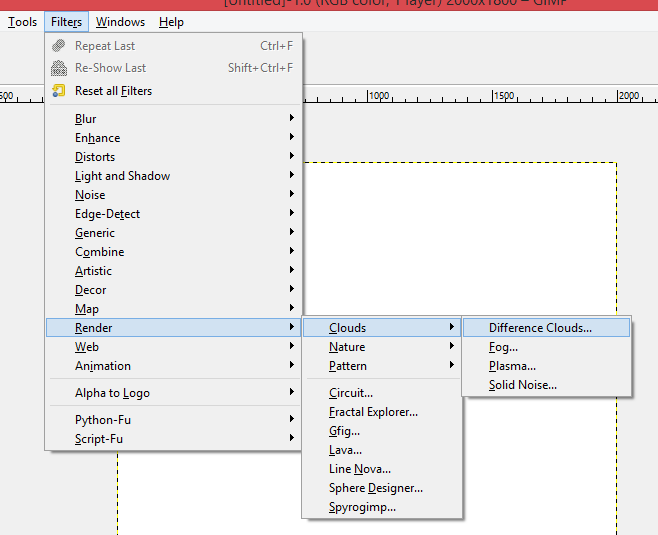
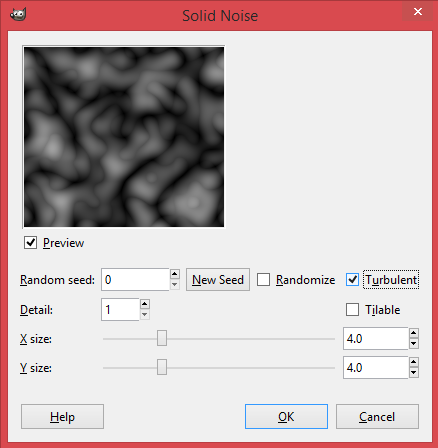
Click on Filters>Render>Clouds>Difference Clouds
Check the Box Next to "Turbulent" Then Click OK
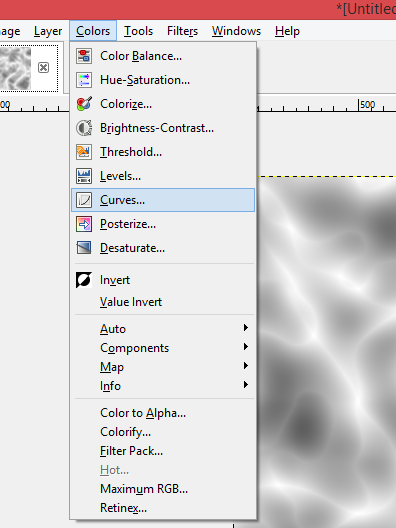
Select "Curves" Under the "Colors" Tab
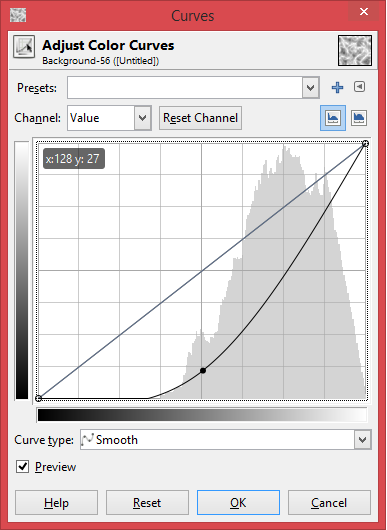
Move the Curve So It Looks Like This, Then Click "OK"
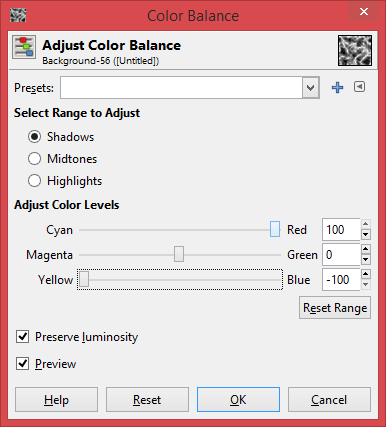
Under Colors, Click "Color Balance"
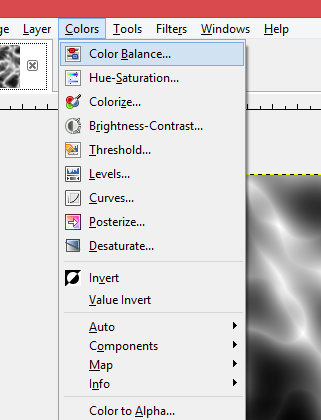
Click on Shadows, and Set the "Cyan>Red" Bar to 100 and the "Yellow>Blue" Bar to -100
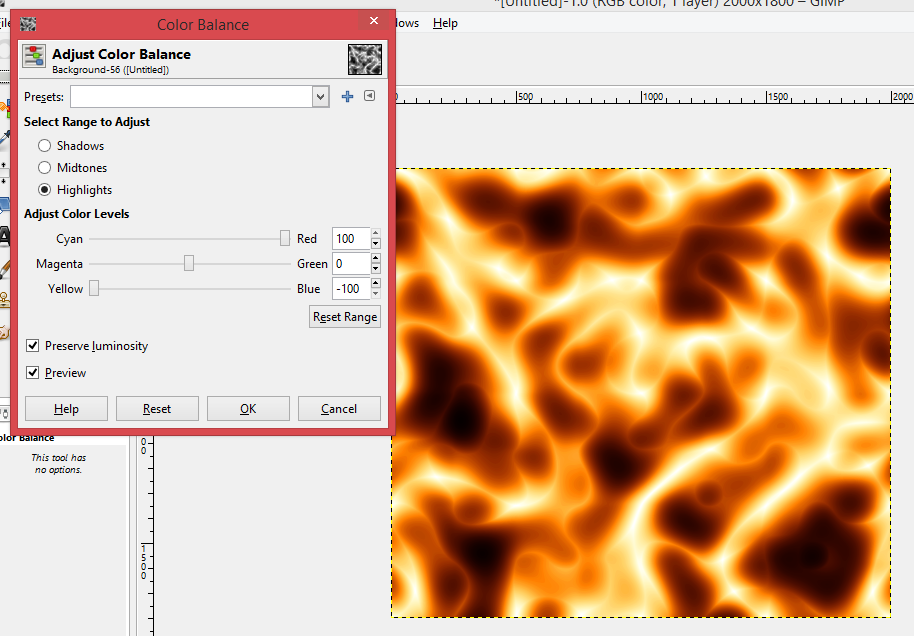
Do the Same With the "Midtones" and "Highlights" Tabs Until the Picture Looks Like This
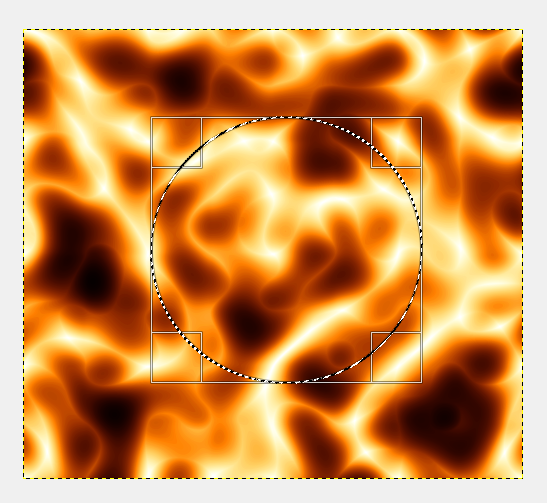
Use Any Select Tool, Select a Section of the Picture, and Copy It (CTRL+C)
Go to the Image You Want to Paste It On, Click "New Layer," and Paste It In.

Use the Move, Rotate, and Scale Tools to Move the Selection As You Wish. Once Done, Deselect.
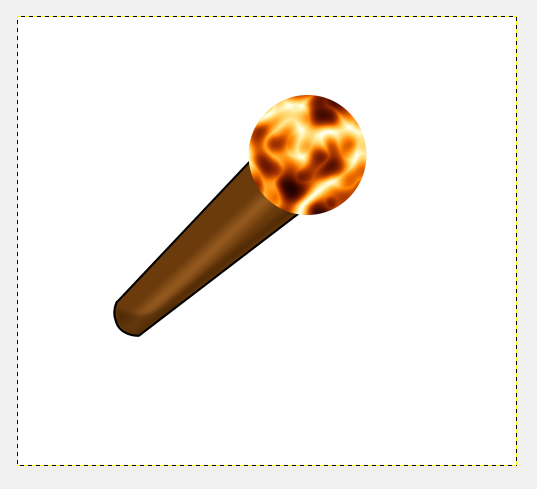
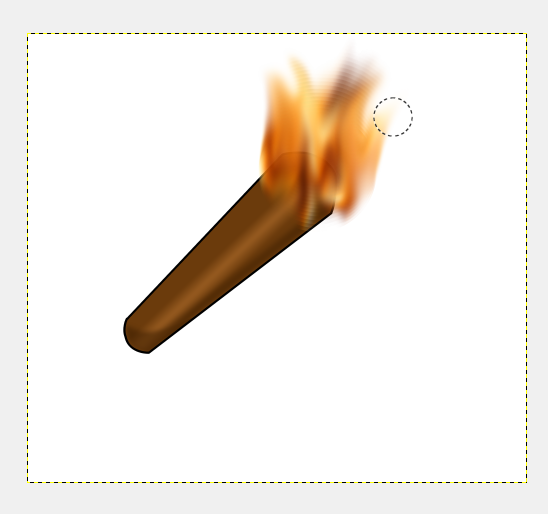
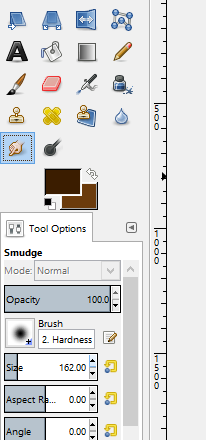
Equip the Smudge Tool and Set the Size As You Wish. (Reccomendation: 160)
Make Little Strokes in the Fire Pattern Going From Bottom to Top.
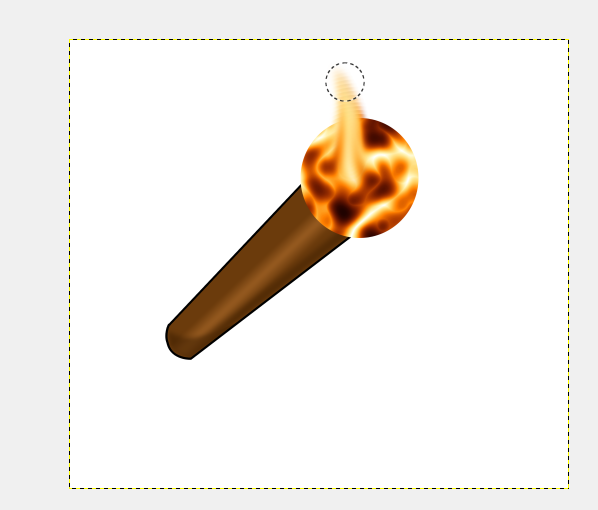
Continue Until Your "fire" Looks Somewhat Realistic.
