How to Achieve Miniature Effect Via Photoshop
by Analogue-Chick in Design > Digital Graphics
308300 Views, 395 Favorites, 0 Comments
How to Achieve Miniature Effect Via Photoshop
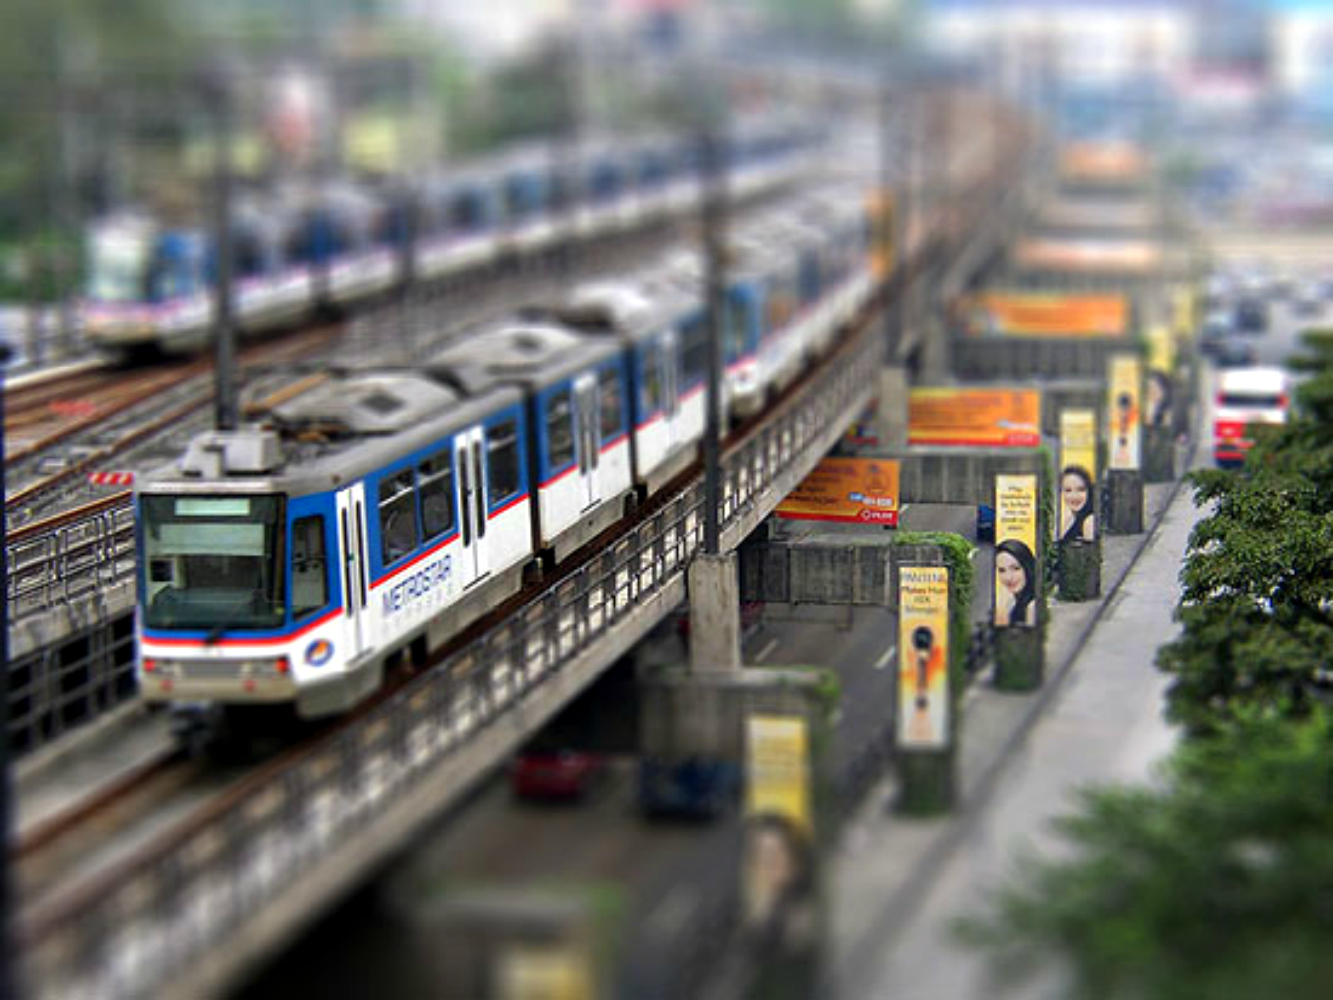
Tilt-shift photography refers to the use of camera movements on small and medium format cameras, and sometimes specifically refers to the use of tilt for selective focus, often for simulating a miniature scene. Sometimes the term is used when the shallow depth of field is simulated with digital post-processing; the name may derive from the tilt-shift lens normally required when the effect is produced optically. (Wiki)
Since I don't have the expensive tilt-shift lens and I don't have enough time to make my own lens for the miniature effect, I experimented on some stock photos I have via Photoshop CS4 instead. It's quite easy and it brings you the exact effect you want. Miniature effect has been a popular medium used in commercials lately. But anyway, to get an idea, some cool tilt-shift photography can be seen here.
Since I don't have the expensive tilt-shift lens and I don't have enough time to make my own lens for the miniature effect, I experimented on some stock photos I have via Photoshop CS4 instead. It's quite easy and it brings you the exact effect you want. Miniature effect has been a popular medium used in commercials lately. But anyway, to get an idea, some cool tilt-shift photography can be seen here.
Choosing the Right Photo
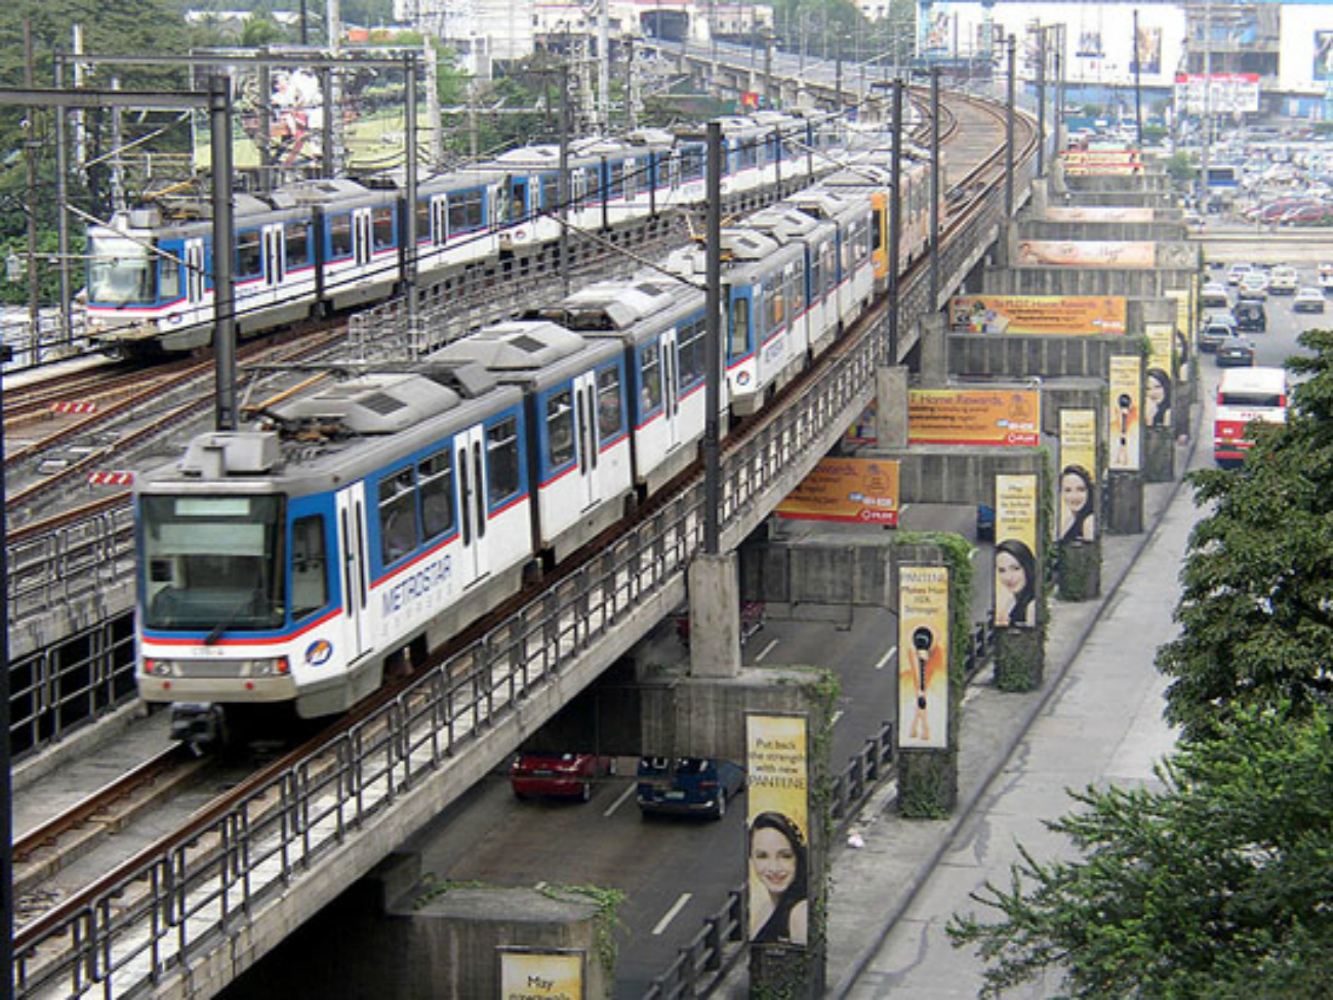
Not all photos can give the right miniature effect. When choosing photos one must remember the following:
1) Choose a picture that was taken from a afar.
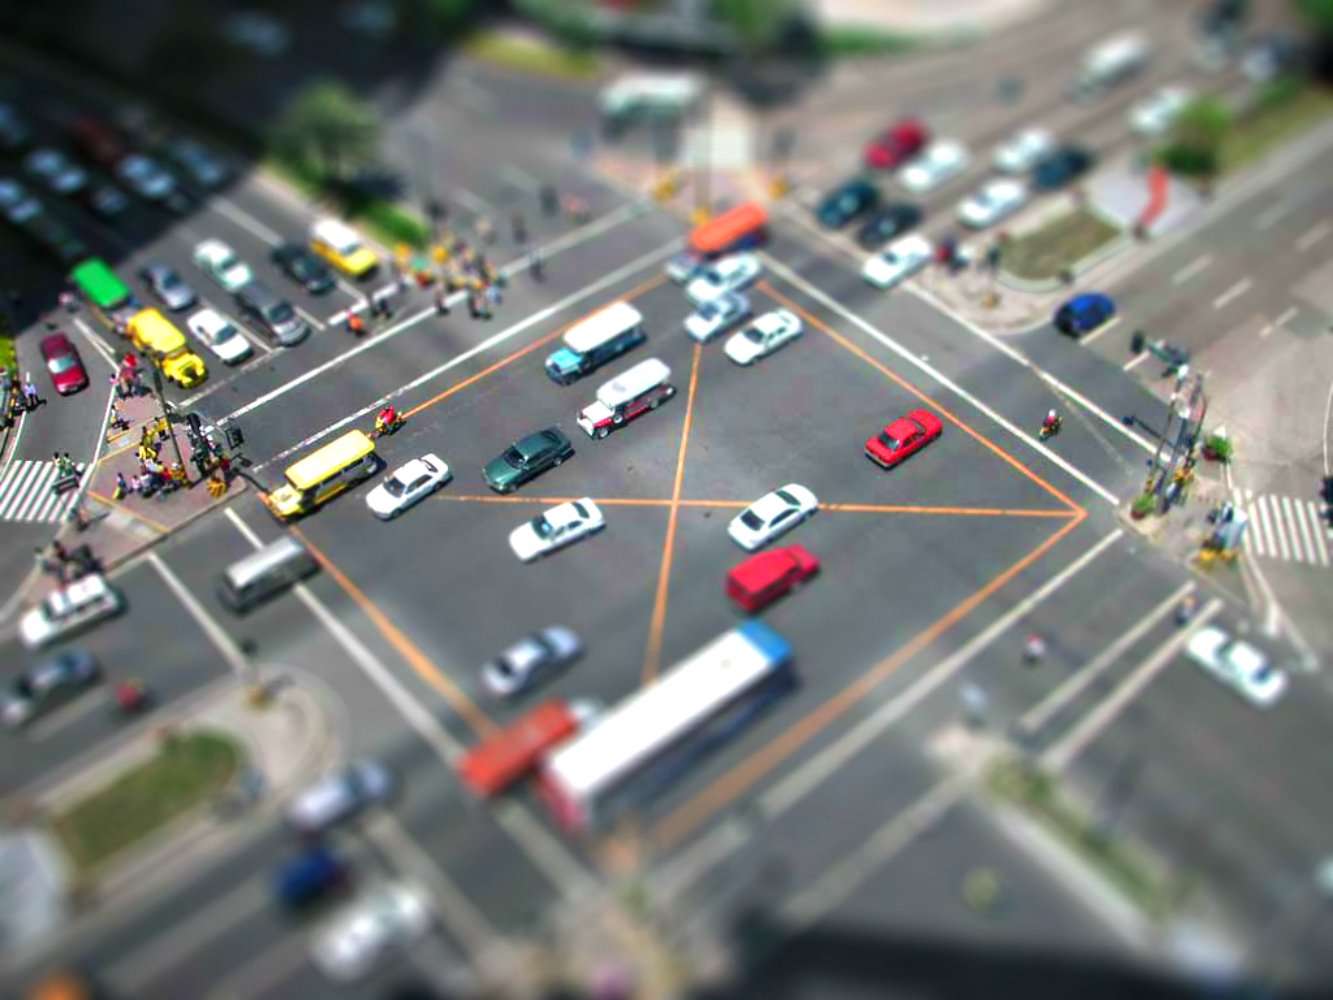
2) It is also advisable to choose an image not only that it was taken from afar but rather on an elevated level like you're on 4th or 5th floor of a building taking city streets down below. A good perspective is always a key point.
3) Most of the time, cars, buildings and trees are the best subjects although if you want to take pictures of people, just make sure that there's an element in the picture that would make them look like plastic toy models, for example a building or at least a few cars, trees any structure.
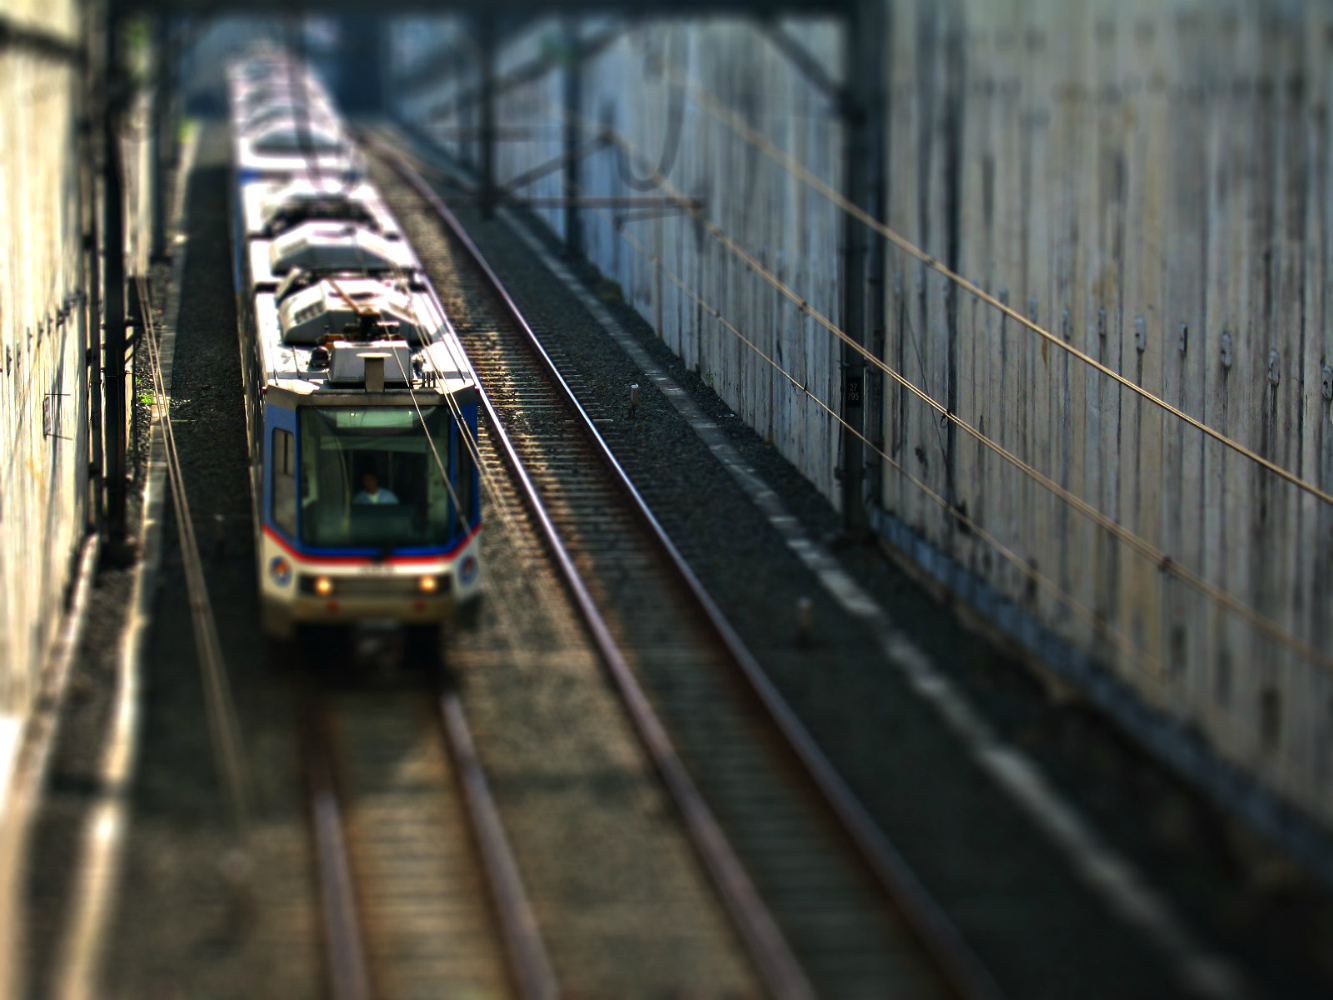
For this tutorial I chose one of my favorite miniature effect subject, trains. Take note that I chose a photo that was taken a floor higher than the subject.
Getting Started
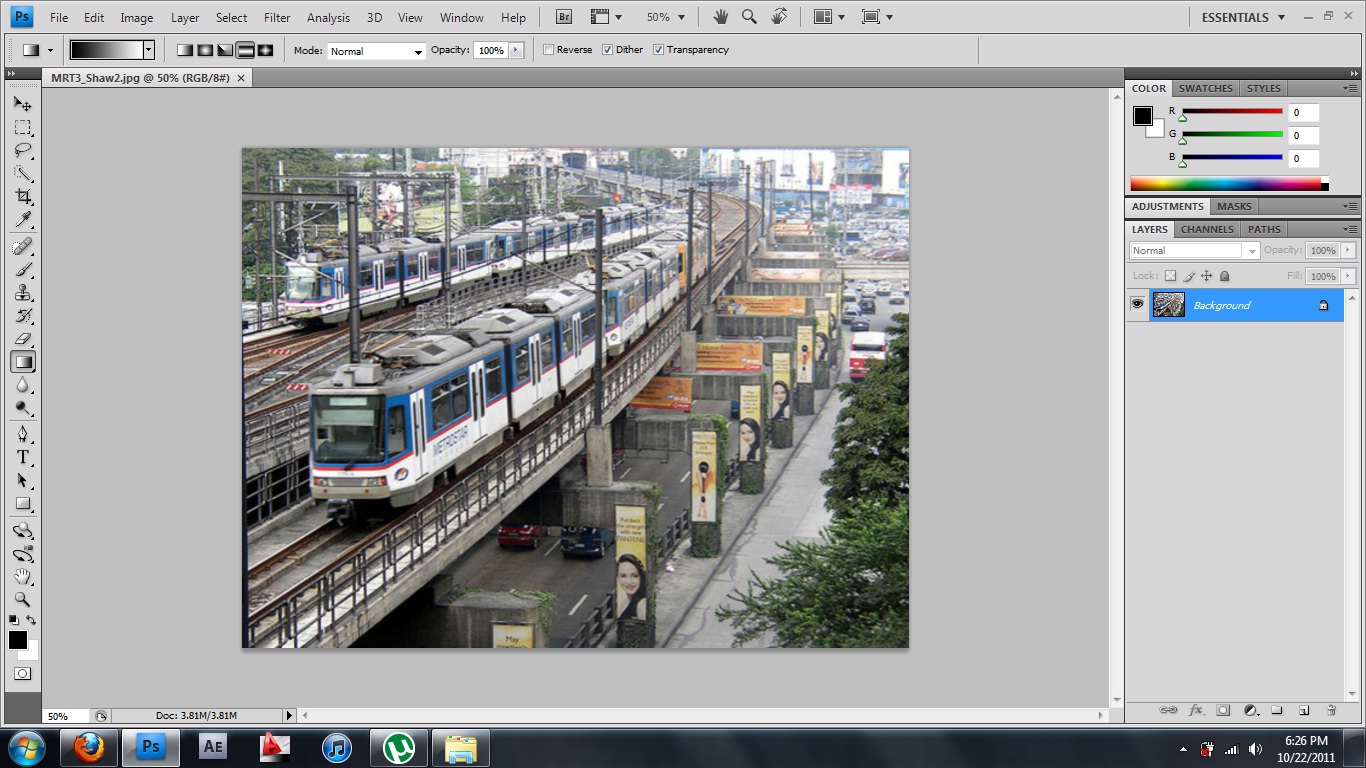
Open up your chosen image via Photoshop. In my case, I used CS4.
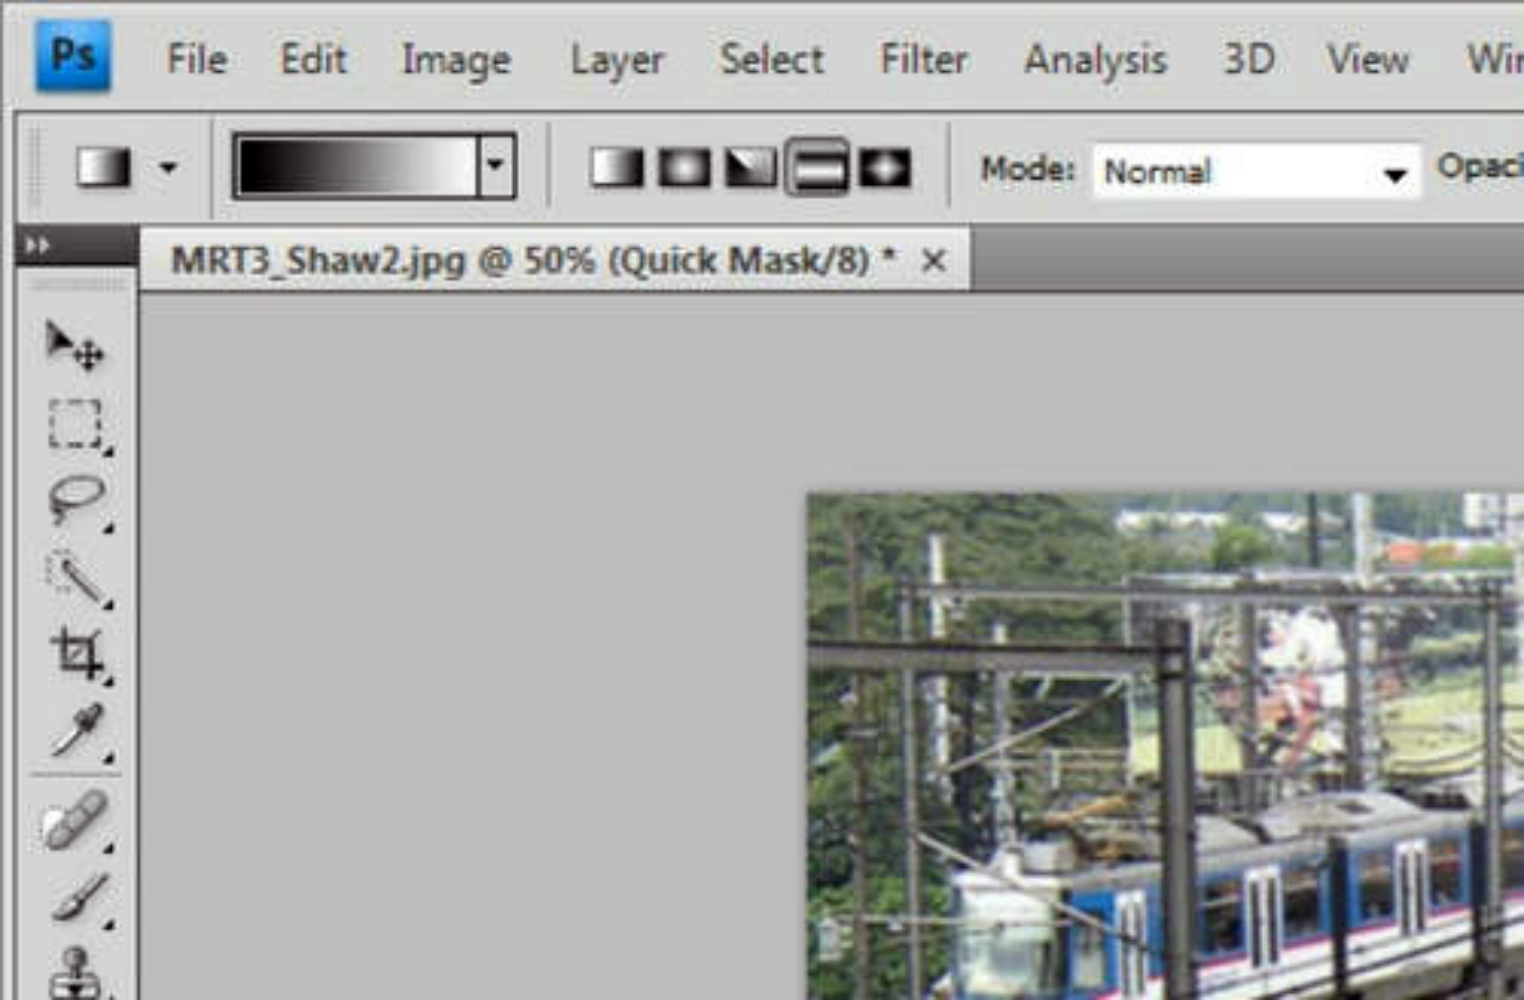
After opening the image to your Photoshop press on "Q" to enable Quick Mask Mode.
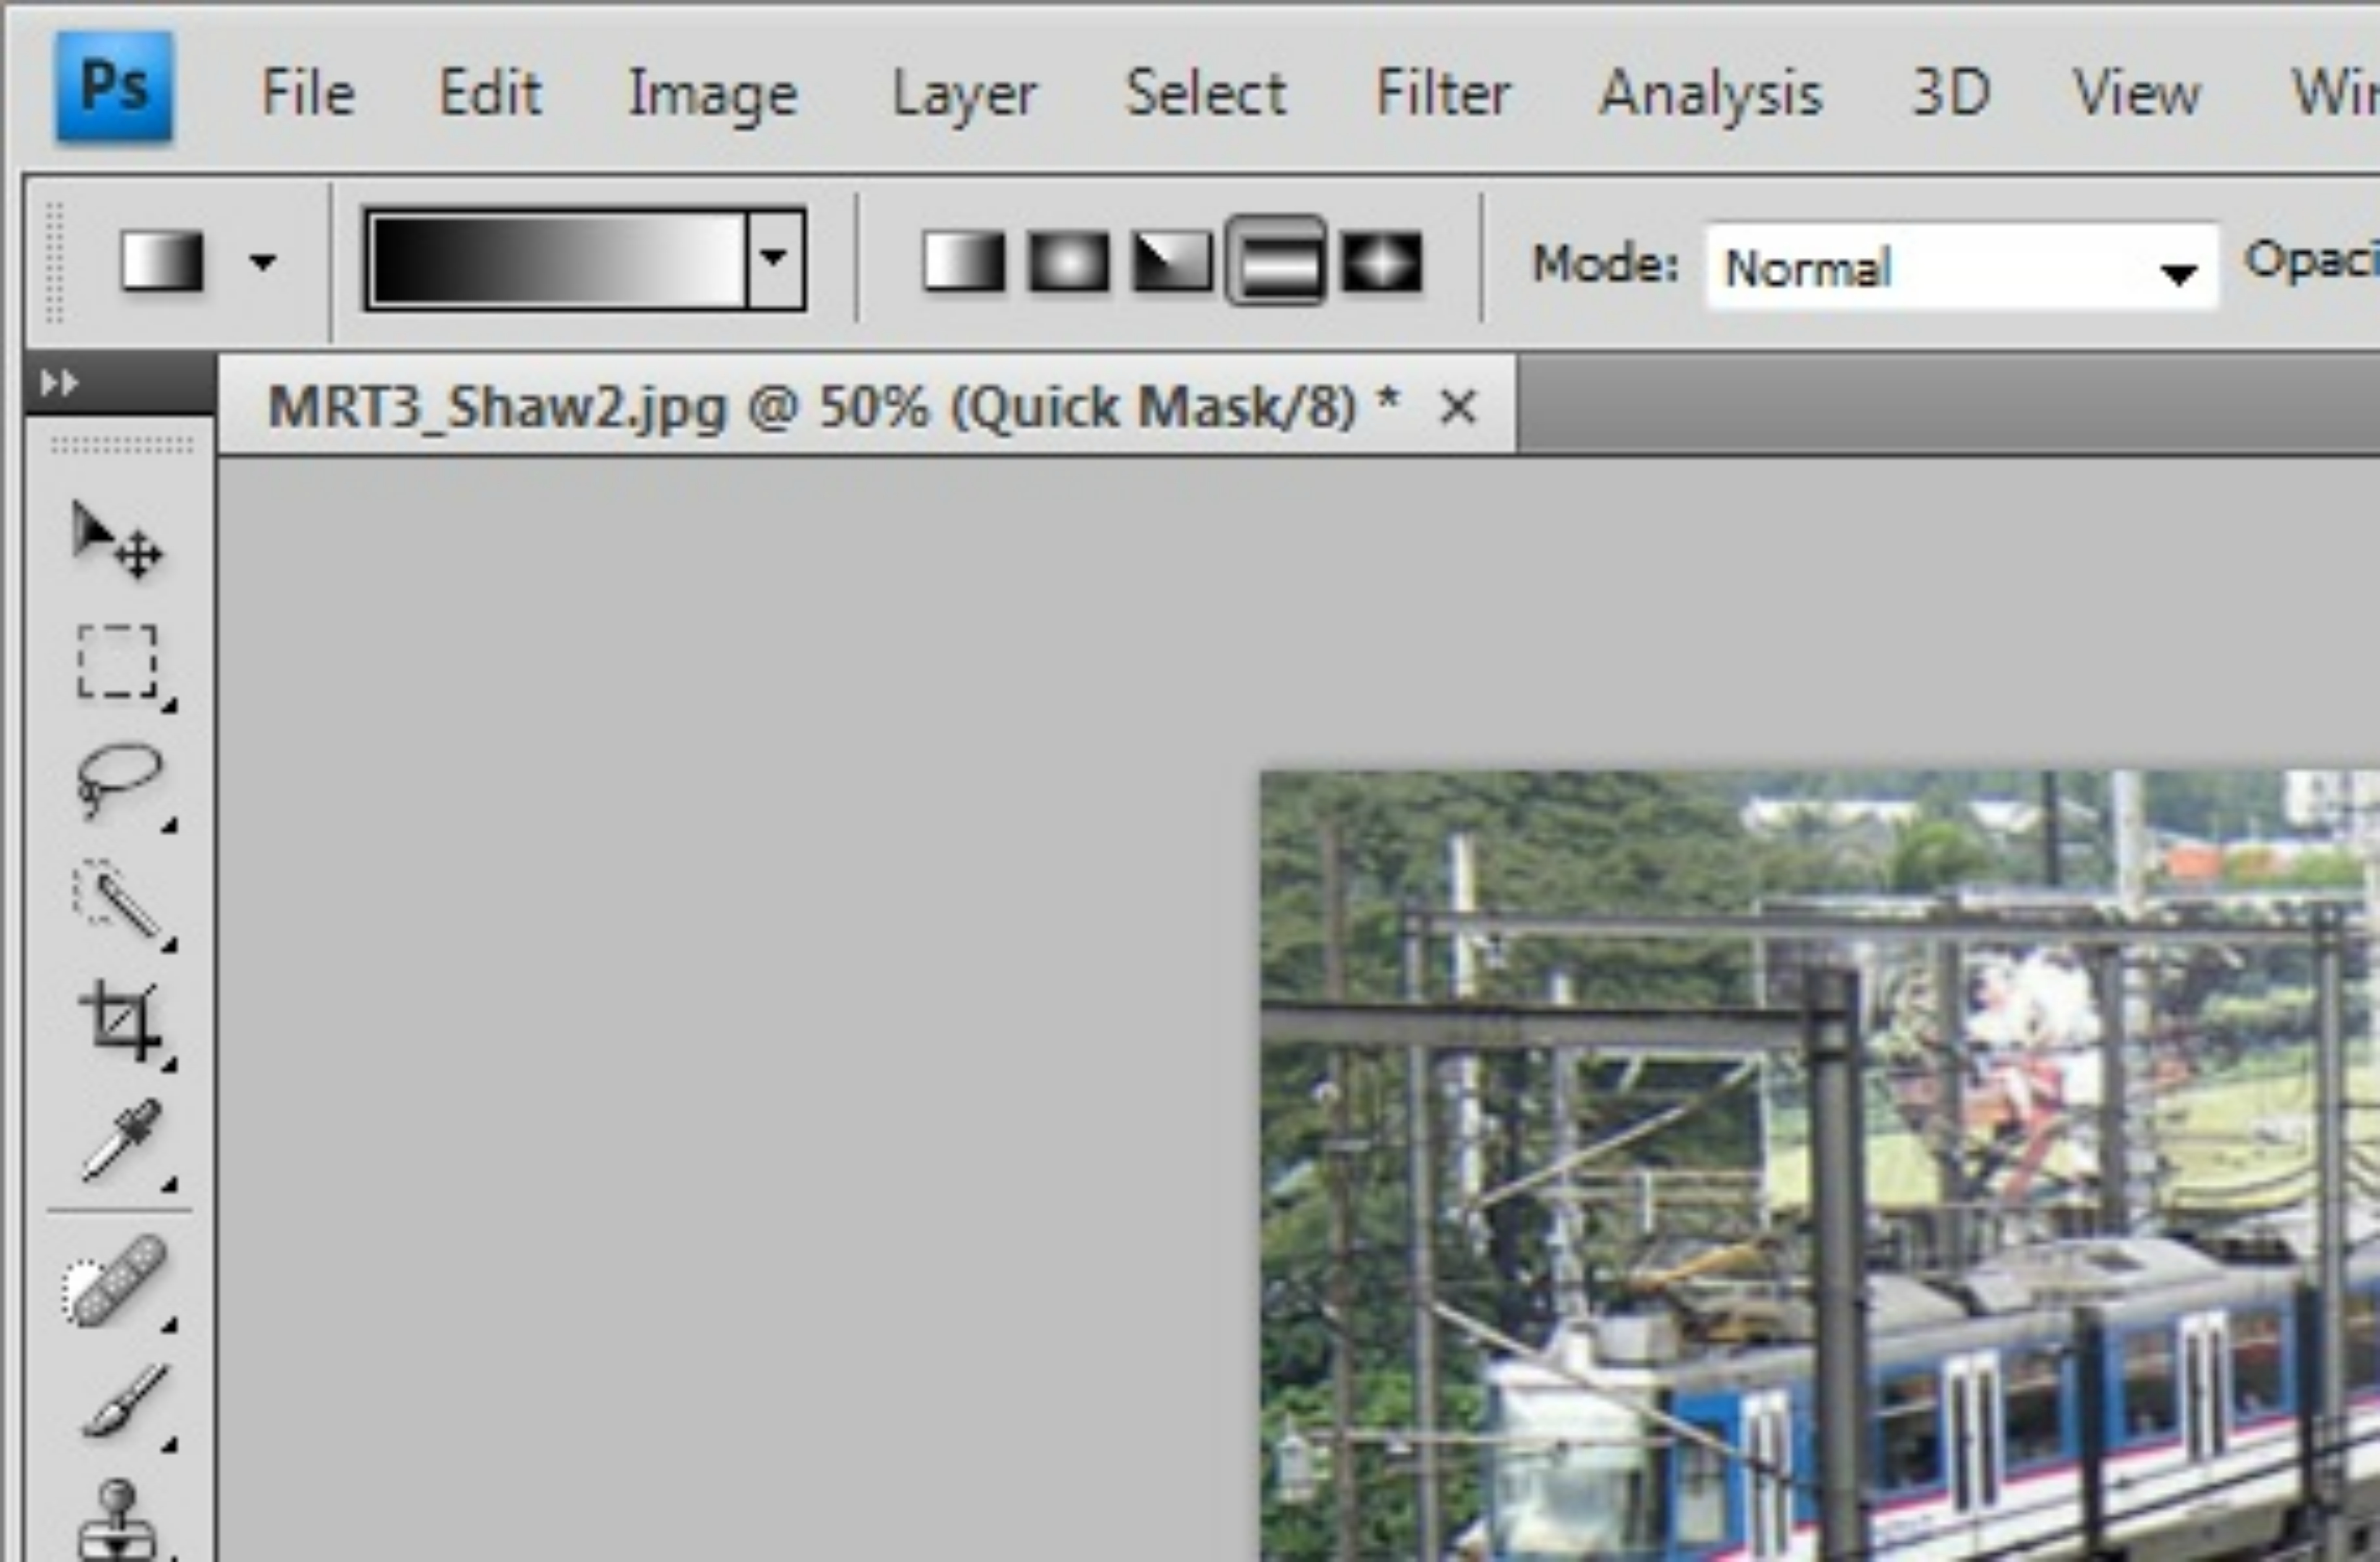
After pressing "Q" you may then press "G" to enable Gradient. Choose the Reflected Gradient for the miniature effect.
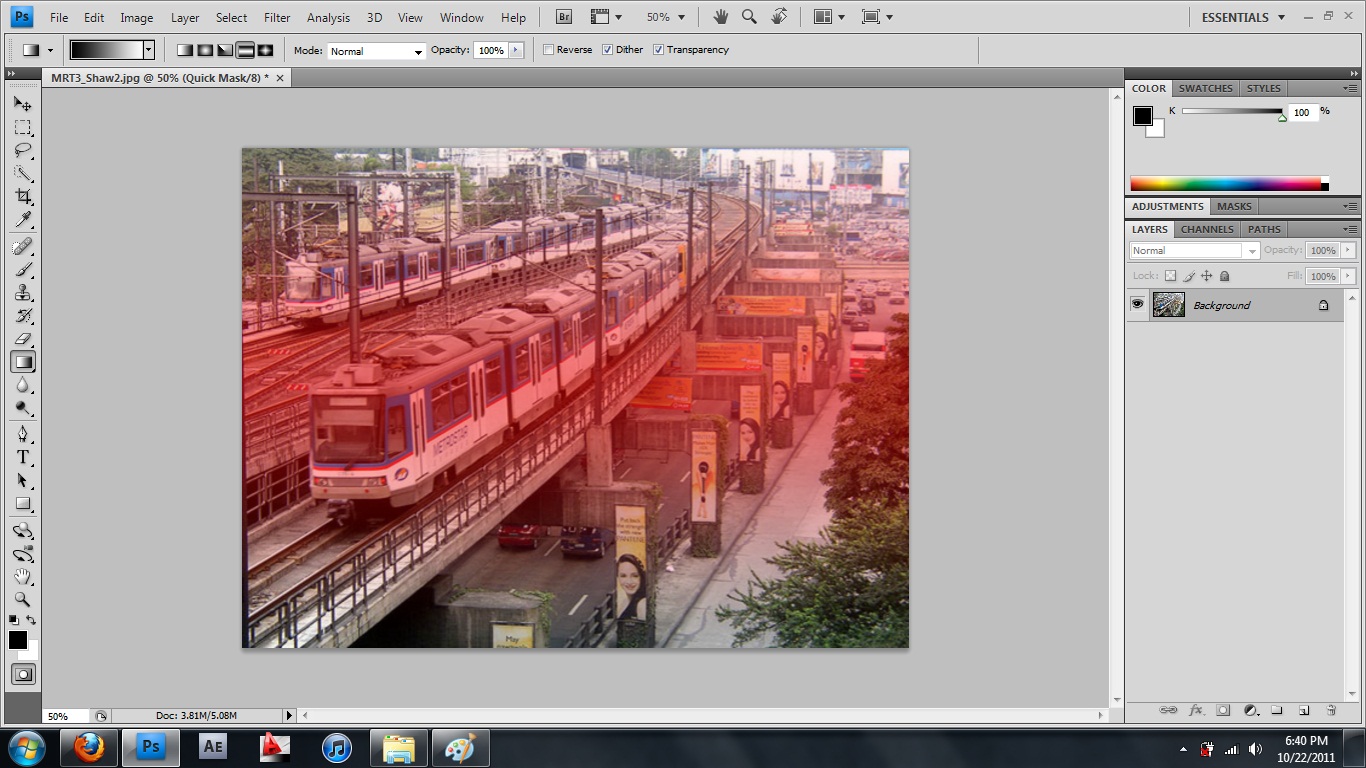
After enabling "Gradient," draw a vertical line on the picture. After drawing a vertical line, a reddish color gradient should appear which will mark that those part of the image will be the focus or the subject of your picture and not to be blurred out.

After determining the focus and subject of your picture, press on "Q" again to exit Quick Mask Mode and go back to Standard Mode. Clicking on this will make the marching ants selection lines appear where our "Lens Blur" should be applied later on.
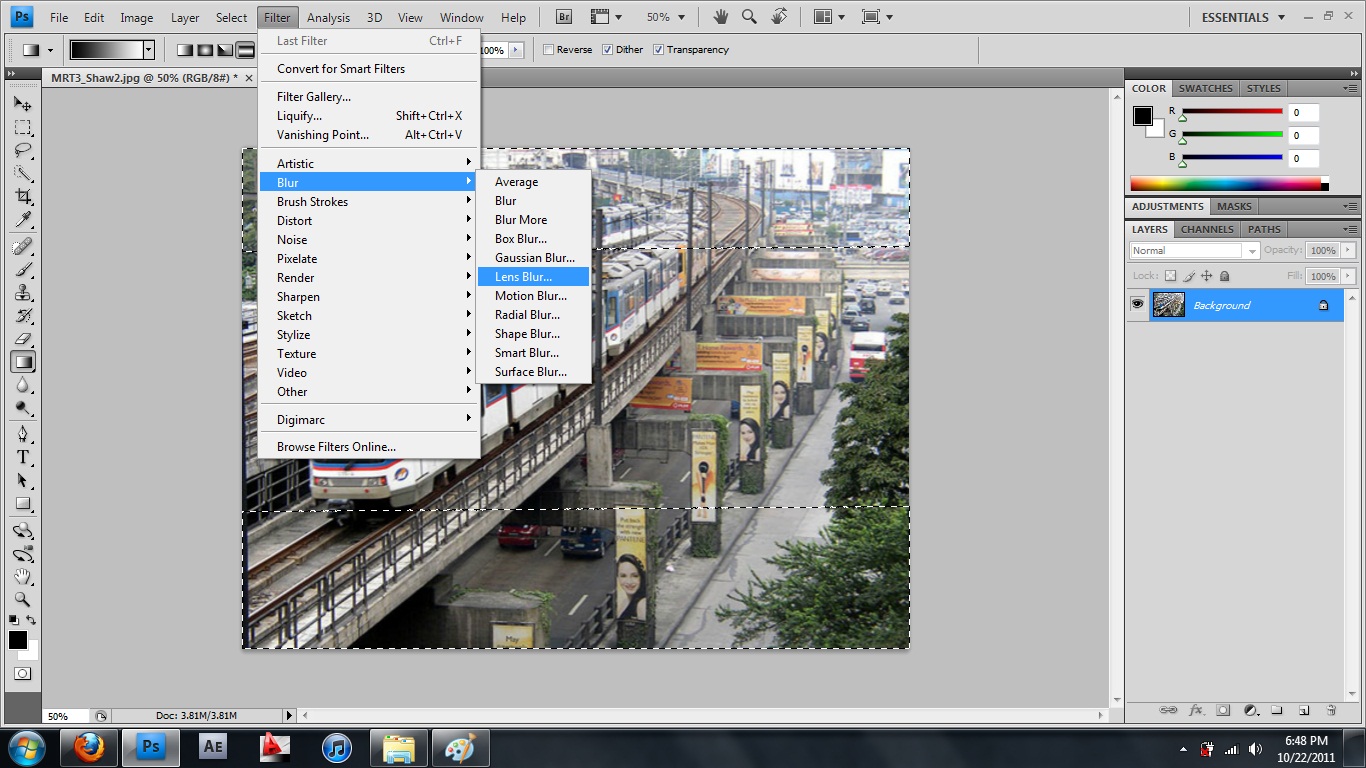
After exiting the Quick Mode, go to Filter > Blur > Lens Blur.
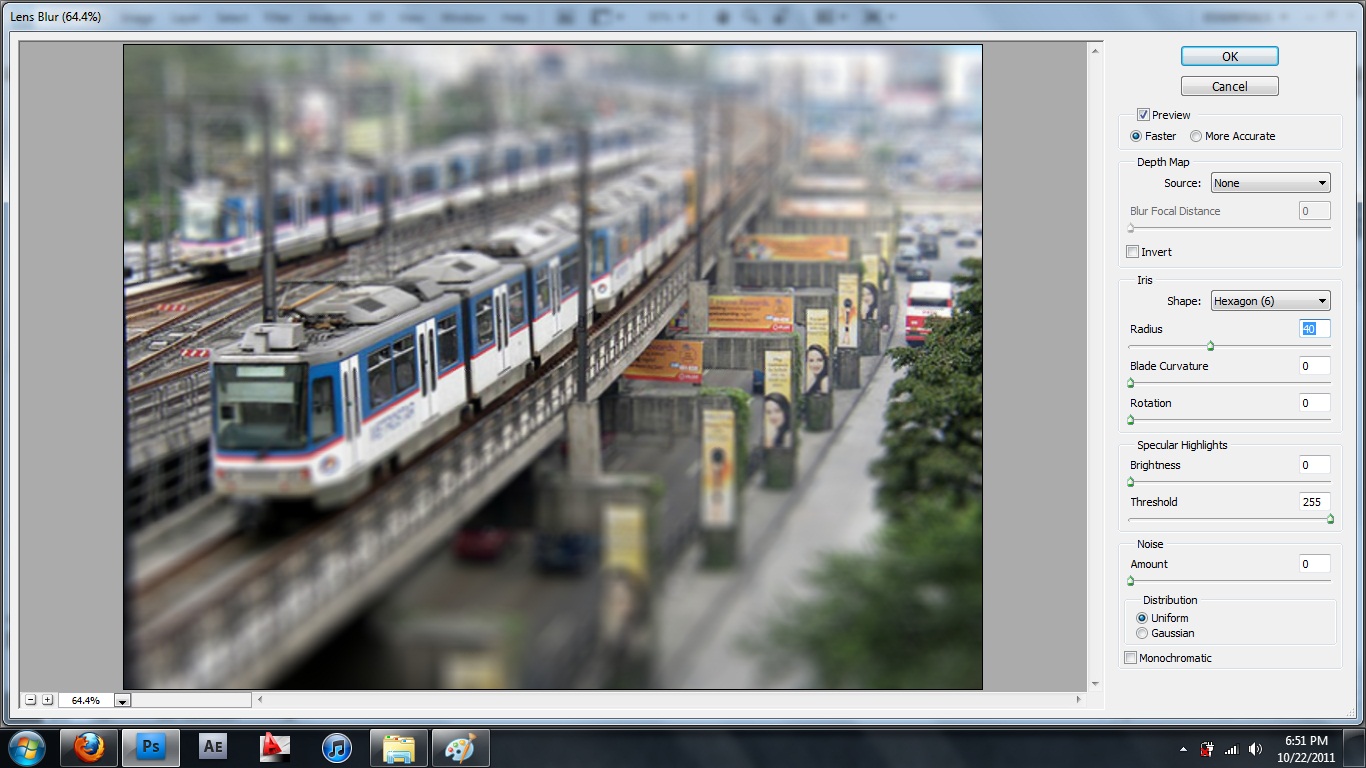
Adjust the radius until you reached the desired output and press on "OK." In my case, I adjusted the radius until 40.
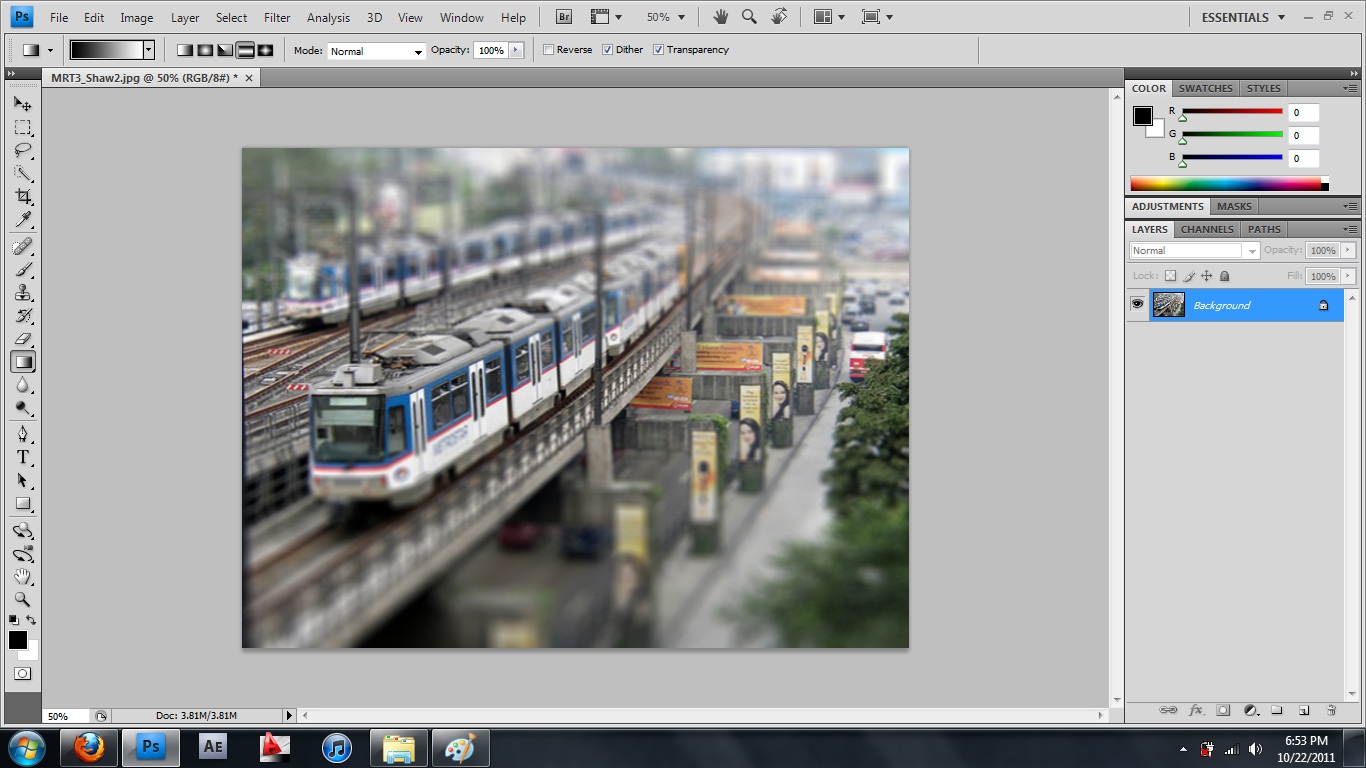
Press CTRL-D on the keyboard to remove the marching ants selection boundary.
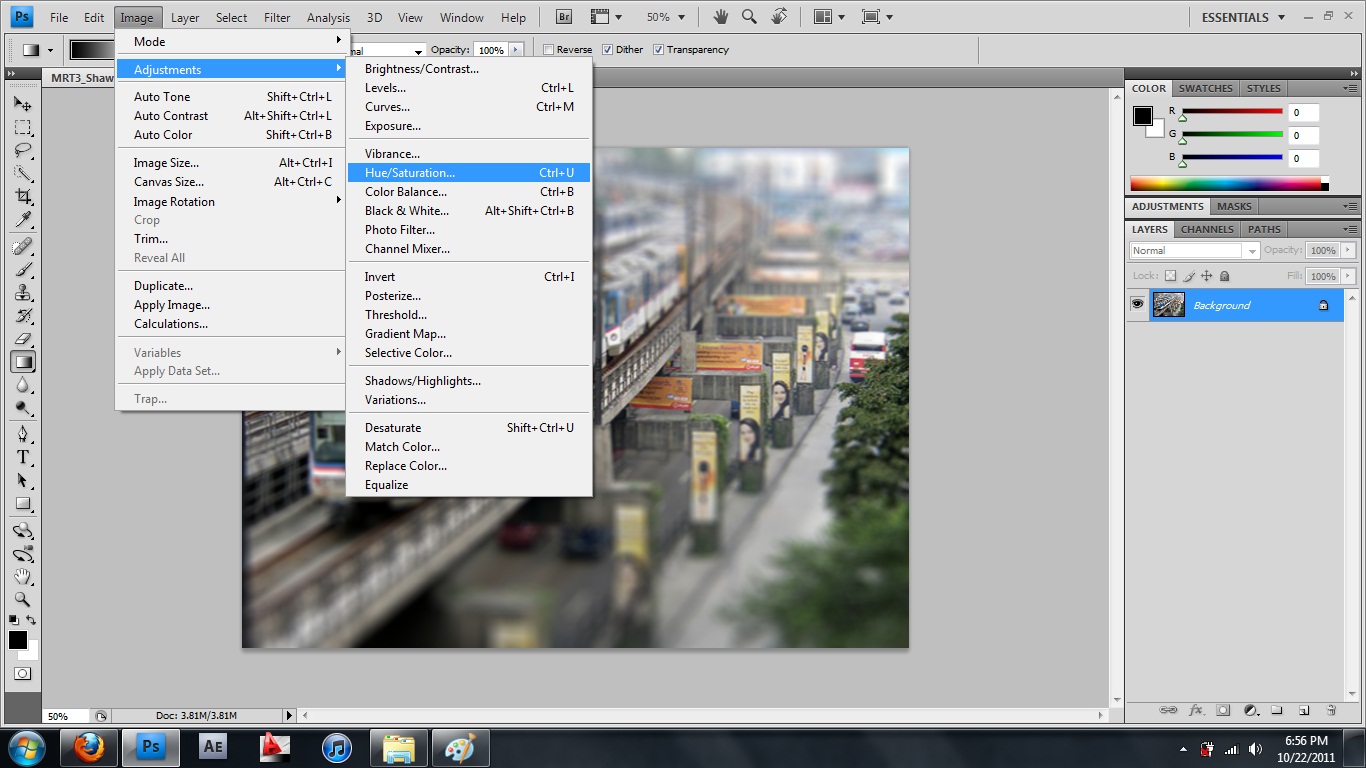
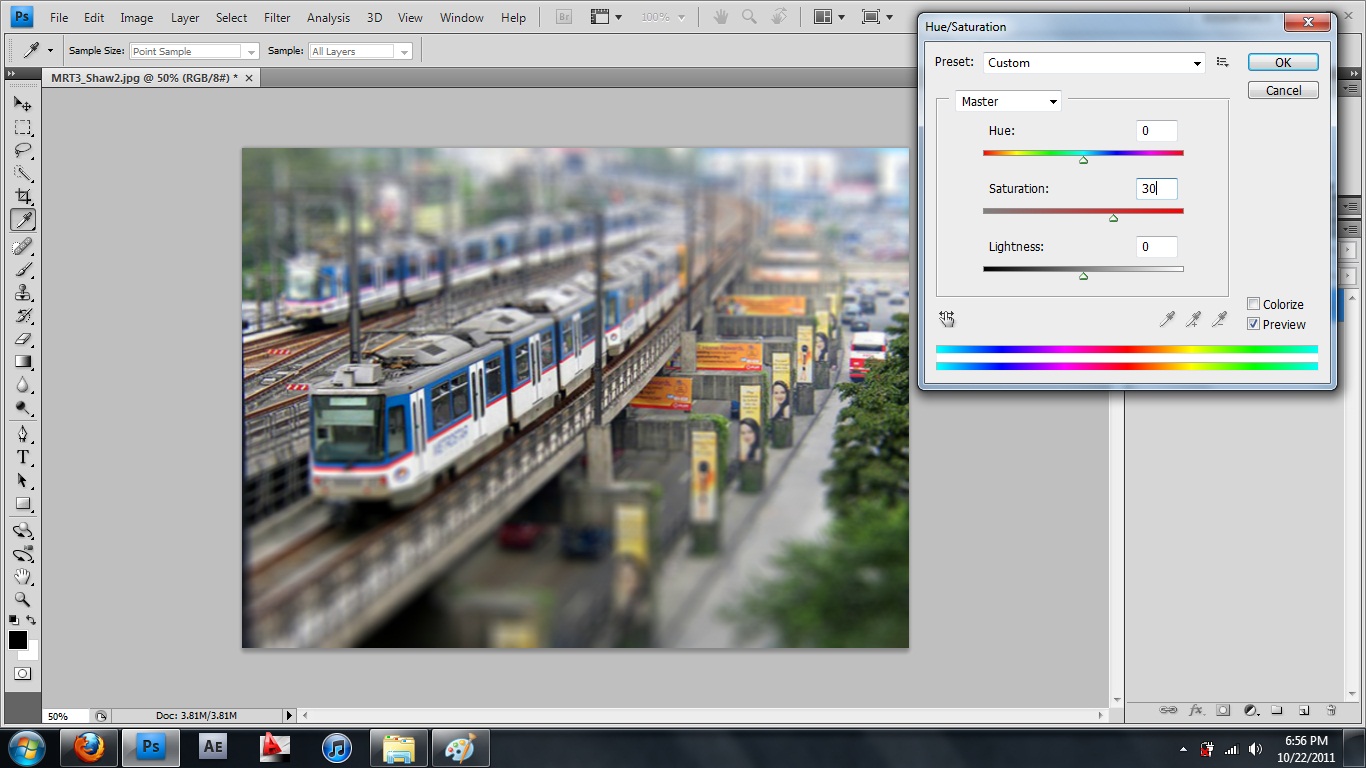
Once done with the focus, you need to enhance the saturation of your image. To achieve miniature effect, most of the time, saturation of the images are adjusted to 40 above the normal saturation since miniature models usually are brightly painted. So in order to achieve the desired output, you need to adjust either the vibrance or the saturation of the image. Just go to Image > Adjustments > Hue/Saturation.
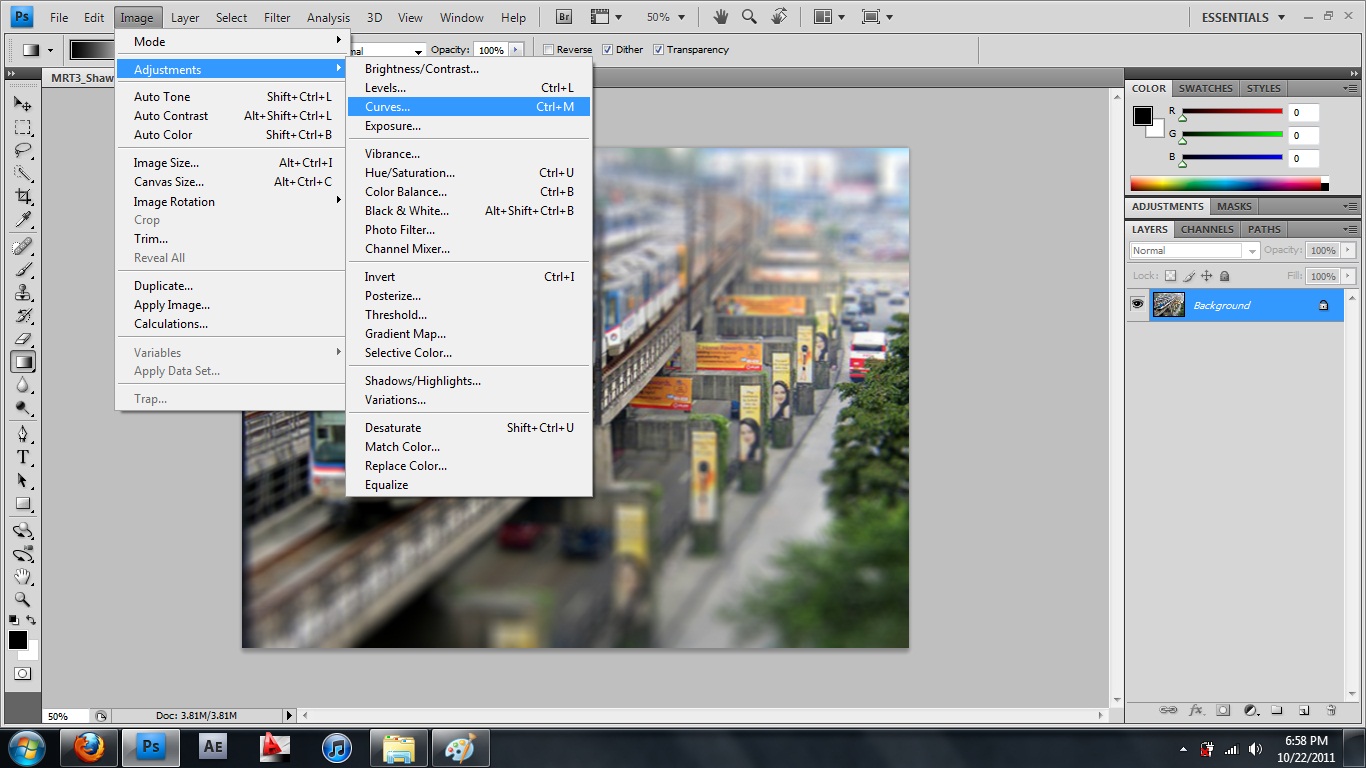
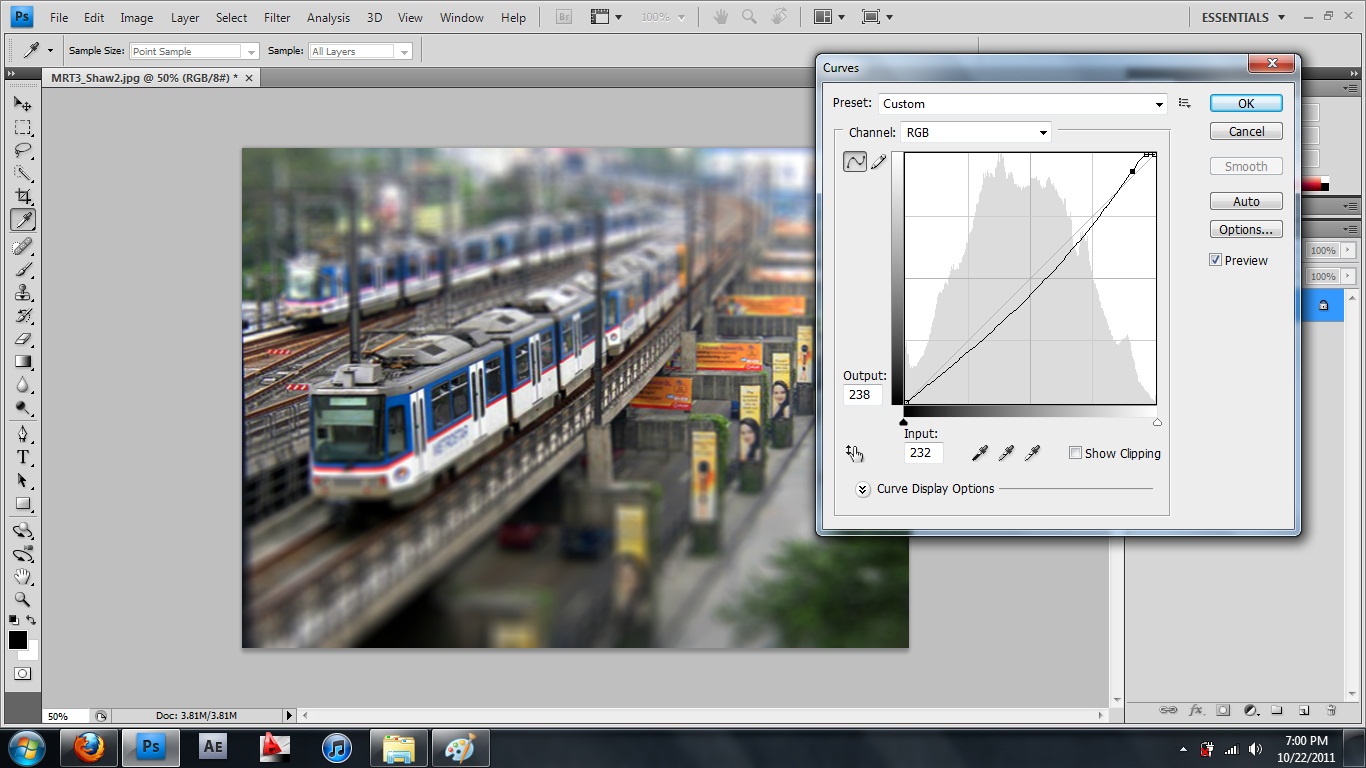
You also may want to adjust the contrast. To do this just go to Image > Adjustments > Curves. Experiment on the curves until you reached the desired output.
Once done with the following just save your image and find your next target image.
Sample Output

