How to Access Headless Raspberry Pi Using USB to TTL Converter
by miniProjects in Circuits > Raspberry Pi
18072 Views, 92 Favorites, 0 Comments
How to Access Headless Raspberry Pi Using USB to TTL Converter

There are many ways in which you can access your Raspberry Pi board. Conventional being connecting it to monitor, attaching USB keyboard and mouse; use it as a standard computer. Another method is attaching headless Raspberry Pi directly to network, scanning the network using some software tools to find the IP address of Raspberry Pi and access it remotely. Both of them are quite a hassle, but they have their own advantages.
In this instructable, we explore another way to access Raspberry Pi i.e. using a USB to TTL serial converter.
Lets get started.
Quick Video

Here is a short video summarizing everything in 2 min.
Advantages of Using This Method to Access Raspberry Pi
Advantages of using this method to access Raspberry Pi are-
- You don't have to grab a monitor, keyboard and mouse; attach every thing to Raspberry Pi.
- You don't have to configure Raspberry Pi's IP address to access it over the network.
NOTE FOR RASPBERRY PI 3: The Raspberry pi 3 has changed things a bit and you might need to add the option enable_uart=1 at the end of /boot/config.txt. For this to instructable to work.
Things Needed


Description: We will remove inconvenience of attaching things to Raspberry Pi by using a laptop. We will connect laptop to Raspberry Pi using a USB to TTL serial converter. To make connection between Raspberry Pi and converter, we will need female to female jumper wires. On software side, we will need serial terminal like GTKterm on Linux and PUTTY on windows machine.
List of hardware:
- Laptop (a PC will also do),
- USB to TTL serial converter (more on this in next step),
- Female to Female jumper wire and
- Raspberry Pi.
Software:
- GTKterm for linux and PUTTY for windows machines.
What Are USB to TTL Serial Converters


Description: A USB adapters are type of protocol converters which are used for converting USB data signals to and from other communications standards. Commonly, USB adapters are used to convert USB data to standard serial port data and vice versa. Most commonly the USB data signals are converted to either RS232, RS485, RS422 and TTL serial data. We will use converters that convert data from USB protocol to TTL.
These modules comes in small form factor. At the heart of these modules is a converter chip that does all the protocol conversion. Following is the list of USB to TTL serial converters with different converter ICs.
and there are many more.
These converters generally have 4 pins
- Vcc
- Gnd
- RXD (Receive data)
- TXD (Transmit data)
Vcc pin can be used as supply to other circuitry. RXD pin is an input pin for this module and TXD pin is an output pin for this module. There are many variants of USB to TTL serial converter with more than 4 pins, extra pins can enable flow control and other stuff.
Note:- As Raspberry Pi's pins are not 5V tolerant (it's only 0-3.3V), make sure your USB to TTL serial converter swings between 0 to 3.3V.
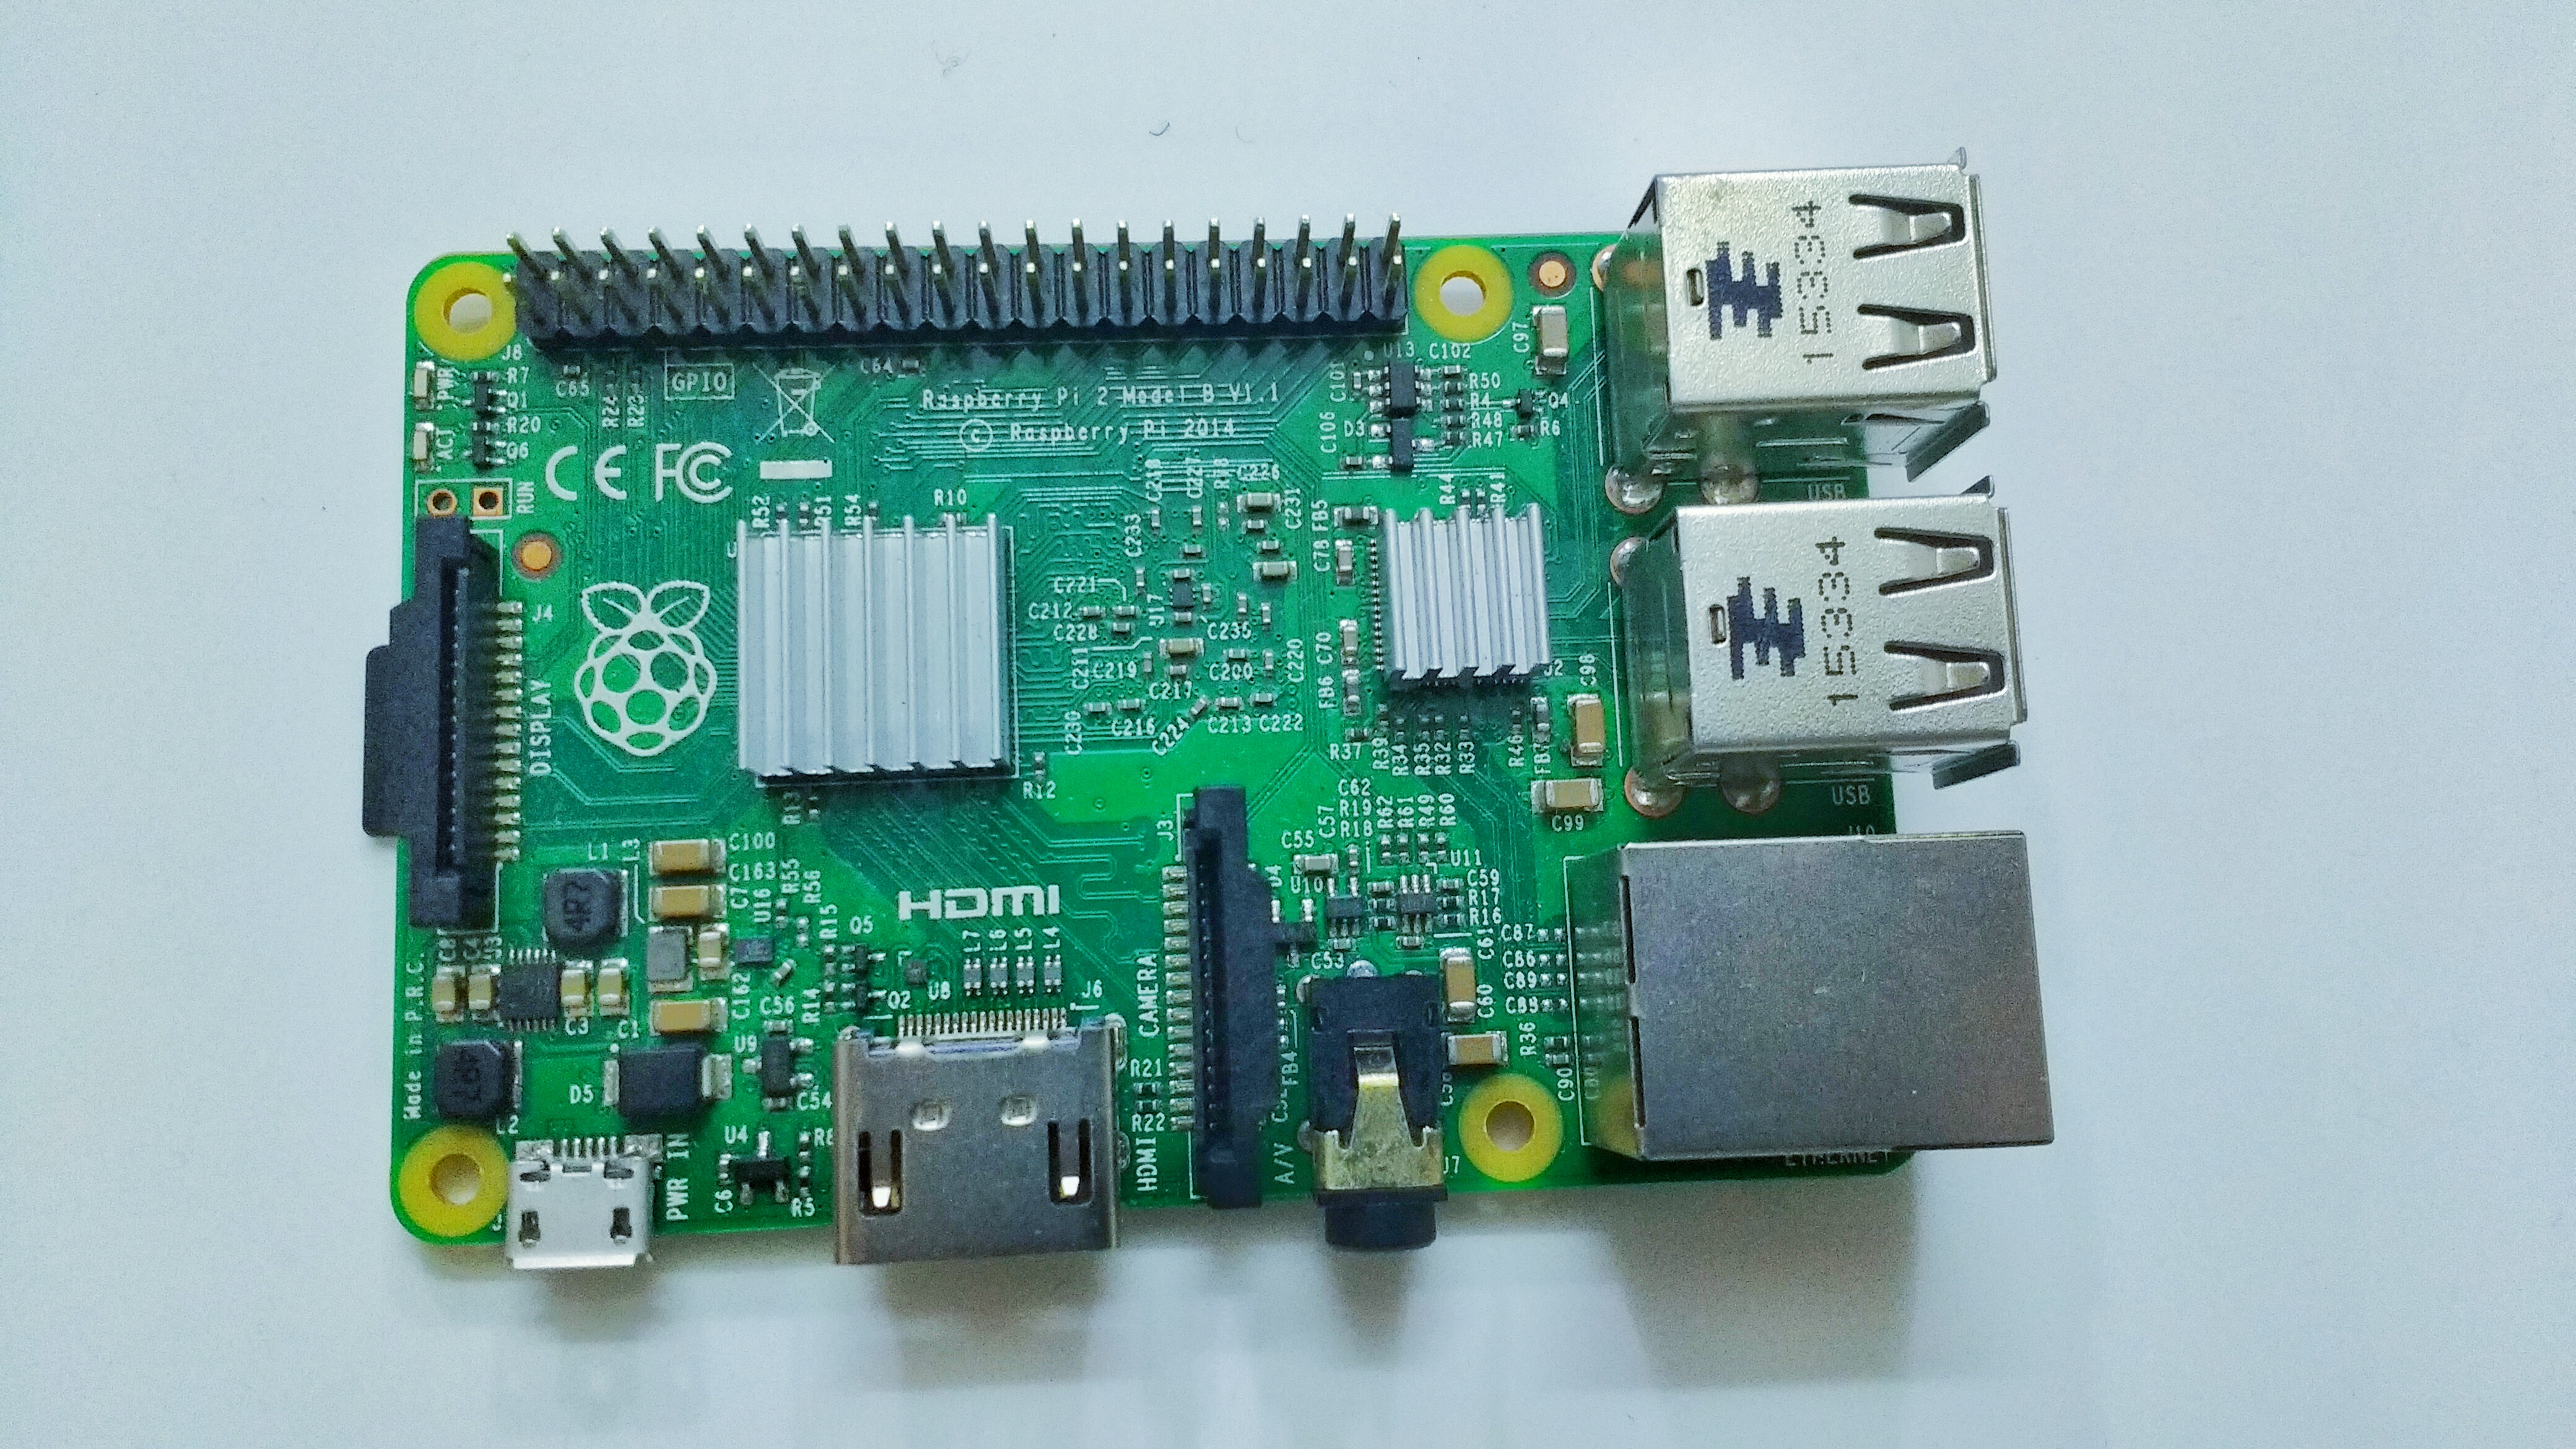
Connection Between Raspberry Pi and Converter

Description: We need to make only 3 connections in order to get access to Raspberry Pi. Following is the list of connections.
- Connect Gnd Pin of converter to pin number 6 of Raspberry Pi i.e. Gnd of Pi.
- Connect TXD pin of converter to pin number 10 of Raspberry Pi i.e. RXD0 of Pi.
- Connect RXD pin of converter to pin number 8 of Raspberry Pi i.e. TXD0 of Pi.
Setup Serial Terminal and We Are Done

Description: Now that connection between Raspberry Pi and converter is done next we need to connect converter to Laptop. Insert USB side of converter inside the computer. We need to setup the serial terminal to following specs-
- Baudrate = 115200,
- Bits = 8,
- Parity = None,
- Stop bits = 1 and
- Flow control = None.
Once this settings are done. As soon as you will turn on your Raspberry Pi, you will see basic command line interface on your laptop screen. Enjoy.
That's all for this instructable. Thanks for reading.