How to 3d Model(and Print) the Moon in Tinkercad.
by theinstructablesdude in Workshop > 3D Design
1698 Views, 0 Favorites, 0 Comments
How to 3d Model(and Print) the Moon in Tinkercad.
.png)
I recently got a 3d printer, and I know that since I have a metal-melting foundry, I can cast 3d models in aluminum. since the moon, ours at least, is gray, it is failry remniscent of aluminum. There are no good 3d models of the moon out there, at least by my standards, so I had to make one myself. In this instructable i will show you how to 3d model, and then print, the moon. See another instructable of mine for how to cast the moon into aluminum.
Tools Needed, and the First Part of the Model
.png)
.png)
You will need a few simple tools:
1. A computer, with internet, to access Tinkercad online.
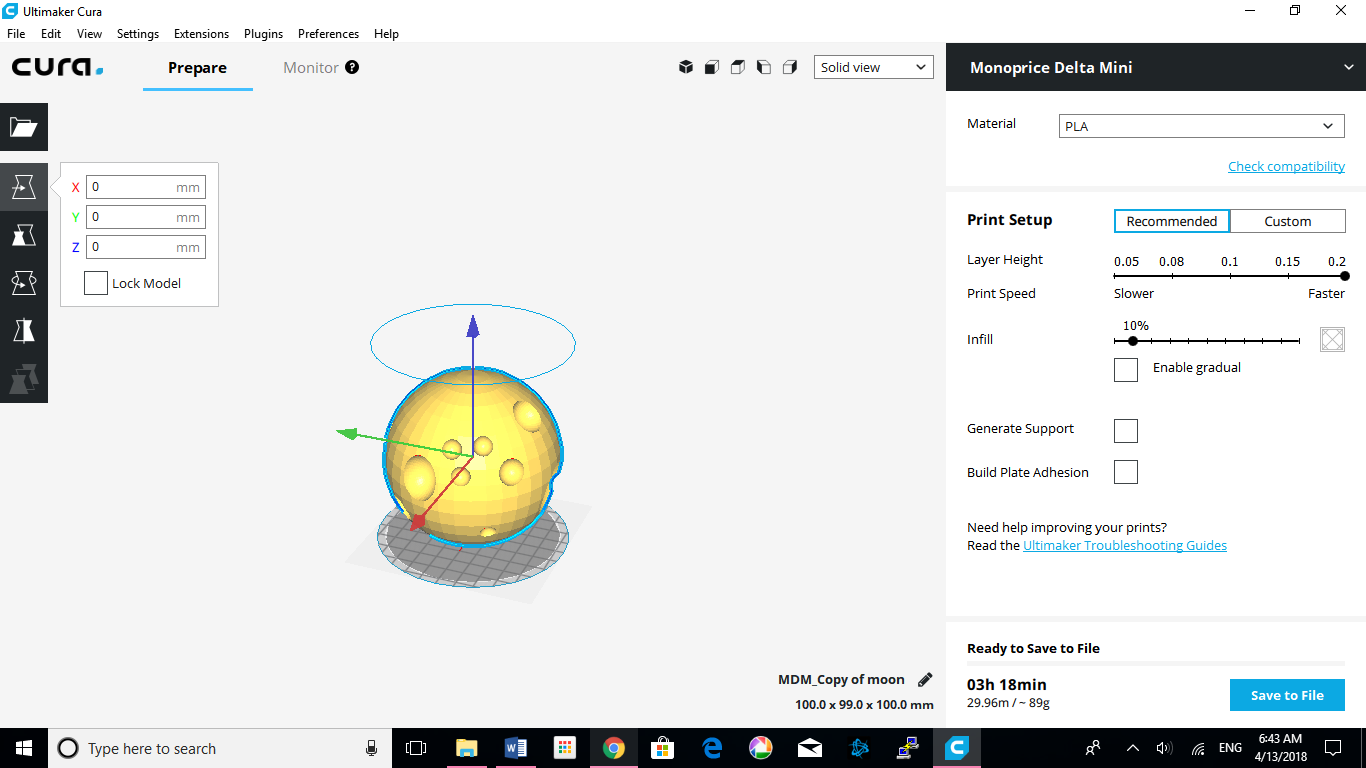
2. a slicer software, I prefer cura 3.2.1, to convert the model to Gcode.
3. A 3d printer! I bought the Monoprice Mini Delta.
If you have to set up a tinkercad account, i recomend you take the basics course they give you. It will make this a lot easier.
First step.
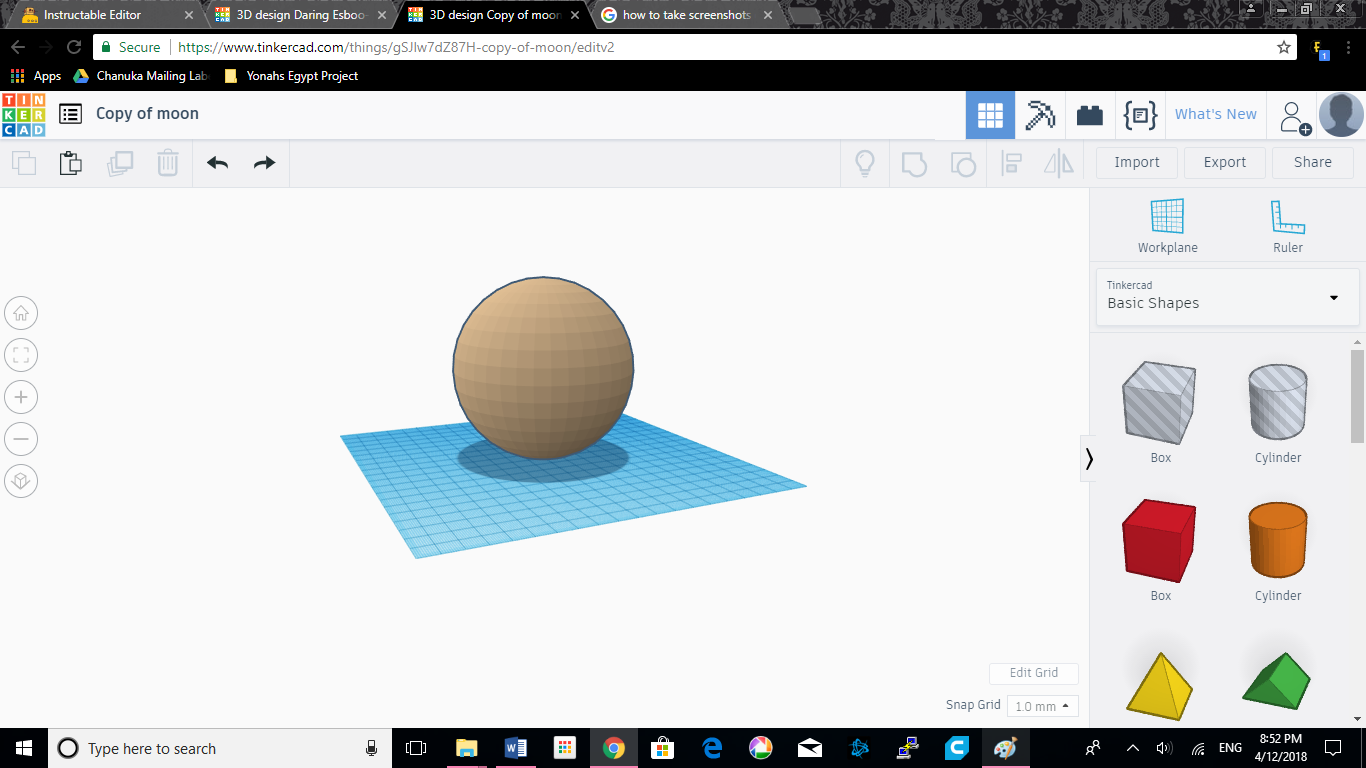
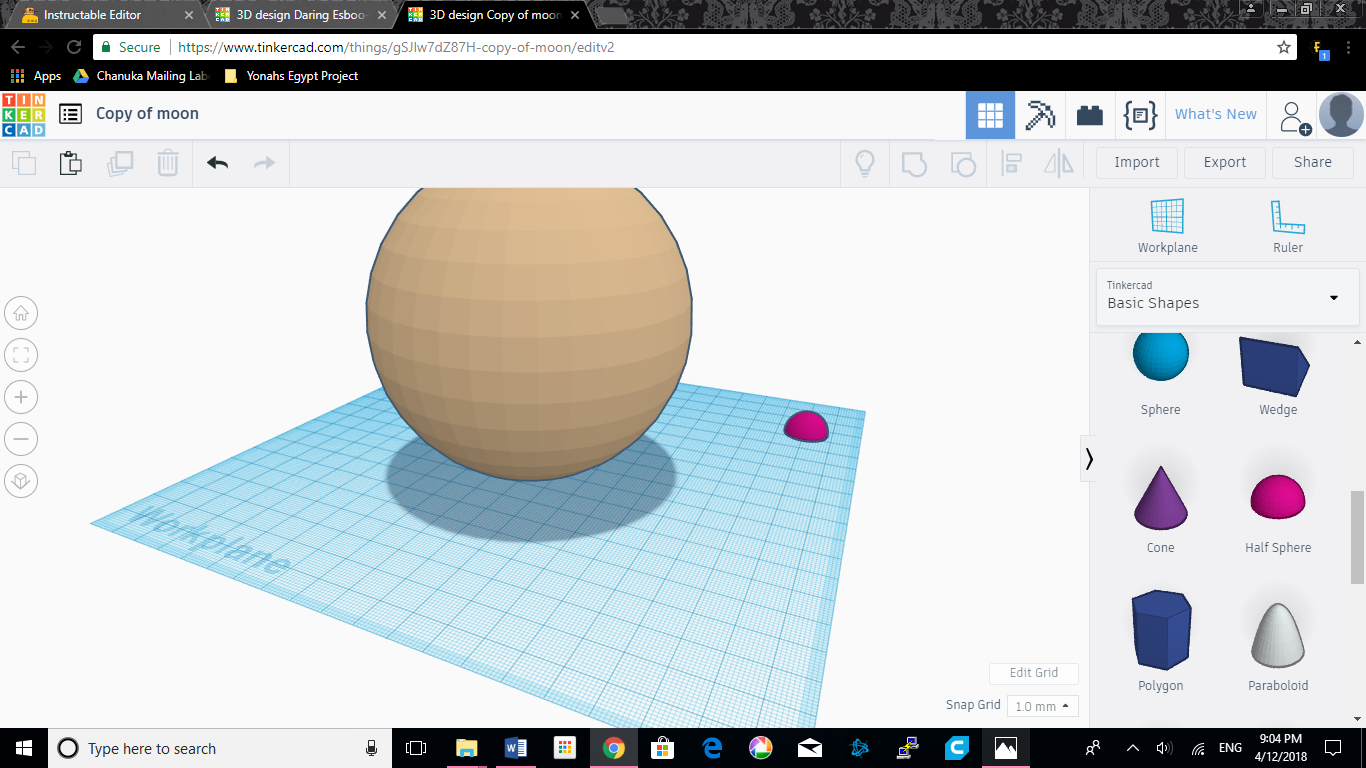
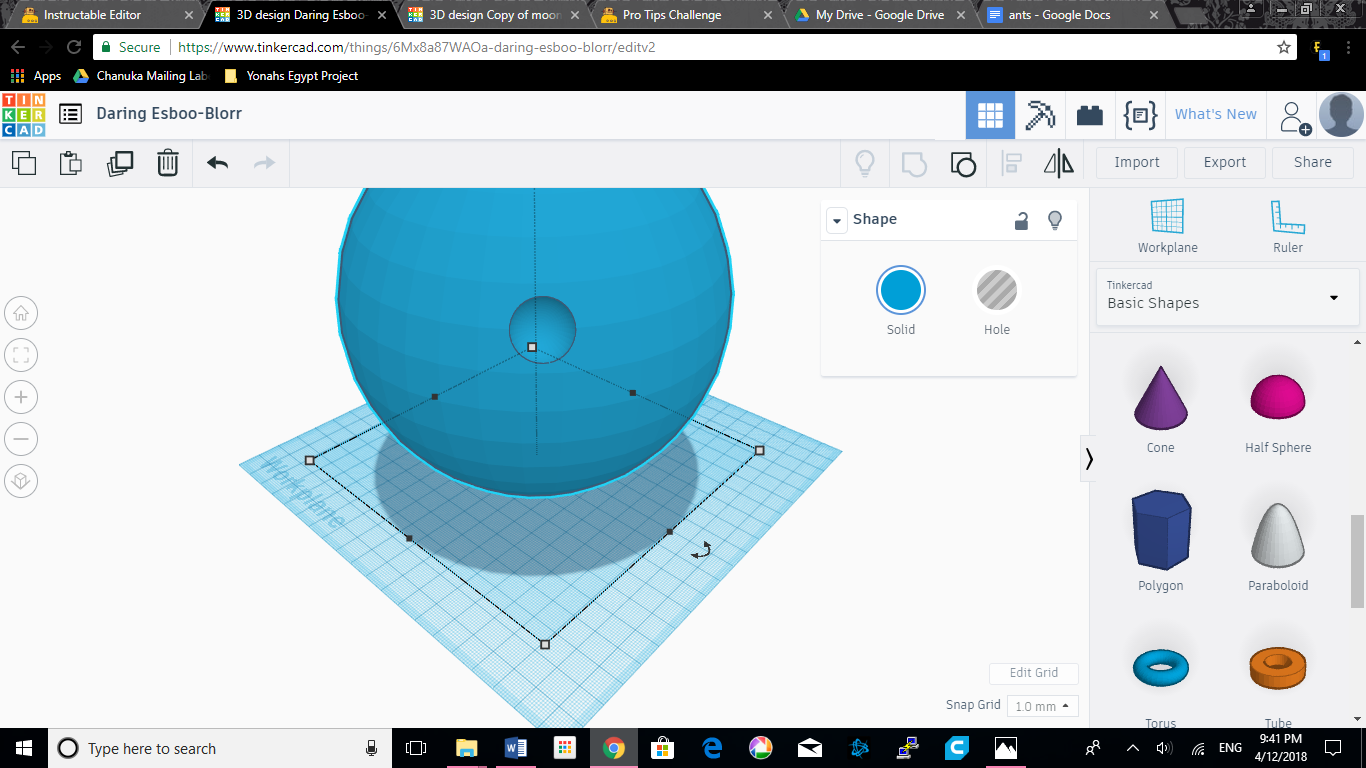
Get yourself a sphere. When you put it on the workspace a little box with two circles will pop up. close it with the arrow at the top.
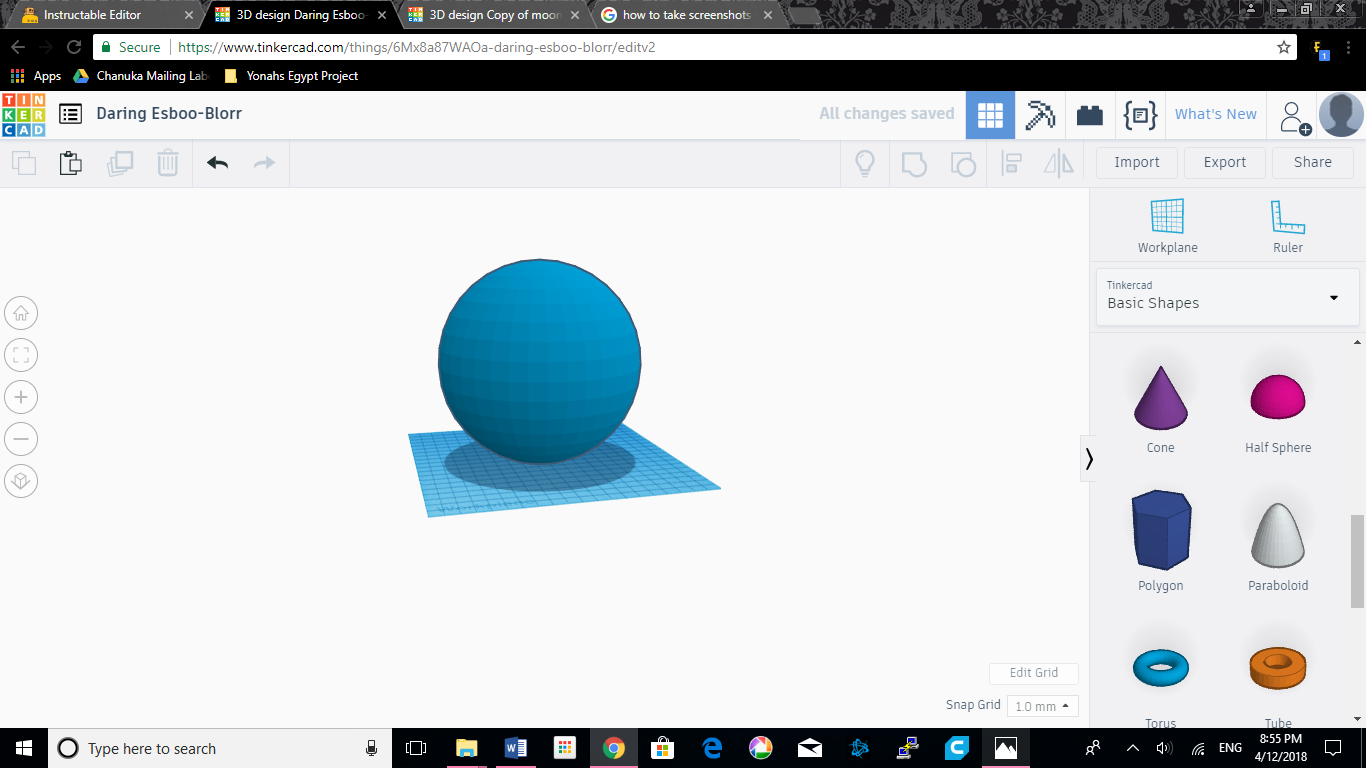
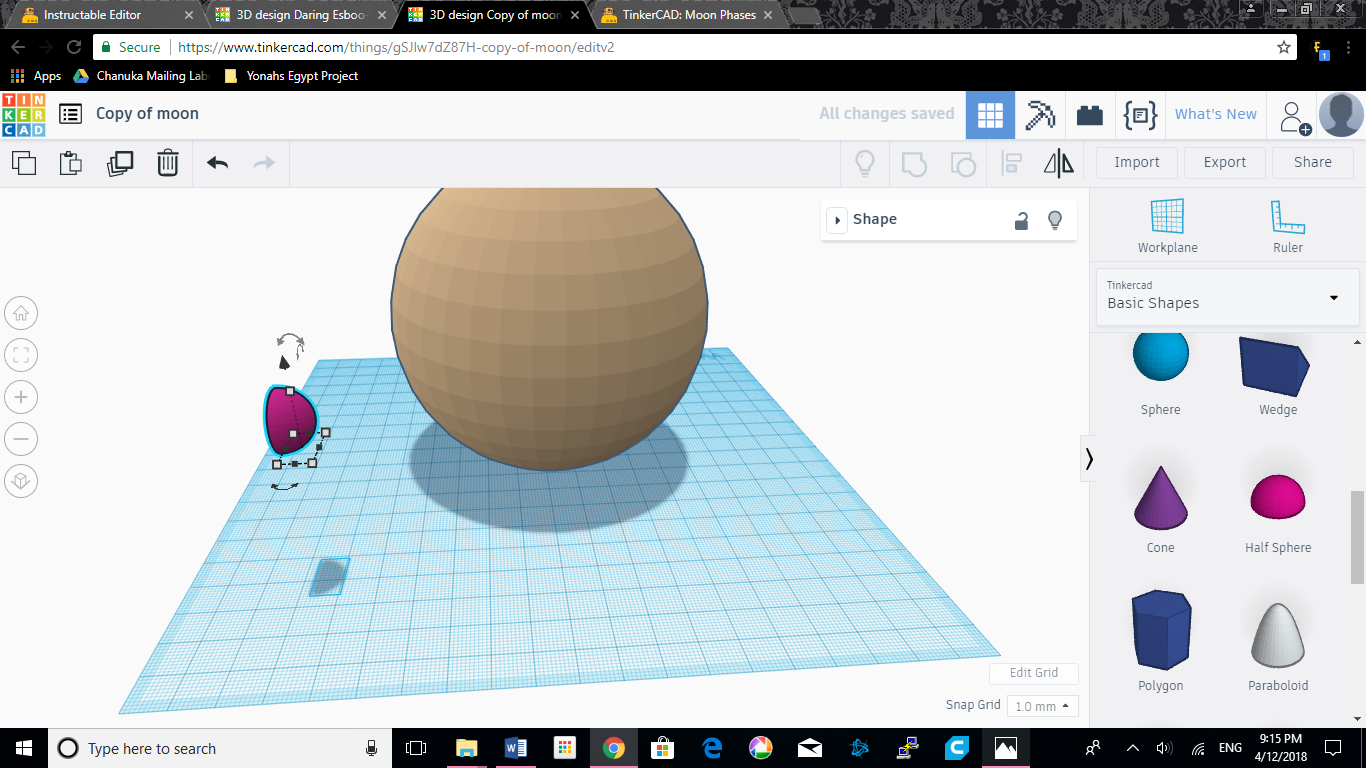
I used a fairly small circle, 100x100x100mm in square measurements, for two reasons. One, save filament, then save aluminum. Two, my printer has a fairly small bed that i need to fit it on. If you're lazy, you can look up "moon" on tinkercad and select the one that's just a sphere, and tinker with it from the next step on. Or you can take 30 seconds to make one yourself. If you want to upscale it, make sure you upscale everything by a certain percentage. I'll include pictures of my scale, and a bigger 150x150x150mm sphere.(smaller in brown larger in blue)
How to Make a Crater: Part One: Shape
.png)
.png)
.png)
.png)
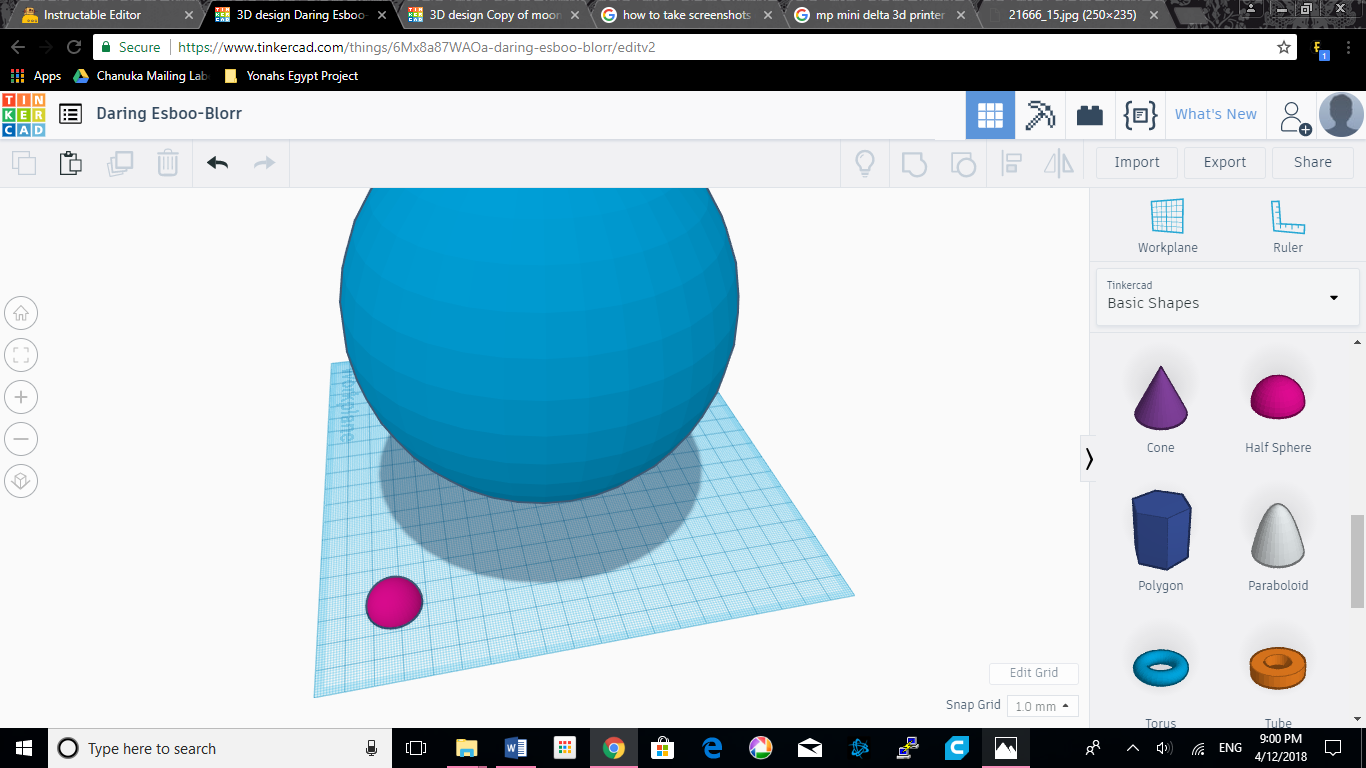
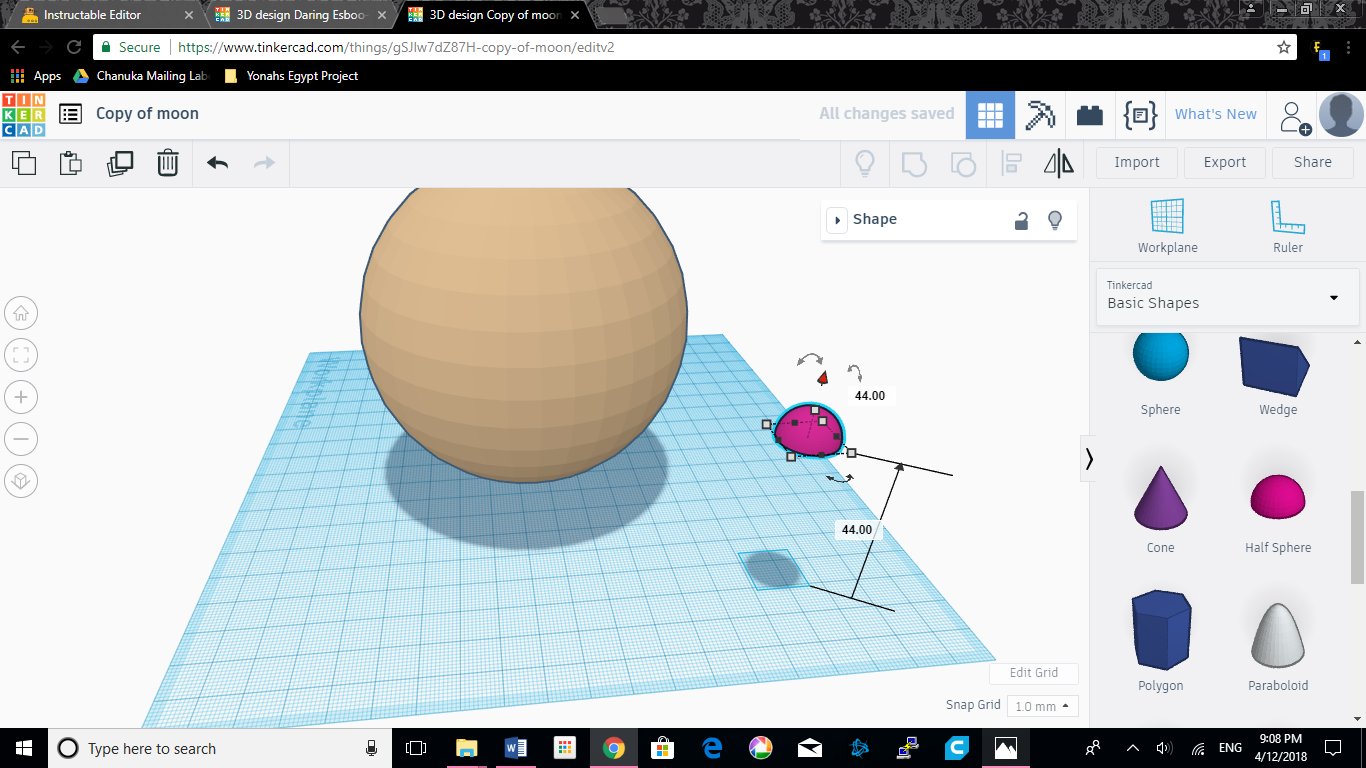
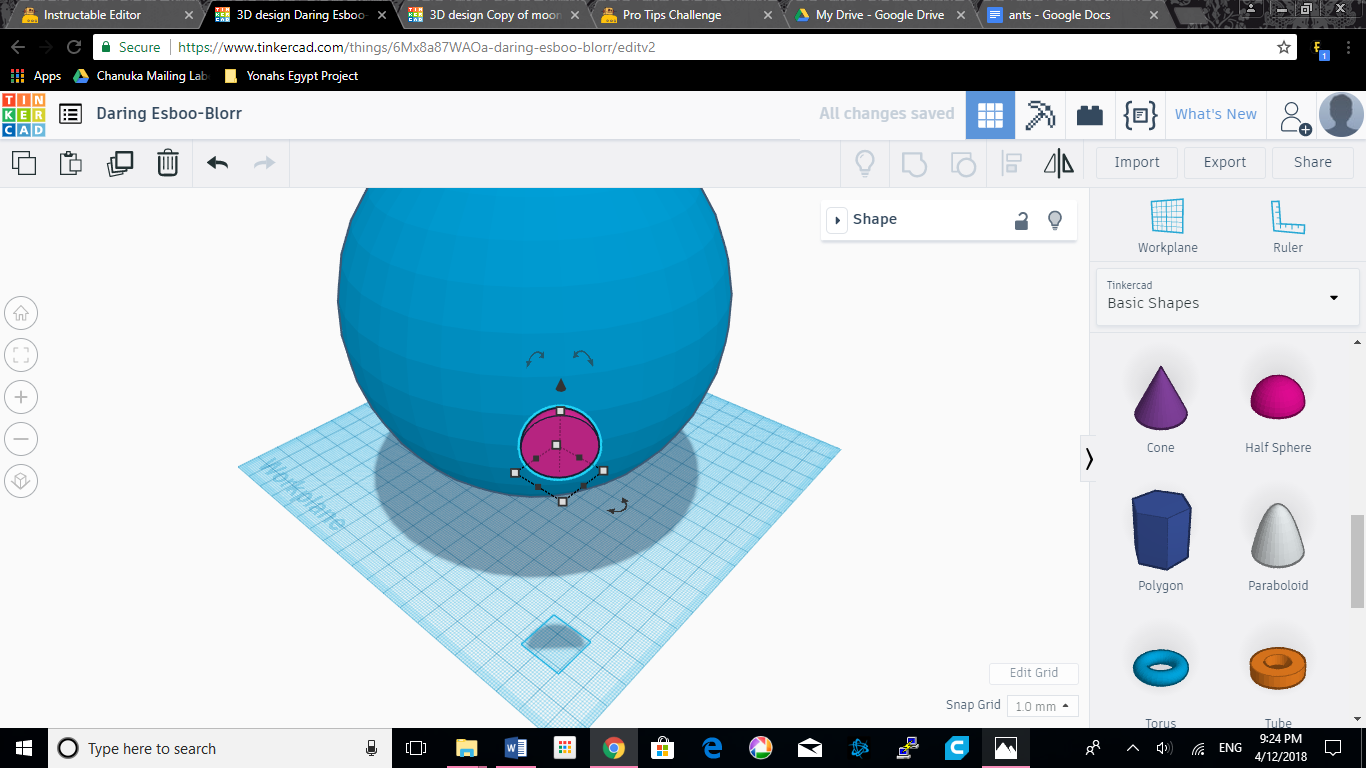
Now it needs craters. If you think about a crater, it is baisically a bowl embeded in the surface of the moon. Tinkercad has a half sphere shape that we will use. once again, close the solid/hole box that pops up. we will use it later. For the larger moon don't change the length/width/height. Leave it as 20x20x10. For the smaller one we'll downsize it length and widthwise by 5, so 15x15x... and height wise; for a full sphere it would be 15 for the height, cut that in half equals 7.5 so i round up to 8. Total measurments for smal: 15x15x8.
Once your half-spheres are the right measurments raise them up to a little above the halfway mark using the small triangle on top of the shape.
How to Make a Crater: Part Two: Rotating the Crater
.png)
.png)
.png)
.png)
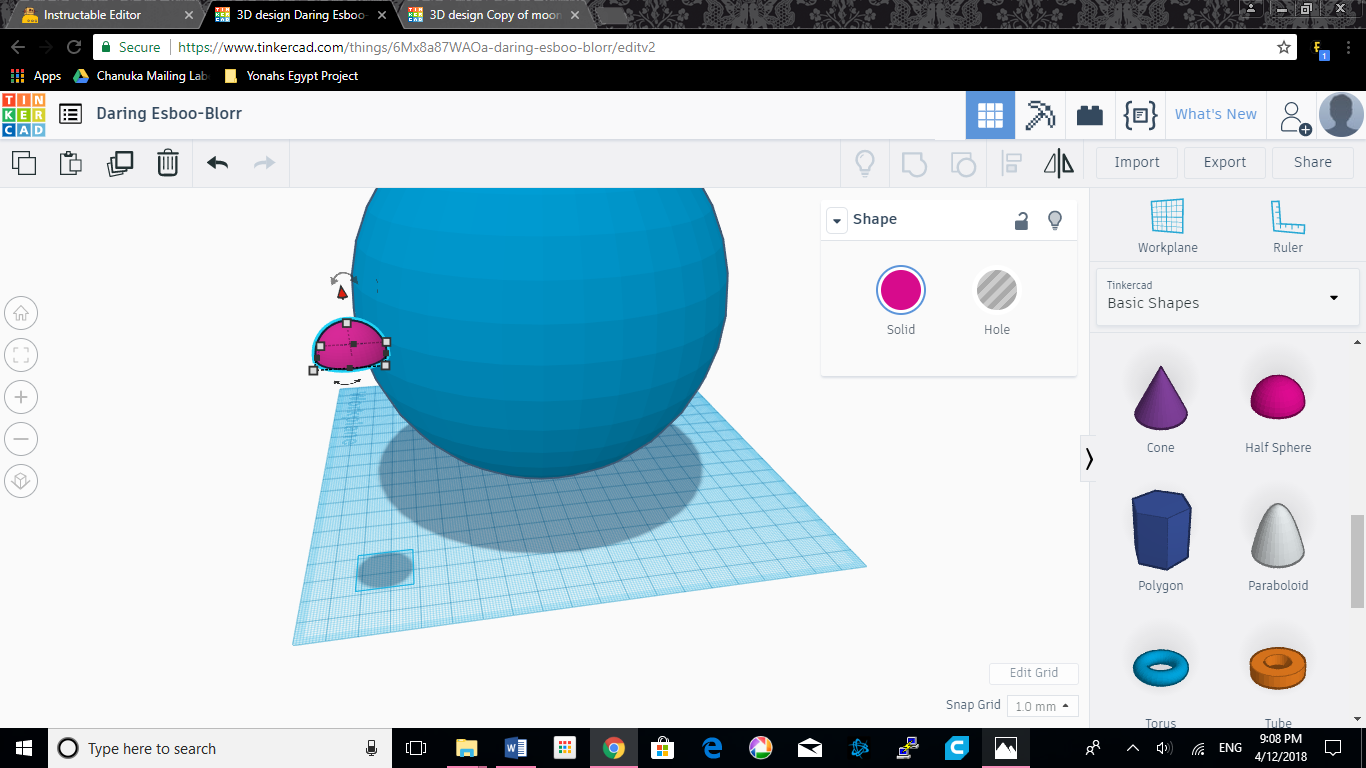
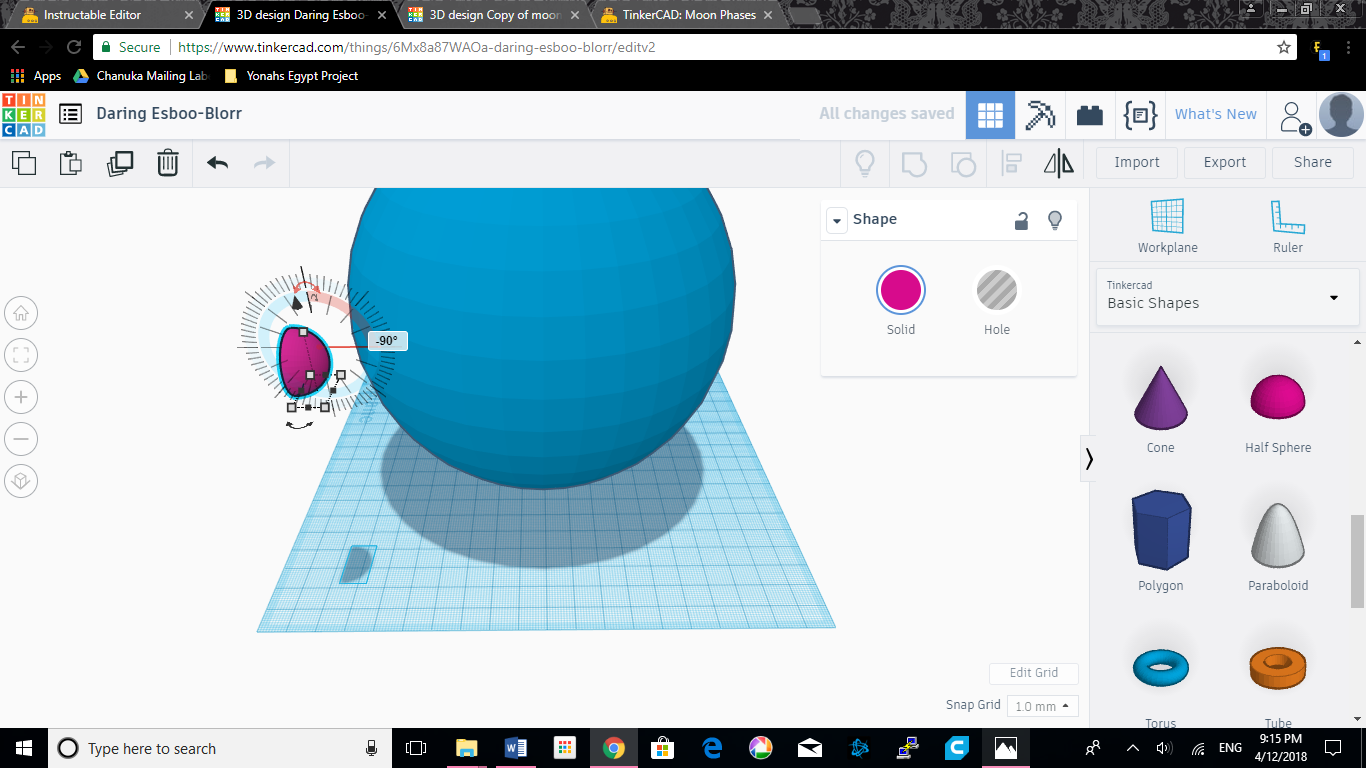
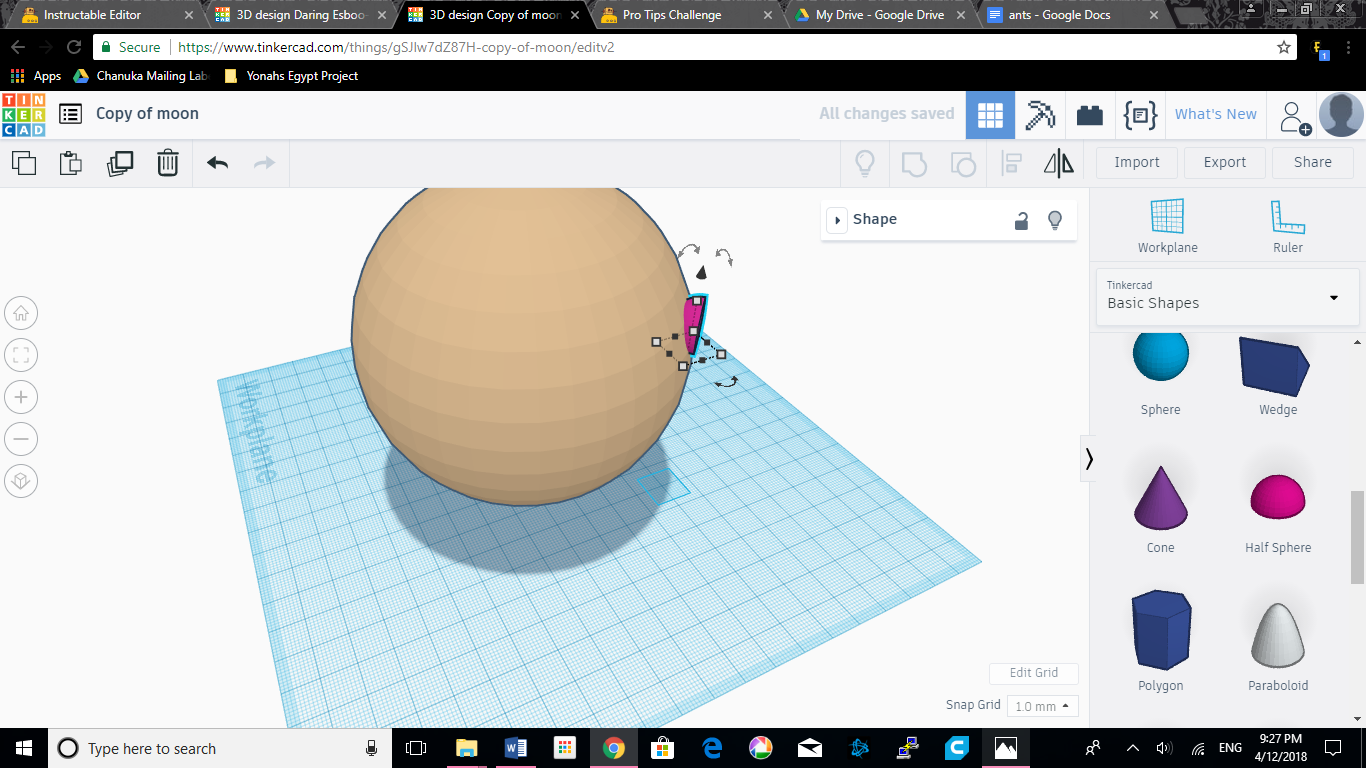
Rotate the half sphere 90° toward the right of the screen, when the half sphere is on the left of the screen using the curved arrows on top of the shape.
Change your viewpoint so the corner of the workspace is pointing toward you, and the half sphere flat side faces left.
Rotate the sphere again so the flat part is "parallel" to the main body of the moon.
How to Make a Crater: Part Three: Placement and Holing
.png)
.png)
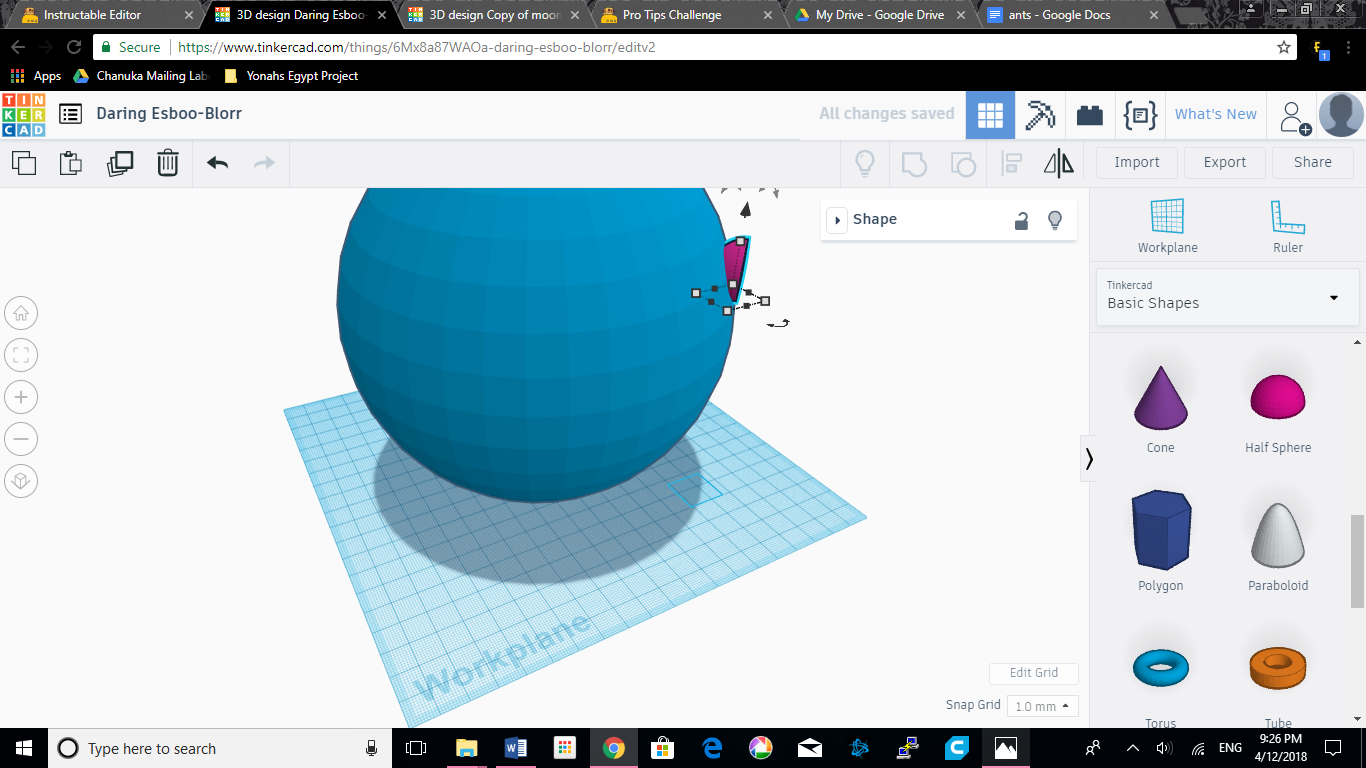
Here comes the tricky part. change your view back so the left corner points at you. move the half-sphere back towards the moon until the bottom edge is almost level with the surface.
change your view back to where it was in the previous step, but a little to the right, so you can see the side and the flat face of the half-sphere.
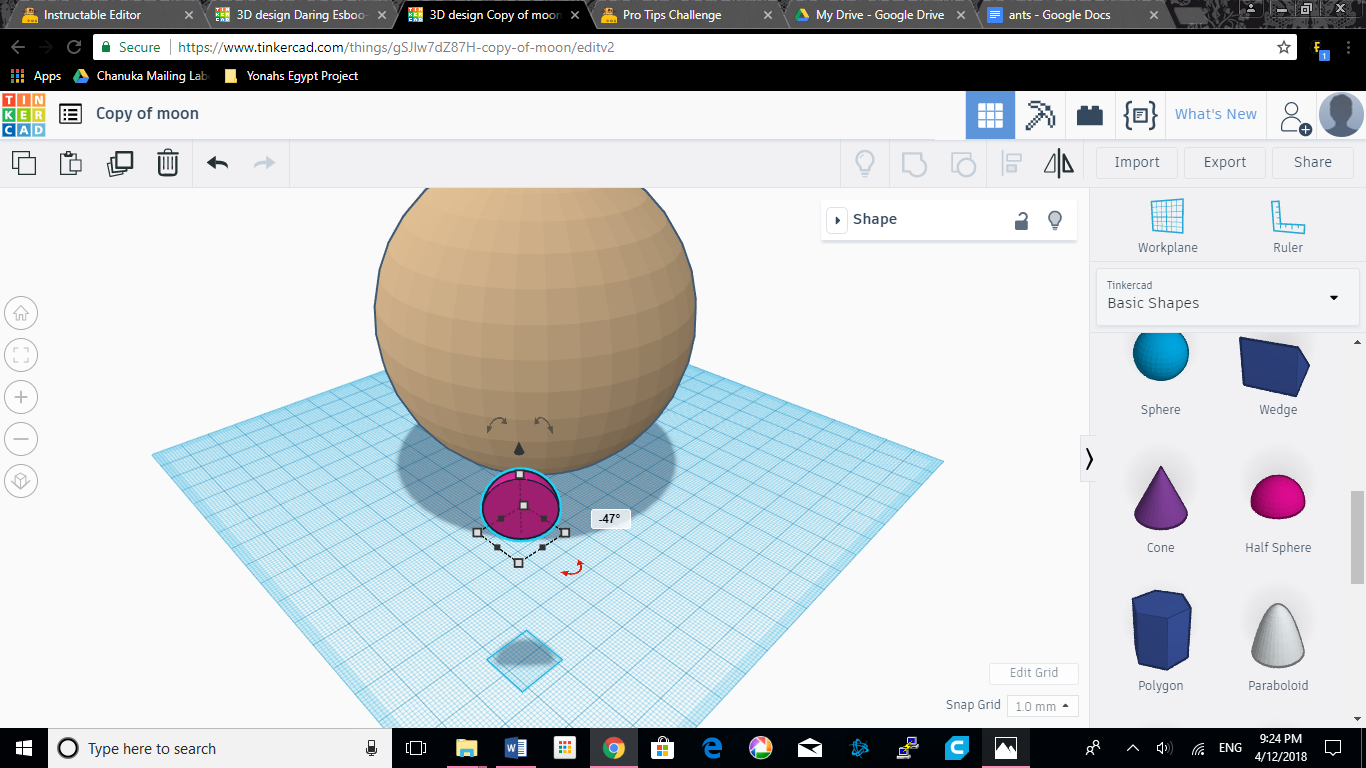
Now, using the rotating tool that is almost parrallel to you, swivel it back about 20° so it looks like the second set of pics.
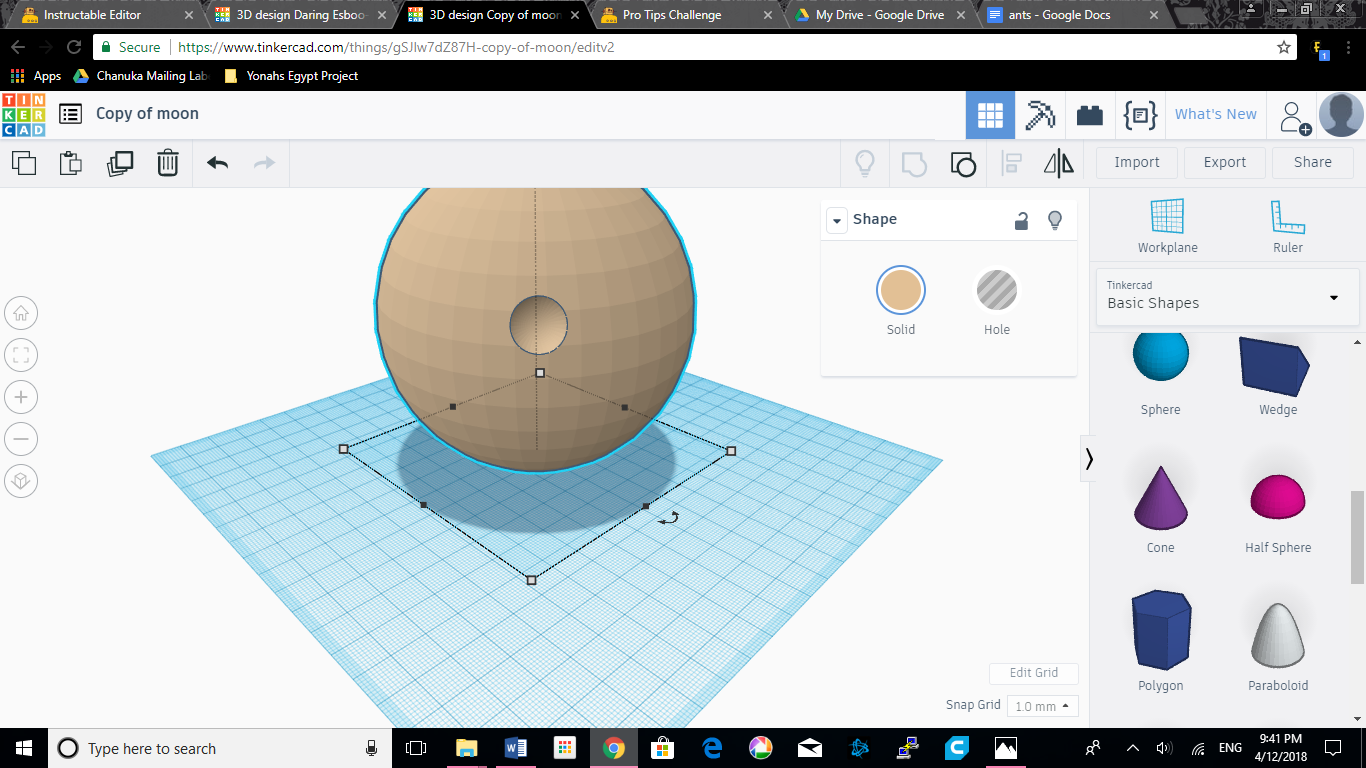
Now, get that box back with the solid and the hole. If you've taken the tutorial, you can guess what comes next. Make sure you have the shape in the right position. push it into the circle as much as possible before doing this. Near the top it says the word "Shape with a little arrow next to it. make sure you have the half-sphere selected and swith it from solid to hole.
Now click somewhere with no shapes to deselect everything. Now, hold down the shift key and click the hlaf-sphere-hole and the ball of the moon. near the top an option has a picture of a square and circle merged. click on it. This joins together the shape and hole creating a shape with a hole in it.
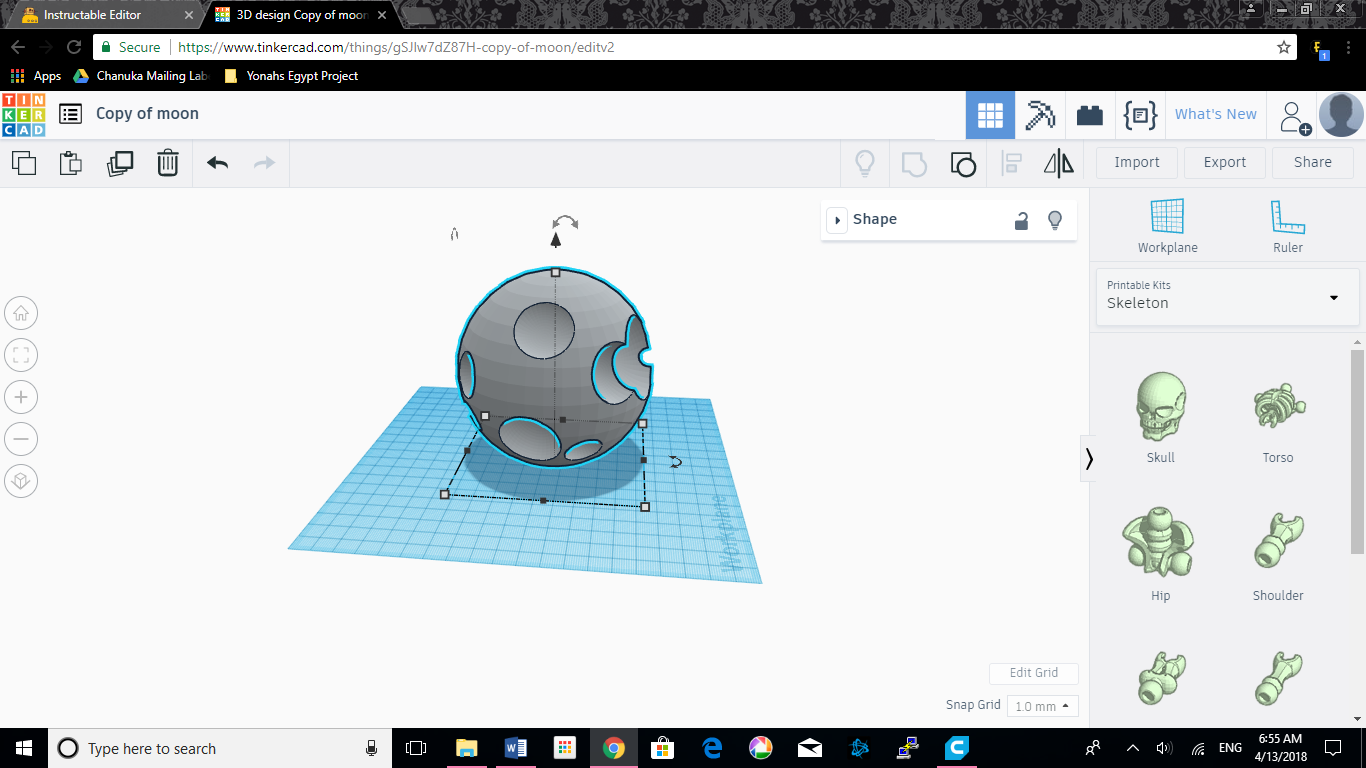
Done
.png)
.png)
.png)
You now know how to make a crater. Repeat the process, ungroup the shapes and copy and paste the crater, make smaller and bigger craters, whatever you like. download it, slice it, and print! I'm using blue filament because I'm casting it anyway, but even if you're on a budget and only have a non-gray filament you can always use paint. I would check how much grey paint costs, though. If it's a high enough price you might as well buy gray filament. (See my casting instructable, coming out sometime in april or may 2018 for finished piece.)