How to 3D Print a Stained 'Glass' Window
by KurtH3 in Workshop > 3D Printing
15343 Views, 110 Favorites, 0 Comments
How to 3D Print a Stained 'Glass' Window
This is a quick tutorial on how you can make stained 'glass' window with your 3D printer.
There's no lead or glass involved - just a 3D printer and some creativity.
The beauty and complexity is nearly unlimited and you can do it all with your single head FDM 3D printer.
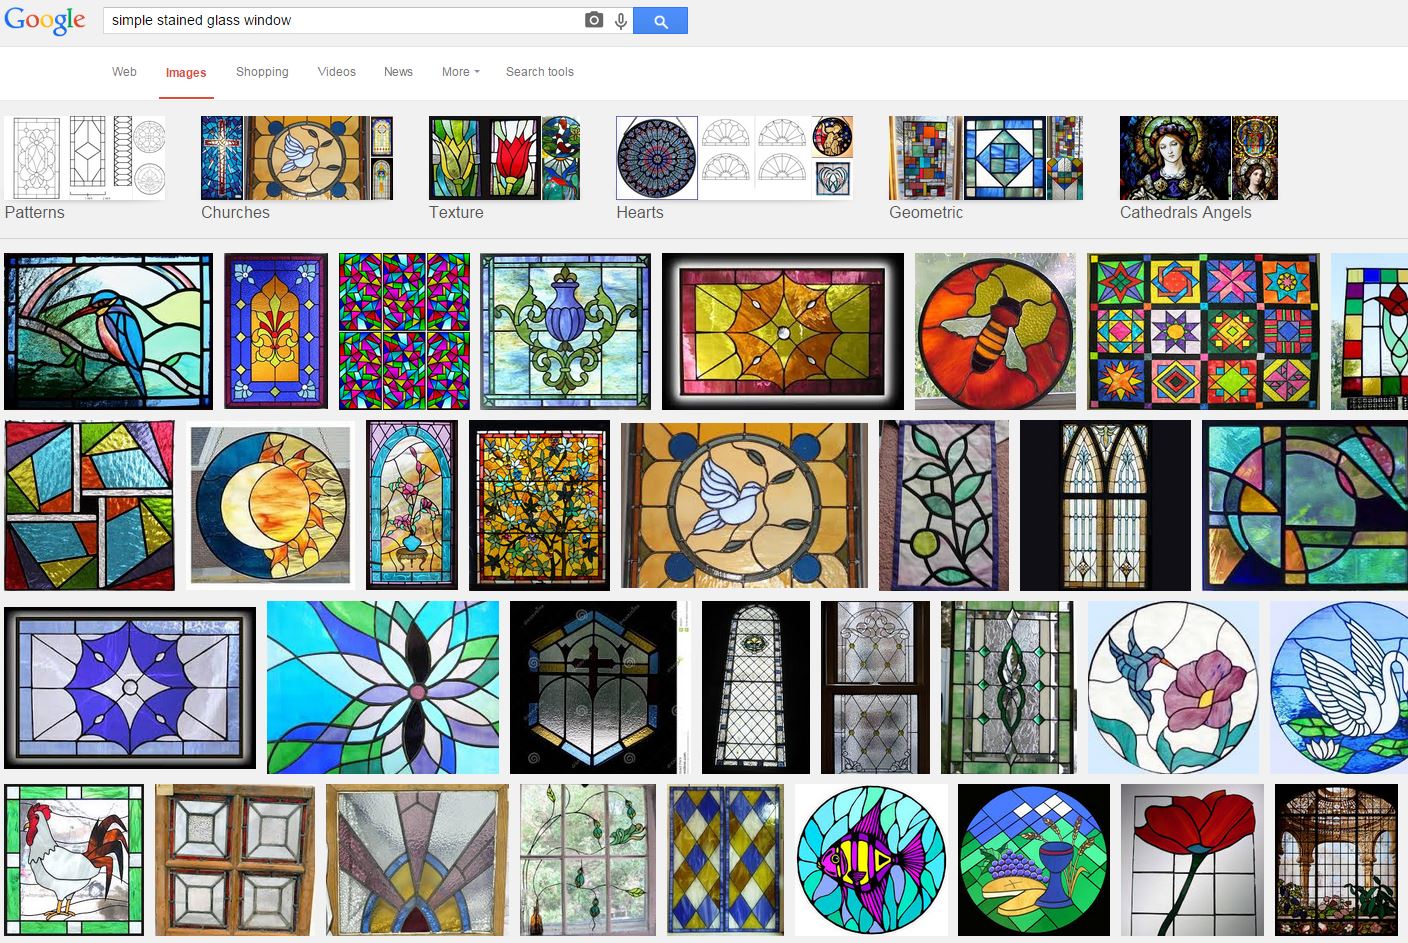
Google Image Search "Stained Glass Window"
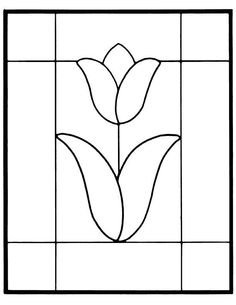
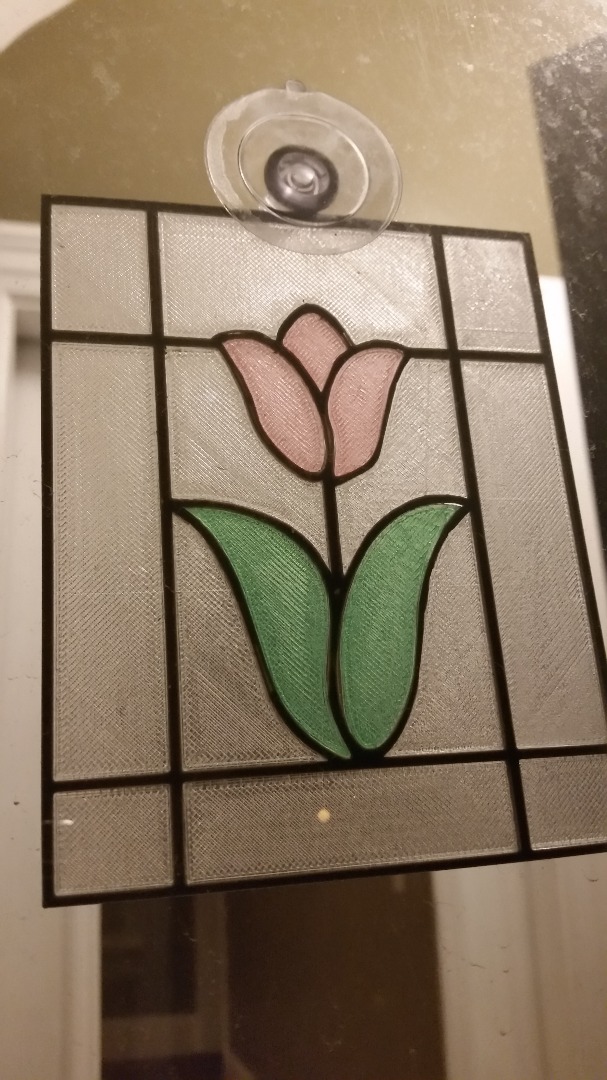
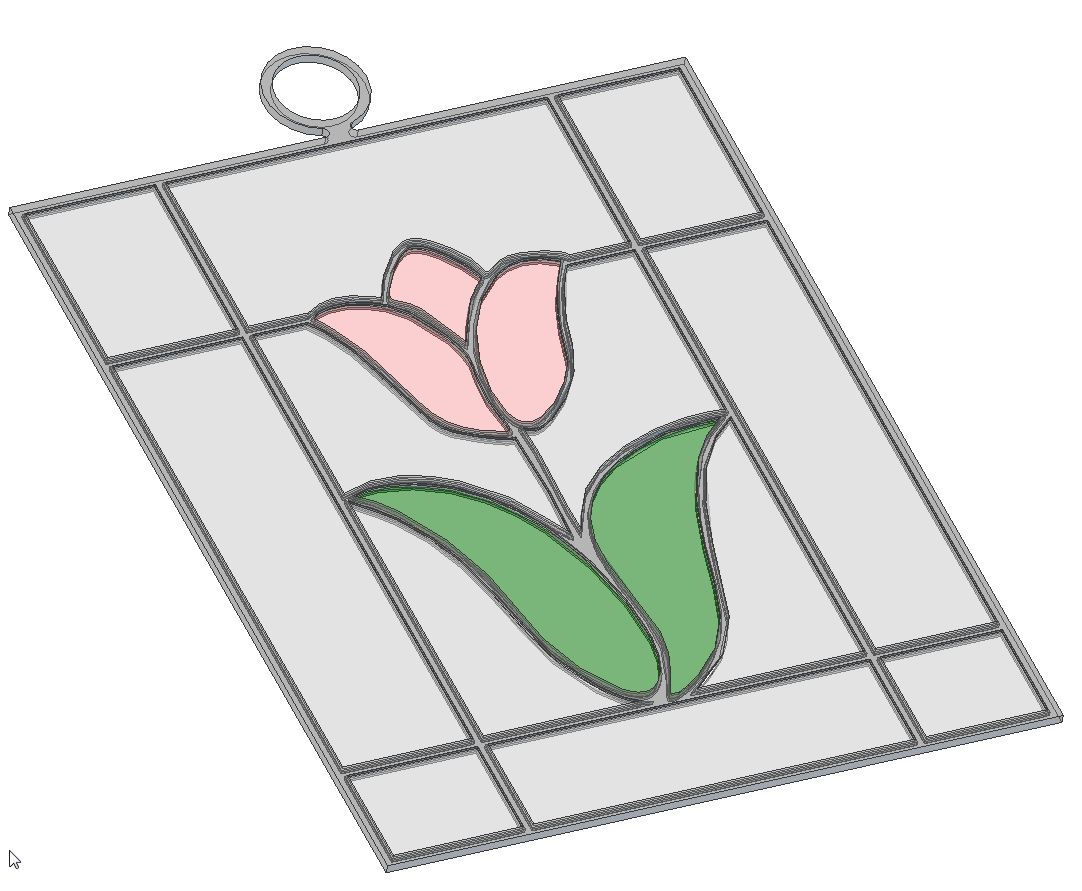
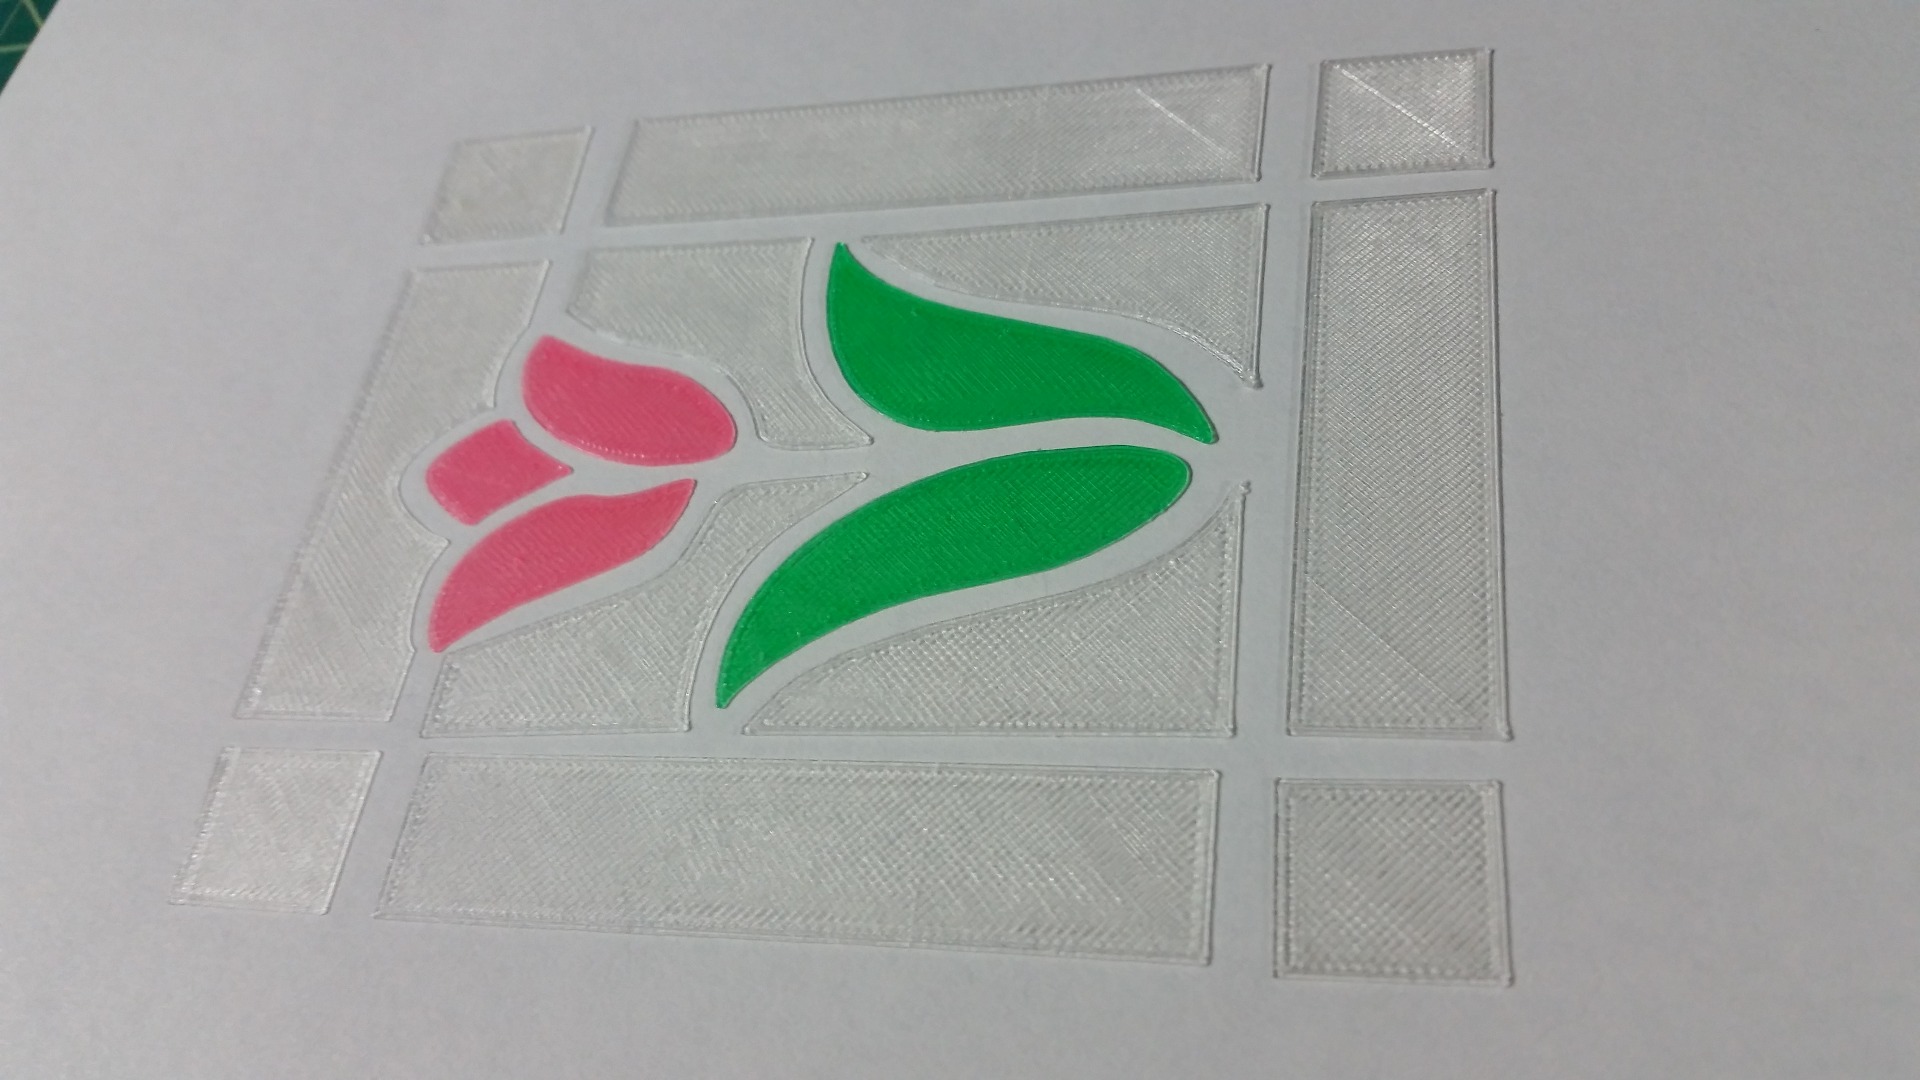
Ok if you have your MFA in stained glass windows you can probably skip this step but for me I needed some thing to start with so I found a pattern that would make sense with the colors of PLA I had on hand.
I picked this simple flower because I had some red for the petals, green for the leaves, white for the background, and grey for the 'lead'
.
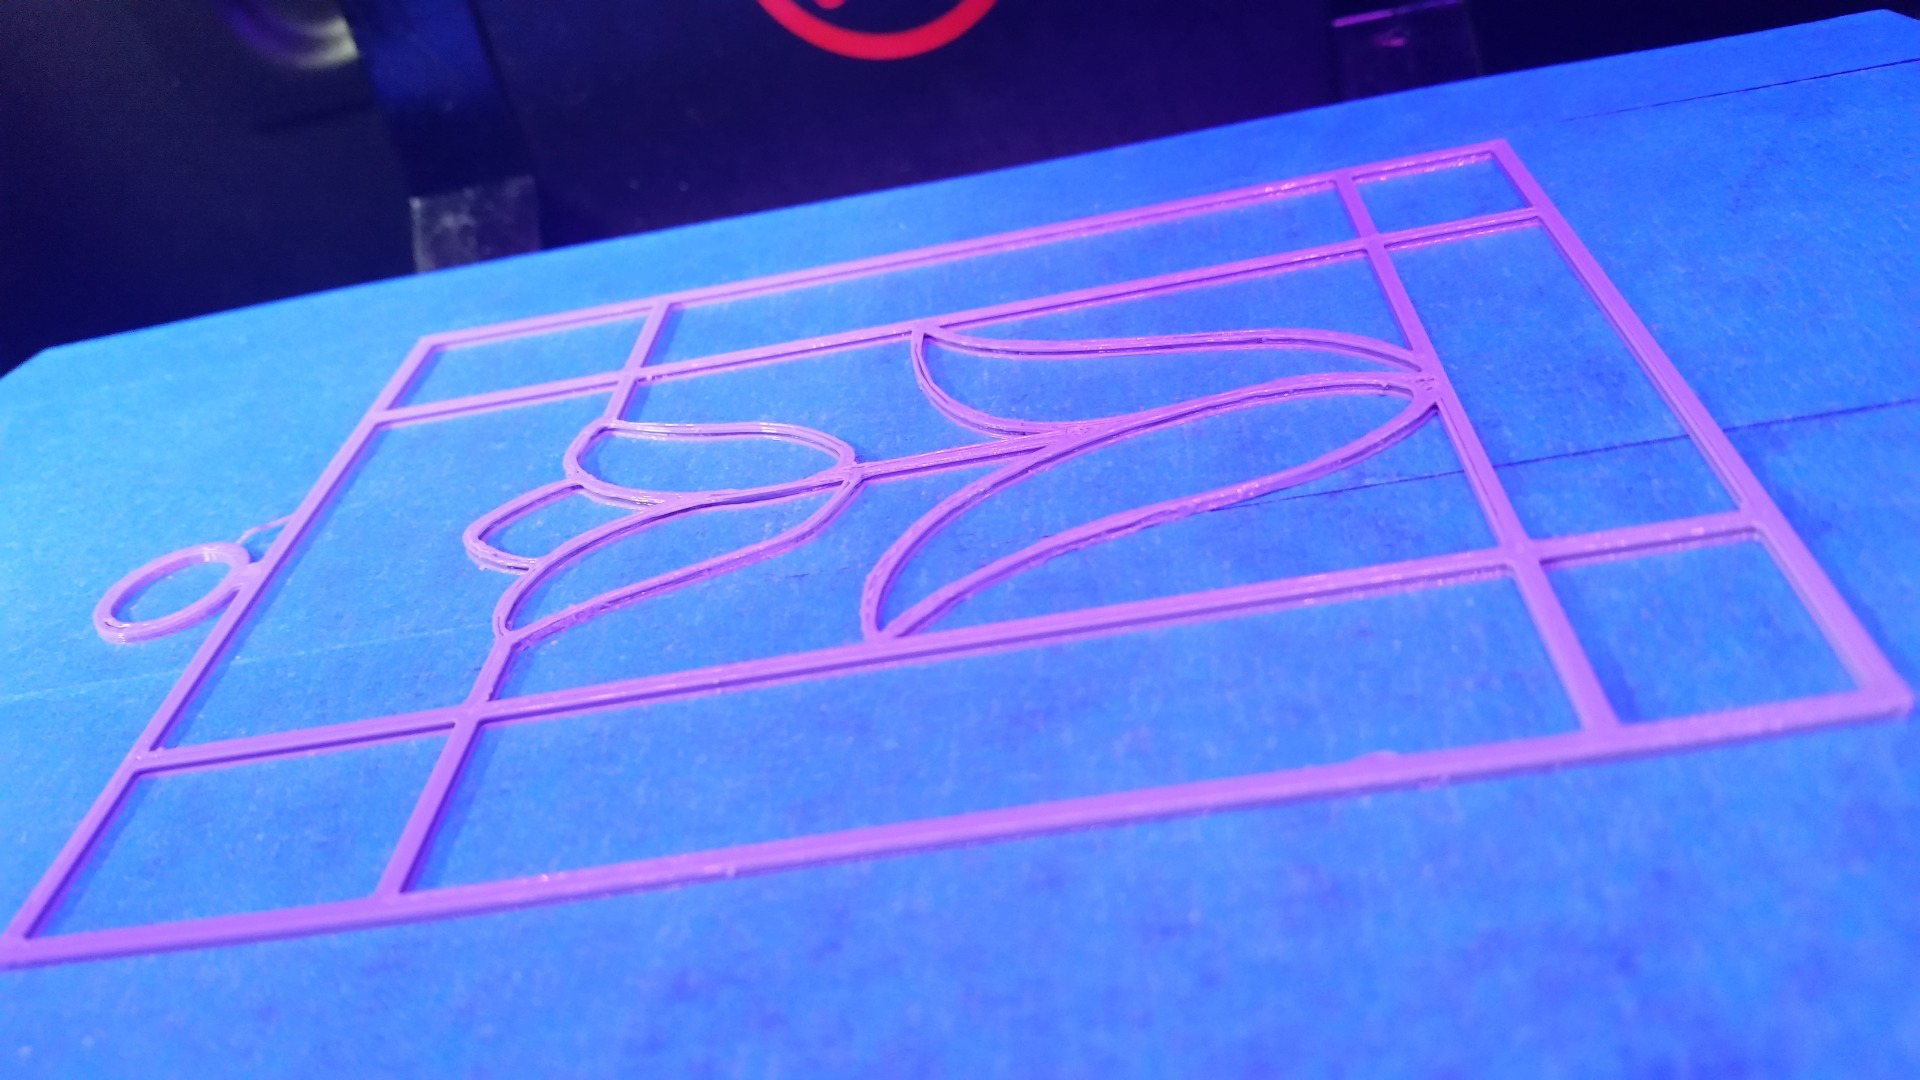
Replicate the Frame in CAD
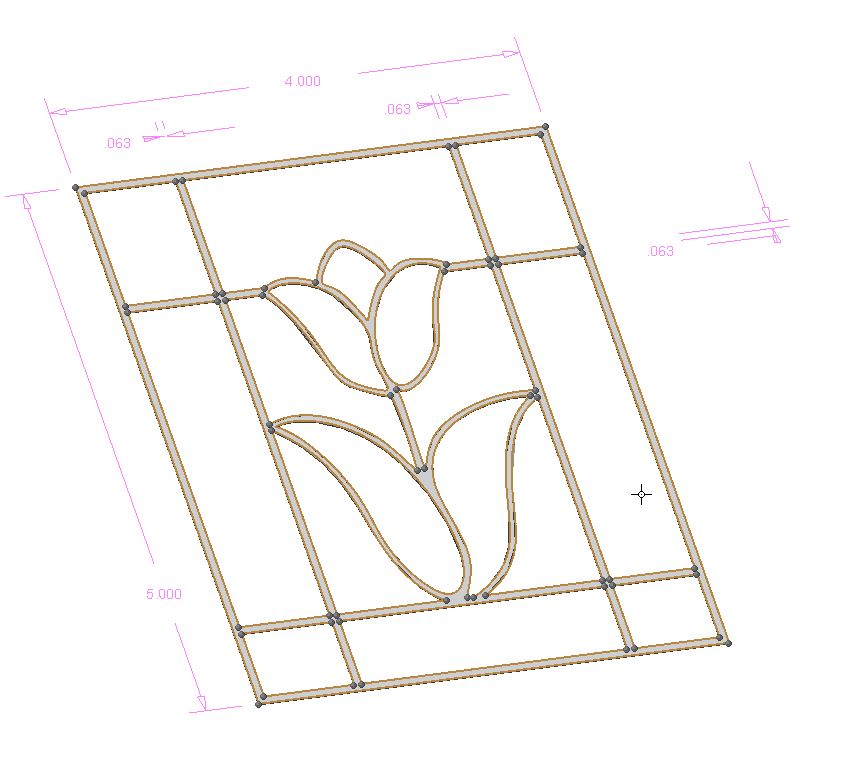
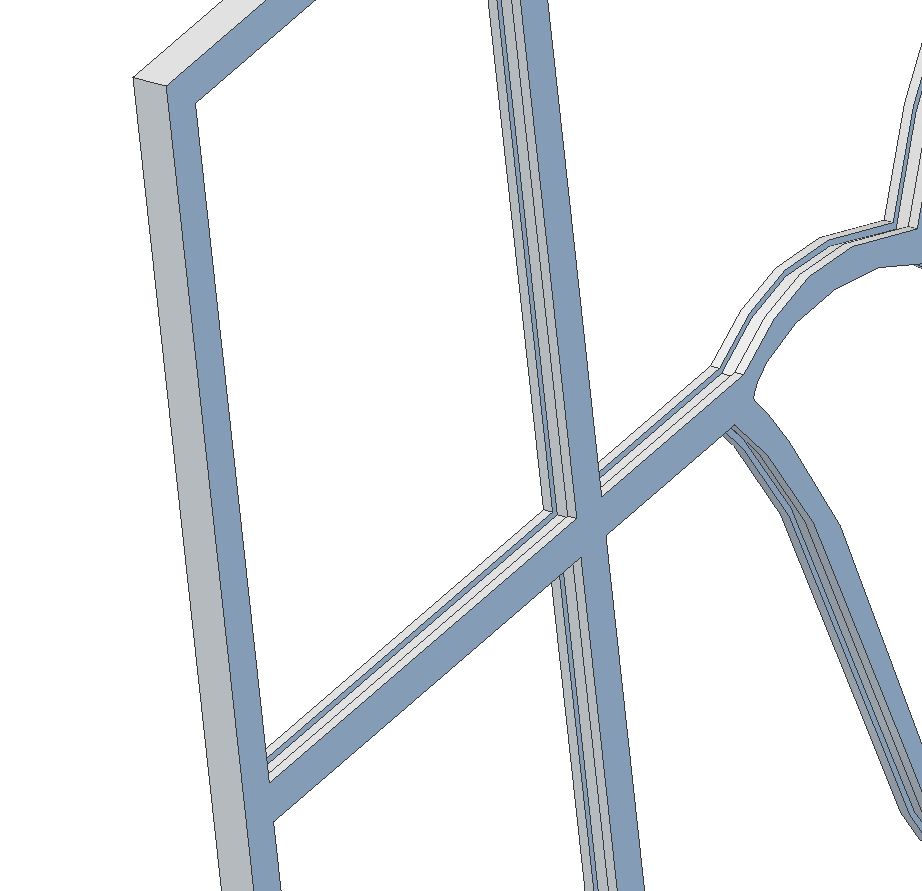
- Start with a 'stick figure' that will fit inside your build tray (This one is 4" x 5")
-Use the offset feature in your CAD software to give your stick figure frame some width.
Some experimentation shows that a 1/16" wide frame will look proportional to a 4" x 5" tile
Most 3D printers won't do well with a frame thinner than 1/16 (0.0625")
-Use offset and extrude features make channel in the parameter of each cell. This channel is 0.025" wide to capture what will be 0.025" glass panels. The depth of the groove is a mere 0.01" in this example it probably could have been a bit deeper.
- Note I'm also adding a loop to hang the panel when I'm done. The size and shape of this loop is up to you I picked a diameter that would accept a suction cup!
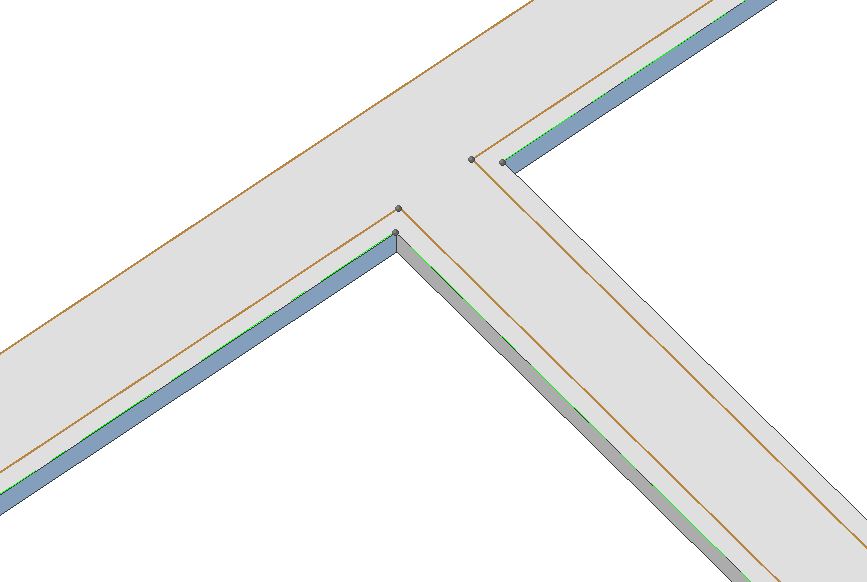
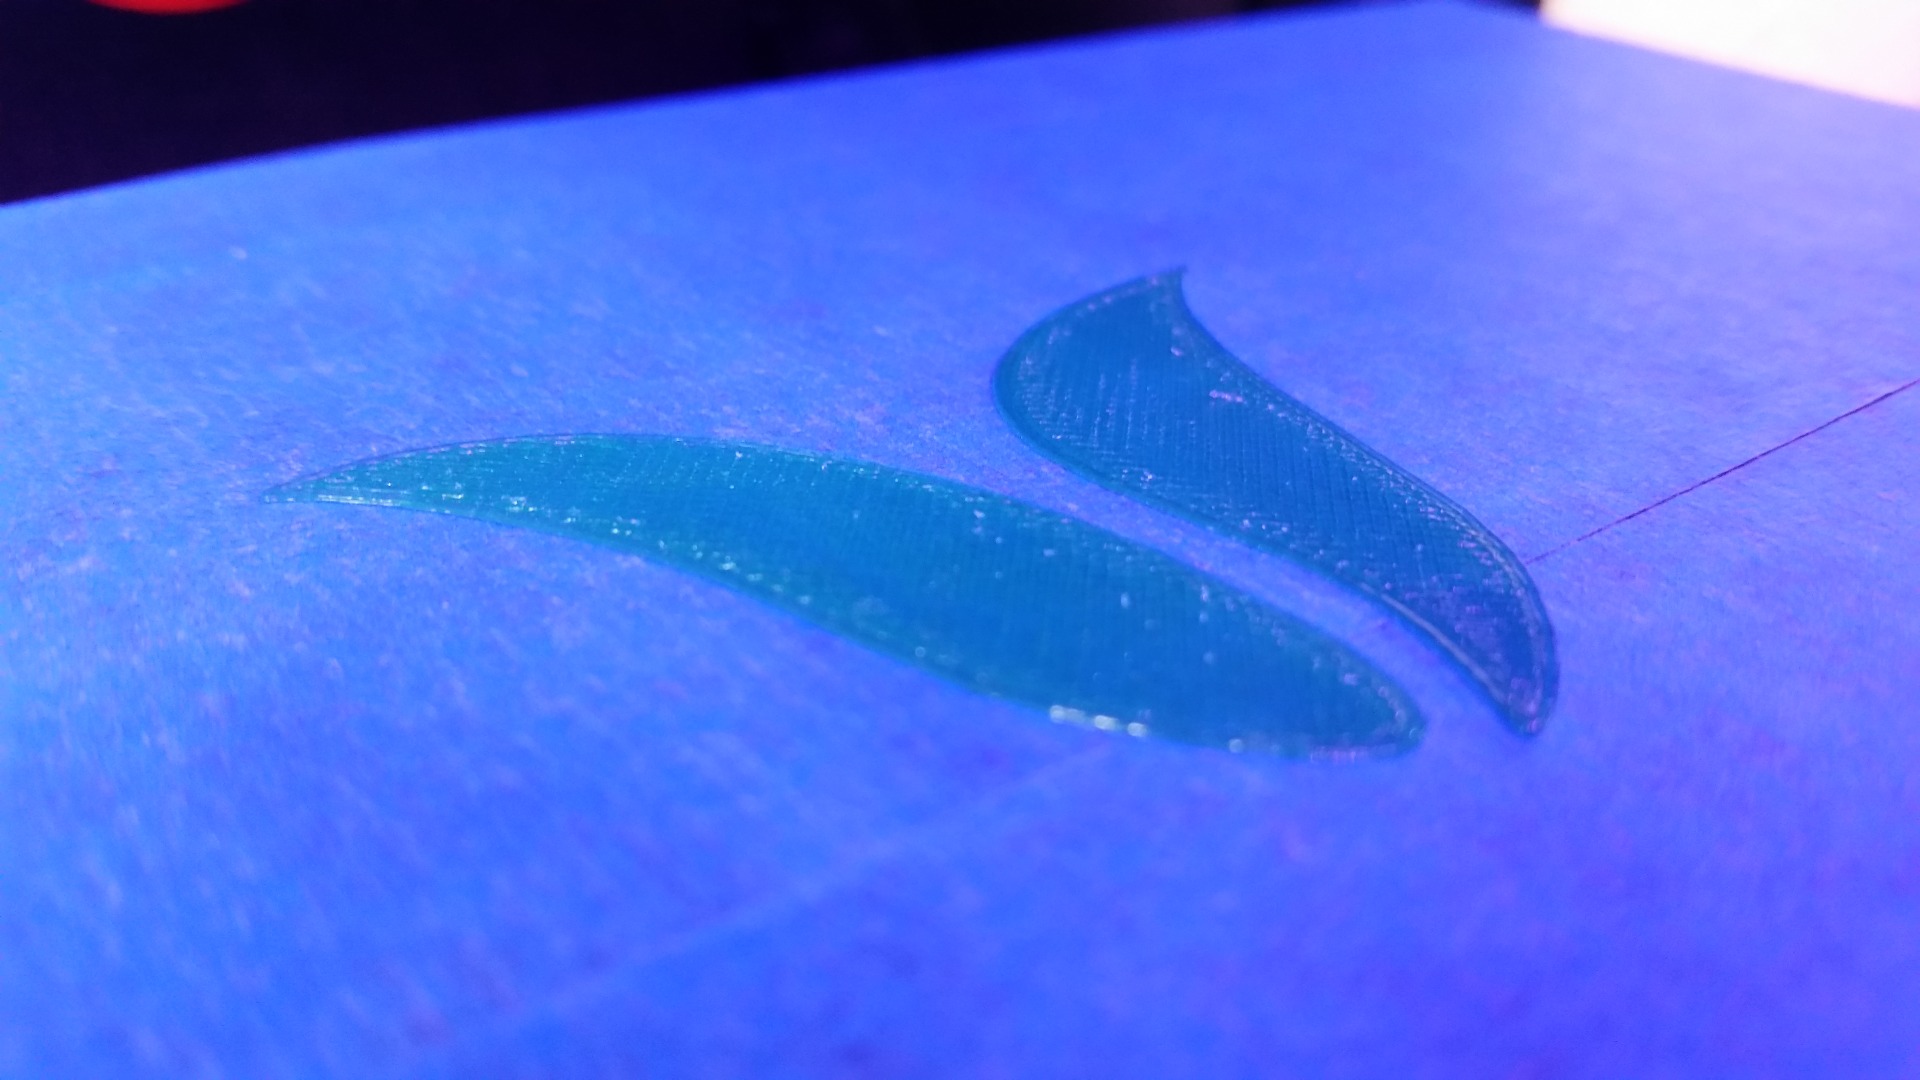
Model Your Panels
Once the frame is modeled, the panels are simple.
If this step is not easy you're doing something wrong.
Don't worry about figuring out clearances, just use the edges of the groove you made to build the panels.
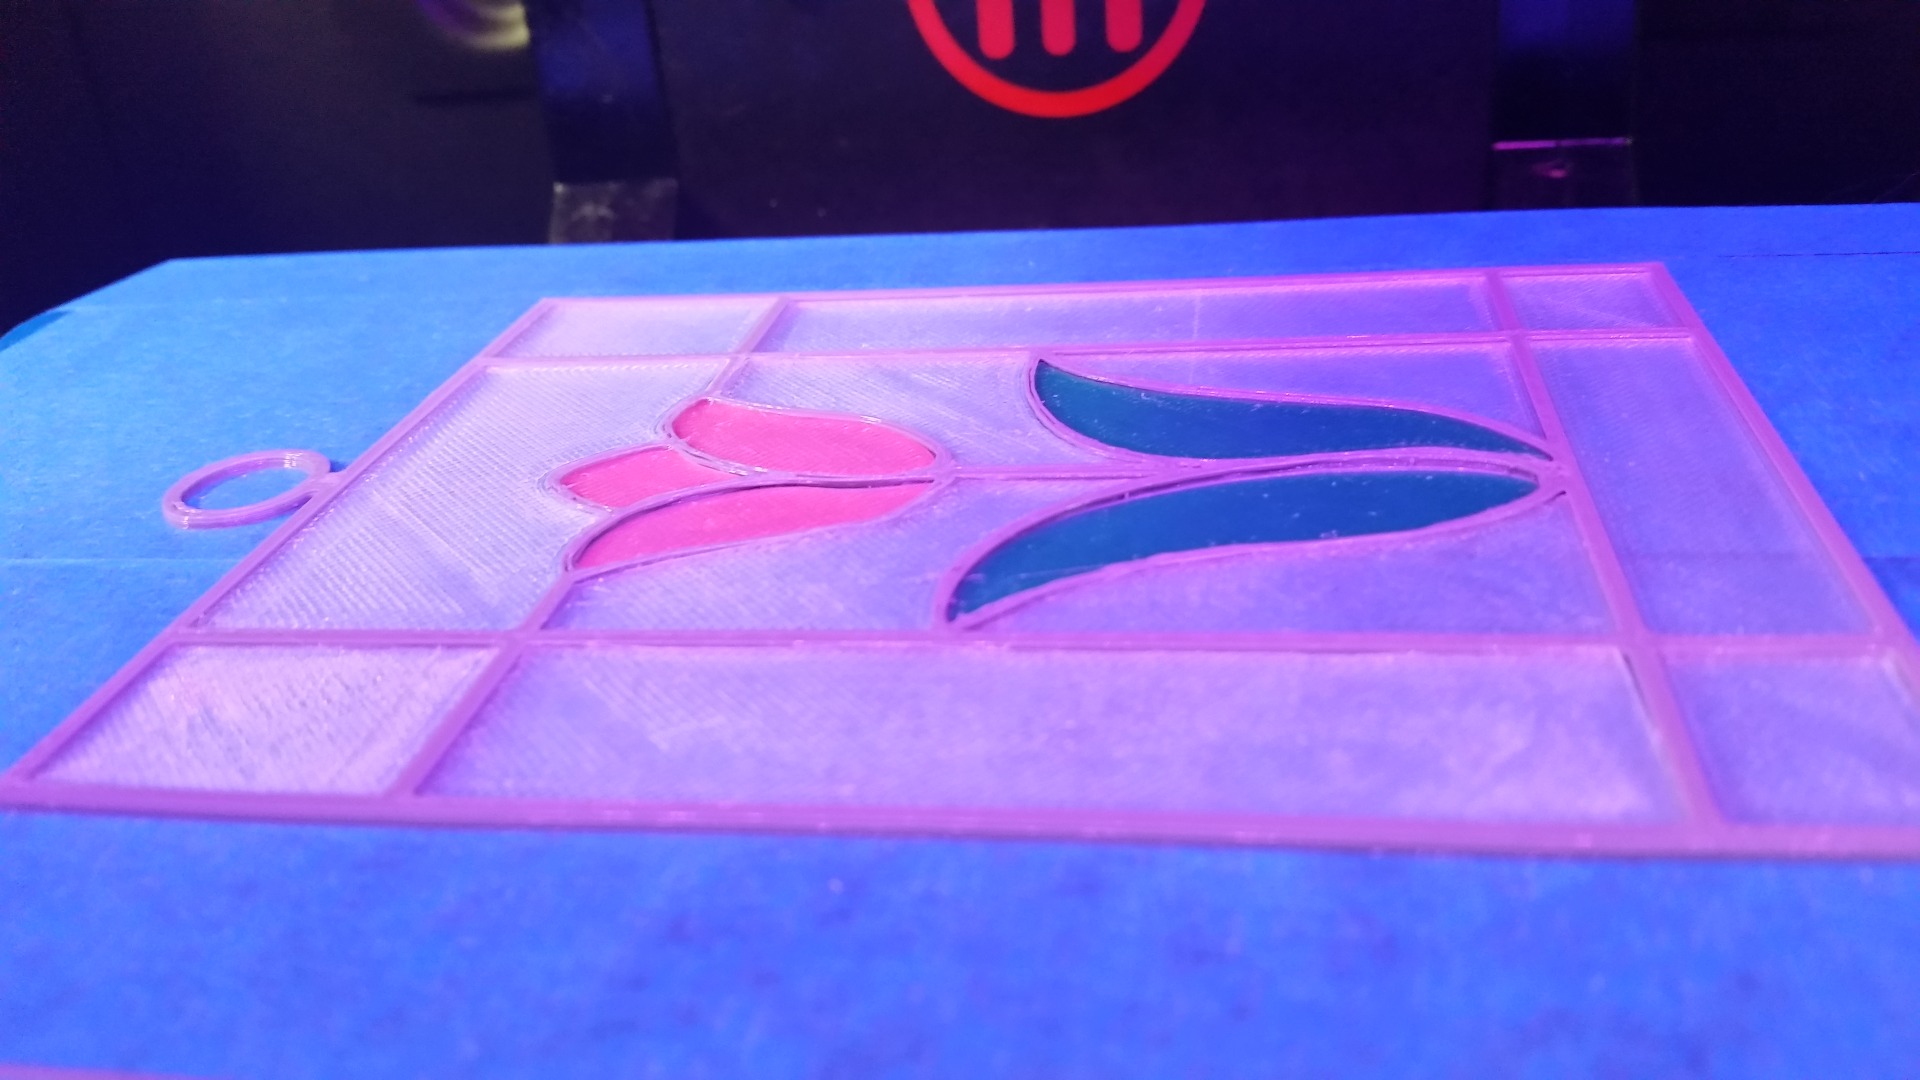
Don't forget the negative space Here I've made 17 panels in all.
Once you have a sketch, extrude it so that it is 0.015" thick. This works out to be about 2 layers on your 3D printer and is thin enough to let light pass.
Print Your Panels by Color
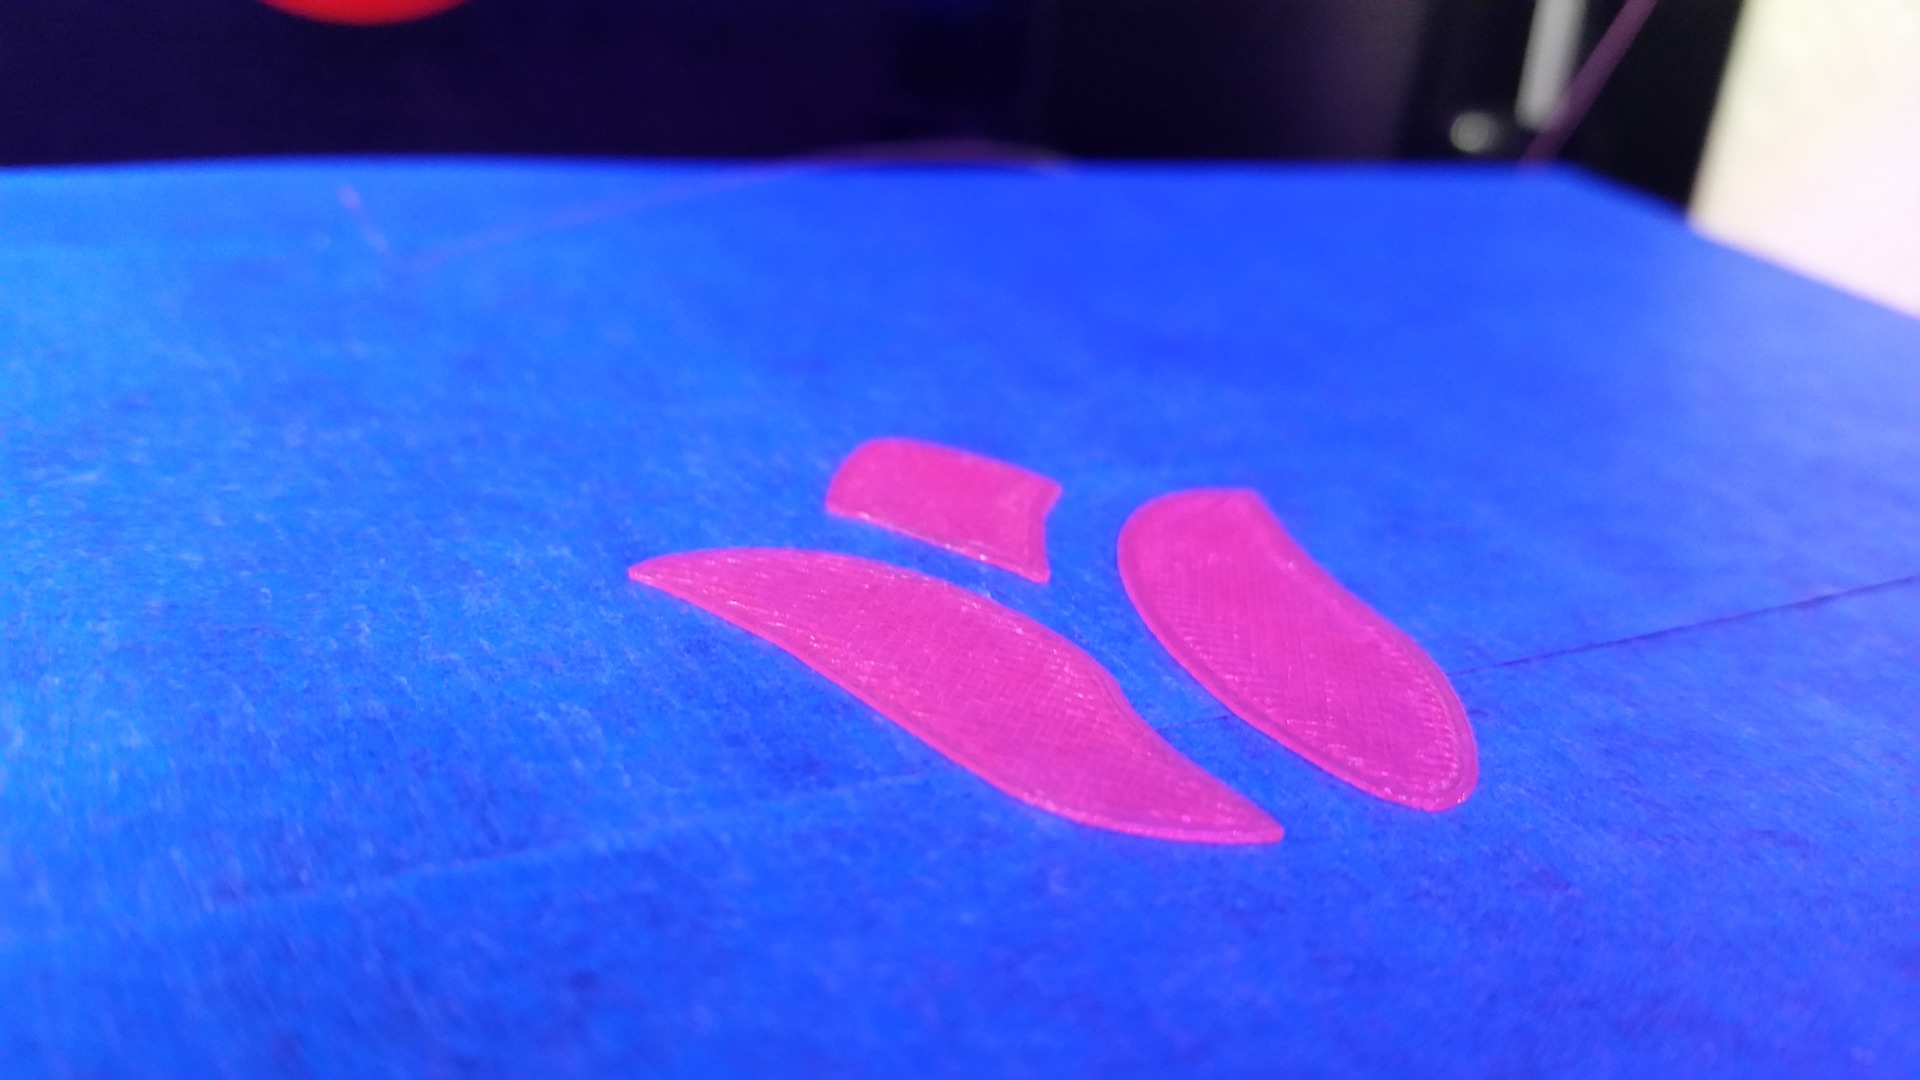
Panels of the same color can stay together from export to printing
These 16 panels were made from 3 STL's files
Stage Your Panels
Keep all your panels in order. They may look interchangeable but unless you were super precise in your modeling they won't be. Once you have all of your panels, and only after you have all of your panels you can print the frame.
Its a good idea to print out 2 sets of panels. If something goes wrong in your last steps you will find yourself in the situation of having to unload your frame color, load the color of a panel you need to replace, print the pannel, unload that color and then reload the frame color.
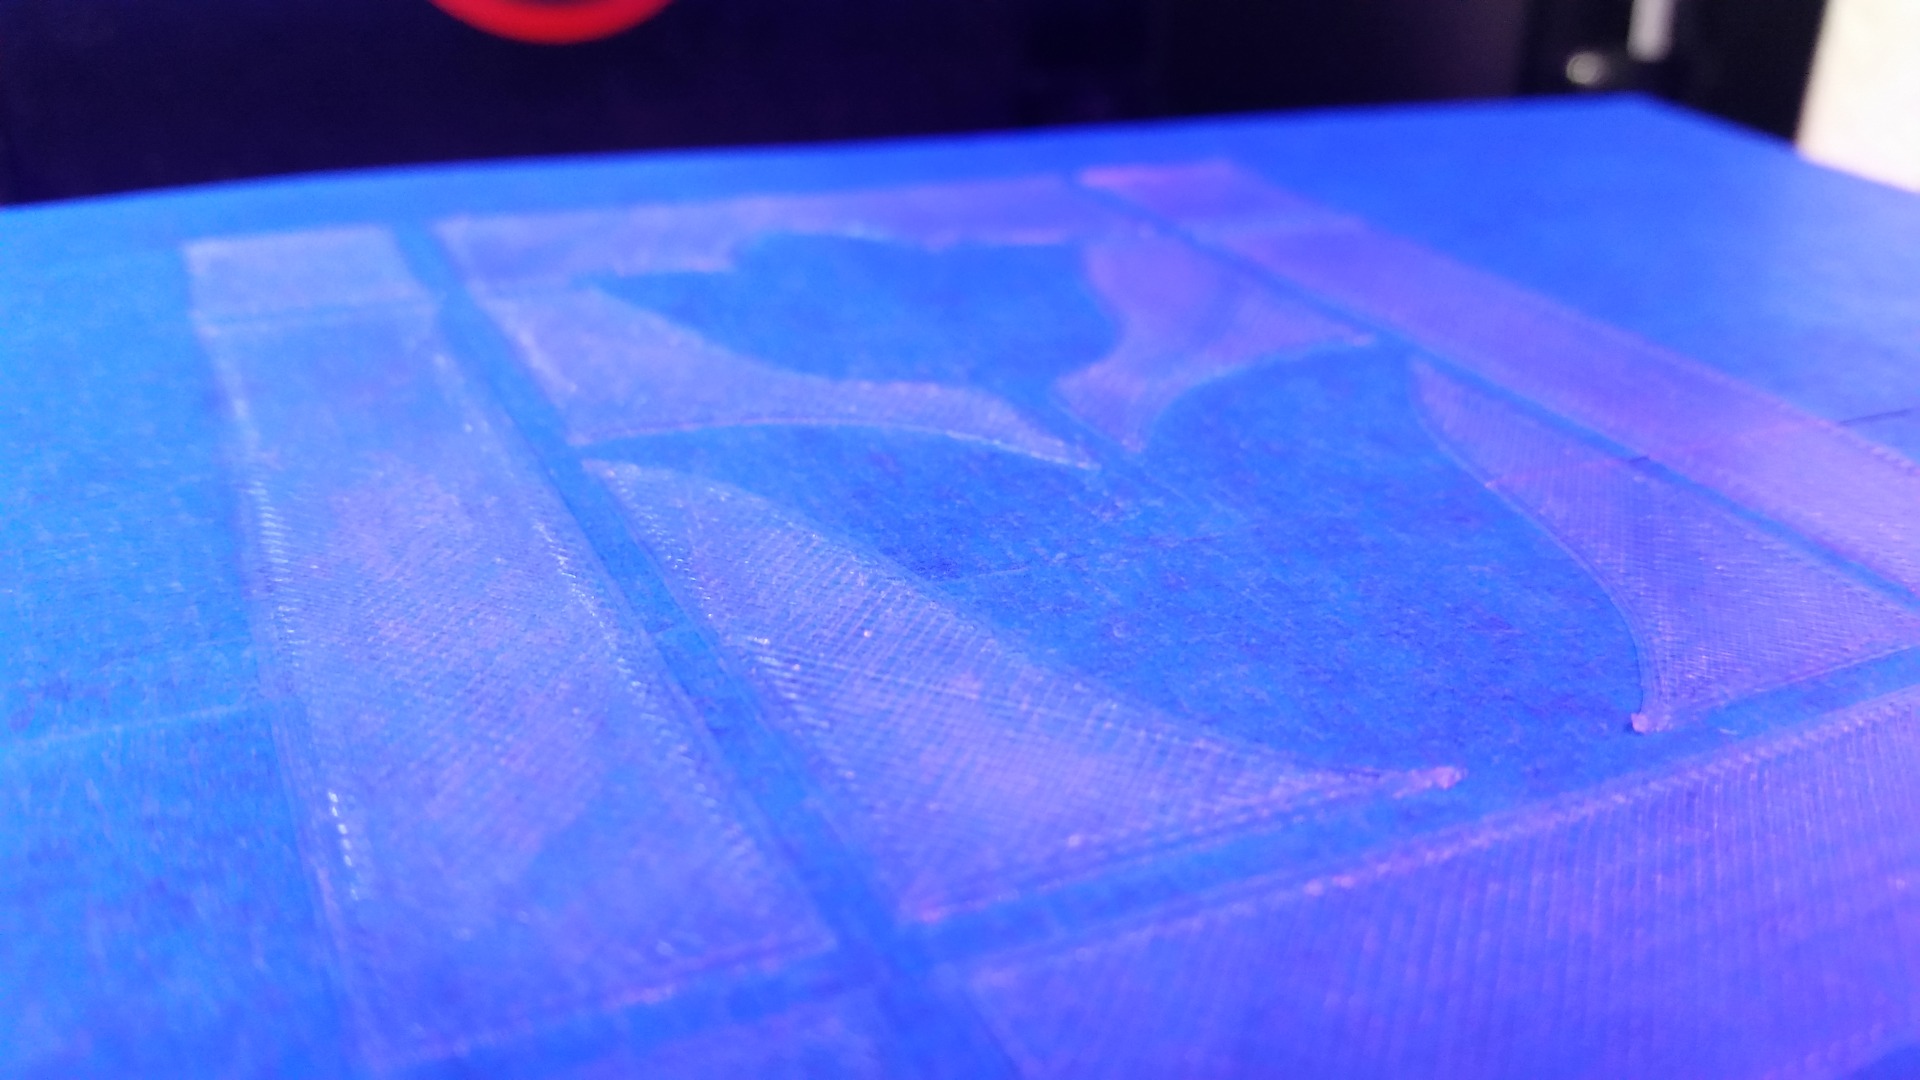
Print the Frame
Print about 3/4 of the frame and then pause the printer.
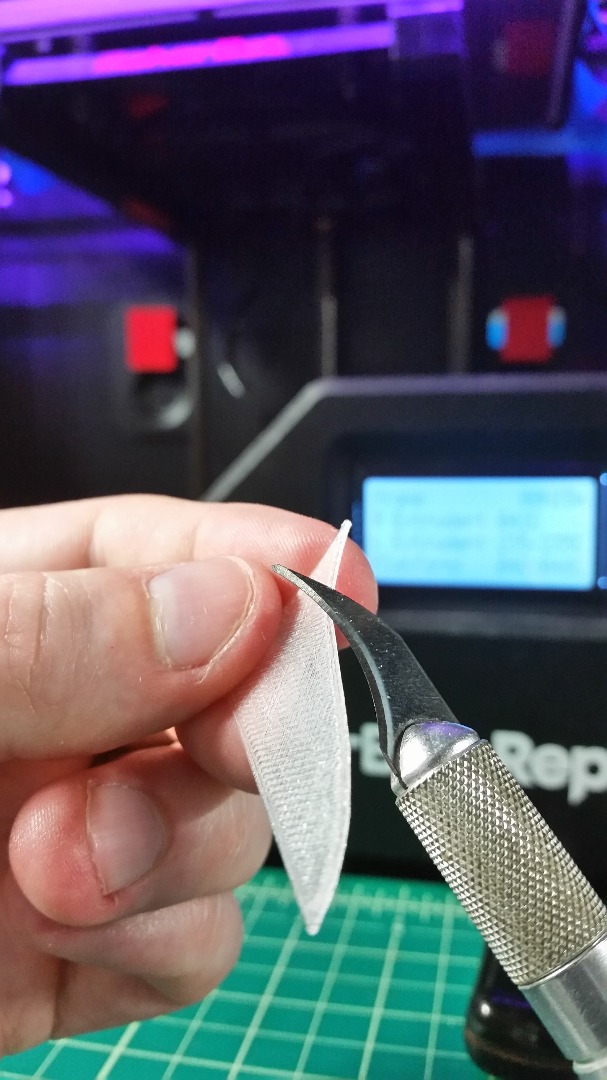
The panels should fit snugly into the half finished grooves.
Trim as necessary but be careful.
When everything's in place turn the printer back on.
The printer will finish the frame and lock your panels inside
Check for Loose Panels
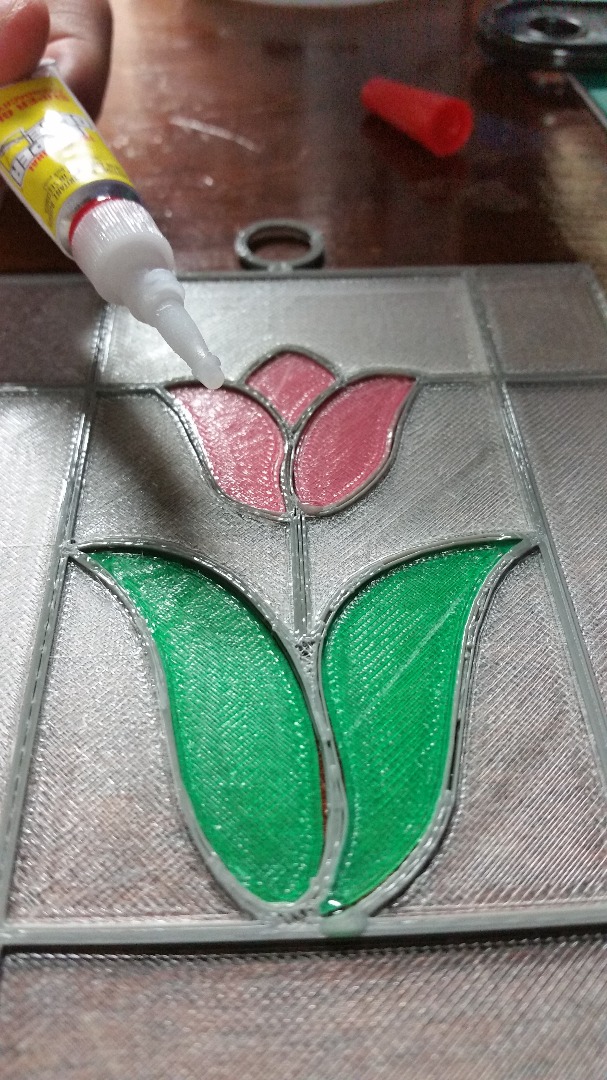
The panels should be locked in but nobody's perfect.
You may have over trimmed, your printer may be out of wack, you can use a little glue to make sure any loose panels don't come out
Attach Your Hanging Hardware
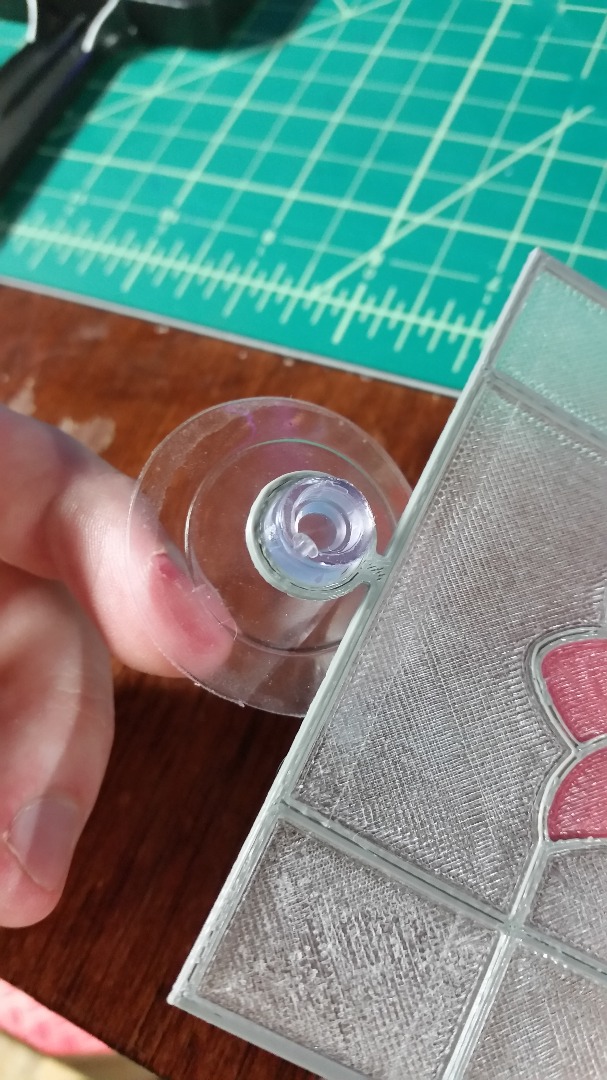
Attach your hanging hardware and display your creation proudly