How to 3D Print a Jewelry Organizer
by parksm in Craft > Printmaking
280 Views, 0 Favorites, 0 Comments
How to 3D Print a Jewelry Organizer
Many people understand the struggle of tangled necklaces and lost earrings. This is often caused by a lack of organization for your jewelry and/or not having a specific place to store it.
My friend told me that she needed a way of keeping her jewelry in one place. She wanted it to be cute as well so she could display it on her dresser. So I got to thinking..... After interviewing her and showing her my different solutions to the problem, we decided that I would make a jewelry tray with a cute little animal in the center. She loves elephants, so that is what I designed and she asked me to write her favorite bible verse on the tray.
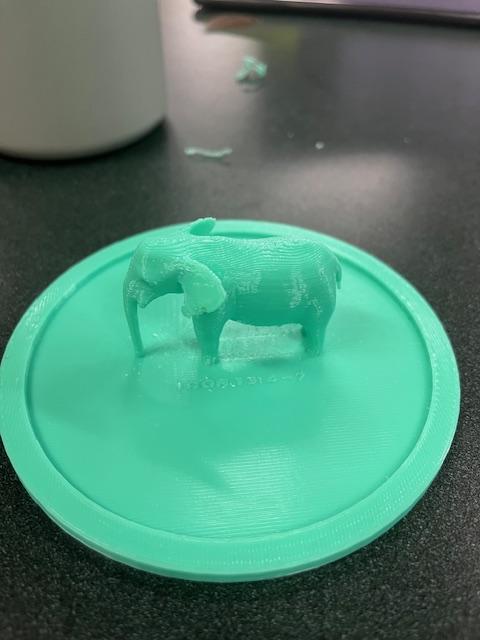
In the end, she received a 3D printed jewelry tray that she could put on her dresser and keep her things from getting lost!
Supplies
1) I used Tinkercad to create my design (Tinkercad)
2) I used PrusaSlicer to view my design and prepare it for 3D printing (PrusaSlicer)
3) To print my design, I used my teachers' 3D printer and filament
First Prototype
I created this first prototype in Tinkercad with the following steps.
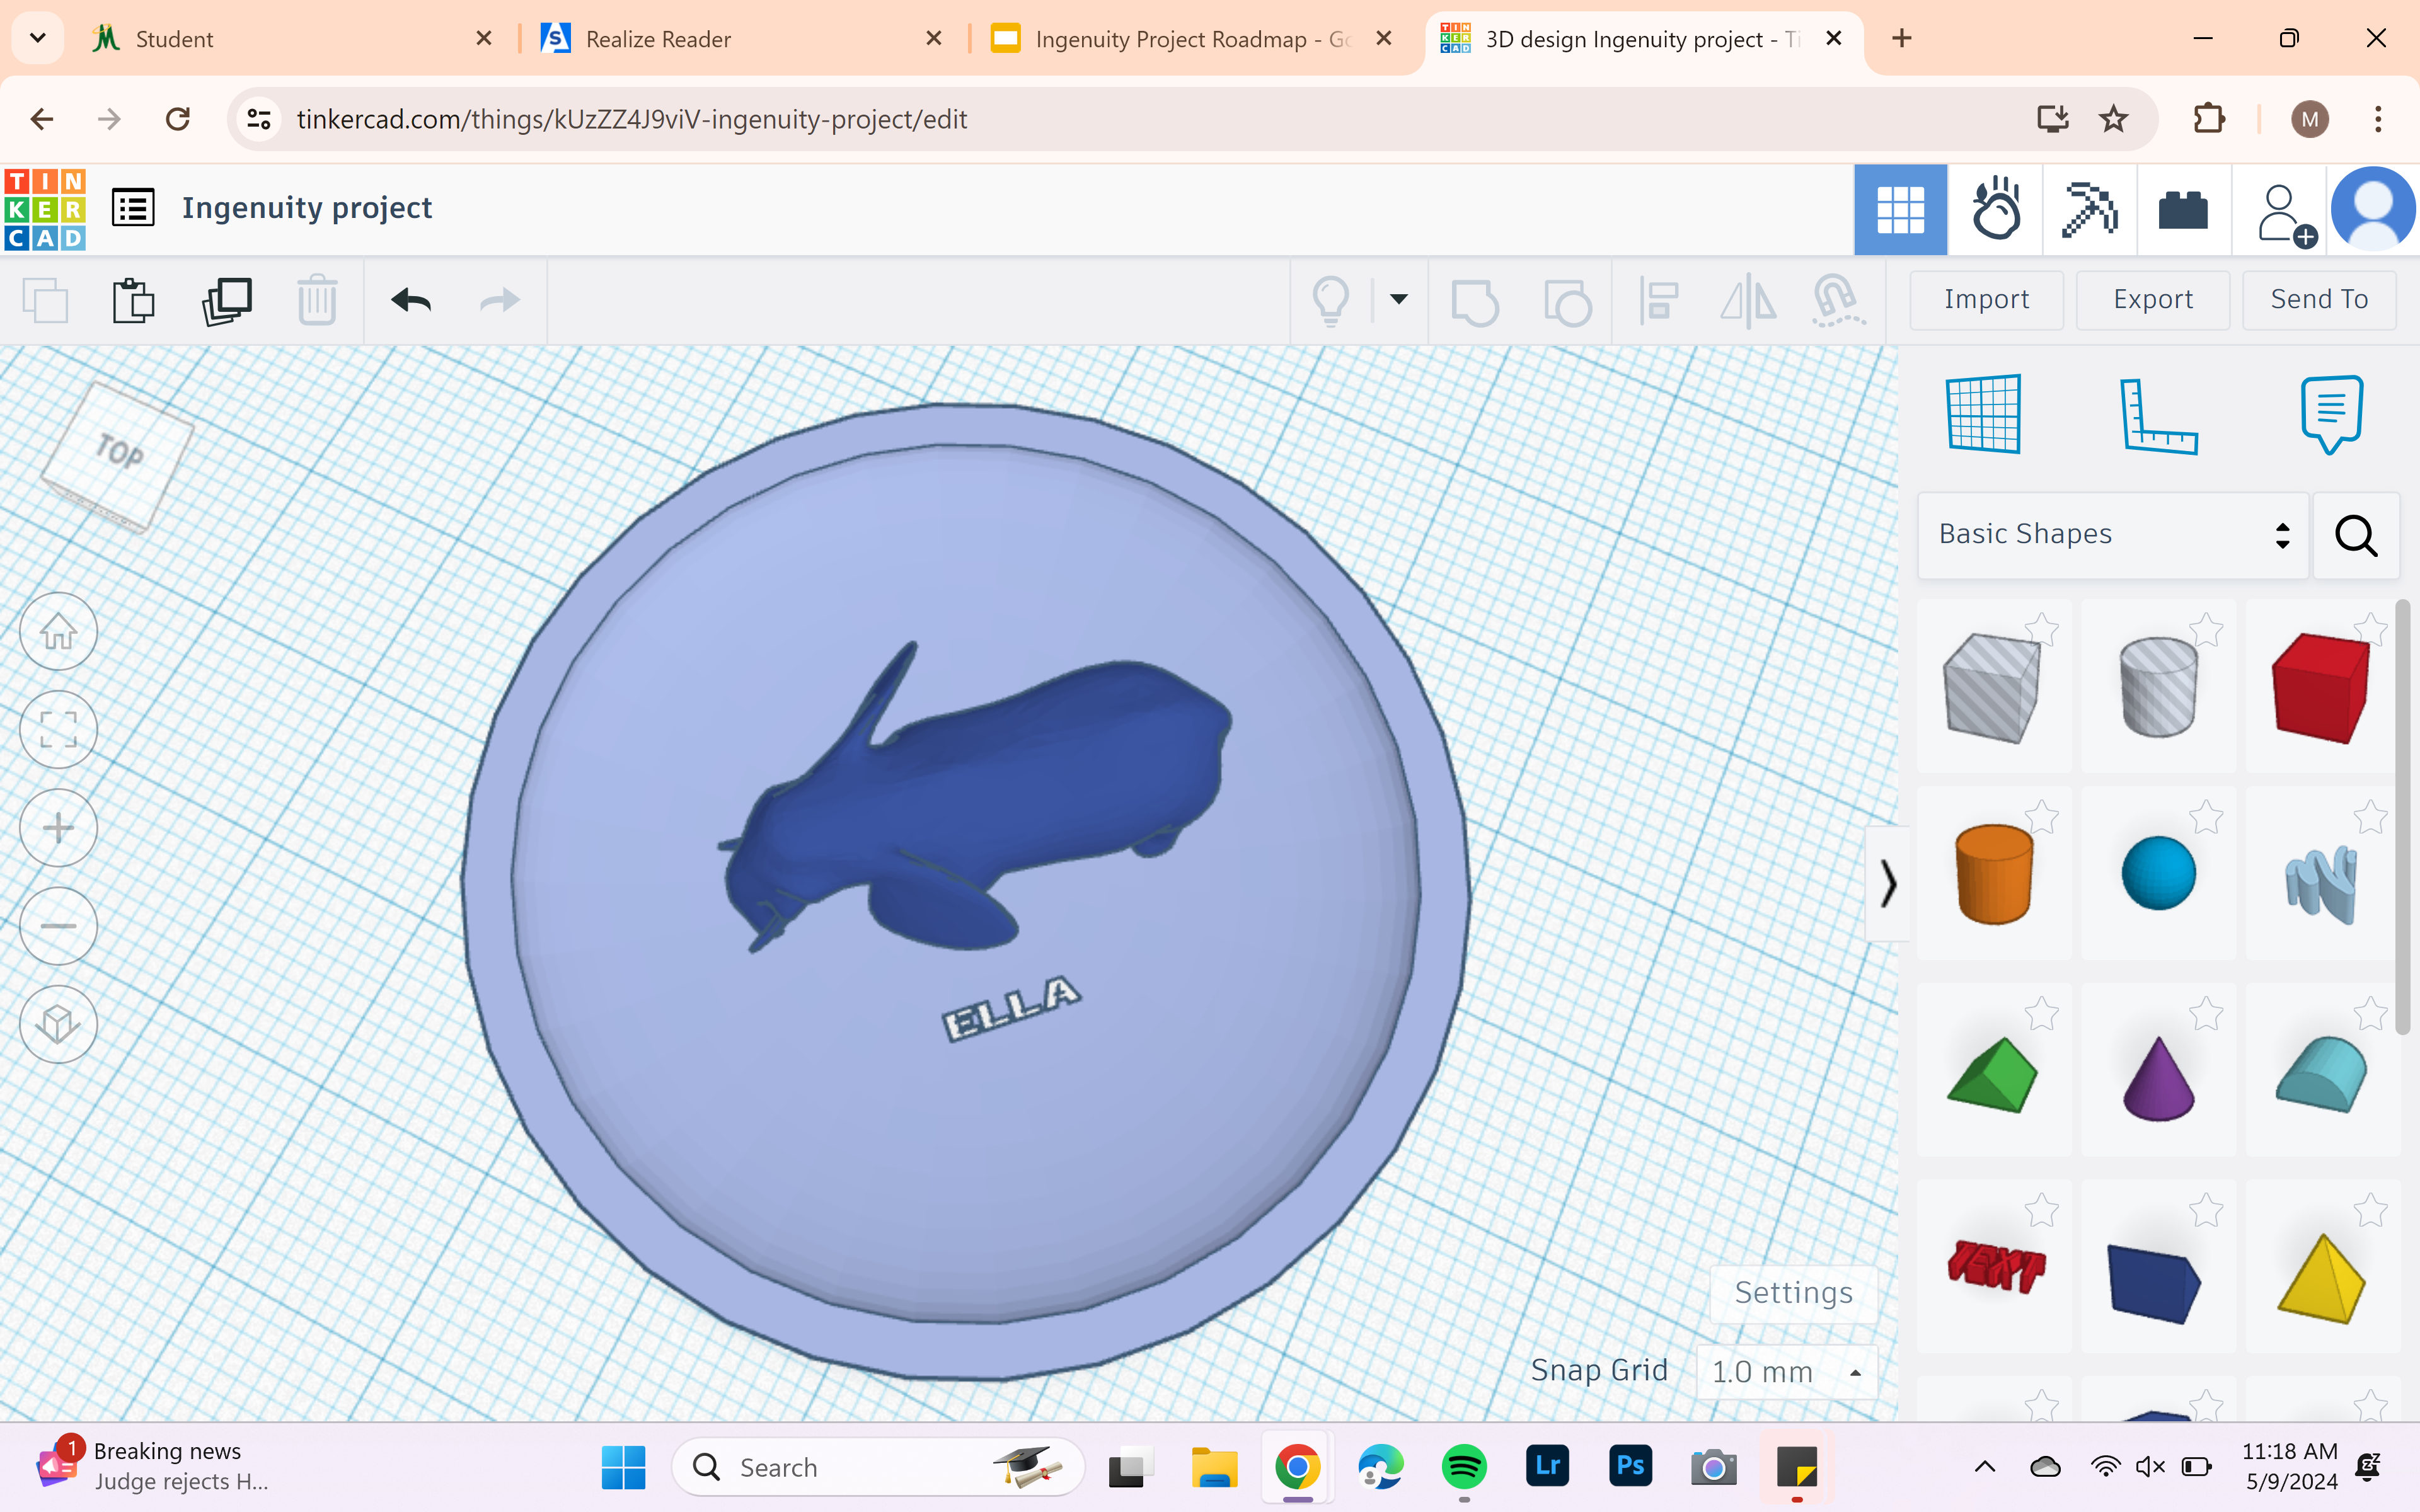
1) Search "plate" in Tinkercad and premade results of a dinner looking plate will pop up, I then altered the amount of sides, size, length, width, height, and depth of the plate. This could also be made with a half-sphere which was my original plan but the plate was designed perfectly for what I wanted.
2) Then search "elephant" or any character. Tinkercad has a lot of characters to choose from and there are many youtube tutorials for specific animals that might not be in Tinkercad or might be different from what you want.
3) Using the text option, I then wrote "Ella" because this is for my friend Ella.
4) Next, I made sure that everything was on the bottom of the surface and I customized the color of each object.
5) I highlighted the plate and elephant and hit the align button in the top corner. This button looks like a line with 3 different sizes bars coming off of it.
6) Using the tool I selected in step 5, I aligned the elephant and the plate using the middle circle on both the side and bottom to make sure that the elephant was in the middle of the plate.
7) I dragged the words over to where I wanted them on the dish and heightened them as I saw fit.
Done! This is how I created my first prototype, there were many changes from here but it is good to get a starting point that can be edited accordingly.
Second Step
After making my first prototype, I showed my friend. Using both my teacher's and her feedback, I edited my original design to better fit her needs.
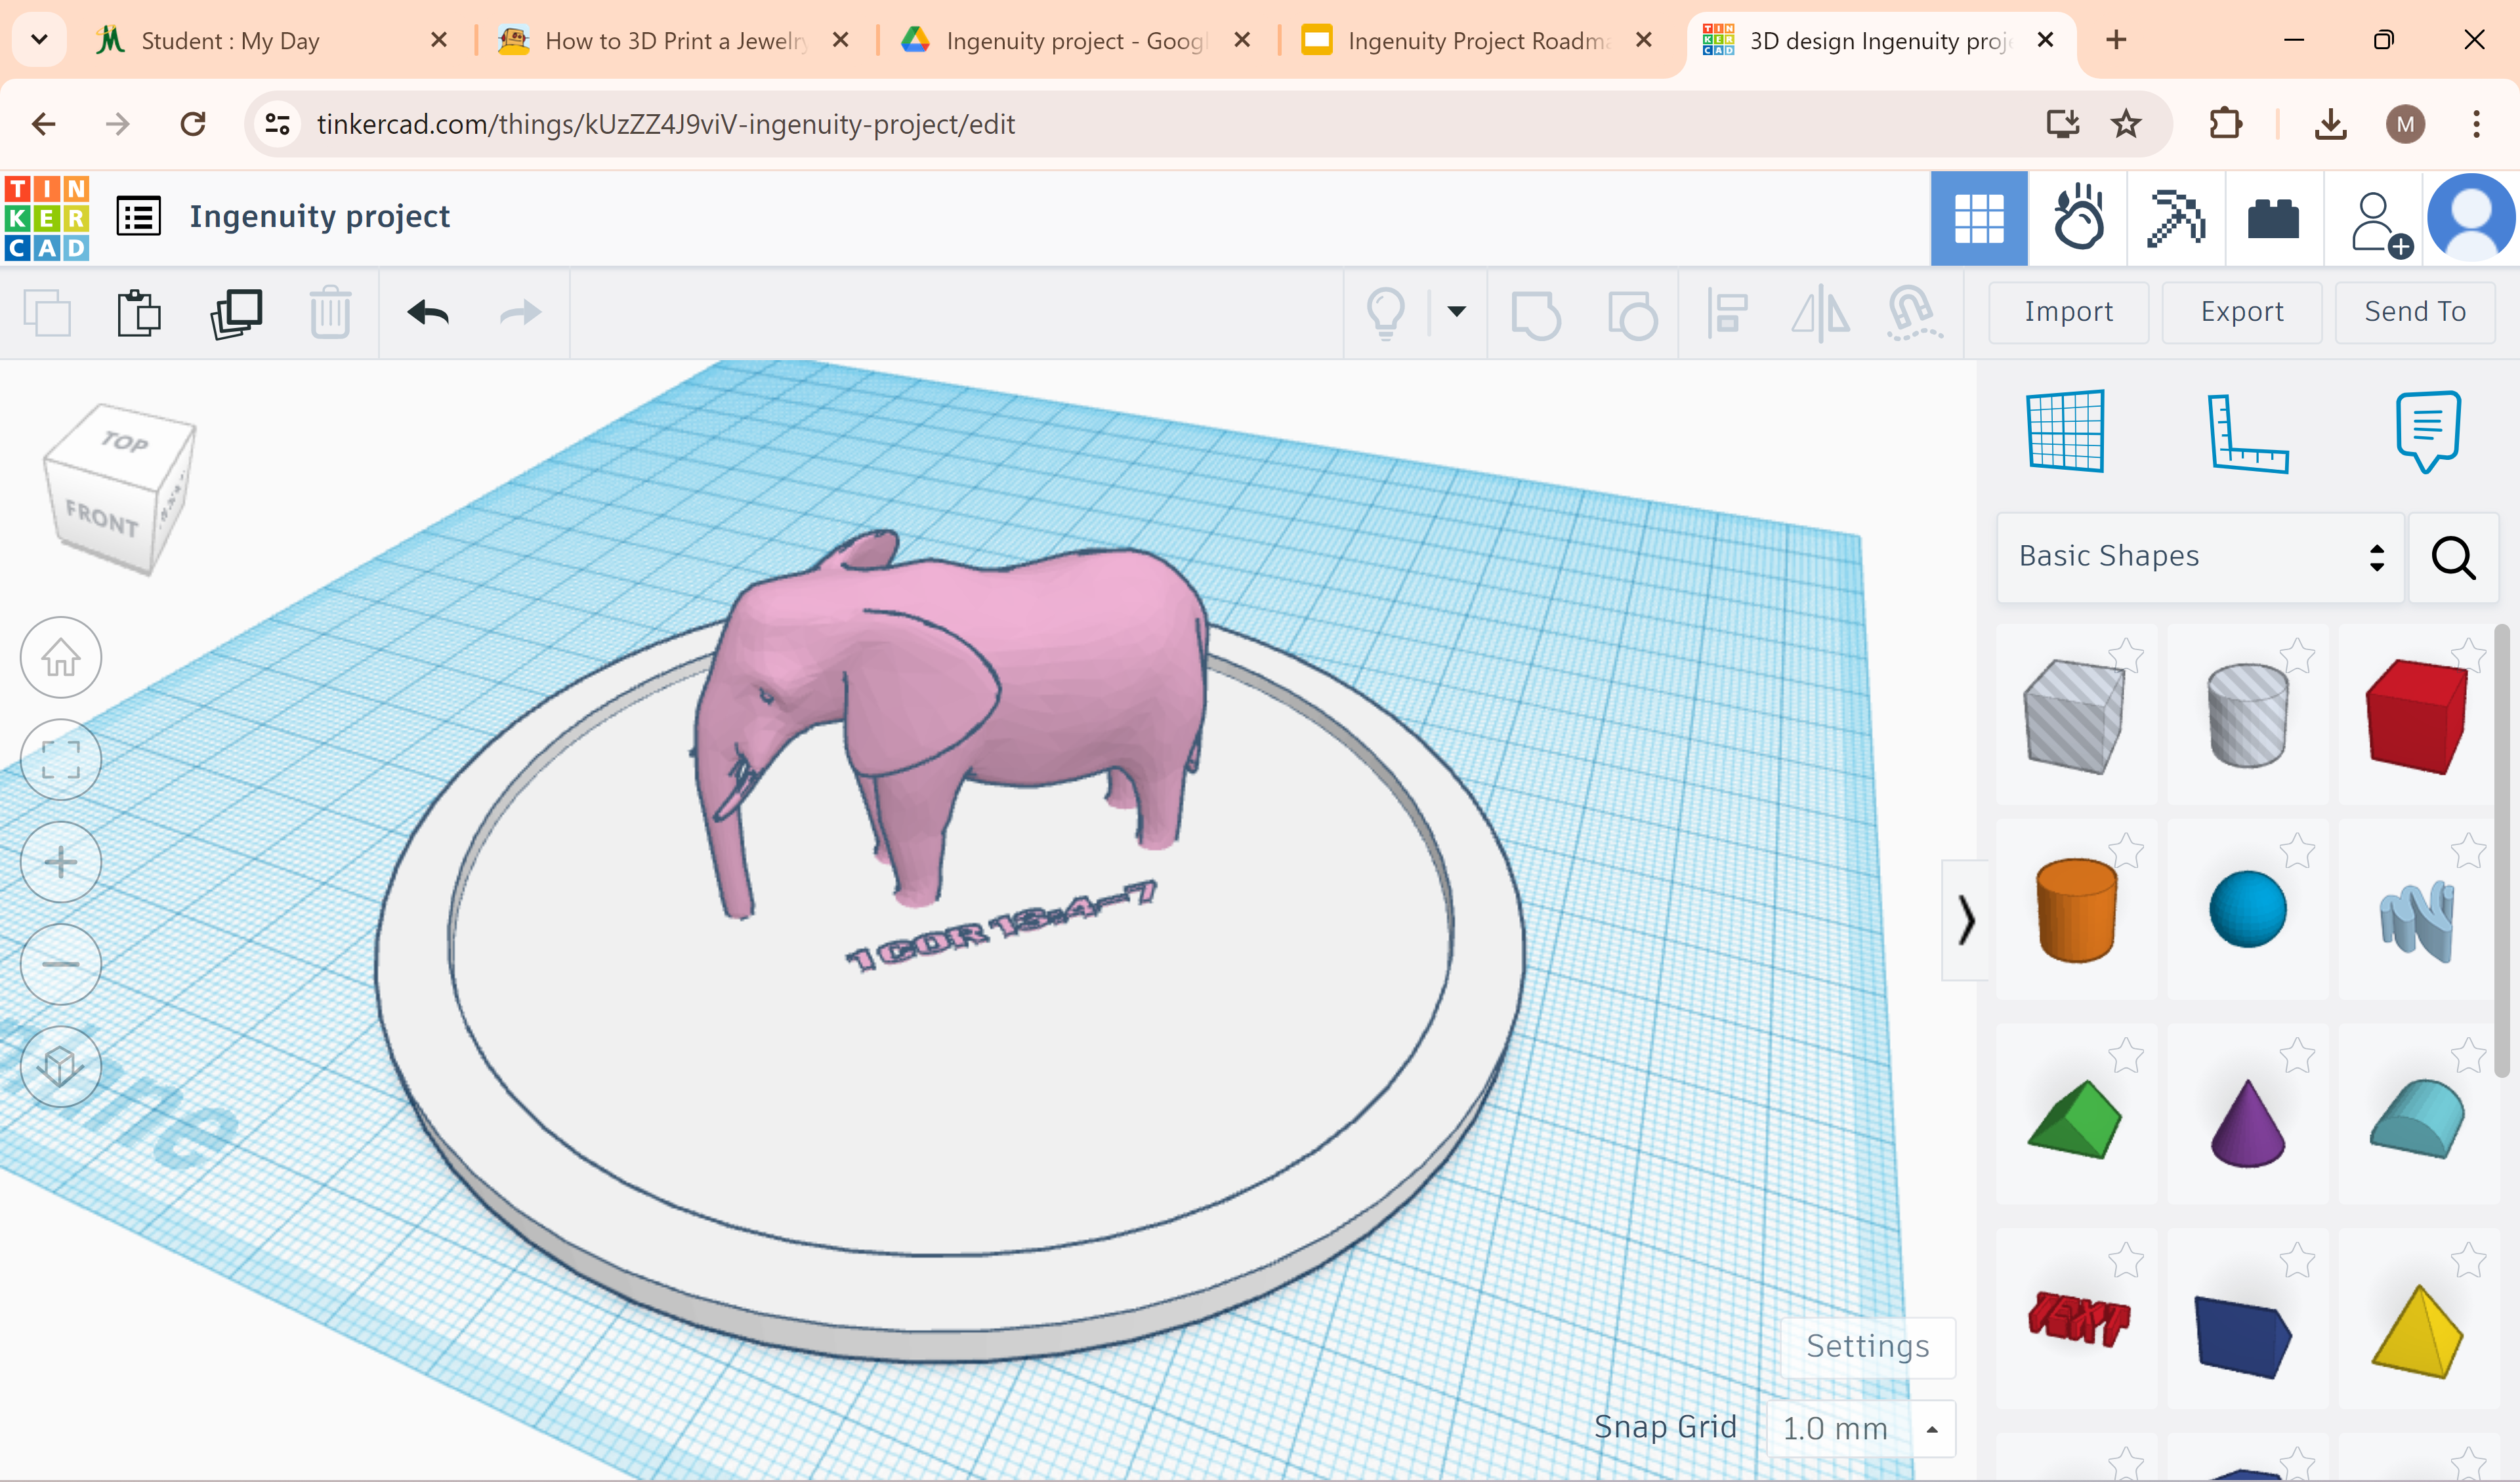
1) I ended up needing to remove the plate, but I highlighted the elephant and text and made them one piece together to make the rest of the process a little more simple.
2) Instead of using a plate, I made the dish flat. This made printing easier and made it so that jewelry would not all collect in the center of the dish because of its bowl-like shape. To do this, I used a cylinder and gave it the maximum amount of sides. Next, I made the cylinder a lot lower so it would be more of a flat plate than a tall shape.
3) I added a rim to the dish then so that earrings and other things could not roll off of the surface. To do this, I used two cylinders. I made both of them the same height, which was a little taller than the cylinder in step 2. One of the cylinders, however, had the same size circle as the one in step 2. This one was then made into a hole The other one was slightly bigger.
4) I highlighted the two new cylinders and made them one object, creating a rim shape.
5) I dragged the rim over to the dish and used the align tool to make sure they were centered. Then, I dragged the elephant and text over to the new plate and aligned that as well.
6) I changed the text from saying "Ella" to saying "1 Cor 13:4-7" this is my friends bible verse that she wanted to put on her organizer.
7) I changed the colors of the object to pink and white, Ella's favorite colors.
3D Printing

I then sent my Design to PrusaSlicer to preview my 3D printing!
1) In Tinkercad, I exported my file as an .STL file and then opened up the PrusaSlicer app.
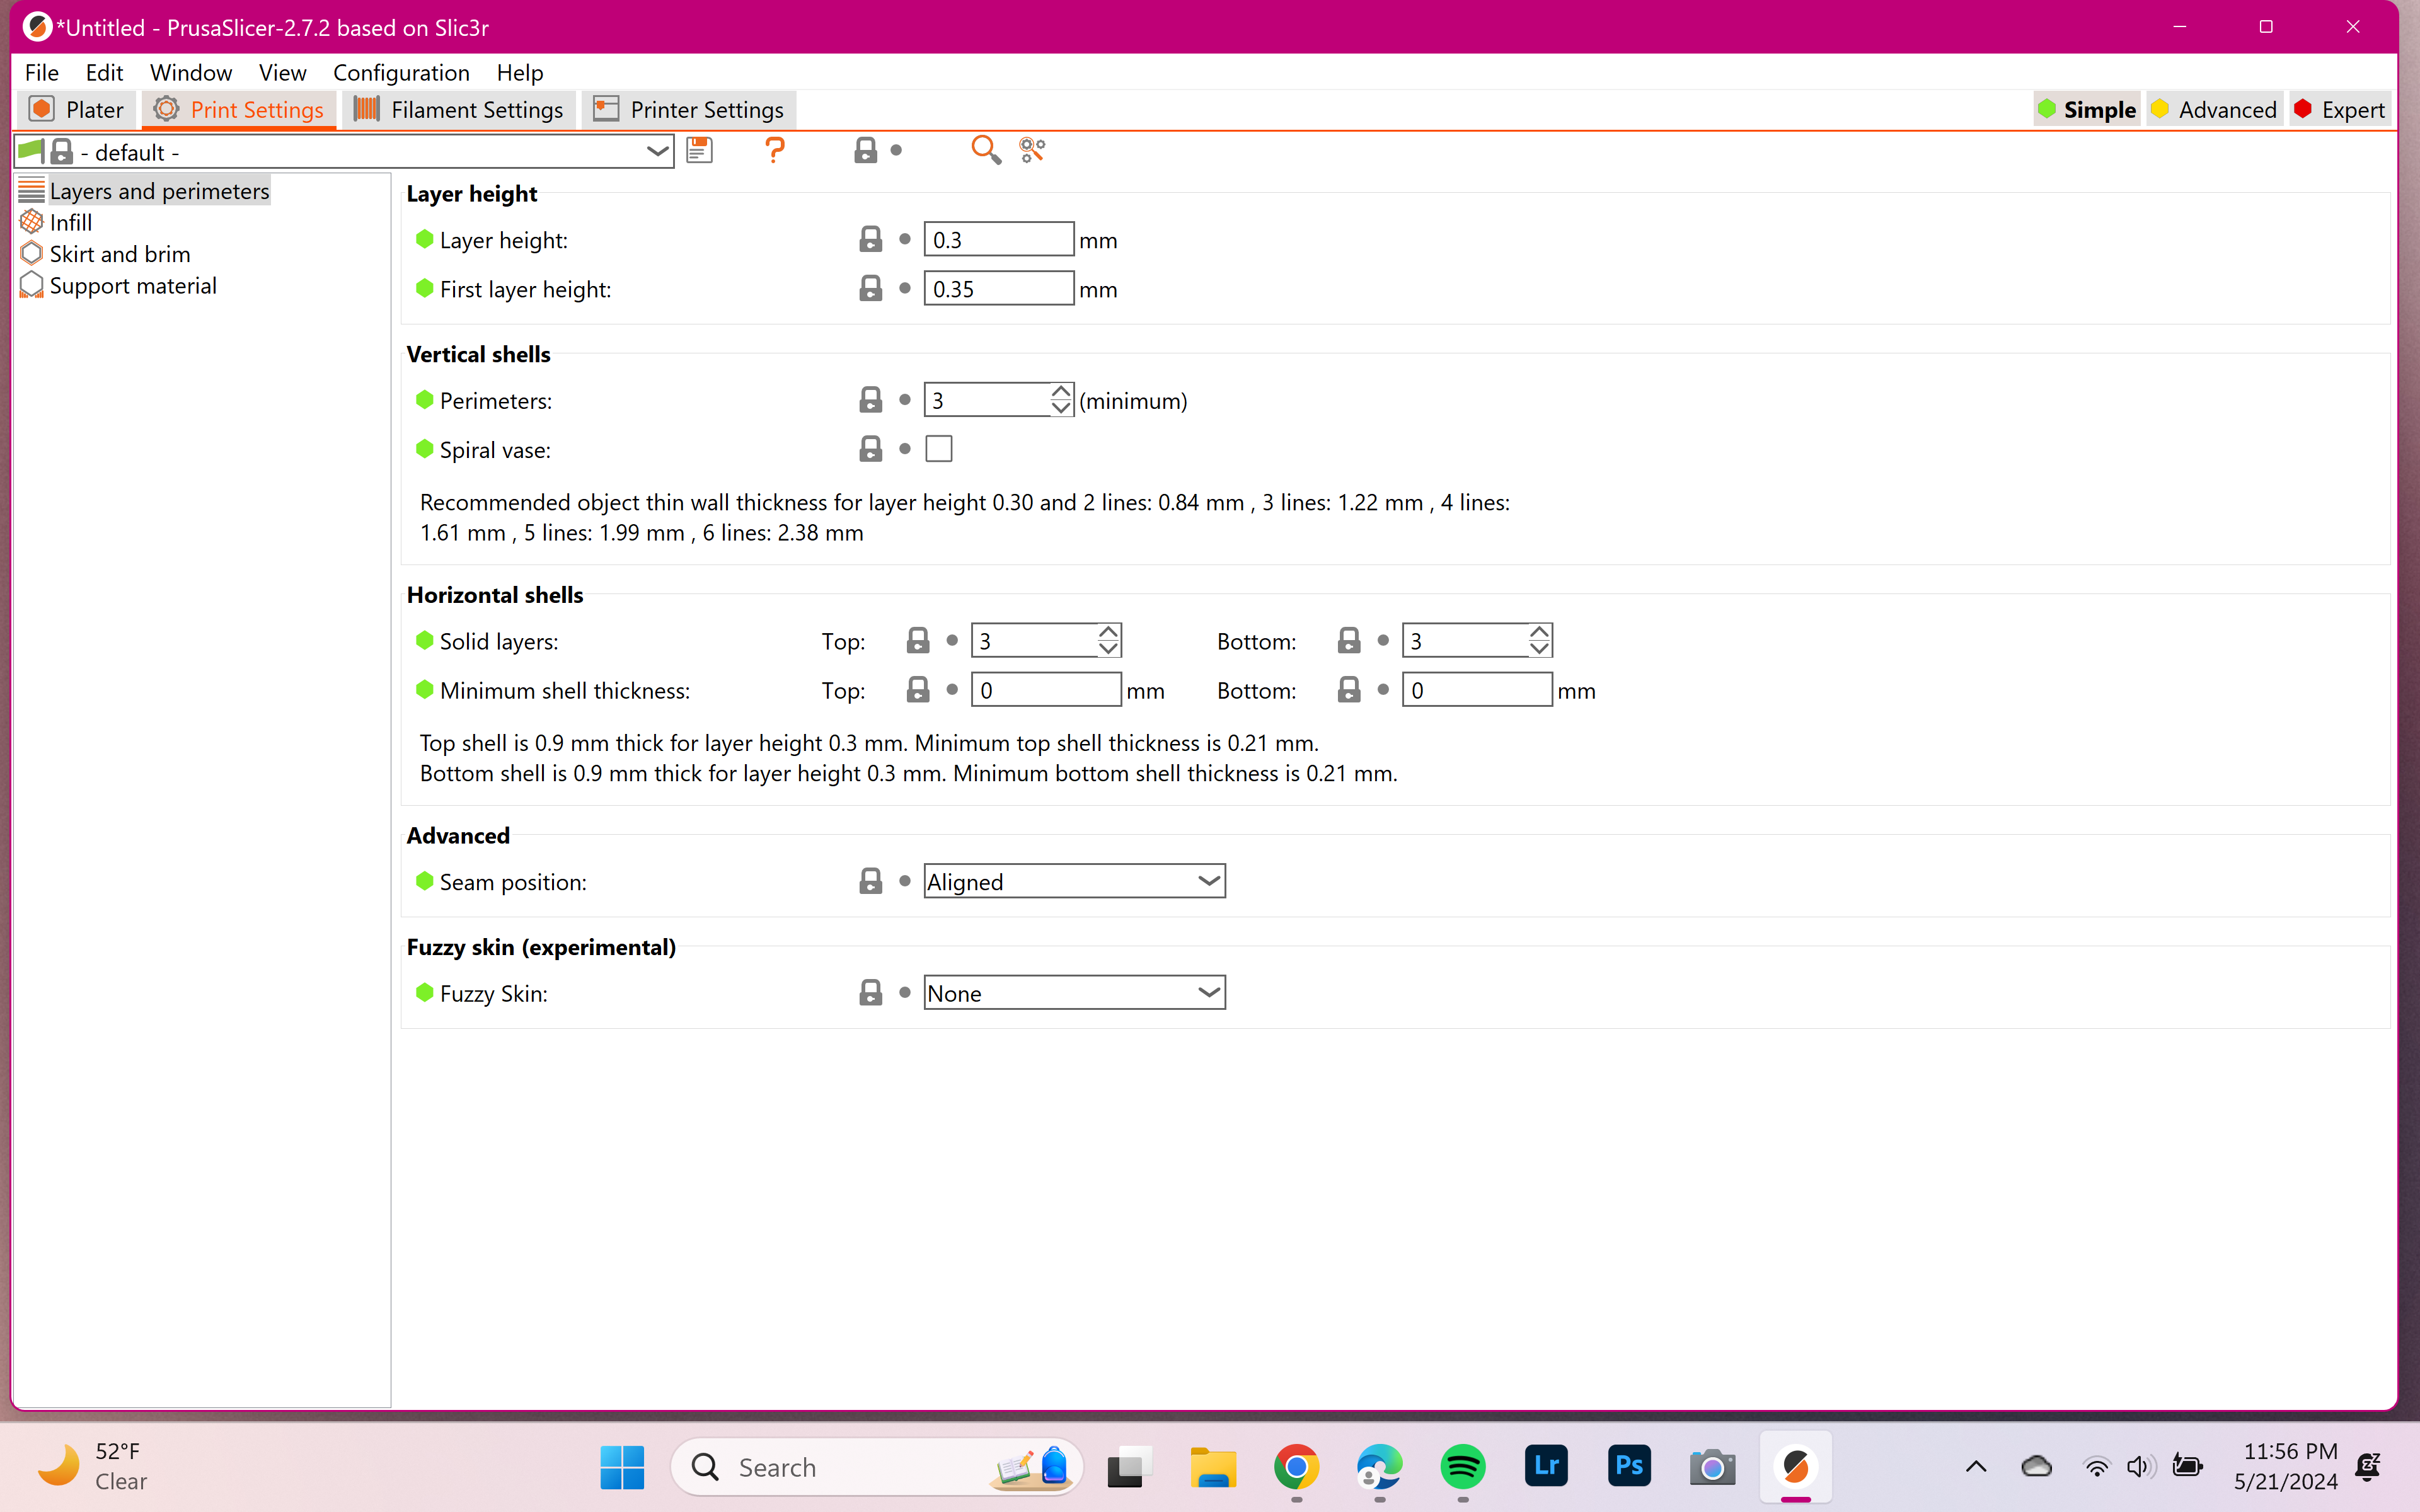
2) I imported this .STL file and then made sure my color and other settings were what I wanted.
3) I used the default settings which are shown above.
4) I also used supports so that when my design was printed it could stay up.
5) After making sure my settings were correct, I sliced my file to see what it would look like when printed.
6) I did have to make a few adjustments to the size of the elephant and tray after this because it was shown that the tail would not fully print. When I had made the final product, the diameter of the circle was 4.5 inches.
7) I checked my design again in PrusaSlicer making the appropriate adjustments.
8) I sent my tinkercad file to my teacher who printed it for me.
9) Finally, once the item was printed, I broke the supports off (somewhat aggressively, might I add) of the tray and was left with my final product!
I really enjoyed this project and got a lot out of it. If I would change anything about it, I would probably make the elephant bigger. I was making it proportional and on the computer it seemed to be bigger than it actually was. Making it bigger would make the tail and tusks less fragile and make it look more proportional. Also, it would make the elephant easier to hang jewelry from. My friend is very happy with her product, though, and I am very proud of all the work I did.