How to 3D Print a Chibi Using Tinkercad
by melz_belz in Workshop > 3D Printing
1316 Views, 0 Favorites, 0 Comments
How to 3D Print a Chibi Using Tinkercad
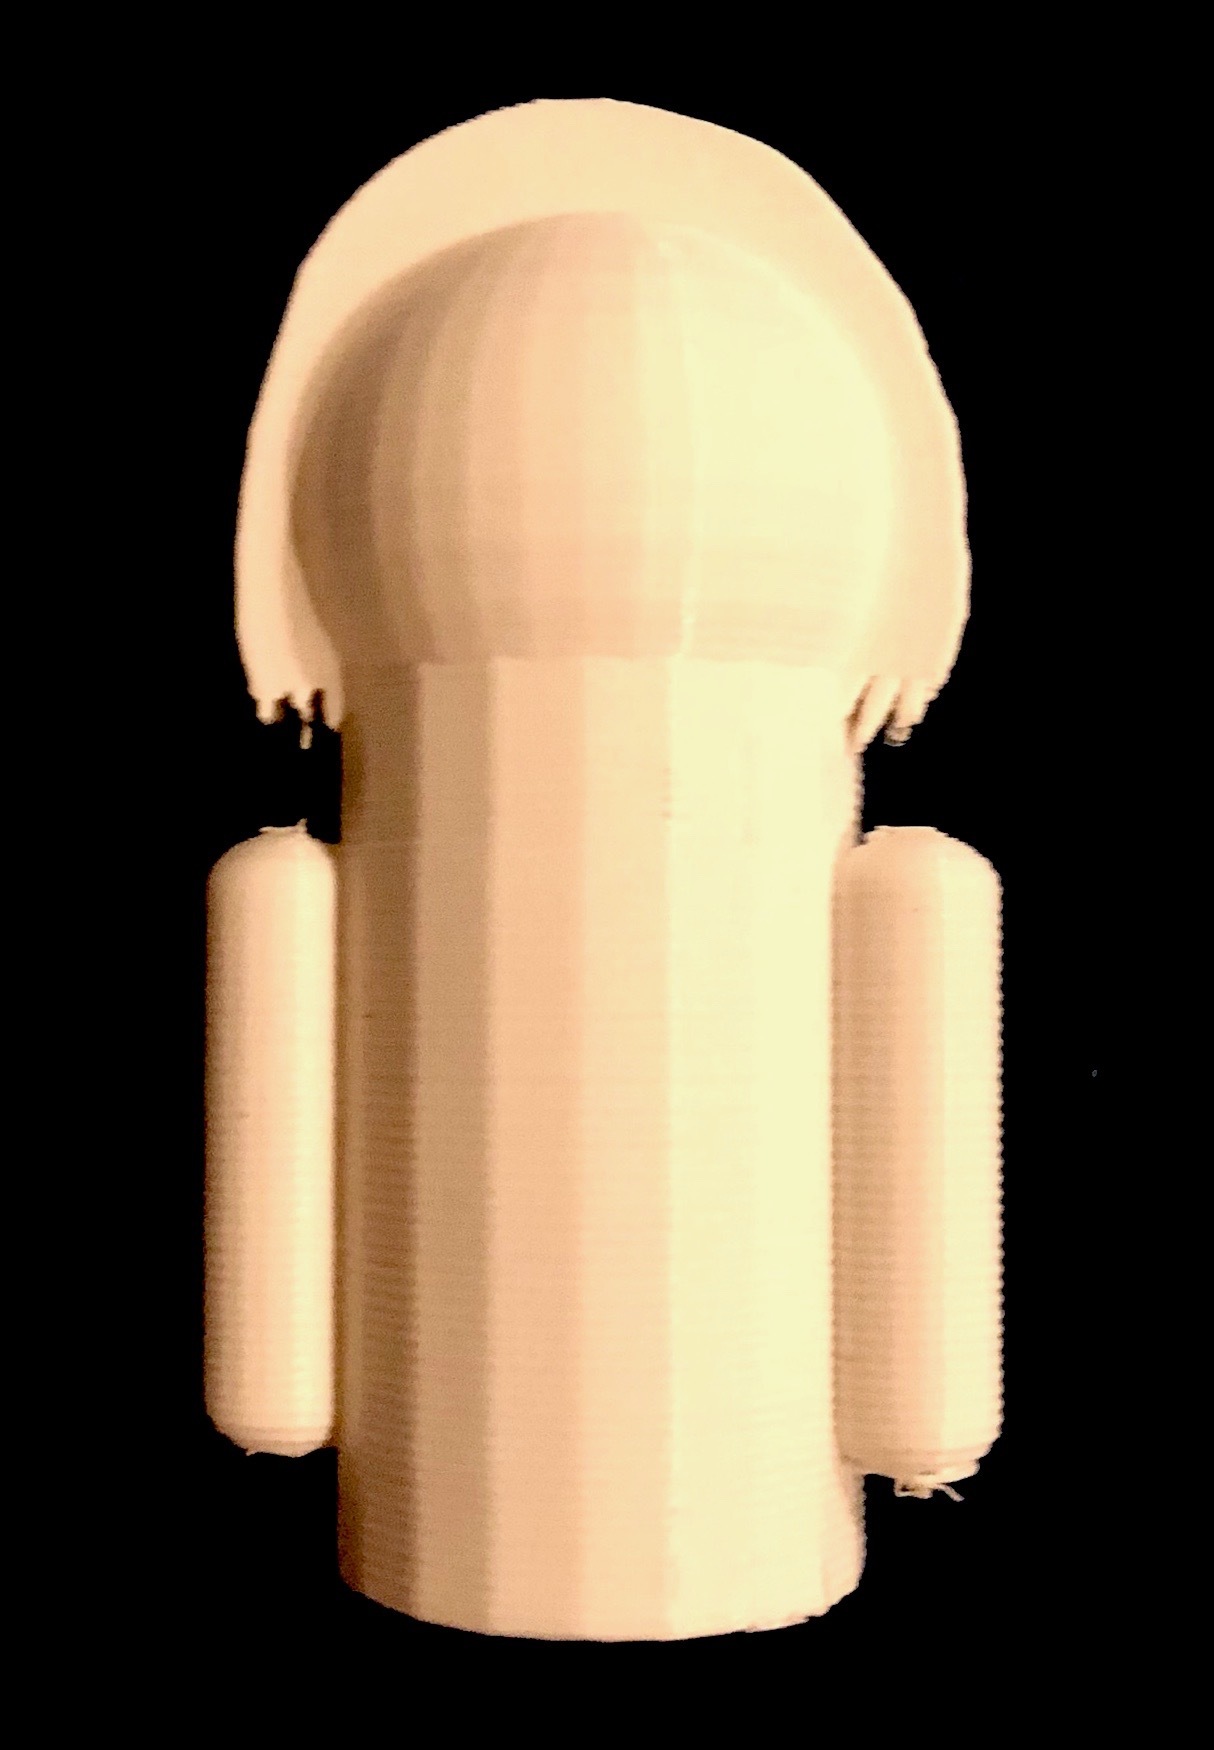
A chibi is a small figure made with many often spherical or cylindrical shapes. The word "chibi" is Japanese and means small, or short. In this instructable, I will show you how to use the program Tinkercad to create a chibi and then use Ultimaker Cura to 3D print it.
Supplies
Ultimaker Cura (slicing program)
Filament (your choice of color, must work with your 3D printer)
Blue Tape (to cover the print bed with)
Micro SD Card (that goes in your 3D printer)
Creating the Chibi's Body
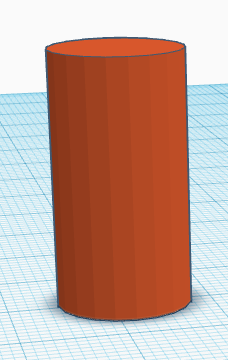
In Tinkercad, open a new workplane.
Click on the cylinder icon and drag it onto the center of your workplane.
For the sizing, move the sliders to:
Sides = 20
Height = 25
Radius = 13
Bevel = 0
Segments = 1
Adding the Head
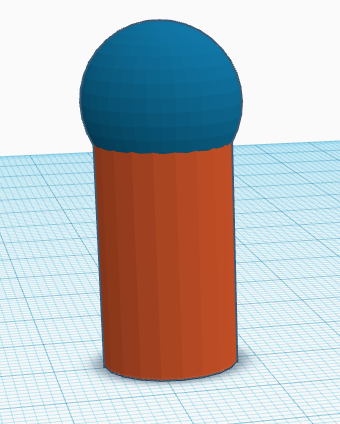
Click on the sphere icon and drag it on the top of your cylinder.
This might take a few tries, but make sure the sphere is perfectly lined up on top of the cylinder!
For the sizing, move the sliders to:
Steps = 18
Height = 15
Radius = 15
Making and Adding the Arms
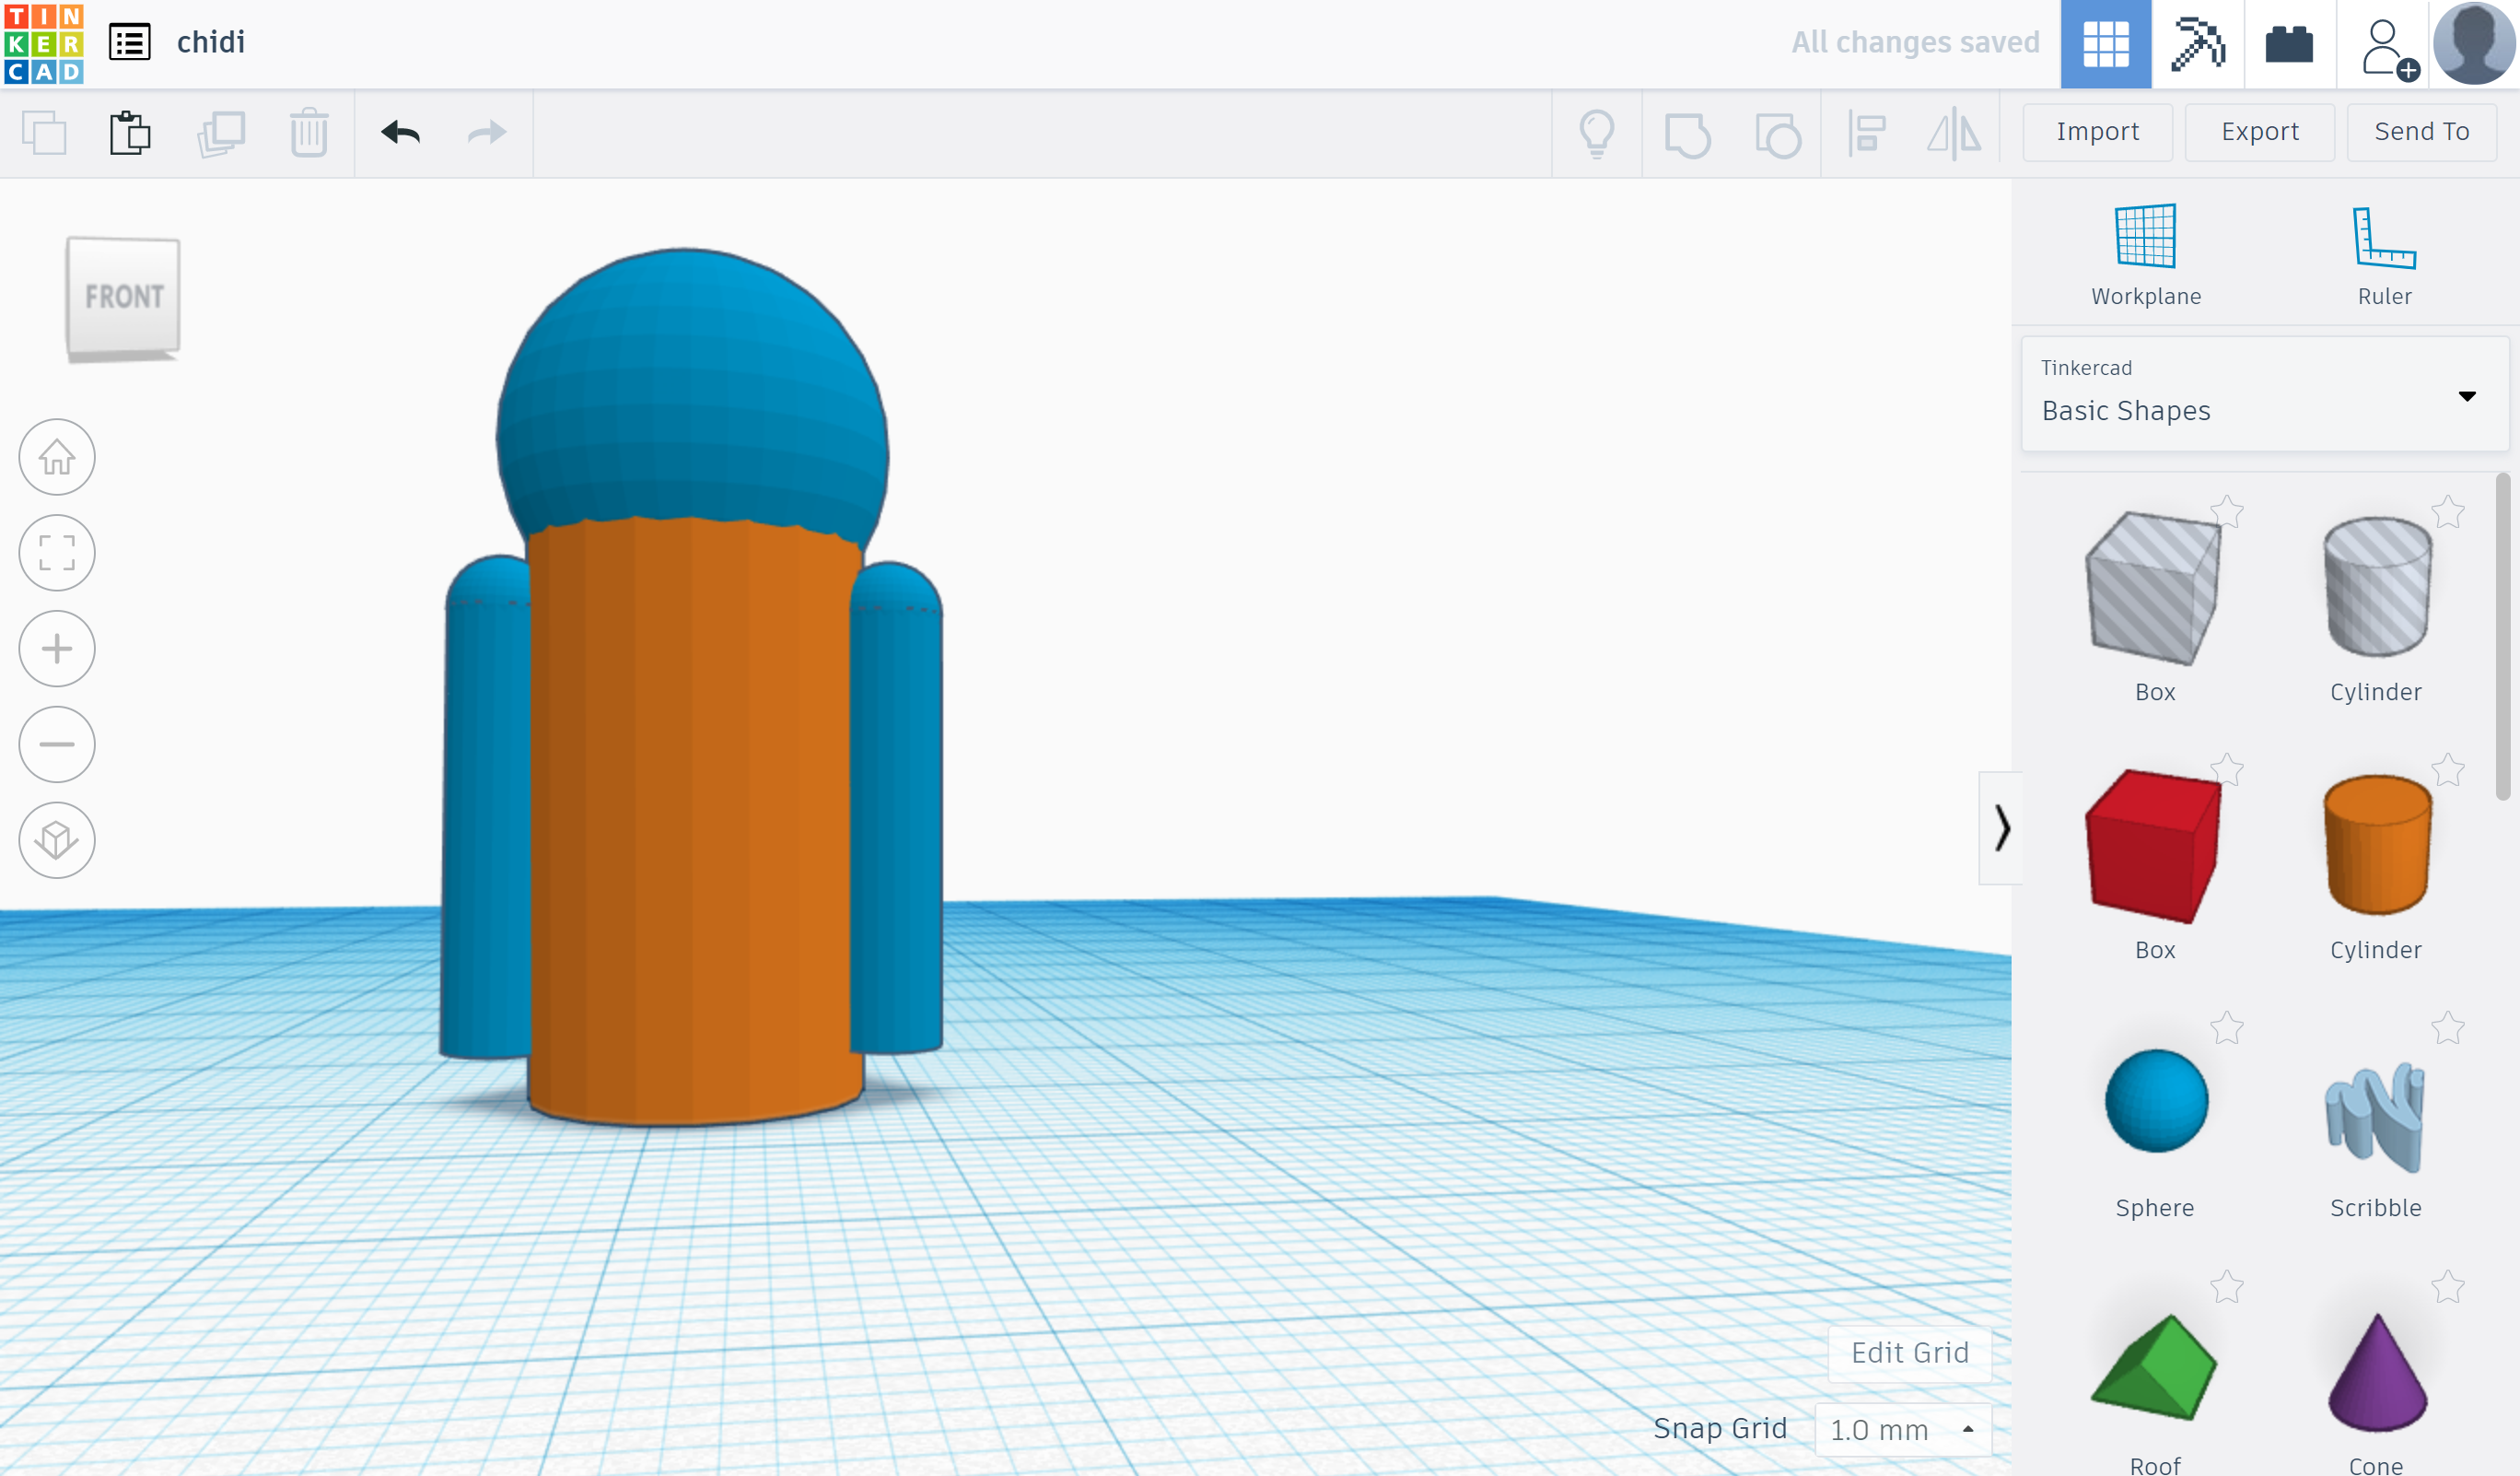
Click on the cylinder icon and drag it so it is connected to one side of the chibi's body like shown in the picture.
For the sizing, move the sliders to:
Height = 17
Radius = 4
Sides = 20
Bevel = 0
Segments = 1
Click on the sphere icon and drag it so it forms a half sphere directly on top of the cylinder arm as shown in the picture. This is the shoulder of the chibi.
For the sizing, move the sliders to:
Steps = 18
Height = 4
Radius = 4
Click on the cylinder arm, press shift, and then click on the half sphere directly above the cylinder arm. Press the button "group" to make this all one shape.
Repeat this with the other arm, but place it on the other side of the chibi's body. You can also copy the arm you already made, paste it, and move it over to the other side of the chibi's body.
Creating the Hands
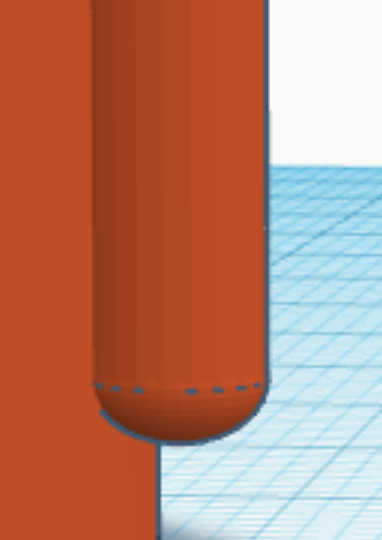
Click on the sphere icon and drag it so it forms a half sphere directly below one of the cylinder arms as shown in the picture. This is the hand of the chibi.
For the sizing, move the sliders to:
Steps = 18
Height = 4
Radius = 4
Copy the hand, paste it, and drag it over so that it is also attached to the other arm.
On each side, click on the hand, hold shift, and then click the arm. Press the button "group" to make this all one shape.
Adding Hair
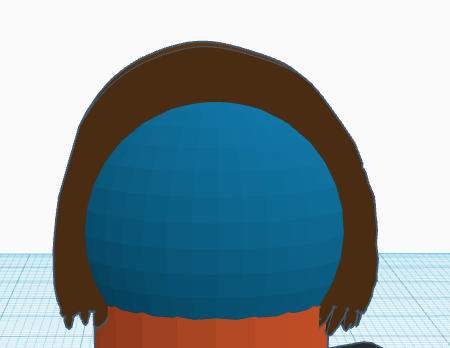
Click on the scribble icon and drag it onto your workplace.
This should take you to an area where you can draw anything you want in 3D.
Draw out the shape of hair on your chibi.
You can now move this as if it is a shape.
Rotate, scale, and move it so it fits on the back of your chibi's head.
Making the Chibi Yours
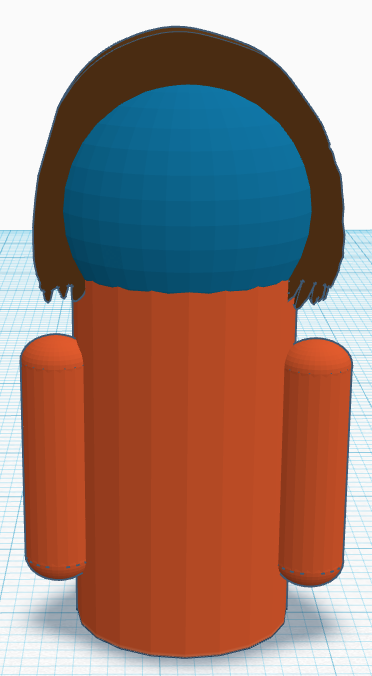
It's time to decorate your chibi!
I just left my chibi blank, but you can decorate your chibi however you like!
Some things you can make are headphones, hats, bags, or sunglasses.
To make these things, just use the shapes or draw your own using the scribble tool.
Exporting Your Chibi to Cura
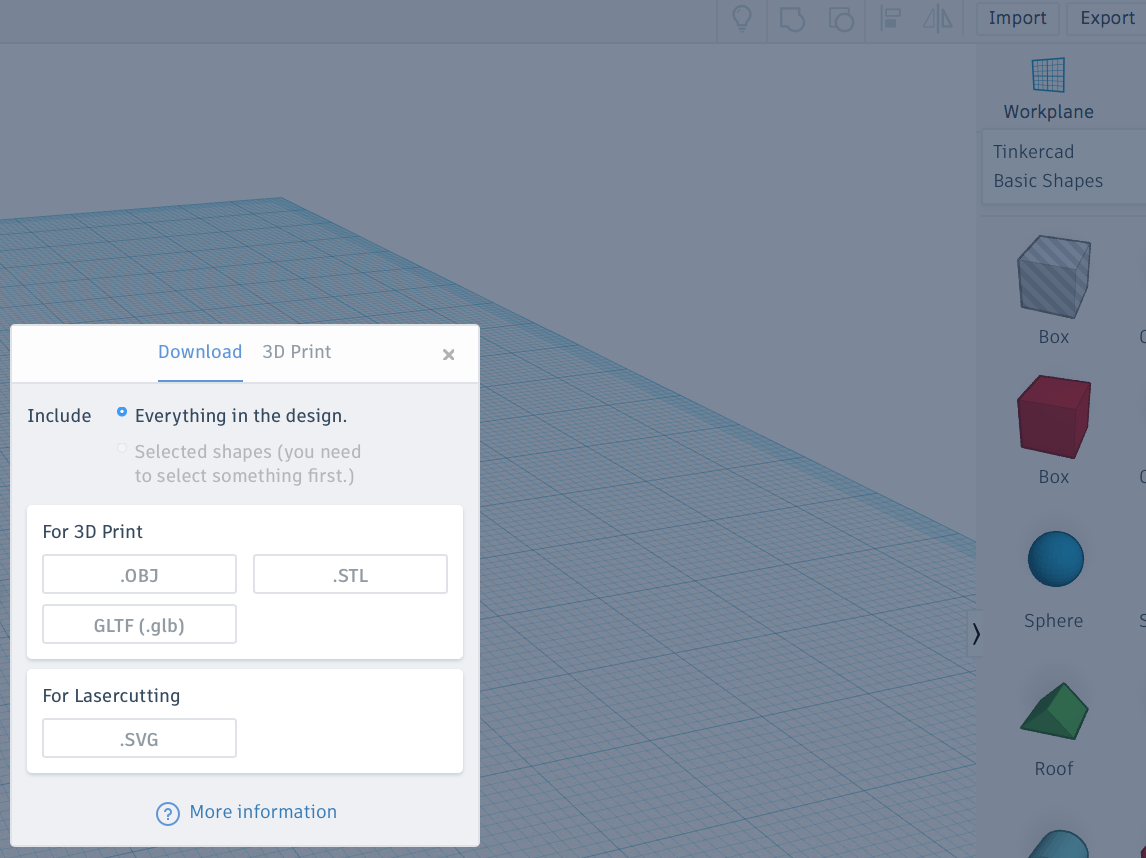

Click "export", the button below your profile in the top right corner. It is next to "import" and "send to".
Under for 3D print, click .OBJ. This is the file type that Cura can slice.
Once you click .OBJ it should put your file in your downloads folder.
Open the Cura app.
Click on the folder icon in the top left corner like the one above.
Find your chibi in the downloads folder and click open.
Using Cura
Once you have put your chibi into Cura, right click on it to select it.
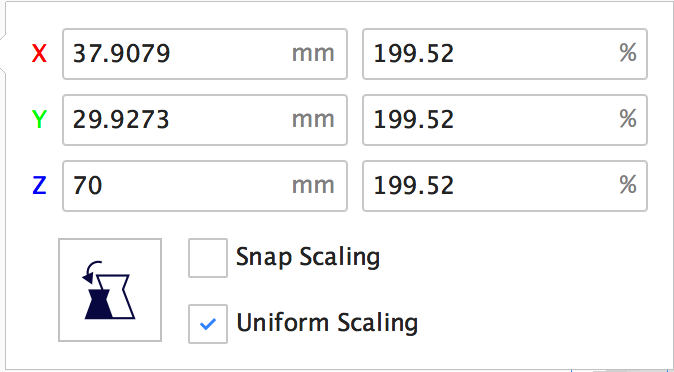
Click on the scale button, the second button down on the side.
Make sure uniform scaling is checked - if not click it.
Type 70 in for the Z value and it should automatically scale the whole thing up. Now your Chibi will be 70 millimeters tall. If you would like yours bigger or smaller you can change it however you like.
Click on the button three over to the right from the folder button you clicked earlier. Make sure your print settings have:
Under infill - 20%
Under material - printing temperature 200, build plate temperature 50
Under support - generate support
Under build plate adhesion - raft
Click the blue "slice" button in the bottom right corner of your screen.
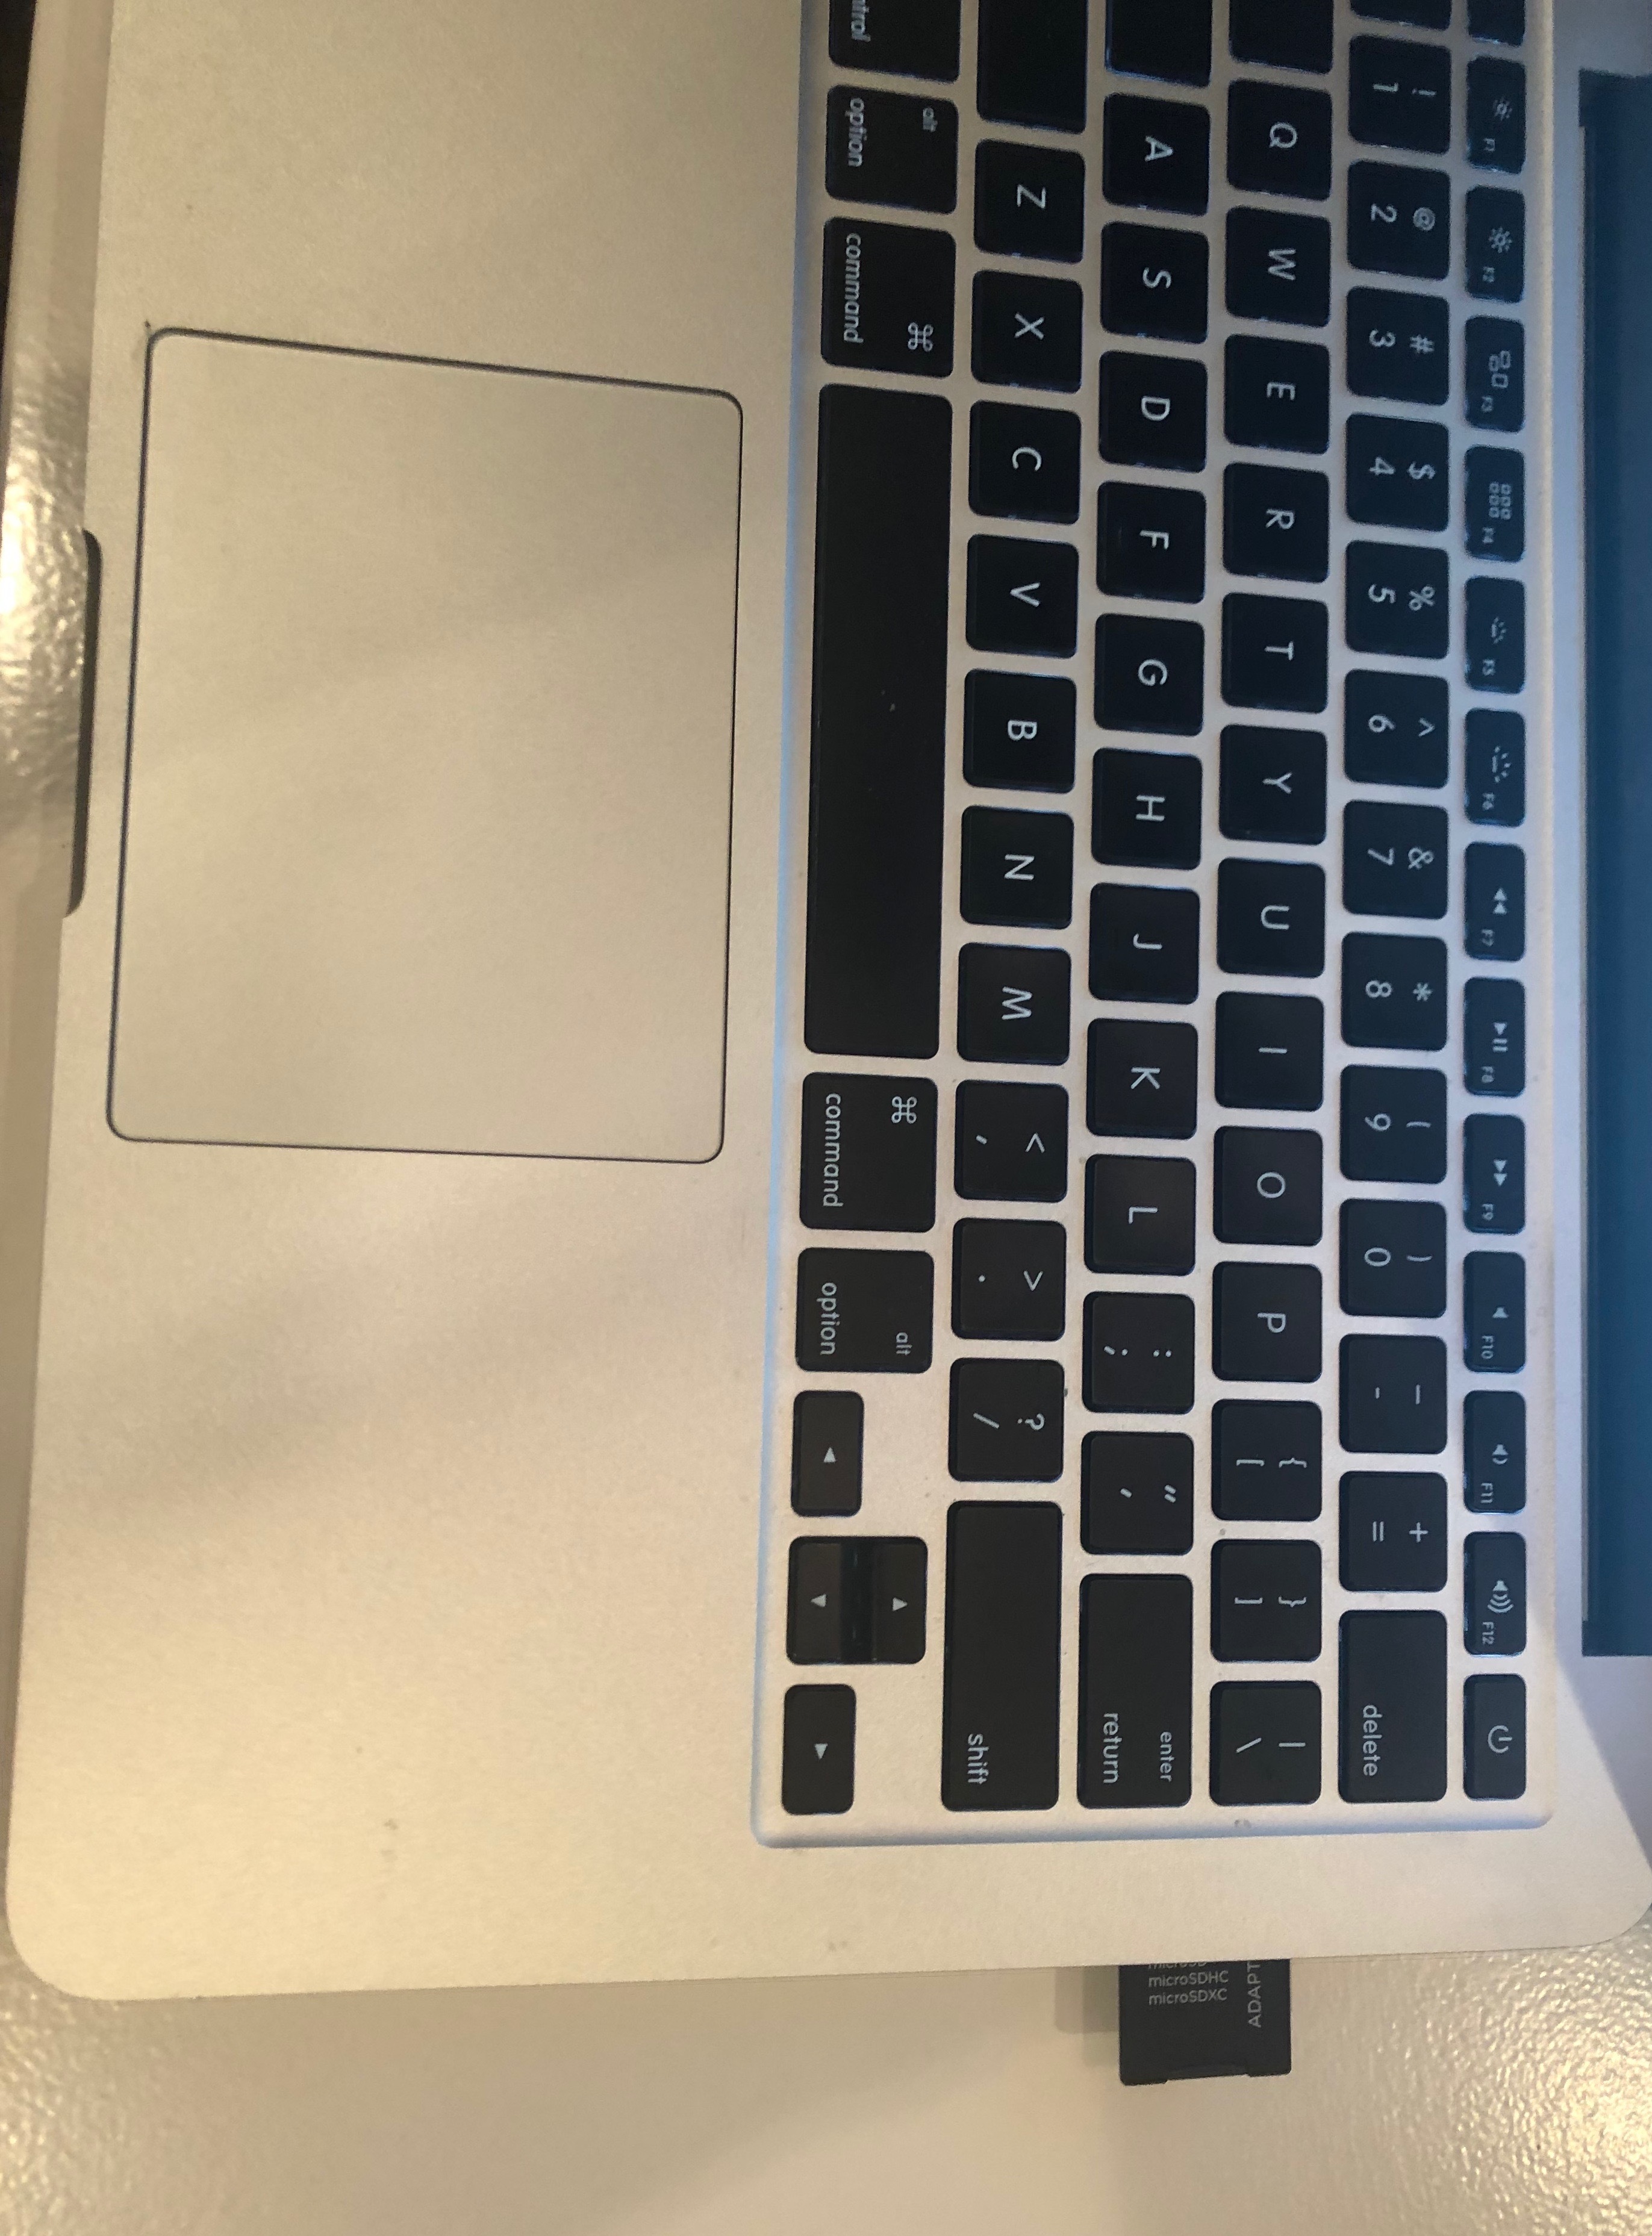
Put a SD card (containing the micro SD card that goes in your 3D printer) into your computer and click "save to file". Save your chibi to the SD card in your computer.
3D Printing Your Chibi
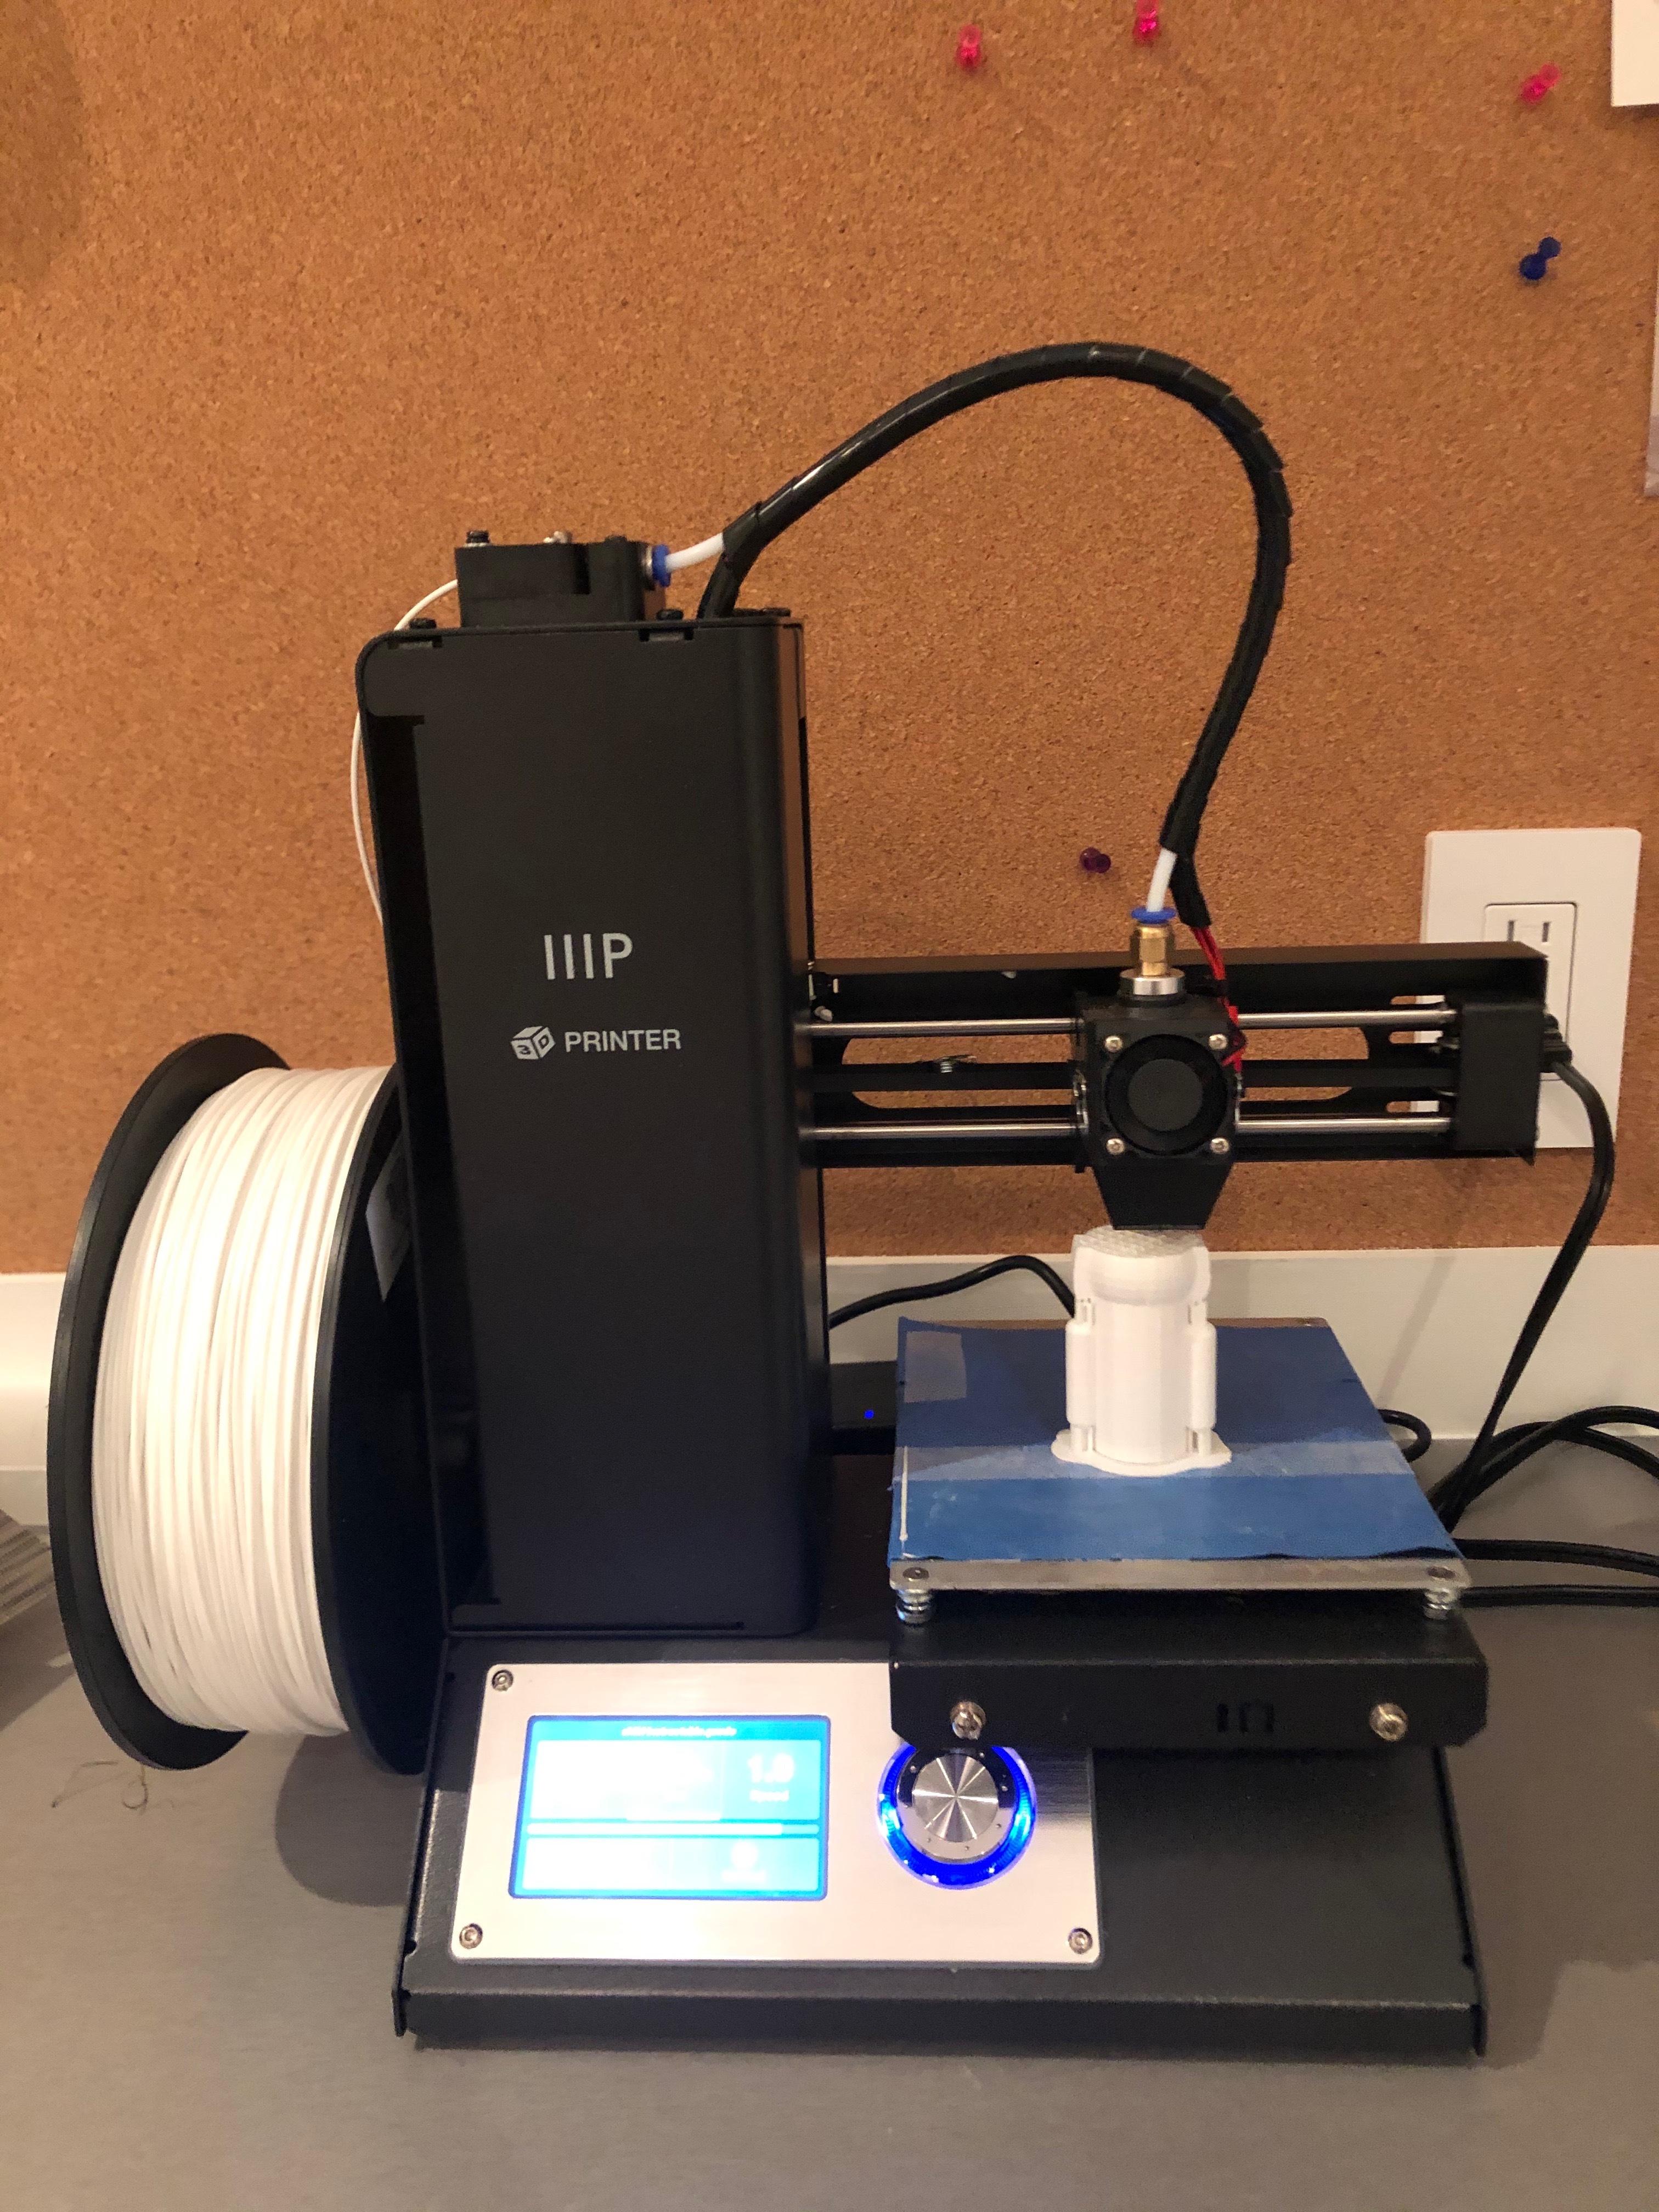
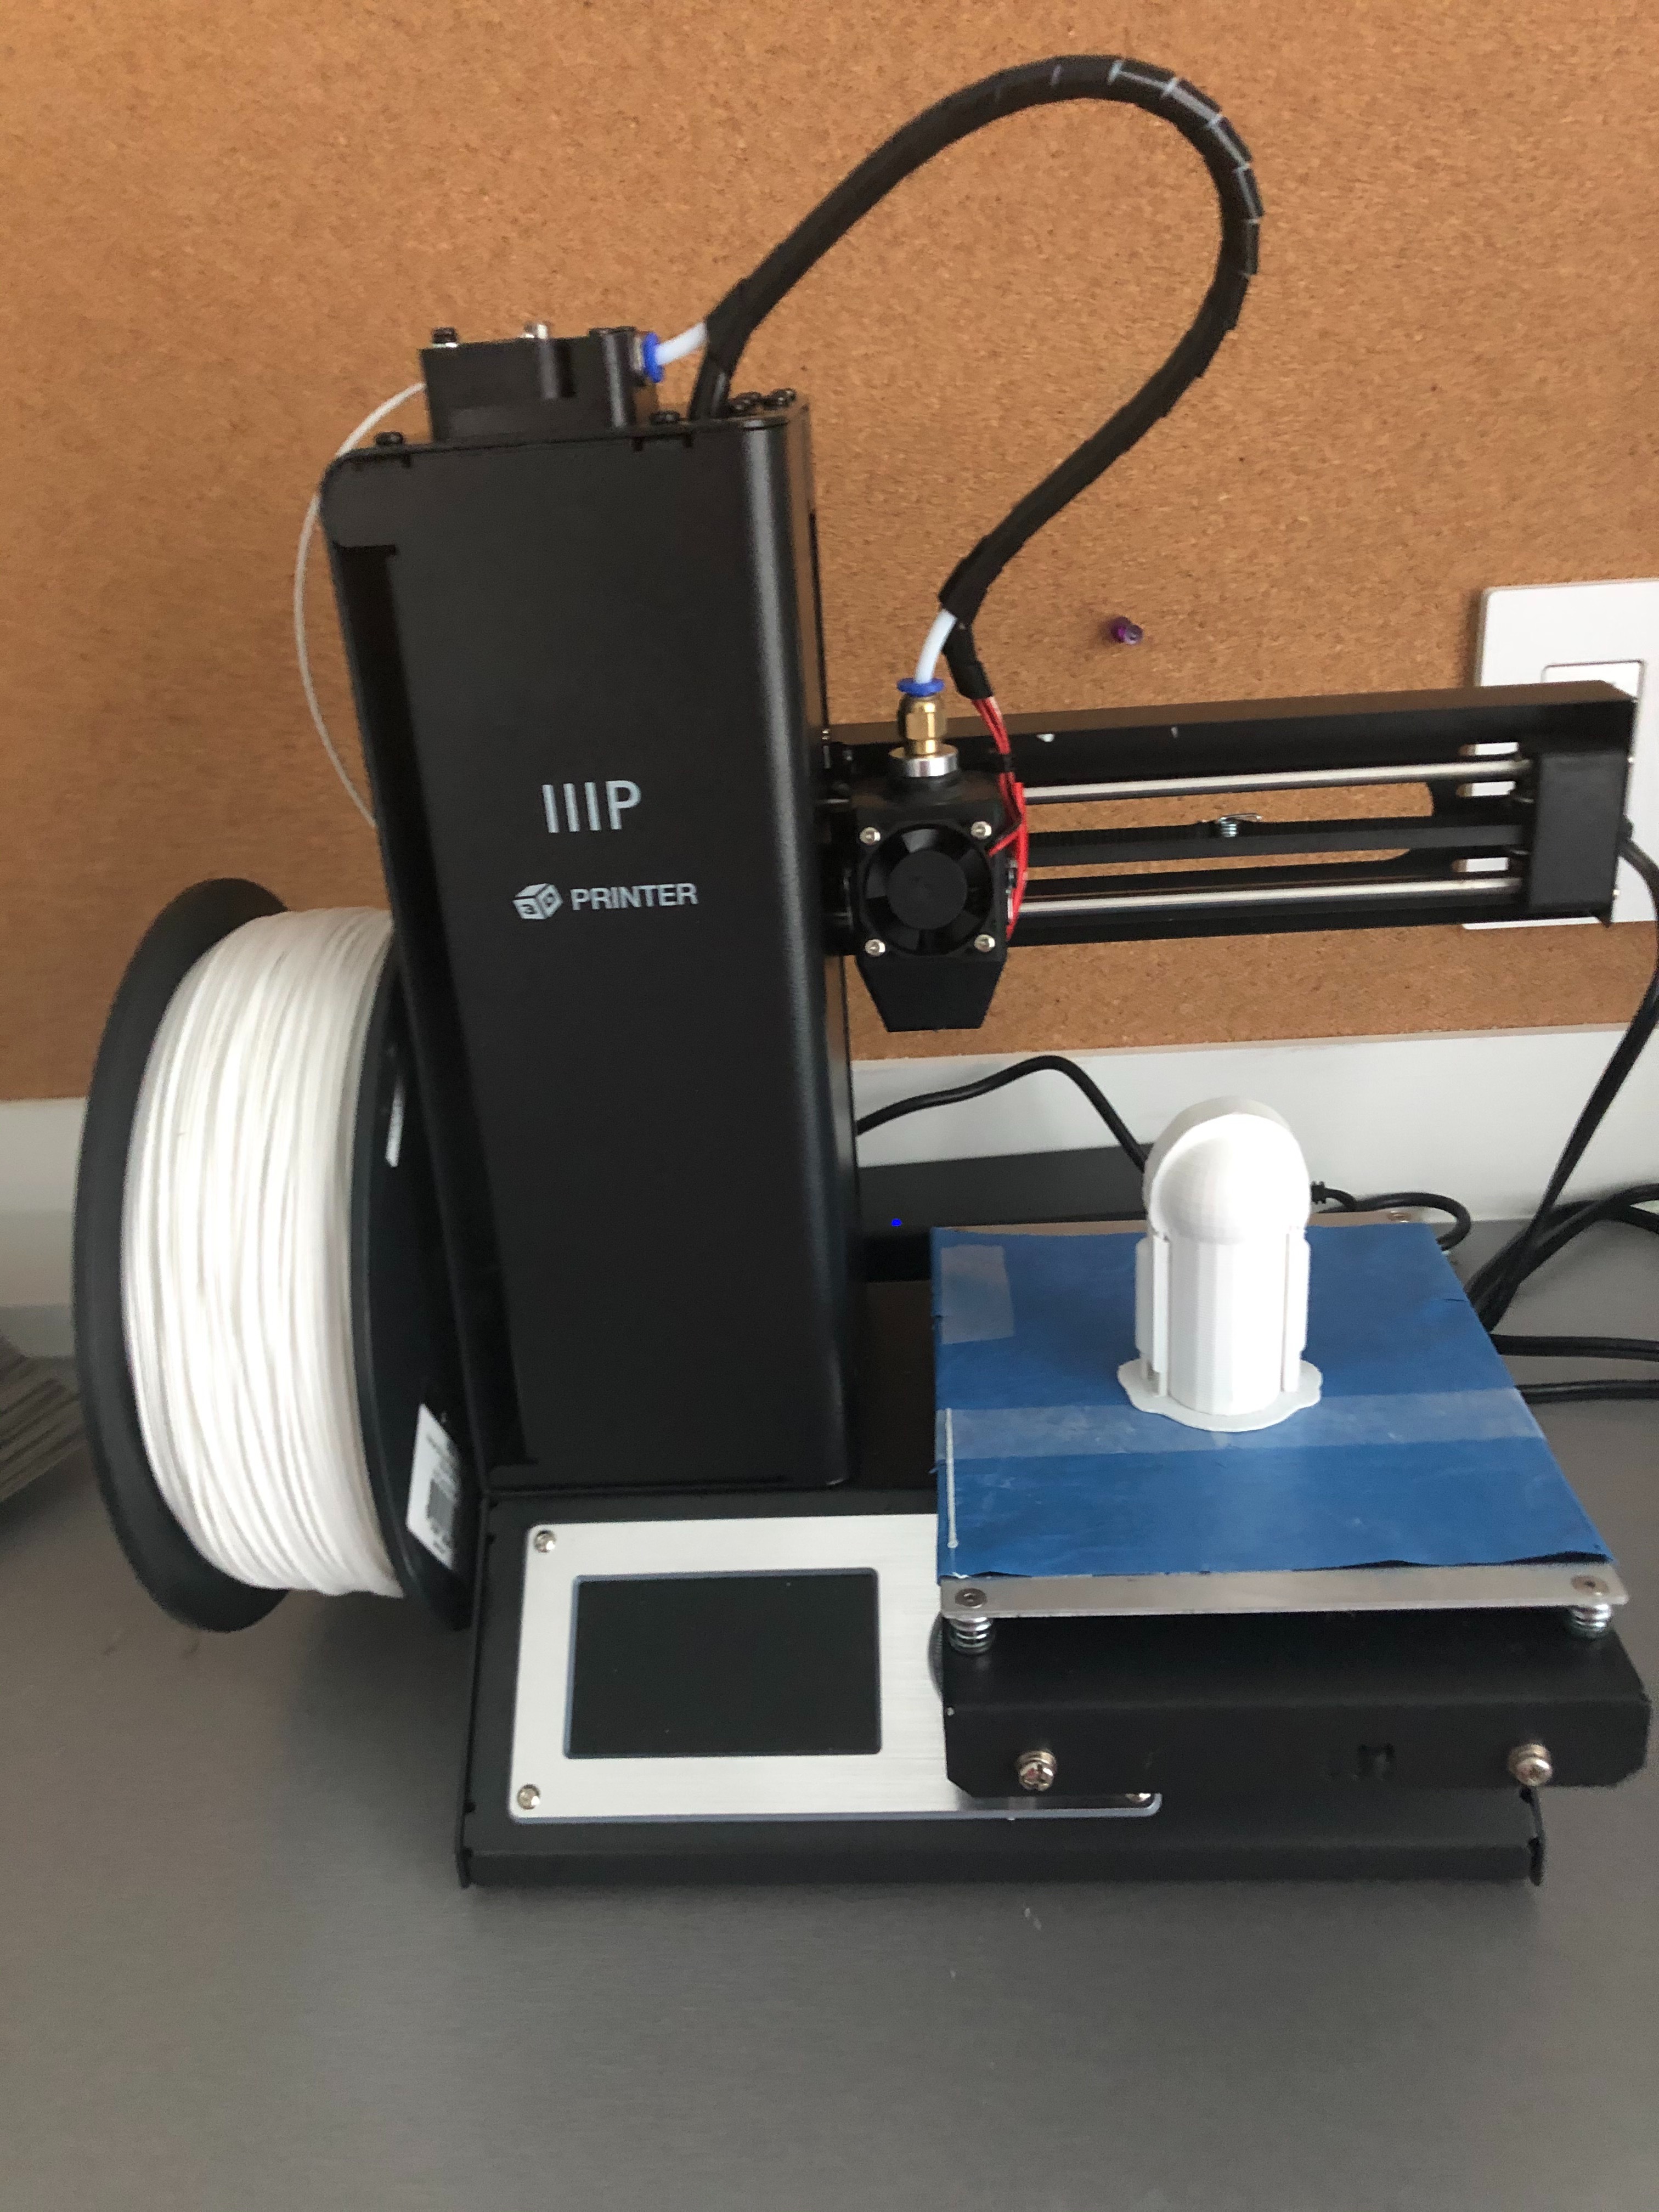
Place the micro SD card that goes into your printer in its slot.
Make sure your print bed is covered with blue tape.
Load whatever filament you chose.
Preheat the extruder to 200 degrees Celsius and the print bed to 50 degrees Celsius.
Move your printer to the home position.
Click "print" and select whatever you named your chibi as.
Now wait for your printer to finish printing your chibi.
Finalizing Your Chibi
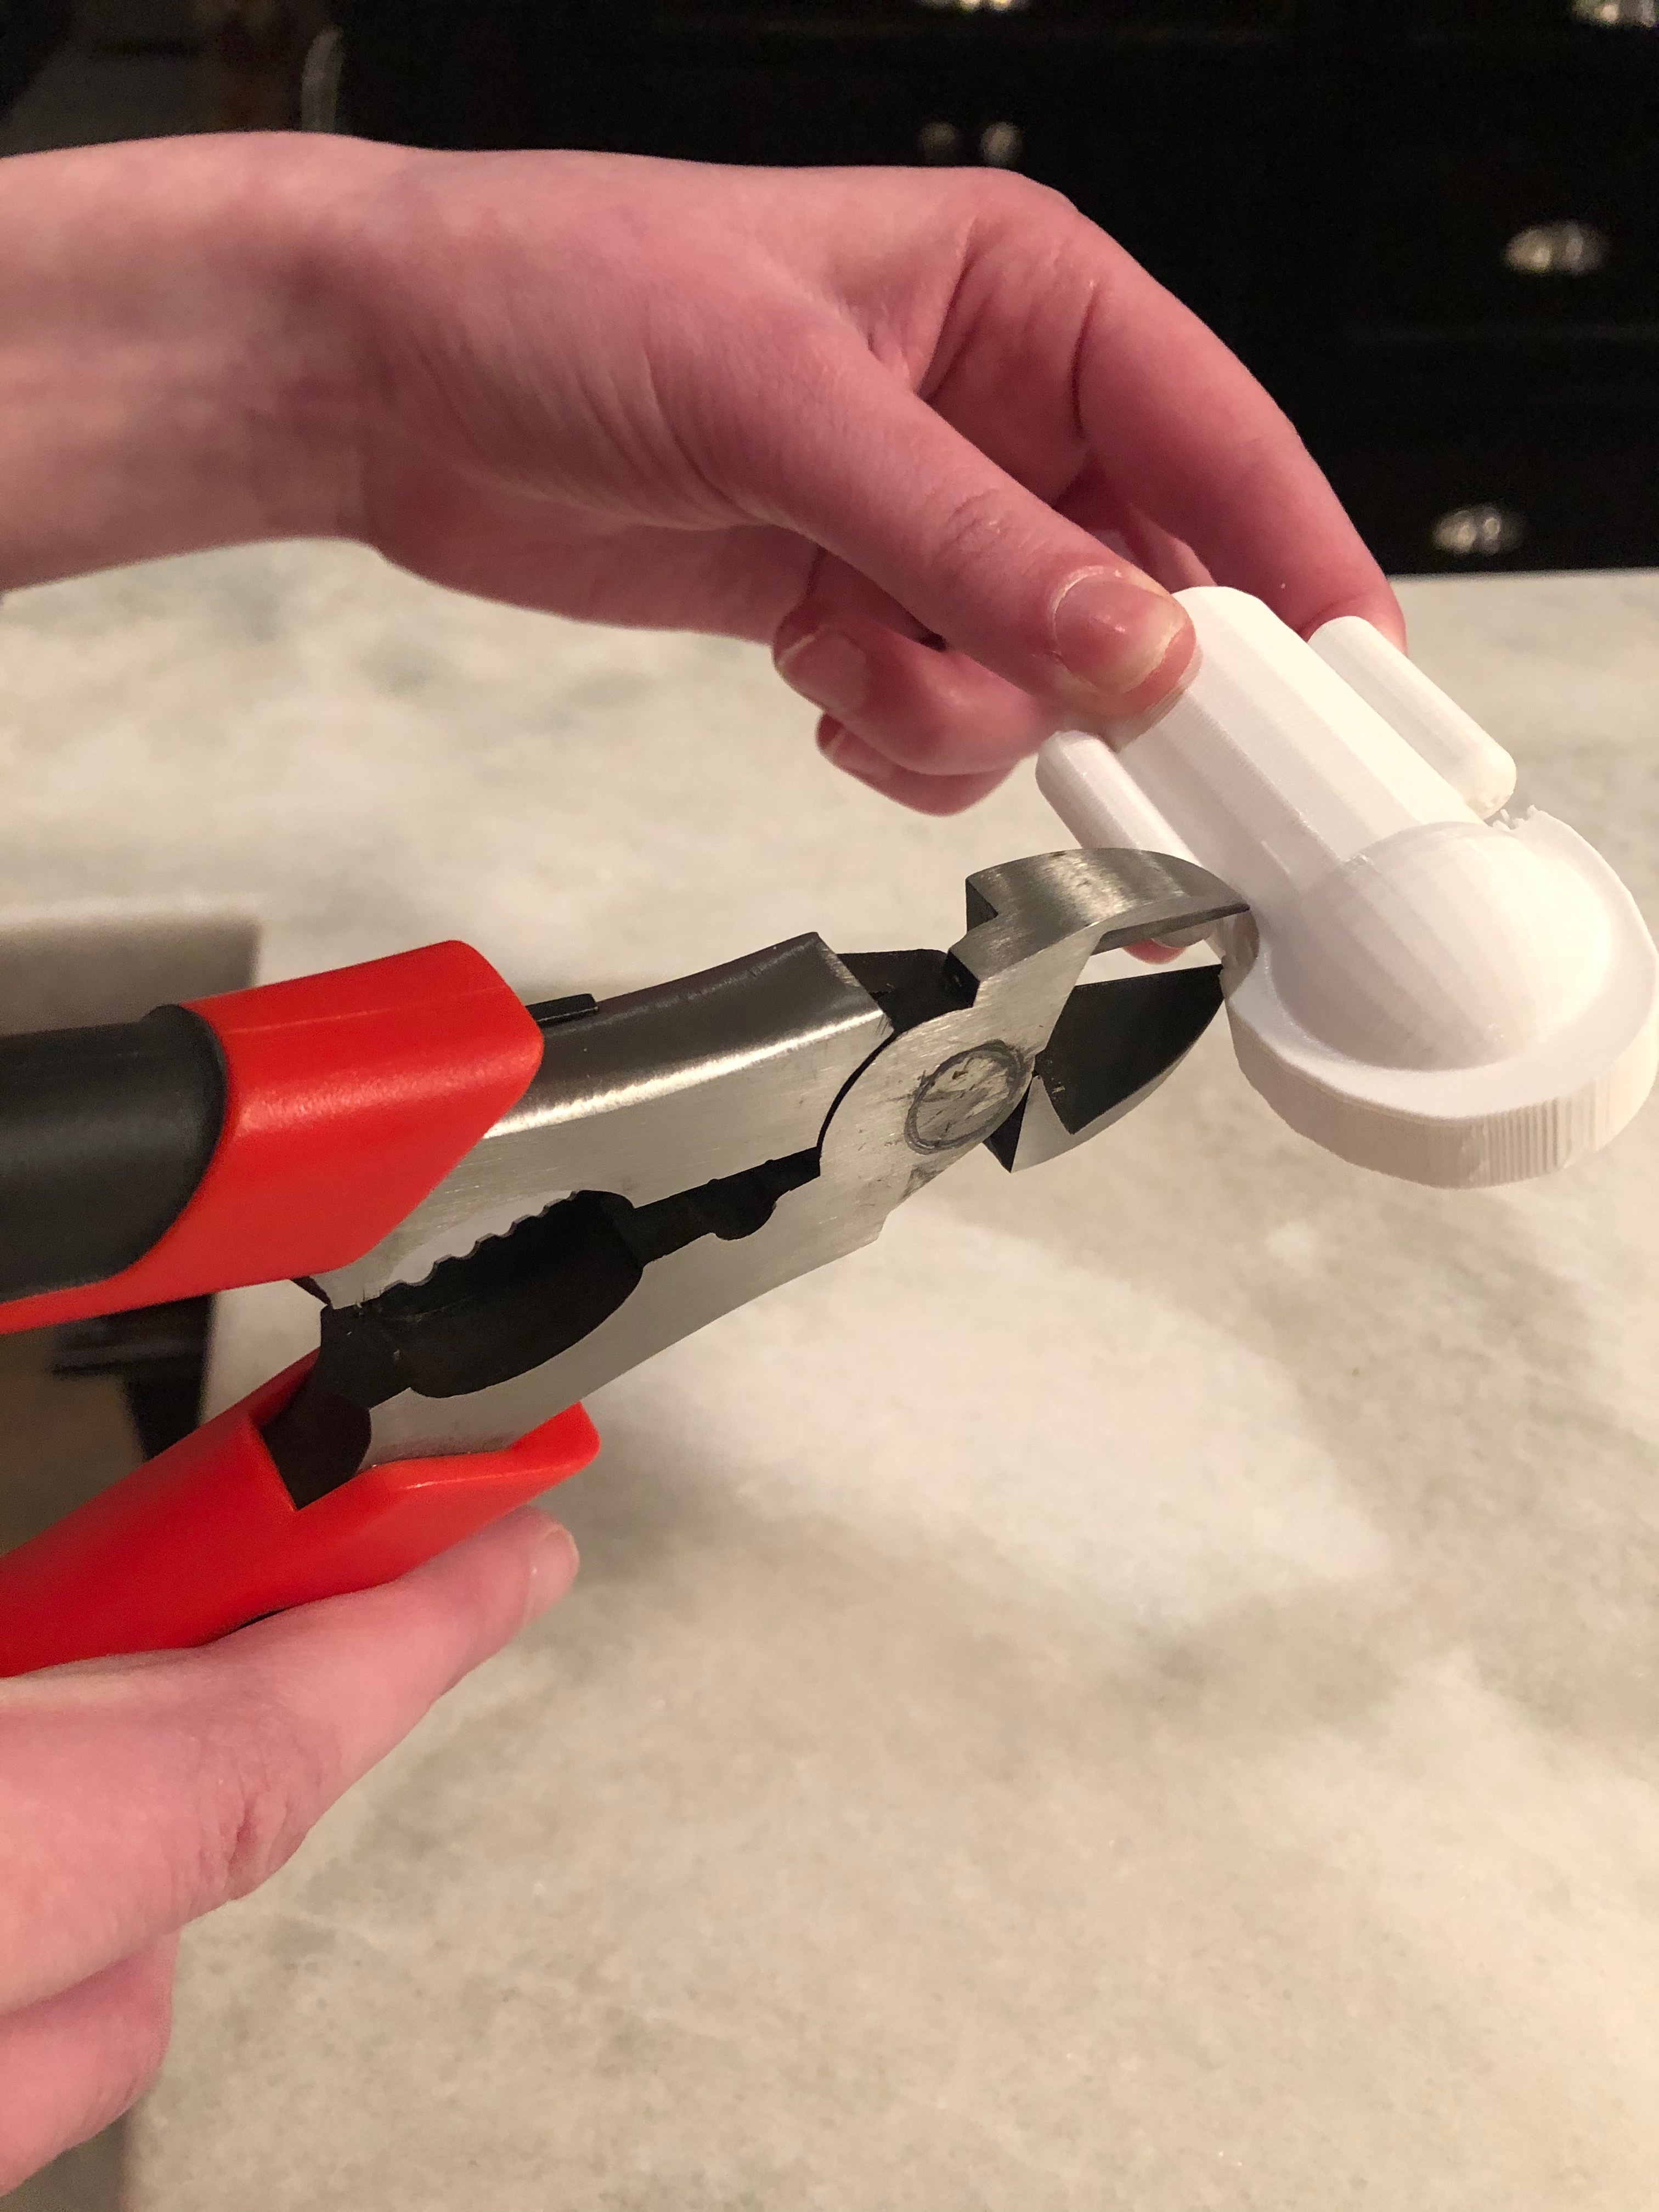
After your chibi is finished, get your supplies ready!
Use your wire cutters and tweezers to remove the supports and any unwanted parts.
After all of this is completed, it should look just like it did on your screen.