How to 3-D Print a Pencil
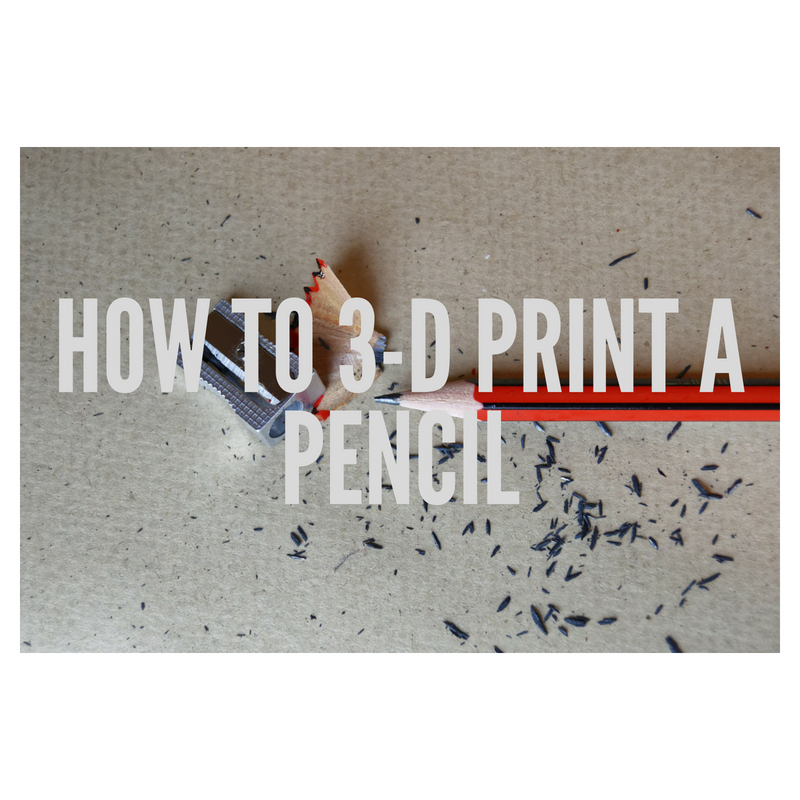
For this project, I wanted to 3-D print a pencil, partially because pencils are interesting to me. I always find pencils in all of the bags I own, throughout my apartment, in my couch, but whenever I need one there's not one in sight. It's also a bit ironic to make a pencil that I cannot use even when I do find it.
Find a Digital Design Program

All of these steps you can use to create any other simple object and 3-D print it, but here I really am working with only three simple shapes and a print size of about 2.5 inches.
The first step would be to find a digital design program that suits you and and your abilities. Personally, I don't have much experience with 3-D digital design, and tinkercad is an amazing site for beginners. You can use any other software or website you want, some do require download and many are available for free or purchase.
tinkercad.com
Create Polygon
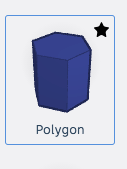
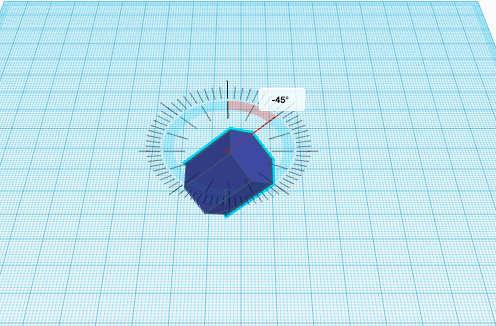
Because I am using Tinkercad, there are simplified pre-made shapes I can use. There is a column on the right side of the page once you open a new window that is labeled "Basic Shapes" and in it I clicked on polygon. Take a moment to get used to the orientation of everything, it helps to click the cube on the upper left of the page that switches between front/top/bottom/left/right sides of the 3D space.
Once you have your polygon, which will be the majority of our pencil, rotate it so that is is horizontal and increase its length by selecting a point at the end of the polygon and dragging it to it's desired length.
Create Cone
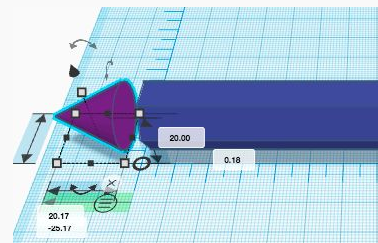
Next I made a cone, which serves as the pencil tip. Also found in the basic shapes section, once you create it you'll have to rotate it just as we did with the polygon shape. I liked the length of it, but if you would prefer to you can drag the tip of the cone to make it taller and more narrow (or shorter and wider). Once the proportions look good, place the cone so it's touching the end of the base of the pencil. Check all angles, top, side, and the front to make sure that the tip is aligned with the base of the pencil. Sometimes it looks good from one or two angles but is off at another.
Create Cylinder
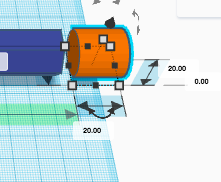
Now for the eraser! Similar to the last two steps we are going to create a cylinder and rotate it, sizing it to how big an eraser would be on a pencil, which is roughly the same size as my cone was. After this was done, I also placed it against the base of the pencil, checking all angles as I did with the cone.
Group All Objects
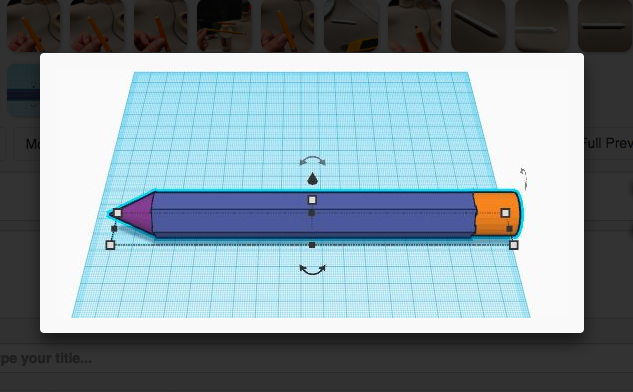
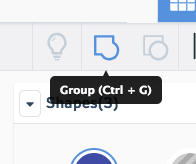
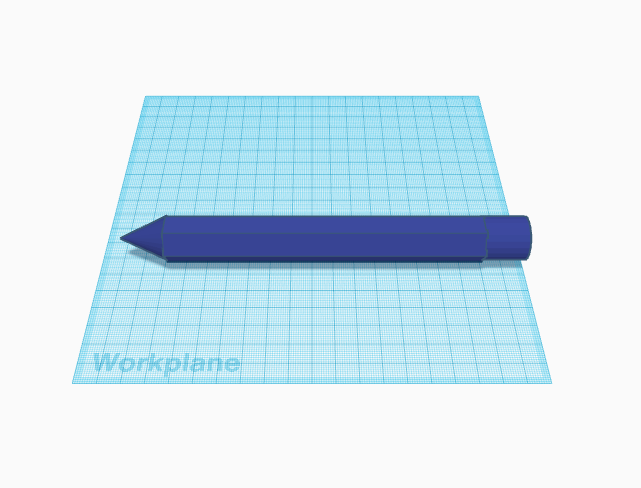
So now you should have three shapes all aligned to create a pencil, but to 3D print it as one object you need to group all of them together, making them one piece. To do this you select all three objects, either by clicking on the left side of the shape and holding as you scroll over every shape, or by clicking on each shape while holding the shift key. Once they're all selected, hit the group button which is in the upper right hand corner.
At this point they should all be one color instead of separate colors, and that's how you will be sure they were grouped correctly. Once this step is completed you can resize the pencil to the desired length and width you'd like it to be. Personally, I printed mine small as this was a class project and the smaller it is the faster and cheaper it is to 3d print.
To make sure the pencil is not warped, after you select the object, you can hold shift as you drag the selected point to make sure every direction is increased or decreased at the same rate. This is how I made sure I wouldn't have to go back in and readjust from different angles.
Time for 3D Printing!
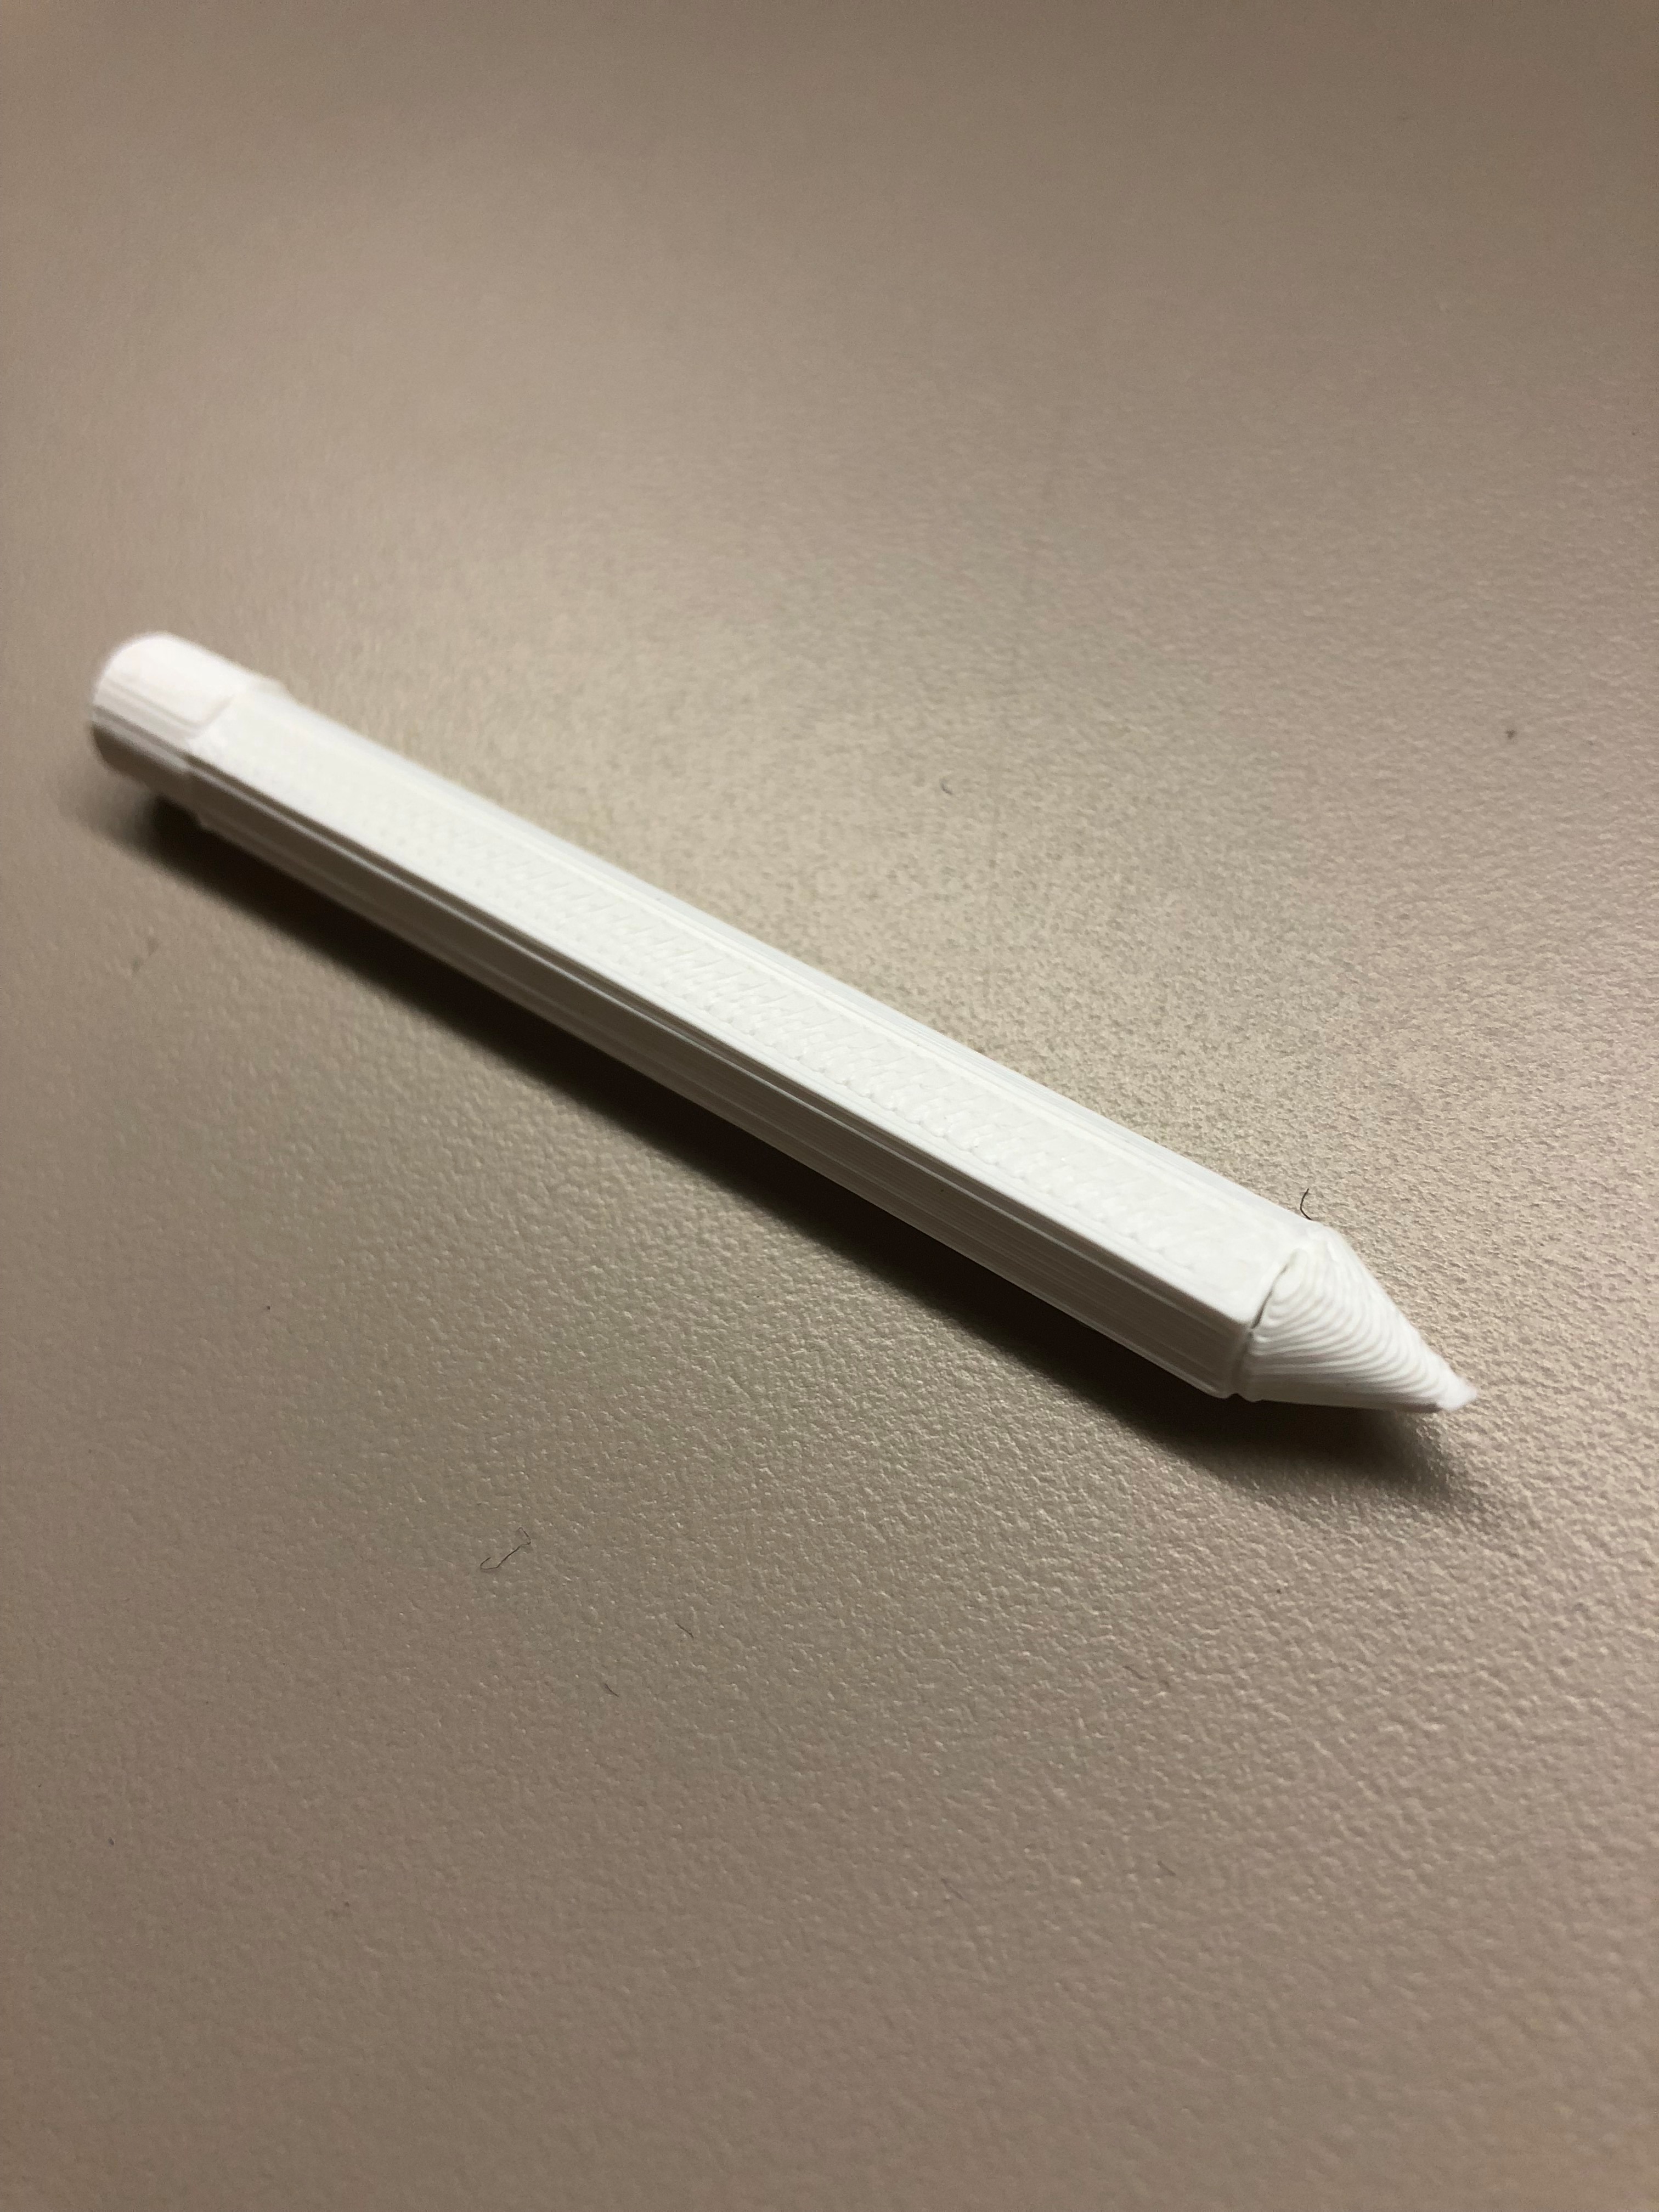
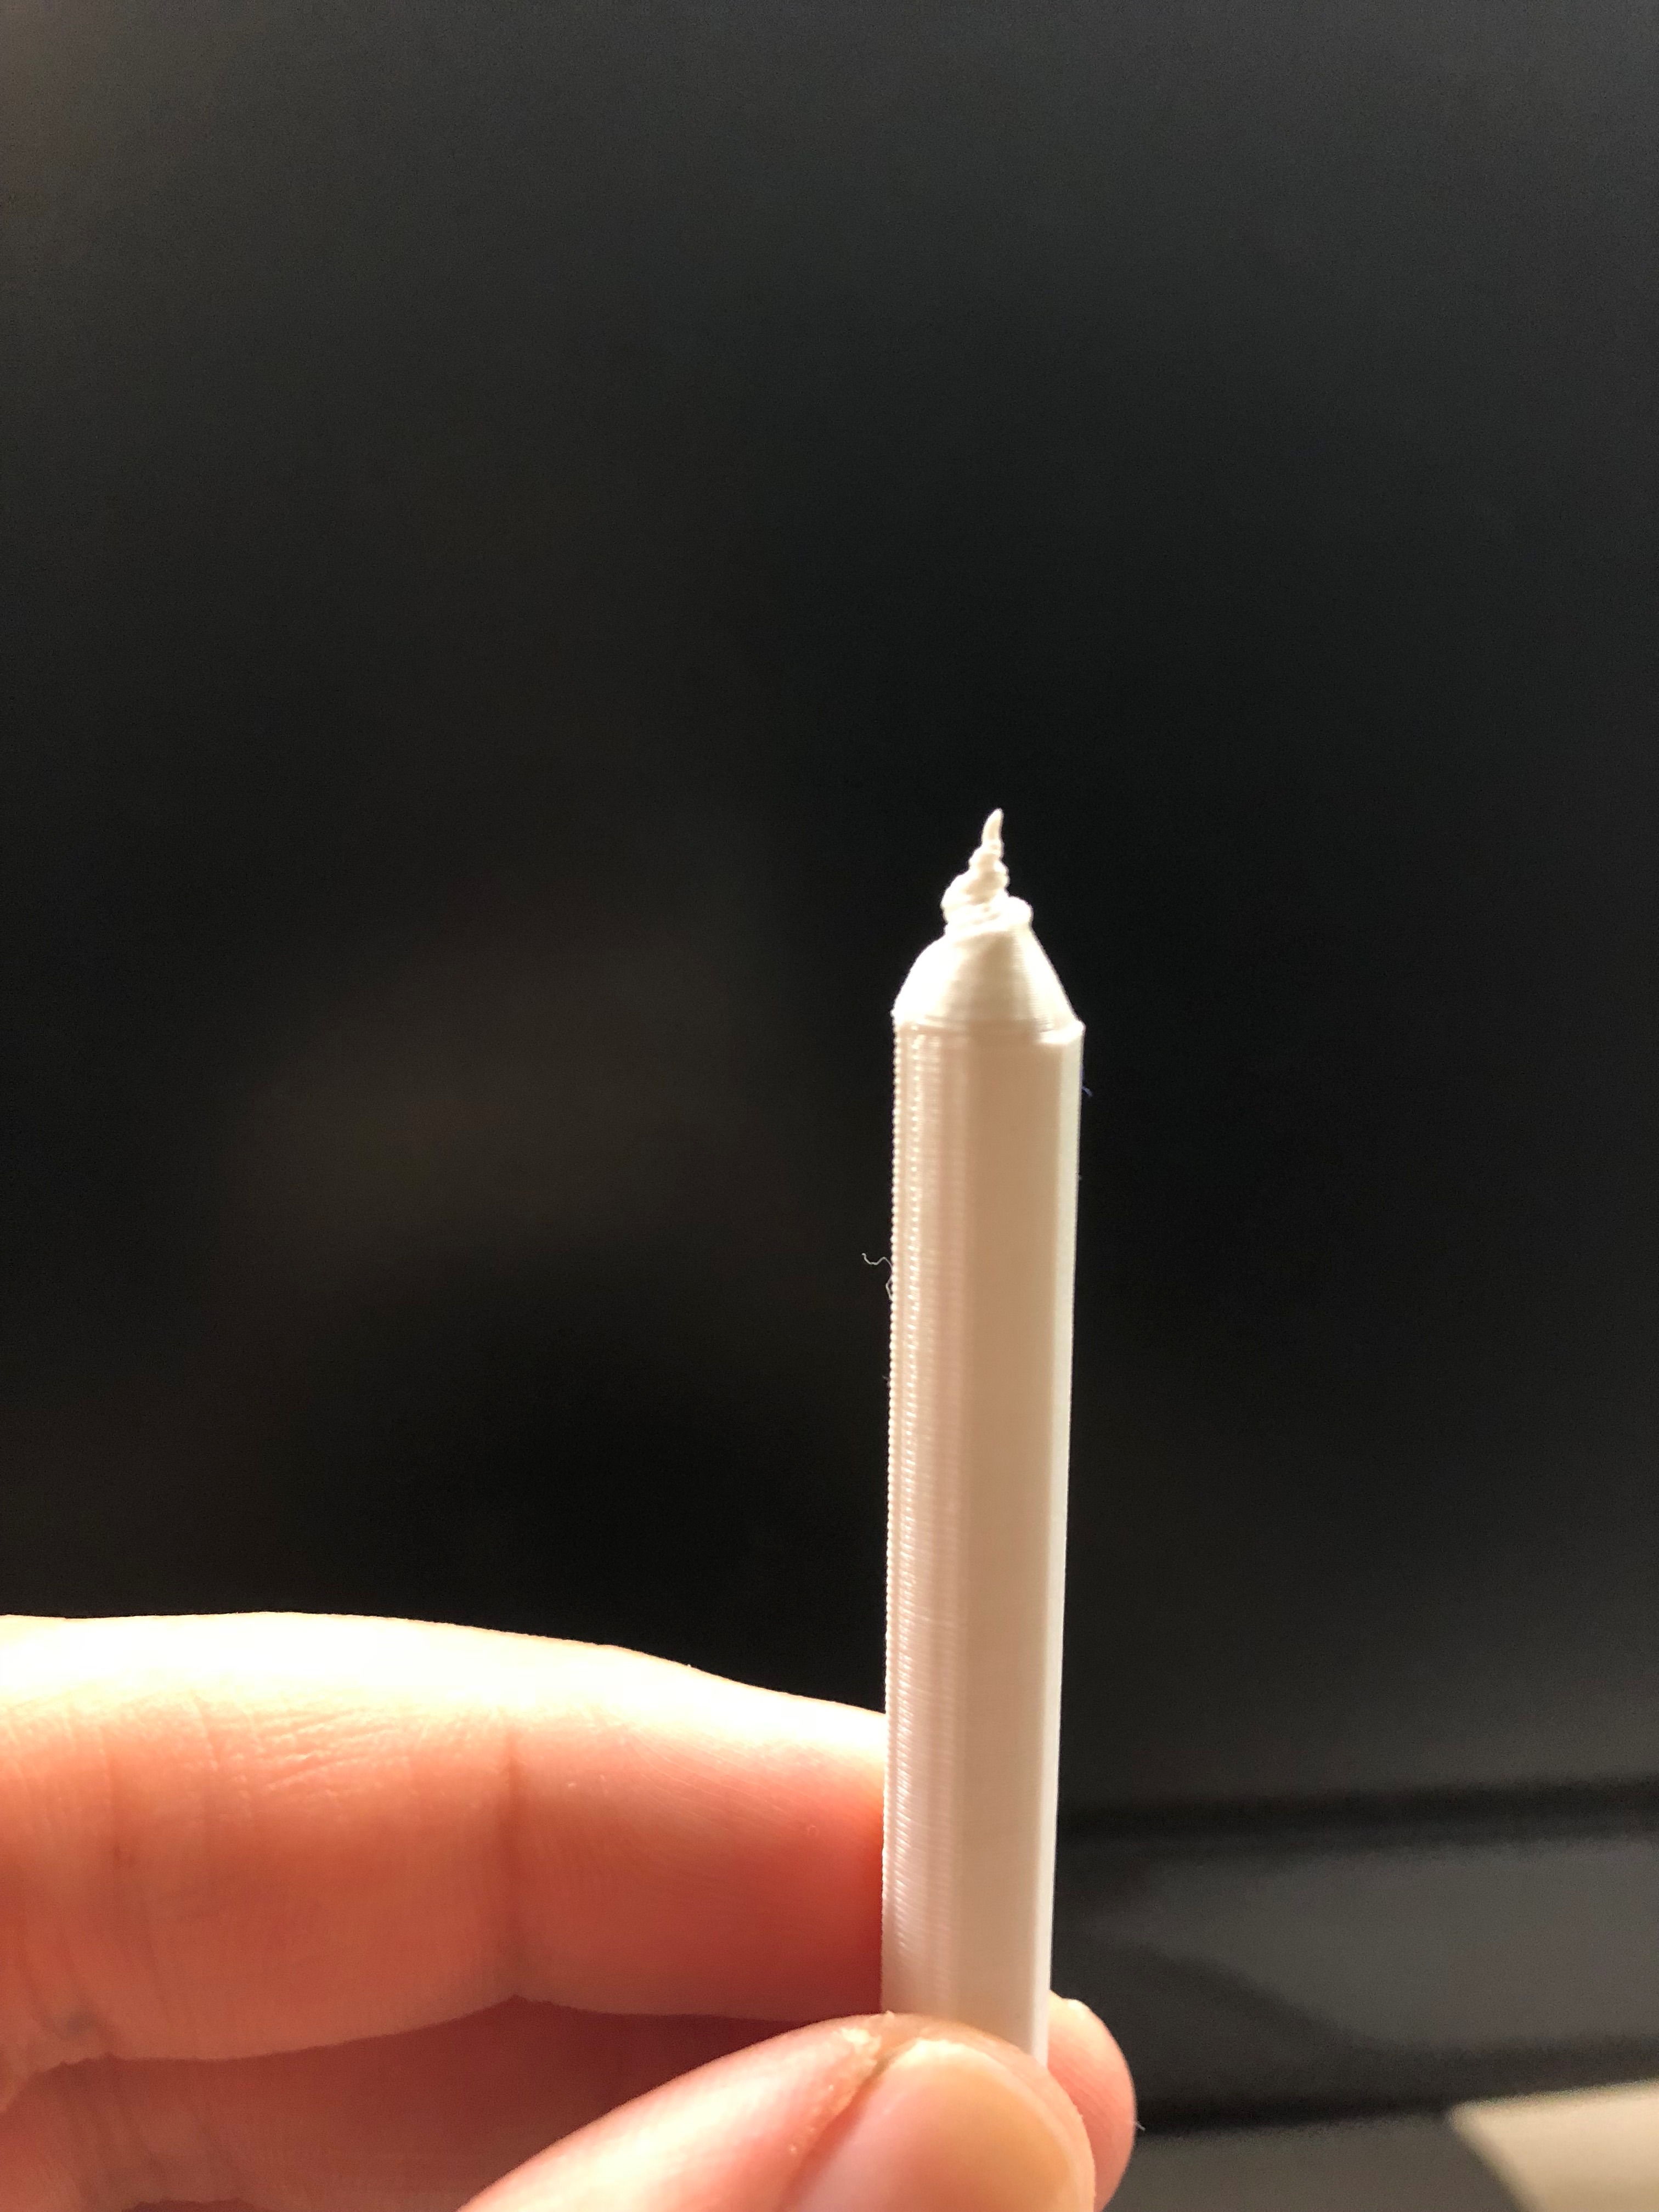
I'm a student at the University of Florida and luckily have access to the 3-D printing lab. I just had to save the file as a stl. and submit it for printing, and even non-students can submit requests as long as they paid a fee. Hopefully you have access to this, or check your local colleges and libraries for this.
Once again, this is my first 3-D printing project and therefore I was too scared to rent my own printer. But if you have experience with 3-D printing you can use your own or a rented one, possibly downloading the appropriate software. If you've ever used a paper printer before, it's the same concept, just different file types and instead of ink it's molten plastic!
Regardless of if you're printing at home, or at the library like me, be sure to make more than one (unless money or time are too tight) to check that you get the best result! My first one came out with the end of the cone warped and was reprinted (the second image) to ensure I got a product that most fit my design.
Cleaning Up the Print Job
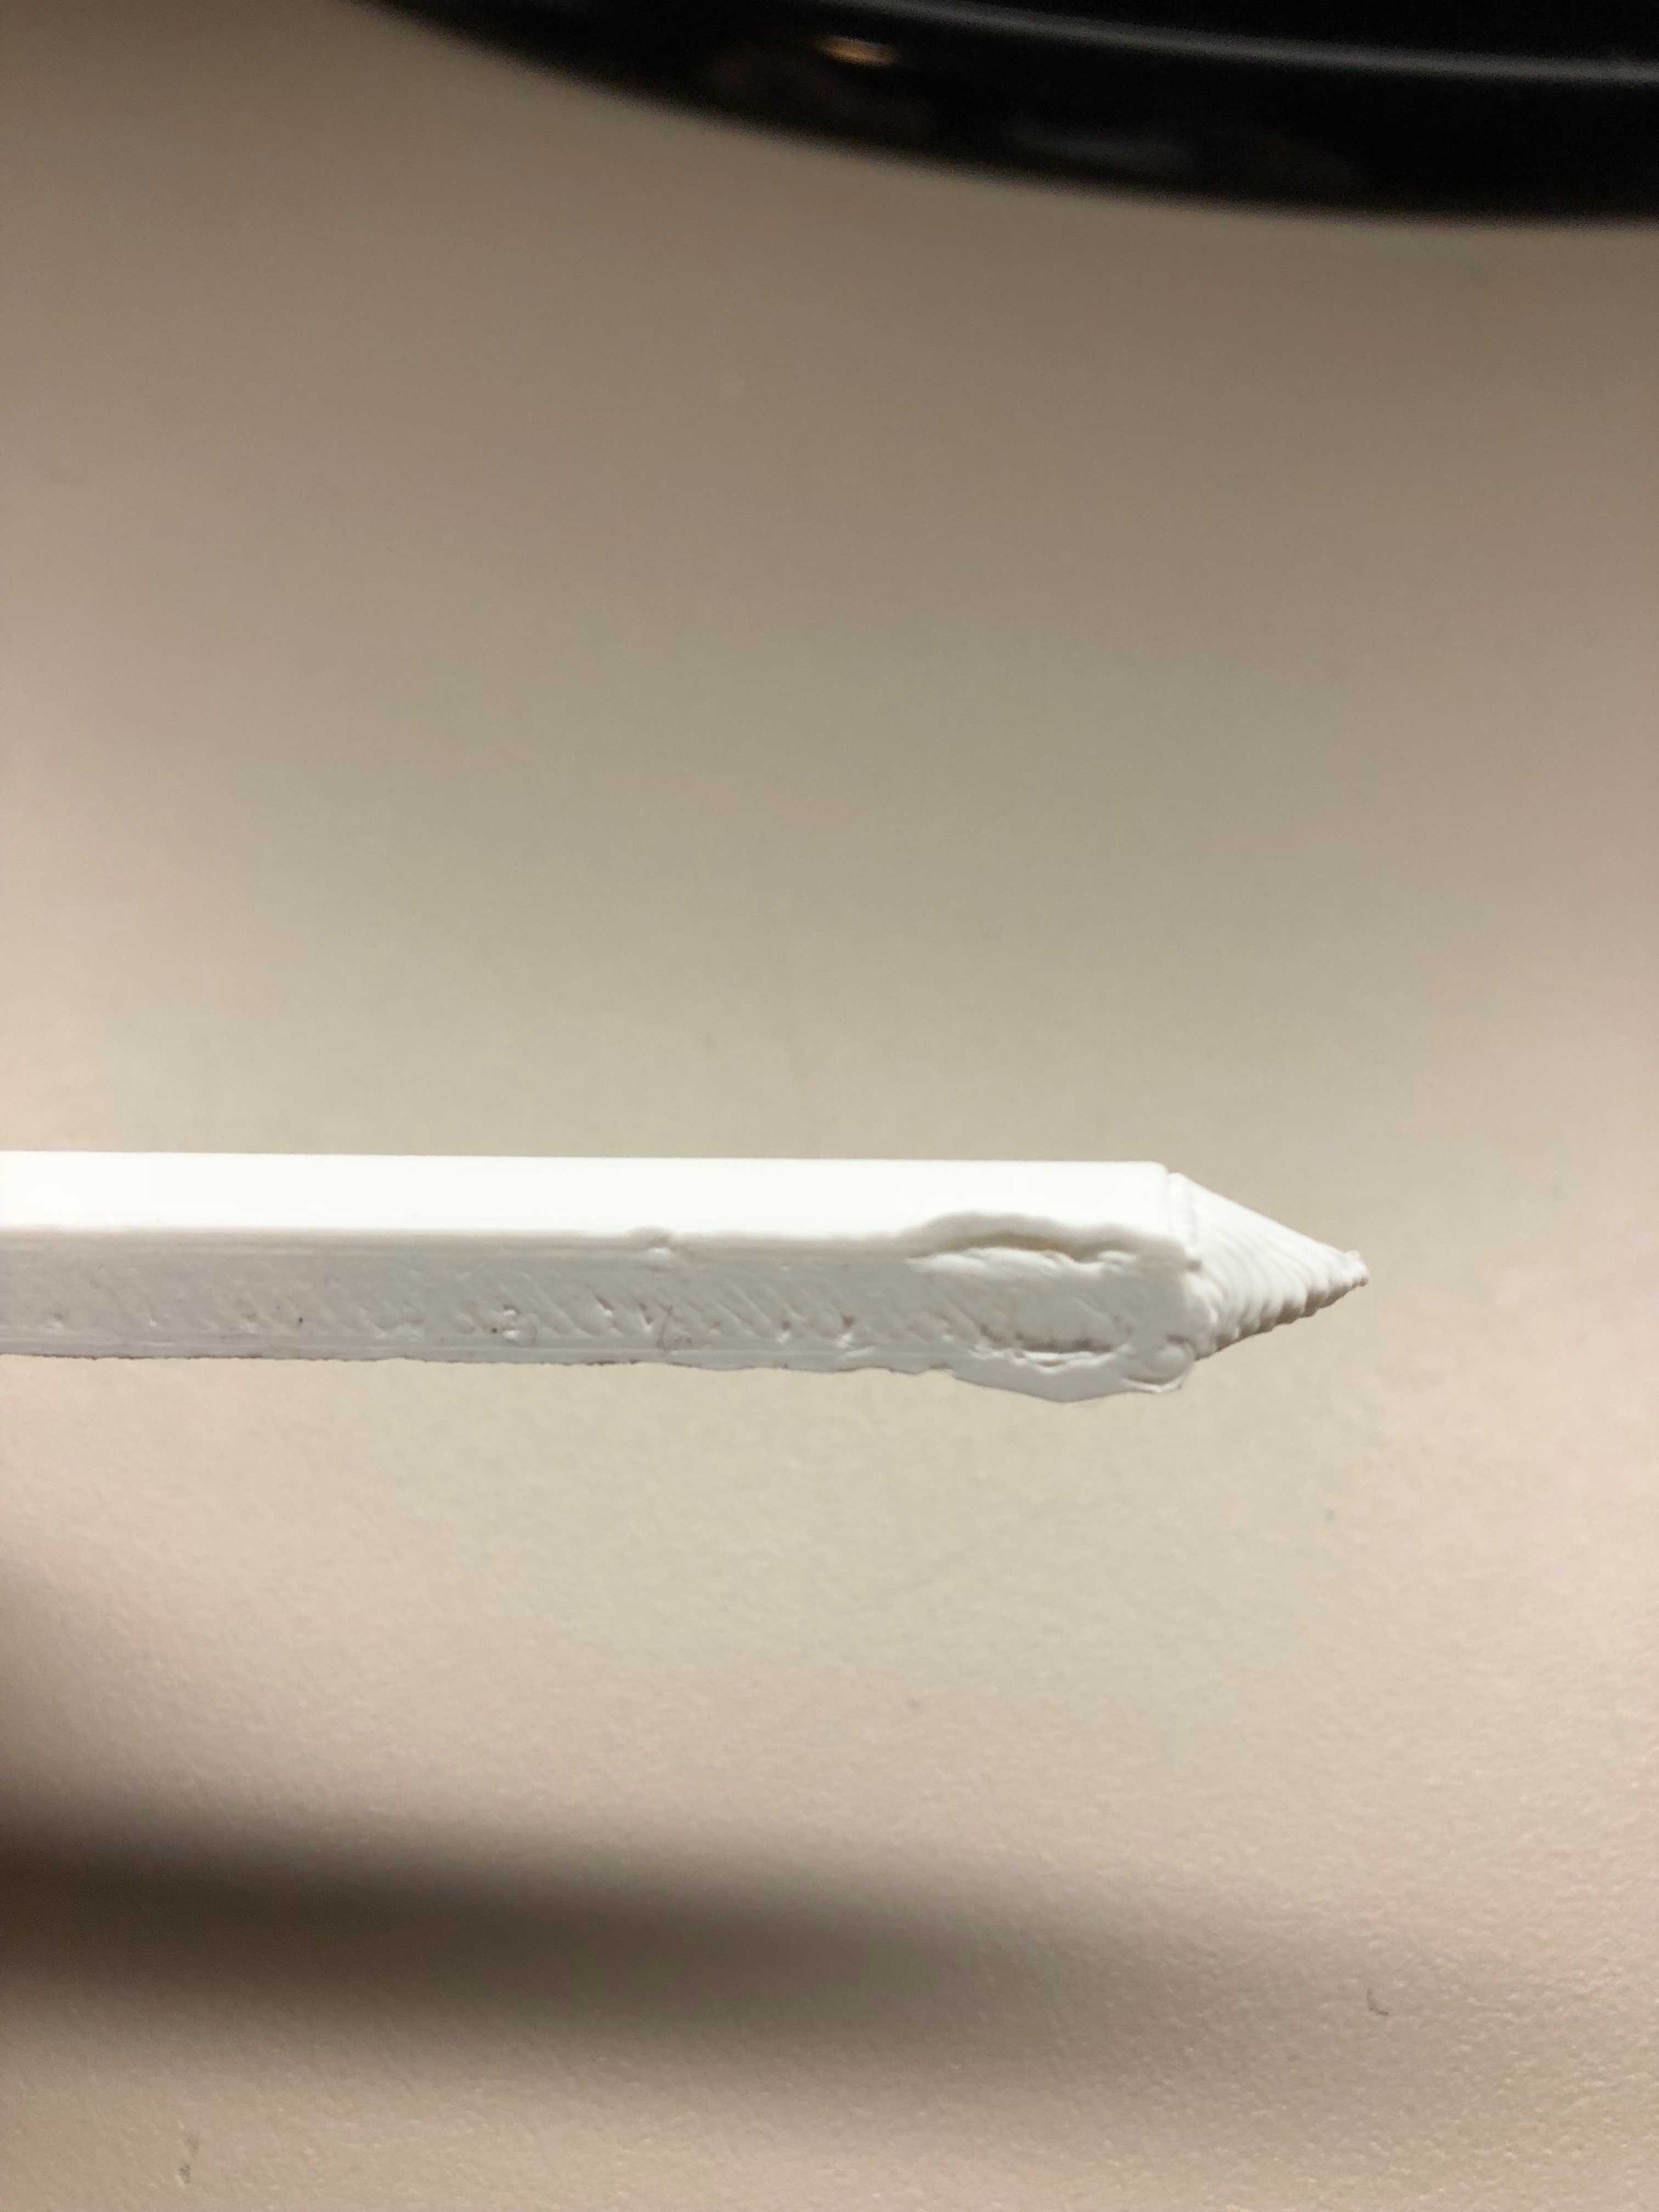
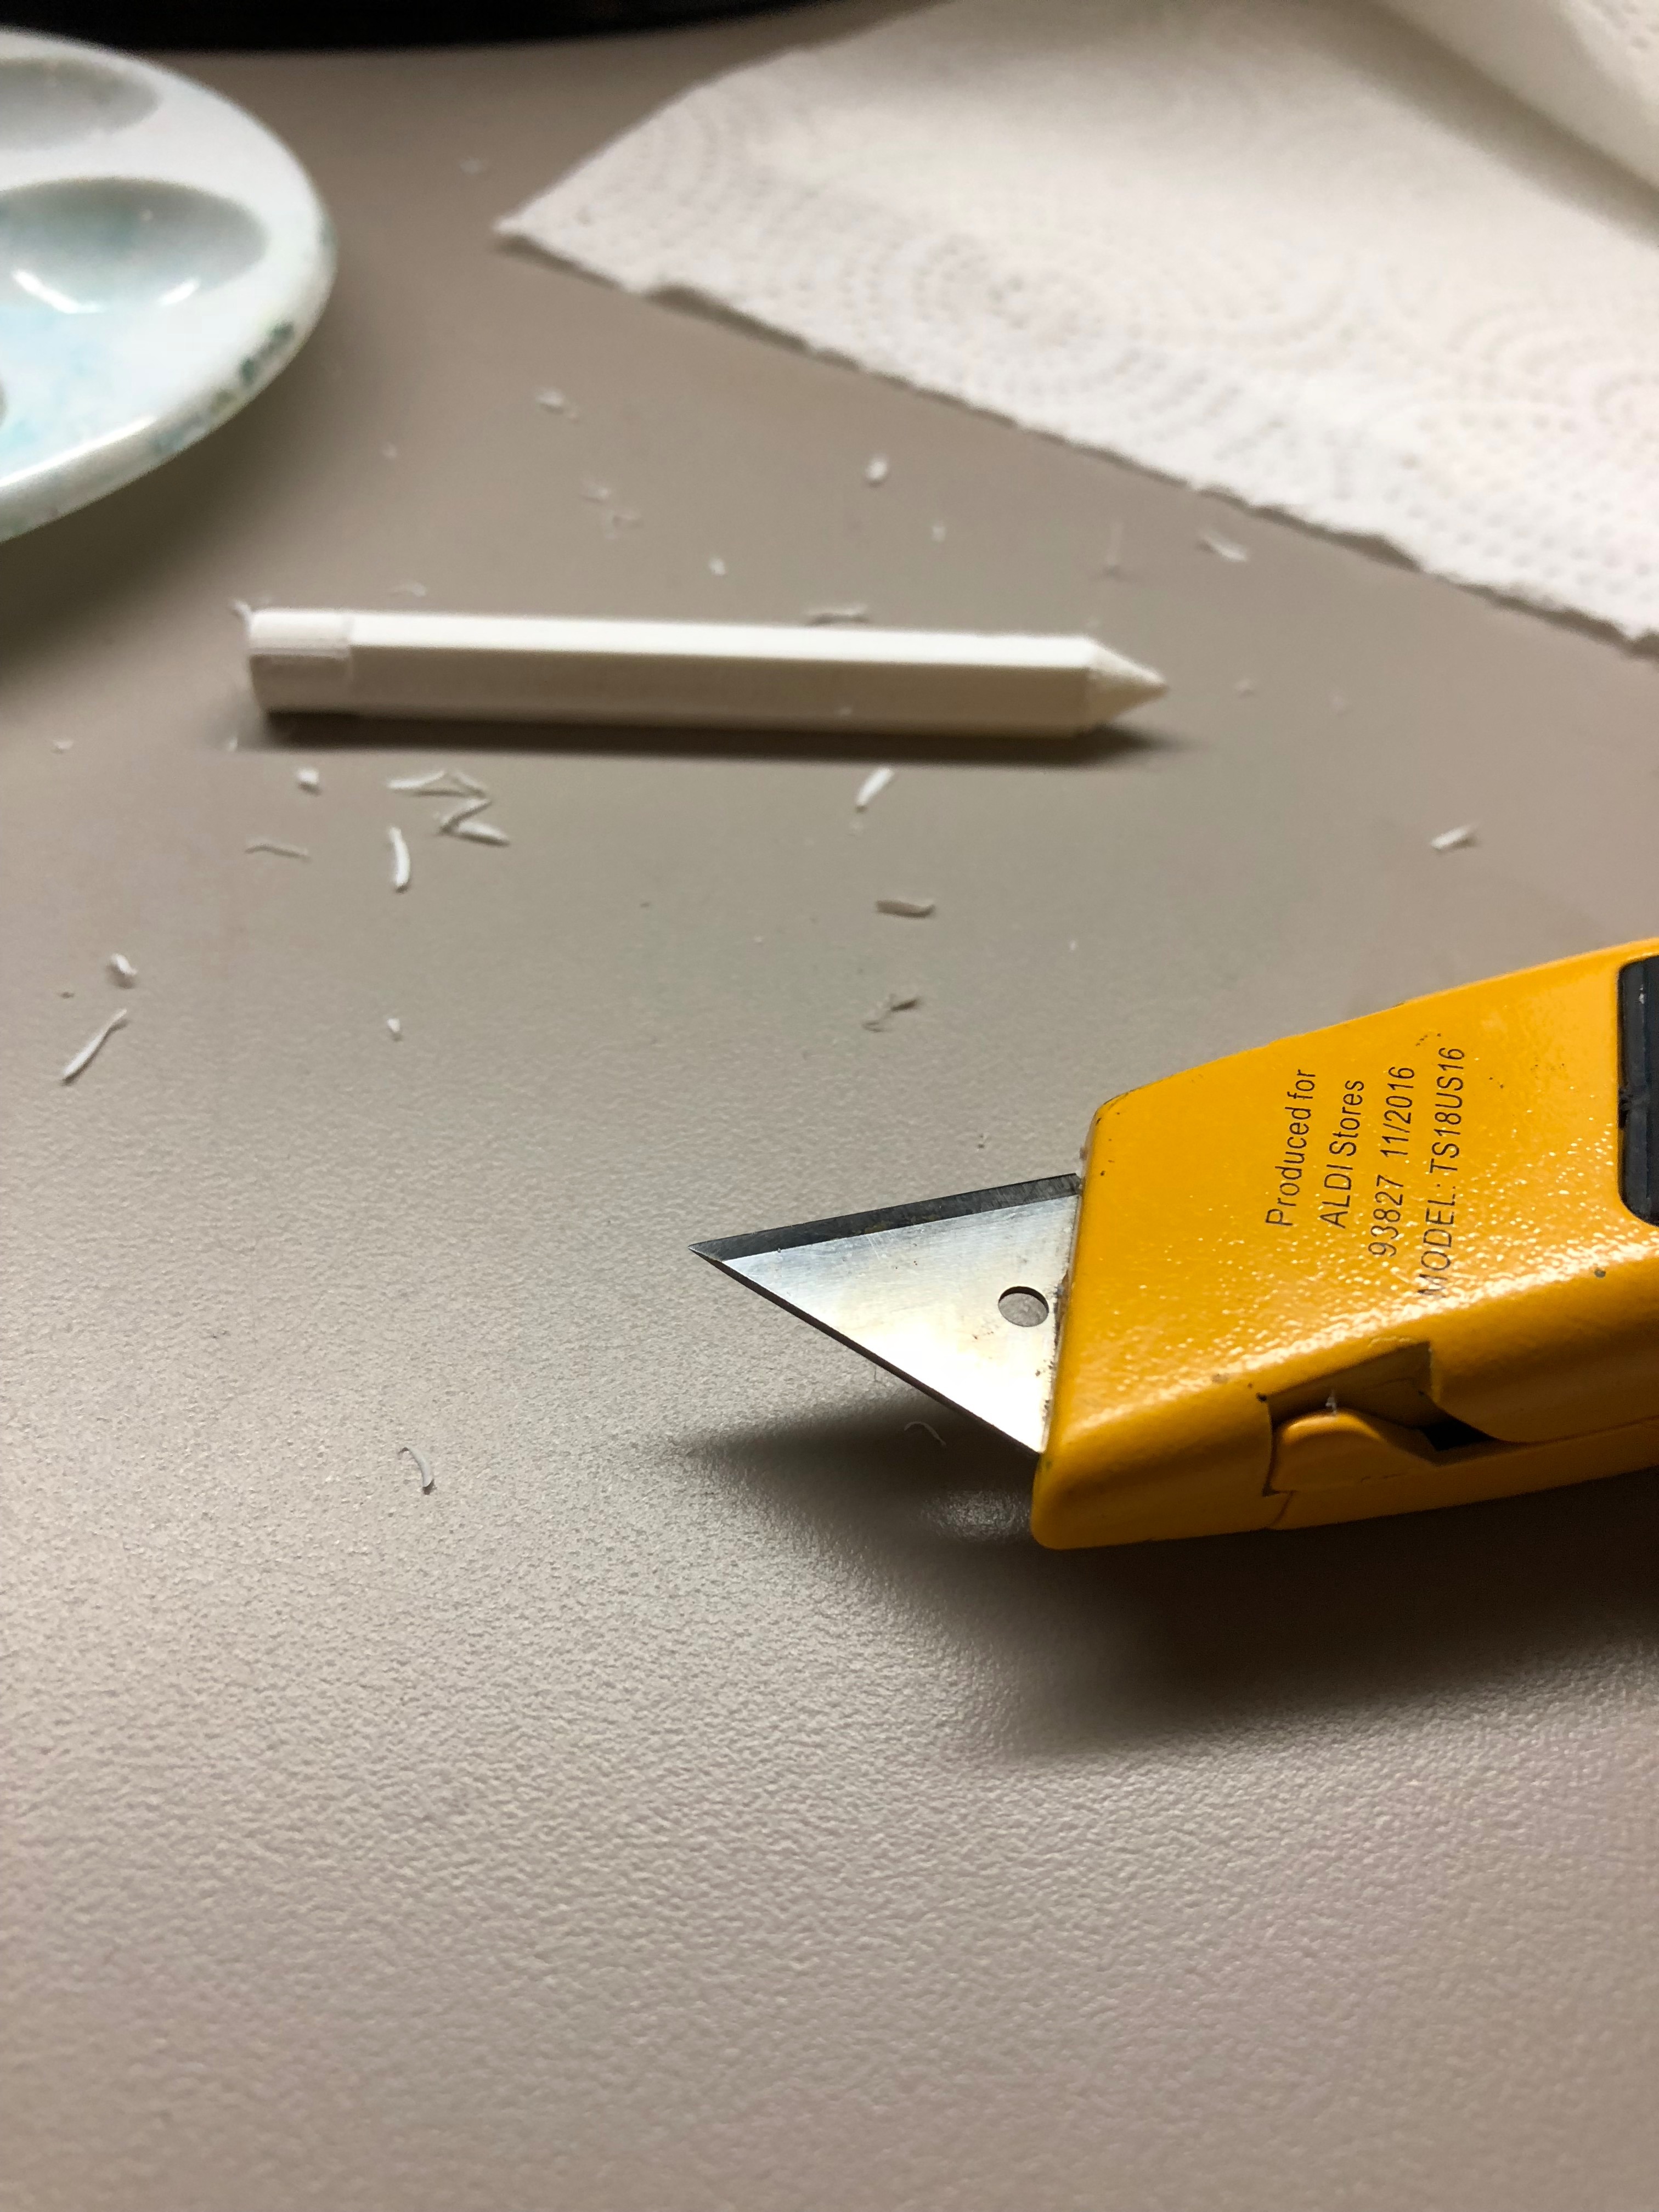
Even when you get an awesome print, there may be a few edges that aren't as clean as you want them to be. The best way to remove small pieces you do not want is to sand them away, even with something as rough as 80 grit sand paper. For larger chunks you can take an exacto knife (or in my case a boxcutter) to slice off the edges.
If you are using a knife, be SUPER careful! You will be cutting plastic, which is very hard to control. If you don't have experience with carving I recommend taking the time to sand. Always cut away from yourself, and take your time if you do use a knife. If you try to cut the excess off in one go, you could easily rip the plastic and remove too much material. This is why you can see a much of small shavings all over my desk.
Adding Some Color
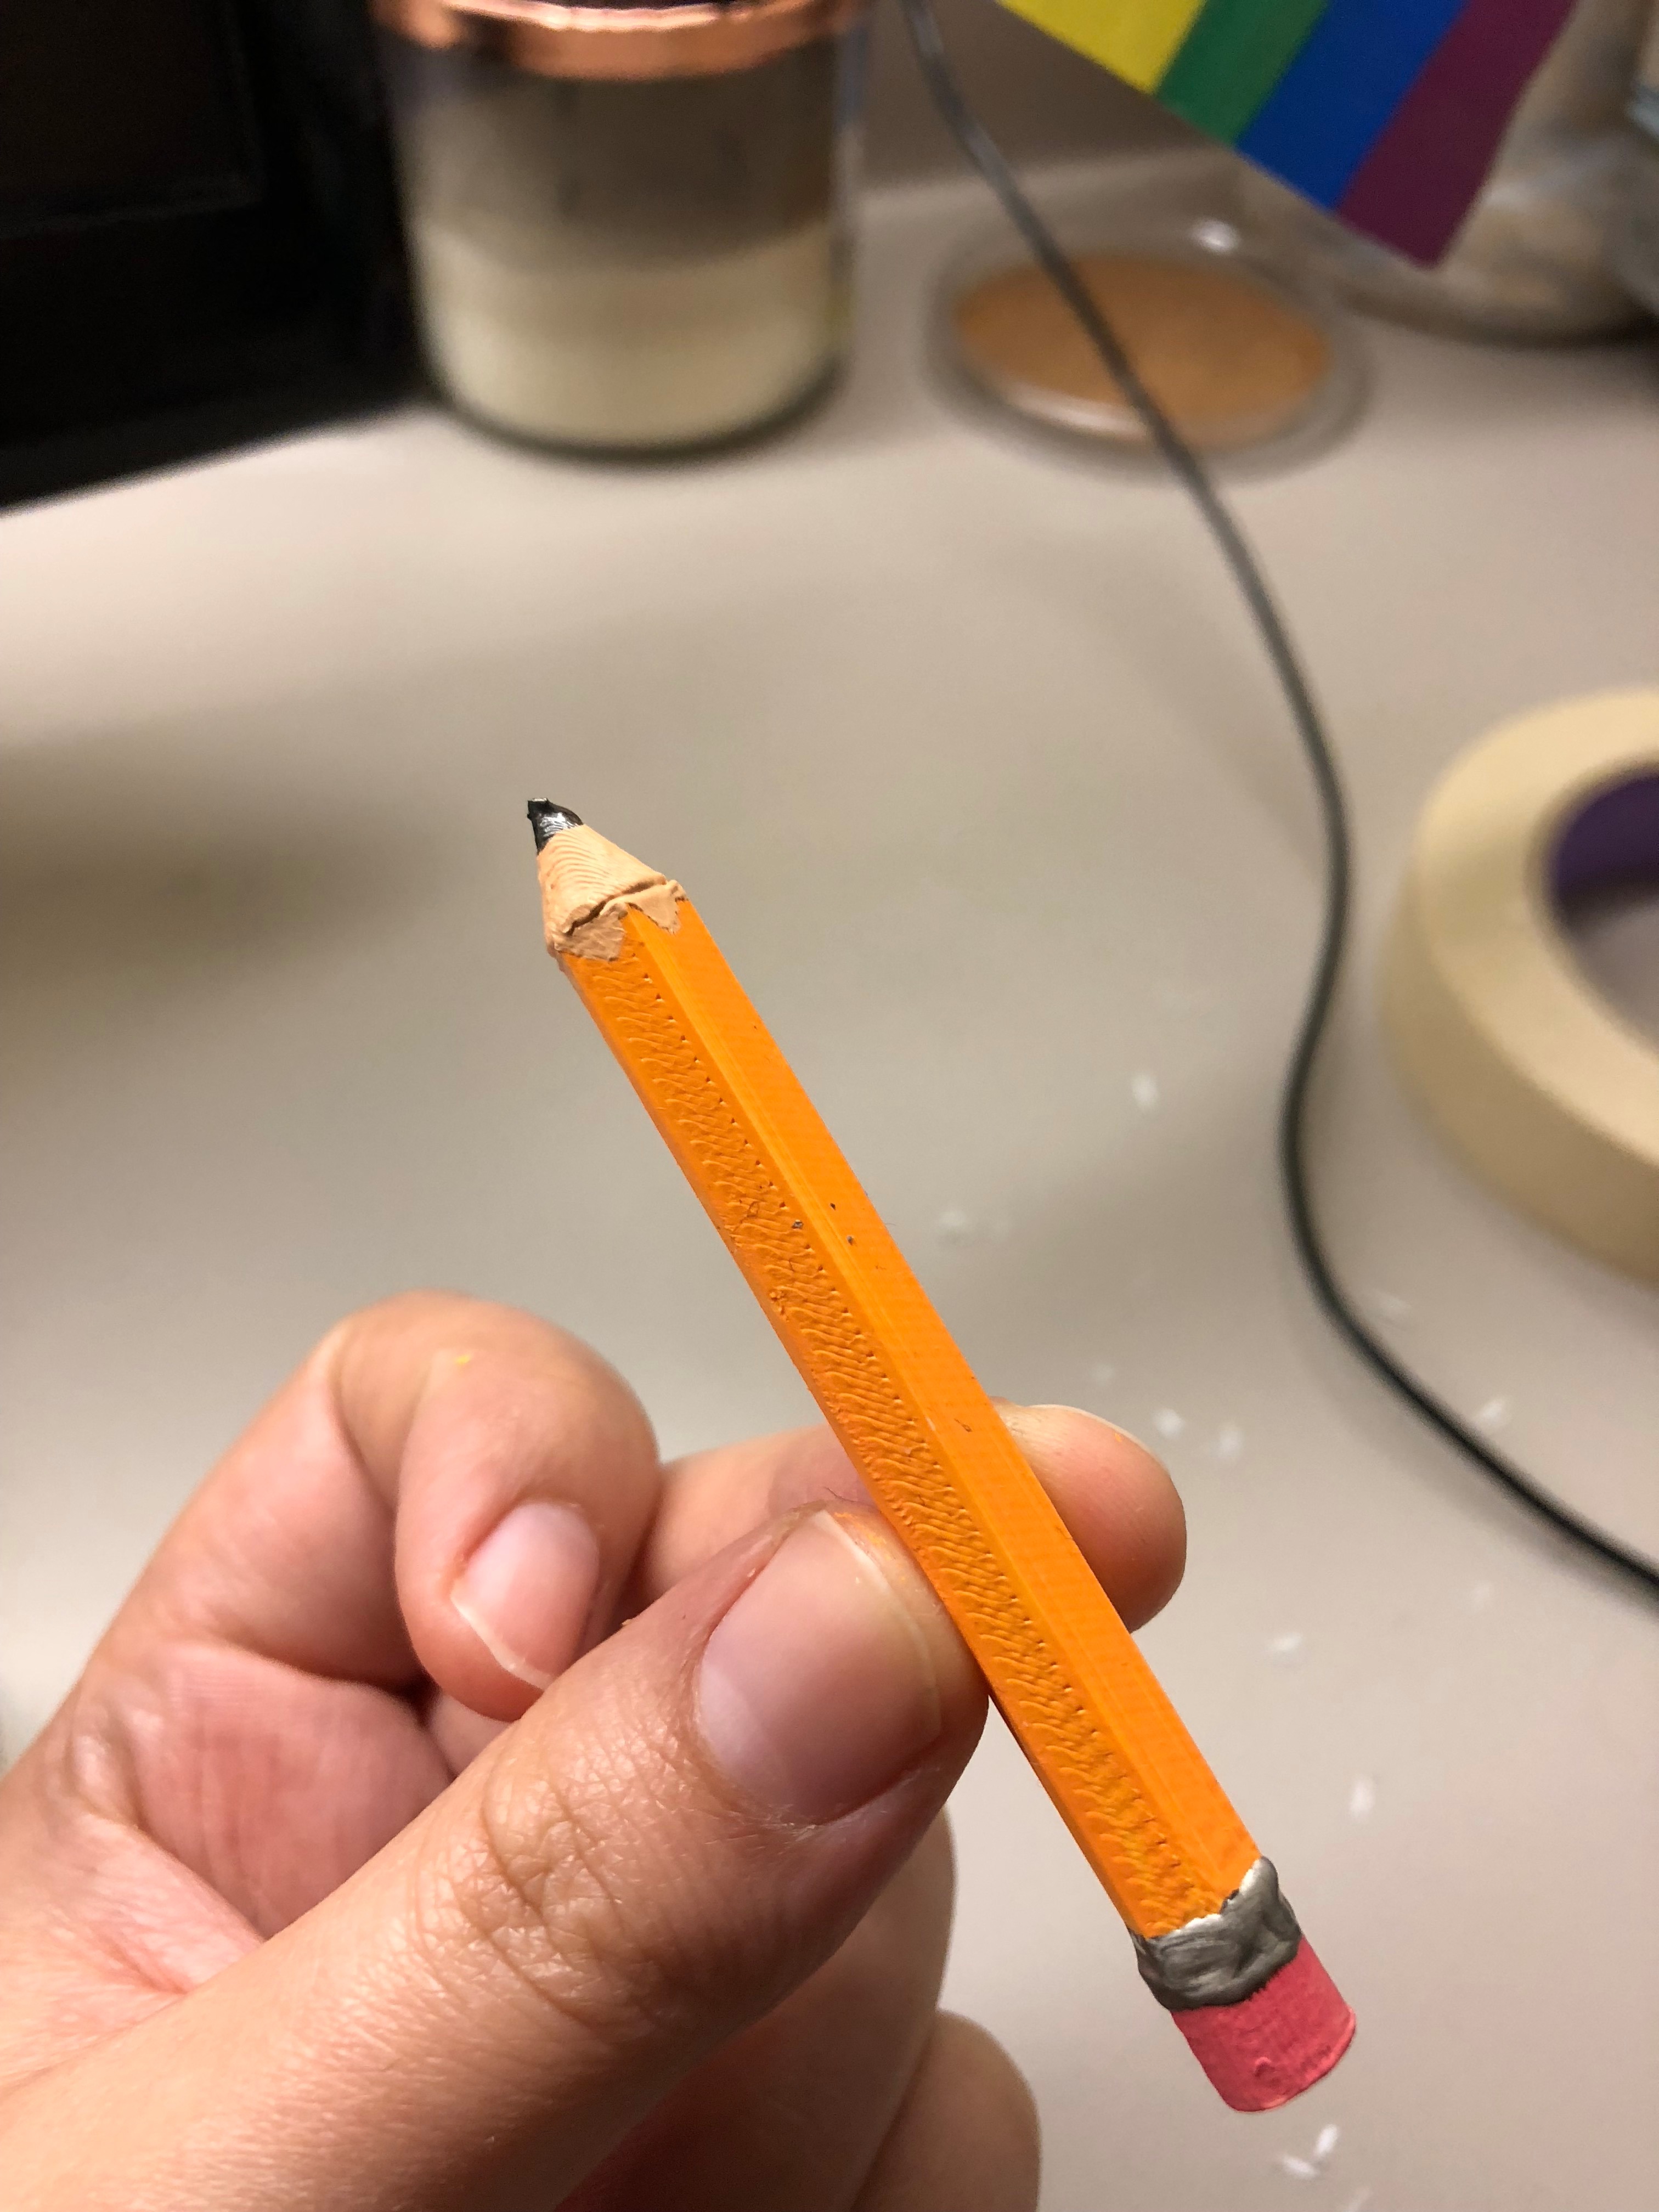
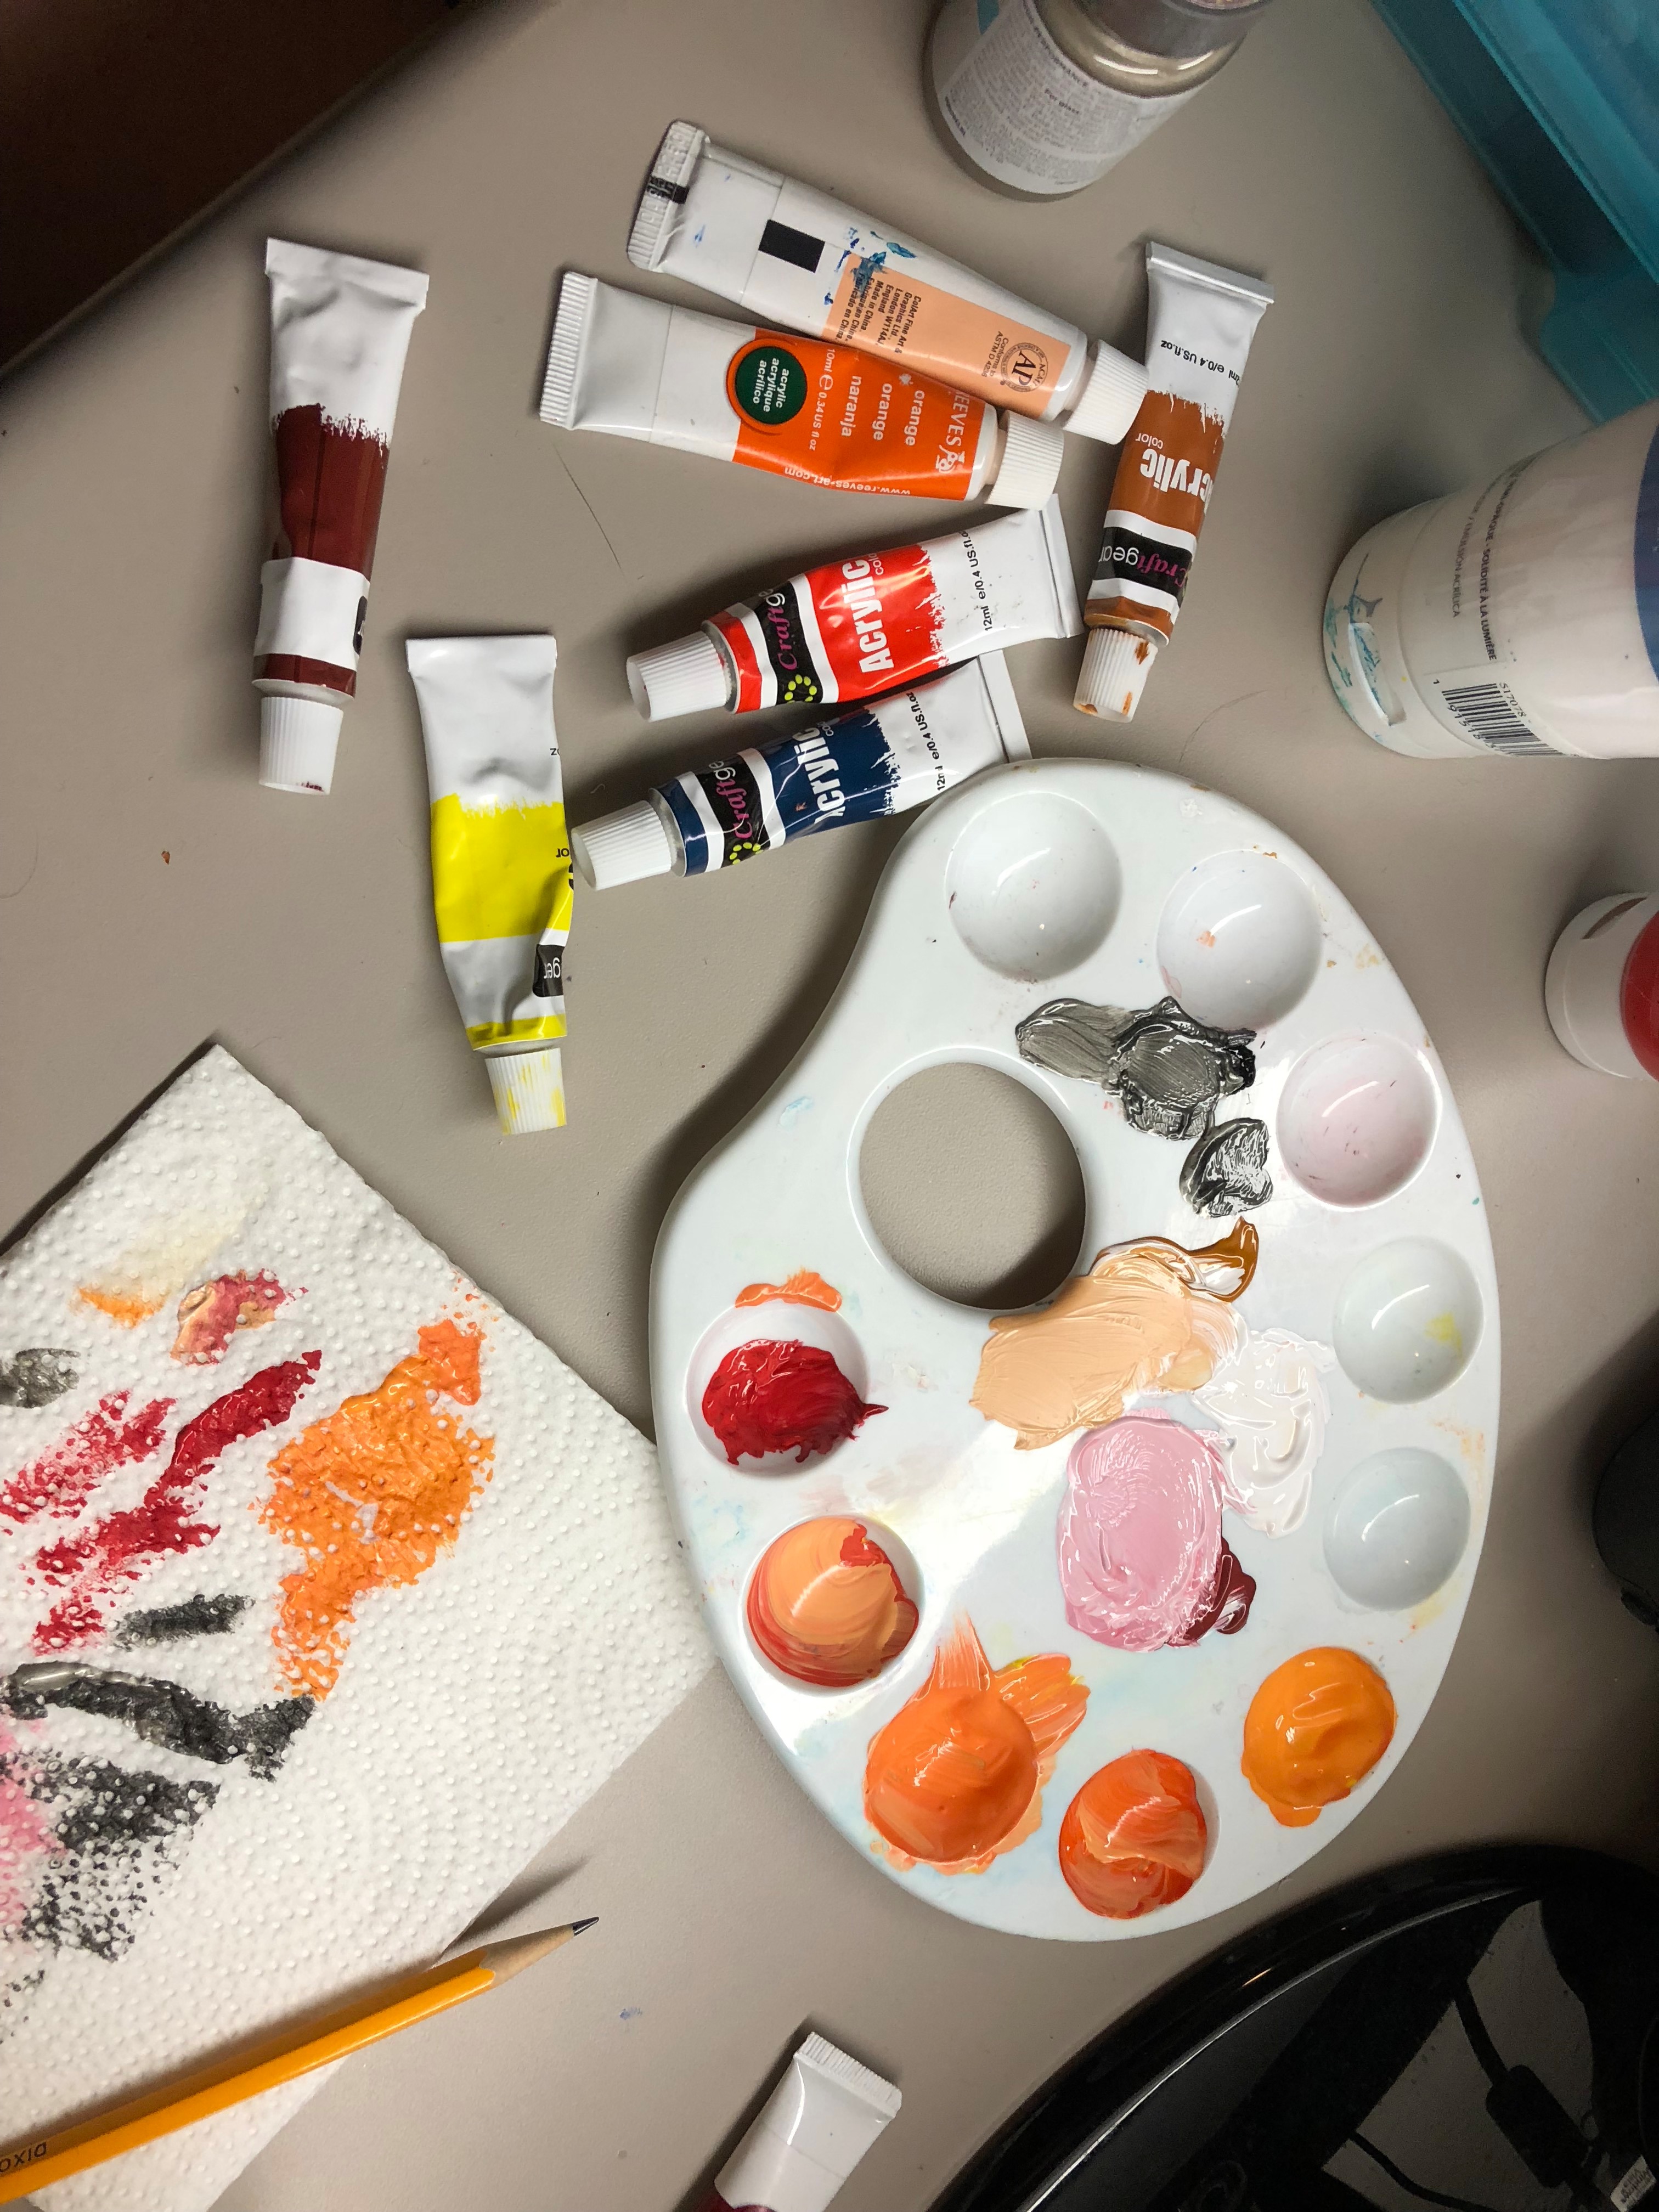
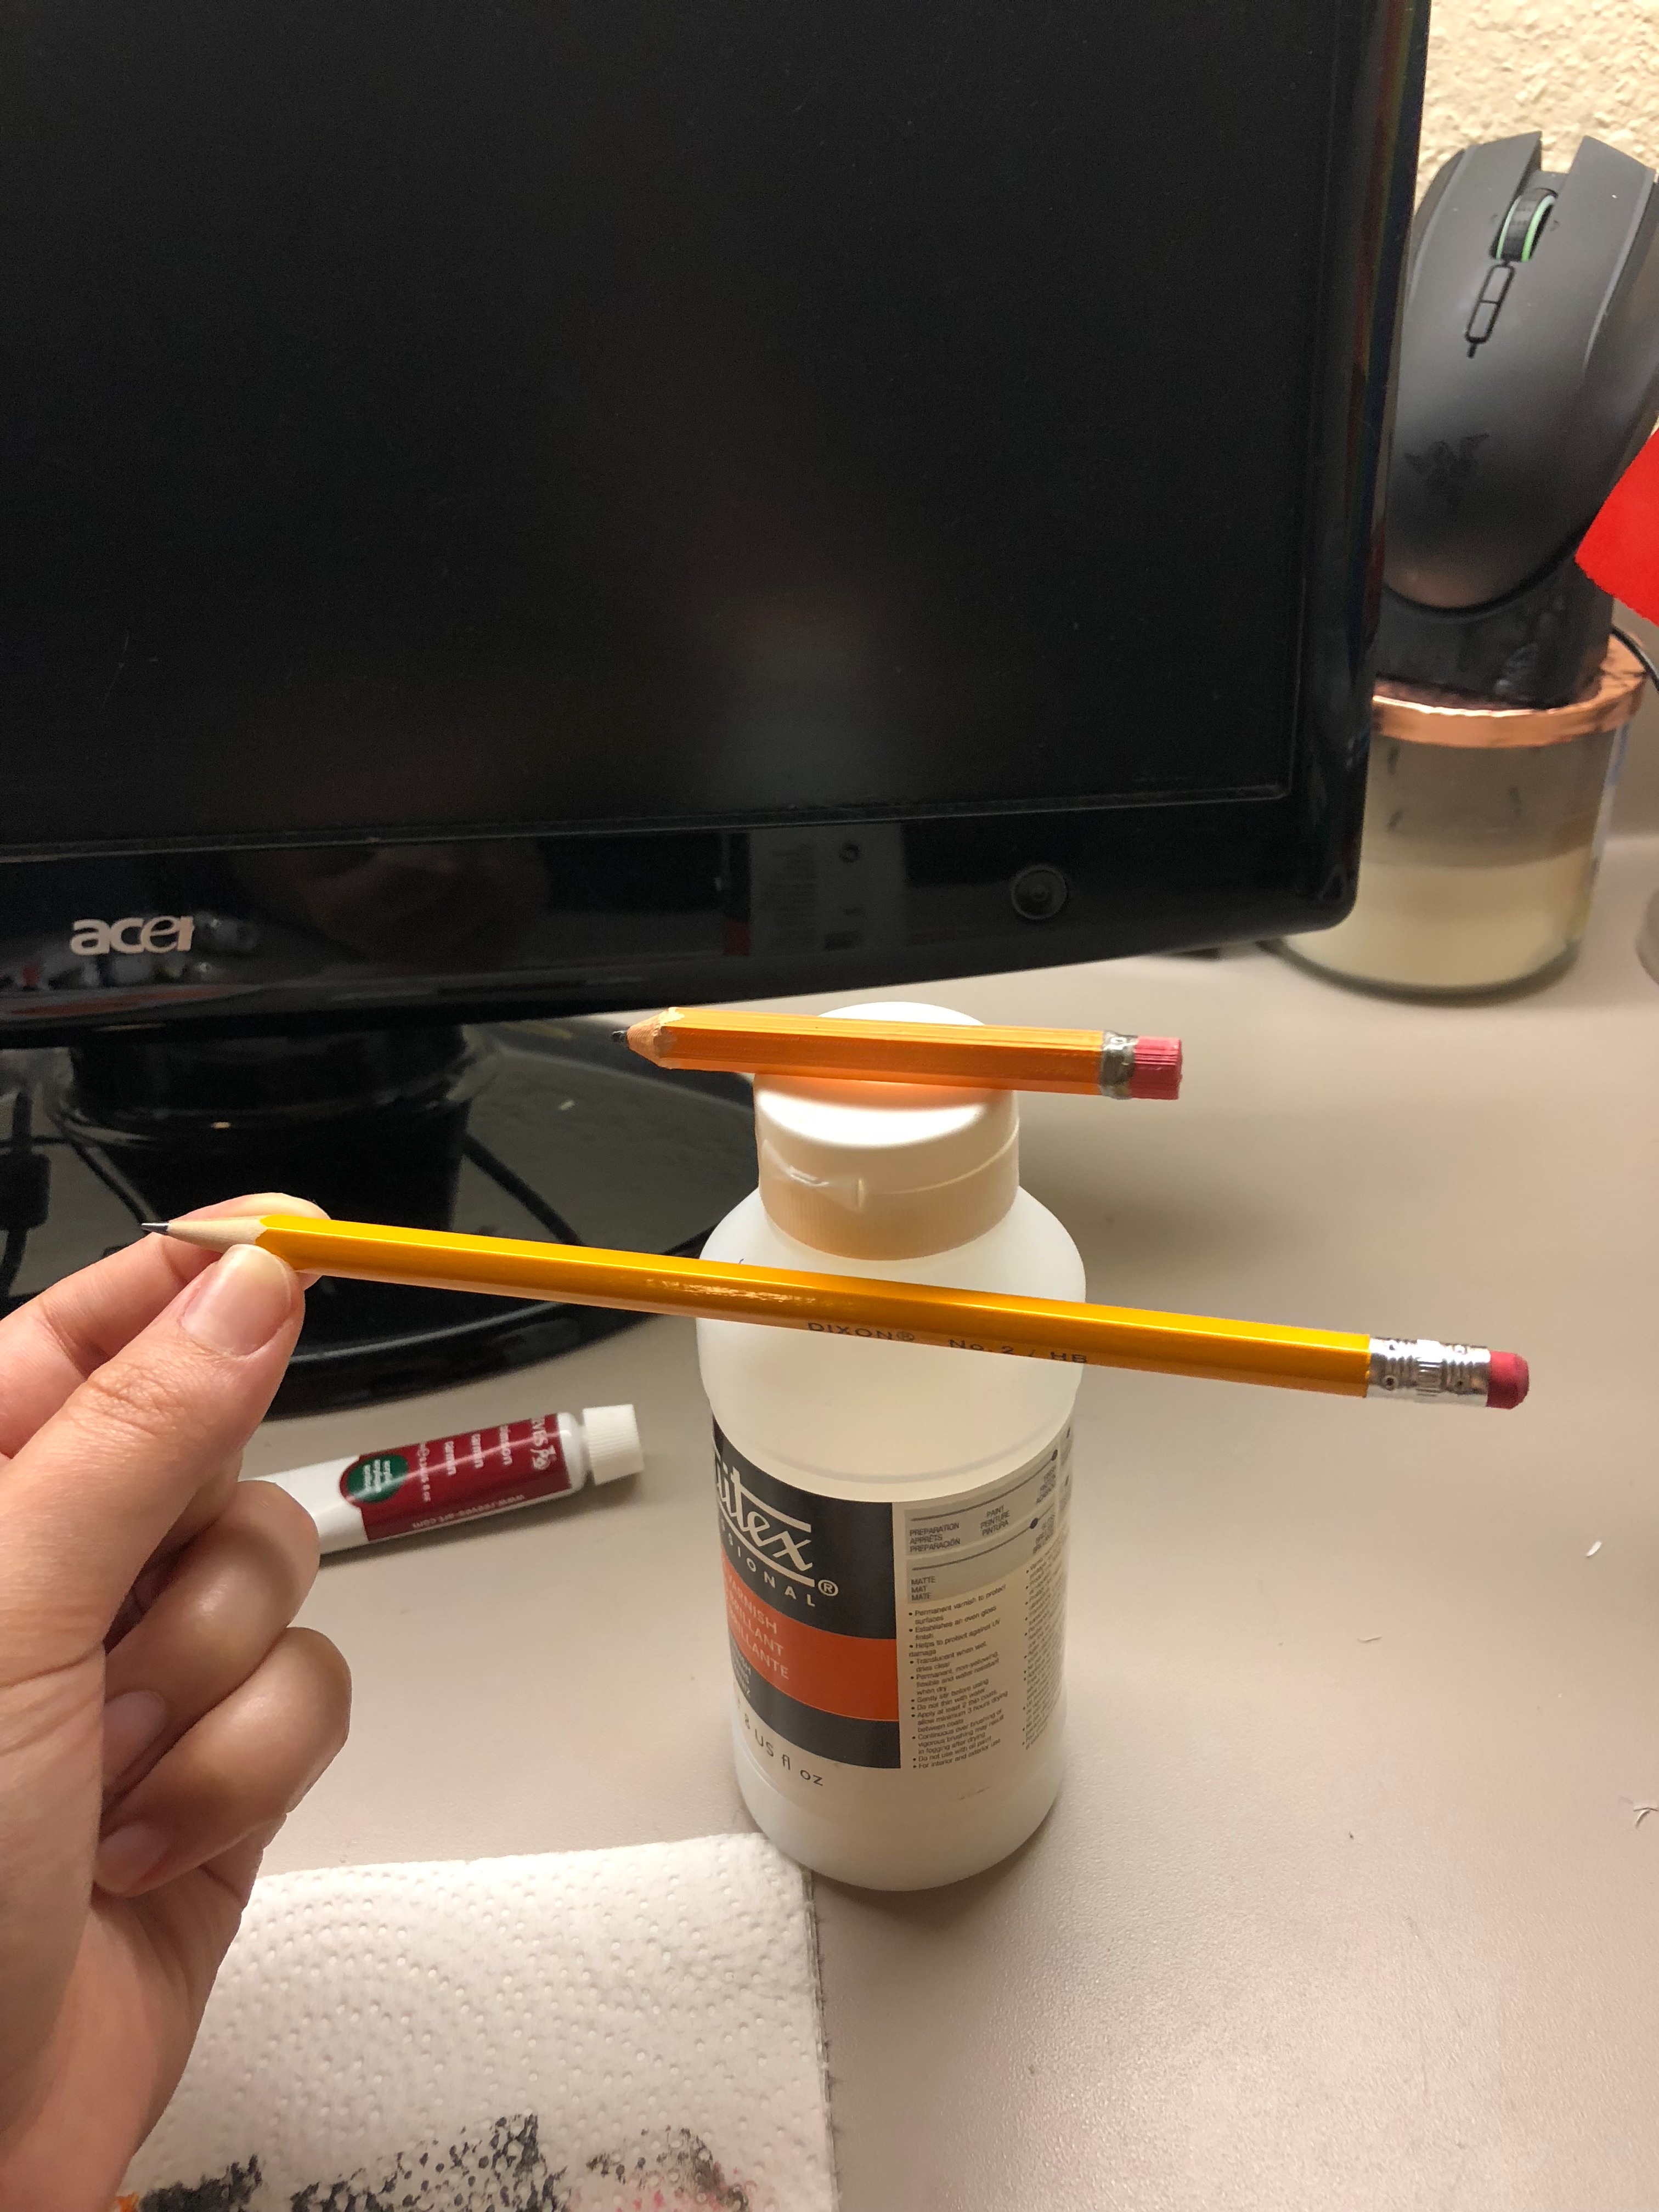
I wanted to paint mine to resemble a real pencil the best I could. It was a bit difficult to mix the right ratio of color to get the perfect shade of orange, so it took time and patience. I would recommend having a pencil in front of you as you do this so you can color match easier.
Remember that this is just a fun project! It doesn't have to be perfect, and even though I wanted to create a pencil that looked like a pencil, you can decorate this however you would like! I tested sharpie on the test printed pencil and found that it took color very well, but I didn't love the color of the sharpies that I have. Sharpie is a good way to color the pencil if you don't have or like paint.
My pencil had 5 colors:
I painted the base first, with a mix of orange and yellow and white
Then I painted the tip which was mostly white with a few dots of brown, I added a zig-zag at the border of the tip and base to mimic the shaving pattern on a real pencil
Then I painted the eraser, which was a crimson red with a little bit of white
Next is the silver eraser holder at the back of the pencil, which was metallic silver craft paint I found at Micheals
Then I added some black to the same silver paint to get the dark silver of the granite pencil tip.
Finishing Detail
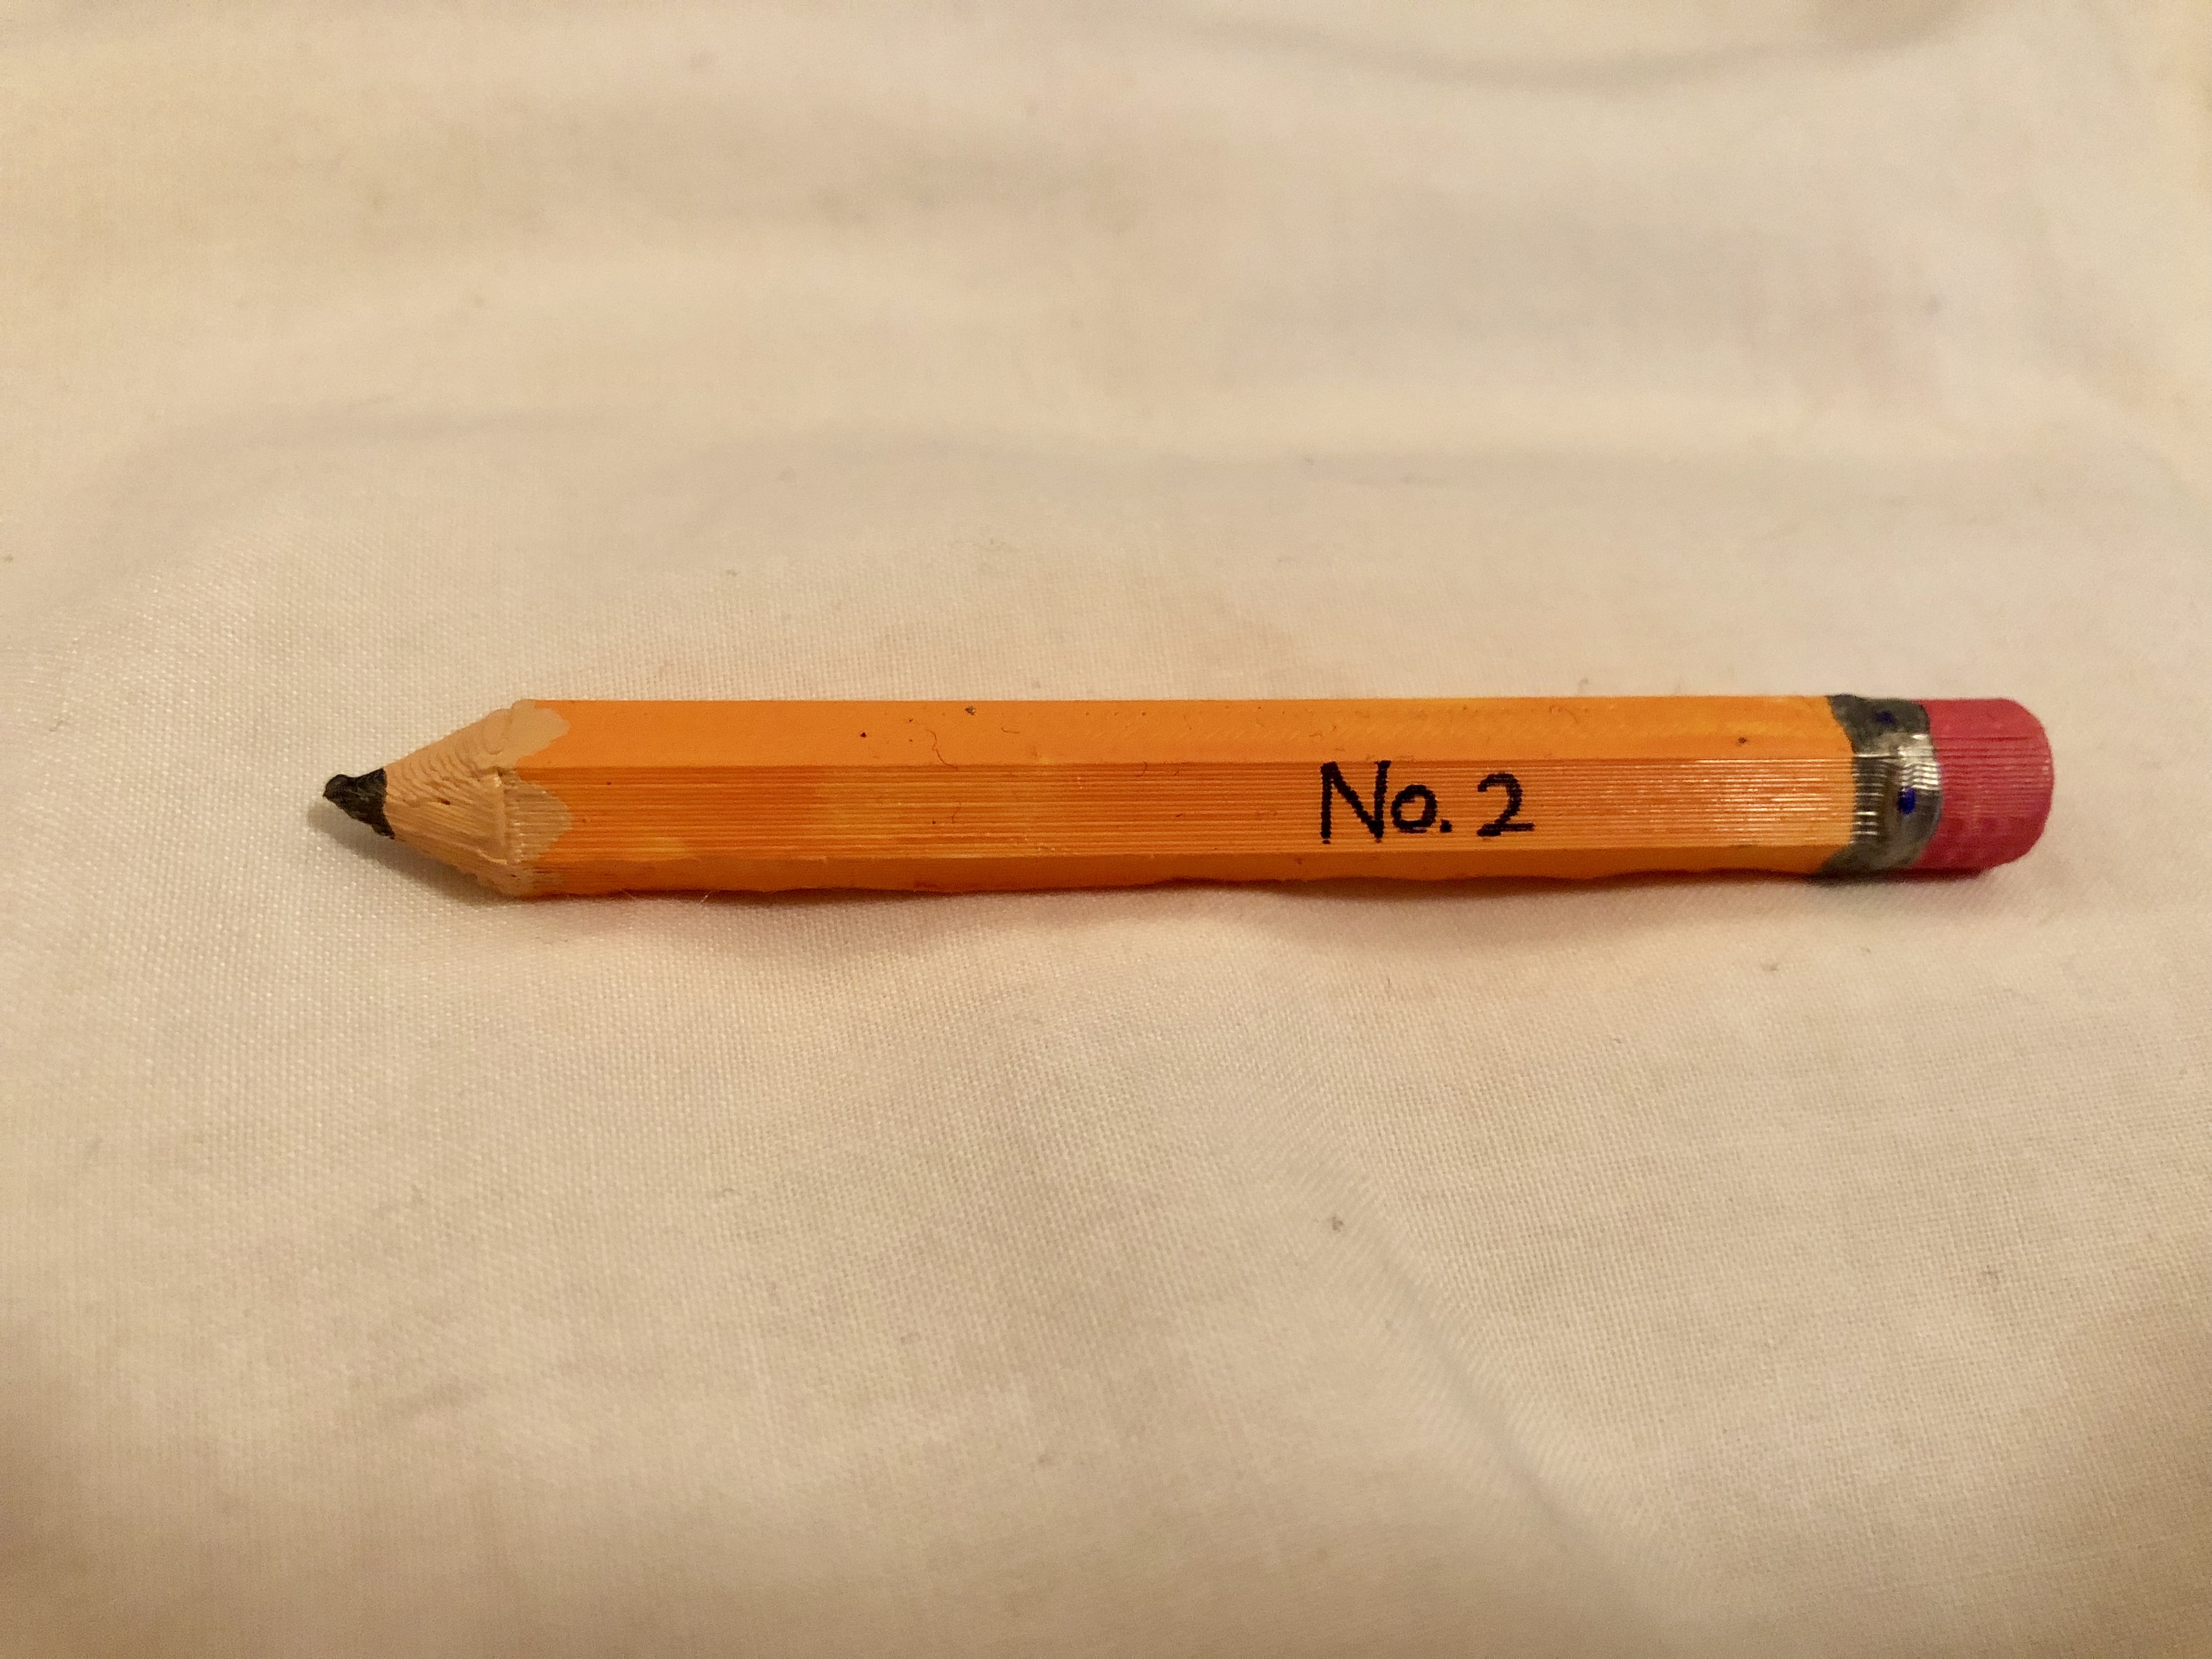
This step is more optional, like the last one, but I'm extra so I also added the "No.2" on the side. Remember that you can get creative with what you want to add to your pencil!
After that it was all done! I hope you enjoyed this project and create something fun of your own! :)