How Do I Use the RFduino With a 6 Axis Accelerometer
by RFduino in Circuits > Tools
5544 Views, 40 Favorites, 0 Comments
How Do I Use the RFduino With a 6 Axis Accelerometer
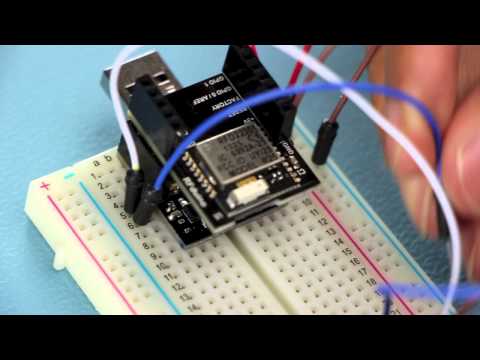
Check out the RFduino's finger-tip sized, Arduino compatible, wireless enabled micro controller:
http://www.rfduino.com/product/rfd90101-rfduino-2p...
This instructable will show you how to interface to the Accelerometer/Gyro with the RFduino and pull data from it to post to your computer using the USB shield.
Materials Needed
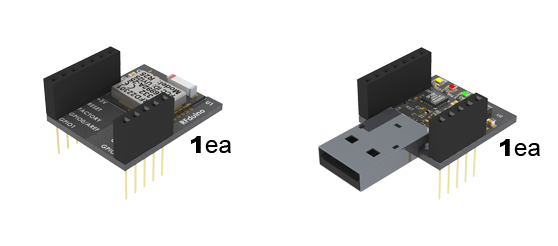

- RFD22102 RFduino DIP
- RFD22121 USB Shield for RFduino
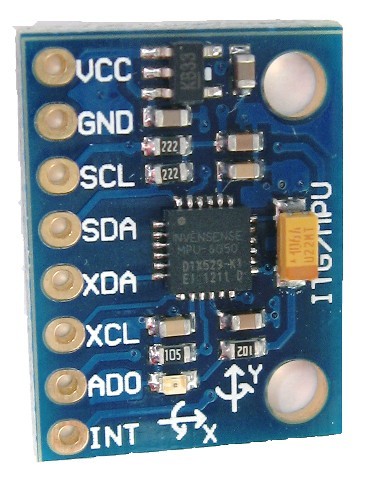
- MPU-6050 Six-Axis (Gyro& Accelerometer)
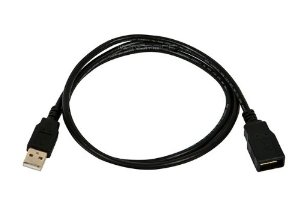
- USB Extension Cord
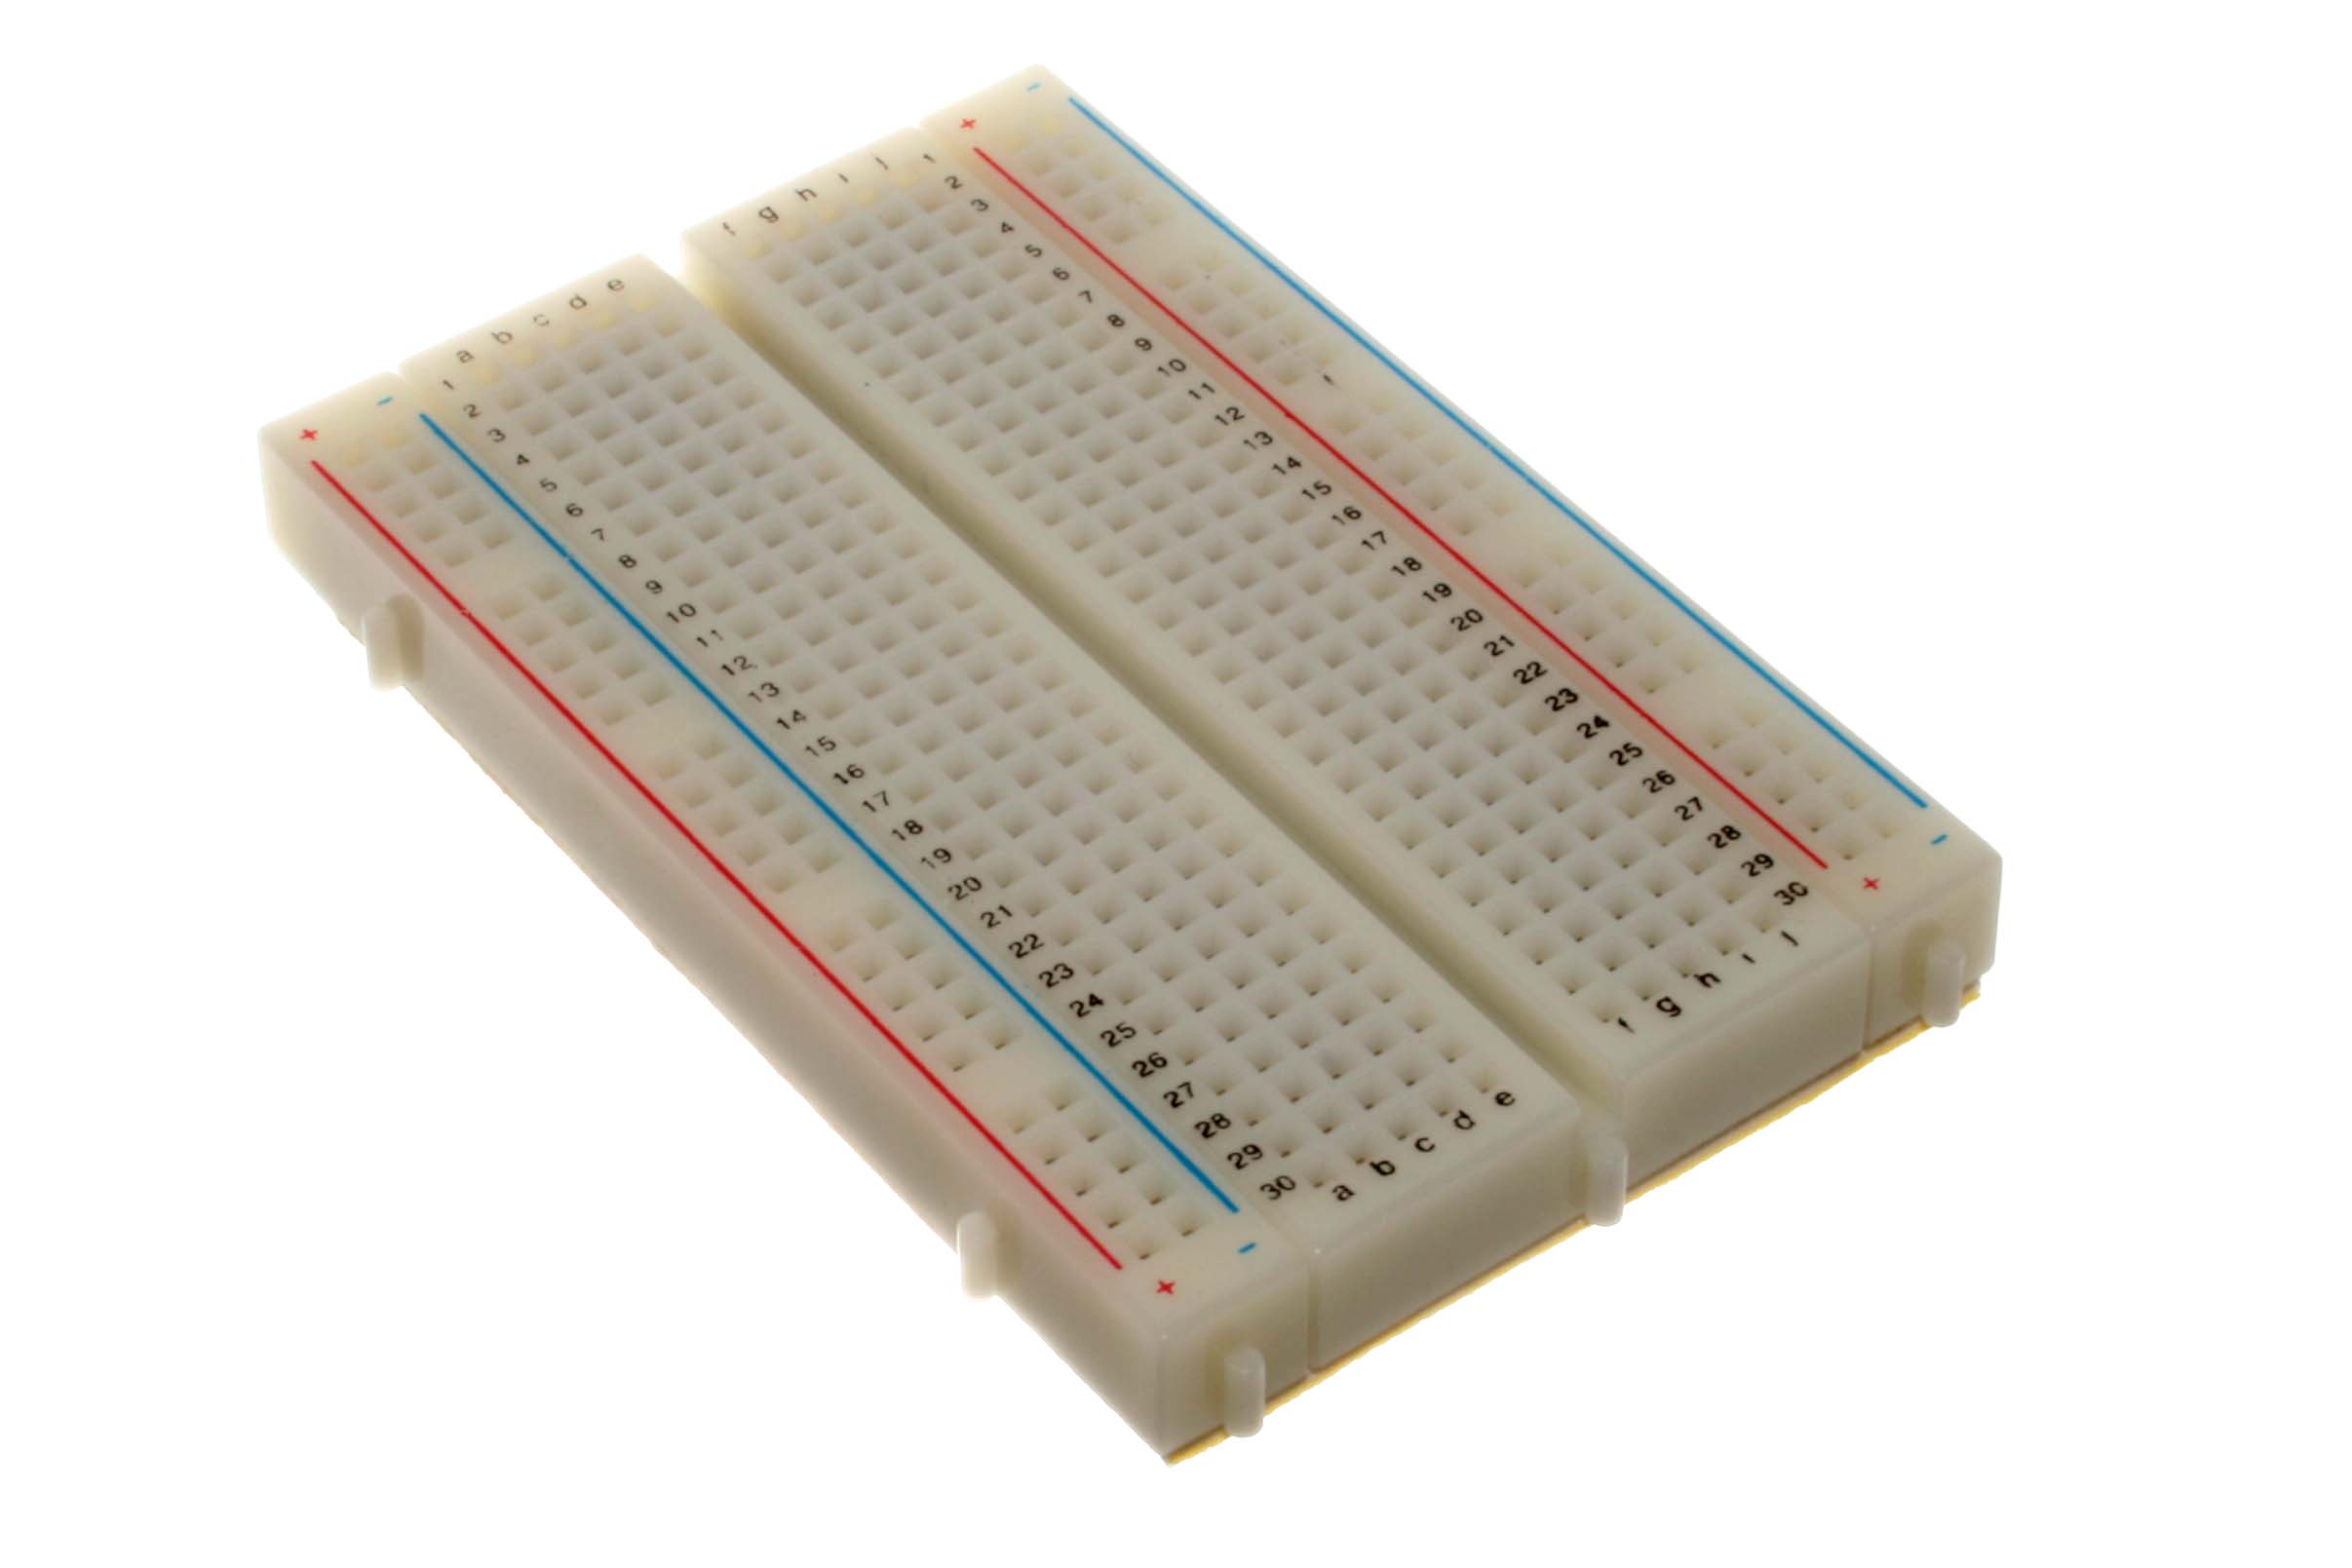
- Mini-Breadboard
- Solderless Breadboard Wires
Preparing the Hardware
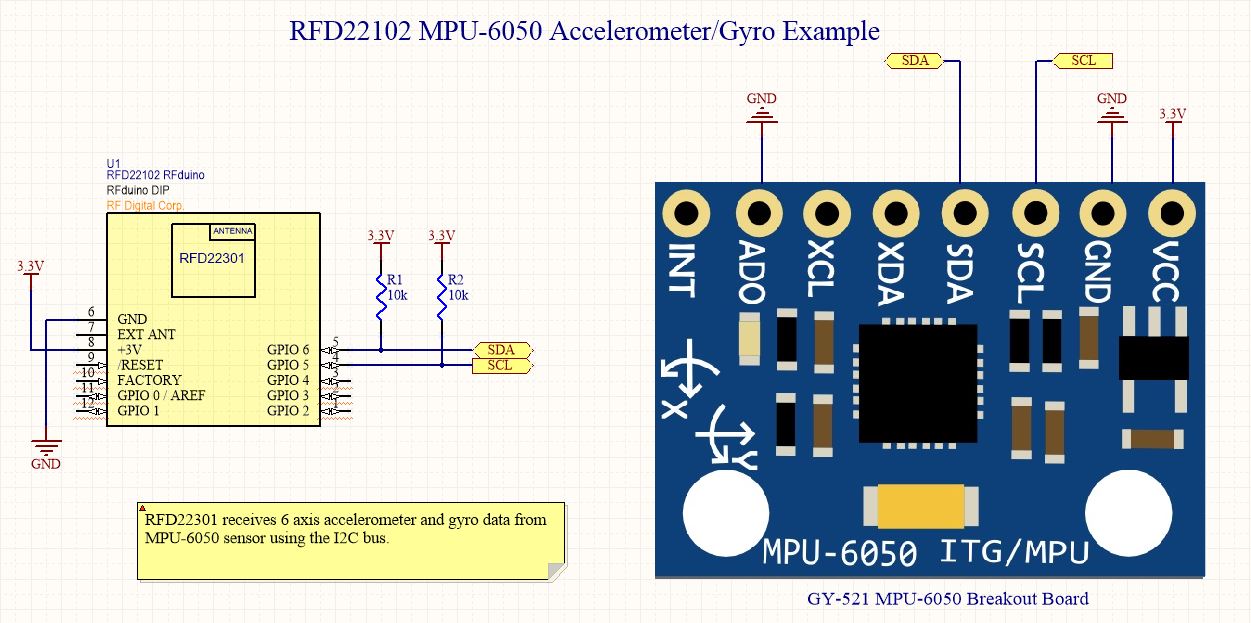
- Place the USB Shield onto the Mini-Breadboard along with the RFduino BLE DIP Board stacked on top of the USB Shield
- Place the MPU-6050 onto the Mini-Breadboard with spacing to place wires
- Using the schematic shown in the photo above, wire the connection between the MPU-6050 to the RFduino Note: R1 and R2 shown in the schematic do not need to be placed as they are already located on the MPU-6050 breakout board.
- VCC = 3.3V
- GND = GND
- SCL = GPIO5
- SDA = GPIO6
- ADO = GND
- Attach the USB extension cord to USB shield and connect to your computer (The extension cord allows you to move the entire project instead of having it stuck to your laptop USB port)
Setting Up Software
- Before beginning the instructable for this demo, please follow the steps to set up your computer for using the RFduino here: http://www.rfduino.com/wp-content/uploads/2014/04/...
- Download and install the program "Processing" from the following link: https://www.processing.org/download/
- Download the following demo file:http://www.rfduino.com/wp-content/uploads/2014/04/...
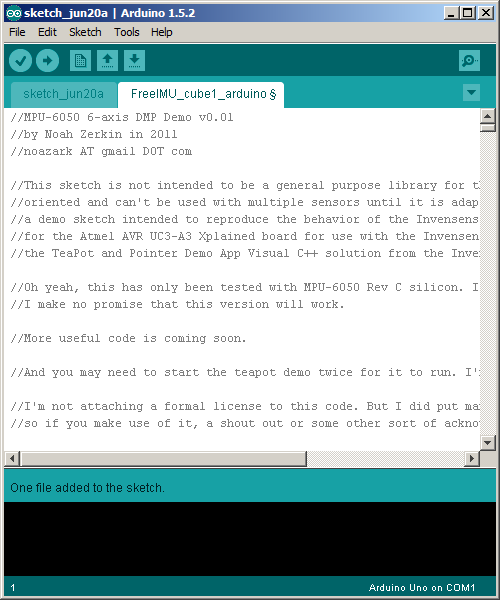
- Using the Arduino IDE, upload the following sketch from the downloaded library "FreeIMU_cube1_arduino" onto the RFduino.
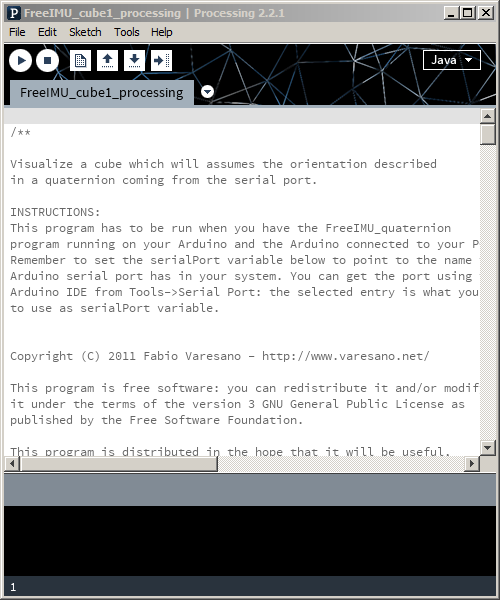
- Extract the 'RFduino MPU6050 Processing Sketch' into a sketch folder for Processing. All files, including the photos must be located inside the same folder as the sketch.
- Using Processing, run the sketch.
Using the Application

- A Processing window will open, showing the RFduino in a 3D form. This 3D form will move depending on the movement of the physical RFduino. You can view the video to see the example. Enjoy!