How to Pull Images From Video
by MsSweetSatisfaction in Circuits > Apple
2764 Views, 23 Favorites, 0 Comments
How to Pull Images From Video

For those of you that don't know I originally came to this website as an unknown youtuber looking for views and feedback. I was welcomed by an amazing community and due to previous experiences was hired as a Community Manager. Therefore I have the not so unique experience of bridging the gap between instructables and youtube.
One of the lessons I have learned as being a part of the community and being a Community Manager is how important pictures are on this site. They are the make or break of almost every project. As a video person myself though I rarely remember to take pictures during my builds, not to mention my camera actually won't take pictures while I'm filming. Meaning whatever I'm doing at the time I have to stop recording, change modes, and THEN take pictures.
Therefore I've had to figured out how to pull stills from the video, while still keeping them at pretty high quality, so as to impress my fellow Community Mangers. This is not a super well known process, in this instructable I plan to change that.
I am going to preface with this, try to record with as high quality of video as is possible. The process of moving video to the computer, and then pulling stills will degrade the images a bit no matter what. Therefore it is in your best interest to start with a very high video quality so as the finished product is still of decent quality.
The IMovie Method Part 1
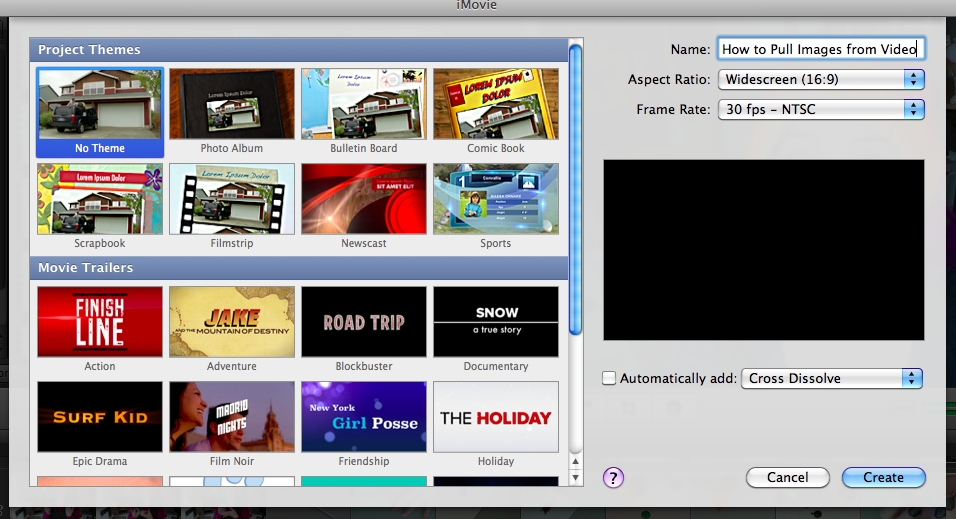


There are a few different ways to pull stills from video. This method in my experience produces the most high quality stills. It requires having access to iMovie and Quicktime. First things first, in iMovie start a new project. This project's only point will be to pull images from video, so I would just name it after that.
IMovie Method Part 2
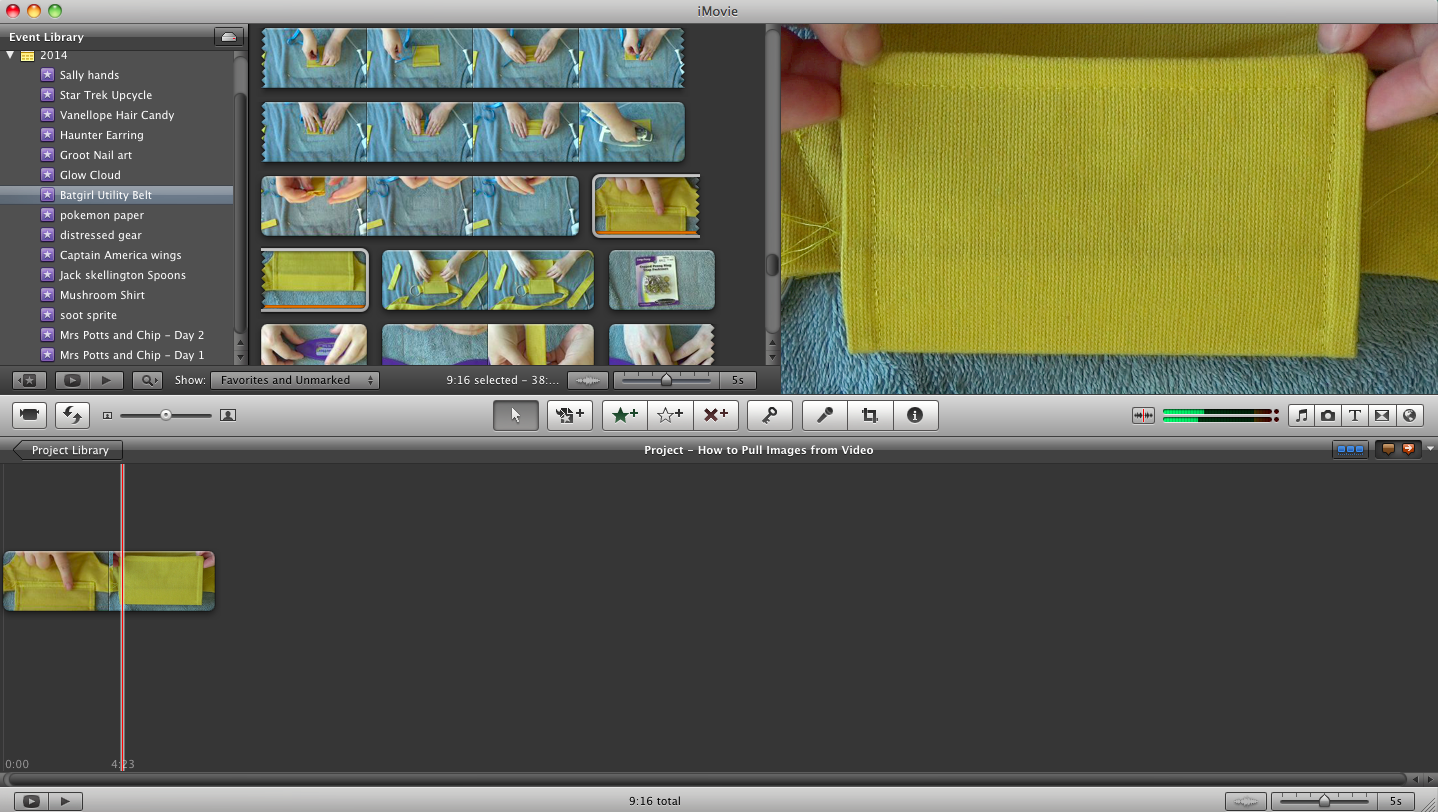
Throw the clip that has the image you want into the project and then run your mouse through the clip to find the exact image.
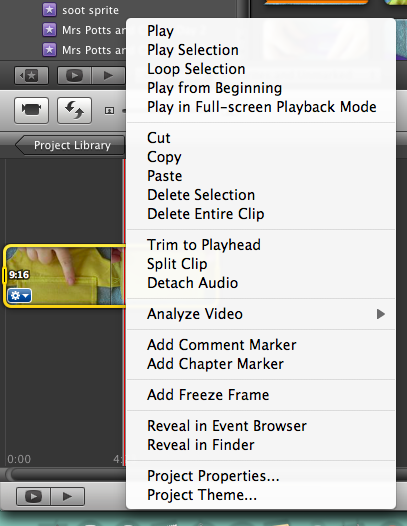
Then right click or control click on the clip and in the menu that is brought up click "Add Freeze Frame"
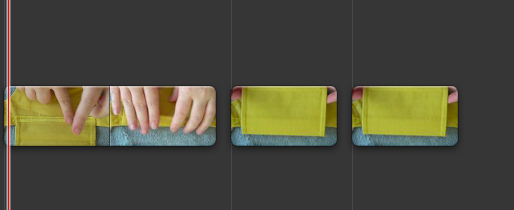
Clicking that command will split the original clip and add a still image between the now separated clips
Now repeat this process to any and all other images that you want and delete all of the left over video.
IMovie Method Part 3
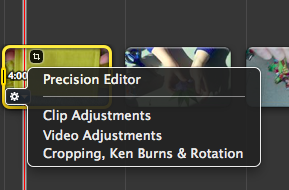
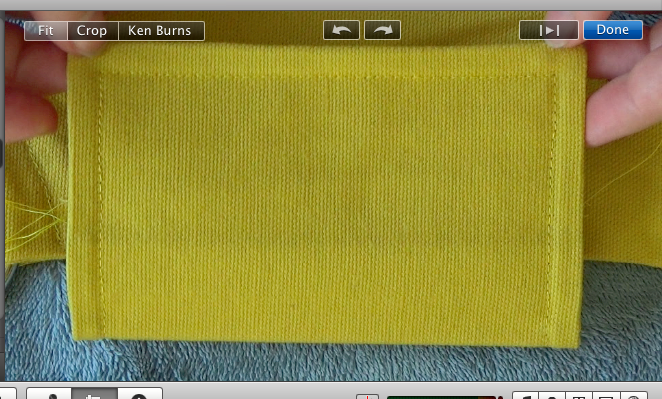
Did you think we were done? Nope, because although your brain considers those new clips to be images, your computer and the iMovie software does not. They're definitely still video, 4 second clips that are weird in iMovie's opinion, but not in any kind of image format. This used to not be true for the record, it was in one of the more recent updates that iMovie decided that it didn't want you to have the ability to easily pull images from your video.
Anyway, for all of your images click that blue gear carrot button and click the command "Cropping, Ken Burns, & Rotations" and make sure in the menu that pops up in the right hand corner that "Fit" is highlighted, if it's not click it and it will be.
IMovie Method Part 4
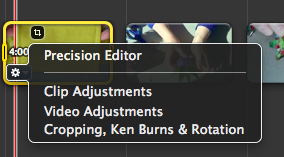
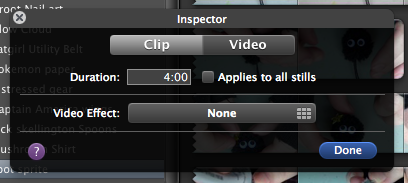
I can see the finish line, I swear.
Alright now on all your clips click that blue gear carrot command and click "Clip Adjustments."
You should open a new command window. In "Duration" field put 1:00 and then check the "Applies to all stills" box.
IMovie Method Part 5
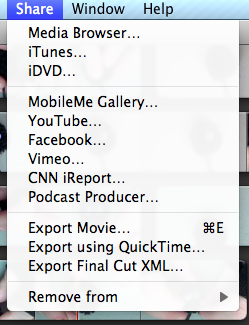

Now in the top menu click "Share" and then "Export using Quicktime..."
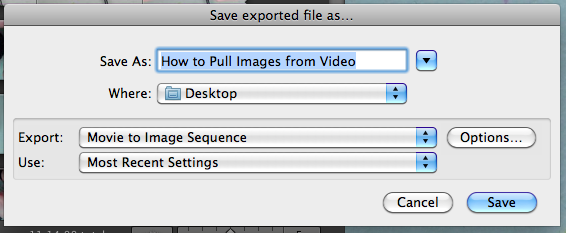
In the new command window you should have the ability to change where it saves, I just always do "Desktop", and you should be exporting as a "Movie to Image Sequence"
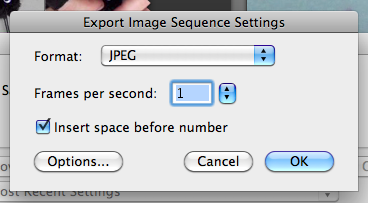
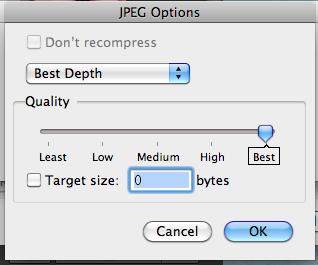
Then click the "Options" button and in the new command menu make sure your format is JPEG, or a format that you like, and that it says 1 in the field of "Frames per second." Then click "Options..." and be sure you slider bar is on the "Best" notch.
Click "Ok", "Ok", and then "Save" and it will export your video into images on your desktop.
Our "beautiful" Images
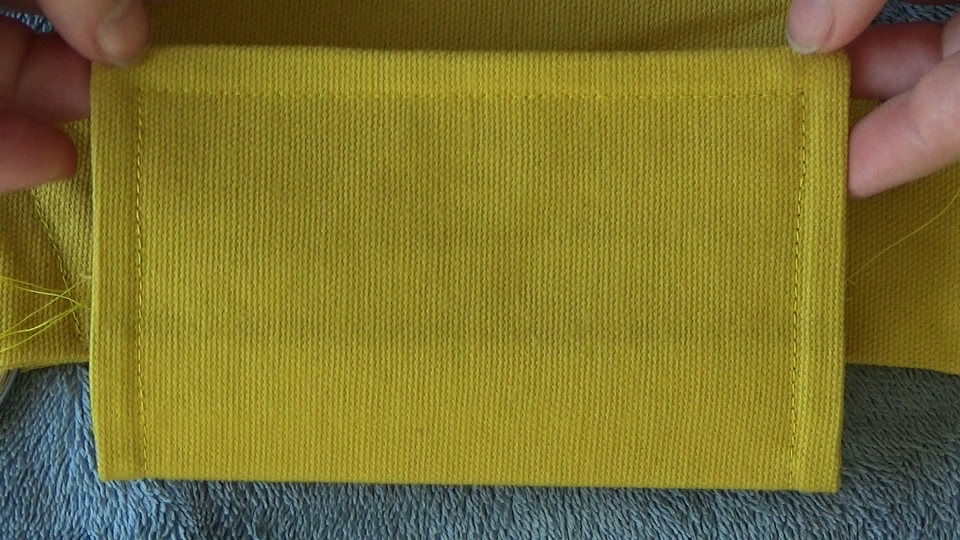
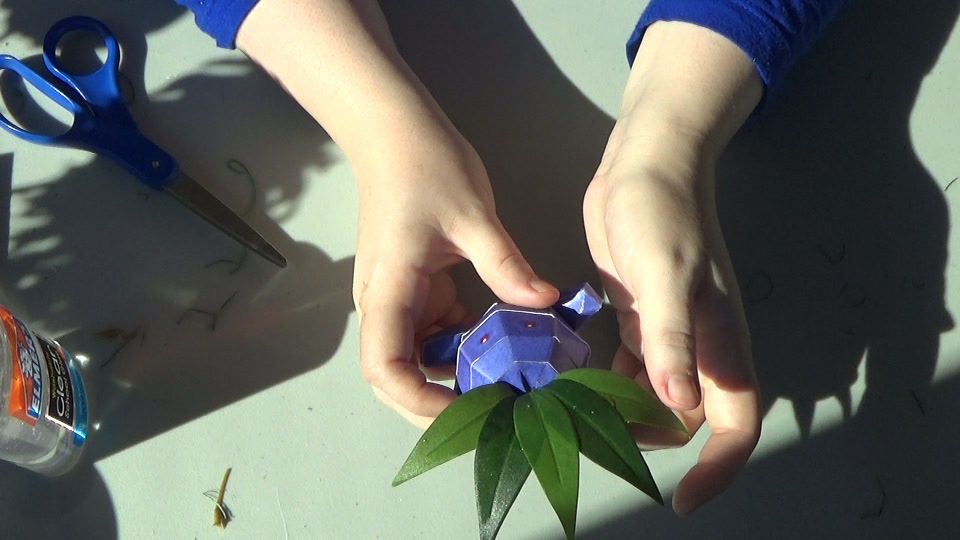
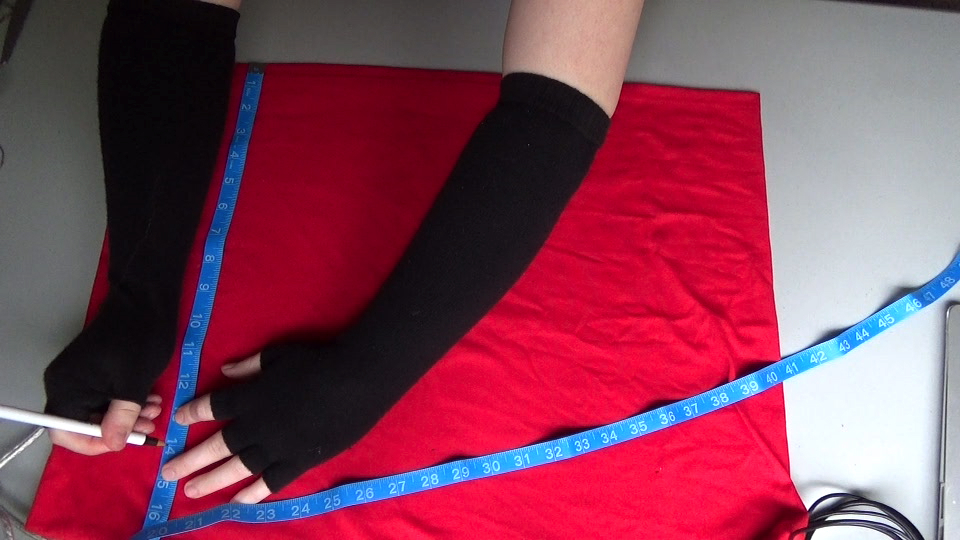
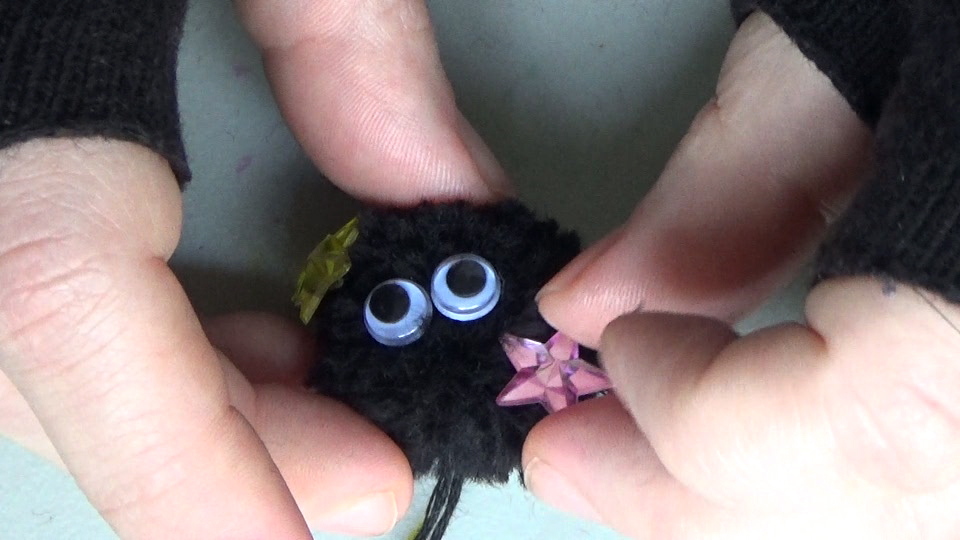
Yup and there you have it, high quality images from iMovie. This is definitely the method that produces the best images, however it is also the one with the most bother. It also requires having the raw footage, something that people that make a LOT of videos don't always, hard drive space is at a premium. So let us suppose that you don't have access to the raw footage anymore.
Like you've been making videos for a while but you JUST found instructables and want to share your awesomeness with us, but due to the age of some of the videos you've thrown out the raw footage for space reason.
The Screen Shot Method Part 1
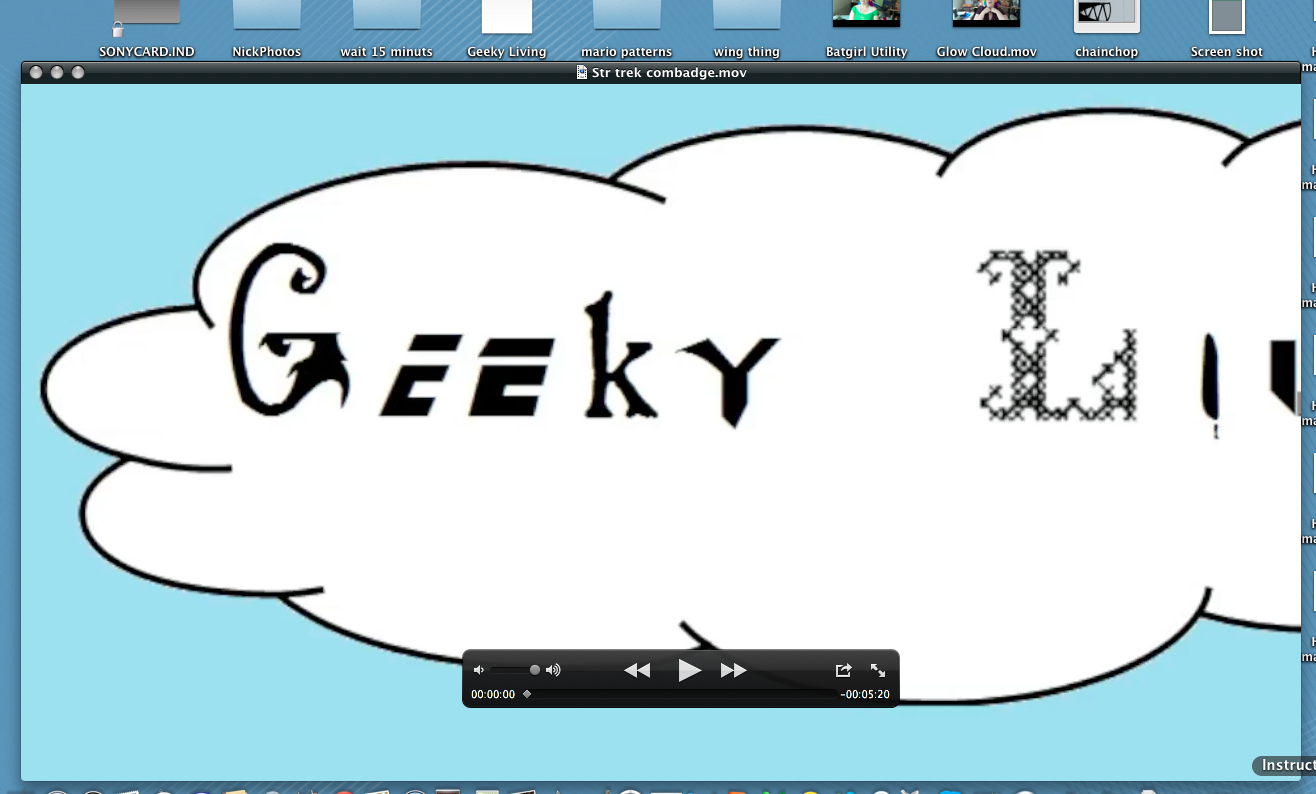

This creates ok images, don't expect many "ooos" and "aaahs" but it will certainly get the job done. For this process I'm going to assume that you have the movie file somewhere and that you have the ability to play it. Pulling from the internet is not recommended because the quality of the video is variable on the speed of the internet. Also often when videos are uploaded their quality will degrade a bit during the process, just like for the previous method the higher the quality of the video the better the final image will be.
First off open your movie file in whatever software you use to play movies on your computer. Mine is Quicktime Player and you can see it doesn't fill the screen automatically and it has a large black bar in the bottom middle.
The Screenshot Method Part 2
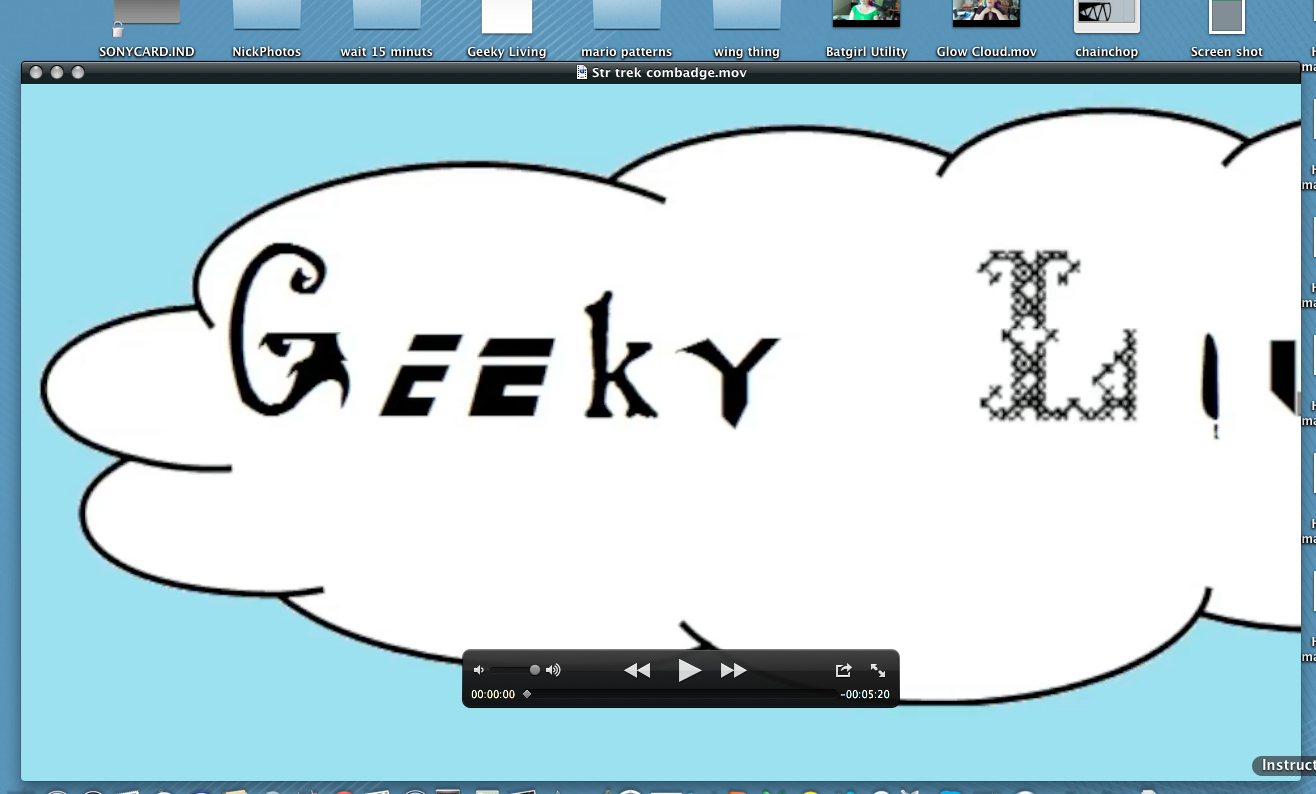

Make your file become "Full Screen," in QuickTime Player it's those two arrows that point diagonally away from each other.
Then scan your video for your perfect images, you can do this by just watching the video and pausing when you see it, or dragging your time indicator through the bar with your mouse. In QuickTime Player you can also pause the video by pressing the space bar.
The Screenshot Method Part 3
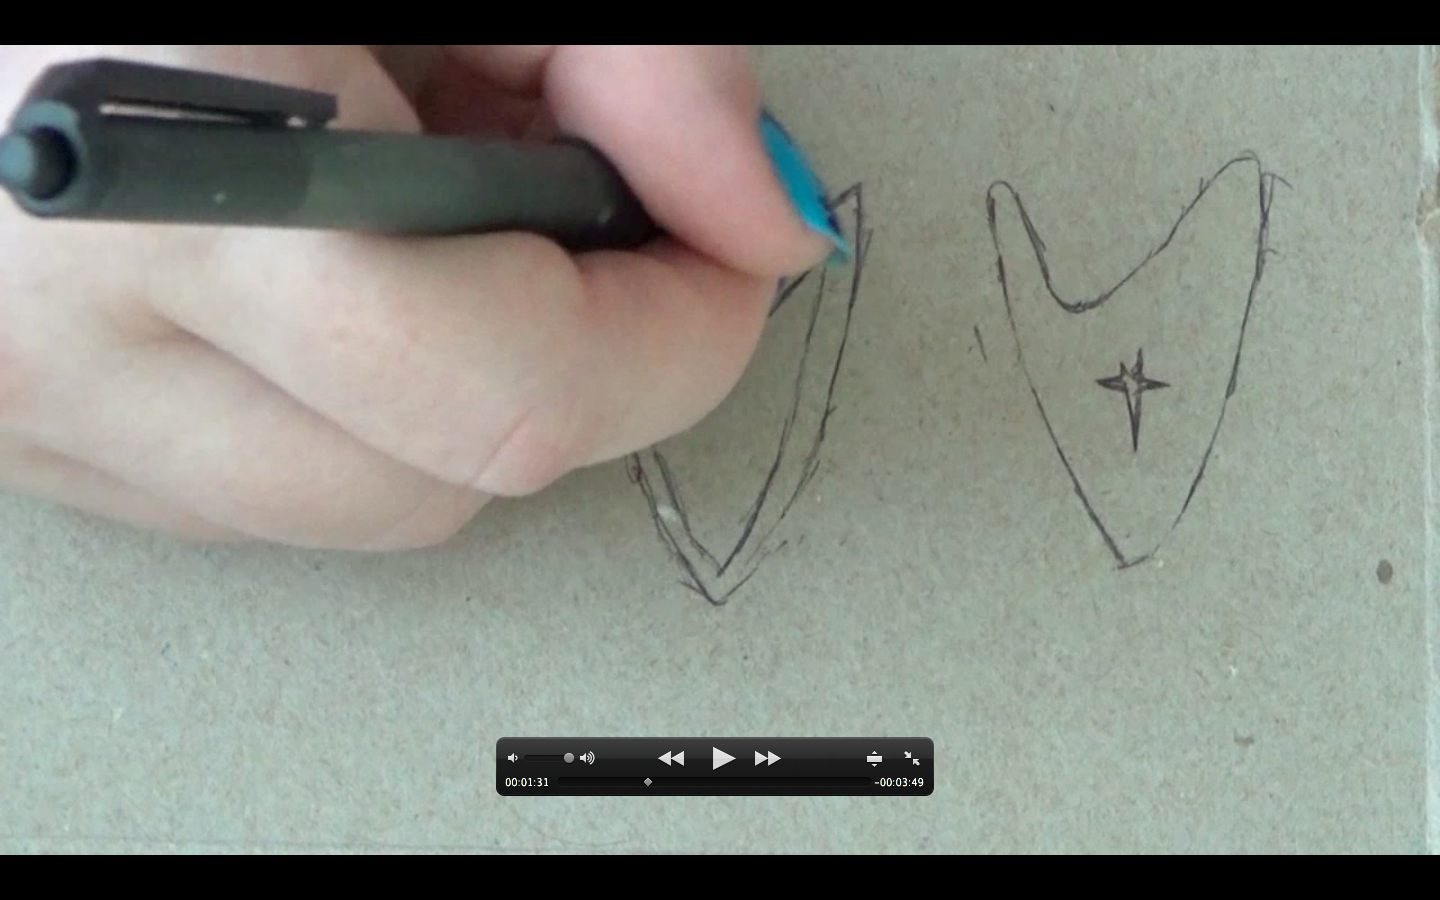
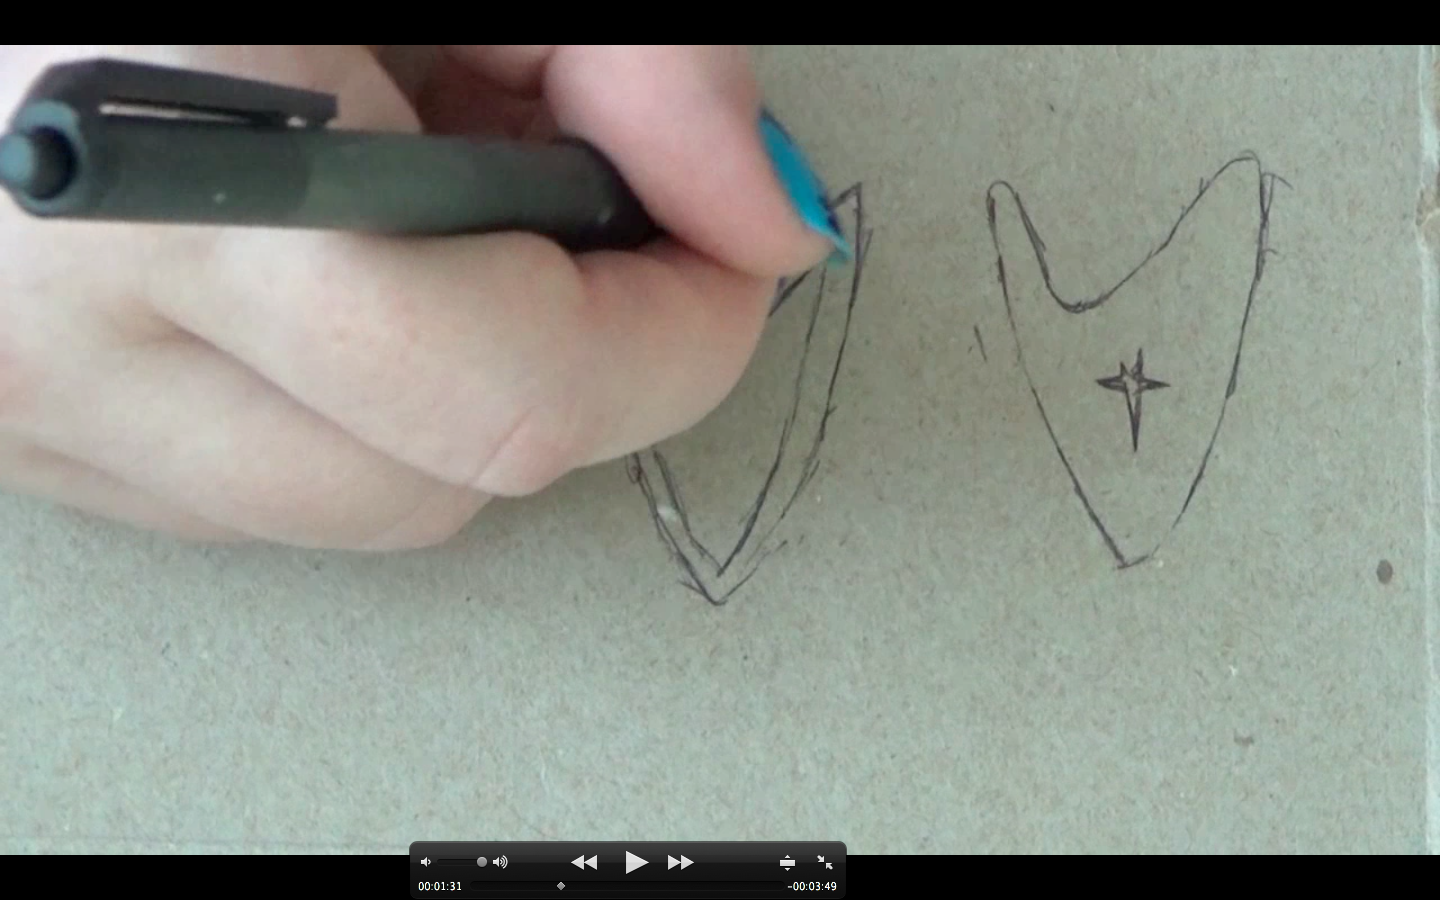
Once you find your image press pause either on the command bar, or by pressing the space bar.
Now this might depend on your software but for QuickTime Player there is a large ugly black bar in the middle of the screen. It goes away when you play the video but returns when you pause, not good when we're pulling images. So we must move the bar, in Quicktime Player this is as simple as a click and drag. It won't leave the screen but you can put it somewhere that you can easily crop later.
Then take a screenshot of the whole screen. For Macs this is Command + Shift + 4, for Windows it's Alt + Print Screen and then you have to Paste it into Paint to save it as an image.
The Screenshot Method Part 4
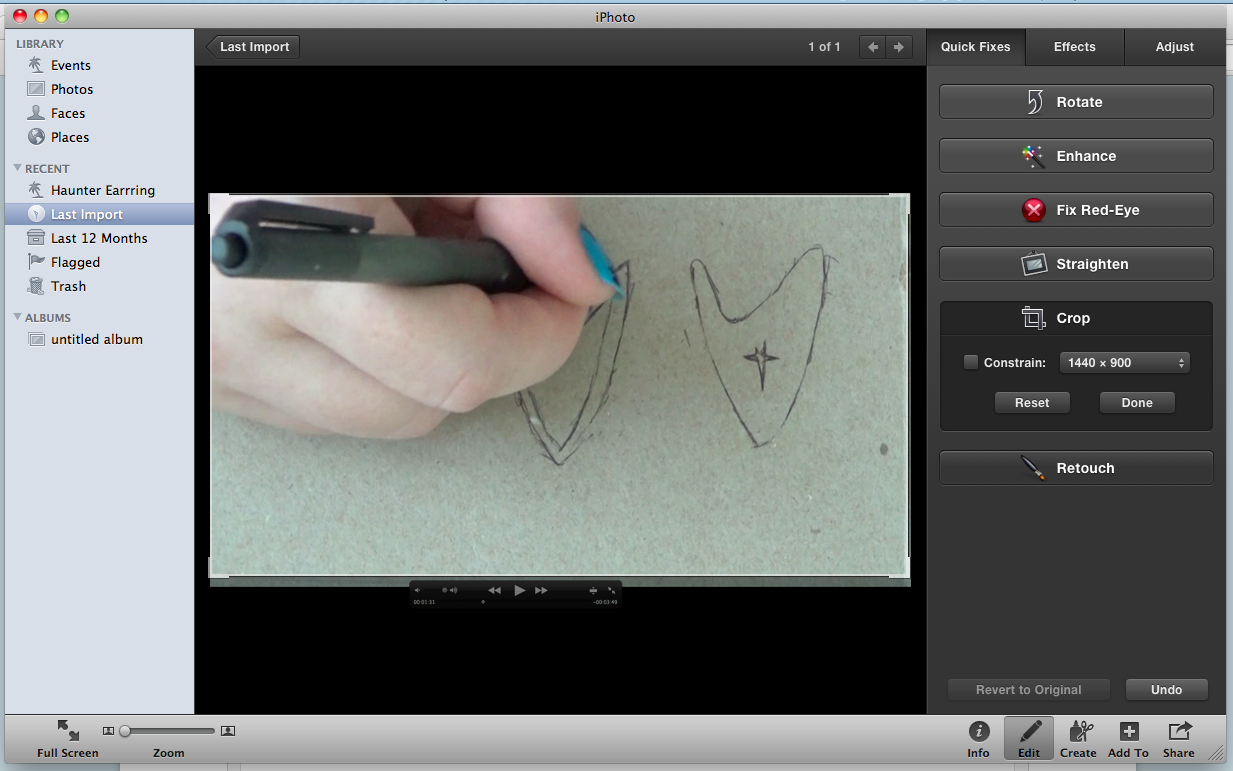
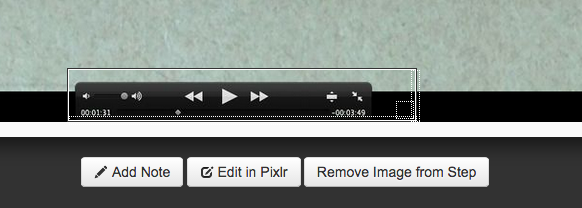
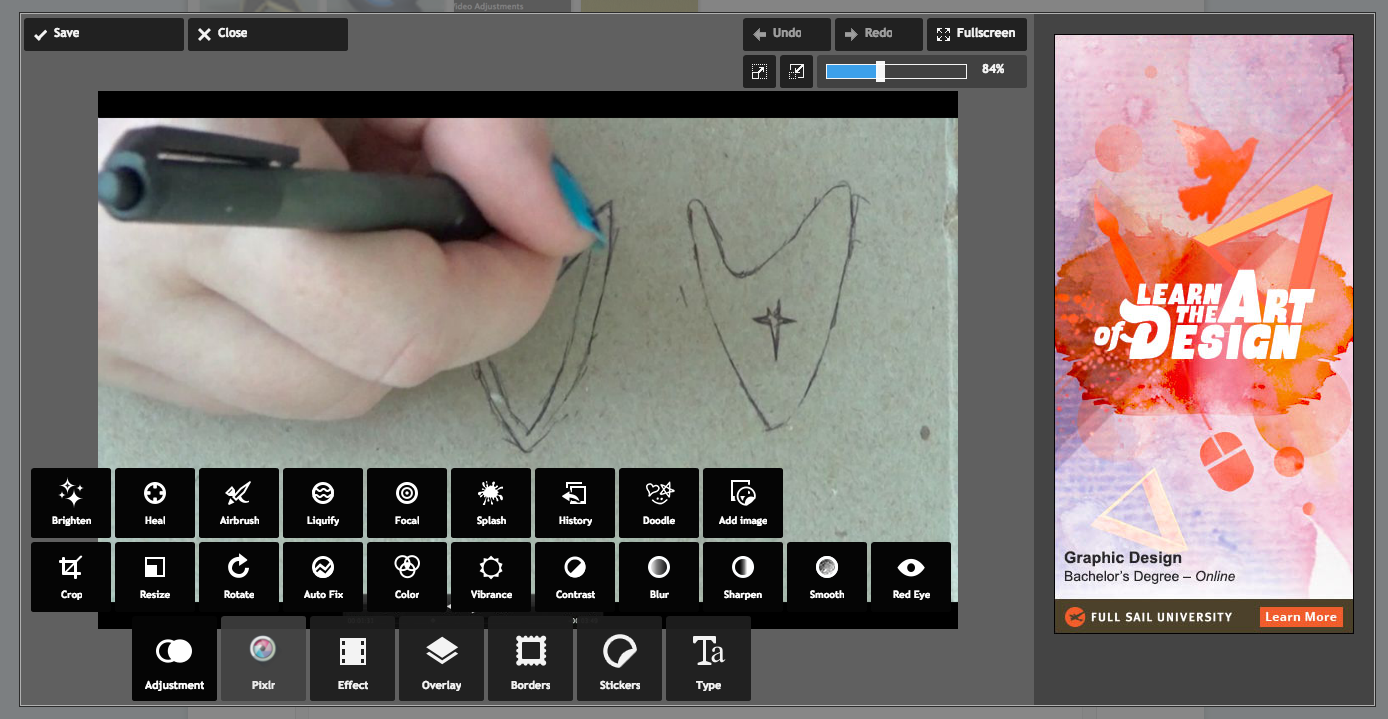
Now edit that picture in whatever software you are most familiar with. Above is iPhoto, but you can PowerPoint, Photoshop, Gmp, or Paint.
You can also upload the image to instructables and click that "Edit in Pixlr" button. Make sure you edit out anything that indicates that the image was pulled from a video. This will mostly involve cropping. Just make sure when you save it is as the highest quality available to you.
Why get rid of the video indicators? It severely ups how professional the photos look.
Our "nice" Image
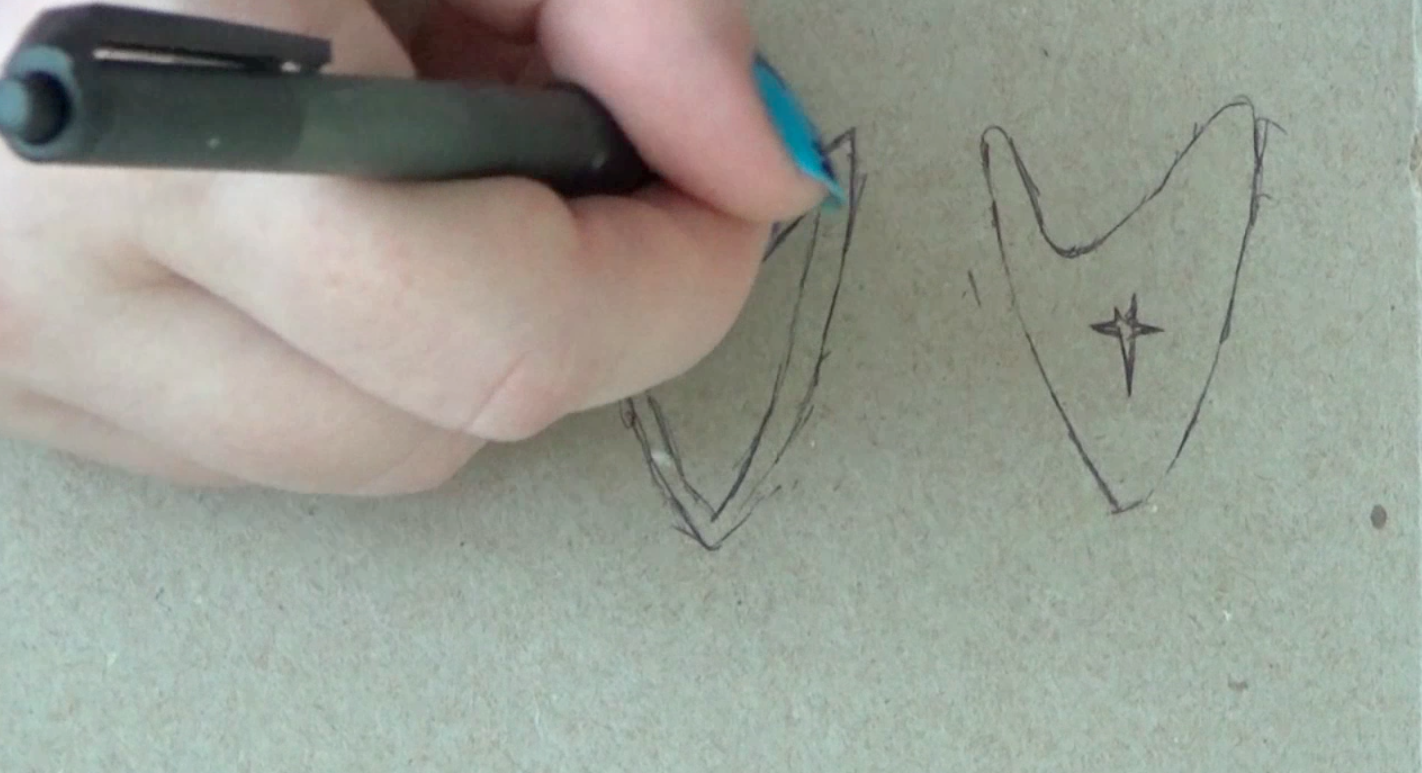
It's a bit on the grainy side, but it will certainly work. I will admit this process is also kind of time consuming because you have to crop the images one by one, unlike in the previous process where once you had all the images you could process them in bulk.
Anybody else have any methods for pulling nice images from video? I'd love to hear about it. Or if you have questions or concerns feel free to comment and I'll do my best to answer!